Part 9
Update 9:
Swan? What swan?
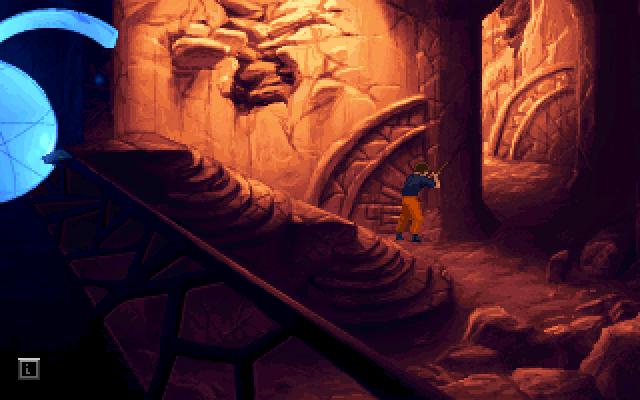
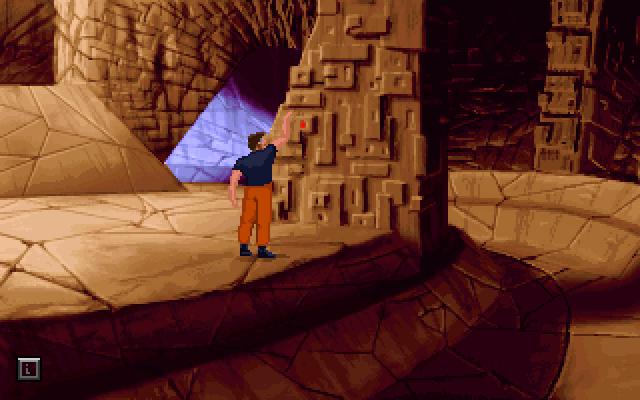
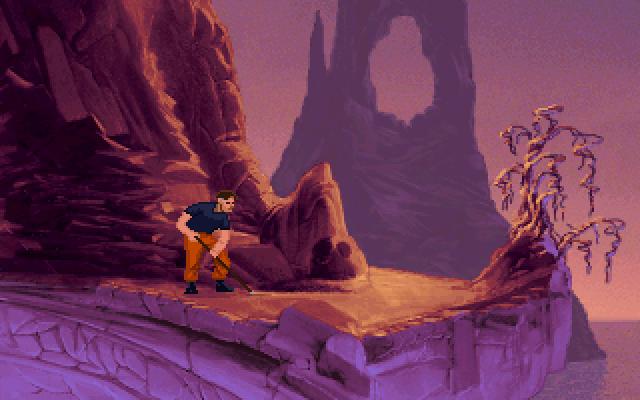
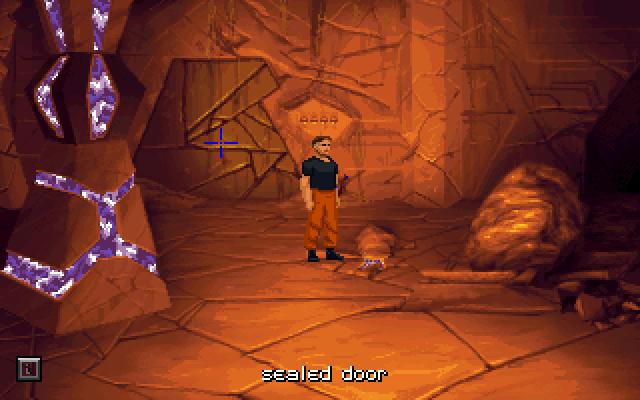
Starting off with some bookkeeping - shovel use 9! Both the tusk and shovel can be used to attempt to pry open this door. Only seven of those nine are actual useful uses though.
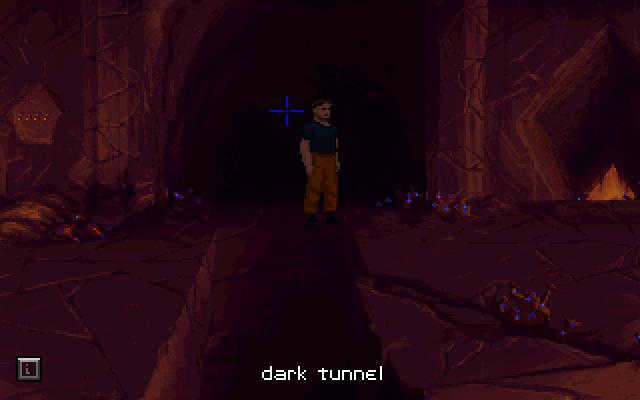
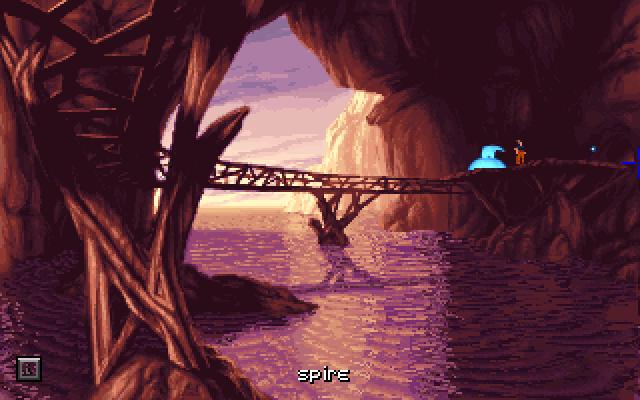
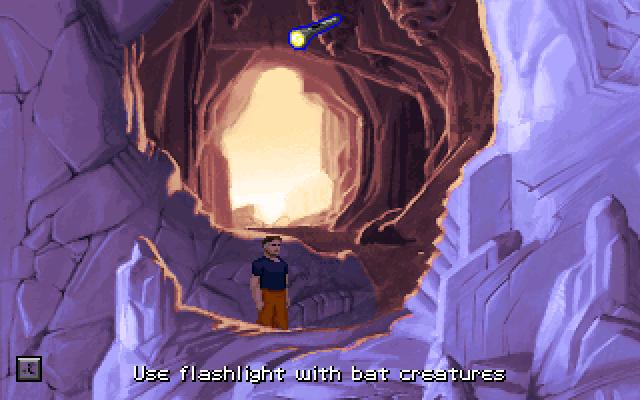
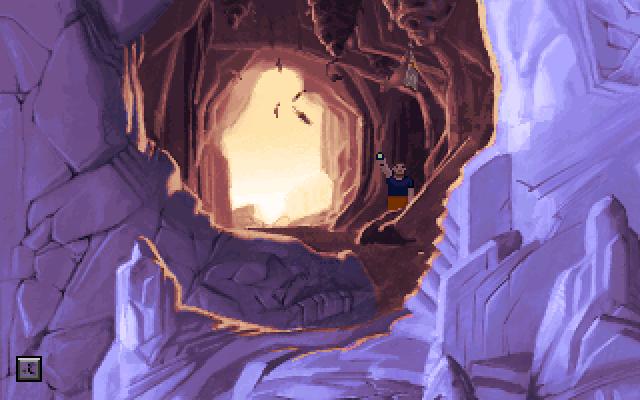
Next on the list of places to explore - this dark tunnel in the nexus room with all the doors.
Video
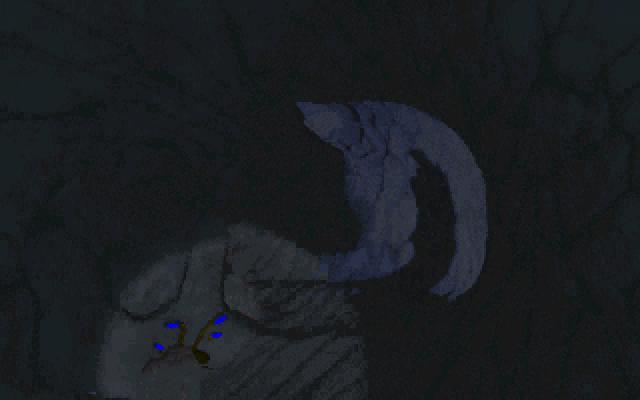
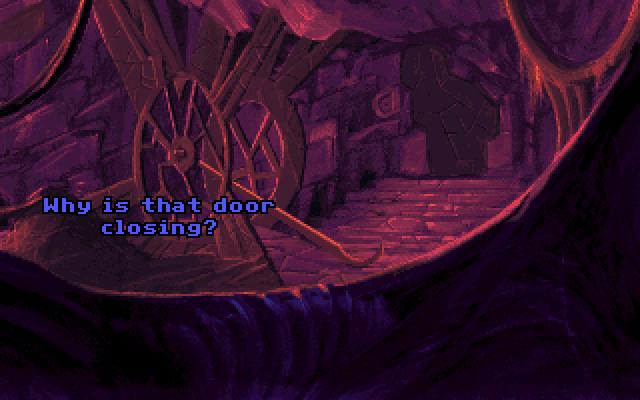
Hey look! A shadowy humanoid figure!
Let's stare at it instead of looking to our left!
Doo dee doo....
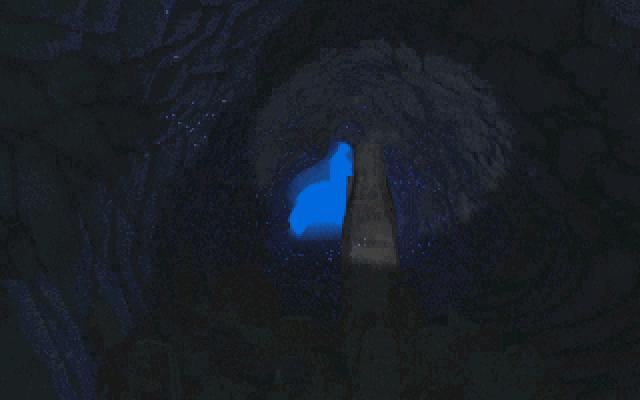
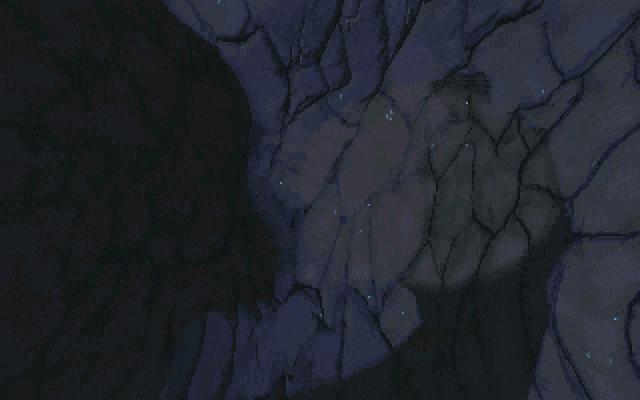
Oh, it's just a rock. LAME.

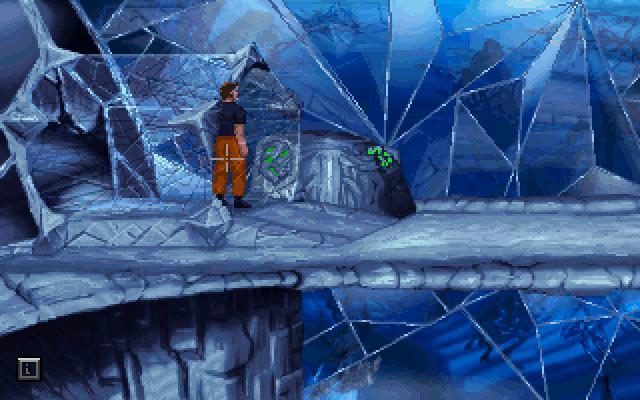
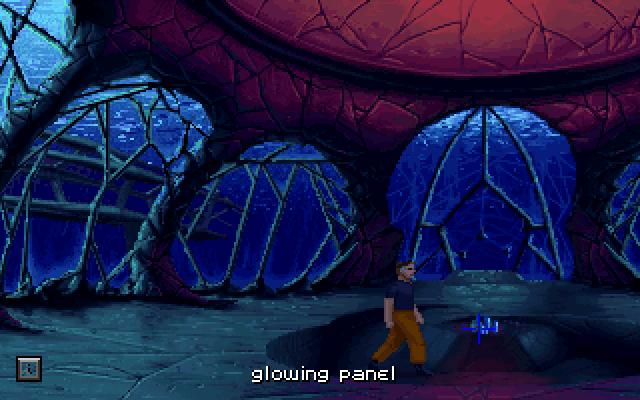
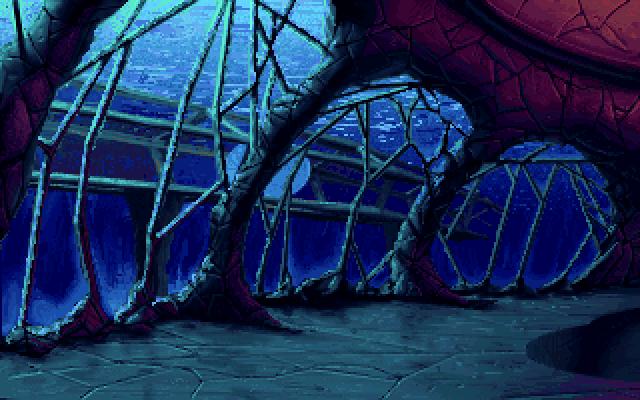
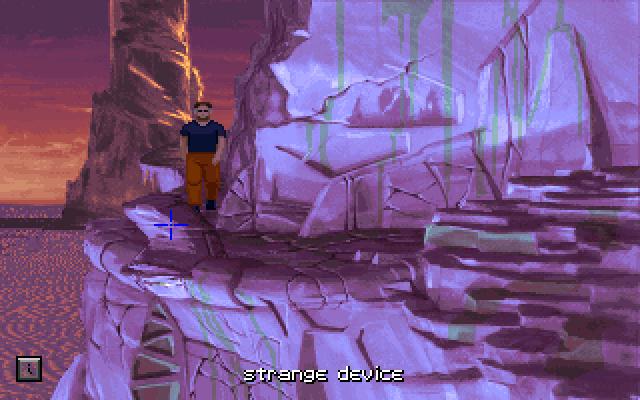
Pretty fancy airlock there.
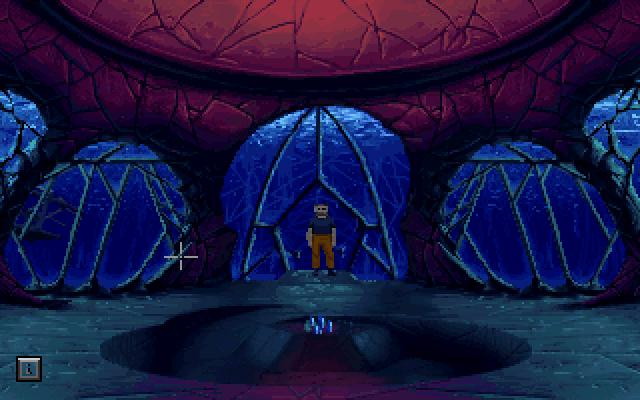
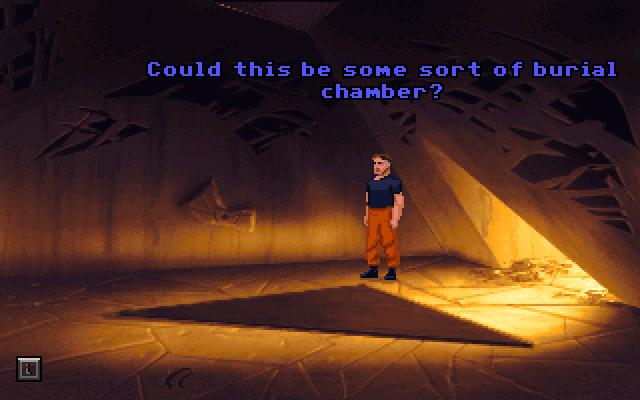
This is pretty cool, an underwater control room! This reminds me of this story involving a swan that...


...what the hell was that?
Anyway, time to play with these glowing blue crystals.
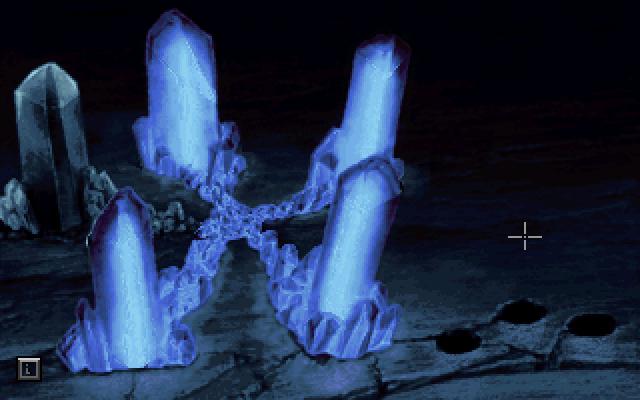
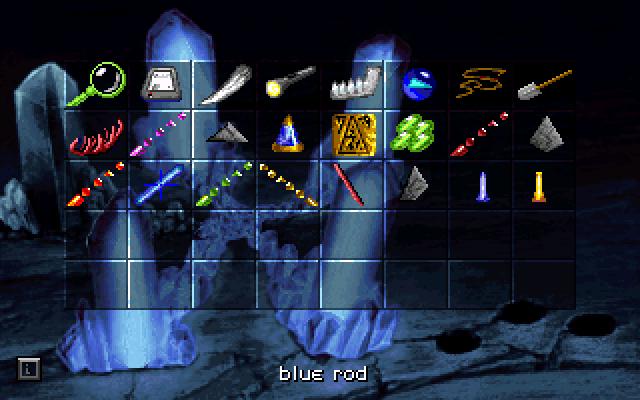
This blue rod goes into a hole...
...making two more pop up.
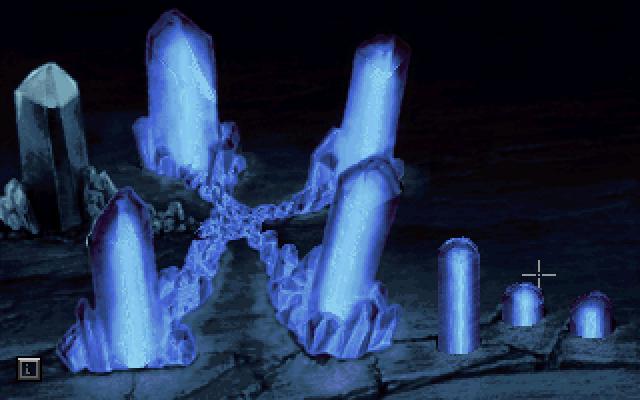
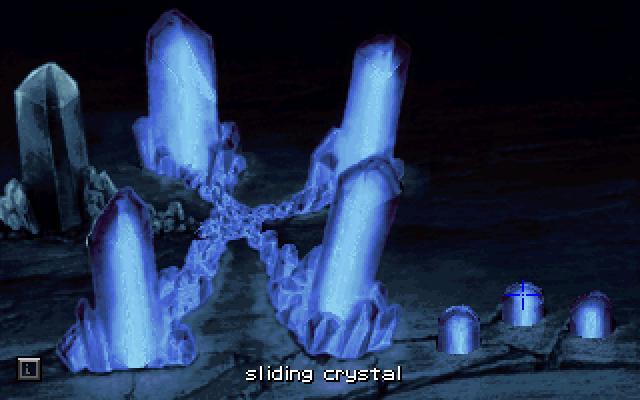
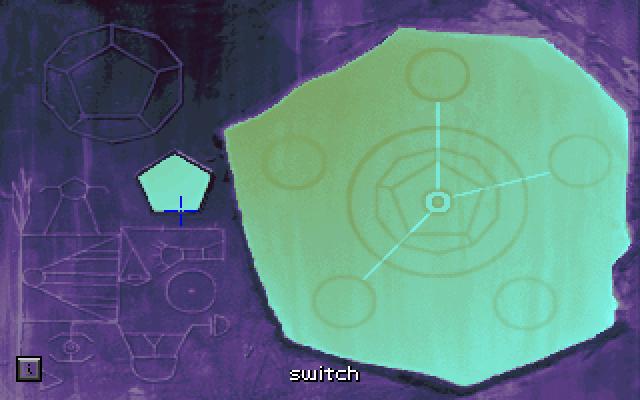
The point of this puzzle is to click on the dim crystal on the left, and slide the three rods on the right up and down. At a certain point the faint glow of the dim crystal will reach a maximum.
Once all three rods max out the light, the crystal fully lights up and you're done. If you make the mistake of clicking on a fully lit up blue crystal you have to repeat the sliding rod procedure until you get to the point above.

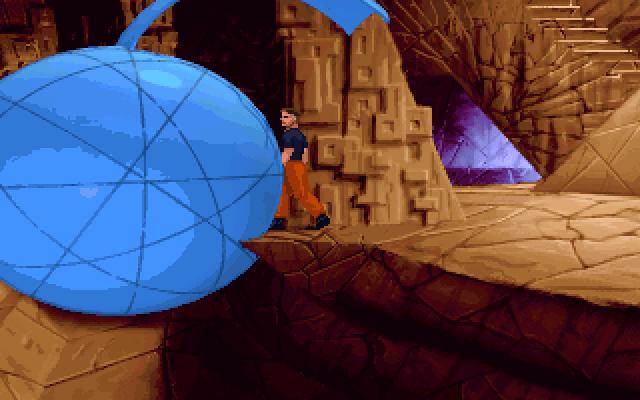
Looks like that broken hamsterball tram from last update is working now!

: I can't move this thing with my bare hands. It's half buried in dirt and rubble. Let's see if this plate can be moved.

Shovel use count: 10
There's nothing we can do here now so we're going to have to come back later, just in time to award the "Most Retarded Puzzle" Award to this room.


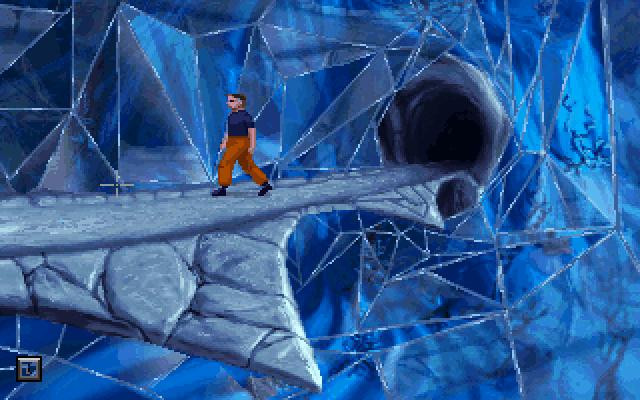
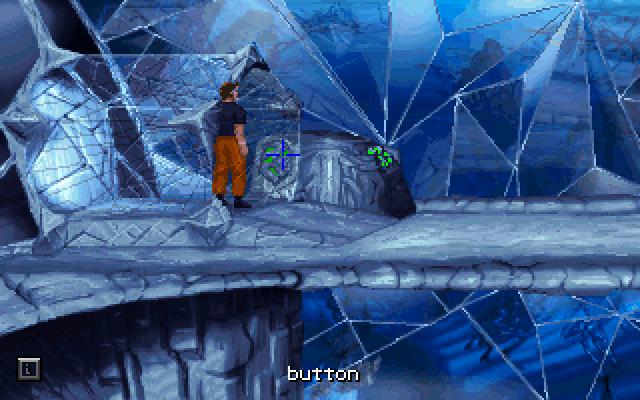
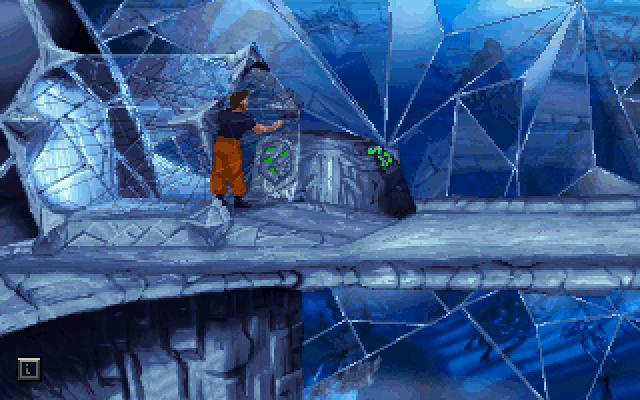
Another broken lightbridge easily fixed by rotating the lens and trying again.
: Just needs a little adjustment. *
Doesn't work*
: Okay, so it needs a little more adjustment.
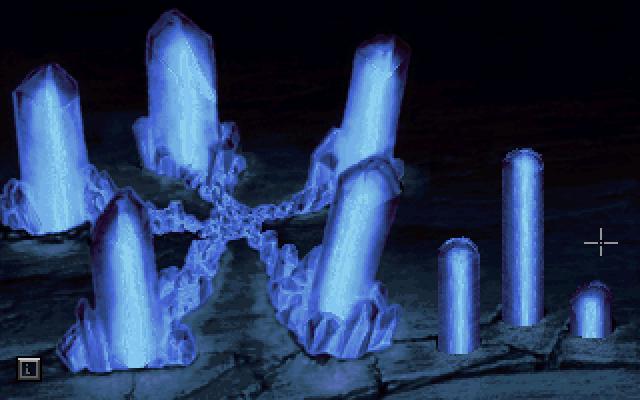
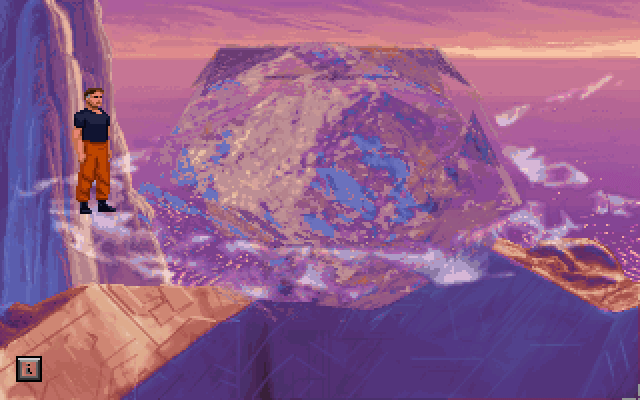
That got it. Let's check on that crystal form at the center of the bridges again.
Neat! Back to the lightbridge control, there was an engraving on the wall we need to check out.
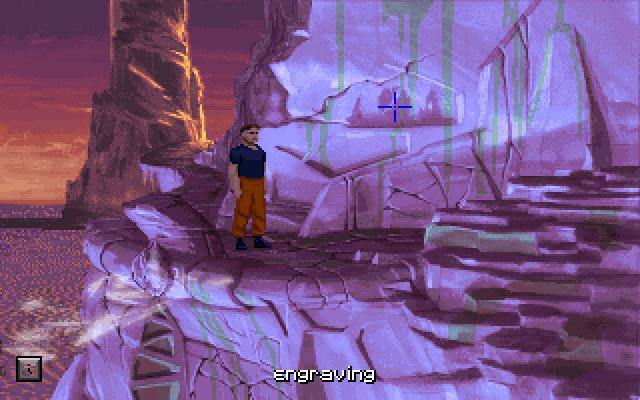
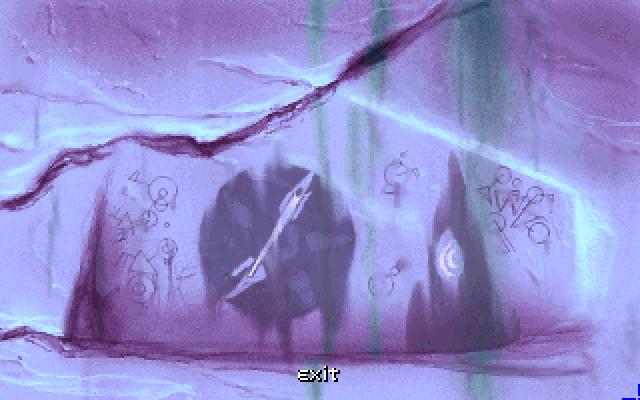
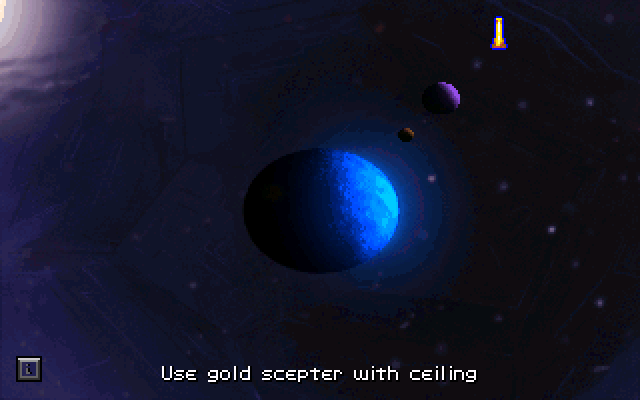
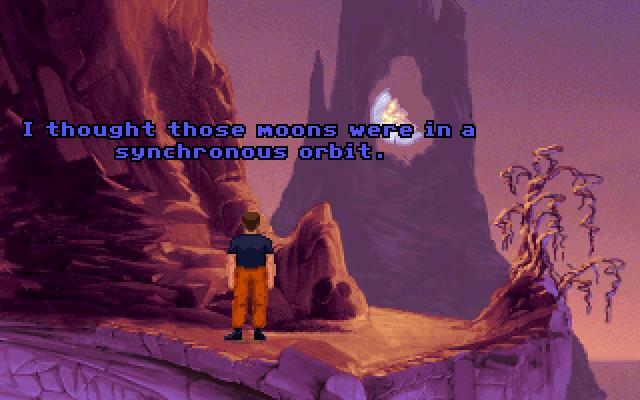
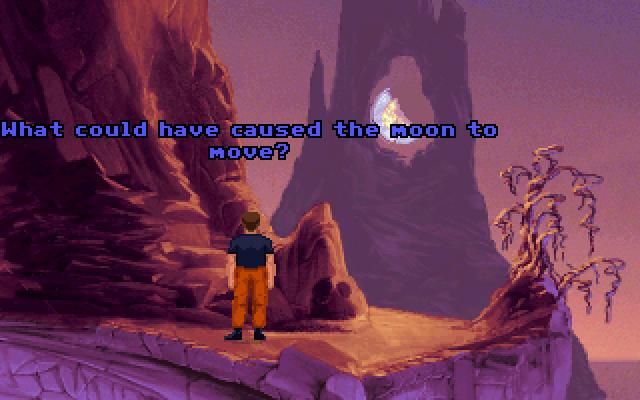
While this should be obscure, it's actually pretty easy to figure out. On the right, we have what looks like two moons eclipsing each other. The central image shows that we have to orient the moons at a diagonal to accomplish that. Once we've explored the rest of this spire, we're off to the planetarium to do just that.


AGAIN!
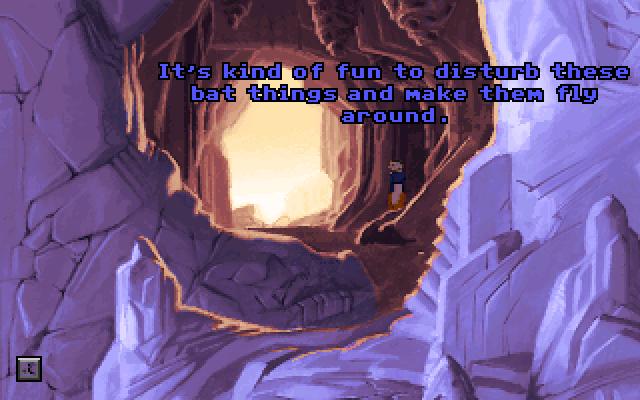
AGAIN! DO IT AGAIN!

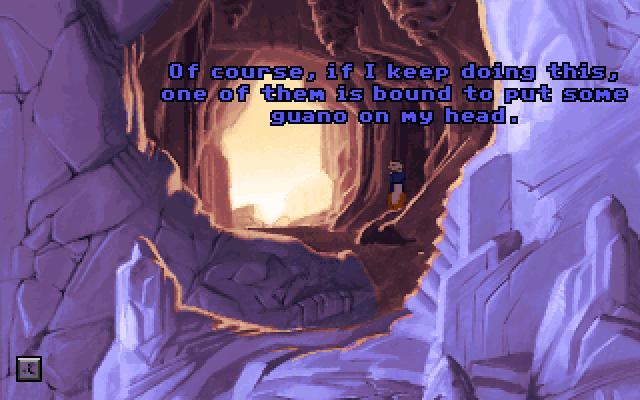
In that case it would be foolish to...

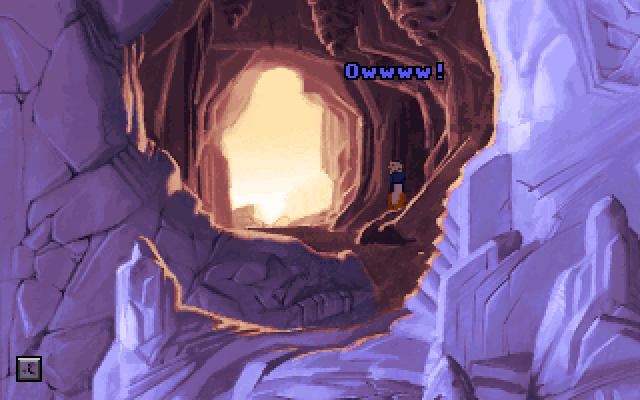
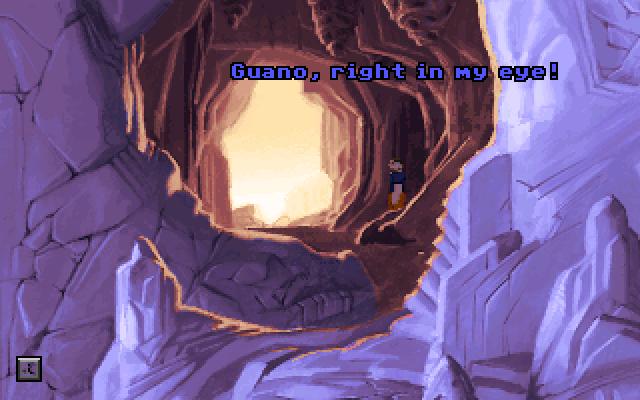
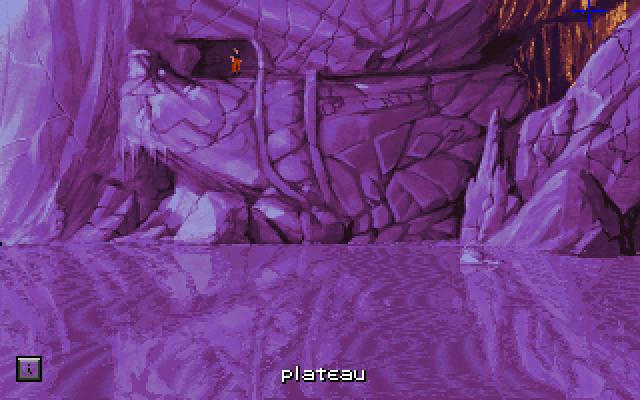
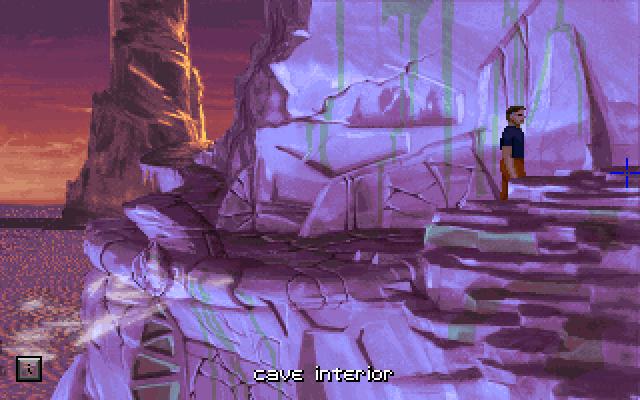
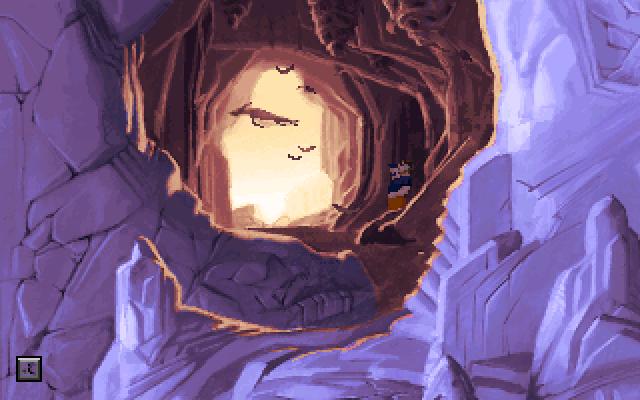
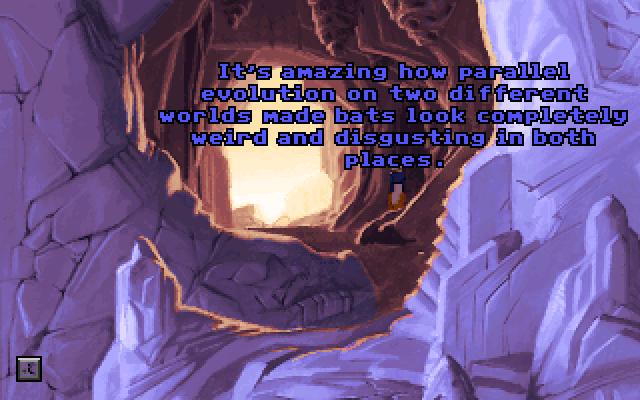
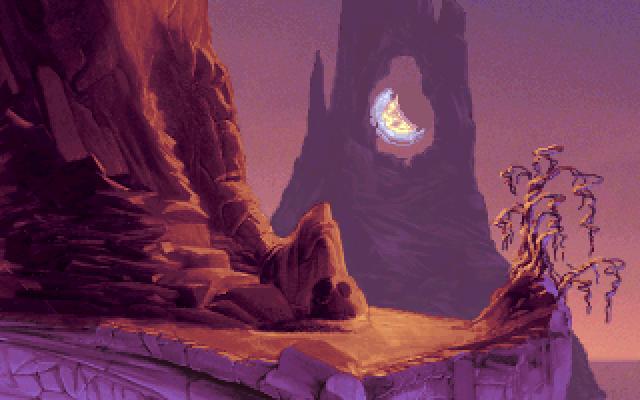
Further into this cave we find...
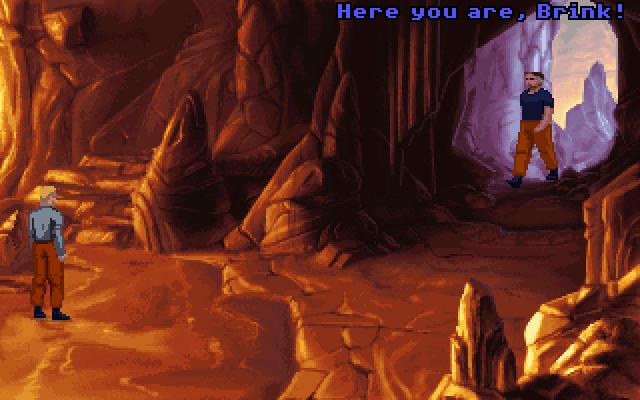
: You haven't been answering.
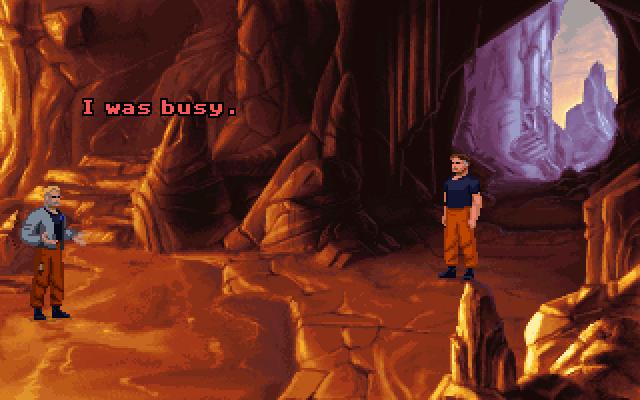

: Trying to concentrate on my work. I don't have time for interruptions.
: In other words, you want me to go away.
: Those ARE the right words. Go away.

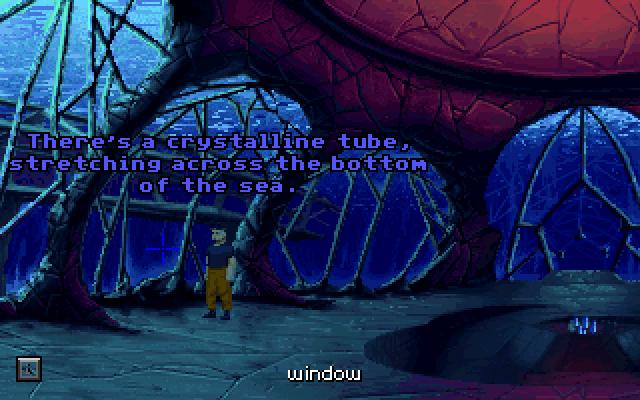
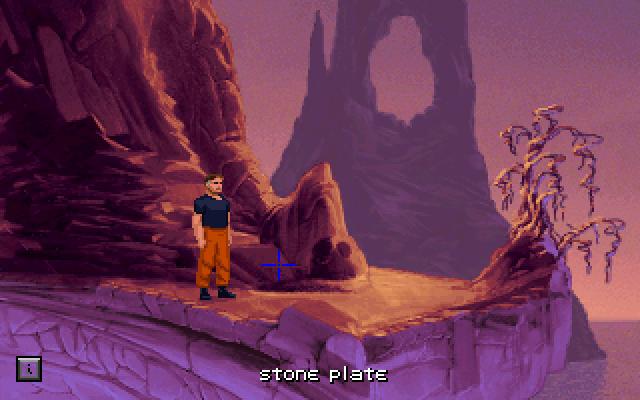
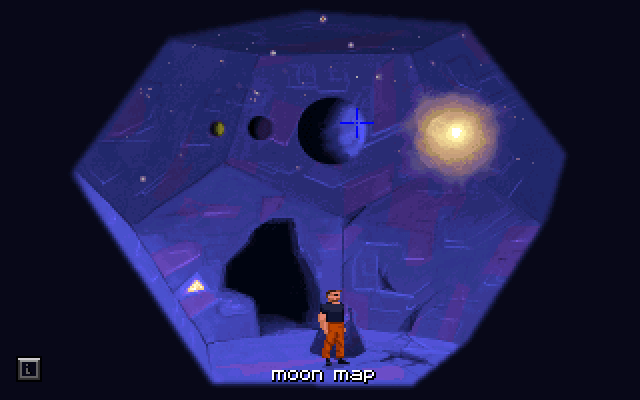
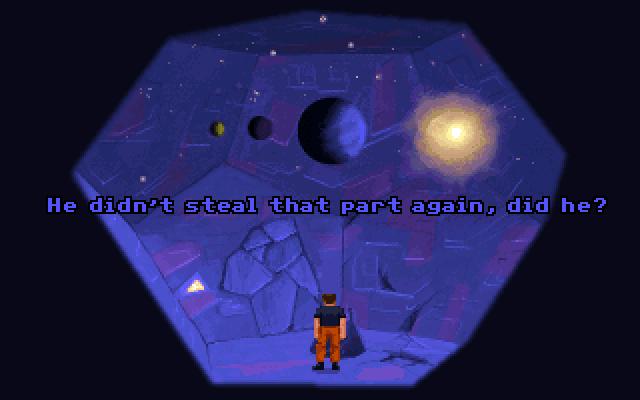
Brink won't tell us what he's working on. But he's got a cool view. You can see the crystal form at the center of the lightbridges if you look carefully. But we can't stare at this too long, we've got moons to move, tsunamis to make and massive earthquakes to trigger.

That should do it.
Boston now has an out-of-body experience to tell him he's done things correctly.


My button pushing skills are no match for your trivially easy adventure game puzzle!

One last rod/door combo to open back in the nexus.
Next time - Update 10:
The Map Spire