Part 20: Chapter XVI - I ain’t afraid o' no ghost!


I ain’t afraid o’ no ghost

 That’s the latest news, Daddy.
Bartender: Mmm, there is no reason to go to the Great Sand Sea… I will make certain I don’t have any errands that would send you there, beloved daughter.
 The bartender news system has a drawback. Because this quest was active before finishing Paris’s first quest, and still active after, it defaults to the next most important quest. Bartenders only ever tell you about one quest at a time, and it is always the same quest, no matter where you ask. However, this will randomly pick another open quest after we complete any quest.
 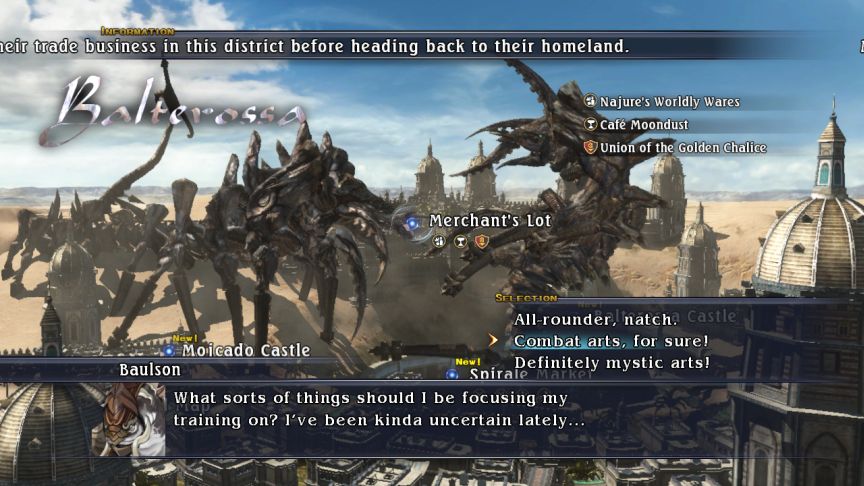 Baulson here should obviously focus on Combat arts, as he has no mystic arts or offensive item arts worth mentioning. Turn him down and he’ll say “This is why I hate people.” But we don’t need the club. Everyone always says “can I BORROW this thing”, as if you get it back when they’re done with it. Noooooo, it’s gone for good. But whatever, he can have them, they’re Sovani-specific anyway.
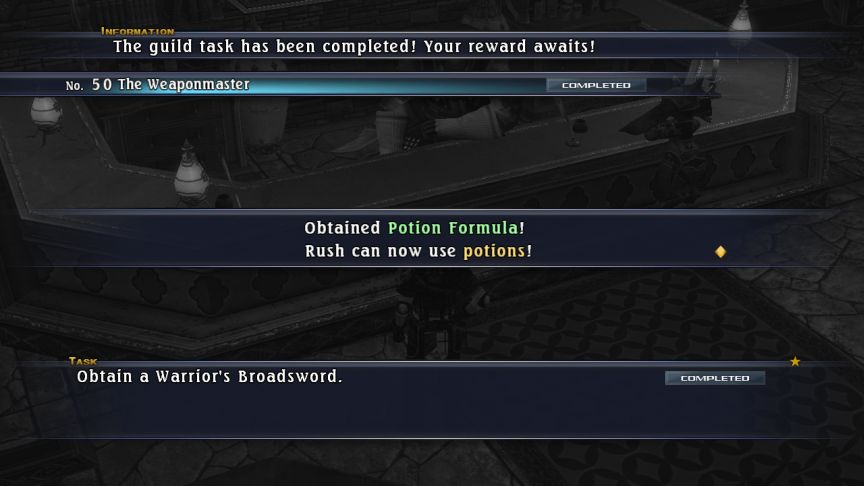 I turn in one of the extra Warrior’s Broadswords that dropped from the Jhana, and get the Potion formula. I admit that I don’t really know much about potions. They come in varieties that boost your STR, INT, SPD, ATK, and DEF, and a token attack one. The “What should I know before I play” suggested to turn them off as they suck, I did, and don’t really know what I’m missing. I think it’s just 15% boosts. One problem is that you only ever get 5 battle commands per target, and this would just be stuff to clutter it up and screw things up.
Woah, that’s three screenshots already. We’ve got more than an hour’s worth of dungeons to do today, so let’s just get moving.
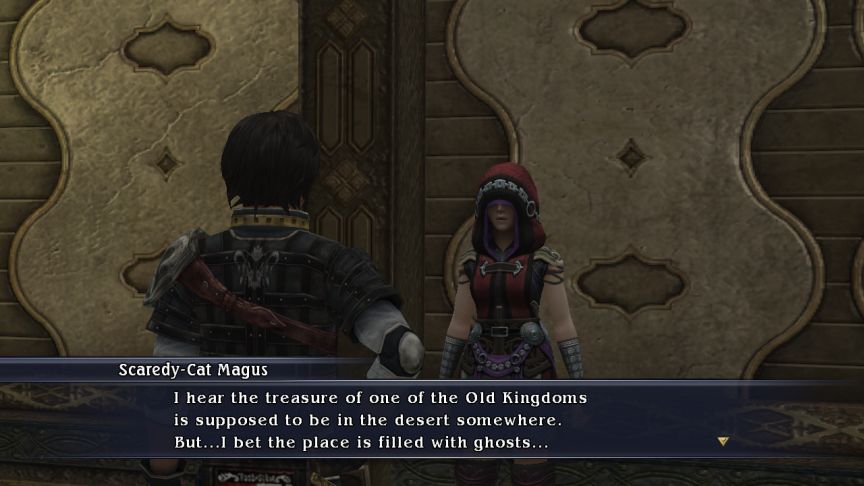
 Hey, would you go look for me? Well, aren’t we boring? Cool! So, there’re a bunch of pillars set up in the desert to keep you from getting lost. And they’ve all got IDs on them if you look close. If you look at them in the order: C-4-B-E-A-1 then… *shudder* The pillars are engraved with the language of the Old Kingdoms, so take this – it’ll show you how to read them.
 Obtained Scribbled Note! Accepted quest: The Silent Soul. This quest is only available if you finished For Love the Bell Tolls. Quite a lot of quests require you to have finished that one to become available, and a bunch have this one as prerequisite as well.
Music: Swirling Sands

 - Dungeon Video: The Great Sand Sea (Quest: The Silent Soul)
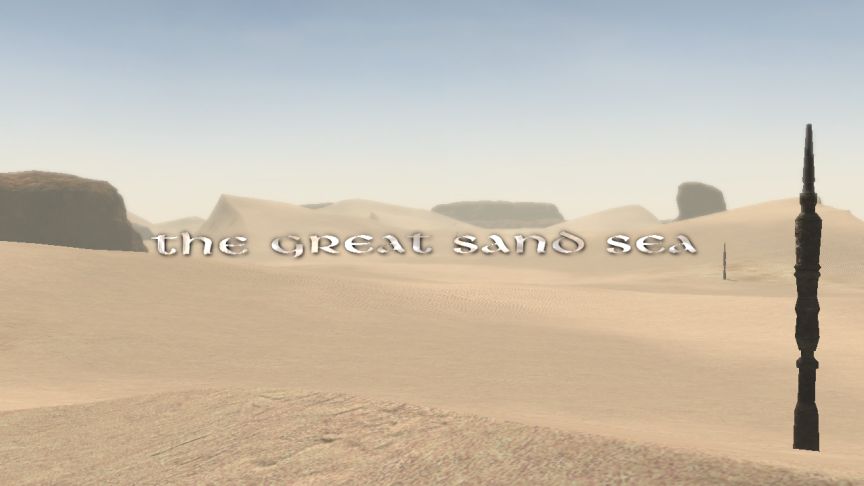
 A lady magus wants me to recover an old treasure from the Great Sand Sea. She also gave me a code: C-4-B-E-A-1. I wonder what it’s for.
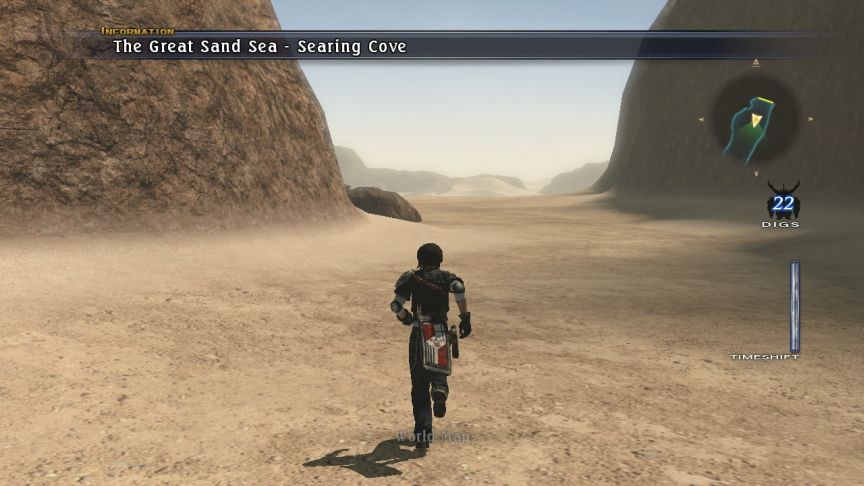
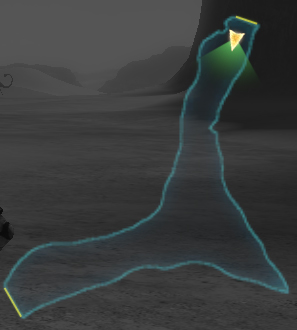 (Time: 0:11) Welcome to the Searing Cove – the first area of the Great Sand Sea. Don’t worry, there are only two. …
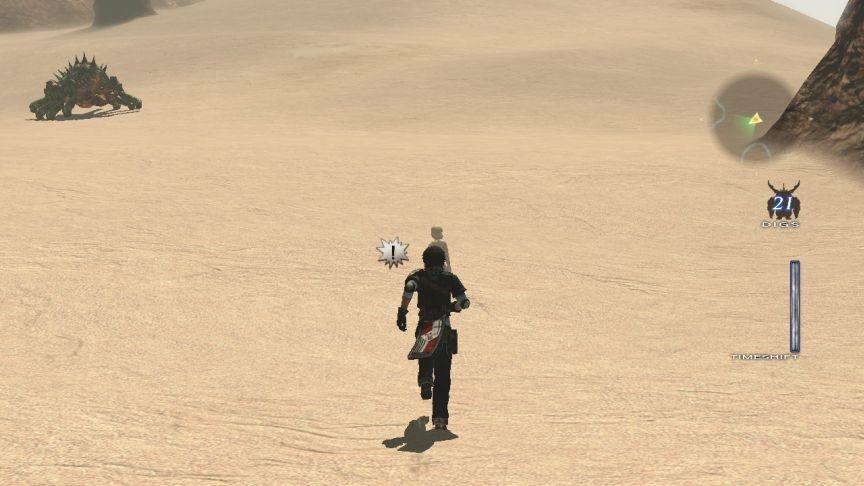
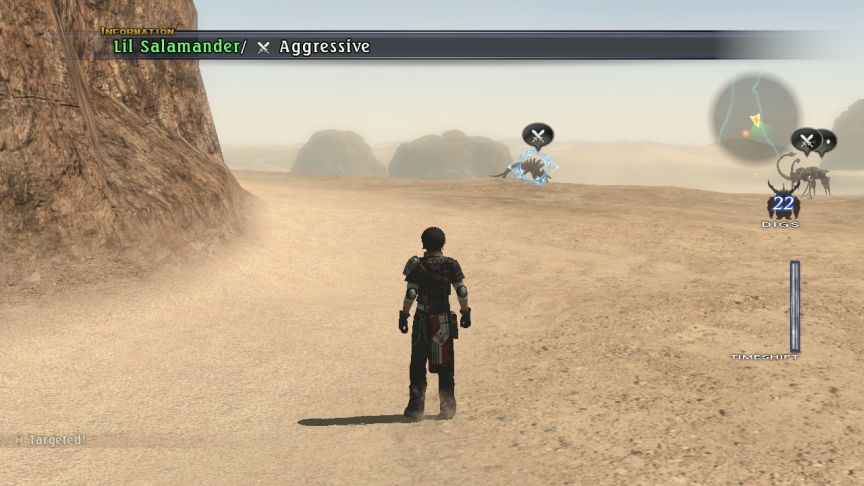 There are only up to 4 enemies in the Searing Cove, and one could be a rare.
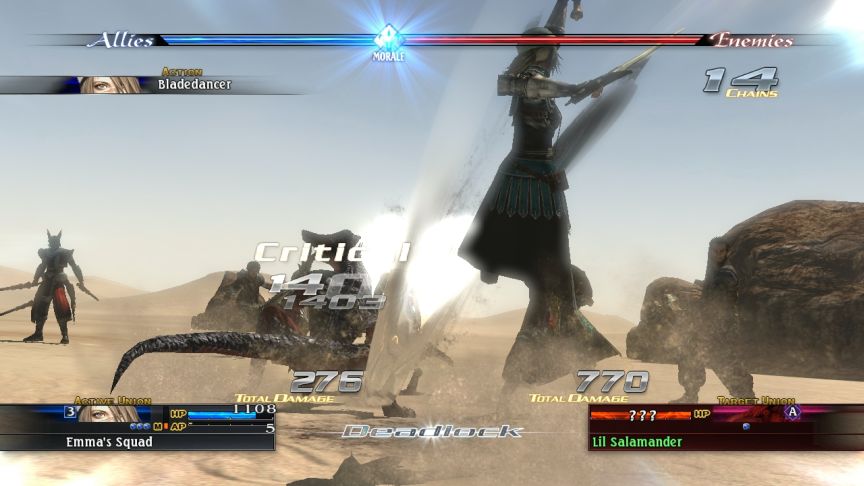 This guy’s not that threatening, despite the skewed morale and “You’re in trouble” music.
 (Time: 5:11) From this bluff, we get a preview of the rest of the Great Sand Sea. It’s a pretty nice view. A sloping path leads down.
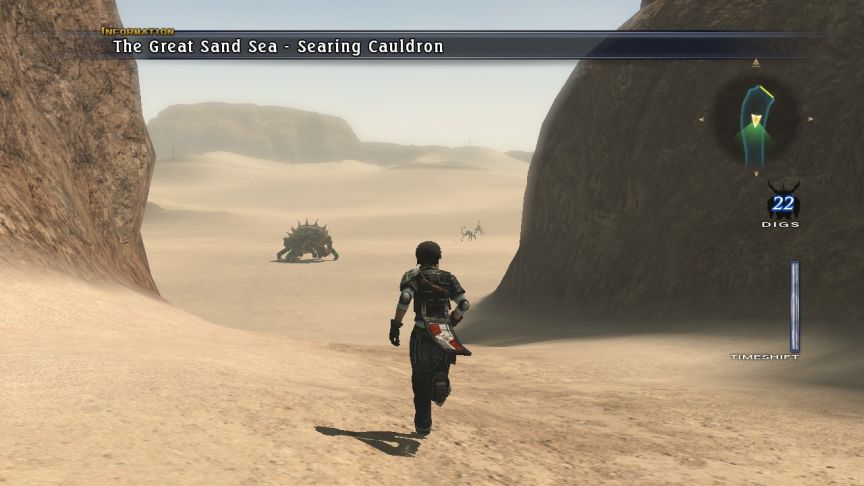
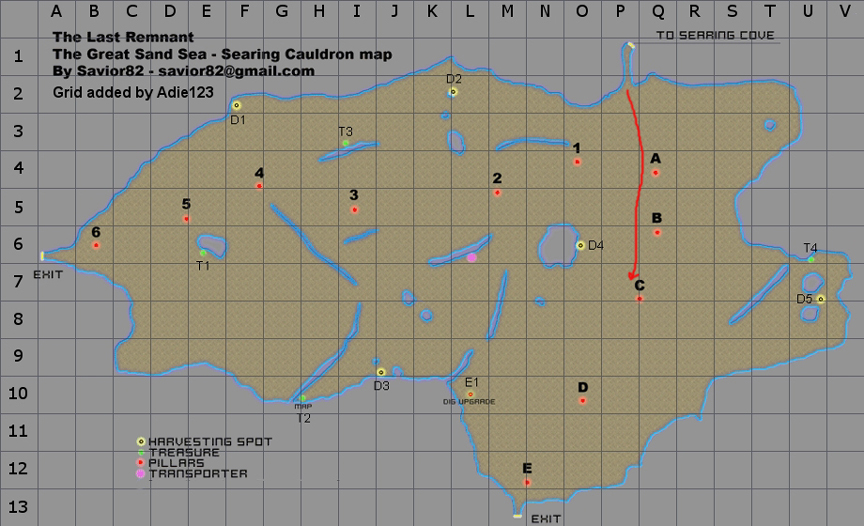
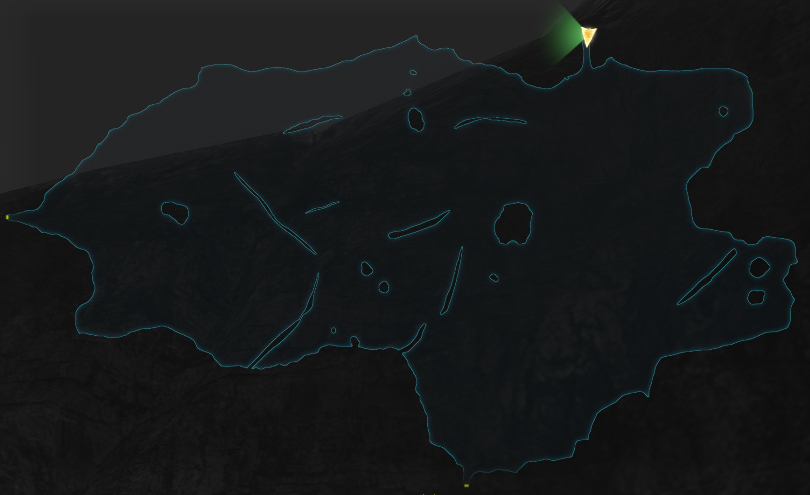 (Time: 5:36) That map? It’s at maximum zoom-out. THAT is the gimmick of this dungeon. Just one room, it’s easy as hell to avoid the widely scattered enemies, but it is fucking gigantic.
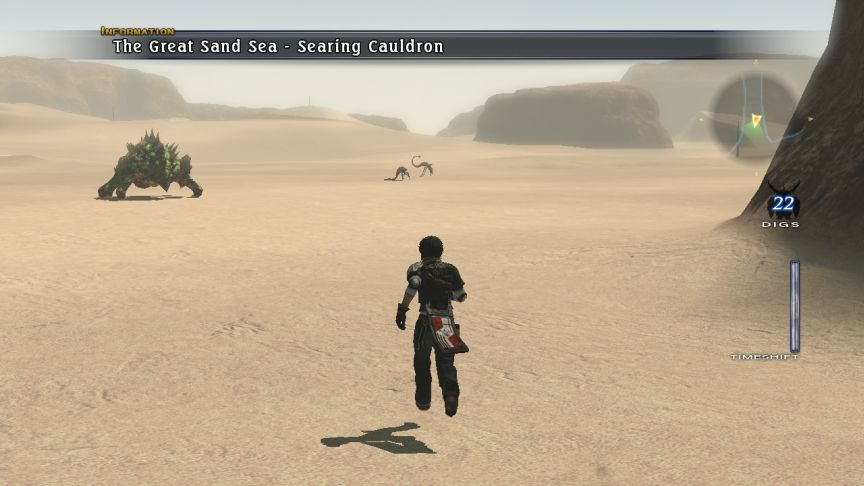 (Time: 5:42) Here are the pillars we have to investigate for the quest. There are two lines starting from about this position. One goes to the left (the starting one is not pictured), the other to the right. If we were to investigate them, we’d learn that the left one is A, and the right one is 1.
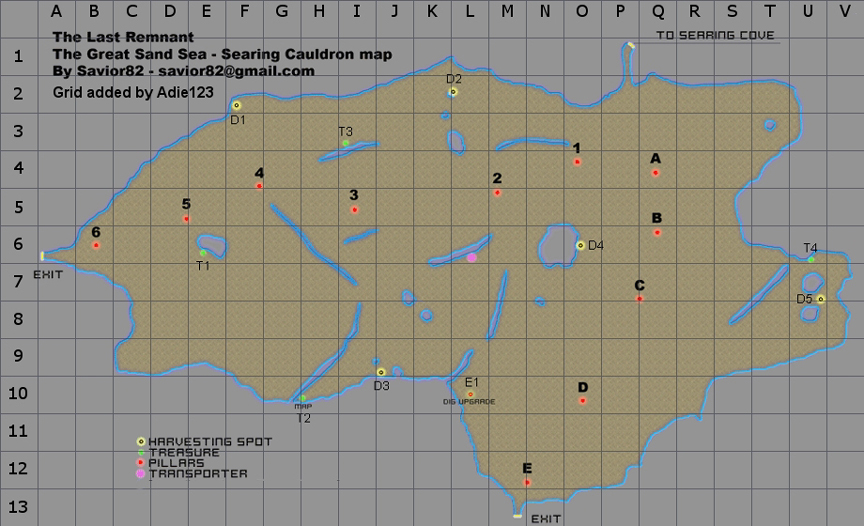
There are no tricks here, they go in order, and our magus was kind enough to provide the order, and not the symbols we need to look for, which would have meant needing to look at every pillar. The only thing you need to do is keep track of them. Engaging enemies is not needed, so I won’t.
Our first one is C, just above and to the left of the beetle.
 (Time: 6:52) It took about 1:10 to get here, although I followed a slightly curving line. The hardest step is are actually the next one. We need to get to pillar 4, which is all the way across the map.
 (Time: 7:32) I first get my bearings by sighting on pillar 1, and from there, heading towards Pillar 2 (straight ahead). Getting any in the wrong order means starting again, obviously.
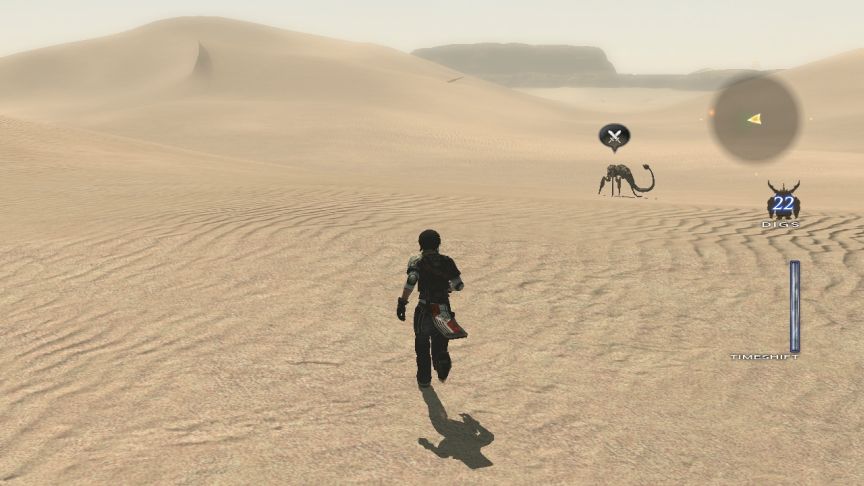 (Time: 8:04) There’s number 3. The numbered ones are trickier to find because some have fallen over, and the terrain is also trickier this way.
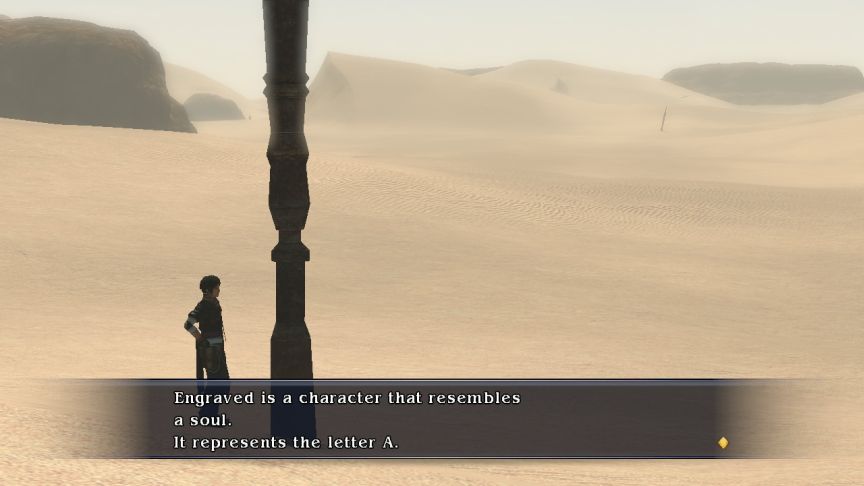
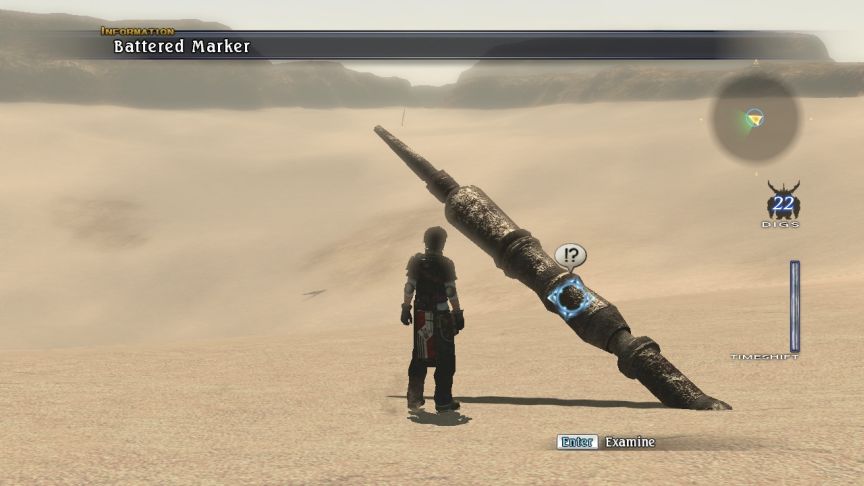 Engraved is a character that resembles someone holding an object. It represents the number 4.
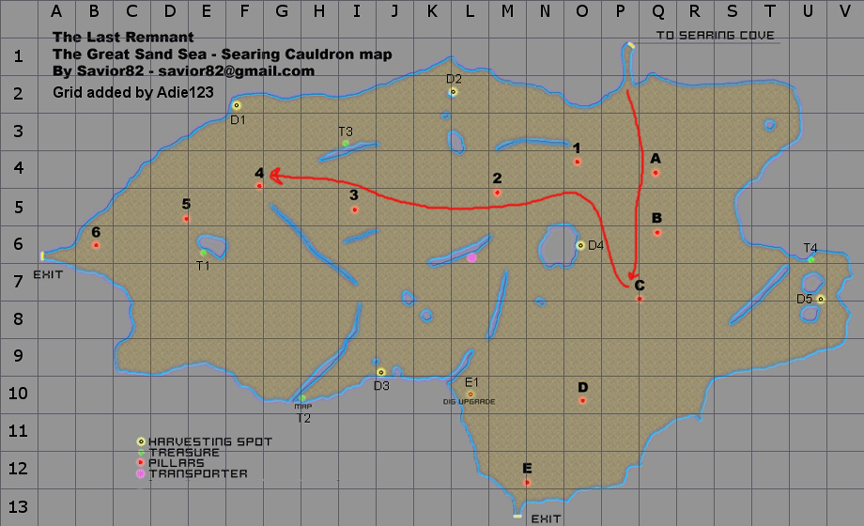 (Time: 9:16) Stop number 2. Now we have to trek all the way back across the map to B. You can see pillars 5 and 6, and past 6 is the exit to the world map, unlocking the Vale of the Gods.
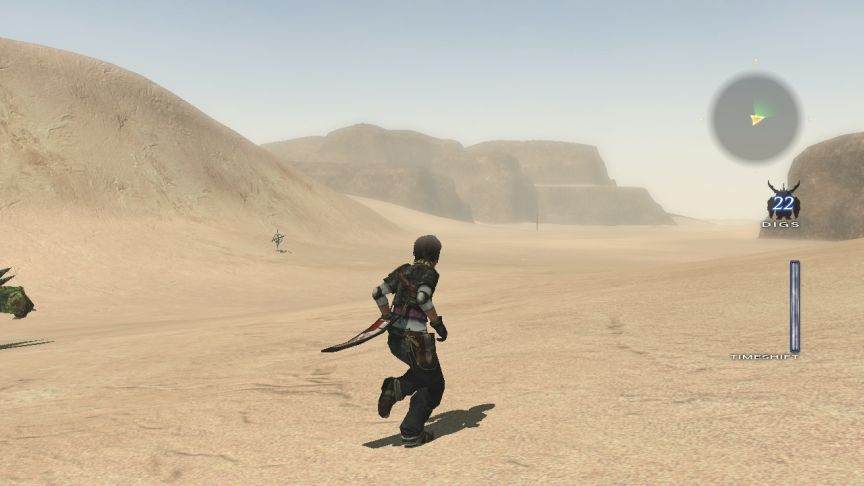 (Time: 10:32) There’s a Transporter back to the world map in the middle. There are also two other exits, both of which we’ll have to visit later on to unlock new world map locations.
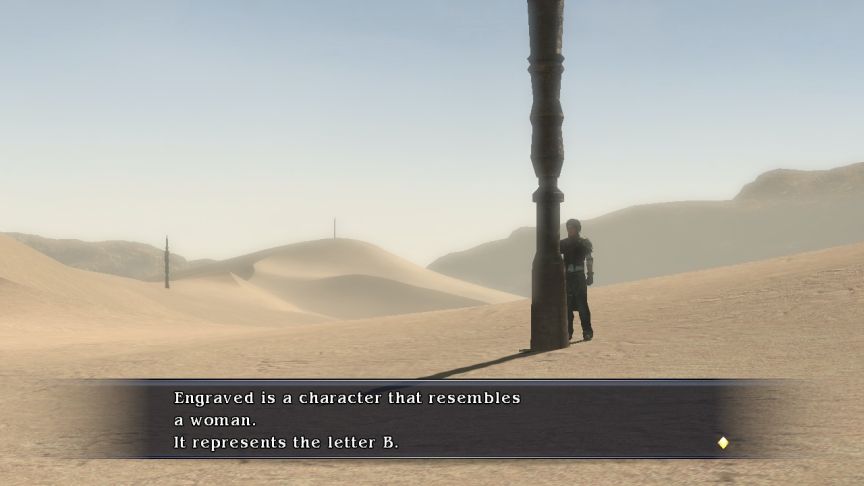
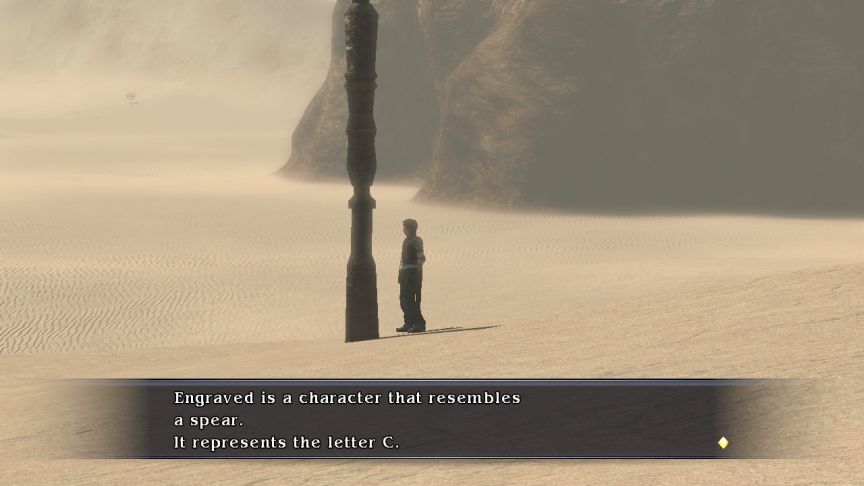
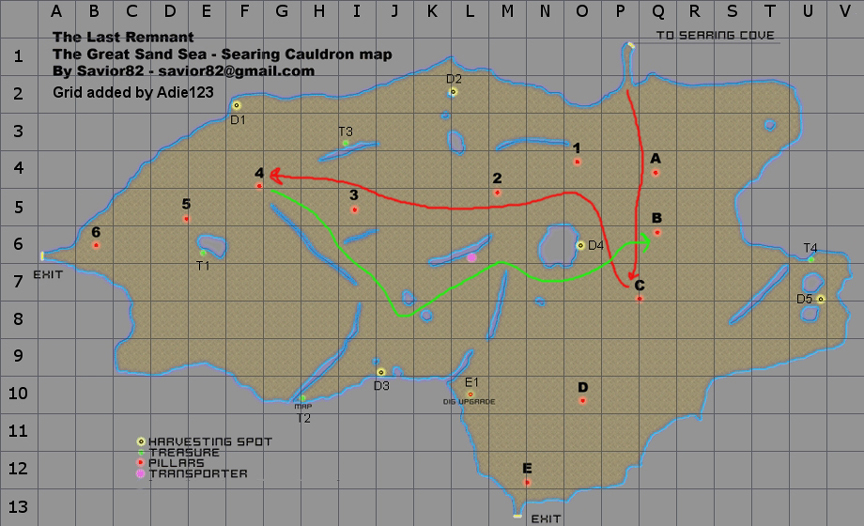 (Time: 11:41) That is the hard part all done. It’s no problem solving the rest now. Getting to E is easy, just sight on the tall point and head that way.
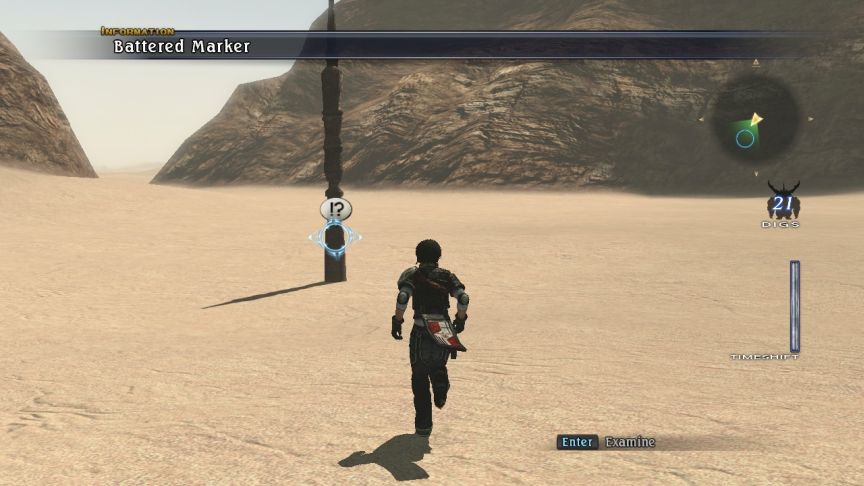 Engraved is a character that resembles grains of sand. It represents the letter E. Past here is another exit that unlocks Lavafender. We’ll visit that later. Follow the line of pillars back to A.
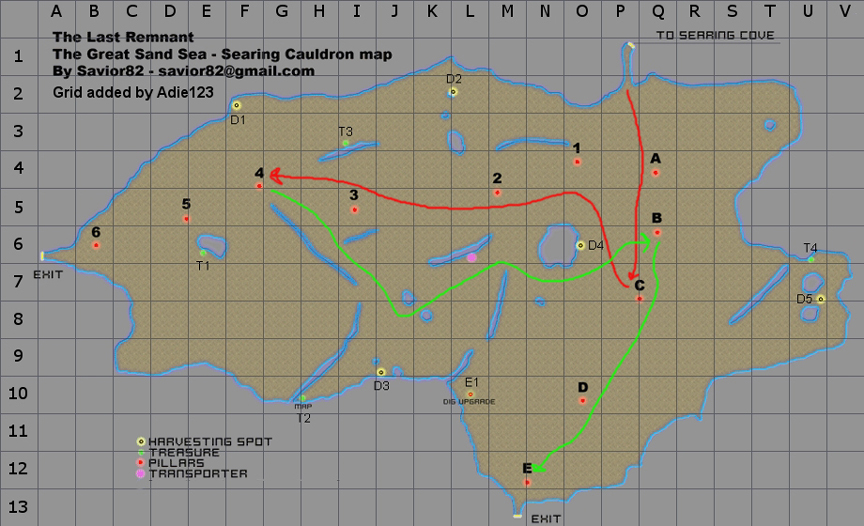
 (Time: 14:46) Yes, it took three minutes to go in a direct line. But we’re almost done, just go across to 1.
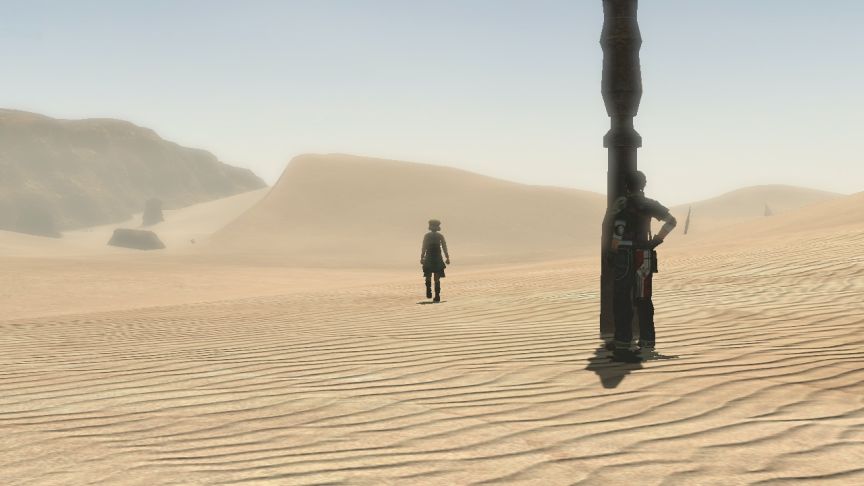
 (Time: 15:18) If you’ve done the sequence properly, this strange ghost-kid-thing shows up. If you do not see him, start over.
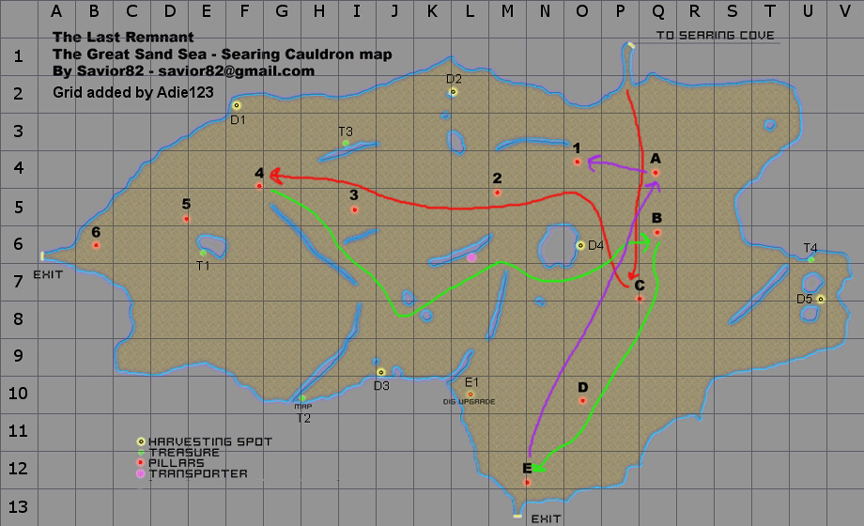
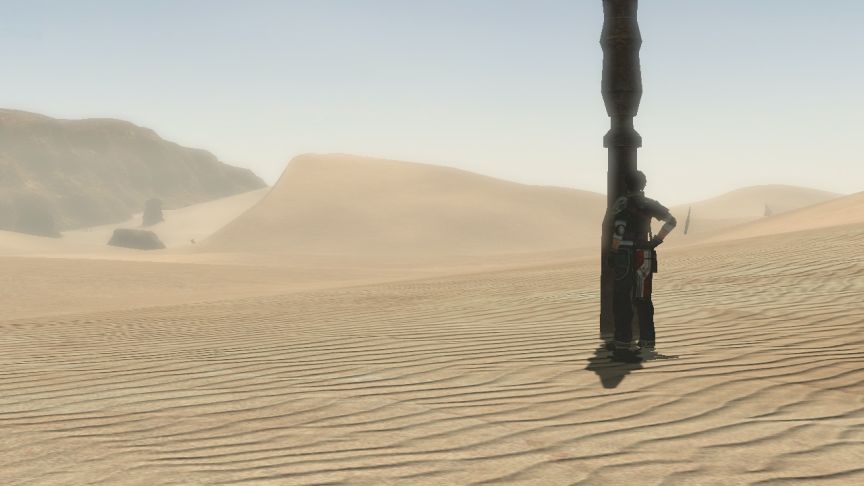 The ghostly kid turns around, takes a few steps and vanishes. I used the code C-4-B-E-A-1 in the Great Sand Sea and a little kid appeared. I think he’s trying to guide me somewhere. Good luck figuring out where the hell to go. The first time I played that, I interpreted his disappearance as an invisible door to someplace, and you had to walk through the specific spot you saw him vanish to proceed. Thankfully, that is not the case.
 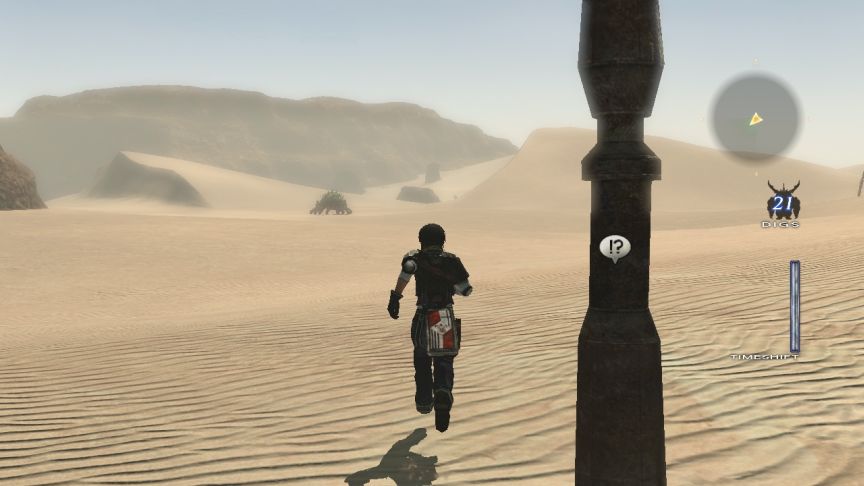 (Time: 15:49) Less thankfully, you now need to go track him down, and this area, as you know, is huge. The hint is to walk in the direction we saw the kid heading. Thataway.
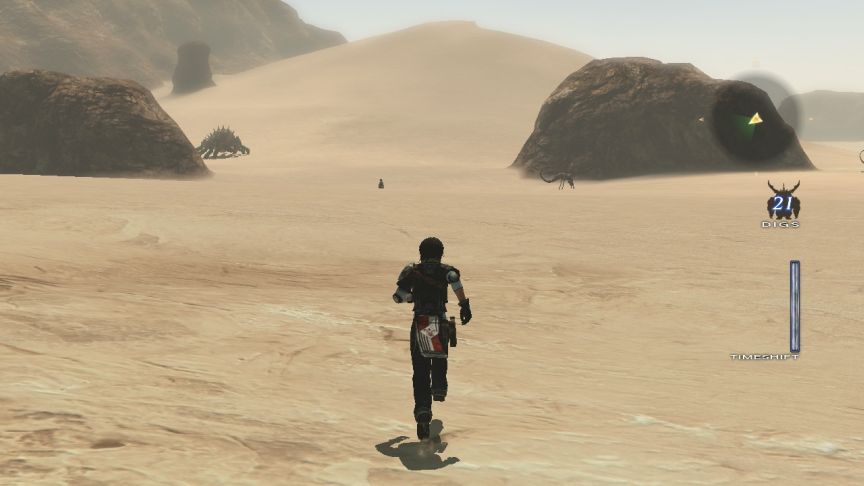 (Time: 16:29) Our destination is between these two ordinary rocks.
 (Time: 16:36) The kid vanishes as we get close, and there’s an investigation point.
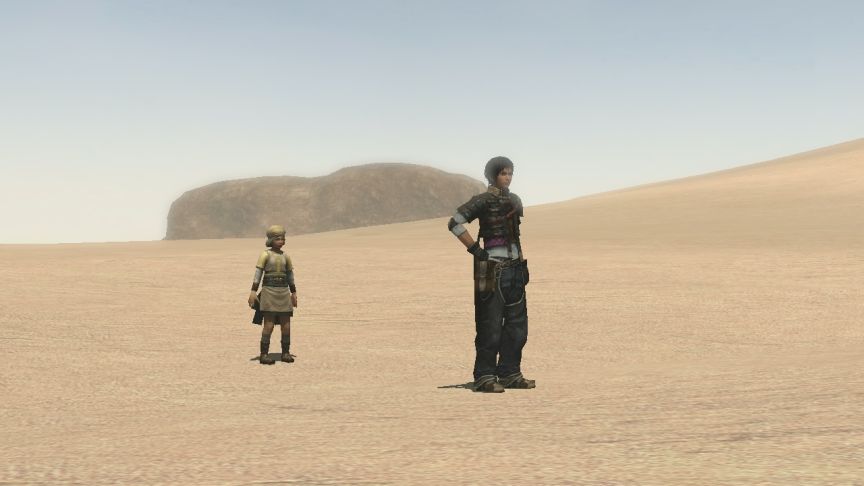 The kid shows up again, and vanishes. Rush decides to give up and go back to town.
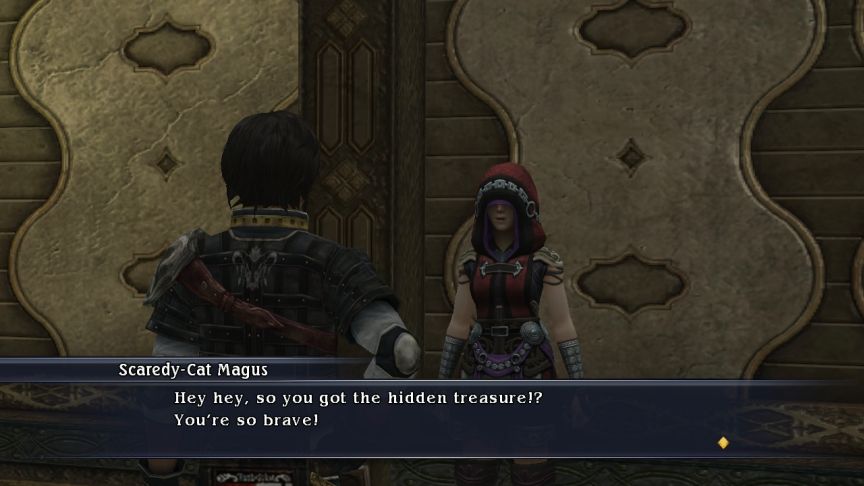 A rock? Some stupid old rock is the hidden treasure of the Old Kingdoms!? Gimme a break! I thought I’d gotten such an awesome tip, tip! Ugh, guess I gotta work on my eavesdroppi-uh, my info-collection technique. Well, I don’t need this thing. Present for you! Obtained Godstone of Souls! Later. Completed quest: The Silent Soul I brought the ancient treasure back to the lady, but she didn’t seem to want it. I don’t understand women… Also, my friends are jerks. Godstone Count: 2.
Okay, they’re not ordinary rocks, they’re rocks with writing on them.
Godstone of Love: One of the three godstones of an ancient kingdom. Engraved is a poem exulting the glories of love.
Godstone of Souls: One of the three godstones of an ancient kingdom. Engraved is a poem honoring the dead.
Yes, they will come in handy later. Much later. In the mean time, we’ve got one more sidequest to take care of, and since the dungeon took me a fucking hour, we should get to that now, we’re already running late.
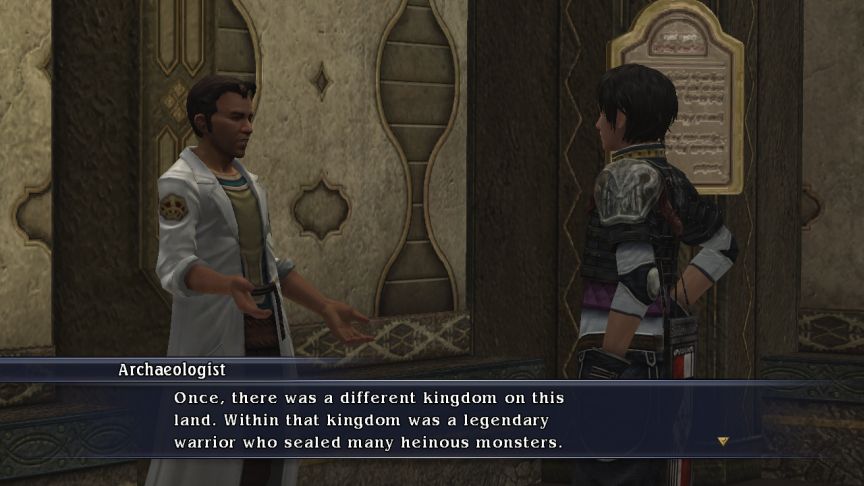
 However, after being killed in his battle against the last monster, he ended up turning into the undead himself! While doing some archaeological surveying, we may have somehow caused the warrior to rise from the dead… Err… yes. It seems he has already begun to terrorize this town. The undead we were just talking about?
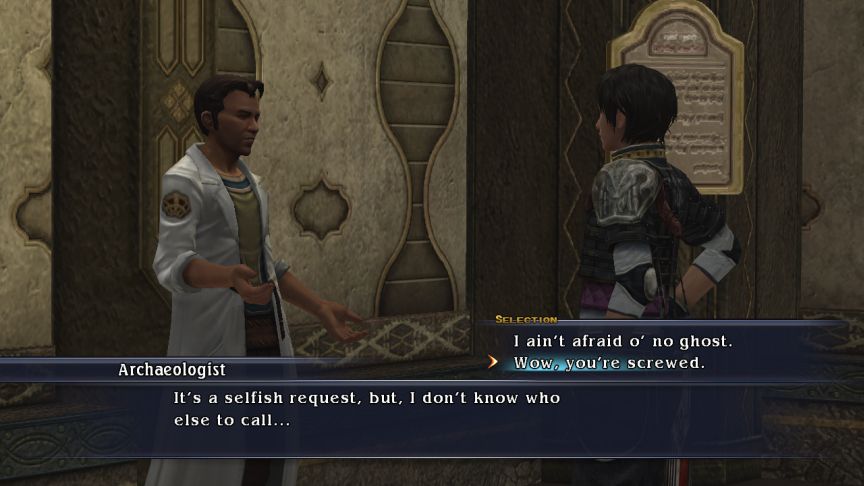 The ghost warrior haunts a small island in the shifting sands in the Great Subterrane. But if you cannot find a way over the sands, you won’t be able to pass to the island. It seems the warrior knows formations no longer used in the present age. Perhaps facing such a strong opponent will be a learning experience. There’s also been some reports of some large monster raised from the dead, terrorizing the enemy, but you probably shouldn’t worry about that. Accepted quest: The Hero
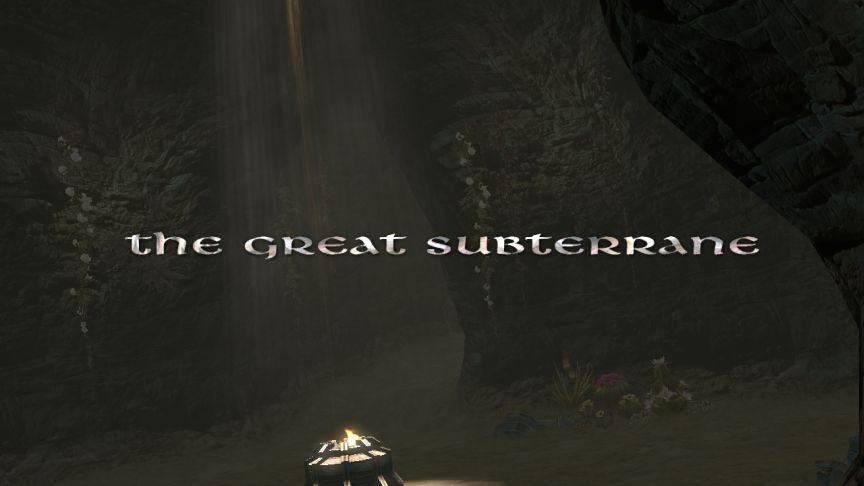
Music: Into the Depths
- Dungeon Video: The Great Subterrane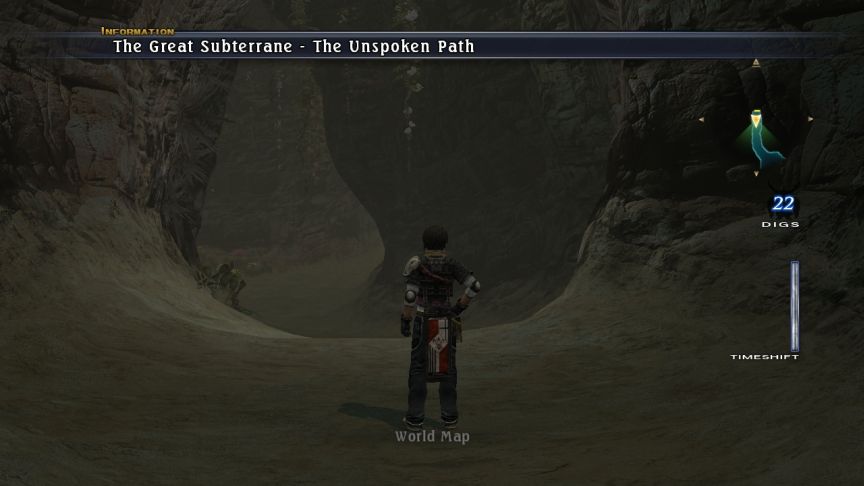 The ancient hero came back as a monster. We have to go to the Great Subterrane and stop him before he puts Balterossa in danger. I’ll be honest with you. I did NOT replay this game before starting the LP to refresh my memory. This dungeon is one you visit early on, but only like twice, and unlike most of them, I don’t even think it changes between runs.
 This dungeon is divided into three areas, all of which are unlocked at the start. This first area, the Unspoken Path has exits to two areas.
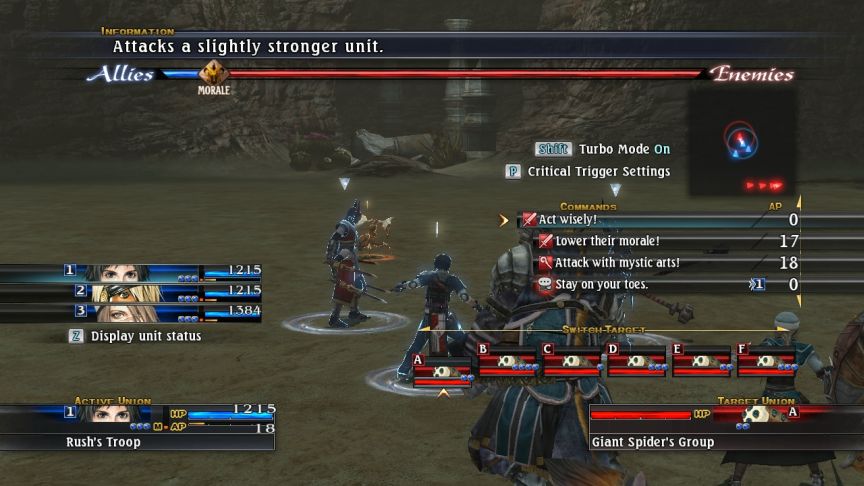 As the Morale bar indicates, my BR entering this dungeon is notably less than the game expects – probably because I skipped out on battling through Robelia and the Ivory Peaks and the Southwestern Road and most of Mojcado Castle. I’ve avoided most fighting, really.
 I have turned Blocter’s Power Grip arts off temporarily so he can get to the same art level with One-Handed as he has with Power Grip, synchronizing them again.
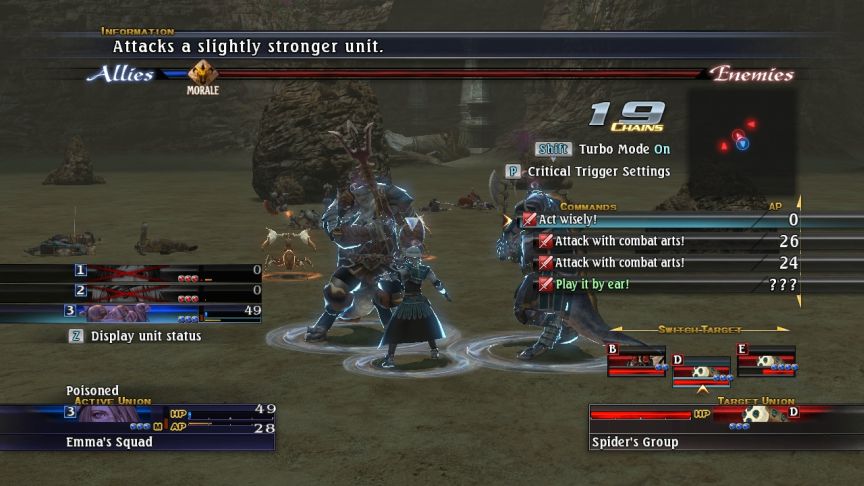
After this battle, noting that the spiders can inflict poison, I turned on Lotions for Rush in the hopes to use the Ragna-Rock to boost Lotions up to a decent level quickly. It didn’t work, because even when “Clear those Status effects” did come up for Rush, it was just to use Refresh instead.
This is the first time since Blackdale that I’ve done a lot of fighting, and generally for the same reason: The corridors are narrow and the enemies aggressive. The battles are dangerous enough that I have to pay attention. Case in point: This blooper battle.
 When a battle is going this badly, just hit Ctrl + Alt + Shift + R. It saves time. It kicks you out to the main menu immediately. Double Time is the only buff in the Invocations line. It boosts the speed of the target.
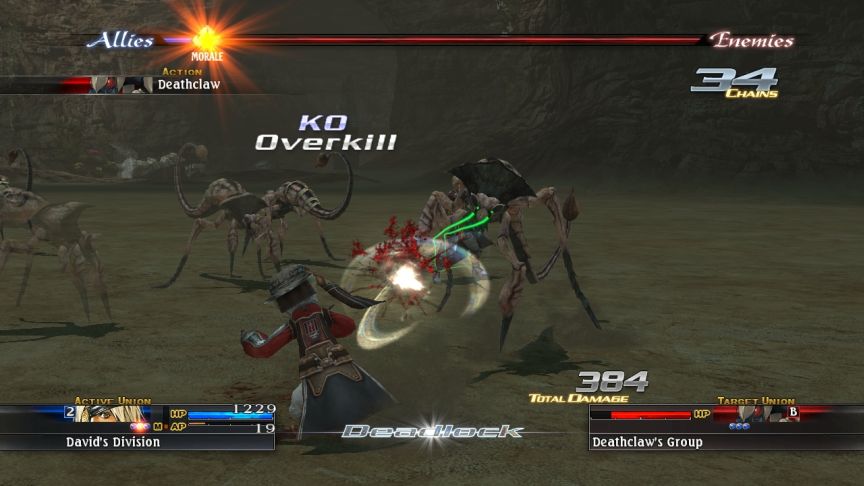 These Manticore-family enemies are called Deathclaws, and their Deathclaw attack does exactly what it says, there’s a chance of instant death. Goodnight, Pagus. Note that the union is still at full HP.
Here’s a riddle for you: What do you call alcohol made from flies?
 *groan*
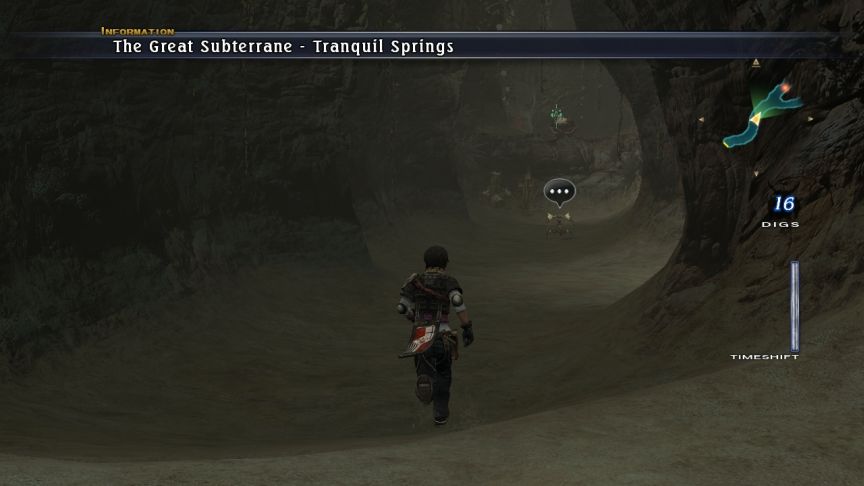 There are two exits from The Unspoken Path. This, is the wrong one.
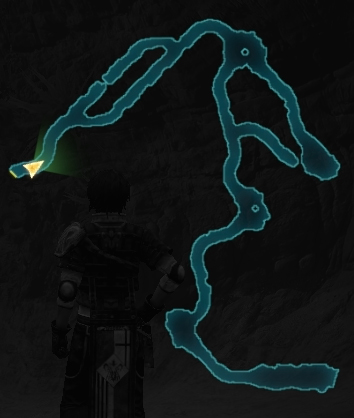 There is absolutely nothing quest-related here. That didn’t stop me from killing a lot of the enemies here, though. Wind Shear is the next most powerful Invocation. It’s a single-target damage spell, an improvement over Spark, despite no status effects. - Video: Rare Monster Vali
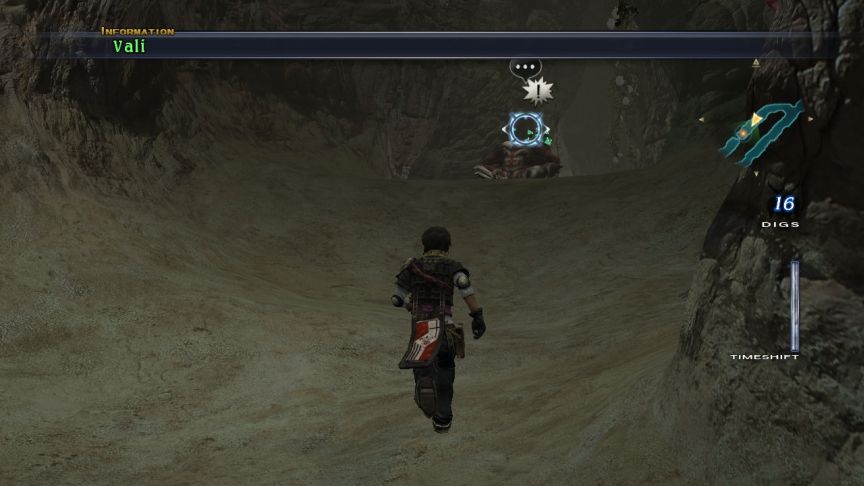 A rare monster in front of a treasure chest? I’m in.
Music: Sliver of Hope


 Rare monsters tend to have unexpected tricks up their sleeves. I set David’s squad to “Play it by Ear” on their next turn, and…
 Uh… even though I had disabled 2-Handed arts on Pagus, apparently “Play it by Ear” can override that.
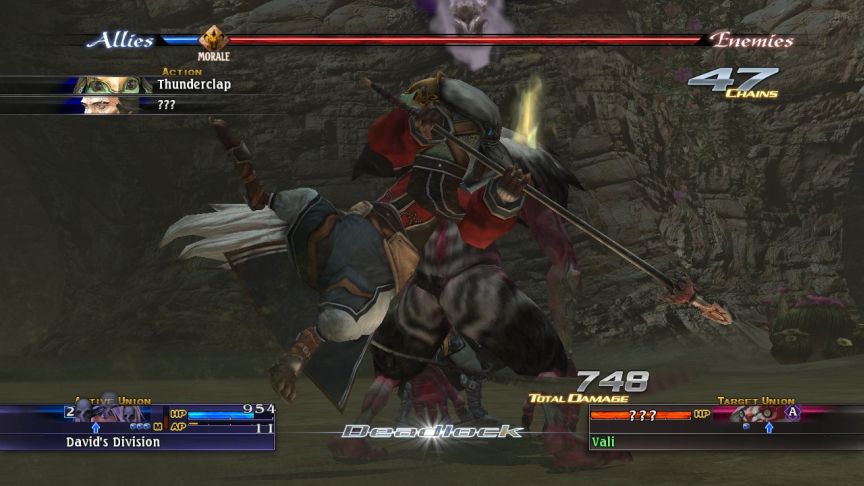
 Thunderclap is a staff move. The user leaps up and does a mid-air spin, using the rotation to add torque to the impact. (That did over 1000 damage, but it’s still crap compared to what a proper fighter can do.)
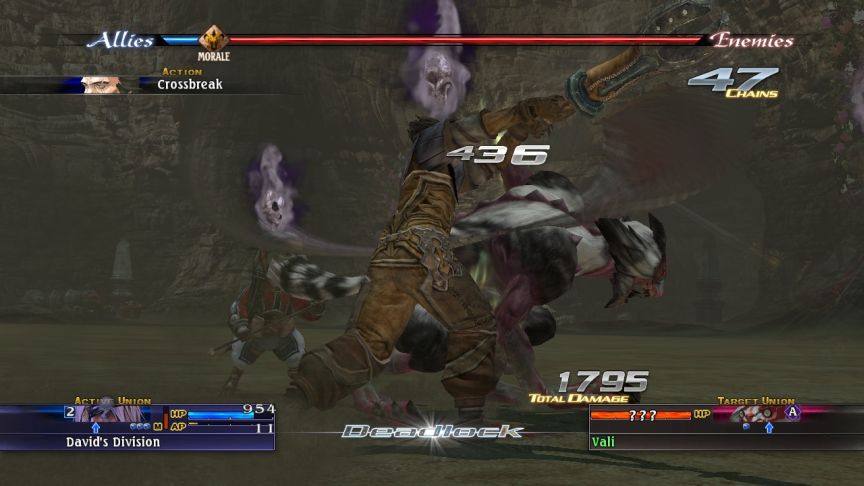 Crossbreak is a Power Grip art, a horizontal slash followed by a vertical one.
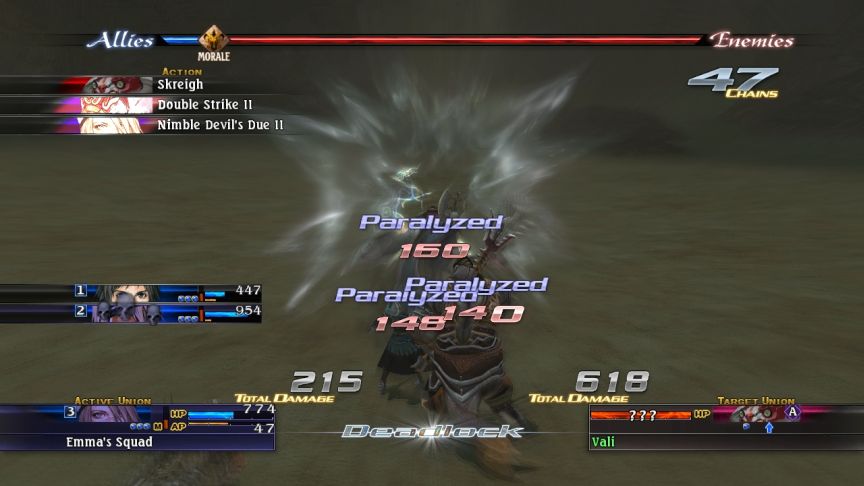 An AoE attack with a chance to paralyze, lovely. Paralyze seals combat arts.
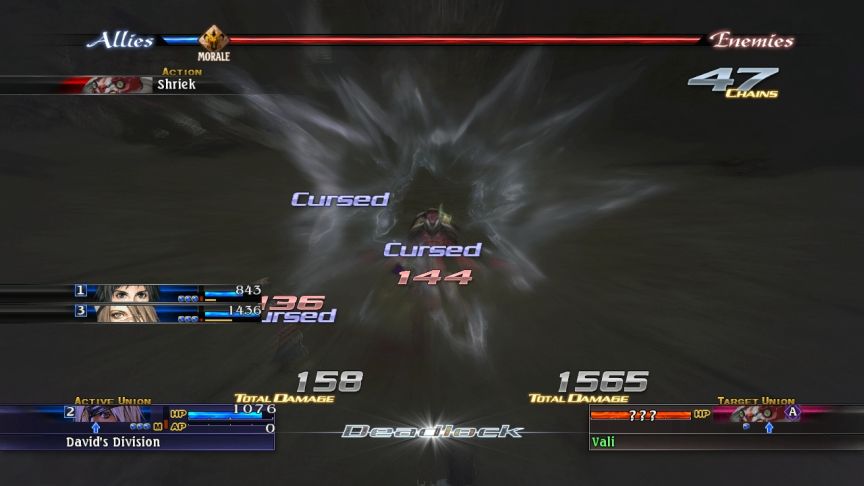
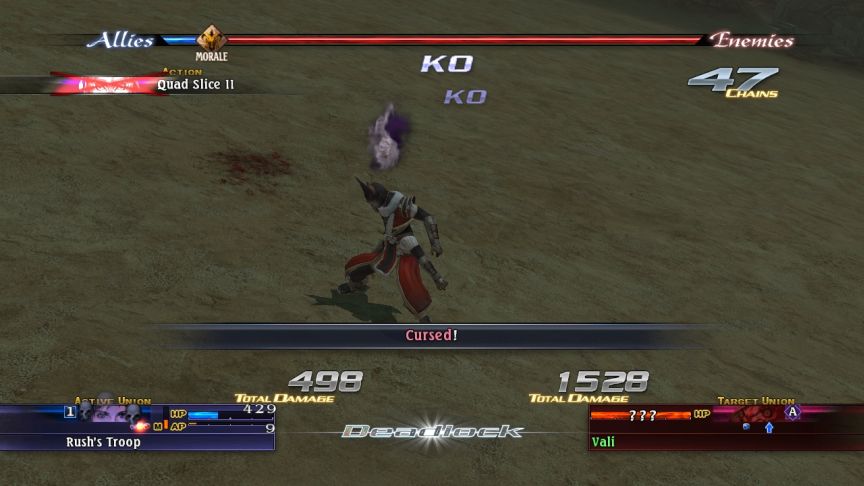 Goddamnit you guys, this is getting annoying. Rush’s squad has died a few times and it’s bothering me. Here, Caedmon and Torgal both KO to the Shriek-inflicted Curse.
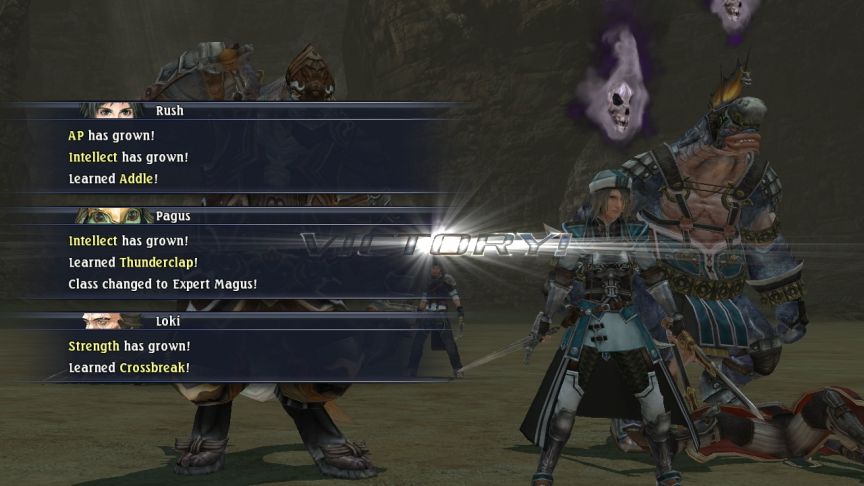 Thankfully, those were the only two casualties. Oh, and the treasure chest was just the map of the dungeon. Which I already had. I then disabled Pagus and Loki’s combat arts again.
Addle is another Psionic attack, it does moderate damage and lowers morale.
I had Rush’s Evocations and Psionics enabled to see if I could synergize with Caedmon and Torgal, but that wasn’t working because of a lack of AP. It also had the undespired side effect of muddying the available commands to the point where Rush’s Troop wasn’t getting Combat Arts commands too often. So I turned off both of those.
Resonance edge is two consecutive swipes at the same spot. Despite there being a lot of fighting, I never actually managed to pull this move off in this update, but I did in the next one.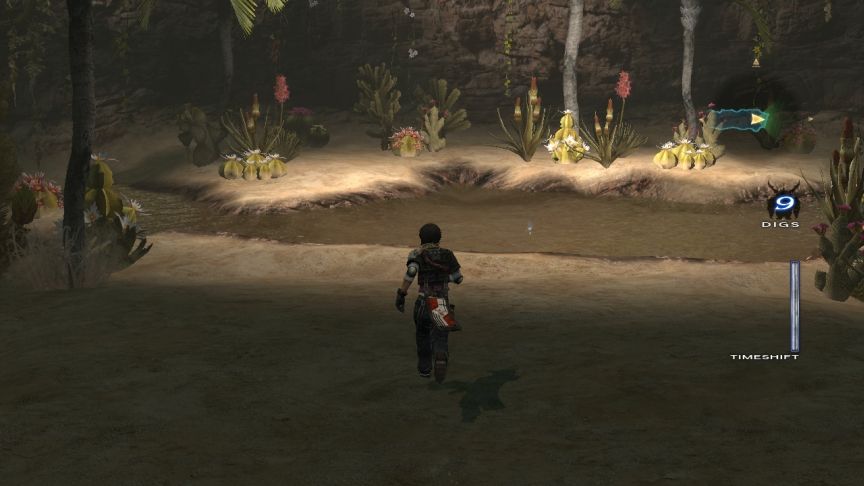 Here we are, the Tranquil Springs themselves. Can we get back on track now? It’s been 27 minutes in the dungeon and we haven’t found the actual quest area yet. I didn’t notice until now, but Devil’s Due V grants a chance to inflict the Blacked Out status on a target. The Nimble and Mighty versions let that effect start to happen at Devil’s Due IV. For Swift and Peerless, you need Devil’s Due III. That’s pretty handy, as blacked-out enemies can’t attack or defend for the rest of the turn. All arts cap at V, so this is the highest that Devil’s Due can go – at least until I get Swift.
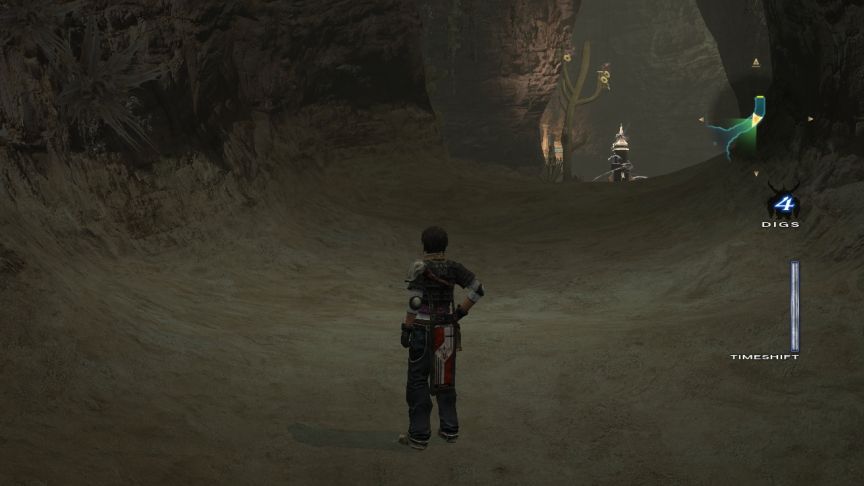 Okay here we are, the Sandfall Labyrinth, the quest area.
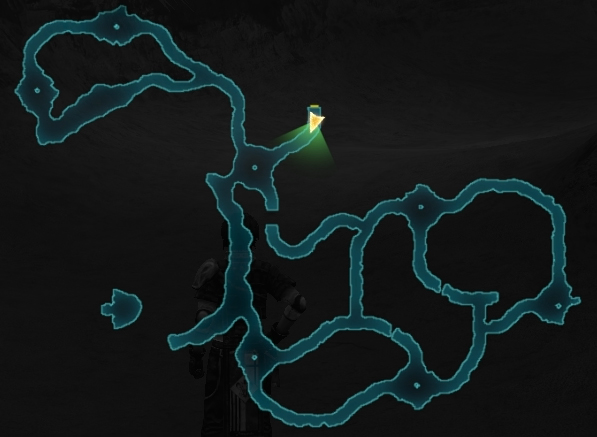
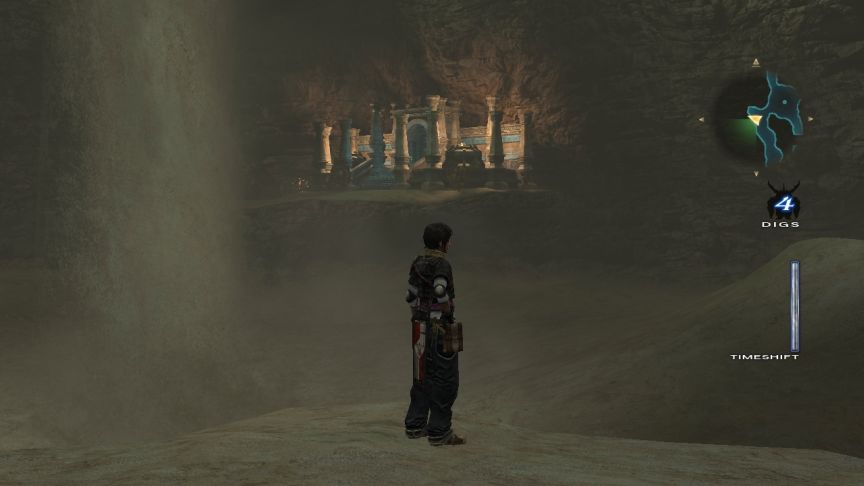 Unlike the rest of these mostly dull tunnels, this area is memorable, thanks to this scene of a sandfall from above pouring into a pit, which is itself a whirlpool of sand, getting sucked down to somewhere. It’s pretty cool-looking.
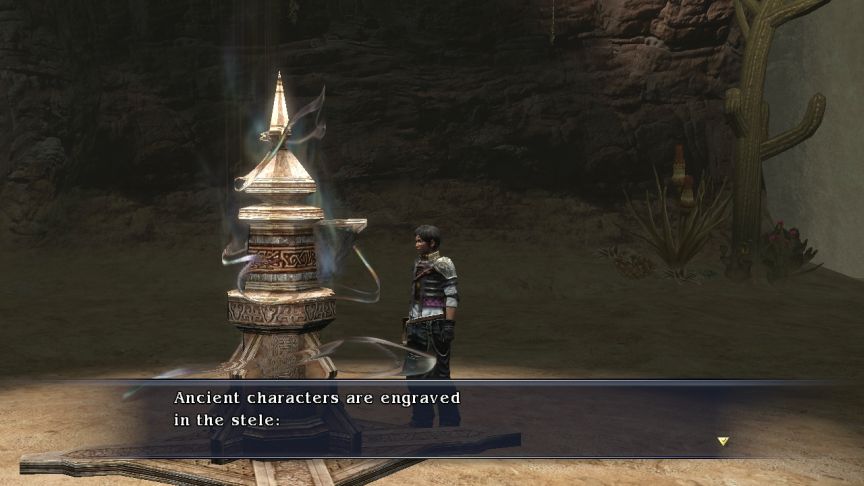
 Our powers close the door; There are two ways I can go from here. Not remembering anything about this quest except the end, I choose the path in the direction the wings point us. On the map, each intersection with a dot has one of these Steles in it.
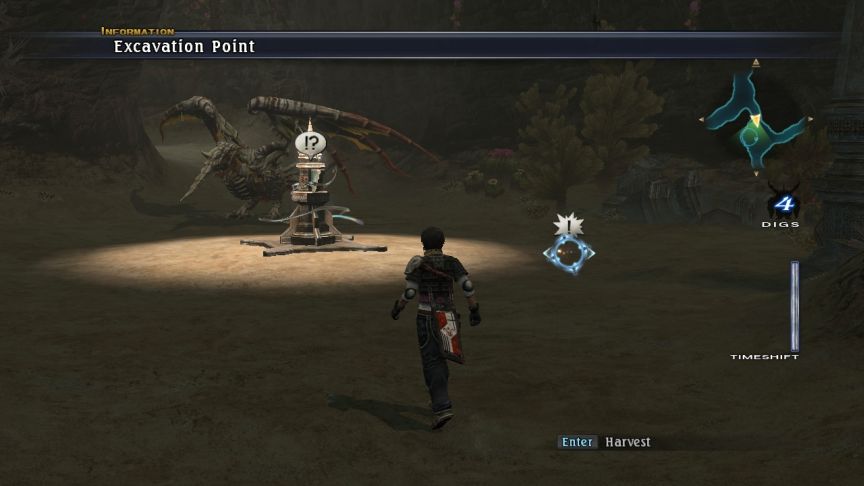 I’m not getting past this Wyvern without a fight.
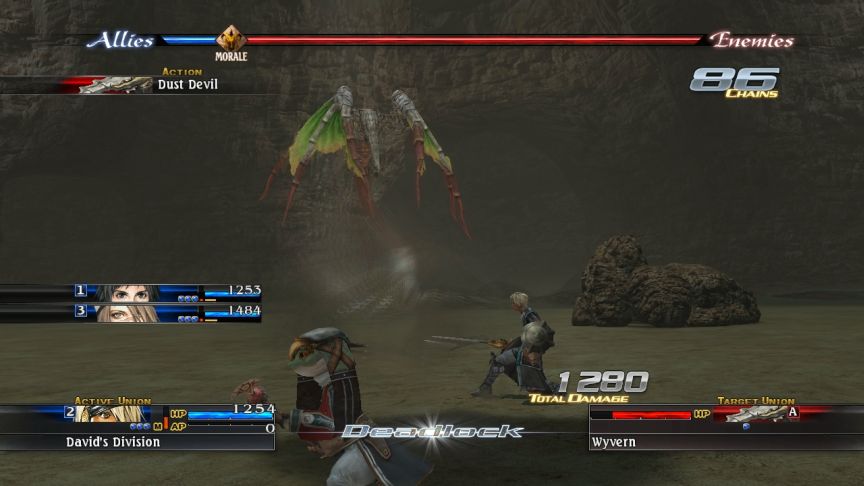 Dust Devil is another enemy AoE attack.
 Nimble Bladedancer II!
 Restore IV!
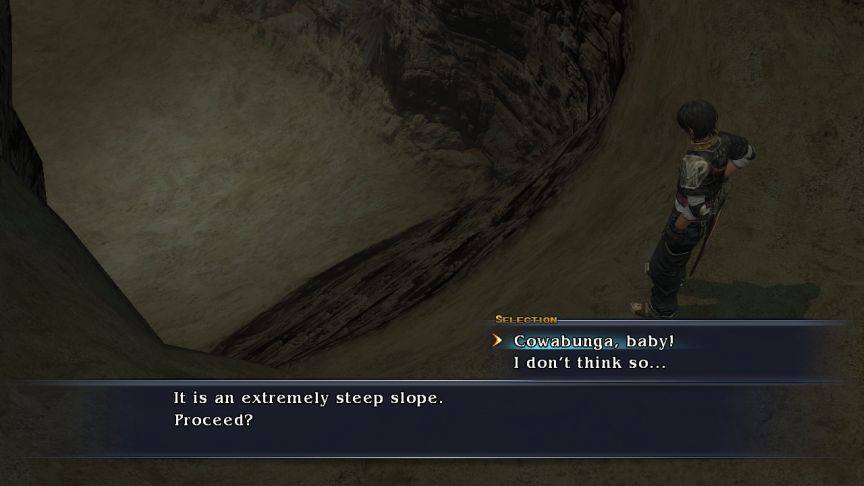 So I make my way all the way around, activating all the Steles I pass. This is a one-way slope, which lets you go down, but not up.
 Only two more to go, on the other, shorter loop. - Video: Unique Art: Ex Machina
 The funny thing about this command is that it’s clearly worded as if Rush is indeed the one ordering everyone else in battle, even though there is really no reason why Rush would be in charge.
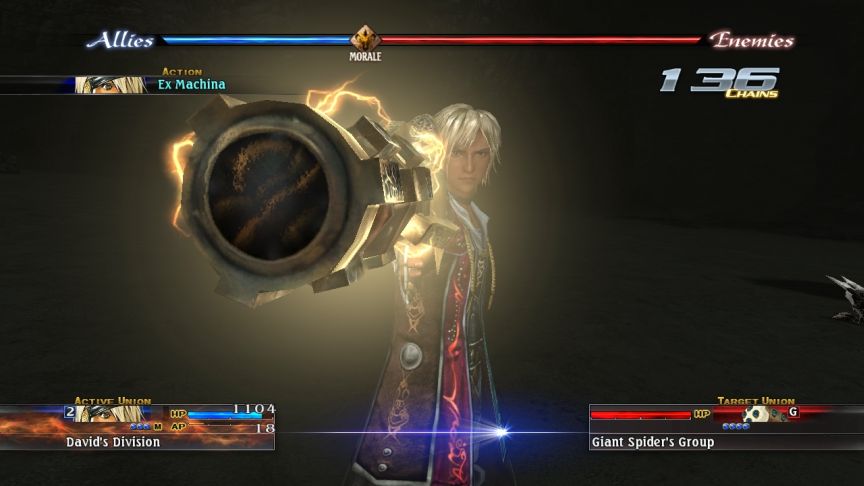 This is interesting. It’s Dave’s other unique art – the smaller version. Dave can only use this one at high morale and IF he is not in Deadlock.
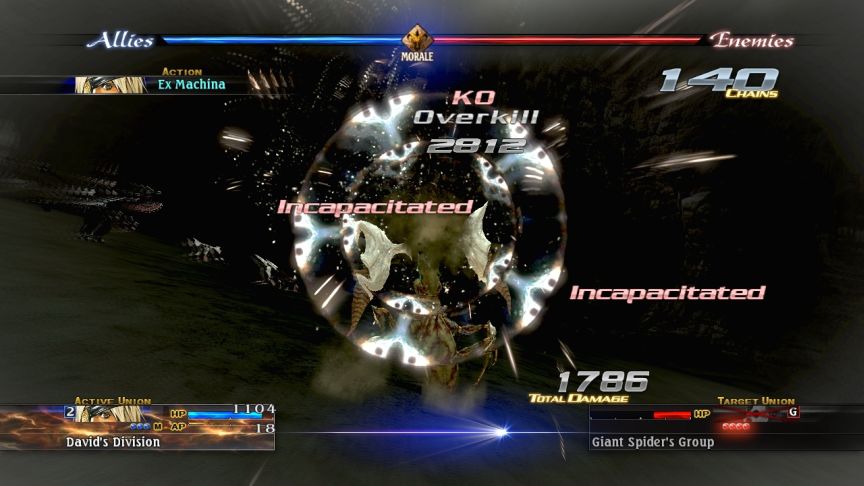 It’s essentially a shorter version of the Gae Bolg firing animation.
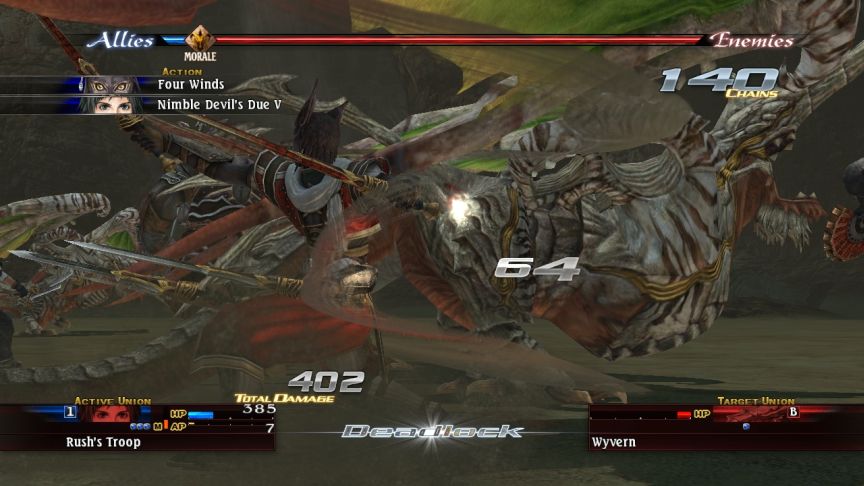 I have no recollection of when Torgal learned Four Winds. Anyway, it’s a pair of slashes, first his right arms slash to the left, then his left arms slash to the right.
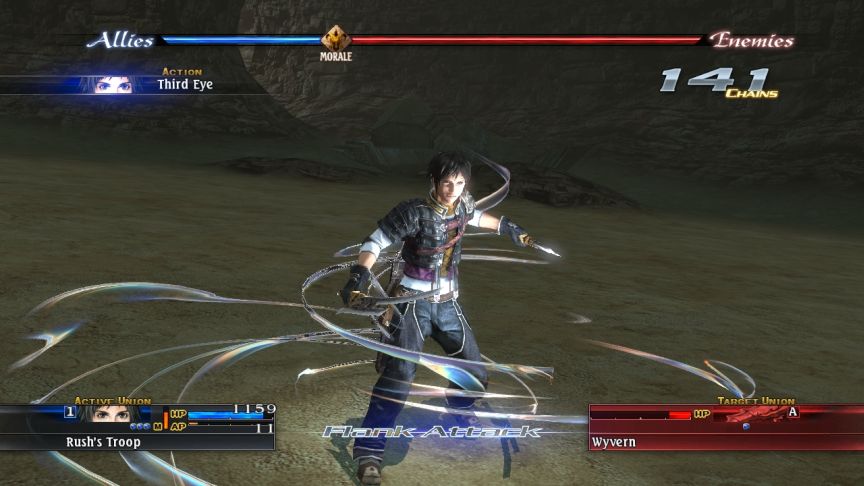 Third Eye is a Dual-Wielding art, but it is Katana-specific – no other weapon types can learn Third Eye, so I’ve never seen it before. It did over 6000 damage.
 So, we’ve now been literally everwhere in this dungeon and there’s one last treasure chest, and uh…
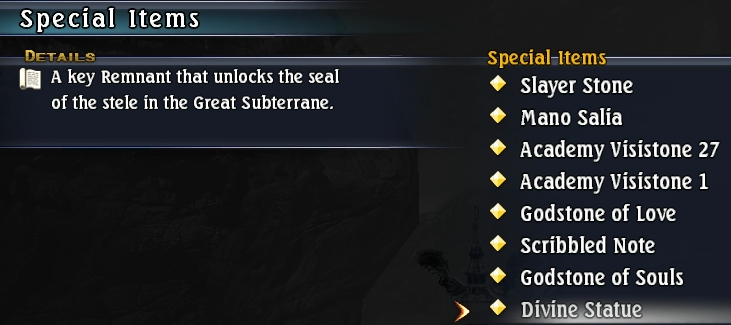 OH FOR -
… I went the wrong way at the start. Now, I have to go do the whole circuit again. It’s not a huge issue, as the monsters are still dead, it’s just an annoyance.
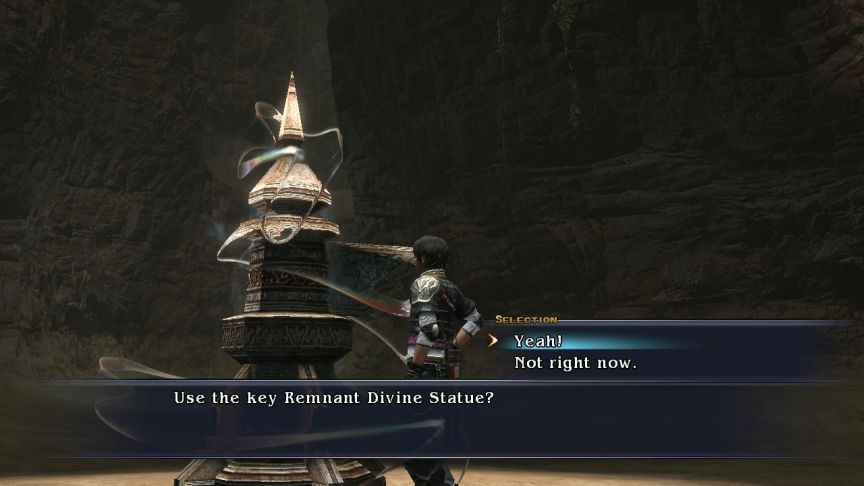 The Stele has lost its power. The wavy lines around it stop. One quick circuit through the labyrinth again (this time, off-camera), and...
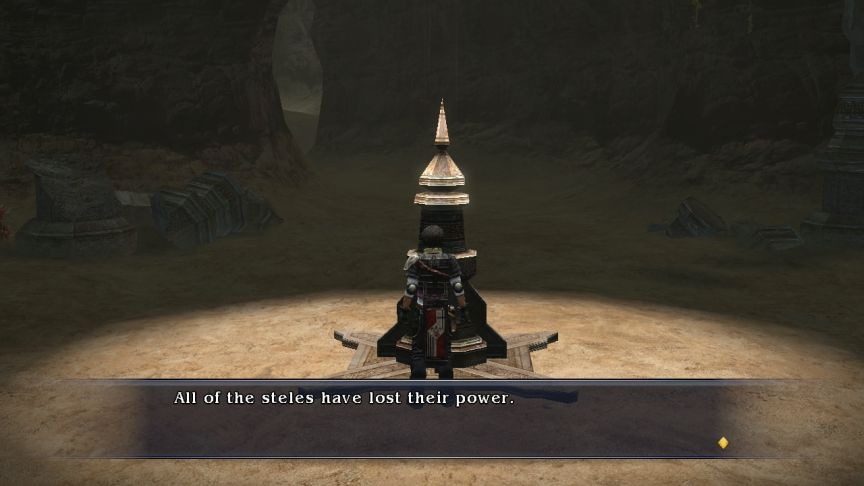
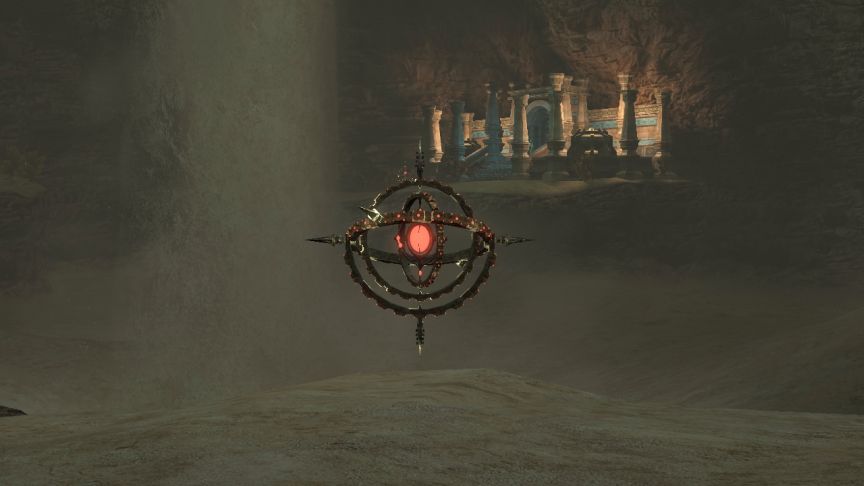 This globe appears. It looks like the world map teleporter, and as you can guess, it serves a similar function.
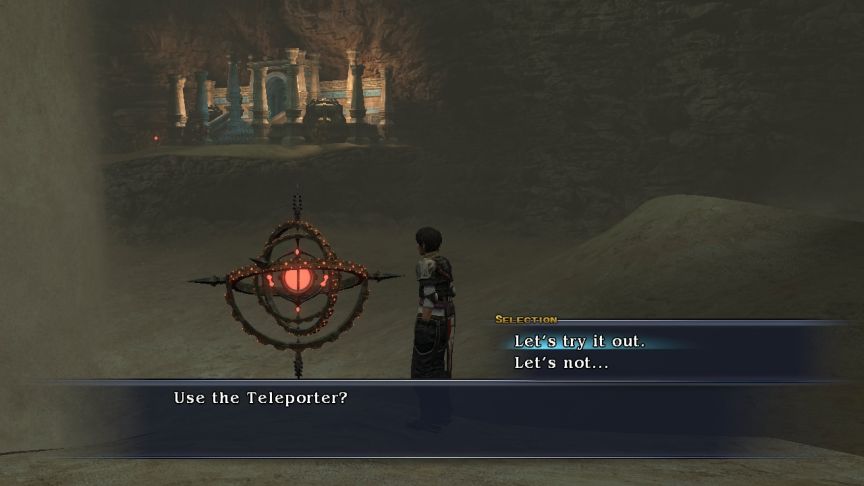 It’s a local teleporter that can teleport you to a spot inside the dungeon. You can see the matching one on that island across the whirlpool. - BOSS Video: Mantroskylo
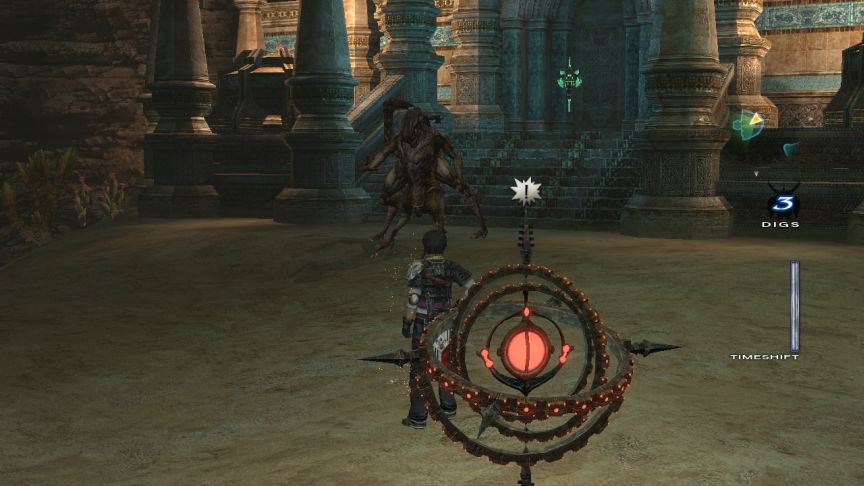 Boss time. No, we can’t get the treasure chest. Mission: Defeat the Mantroskylo!
Music: Sliver of Hope
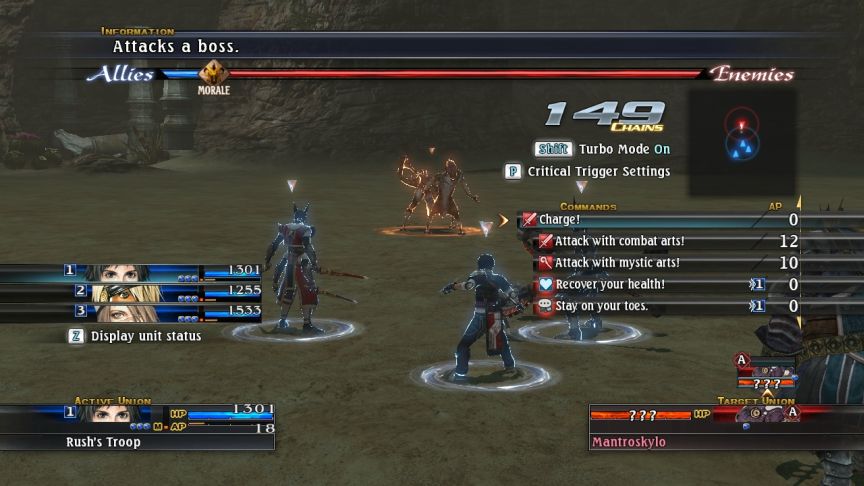 This guy’s a lot less dangerous than the Mantroskylo in The Ancient War quest. Still, it doesn’t hurt to be cautious, so only Rush’s union will attack. David will stand by and Emma is assigned to heal anyone who gets hurt. In fact, there’s nothing of interest happening in the first two turns.
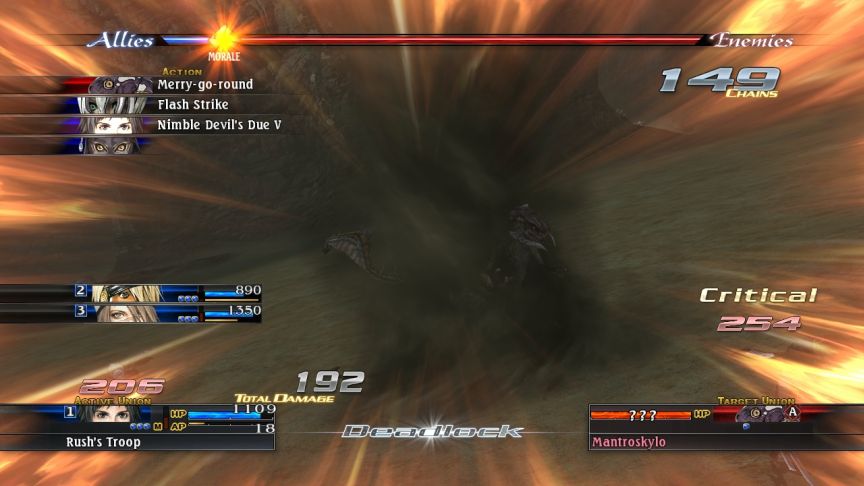 This tornado looks flashy, but it didn’t even sting.
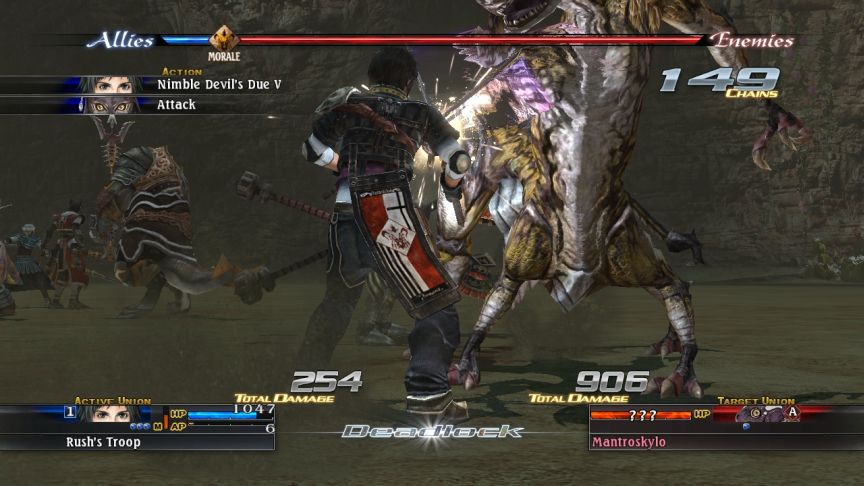
 I didn’t get any options to heal David’s union, so he took a pounding.
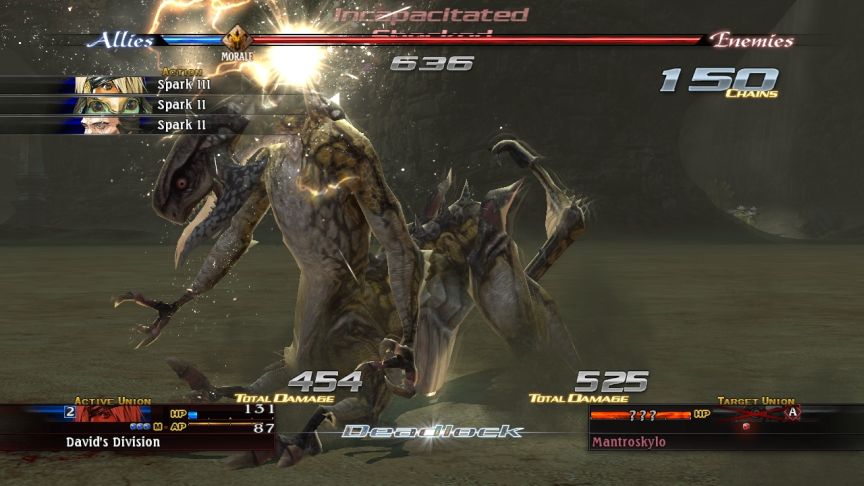 But he gave better than he got, so we’re good, and the fight is over.
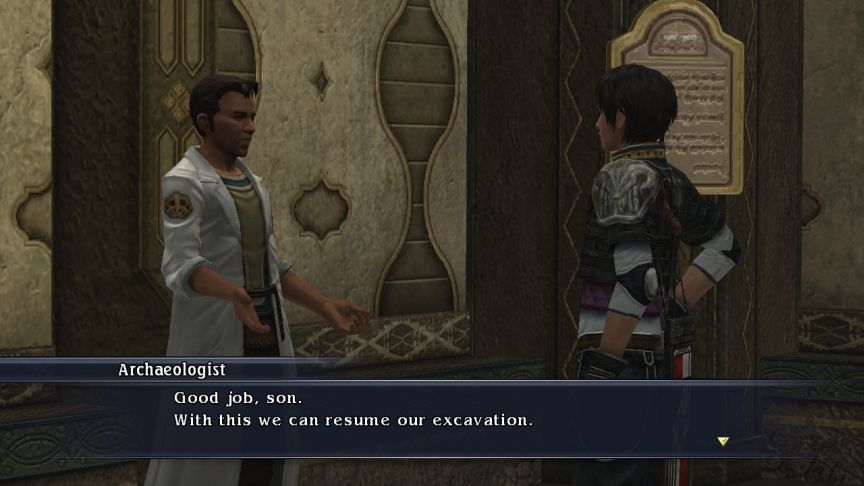 This is for you. Hm? Ho… Seems you’ve learned a new battle technique. If you properly learn to use it, you can probably save Balterossa from danger as well. Reward: 2500 G. Obtained Honor of Determination. Obtained Vanguard! You’ve learned a new formation! Honor of Determination - Proof given to a hero who protected the ancient desert kingdom by slaughtering invading monsters one after the other. Completed quest: The Hero The hero-turned-monster is done for! Balterossa is safe. Go me! The Vanguard Formation is one of the ones mentioned as being useful for The Ancient War quest. It improves the defense of positions 1-3 by 5-10%, improves the M.DEF of the leader by 5-10%. It gives a 40-38% penalty to the INT and SPD of positions 1 and 2, boosts the INT and MYS of positions 4-5 by 5-10%.
 I honestly could not tell you at all why this particular formation is supposed to be so much better than any other damn formation for this situation.
That’s it for this update… well, almost. There are a couple bonus videos of Rare monster fights. I spotted these rares while wandering around getting other screenshots and such.
- Video: Rare Monster Irminsul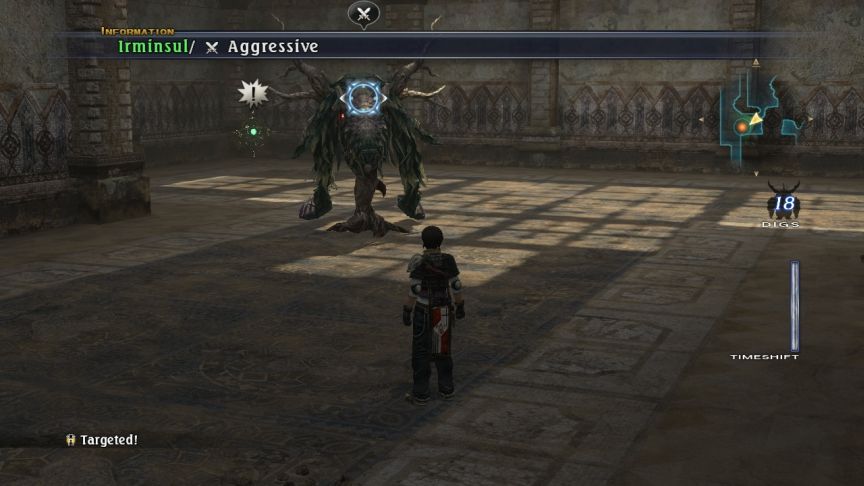 Irminsul, a Vicious Plant rare, found in Mojcado, Senico section. It likes to use Natural Gas (Poison) and Eclipse (Evocations), which hurts a lot. I did not save after fighting Irminsul, so technically, I never fought him on my playthrough. - Video: Rare Monster Bloody Death
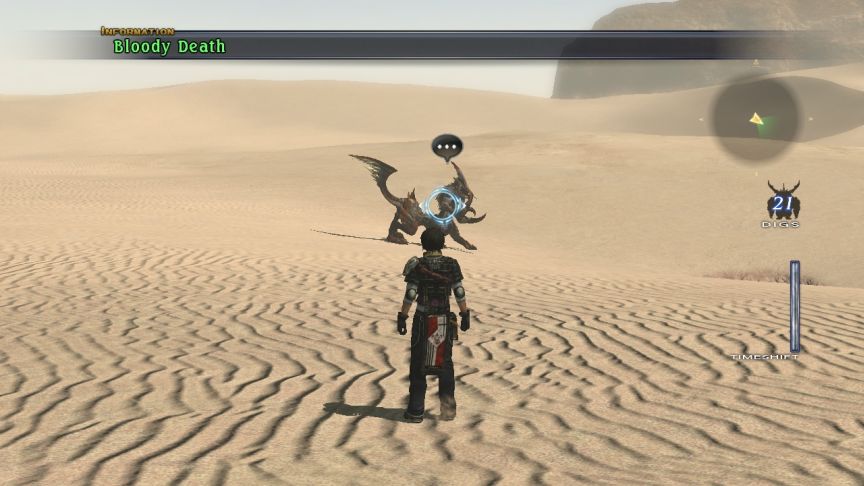 Bloody Death is a Demon rare in the Great Sand Sea. It used mostly normal attacks, but threw in Merry-Go-Round, an AoE attack which hurt a lot.
 Wind Shear II!
 Restorative Herb III!
David has learned Restorative Herb III – the next step in the progression of Herbs will be Vivication Herb, and that can’t come too soon. That’s all for today. EDIT: Actually, this fight didn't really happen either, so he didn't learn it yet.
New Arts Summary
Oh boy…
 Bluff III!
- Addle!
- Resonance Edge!
- Nimble Devil’s Due V!
- Nimble Bladedancer II!
- Third Eye!
- Double Time!
- Wind Shear!
- Double Time II!
- Restorative Herb III!
 Thunderclap!
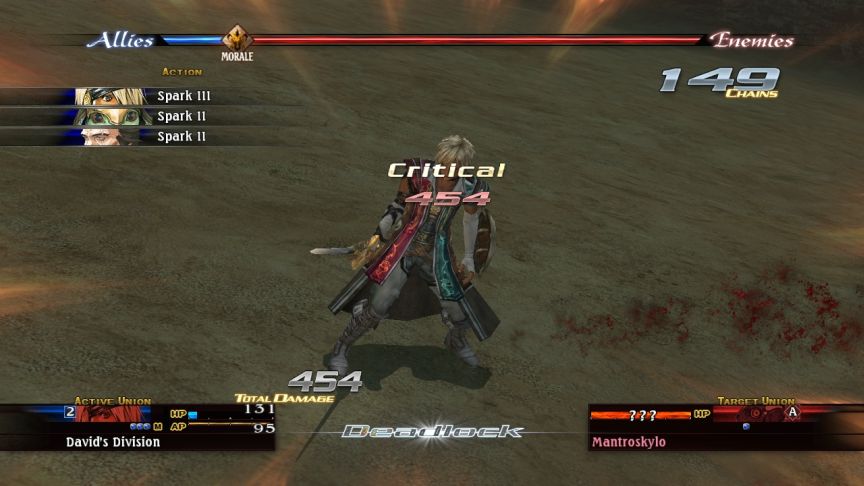
- Spark III!
 Crossbreak!
- Spark II!
- Nimble Devil’s Due III!
- Bladedancer II!
- Nimble Bladedancer II!
- Restorative Herb II!
 Eclipse!
 Flash Strike II!

Dungeon Video: The Great Sand Sea (Quest: The Silent Soul)
Dungeon Video: The Great Subterrane
BOSS Video: Mantroskylo
Video: Rare Monster Irminsul
Video: Rare Monster Bloody Death
Next Time: Talk about an epic failure!