Part 7: If I were an electrician.
With the information of the mysterious plaque in tow we can leave this secret room behind.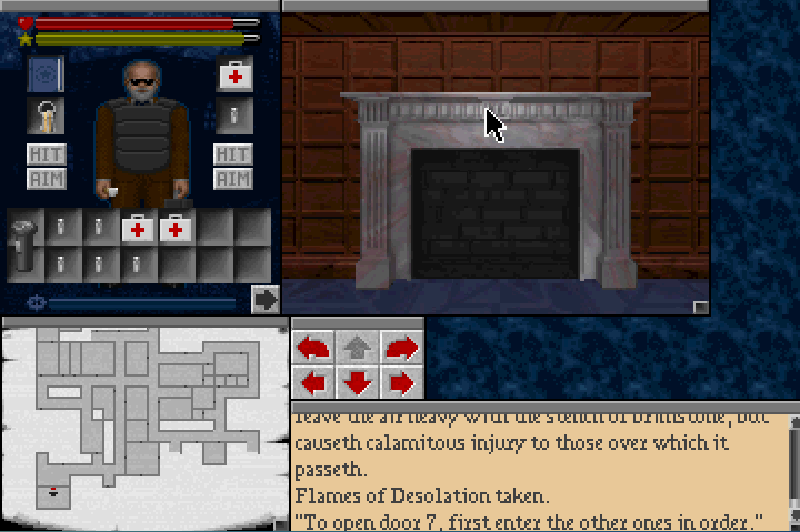
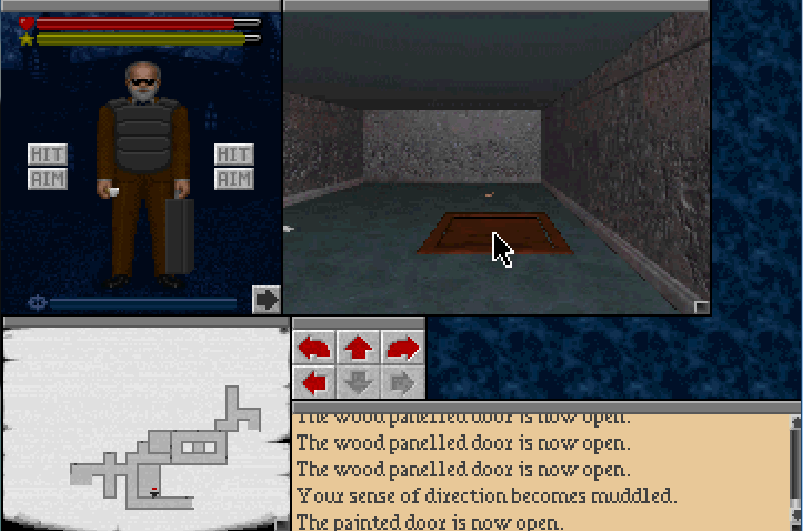
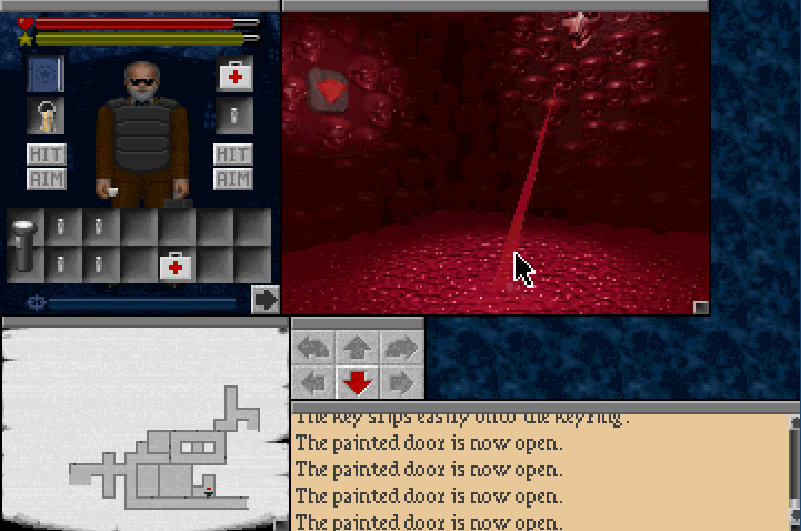
We step into a corridor to find yet another lightning trap illusion.

This particular corridor is rather unique in that it reverses the direction of your movement unless you're turning on the spot or are in one of the corners of this circular corridor. I think it's simply here to make avoiding the lightning traps a little more challenging. I must admit I sometimes occasionally forget about them and wander right into one. But not today!
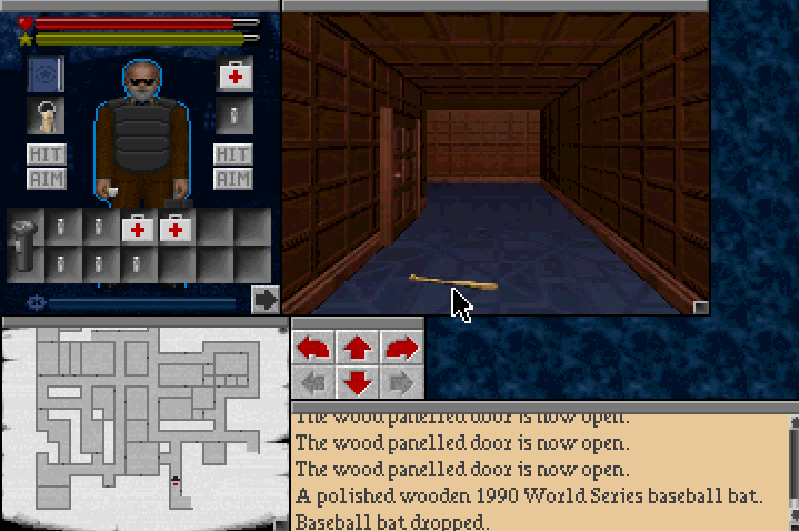
Here in the corridor we find a polished 1990 world series baseball bat. Obviously, this game was a major inspiration for the developers of Earthbound, the similarities between the two games is uncanny. The bat is certainly not worth picking up at all.
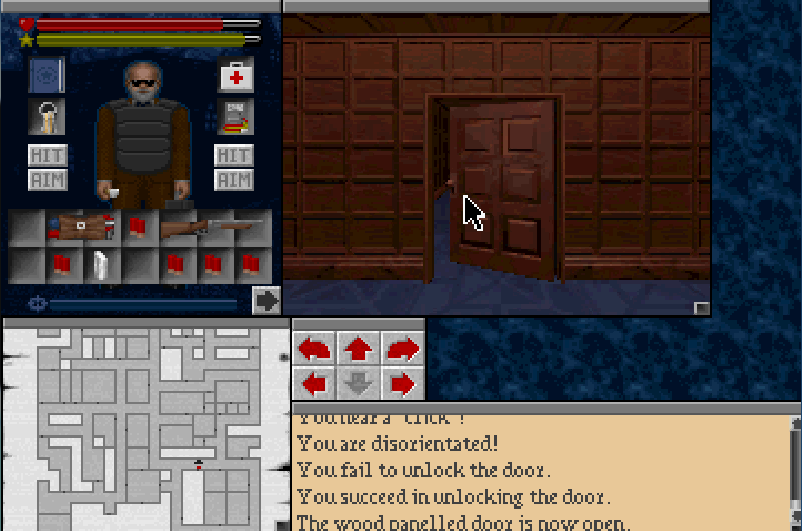
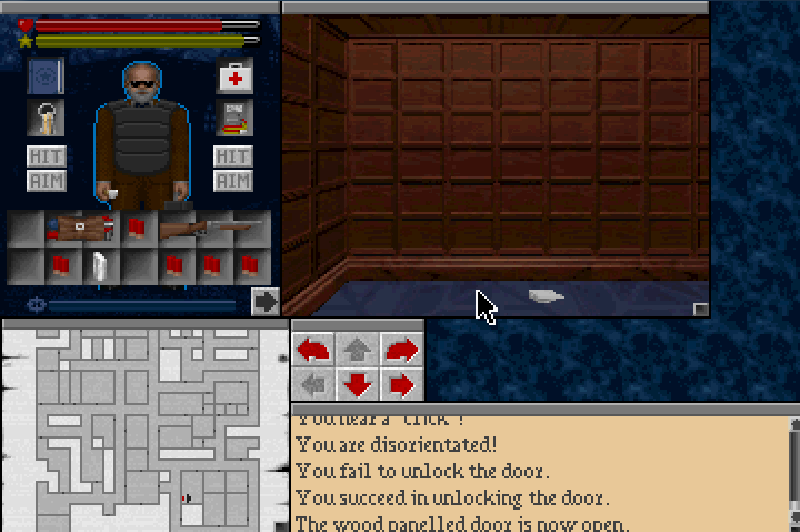
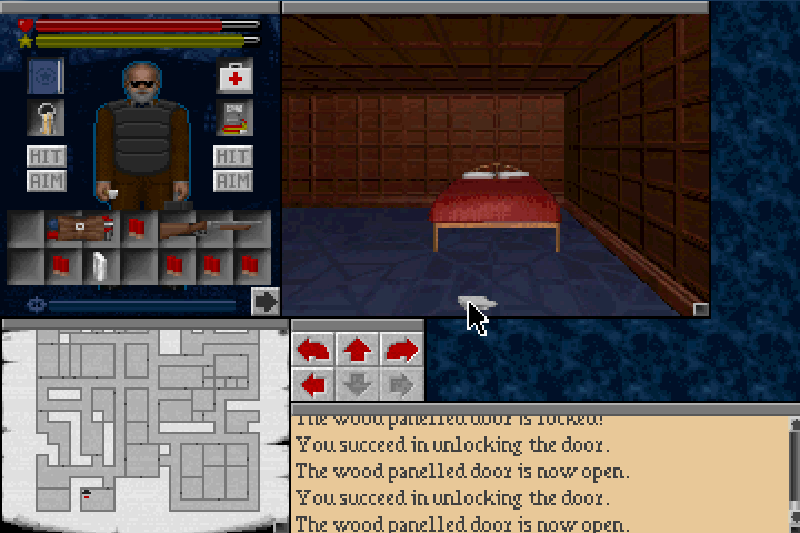
Unlocking a nearby door, we find another note inside and little else.
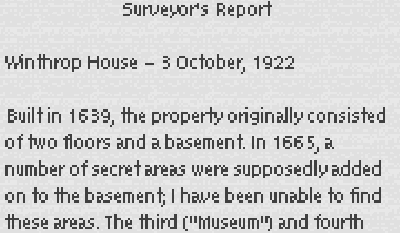


This note has a few errors in it. The museum is the forth floor and not the third. Unless you count third up from ground floor. Which I don't think this note does. The main piece of interest to me in this note is the mention of a floor above the museum. There is actually no such floor in this game. Although I have a theory about which floor may actually be above it, but there no indication as to whether it actually is or not. We'll discuss this more at a later time.
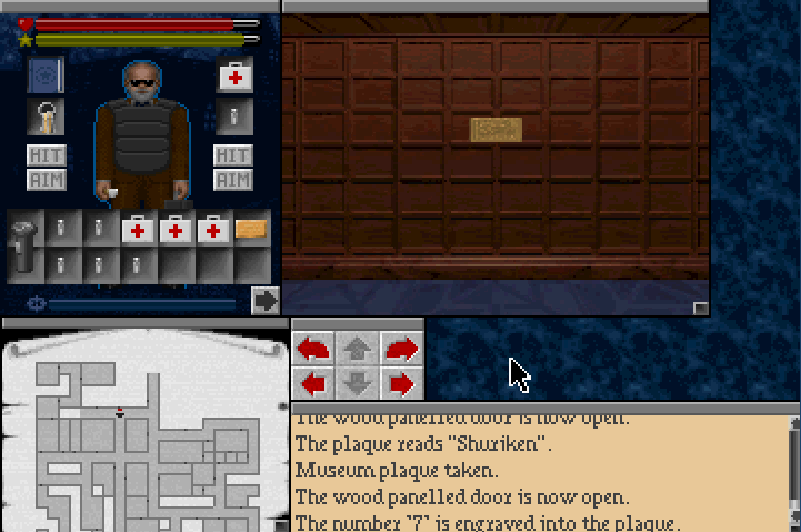
We also find a museum plaque in one of the nearby rooms.
You can pretty much ignore this, although there may be some experience given for returning it, so we may as well do that just in case.
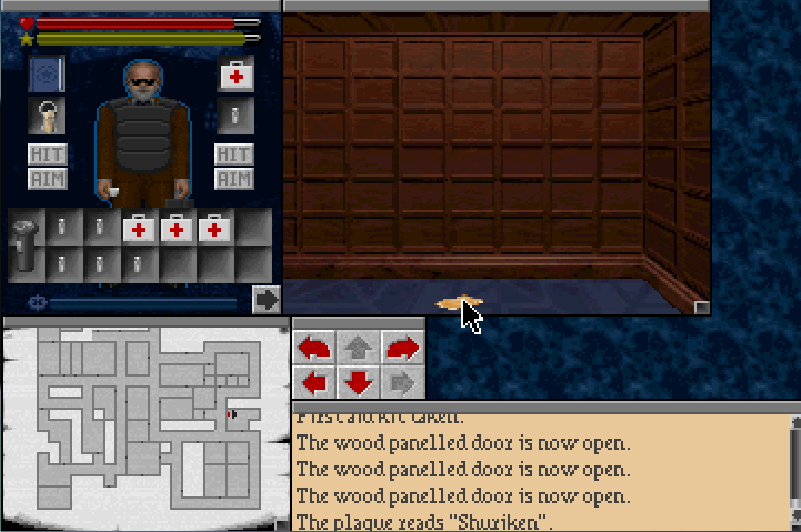
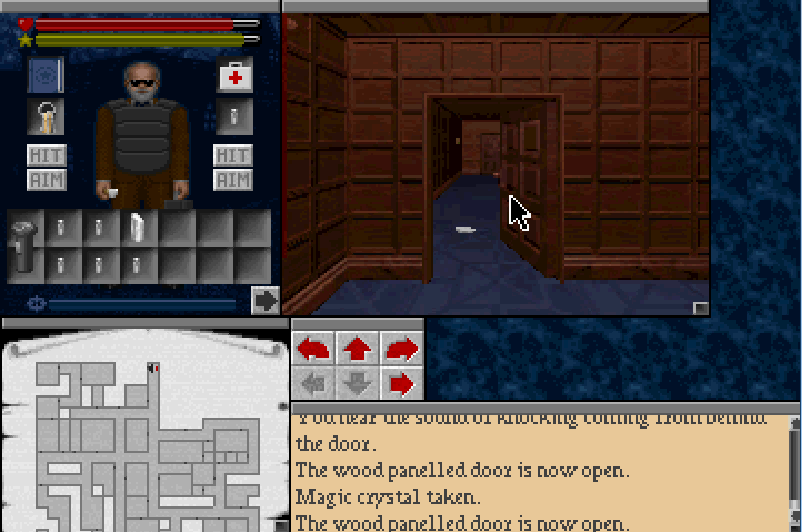
Up ahead we find a plaque with the number 7 engraved on it next to a door.
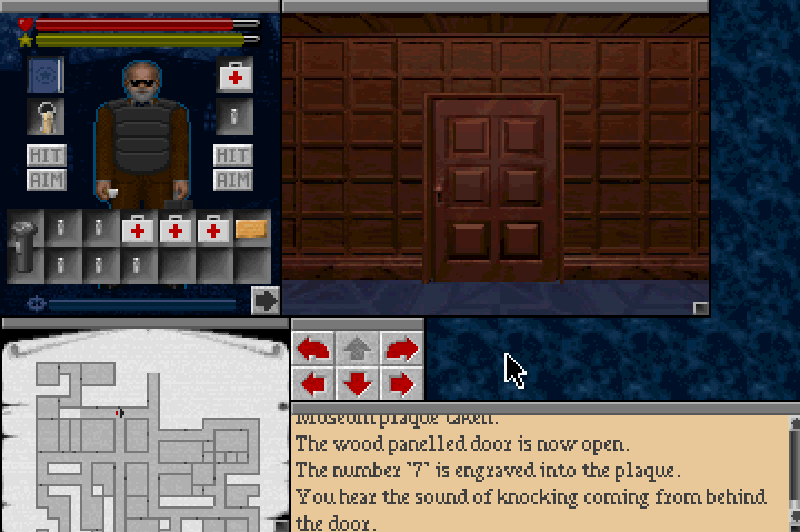
It's got some mysterious knocking coming from it, so we'll definitely want to get in there.
The door next to this one,

hold the stairs up to the asylum, we'll come back here at the end of this chapter.
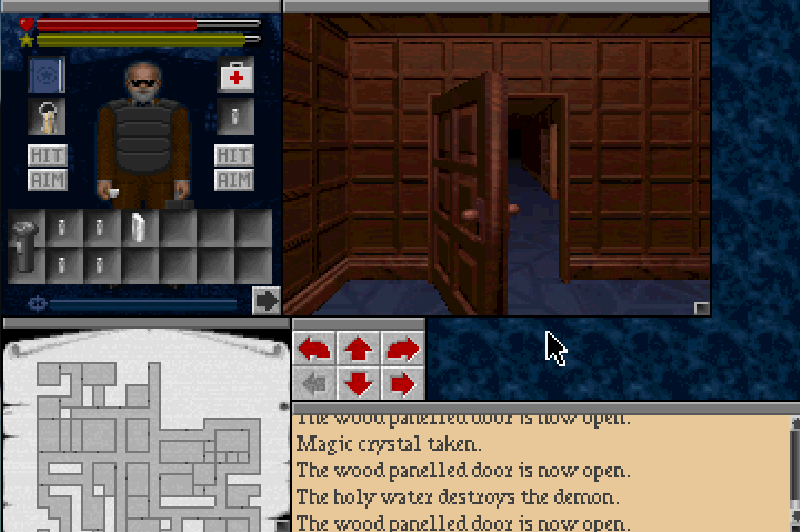
Some foolish person has mistaken this magical energy crystal for a simple, ordinary, everyday bath crystal. Bath crystals are things right? I didn't just make that up?
Aha! This particular door will solve our mysterious knocking door based problems.
But first a note lies at our feet.
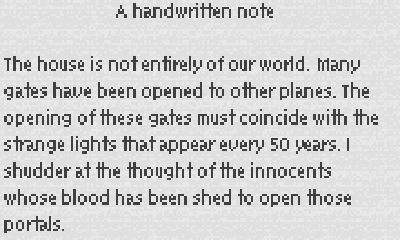
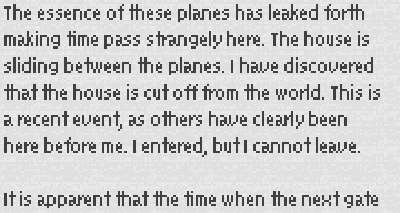

So yes, the house is currently sitting in a different plane of existence and does this every 50 years as it tries to spill some horror into our universe. I believe this is also why the surveyor was unable to find some parts of the house as I believe they are possibly closed off at certain times of the year. Or something like that. At any rate, this is probably something we should be working to prevent from happening and what do you know, we are!
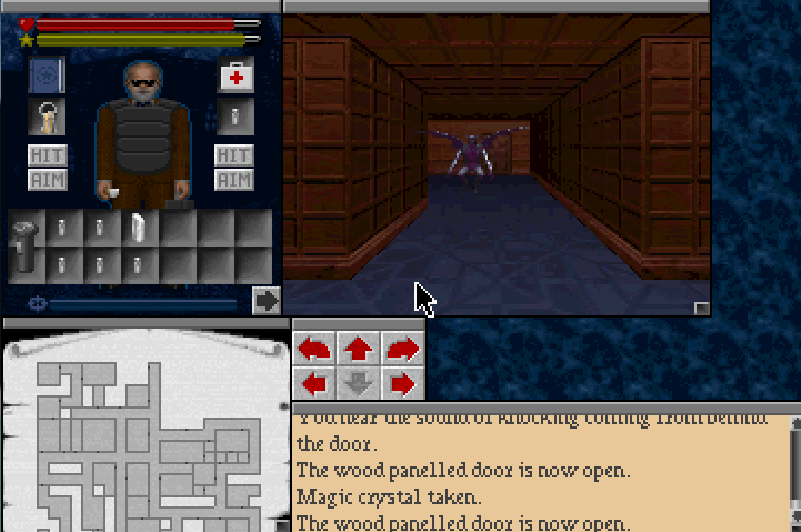
I think this is last demon we'll ever have to deal with.
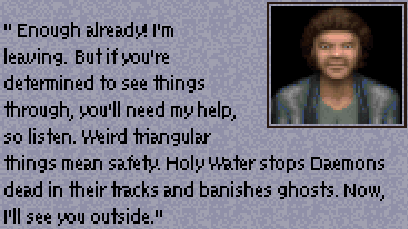
The keen eyed among you might notice that we are no longer appearing anywhere no the map. This is one of the gimmicks of this particular part of this floor. There are a number of doors with plaques next to them, numbered 1 to 6. To make this slightly more challenging you cannot tell your location easily Entering them in numerical order as that secret plaque in the previous update told us to will allow us to enter knocking room 7. So lets do that.
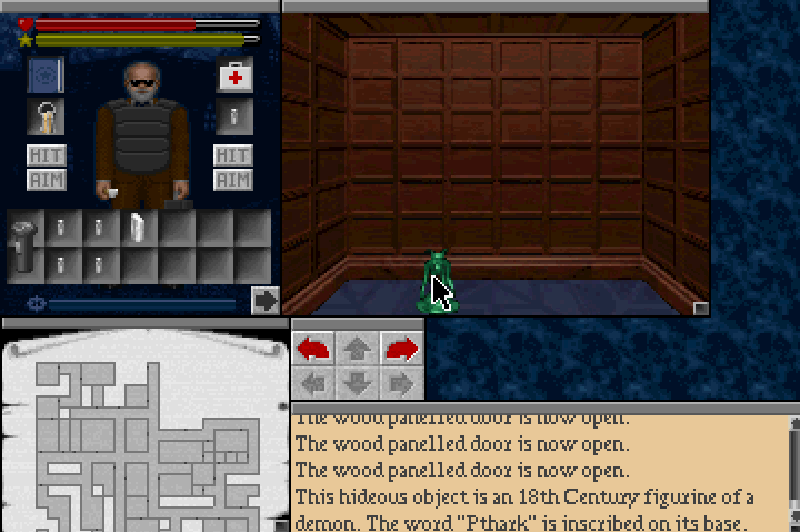
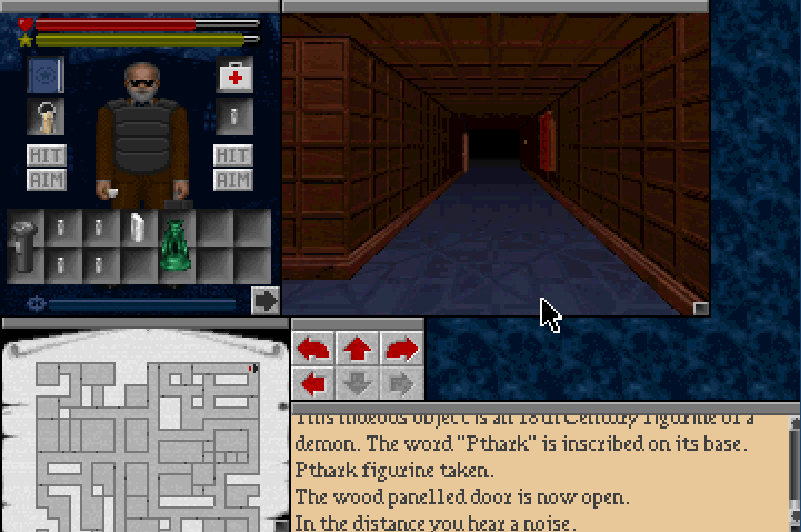
Entering the sixth door we find another demon statue. Pthark. We'll be wanting that one for our collection too.
Leaving the sixth door, the area can finally be mapped out, this is what it looks like on the map for anyone interested.
With all six doors entered, we can finally unlock the seventh. Lets see what lies within.
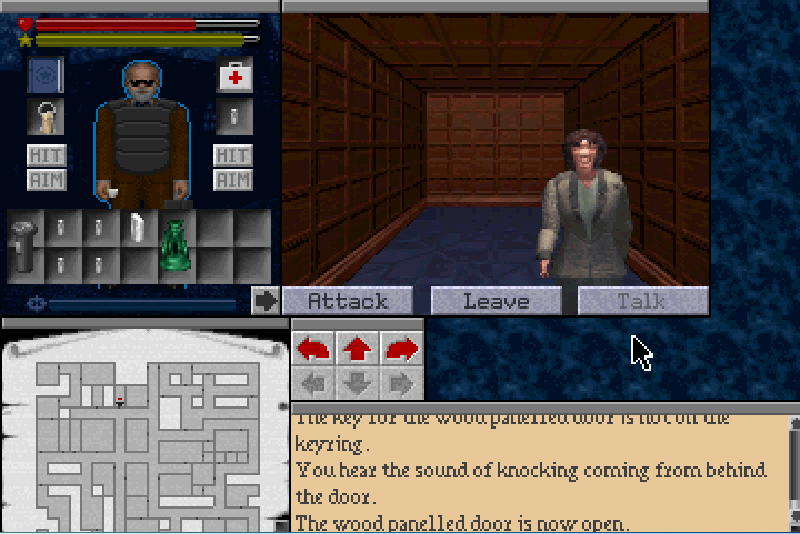
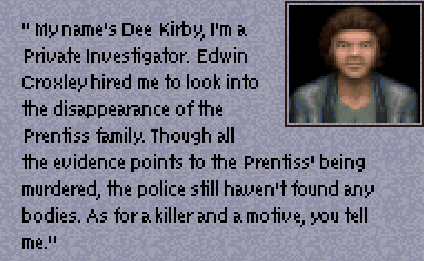
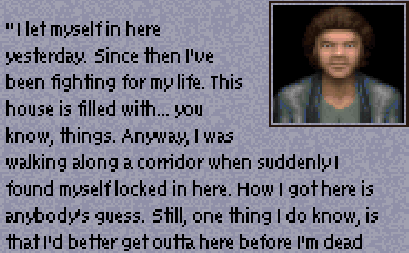
Finally someone who's not an illusion. Meet the NPC dialogue interface, it's a little simplistic. You can ask questions for as long as the NPC will allow or you can also attack them at some point. There's really no need to ever do this though. There are very few NPCs in this game and even fewer that have anything worth saying, but it's good to see a friendly face none the less.
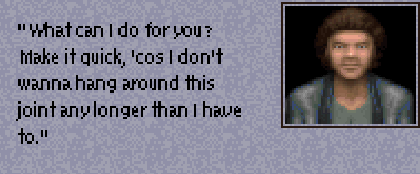


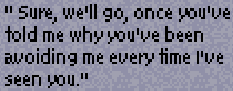
B-but there's no way to get out...?
Oh well.
That's the last we'll be seeing Dee Kirby, I can only assume that she gets herself killed seeing as she wouldn't be able to make it out the front door. You can also say some really hostile and paranoid things to her like "Which evil monster do you work for?!" But she just gets mad at you and won't answer your questions. I'm pretty sure if you attack her she just disappears too.
That's all that can be done on this floor without having some way to unlock doors. This is becoming a nuisance so lets just take care of this problem right now.
Oops forgot to turn my light back on. We'll kill two birds with one stone and deal with this problem too.
Down in the basement...
Another trap door that goes deeper underground. This one will actually come in handy at some point, but for now, hey a note!
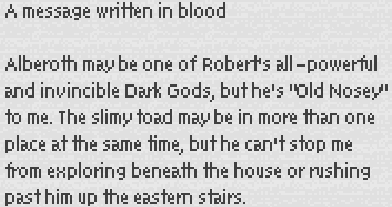

And Ellen introduces us to the next ancient evil we shall have to deal with, Alberoth. Or "old nosey" if you prefer.
Oh god not these things again. I still haven't formally introduced these guys yet, this note they're guarding will help with that.

They're called Rock Fiends, and they um attend to noteworthy things....
We're still not ready to tackle them just yet so we'll continue to dodge about them.
Well this is friendly looking room. It's also very important, we'll be back here much, much later.
Here we find,
A box of tasty snax! They are food, we shall leave them with the rest of our food pile.
In this room we find an odd, highly specialized weapon.
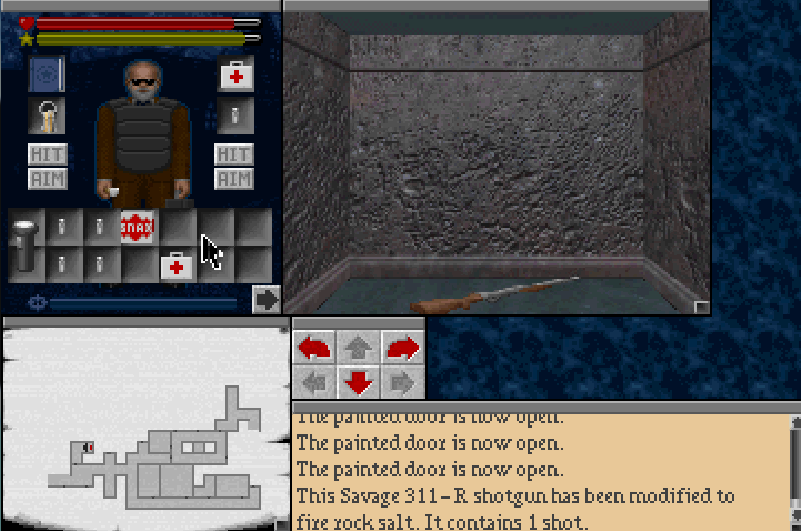
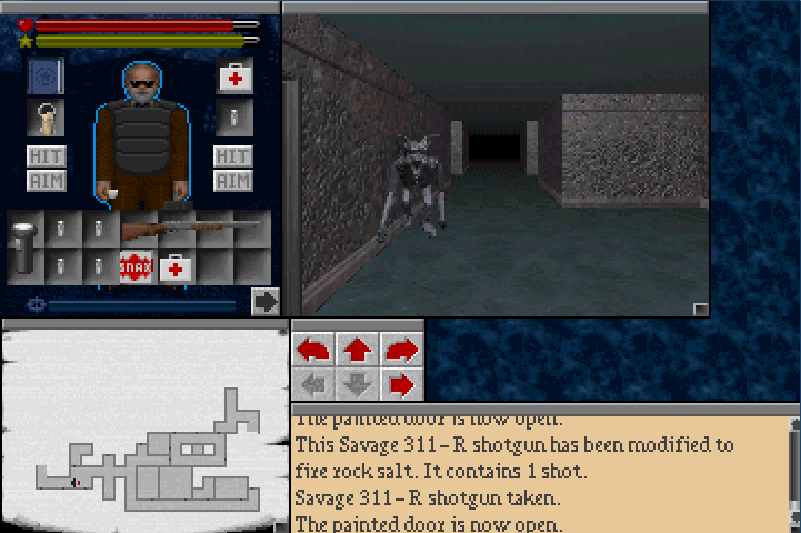
Meet the Savage 311-R shotgun. It is only capable of firing rock salt. It's a piece of crap, ammo is rather scarce for it and it's very bulky, taking up four spaces of inventory. There is one type of enemy however, that it is absolute murder against. So we'll make a stash in the basement and leave it there.
Eek!
I decide to kite a few of these guys into some empty rooms to make the hallways a little more safe to travel in.
We find a pile of rock salt and a can of petrol, or gas if you prefer.
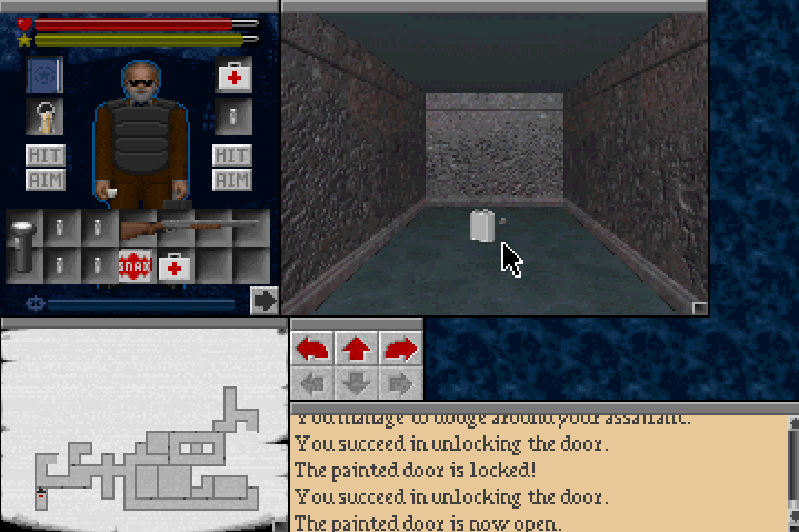
Inside a safe in the room nearby,
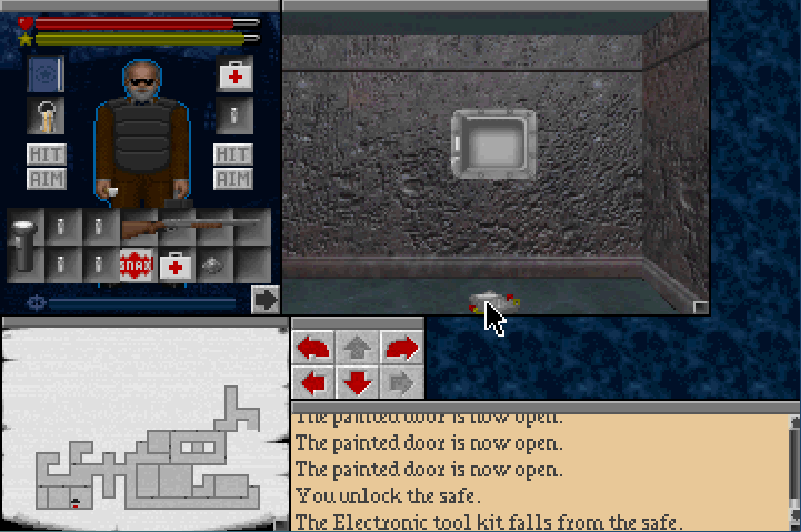
We find the electronic tool kit. This shall serve as the medium through which our electronics skill can manifest itself.
We make another stash at the foot of the basement stairs.

With all the demons and ghosts dead, we can dump the remaining holy water down here too. They will serve no purpose above this floor anymore. Unless you're looking for a minor health/magic pick me up that is.
We leave the gas can near the mausoleum.
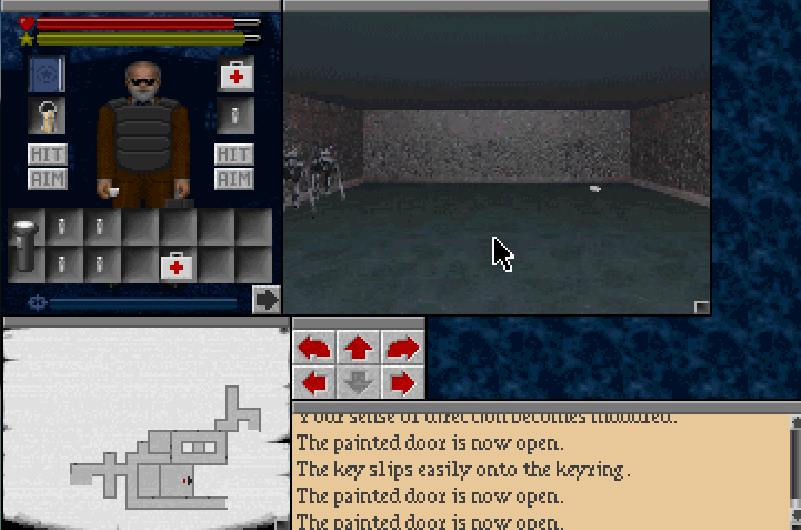
One of the keys we found on the second floor can unlock the nearby doors.
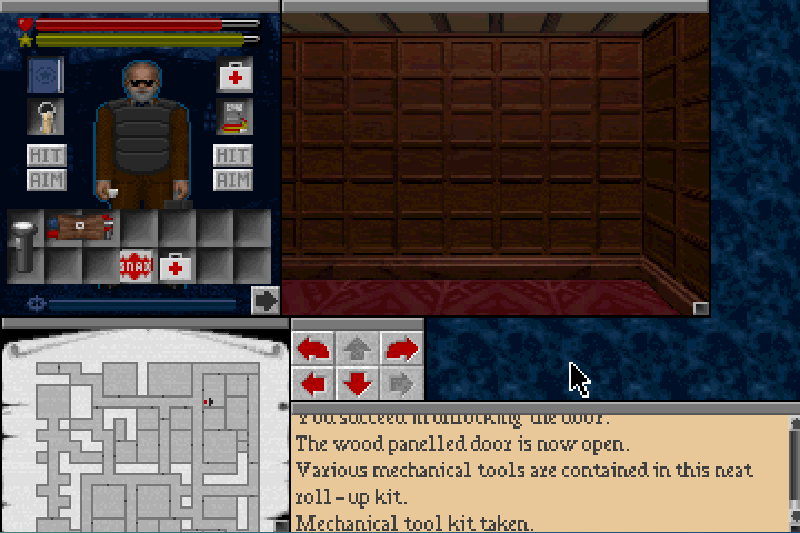
And here we find the mechanical tool kit. This will serve as a lock pick.
You'll notice it's a touch bulky. This is another reason why firearms aren't a great idea in this game. Not only do you have to manage the scarce ammo and large inventory requirement of weapons but if you want to avoid them jamming you also have to lug this around with you as well.
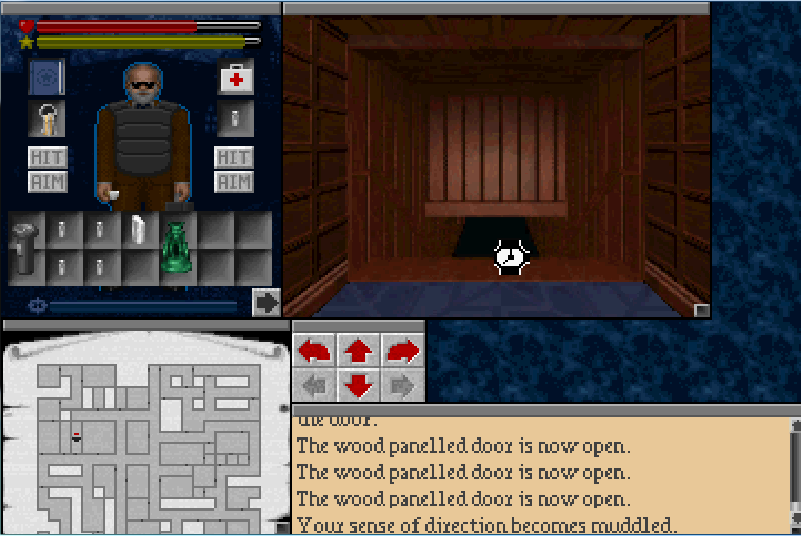
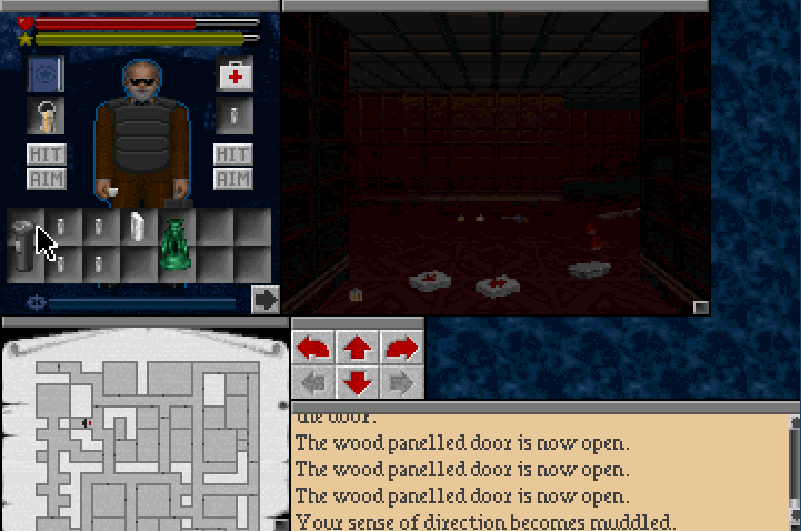
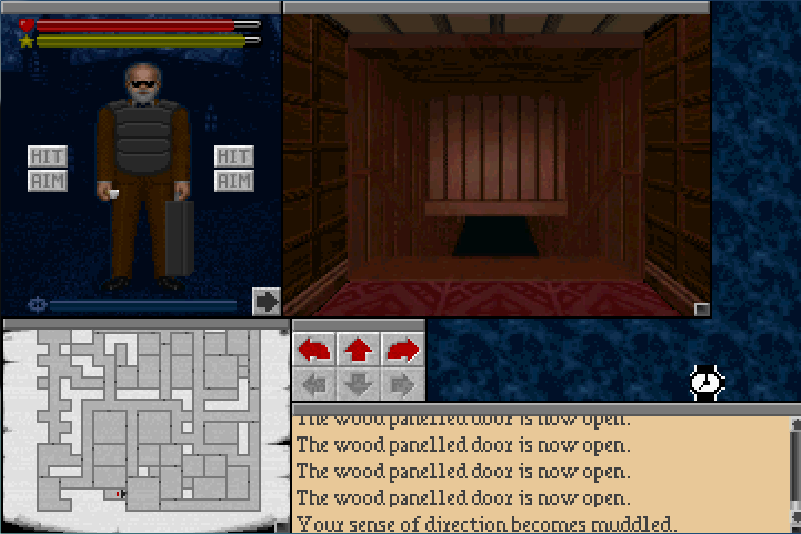
With both tool kits in hand, we can finally deal with lighting problems this house has. It may be a haunted, demon infested hell hole. But that doesn't mean we can shirk on home maintenance.
The final locked door on this floor can be picked with the tool kit and we find the ground floors breaker box.
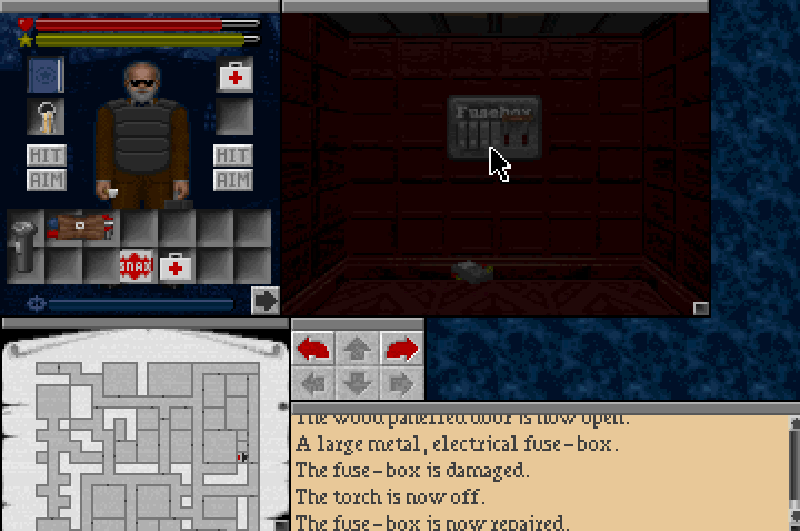
With a quick drag of the electronic tool kit and successful skill check, the lights are fixed.
Now we can attend to the locked doors on the next floor.
Inside one we find another note.
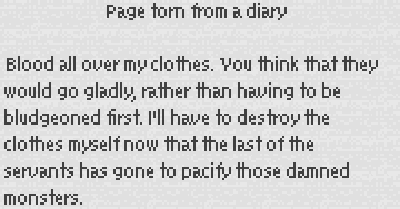

It seems Robert had been killing drifters to appease fish people. It's a filthy habit that can only lead to addiction.
With that we can finally see inside one these safe rooms.

Well here it is, a bed that's safe to sleep in although we aren't at all tired.
As I mentioned in a previous update if I had done this lp earlier I would have told you that the eating and sleep mechanics in this game were completely broken and don't actually work at all.
Let's see what the manual has to say about them...
"Rest
Your character must spend part of each game "day" resting. If the character needs Rest move the Pointer over the Character portrait and press the RMB. A pop-up menu will appear. Highlight 'Rest'. If Rest is inappropriate you will receive a message to that effect.
In The Legacy, you can only Rest in Sanctuary Rooms. These are distinguished by a triangular symbol on the wall next to the door.
Lack of adequate Rest results in a drop in the character's ability to use Skills and Magic effectively. He/she will also become more vulnerable to fear and shock. If the character fails to rest, he/she will eventually fall unconscious, becoming easy prey for monsters."
"Food
Lack of adequate Food results in a drop in the character's ability to use Skills and Magic effectively. He/she will also become more vulnerable to fear and shock. If you keep your character starving for long enough he/she will die!
You will receive a message if your character needs to eat. Remember that he/she may need to eat after a Rest period."
The problem with rest is that I'm not sure you ever really get tired over time. I've played this game through countless times and you simply never get tired. If you attempt to sleep in a safe place you just get the "you are not tired" message. The same is true for eating, although in some cases you might be able to eat something, it doesn't do anything or serve any purpose and then you'll be full for the remainder of the game.
I have, as previously stated, discovered the secret to resting however. I've never seen this written anywhere in all my life so this may well be a world first, so pay attention! It's rather simple. If your character is very badly wounded. You are able to use a sanctuary to rest, it actually restores a good bit of health too at least half or at most nearly all. It also restores a good deal of your magic points too. I'm not sure however if when you're low on health, as the manual states, you can suffer from the effects of fatigue that it mentions.
After sleeping too many times, you will actually get a "you are hungry" message and are warned to eat before you suffer skill penalties. You also seem to need to eat a fair bit before not being hungry anymore. This kind of puts a damper on this exciting new way to restore nearly all your health too, as food much like everything else in this game, is a finite resource.
Anyone, semi-competent at this game will never realize this, as it's fairly easy to manage healing throughout this game without ever needing to rest. Plus it's not all that obvious when you are able to rest at all.
Well there you have it. Resting, try it yourself.
There's a note in here too!

Marcus has mention the golden torc a few times now. You can be certain that we shall be finding it at some point.
It's at this point that I realized that I forgot to do a few things downstairs.
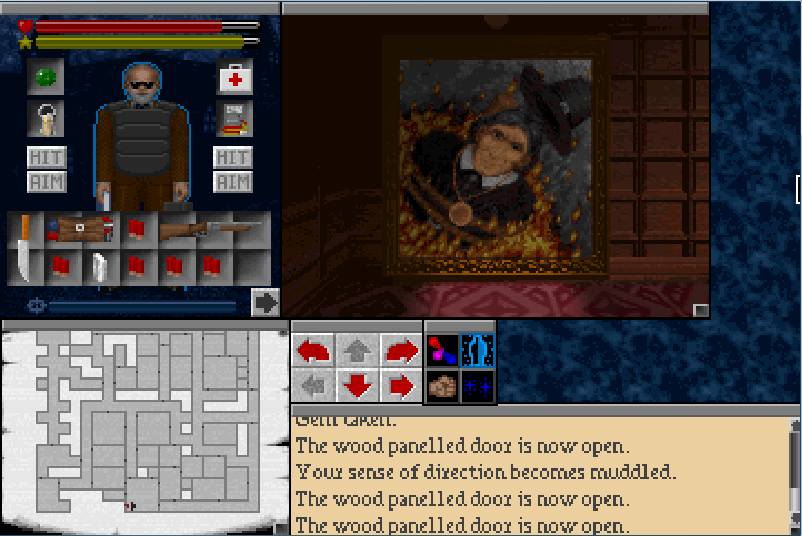
Lets stick that gem we found into the amulet in this painting.
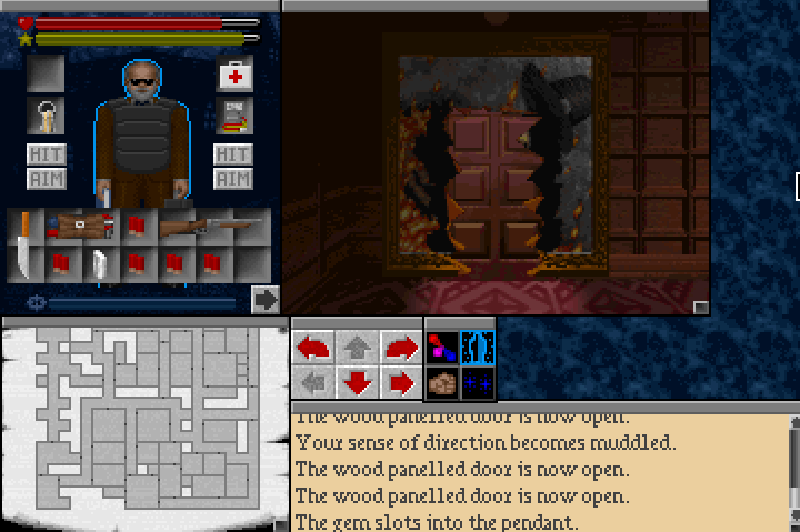
Presto! A secret door! Let's avoid going in there for now.
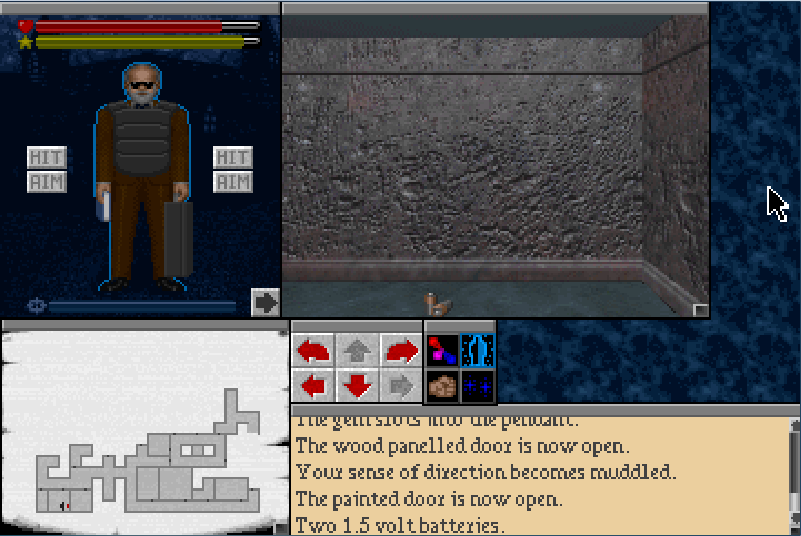
We find some batteries in the basement too. We throw them near the painting upstairs for the time being.
We also find another spell.
Elixir of Health:
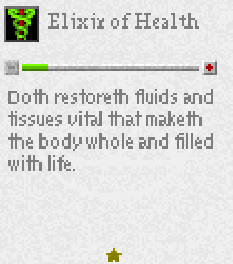
Ooh boy! This is a useful spell. As you may have gleaned, it's a healing spell. We'll need to put a few points into it to ensure it doesn't fizzle all the time, but this is quite a useful way of keeping our health up, especially in the later parts of the game when we might be running low of health kits. It also doubles as a poison antidote too.
There's also some ammunition for an M16 here on the ground.
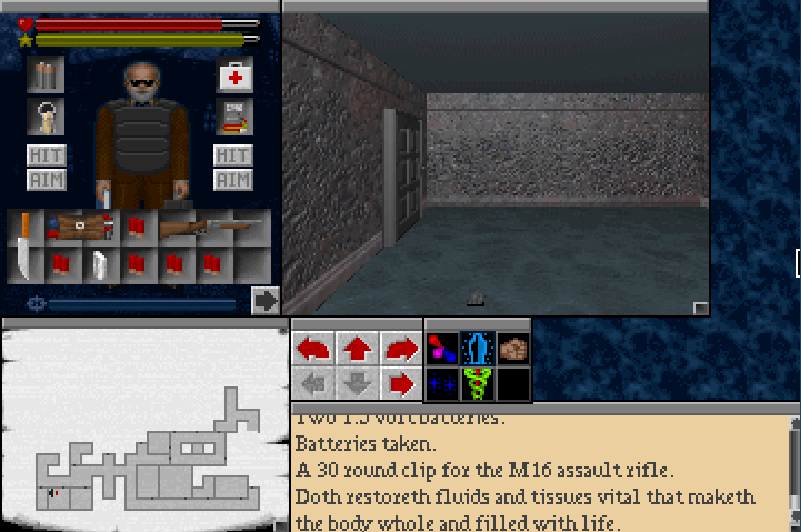
We'll be adding that to the basement stash for now.
All right that's the first two floors cleared. Time to tackle the next one.
Hope to see you then...