Part 12: Submachine 5: The Root
Part 12Submachine 5: The Root
♫ Thumpmonks - Submachine 5 - Old Bricks
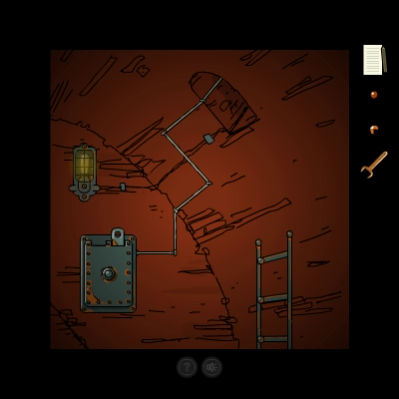
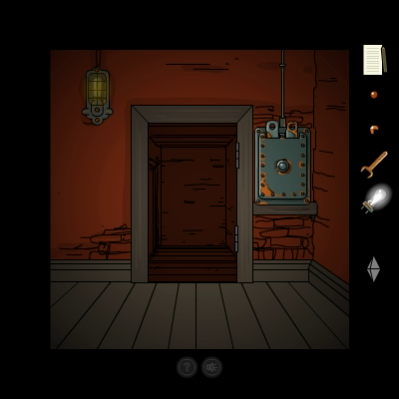
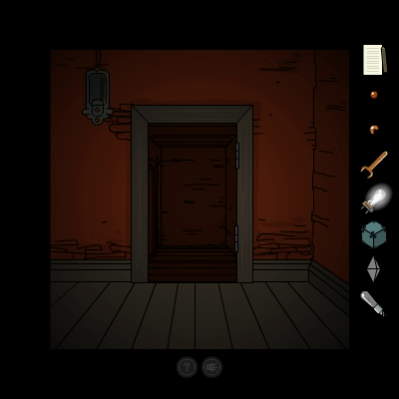
We ended last update taking the transporter to a new sector by putting the cipher plate in the right slot. Let's explore.
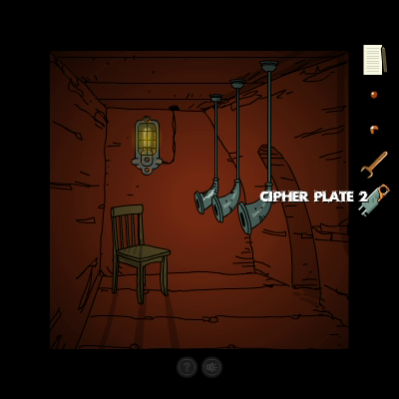
Down and to the left we find the second cipher plate, which lets us access a bunch more transporter coordinates. But there's more to find in this place.
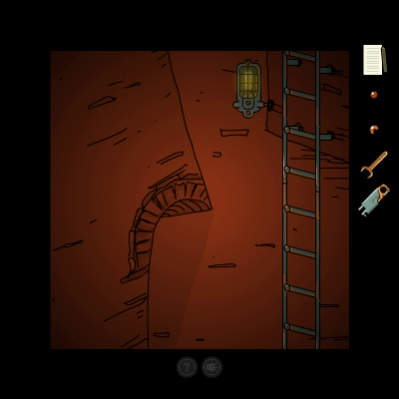
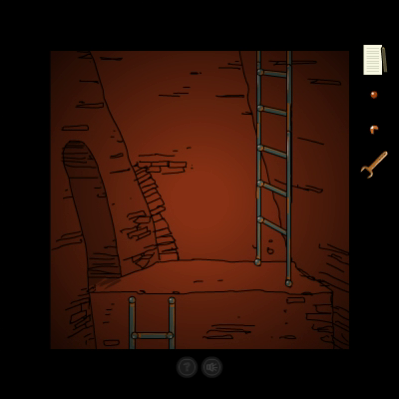
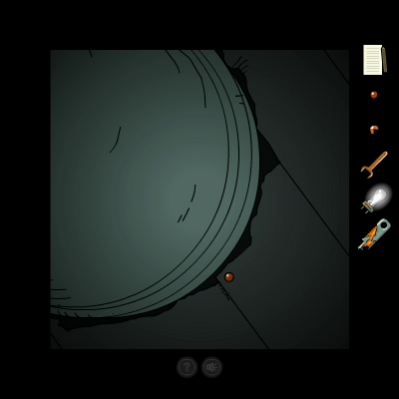
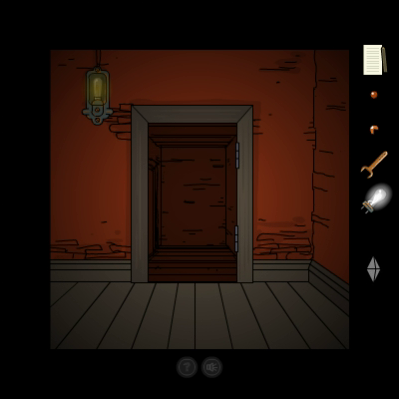
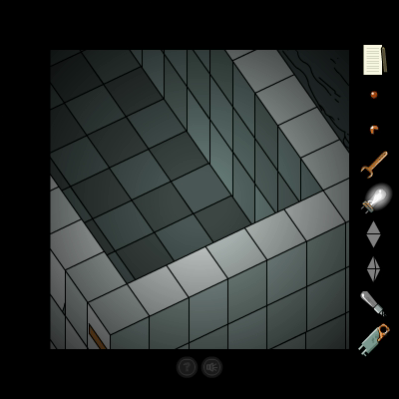
Down, down, down we go.
RTL
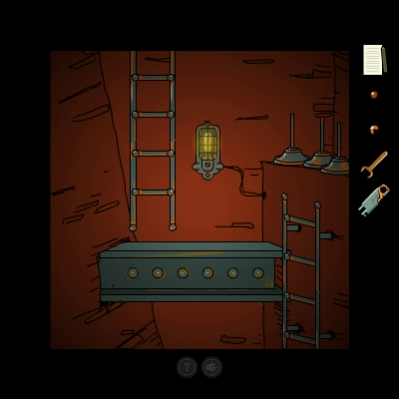
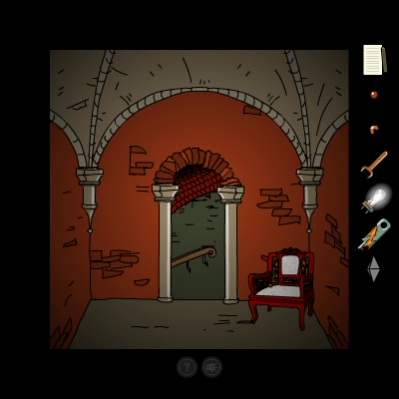
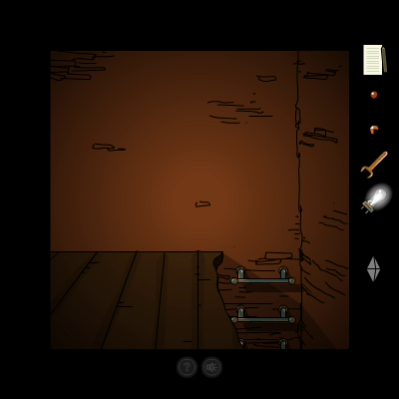
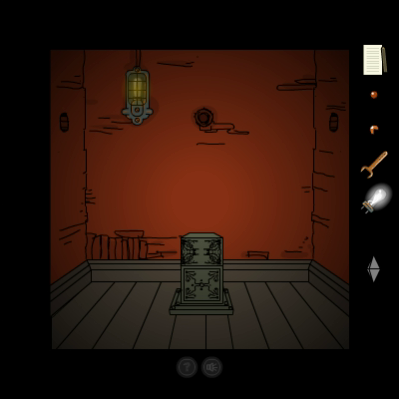
Down here there's a somewhat hidden area off to the left.
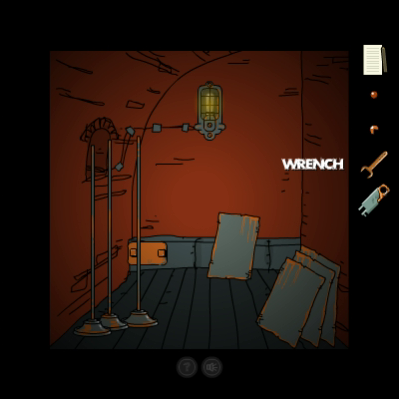
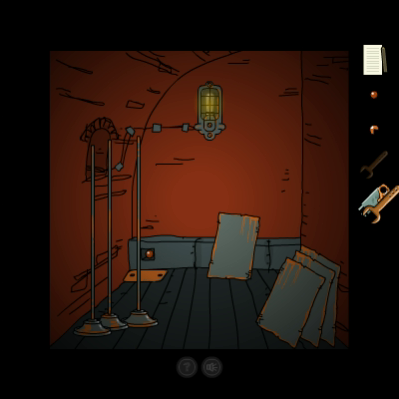
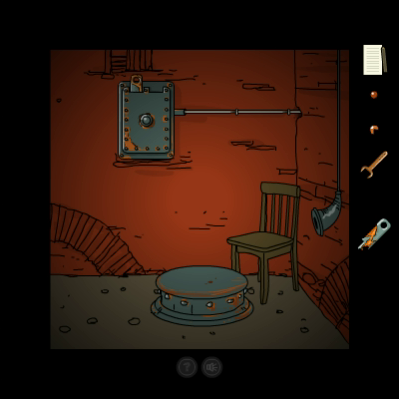
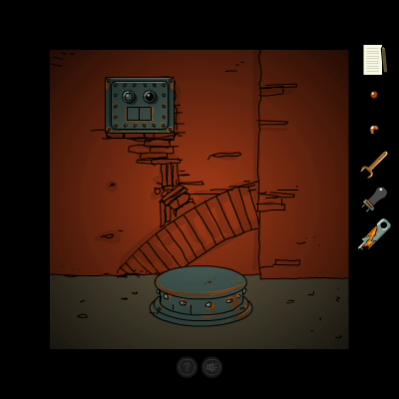
The rusty plate standing against the back wall can be moved. It's the only one in the game that can be interacted with, so it's not very obvious. We pick up the second Secret here.
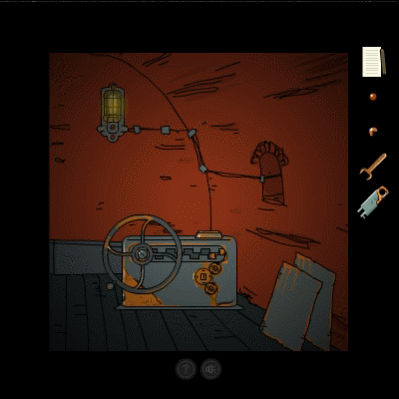

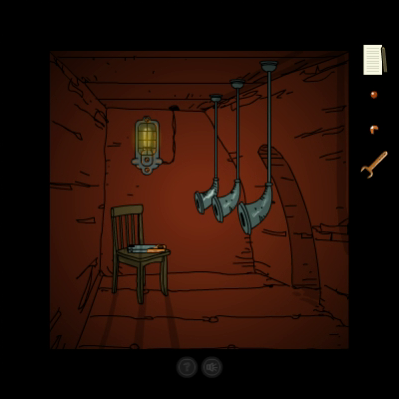
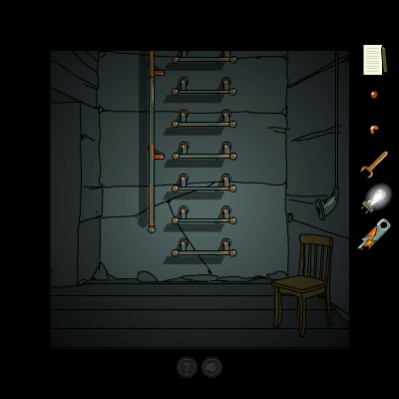
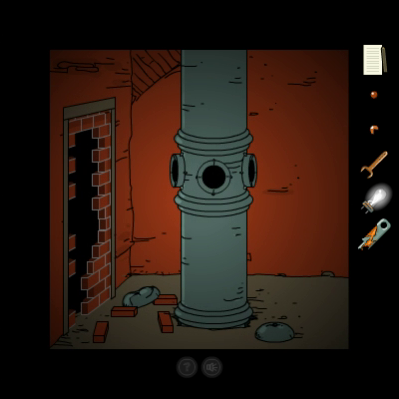
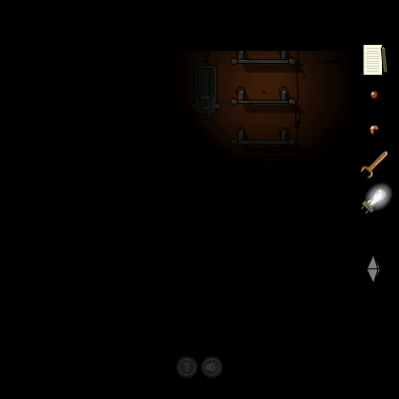
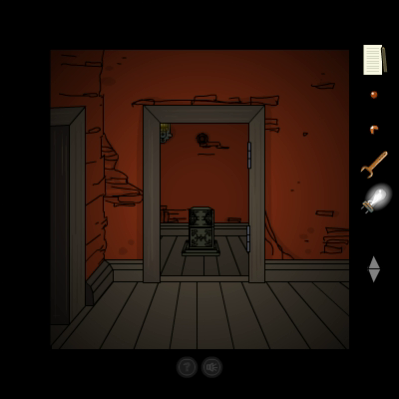
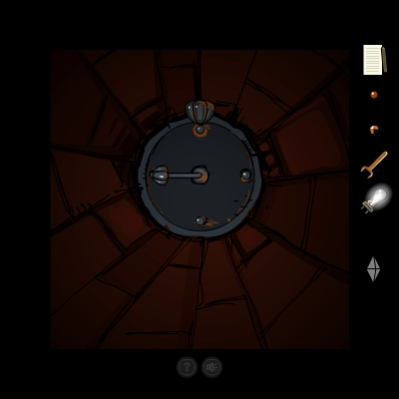
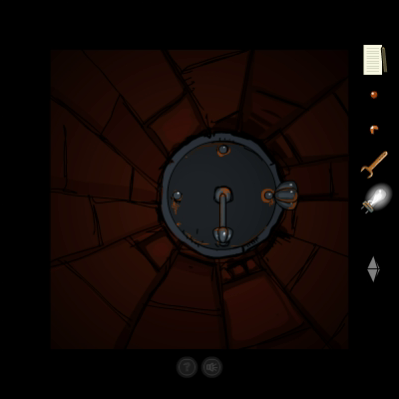
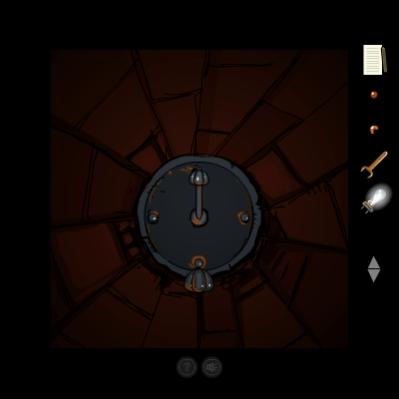
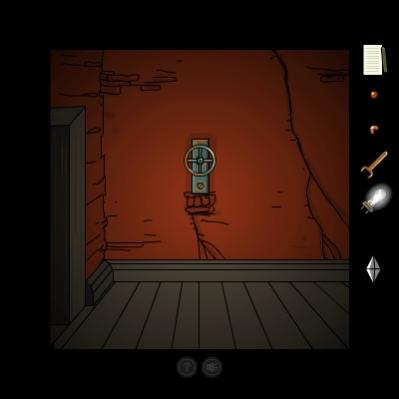
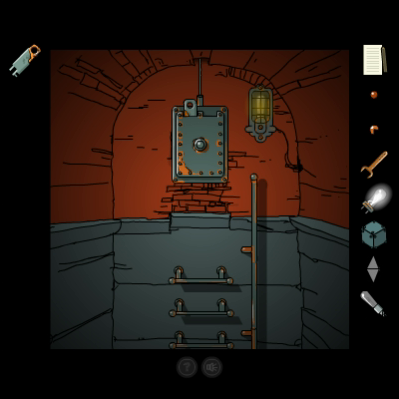
To the right we find this machine which makes the most awful fingernails-on-blackboard squeaking noise when you try to turn the wheel. Our protagonist writes down that it's a charger.
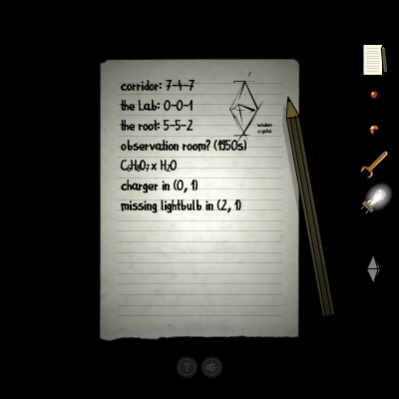
This is a good moment to talk about the coordinate system used in the Root. We started out in (0,0). Putting Cipher Plate 1 in the left slot takes us to (1,0), putting it in the right one takes us here. Adding Cipher Plate 2 to the calculation, we can go to (2,0), or (2,1) by combining the two plates. And so on. Of course there's no (1,1) because we only got a single copy of Cipher Plate 1.
In any case, we'll return here later.
Next stop, (2,0).


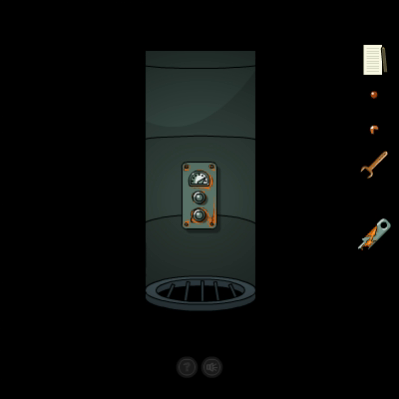
There's some kind of pressure control down the hatch. For the next puzzle, we need to put the pressure on for every control we find, like so:
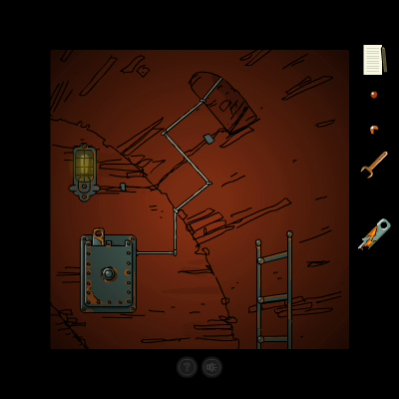
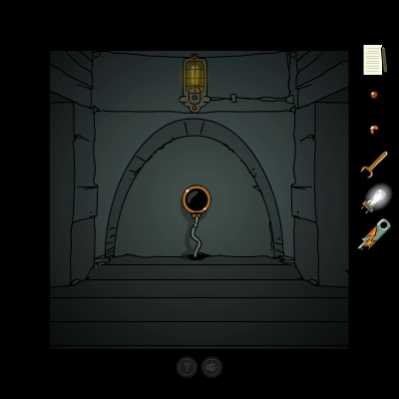
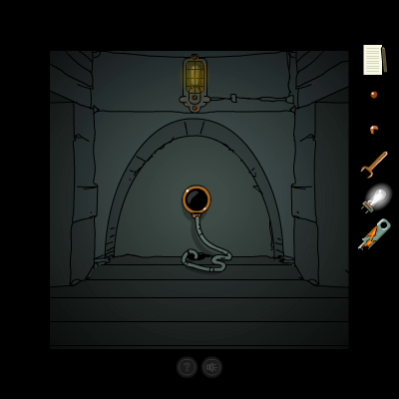
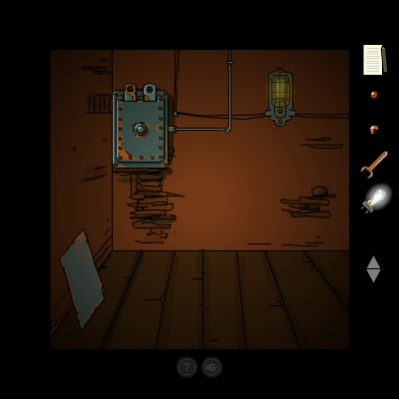
Down the manhole one screen to the left, the pressure is already on, so we don't touch the controls. We find an Empty Coil here, though. I think I know what I need to do with that.
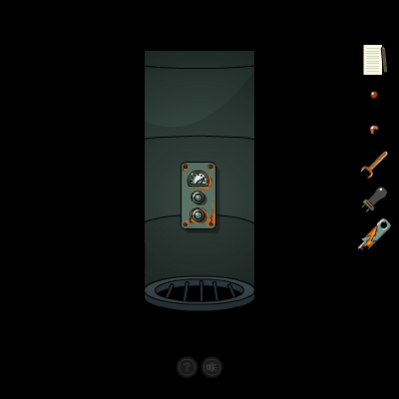
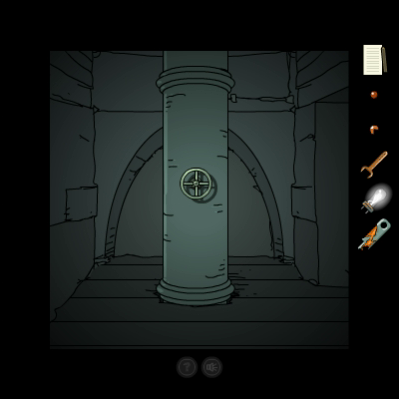
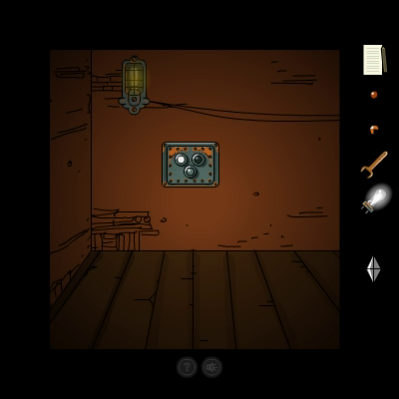
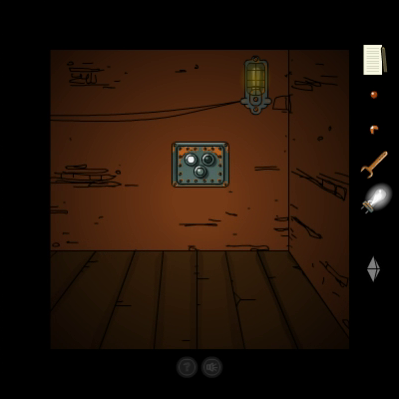
One more valve to open. The device on the wall doesn't seem to do anything right now.
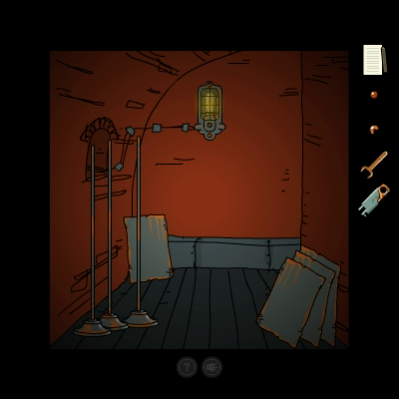
And all the way to the left we find this room, where we can't do anything yet.


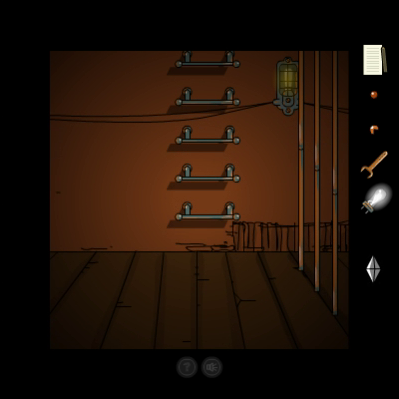
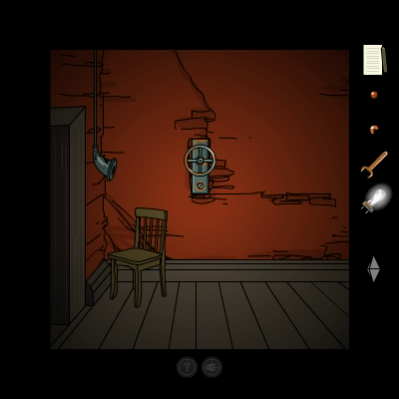
We take a quick trip back to (0,1) to charge the coil. It takes three turns of the squeaky wheel to charge it up all the way (and you can't take the coil out before that). Mateusz has been merciful for the HD version and reduced it to a single turn there.
Next on our list, (0,2).
RTL
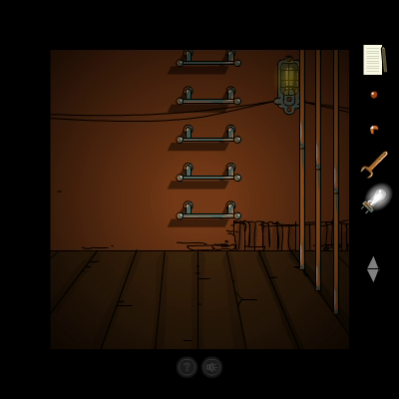
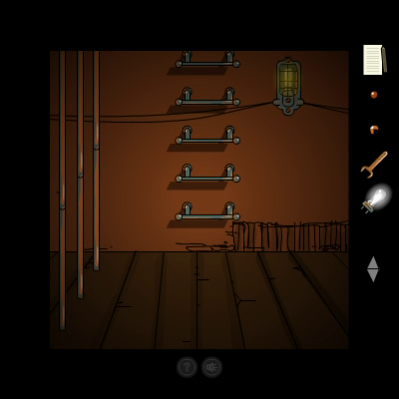
There are three rooms with these monitors here. They look very similar and don't seem to be powered right now.

RTL
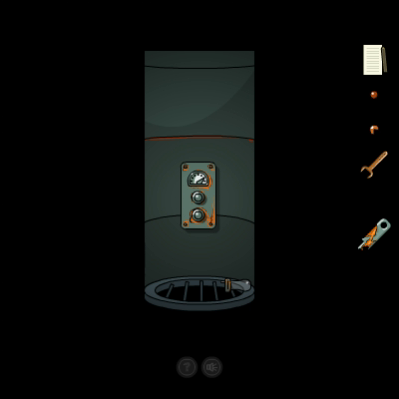
All the way to the left is this valve. If you turn it, when the pressure is on in all three of the hatches in (2,0), there's a sound of air blowing followed by a loud clang. Looks like we did something, somewhere.
There's also a very sneaky Secret sitting behind the pipe.
 ( ... )
RTL
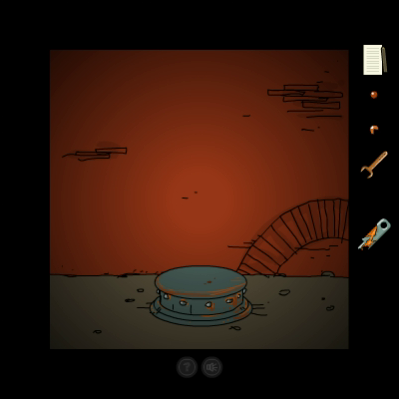
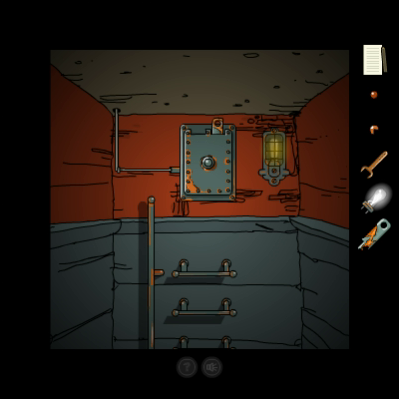
Back in (2,0), the pressure apparently was strong enough to break through that bricked up door.
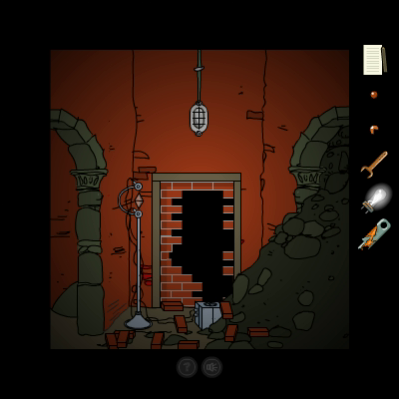

Behind it, we find our first Wisdom Gem.
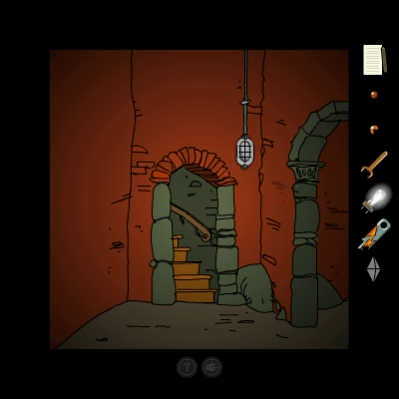
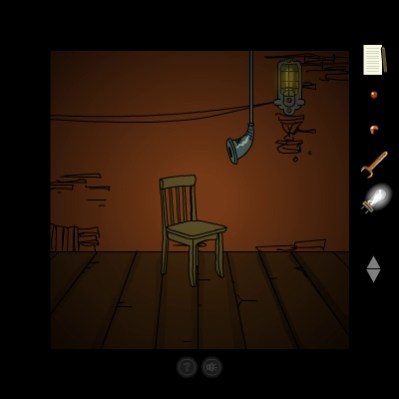
And to the left we find the second to last Secret just sitting in a familiar-looking chair.
Next stop is (2,1). Going right, we're immediately blocked off by a gate.
RTL
Up the ladder, there's switches to the left and to the right. Clicking both switches opens the gate to the right... but blocks our way back.
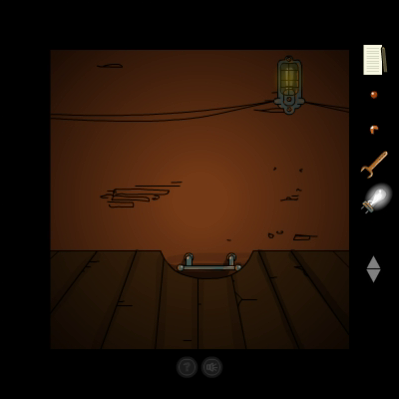
And that's how far we can go right now. Looks like there's a lightbulb missing.
Yes, thank you. I just said that.
Getting back to the transporter device requires switching the gates back.

The one place we haven't been to yet, (1,2). This location is a bit difficult to explain. I went forward through the door to end up in the room with the 'wheel'.
Going further right, I went through the next door.
This place is basically a square-shaped loop (as seen from above), with a small room in the middle, which you see in that last screenshot. So, it's a 3D-area, but representing this in what's basically a 2D point-and-click game is somewhat difficult, and you might get confused for a bit if you don't know what's going on.
The center room has a hole in each wall except the one with the door. There's a dial like this in every hole, which corresponds to one of the 'wheels' in the looping corridor. The wheel in the previous screenshot corresponds to the left hole. We have to turn the wheels so that all the dials point at the thing on their outside.
These are the other two dials. I find it easier to use a combination of trial and error and remember what I've done than to try and understand the geometry of this place and solve it in one go, but that might just be me. I do think it's a neat gimmick though.
Further around the corridor, we see that all the rooms look mostly the same. This wheel corresponds to the dial on the right wall.
While this one corresponds to the back one. The transporter is one room to the right from here.
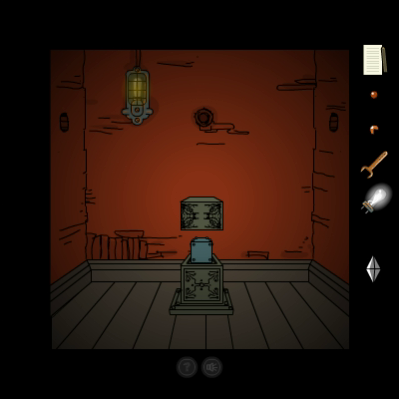
Getting all the dials right opens the thing in the center, so we can grab the Metal Box.
There's one more thing here. This is the only room in the entire Root that has a light bulb that's not protected by a grate. We grab it so we can use it later in (2,1). This is why I went to (2,1) first, the missing light bulb there is actually a good hint, and even then it's hard to notice that this one is different.
Now that we've been to every transporter location, it's time to collect some stuff.
First, we return to (1,0) and go back to the citric acid bathtub.
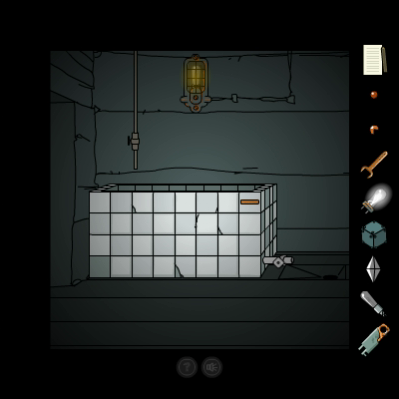
The Metal Box goes into the tub.
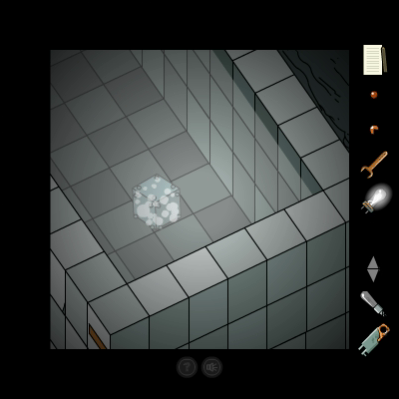
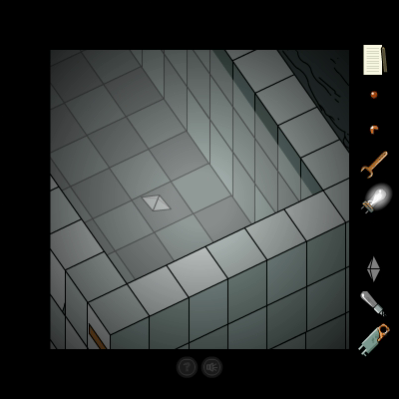
It starts bubbling and dissolving, leaving a Wisdom Gem behind.
Now, I was going to write a rant here about how citric acid is a weak acid and doesn't dissolve metal that easily, it just increases the rate at which it rusts. MercurialOne asked about citric acid isomers, but none of those are really strong acids. However, I realized I was missing something - what if we take a particularly reactive metal? Most of you will have seen videos of alkali metals reacting violently with water, but nobody in their right mind would make a box out of an alkali metal, as it would immediately start reacting with moisture in the air and dissolve within a short period of time. Next in the list of reactive metals are the alkali earth metals, of which magnesium is actually used in engineering a lot. It's relatively stable and it's an extremely lightweight metal.
Magnesium reacts with pure water too, slowly bubbling, forming magnesium hydroxide and hydrogen gas. Acids increase the rate of this reaction by a lot, and even with a relatively weak acid it only takes a few minutes to dissolve magnesium.
What's a chemistry explanation without a video, though?
https://www.youtube.com/watch?v=g2q4k6U1EVo
This guy adds magnesium to, in order, formic acid, acetic acid, hydrochloric acid, nitric acid, and phosphoric acid. Looking at the acidity of citric acid, it's between that of formic acid and that of phosphoric acid. And you see in the video that even the weak formic acid dissolves it in minutes, for phosphoric acid it only takes seconds. And it bubbles in a similar way to what we see in the game. So, assuming the citric acid bath in the game is sufficiently concentrated, and assuming the box is made of magnesium metal, this bit of chemistry is actually surprisingly accurate. I am pleased.
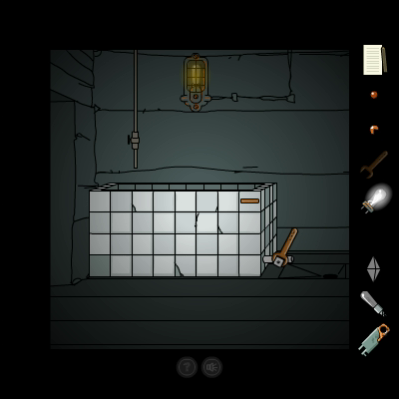
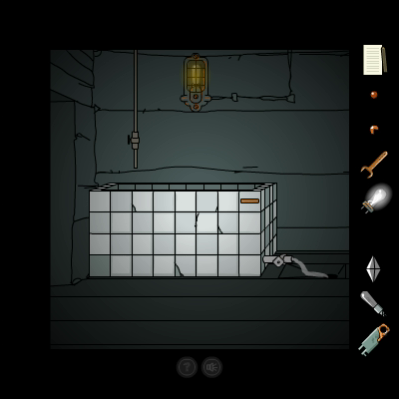
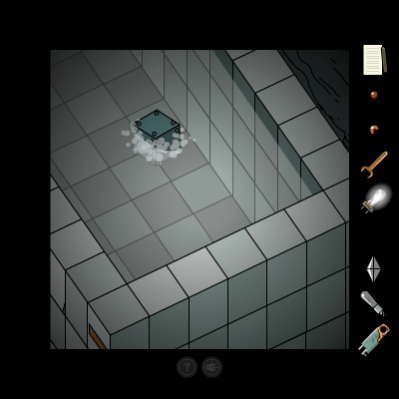
Our protagonist is smart enough to not stick his hand in concentrated acid, so we'll have to drain the bath instead. A neat little thing is that if you zoom back in on the bath while it's draining, you can see the water level dropping there as well.

Today's chemistry lesson nets us our second Wisdom Gem.
---
We're actually quite far through this game, but putting it all in one update would be a bit much, and this seems like a good place to pause. We'll finish the game next time.