Part 21: Submachine 8: The Plan
Part 21Submachine 8: The Plan
Click here to play the game yourself.
Welcome back everyone. Last time we learned that Murtaugh's karma portals destroyed large parts of the Subnet. We also learned that the Subnet consists of multiple dimensions called Layers, which make up some kind of larger Plan. Murtaugh attacked Liz for some reason that's not entirely clear to me, and Liz fled to the fifth Layer.
By the time we arrived, all we could do was take some interdimensional Karma Portal.
So, let's see where we ended up.

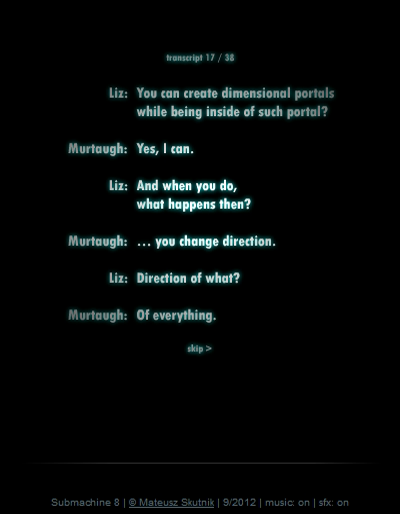
This conversation plays out at the start.
quote:
Liz: You can create dimensional portals while being inside such a portal?
Murtaugh: Yes, I can.
Liz: And when you do, what happens then?
Murtaugh: ...you change direction.
Liz: Direction of what?
Murtaugh: Of everything.
♫ Thumpmonks - Submachine 8 - The Bay
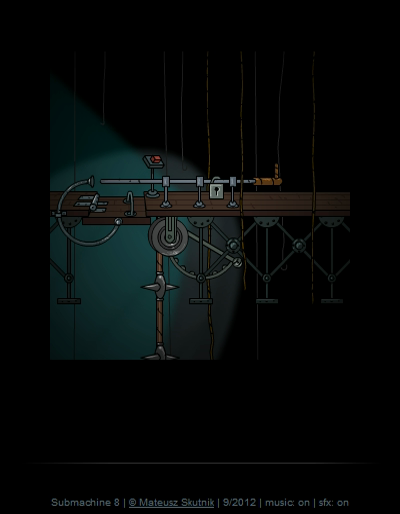
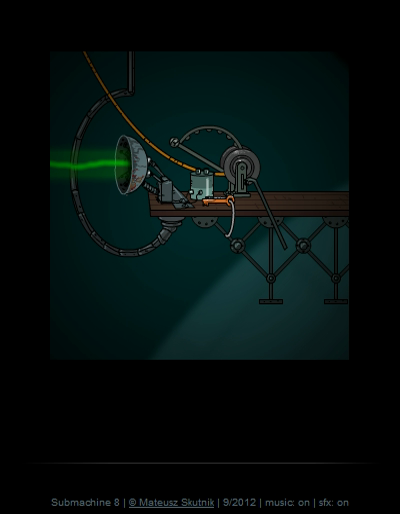
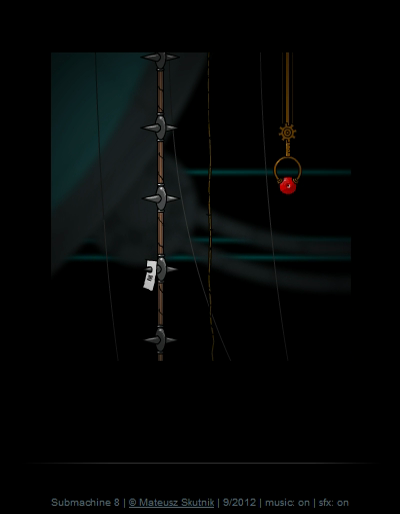
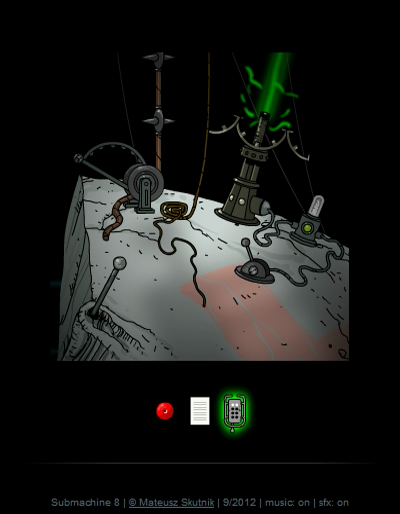
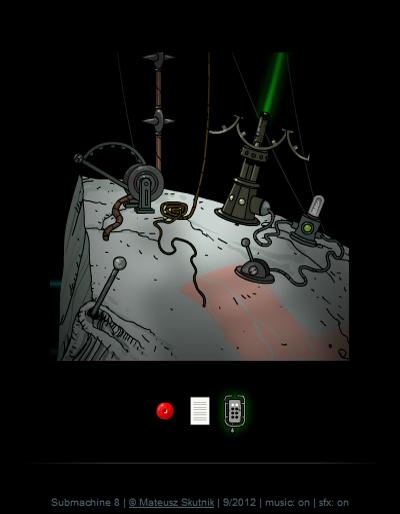
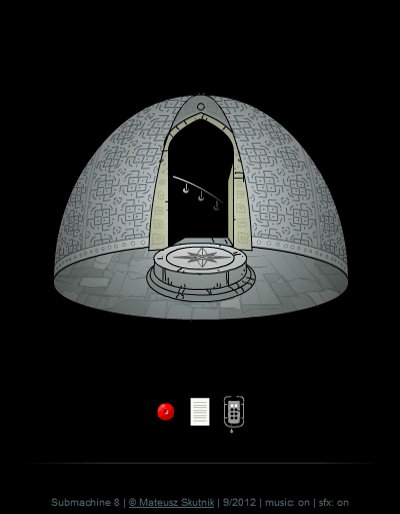
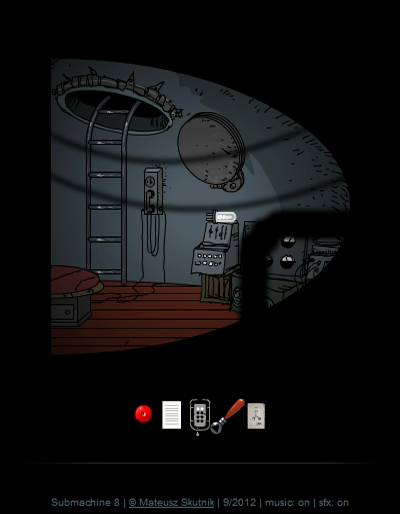
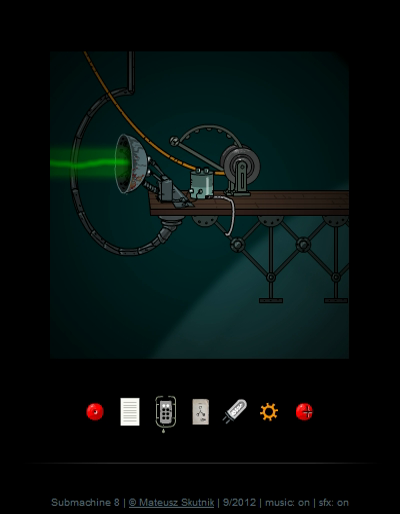
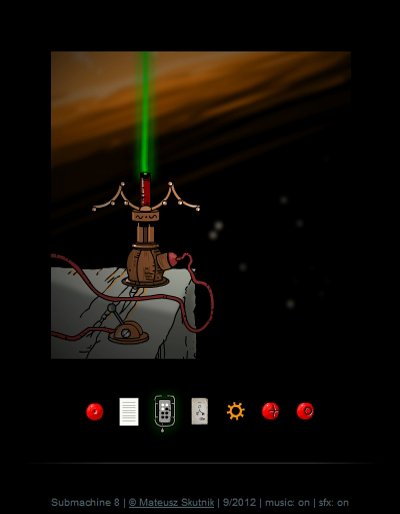
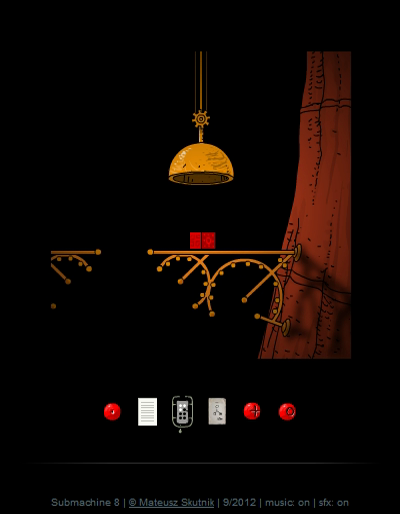
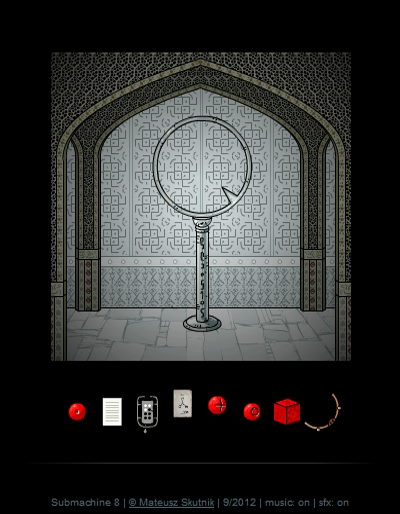
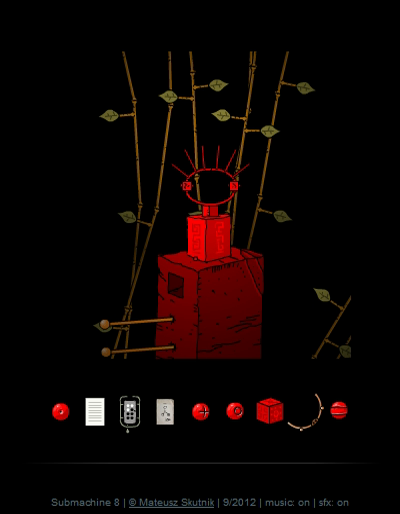
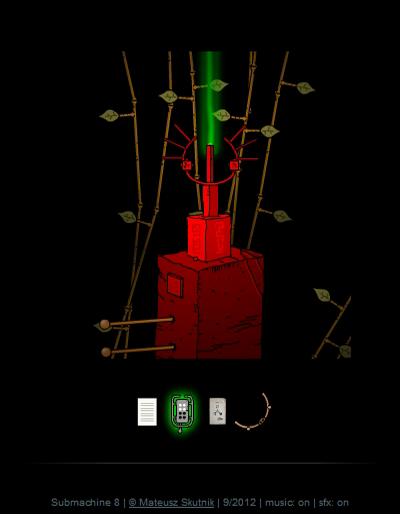
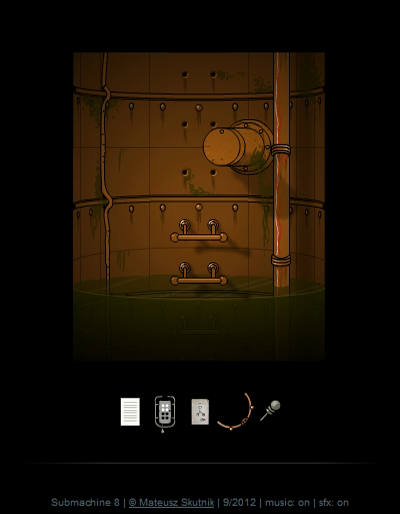
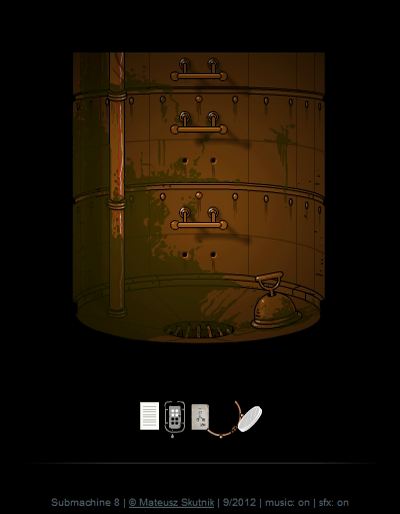
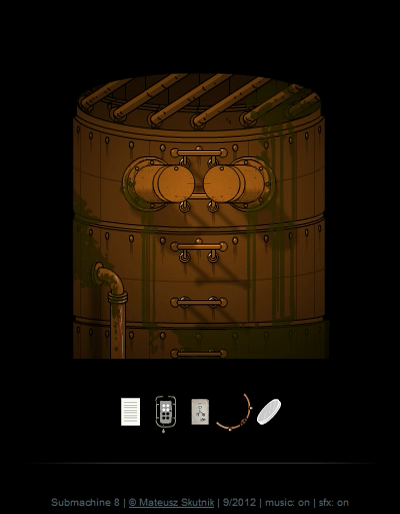
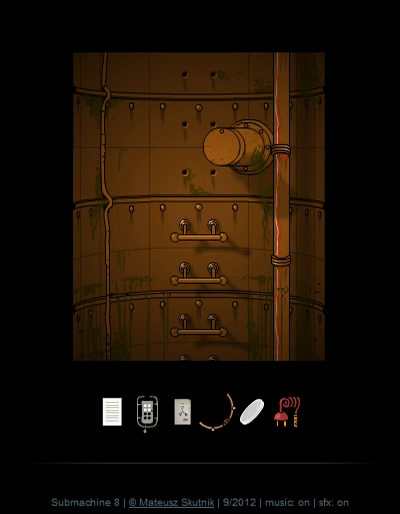
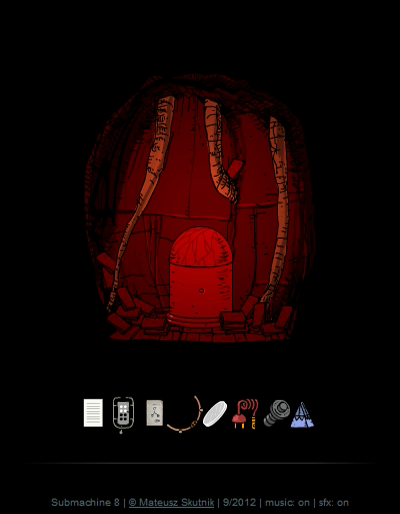
We end up on some wooden walkway. The wiki calls this area the Dock. I'll be using the wiki names as I usually do, but for some reason the names of the songs in this game tend to be slightly different. Let's start by going left.
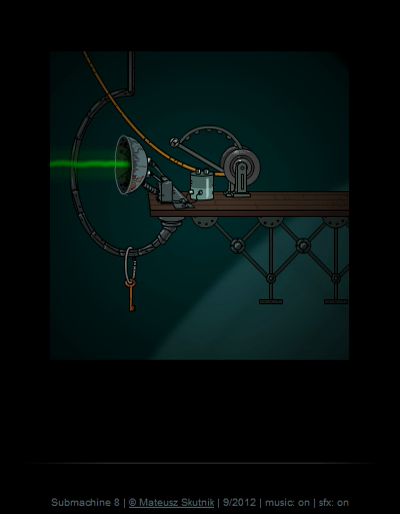
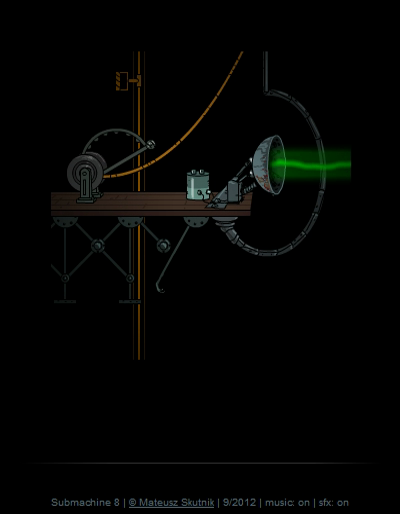
Perhaps this green beam is related to the green Karma Portal we took. Whatever happened, the exit of that Portal is nowhere in sight.
By the way, I'm going to number this screen 'screen 1', because it's the top-left area of the Dock. The screen we started in is number 2. I have a good reason for numbering the screens in this game, which you will see soon.
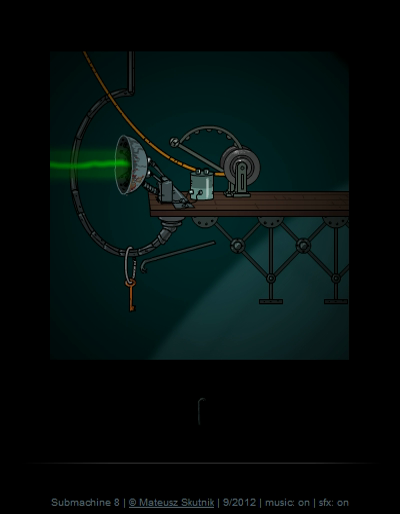
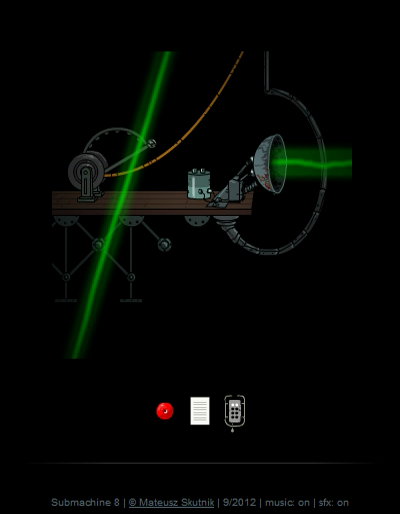
Right of the starting screen is screen 3. Here we can grab the Broken Beam from under the catwalk. We can also pull the yellow pole so it ends up on screen 2.

RTL
Like so. The Broken Beam is needed to grab the Rusty Key on the left.
Which is then used to get rid of the padlock.
Then we pull the horizontal bar to the right and finally we can press the button to open the hatch, so we can climb down. Not too difficult, just requires a little bit of trial and error.
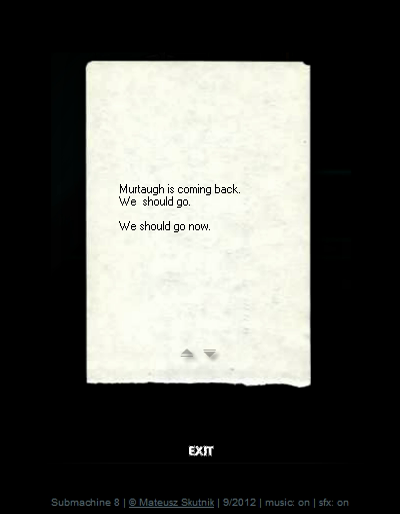
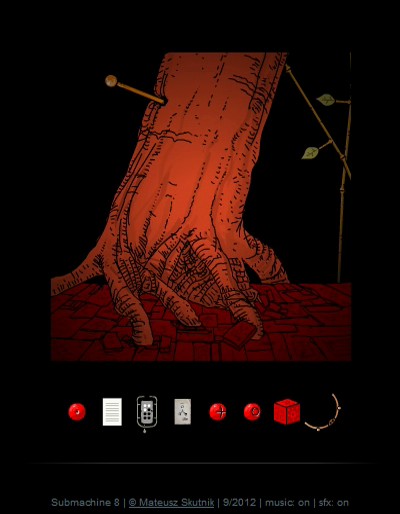
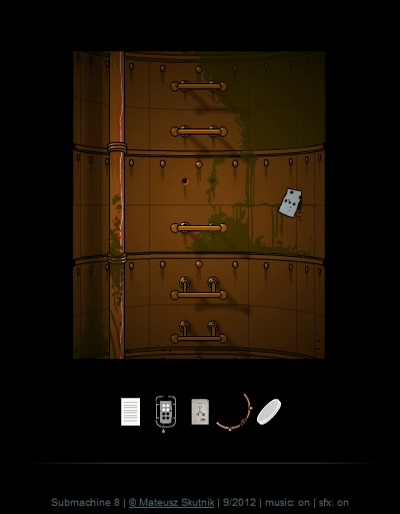
Down here in screen 4, we find a red Stone Sphere (hanging from the vertical pole we moved earlier - that's why we had to move it) and a note with bad news.
quote:
Murtaugh is coming back. We should go.
We should go now.
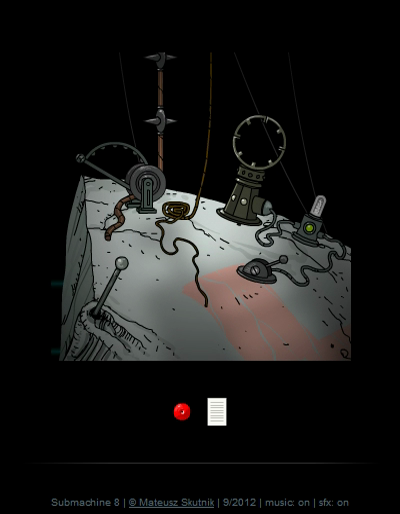

Further down, we skip the 5th screen for a second and go right to screen 6 for an important item first. I see why this area is called the Dock. There is something docked here, but I have no idea what it is.
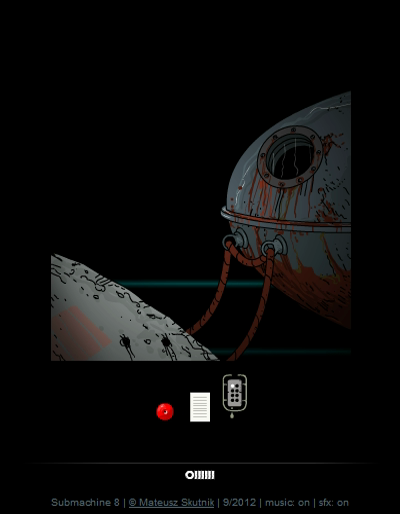
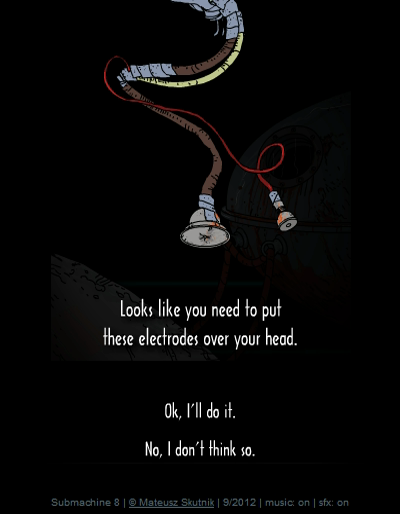
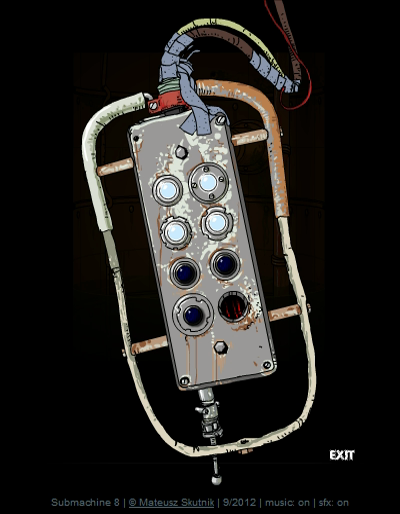
We grab the Navigator, as it's officially known, although right now the description just shows OIIIIII. When we try to use it this message about electrodes pops up. If we say no we can't use the Navigator so let's do it.
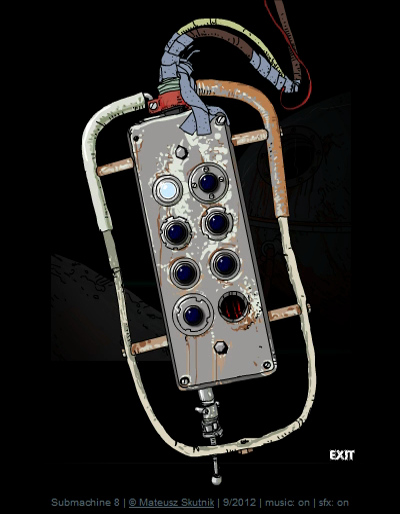
Currently only one button is activated. The six other buttons are dark, and there's just some loose wires in place of any eighth button. Pressing the button causes a sound of... something shifting, like after solving a stone puzzle or something in earlier games. But nothing actually seems to happen.
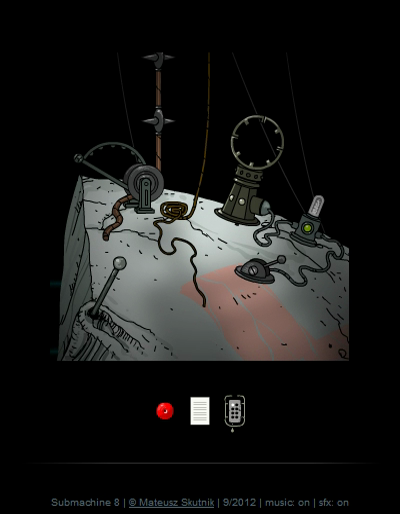

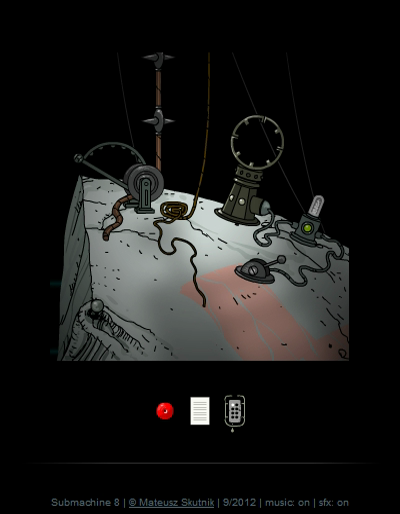
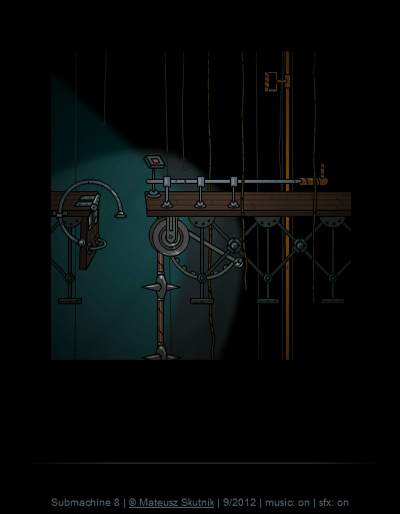
Back to the left, there's a few things we can do. First of all, this sort of lever on the left can be pushed into the ground halfway or all the way in. We can pull it back out too. But it doesn't seem to do much yet. There's also the small lever on the right.
Bzzt!
We can try to follow the beam of light to the top right but it goes nowhere we can reach. Instead, let's return to screen 5 where we just activated the device and try pressing the second button on the Navigator.
♫ Thumpmonks - Submachine 8 - The Church
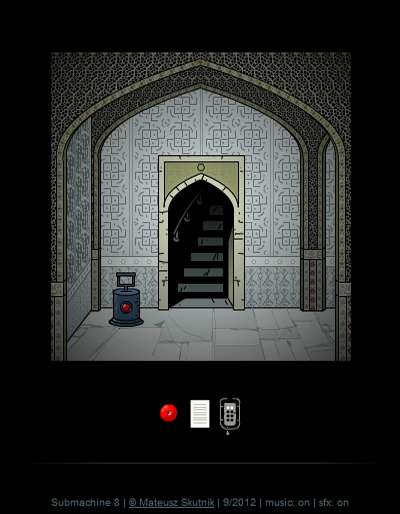
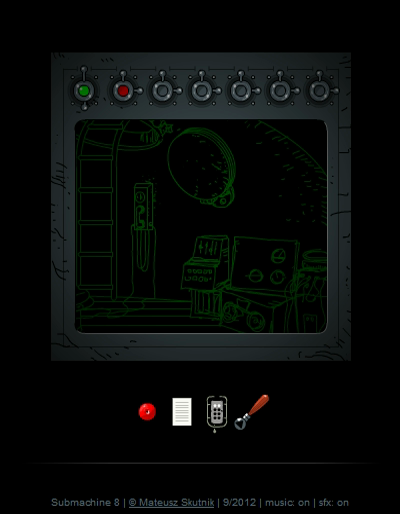
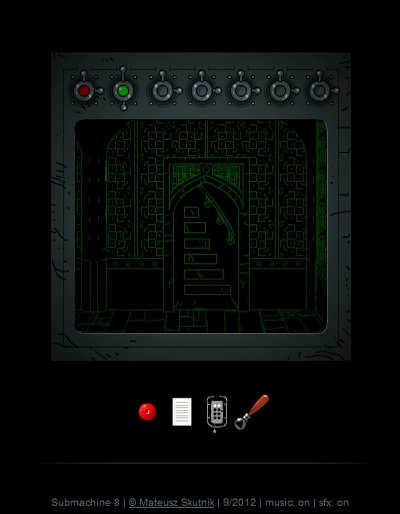
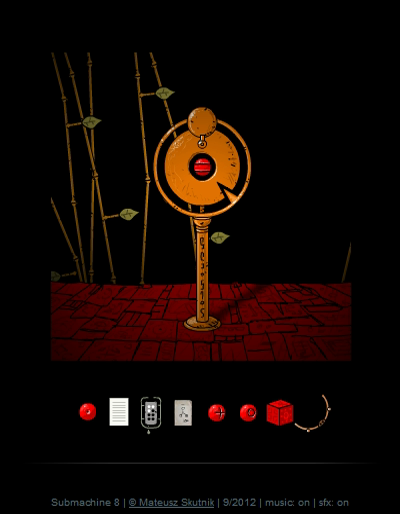
Welcome to the Cardinal Mosque. The Navigator is now called IOIIIII. Let me explain what's going on. We're now in Layer 2, while we started off in Layer 1, as indicated by the 'name' of the Navigator. In fact, as far as I know we've been in Layer 1 since the beginning of the entire series.
Now, don't make the mistake I did when I first played this game and wasn't paying attention to the clues. I thought the Navigator worked like any earlier Portal and I was in a completely different area. If you do that you might get lost. We're in the "same" area, just in a different dimension. Most importantly, this means the map layout is the same. We're in screen 5 of the Mosque. And we can switch between Layers 1 and 2 at will now. That's why I've been numbering the screens - to keep track of where we really are.
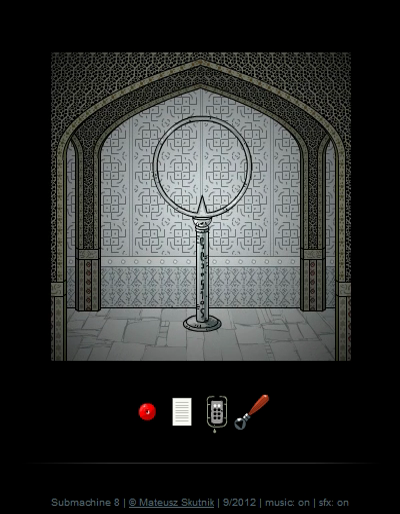
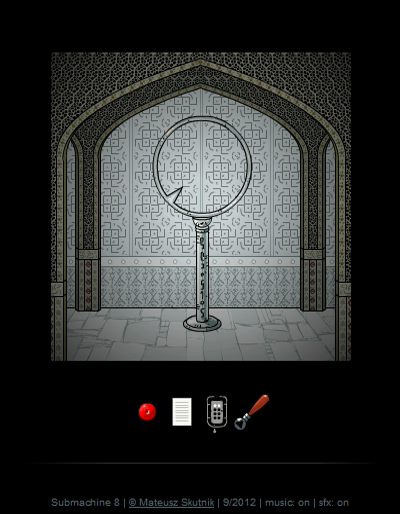
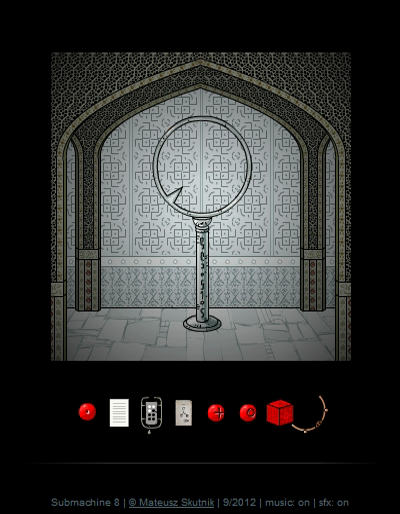
Anyway, in this screen is some sort of plunger device we can try and activate. Once again, it doesn't seem to do anything. We'll have to come back once we know what to do with it. Let's go up to screen 4.
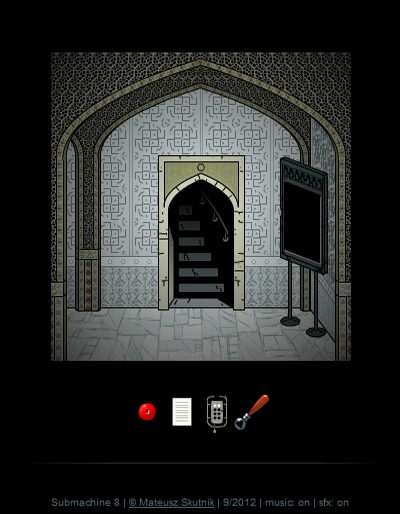
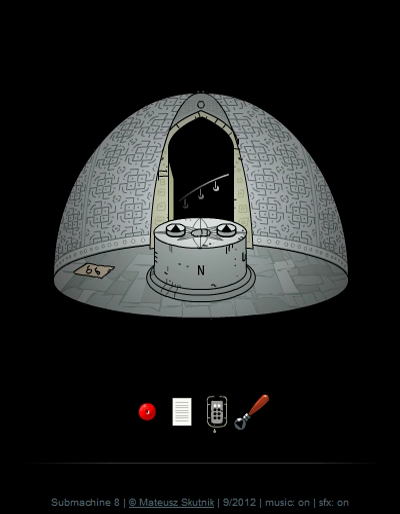
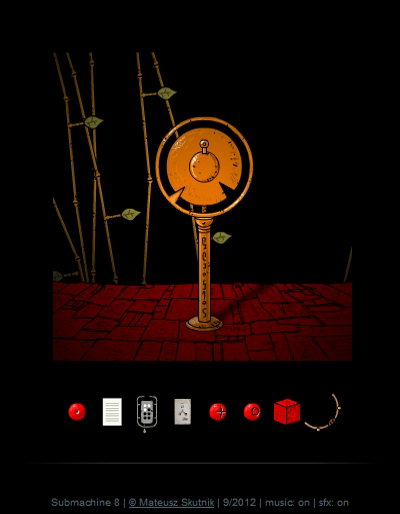
Alright, a compass and not much else. We can't go up to screen 2 in this layer, so instead let's explore down and to the right, screen 6.
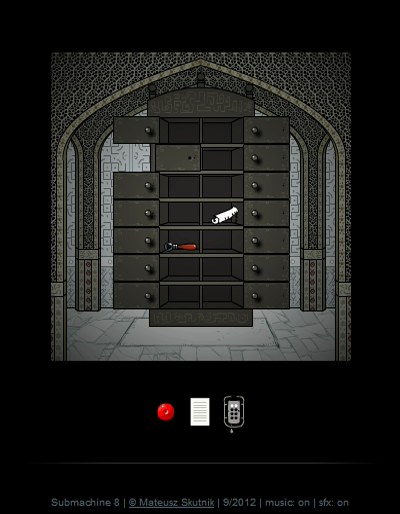
We found a cabinet with some stuff in it. We can also go further right into the area equivalent to the docked ship or whatever it is in Layer 1. Let's pick up the stuff first.
Another note that doesn't quite fit on the screen:
quote:
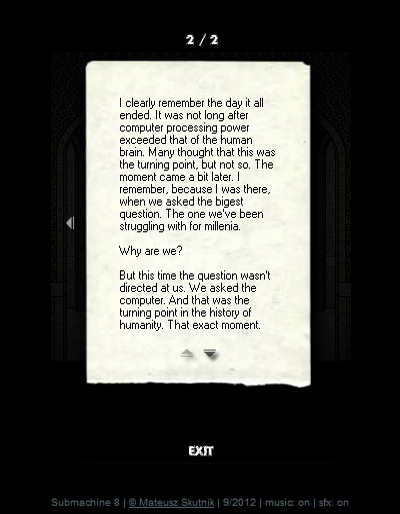
I clearly remember the day it all ended. It was not long after the computer processing power exceeded that of the human brain. Many thought that this was the turning point, but not so. The moment came a bit later. I remember, because I was there, when we asked the biggest question. The one we've been struggling with for millennia.
Why are we?
But this time the question wasn't directed at us. We asked the computer. And that was the turning point in the history of humanity. That exact moment. Once we acknowledged that we're not the most evolved structure on our planet, once we passed the torch, our purpose diminished. Did we expect the computer to fry under the heaviest of questions? Of course. So you can imagine our surprise, when this happened.
The computer answered the question.
In the new screen 7 we find this thing, which turns. You guessed it... it doesn't do anything yet.
And over to the right, in screen 8, we find some kind of electronic screen that seems out of place.
Turning on the first knob shows us an area we haven't been yet - it's actually this place in Layer 1. The second knob shows our current location but without this electronic screen.

We can also put them on both at once and the screens will just overlap. I'm glad I can't see in multiple parallel dimensions at once, it looks confusing.
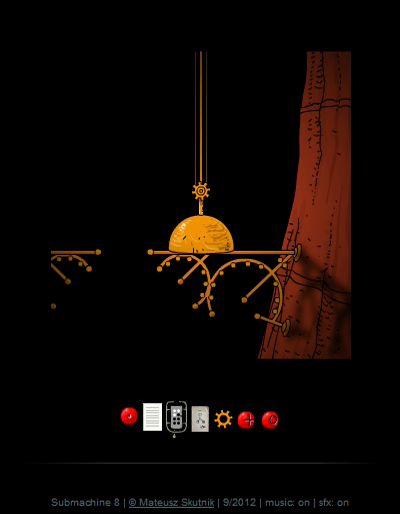
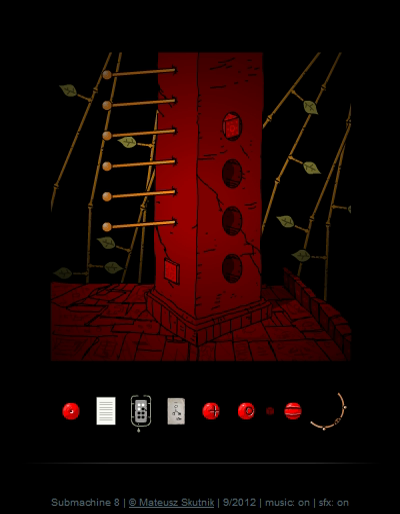
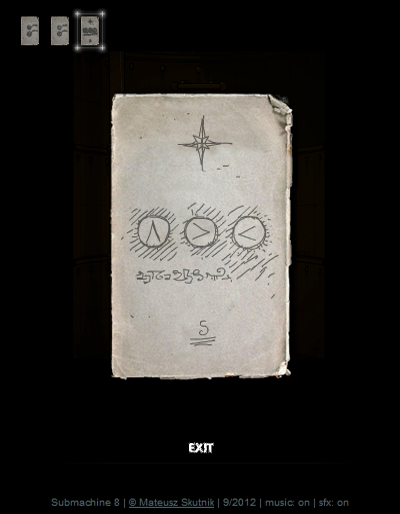
Going up to screen 9, we find another large compass. This one has a hole in the middle and two arrows that can be turned. There's also a hint picture on the ground. Anyway, we've explored this part of Layer 2, so let's go to a part of Layer 1 we haven't seen yet - the ship. I decided to climb down to screen 8 before hitting the button on the Navigator.
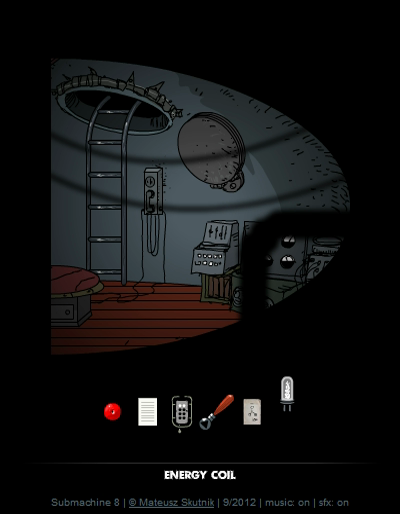
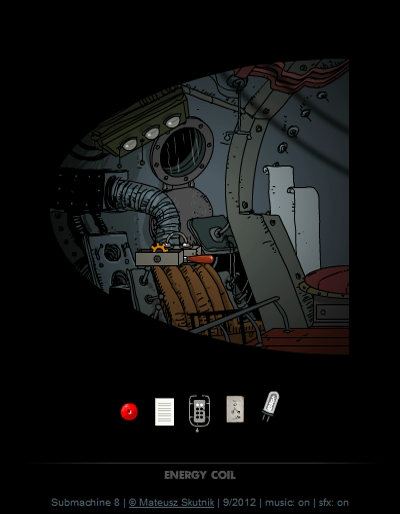
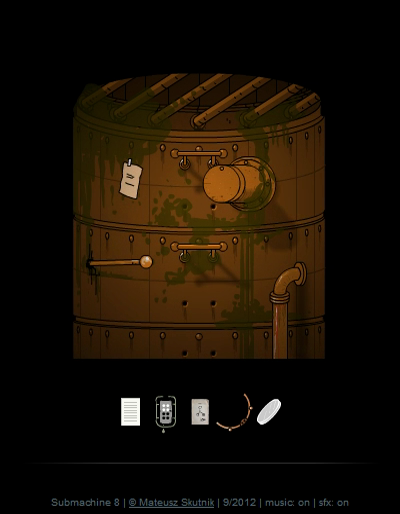
Screen 1-8 here has an Energy Coil lying around that I'm sure will be useful somewhere.
To the left, in 1-7, we find another picture with a hint similar to the one we found before. There's also a small chest.
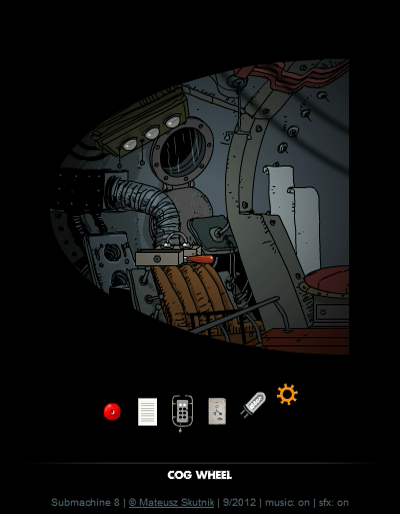
Which contains a Cog Wheel.
There's a place we missed, the Layer 1 version of screen 9. We can get there by climbing up from the room with the Energy Coil.
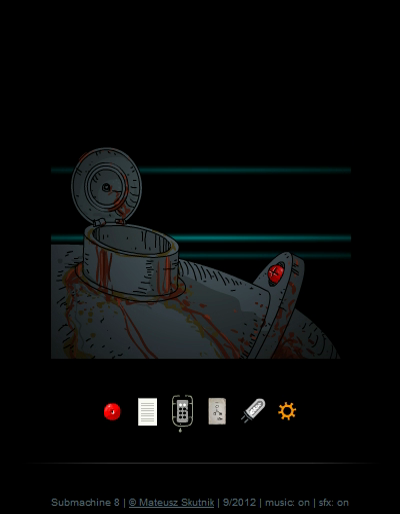
The top of the ship has another Stone Sphere. There's just one part we haven't explored yet. The Layer 2 version of the catwalk. To get there we need to switch to Layer 2, go left to get out of the ship area, go back to Layer 1, climb up to the catwalks, and then go to Layer 2 again. If you understand how the screens of the different Layers match up, it's not complicated.
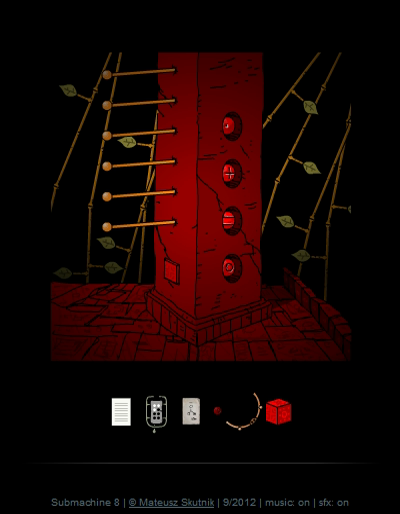
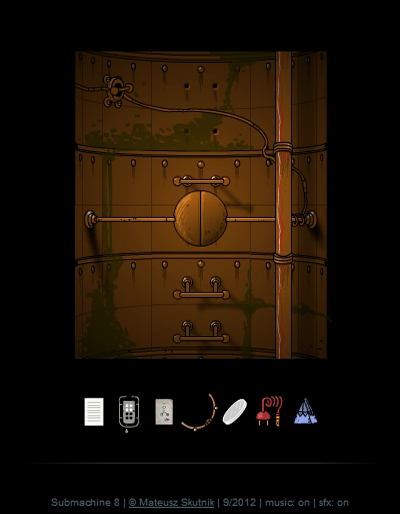
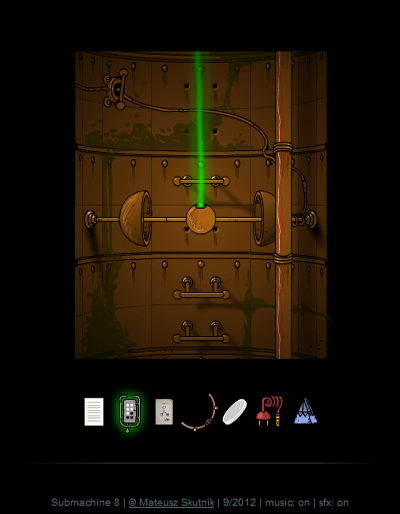
Screen 2-1 has some kind of device. Let's explore before doing anything with it.

Screen 2 has a third Stone Sphere which we grab, while the final screen has a device similar to the one that shot out a beam in Layer 1.
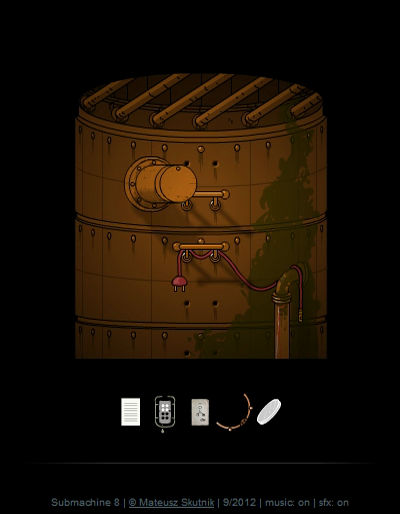
The lever doesn't work until we put the Energy Coil in the device to the left that apparently powers it. But once we got it, the third button on our Navigator lights up.
♫ Thumpmonks - Submachine 8 - The Ruin
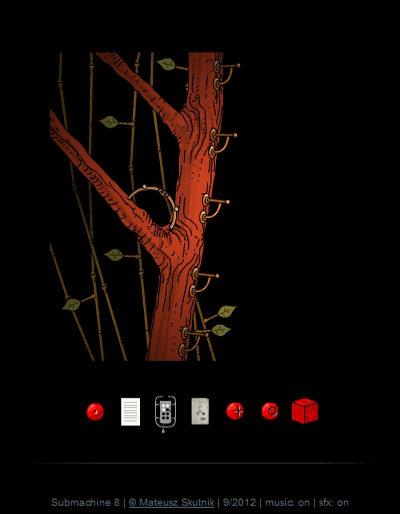
Welcome to 3-3. The wiki calls this Layer 3 area the Cog Trees. It also points out that the music here is a rare instance of a Submachine ambient which actually has a definite rhythm. Let's go left.

RTL
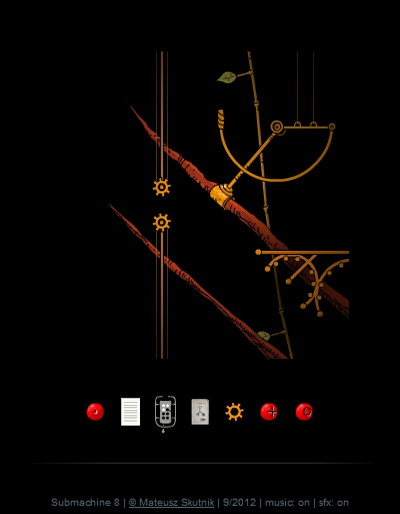
This area is somewhat similar to Layer 1 in that screens 1 - 3 are a sort of catwalks, in this case high up in a tree.
We can immediately use the Cog Wheel from Layer 1 to fix this contraption. When we pull the lever, the metal cover in screen 3 is lifted up to reveal a Cube.
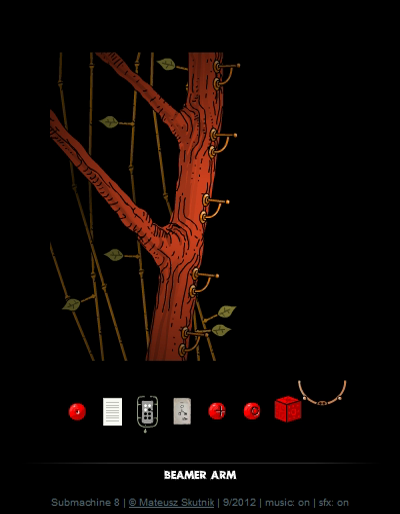
Down in screen 3-4, there's a Beamer Arm sitting on a tree trunk. It's part of one of those green beam devices, so we take it with us.
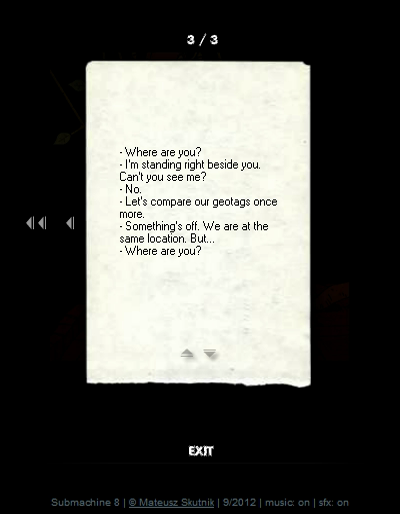
quote:
- Where are you?
- I'm standing right beside you. Can't you see me?
- No.
- Let's compare our geotags once more.
- Something's off. We are at the same location. But...
- Where are you?
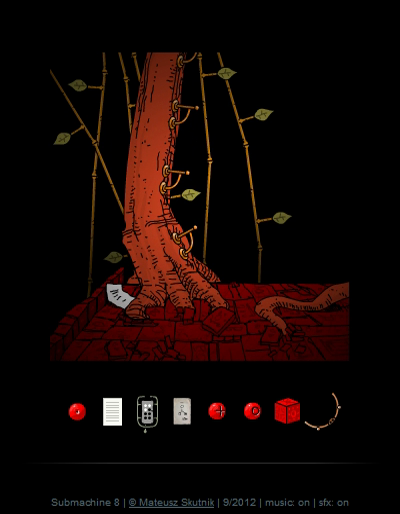
The big tree in 3-6 has another of those levers like in Layer 1. Let's leave it alone until we figure out what it does. In 3-7, we find something that looks a bit familiar, but that doesn't do anything by itself... let's quickly jump back to Layer 2.
Aha! Apparently changes in one layer can affect things in another layer. We pick up the fourth Stone Sphere.
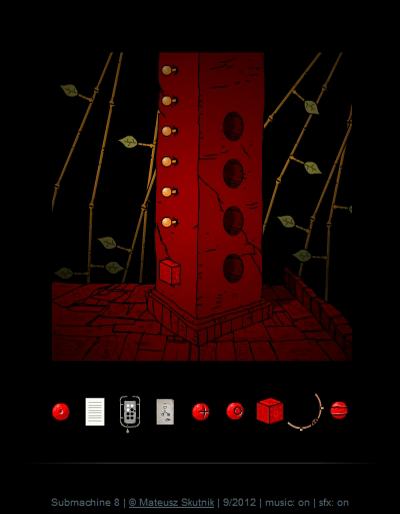
We're now in screen 8, that's the room with the electronic screen in Layer 2. Pressing the red button here makes steps come out so we can climb to 3-9.
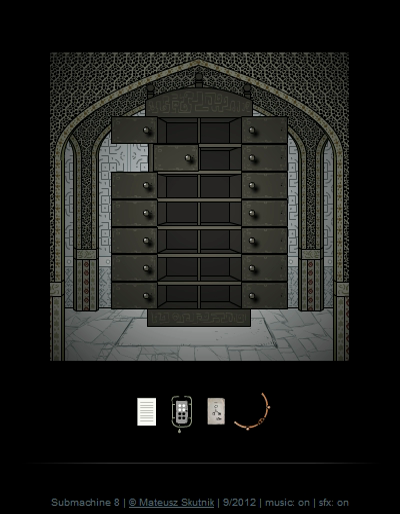
There's a device up here. Kinda looks like a Beamer... now how to activate it?
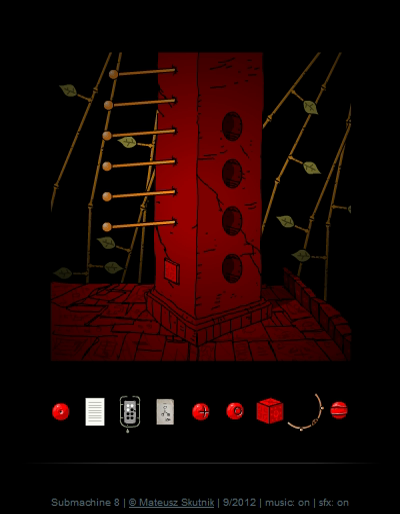
The answer is in the holes down here. Now, funnily enough the game doesn't check what you're trying to put into the holes. You can put in a beamer arm. Or you can even put the square peg into the round hole. But, obviously, this is where the red Stone Spheres go. We got hints showing their order:
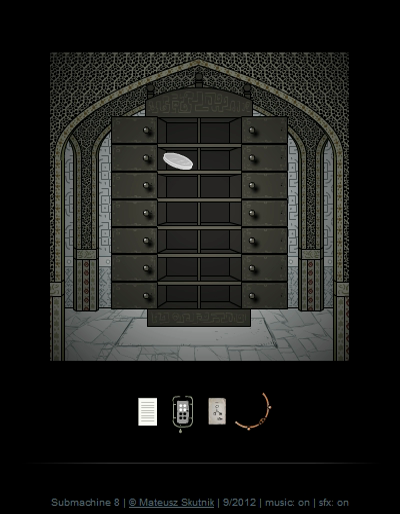
There we go. Now we use the Cube we found on the square hole here and push it all the way in to activate the Beamer.
Let's see what Layer 4 looks like.
♫ Thumpmonks - Submachine 8 - The Sewer

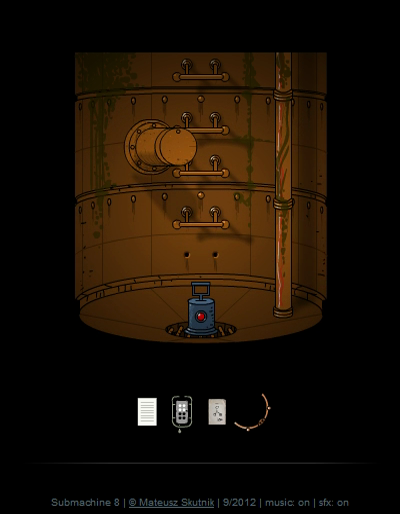
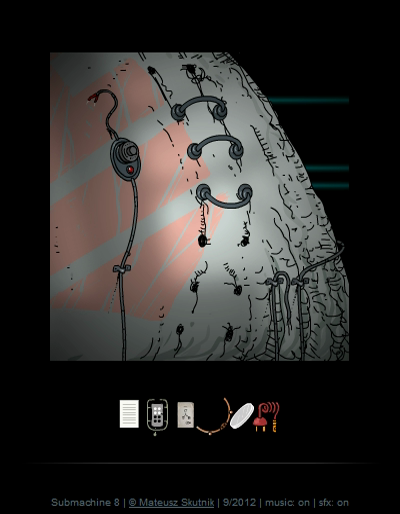
It's the Large Sewers. The devices up top in 4-9 don't do anything yet. Climbing down, we find another plunger like in Layer 2. It doesn't work.
It doesn't look like it but we can actually crawl through the small pipe to the top left to get into 4-7. This is indicated by the lid sliding open when your mouse gets close. I'll have a screenshot of that later on.
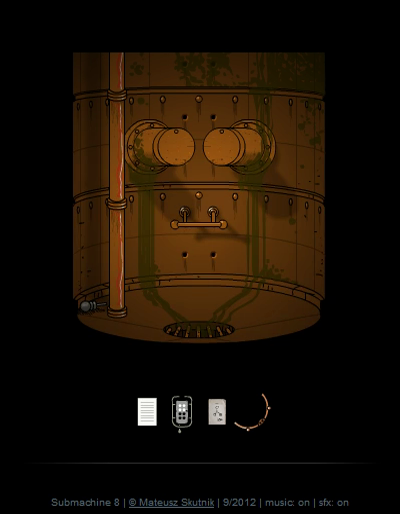
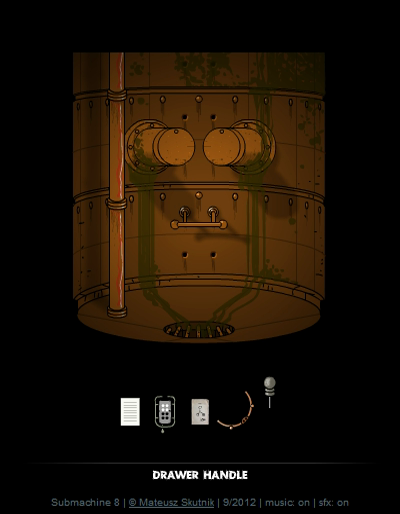
We find a Drawer Handle here. I think I know where that goes. But let's go a bit further left first.
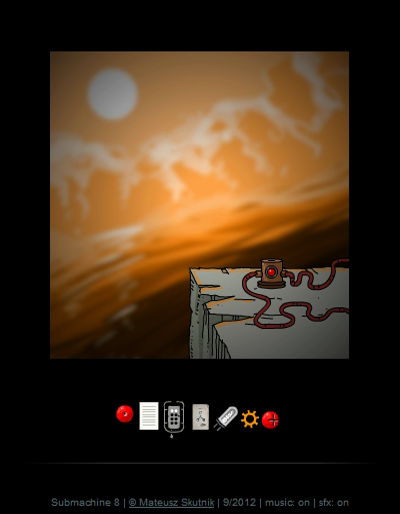
There seem to be stairs leading down here, but it's flooded with dirty water. This is what the Navigator looks like now, by the way. We can't go further left from here so let's go get our price in Layer 2.
Upon closer inspection, this disc turns out to be a Small Mirror.
We haven't been in the leftmost part of the Large Sewers yet because it was cut off from the rest, so let's take a step left here and shift back to Layer 4.
Pulling the handle at the bottom causes a flushing sound. We'll investigate that later, let's climb to 4-4 first.
Another hint. You may be able to guess what this is related to. We've seen it already. But there's still a part missing.
RTL
Up here, to the left we find another useless lever and a note.

quote:
- But why the boundaries. Why this particular shape?
- The idea is to give you the glimpse of the plan. Just a glimpse. Seeing it in all it's glory would blind your mind.
To the right you see what it looks like when exiting through one of the small pipes.
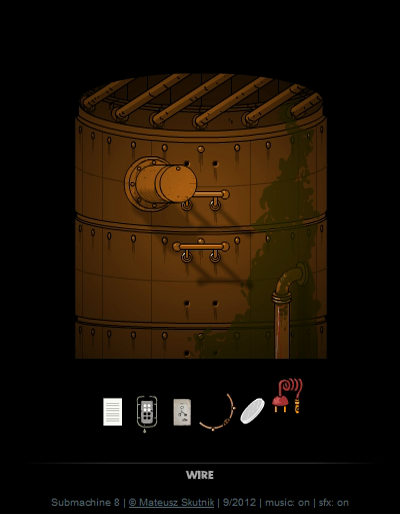
We grab the Wire (a power cord) from 4-3. Now let's see what that flushing sound was about.
We can now go down from the previously flooded 4-6 into a completely new screen, let's call it 4-10. There's nothing we can do here right away, but this does mean we can shift to the three other versions of screen 10 from here.
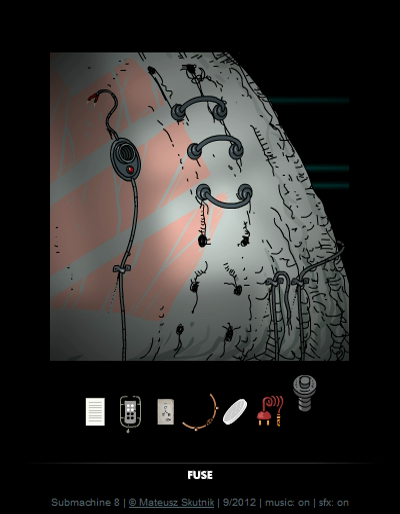
In Layer 1, we pick up the Fuse.
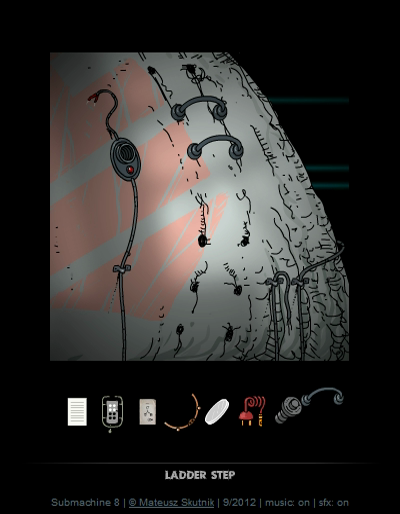
We can also optionally grab the lowest Ladder Step, climb up from here, and attach it to the Dock in 1-6. This creates a shortcut, we can now climb down to 1-10 from here.
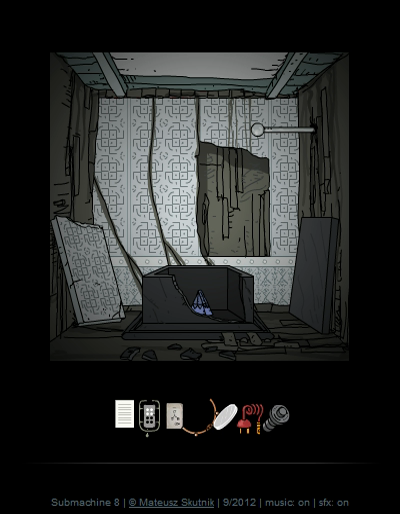
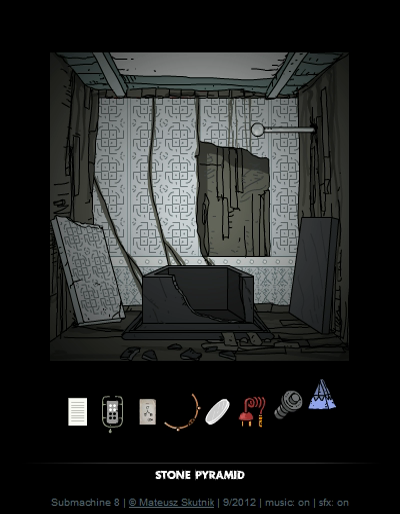
2-10 is a hidden basement of the Cardinal Mosque. Here's the Layer 2 useless lever, and a Stone Pyramid to grab.
And 3-10 is under the large tree. We can't do anything here yet but this screen holds a Secret. Submachine 8 has five secrets, but because of the nature of the game it's more convenient to collect them all just before we finish, so that'll have to wait for now.
The Fuse from 1-10 goes into the hole in 4-10.
This brings power to the thing that can be turned in the top left corner of 4-9, the top-right room.
Which powers up the Beamer that unlocks Layer 5.
And that seems like a good point to end this update. But before I do that, one last thing. I always check the Submachine wiki for neat trivia. And some fan found this picture on an old Livejournal (yes that site still exists) about urban exploring. I think it was taken in some abandoned factory.
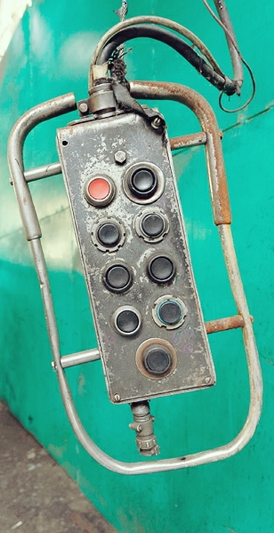
I don't think this requires any further comment from me, so I'll see you next time when we explore some more Layers.