Part 23: Submachine 9: The Temple
Part 23Submachine 9: The Temple
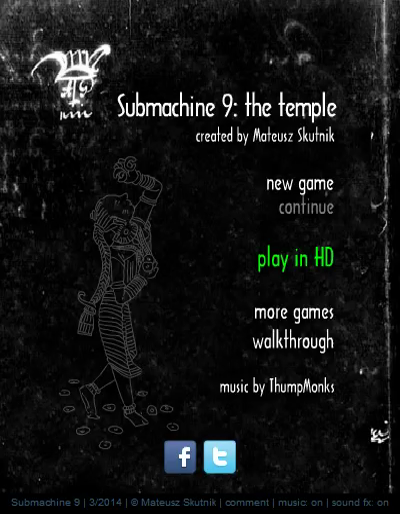
Click here to play the game yourself.
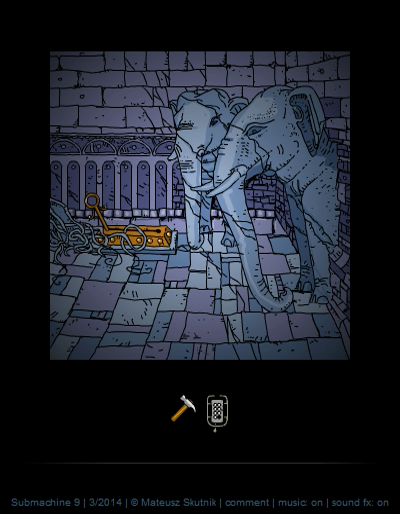
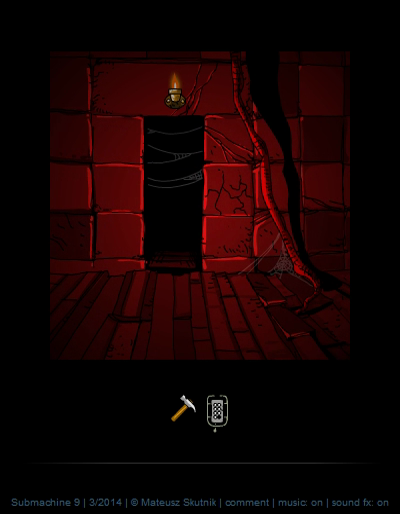
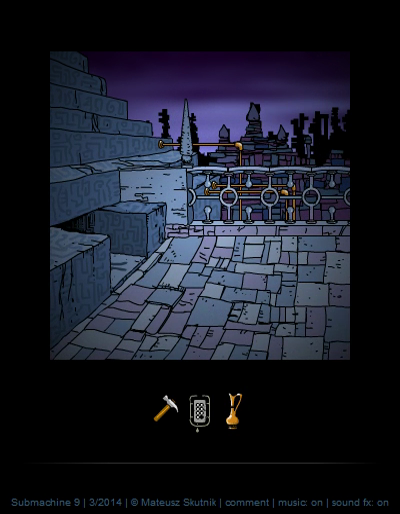
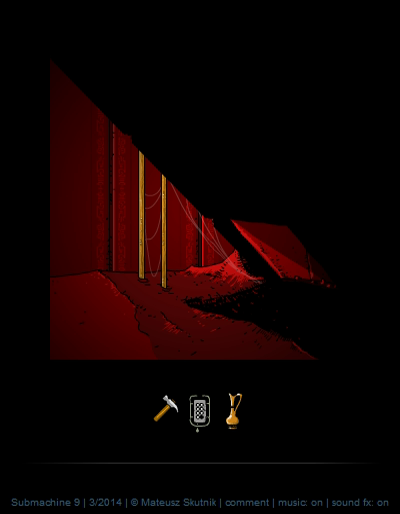
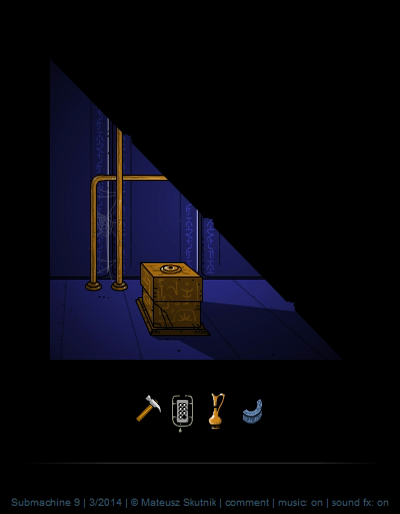
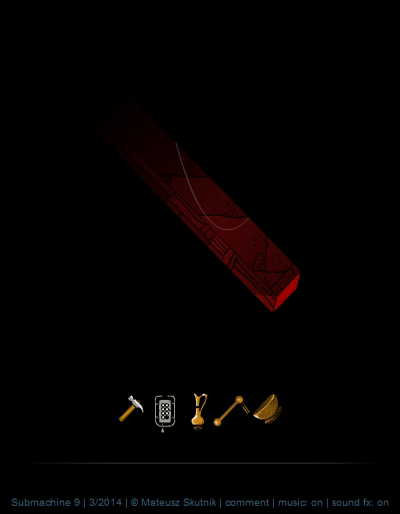
Welcome back! Last time, in Submachine 8, we picked up the Navigator and used it to jump to parallel dimensions. In the end, we unlocked a strange gate and walked through. Let's see where we ended up, shall we?

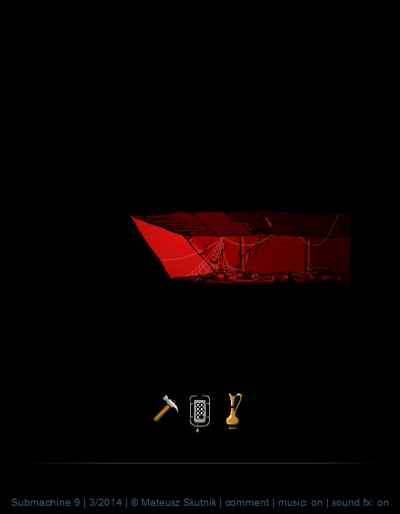
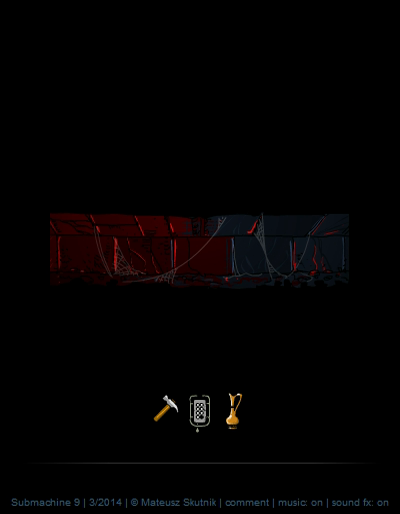
... That's a bit strange. Wonder what it means.
♫ Thumpmonks - Submachine 9 - Garden
We find ourselves in an area called the Garden, not to be confused with the South Garden from Submachine 7. We kept two items from the last game: the Hammer (even though it was optional to get) and the Navigator.
The Navigator seems to be fully functional... but jumping from Layer to Layer doesn't seem to do anything. That's actually because in this area of the Subnet, all seven layers are (nearly) identical. You'll see what I mean soon enough.
The wiki says that this entire area is known as the Knot, I'm guessing that's because this is the place in the Subnet where all Layers are tied together so we can easily jump between them. It's not clear if the area we explored last game also belongs to the Knot or not. I honestly don't even know where they got the name "the Knot" from, I don't think I've seen that name in any of the main games. Possibly something the author said.
Anyway, let's get going.
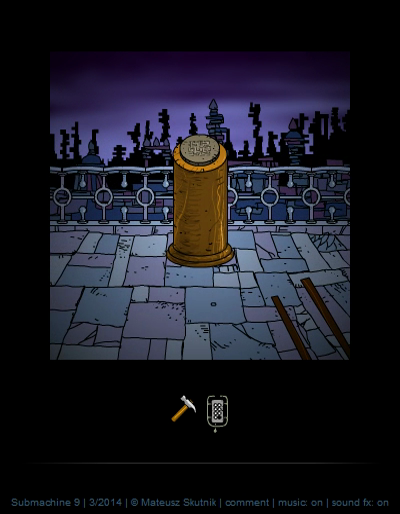
To the left of the garden gate is the first Note, which seem to be on stone slabs in this game.
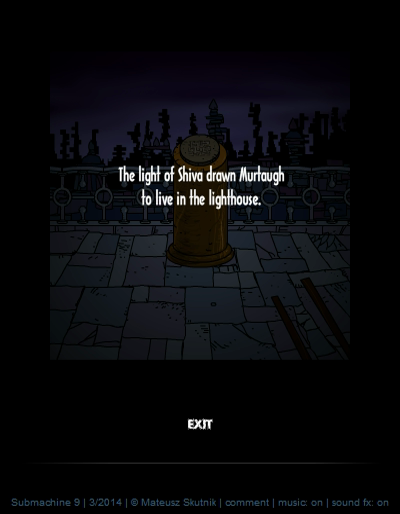
quote:
The light of Shiva drawn Murtaugh to live in the lighthouse.
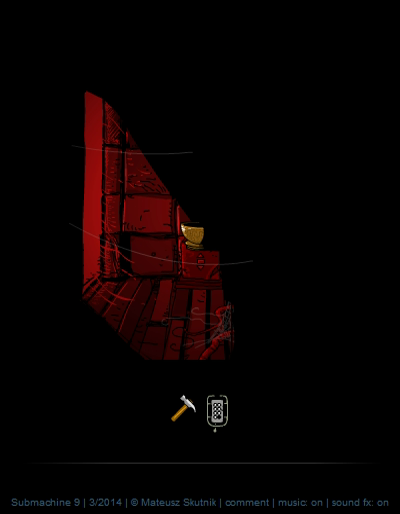
Further to the left is our first dead end, with some stone 'steps' we can't climb. Time to backtrack and go right.
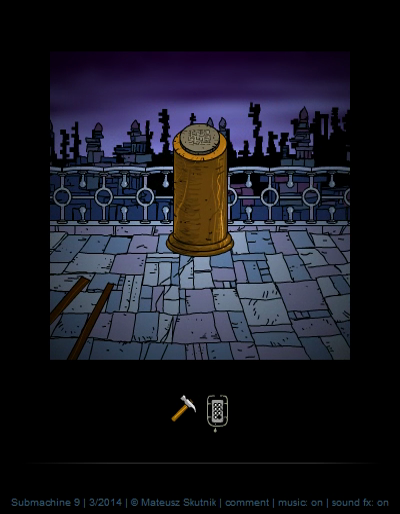
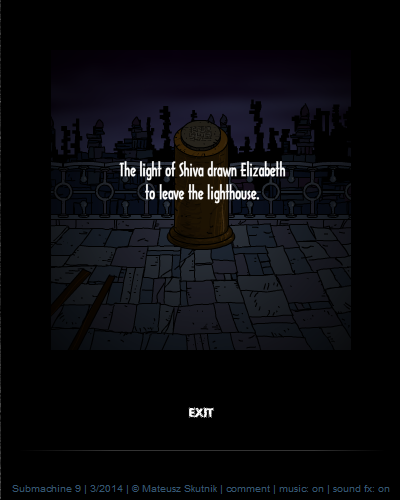
quote:
The light of Shiva drawn Elizabeth to leave the lighthouse.
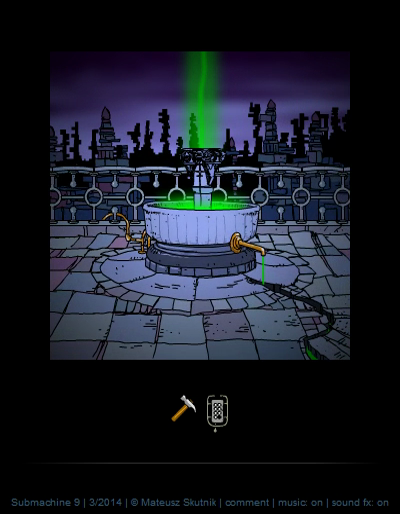

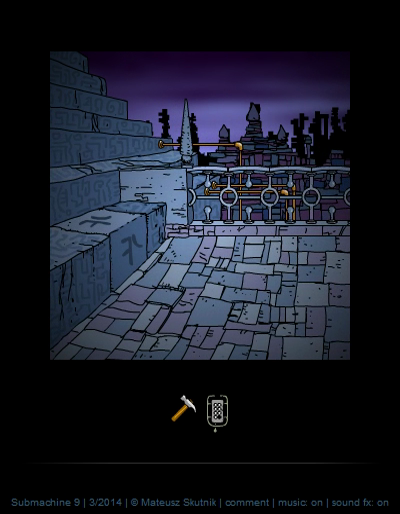
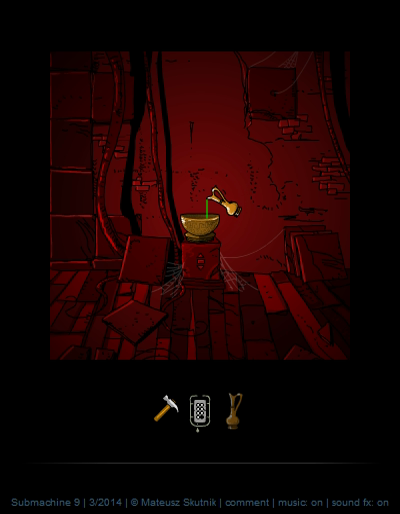
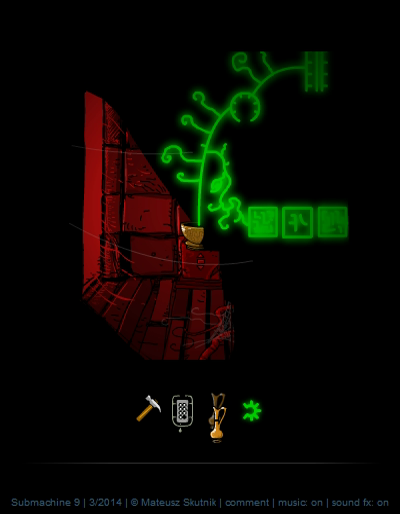
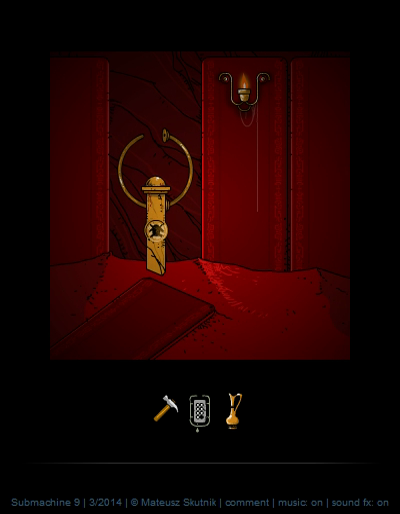
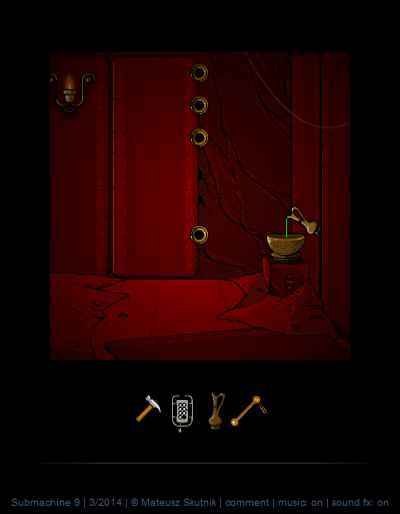
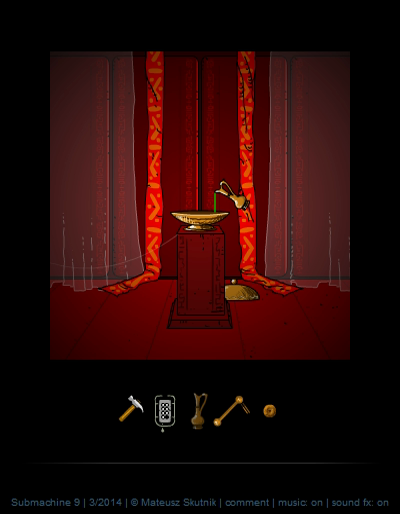
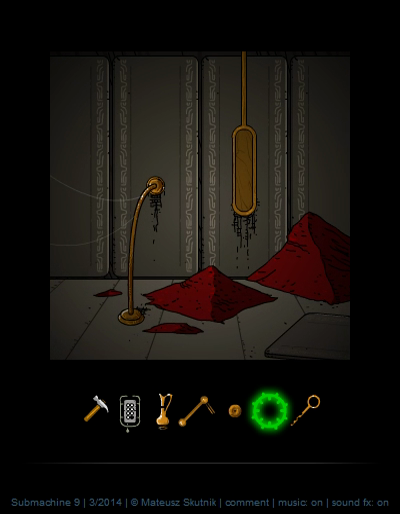
Further on to the right, we find this fountain with a weird glowing green liquid, and a locked door.
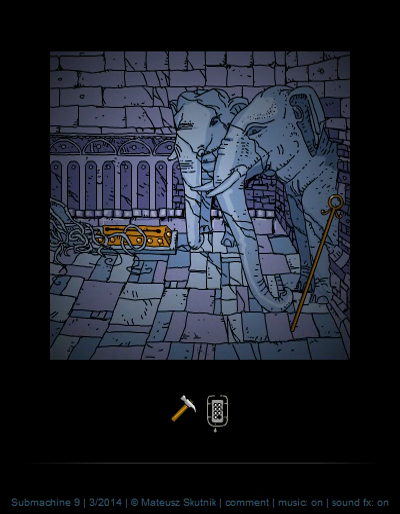
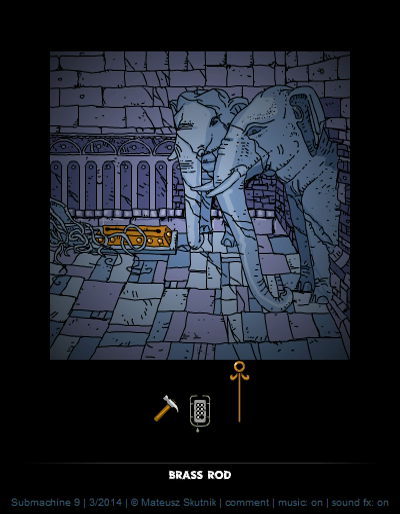
Near the right wall, we pick up the Brass Rod. It goes in the device on the ground.
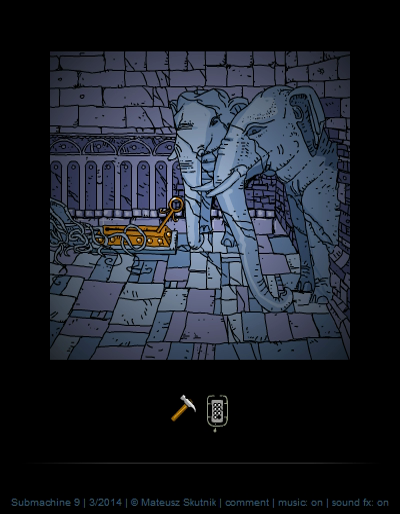
And we flip it like so to open the door to the left.
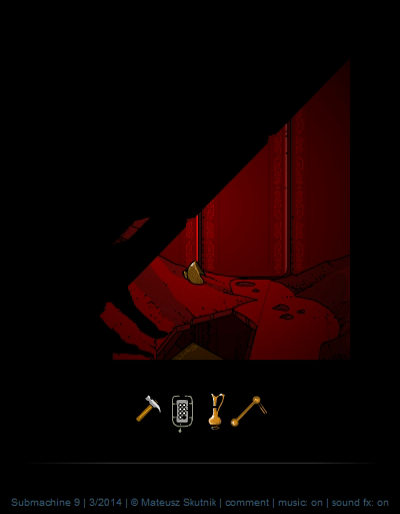
A little ways into this building we see a side passage in front of us which is too dark to see much. There's a brass bowl barely visible. Let's go further into the main hallway.

Yet another bowl, and at the end... a Brass Jug, which we're gonna need. Let's fill it up with the liquid from the green fountain outside.
Glup glup glup.
And that gives us a jar of Karmic Water.
Water goes into a bowl.
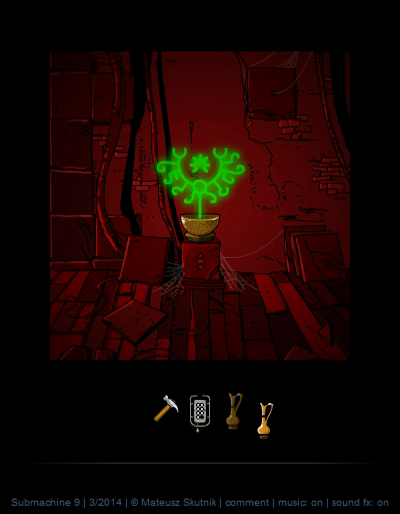
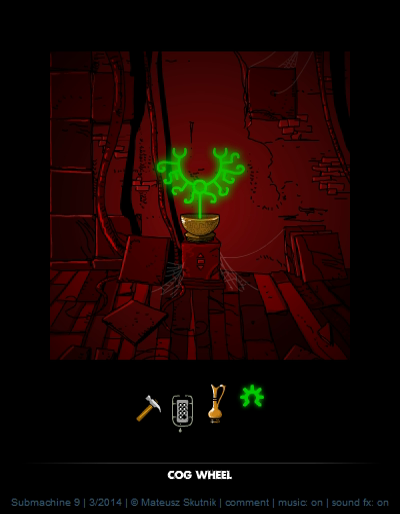
And we get... a Cog Wheel? Don't ask me how it works, but through the power of Karma, this liquid can create solid-enough objects.
We saw another bowl in the side passage. Let's go fill it with Karma Water as well.
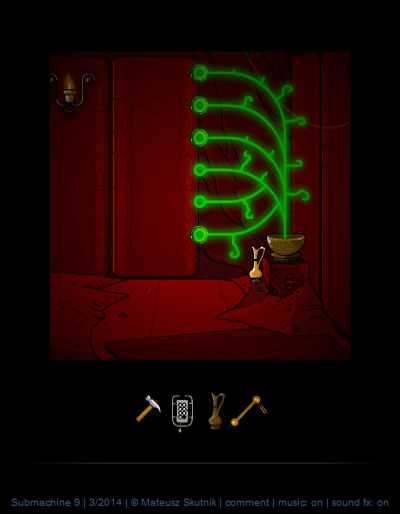
Cog wheels, branches, and leaves. It's not really organic, but it's not really technology either. Karma is funny stuff.
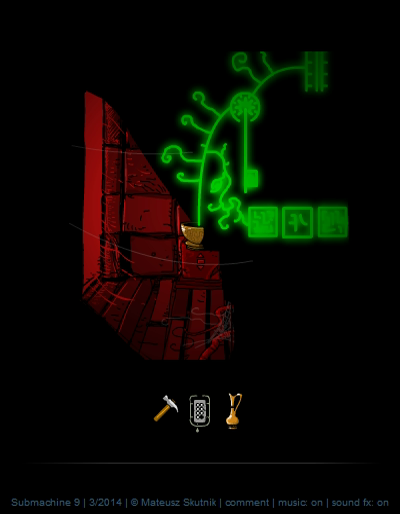
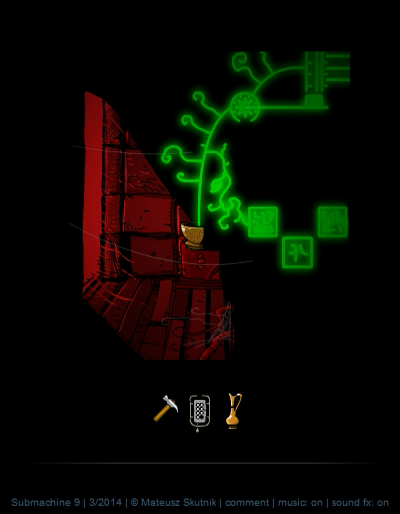
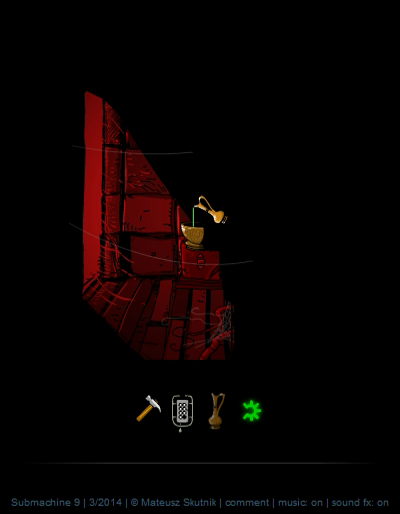
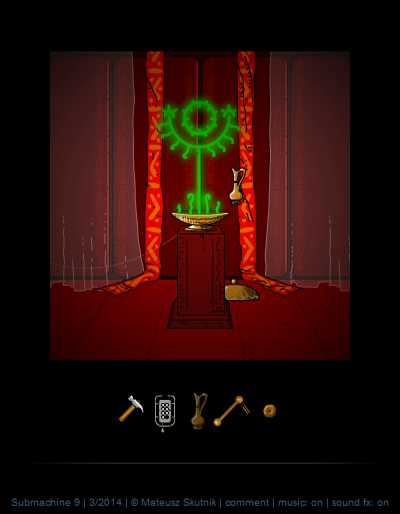
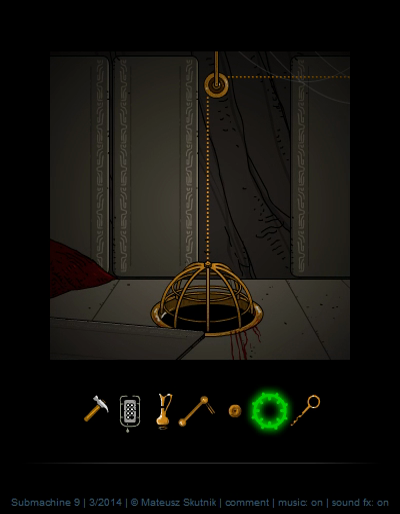
Inserting the Cog Wheel makes a lever appear, and pushing it up seems to cause some electrical(?) lines to appear to the top right, but more importantly, it moves the middle block down. We've seen that symbol before, to the far left of the Gate.
RTL
Yep, the block is gone now, and we can crawl into this structure.
RTL
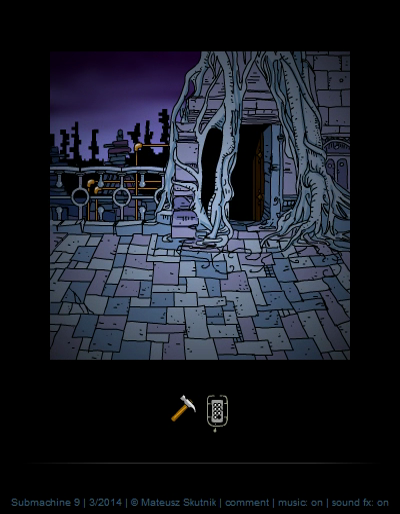
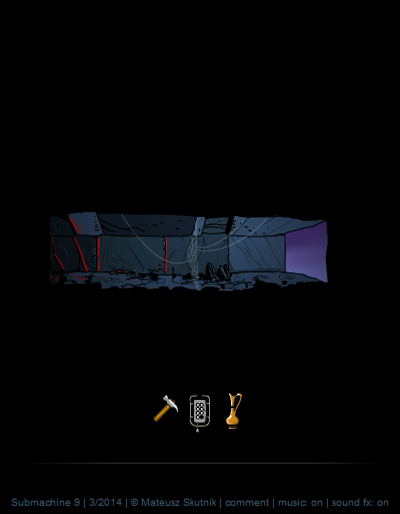
We crawl out of the hole to reach a new area.
♫ Thumpmonks - Submachine 9 - Pyramid
This place is a Pyramid, if you hadn't guessed yet. It's large, complicated and labyrinthine. I'm going to try and take a straightforward path, to not make it too confusing for you all. You know what, I'm going to number the floors. This entrance floor is the 1st floor.
We can't do anything with that thing on the left yet, so let's go further in.

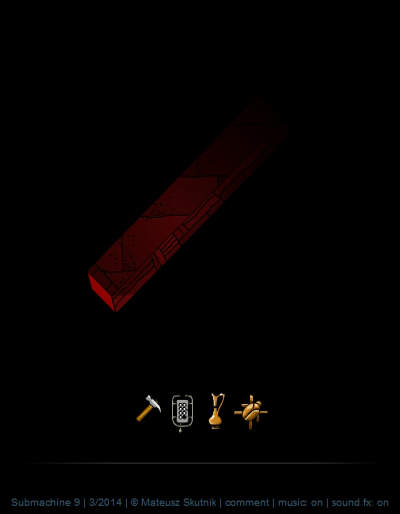
There's a wall on the left here, but pulling the rod makes ladder steps fold out.
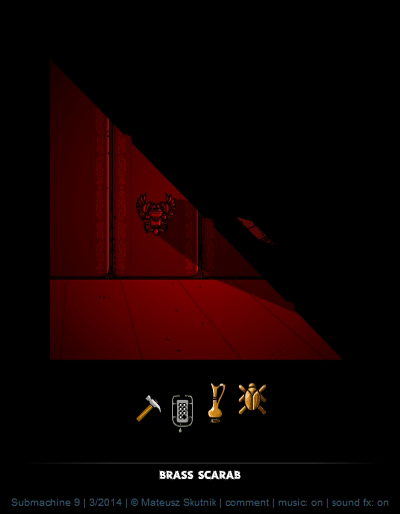
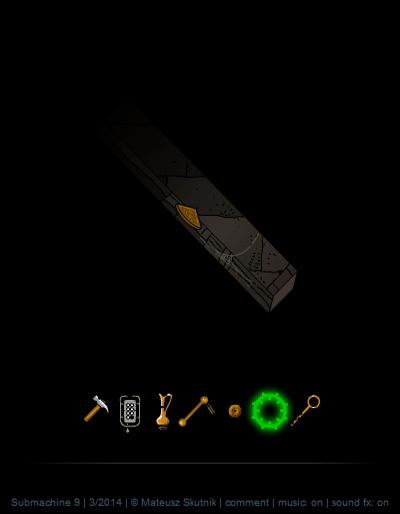
Here on the 2nd floor we find a Brass Scarab to the right. There's also an 'air shaft' that seems to lead to nowhere.
At least it's historically accurate, the Great Pyramid of Giza has mysterious 'air shafts' as well.
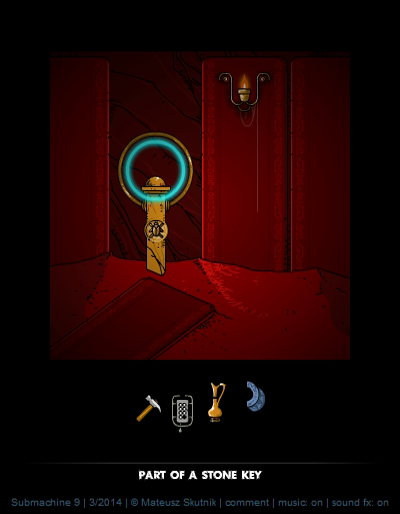
The Scarab beetle fits into the device back near the entrance. It makes Part of a Stone Key appear.

Going back to the 2nd floor and then taking a left, we find another seemingly dead end. But there's a bowl so we use our Karma Water. The good news is that it never runs out - we won't have to go all the way back to the fountain to refill it.
Anyway, through the power of Karma, a rod appears which folds out the ladder to the 3rd floor.
Which looks blue. As a bit of a help against getting lost, every pair of floors is colour coded. It also helps that as we go higher up, each floor becomes smaller. That's how pyramids work.
We can't do anything with the box on the right yet, so let's go left.
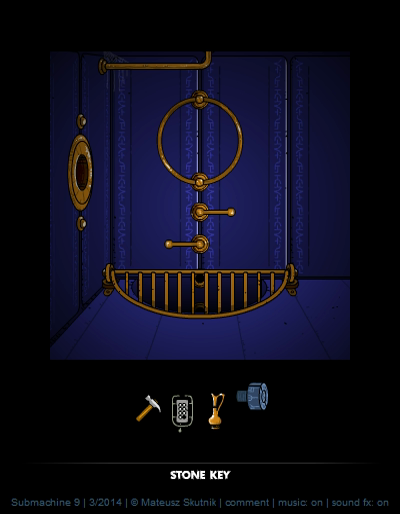
On the ground is another Part of a Stone Key. We pick it up, and combine it with the other part in our inventory to a whole Stone Key.

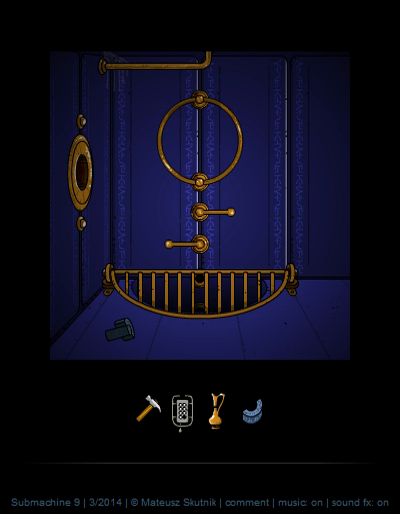
Luckily, the lock is right here, and we can climb down to a part of the 2nd floor that's behind the wall we saw earlier.
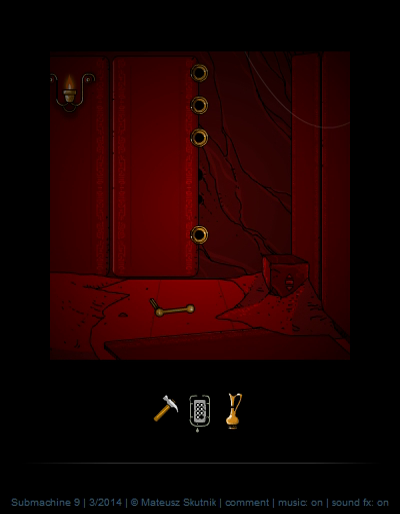
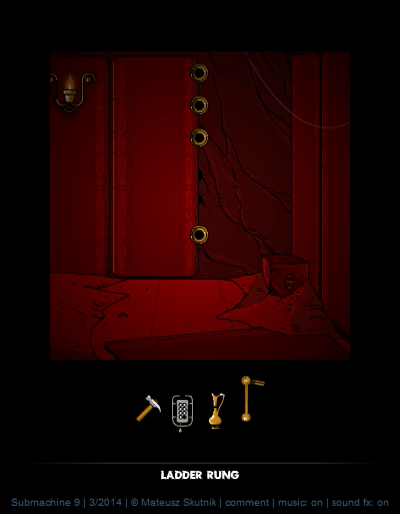
Looks like there used to be one of those ladders here. This Ladder Rung... is a bit of a dick move. We need it to find a Secret later (yes, this game has secrets - who'd have figured), but the game allows you to put it into one of the slots in the wall here... in which case it becomes stuck and you can't get it back out.
The game doesn't tell you that the Rung has another use beyond getting stuck. The game autosaves and allows you to continue at any time, even after winning. However, there's no way to get the Ladder Rung back out without starting a completely new game. You have to know about this ahead of time if you want all Secrets.
In any case, let's hold on to it for now and continue to the left. We don't have much of a choice, there's no way to climb back up.
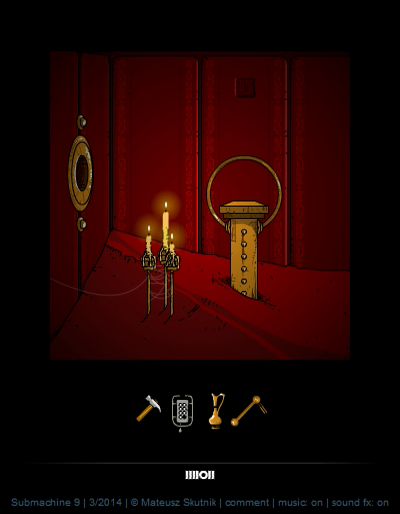
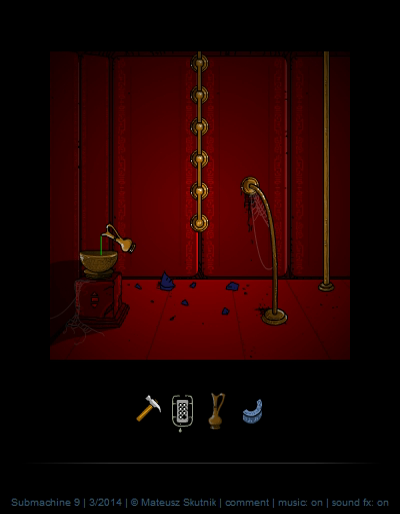
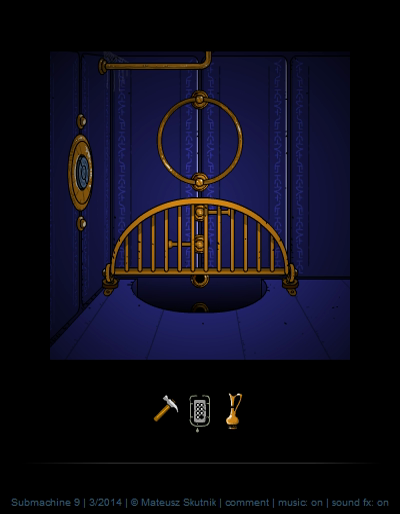
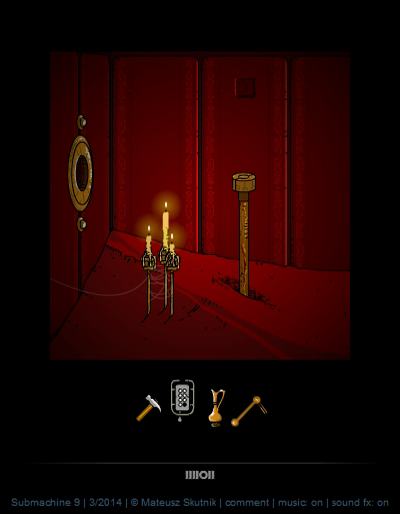
This place is full of 'dead ends'. We don't even have a key for the lock this time. What we do have is the little tile on the back wall that says IIIIOII. That's similar to the Navigator's notation! Tiles like this one indicate that the room has differences among the Layers. In this case there's something important in Layer 5.
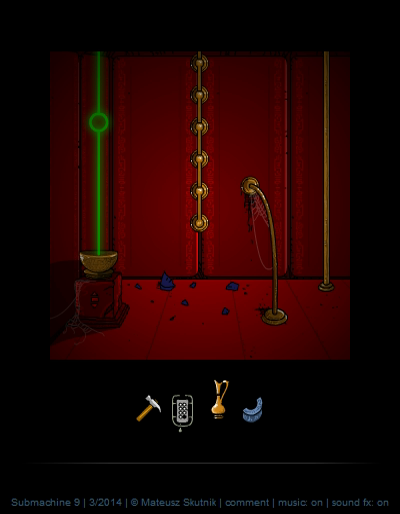
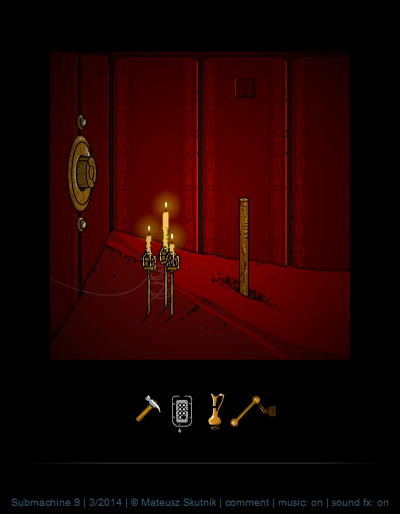
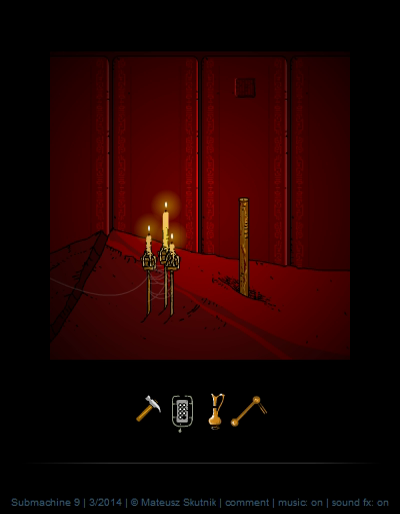
But this room in specific is different for each Layer, so let's quickly show all versions. We start out in Layer 1, which is what the above screenshot shows. Here's all seven versions:
What? Oh, you're saying you aren't Murtaugh and you have trouble seeing all Layers at once? Well, in that case, let me help you a bit.

The number on the bottom is the Navigator's output, that way you can tell where you are.
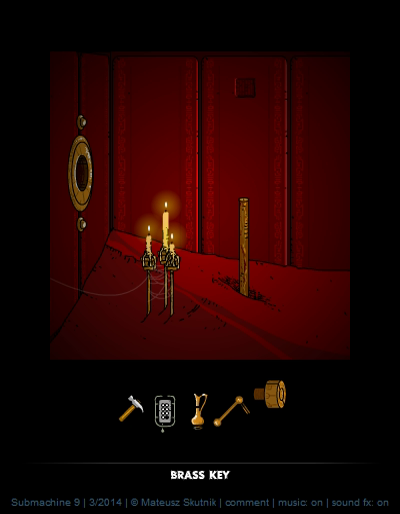
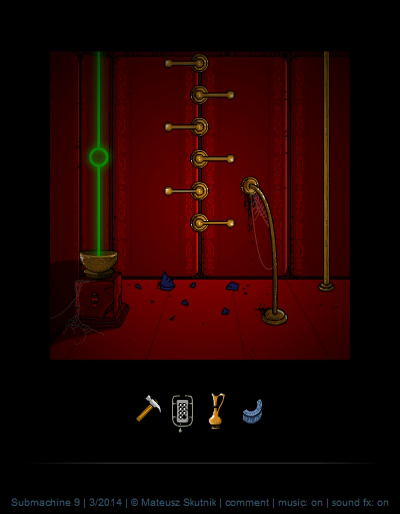
As indicated by the wall tile, the fifth Layer pillar has a Brass Key on top of it.
Putting it in the lock makes the entire wall slide up into the ceiling. To the left!
RTL
Three things of note here: yet another air shaft going nowhere, a Brass Bowl to pick up, and a hole in a floor we can climb down through.
We can use the Brass Bowl immediately - the Ladder Rung room a little bit to the right had one of those cubical pedestals on which we found each of the other Karma Water bowls. This one creates a ladder so we can backtrack when we need to.
And yeah, this pedestal is easy to miss, so it can be quite annoying when you inevitably need to go back and can't find where to go.
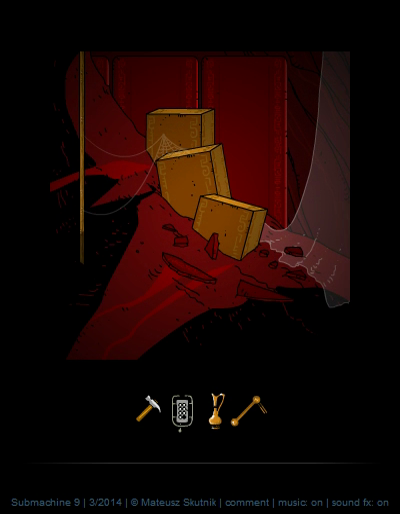
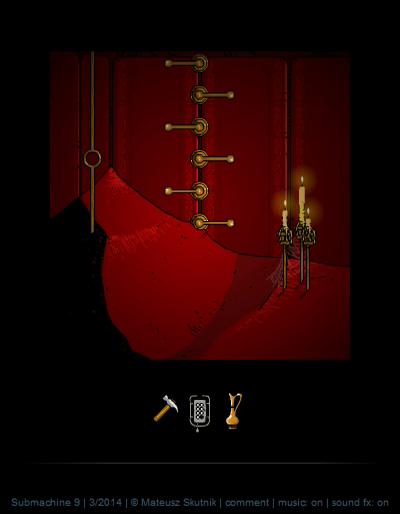
Down through the hole on the left, we find ourselves on the far side of the 1st floor. The boxes allow us to climb back up if we need to. To the right, you can see a ladder in the back going further down. But let's explore the rest of this floor first.
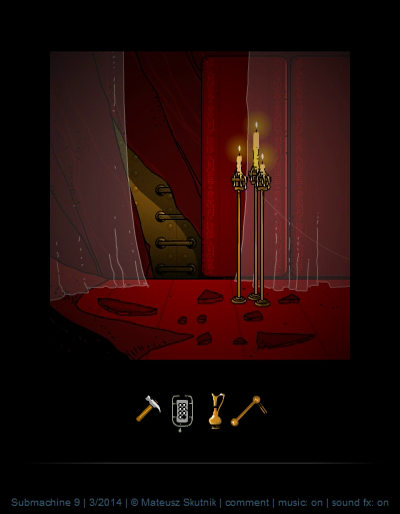
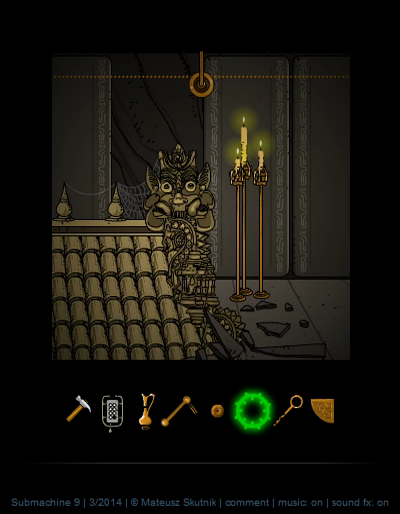
...Who put those curtains there, anyway? And who lighted the candles?
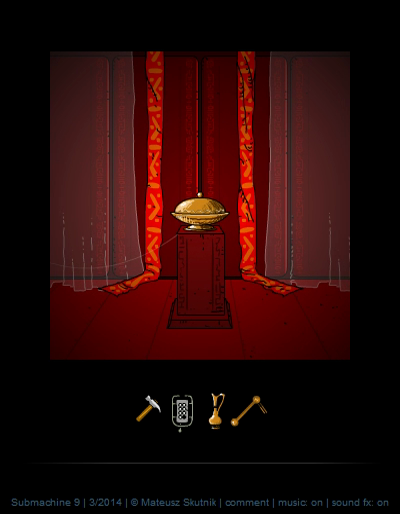
This flat bowl thing holds the next item we'll need, a brass sphere.
And if you're like me, you'd think "okay, found the item in this room, let's go on". Nope. It's a different bowl but it's still a bowl.
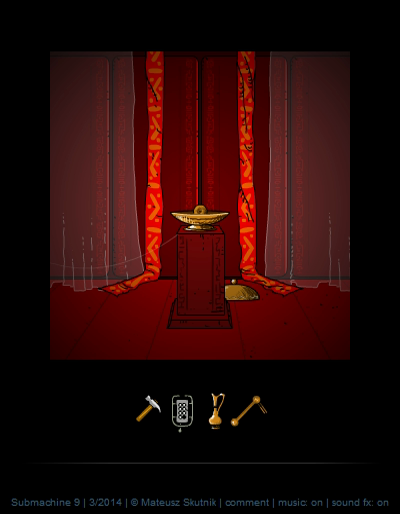
After grabbing the Brass Sphere, we water the bowl to create yet another item.
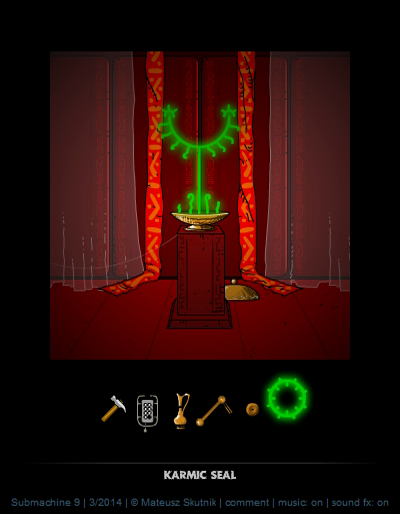
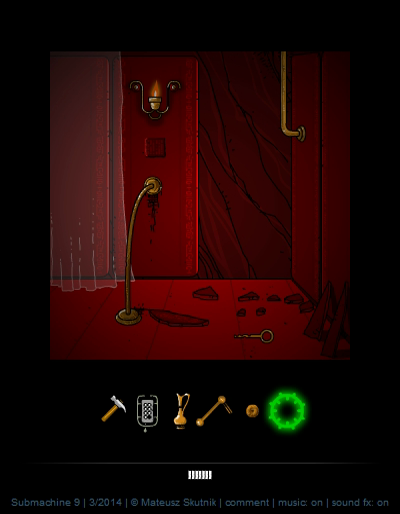
We pocket the Karmic Seal and go further right. We're now just to the left of the very first wall we ran into in the Pyramid. There's a very strange wall tile here - it says IIIIIII - so there's Layer stuff going on here, but an O denotes a layer worth visiting, and there's none of those. And it turns out this room looks the same in all Layers. There's a suspicious wall in the back though - I guess we'll figure it out later.
There is an item on the ground: the Chest Key. We'll take it and climb down the ladder we saw in the background.

We're now 'underground', as far as that makes sense in the Subnet, on floor -1. And a new colour, a grey floor. Let's go left first.
RTL
Things we can't yet interact with. But it looks like there's something even further down. Told you this place was huge.
RTL
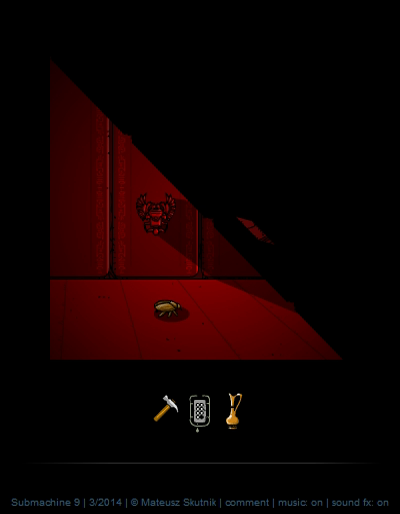
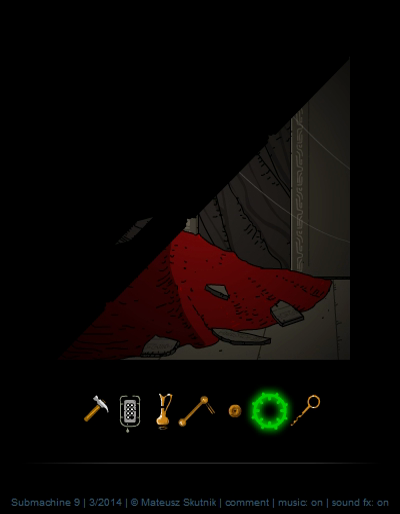
All the way to the left, it's a good thing we're checking those air shafts, because there's some kind of Brass Tile hidden in this one. Oh - and the wall here is still diagonal, so this floor is larger than the 'surface' floors.
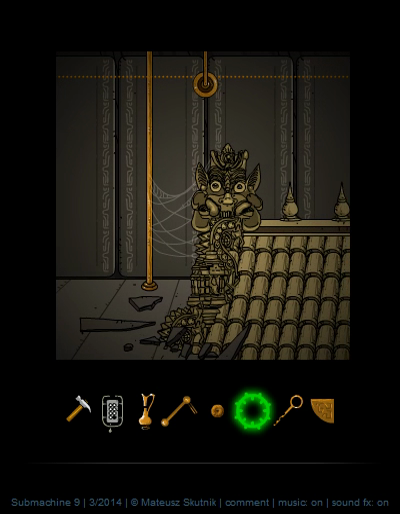
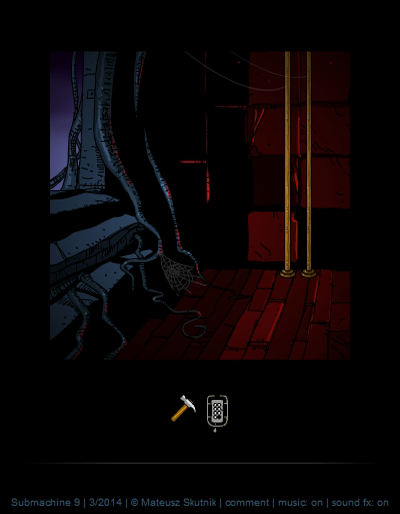
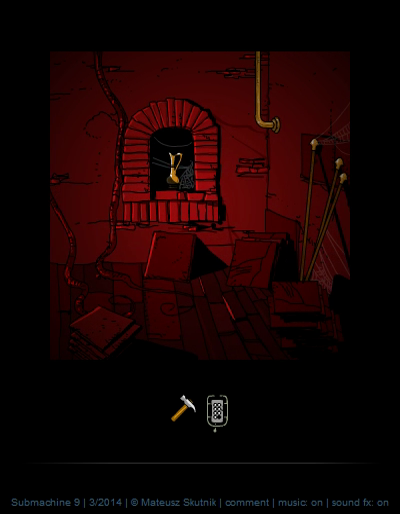
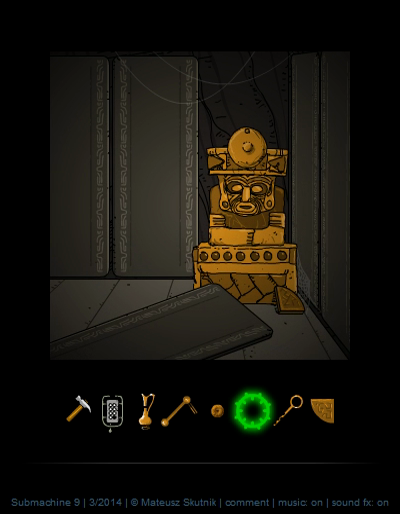
To the right of the ladder, we find..... a roof coming up through the floor? With some kind of statues that look like they belong to some Eastern religion? Not something you'd expect to find in an Egyptian pyramid.
Was this part of the Plan? If so, I have no idea what the Plan might be.
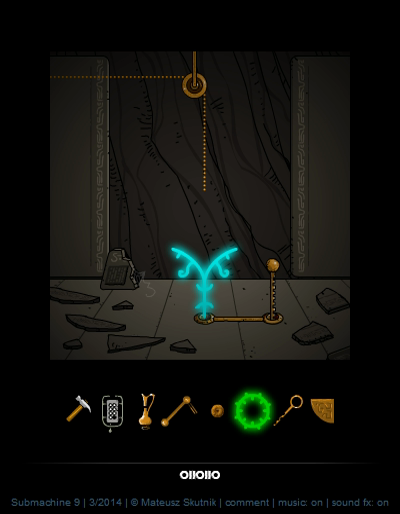
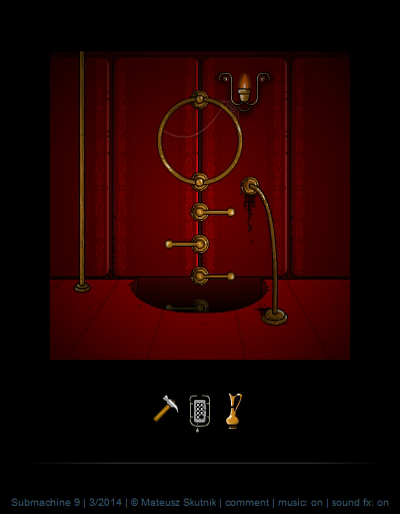
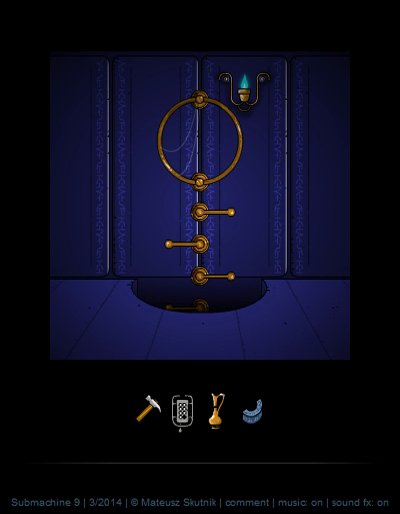
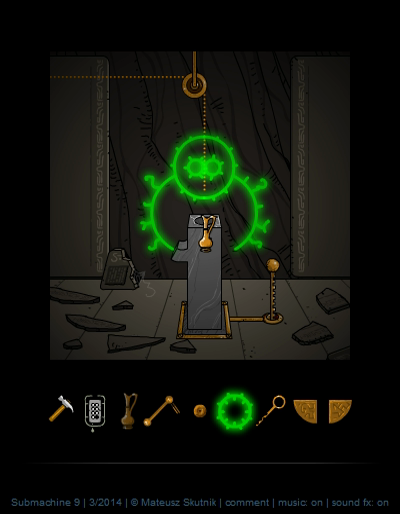
After climbing over the roof, we find this room with some blue Karma lines. To the right, we're blocked by a wall, but there's a statue here that doesn't belong in an Egyptian pyramid either. A second Brass Tile is sitting at its foot. I'll quickly grab that before looking at the Karma puzzle.
The wall tile on the ground says there's something in Layer 1, 4 and 7. Let's start jumping.
This is what Layers 2, 3, 5 and 6 look like. Nothing interesting.
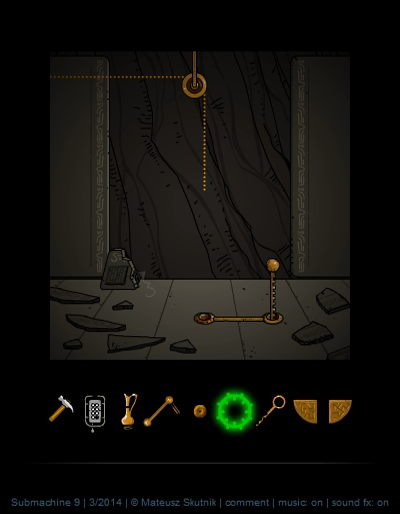
Layer 4 has this... thing. Pouring Karma Water in the top bowl makes some Karma appear from the side.

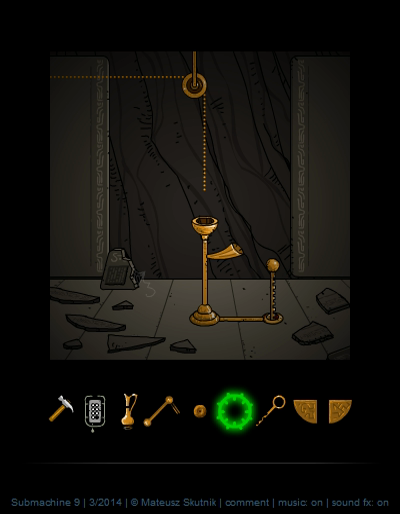
Switching to another Layer shows that the Karma contraption exists in every dimension. I pour some Karma Water in the granite bowl in Layer 7.
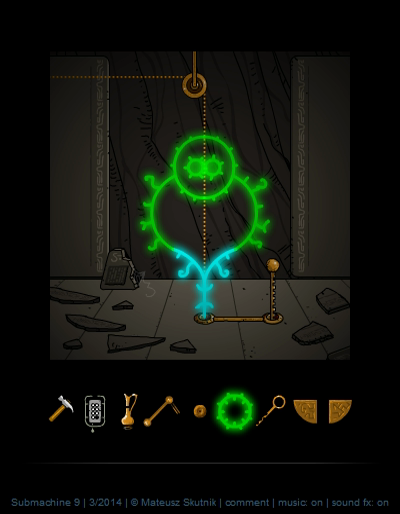
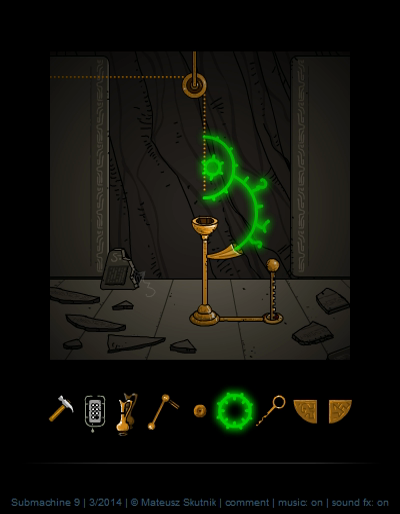
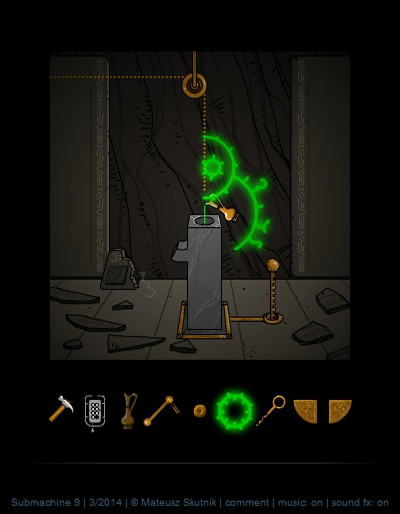
This forms another part of the Karma structure, and jumping back to Layer 1 shows it's now complete. When we push the lever in Layer 1, the cable is pulled down by the gears.

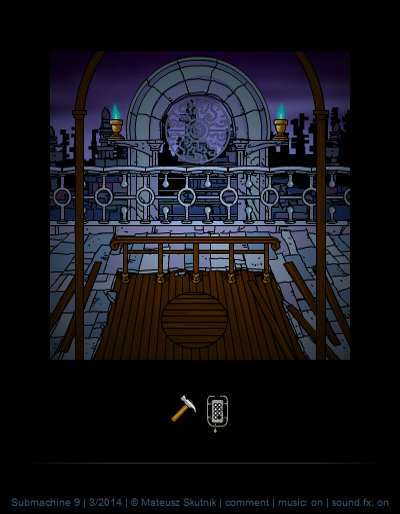
And all the way on the other side of this floor, we can now make our way further down to floor -2.
And this looks like a good place to end this update. As a bonus, have a map of the parts of the Pyramid we've seen up till now, made from a very helpful map on the wiki.
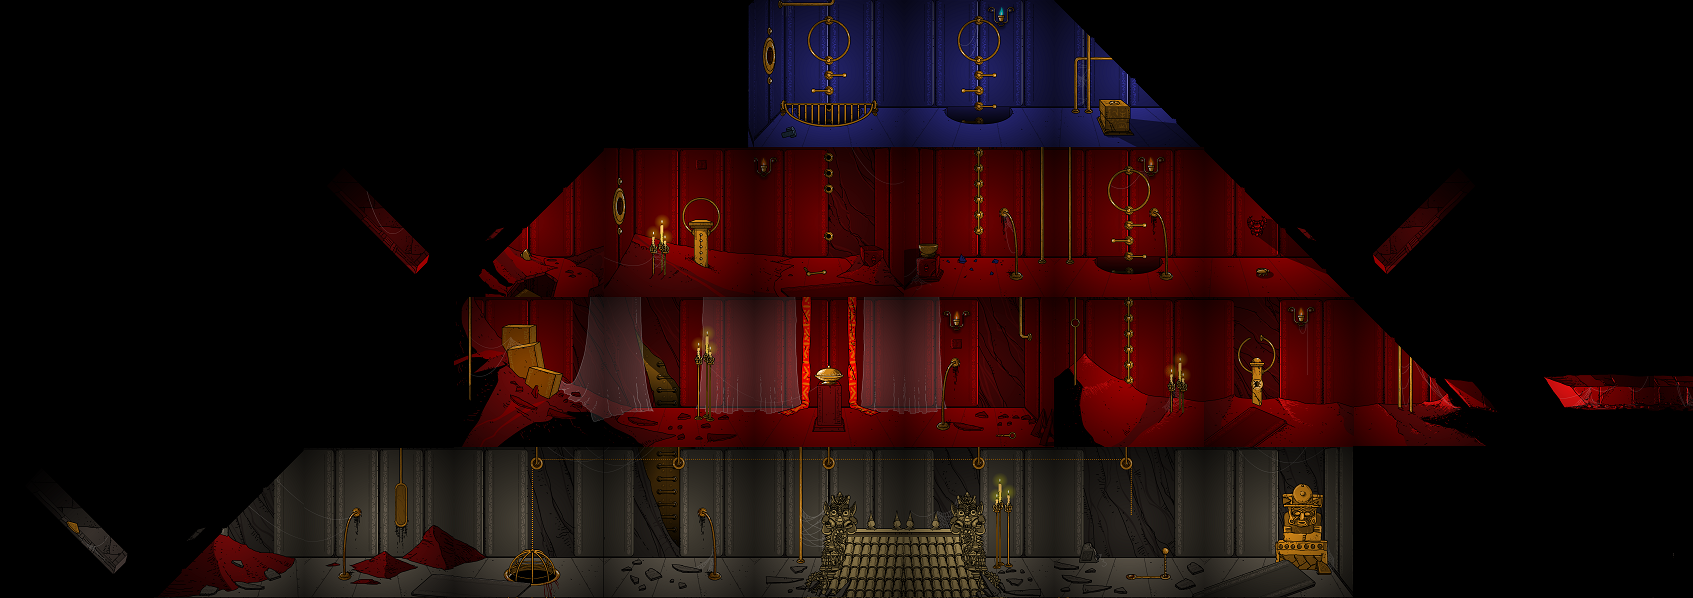
Click for large
This way, it almost looks easy. It isn't when you can see only one room at a time.
Anyway, next time, we'll go explore the further depths of the Pyramid.