Part 31: Submachine 10: The Exit
Part 31Submachine 10: The Exit
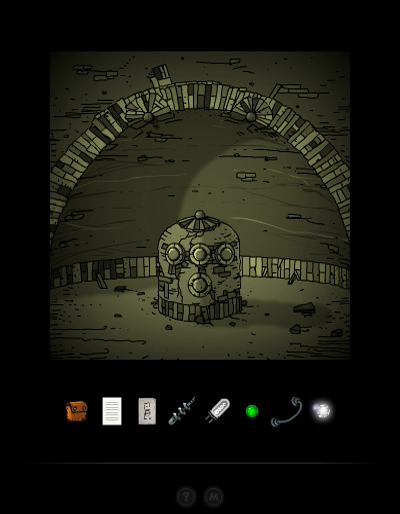
Welcome back. Last time we collected the last Vector Finder, so let's use it in the Karma Studies Facility.
"i wonder where i'll float next?"
♫ Thumpmonks - Submachine 10 - Submachine 6 Redux

RTL
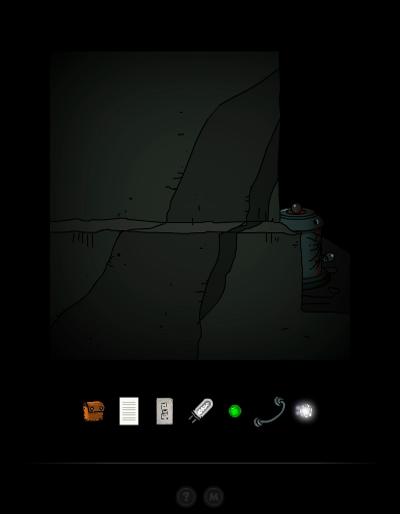
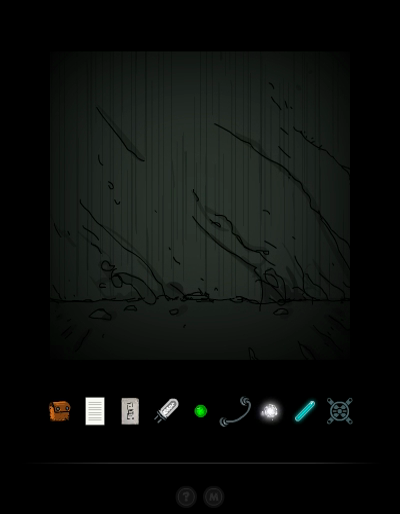
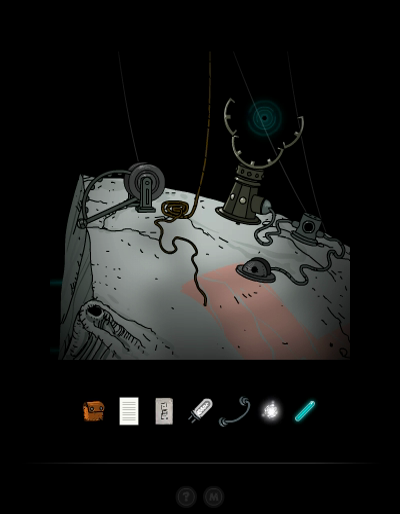
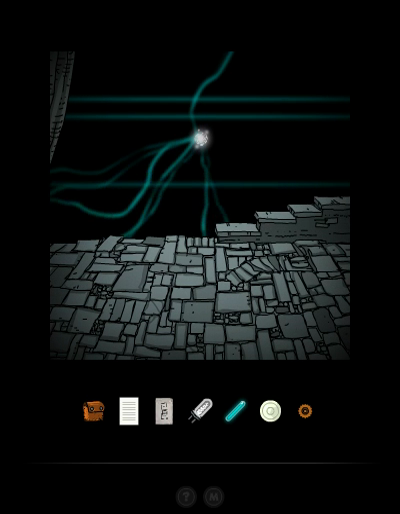
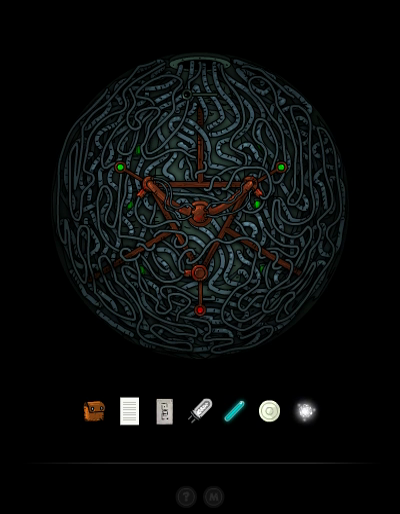
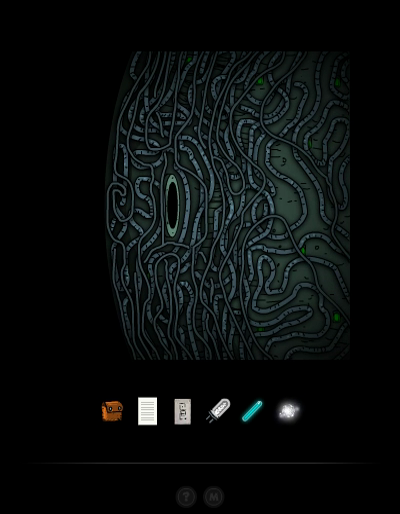
The Karma Portal brings us back to the Cliffs, at the Edge. The Karma Portal has formed in the old Portal device. By the way, it turns out that this is the first time I got any Sub 6 music in the LP. When I was playing The Edge, I didn't consider it necessary to upload the ambients of that game.
RTL
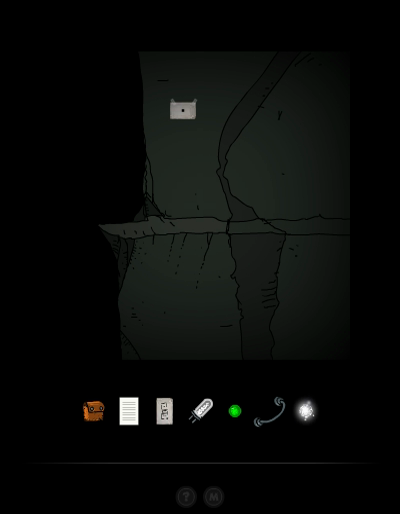
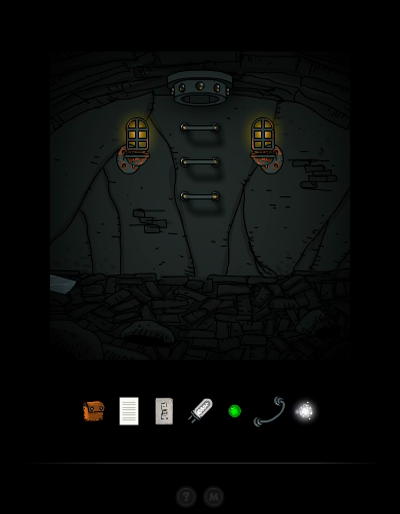
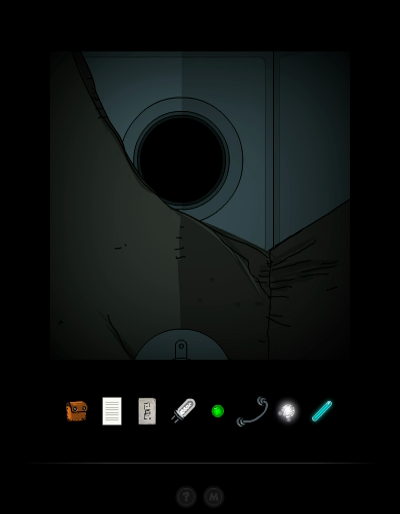
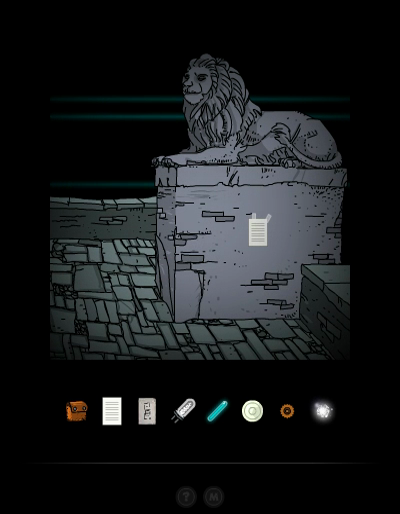
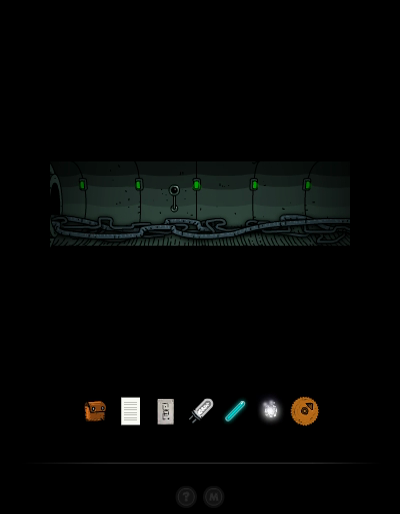
Going left around the corner, we find the entrance to the Tunnels, and a Picture.
It's one more of these glyph hints.
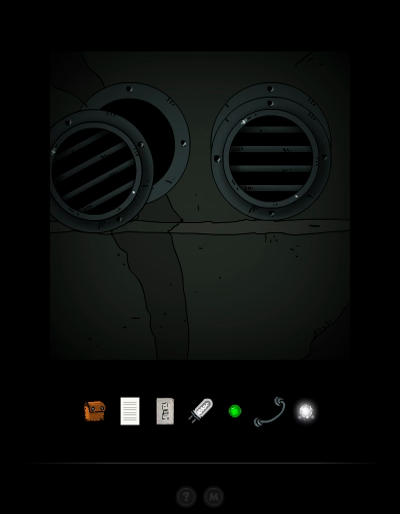
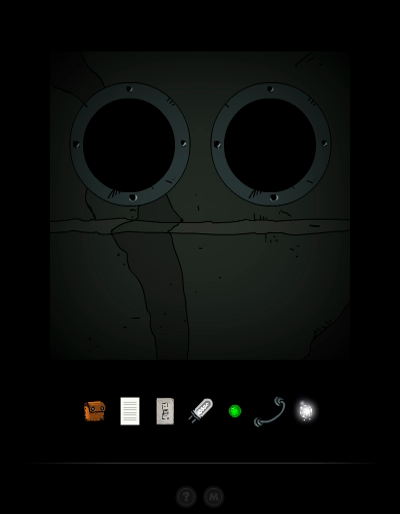
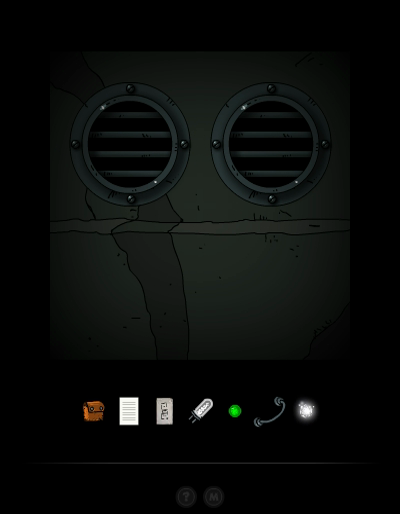
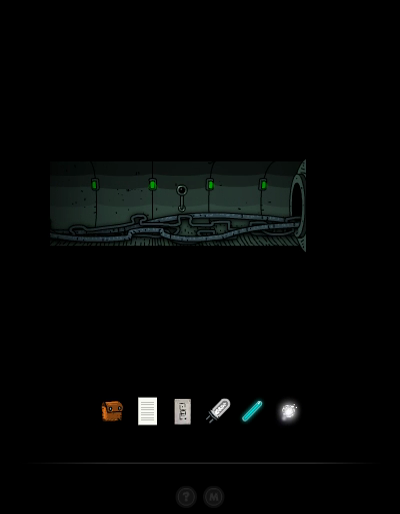
Clicking on the grates makes the screws pop out one by one, and then the grates just roll off the cliff. Nifty!
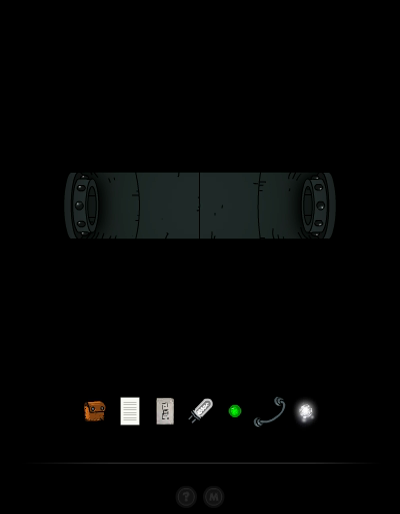
We enter the left tunnel first.
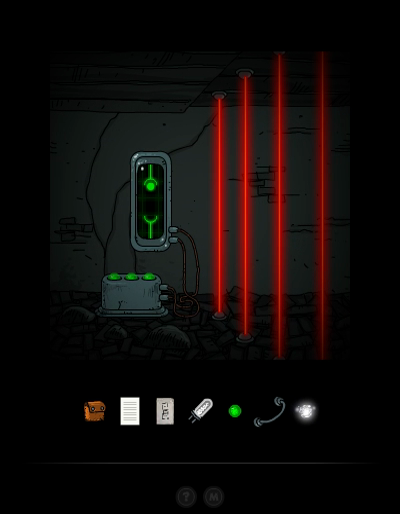
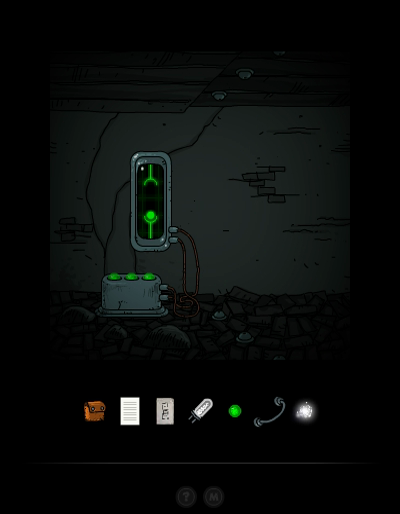
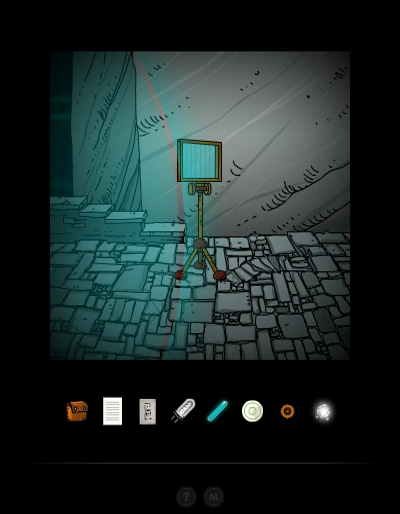
The lasers are easily disabled.

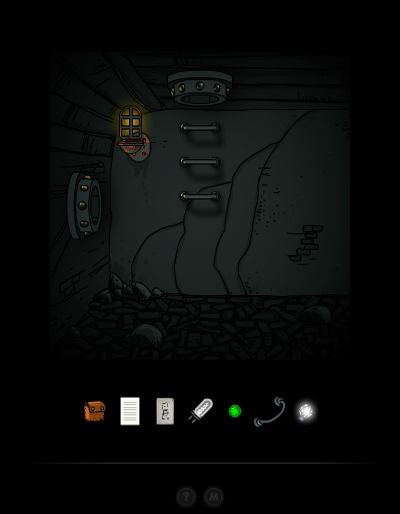
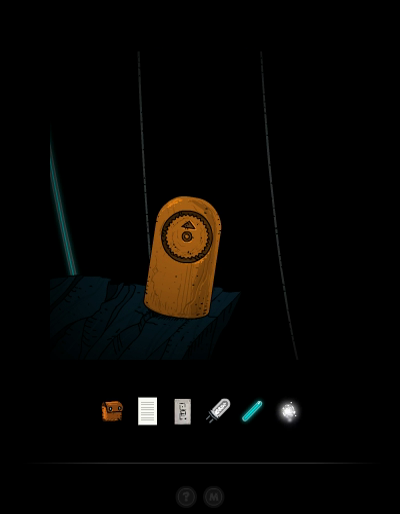
Nothing on the pillar, but we pick up the hard to see Blockade Removal Tool from the floor.
RTL
Climbing the ladder, to the left we find another Plasma Charge.
And to the right we find yet another of these devices. We still can't do anything with them.
That's one tunnel explored. Time for the other one.
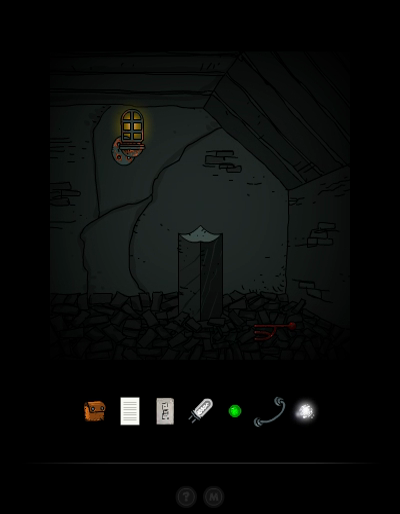
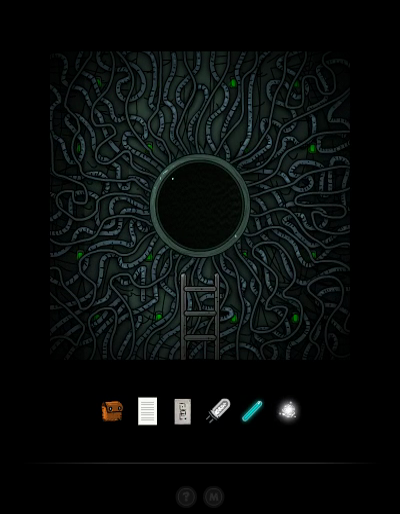
In this strange room, we can only go up.
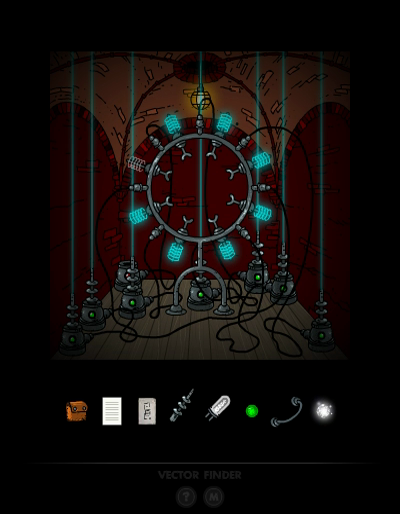
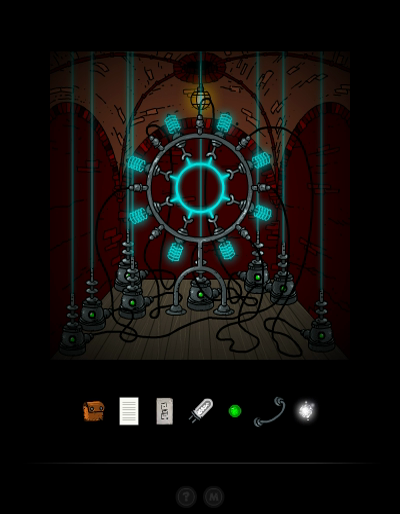
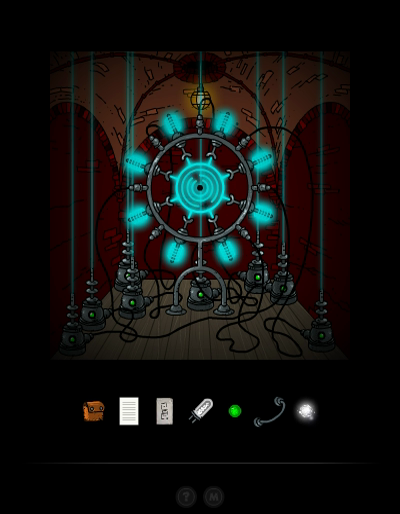
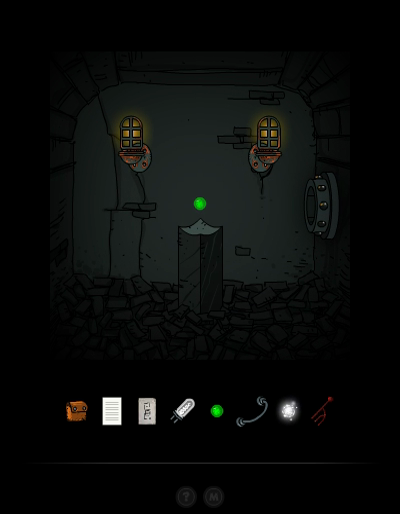
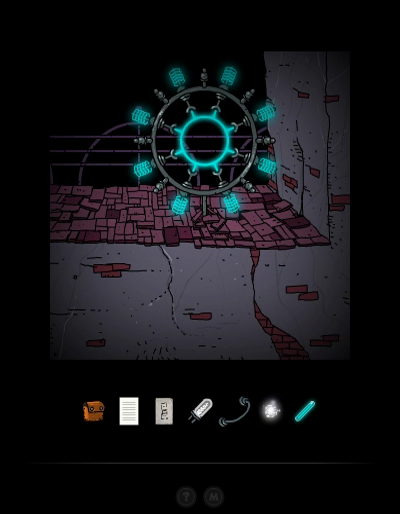
To the right, there's this wheel that seems to be stuck.
On the other side, we get a third Plasma Charge.

The stuck wheel is why we needed to pick up the Blockade Removal Tool first. We remove the thing blocking the gears here.

Now the lights on the wheel are green, and we can use it to turn the room, so we can continue right.

Here we find another Ladder Step for the Submachine 8 area.
And another wheel, so we can go to the lower area.
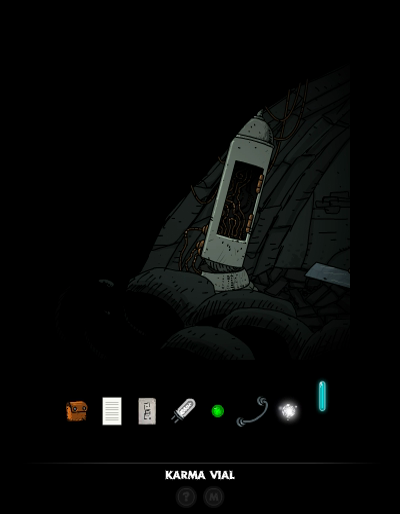
It's always a bit difficult to find things to talk about in these tunnel areas. But we got a new item, a Karma Vial.
I have recorded this playthrough several weeks ago so I don't actually remember what it's for. I guess we'll have to find that out together.
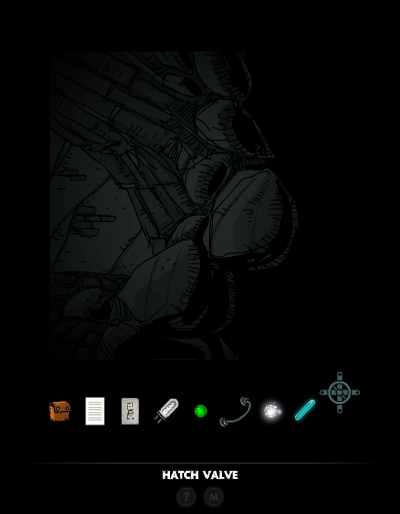
And to the right, we find the Hatch Valve.
Now, there's no wheel down here, so to get out of the tunnel, we need to backtrack to the right, turn the wheel so we can reach the top wheel, and then rotate the room back into its original position.

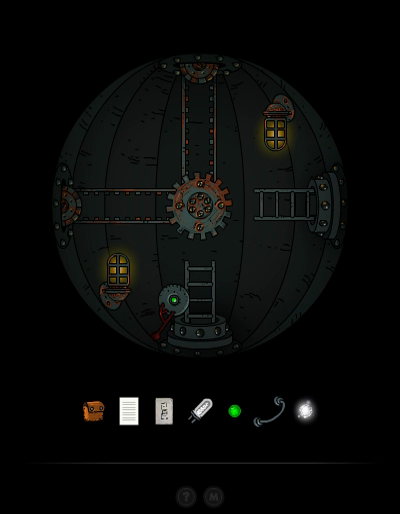
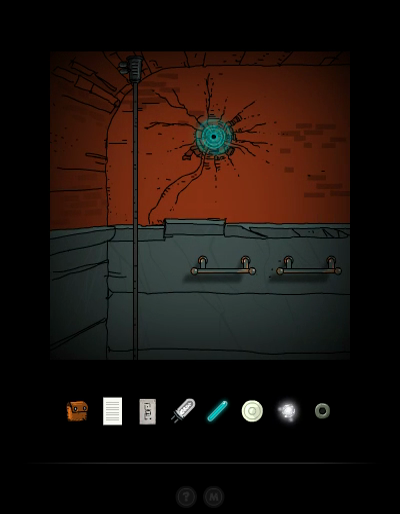
With that done, we can go to the right of the Karma Portal we entered from.

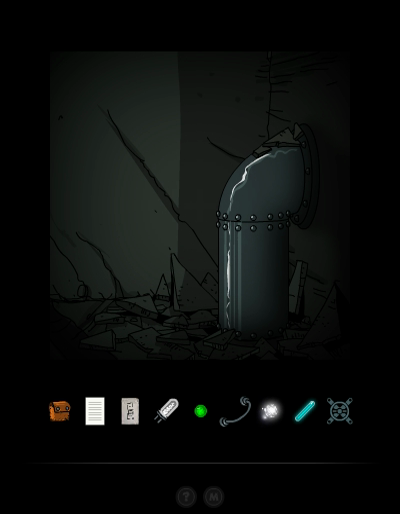
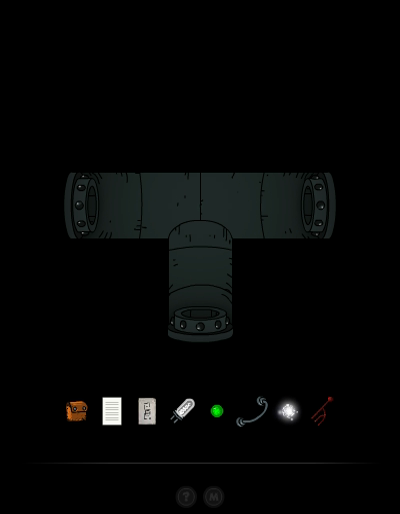
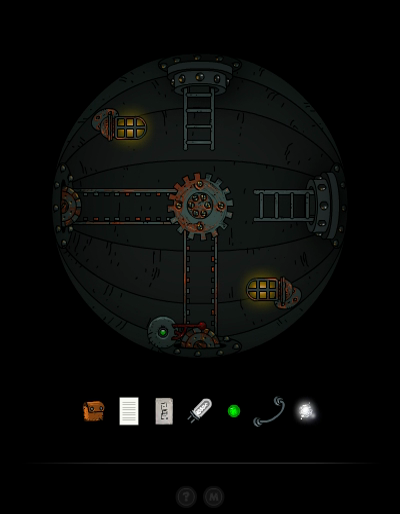
Some devices with red lights (which means we can't use them yet) have appeared here. To the right, we can still climb on top of the pipe.
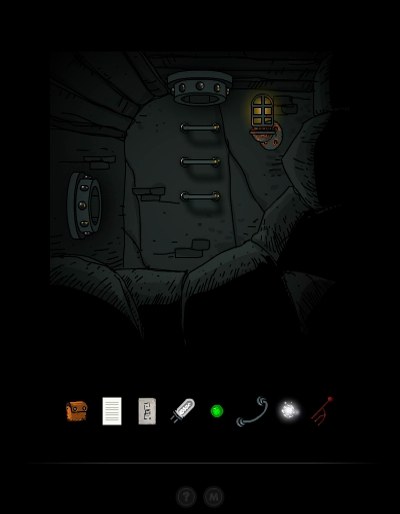
When I played through Submachine 6 I actually commented on this room - about how it was an actual empty dead end that served no purpose. Well, now a part of the rock wall has come down, revealing a hatch. I think Mateusz might have been planning this all along.
Conveniently, we just picked up the Hatch Valve.
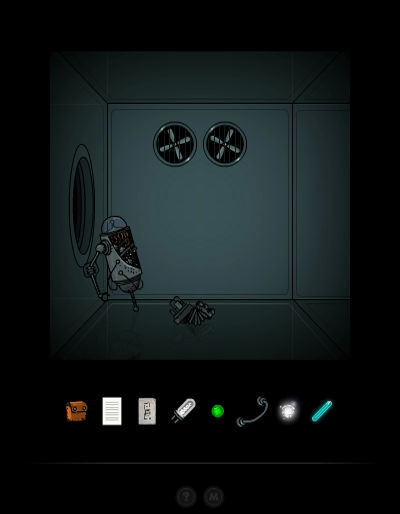
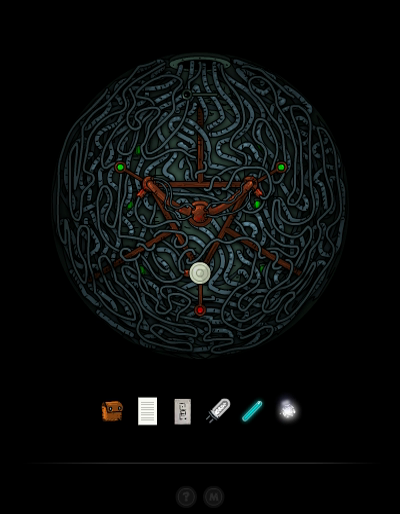
More Sub-Bots, and another laser grid. If you paid attention to the one in the Tunnels, you know we need three Plasma Charges to activate the switch.


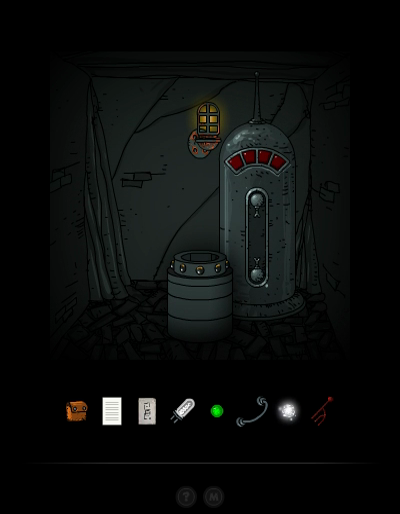
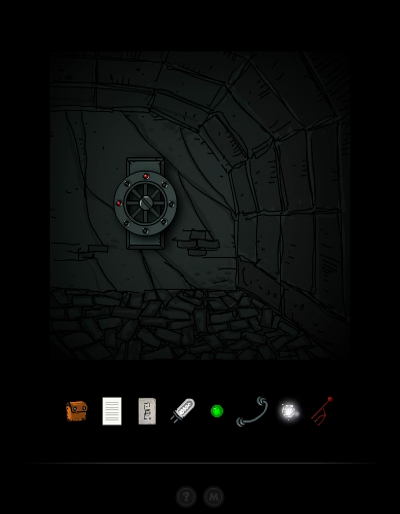
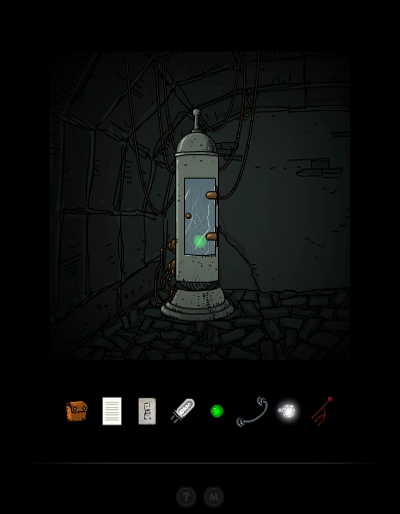
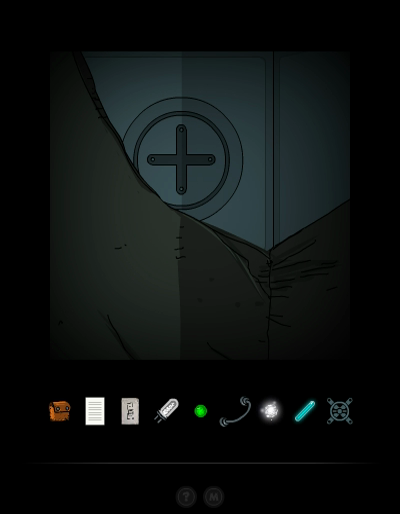
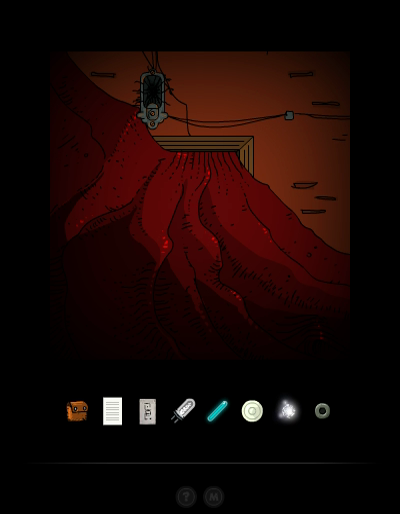
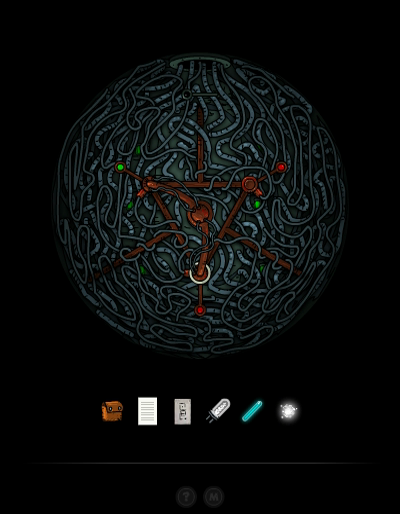
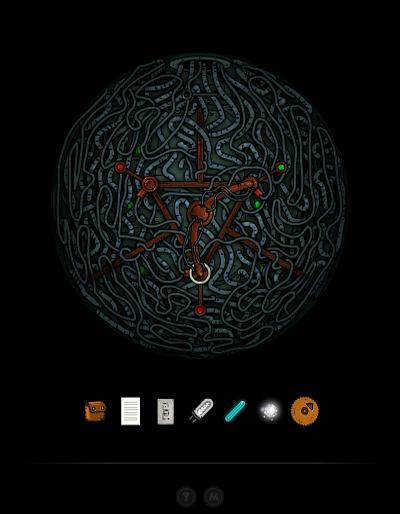
Now we reach our actual goal in this place.
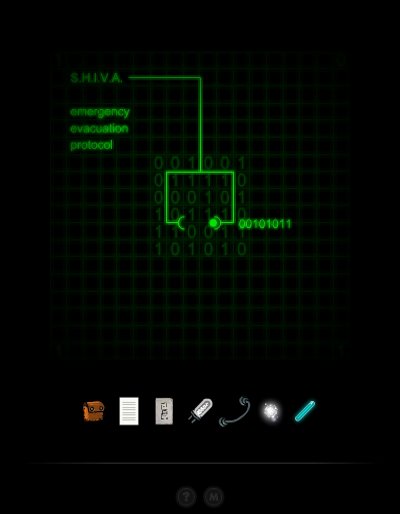
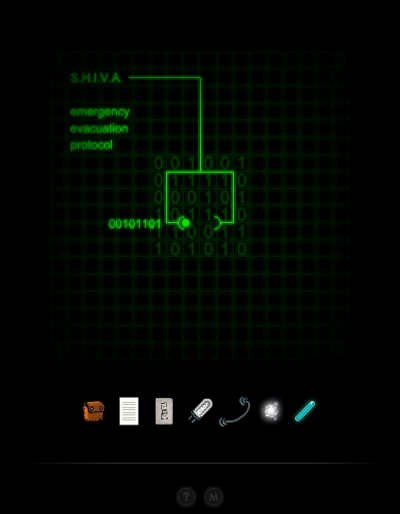
Bleep. We'll need to visit S.H.I.V.A. again to see what we just did.
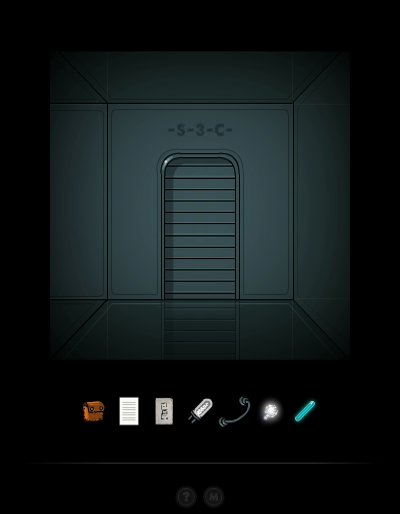
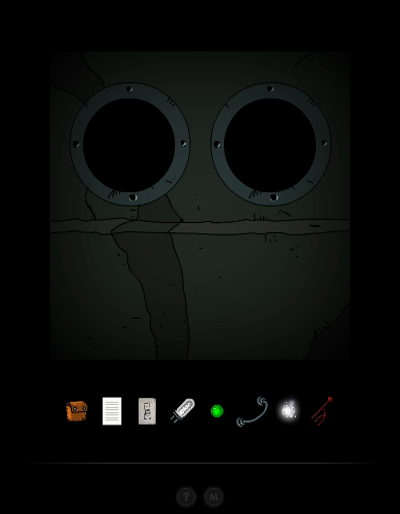
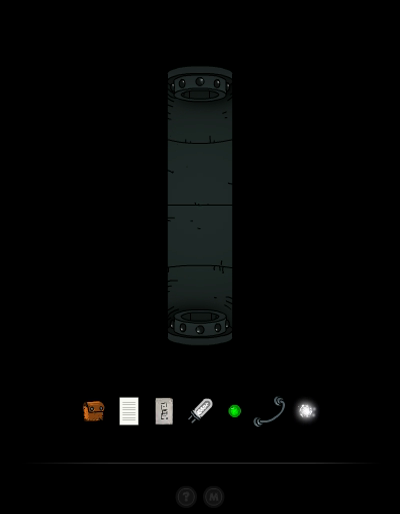
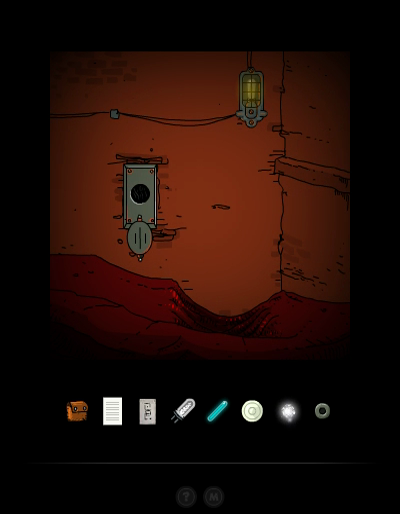
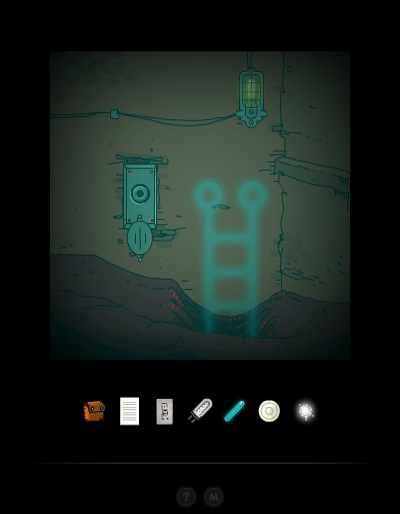
To the right is this S-3-C door which is tightly shut. Let's not worry about that and go solve puzzles elsewhere.
Back through the Karma Portal, and through the Karma Studies Facility to the Binary Portal, because we need to go back to IOI, the Stabilizer Bay.
Only to take the portal to the Docks again. This game has quite a bit of backtracking.
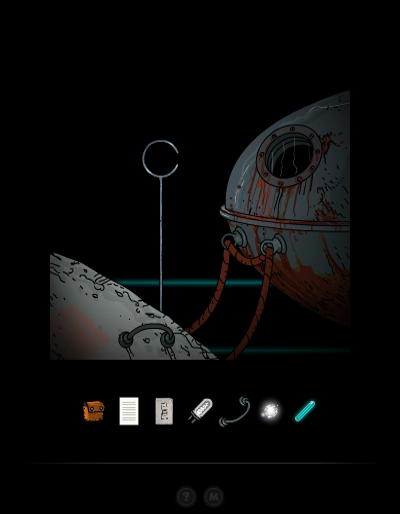
We can now use our Light Sphere here.
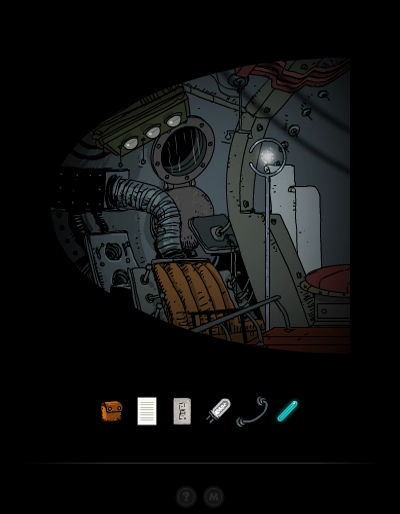
Inside the ship, there's a couple of items to collect.
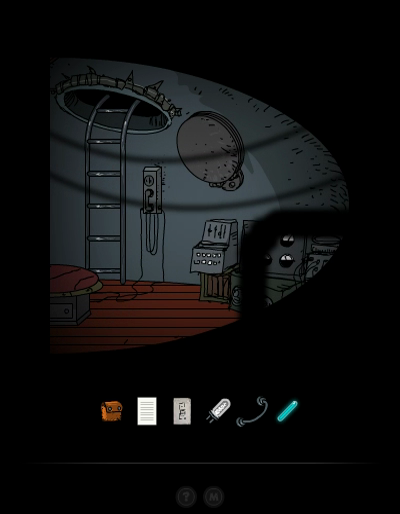

The hatch to the right holds an Insulator Cap.

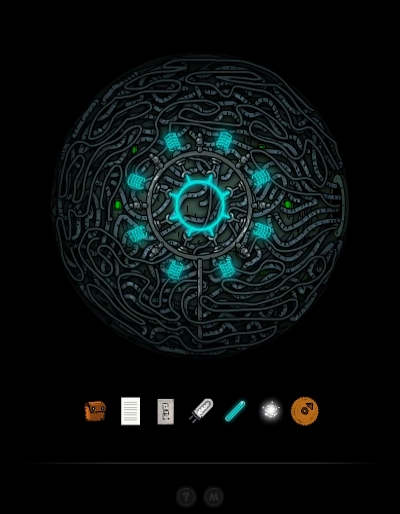
And on top, we find another Cog Wheel for the Iron Pyramid puzzle.
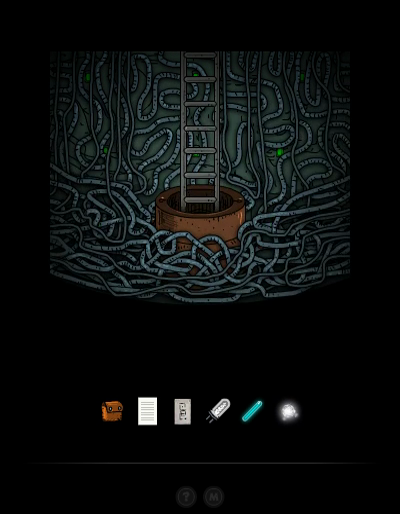
Back outside, we now have enough Ladder Steps to complete the ladder going down, into an area which we couldn't reach back in Submachine 8.

This floor looks different to the rest of the Dock...
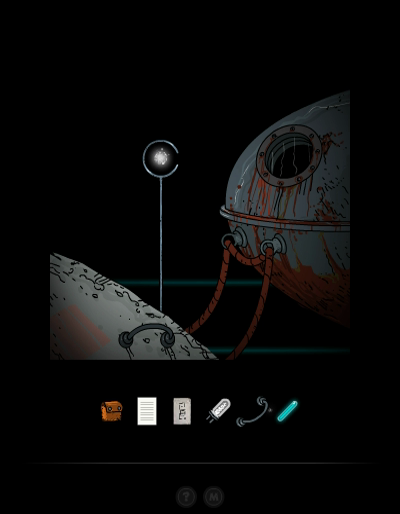
We take the Light Sphere here and go further right to find a Note.

quote:
Light crown converter needed to connect light crown to the fuse outlet.
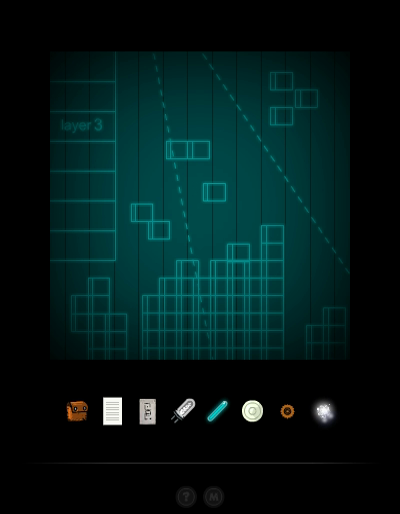
To the left, we find this picture about Layers, which we first saw in Submachine 7, I think. That was before we knew what the different Layers actually represented.
Further to the left, taking the Root Path Finder turns off the blue light. Sounds like we need to visit the Root again. Yeah, the game starts with a bunch of puzzles that stay within their own area, but in the second half we need to run from place to place, collecting things to use elsewhere.
This is the end of the road here, we've now completely explored the Dock. Next stop, the Root.
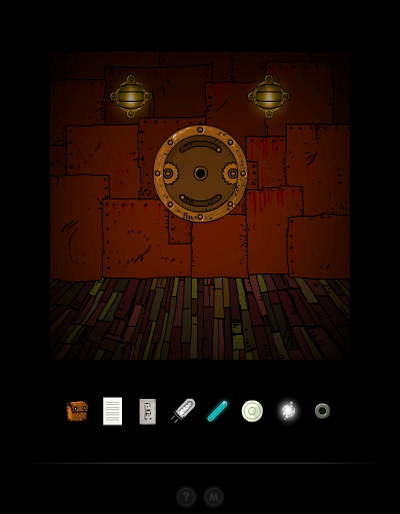
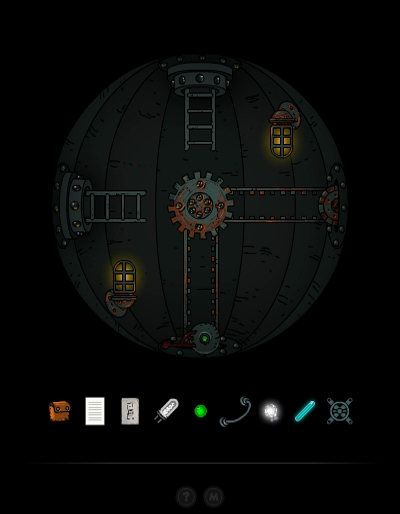
The Karma Portal to the Root was in the Pyramid, so on the way there I quickly put the Cog Wheel we just found in the wall device here. All we need is one more large Cog Wheel and we can complete this puzzle too!
Anyway, in the Root we go down and around to the other, semi-hidden Karma Portal which we found there before.
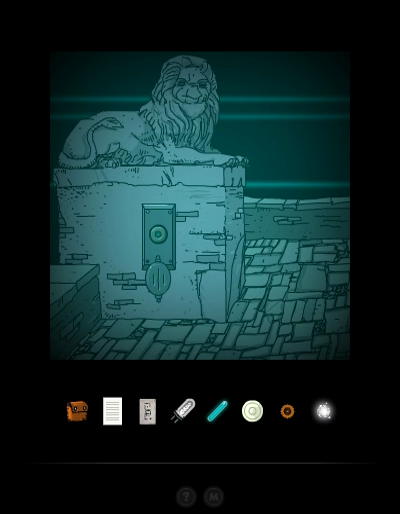
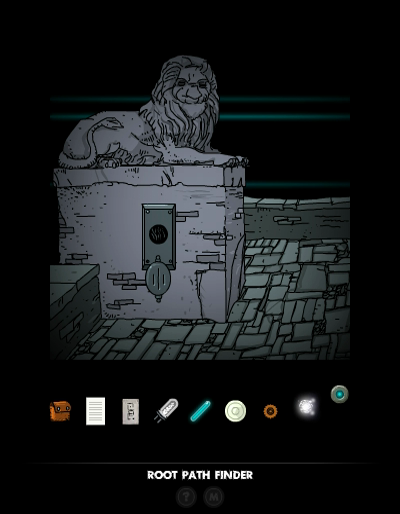
On the right side of this resin-covered room, we can fit the Root Path Finder in the socket to make a Karma ladder appear.

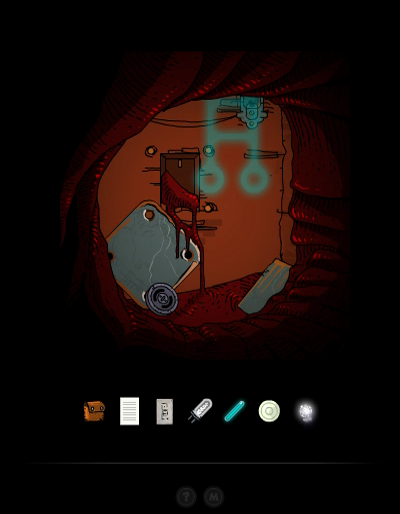
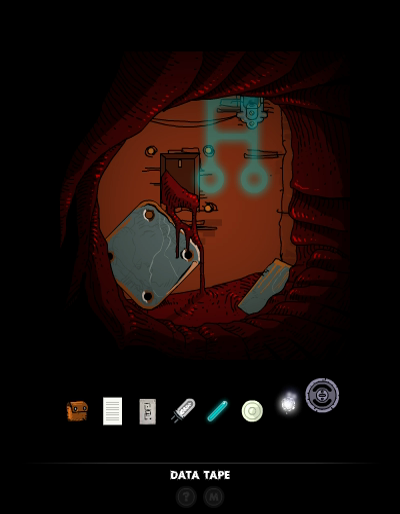
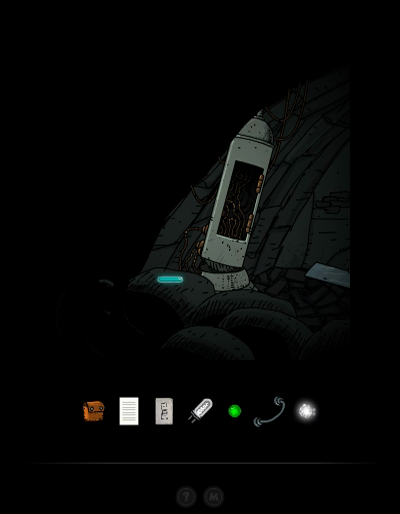
Going way down, we find the Data Tape.
[More backtracking...]
We need to bring this to the brain-data-something room in the Stabilizer Bay.
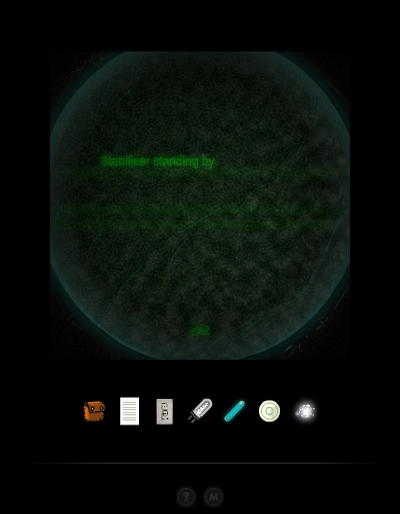
Good, instead of "Insufficient Data", it now says that the Stabilizer is standing by. Nothing seems to have changed in this area, though.
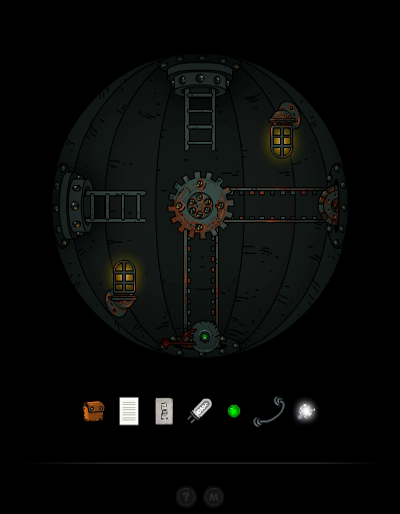
Back in the S.H.I.V.A. Access Area, the entrance to the large sphere holding the S.H.I.V.A. console is now shut. This is one of the effects of activating the S.H.I.V.A. evacuation protocol at the Edge. By the way, it's starting to get annoying to type S.H.I.V.A.
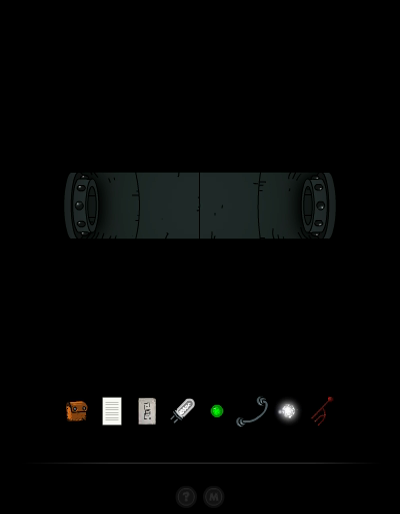
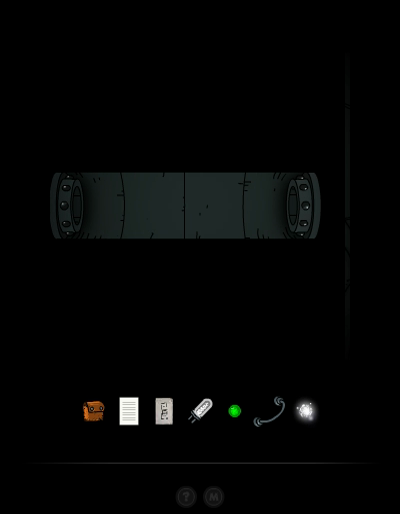
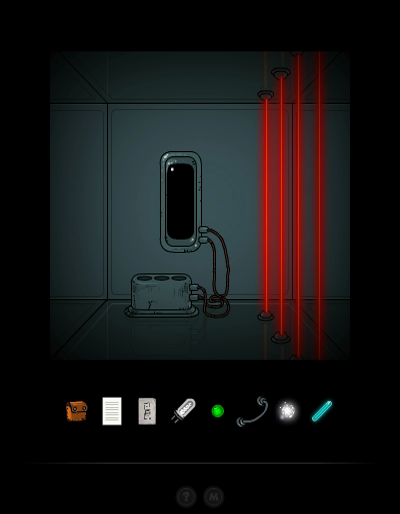
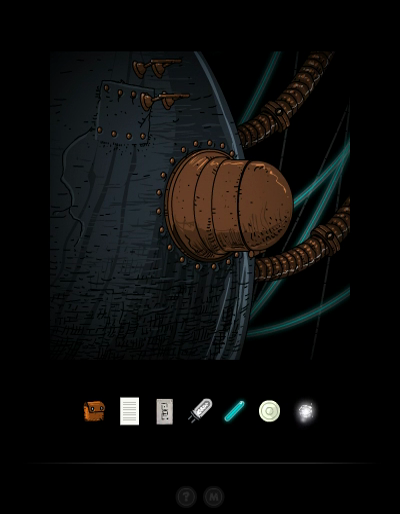
However, if we go into the broken pipe and down to the three-way switch, we can make some progress.
Using the Insulator Cap here permanently disables the laser grid that prevented us from leaving this room. That means we can put the switch in another position and see what places open up. Let's go right first.
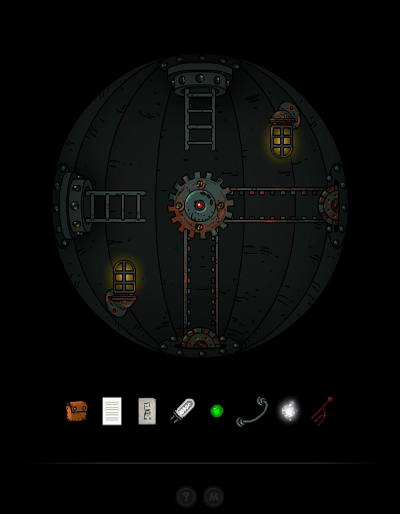
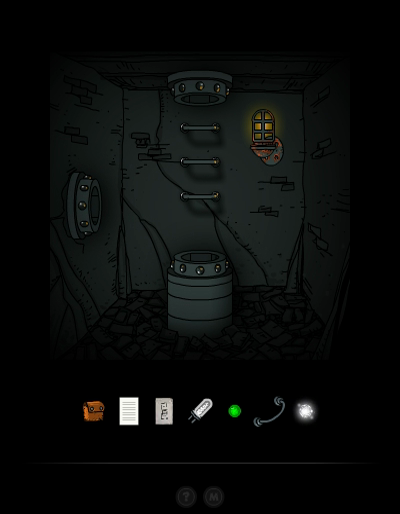
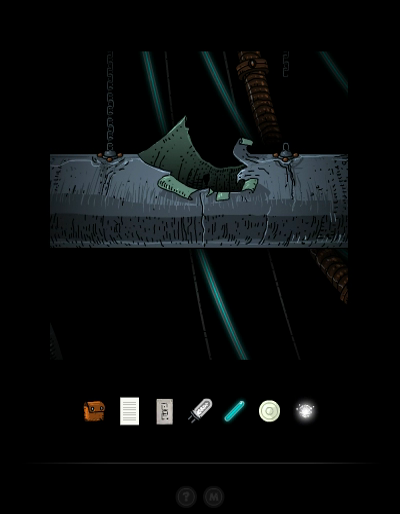
This is where the grid was that used to prevent us from reaching the S.H.I.V.A. console from the back.
The console is now completely dead, but the evacuation protocol made a ladder appear. When I first played this game I thought we had actually killed S.H.I.V.A. somehow, but now I think that's unlikely. We probably just shut off this main access point. I am not really sure though.


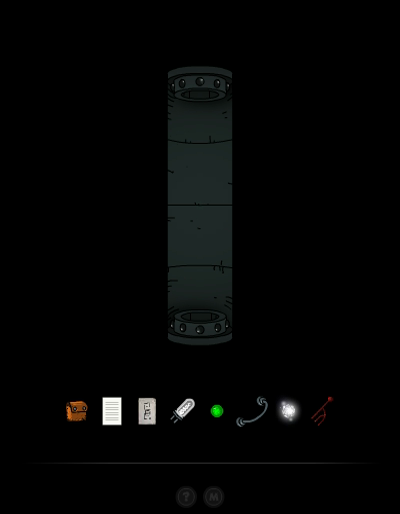
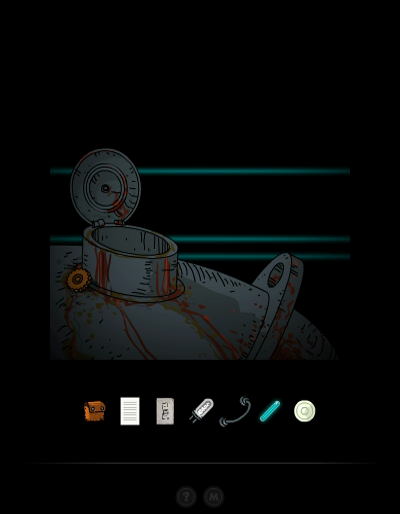
We climb down along this big chain.
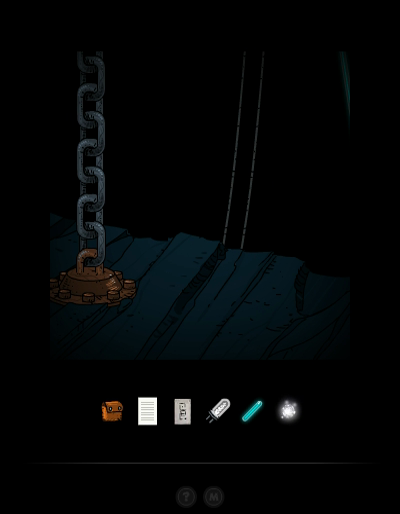
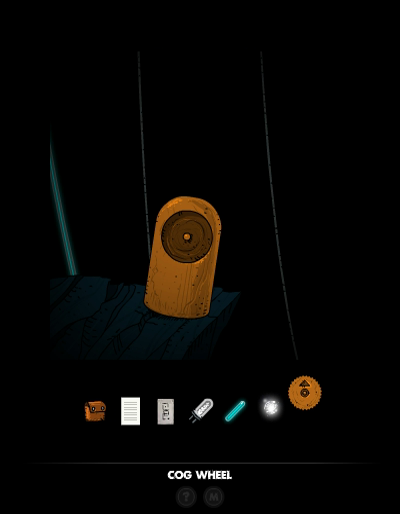
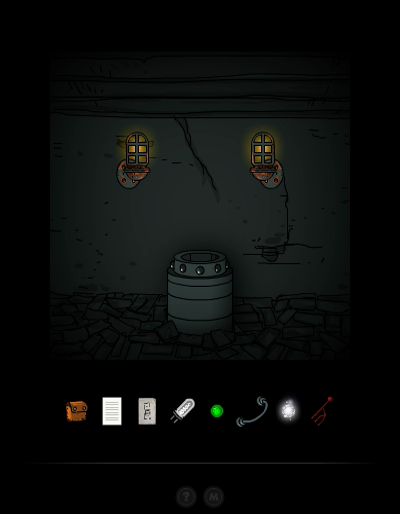
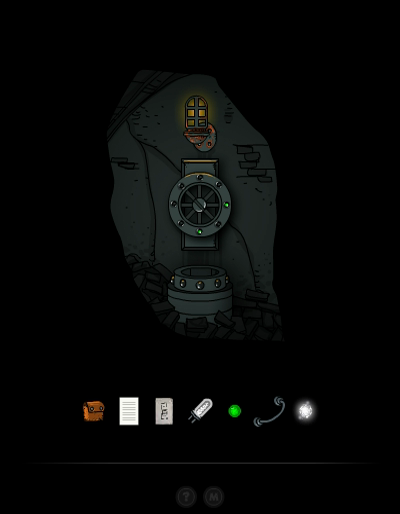
Down here we find the final Cog Wheel.
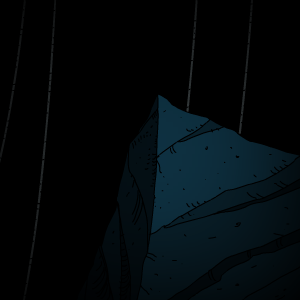
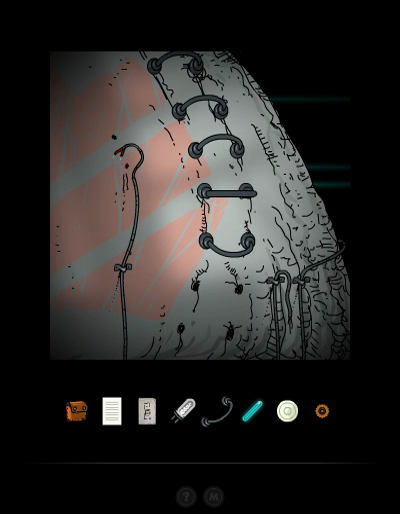
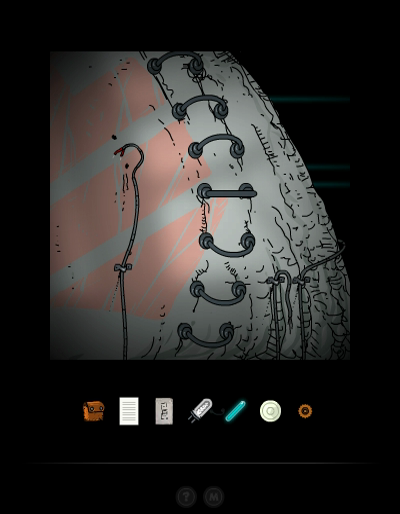
It turns out there's a dead-end screen to the left of the large chain. I apparently missed that one when recording, so here's a picture I found online.
With the Cog Wheel in hand, we climb back up, and turn the switch so we can enter the left sphere.
Where we find a fully activated Karma Portal. We'll explore the new area behind it next time.