Part 32: Submachine 10: The Exit
Part 32Submachine 10: The Exit
Welcome back! What better way to spend my quiet easter weekend than by writing an extra update?
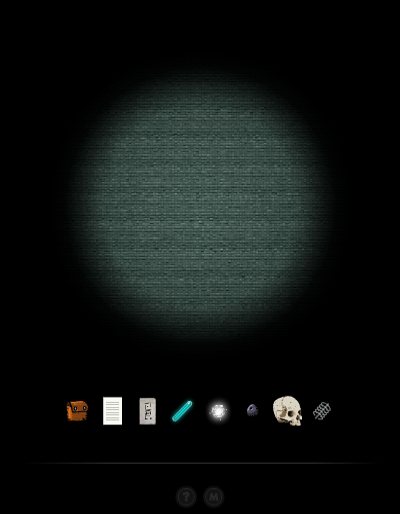
We found a new Karma Portal in the S.H.I.V.A. access area.
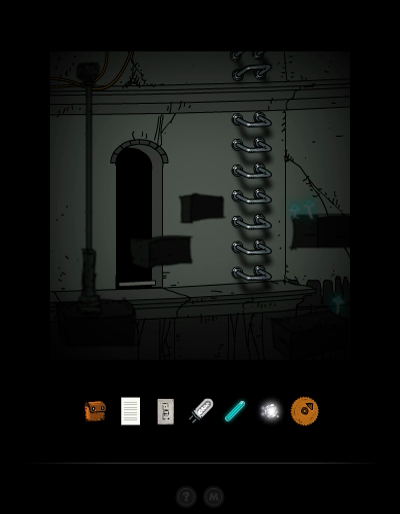
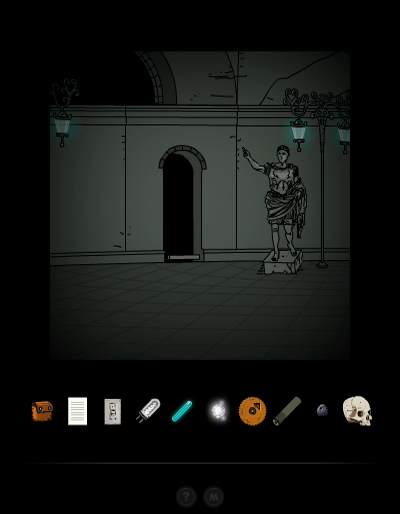
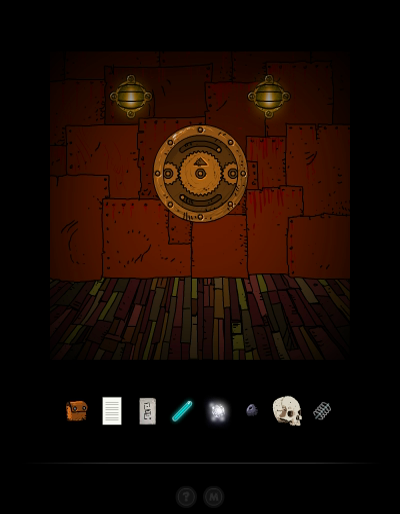
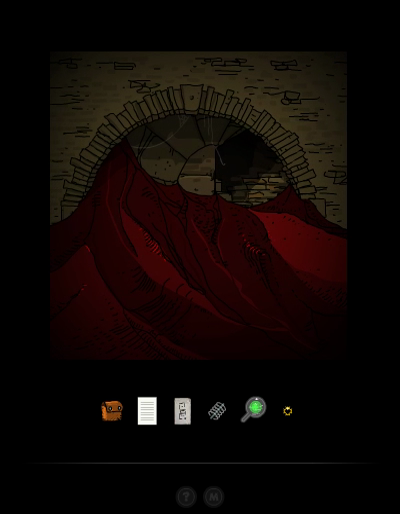
Recognize this place? Yep, that's the communication dish we used to call the capsule to Liz's ship. We are in the Winter Palace.
♫ Thumpmonks - Submachine 10 - Submachine 7 Redux

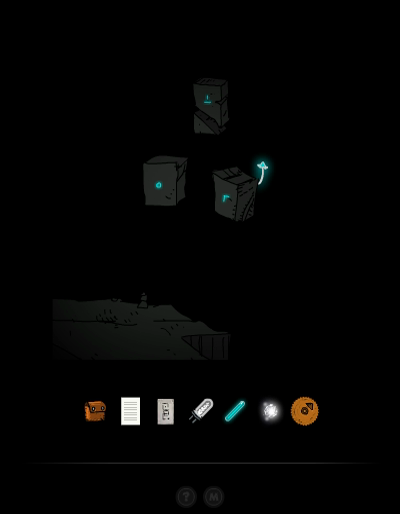
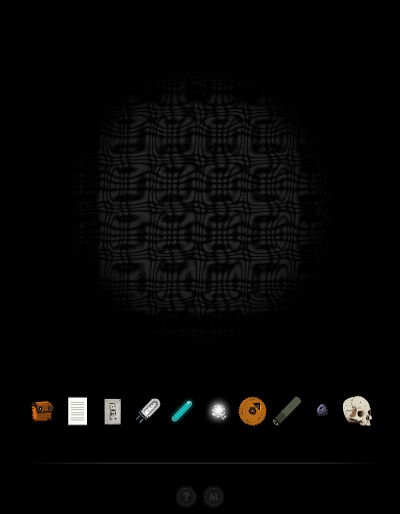
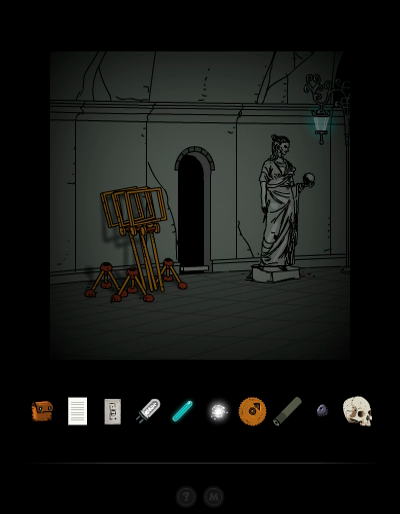
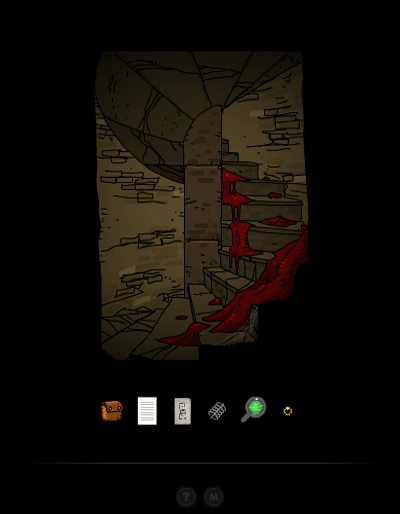
Entering the palace proper through the door, we can go back out through the broken wall to the right, but it still leads to a dead end with floating blocks.
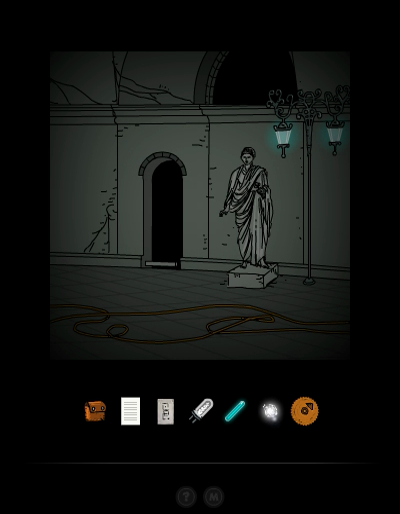
Going left, let's explore the back rooms again. The place mostly looks like the way we left it, but it seems Sub-Bots have invaded here, too.
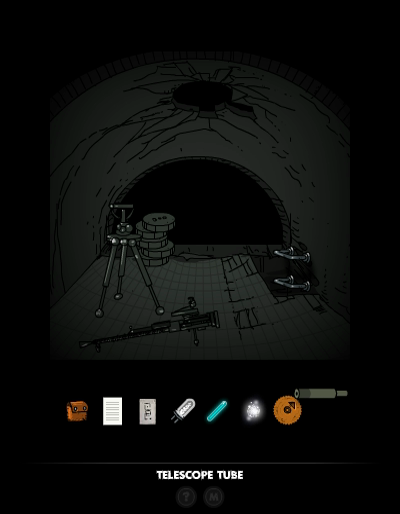
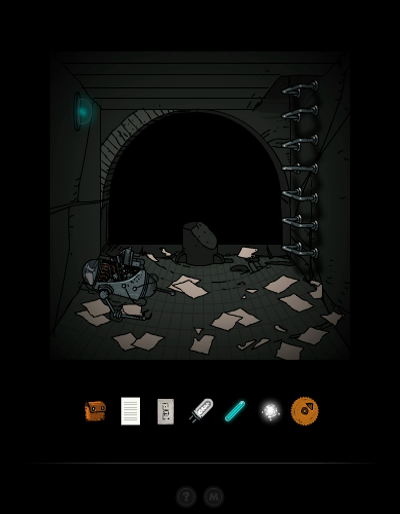
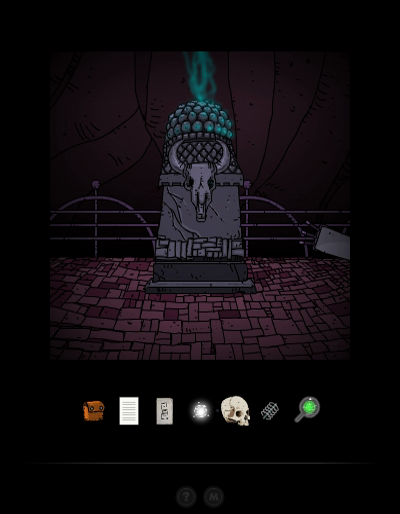
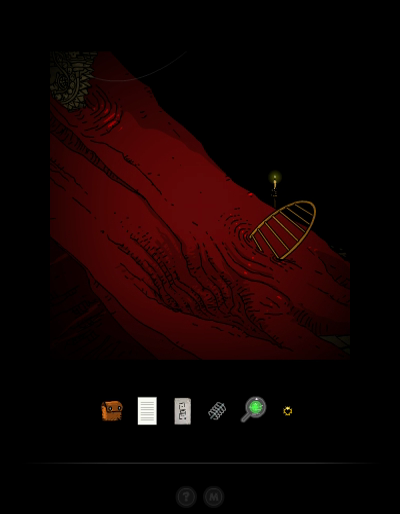
The top room has one of those closed Karma Portals (the small dot that lights up when your mouse comes near), but more importantly, someone left a Telescope Tube for us.
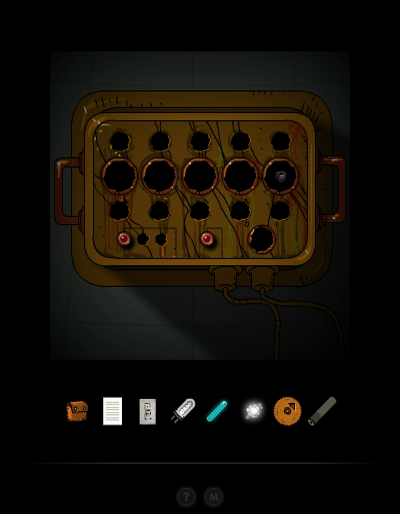
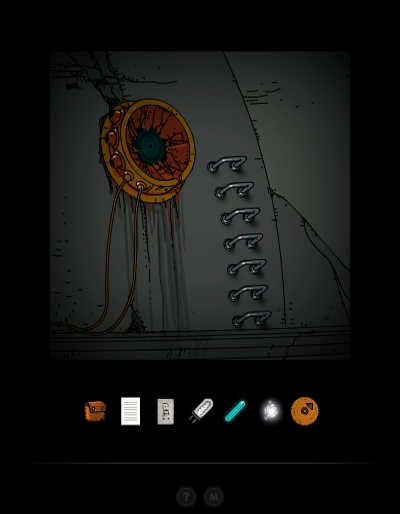
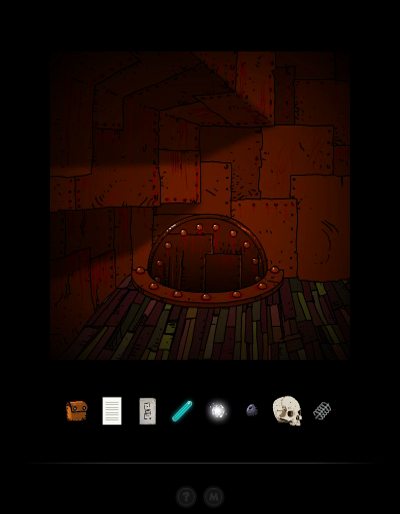
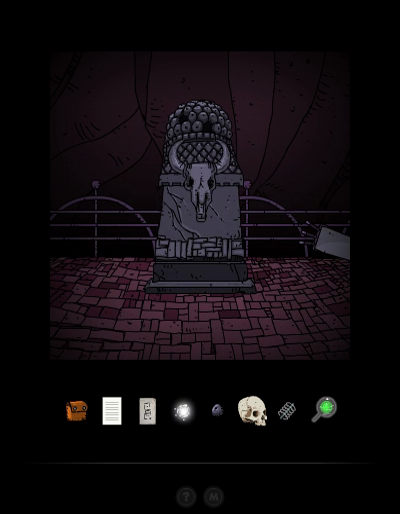
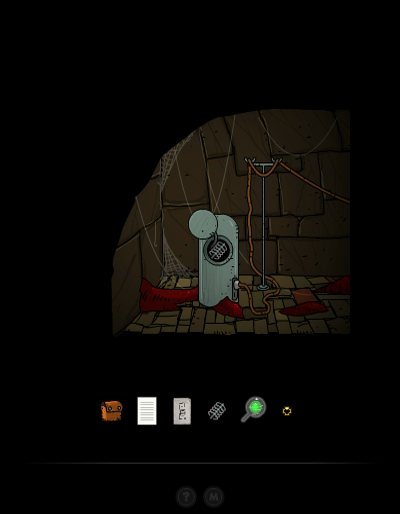
The communication device that was the focus of a rather involved puzzle has now been blown up. There's something in one of the holes, though.

Let's take the Grape, it'll probably have some use later.
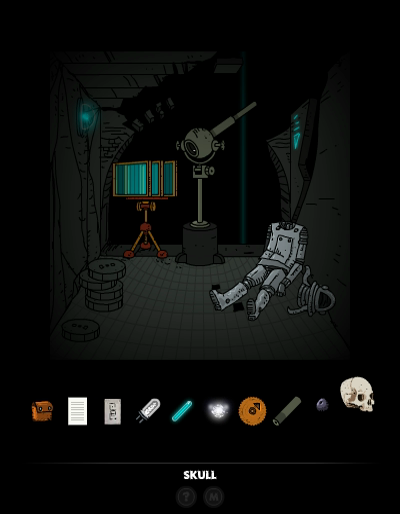
In this back room we take the Skull, because walking around with a human skull is a perfectly normal thing to do.
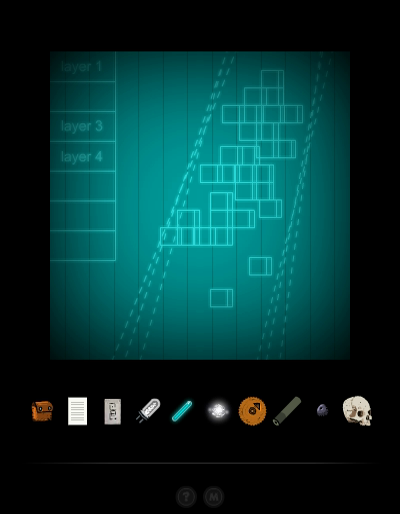
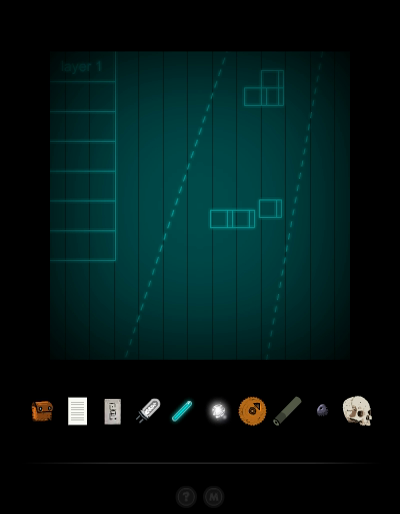
The view from the telescope and the Layers sign are unchanged.
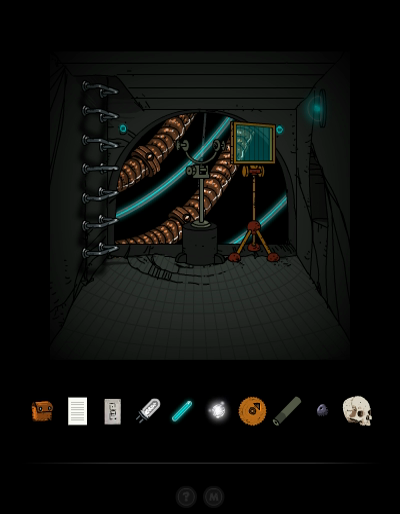
Further on, weird cables have appeared in the back. There's nothing new about the sign, so let's see if there's anything on the second floor.
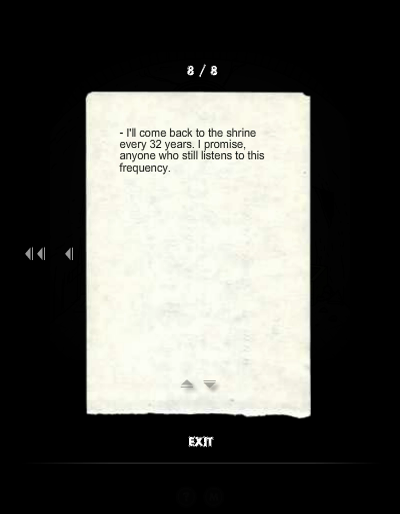
quote:
- I'll come back to the shrine every 32 years. I promise, anyone who still listens to this frequency.
RTL
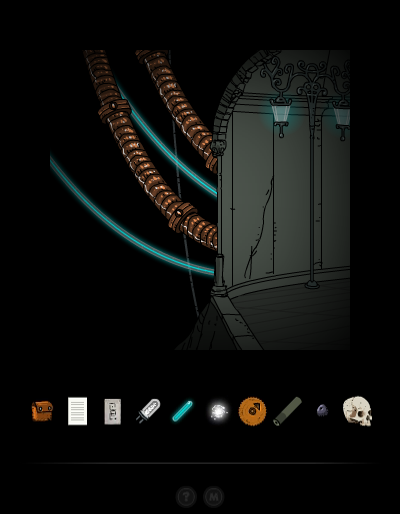
Further to the left, the passage to the other side of the Winter Palace is completely gone, and replaced by those cables.
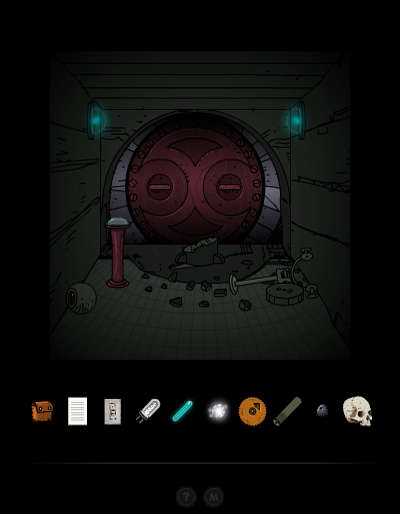
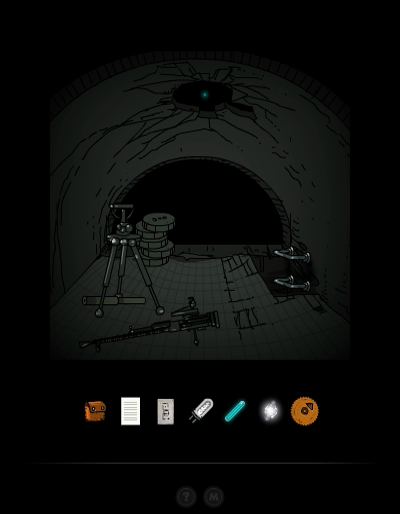
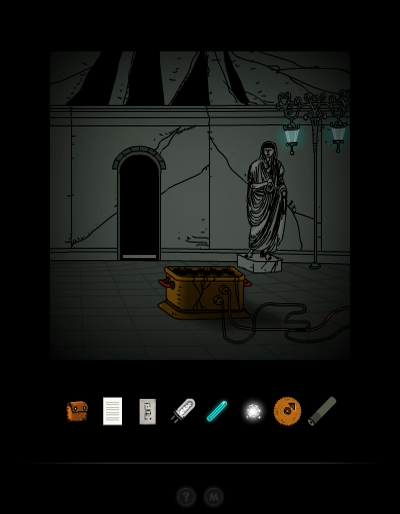
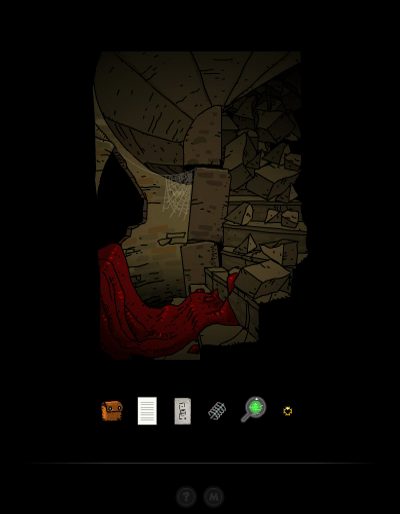
Behind the final back door... well, that certainly wasn't there before.
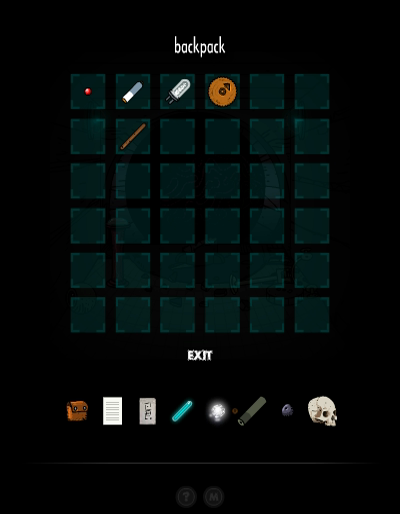
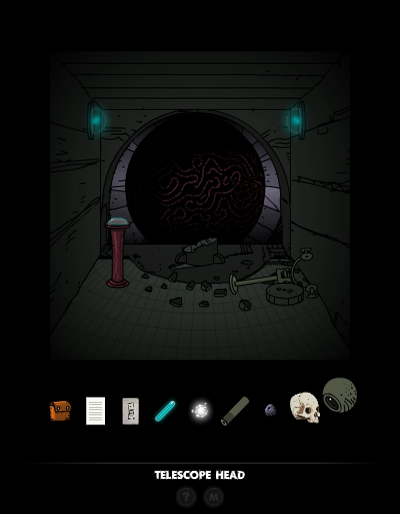
My inventory is getting full again, so I put some stuff in the Backpack. Next, we can grab the Telescope Head and open that hatch.
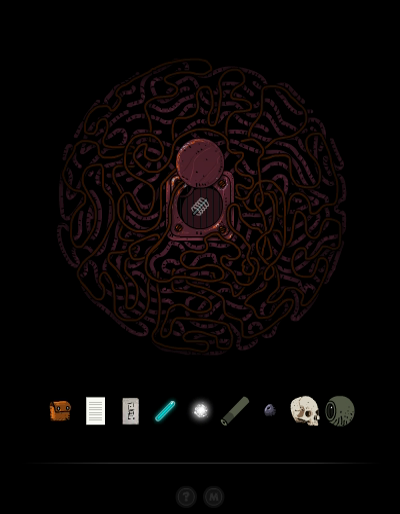
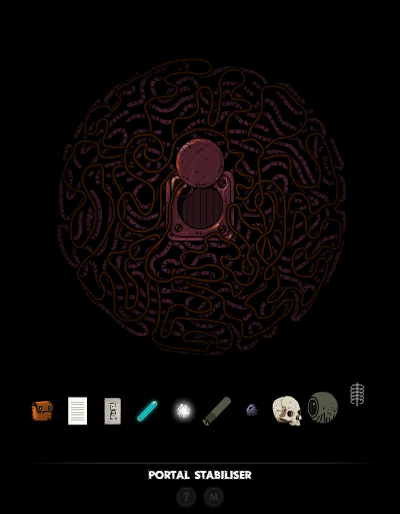
In here, we find a Portal Stabiliser. This little lid would have been closed, had we not brought back the Data Tape to the Stabiliser Bay's S.H.I.V.A. module.
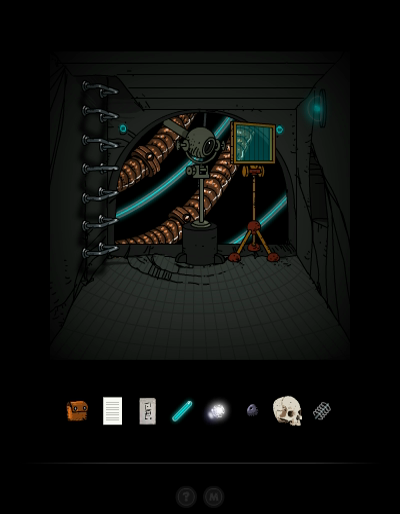
With the Telescope Head and Telescope Tube in hand, we can assemble a telescope in the next room. The view isn't anything to write home about, but when we step back...
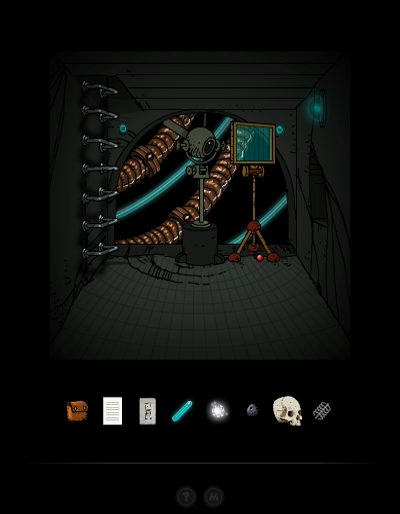

A Secret falls out and rolls to our feet. That's the second Secret we found. Out of ten. Did I tell you this is a big game? That's not completely fair though, we won't be able to get most Secrets before we enter the last 25% or so of this game.
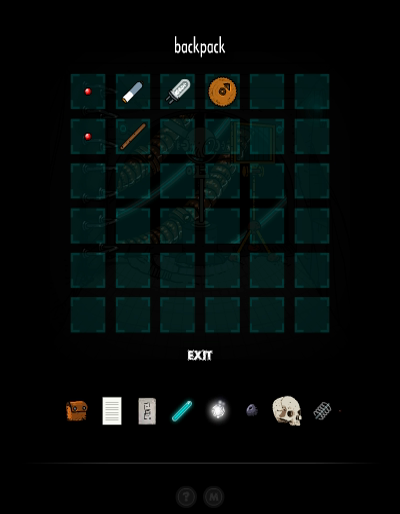
I like to dedicate the leftmost column of my Backpack to Secrets, for now.
Anyway, we're done in the Winter Palace, so we take the Karma Portal back to the S.H.I.V.A. Access Area, and from there we take the Binary Portal.
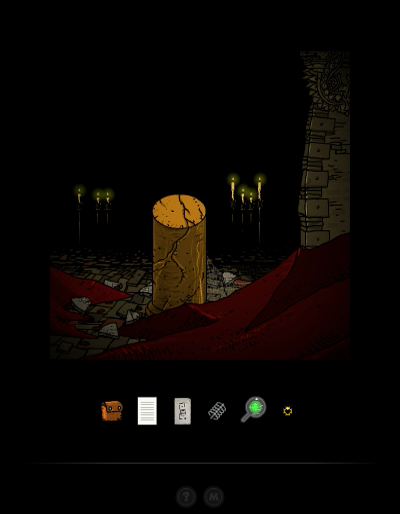
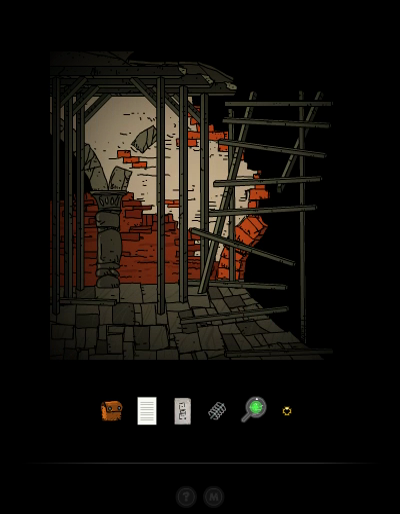
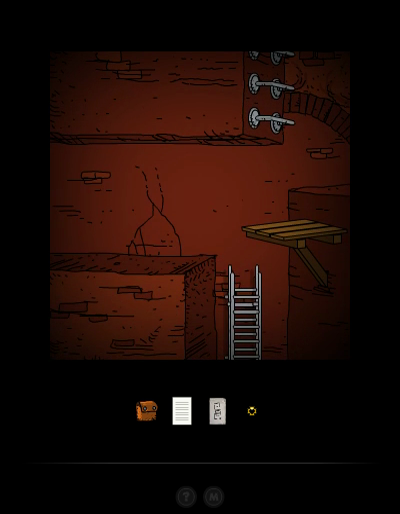
Back to the Iron Pyramid, where we can finally finish the second Cog Wheel puzzle.
RTL
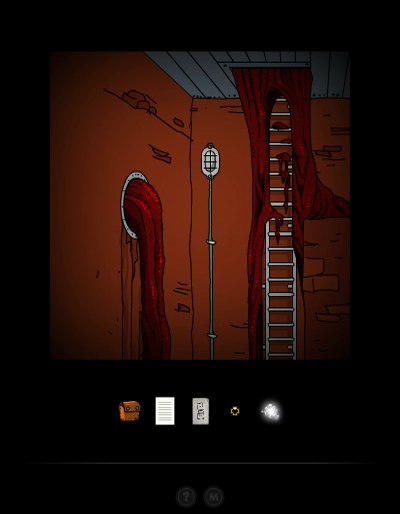
Turning the wheel makes the ladder next door move down. Except... this ladder is not long enough. We can no longer reach the lower floors from here.
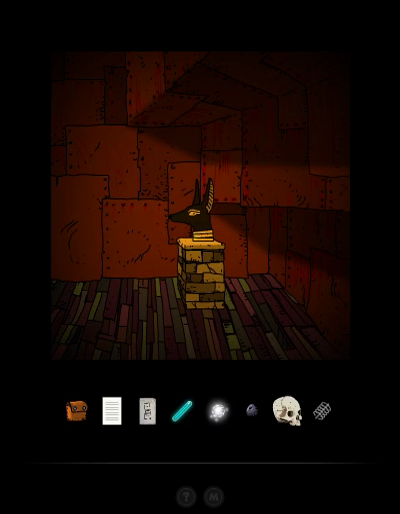
This is where you need to remember the teleporting Anubis heads we found way back. We can reach the one on the far right.
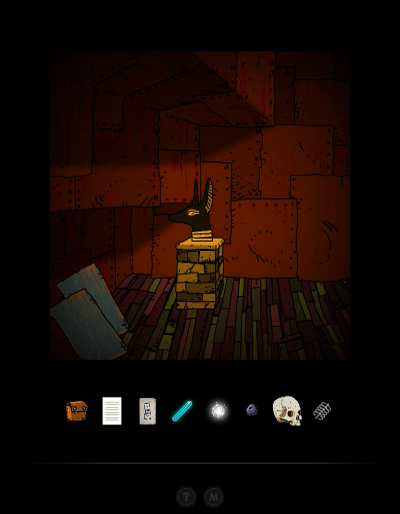
And it takes us to the lower floor on the left, where the descended ladder lets us climb down to a new room.
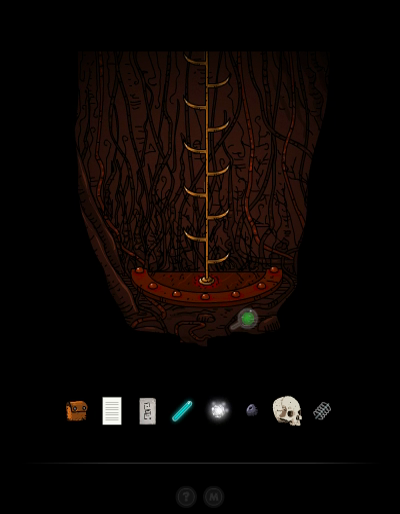
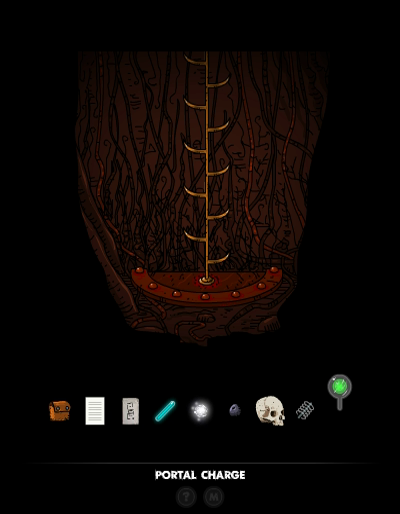
That Portal Charge looks important, let's take it.
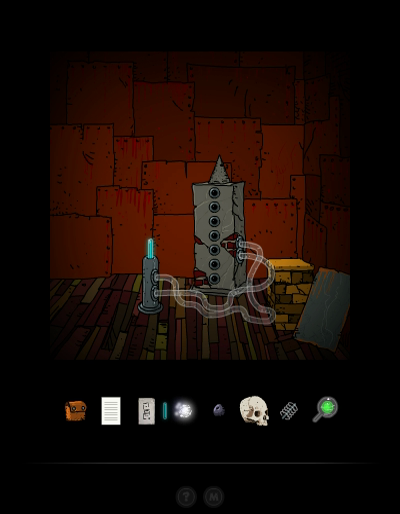

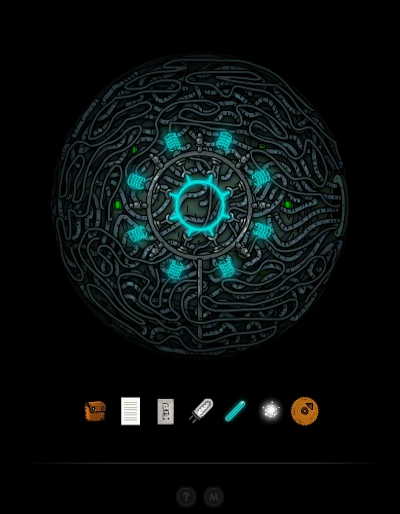
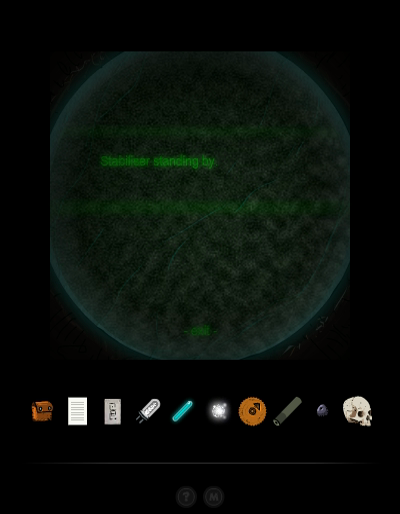
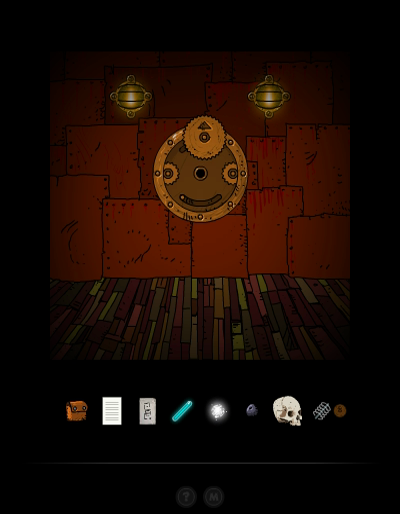
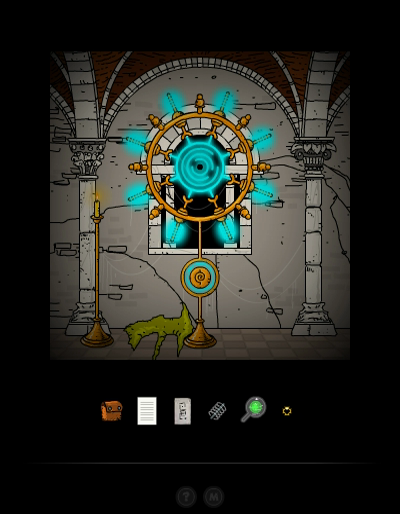
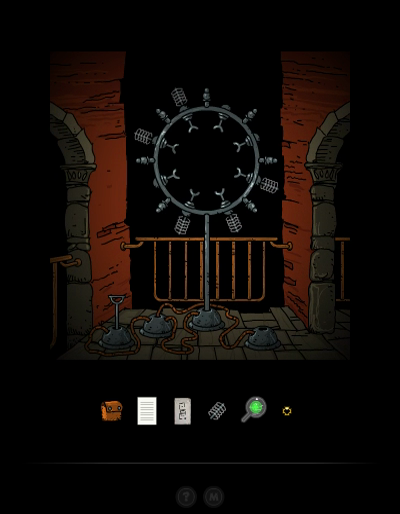
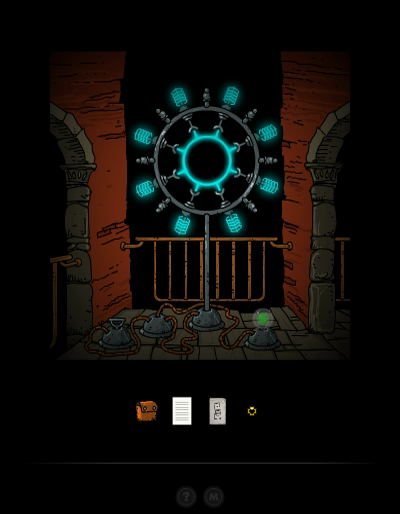
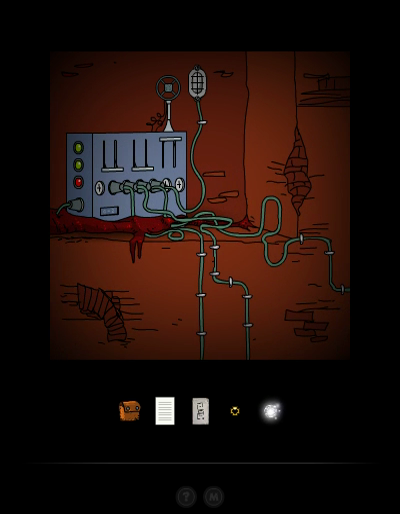
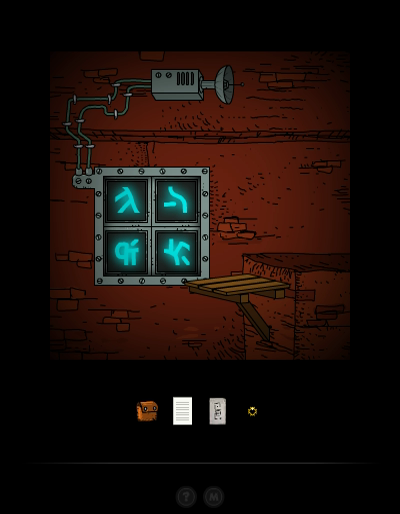
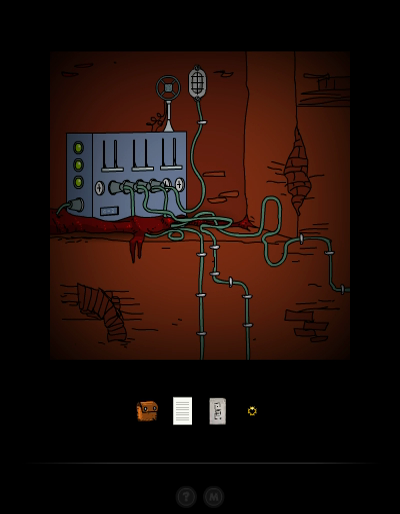
We can activate this machine nearby with the Karma Vial we found at the Edge. In the circle, objects start flashing rapidly, too fast to make out what they are.
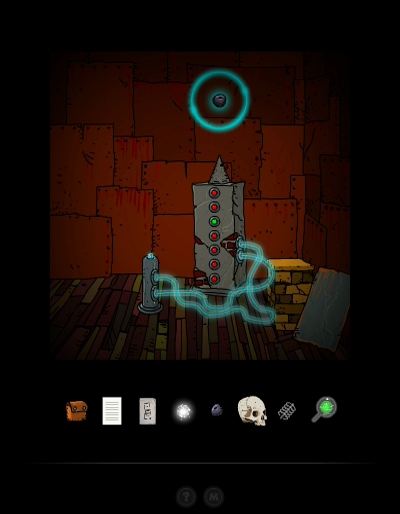
However, if you activate one of the buttons (7 buttons, 7 layers? Maybe.) and then hover your mouse over the circle, it will stop at a certain object. That piece of rock is what's behind button number one.

A metal sheet, and a differently shaped rock.

That looks like some sort of icky grub, and a brick.


And finally, an ornament and another stone.
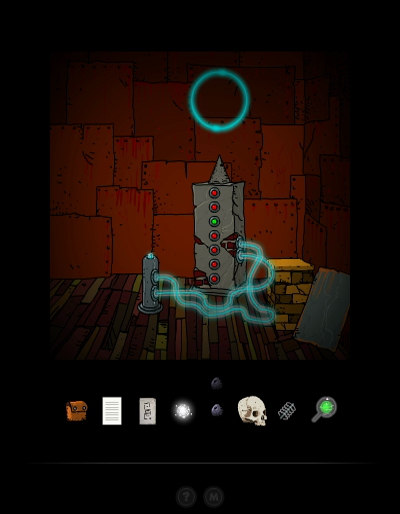
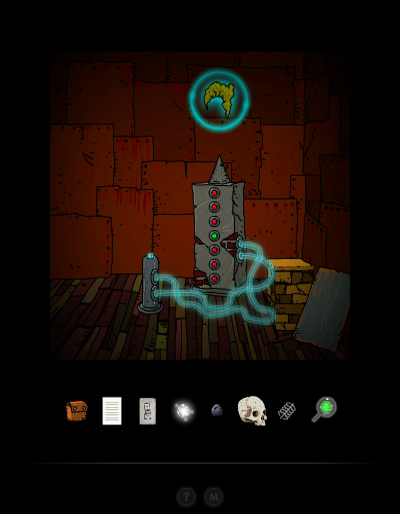
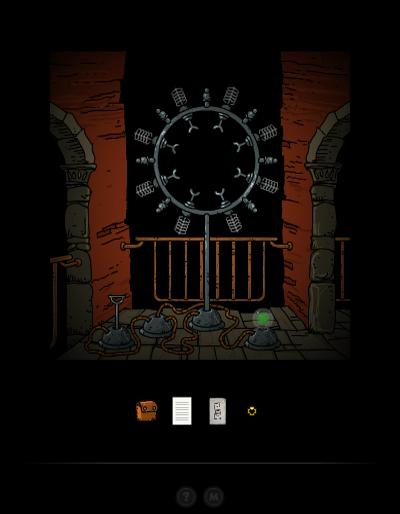
There's only one we can actually take, it's the third object, which is a second Stone Grape.

To use the Stone Grapes, we need to portal back to the Stabilizer Bay.
Do you have any idea what this might activate? Hint: It's in the Karma Studies Facility.
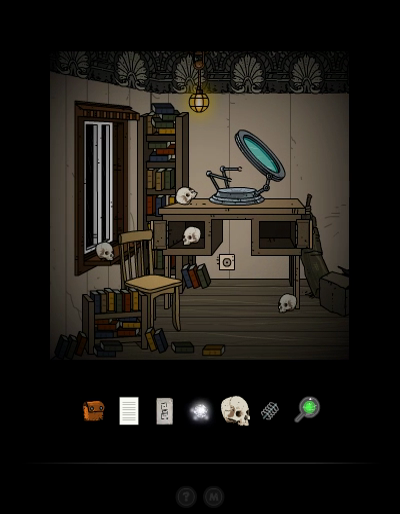
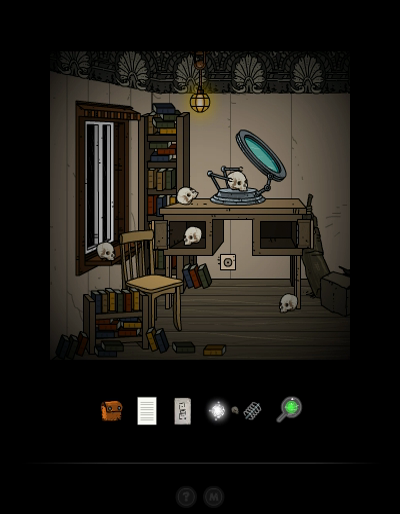
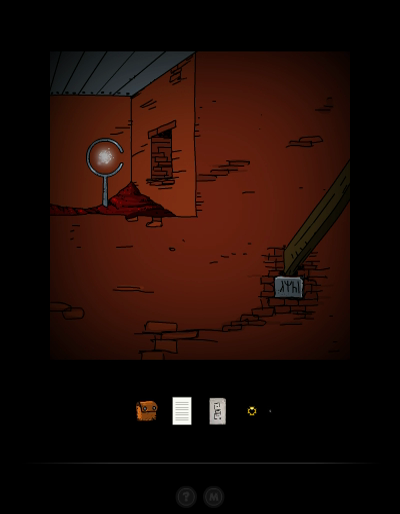
Before we complete the Stone Grape puzzle, there's one other order of business here in the Karma Studies Facility. We need to bring the Winter Palace Skull to the study with all the skulls, and put it behind the magnifying glass.
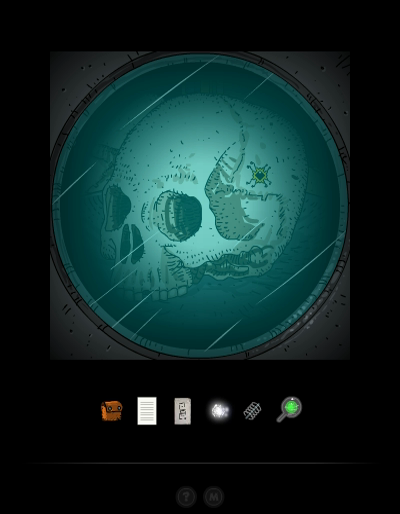
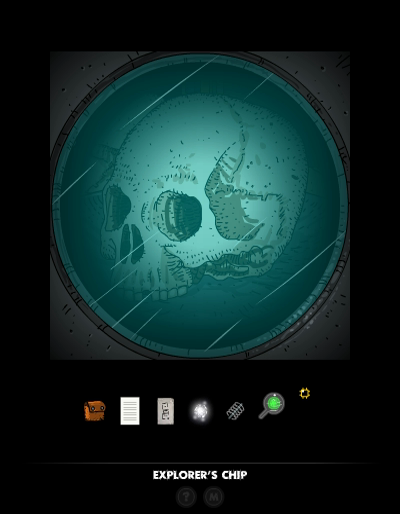
That way we can find the Explorer's Chip that was attached to it.
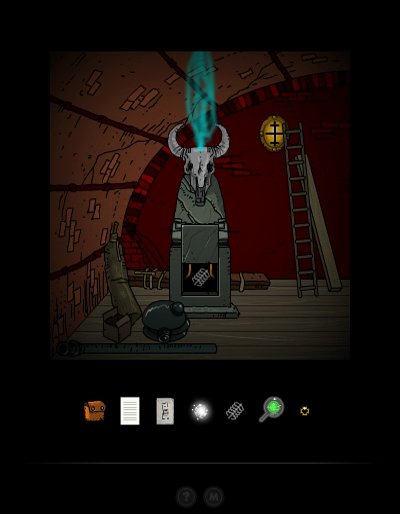
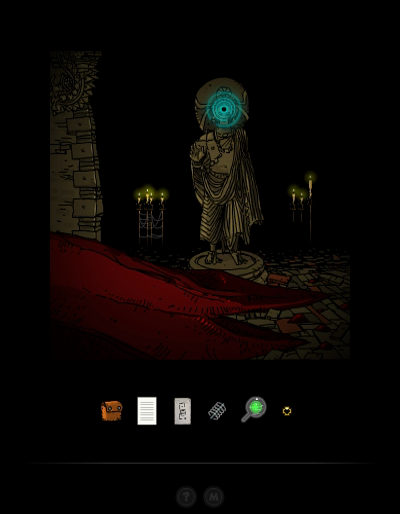
The Stone Grape statue activated this similar statue to the far right of the Karma Studies Facility. It holds a second Portal Stabiliser.

Gah, can we be done with the backtracking already? The next stop is the Meditation Temple at Binary Portal coordinates III. We found a Light Sphere device here when we first visited the place, but haven't been able to use it yet. Well, we got a spare Light Sphere now, so let's go.
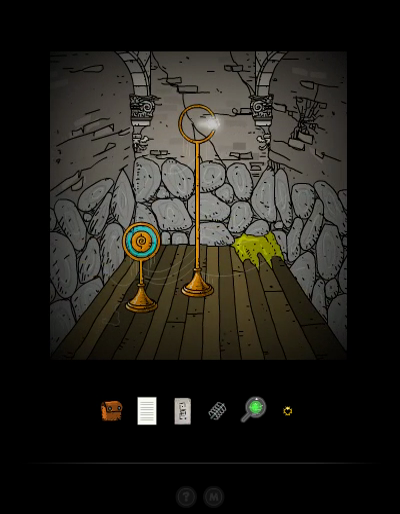
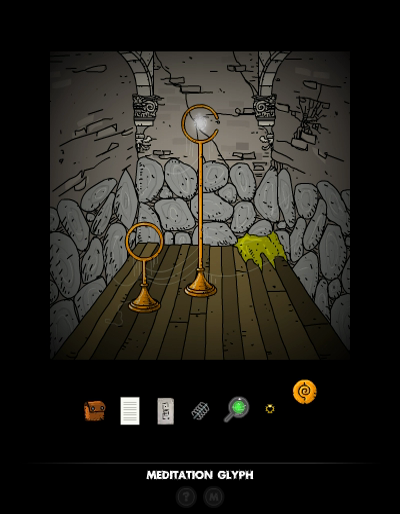
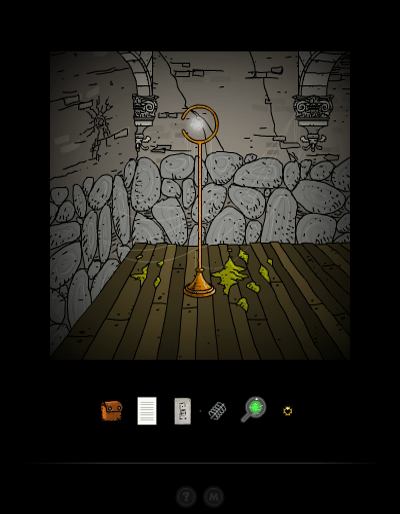
There's only a single room hidden here, but it does hold the Meditation Glyph.
And this is actually all we need to activate the Karma Portal of this area. The Meditation Temple is rather small, the Karma Portal was right next to the Binary Portal.
Any guesses where we're going next?
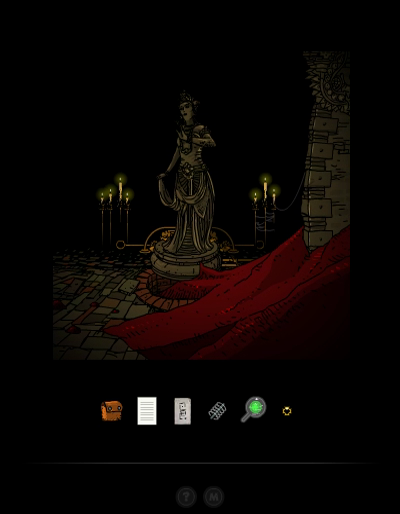
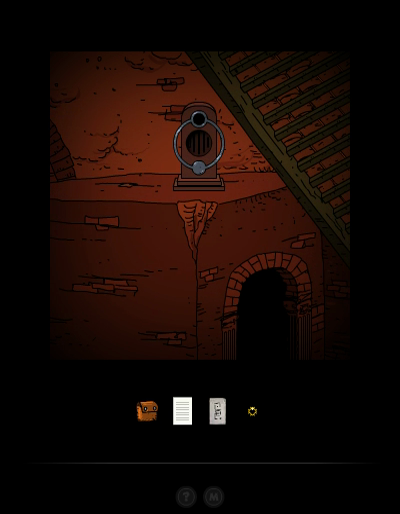
RTL
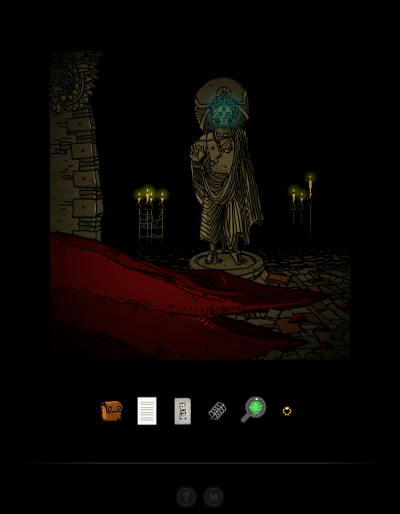
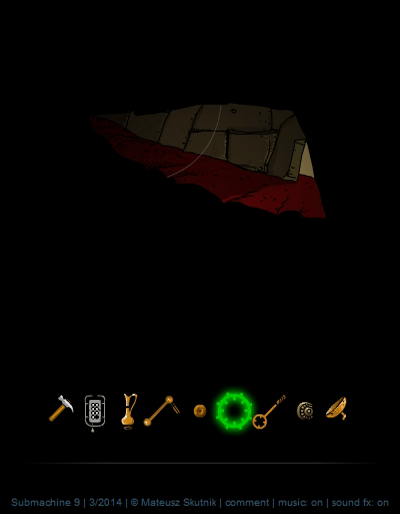
It's the Temple from Submachine 9. The Karma Portal is in front of the left statue's head.
♫ Thumpmonks - Submachine 10 - Submachine 9 Redux 1
Ah yes, I remember this neat soundtrack.
The place is almost completely covered in resin now. Looks like we won't be visiting Liz' grave again. There's a Secret sitting here in the open, you just have to spot it. It immediately goes into the Backpack.
RTL
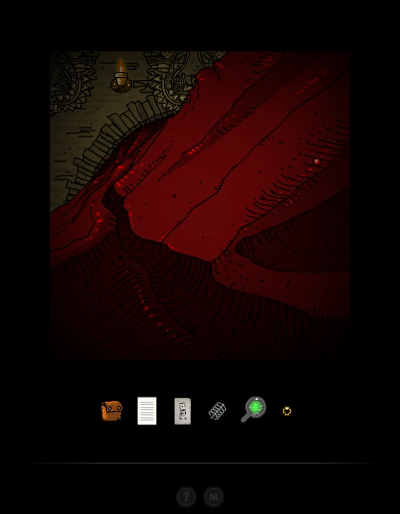
To the left, there's a lot of resin and not much else.
The path to Mur's grave is a dead end too.
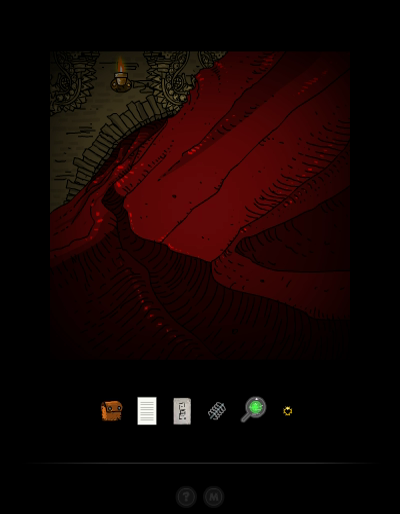
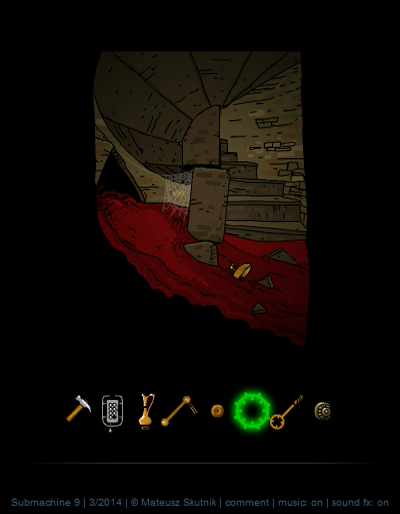
However, some of the resin has shifted since we last were here, and we can now climb through the hole to those stairs.

RTL
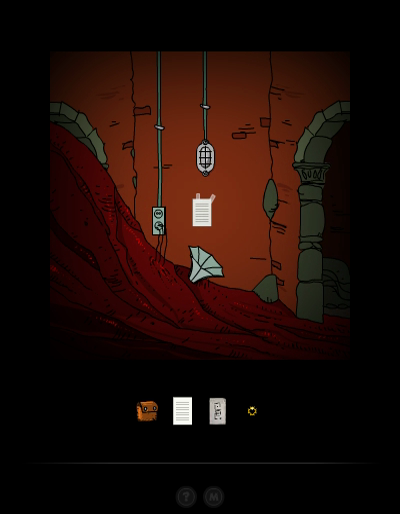
The stairs have collapsed further up, but the hole is accessible. We can explore a new corridor here. Back in Submachine 9 we could access this area from the top, but with the resin it looked quite different:
quote:

RTL
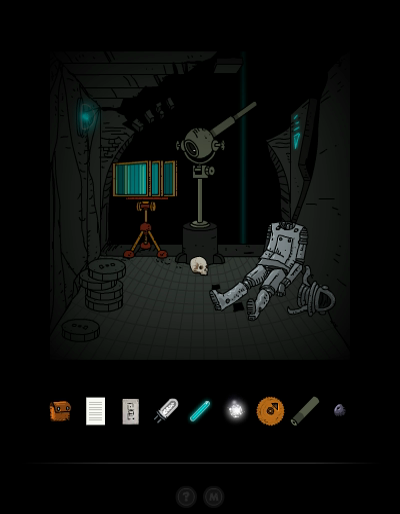
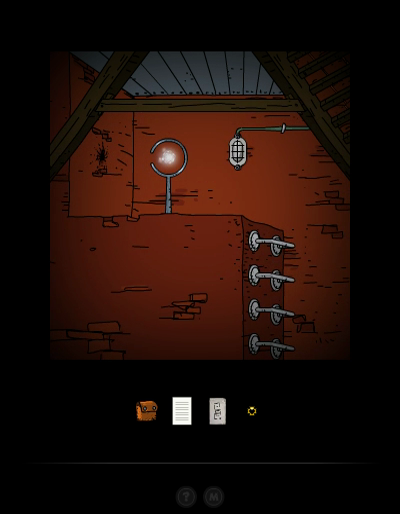
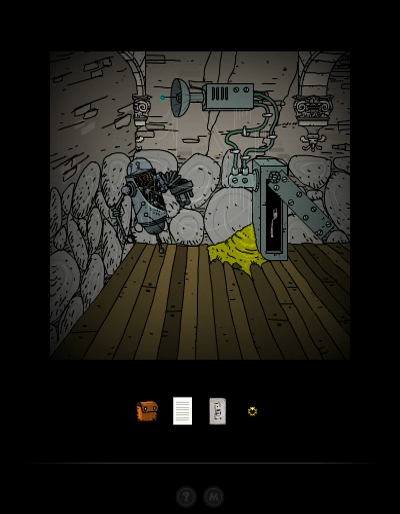
In any case, we find some electric equipment here.
 ...
... 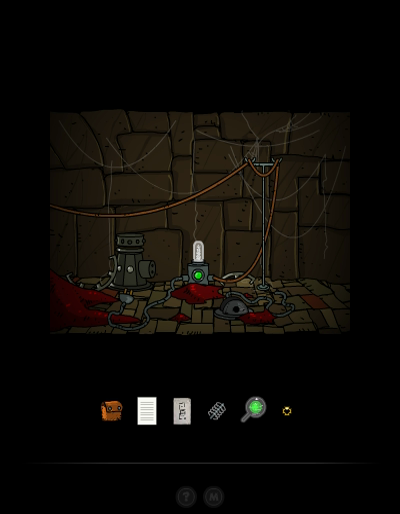
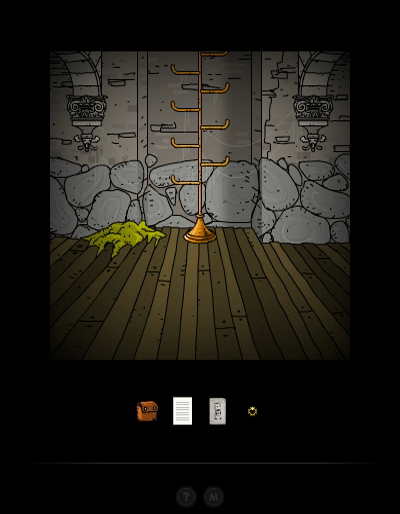
Whatever that device with the power socket is, it's completely dead. But if we use the Coil that's been sitting in our backpack for a while, the thing on the left opens, and we can grab a third Portal Stabiliser.
That's it for the Temple, so let's get out.
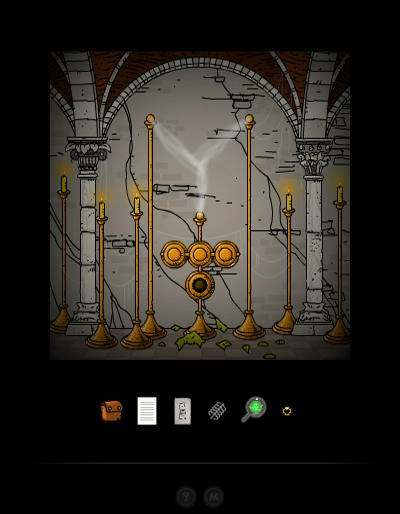
Next stop is the Angel Ruins, OOO, where we found the first Binary Portal. Here we could climb down those planks to reach an incomplete Karma Portal device.
With our three Portal Stabilisers and the Portal Charge, we can fix it.
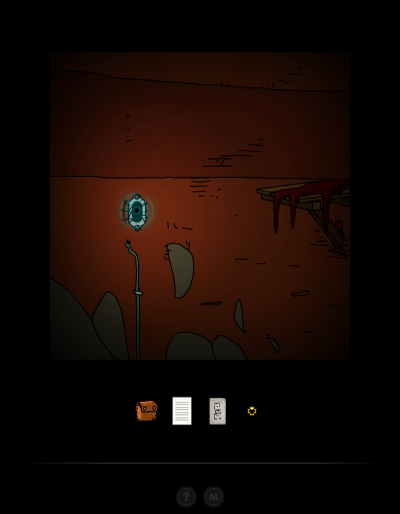
It takes us to... do you recall this place at all? I don't blame you if you don't. It's been a while.
♫ Thumpmonks - Submachine 10 - Submachine 2 Redux
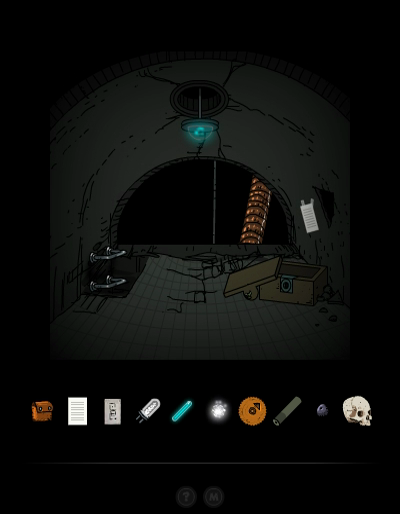
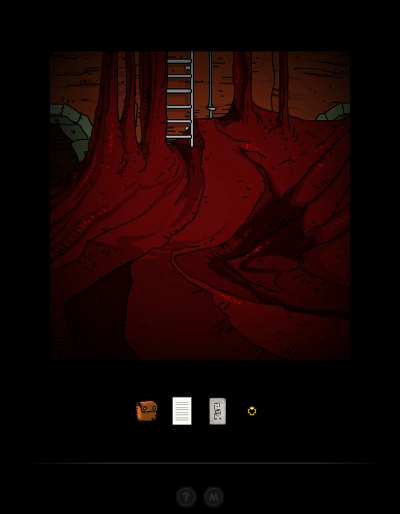
We are all the way back in the Lighthouse Dungeon, from Submachine 2. It's been quite a journey since then, hasn't it?

Going right, we find that this place has been hit by the resin curse as well. Let's see if there's anything we can find on the bottom level first.
Because of the resin, down here we can only go left.
We had to put a Wisdom Gem into this device way back when. Now, it holds a Light Sphere that we can take for ourselves.
A bit further right on the second floor, we run into this device. Back in Submachine 2, it had a hint written on it, but had no other purpose. This time, we can try pulling the breaker, but it just jumps back in the position it was in. That's two directions covered, finally let's climb the stairs up to the third floor.

The old sewer entrance and the hatch to the Lighthouse proper are unfortunately covered in resin. We can only try to go right here.

With the Light Sphere, this is no longer a dead end.
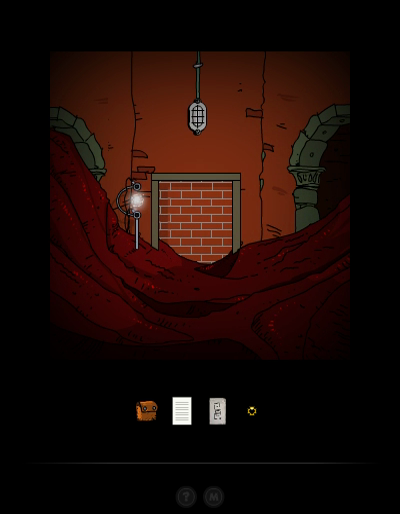
We end up in a part of the Lighthouse Dungeon we've not seen before. Looks like we're under some large stairs.
To the right we find some kind of device that won't do anything yet.
The way further down is blocked by a barrier.
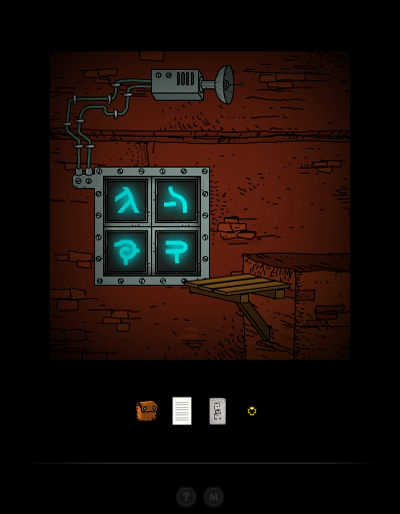
But to the left we discover why we needed those four rune Pictures. Clicking on each square changes the symbol. It's not too hard if you got all four Pictures, because each correct symbol appears on only one of the squares.
It's important to have all four Pictures, because to get the prize we need to leave the Lighthouse Dungeon, move through the Angel Ruins to the Portal, go to the Meditation Temple, and climb down to a specific corner of the place.
RTL
Which is recognizable by the fact that it has the same type of antenna as the device in the Lighthouse Dungeon. Good luck remembering that, though.
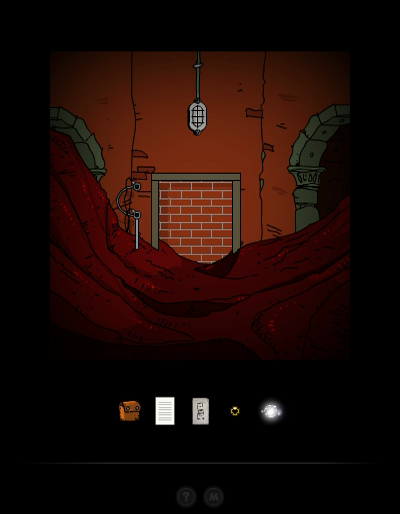
Our prize is, once again, a very rare and important item, the Fork.

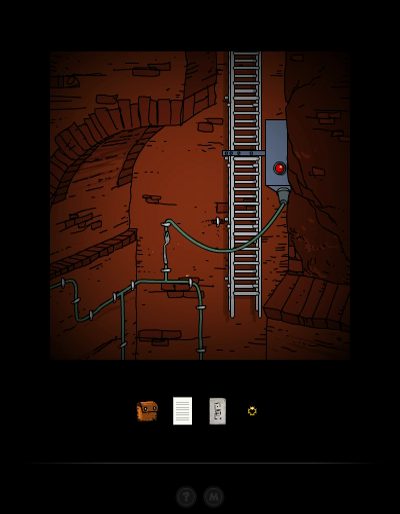
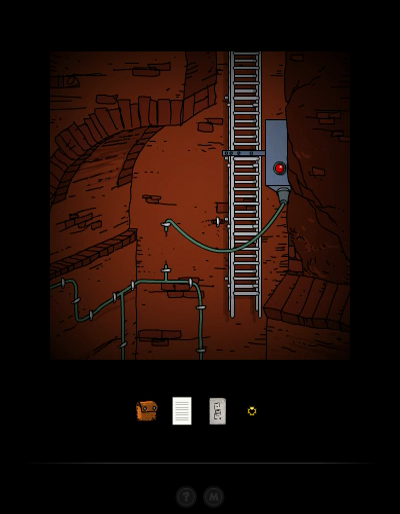
We run all the way back to the blocked part of the Lighthouse Dungeon, where we use the Fork to bridge an electrical connection.

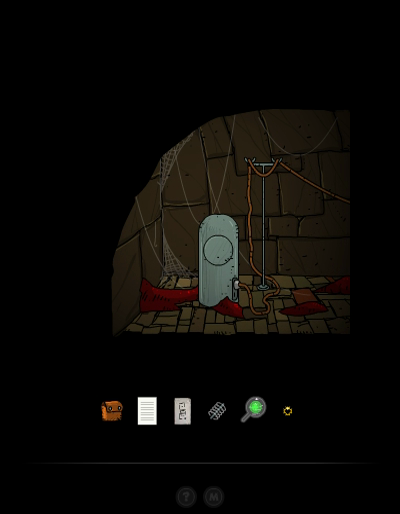
Now we can pull the breaker over on the other site, to open the barrier and make the ladder drop down.
RTL
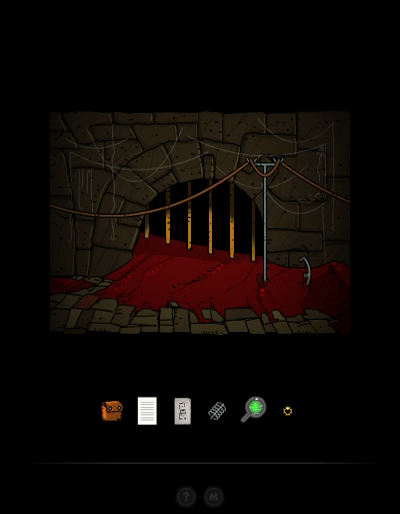
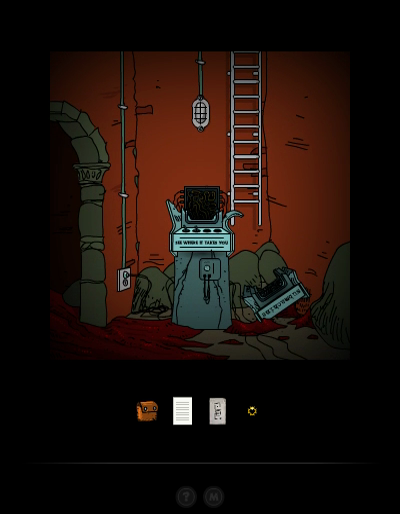
I'm sure you remember this place. If not, let this video stir your memories. It's also a good way to recall how we ended up here in the first place.
Anyway, there's two things to check out here. First, the note someone left next to the phonograph.
quote:
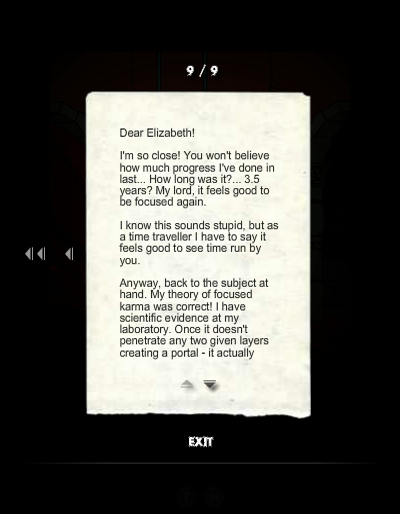
Dear Elizabeth!
I'm so close! You won't believe how much progress I've done in last... How long was it?... 3.5 years? My lord, it feels good to be focused again.
I know this sounds stupid, but as a time traveller I have to say it feels good to see time run by you.
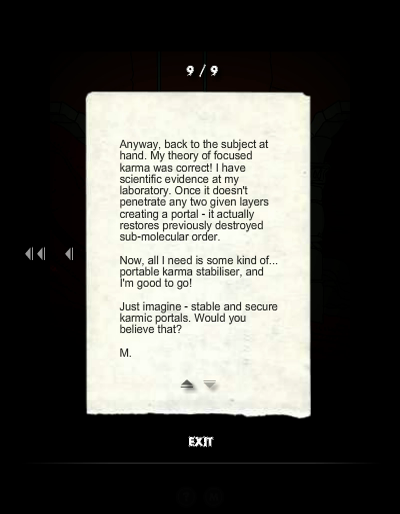
Anyway, back to the subject at hand. My theory of focused karma was correct! I have scientific evidence at my laboratory. Once it doesn't penetrate any two given layers creating a portal - it actually restores previously destroyed sub-molecular order.
Now, all I need is some kind of... portable karma stabiliser, and I'm good to go!
Just imagine - stable and secure karmic portals. Would you believe that?
M.
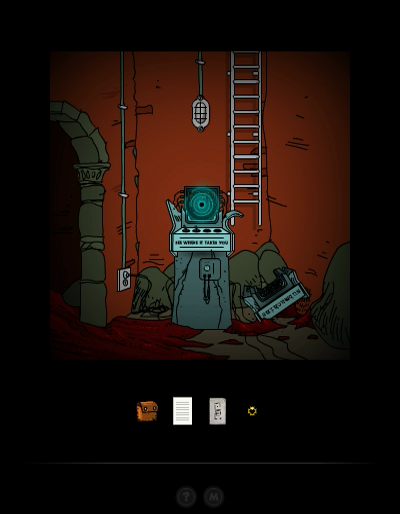
Oh, and the reason the Submachine arcade game is broken? There's a Karma Portal here now!
You can probably guess where it'll take us... but that will have to wait for next time.