Part 33: Submachine 10: The Exit
Part 33Submachine 10: The Exit

It feels to me like we're finally making progress again - solving more puzzles than we're finding, and getting access to new areas.
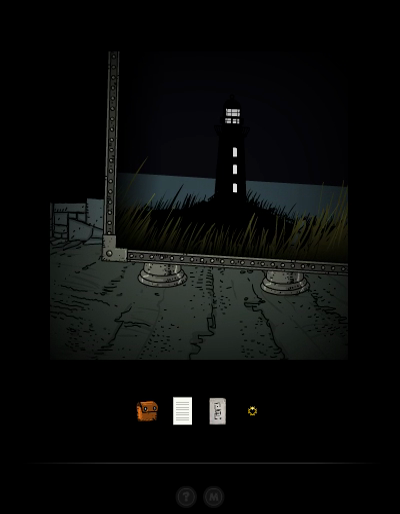
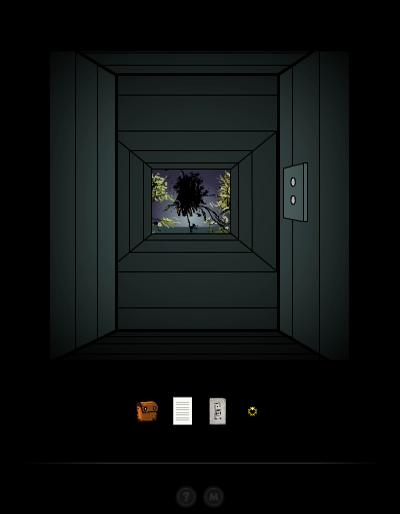
Last time, we found this Karma Portal in the Lighthouse Dungeon, where the old Submachine 1 arcade machine was. Let's jump through.
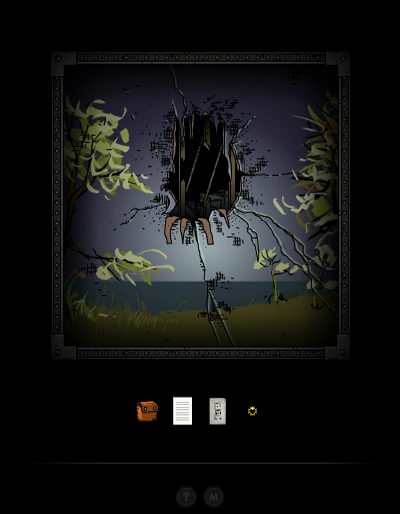

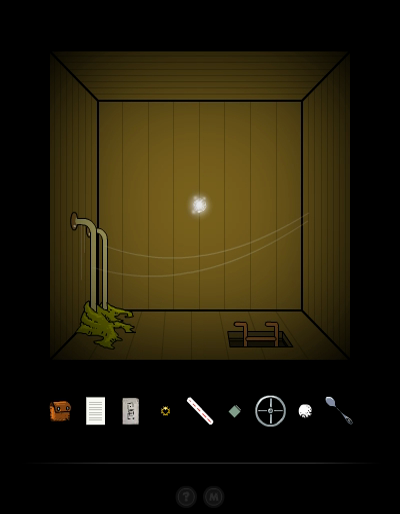
Recognize it? Yeah, the ending of Submachine 1 was us seemingly escaping into nature. Here we see the same scene, except it turns out to be just a painting.
This is the first time we can properly explore this area, and they decided to reuse the Submachine Zero soundtrack here.
♫ Thumpmonks - Submachine 10 - Submachine 0 Redux
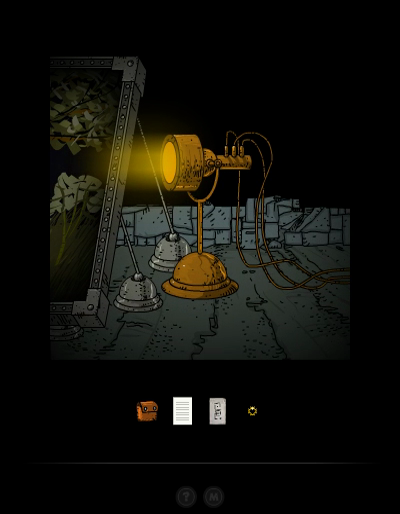

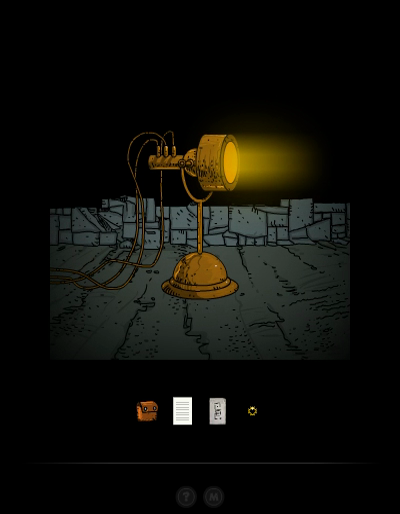
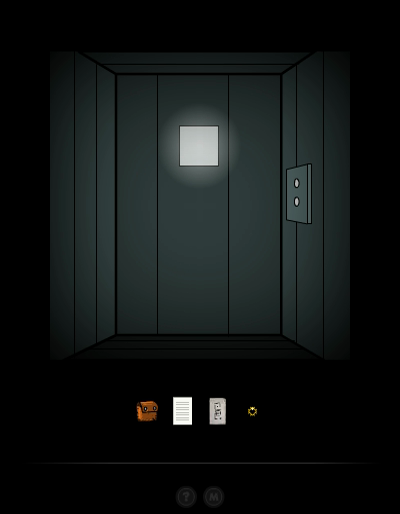
Further to the left, we find that someone put up a lamp that looks like it's supposed to imitate sunlight, to add to the escape illusion. And then we hit a dead end, with another dead Karma Portal.
RTL
To the left of the start, more paintings.
RTL
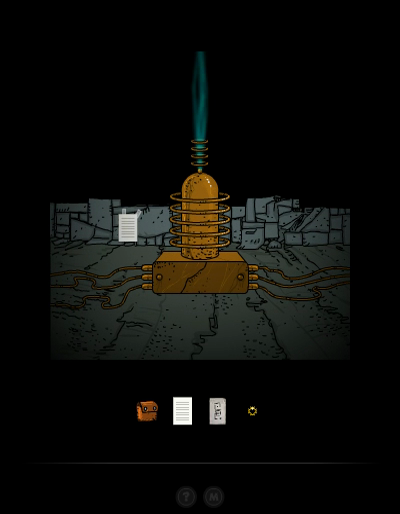
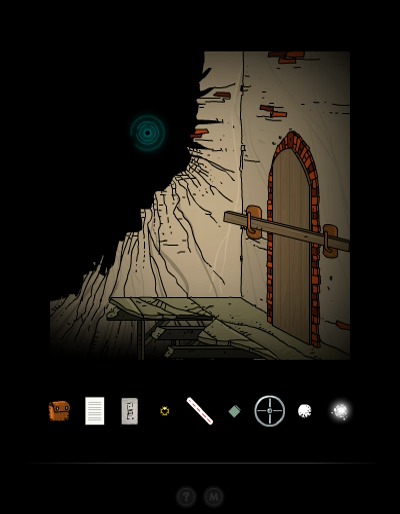
Well, that building looks familiar.
quote:
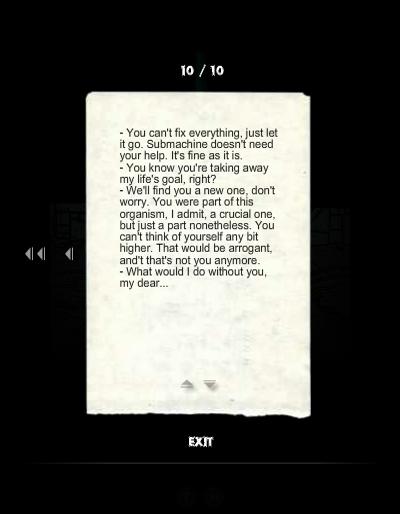
- You can't fix everything, just let it go. Submachine doesn't need your help. It's fine as it is.
- You know you're taking away my life's goal, right?
- We'll find you a new one, don't worry. You were part of this organism, I admit, a crucial one, but just a part nonetheless. You can't think of yourself any bit higher. That would be arrogant, and't that's not you anymore.
- What would I do without you, my dear...
RTL
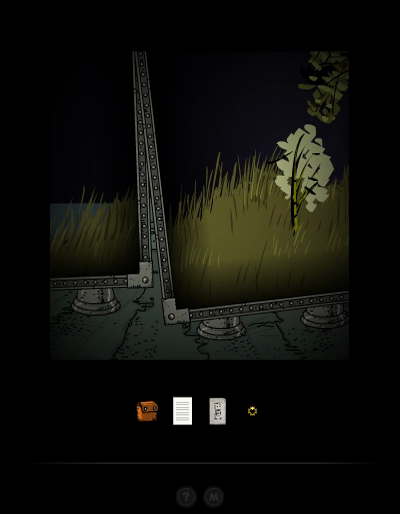
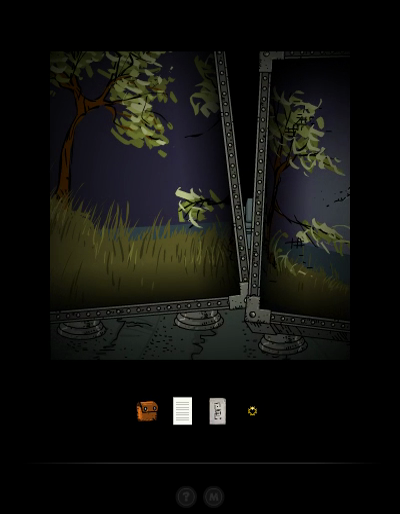
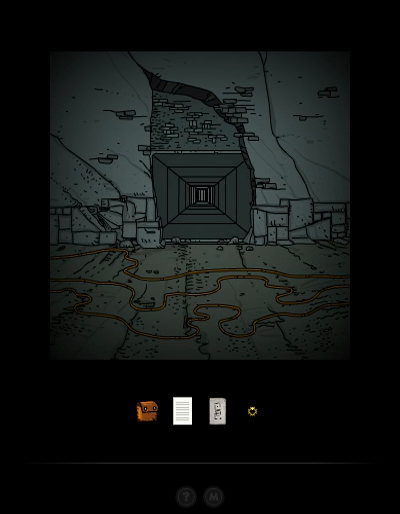
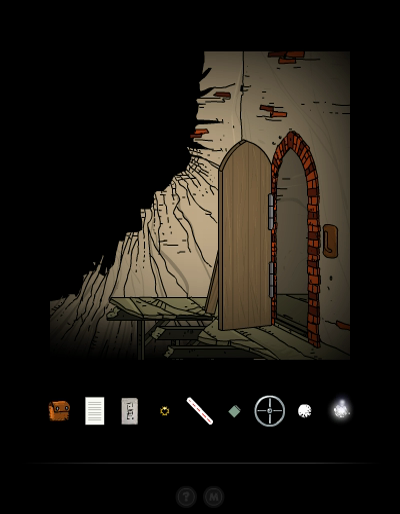
Next up, we find an entrance of some kind, and then discover that this area loops around. Not like the Loop, but an actual, sensible, circle. Still, we can't cross the gap to get back quickly.
The entrance turns out to be the back entrance to the elevator we used to escape from the Basement a very long time ago. As soon as we press any button, it takes us down.
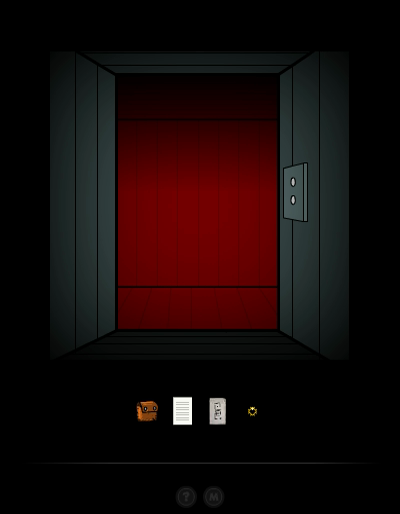
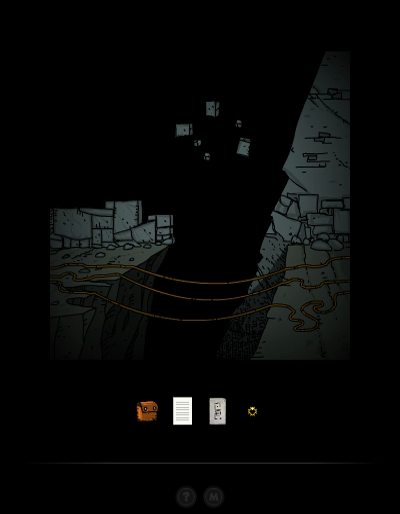
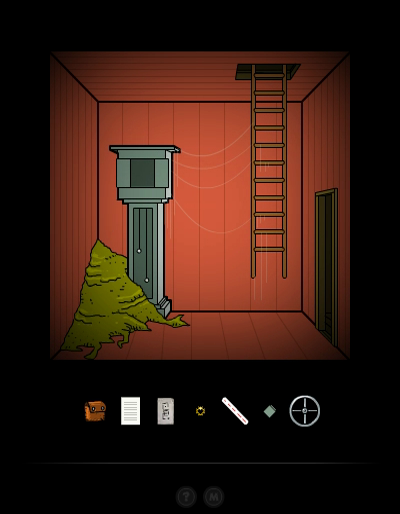
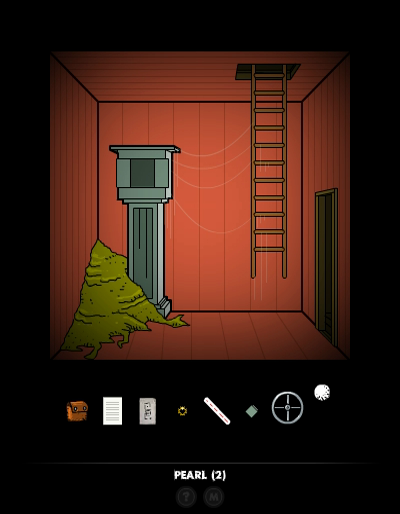
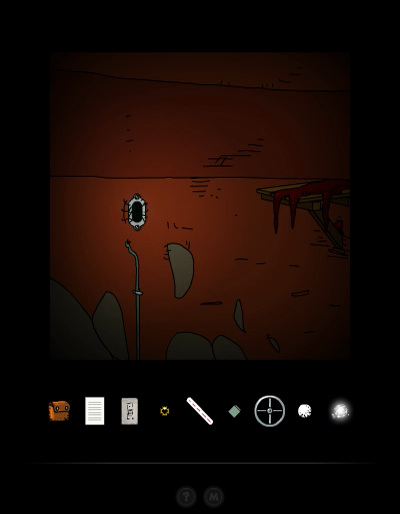
It stops in a place that looks a bit familiar, although I don't remember the Basement being this... red. And the elevator door just faded away in front of our eyes. This might be a problem.
♫ Thumpmonks - Submachine 10 - submachine 1 Redux 1
You have heard this exact track before. I used it as the music for my initial Submachine 1 update, because it was the closest I had to the missing soundtrack of that game. But this is where it is actually used.
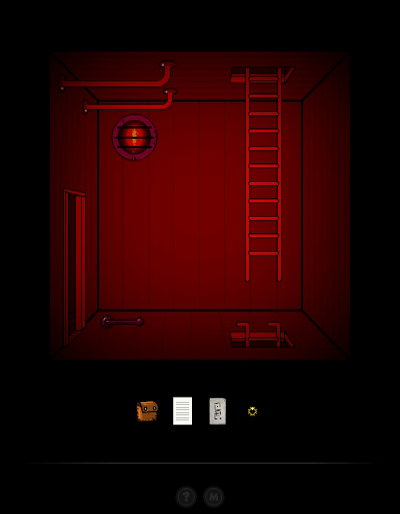
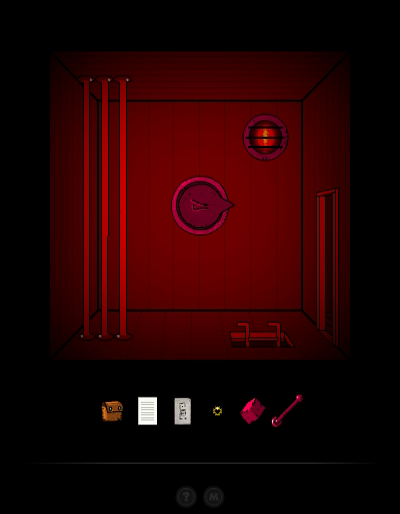
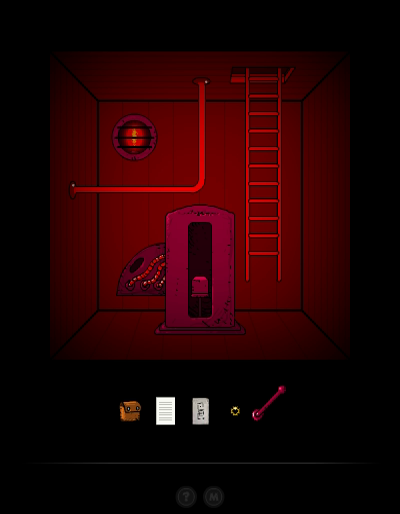
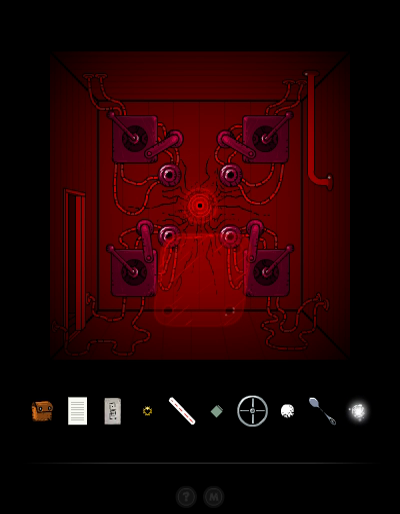
This place is called the Infernal Basement. I hope to escape as fast as possible, because that sounds scary.
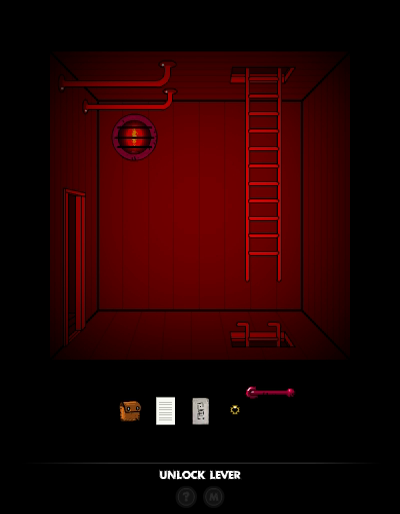

We grab the Unlock Lever, then climb down. Even the strange wall devices are red here.

Down at the bottom we find this switch, which we'll immediately flip because why not.
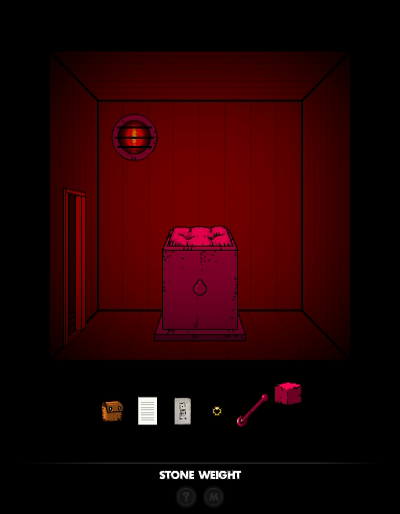
To the right there's this... museum stand? I don't know. But there's a Stone Weight on the ground.
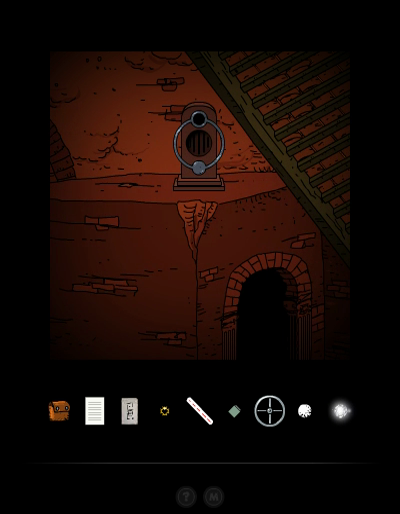
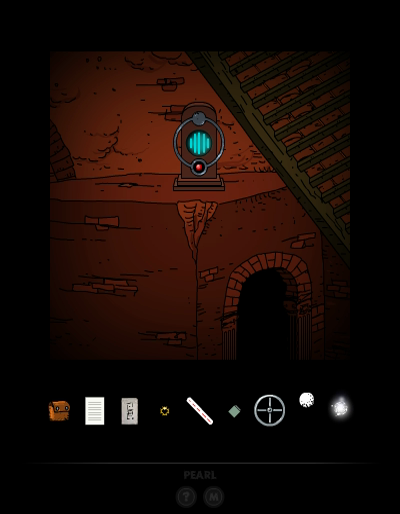
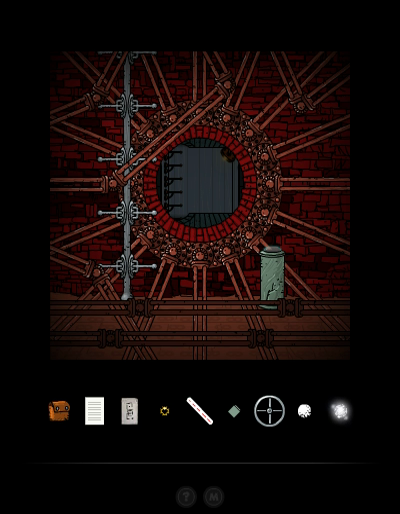
Going back, one floor up, we find this room to the right. There's a Karma Portal behind the glass, and we can use our Unlock Lever on one of the holders to unlock it. I think we found ourselves a potential escape route.

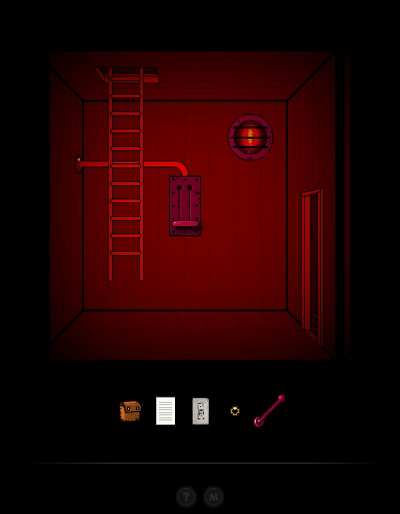
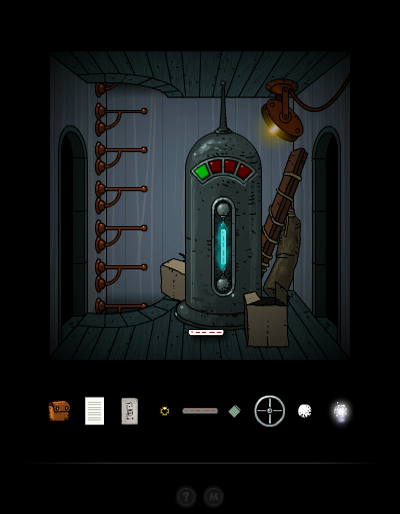
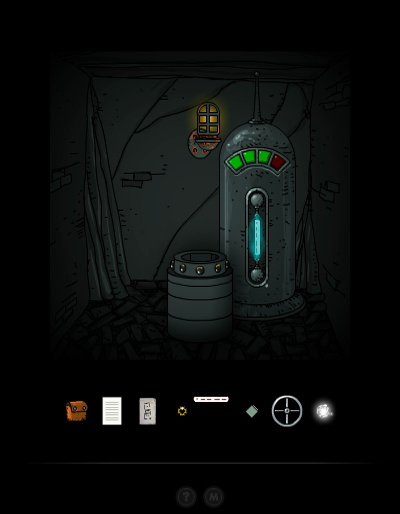
From the room to the right of the entrance room, there was also a ladder going up. It takes us to this place. One of the lights is already green, because we pulled that switch downstairs.
 ...
...
And just to the left of here is the second switch. We pull it to reveal another Unlock Lever in the right room. Nice!


RTL
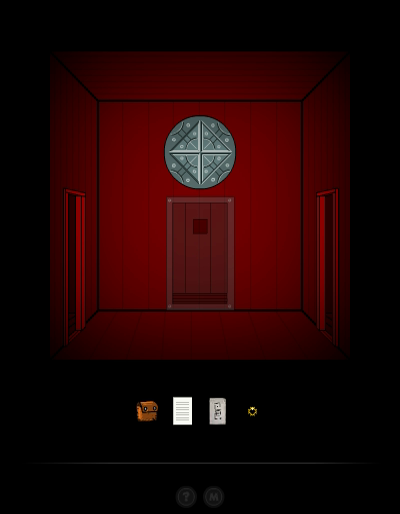
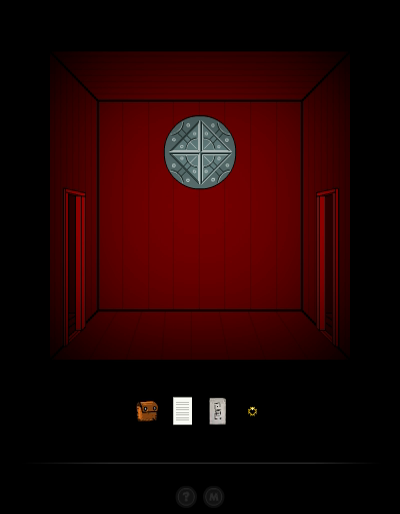
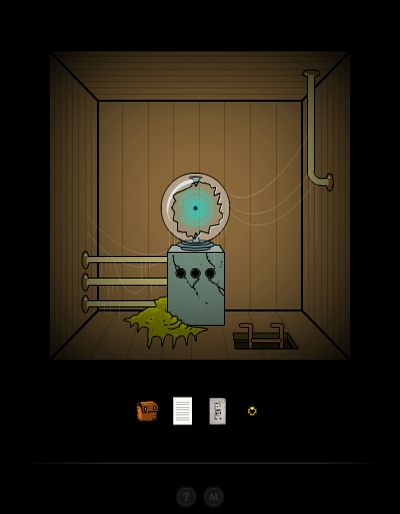
Next, we go to the one direction we haven't explored yet: to the left of the entrance room. We can turn this disc on the wall.
 ...
...
We do so, turning the disc in the top room with it, until it's in the slot. This turns the light green here.
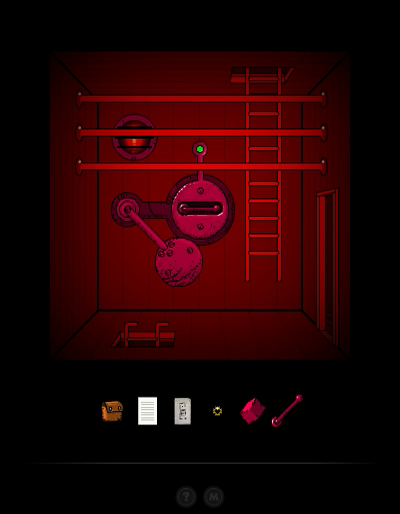

And reveals a third Unlock Lever in the downstairs room we passed earlier. While we're there, we can unlock two more holders.
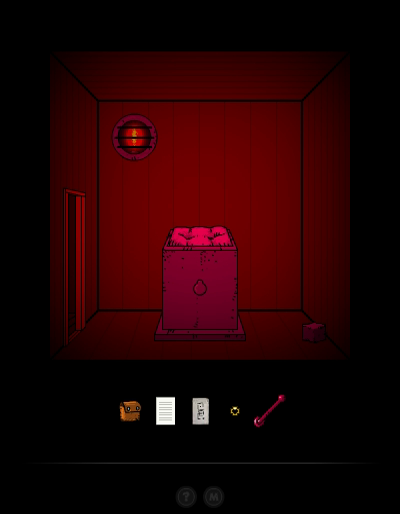
The final room of this area is to the left of the entrance and then down. When we use the Stone Weight on the scale, the last Unlock Lever pops out.
 ...
...
That went easier than expected. But it's nice to go back to some simple contained puzzles after all that running around. Portal time!

We made it all the way back, we're in the actual Basement now. I suppose this proves beyond a doubt that it's a real place, not just a dream or arcade game.
The music here is another redux of the Submachine 1 theme.
♫ Thumpmonks - Submachine 10 - submachine 1 Redux 2
To the left we collect the four Fuses. I'm glad they stayed where we left them, because while this place mostly looks the same as in Submachine 1, there's moss (or fungus?) growths and cobwebs everywhere. I wonder how much time has passed here since then.
Back to the right, the ladder going down is just a dead end.
I have to say I kinda like this version of the Basement. We just solved the puzzles in another Basement, and we spend quite some effort to reach that place at all. Now the game rewards us with this area. There's some stuff to pick up, but there's no actual puzzles left here. We solved all of those in Submachine 1. We're just here to enjoy the sights and reminiscence.
RTL
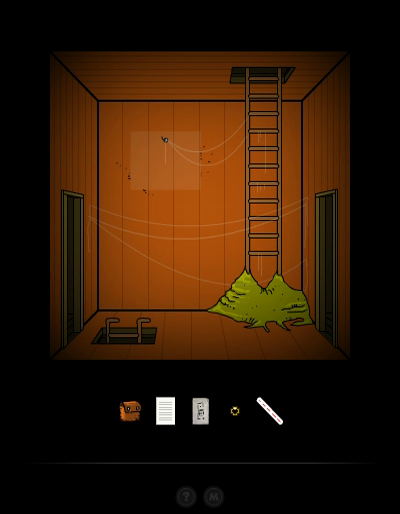
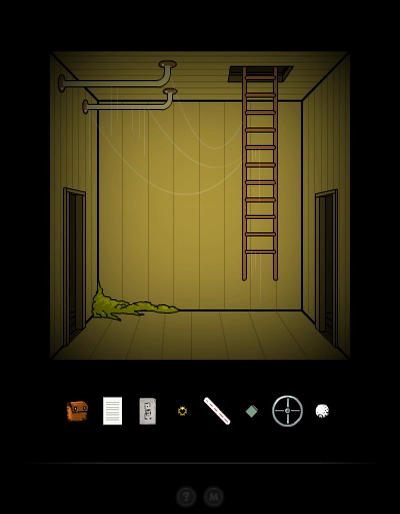
Only one way to go: up from the Fuse room. Hey, didn't there use to be a drawing of the Lighthouse on the wall there?
Three new directions to go from here.

Going down first, the switch doesn't do anything anymore. As I said, no puzzles here.

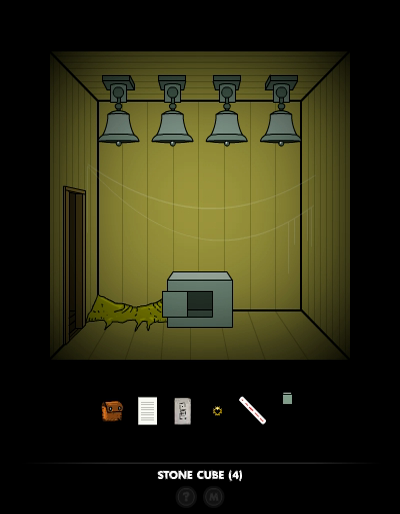
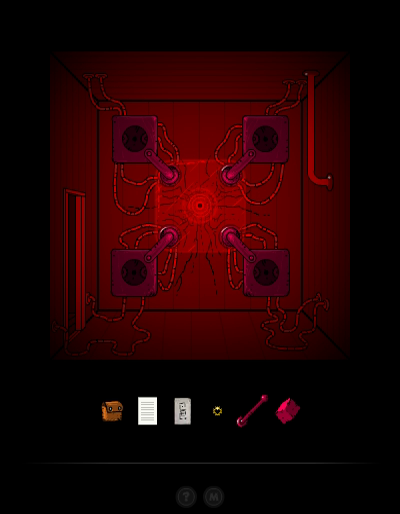
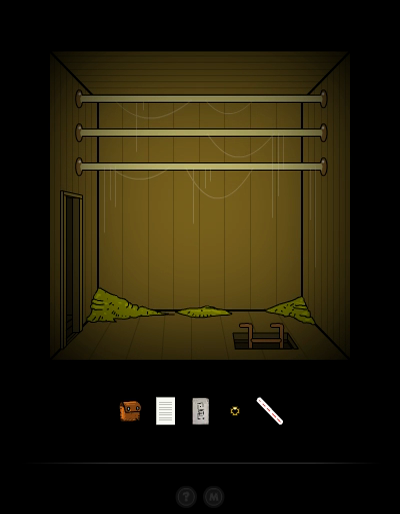
In this part of an old puzzle, we grab the four Stone Cubes. Remember how the bells made them float? We can still ring the bells but the Stone Cubes are needed elsewhere.
Finally, another dead end with the broken remainder of an old puzzle on the other side.
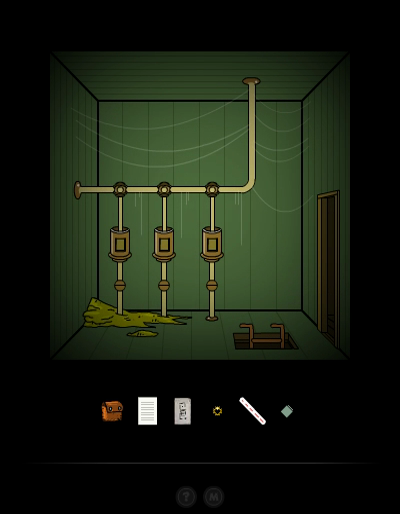

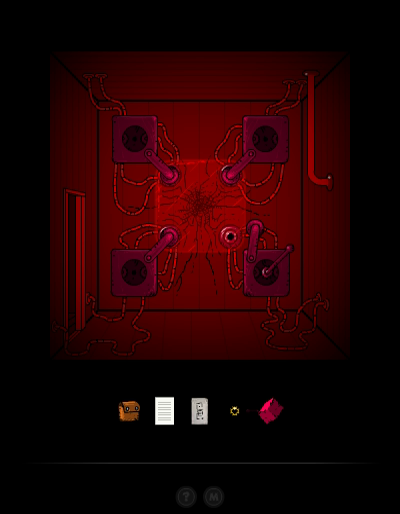
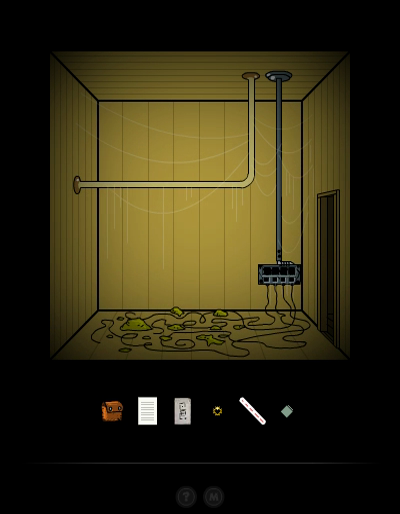
Going left from the four-way room, we can still change the positions of these pistons, but they don't serve a purpose anymore.
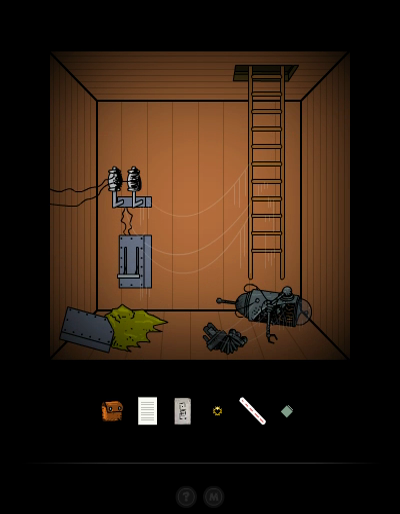
Apparently a Sub-Bot has made it even here.
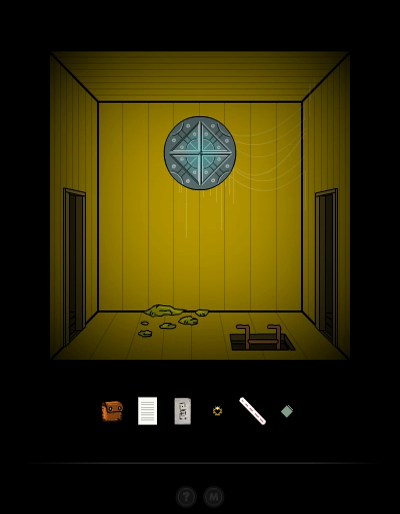
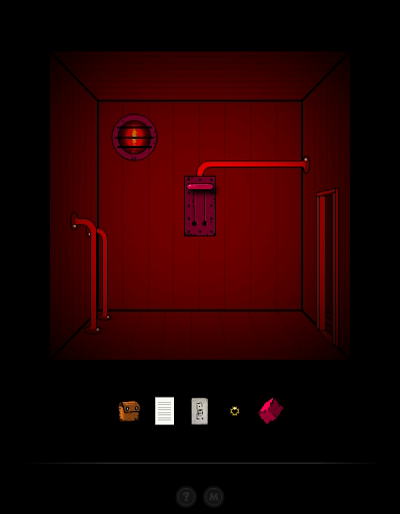
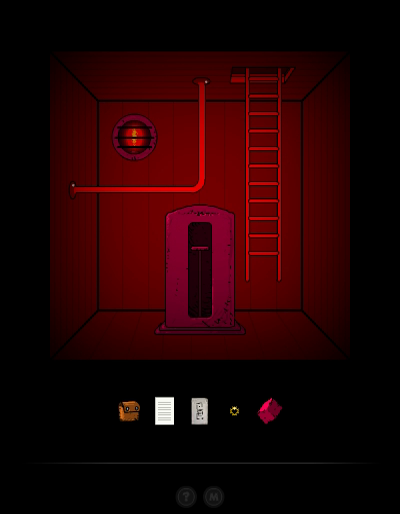
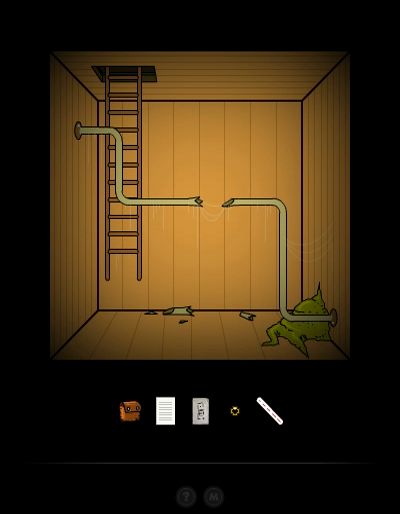
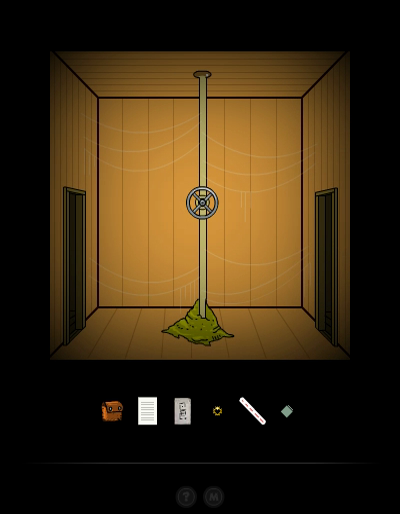
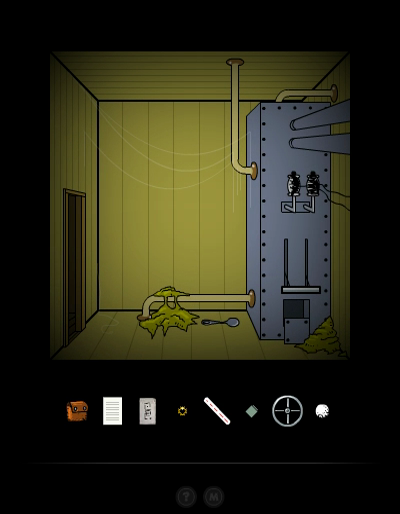
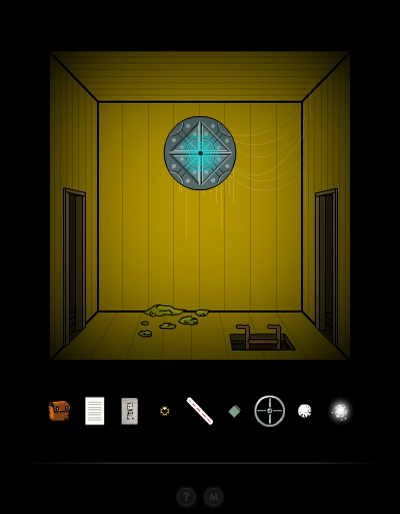
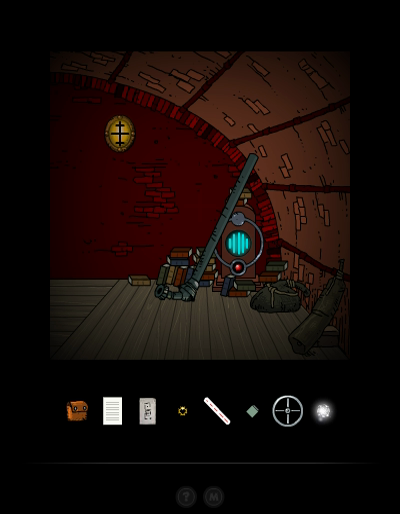
Going up from the central room, we find the place where we made the escape elevator appear the first time. This time, there's a Karma Portal here on the circle. We'll first explore the rest of the Basement before taking it, though.
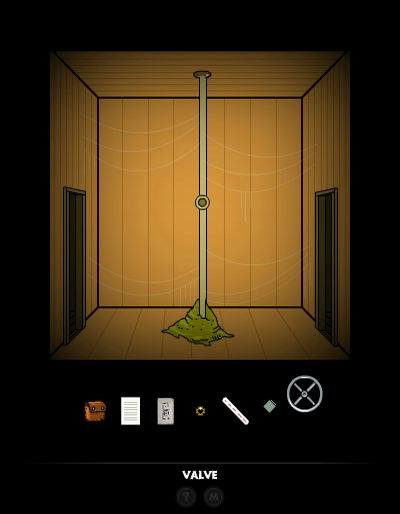
To the left, we can now take this Valve.
And the two Pearls from the clock, as well.

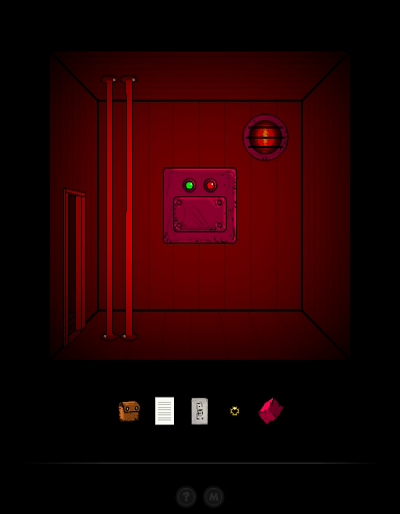
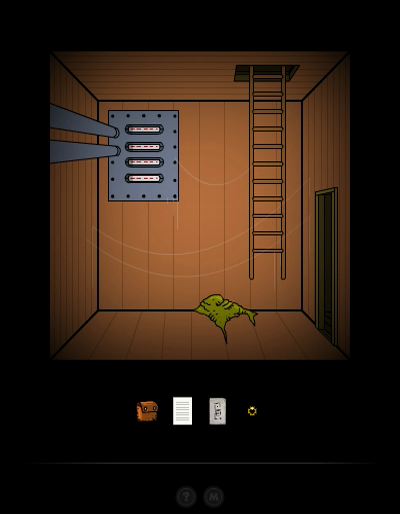
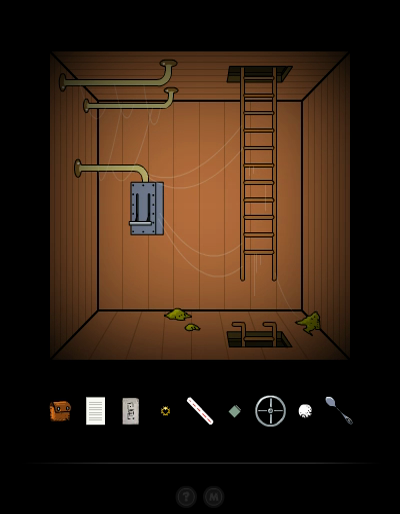
Up here, there's just another Sub-Bot. That plate on the wall with the loose wires used to be a switch. Do you think the Sub-Bot pulled it straight off for some reason?
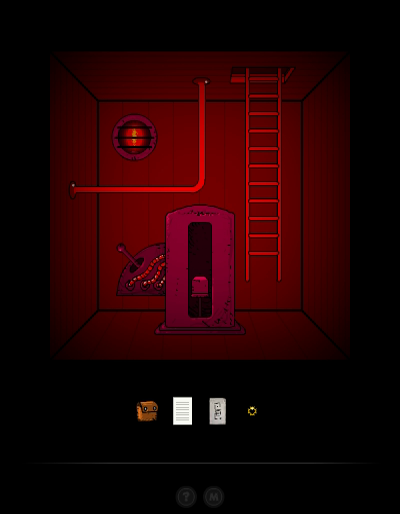
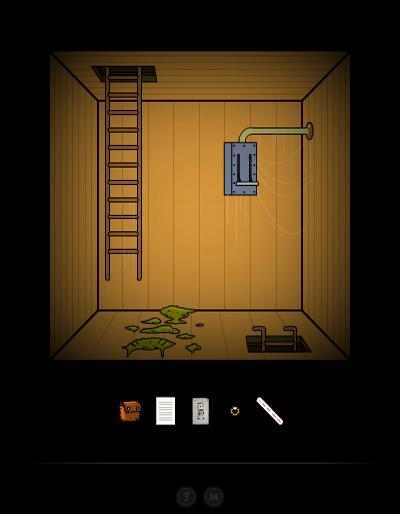
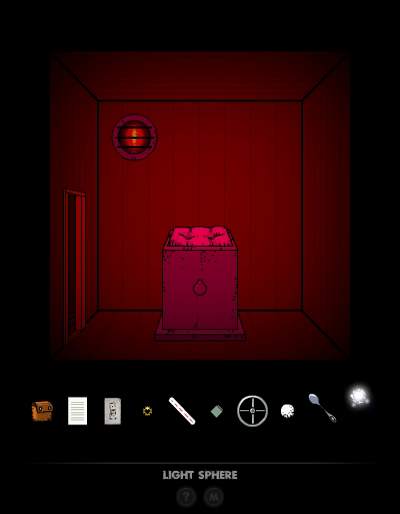
Going right from the Karma Portal, we first grab the Spoon, which ended up on the floor.
In the room up top that used to hold a Wisdom Gem, we now find a Light Sphere. Appropriate.
Before we leave, I'm going to run back to this room in the Infernal Basement real quick. That'll save us from some backtracking later.
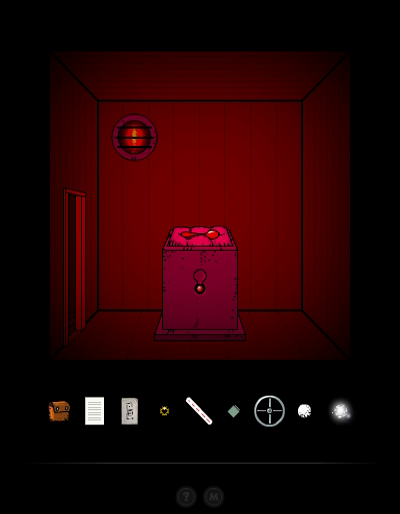
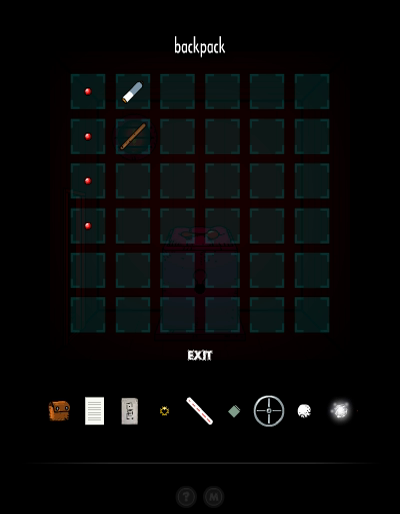
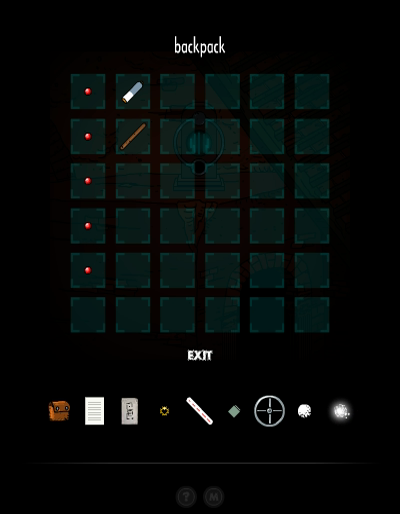
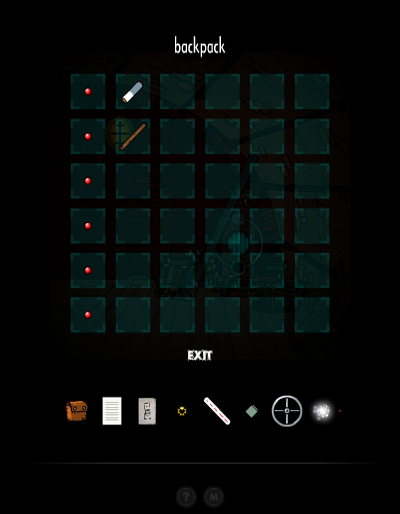
The Spoon, that piece of silverware that has been so useful to us, gets a place of honour on the altar. This reveals a Secret, which we immediately throw into our Backpack. That makes four out of ten.
And now, we can get out.

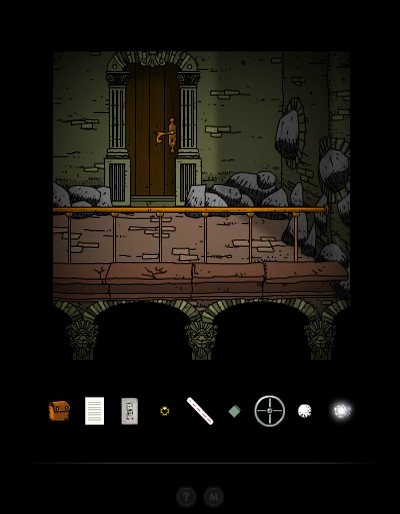
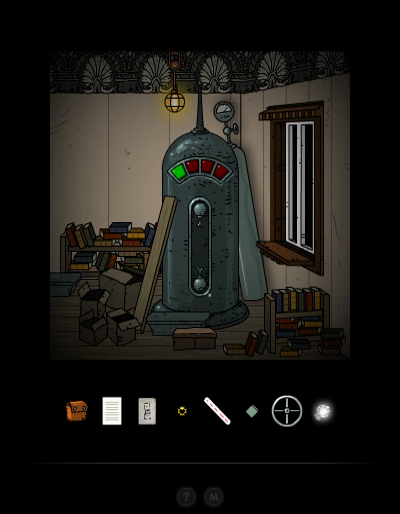
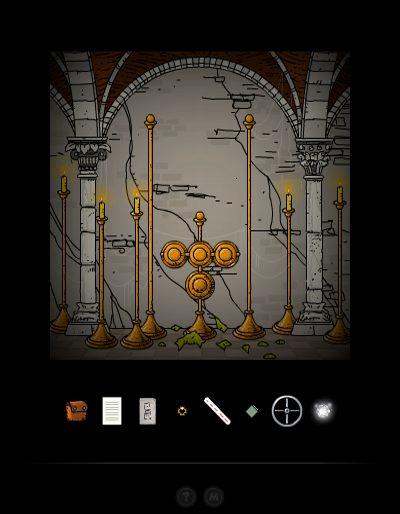
The Karma Portal takes us back to the Angel Ruins (Binary Portal OOO), behind a door that has been locked the entire game. See the large machine? I'm sure it was placed here intentionally. It's a hint that we can now start on the puzzle with those similar-looking machines that we saw all over the place.
 ...
...
But with all the stuff we found in the Basement, we can also do a few other things. While we're in the Angel Ruins, we can quickly take the Karma Portal back to the Lighthouse Dungeon, where we found this device.
Using one of the Pearls from the clock, we reveal the fifth Secret.

Next stop, the Royal Storage Facilities at IOO. To be exact, Storage unit 33/3, on the right side.

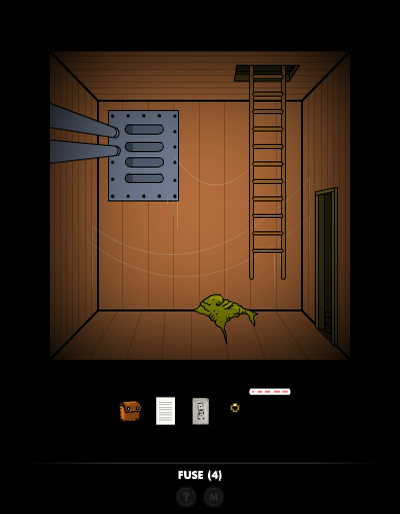
We found the first of these machines here a long time ago. A Fuse activates it.
 ...
...
Over in the Karma Studies Facility, behind the far right door, we saw another of these things.
Pearl --> Secret.

And in another corner of the Karma Studies Facility, we activate the second machine with another Fuse.
The third device was in the Tunnels at the Edge.
And if you're playing this game, I hope you remember the last one is somewhere in the Meditation Temple (III).

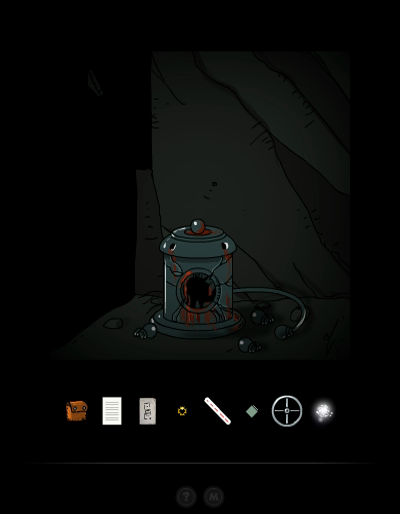
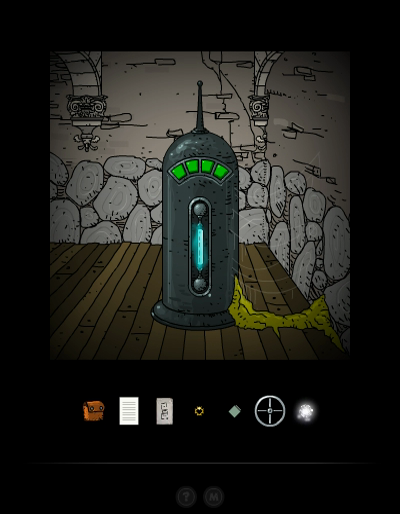
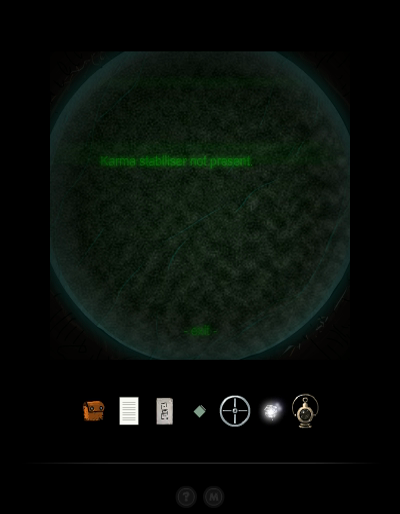
Back in the Angel Ruins, next to the Portal from the Basement, the machine has now opened up to reveal the Empty Karma Stabiliser. It doesn't do anything in its current state, so let's go and fix that real quick.
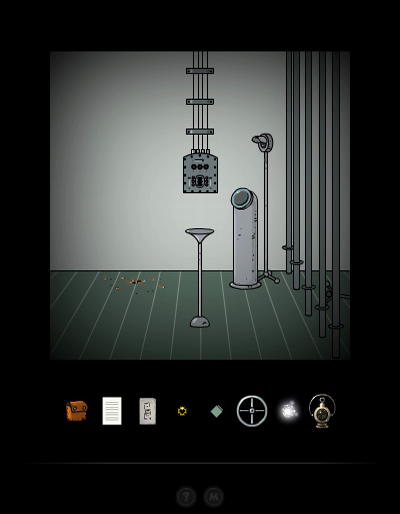
We portal to the Resin Mine and from there to the Lab's Rooftop, and make our way to this room.
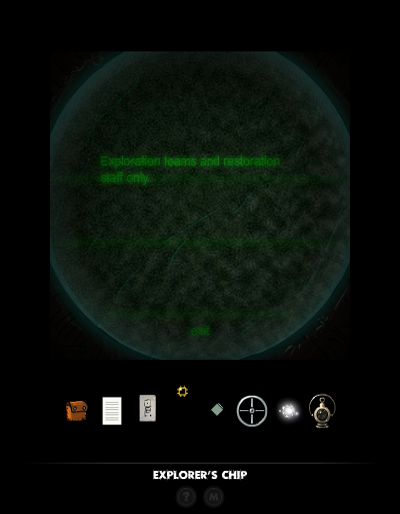

We couldn't pass through here earlier because it's apparently exploration teams only, and the scanner didn't recognize us as an explorer. Well, now that we've scraped the Explorer's Chip off some poor person's skull, we can put it on the ash tray in front of the scanner to trick it.
Like this.
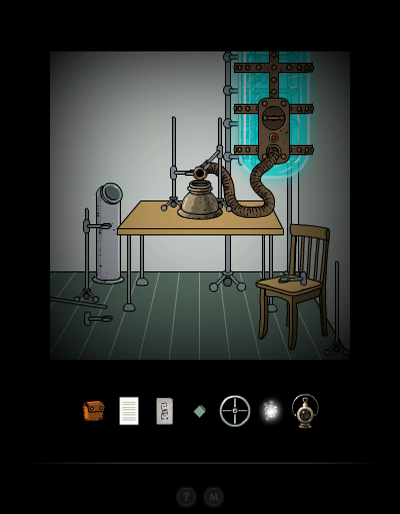
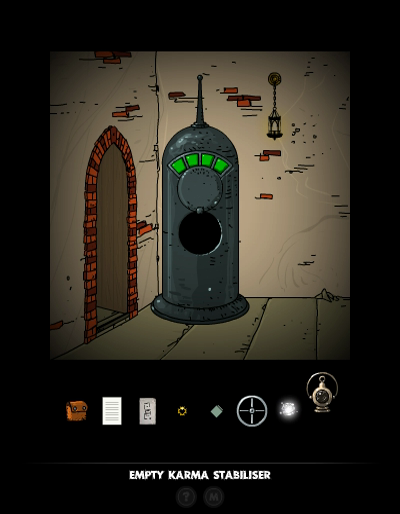
The screen here asks for a Karma Stabiliser, which we conveniently just got.
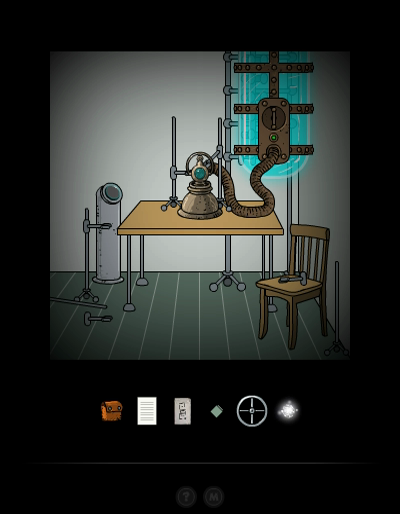

We put it in, fill 'er up.
And we grab the now active Karma Stabiliser.
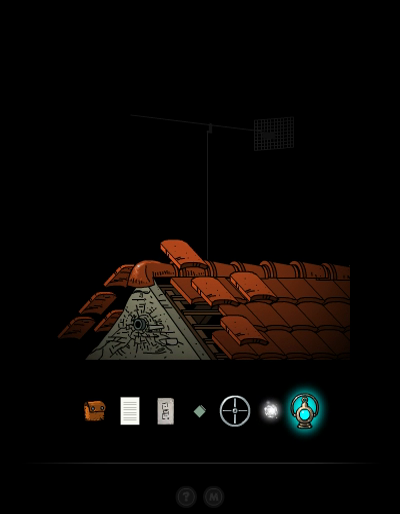
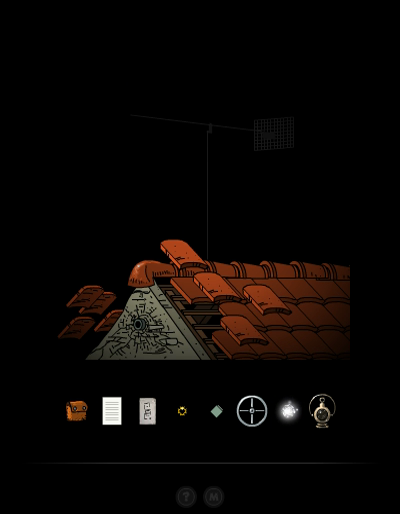
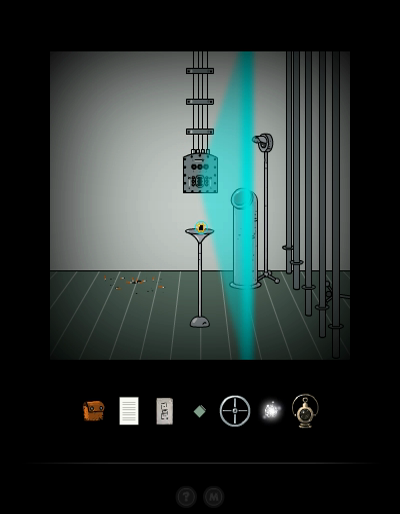
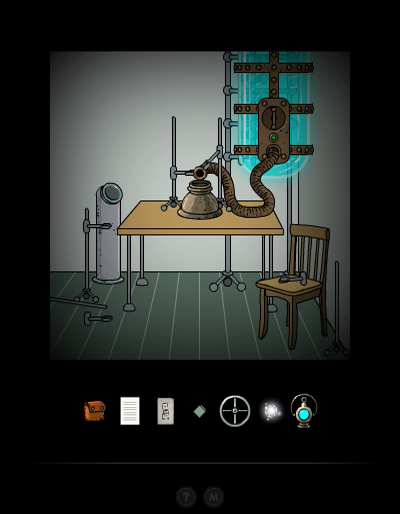
As we get back to this screen, it starts glowing, as if it's reacting to something.

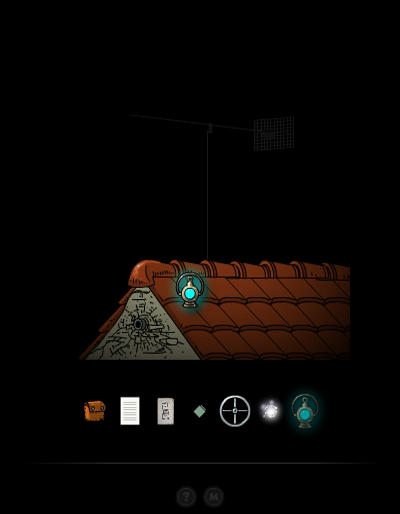
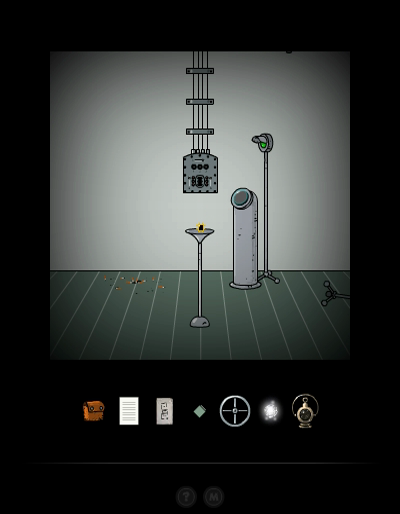
We can use the Karma Stabiliser on the floating roof tiles... and they glow for a moment and put themselves together again. Looks like Murtaugh's experiment to restore architecture broken by Karma Portals was a success!
This is quite enough for this episode, but next time we'll see just how powerful the Karma Stabiliser is.