Part 34: Submachine 10: The Exit
Part 34Submachine 10: The Exit
Welcome back! In case you couldn't tell, I'm getting excited now that the ending of the game - and the series - is nearing.
Last time, we got the Karma Stabiliser with which we can fix structures broken by Karma.
Before we get to play with it, there's a place we need to go.
It's in the Royal Storage Facilities, and I've delayed this as long as possible. But it can wait no more. If you thought the looping geometry of the Storage Units was bad, well get ready to see the most annoying part of this game.
We unlocked a Karma Portal in one of the units a while ago. We never went through it. So let's go.
No. No no no no no. NO.
♫ Thumpmonks - Submachine 10 - Submachine 3 redux

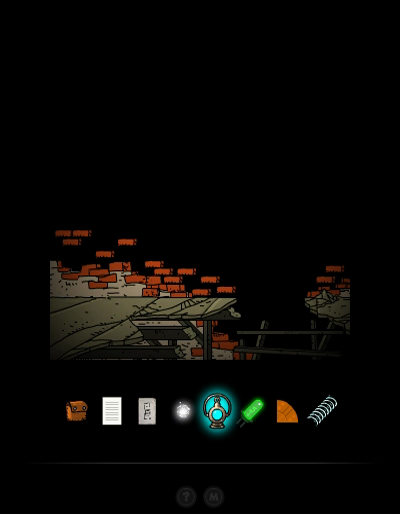
So, we find ourselves back in the Loop. This is a part of the Loop we haven't been to before, called Level X.
If you remember, in Submachine 3, every level of the Loop had a small number of interesting rooms surrounding the central 'portal' room. While it did seem like a scary place where you could get lost, the puzzles and navigation weren't that bad. Especially when we got the Navigator device.
It's different this time. Similar to one of the Storage Units, whenever you walk through a door or climb a ladder, you get transported to a completely random room within Level X. And there are way more rooms than in that Storage Unit. So, what happens is, when you're trying to solve a puzzle, you're looking for a certain room, can't find it, get irritated, start running through the rooms faster... and before you know it you ran right past the room you needed and can't go back. On top of that, this area opens up early in the game and cannot be solved completely until way later. Having to come back here a second time is no fun.
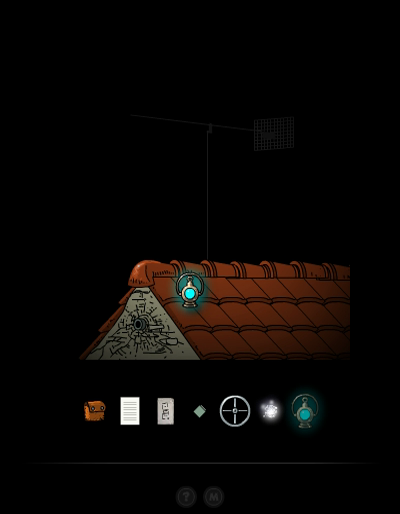
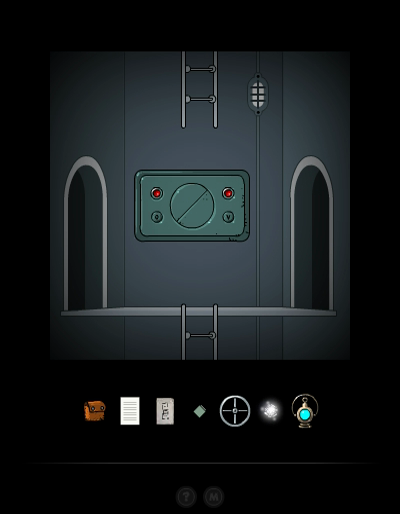
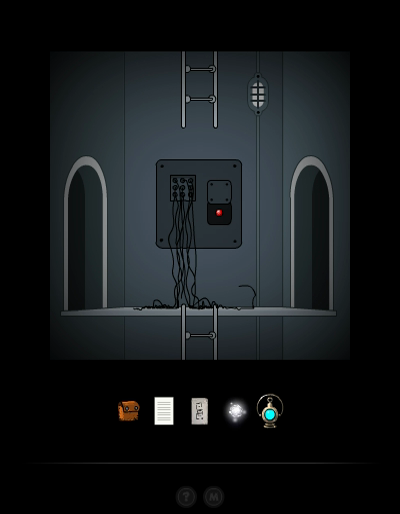
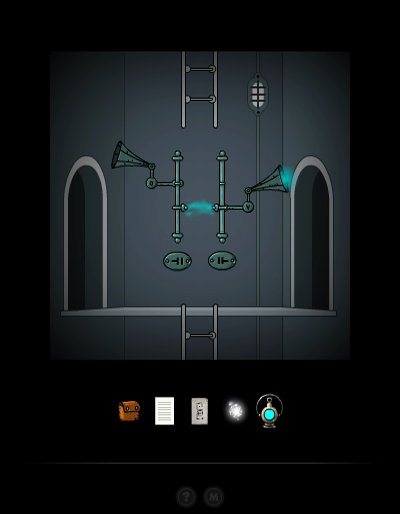
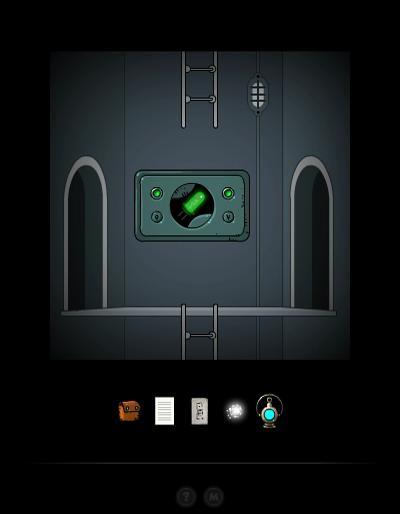
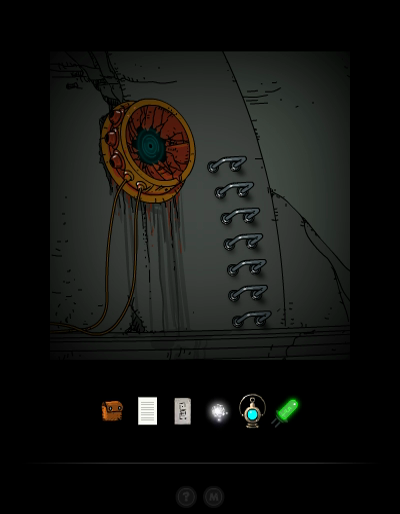
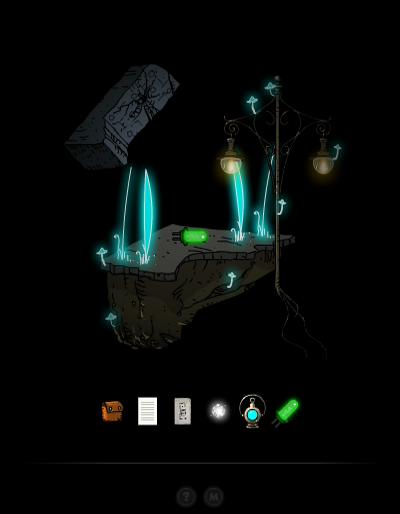
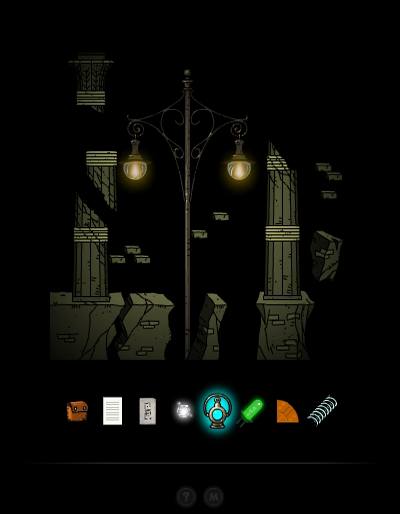
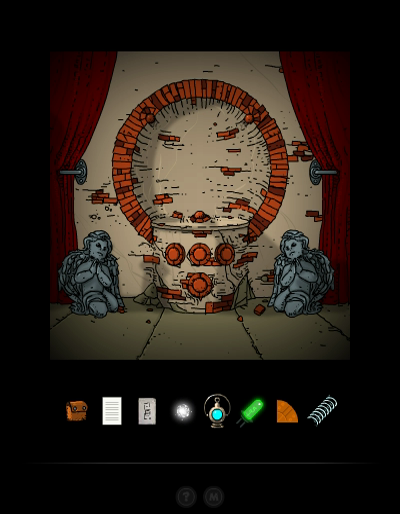
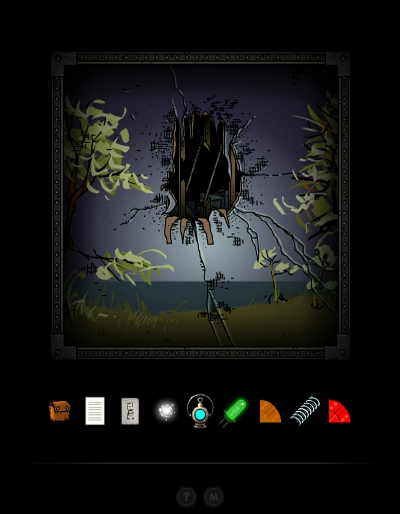
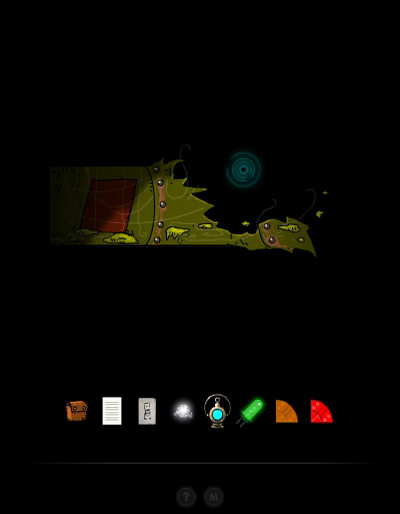
We start the main puzzle by inserting the Valve (which we got from the Basement) into this wall device. By turning it, we can choose which light turns green.
That switch on the device with the horn seems to be locked in its position. And the other room is just empty.
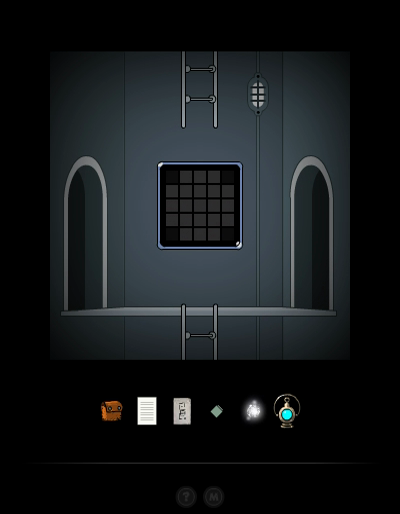

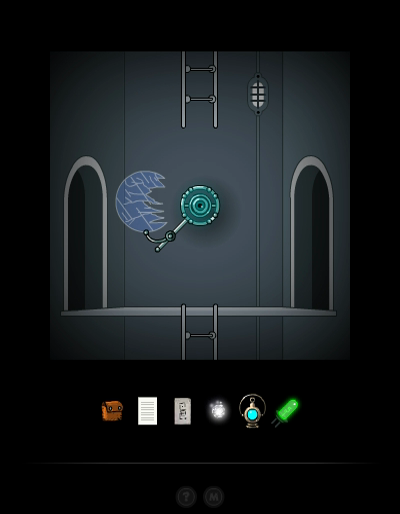
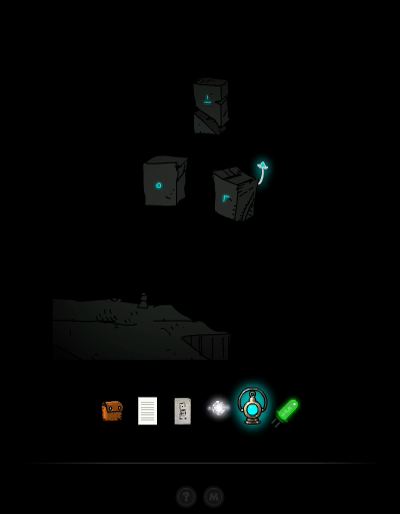
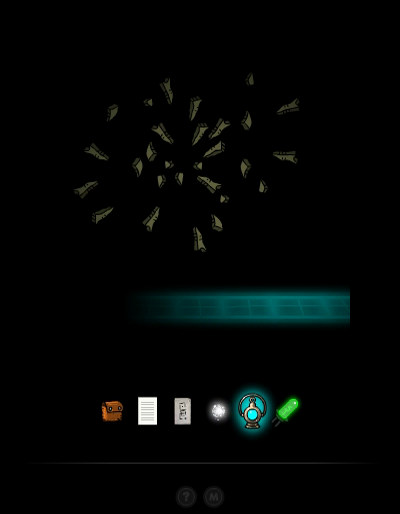
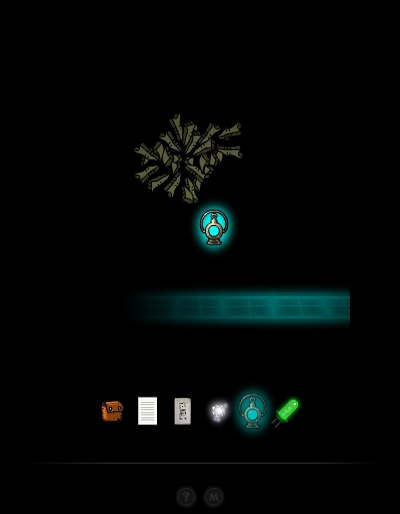
We find this room, with a screen that looks similar to one we've seen in Submachine 3. The blocks light up blue when you hover your mouse over them.
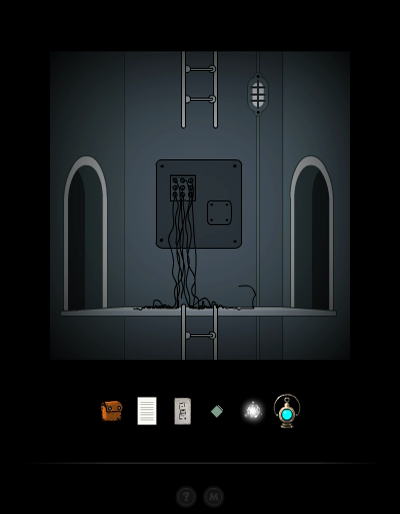
In the very next room, we happen to find what's supposedly the back of that screen.
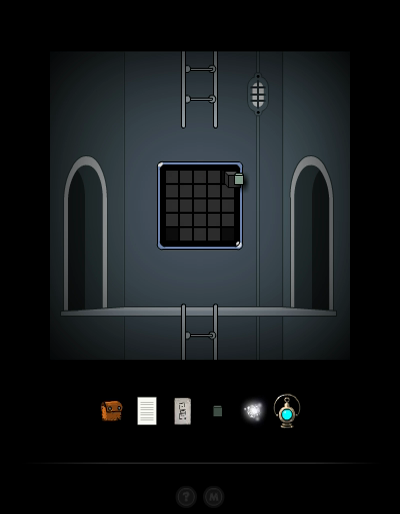
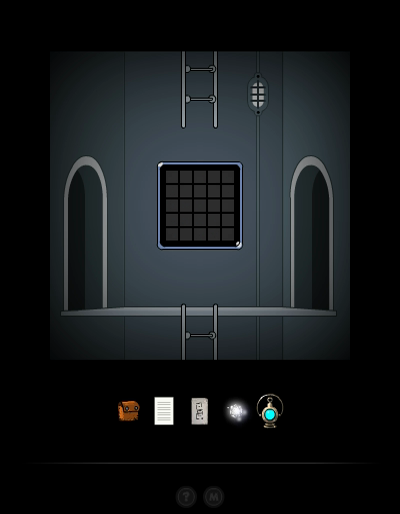
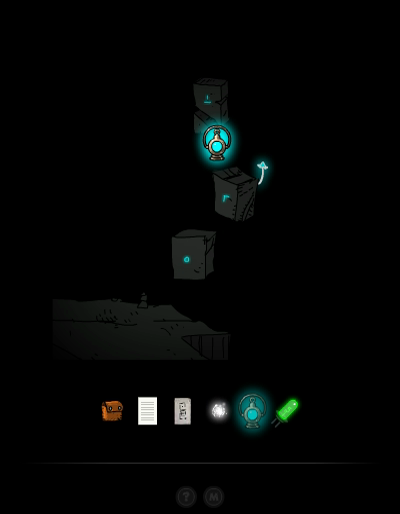
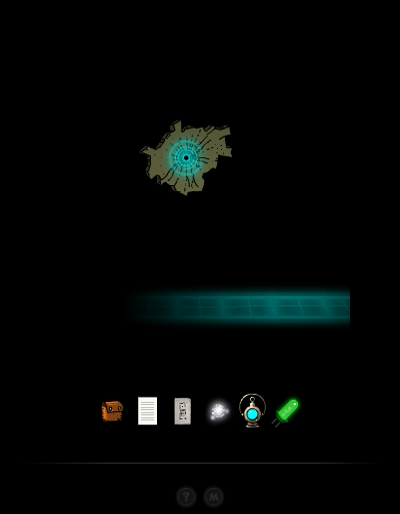
The puzzle? It's completely different from the Submachine 3 one. We actually need to insert the four Stone Cubes from the Basement to complete the screen.
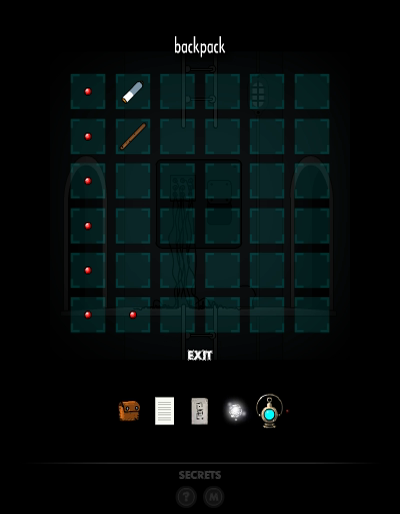
Revealing the seventh Secret at the back side.


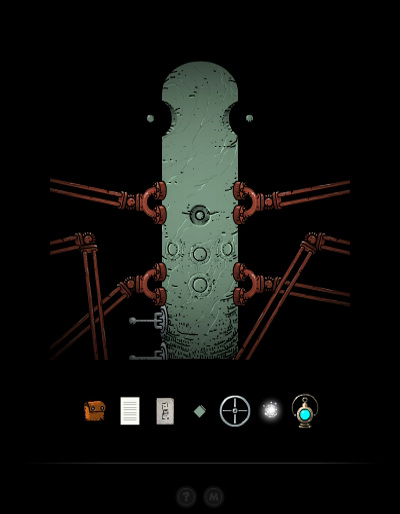
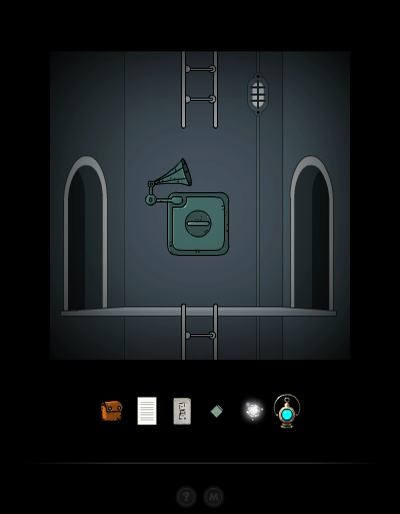
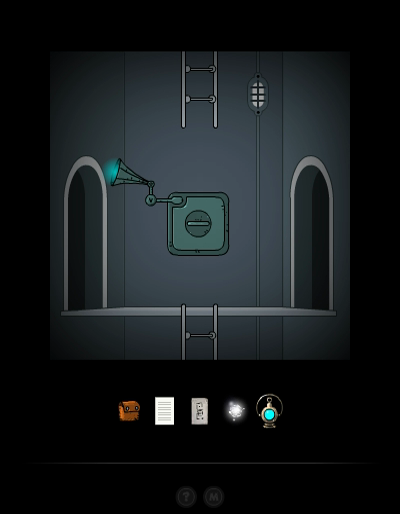
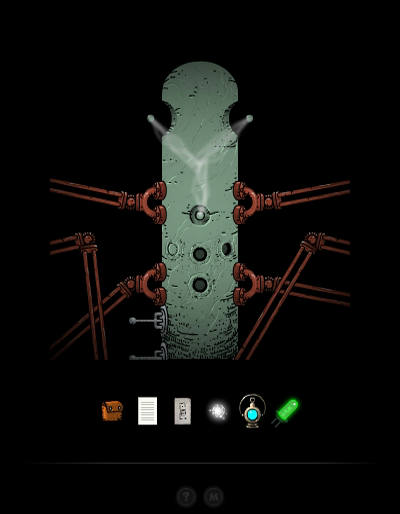
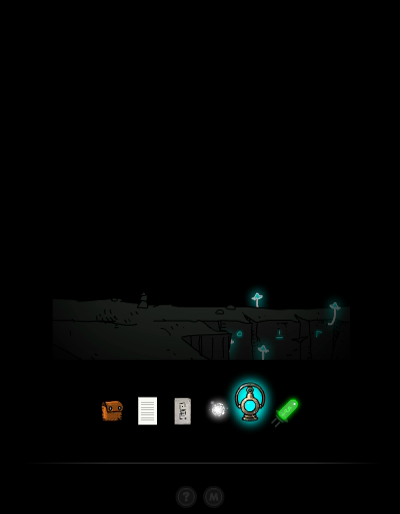
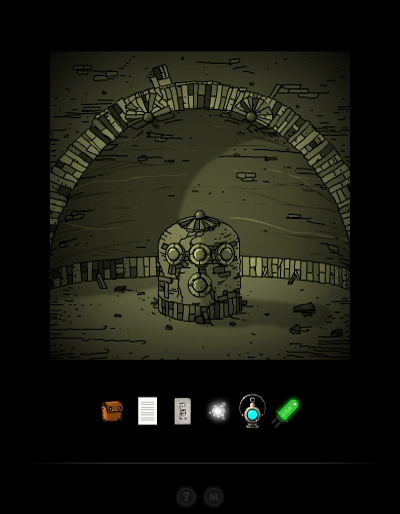
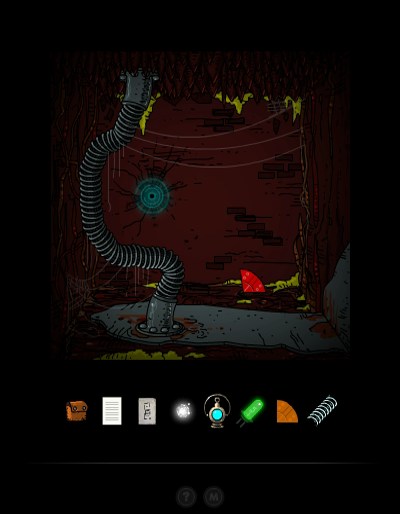
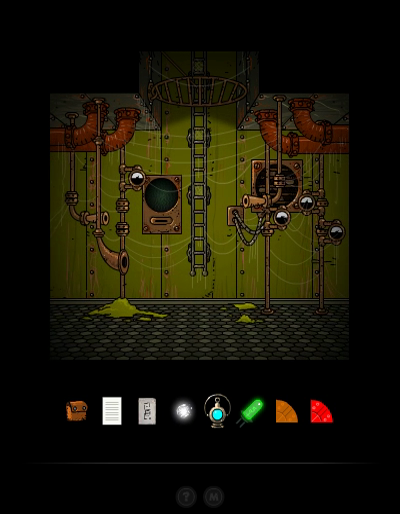
Back to the main puzzle. We find a room with a couple of horns, and symbols of which one is similar to the symbol under the place where we put the Valve.
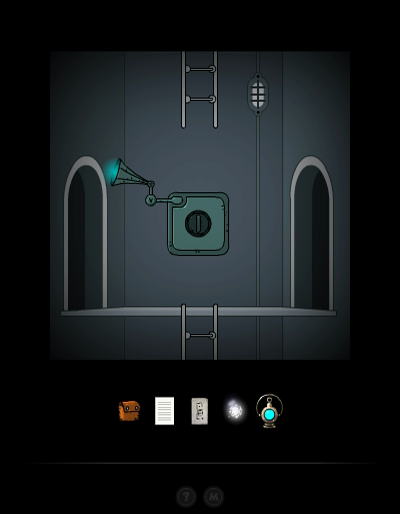
The next room we find is another valve room - but this one came with a valve included. It's almost identical to the other one, the only difference is the symbol.
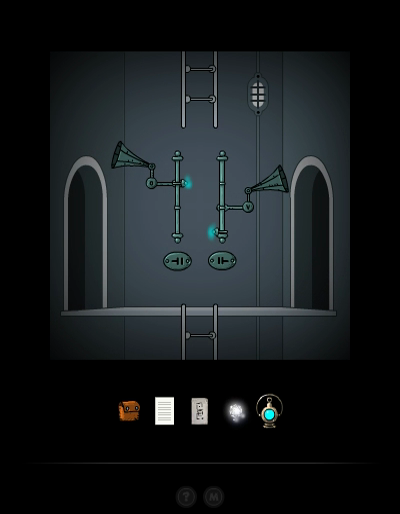
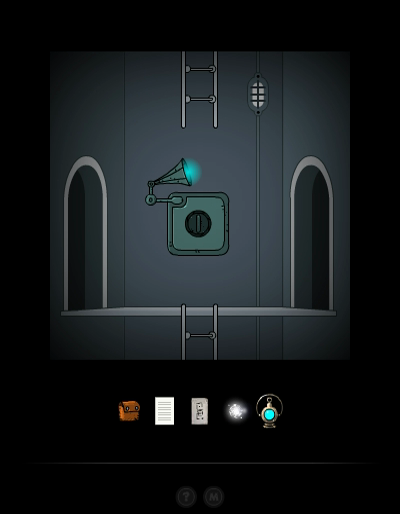
Turning the valve makes the corresponding blue point move up or down. Our goal is to align the two blue points with one of the horns.
Like this. During this part of the puzzle you need to move both blue points to the right position. That means you need to keep track of where each one is and how many turns the valves need. Every time you need to turn a valve, you need to step through a whole bunch of random rooms till you find the right one.
My way of doing this is getting one blue point aligned with one of the horns by moving whatever valve I find first, then getting the other valve in the right position too. That still takes a bit of trial and error, because I haven't bothered to figure out whether the points move up or down when a valve is turned clockwise.
In case you hadn't guessed, there's also two rooms with horns, only distinguishable by the orientation of the horns. When the blue points are aligned, one of the horns lights up and you can turn the corresponding switch.
And then you have to do it all over again for the second horn. In this case, after I got the valves in the right positions, I found the switch before I found the room with the two horns, so I just turned it to be done with the whole thing.

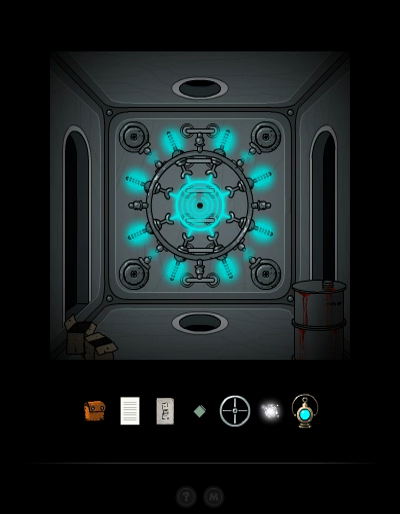
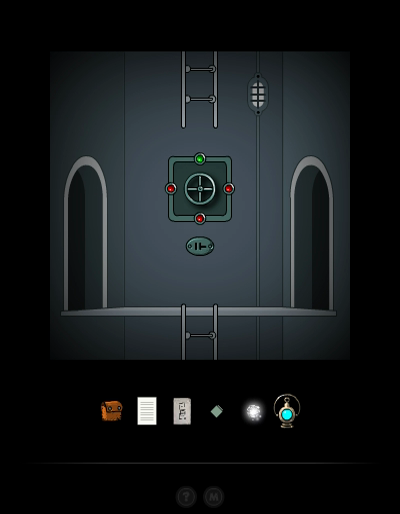
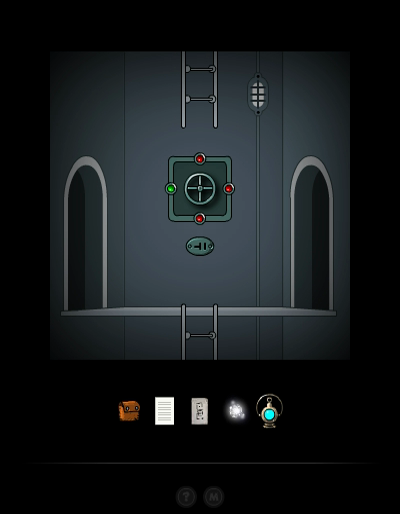
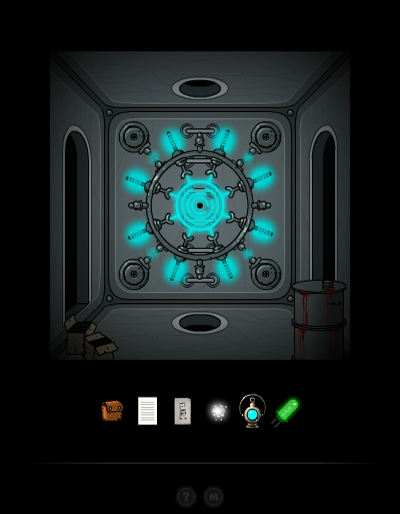
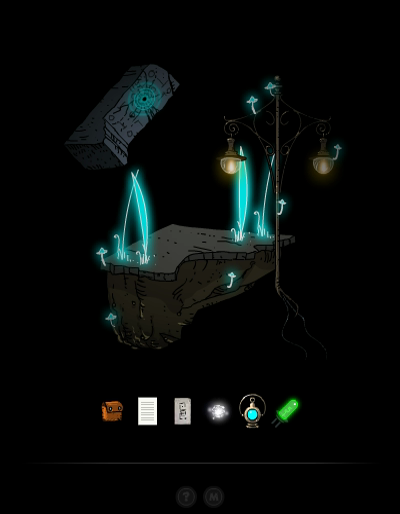
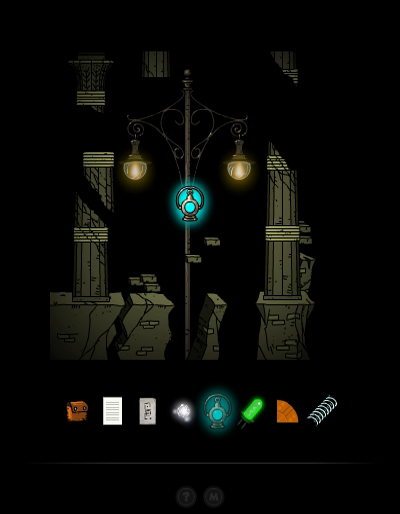
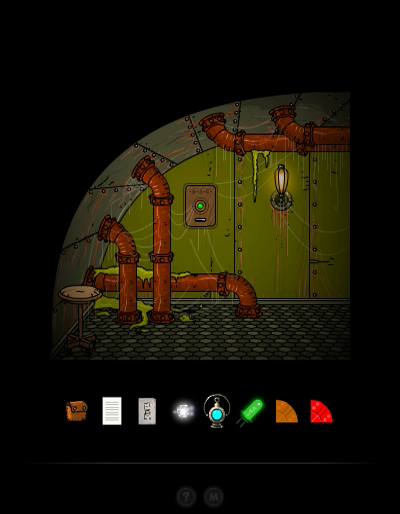
Turning each switch turns a light green in this room, and two green lights mean the hatch opens, giving us the Plasma Coil.
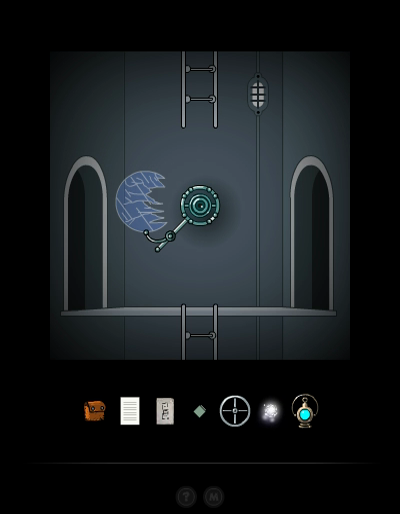
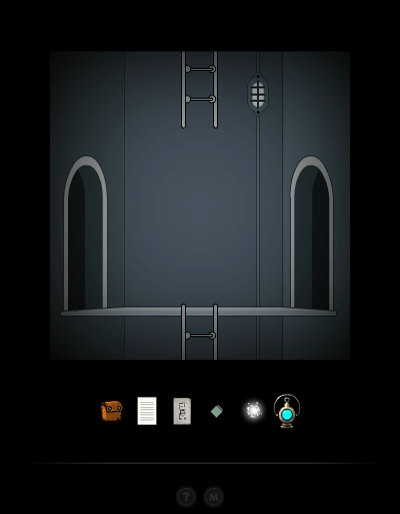
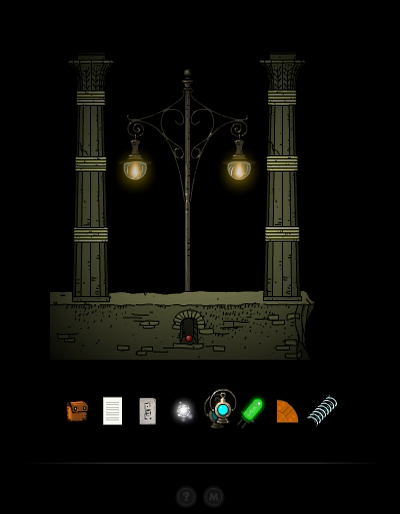
And the final part of the puzzle is to escape. We need to run around until we happen upon the Karma Portal room again, so we can jump back through to the Royal Storage Facilities.
Phew, the things I do for this LP. I envy you, readers who don't have to play through this particular maze.

Let's get out of here and see what that Karma Stabiliser does.
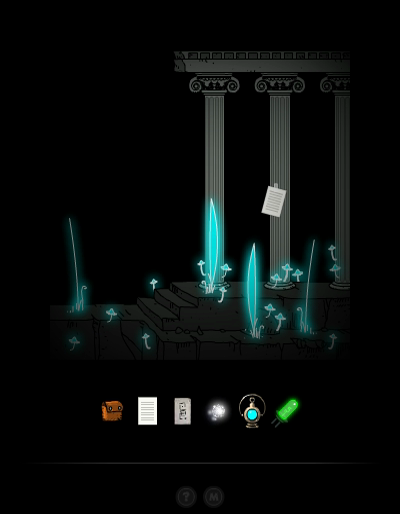
First stop, through the S.H.I.V.A. Access Area to the Winter Palace, and in there we go to the dead end to the right of the palace.
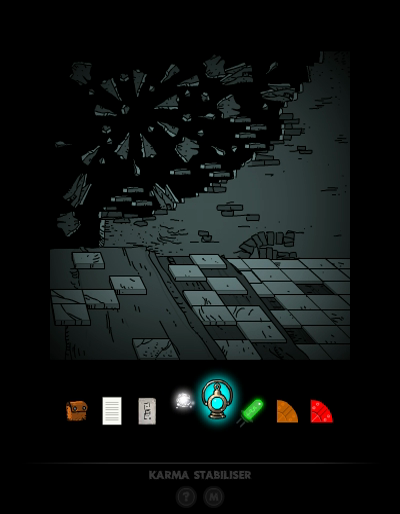
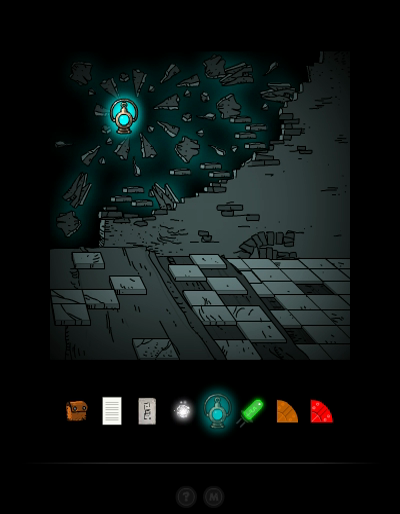
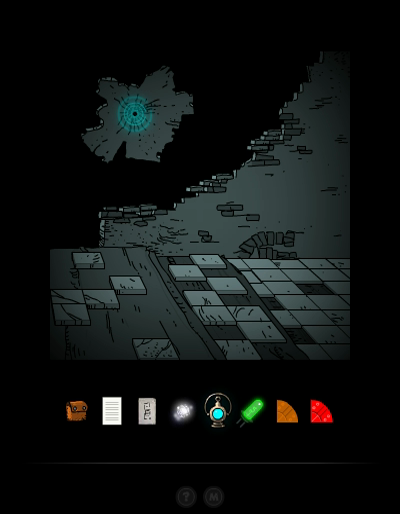
With the Karma Stabiliser, we can fix the floating blocks and create a bridge.
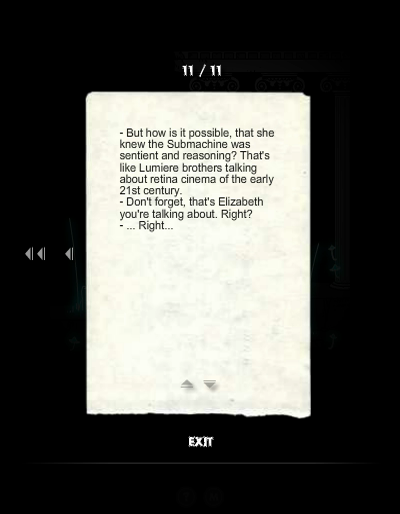
quote:
- But how is it possible, that she knew the Submachine was sentient and reasoning? That's like Lumiere brothers talking about retina cinema of the early 21st century.
- Don't forget, that's Elizabeth you're talking about. Right?
- ... Right...
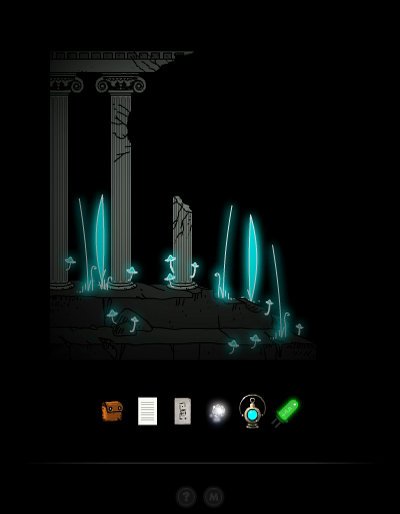
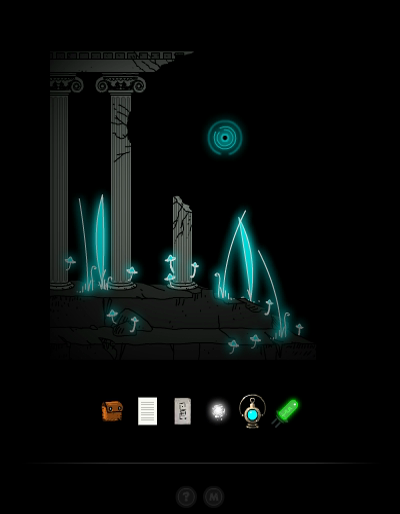
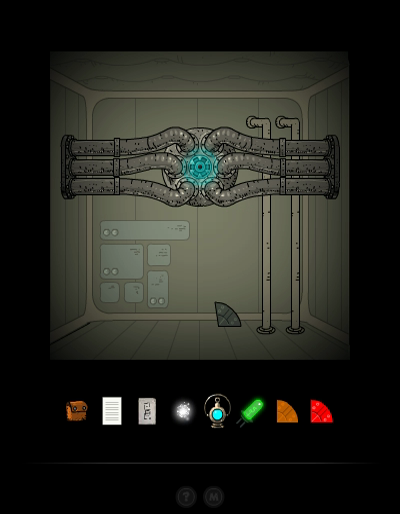
Further to the right, we find another Karma Portal.
That takes us to a small, floating island with the same South Garden look. We grab a second Plasma Coil here.
Next up, the Karma Studies Facility. To the far left, where the world is broken, we created a Karma bridge, that led to nothing but a closed/broken Karma Portal.

Well, the Karma Stabiliser doesn't just repair walls, it also reopens or stabilises broken Karma Portals.
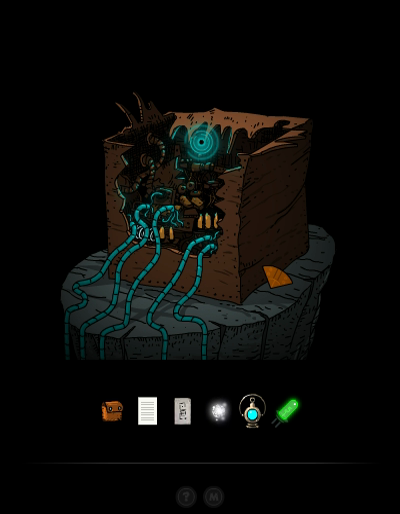

The Portal takes us to another tiny single screen area where we find the Tile D. If you guessed we need to find three more, well done.
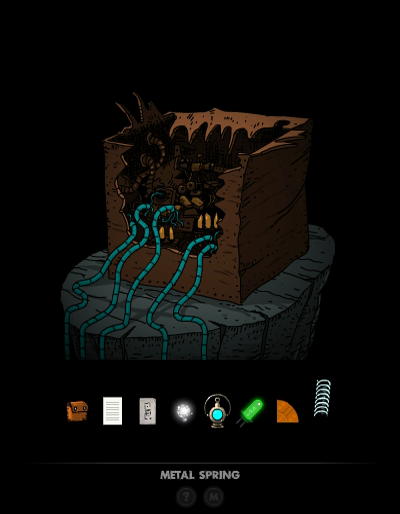
We also grab the Metal Spring from inside the box.
To the right, there was also a broken area. Let's use our magic again.
And as parts of the structure come flying from wherever they went, Secret number 8 is brought to us as well.
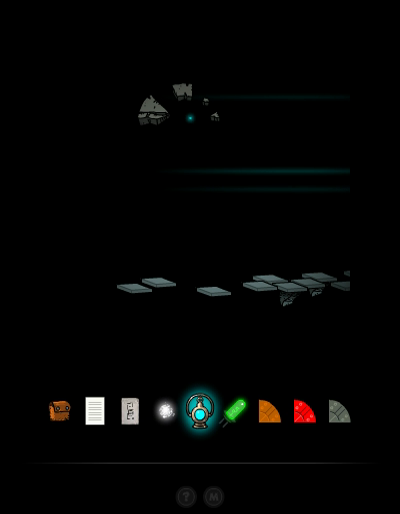
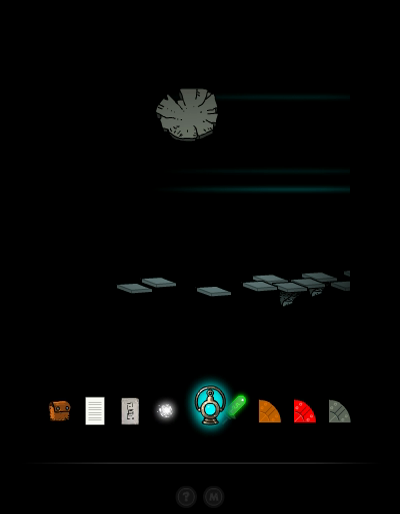
Next on our list, a broken wall in the Angel Ruins.

Which reforms another Karma Portal.
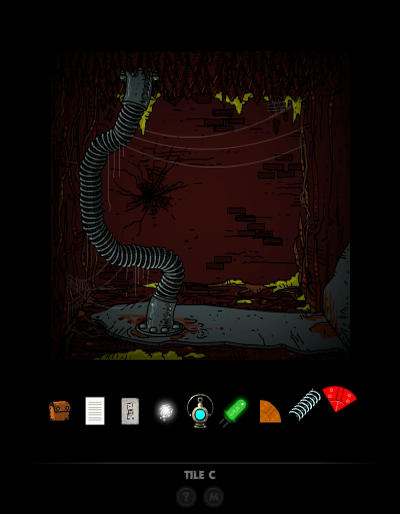
I have no idea what or where this room is, but we're just here to grab Tile C.
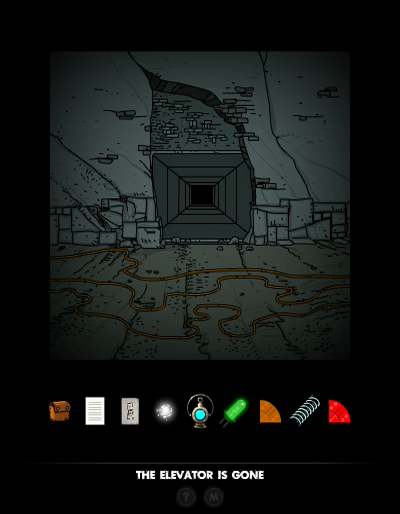
We need to go through the Lighthouse Dungeon to get back to the Basement Exit area. Interestingly, if we try to go back to the Infernal Basement it just tells us the elevator is gone. That fading door is gone for good.
It's actually a bit annoying if you forgot something in the Basement and figure this is a good way to get back there. Once you're here it turns out the only way to get back there is through the faster route, through the Karma Portal from the Angel Ruins.
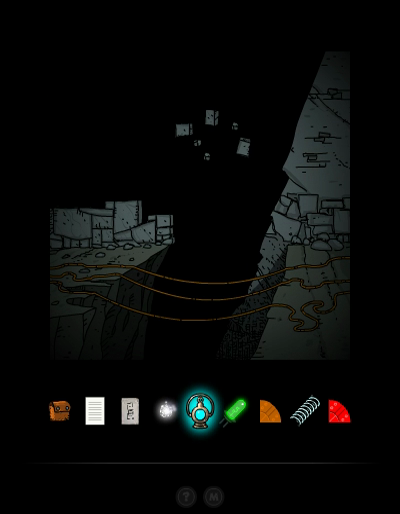
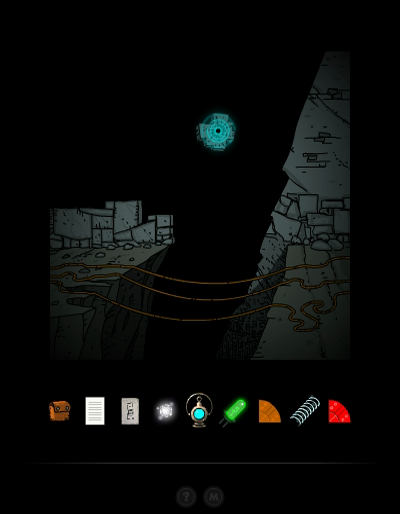
Anyway, we're here to fix the broken Karma Portal that's over the chasm.
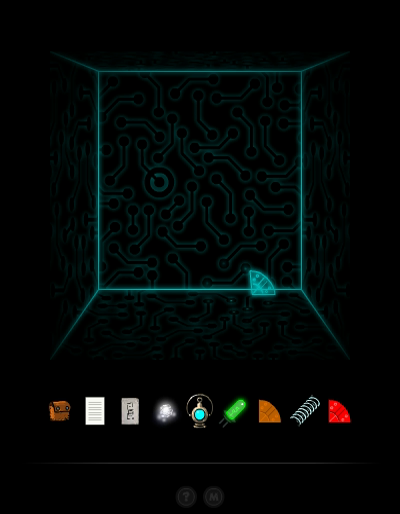
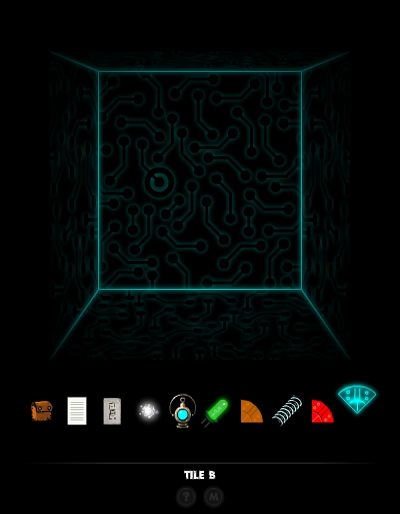
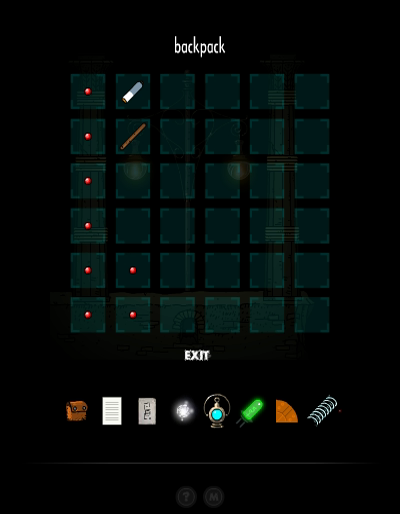
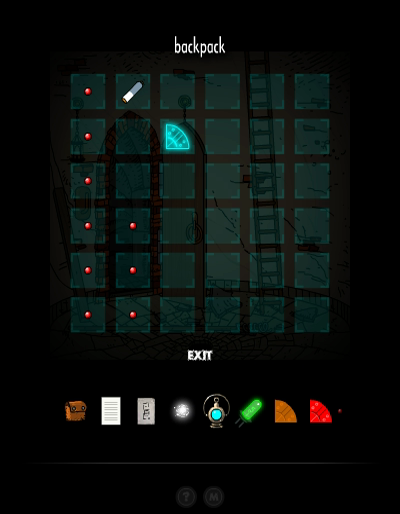
Which takes us to a strange electronic room where we find the Tile B. My inventory is getting full so I'll put it in the Backpack.
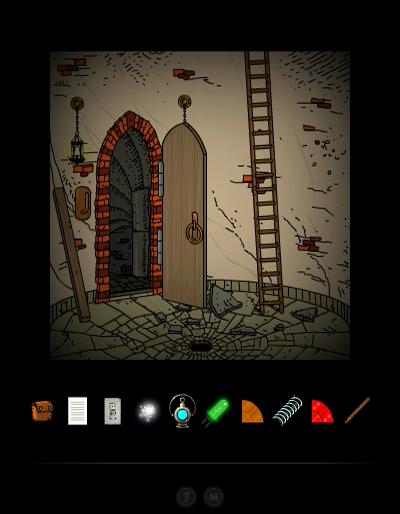
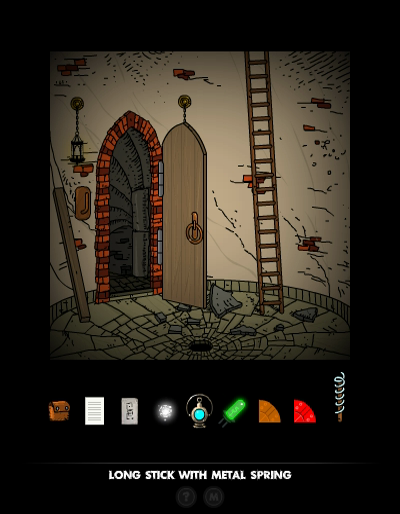
Back in the Angel Ruins, remember this room we passed through when we first arrived here from the Captain's Ship? There was an unreachable Secret in the hole. We can now fish it out, by combining the Long Stick that's been sitting in our Backpack with the Metal Spring.
We stick it in and...
Gotcha!
Another Secret in the bag. There's just one left now.
Next, we climb up out of the Angel Ruins and take the Karma Portal back to the Captain's Ship. It's been a while since we've been here, but we left a few puzzles unsolved.
Hm, on the right, we still cannot unlock that hatch that prevents us from climbing up. But we can make a red light turn green on the left.
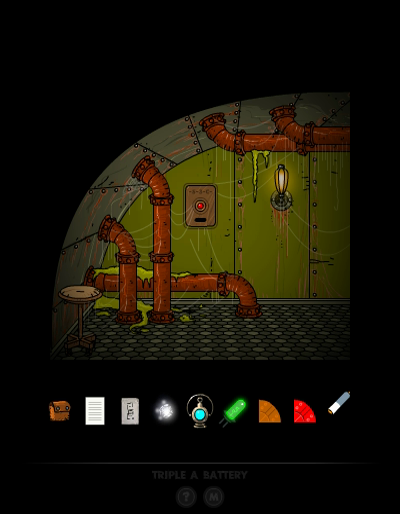
This is where the Triple A Battery goes. Another item that we found a while ago and has been sitting in our backpack forever. It was also quite difficult to find. By the way, if you look carefully, the letters on top say -S-3-C-. Ring a bell?
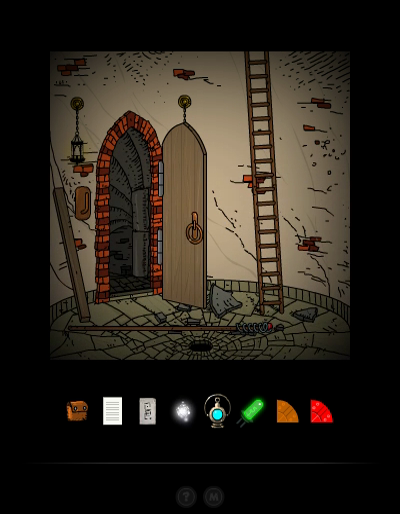
We climb out of the Captain's Ship, down to the Northern Garden Docks, the area we started this game in. You know, by now I almost forgot that this area was in the game. We haven't had any reason to go back since we found the first Binary Portal.
But there's a shattered wall here and you know what that means.
A Karma Portal that leads us to Tile A.
It's easy to forget, but there was also a broken Karma Portal all the way to the left, in our starting screen.
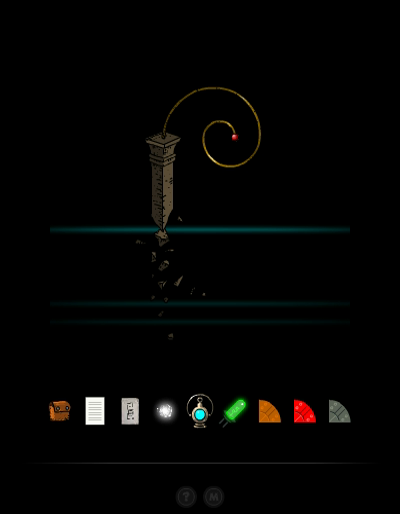
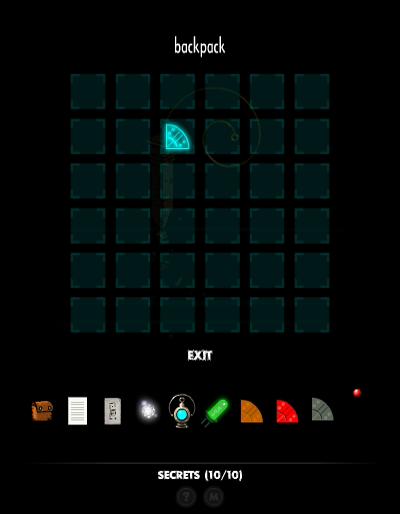
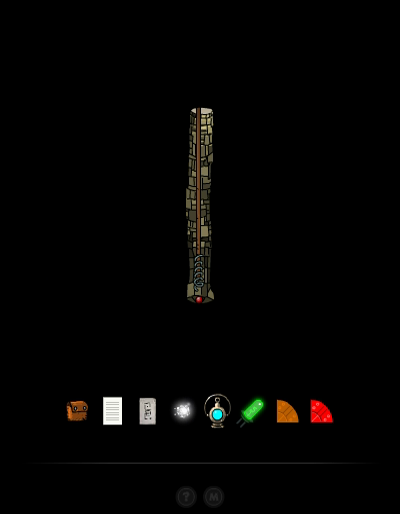
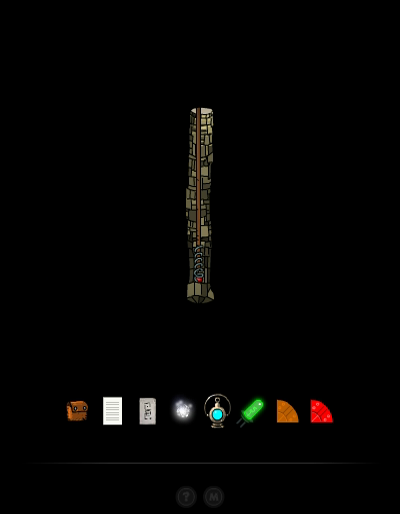
It leads to a pillar floating in nothingness. We grab the final Secret from it, and move all of them from the Backpack into our inventory.
This seems like a good place to take a break. Next time, we'll get the reward for finding all Secrets, and we will finish the game!