Part 4: The Ruins
Part 4: The Ruins
I'll be taking the opportunity provided by the first ruins to describe some of the basic mechanics of Thousand Arms in this update.
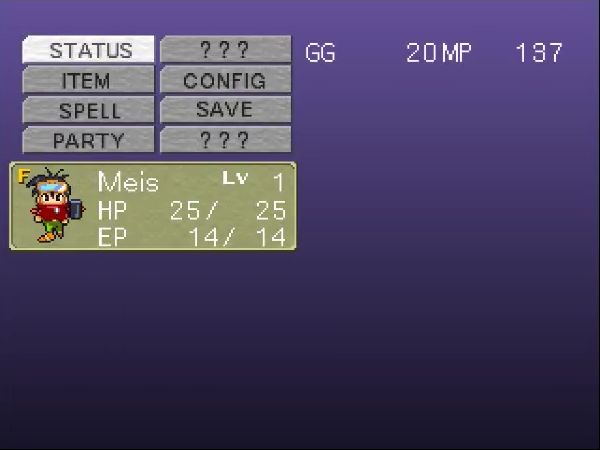
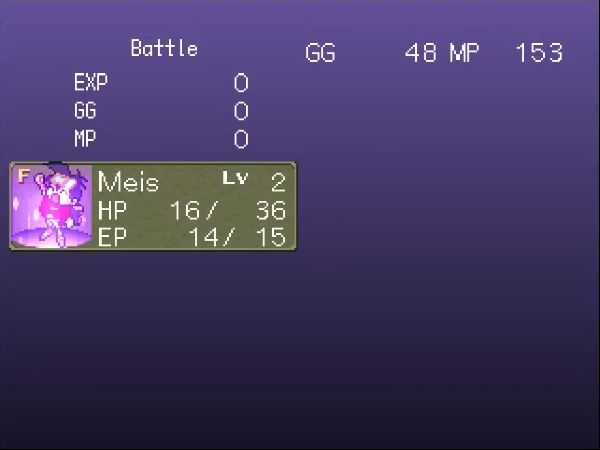
First, this is the menu screen. You may notice that it looks rather empty at the moment, and that a couple buttons are just ??? for the time being. I should add that neither the "spell" nor the "party" buttons do anything just yet, either, plus the item list only has 5 potions in it. At least we can check Meis' status.
Most of these are self-explanatory if you've ever played an RPG before. EP stand for "elemental points," the mana of Thousand Arms, and Elemental Power=spell power. Charisma is the stat that the lady in the seedy dive was talking about, and runs from a scale of 1-10. I'll get into depth about how it affects things when the dating part of the game begins.
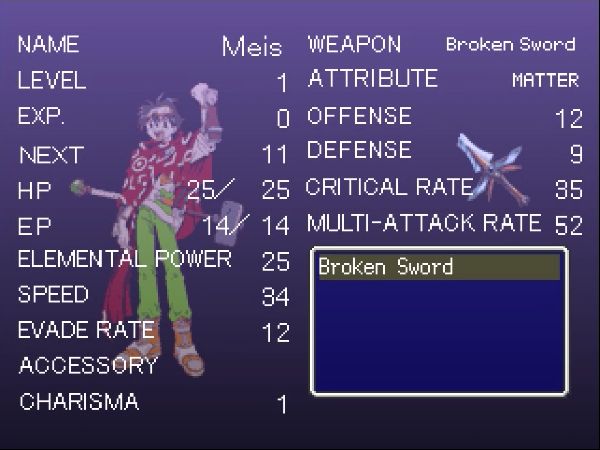
On the right is the character's weapon, along with an attribute and four stats. Critical Rate I imagine you understand, but Multi-Attack is basically a middle option, doing more damage than a regular attack but less than a critical will. Weapons in Thousand Arms have levels independent of the character who wields them, and they have to be leveled by getting Meis to re-forge them. Thing is, each session in the smithy takes some MP, and thanks to how the game was rebalanced for American release, there quite specifically is never enough to go around.
Oh right, I should probably explain that, too. See, for whatever reason, Atlus America decided to cut down the monster encounter rate, but to make up for it (and hopefully decrease grinding) they upped the amount of experience each monster provides. However, they didn't think to increase MP drop rates as well, so while American playthroughs may have extra levels to throw around, they have to deal with underpowered weapons, instead. Unless, of course, one decides to have Meis fight every single battle and only boost his weapon. More on that later.
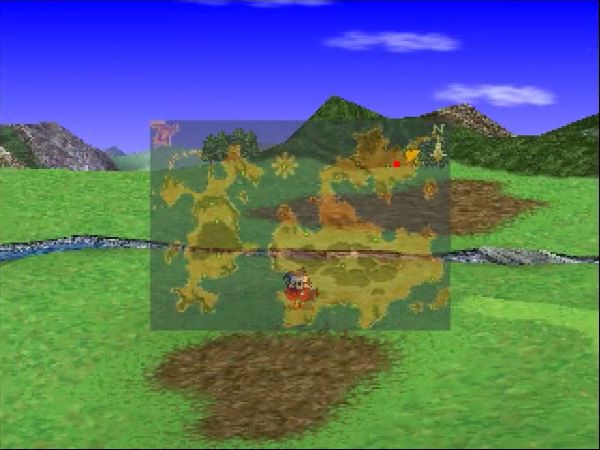
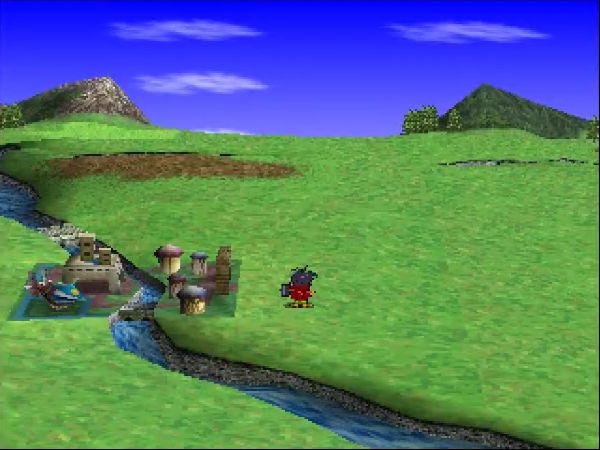
After some jiggering with the map and the perspective, I finally got my bearings and headed for the bridge to the east there on the right. I should also note that basically every yellow dot on the map is a location we can visit eventually.
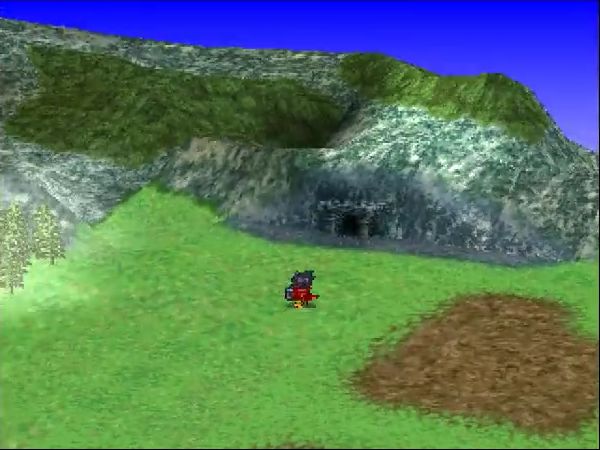
Regardless, we're here now.
So here we have your average, everyday dungeon, this one based around being a mine. Dungeon loot is basically the opposite of town loot: instead of clicking on random objects hoping for an MP drop, you find chests full of restorative items and the occasional accessory.
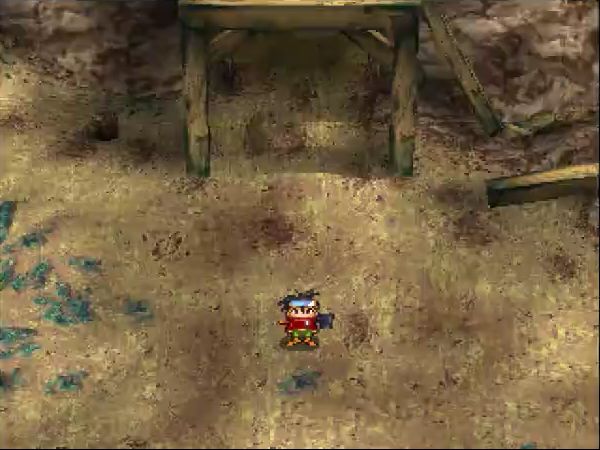
Now, I could probably provide a comprehensive walkthrough of this area, complete with hand-drawn maps, chest locations and contents, and all that jazz. Then again, those who won't be playing the game won't care about all that, and those who will could just consult a faq or something. So instead, I'll just be presenting the highlights.

But first, an explanation about the combat.
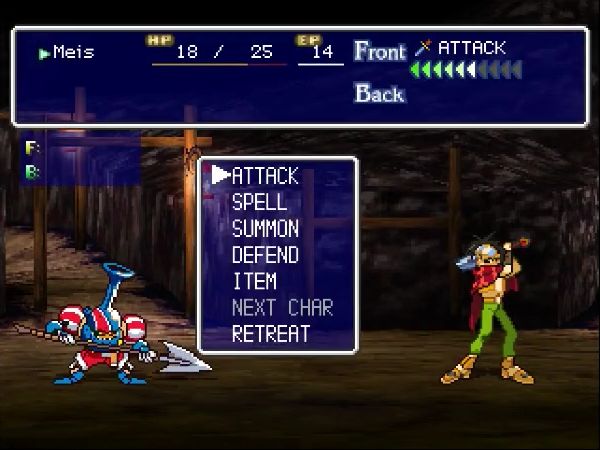
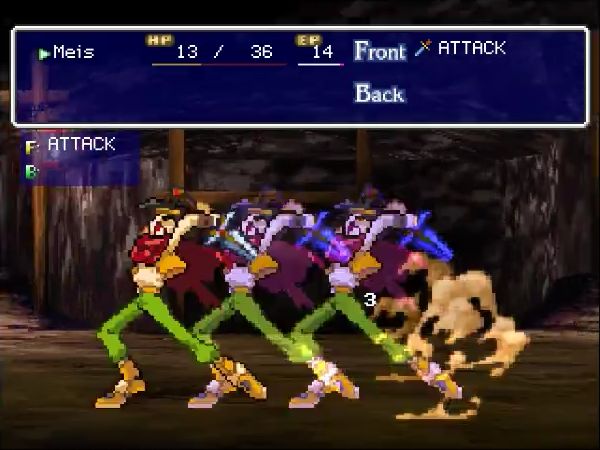
Here's your basic combat interface. Much like on the menu screen, Spell and Summon are completely useless at the moment, and Next Char is even grayed out. Retreat does what you'd expect, so for now the basic strategy revolves around Attack and Defend.
You see those green arrows in the upper right corner? Well, when you've selected an action, you have to wait for them to count down before you can use it. Naturally, different actions take different times, and the character's speed also determines how fast they count down. All this also applies to the enemy, whose action appears on the left next to F: and B:.
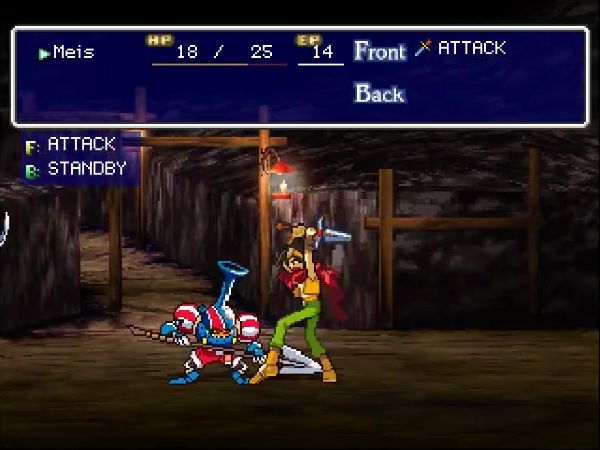
At the moment, Meis is very slightly faster than most of his opponents, so if you hit X fast enough he'll strike first. It's also worth noting that only the front creature on either side can actually attack the enemy; anyone behind the lead, be they extra monsters or other party members, can only use Standby or cast buffs/heals on the leader. This tends to limit your options pretty heavily, and it's why I'm not too fond of the combat in this game.
Also, let's not forget that there is no real incentive to switch out leaders, since anyone can learn any spell, and aside from a couple character-specific abilities and a slightly different stat mix, there's nothing that Meis and a good back healer can't handle. In fact, if I remember correctly, I only lost Meis once my first time playing through the game.

Right, back to this fight. Here you can see a dizzy symbol appearing over the Choro Spear's head. It's not quite explained, but it seems to reset the fighter's arrows whenever it appears, on both you and the enemy.
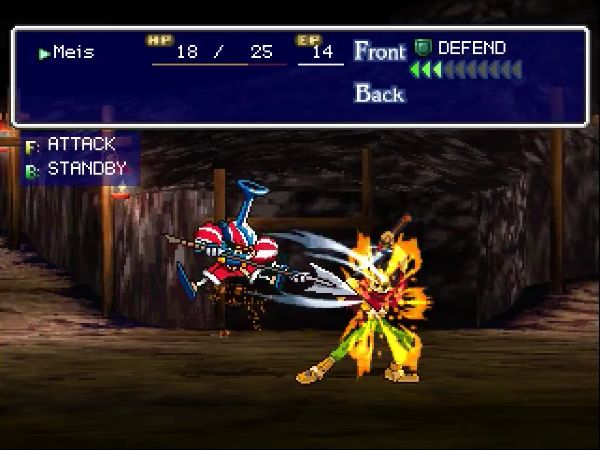
As for the tactics, what you do is Attack before the enemy can, then select Defend. Since Defend works for as long as it's the selected action, it will catch the enemy's attack and reduce your damage.
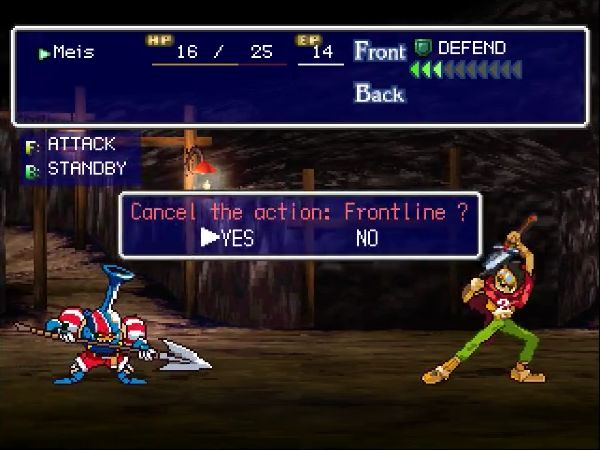
You can then cancel out of it with square immediately after the attack and then attack yourself, getting your hit in first once again.
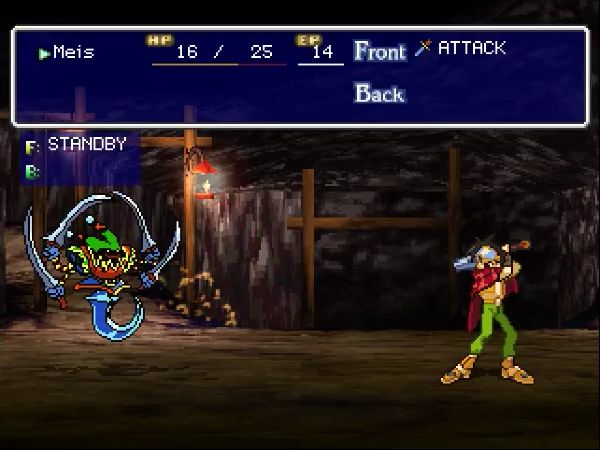
Once the frontline has been defeated, the next creature back takes its place. You can then kill the next one like the first one, and so on...
Profit.
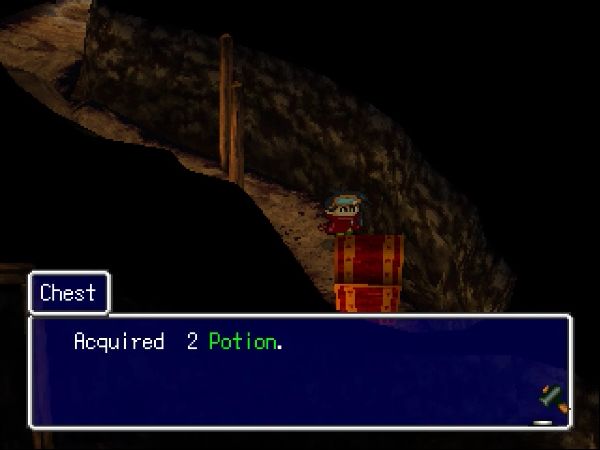
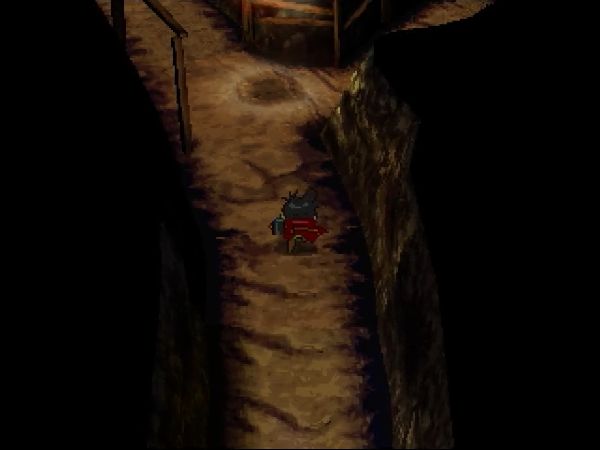
Oh hey, potions. Exciting. Skipping forward...
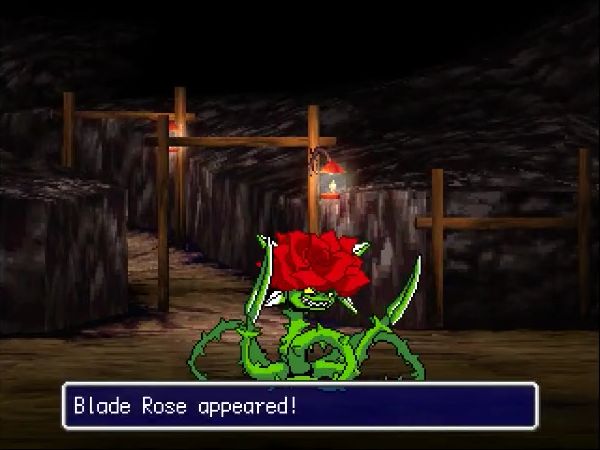
Blade Roses are the most dangerous creature in this dungeon. They do slightly more damage than any of the other critters, plus they're about half a second faster than Meis, at least for the first couple levels.
Blade Roses make Meis angry and cause him to blue shift. Then again, a lot of things do that, since this is the critical animation.
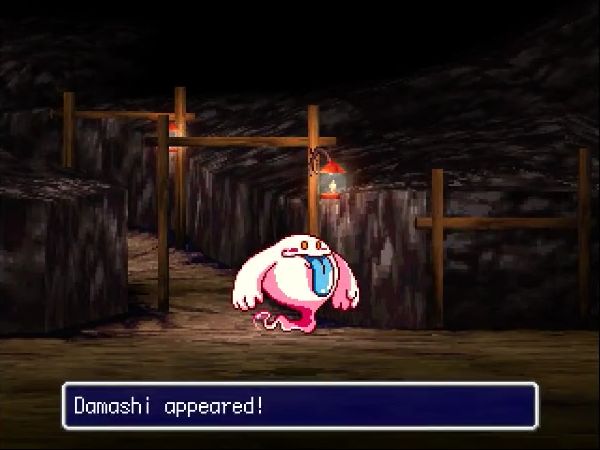
Damashi are...interesting. They tend to appear in every location where monsters can pop up, and they scale in difficulty with the dungeon. They're also quite rare, and drop lots of money. Finally, they often use an odd combination of Sleep and Flee, although this one just went for attacks since Meis was alone. No sense in using unfair status effects when the hero has no backup, after all.
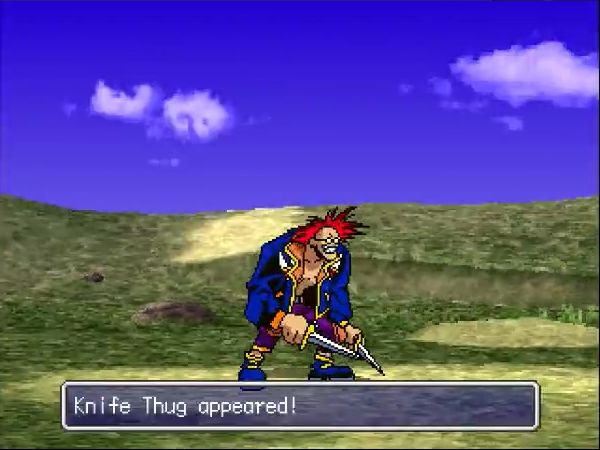
There's also a bunch of knife thugs out on the world map, but aside from just showing off their appearance, there's nothing much to say about them.
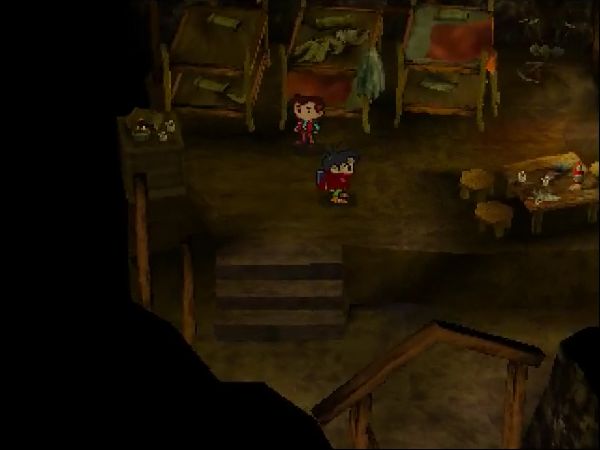
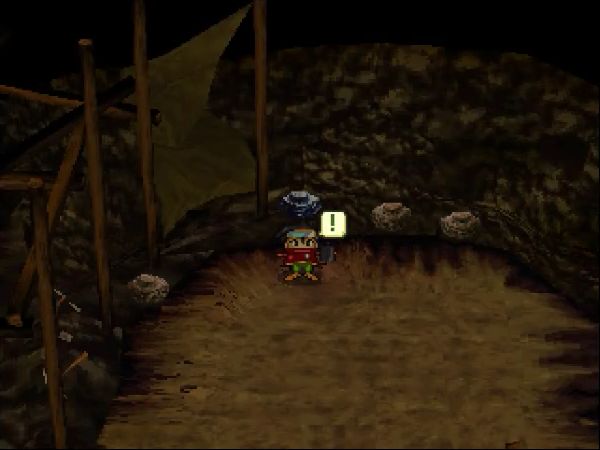
Here's something pretty interesting: at the top center of the second floor of the dungeon, there's an NPC who doesn't seem at all bothered by the monsters that have taken over his mine.
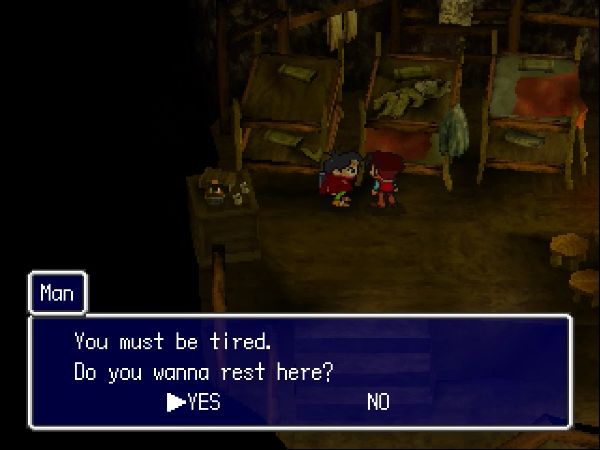
In fact, he'll let you sleep in a spare cot to get your hit points back (don't get used to this kind of convenience).
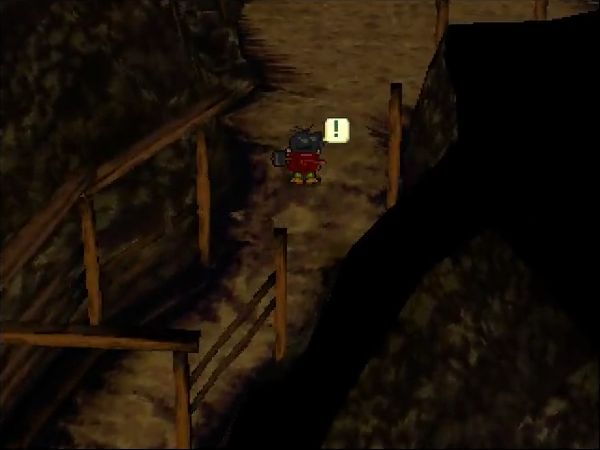
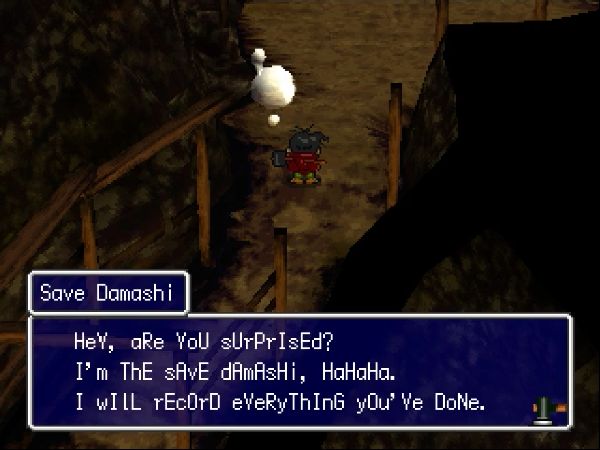
Save Damashi: My KiNd ExIsT aLl OvEr ThE wOrLd. TaLk To ThEm In OrDeR tO sAvE yOuR gAmE.
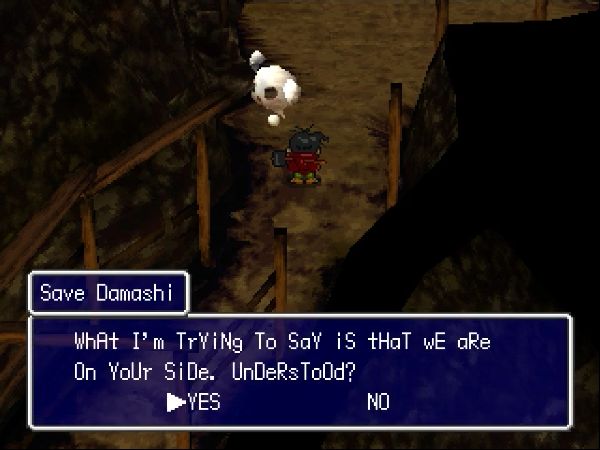
Any of you guys familiar with the save pookahs from FF9? Well, Thousand Arms has decided to make a joke out of not even trying to come up with an excuse. I also have to wonder what kind of crazy Japanese text the damashi used that the translators decided to interpret it like this.
Damashi enemies, by the way, are most often encountered around damashi save points.

Also, like most games, save points are most often encountered around boss fights. You didn't think we could pick up that mineral there without a fight, did you?
If you were confused by the explanation about combat earlier, this video should help you figure things out. This combat includes the Defend strategy used correctly, the Defend strategy used incorrectly (waited too long to cancel), using a potion, and attacking a Defending enemy (hint: I should have checked his action and waited for Defend to end before attacking).
Now what?
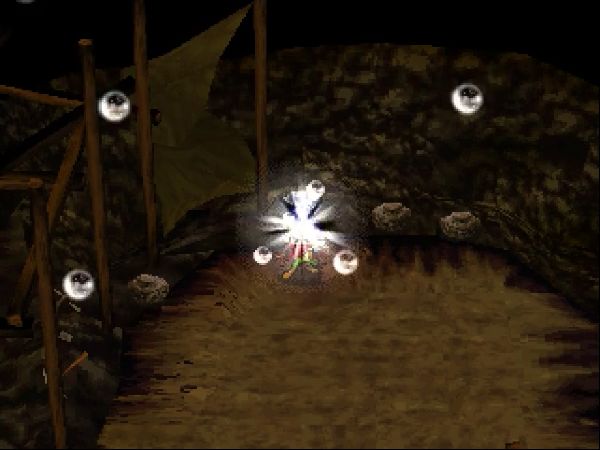
The sword is now shining, with a bunch of bubbles coming out of the blade.
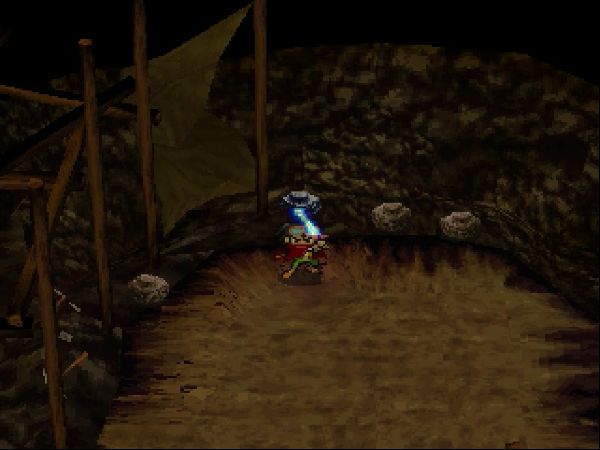
It now appears to be glowing, even over the missing part. Meis gives it a practice swing.
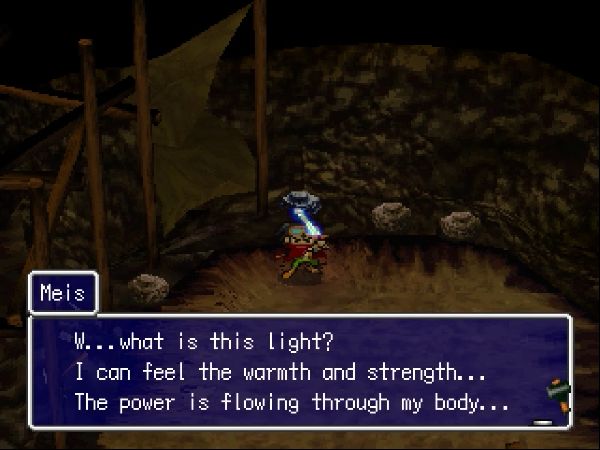
 Is this the power of the Elemental Spirits? I didn't know that this sword had so much potential.
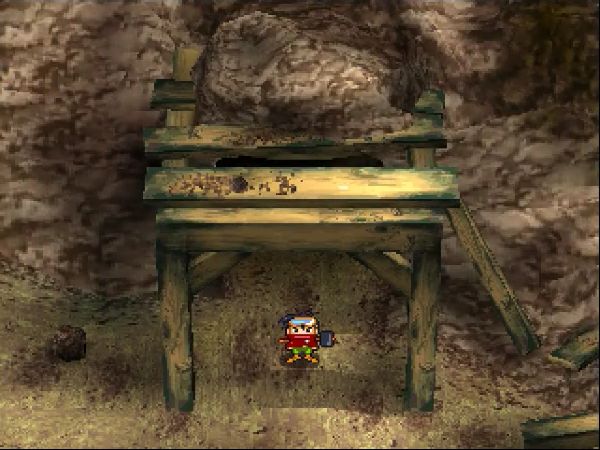
It's not very clear whether the sword started to glow because Meis found the special mineral or because he simply killed enough stuff with the broken blade. Either way, the game has kindly warped us back out to the exit, so we can head back to Boyzby now.
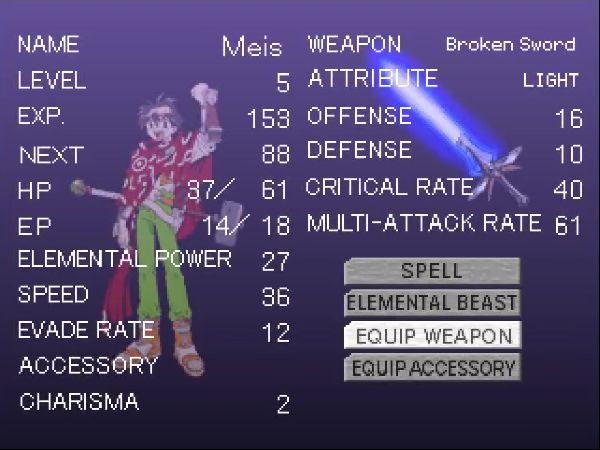
Lastly for today, here's a look at Meis' new stats after just the one dungeon. While his own stats have only gone up marginally, the broken sword turning into a light saber has changed its attribute to Light and significantly boosted its Offense and crit/MA rates.
See you next time for another plot update.