Part 29: Wires and Mounthand
Part 29: Wires and Mounthand
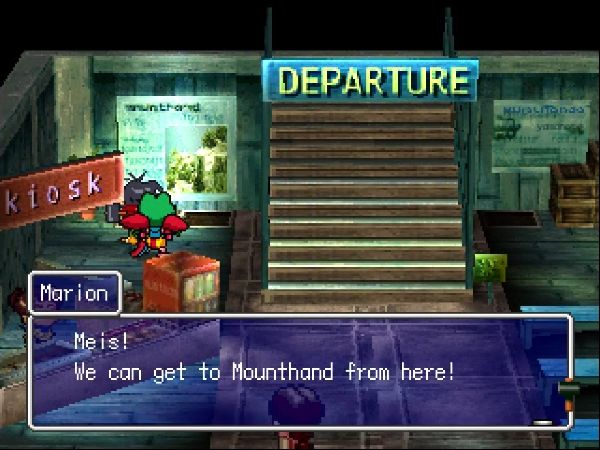
To get onto the Mounthand, instead of going up to the departure gate, you have to approach this wall at the back. You get one last confirmation since you can't really go back once you're on, and then:
 OK, here we go!
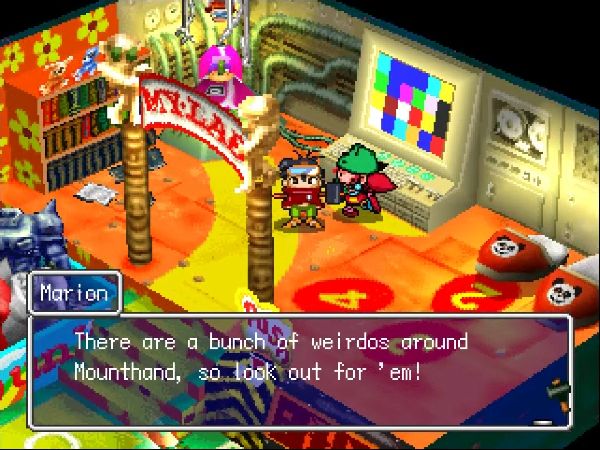
This from the girl whose house looks like this. After confirming earlier, you get teleported directly to Marion's home.
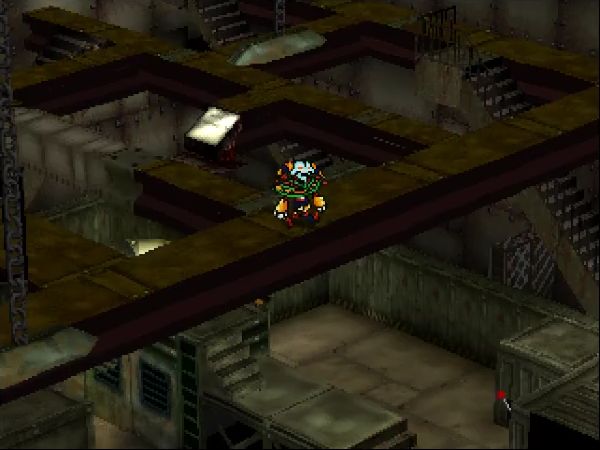
This gives us easy access to the Mounthand dungeon. And without Marion's trap thing active, our ability to move around improves dramatically. However, there are now a bunch of loops that go nowhere, so I hope you remember the layout.
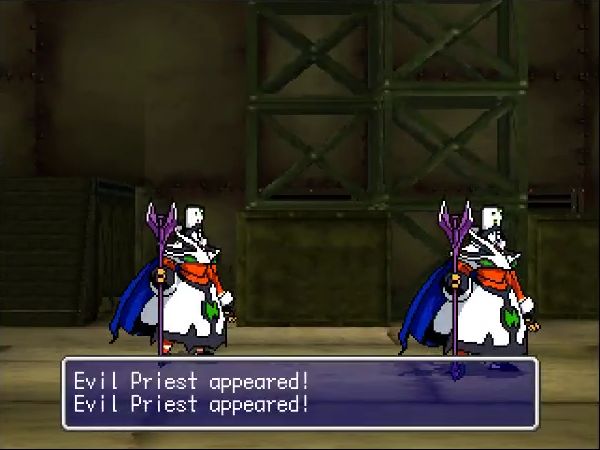
Our new standard enemies are these Evil Priests. They go down in around two hits like most other things at this point, but since they like to start out with a buff or debuff spell, they don't even manage to get any damage in before dying half the time.
The only other new enemy is this upgraded Shutvaltz Leader. I only encountered them once or twice (hell, I encountered Damashi more often than that), so I wasn't able to catch their name. They die pretty easy though.
Also, there's another spare ton of Marion Robots to fill out the roster. At this point, though, they're barely even a speed bump.
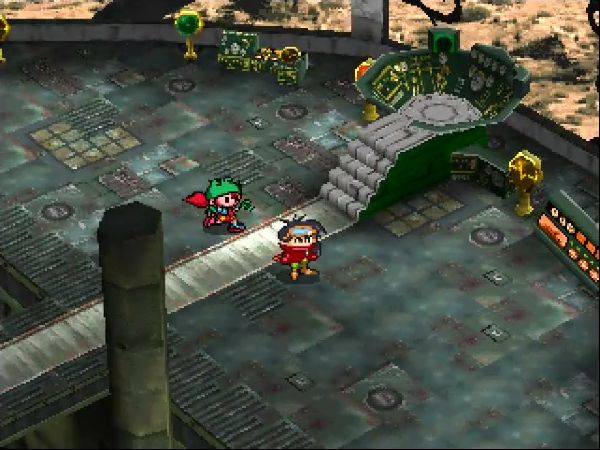
While I was on the second floor, looking for a way to reach the chests I missed my first time through, I accidentally stumbled across the boss battle.
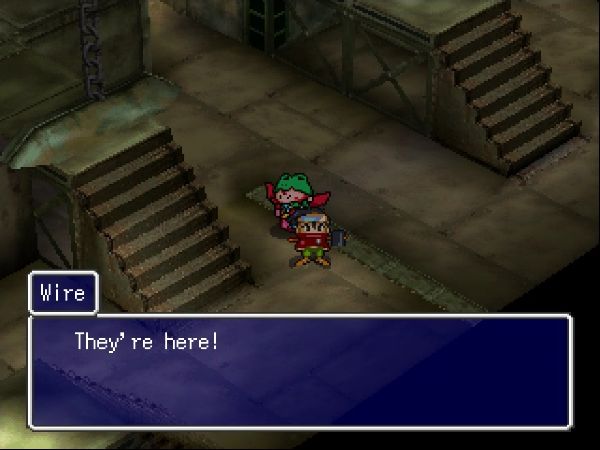
Seems he was hiding in the rafters, waiting for me to show up.
Time for the Evil Villain Monologue, I suppose.
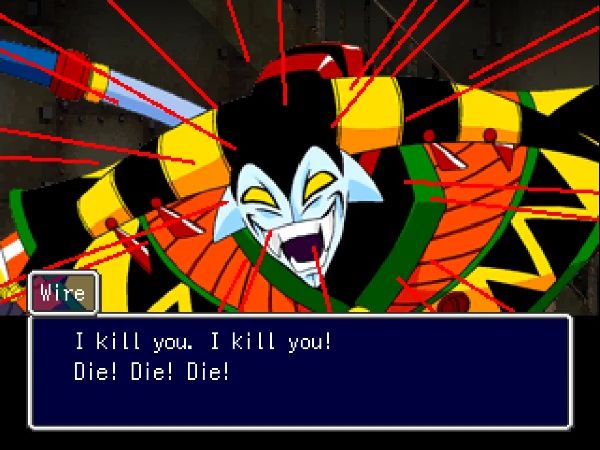
Nope! Wire is direct and to the point. You should really watch the video, because the text does not convey all the creepy laughter that goes along with every line he says.
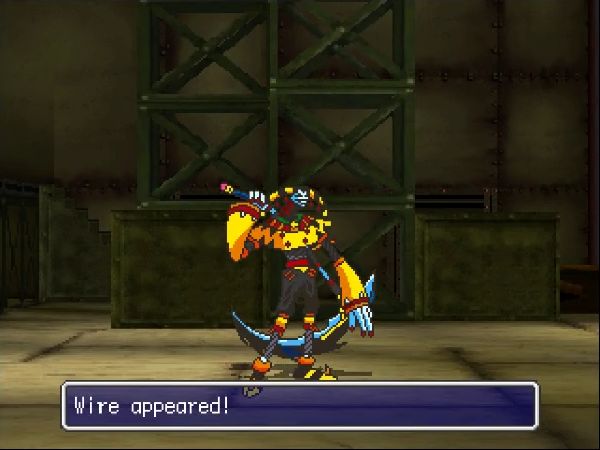
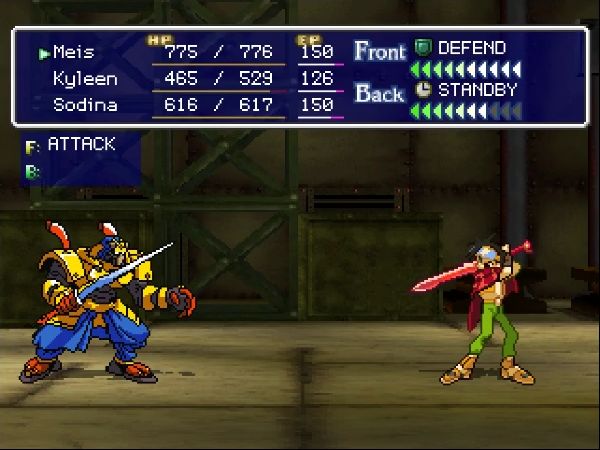
Oh, lovely, it looks like he uses a scythe.
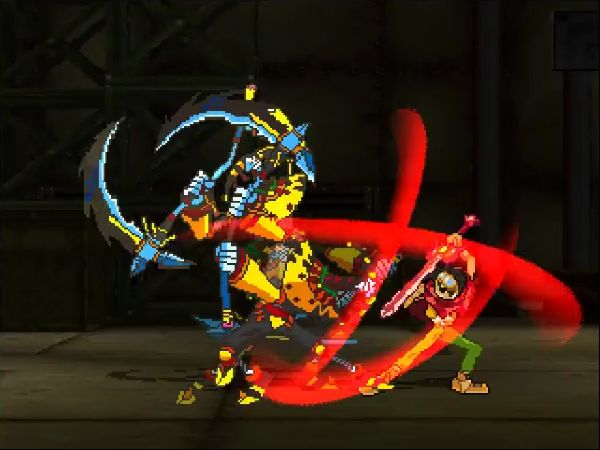
He knows how to use it, too. Wire has three specials for this combat: the first is to just stab the frontline character a ton, the second is where he tosses the scythe at you and hits the entire party, and the third...
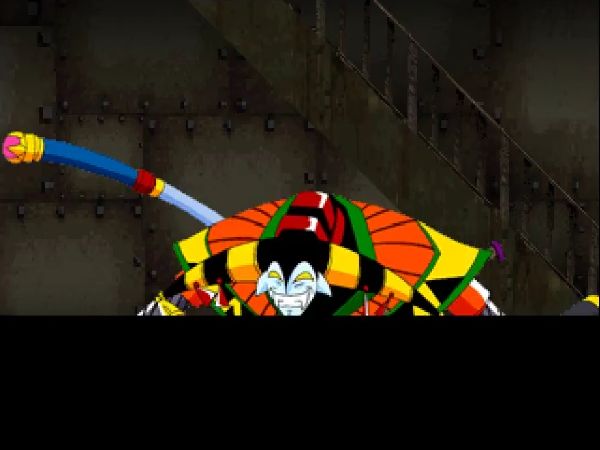
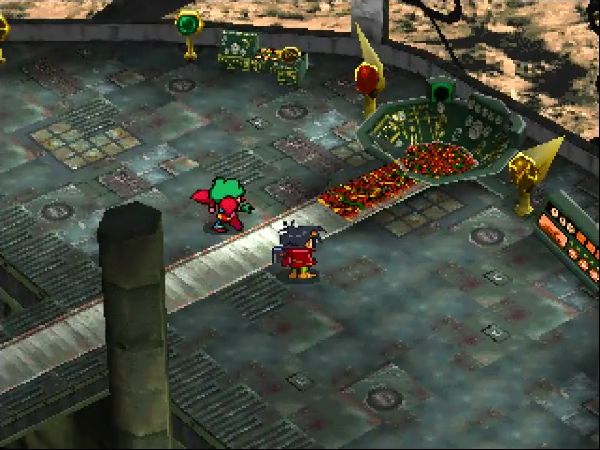
He melts into the ground and stabs you from behind.
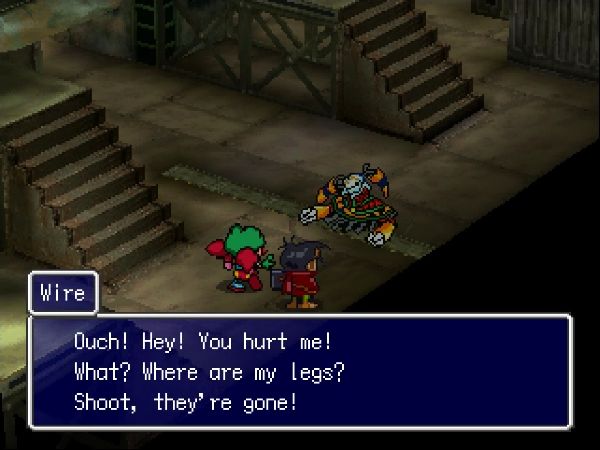
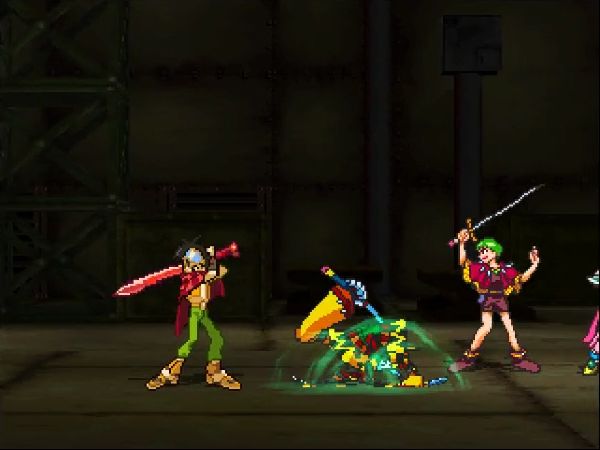
Wire continues to laugh about being bisected.
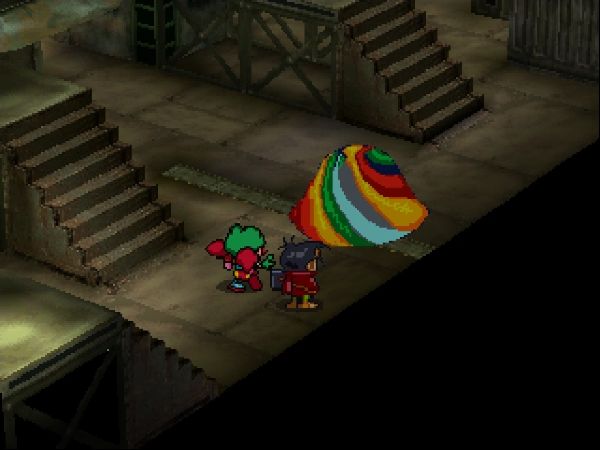
He is then absorbed into this weird rainbow goo.
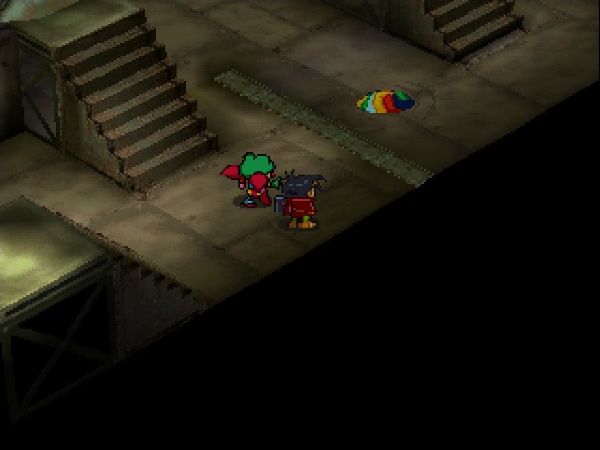
The rainbow goo then melts into the ground and escapes.
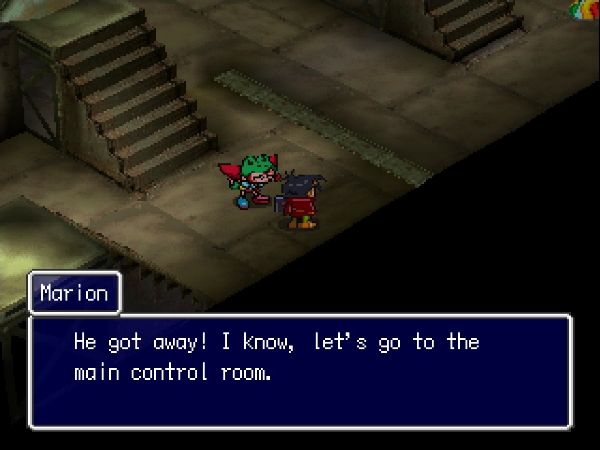 We can locate him with the computer.
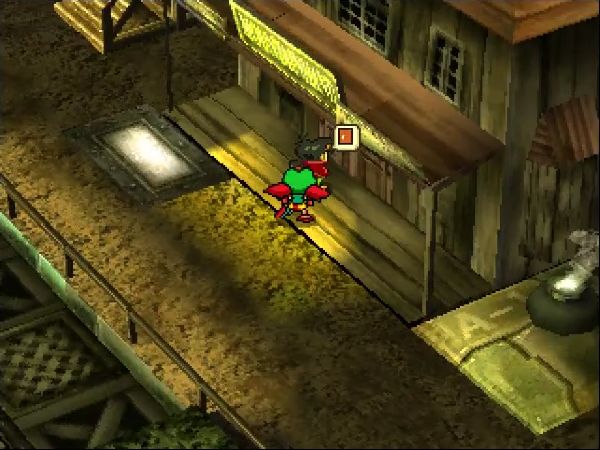
But first, once again, time for a nap. During this fight, even the town has random encounters, although they're exclusively Marion Robots. As such, getting my summons back is definitely worth the trip.
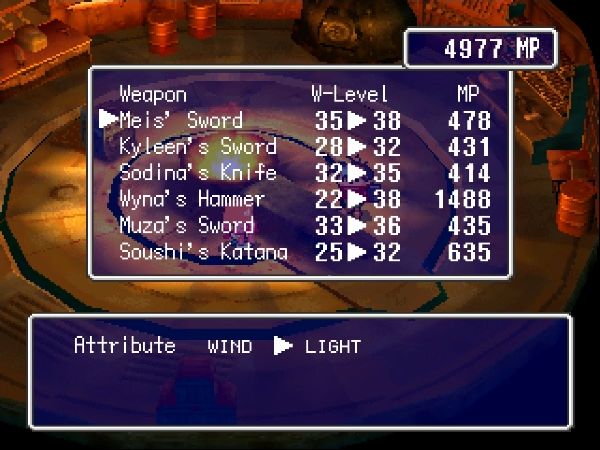
Boosting Meis' sword and converting it to Light helps, too.
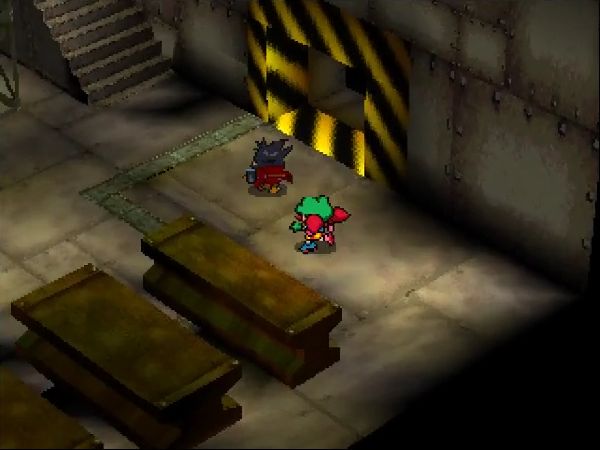
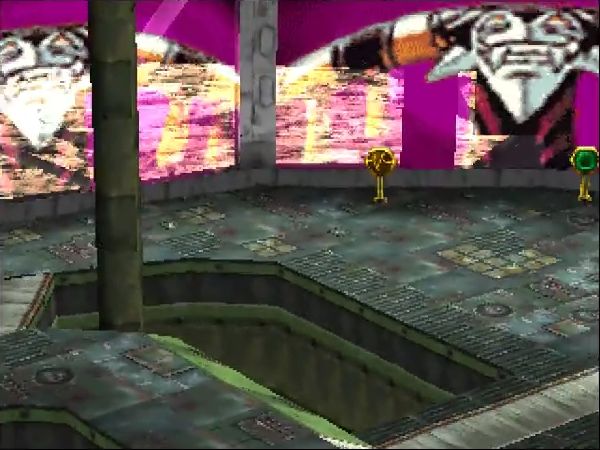
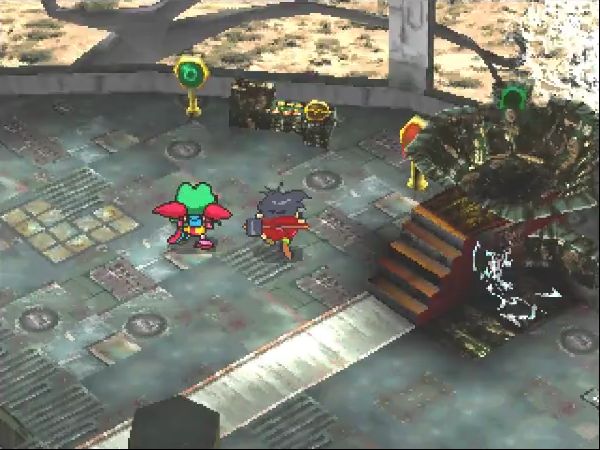
You remember the area where the party fought Bandiger the first time around? It seems the door he came out of leads directly to the Mounthand control room.
It has quite the view of the passing terrain, too.
This here is the main control booth.
It then melts into the ground.
The windows get replaced with images of Wire.
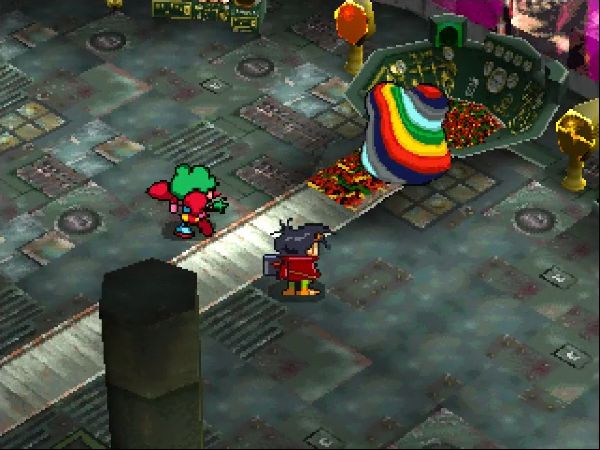

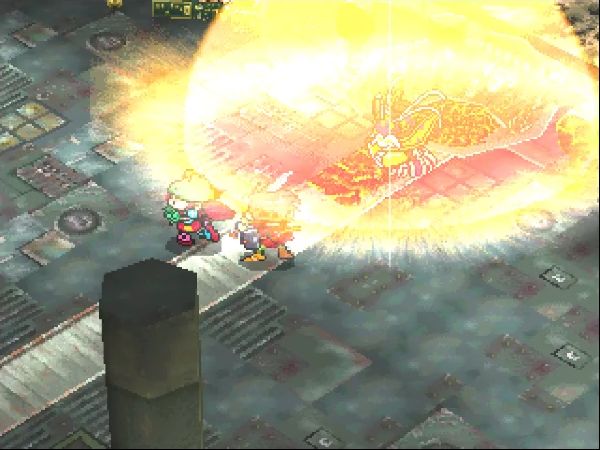
Then the...thing...itself morphs up out of the ground.
 I am Mounthand and Mounthand is me!
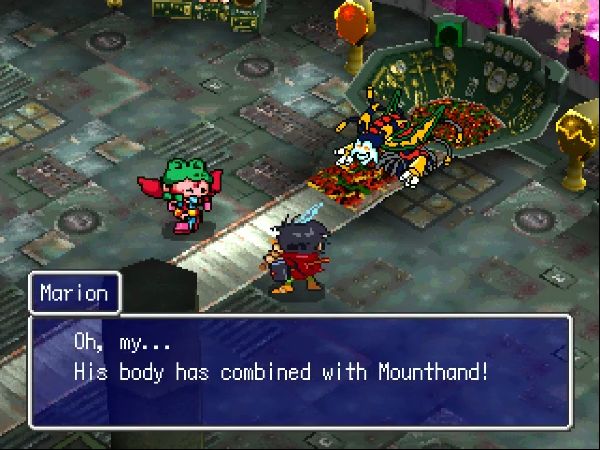 Go ahead, you can destroy him.
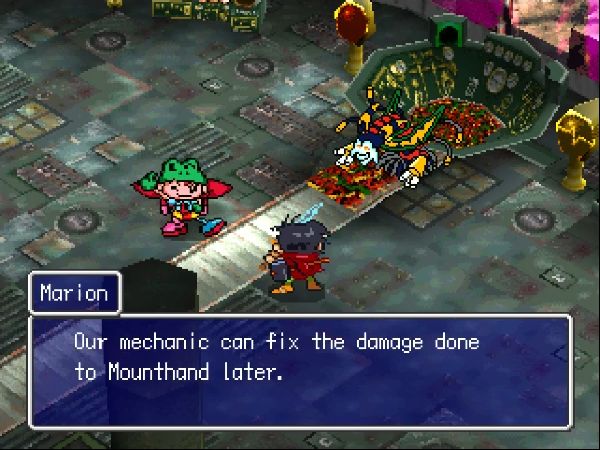
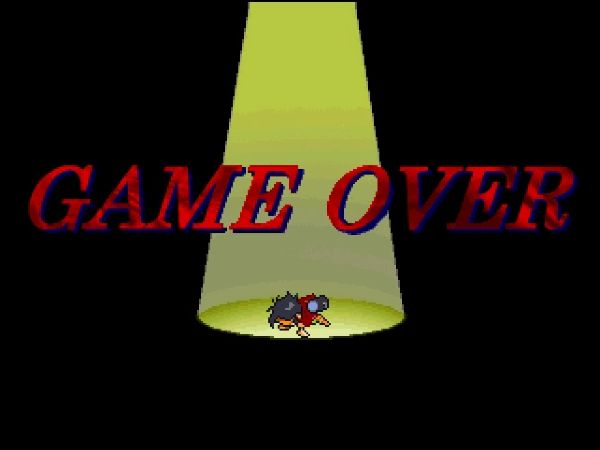
Fighting Wire's second form is the first time I ever saw a game over screen on this run. Mostly it was because he kept spamming the "all tied up" attack, which has a moderate chance of causing Paralysis. I was lucky on my second try (what the video shows) because he kept using his slow regular attack instead. There was also one other type of attack he used in the first run that didn't occur in the second:
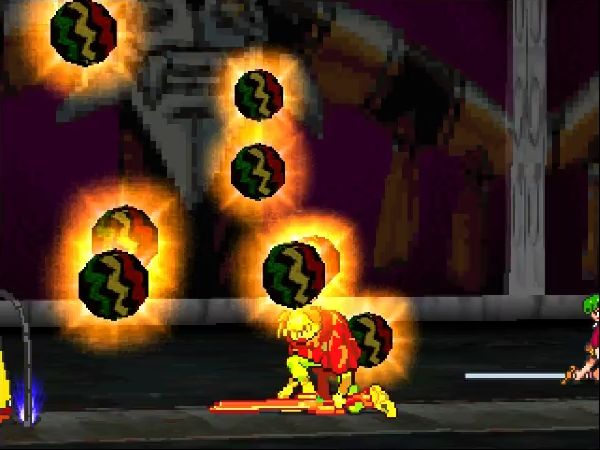
He throws out a bunch of colorful balls...
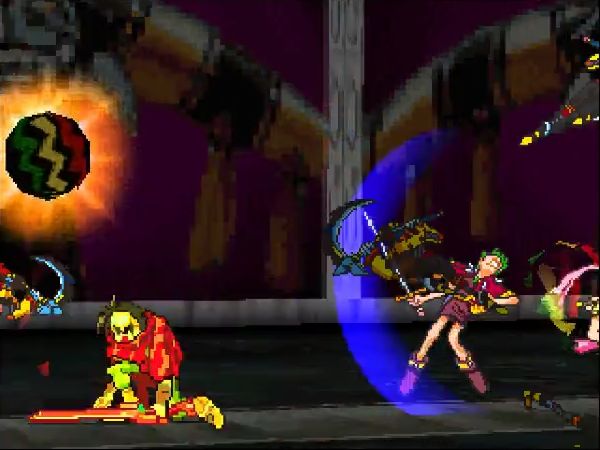
Then the balls crack open and Wires come out and slash the entire party for over 200 damage.
Kick Wire's ass, though, and he explodes.
It really does a number on the controls, though.

 Now, now, Marion, when has a train ever slowed down when it would have made sense to? All we can do now is to lead Mounthand onto the unfinished track and derail it! We can't switch tracks from here! Please, Meis! It's up to you!
 You can do it, Meis!
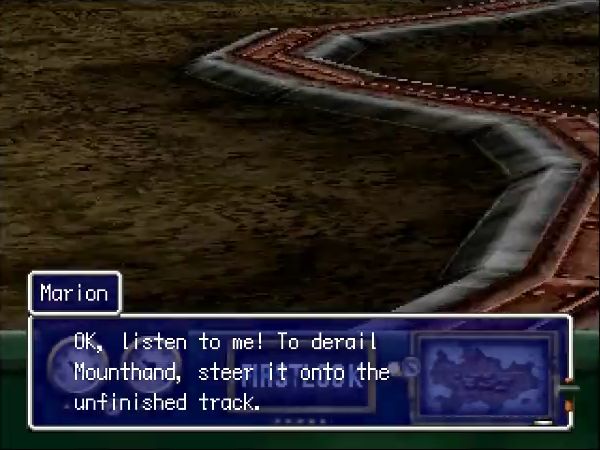
Let me save Marion some time and give you the short version: to derail the train, you have to press three combinations of the four PlayStation buttons.
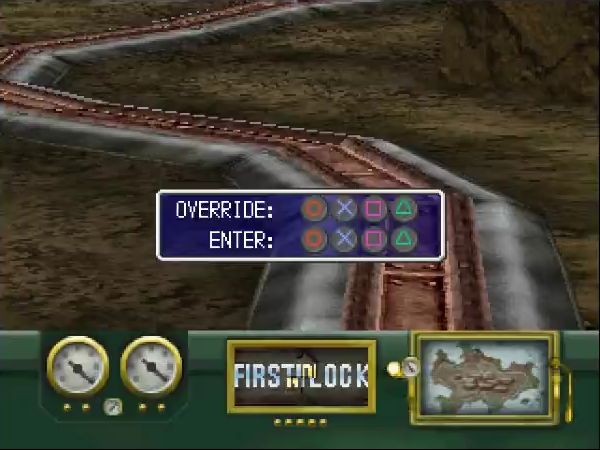
It's a bit hard when I'm using a keyboard since I don't have a reference, but I've played enough games to be familiar with which button is where. Plus all three codes just have you go around the pad in a circle, and 5 seconds is more than enough time to manage that.
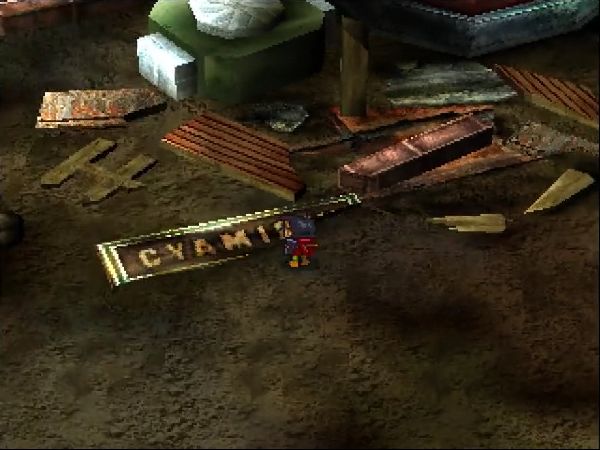
Then the train derails.
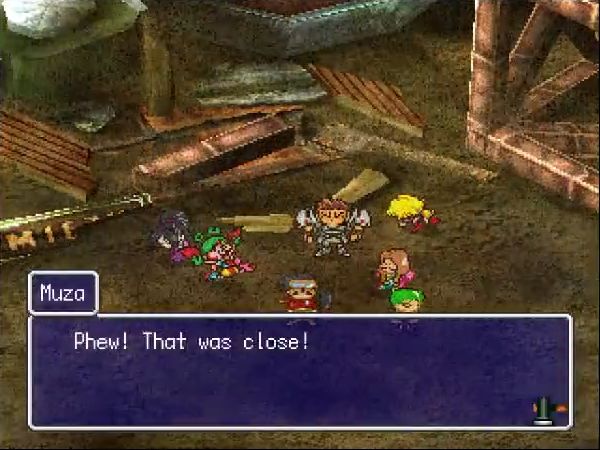

I sure hope whoever was manning this station is okay.
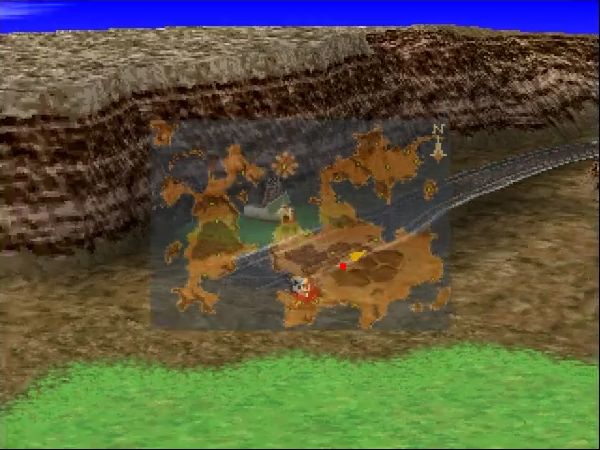
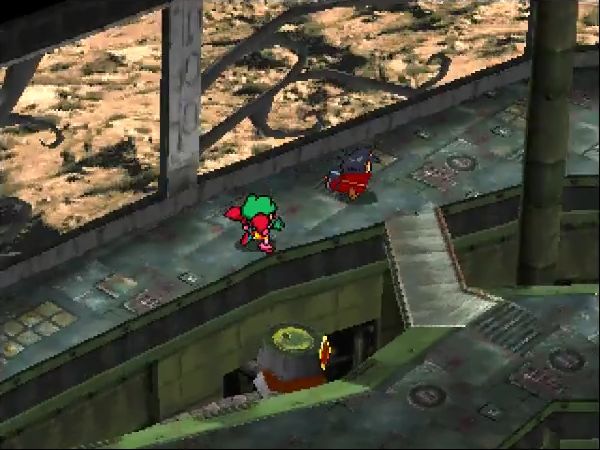
Anyway, derailing the train puts us smack in the center of the giant mountain region at the center of the continent. While using Mounthand isn't technically the only way to get in here (and I can leave whenever I want), the only way in does involve following the train tracks.
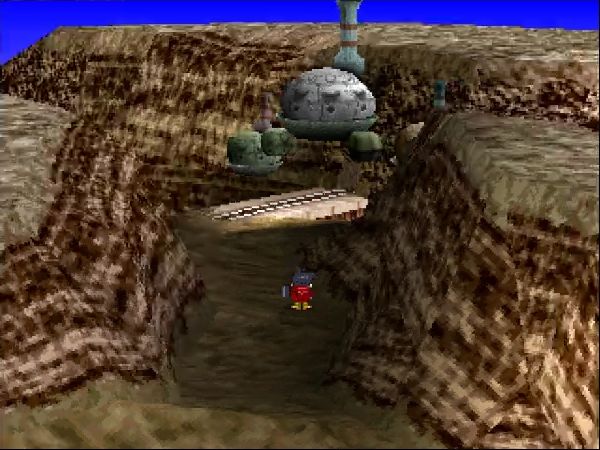
As for where we go next, I'd say that was pretty obvious.
Next time: we don't actually go in here for a long while.