Part 13: Addicted to Speed
Last time, we wrapped up the last of the sidequests! All that's left now is a few more dungeons, and the primaryquest chain of the game. We start the game with the first part of that chain:

Yeah, the "primary quest chain" of the game starts once your character is nearing the top of the power curve. We need to go investigate this tower that
Dol Guldur is, as noted, near Mirkwood:

You enter a maze of down staircases. You go into a gate leading to the tower of Dol Guldur.

Dol Guldur is a fairly classic dungeon, just granite walls for everything. There's streams of tainted water everywhere, that don't as far as I'm aware have any in-game effect. And I checked -- you can't clean them with the Potions of Water Curing we got for the tainted water quest way back when. That was a one-time scripted event. In addition to the tainted water, you can get the occasional river (in a tower?!):
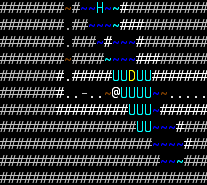
Complete with a pack of Water Demons, an Ancient Dragon Turtle, and a Behemoth (the blue H). All of them just fodder for our Black Hole.
Dol Guldur starts at level 57, ends at level 70, and at level 69 has a special level feeling:
You hear someone shouting under the torture.
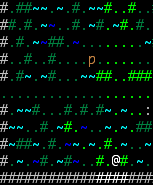
This means there's an odd-looking rectangle of solid rock on the level:

Which turns out to be full of monsters when you get close.
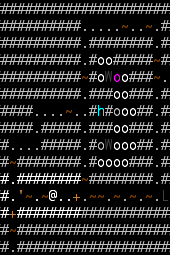
That's two ringwraiths (Hoamurath of Dur and Dwar, Dog Lord of Waw, the Best Ringwraith), plus some miscellaneous orcs and, in a fetching cyan color, Thrain the King Under the Mountain. Oddly, all of the walls claim to be permanent rock, despite the fact that you can cast spells through them perfectly well (we can even abuse View spells to chew up the orcs in record time). Once you step into the room, all of the walls disappear.
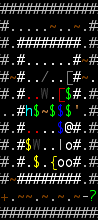
Thrain, like the Princesses, can be made angry and killed, but he doesn't actually go away. This is good, considering how indiscriminate our attack spells are. Thrain dies a lot as we chew up the Ringwraiths. Once the second one dies, Thrain gives us a message:
Thrain speaks: 'Ah, at last you come to me! But... I fear it is too late for me. However your quest continues, you must beware for the Necromancer is in fact Sauron, the Dark Lord! He stole the Ring of Durin and tortured me... arrgh... please make him pay!'
And then Thrain dies, but for real this time. Such a pity. We loot his hat.
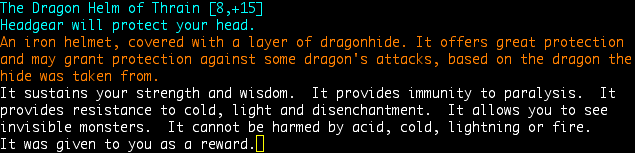
It sucks.
(If this looked suspiciously like a dressed-up princess quest, ssh)
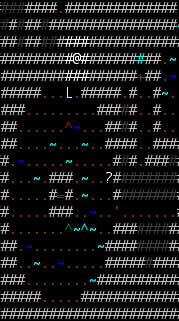
One level deeper is the bottom of the "tower", guarded by the Necromancer:

Inexplicably, the Necromancer has failed to have a contingency plan for being embedded in solid granite and then bombarded by 41 high-powered inertia blasts.
The Necromancer of Dol Guldur says: 'Watch this!' The Necromancer of Dol Guldur dies. You see the spirit of the necromancer rise and flee... It looks like it was indeed Sauron... You should report this to Galadriel as soon as possible.
I like how our hero automatically knows what Sauron looks like. I'm imagining the trees of Lothlorien covered with wanted posters.
Just like Thrain said, the Necromancer had the Ring of Durin:
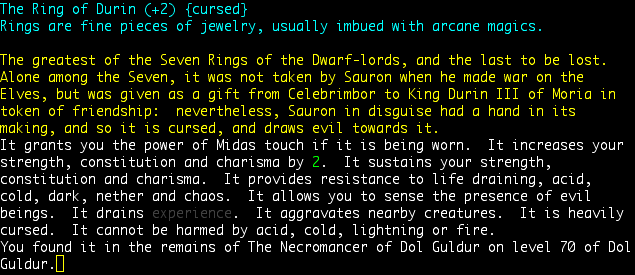
Midas Touch lets you directly convert found items into gold, albeit not as efficiently as if you sold them at a store. Pointless to us as money has long since ceased having meaning, but it's a nice touch. The experience drain is basically a non-issue -- it drains something like 4-5 points of experience every 10 turns or so, and a single kill for us can easily rack up 20,000 experience (the Necromancer was worth 62,500 and died in one turn). But that aggravation...man, aggravation is an item-killer for us.
Let's go chat with Galadriel.
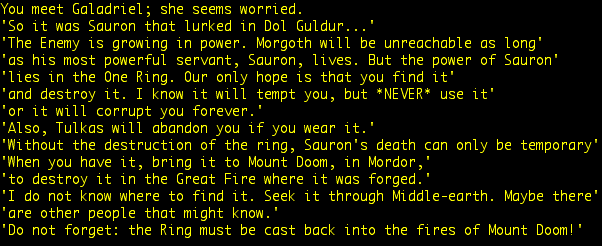
So here's the most involved part of this quest chain. We need to find the One Ring, take it to Mordor, climb Mount Doom, reach the caldera, and throw the Ring into the Fires there. There's a problem here, though, in that there's no guaranteed way to get the One Ring. Various unique monsters can randomly drop it; they're mostly dungeon bosses (but remember I mentioned Smeagol might have it?). You can theoretically get it from any monster in the game, at incredibly low odds. But if both those methods fail, Sauron will eventually drop it. He's on level 99 of Angband, and he respawns every time you kill him, until the Ring is destroyed.
There's a certain amount of
 in repeatedly killing a guy until you can yank his source of power away from him, crushing said source of power, and then coming back to kill him again, but before we go there let's check on the dungeons we haven't been to yet. There's only a few left. Northwest of Minas Anor is the Paths of the Dead, where Aragorn went to recruit himself an undead army.
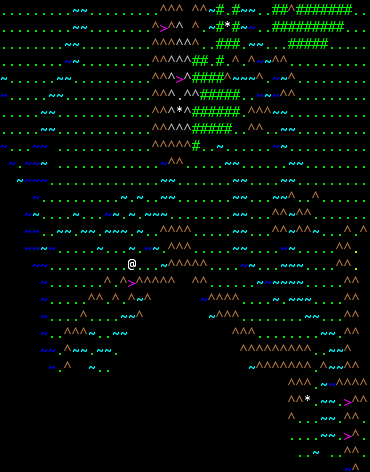
You enter a maze of down staircases. You go into the entrance to the Paths of the Dead.

The Paths are a pretty hostile place, with plenty of undead, walls made out of granite and bottomless chasms (the gray # symbols), and puddles all over the place. Periodically, all of the corpses in the dungeon will reanimate; fortunately most monsters won't leave a corpse when we kill them, because we haven't invested any points into the Corpse-Preservation skill. Also we don't plan on staying here very long.
The Paths span from level 40 to level 70, which is a lot of undead to cut your way through, but we can just sort of drop like a rock straight down until we hit the bottom. Man, I love Probability Travel.
At the bottom is the dungeon boss: Feagwath, the Undead Sorcerer.
Flavor text: "A stench of corruption and decay surround this sorcerer, who has clearly risen from the dead to continue his foul plots and schemes." Feagwath knows a lot of unpleasant spells, chiefly including Mana Bolt, Nether Storm, Summon Liches, and Cause Mortal Wounds. But like everyone else we've met, he doesn't really handle being hit by Black Hole at all well. Alas, easy come, easy go -- he didn't drop the Ring. He did, however, drop one of the most powerful weapons in the game:
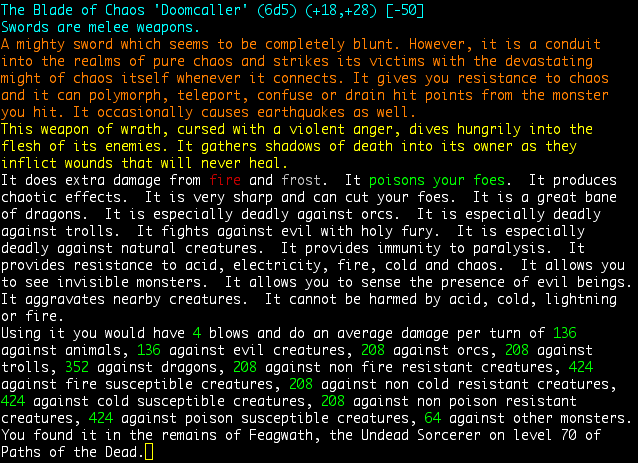
Doomcaller does just preposterous amounts of damage; that 6d5 damage dice gets doubled against practically everything and tripled against monsters who get hit by any of the slays more specific than "evil". And it has +28 to damage. The "very sharp" effect here means it's vorpal, which allows each blow to potentially deal unbounded amounts of damage. Of course it aggravates, and it reduces your AC by 50, but if you're a warrior wielding this, you'll hardly care; everything will come to you, and then everything will die. I mean, not as quickly as it dies to us, but compared to what you were probably using before you found Doomcaller, it'll be a pretty big step up.
Way up in the northwest corner of the map, near the edge of the world, lies the Helcaraxe:
You enter a maze of down staircases. You go into the entrance to the Grinding Ice of the Helcaraxe.
The Helcaraxe is another "double-size" dungeon, but much less dangerous than the Lonely Mountain. Being located in a glacier, it periodically hits the player with cold damage, and shatters all potions lying on the ground. Fortunately, we're immune to cold, thanks to our body armor.
The Helcaraxe starts at level 20, ends at level 40, and at level 35 has a special level, the Galleon.
A ship of antique design lies jammed in the ice here.
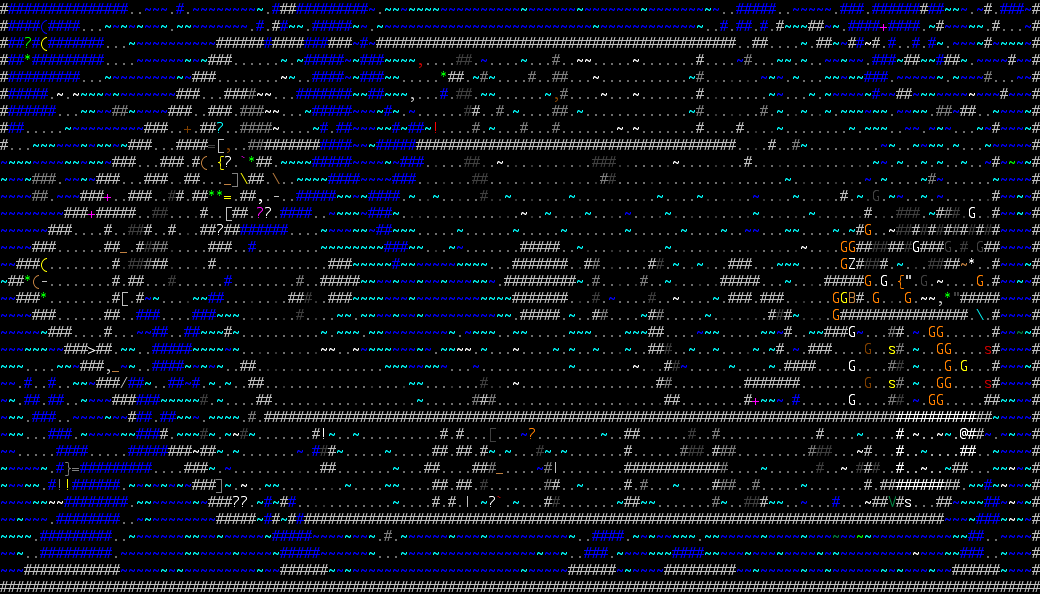
The rest of the Helcaraxe is merely rather unpleasant to explore, but the Galleon is actively dangerous. There's plenty of undead here, in particular some drujs (stationary spellcasters who know plenty of really unpleasant attack spells) located out in the open where there's no way to get close to them without eating a lot of spells. From the level's definition file:
And sure enough, the waters around the ship have a Leviathan, some Greater Krakens, and a few Lesser Krakens. These guys will wreck your shit if you aren't endgame-capable; they have plenty of really nasty breath attacks, and Greater Krakens can teleport you next to them and then hit you with their 4x 15d15 melee attacks. Krakens in general are why you don't explore the ocean on the overworld until you're high enough level to be immune to ambushes.
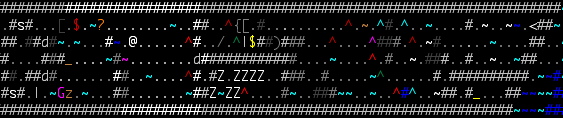
We start out in the southeast corner; the expectation is that we fight our way west through the "inner hull", reach the main body of the ship, fight our way east to the bow of the ship, turn around and fight westwards along the northern "inner hull", find a Void Jumpgate, take it into the prow of the ship, and take the stairs out. The level's treasure is reachable through another Void Jumpgate in the northeast of the map, which leads to the area directly north of the entrance.
And annoyingly, that all is exactly what we have to do, because teleportation, and creation of our own Void Jumpgates, are both blocked on this level.

Things start out tame enough -- some Yetis, Ice Trolls, Cold Hounds, Giant White Dragon Flies, etc. Then I forget to re-cast our trap detection spell, and this happens:
You found a trap! You hear a rapid-shifting wail, and a Leviathan appears! You identified the trap as a Trap of Calling Out.
This trap summons the nastiest monster on the level right next to you. How convenient. :getin: The terrain isn't really conducive to casting Black Hole, so it takes three whole castings to kill the Leviathan, but one of the beauties of this spell is that after the first cast it's been slowed into irrelevance anyway.
Leviathans are native to level 67. We're nominally at level 30. Watch the fuck out in ToME's special levels and quests. They don't give a crap about sane challenge ratings.
That brief moment of excitement aside, we finish the first inner hull and round the corner, blasting away a pair of Night Mares (quadrupedal undead, naturally) as we go.

The ghosts around here are prime fodder for Psychic Drain, viz:
You convert the Headless ghost's pain into psychic energy! The Headless ghost writhes in agony. The Headless ghost flees in terror!
You convert the Headless ghost's pain into psychic energy! The Headless ghost collapses, a mindless husk.
Normally ghosts haunt others. We haunt ghosts.
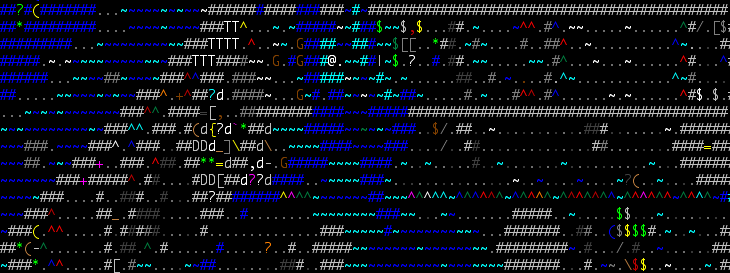
The bit of oceanic intrusion here has a Giant Squid, some Killer Whales, and a Lesser Kraken, who come perilously close to getting in our way. Later we throw up a Time Out to keep a druj from bothering us; it's too far to hit with Black Hole and killing it with View spells would be too mana-intensive, so we just entomb it in granite and leave it for some later adventurer to deal with. Pretty soon we've reached the treasure chamber!
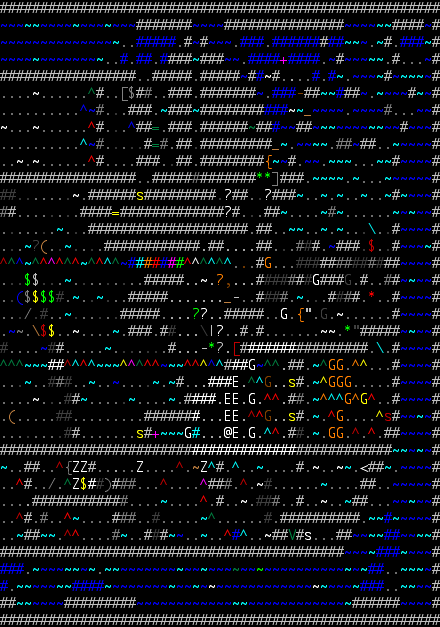
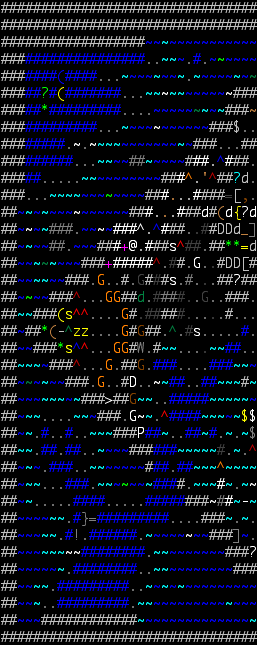
This puts us in a face-off with two Hand Drujs (the yellow "s" monsters), along with a posse of Ice Elementals and Headless Ghosts. The latter are easily-dispatched, the former are entombed to block line-of-sight until we can get close enough to Black Hole them.
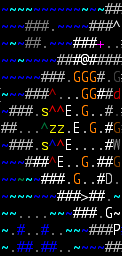
The second room has a similar layout, except this time it's two Eye Drujs (in red), guarded by a pack of Dreads and a Dreadmaster (the orange and yellow "G"s respectively). However, poor planning on their part means every single one of them is still asleep. We're able to Black Hole the Dreads and Dreadmaster without disturbing the Eye Drujs, walk right up to them, and then blow them away.
And what is our reward?
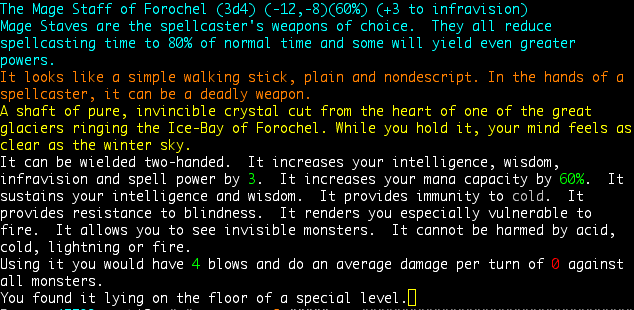
This awesome mage staff. Not only does it give us an extra 350 mana to play with (we now have 926!), it also gives us the WIS we need to bring our mindcrafting powers down to a 0% failure rate, and increases the level of all of our other spells by 3. This last effect isn't really that noticeable except in that it halves the failure rate on Probability Travel. Which is more of a convenience than anything else.
I'm not certain how fire immunity and fire vulnerability interact, though. My unfounded assumption is that the immunity wins out, but we'll definitely do some testing once this level is completed. At least nothing here has fire attacks.
(Said testing, performed later by casting a few fireballs until we got some lava tiles, indicates that immunity does indeed beat vulnerability; score!)
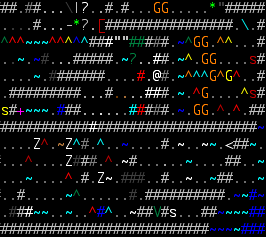
We chop our way through the northern inner hull, and I find out that that entire area was optional, really, since access to the second Void Jumpgate requires chopping through some glacial walls next to the oceanic intrusion we noticed earlier.
(The white "~" monsters are killer whales, which can live since they're wisely not attacking us)
From there it's a simple matter to make our way to the jumpgate and the way out.
The last room is briefly scary as the monsters inside are all awake, and thus we receive a few attacks as we enter.
However, they only get one turn before being sucked into the Black Hole, and we're home free.
Very shortly thereafter, we reach the bottom of the dungeon, and its boss, the White Balrog. Flavor text: "It is a massive humanoid demon wreathed in frost, wielding a cruel looking pike in its hands." He'd be pretty scary if we were at an appropriate level for the dungeon; he has some unpleasant spells and enough HP (2500) to take awhile to wear down. But it only takes a seventh of a Black Hole to kill him, and that's that. As usual, we get a guaranteed artifact (or randart, in this case):

We may actually want that acid immunity for a future dungeon, so we'll hold onto it for the time being. But we're done here; next dungeon!
Straight east from Dol Guldur is the Land of Rhun.
You enter a maze of down staircases. You go into a way into the Land of Rhun.
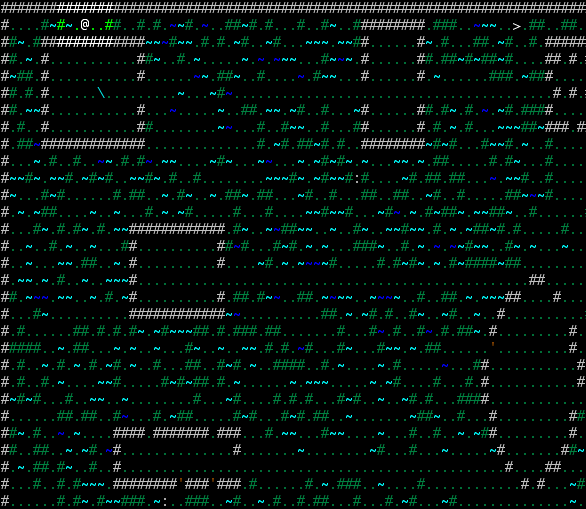
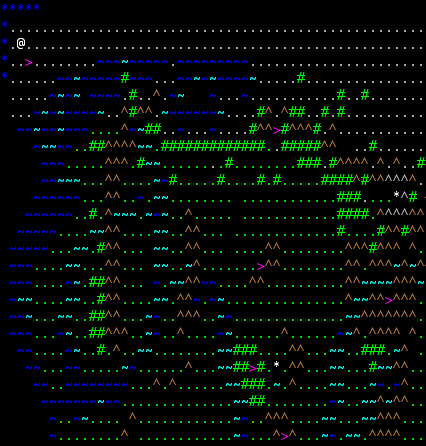
The Land of Rhun uses "arena" map generation, where most of the map is open space. Fortunately it breaks up that open space with lots of trees, so line-of-sight is still fairly well obstructed; arena maps can be lethal if generated without such filler, because there's nowhere to hide from enemy ranged attacks. Of course we can make our own cover; I was speaking of less fortunate classes.
Annoyingly, not only can't we just levelport downwards with Probabilitty Travel, we also can't use it to teleport through walls to quickly reach the "staircases" on the edges of the map. We actually have to walk places -- or use our Mindcrafting Dimension Door, but it takes the same number of keystrokes to position the exit point for that spell as it does to walk anywhere. Fortunately the monsters are a total non-threat; levels range from 26 to 40, so we totally outclass everyone.
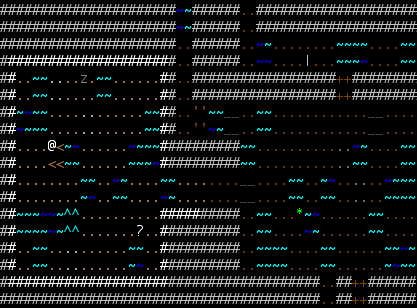
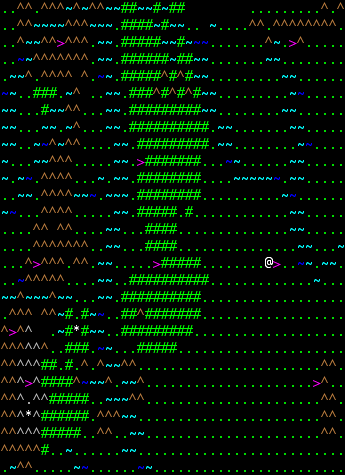
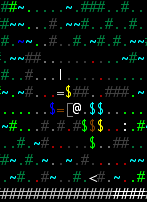
On level 31, we find another dungeon town, possibly our last of the game.
It contains a jewelry shop, a swordsmith, a general store, an axesmith, a cobbler, a recaller, and this:

Oh game. You shouldn't have. You really, really shouldn't have. Remember what I said in a previous update about stealing from stores? Our DEX is at 38, easily high enough to steal rings one at a time with no danger of being caught. Poor Ariel brings out ring after ring as they keep mysteriously disappearing. Then again, maybe I shouldn't feel sorry for her, as she appears to have unlimited stock. After littering the store with the broken bits of maybe 40 rings, we get our first randart speed ring:

But baby, we're just getting started!

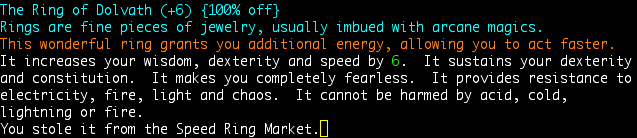


By the time we're finally done, our inventory looks like this:

And that's just the most common levels of enchantment; +9 and +10 are fairly common, we got the occasional +1, and on our right ring finger right now is a whopping +19 ring, putting us at a base +32 speed. The shop floor is covered in aquamarine dust (speed rings are aquamarine this game), and Ariel has no idea what's going on.
Unfortunately, all of these randarts are a bit past their prime. We no longer need gigantic stat boosts, except to speed, and we didn't get that goldmine of a huge speed boost combined with at least two of the resists we're still missing (shard/nether/nexus/disenchantment). The +19 speed ring is the real find from this shoplifting spree.
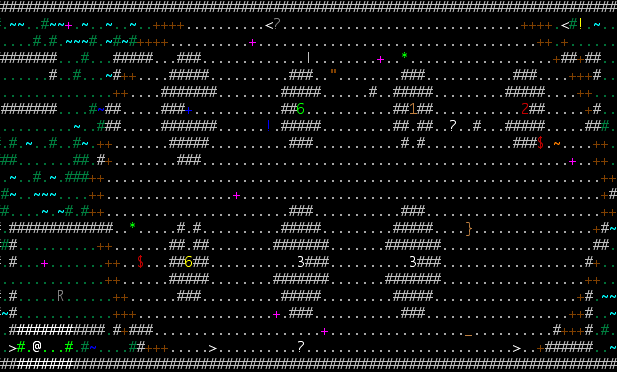
We resume our "descent" across Rhun, passing by several vaults that we ignore completely, until we bottom out at level 40 and run into the dungeon boss, Ulfang the Black:
You want to know how pathetic Ulfang is? He moves at +10 speed (so we're 2 times faster than him before any shenanigans happen), he has no ranged attacks, his only spells are Summon Monsters and Summon Humans, which he hardly ever casts, and he has 2500 HP.
We strip off the Mage Staff of Forochel and our randart body armor, both of which have massive melee penalties, and then switch our tactics from "coward" to "berserker". This gets our damage all the way up to 8d6 + 124 per round, assuming all blows hit!
You scratch Ulfang the Black. You feel the hand of Tulkas helping your blow. You scratch Ulfang the Black. You feel the hand of Tulkas helping your blow. You scratch Ulfang the Black. You feel the hand of Tulkas helping your blow. You scratch Ulfang the Black. You feel the hand of Tulkas helping your blow.
Alas, after we get him down to 70% dead, he manages to summon monsters much more dangerous than he: an Elder Aranea, a Silent Watcher (which can damage sanity), and a Draconic Quylthulg (which is harmless on its own, but can summon dragons). If we can't kill him in melee, then we're going to go for grotesque overkill.
Hey Ulfang.

You ever watch Armageddon?
Ulfang the Black says: 'I have such sweet thoughts.' Ulfang the Black dies.
I guess not.
Ulfang isn't badass enough to have a chance of dropping the One Ring, I'm pretty sure, but he does have the ANSI Standard Boss Artifact:

Not bad; +3 attacks is a pretty huge bonus.
I think that's enough for today. Next time we'll hit up the Sunken City of Numenor, and then finally head on over to Angband, the "last" dungeon.