Part 41: Chapter 5, Part 6
Dungeon Deceit: Complete solution (Part 6)
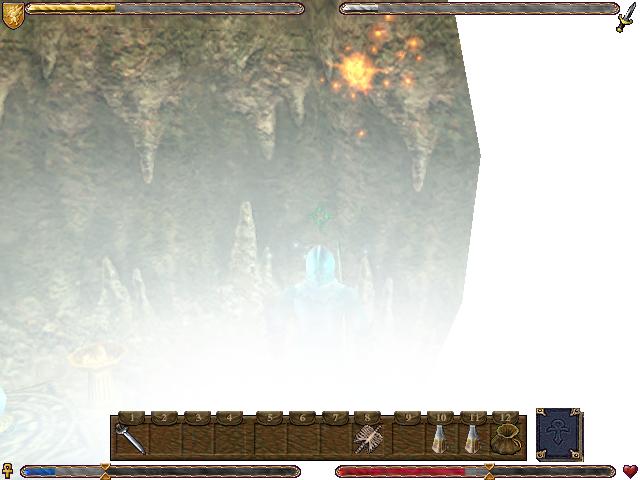
In the lower area of the dungeon is a teleporter in a small cave.
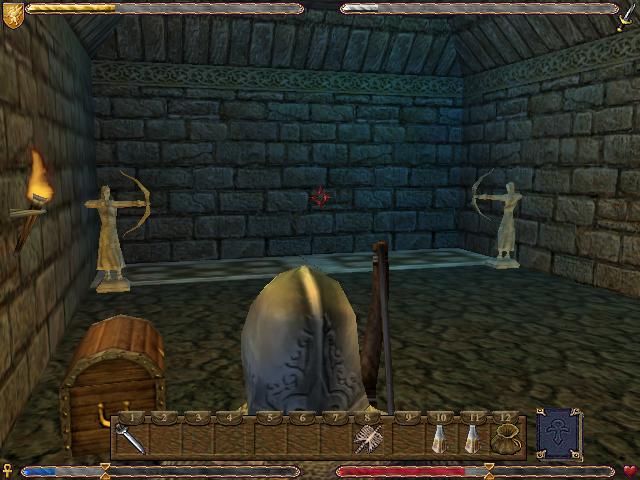
The teleporter takes us to a room with a bunch of junk in it.
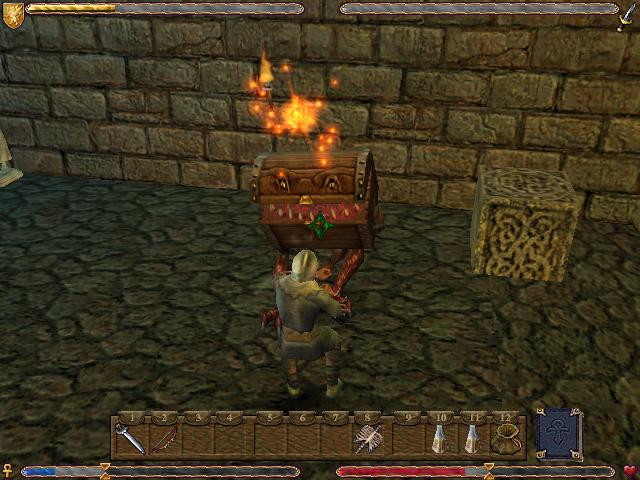
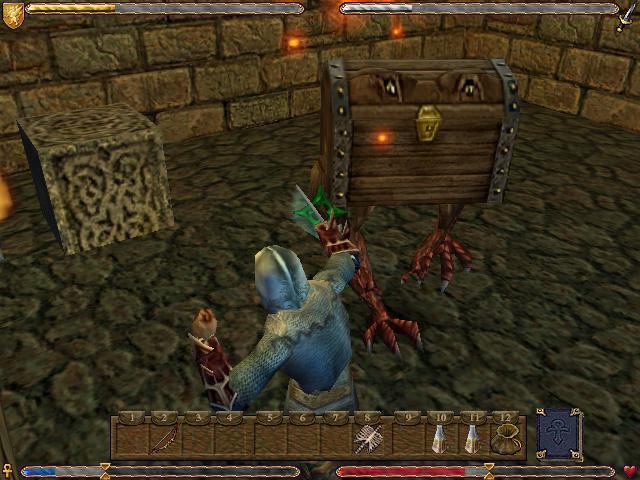
Both of the chests in this room are Mimics. They aren't as vulnerable to face-stabbings as they are to groin-kickings, but stabbing them keeps us out of their attack range.

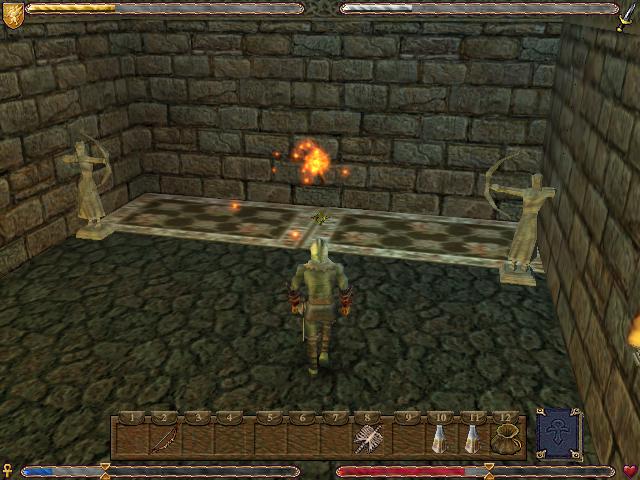
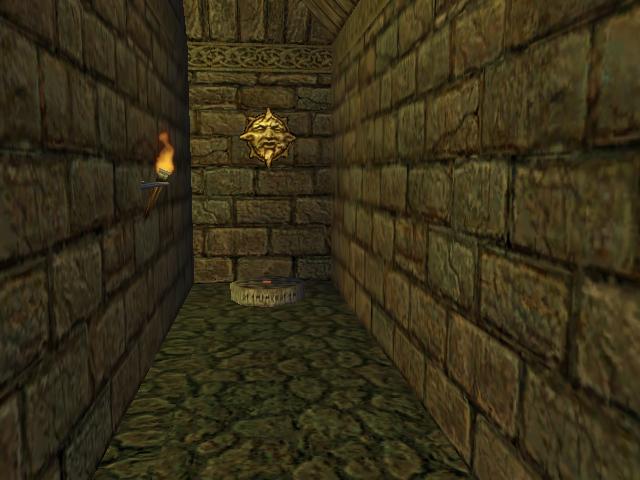
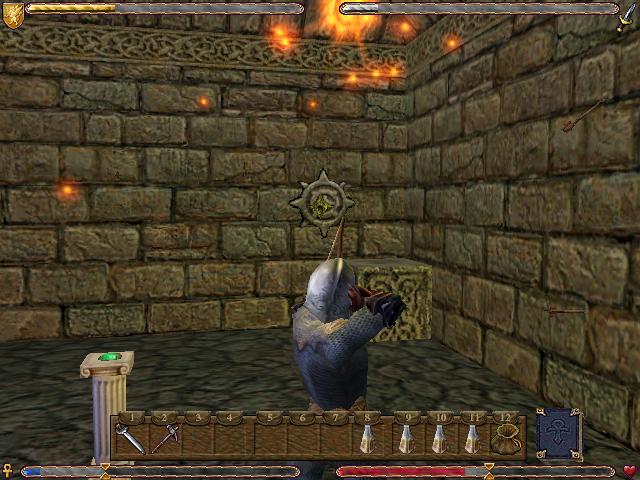
This room is, for lack of better terms, a target range. We need to stand on those carpets.
Standing on the carpet makes a
 appear and move quickly across the wall on the opposite side of
the room.
appear and move quickly across the wall on the opposite side of
the room.
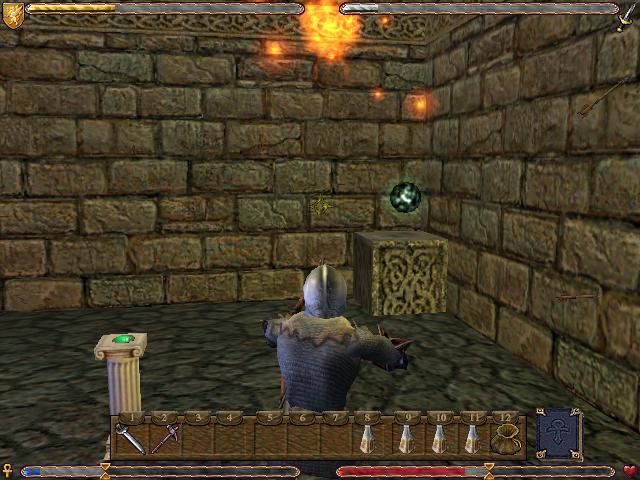
Shooting it makes this globe thing appear. We take it and teleport back to the main room.


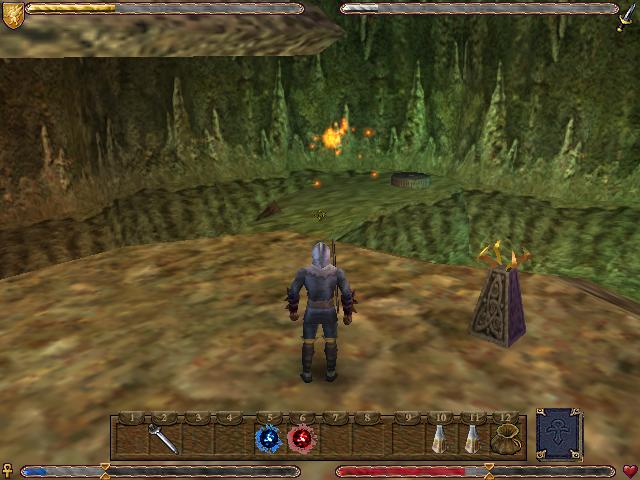
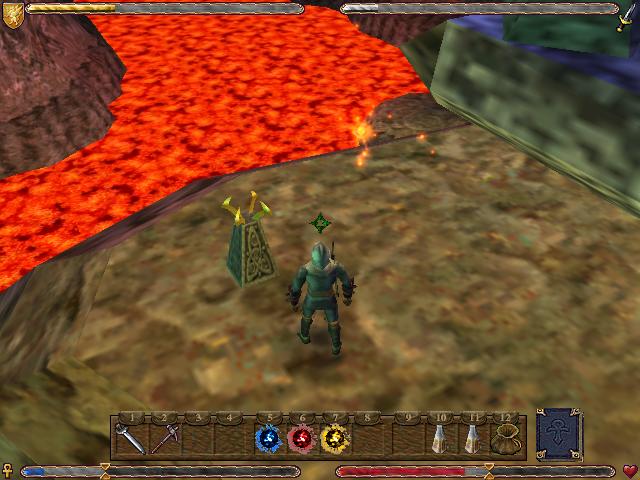
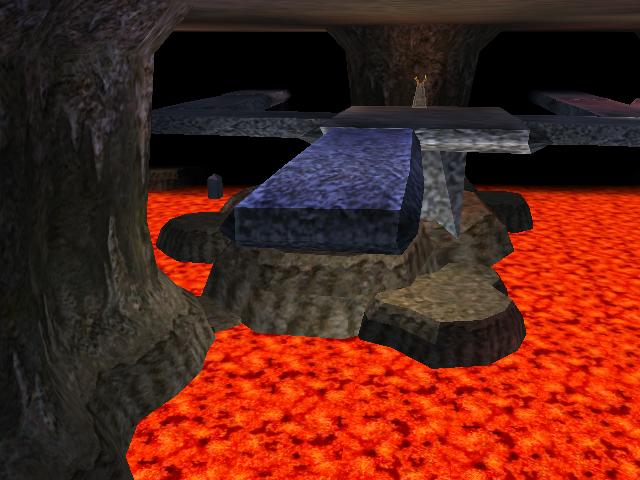
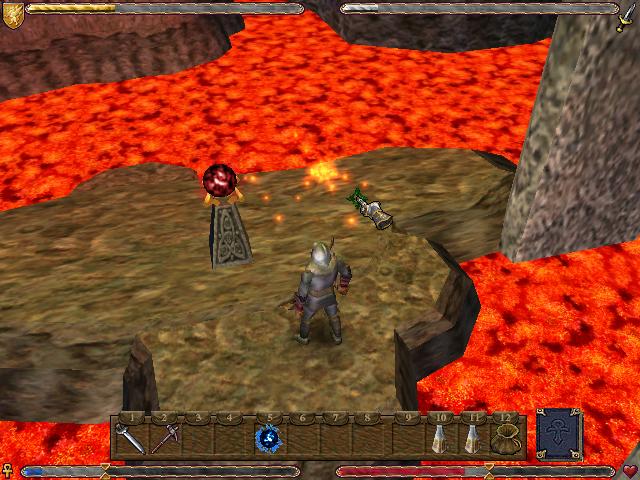
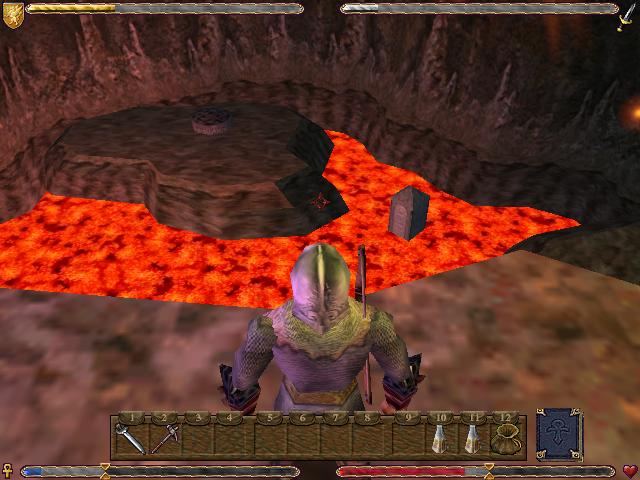
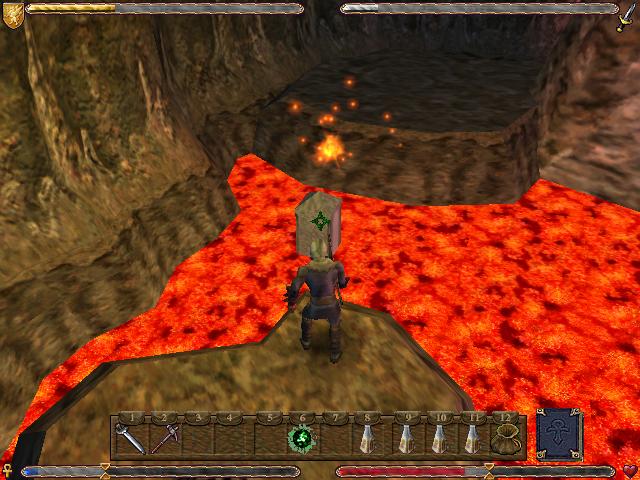
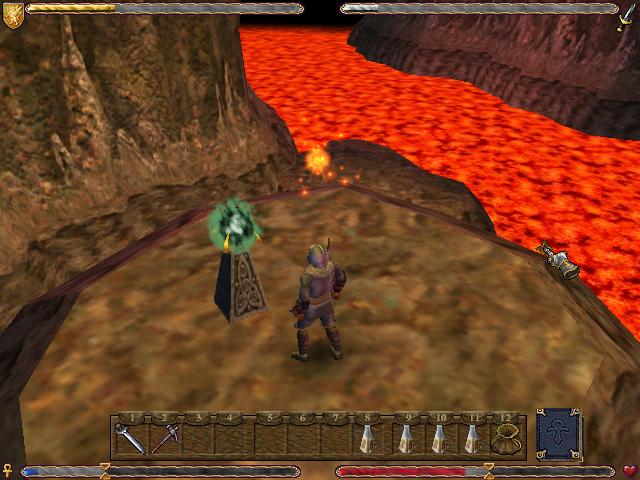
Back in the main cavern are these obelisk things. Touching it makes the lava levels lower in the dungeon for a few seconds. This is a big cavern. If the pump actually existed it would be the most powerful pump ever created.
The chest on the floor has another globe in it.
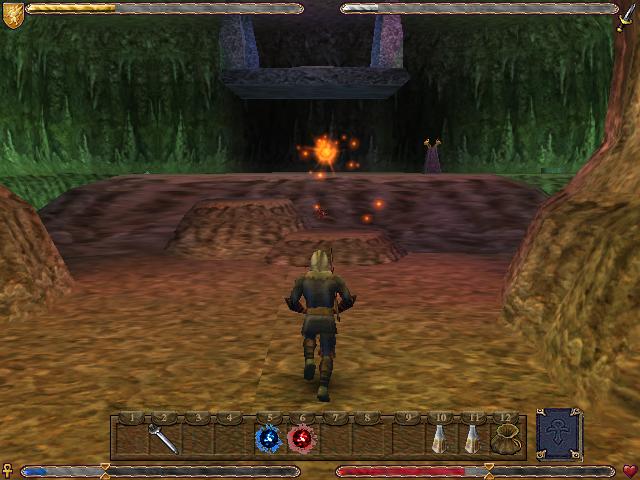
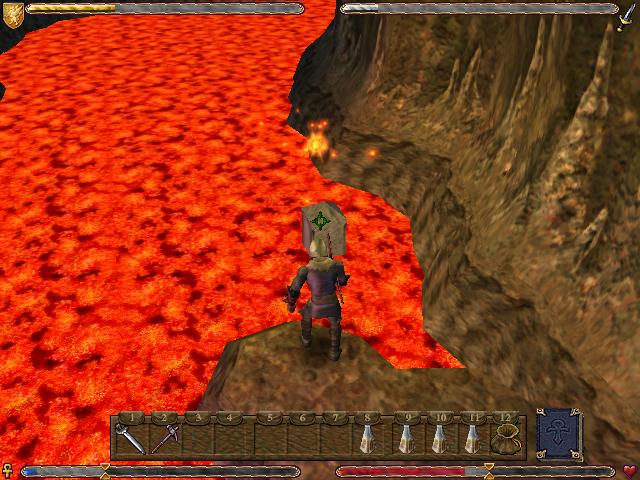
Now we touch the obelisk again and leg it for the opposite side of the cavern. If we don't run the lava will flow back up, and we will die instantly.

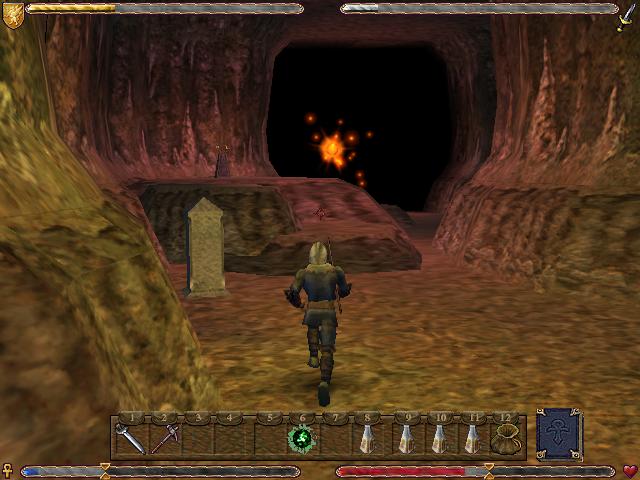
Off in the far corner is another teleporter.
Jumping on it takes us to the maze area.
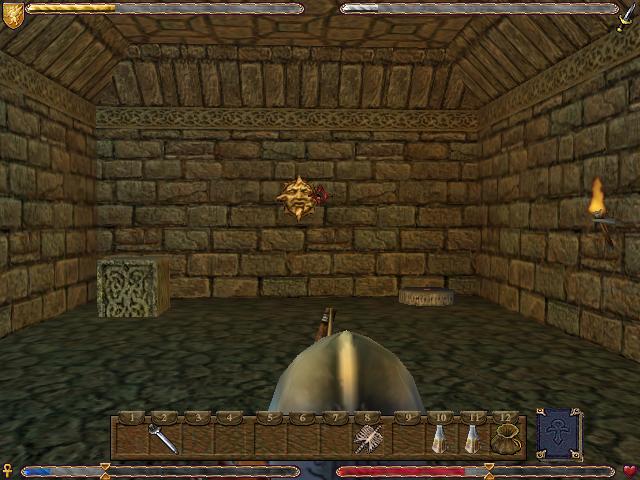
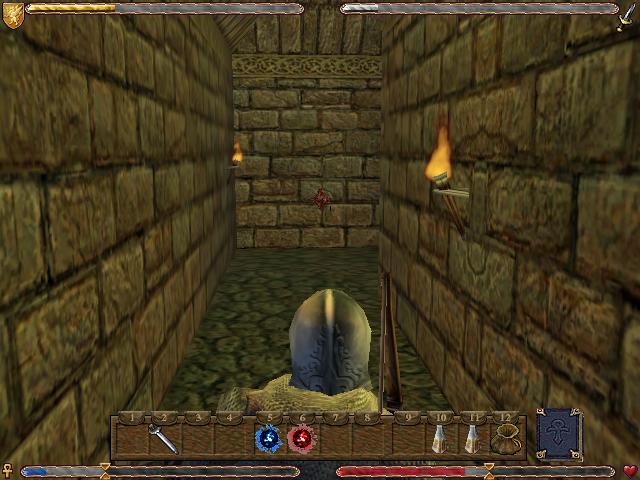
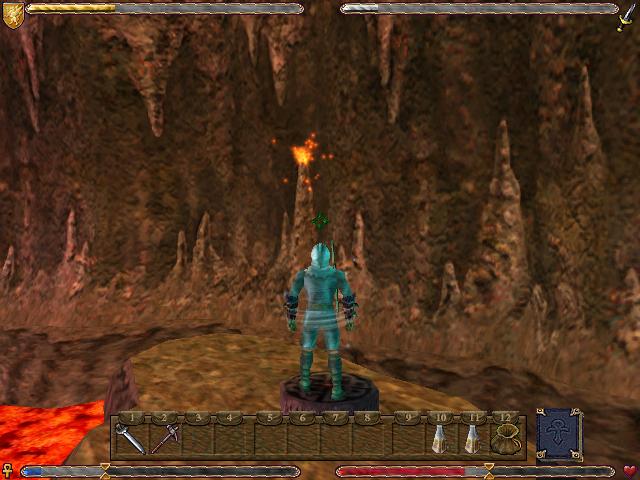
At the back of the maze area is a red button. Pressing it makes a bunch of
targets appear on random walls in the maze.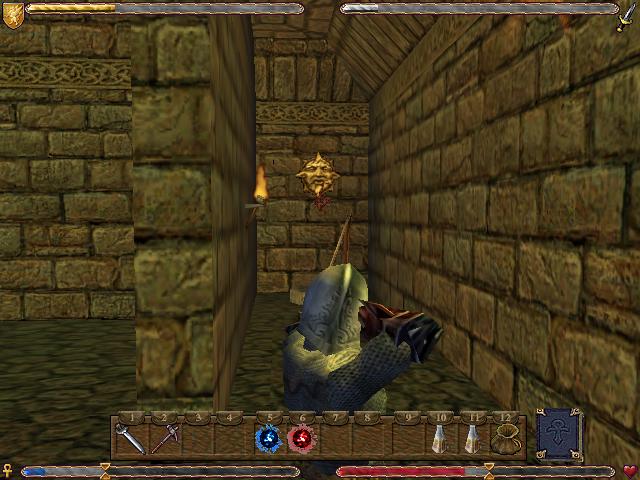
The targets disappear after a few seconds, so we have to be quick.
If we get all of the targets, we are rewarded with another globe.
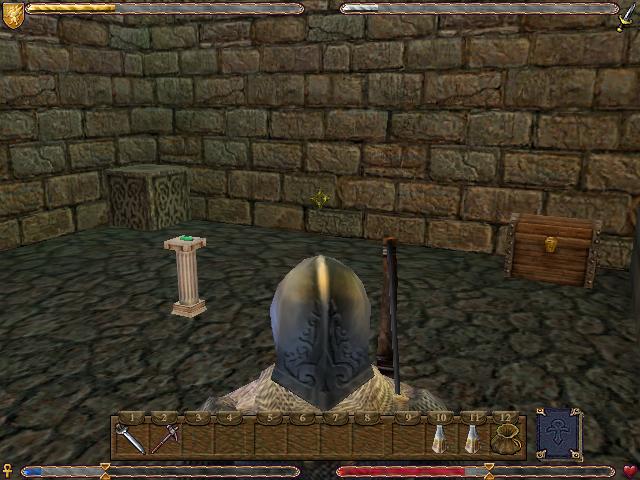
The maze area also has a warhammer in it
 and a scroll of Full Heal, which is our second unique scroll.


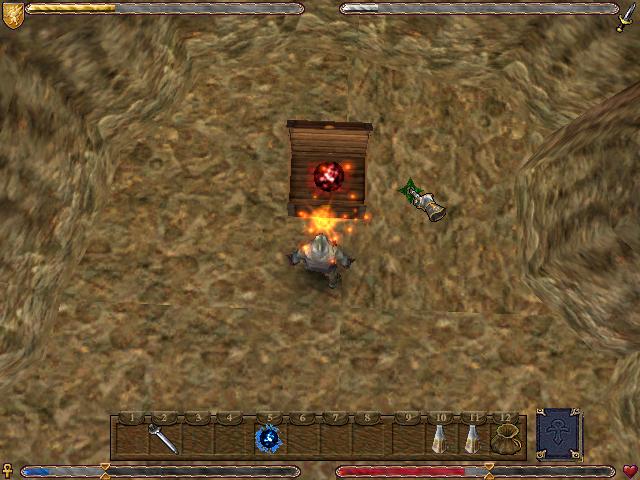
While we're over here we put this globe thing on the globe thing holder thing.
Each time we put a globe thing in a globe thing holder thing, it adds a stone slab to this bridge dealy.
On our way back we put our other two globe things in their holder things.
The last globe is way off on the other side of the cavern, so we ride the lift back over there.
The chest in this room is surprisingly not a mimic and contains two healing potions.
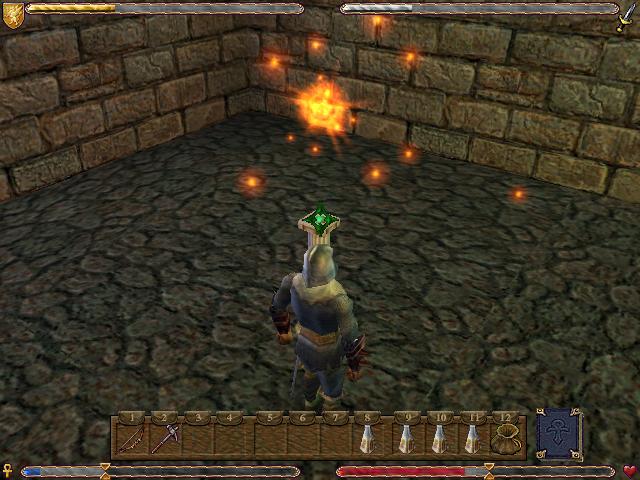

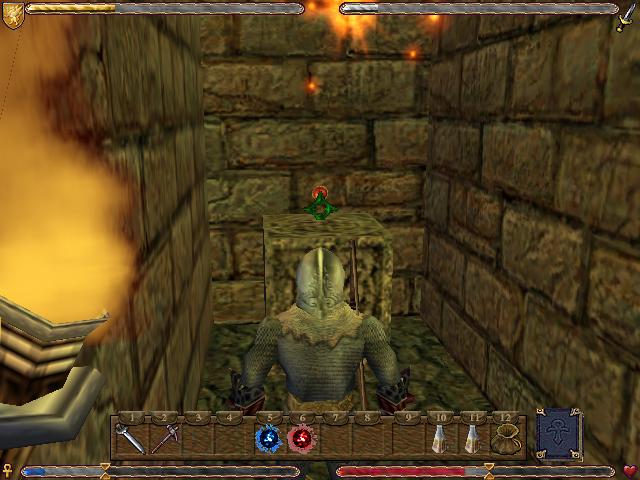
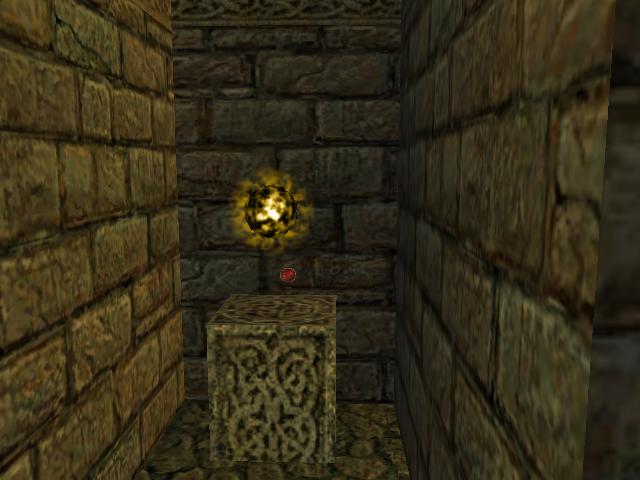
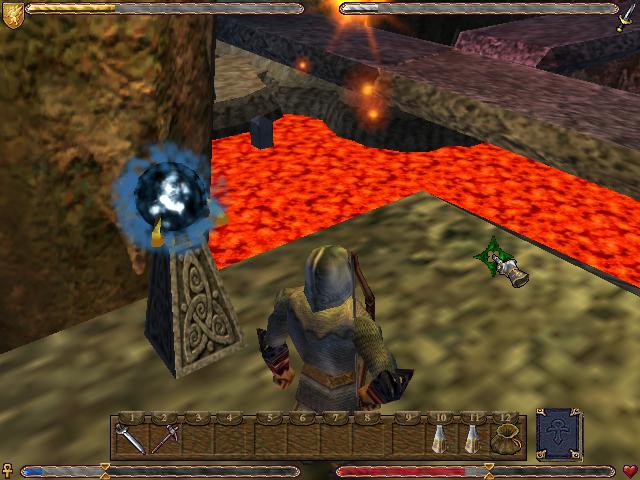
Pressing the button on the thing makes a
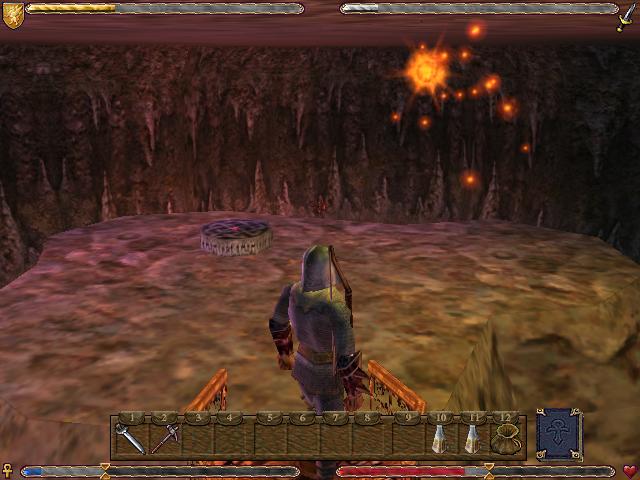
thing appear on the large stone thing.A series of about 30 targets show up in random locations on each wall of the room. Shooting all of them eventually reveals the final target.
Shooting the last target reveals the last orb. If you're just starting to notice how repetitive these posts are.... welcome to Ultima 9!

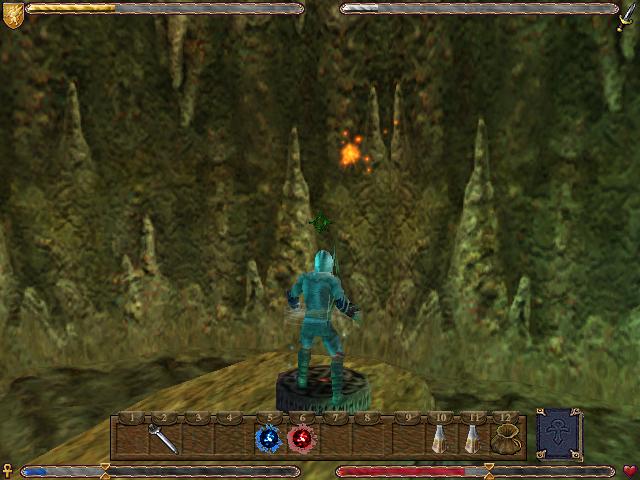
Back in the main cavern, we wave our poorly-defined polygonal mitten into the air in the general direction of the obelisk.
Running full-tilt gives us just enough time to reach this ledge about halfway between the last teleporter and the main area.
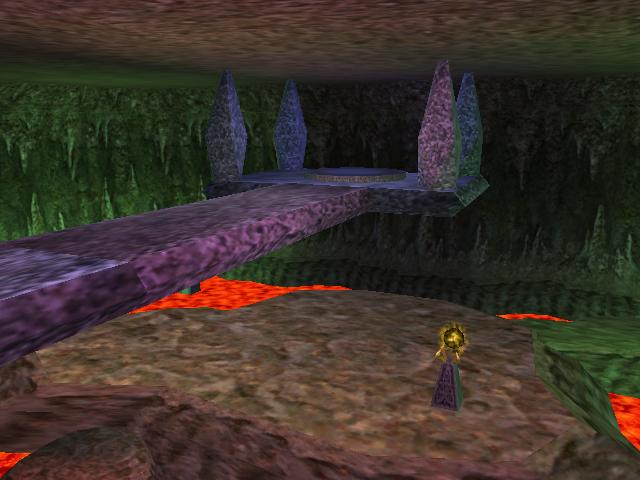
At the top of the ledge is the last globe warmer and storage unit. It makes the last stone slab appear in the bridge, completing it and opening the way to the next area.


Touching the obelisk lowers the lava again, so we can get back to the main area.