Part 12: Mythe's Adventure - Part 12
Unlimited Saga, Part 12: The Nakle LinesI did a few short quests to try and get some more tablets or finally get Magic Blender, with no success. I deliberately chose short ones without much to do because, honestly, at this point I don't need much more HP and just want everyone to have their panels set up for the final encounter. HP growth depends directly upon how many actions a character takes, while the level of panels is determined by that, plus the encounter level of enemies generally. So at a certain point you'll stop getting anything below level 3 -- indeed, if you level long enough everything will be level 4 instead. Level 5 is the maximum a panel can be, and unless you're a completionist who does all the sidequests you're unlikely to see many of them.
Anyway, Laura has a shield panel and check this out:
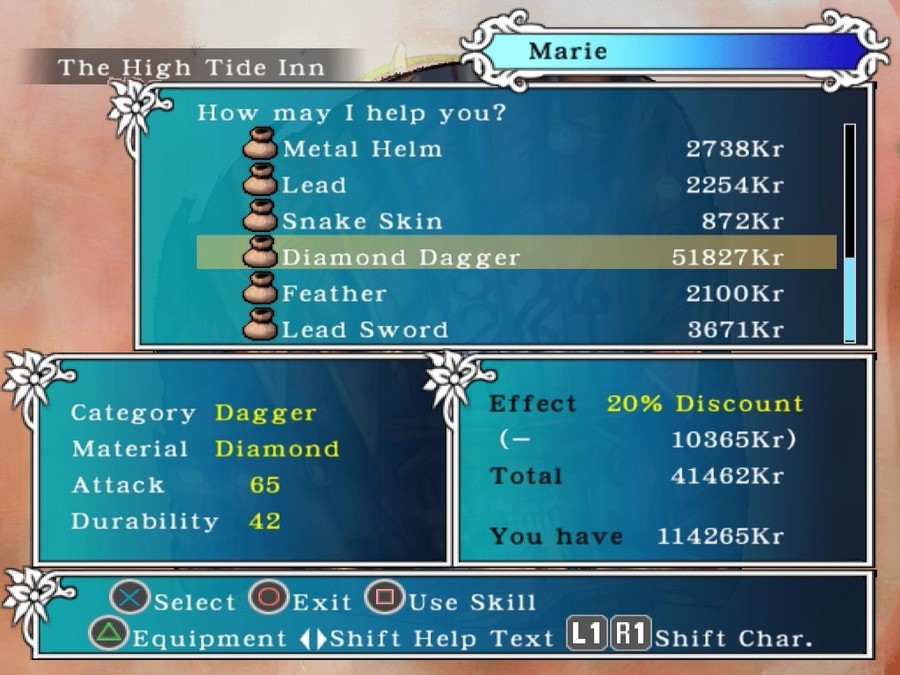
A diamond dagger, perfect material for creating a diamond shield! Sure, it costs half my money, but the resultant shield is going to be very effective and should make Laura -- already one of my sturdiest characters -- much safer in combat. If I ever manage to find another diamond, I can combine them to, maybe, possibly, definitely not make a ROADSTER SHIELD which I think is supposed to be amazing? But I've no idea what it does or why it's good, because I've never wanted to waste diamonds trying to make it.
After a quest where I, no joke, just had to open a door and go inside a room to complete it, Marie picked up a shield panel too! Doing quests with little or no combat is actually the best way to get weird utility panels, sometimes; this is because they may rely on actions a character literally cannot perform, like lockpicking, or just something they're unlikely to do enough during a quest to warrant a panel reward. The downside is their level will be low compared to what you can get in a combat-heavy quest. Anyway, I only have one diamond, so she gets a steel shield. Ironically this makes Marie, the fragile magician, a better tank than most of the physical attackers.
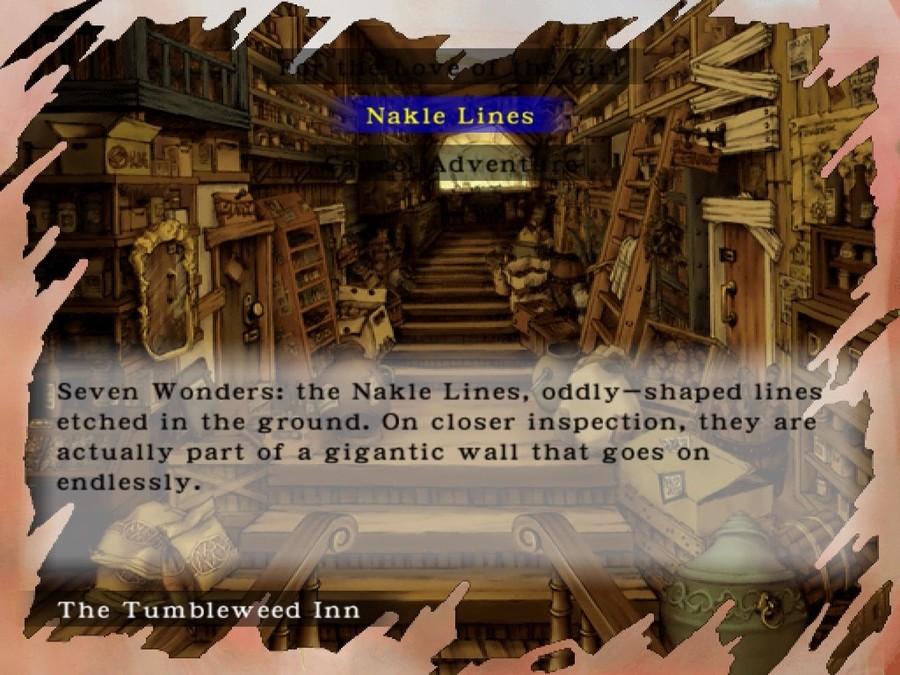
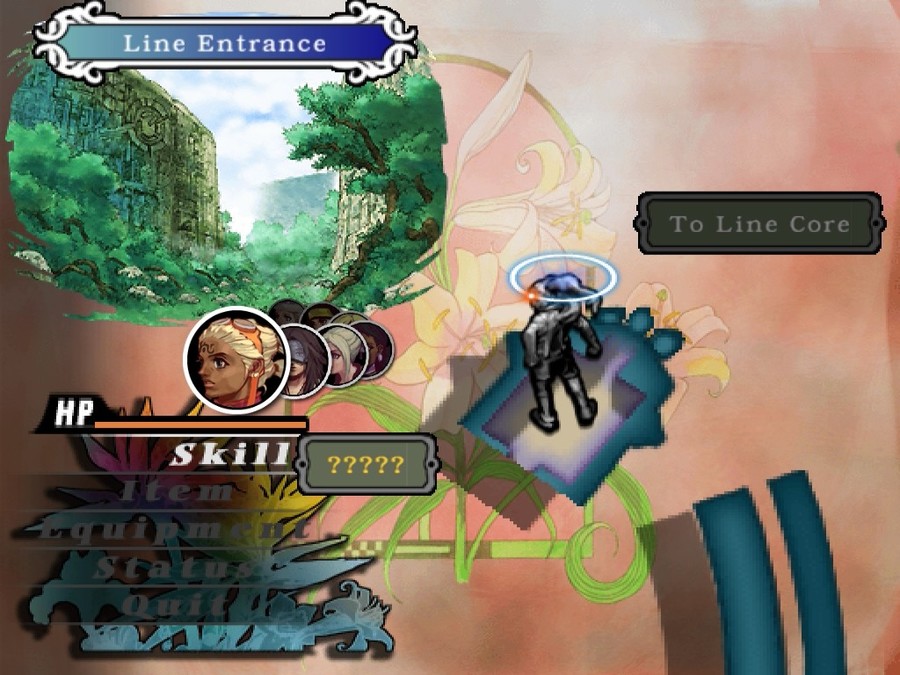
I also got everyone bone crosses, for life protection. That, plus the fact we have a consistent source of instant death, means we're ready for the Nakle Lines. This is the hardest Wonder to do as a sidequest -- ironically much harder than when Laura comes here for her final dungeon.
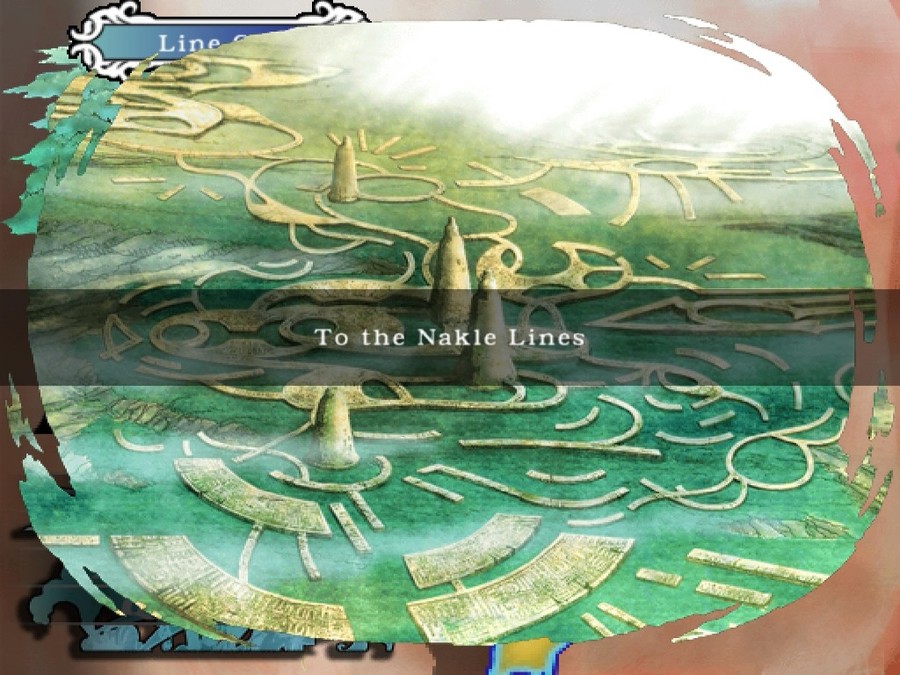
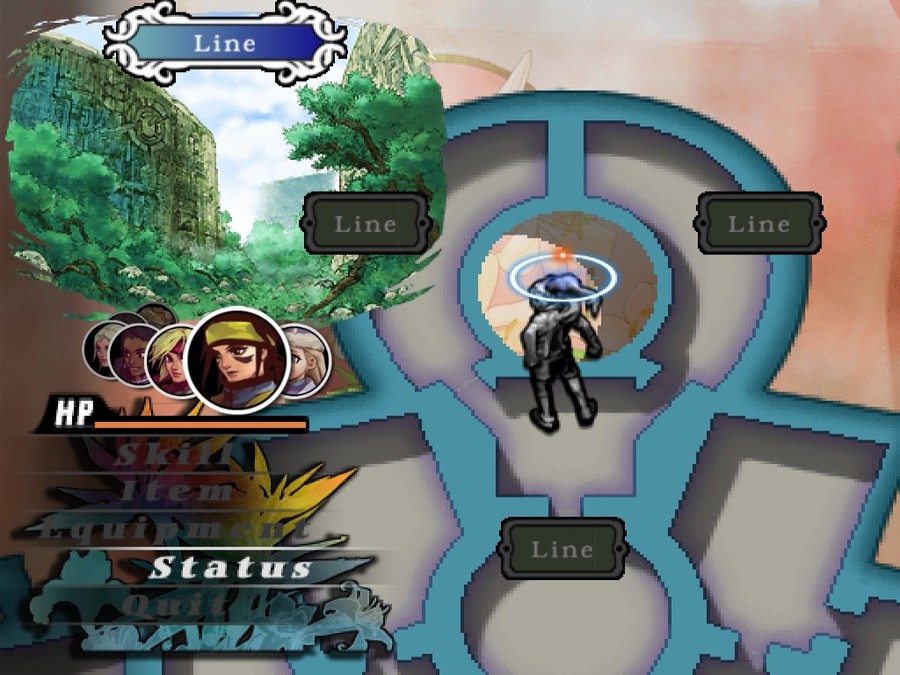
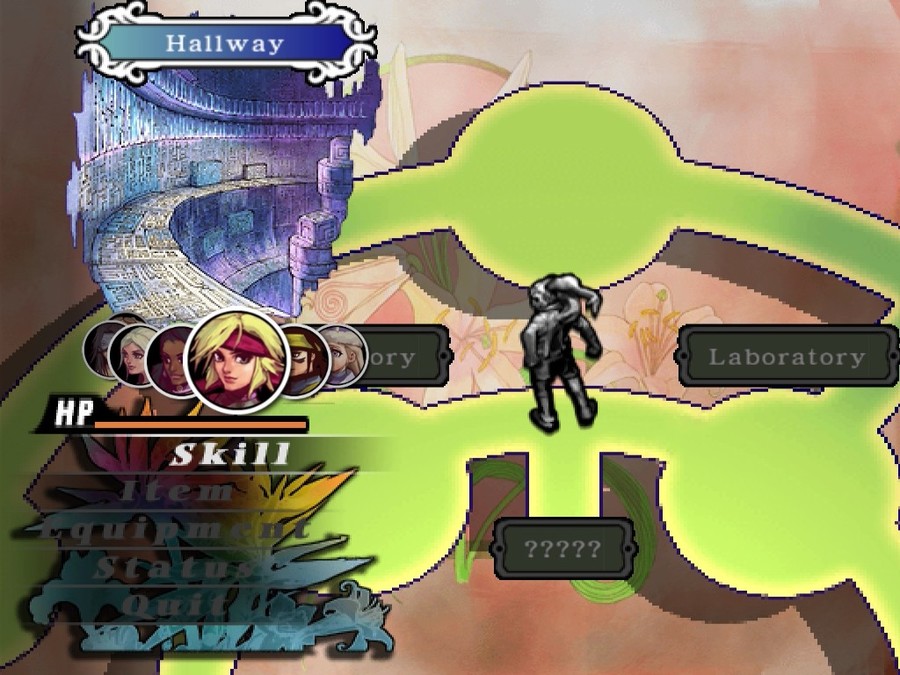
This dungeon is split up into 5 parts, and you have to clear them all to unlock the boss encounter at the end. They can be done in any order, so I went southwest first because, well, it doesn't really matter.
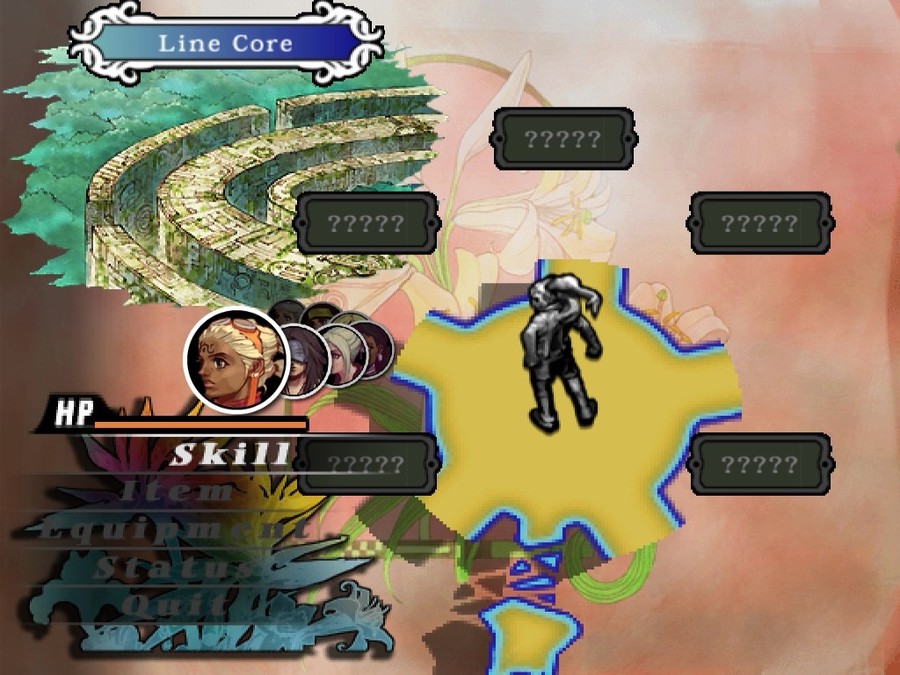
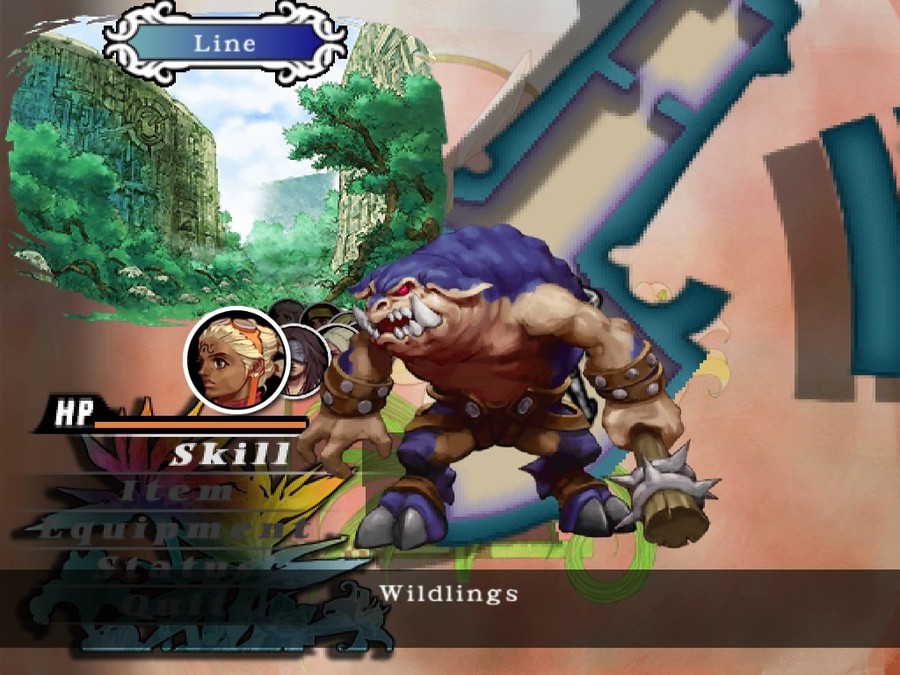
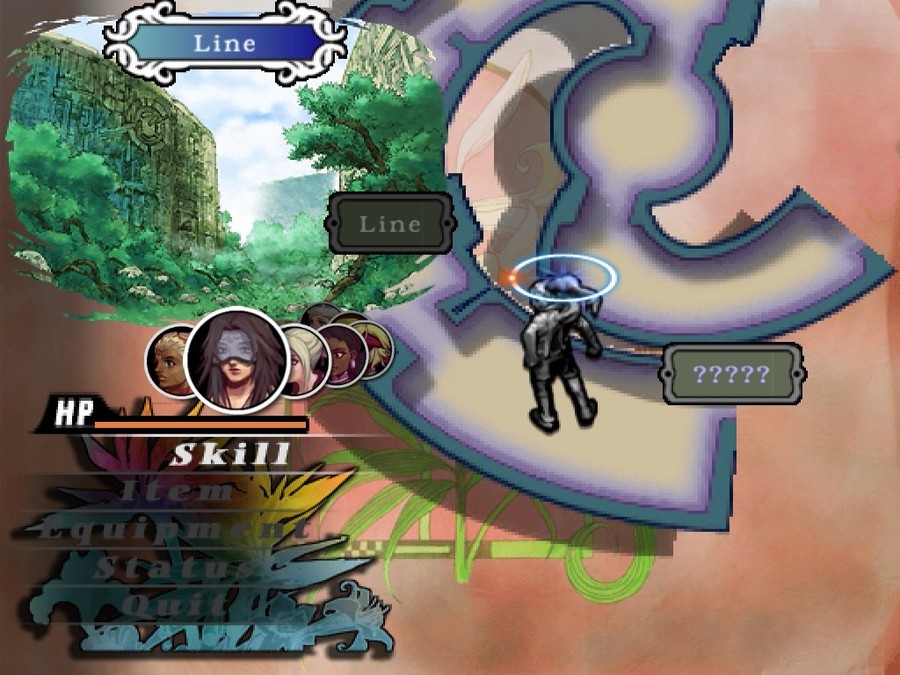
Each area drops you off in a strange blue room, like this:
They each have a different theme, and have encounters based on that theme. This one is the Sword Line and it has Wildlings because they're the only monsters that use weaponry.
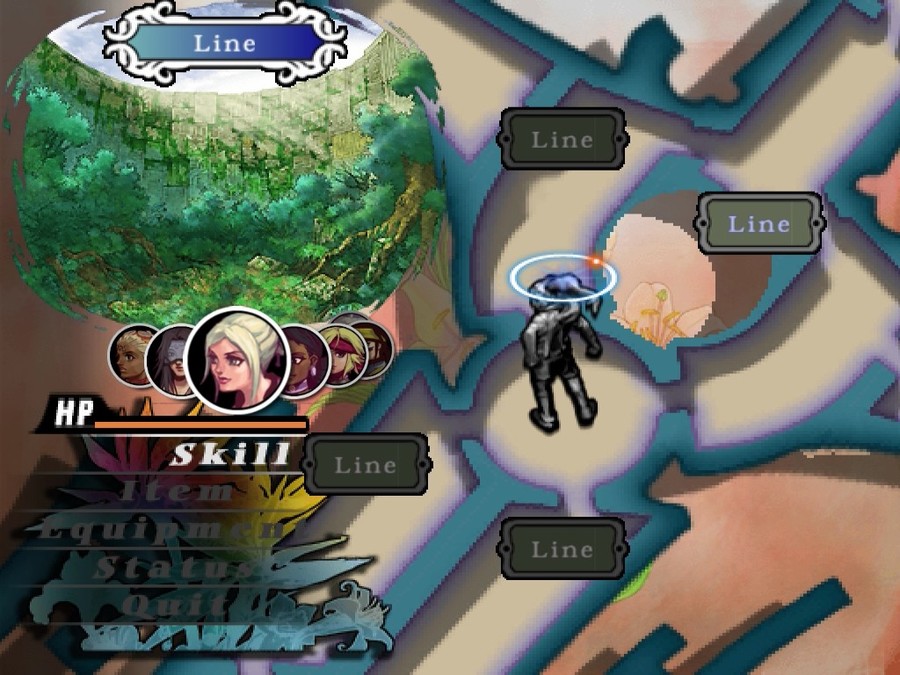
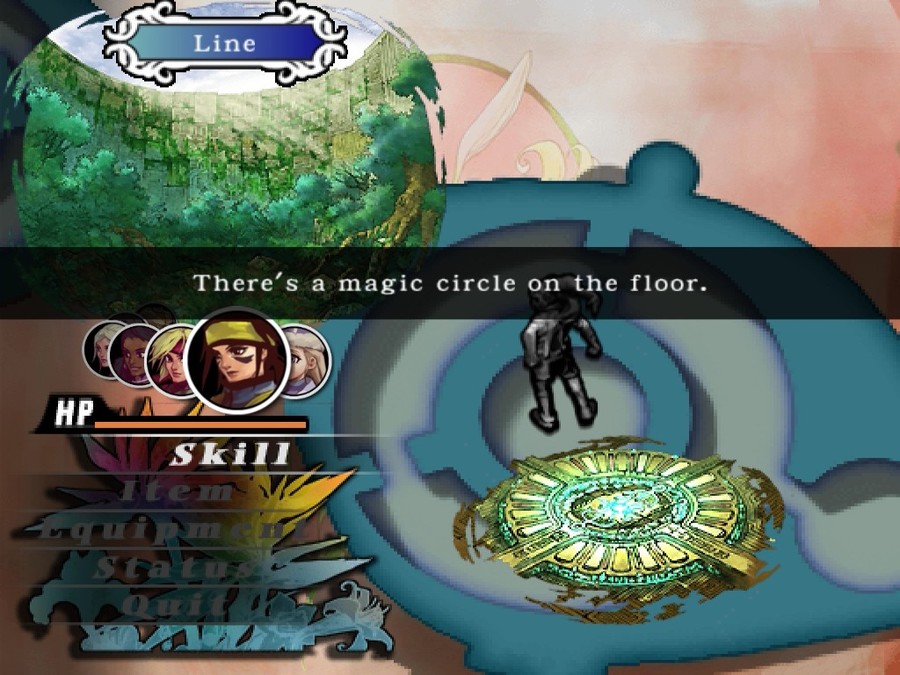
The rooms are arranged in the shape of a sword, and when we visit them all it will allow us to teleport away, and break one of the seals hiding the dungeon boss. This is all, of course, a reference to the real-world Nazca lines, a series of enormous shapes out in the desert. Our job here is to walk the various shapes, and reveal the shapes they make. This area's gimmick is that half of the sword is closed off at any given time; you press switches to swap the available rooms and eventually access them all. Here we are near the sword's hilt:
The middle room there opens when everything else has been revealed, and it contains a mini-boss encounter with some demons.
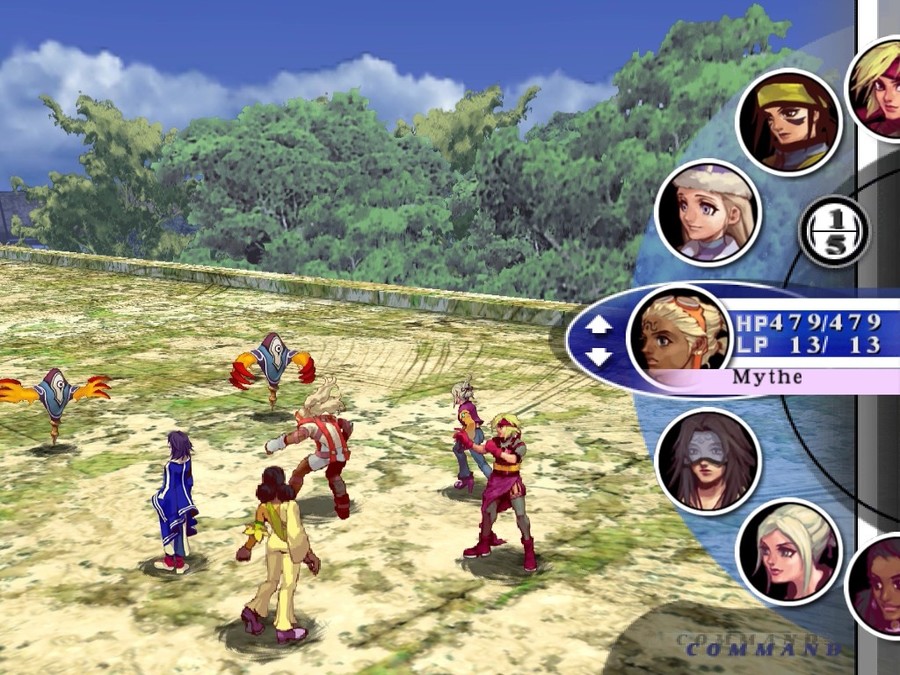
These are high-level demons, and they are huge jerks! They have very, very high defense, and it's hard to deal LP damage to them even if you get their HP all the way to zero. Meanwhile they'll be shredding your own LP with powerful attacks. We don't have much LP to spare anyway, and we need to save it for the dungeon's boss encounter, which is extremely difficult. So it's good that I have Michelle, who can destroy them with her Bopeep attack. These guys do not appear when Laura comes here, and as a result it's much easier to just fight your way through to the end.
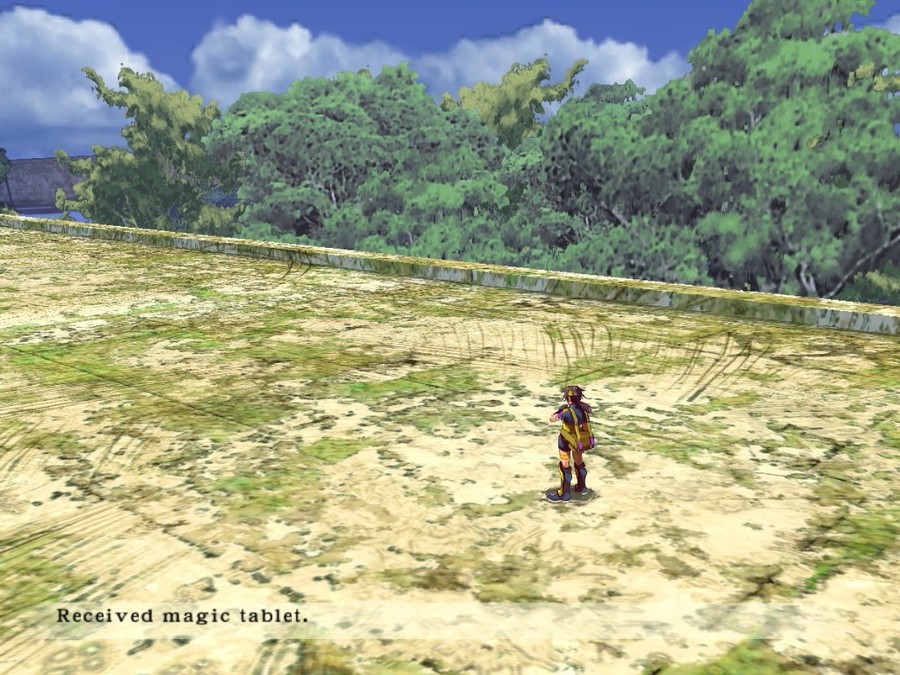
Like the birds in Deities' Table, these guys have a nice chance of dropping magic tablets. Unfortunately, pretty much everyone who actually casts spells has all the low-level ones I might want, so unless a high-level tablet drops I don't really need any more. The fact that we're late in the game makes it possible for that to happen, but it's still not guaranteed at all.
Anyway, the Sword Line gives us a Sword Orb.
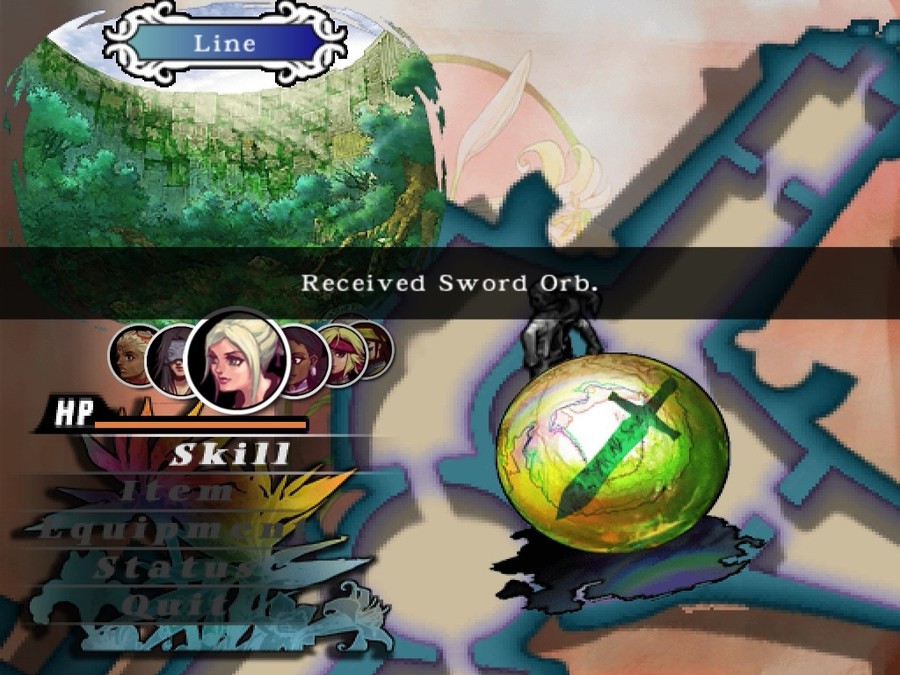
We're then sent to a weird circular room, where the Sword Orb can be used to open up a hallway. Once all five hallways are open, the center can be accessed and the boss can be fought.
The second Line I completed was the Swirl Line. It's shaped like a swirl (or, more pertinently, a shell), and the gimmick here is your controls are reversed. Which is slightly amusing, I guess, but mostly just a relief since it's simple and straightforward.
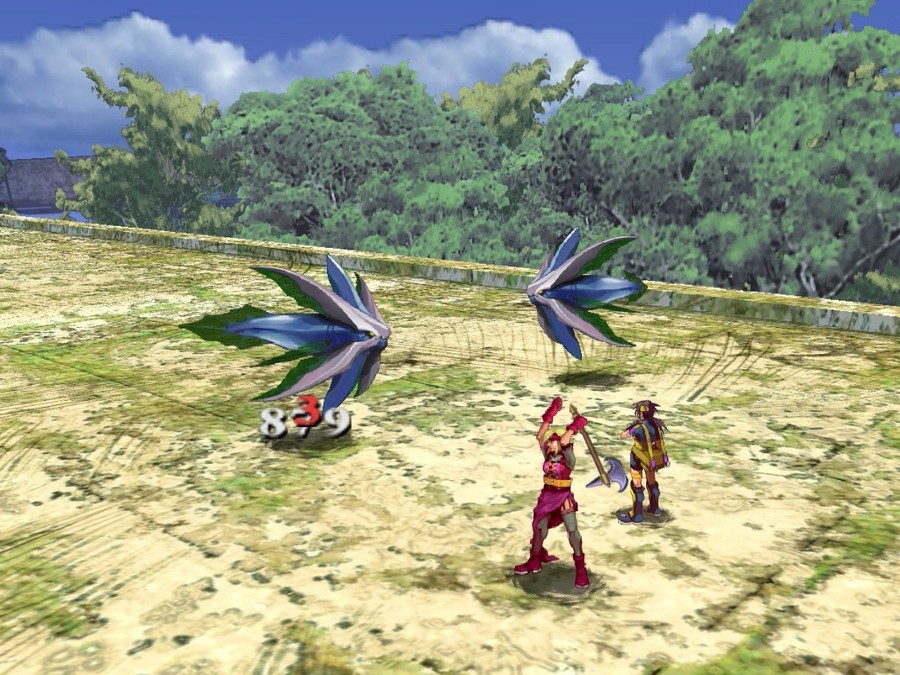
As you might imagine, the area is full of fish. The fish here are actually immune to Blackout so I had to fight them for real, but any of our characters can one-shot them with a level 4 technique so it's no big deal. Take that, weird spiny fish thing!
3 LP is the maximum you can possibly deal with a single attack. Combos can break the damage limit and deal more, but 3 is enough to kill these fish.
Finishing the Swirl Line triggers another demon fight, and then it's another trip to the circular room to break the second seal.
Chests in the Wonders can have anywhere from 20k to 50k gold, or may drop high-end items and material. Doing them all will make you rich and powerful beyond anything the game will ever really throw at you.
The Bird Line is very simple. There's some switches, they open doors, you go through the door and find another switch. Also, there's birds there.

It's bird shaped!
After that, it's off to the Giant Line, home of... things that are sort of human shaped? It doesn't have a very clear theme, I guess. It's also not particularly easy to see the shape it makes.
However, the Giant Line is probably the one that gives people the most trouble. Why? Because it has secret doors.

In true Wizardry fashion, there are fake walls in this part of the dungeon that you can walk through if you try. Once you realize that, it's quite straightforward.
Here's the head of the Giant. And, again, upon completion you end up fighting some demons. These guys can really be a drain on your resources, especially since even with someone who can one-shot them they'll definitely get some good hits in and maybe even kill them.
The final Line is the Butterfly Line, and it's a linear series of teleporters.
Eventually, you visit all four corners of the Line and a passage opens up to the middle. Like so:
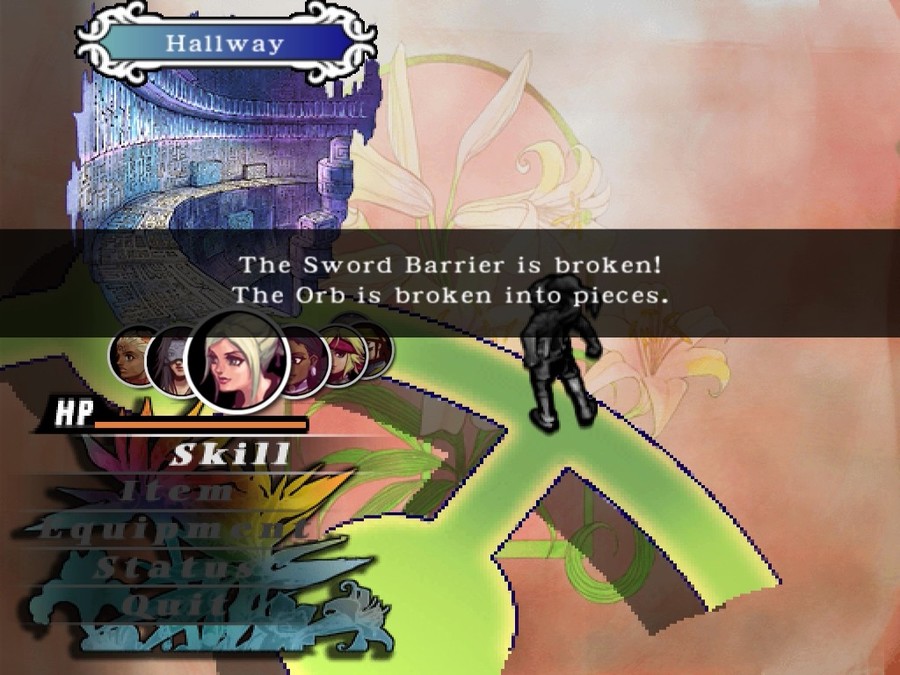
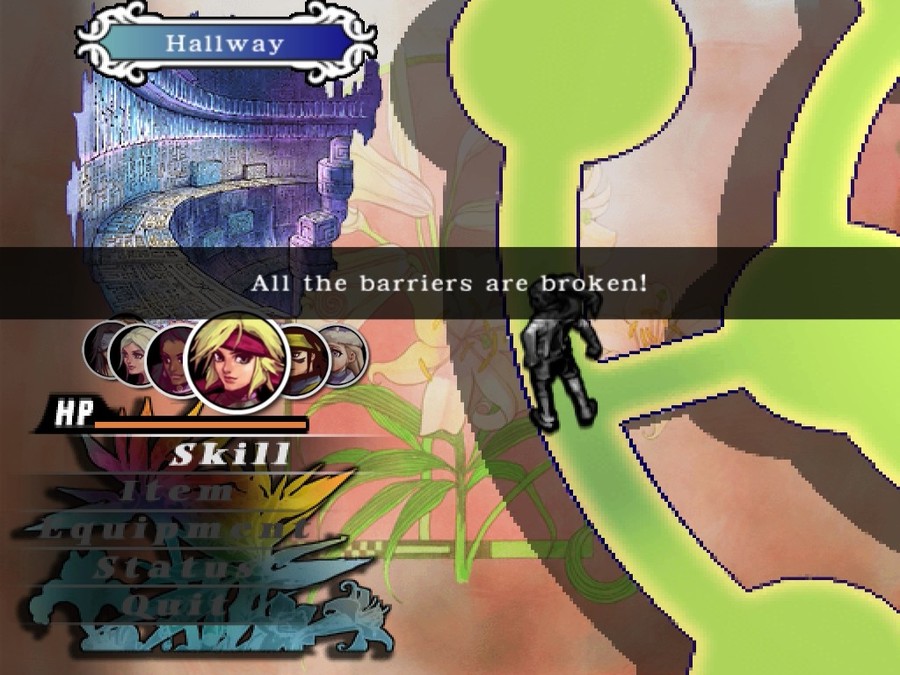
With all five Lines complete, we can break the last barrier in the circular laboratory.

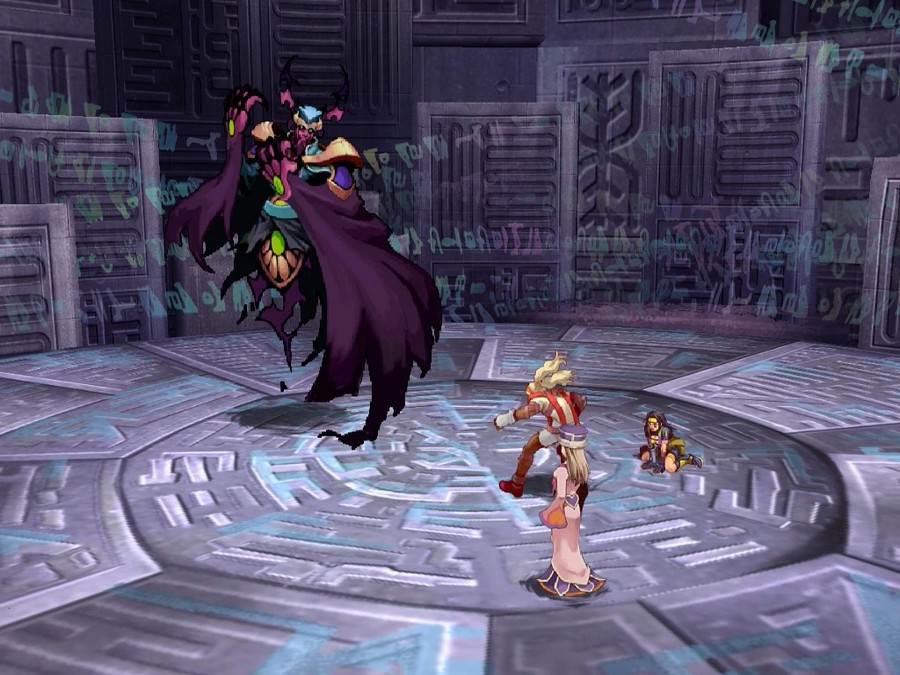
This guy is Tagut, and he is the boss anyone faces when completing the Lines as a sidequest. With 16k HP and 7 LP, he doesn't sound much stronger than the giant we fought in the mausoleum, and it's true that he can't take that much more punishment. The difference is that this guy is far more powerful in terms of offensive options.
Tagut gets 6 attacks a turn, and they're all strong enough to deal LP damage even from full health. If he chooses to target one of the more fragile characters with them all, they may die without even getting an action. And Michelle, one of our strongest attackers, is already almost dead thanks to her fights with the demon minibosses on the Lines.
Some of his attacks are physical, and can be blocked. Or he may decide to do Cross Thunder, which is 3x as powerful and cannot be evaded in any way.
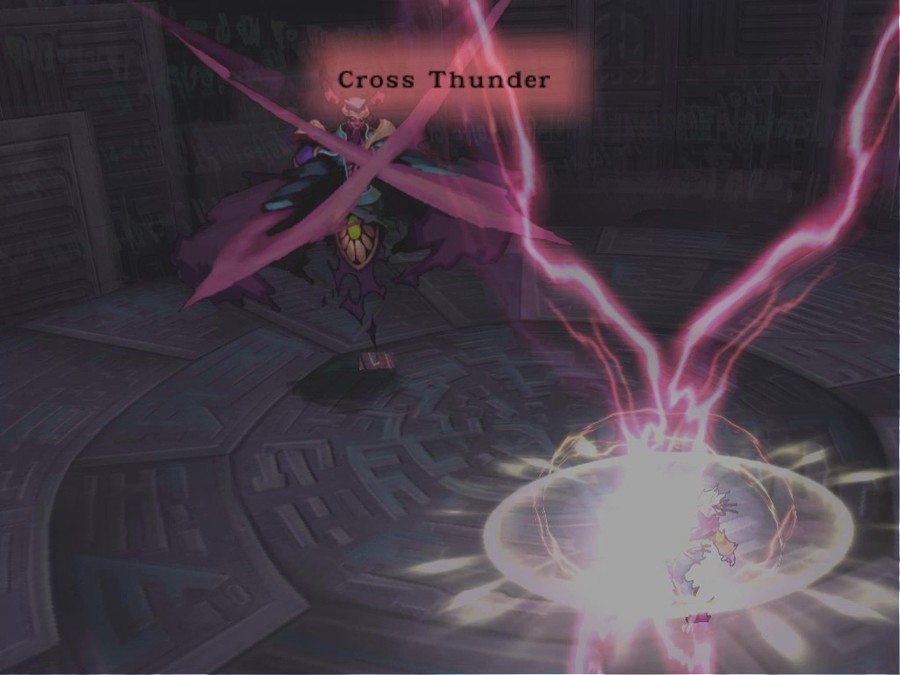
Because of how LP damage is calculated, this is essentially guaranteed to deal LP damage. This is because you get a bonus to LP penetration if you deal more than an enemy's maximum HP all at once. Life Protection can prevent this, of course, but nevertheless he'll be dealing LP damage from the get-go and will never stop.
His physicals, while less damaging, can cause Blackout.
While it doesn't kill a character, like when we do it to enemies, it does knock them out. Their HP is immediately reduced to 0, they can't dodge any attacks, they'll take LP damage any time they are attacked regardless of the damage, and since they can't move they also take up a spot on the field and reduce the amount of commands we can give the party. It's bad news. It will go away on its own... as long as you spend someone's action on rescuing the afflicted character and sticking them into the reserve for a while. Rescue isn't even guaranteed to work!
Fortunately the odds of this happening are low, because I made sure everybody had high endurance and thus high status resistance. But it's still possible. An unprepared party might end up with two or three people in Blackout at once, and at that point you're basically dead. If you come here with Ruby early on, well... good luck with that, I guess. All told, it's a tough battle right after a tough dungeon, and if a party can get through it then they're probably ready for the final dungeon.
Of course, since he's a boss, he's a good spark target. Check this out:
https://thumbs.gfycat.com/ForsakenC...link-mobile.mp4
Tiffon finally has a level 4 technique! All our physical attackers now know at least one, which is great news!
Tagut managed to kill Michelle and Marie, but thankfully Unlimited doesn't have permadeath and they still get panels for their troubles. And you know who else got a panel?
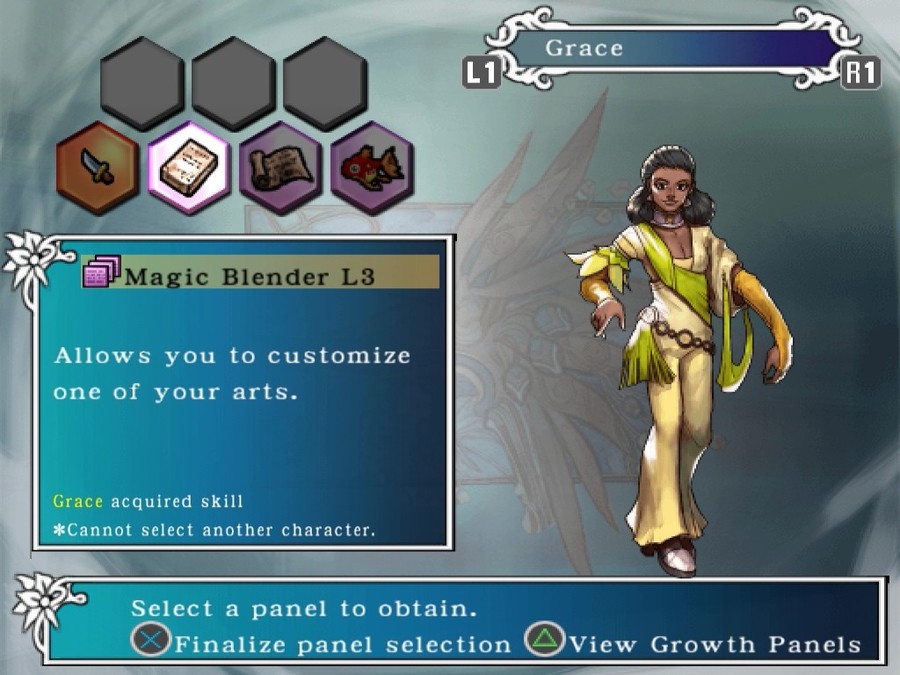
This is Magic Blender, which allows you to combine spells. It will either strengthen them or, if you're lucky, transform them to a brand new spell. If Marie had gotten this it'd be awesome, because I'm pretty sure she has all the spells needed to learn Crimson Flare and blow every enemy all to hell. But instead, of all the people to get Magic Blender, it was Grace. Grace, who has never cast a single spell at any point. Grace, who has never had any magic tablets at all.
However, this is not necessarily a problem: she does have some spells, remember, including Purify, the basic healing spell. In normal circumstances she can't heal much at all and magic tablets are wasted on her. If we combine several spells with her Purify, we can get her healing output up to where Mythe can with actually good stats; not a terrible outcome. And if we find her a tablet that can teach some basic wood spells then, perhaps, she can make Refresh, which is a very useful spell indeed. Pretty much anything else would be out of the question without both incredible luck and massive grinding though, so I'm still mad. Given the fact that you can't control what magic tablets you find, it could all end up a huge waste of time to go seeking them out deliberately. Instead, we'll be going off to finish the story, and then perhaps begin a different character's playthrough after that. Stay tuned.