Part 18: Update XVIII - Don't Call It A Comeback, I've Been Here For A Couple Of Months
Update XVIII - Don't Call It A Comeback, I've Been Here For A Couple Of Months IMPORTANT NOTE: There's a pair of GIFs with pretty violent flashing in this update. I have absolutely no idea whether that could cause problems for people with epilepsy, so I'm prematurely warning against it here. Viewer discretion is advised?
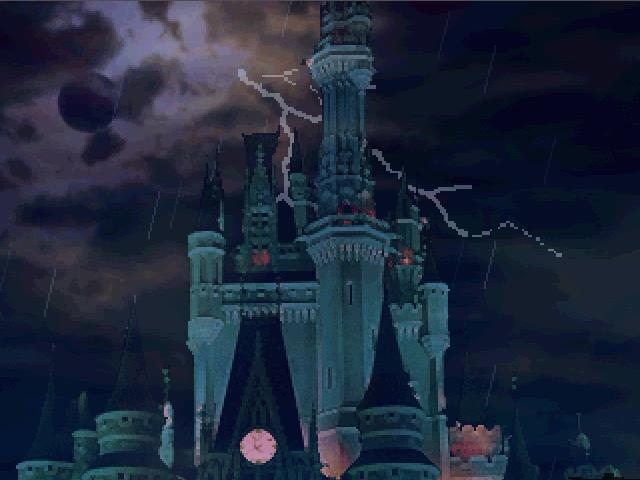
So, it's been a while, hasn't it? Well, let's have a short recap: Last time, we went out, got ambushed by some orcs, did some jobs for those orcs, ran into a lich, got transformed into bunnies, ran away from several parties attempting to either dissect or eat us, and finally made it to the castle.

CHAPTER IV - IN THE HEART OF DARKNESS
Hard hitting commentary in the era of colonialism incoming, I presume.
Anyway, we're off to Castle Düsterburg, albeit in a somewhat different form. One would think this would cause some problems, but like we learned in the last update...
...the spell only lasts a short time, and we get transformed right back.
 So the spell only lasted a short time after all.
 Actually kind of a shame... you were so cute with your fluffy fur.
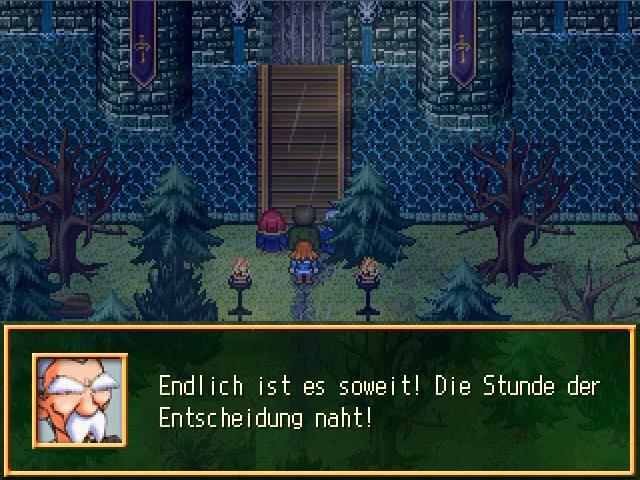
We then make our way further up the hill and arrive at the gates of the Düsterburg.
 Finally, it has arrived! The hour of judgement!
 What do you think, Dankwart? Could we manage to waltz in through the front door and beat up the guards?
 Good grief! Not at all, Grandy! We have to go through the secret escape tunnel - we wouldn't have a chance in a frontal assault.
 If you say so... then we should start looking for the entrance to that tunnel!
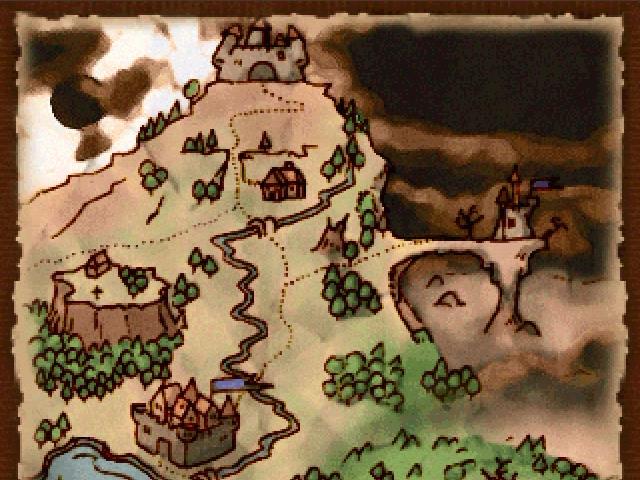
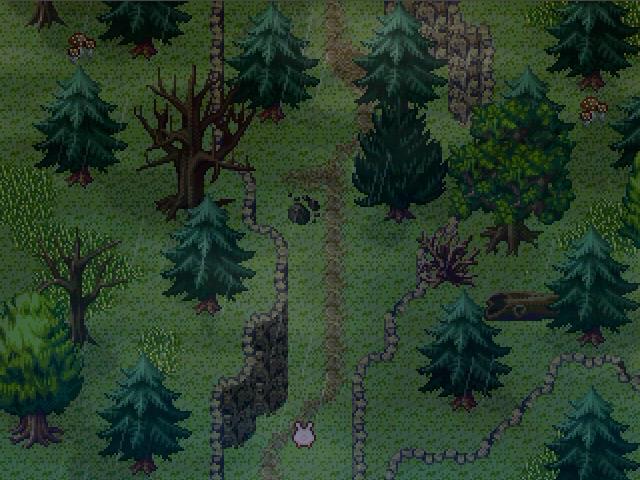
And with that, we've made it to the last part of the map. Not that it matters, since we can't actually leave this area, but hey, 100% completion is always nice, even if it's just a map.
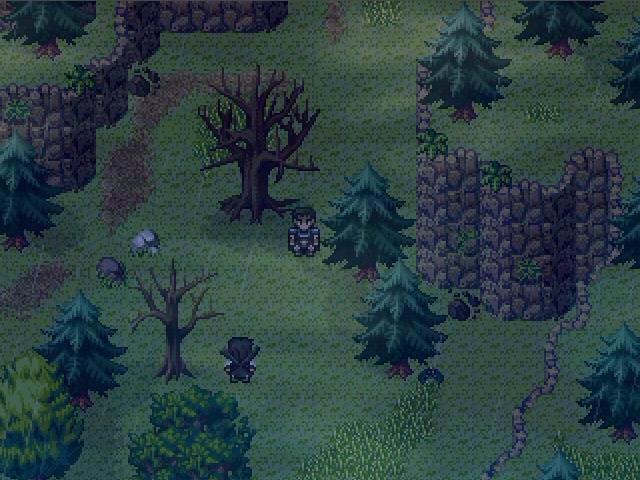
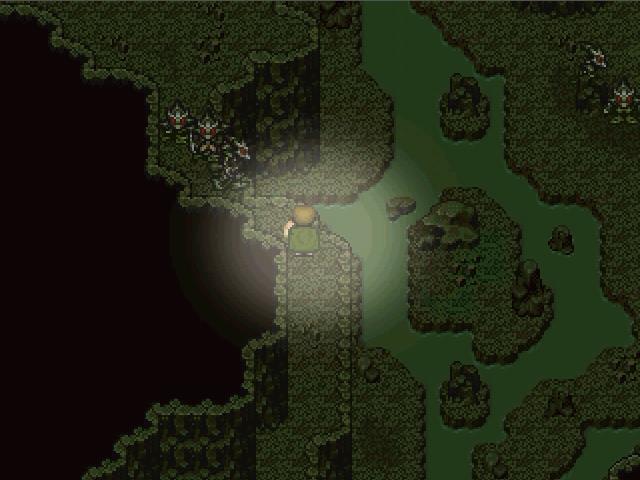
As we get to exploring the outer grounds, we suddenly run into a familiar face! Alvaro, our old friend from Rabenstein, came back!
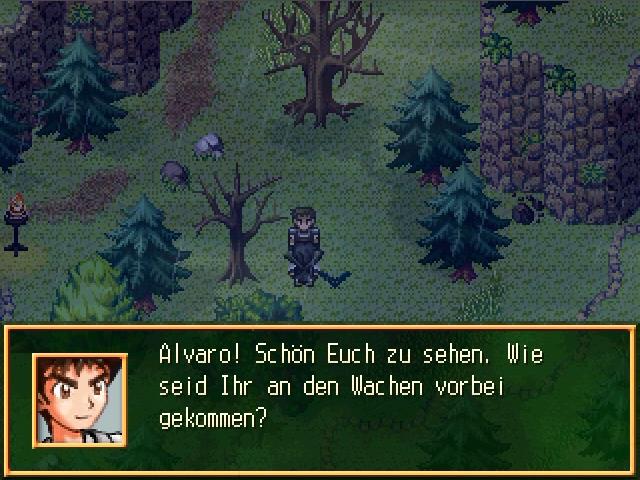
 Alvaro! Good to see you. How did you get past the guards?
 My men and I have been living in these woods for years, and so we know many hidden paths that others don't. So then you might know where the secret access to the castle is located? Sure - there's one just southeast of here. It's quite badly hidden.
 But let me warn you, my friend. My men and I have already tried to make it into the castle this way.
 But the creatures and traps strewn about the caverns have foiled our plans every time! Thanks for the warning. I hope we'll see each other again.
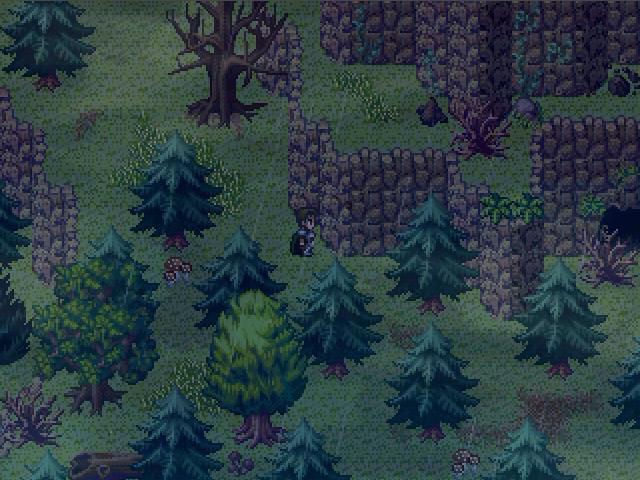
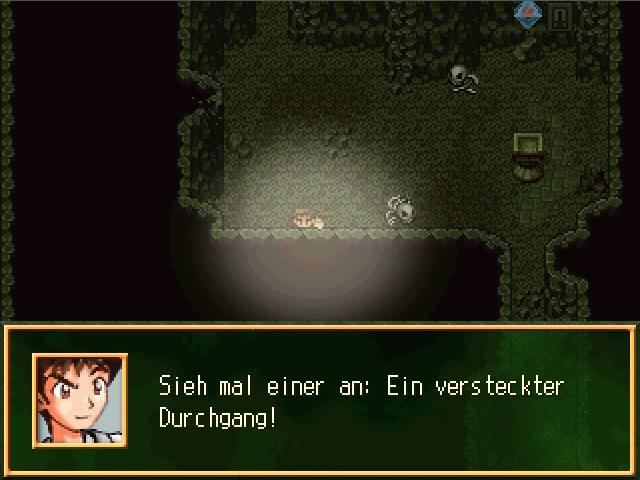
We find the entrance fairly easily - Alvaro wasn't joking when he said it was badly hidden.
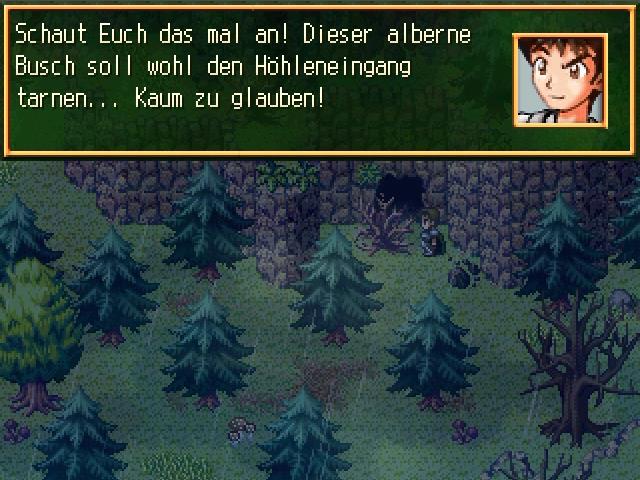 Would you look at that! This silly bit of brush is apparently supposed to conceal this entrance... unbelievable!
 That probably wasn't the worst idea back when there were still leaves on it...
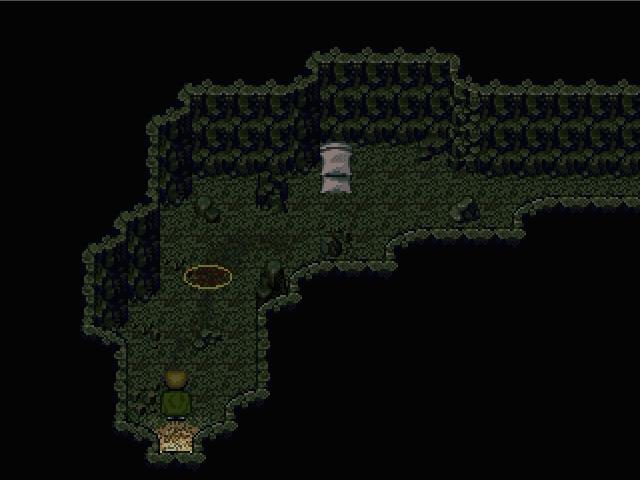
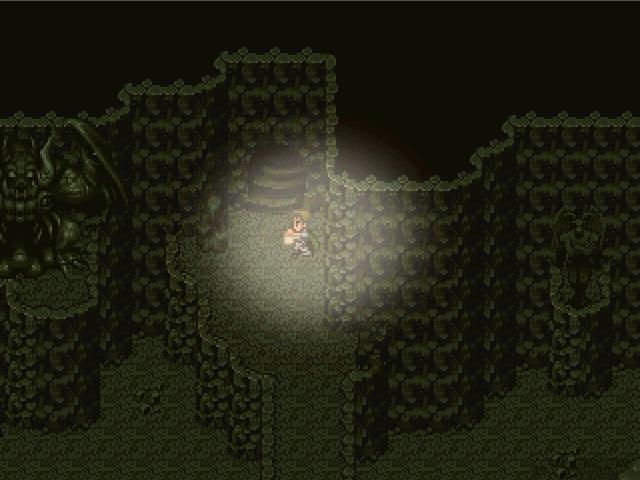
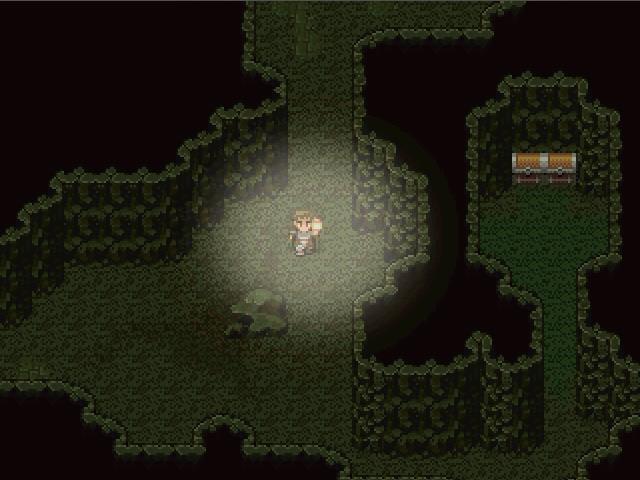
So, this is the entrance to the secret caverns that lead to castle Düsterburg. Fun fact: If you didn't get a lantern even though that's like #2 or #3 on the adventurer's list of "items to never be without", the sacks of grain up there will have one. Let it never be said that this game makes it easy to get in an unwinnable situation.
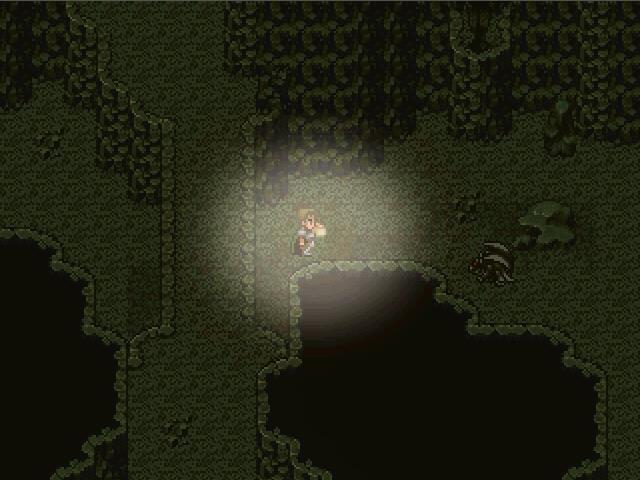
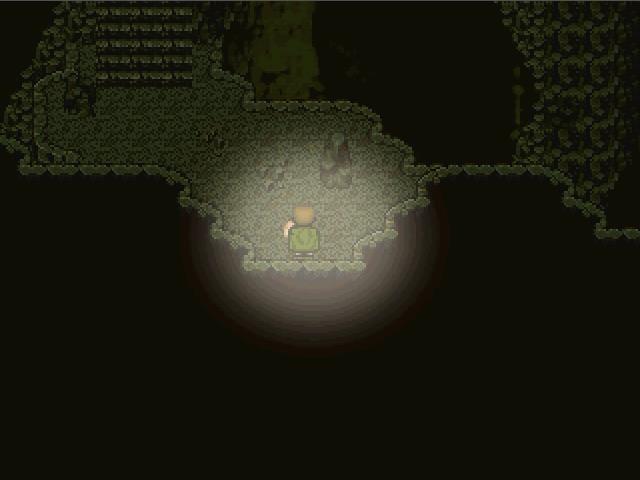
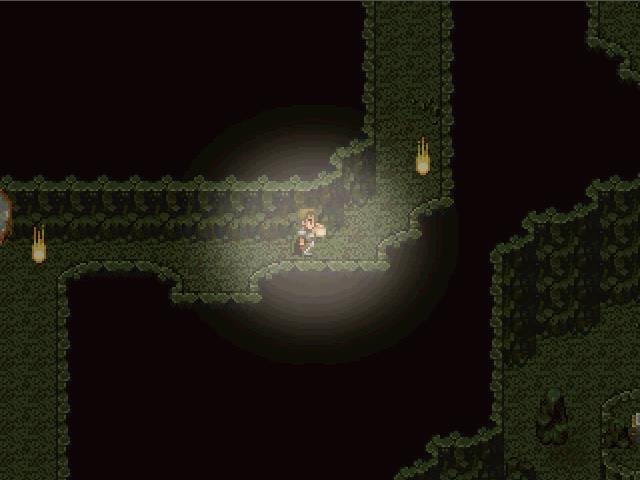
 Whoa! Pitch-black in here! Caves usually are. Well, luckily we brought our lantern...
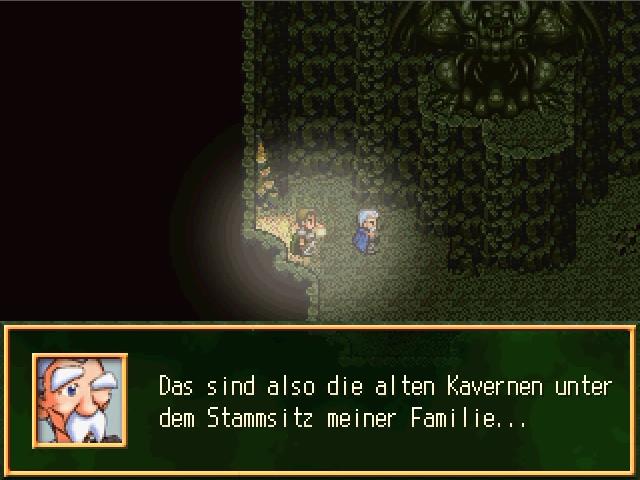
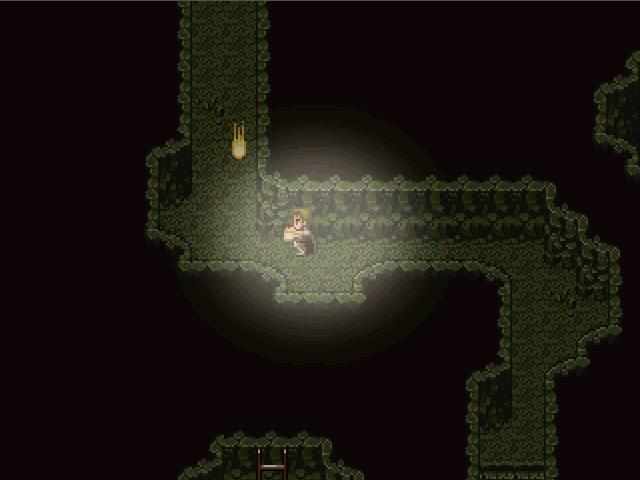
 So these are the old caverns under the ancestral seat of my family... I hope you know where to go...
 Well, not really... I never felt the desire to go spelunking in these dark caves. But we have to get further up, that's for sure.
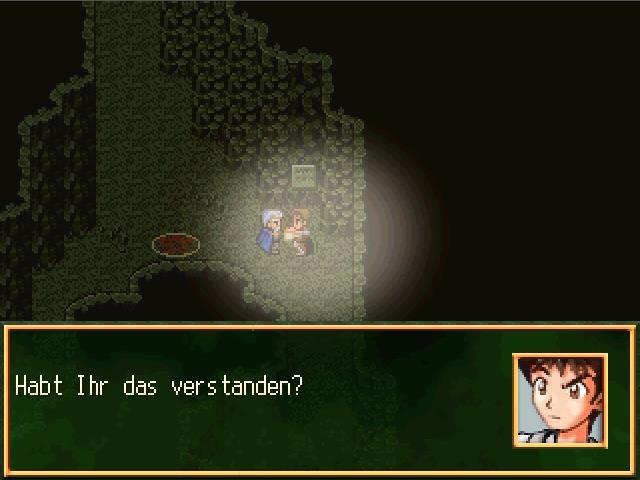
 Don't you know of anything that lies ahead? A little bit: My ancestor Dagobar was the one to make these caves an escape tunnel. Of course it was necessary to prevent unwanted visitors using these caves to sneak into the castle... As far as I can recall, there are three levels... all three of which are fatal to those that do not know how to disable the security measures... Here, on the lowest level, the Tho'Sharr were put out - creatures created through magic, immune to the ravages of time. They'll attack anything that comes in front of their horns, unless you know the magic words to deactivate them... And what are those words? I don't know, myself...
 Well, that's a great start... I hope that the next levels are a bit more peaceful... Not really... the second level is made to keep the Tho'Sharr down on the first level... it is said that it can only be mastered with intelligence... That shouldn't be a problem, then.
 It's a good thing we have Dankwart with us. The level I'm really worried about is the third one... It was made exclusively to destroy any and all living being that attempts to pass through it...
 I thought this was supposed to be a way to escape? What's the point in fleeing if you can't survive it regardless? When a Dengelbrack receives his inheritance, he will receive the instructions on how to pass through that level from his father...
 Alright then, why didn't you say that in the first place? In that case, we only have to survive these Tho'Sharr... Sadly, I never saw it necessary to commit the instructions to memory... before Wahnfried showed up, everything seemed so peaceful... Well, there's no way back now anyway.
Now doesn't that just sound peachy? So I guess that the levels will involve combat, puzzles, and bullshit, in order.
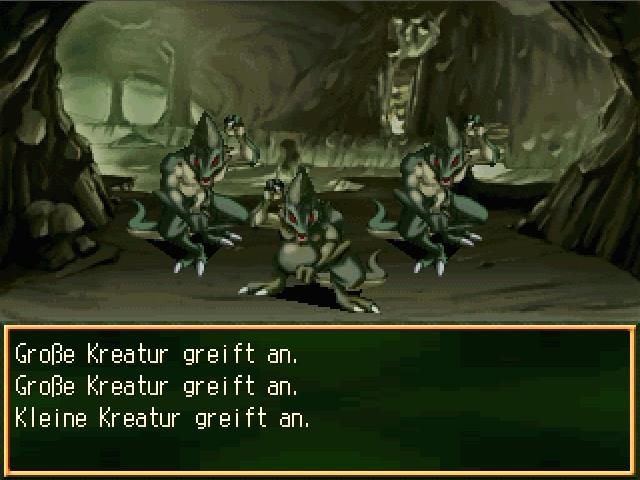
We start meandering around the first level, and we quickly run into the first Tho'Sharr.
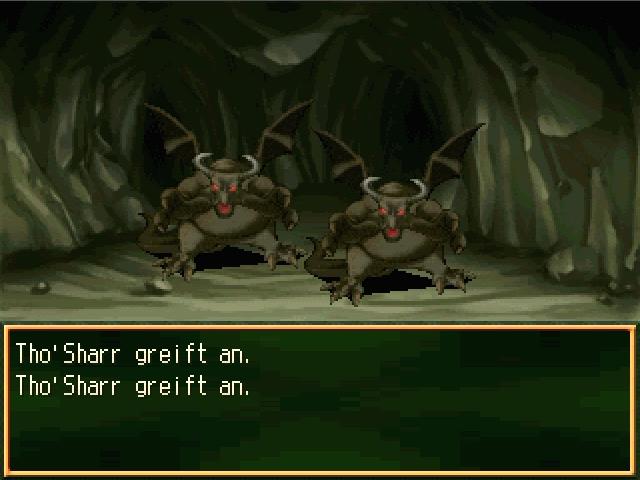
Now, these guys are bad news. They can very well fuck your shit up if you're not ready for them. However, like I've said many times before, we are overleveled to shit and ready for them.
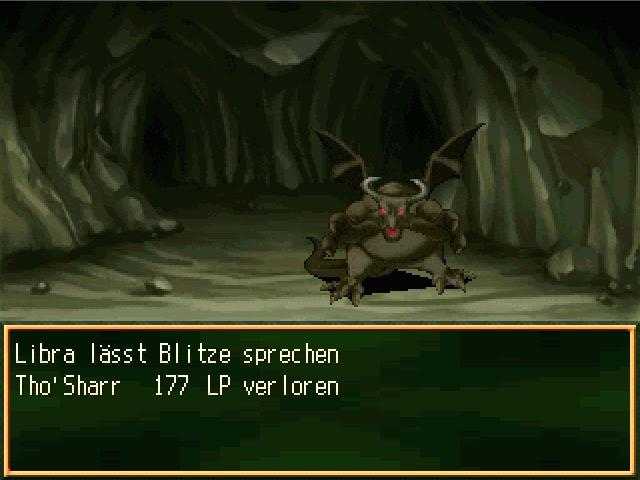
They have two weaknesses - Libra's lightning spells deal some good damage...
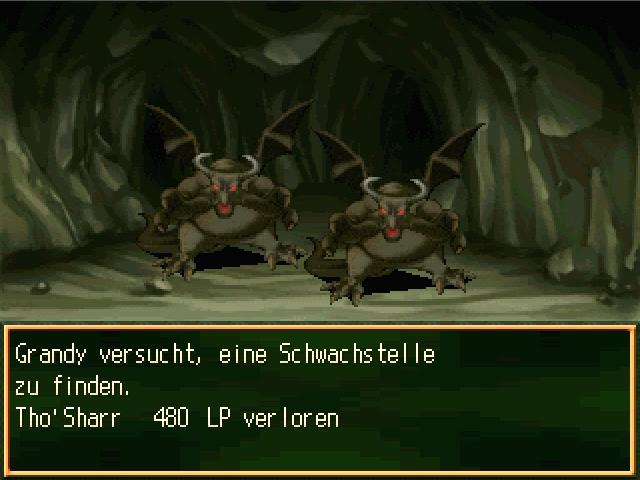
...and Grandy's aimed attack deals a fuckton of damage. Grandy's going to be doing a lot of the heavy lifting for these guys.

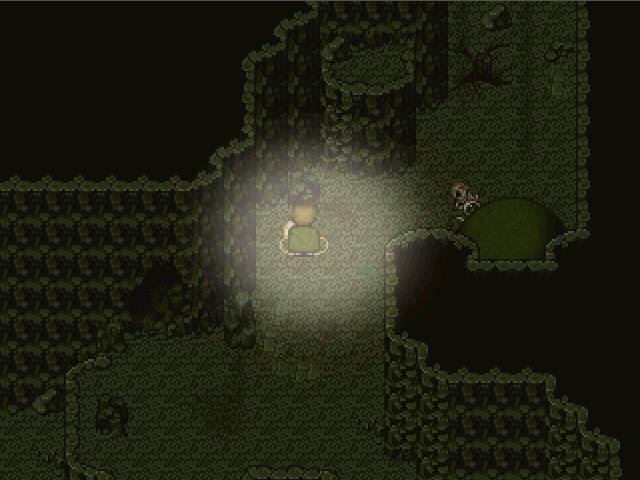
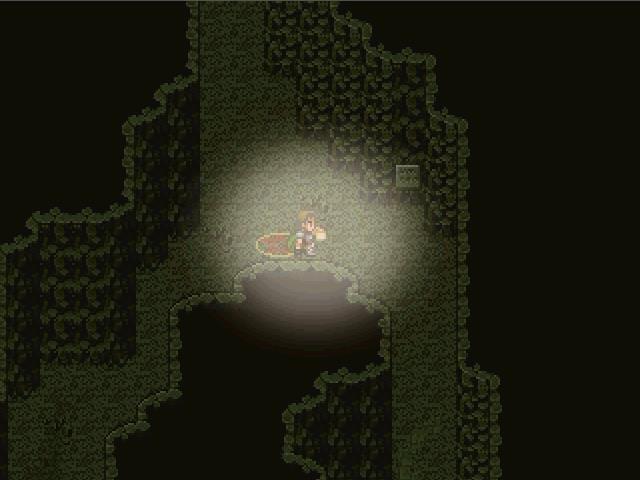
Now, I'm going to be jumping around a lot, because keeping track of where you are is a nightmare in this place. This save point near the big rock is one of the few easily recognizable, somewhat central positions.
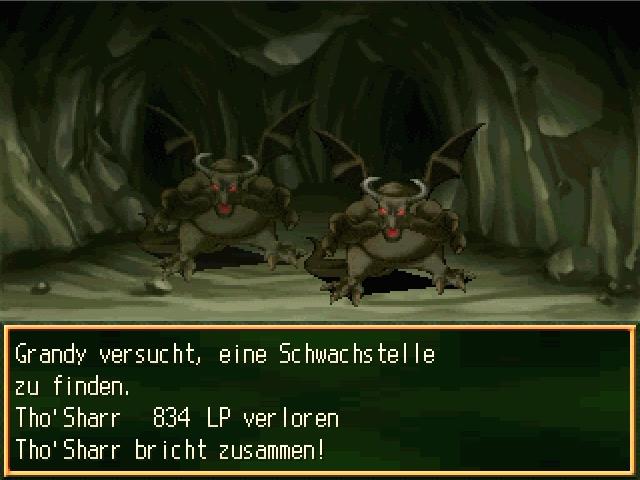
On the way to the first location, Grandy blows the fuck out of a Tho'Sharr. That aimed attack is incredible on the enemies it's actually effective against.
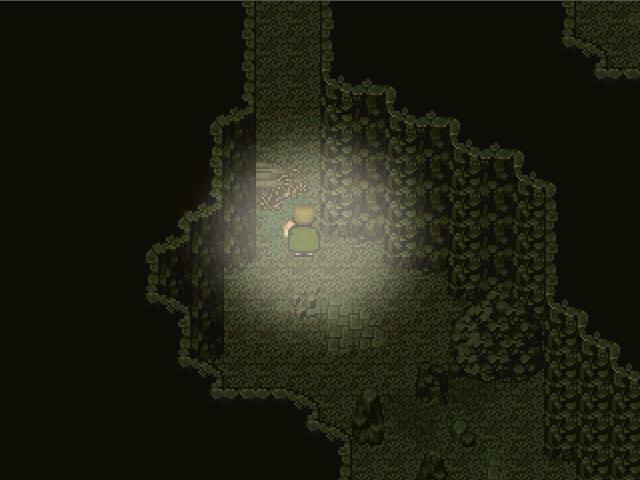
The first point of interest in these caverns is this ominous-looking contraption.
We make our way past the spikes, and suddenly, it clicks.
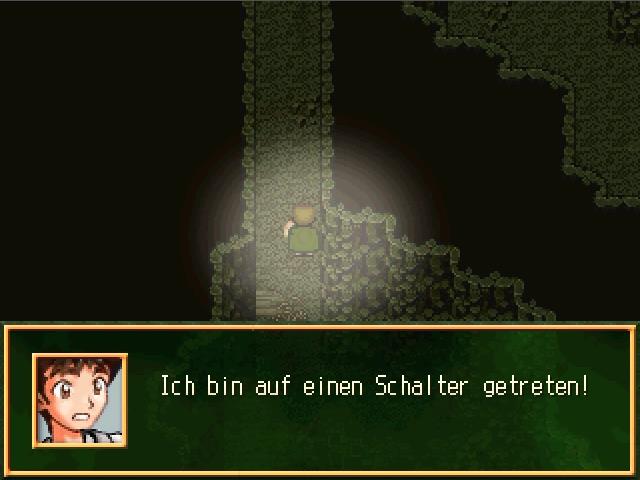
 I stepped on a switch! ...hmm... nothing happened.
Contrary to what most other games do, stepping on a switch is good here. The click lets you know that the next square is booby-trapped and will shove spikes up your arse if you step on it, so once you hear that click, you best step to the side and continue from there. If you don't...
 Ouch! That really hurt!
It doesn't deal all that much damage, though - nothing Dankwart can't fix up again. And what's our reward for going through this?

Some reviving items. Well whoop de fucking shit, I'm swimming in the crap by now and I'll never use them either.
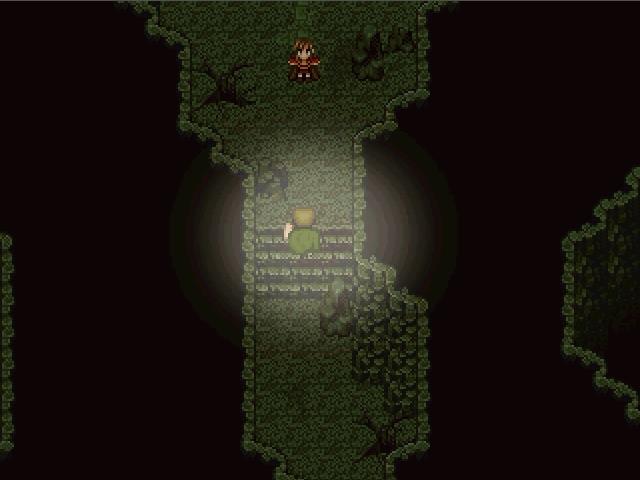
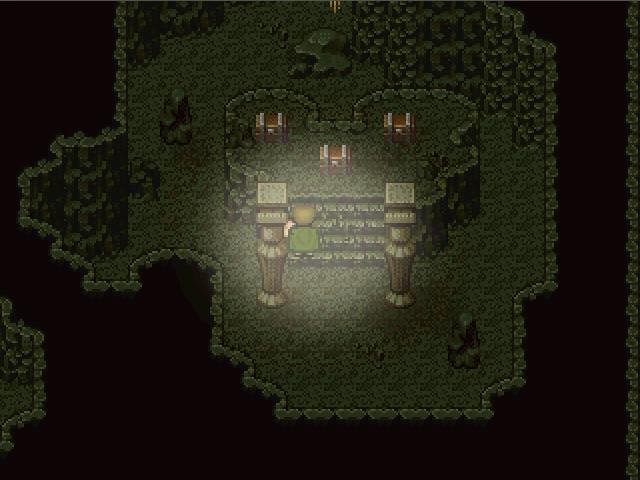
Moseying around some more, we run into this interesting character.
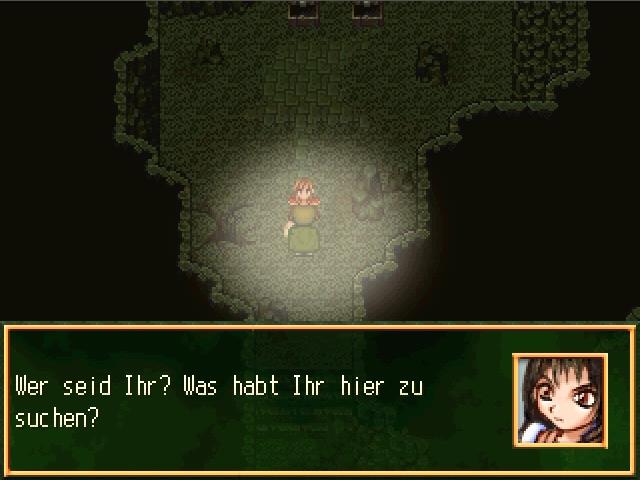
 Who are you? What are you doing here? We could ask the same of you, so get a hold of yourself and be a bit more polite!
 You've got a sharp tongue, pal - I like that!
 Hands off him, doll! This one's mine! Please, ladies, this is neither the time nor the place to pick an argument. Although I might add that if I were a woman... and about 40 years younger, then I might actually participate in this feud myself.
 Oh, Christ, I'd pay to see that. Libra, Kristina and Fem!Dankwart getting into a massive catfight over Grandy in a cave filled with killer magical creatures? Sounds like a hell of a time, especially considering the magic Libra and Dankwart are capable of. You're pretty zany, grandpa... my name is Kristina Annalee Aensland.
As you can no doubt tell by that fabulous name that seems entirely out of place, like it was the main character of some other game, this is a cameo - however, I'm not sure which game she's from. The credits for this game credit four different RPG Maker games, and those are Vampires Dawn, The Magic Sword, Dreamland and Aurora's Tear. Vampires Dawn I know, and I know she's not from there. The cameo from Aurora's Tear we already ran into (Dante and Thorn), Dreamland is a horror game that seems to be more modern as opposed to the standard patch of dirt from Tolkien's back garden, and The Magic Sword is so fucking generic that I can't actually find anything about it. However, through process of elimination, we can presume she's from The Magic Sword. Anybody in the audience know that game? Because I sure don't.
I don't really know why I'm here, myself. I was just about to ro... visit an El'Anfanish temple... I must have stepped on some sort of trap that teleported me into this cave. Pretty cheeky of those El'Anfan to just teleport graverobbers into the caverns of my family without my permission! But considering the state of things here, it's surely quite effective. Well, not in my case, because I have an artifact that can teleport me back to my home in Kendrar from anywhere.
...so, for curiosity's sake, I decided to do some searching and stumbled upon an old forum thread collecting references in this game, which will be quite helpful, and according to that, it's a cameo from The Featherwind Saga, another game I never played. And now you know. And knowing is part of the battle, but probably won't help a lot without the other stuff.
At the end of the day, this whole thing was worth it, because there were some real bargains in those chests back there! I believe you've made a great mistake there! Nothing is free in these caverns! Sounds like the price for your bargains just made its way over here!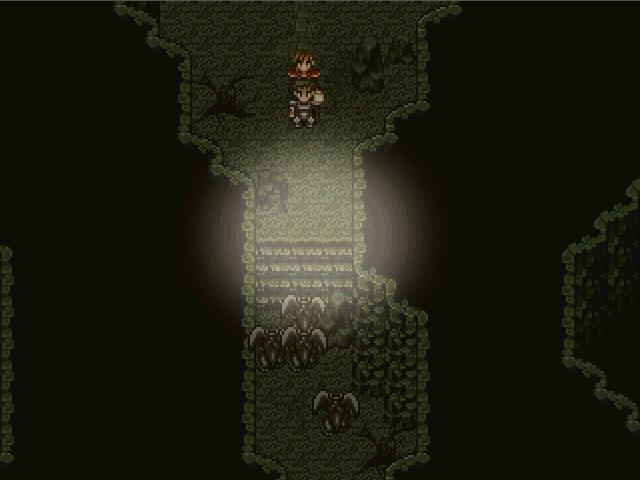
And there they are! Four of the buggers!
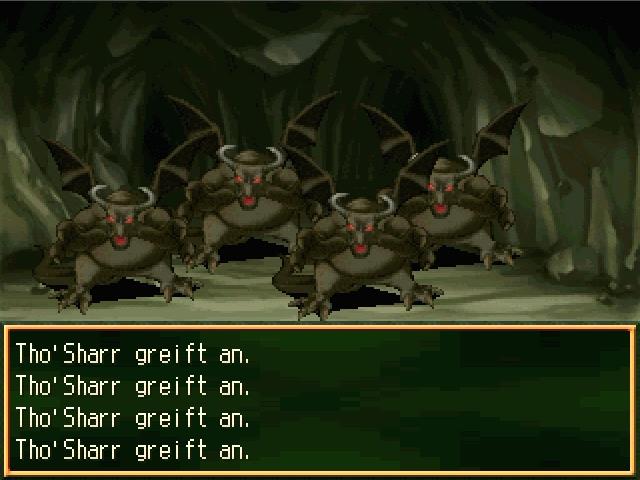
Now, this battle can be quite tough unless you know the weaknesses. However, you do get some help:
Every round, Kristina attacks the Tho'Sharr and deals some pretty good damage, and also gives us a fairly funny quip regarding the reaction of the enemies - there's four in total:
- Tho'Sharr rubs his aching head
- Tho'Sharr looks confused
- Tho'Sharr doesn't want to go on
- Tho'Sharr wonders if he shouldn't take on a different line of work to earn his living
Between Grandy's aimed attack (one actually hit for the full 999 in this battle) and the other sources of damage, they go down fairly easily.
And explode really fucking violently, I mean Christ, were they packed with fireworks or something like that?
You fought well and earned a part of the loot. The left chest was filled with gold, whereas the right one was filled with vials and bottles...This one really isn't a contest. The right one gives you three healing potions, three MP potions and two elixirs. The left one gives you FORTY-THOUSAND BUCKS. That buys you fifty healing potions and fifty MP potions. Maybe it was supposed to be 4K originally? Who knows, who cares? Hint: Not me.
It's starting to get uncomfortable in these caves. Have fun!And she teleports out, leaving us to rot here and continue to trek on.
Next, we bop around the cave some more and find this entrance.
As we explore this area, we run into some... different monsters.
These guys are tough, even at our overleveled state. They can poison, which tears through your HP a lot more than you'd hope it did, they hit like dump trucks, and they're too stubborn to die or have a powerful weakness.
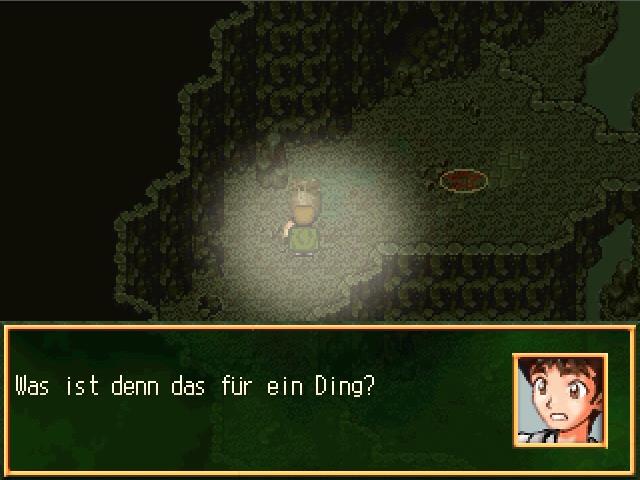
Moving on, we find these weird egg-looking things.
What kind of thing is that? Looks like a giant egg. Seems like these creatures mature in these eggs. Then this one has definitely hatched already!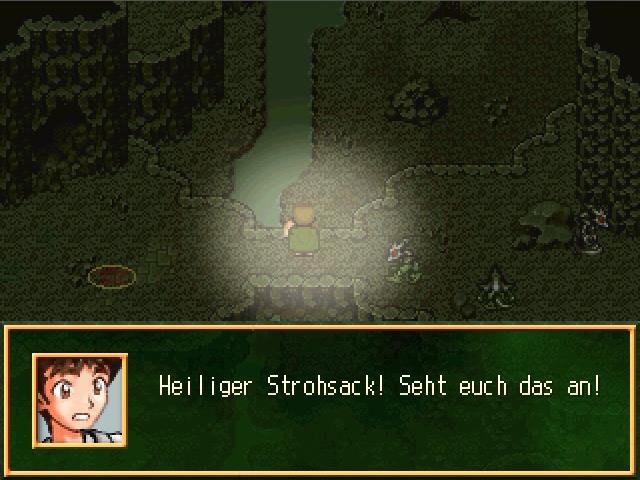
And when we go further...
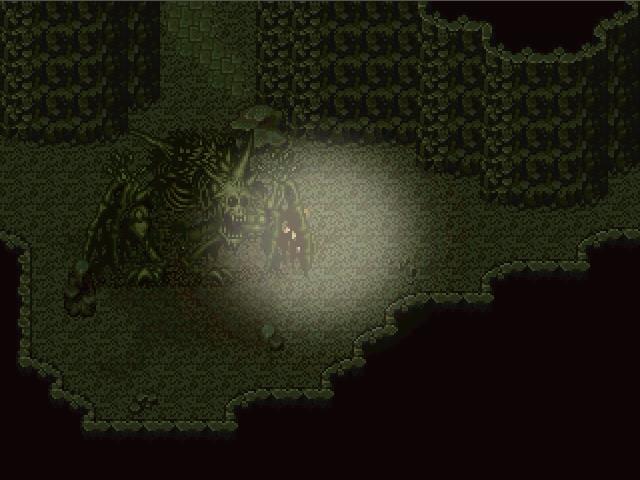
Holy smokes! Look at that!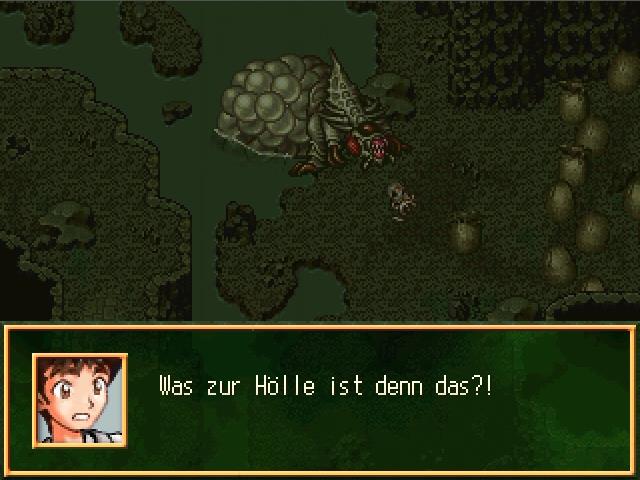 What the hell is that? I definitely had the suspicion that these creatures shared some similarities with eusocial insects... Different casts for different purposes... warriors, workers, drones... similar to bees or ants... But this creature doesn't have the slightest similarity to any of those things we saw before that! You're right, Grandy... I assume that this is the queen, responsible for keeping the species going... Do you see that massive sack with eggs hanging in the water? There must be dozens of new creatures maturing in there... Please spare me the rest of your description!
Seems like that thing has to die. We go further on, murdering tons of these guys in the process...
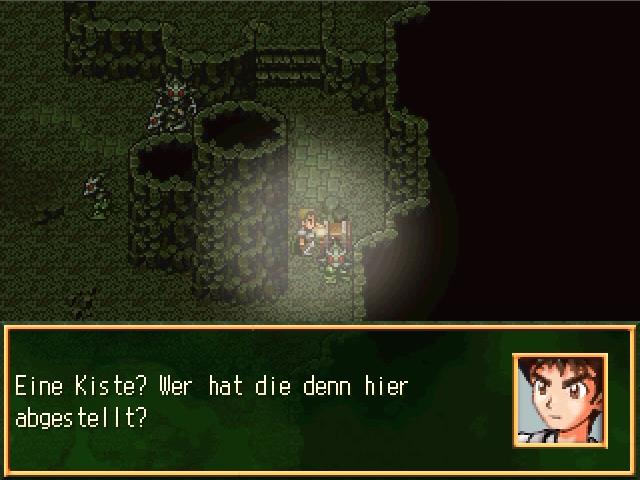
...and then we find this!
A chest? Who put this here?We find some magic bracers which are quite terrible. All they do is guard from crits, which happen once in a blue moon.
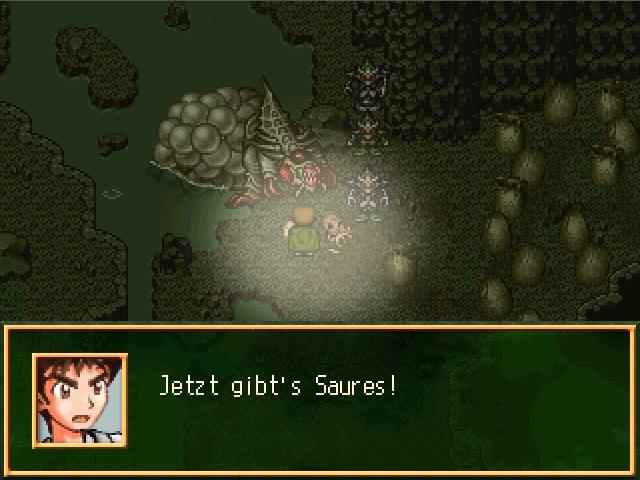
Through another mountain of corpses, we make our way to the queen.
Now you're going to get it!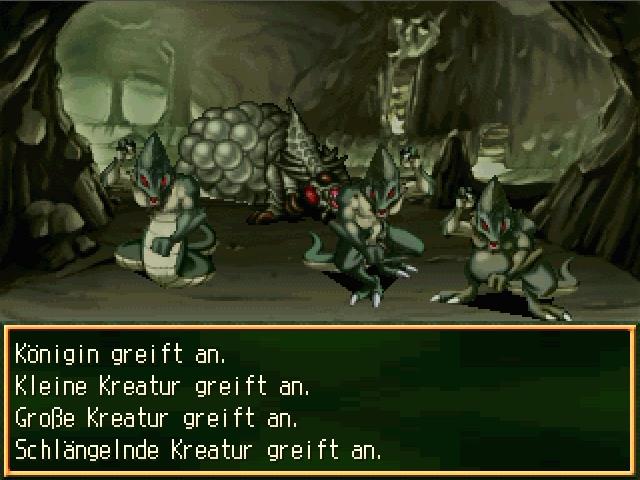
Now this is a fucking fight. God damn. Took me three minutes of concentrated attacking, and the party was in serious risk of wiping a few times. There's a reason this "subplot" is entirely optional.
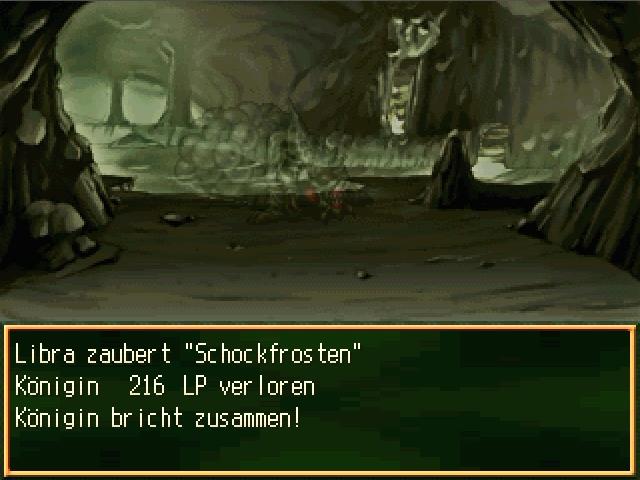
However, through concentrated application of ice magic and a lot of healing, we eventually get through it, and the god damn thing explodes just as violently as the Tho'Sharr before.
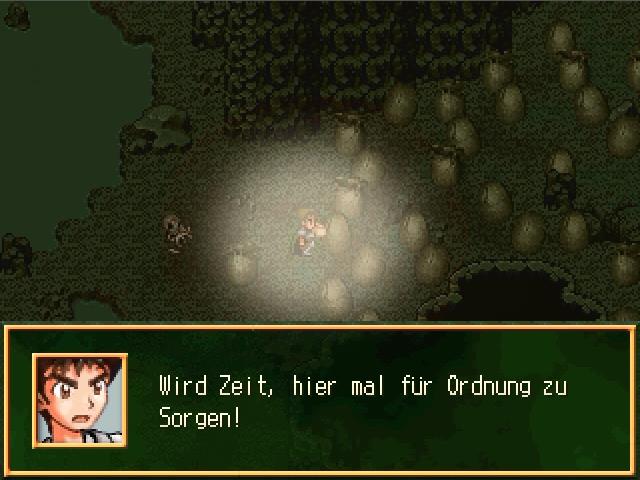
After that, it's time to deal with the eggs.
Time to clean up!So he smashes one egg up. Then walks over to the next and smashes it up. Then walks over to the next and smashes it up.
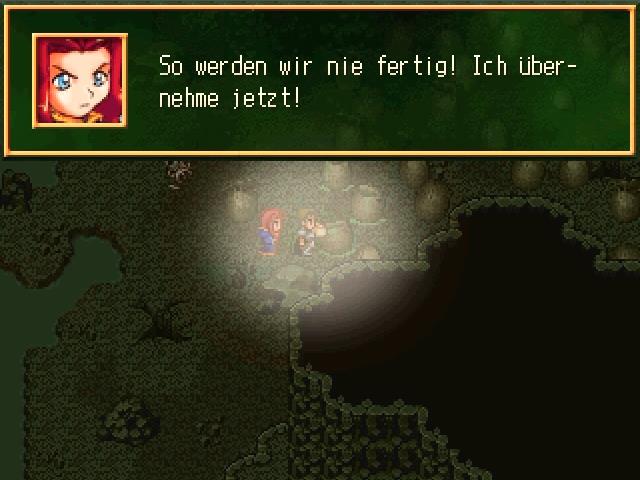
Then Libra has enough of that bullshit.
 We'll never finish this at this rate! I'm taking over!
 Can we move on now?
Not quite, we still have something further up to take a look at.
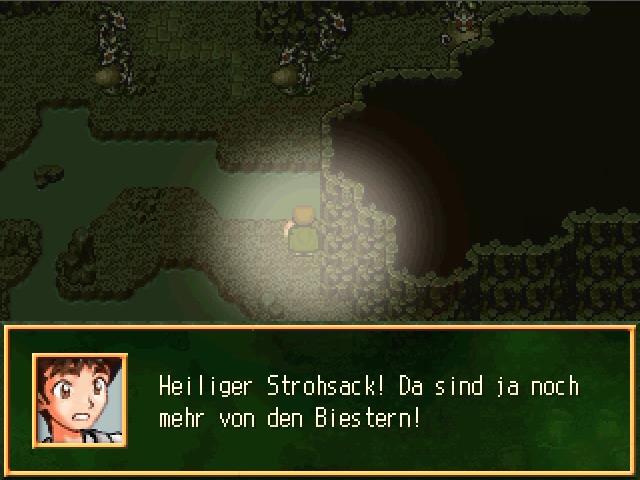 Holy smokes! There's even more of those creatures!
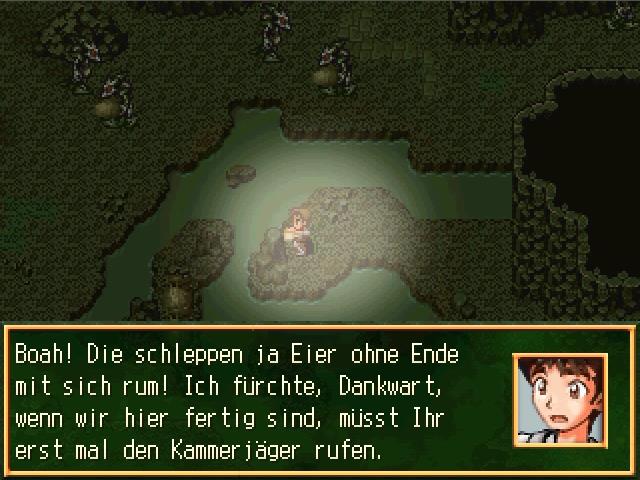 Whoa! Those guys are carrying a whole bunch of eggs around! Dankwart, I think that once we're done here, you'll have to call the exterminator first of all.
However, we can't actually do something about this, so let's just move on.
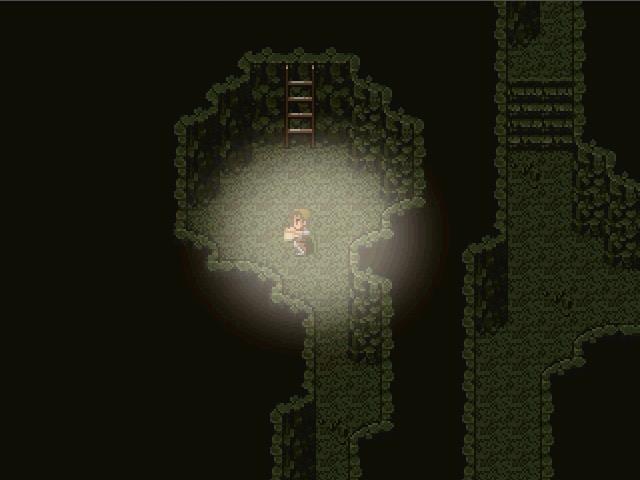
Back at the save point, we're going to be going north now and seeing what happens there.
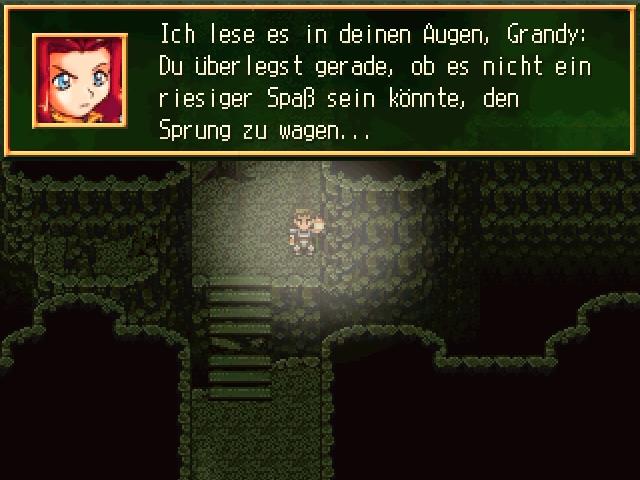 I see it in your eyes, Grandy: You're thinking about what great fun it would be to make that jump...
No, not yet.
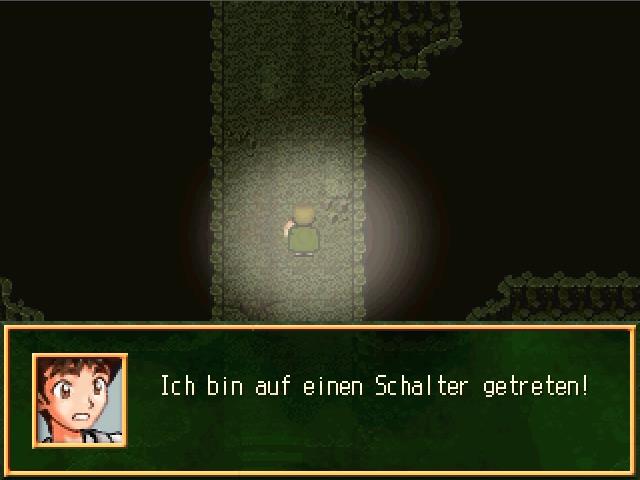 I stepped on a switch!
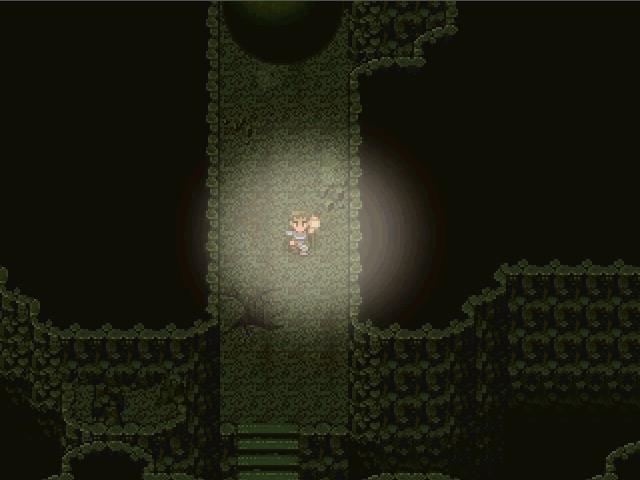
OH SHIT
JUMP
...and yes, they actually played the Raider's March during that little scene. Anyway, now that that's out of the way, we can head up to the next level.
So, the next level. This one was said to require intelligence, and in these games, that means one thing:
Stupid puzzles!
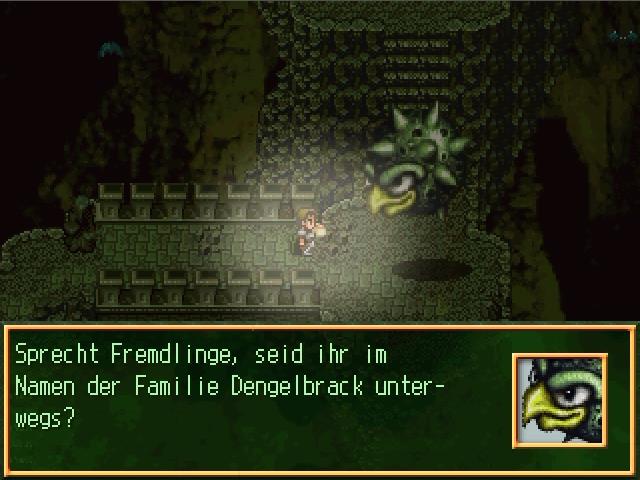
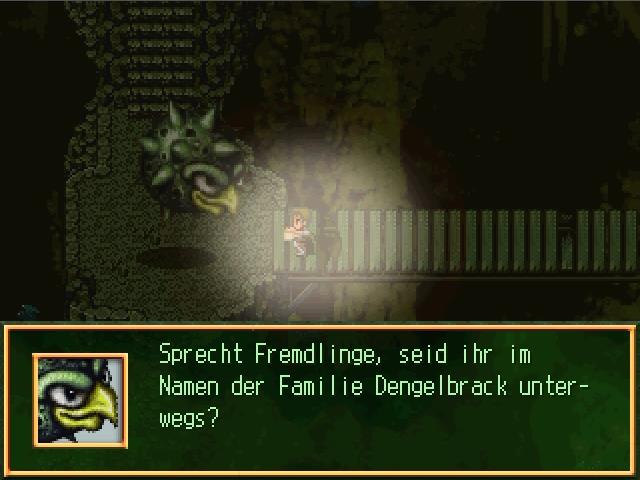
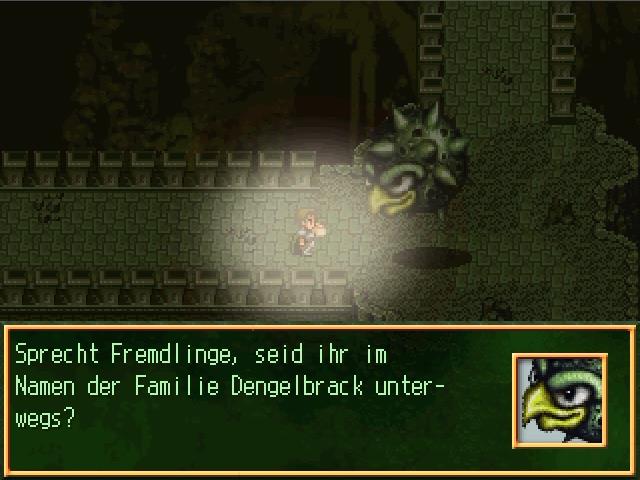
 Speak, strangers, are you moving in the name of the family of Dengelbrack? 1) Yes 2) No
No would just land us in a battle with these guys, and while I might be curious to see if our party could take them, let's not try that.
Then you must know the answer to the following question... Ummm... Dankwart? Let's see what he... it... has to ask. What can be borrowed or earned and yet is always wasted? Aha, riddles! I already know my way around those! 1) Gold! 2) Time! 3) Medals! 4) Something else...Time is the answer to this.
The wisdom of the royal family is in your words. You may pass.Moving on...
 Speak, strangers, are you moving in the name of the family of Dengelbrack? 1) Of course! 2) What do you care? Out of the way!
Same as before.
Then you must know the answer to the following question... Keep it brief! I have neither uncle nor brother, but the father of this man is my father's son... 1) That's not a question! 2) Your son? 3) Your grandfather? 4) Something else...The answer here is your son.
The wisdom of the royal family is in your words. You may pass.And because third time's the charm...
 Speak, strangers, are you moving in the name of the family of Dengelbrack? Could you think of a new sentence? 1) Yes, we still are! 2) We changed our mind!
Same shit, different wording.
Then you must know the answer to the following question... Yeah, sure! What is worse than death and better than love? The dead eat it, but if the living eat it, they die a long, painful death. 1) Blood... 2) Soil... 3) Loneliness... 4) Something else...Nope, not on this one...
1) Everything! 2) Nothing! 3) The Dark God! 4) Something else...There we go! The answer is "nothing".
The wisdom of the royal family is in your words. You may answer the next question. Great! Then back into your dog basket, Fido! We're in a- ... Another question? But we only had to answer one question with your pals! The heir of the Dengelbracks knows all answers! Sure, right, fire away, old boy! We'll get it right! It needs clean air for itself, but doesn't let others breathe. Biting is its smell, but it gives light for eons now. 1) Fire? 2) Horse droppings? 3) Gas? 4) Something else...The answer here is fire.
The wisdom of the royal family is in your words. You may answer the next question. This guy doesn't just look like a parrot, he talks like one too! Couldn't your ancestor have thought up some more sentences, Dankwart? Fantasy was never a strong side in our family. *screams* Umm... pardon me. A few jokes between family members, nothing else. You may proceed. What goes up and down and yet doesn't move? 1) A crab! 2) The hands on a clock! 3) Life! 4) Something else...
Not here yet.
1) A ladder! 2) Stairs! 3) A ship! 4) Something else...A "trick question" here - both "a ladder" and "stairs" are correct answers.
The wisdom of the royal family is in your words. You may proceed.And there we go, that was level two! All that's left is the one filled with death and decay! Yay!
Now, this level is based entirely around bullshit that would be right at home in a point-and-click adventure game, and gives you exactly two ways to avoid it. Well, three if you count "luck".
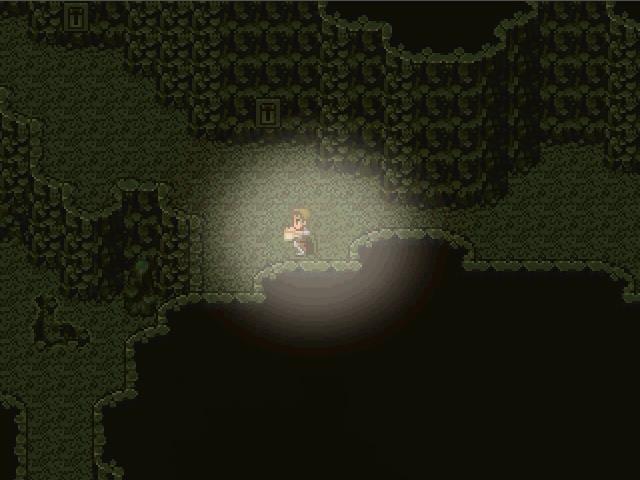
The first option is the Minoan Compass. If you take a path leading to bullshit, the compass will give off some laughter, which is your cue to turn your ass right the fuck around. The second option is this inscription on the wall.
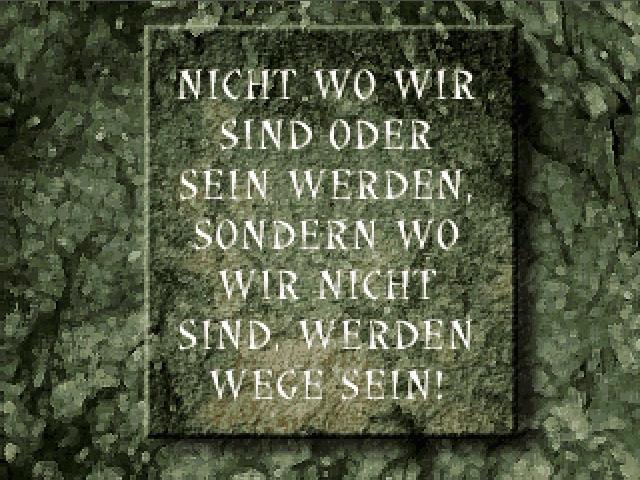
Not where we are or will be, but where we aren't, paths will be!
 Did you get that? No, but I think that there's a deeper meaning behind this than just the meaning of the words themselves...
This is actually a clue to the right path. Hint: Dankwart is right, and my translation completely fucked everything up. However, if you can't figure it out, just keep looking at it over and over again, and eventually...
My head is smoking, and I just can't figure it out! Hmm... you didn't notice that all the words start with the same letter?And if you still don't get it, keep it up...
I just don't get it, Dankwart! Tell me what we should do! I think it sounds like directions... N, W, S, O... those are the four cardinal directions! I assume that this is a hint towards the only safe path in this labyrinth.And that it is. North, south, south, south, west, south, west.
Now, as we meander onwards, here's a bit of an assortment of bullshit that awaits you:
- Another rolling rock that may or may not be too fast for you to avoid.
- Fireballs right the fuck outta nowhere that deal massive damage.
- A sword in the stone that kills you if you try to pull it out.
- Weird ghosts on loan from 3 Monkeys, a different RPG Maker game.
- Bottomless pits with chests behind them to lead you into the trap.
- Lava pits with chests behind them to lead you into the trap.
- The chests are either empty or kill you, by the way.
- Getting warped into a room with no exit that is filled with Tho'Sharr.
- Explosive mines.
- And more!
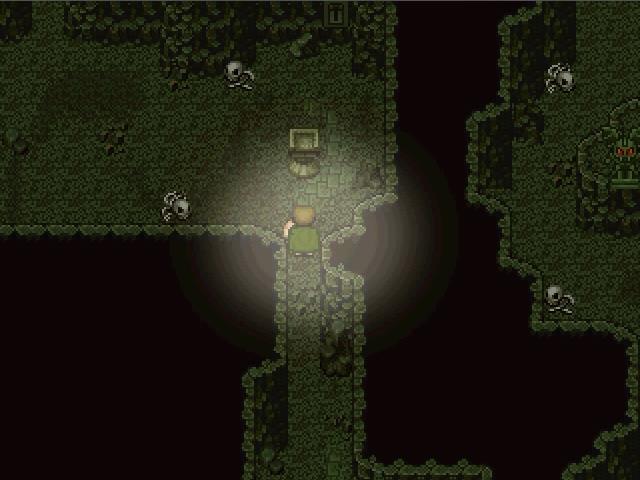
On the right path, we find these switches. Switches? That can only mean something good, right? Let's throw some of them around!
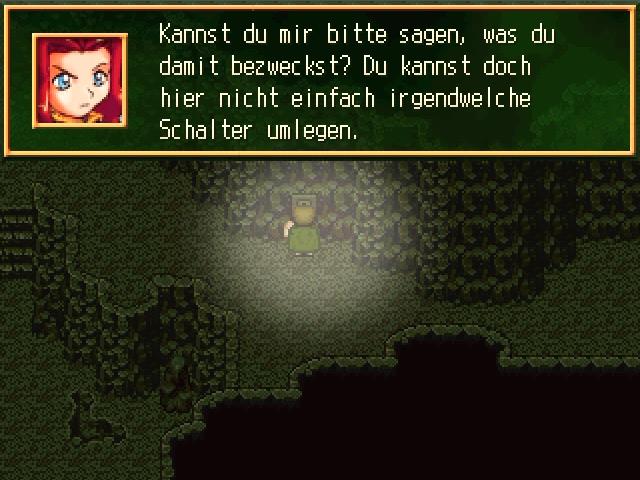 Could you tell me what you think you're doing? You can't just flip switches here! Don't worry. I know this kind of cave - if you find a switch, you should flip it! Well, let's hope you don't kill us with that...
 Bit of a homonym joke here - "umlegen" can mean both "to flip" (in context of a switch) or "to kill somebody".
Well, that didn't do anything, let's flip it back.
You just flipped it down, and now you're flipping it back up... what's the meaning behind this? Umm... well, nothing happened the first time... so I thought... I doubt you thought at all!Eh, let's do it again.
 You're just experimenting! Just let me play around some more! Maybe something will happen... You're playing with our lives!
Flipping the stuff around doesn't actually do anything, the only thing that matters it whether the switches are in their original position or not. If they're not, you get fireballs outta nowhere further down the line.
Moving on, there's the bottomless pit...
...and here's the setup with the mines - at least one of them. But there's a way around them, and it involves looking at this weird pedestal.
Hmm... there's an indentation here. My lantern would fit in there. Looks good!
 But it doesn't actually do anything! Pick your lantern back up, and let's try something else.
 Something else? How about that switch?
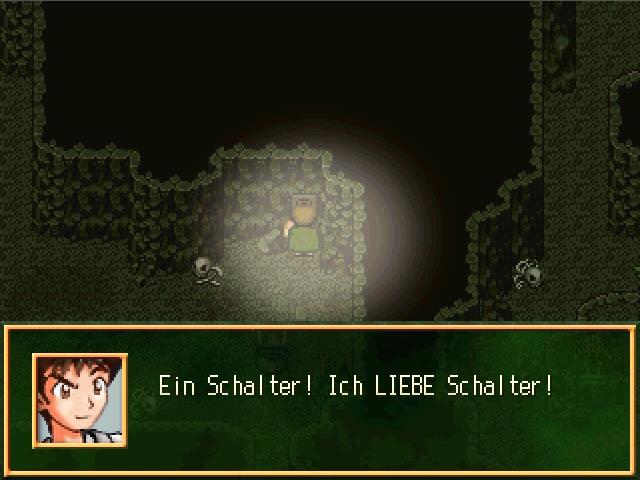 A switch! I LOVE switches!
 Your feelings are going to get us into hot water some day...
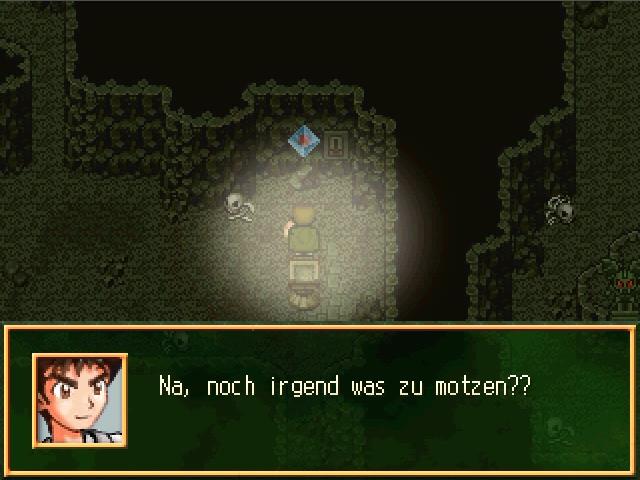 Well, any more complaints? Not so far, dear... but we still don't know if this thing is good or bad.
Well, now that this thing is out, let's put our lantern back in that indentation...
...and there we go! That shows us the path through the minefield. Didn't stop me from getting my ass blown up, but hey, that's just me being a dumbass.
If you're not braindead and actually manage to follow those easy instructions, you find this.
Would you look at that! A secret passage!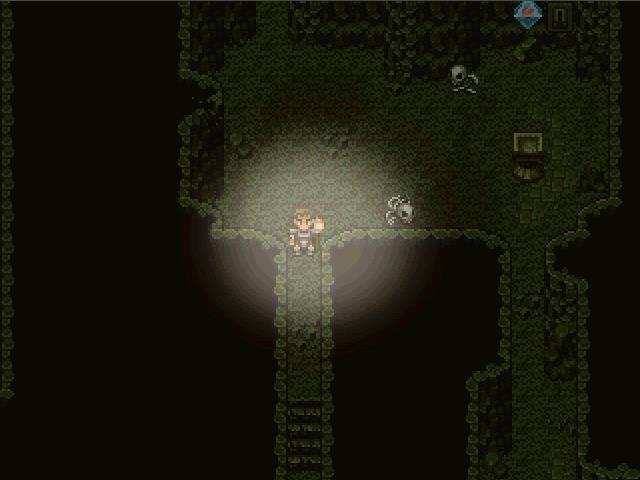
And there we go, now we can move on.
Now, this is the part where the Minoan Compass can actually fuck with you. It will tell you not to go down this path, but you actually want to.
There's a whole bunch of fireballs to dodge...
...but at the end, there's actual treasure to be found! Four elixirs, three revival items, and most importantly, the Hornets' Nest crossbow for Tarius! This crossbow is capable of attacking every enemy, which is a great upgrade over the repeating crossbow we've been using so far.
One fairly dangerous trek back through the fireballs and we're at the end of the caverns...
...and we've made it into the castle! Join me next time when we really storm this motherfucker!