Part 12: Part 2-4
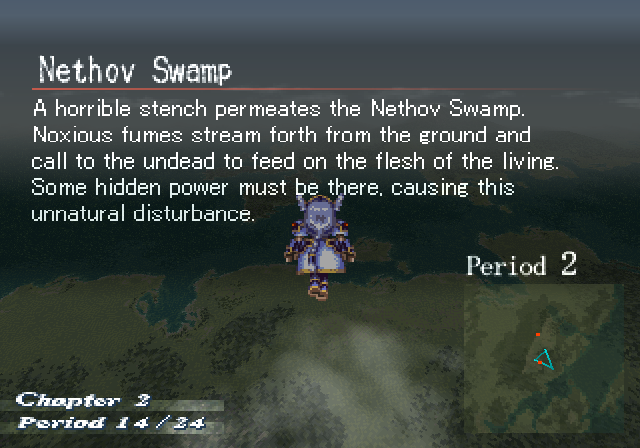
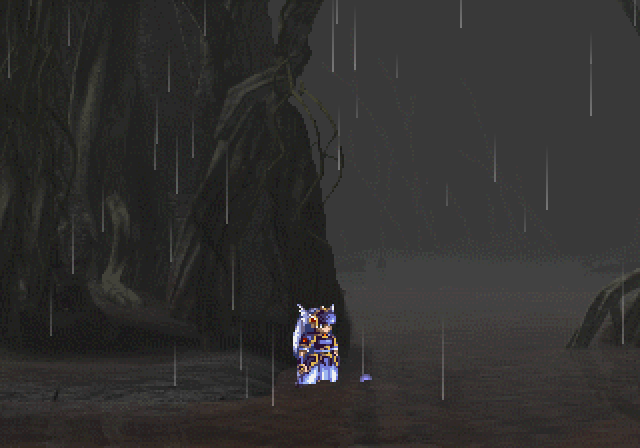
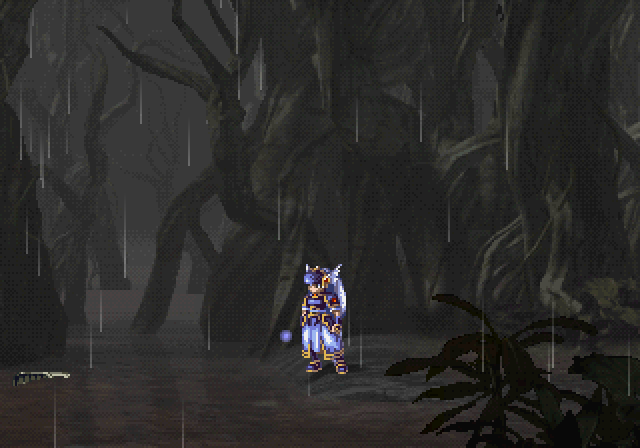
Our other new dungeon this time is the Nethov Swamp.
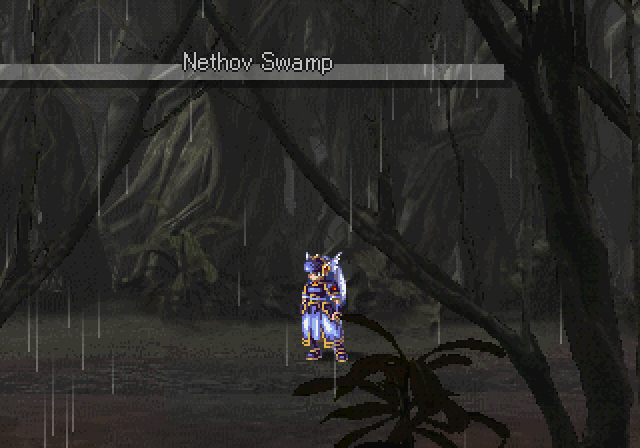
I'm not incredibly fond of the swamp, it's alright for a dungeon, but it's fairly unexciting. Also, the rain ramps up the size if you're trying to make gifs.
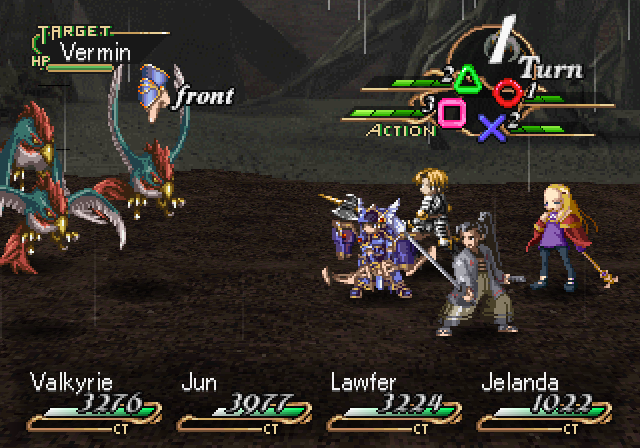
Our enemy list today includes Vermin, which we encountered in the Cave of Oblivion in the first chapter. They're weak and disposed off easily with a Fire Storm.
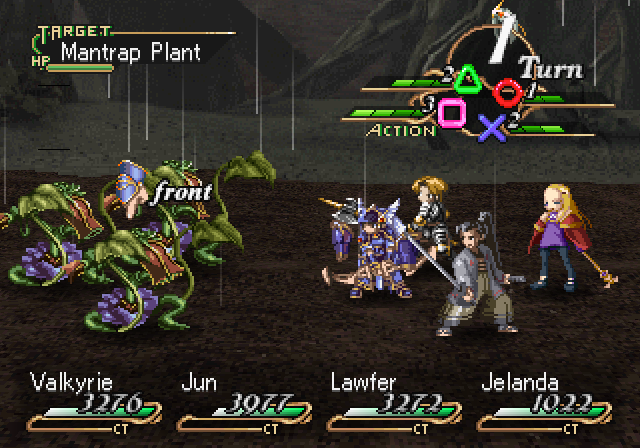
Mantrap Plants are weak to Fire and Dark. Their main attack is the Rhizome Spear, which hits the entire party like the Banshee's Angry Scream. However, it is about half as strong and much easier to dodge.

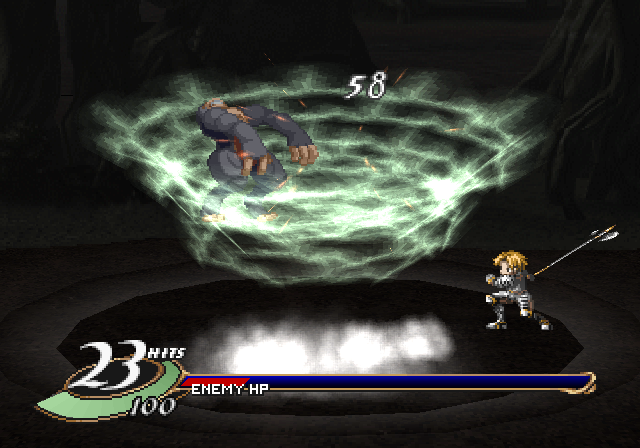
Pongo Robustus are weak to Dark. They have the most health that we've seen so far but are otherwise just big punching bags.
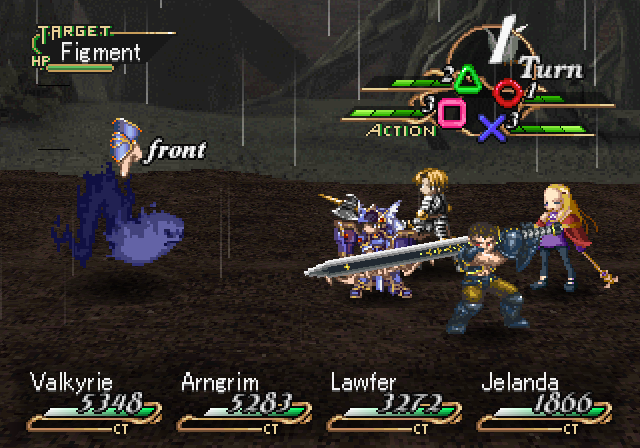
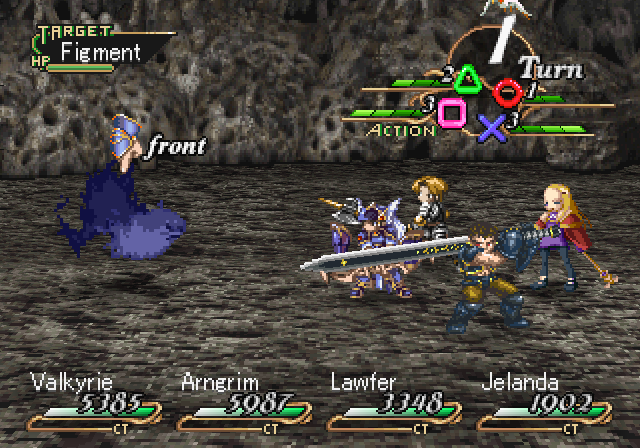
Finally, Figments. Aside from casting Fire Lance, they're just slightly more durable than Vermin.

The first couple of treasures are two copies of the Dark-elemental Shadow Servant Spell. I can also transmute one into the Dark Savior spell, but I won't use either just yet.
The other annoying aspect of the swamp is mud, which you'll have to wade through from time to time. As one might expect, it greatly slows down movement and restricts your jumps to short hops. It also slows down the music when I'm playing.

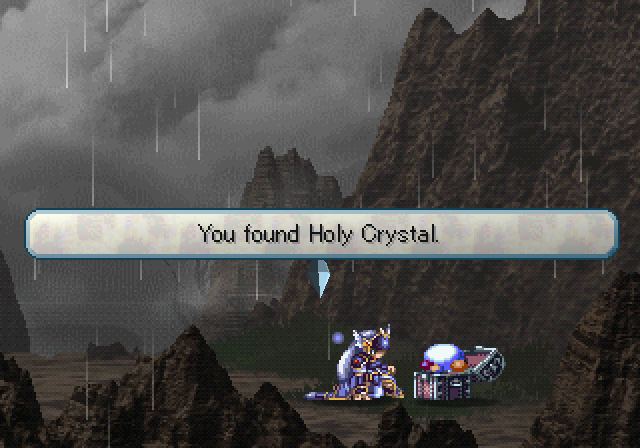
There are two Holy Crystals to be found in the swamp. They cast Mystic Cross when used, which is one of the best attack spells.
None of the enemies drop anything incredibly exciting. Mantrap Plants can drop Vegetable Seeds, which can be transmuted into Elixirs, and Pongos Robustus (or Robusti?) drop both Short Spears and Long Bows, which are decent, if temporary upgrades.

Some enemies hover just above mud, which makes hitting them a bit of a pain.
Urgh, this part. There are four treasure chests in the mud. You have to wade in, pick up the chests using X, then waddle over to dry land, set them down, then open them. Meanwhile you're moving at the speed of bad. Thankfully there are no enemies, so this part is just tedious.
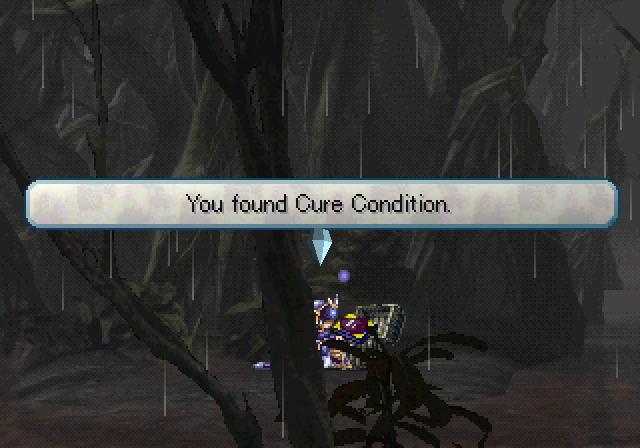
There's some decent bounty at least. Cure Condition is a passive skill anyone can learn that can cure other party members of status conditions. The higher the level, the more conditions it can cure (so level 1 can only cure poison, for instance). We won't need it just yet, but maybe in the future.
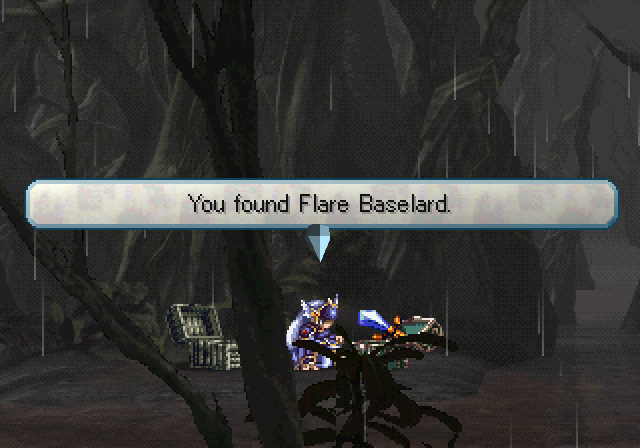
The Flare Baselard and Daemon Slayer are powerful swords. The Daemon Slayer is like the Dragon Slayer, but for demons, while the Baselard is just a powerful fire-elemental sword.
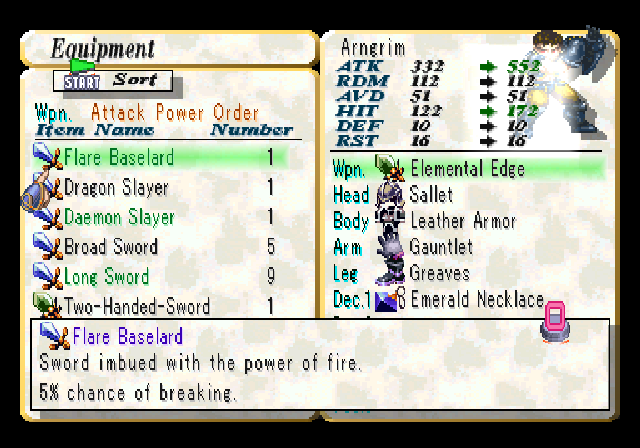
A really powerful one. Both have 5% chance of breaking, so we'll save them.
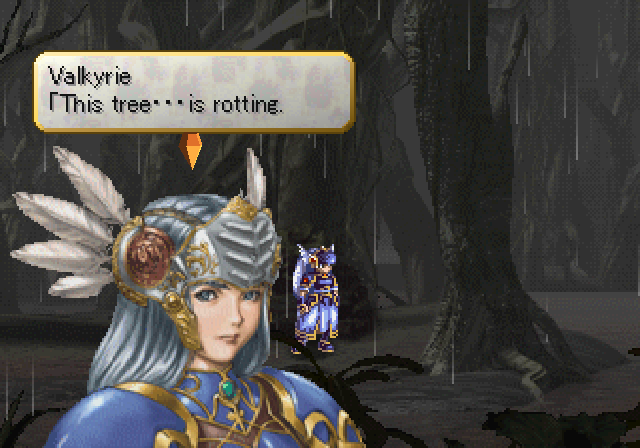
There's also a rotten tree that screams, 'hit me and I'll become a bridge!' We do so, and get 5,000 event exp for our troubles.
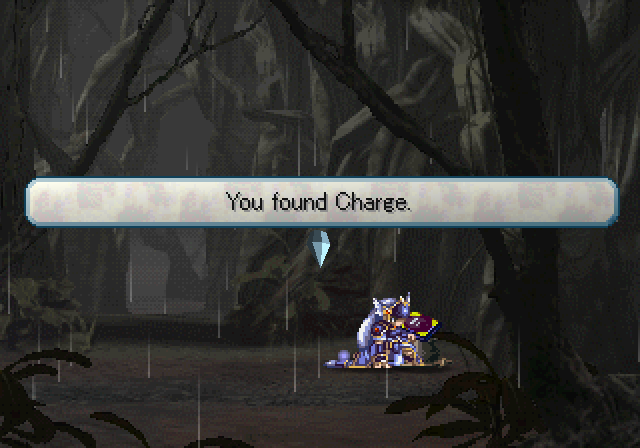
Charge is an attack skill for warriors that's not as exciting as it sounds - when they're attacking, you can press their attack button rapidly to sacrifice health for extra damage. I've never used it much.
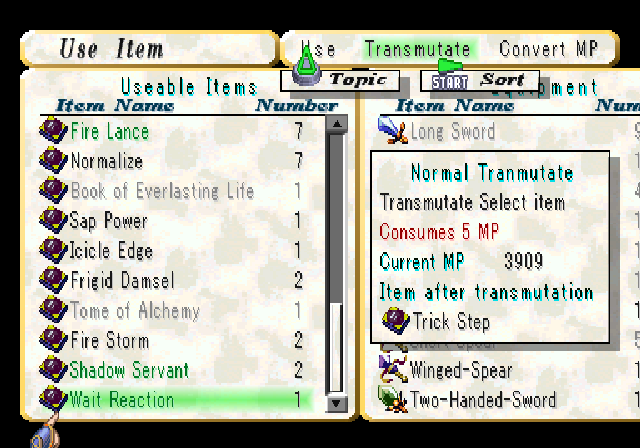
I also pick up a copy of Wait Reaction. We already had a copy, and extra copies of skill books are useless. So I transmute it into a skill book we don't have yet, Trick Step.

Which well... is still kind of useless. It forces the enemy to miss a counterattack when you attack. And there's a typo here since you're supposed to press right, instead of left to perform it.
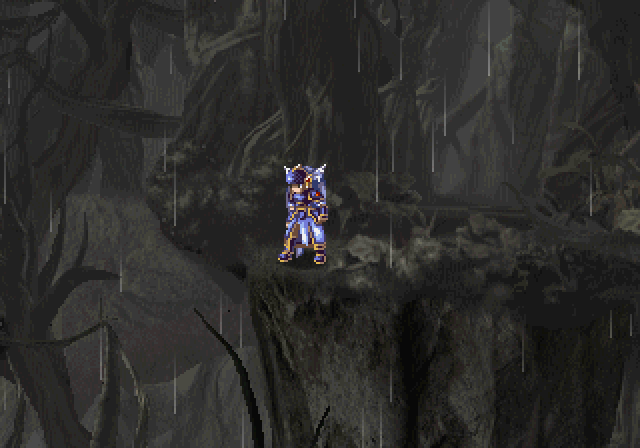
There's a 'point of no return' which is a cliff leading down into the swamp. Miss any treasures before jumping off, and you'll have to re-enter the swamp again to get them later.

Also, there are no save points in the Swamp. The boss is just around the corner, but luckily, I'm prepared for him.
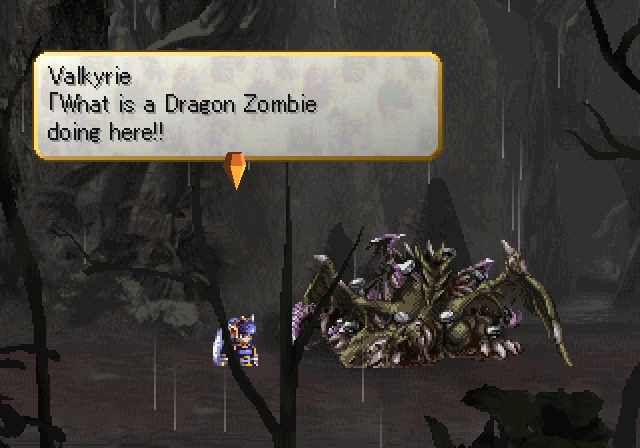
 ...It is hard to believe that it suffered a mortal wound in combat...
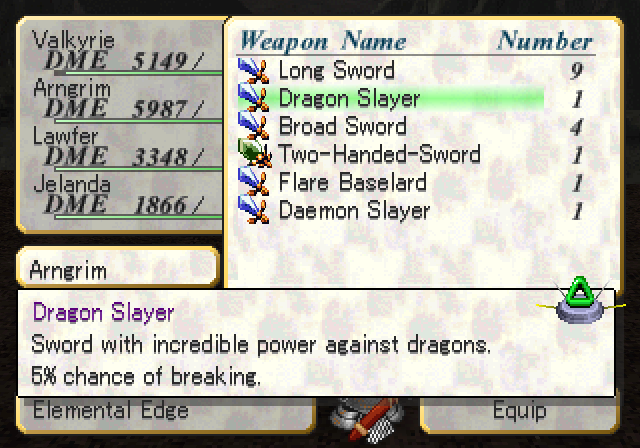
So we're up against the Dragon Zombie. It's not weak to Lightning, so we can't cheese it with the Grimrist like we could with the Lesser Dragon. However, the Dragon Slayer is always an option. One which we're not going to use.
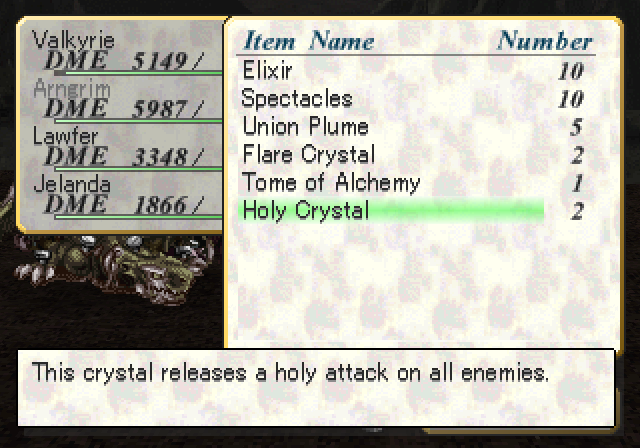
Instead, we'll use one of the Holy Crystals the swamp so helpfully provides us.
And... done.
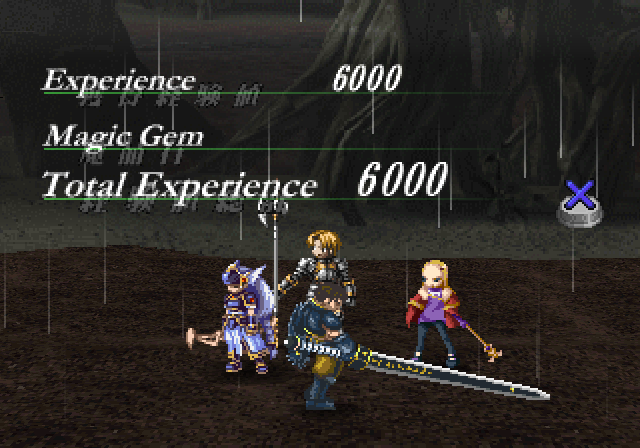
Another bounty of easy experience. Don't worry, they'll get harder eventually.
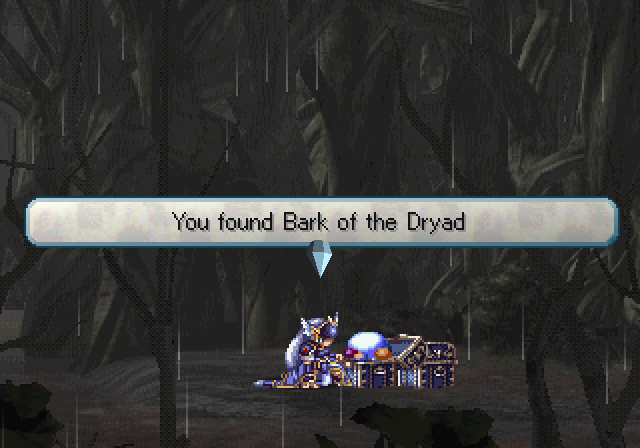
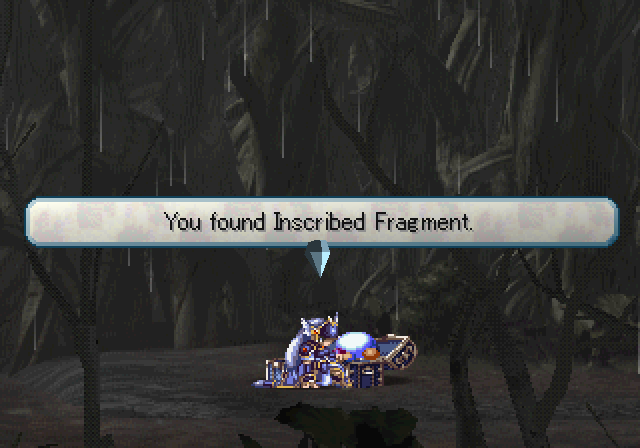
Cross another batch of mud and we have our two artifacts. Neither of them are any use right now, but we'll keep them anyway.
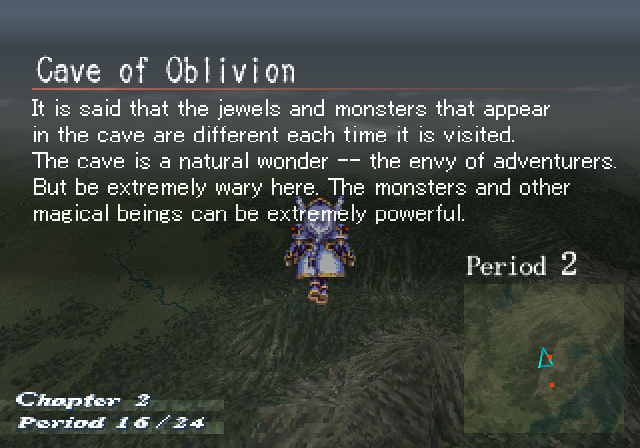
Our last stop is the Cave of Oblivion again. Unfortunately, this time I get the cave formation that has no treasure possible, so I can't even show off anything that interesting about it this time.
No new enemies either. We have Figments, Mantrap Plants, and Pongo Robustus from the Swamp.
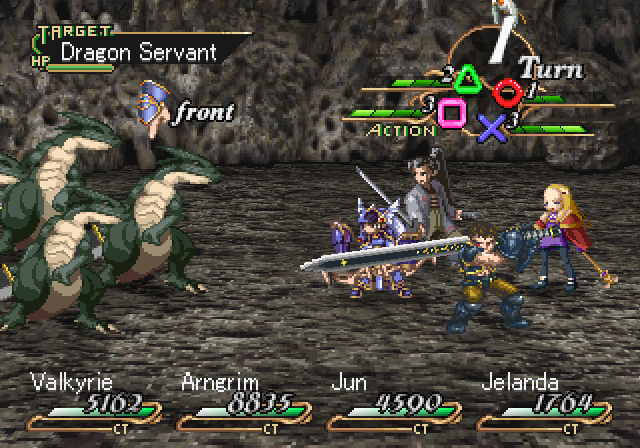
And... Dragon Servants from the last chapter. Fire Storm now one-shots them.
Since we're here, might as well show off a couple of things.
While hit-all attacks like Rhizome Spear can end up being annoying, the nice thing is that if more than one character dodges them you can unleash multiple counterattacks at once.
The Combo Counter skill, which we got from the Chapter 1 Sacred Phase, allows the character to use all their available attacks during a counter instead of just one. Pretty handy.
(Not sure why the gif re-coloured Arngrim's armour, either.)
The Scarlet Lotus Sword lets Jun use the So-Enbu attack, which has him slash across the screen to the other side. It's not a bad idea to set this as his first attack, as this allows some of his follow-ups (like Senko-Zan, that upperslash) to push the enemy closer towards us during the attack. Since some characters like Arngrim have a bit of a limited range, pushing enemies back towards us reduces the chance of missing on some of our attacks if earlier moves pushed them too far away.
It also just looks kinda neat for a pincer-style attack.
Here's Wait Reaction as well. And it's actually not too difficult connecting Jun's attacks if you have them set up right. Lenneth's great range with her bow is also handy.
We have quite a bit of free time left, so I just town-hopped. One thing I forgot to point out is that one thing we can do is visit Artolia - after we recruit Lawfer, Celia and Kashell can be found in the tavern.
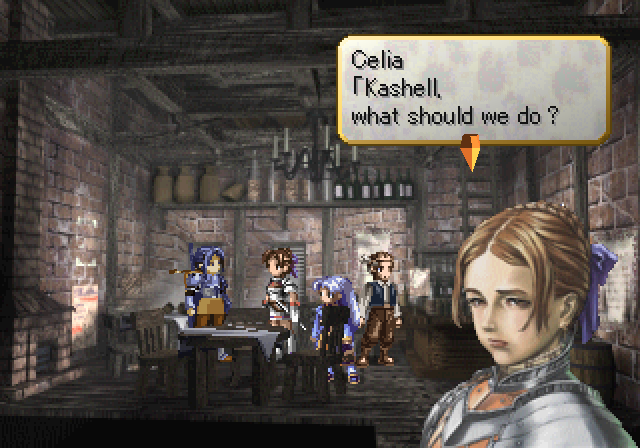
 It's a request from Lawfer, of course we'll accept.
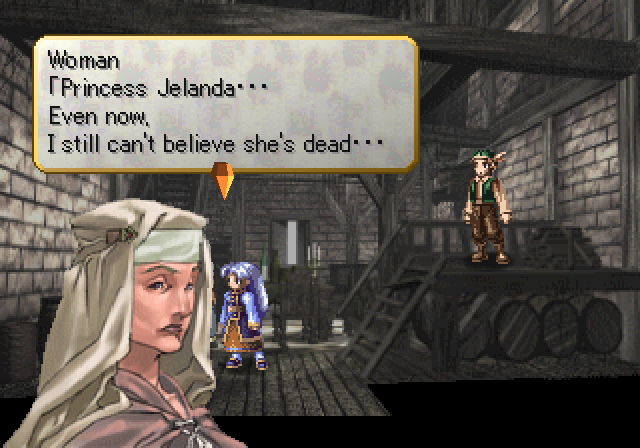
This is also practically the only NPC that talks about Jelanda.
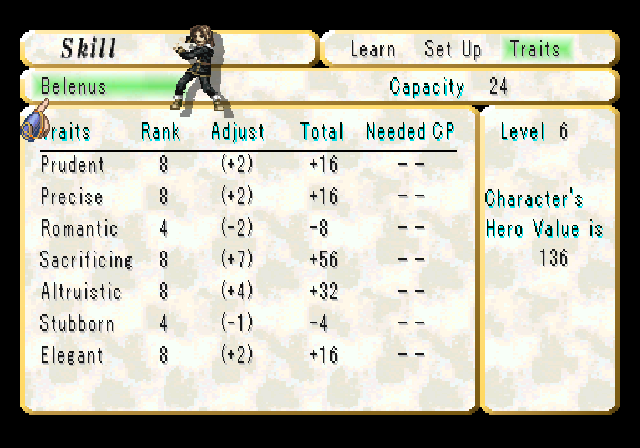
Finally, it's time to send up Belenus, after teaching him all the skills he needs. That's an impressive Hero value right there.
We'll actually do the Sacred Phase in another update. Next time though, there's a very special update.