Part 69: Turn 66: September 17, 1942

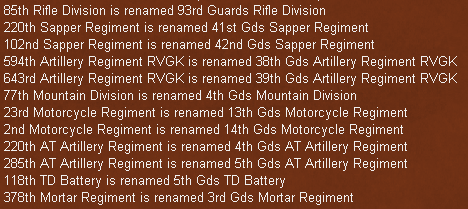
Lots of new guards to celebrate Romania's surrender this turn.
Speaking of which, Romania surrendering brings a lot of changes. First off all Romanian factories, production and manpower now go straight into the Soviet pools. The remaining Romanian counters have their own unique Romanian ToE's but draw manpower and supplies from the Soviet pools.
3 Romanian armies have defected, the 1st, 3rd and 4th armies. With them comes:
2 Infantry Brigades
7 Infantry Divisions
1 Security Division
3 Mountain Divisions
6 Cavalry Divisions
Not a huge force, but enough to garrison the Romanian borders until some Soviet armies can arrive. Some of the Romanian divisions were way behind the lines near Bucharest and are in great shape but most of them need several weeks off the line to rest and refit. One other thing of note is since there were basically no German forces inside Romania itself the rail lines are basically unharmed, so if I can run a rail down to the border I'll suddenly have railheads stretching right up to the German lines.

The other big thing of note is all the Romanian support units that switched sides. There's about 100 of them total, mostly artillery and machine gun battalions but there's also a huge number of these RR construction battalions that have materialized behind the lines to patch up my rail network.

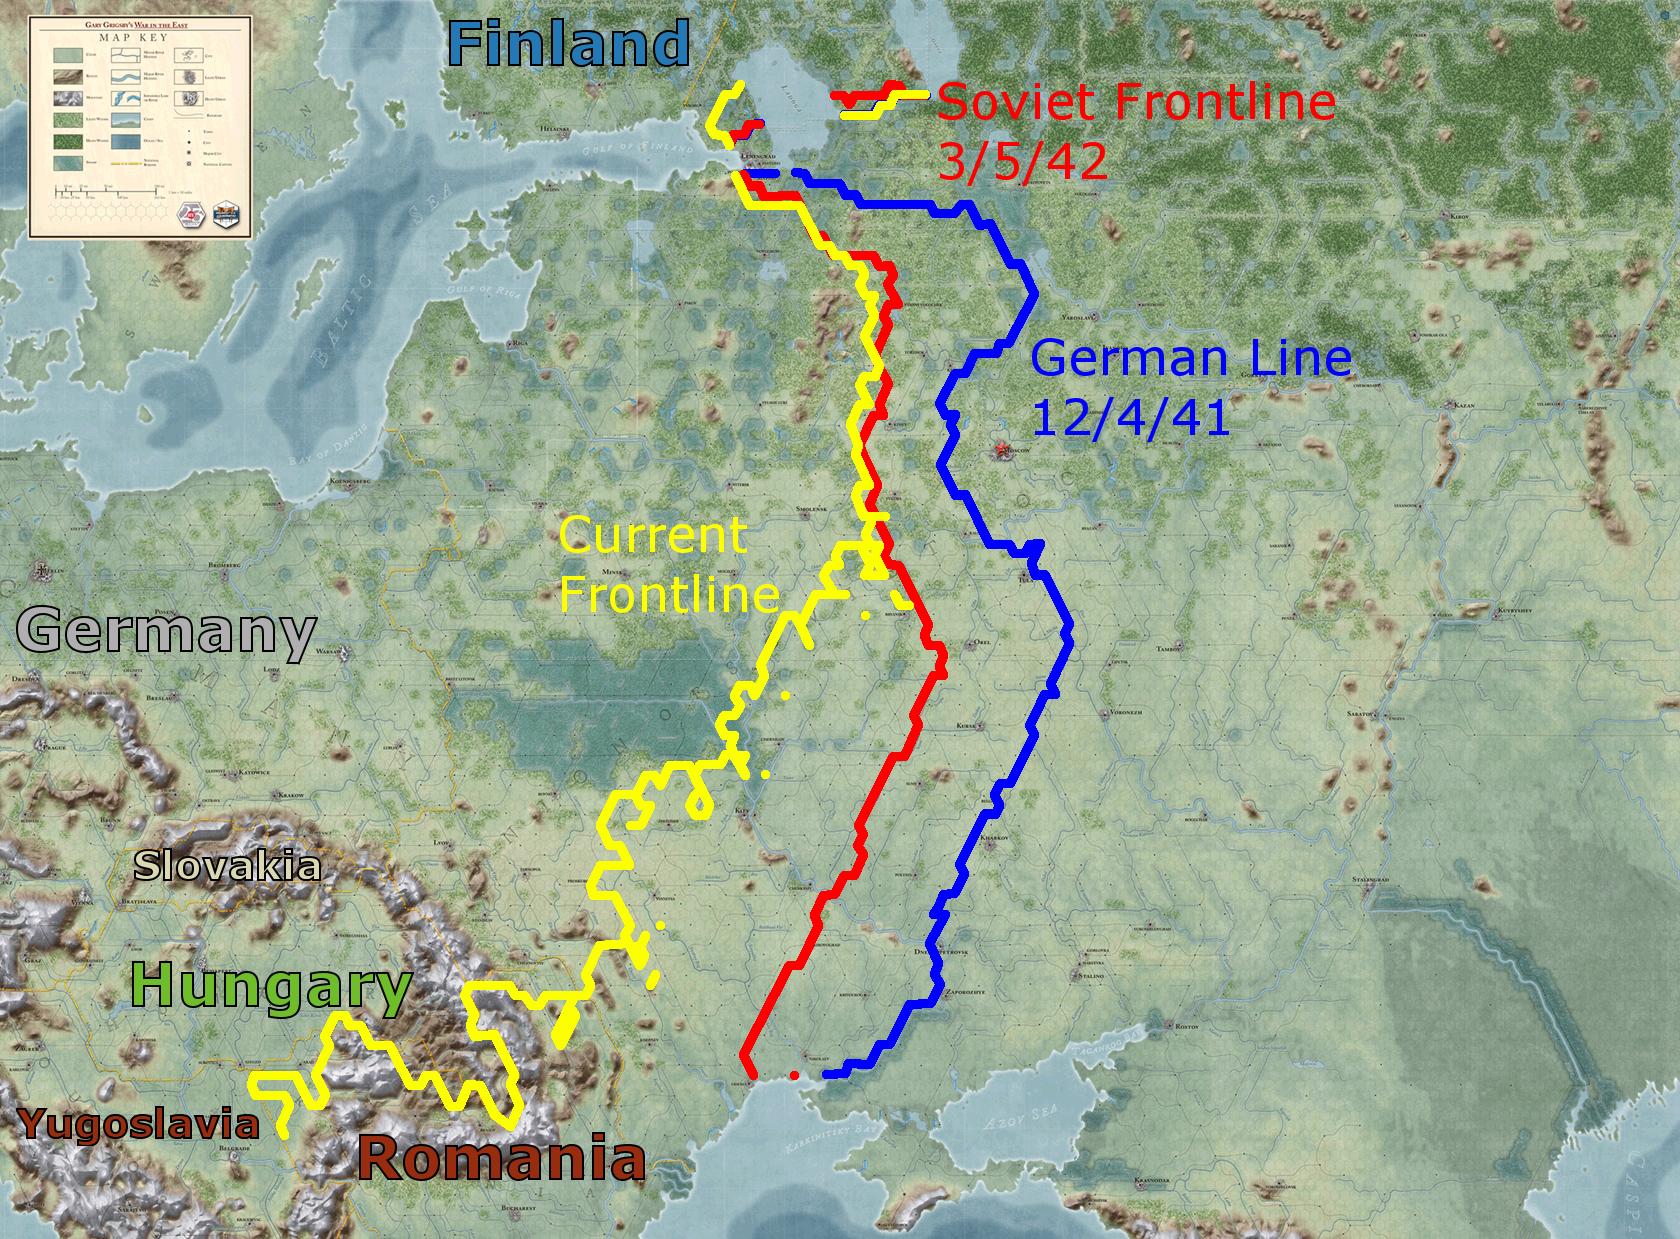
The Germans lines are continuing to atrophy as forces get siphoned off for the southern fronts.
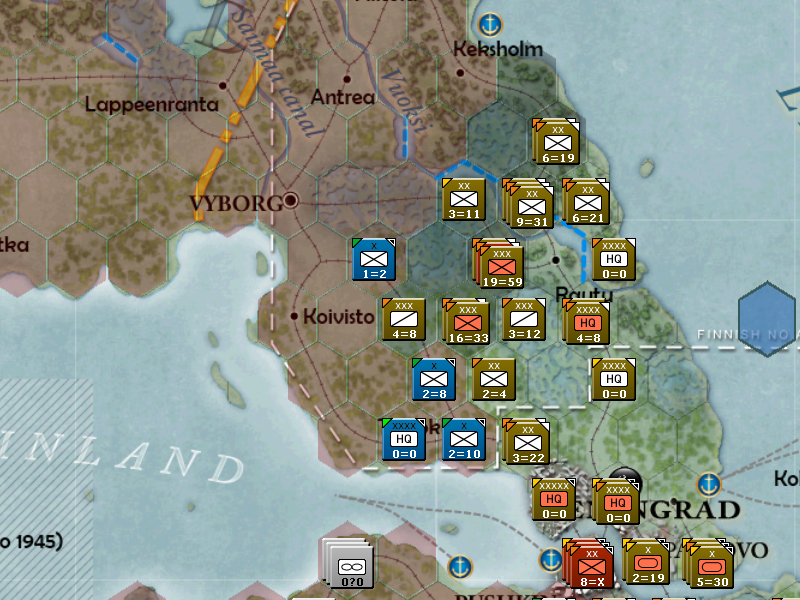
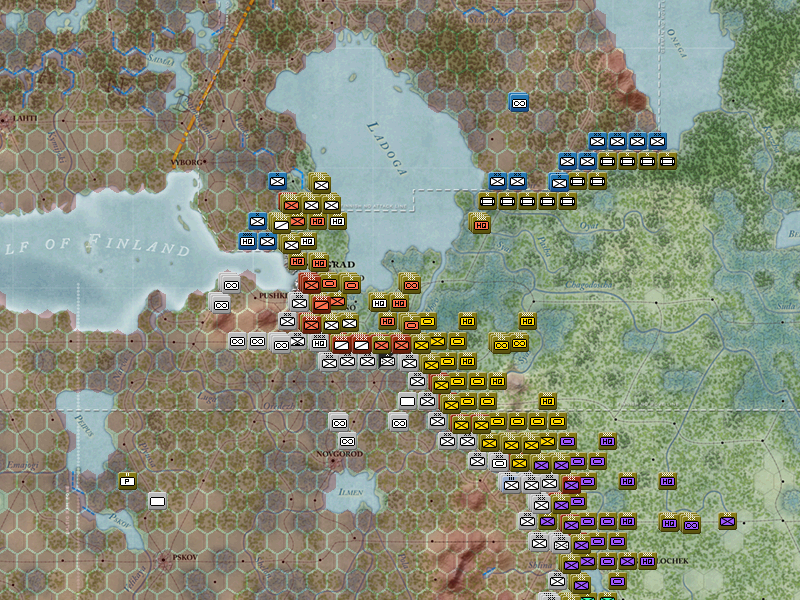
The invasion of Finland is making steady progress, hopefully I'll be able to reach my objectives before the Finns have a chance to redeploy and stop me.
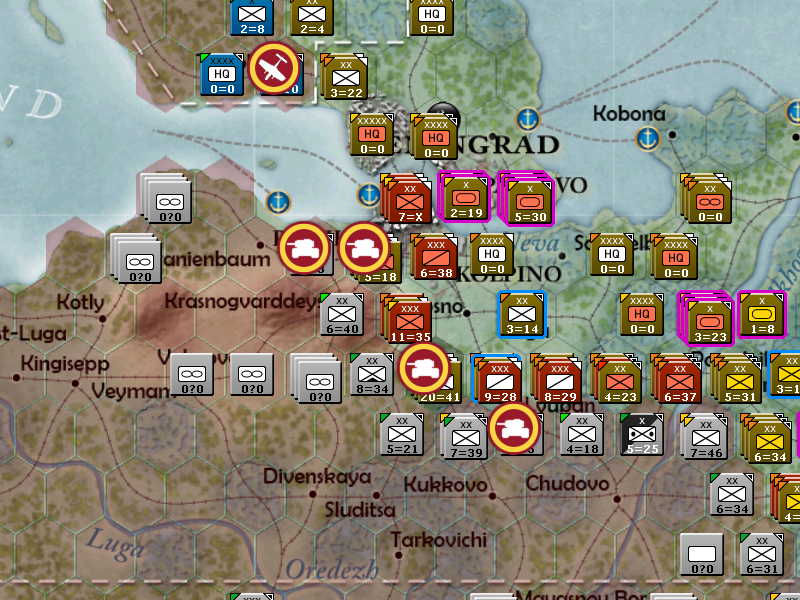
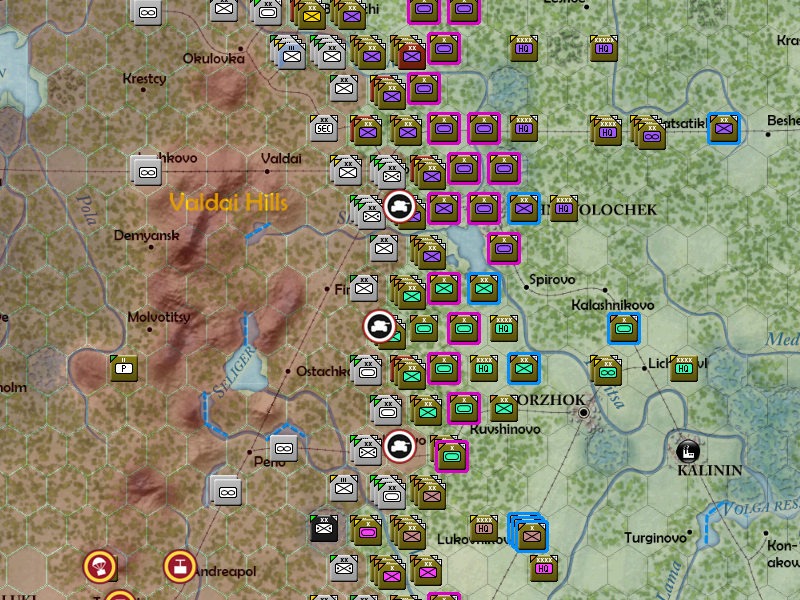
The Leningrad front finally manages to retake the city of Pushkin and with it removes the German threat from Leningrad's doorstep. For the first time in nearly a year there's no German forces bordering the city.
Minor progress on the Volkhov front, unfortunately there's some German stacks in forts here that are completely impossible to assault with what I've currently got here. My only options are to go around (hard in this terrain) or wait for reinforcements.

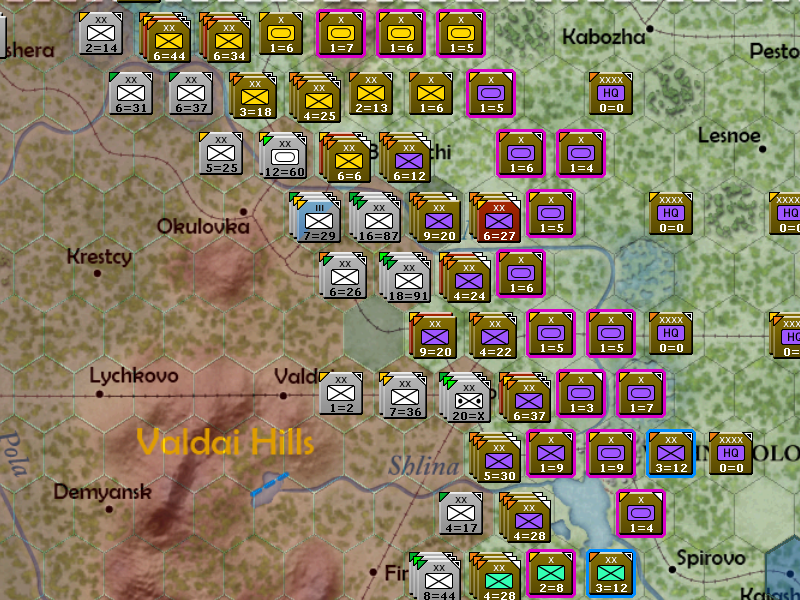
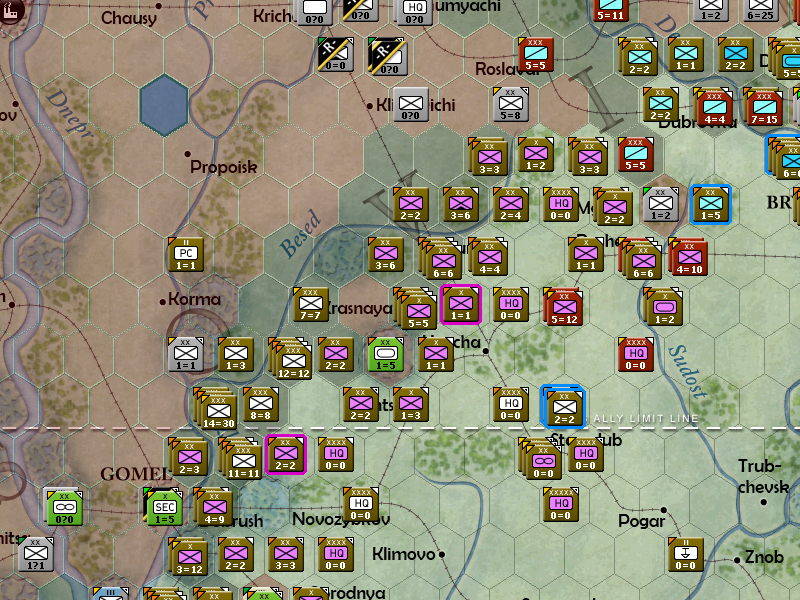
This front is starting to shorten as the Bryansk front continues to curl up, the further north that bend gets the more destabilized this line will become.
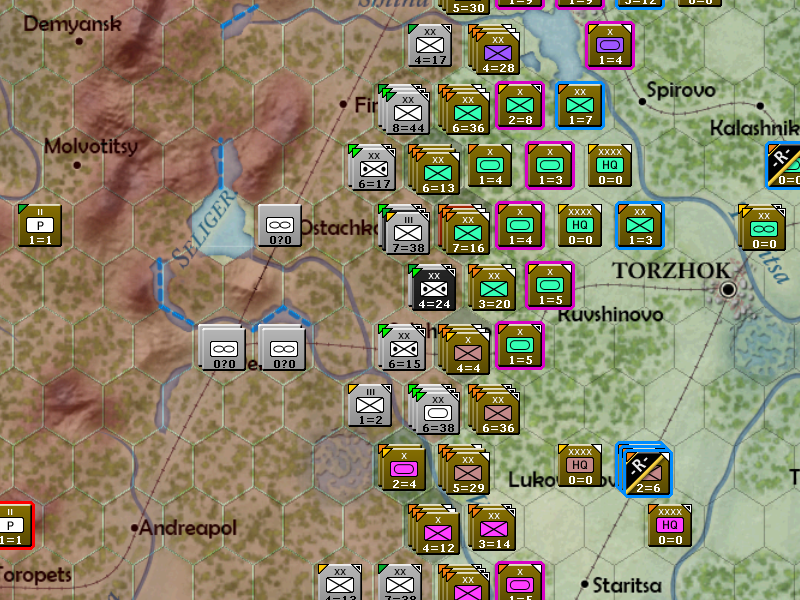
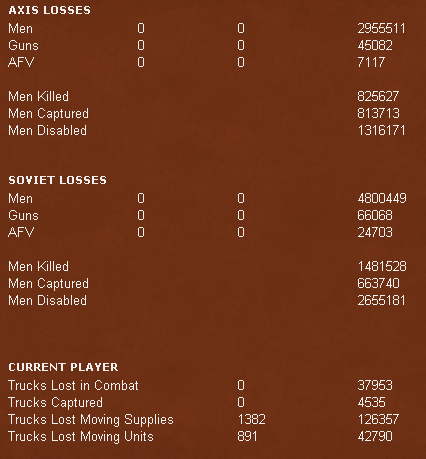
The hex trading continues, I can afford to take the losses necessary to continue this but the Germans definitely cannot.
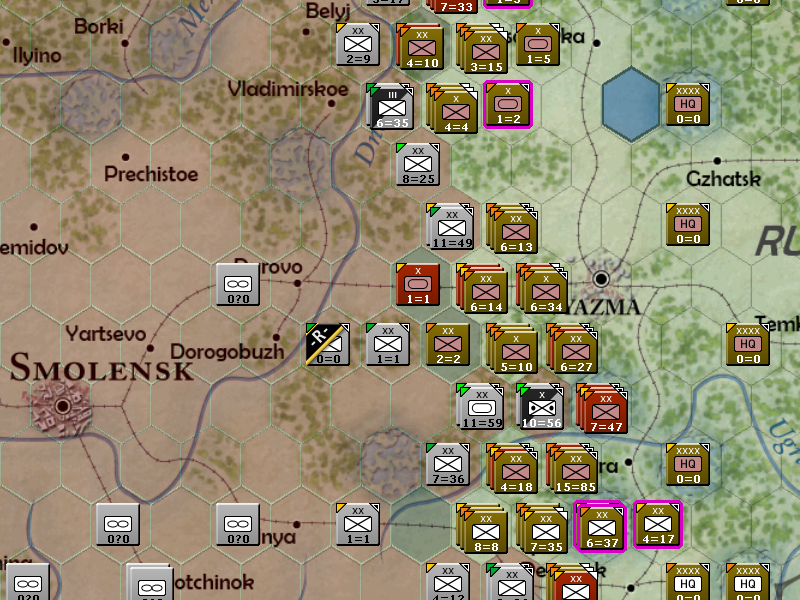
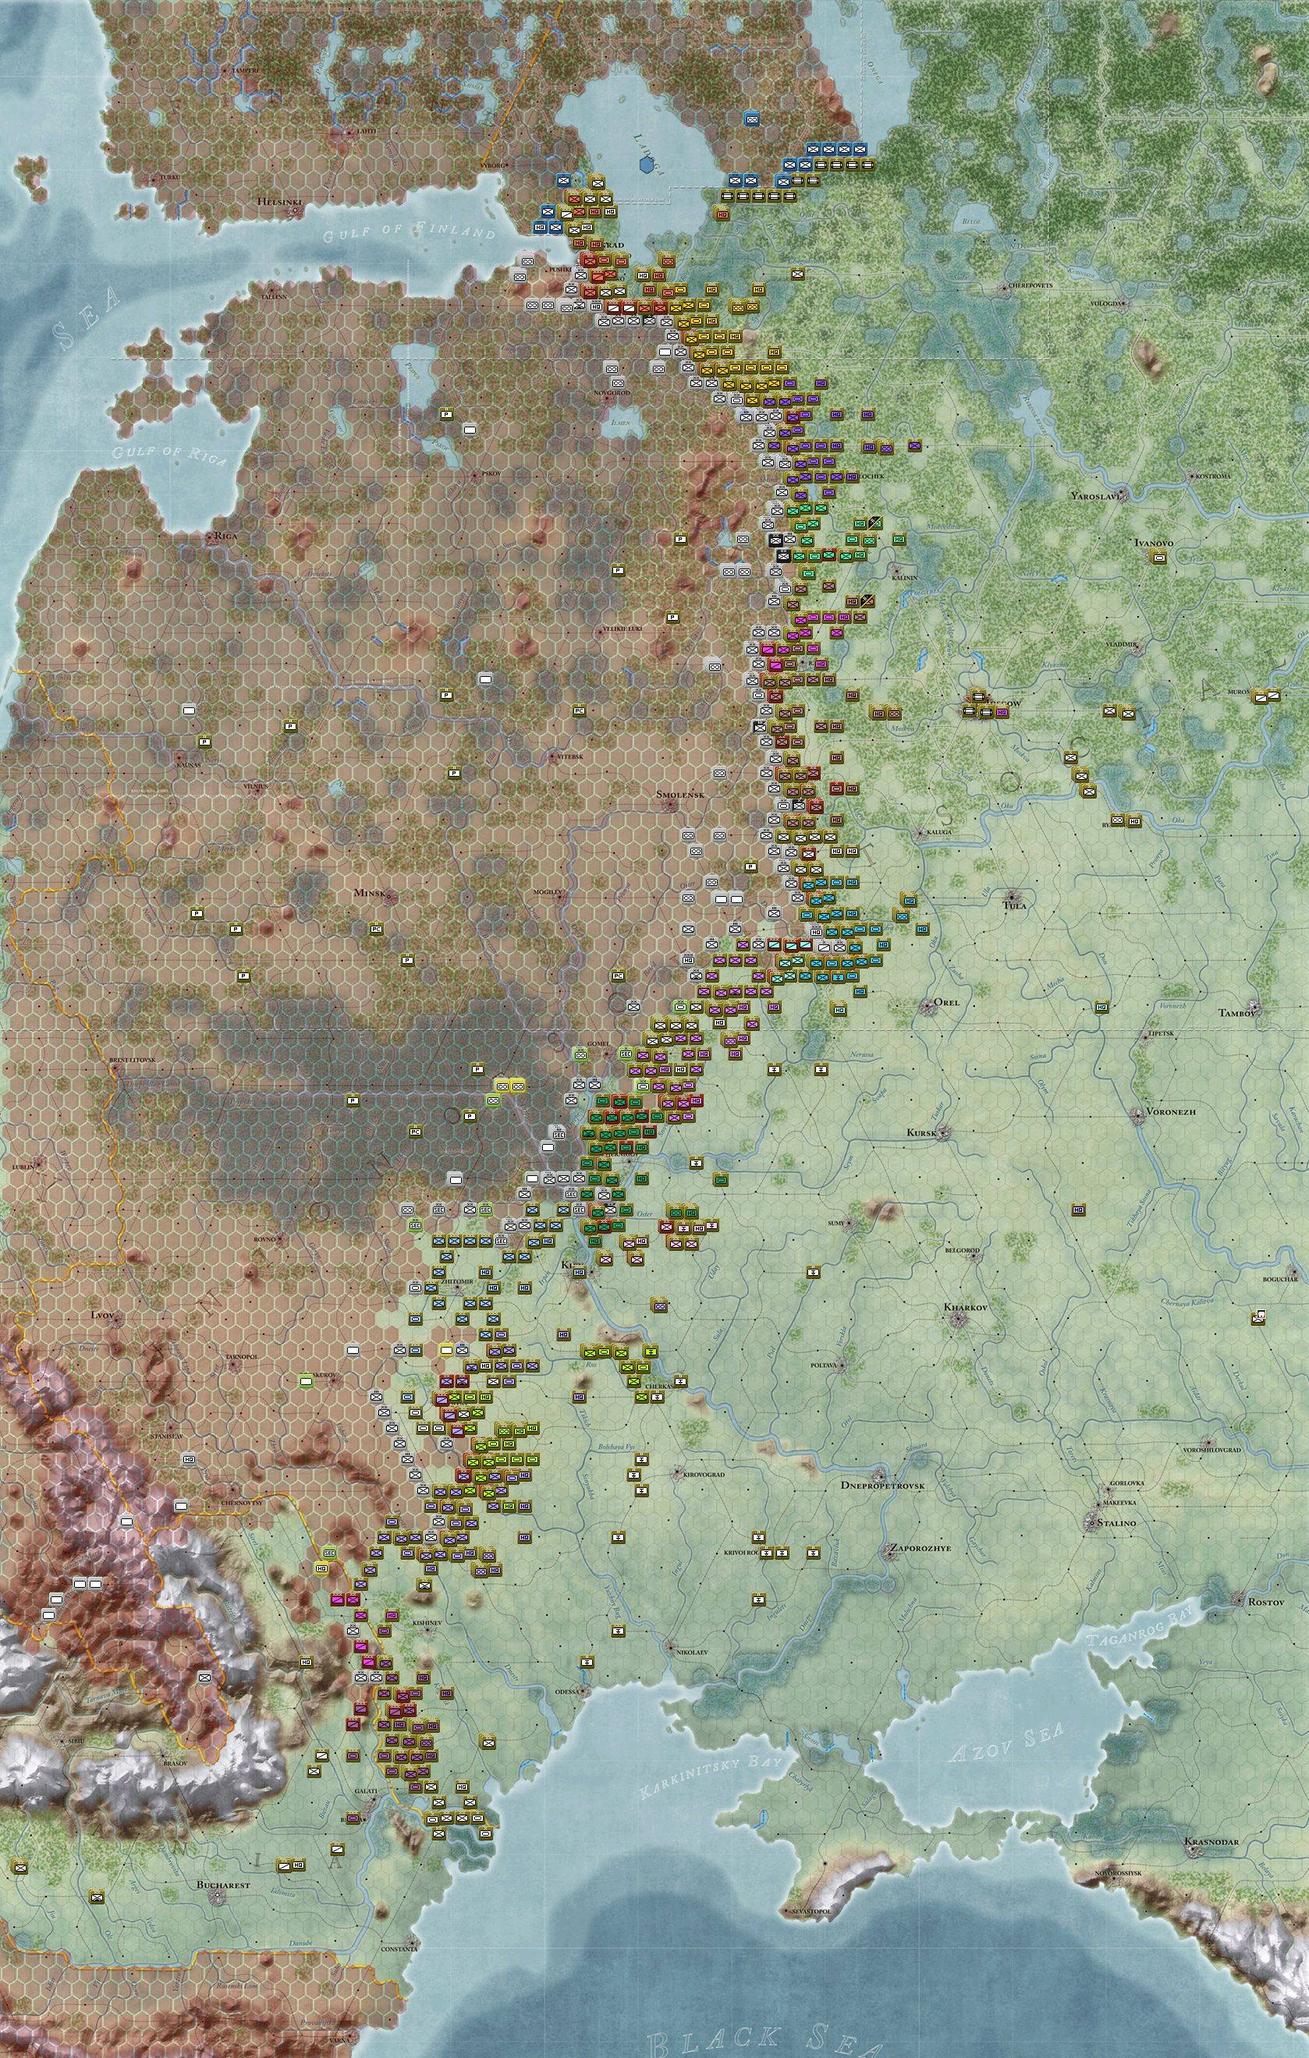
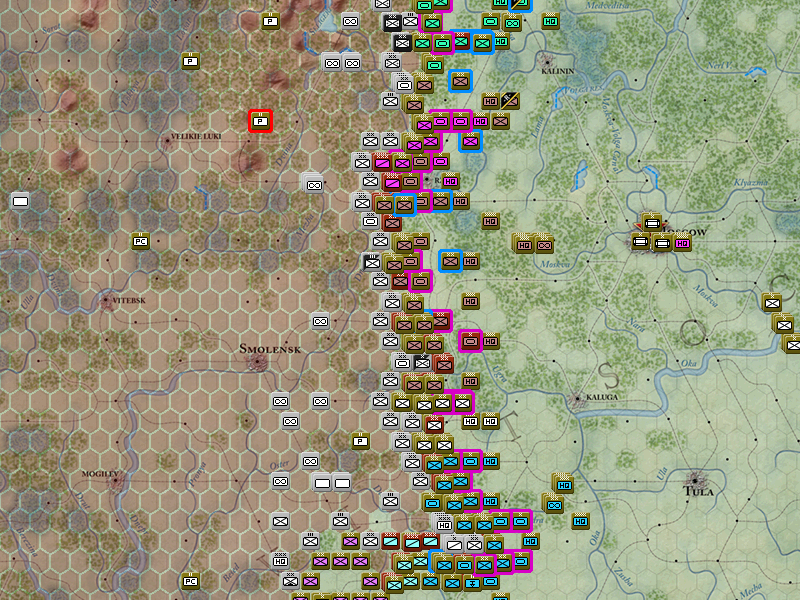
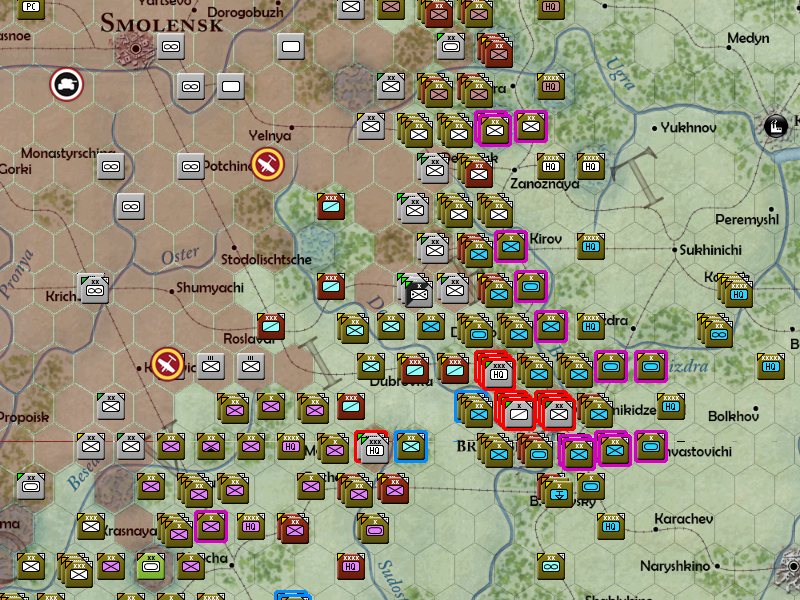
Near Smolensk holes are starting to appear in the German line as divisions that have been repeatedly pounded for the last few weeks start to give way.
The western front breaks through the German line entirely, encircling a corps and nearly getting another. One More Hex.

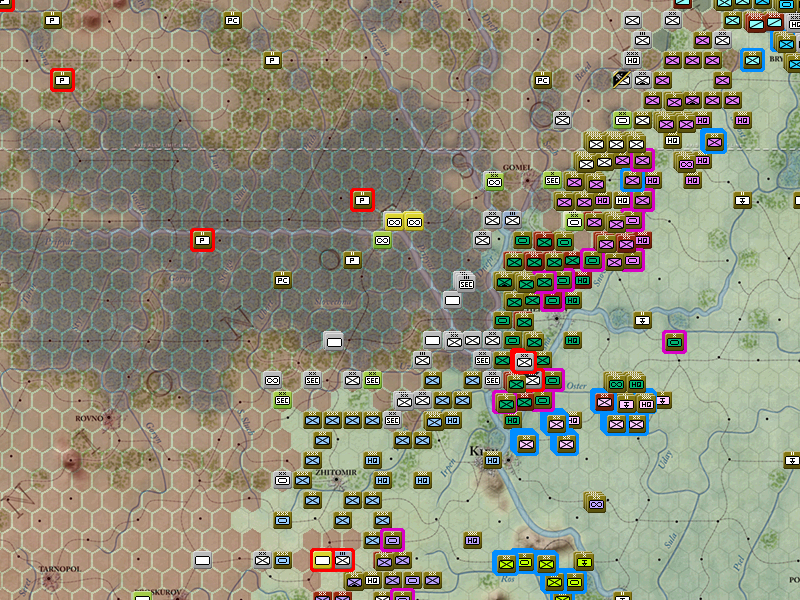
Things aren't quite as bad here as they are further south, mostly because I can't advance through the Pripyat marshes unless they freeze over.
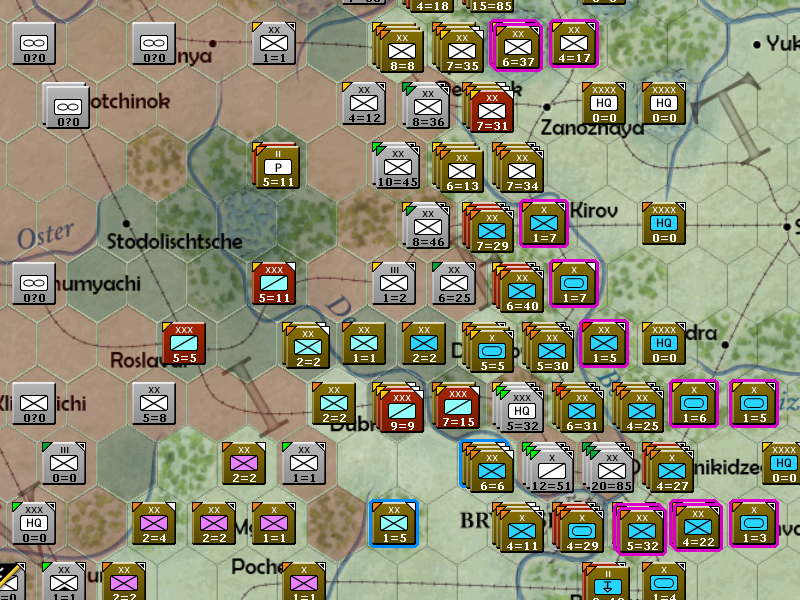
The Bryansk front continues to move north, routing about half a dozen German counters and finish off the encirclements the western front started.
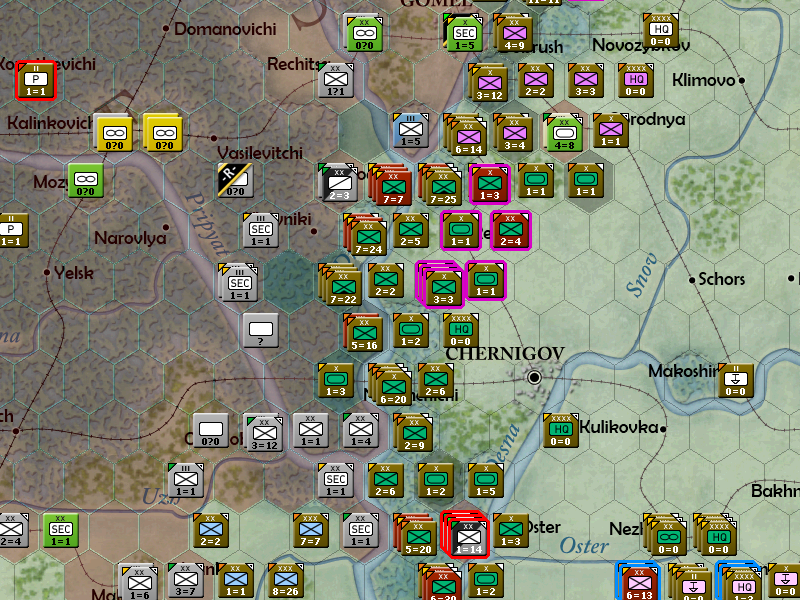
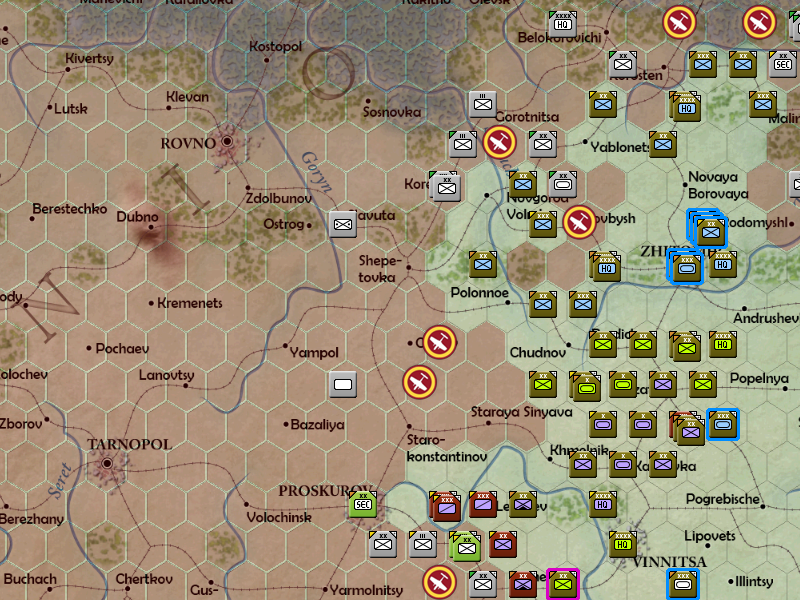
The southwestern front pushes across the Dnepr and into the Pripyat marshes, progress will be slow here even against vastly inferior defenders. The pocket here gets reduced slightly but complete surrender will have to wait for next week.
And the Urals M.D. crosses the river into Kiev with the intention of taking over some of this line from the overworked Voronezh front next turn. For now the Voronezh continues to not bother forming a proper line and instead concentrates on beating up weak counters and trying to encircle anything it can.

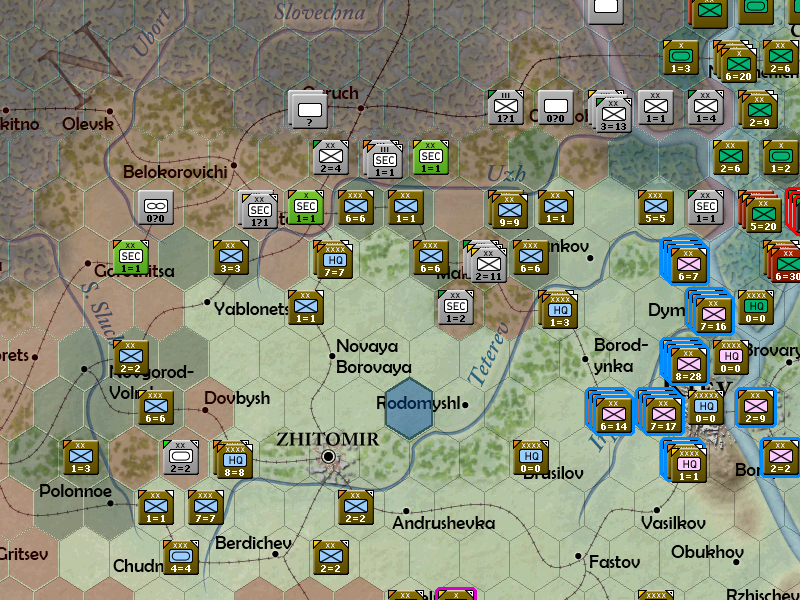
Hey that looks almost like a line there, the Germans are starting to shape up.
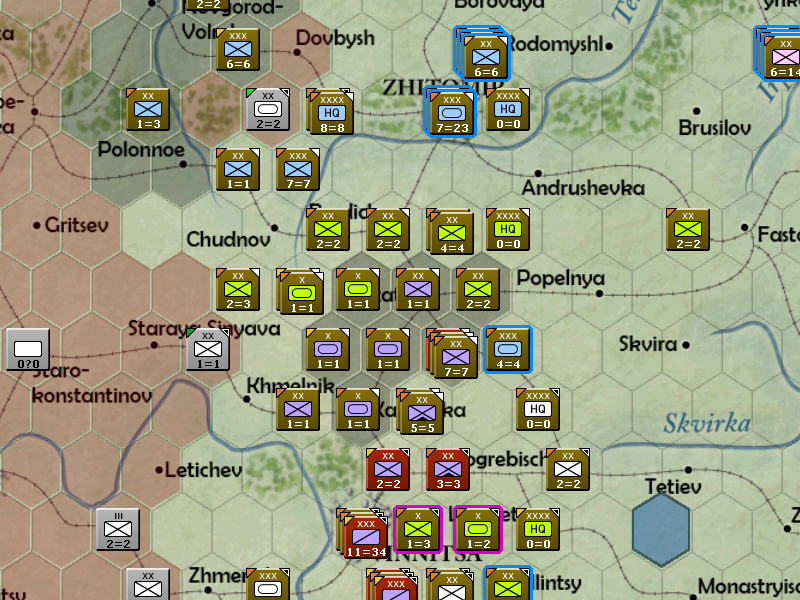
Forcing those encircled regiments to surrender and moving up to occupy the territory the Tank corps took last turn. Speaking of which, I'm pulling all the tank corps off the line for a week or two, they're all exhausted, in poor supply and out of gas. I want my rifles to move up and find a new concentration of German forces before I commit them again.
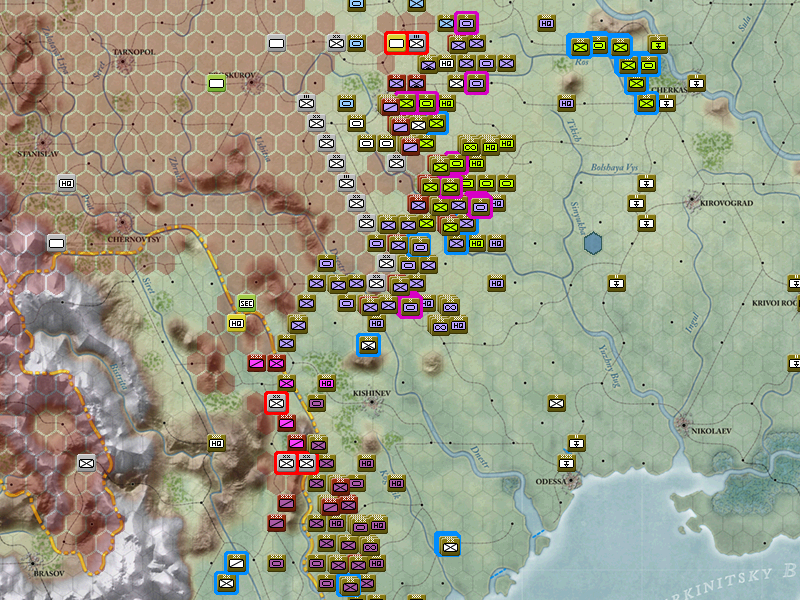
The Crimean front moves up to meet the new German army that just deployed here, pushing around the weaker counters and chopping off the outlying divisions.
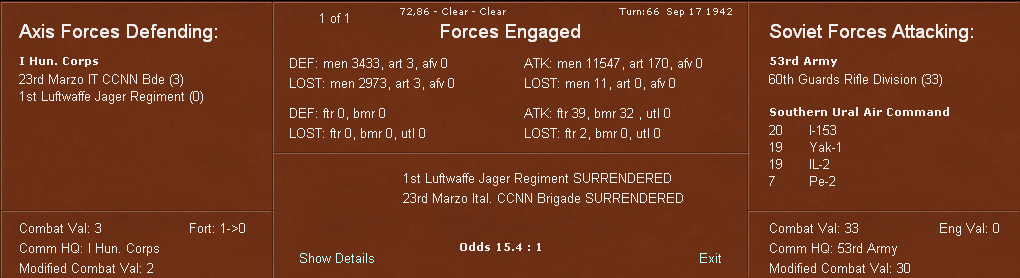
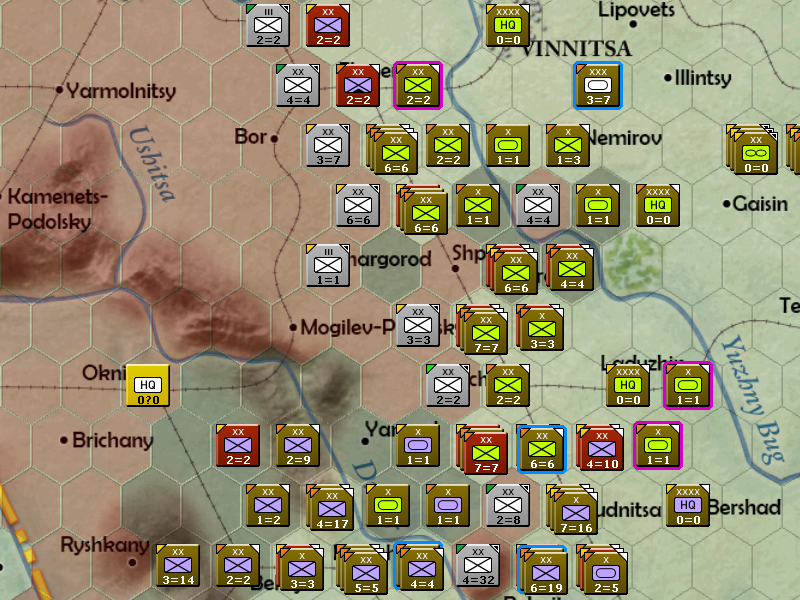
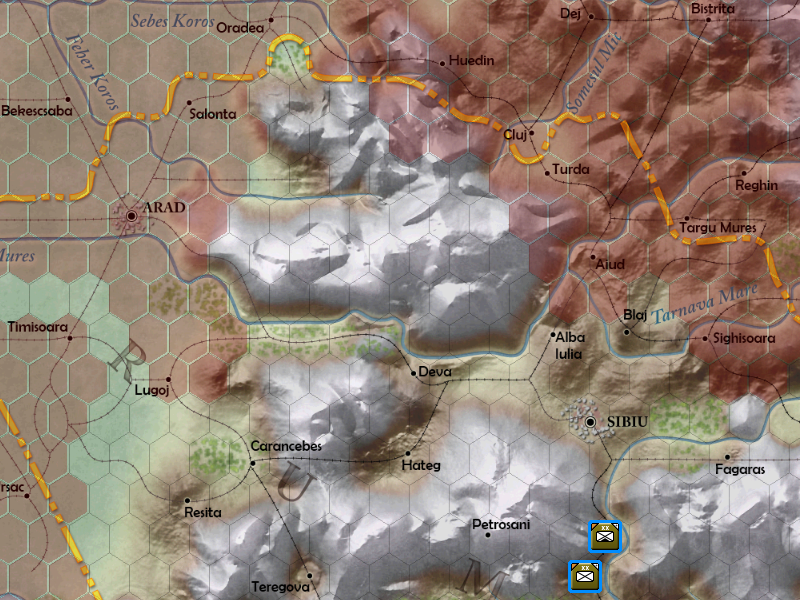
On the Romanian border the Southeastern front continues to push southeast, now aiming to make contact with Hungary. An Italian Mountain division gets encircled rather than assaulted, I'm not interested in fighting mountain formations in this hilly terrain.
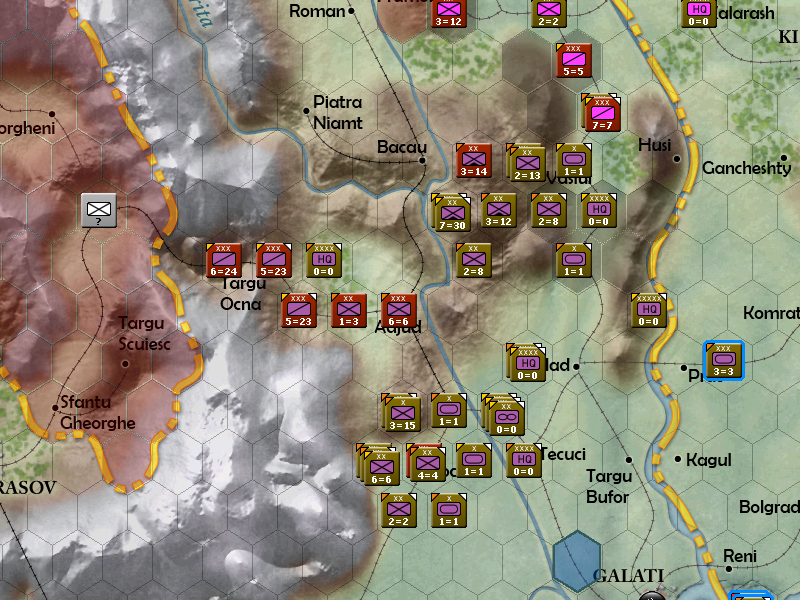
Pushing for the Hungarian border, I'm glad the Transcaucasus front has an excess of mountain divisions because goddamn is this some awful terrain. I'm sending my tank corps back towards Odessa to take a week or two off because they'd be beyond useless in this terrain.
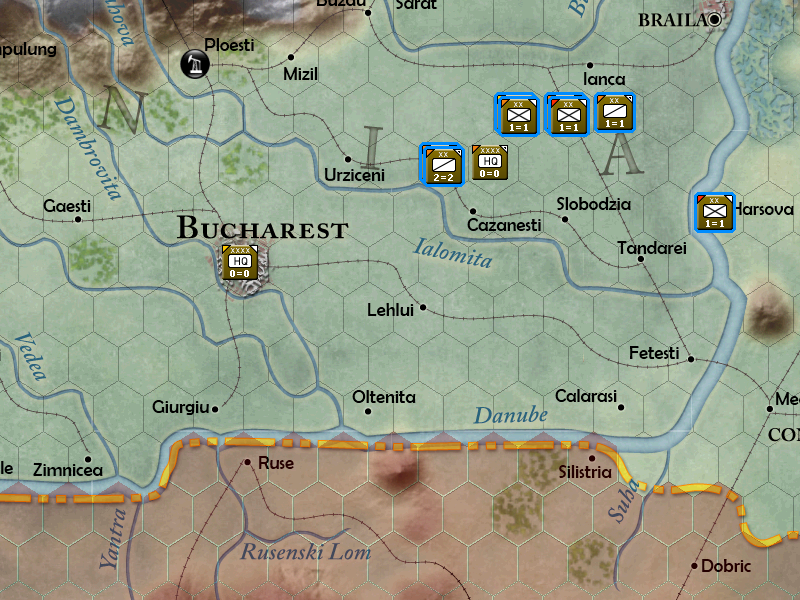
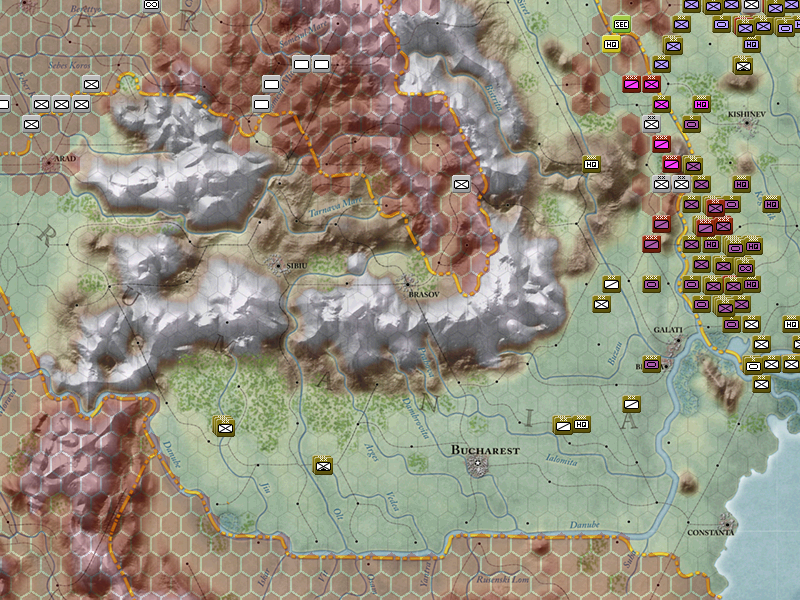
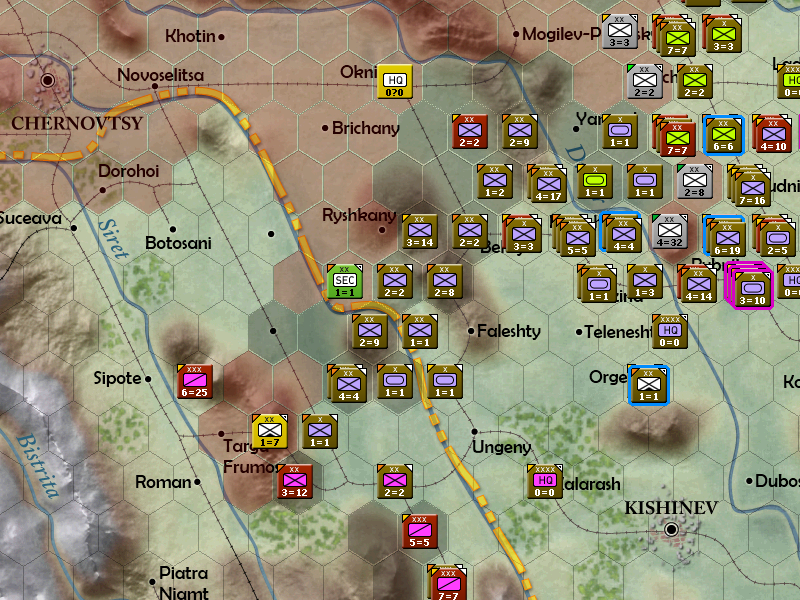
The remnants of the Romanian army are moving in to Bucharest to take a few weeks off. I'm going to be railing in some spare Soviet formations to bolster their numbers before they get shipped off to the front.
There are 5 divisions in the Romanian army I'd rate as ready for combat, and even then just barely. They move to the western half of the country to take control of and fortify the mountain passes leading into Hungary. They're going to have to hold fast for a few weeks before any Soviet forces will make it this far west.
The Mountain division at the bottom left of the screenshot moves into a special hex, the effects of which will be seen once I hit end turn.

The pointless bloodbath in the north continues, you might notice a partisan just blew one of two rails feeding this army. If they manage to blow the other rail next turn this whole army could fall out of supply.
These pockets, unsurprisingly, hold. I may be able to add to the number of encircled Germans here by a lot next turn.
The Germans are pulling back to form a new line in the west. I won't know exactly where until I fly some recon but if I had to guess I'd say there's a picket of regiments out in front with a mobile reserve in the back. That's what I'd do at least.
The Germans are pissed at Romania. Will those 5 divisions be able to hold the Germans back until help can arrive?
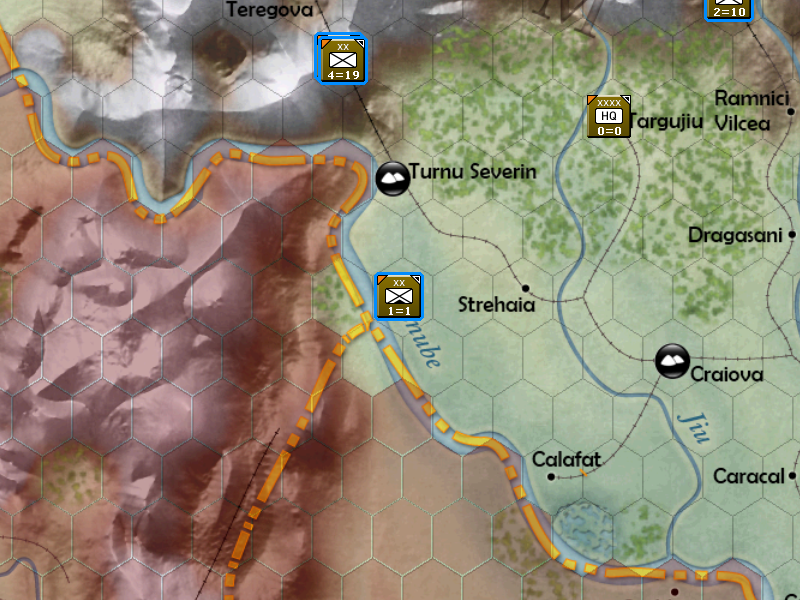
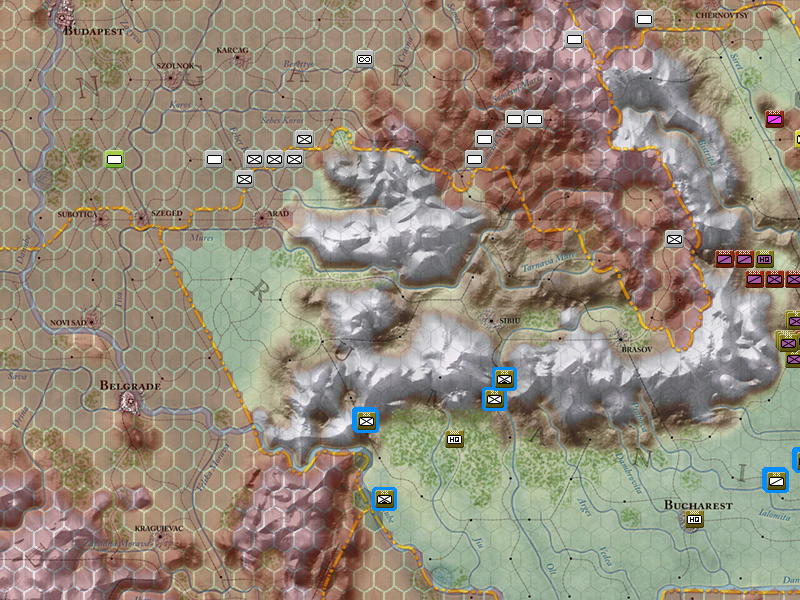
That mountain division I mentioned earlier. This hex is special because it borders both Bulgaria and Yugoslavia. So if you stick a division here you can can force both nations to surrender at once, which is exactly what has happened here. Bulgaria and Yugoslavia become total exclusion zones for both sides, Soviet troops are not allowed to enter either country voluntarily and the Axis are no longer allowed to trace supply or travel through either country. Any Axis forces currently in either country may walk to the border and leave, but they cannot take control of a Soviet hex when they exit - they must travel to German controlled territory.
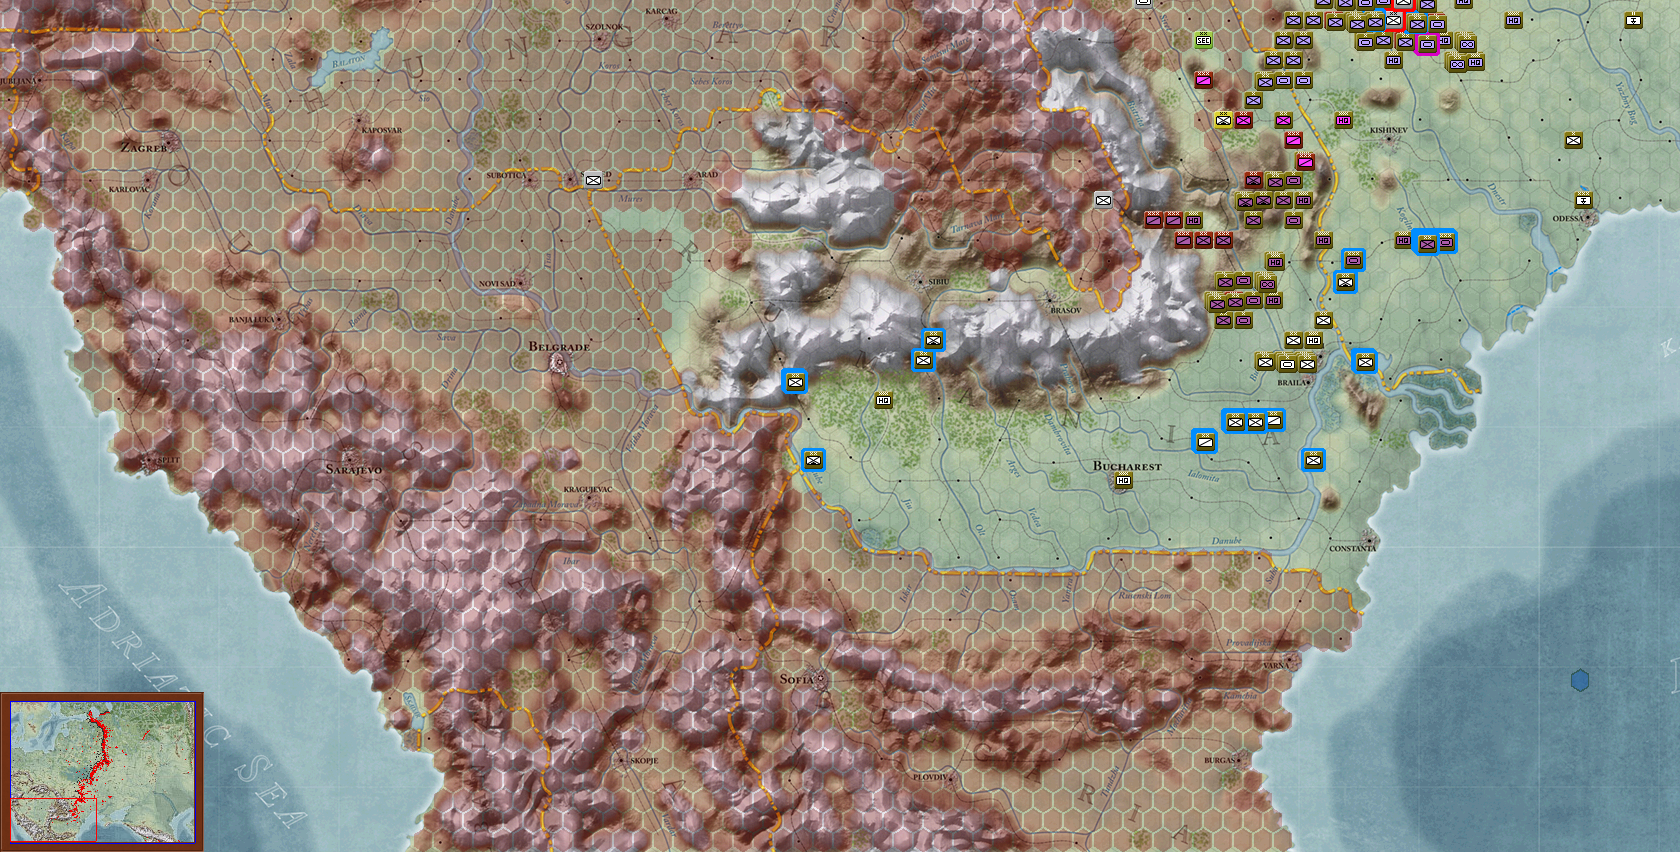
Since I normally crop these out of my large maps, here's what Bulgaria, Yugoslavia and Albania look like in WitE. Bulgaria surrendering doesn't matter either way, it's got garbage terrain and is in a terrible location because I want to start looping around north now. Yugoslavia on the other hand is interesting, their surrender dramatically shortens the frontline down here and forces both sides to vie for control of these mountain passes.
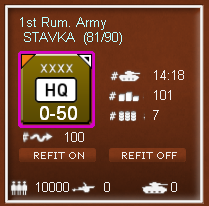
The plan here now is for the Transcaucasus front to push northwest past the Carpathian mountain range and into the clear territory beyond it. The 4th Shock army attached to STAVKA is going to sprint into Romania and try to relieve the 1st Romanian army before it gets overwhelmed by the Germans coming in from the north in the western half of the country. I've also got a bunch more spare divisions railing down from Moscow to fill out the other 2 Romanian HQs I've got, there's just not enough Romanian counters to go around right now.

German tank numbers are really starting to recover but it is far too little and way, way too late. I'm destroying far too many German counters on a weekly basis for them to maintain the line, the armies north of the Pripyat marshes are already starting to crack and it's not even October yet. 4 turns of mud is not going to be enough for the German army to prepare for 17 turns of snow and blizzard.