Part 62: Operational Report: 06/02/42


Once more the captains of the Royal Navy achieve the impossible, and after surviving yesterdays air attack unscathed, they have come across the carriers at night, having plotted exactly the right intercept course.
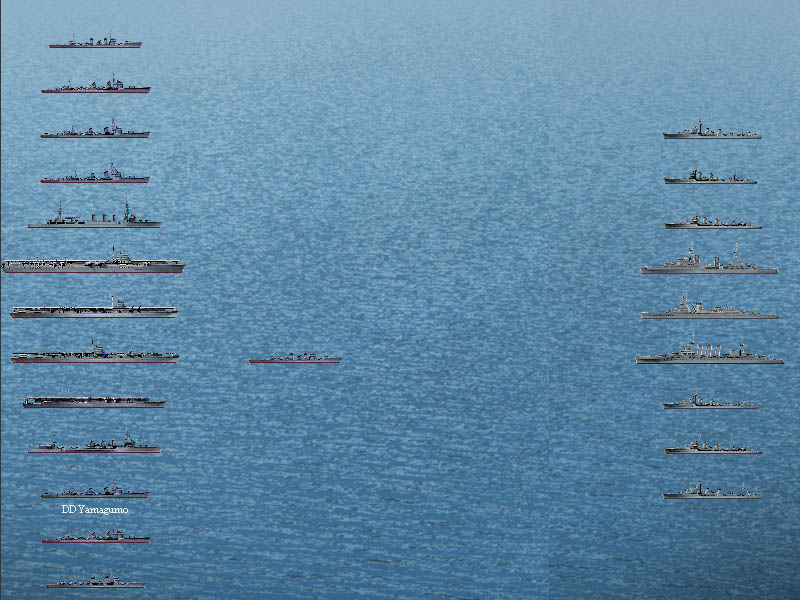
Surprised once more, the cruisers and their destroyer escort cross the T, and start slamming fire into the Japanese ships. I was almost right with my estimate a few days ago of two fleet and one light carrier, I underestimated by one fleet carrier.
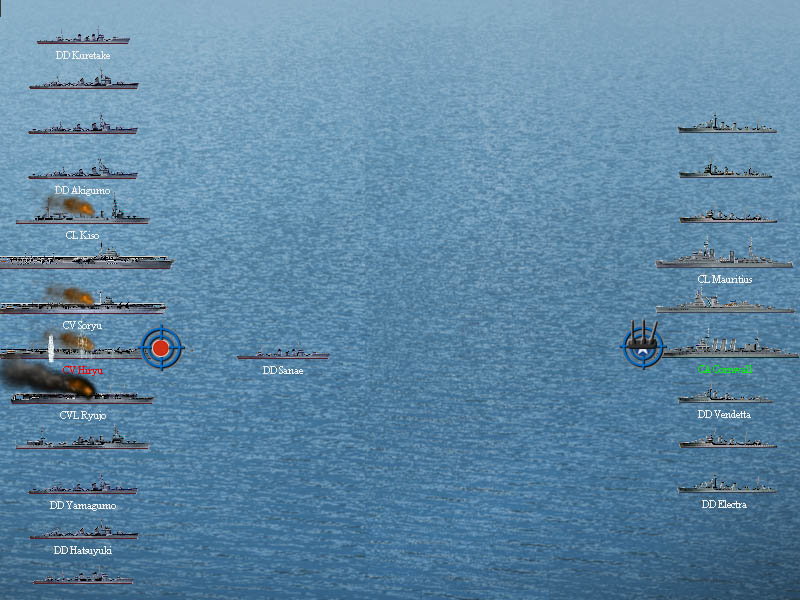
Targeting the carriers, most of the damage is once sided, and several hits are scored on the enemy ships, the Ryujo takes engine damage and there are internal explosions seen aboard the Hiryu.
Then the Vendetta gets ahead of the main force, and takes three torpedo hits in rapid succession and sinks.
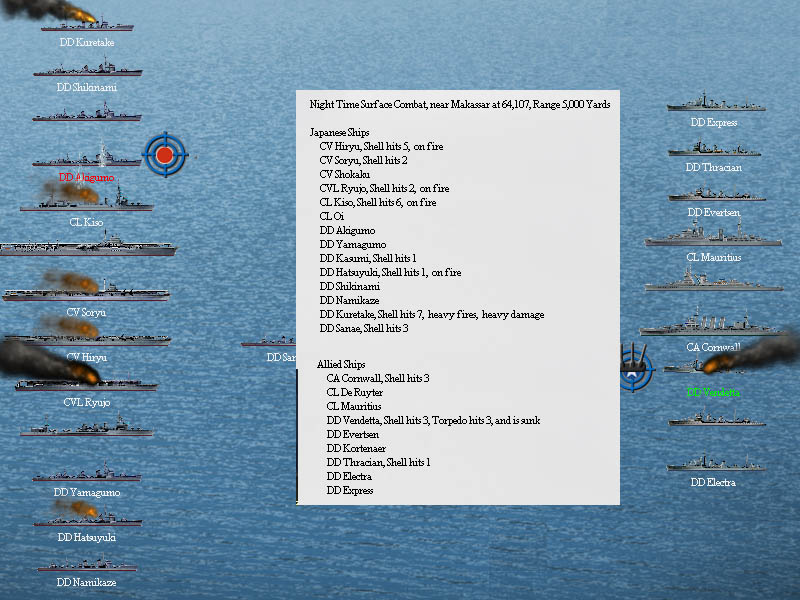
The two forces then break contact, three of the five carriers are on fire, as are two of the three cruisers and two of the destroyers.
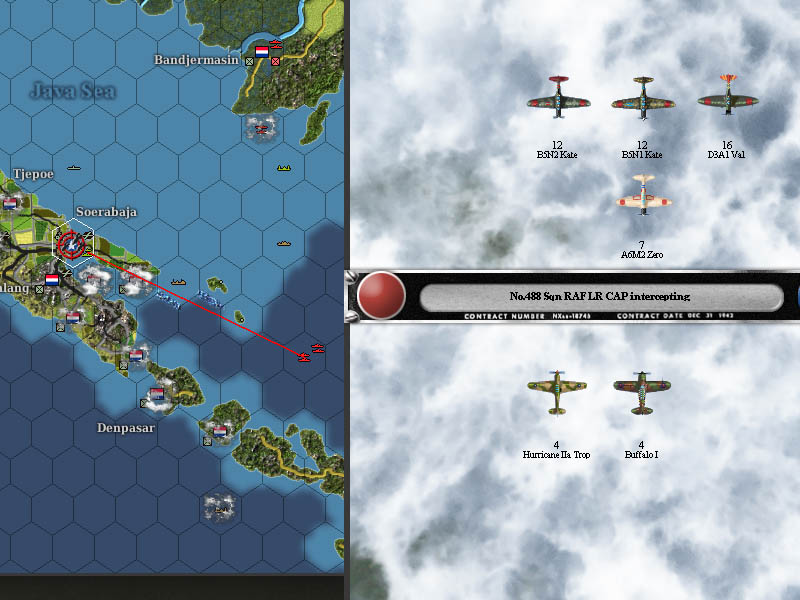
This is not enough damage to stop them from launching a strike at Soerabaja though, and soon planes are roaring over the harbour.
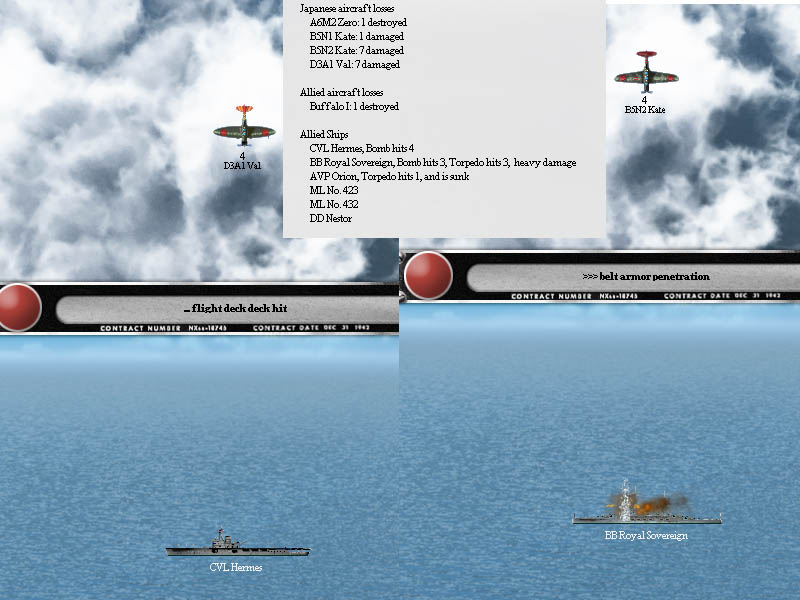
Unfortunately for us, it seems that not only is the Hermes in port for some reason, but the battleship HMS Royal Sovereign has finally reached the front – just in time to get three torpedoes into her side.
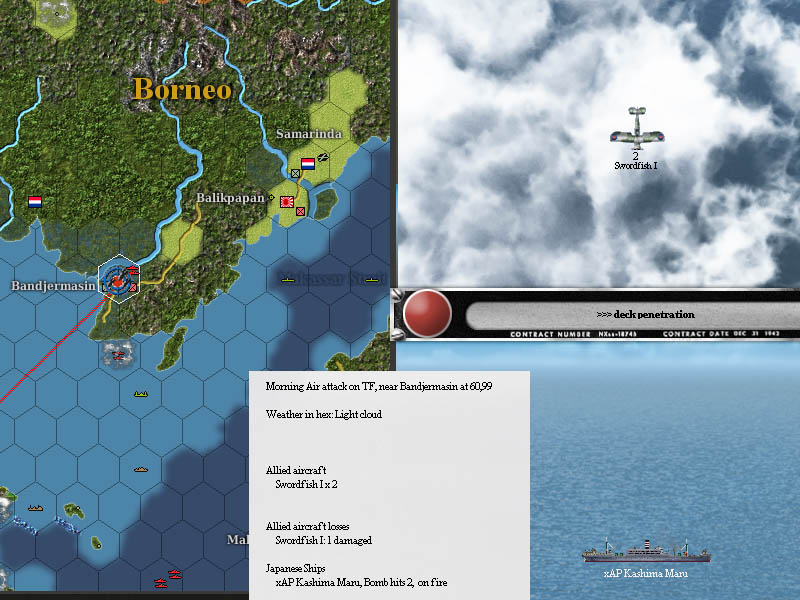
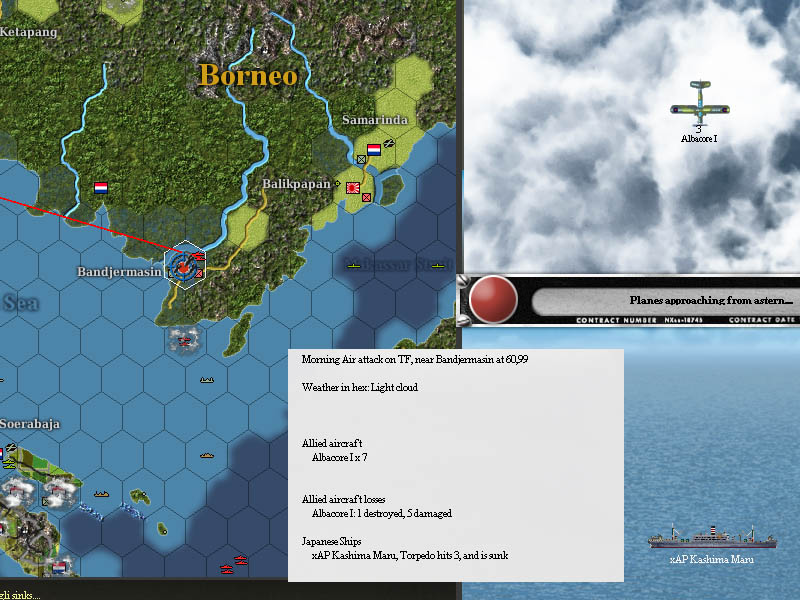
The Swordfish from Soerabaja decide to continue to raid the enemy convoy attacking Banjermasin, rather than the better defended carriers.
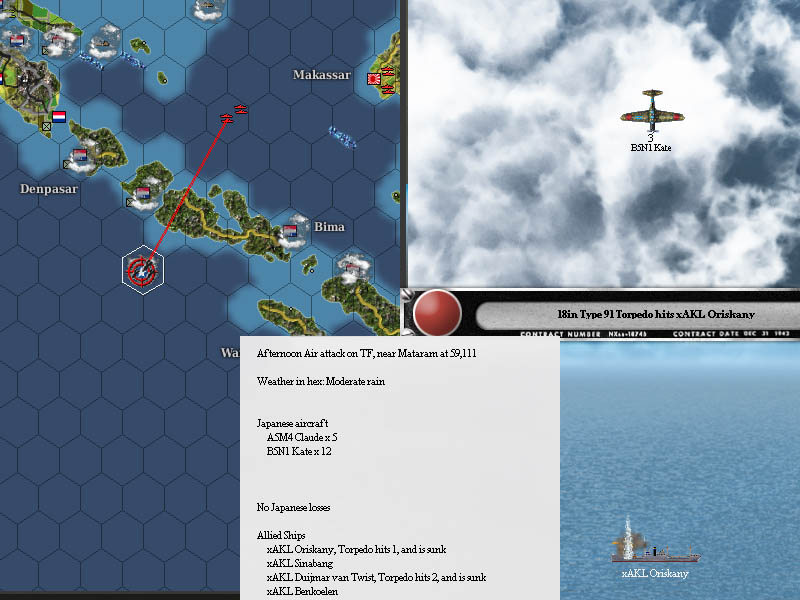
Another strike from the Japanese carriers hits a convoy on the far side of Java, sinking three of the ships.
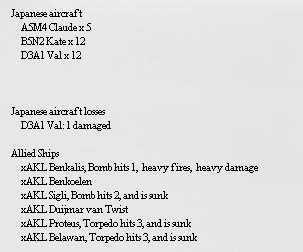
we also have another strike on two patrol ships fleeing Balikapapan, sinking both.
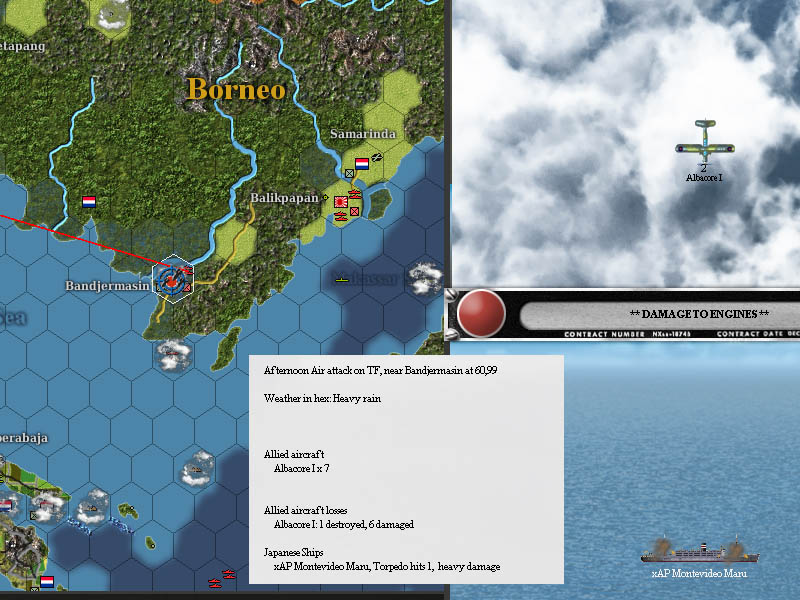
The Indomitableis where she is supposed to be, and does strike at Banjermasin.
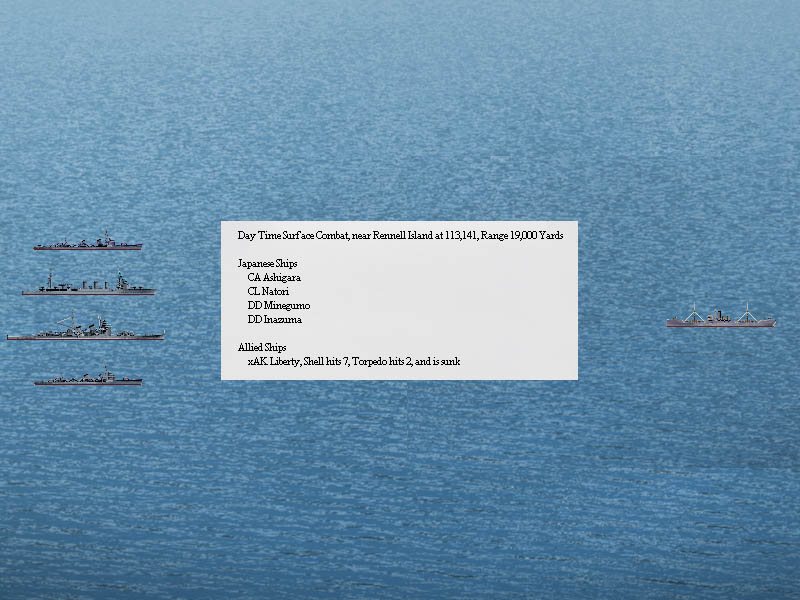
South of Tulagi, two Japanese cruisers and two destroyers find a lone ship. What the Liberty was doing on her own out there I have no clue. But her fate is sealed.
Then the afternoon rolls around, and the Japanese planes once more accelerate off from the carriers, and over Soerabaja, this time they strike at the smaller ships in the harbour.
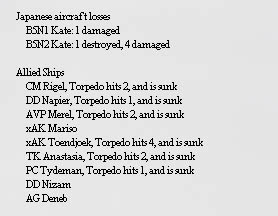
This is a slaughter. We lose six ships in this raid alone. We also lose two tankers outside of the harbour. Then the enemy launch another raid at the shipping on the “safe” side of Java.
The Indomitable Strikes again, and another ship takes a torpedo hit.

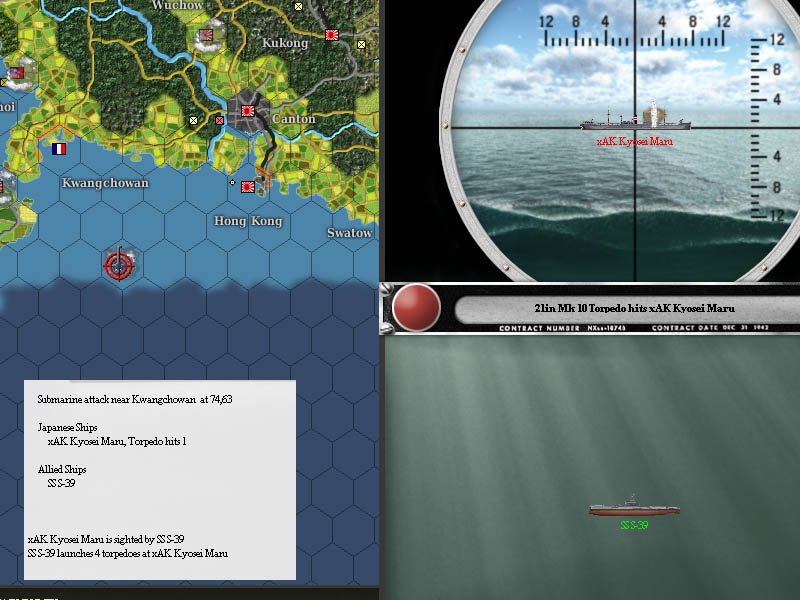
The S-39 is having a good time, as she hits another cargo ship just south of Hong Kong. Its almost worth me going back through my records to see what tonnage she has claimed, it must now have exceeded the Dutch KXVI – who has been noticeably quieter.
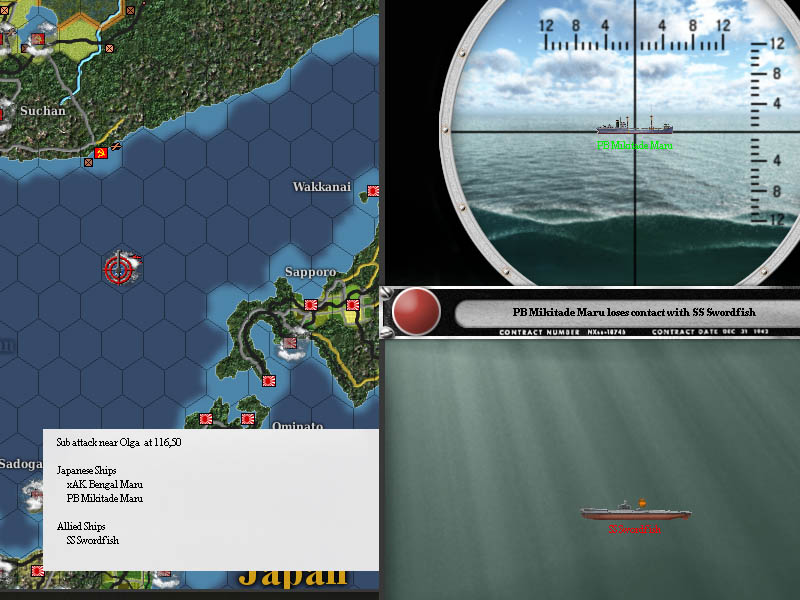
In the Sea of Japan, the Swordfish hits a cargo ship with a dud torpedo, and then has to avoid the destroyers that are escorting her. There are a few near misses from the depth charges, but the Swordfish is never in any real danger.
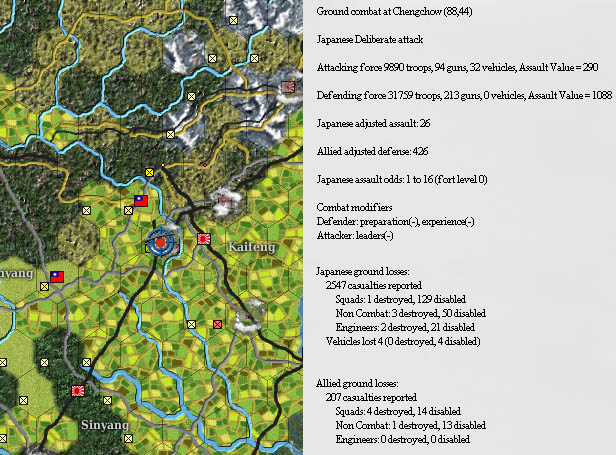
At Chengchow, the enemy take heavy losses trying to take the city.

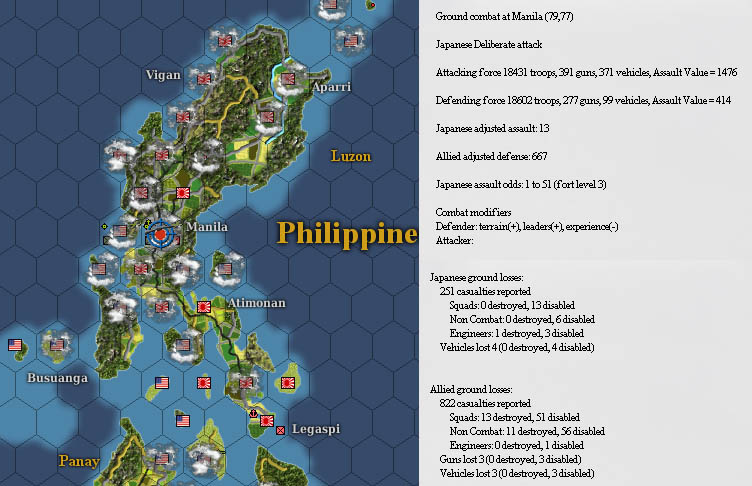
The skies are clear over Bataan and Manila today, but on the ground the defenders of the Capital are forced back slowly but surely.

As if everything else that's going on today isn't bad enough, the enemy have reinforced Luganville.
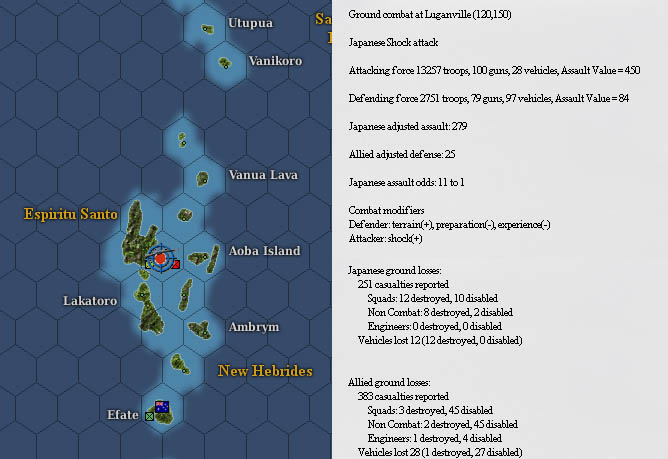
They now massively outnumber our men, and I'm going to have to send reinforcements.


Well, at least we're having constantly bad days. There's nothing worse than a mix of good and bad days.
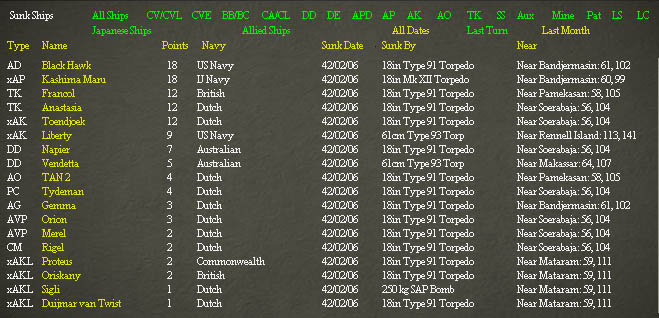
At least most of the ships we have lost today are small ones, but the two destroyers and the two tankers are going to be a hurt in the long term.

The only good news is the arrival of another British Battleship, the HMS Revenge.
That seems like a fitting name after today. She will be sent to Sidney, as I'm not risking anything into Java right now, and I should really start spreading my ships around somewhat.

You know things are bad when as soon as you load up a ship screen, you are greeted by sirens and the sounds of rumbling.

All I can say is thank god that she's in port, otherwise we would have just lost the Royal Sovereign. she's massively flooded and only just above the water.
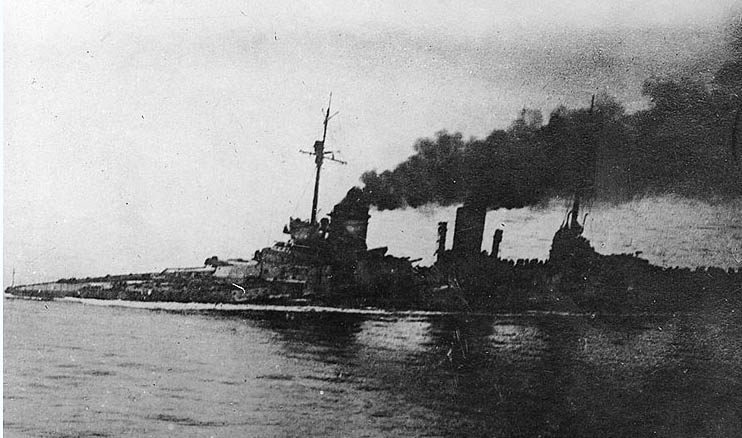
Yes, I know this is the Seydlitz after Jutland, but you get the image I'm going for.
She can't be fully repaired here, but we need to pump as much of that water out as possible.
The Hermes on the other hand, is actually fairly well off.
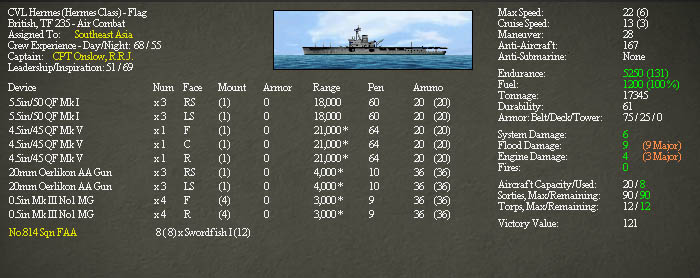
That major damage is from the previous damage, so the ship has taken very little damage from its two bomb hits. So the designers who decided on a metal flight deck must have known something about what they are doing.
I have sent Task Force 110 back in to attack the carriers, and I'm having to do something that is very difficult for me.
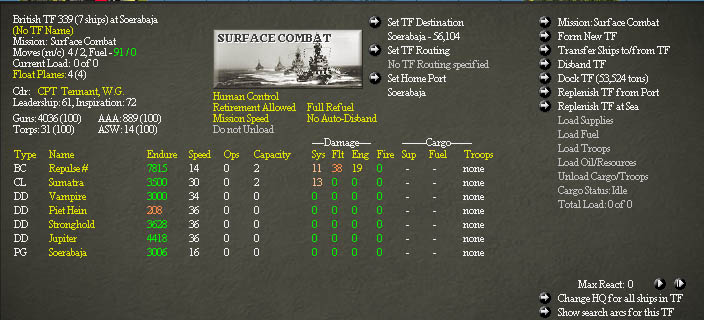
The HMS Repulse is about as repaired as she is going to be, and she is a sitting duck in the harbour, so I've thrown together all the decent warships and sent them out, one more death or Glory charge to engage those carriers before they can strike at us once more.
The Hermes and the Indomitable are also being moved into range. Its all or nothing tomorrow. I can't get any of these ships to safety, so we're going to have to cross our fingers.