Part 68: Operational Report: 12/02/42


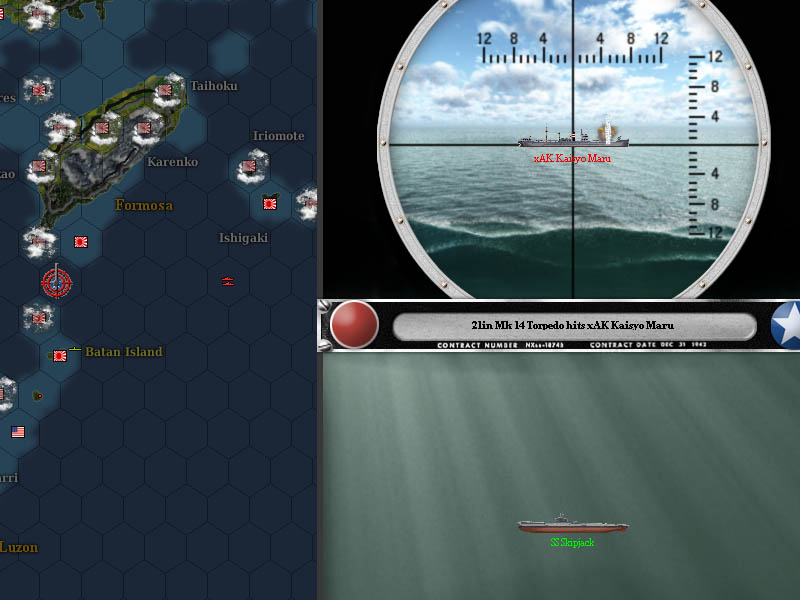
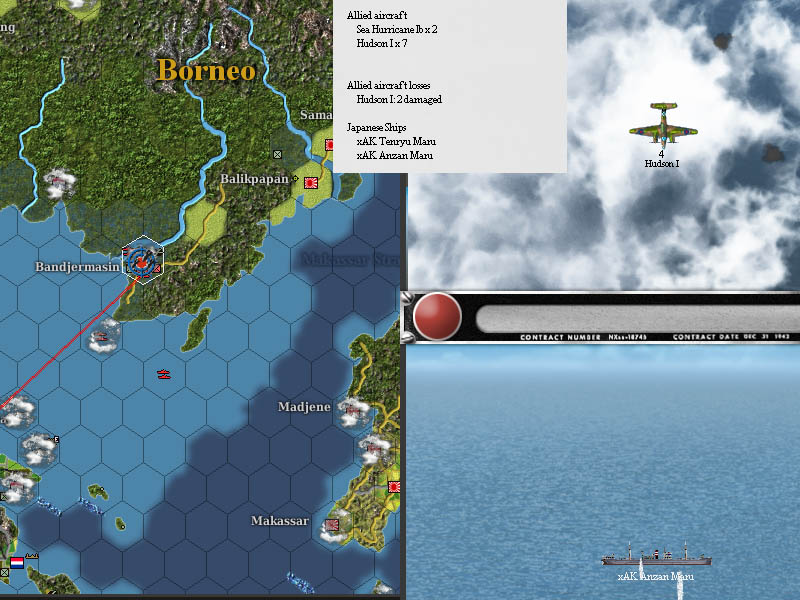
The Skipjack opens up the day by putting a couple of fish into a passing ship.

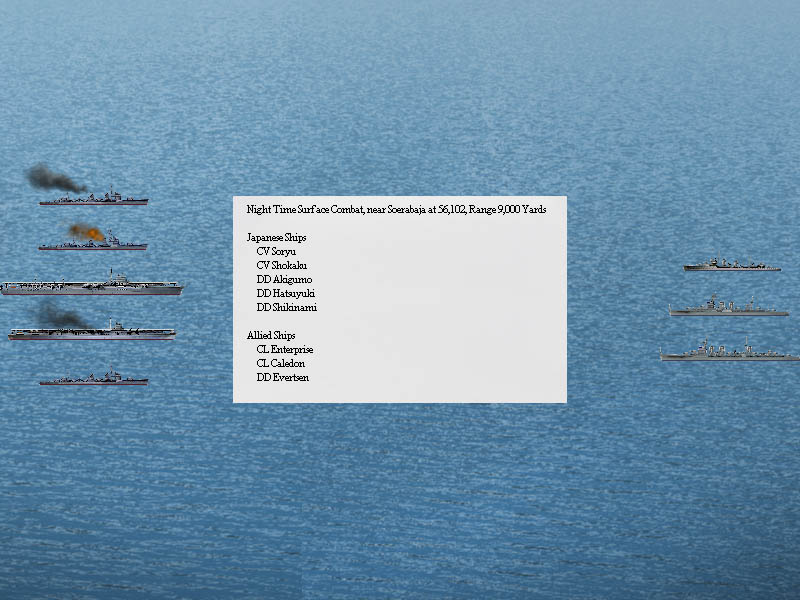
Gordon once more finds the Japanese carriers, but for reasons unknown, he does not engage them, despite having the advantage in guns.
The Dolphin, a sub that we have not heard from before, gets to feel the thrill of a dud bouncing off a valuable tanker. Welcome to the dud club.
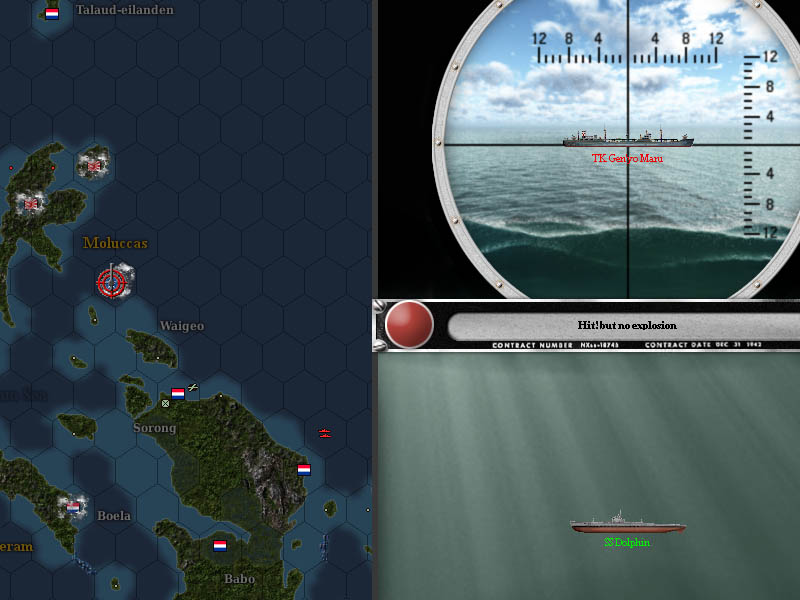
This is a real shame, as sinking a tanker at this stage would help to cripple the enemies ability to move fuel around, and if we can do that, then we can make all those carriers stay in port, giving us some freedom.
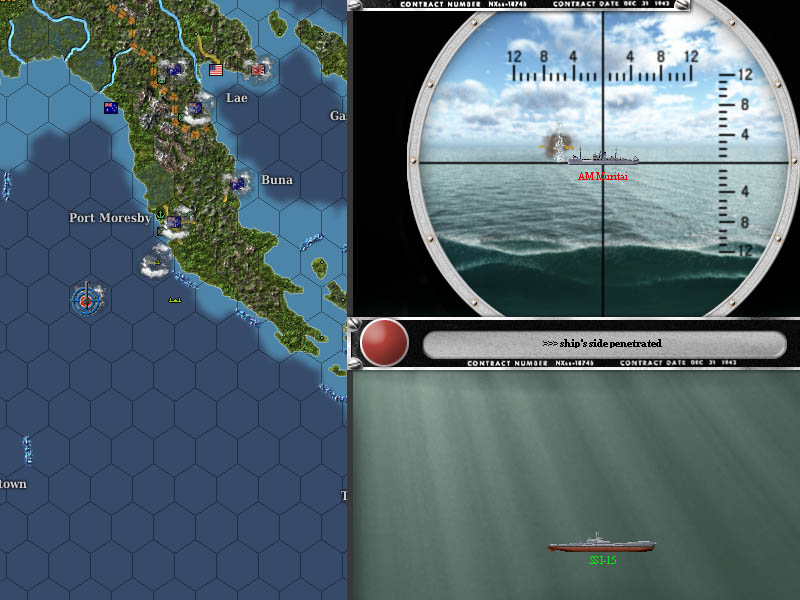
The I-15 continues its practice of hunting down the ships sent out to hunt it, putting two torpedoes into another small ASW ship.
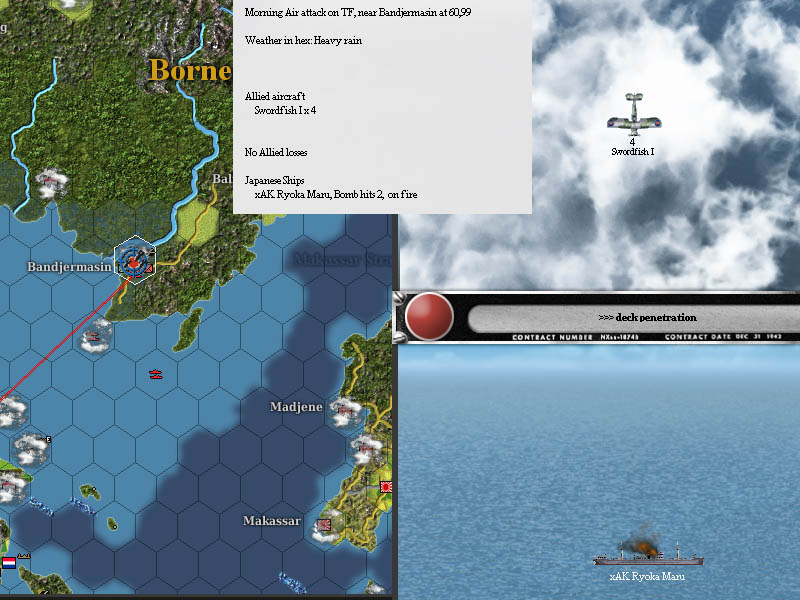
The bombers out of Soerabaja send another mission to Bandjermasin, where the enemy are bust unloading large numbers of troops. They are unable to score any hits however.
Although the Swordfish follow close in behind and are more successful.
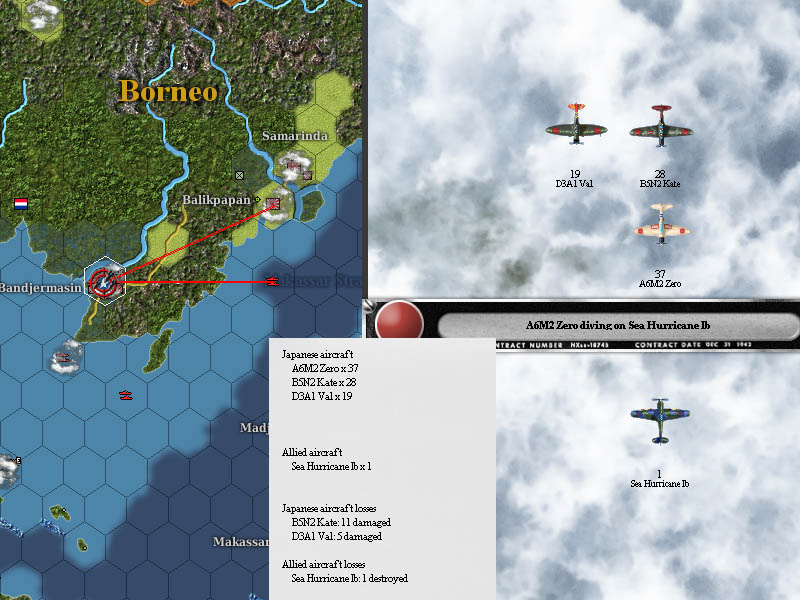
The enemy carriers have moved off north, and support the strike at Bandjermasin.
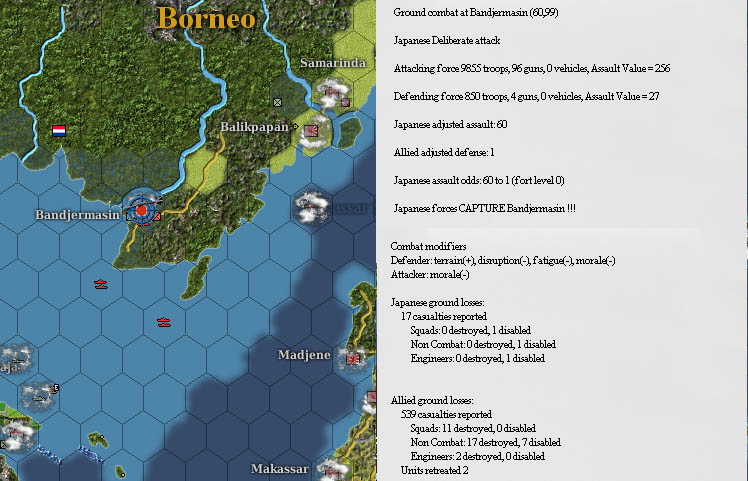
on the ground, the troops are rapidly outnumbered and forced to surrender.
Over at Port Moresby, the dive bombers get a chance at action today as the enemy try and land a task force at Lae.
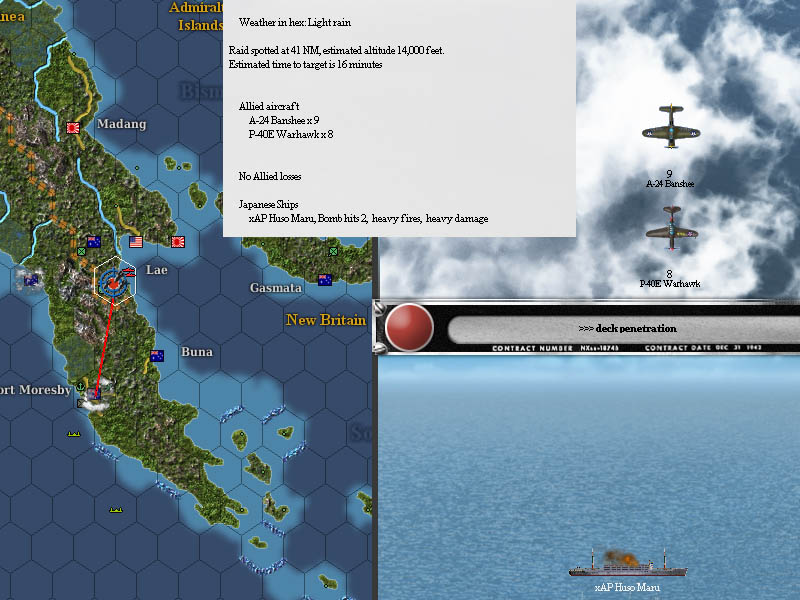
Casualties are estimated at around 50 men. Another wave puts another two bombs into the ship for another 150 or so casualties.

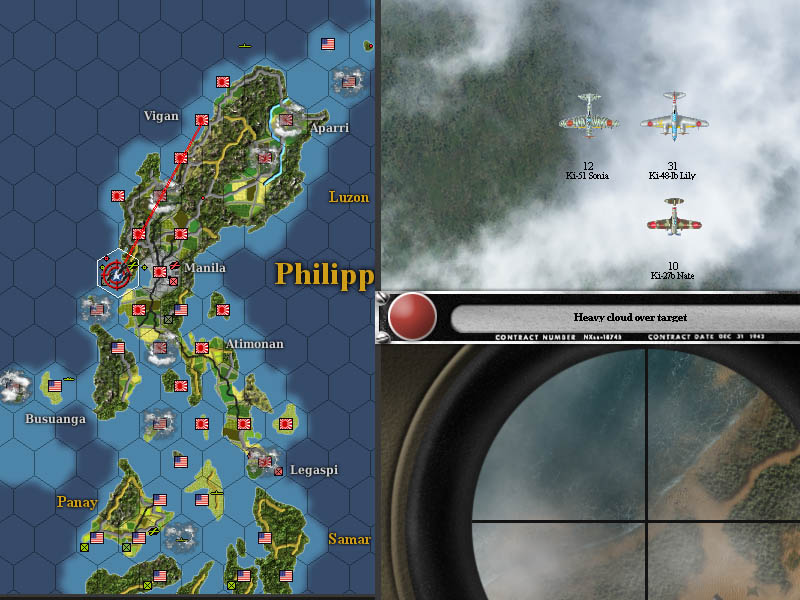
Battan is now the sole focus of the enemies bomber attacks.
But the soldiers there are used to that by now.

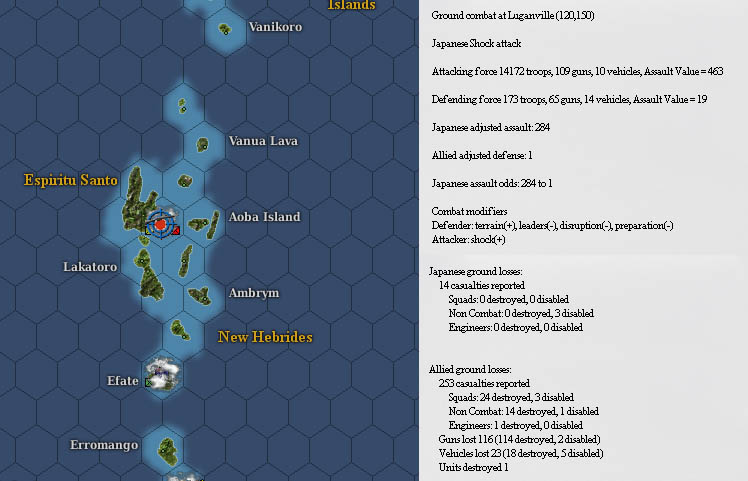
Luganville falls today, as predicted, there are nearly 15,000 men in the area, and I'm going to need to pull a good number of men together to combat this.

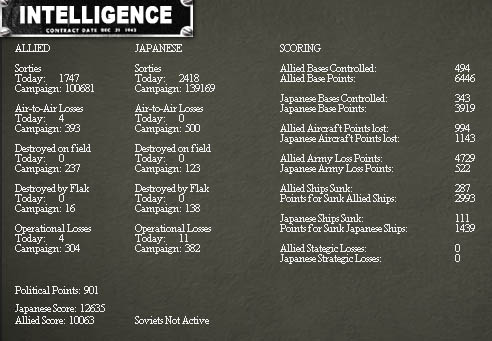
At last! A quiet day!
Our losses amount to few planes and some small patrol ships. We lost a couple of bases in the Dutch East Indies, but there are so many its not worth reporting them all.

Finally, we can get the troops loading for the attack on the Marshall Islands. This is going to take a few days to load, as well as all our transports in Pearl Harbour.
As some people may have noticed, this is a few days later than originally planned, but this is only because I miscalculated the movement of the large troop convoys shipping troops from the mainland to Pearl, but they are all here now, and boarding will begin tomorrow.
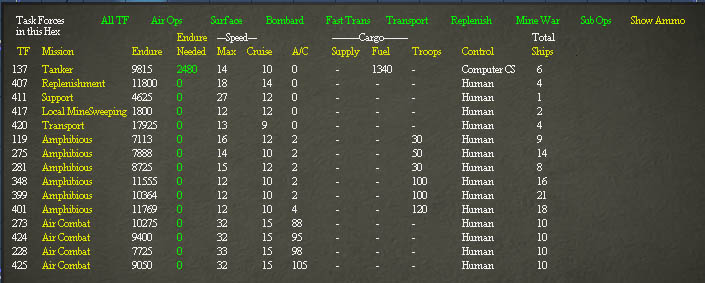
As you can see, I'm hoping that these small islands will be lightly defended, so I'm hitting them all at once so the enemy cannot reinforce, a second wave of troops will follow to clean up any strong points.
I have six different task forces, five have a battleships and a number of destroyers attached as escort, the last has a cruiser in place of a battleship.
The four carriers will cause as much havoc as possible, and there is a replenishment convoy going out to refuel any ships that need it.
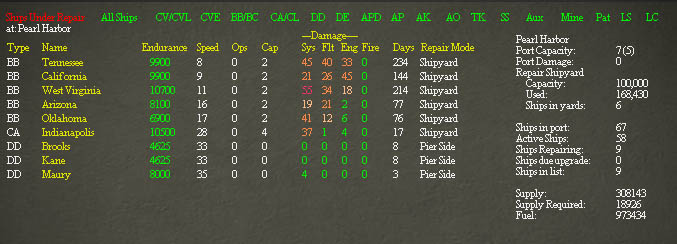
Just out of interest, and as we've not looked at them since the dark days after the attack on Pearl Harbour, here is the state of the ships damaged in the attack.
We're not going to be seeing the Tennessee or West Virginia for a good long time yet, but the Arizona and Oklahoma should be ready in a few months.