Part 73: The Avatar And The Emperor: The Final Insult (Part 2)
And then when you’re done with all that, you’re given the option to save your progress. This was sort of a necessity when playing online because like everything Level-5 did for this game, GeoNet was also very half-assed and tended to crash at least once a day leading to regular loss of progress for those who aren’t saving religiously after each mission.
I wasn’t at all sad to see GeoNet taken out back and shot by Sony, FYI.
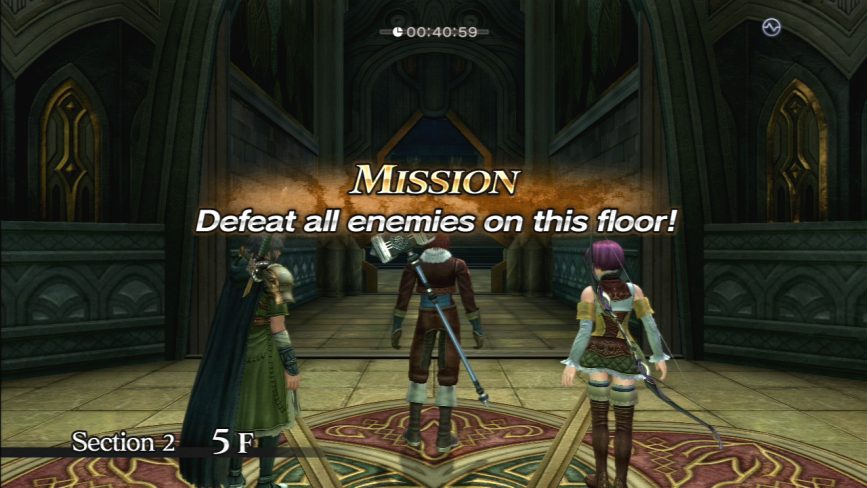
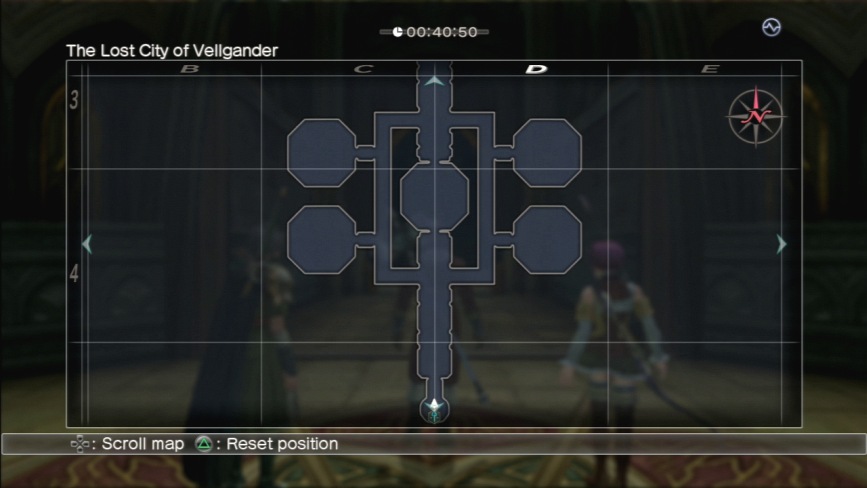
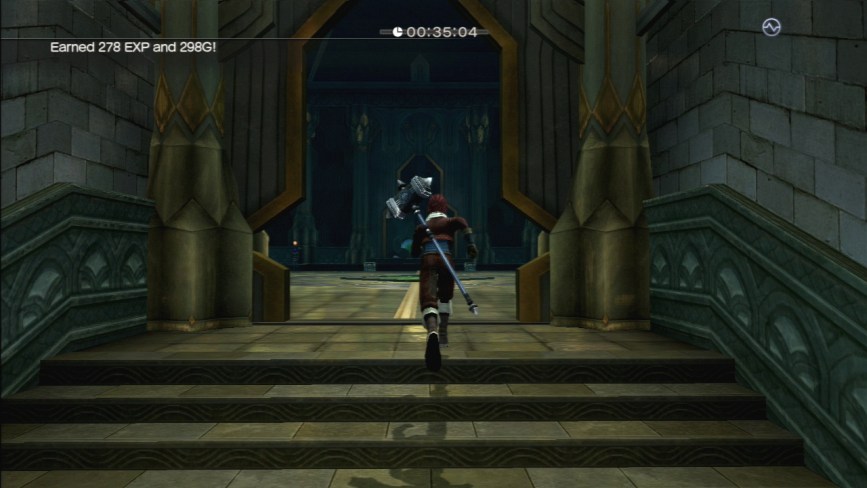
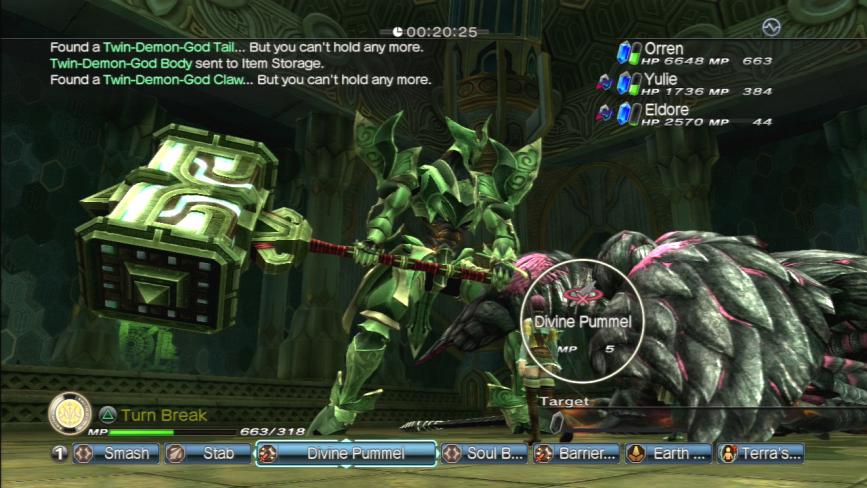
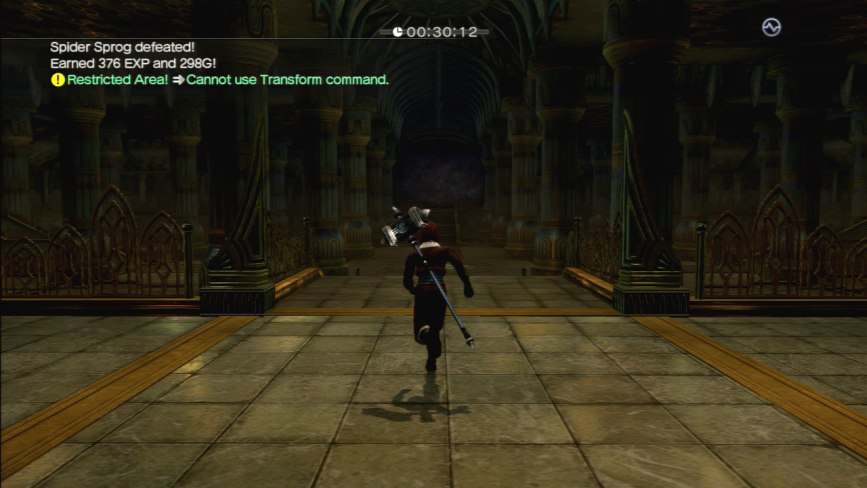
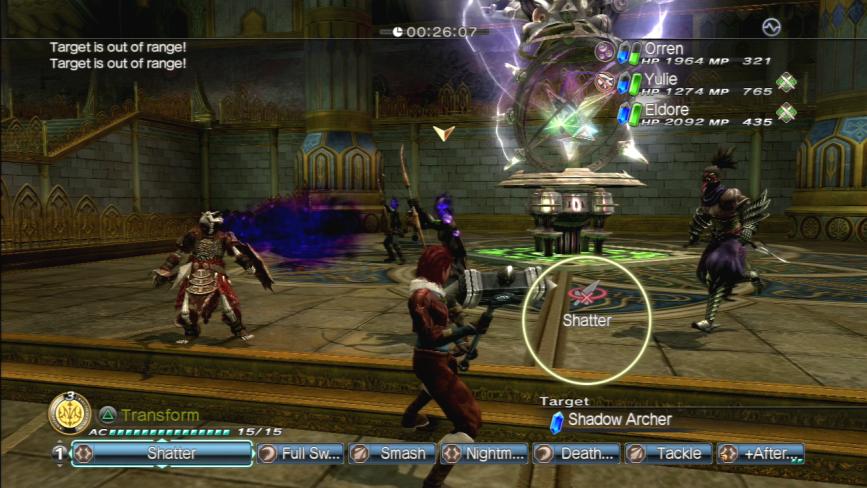
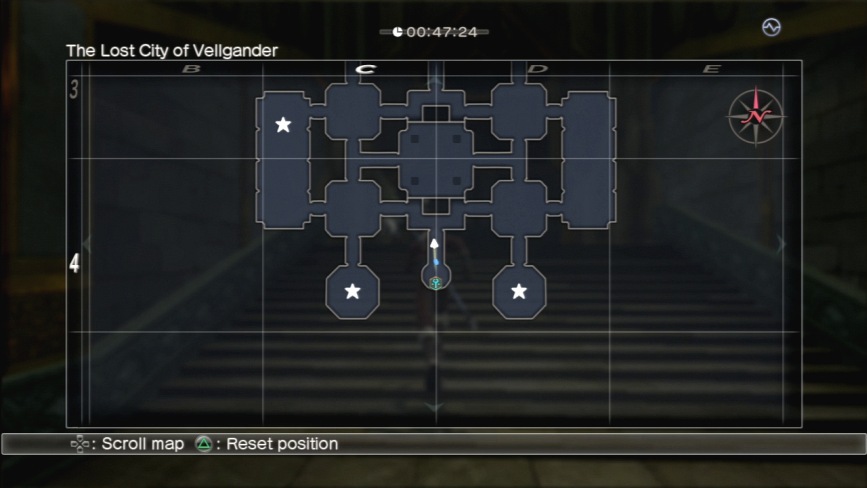
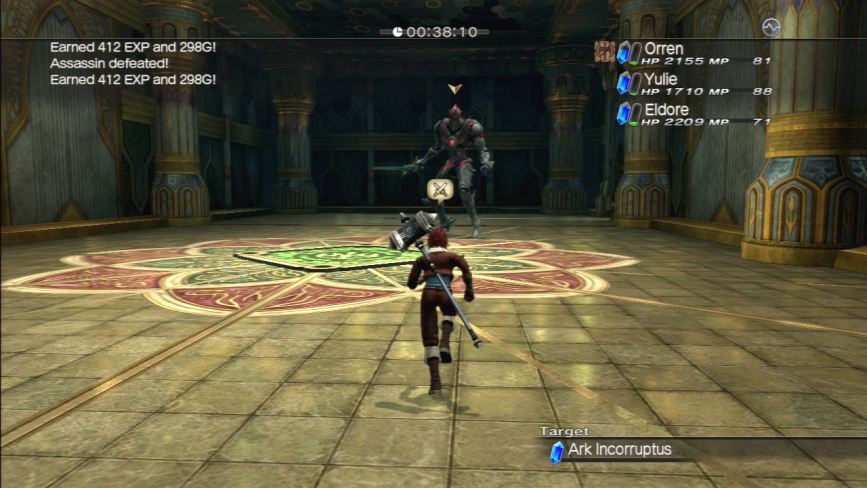
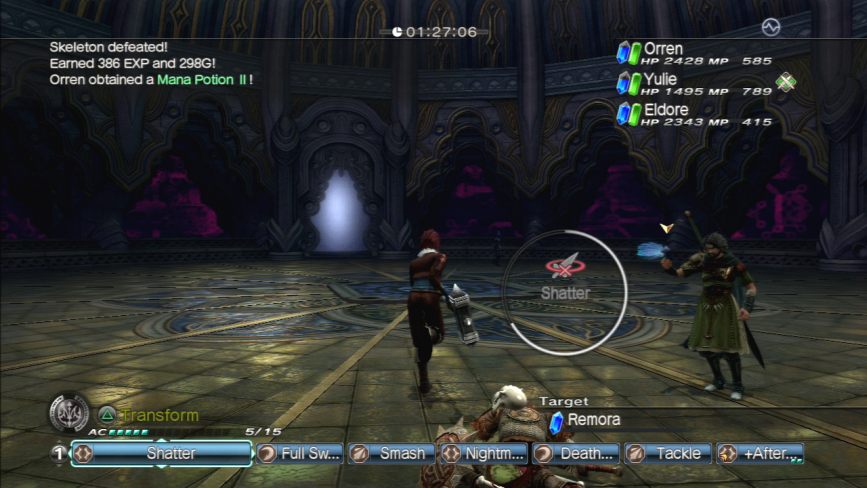
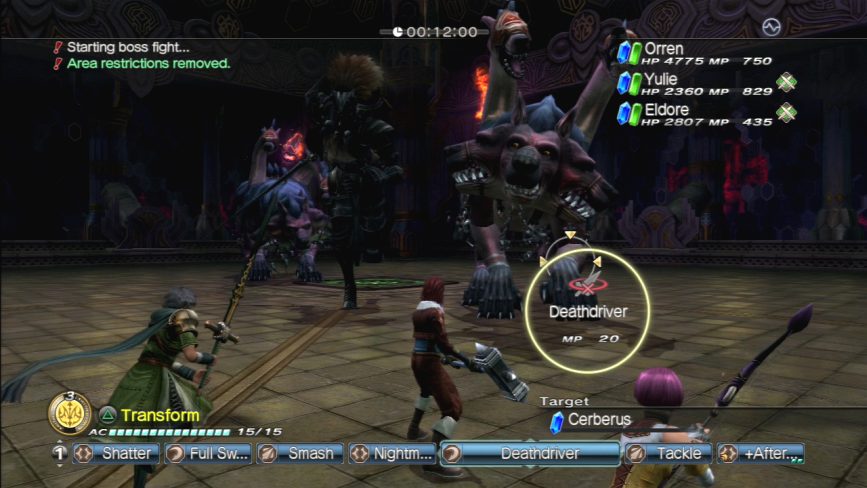
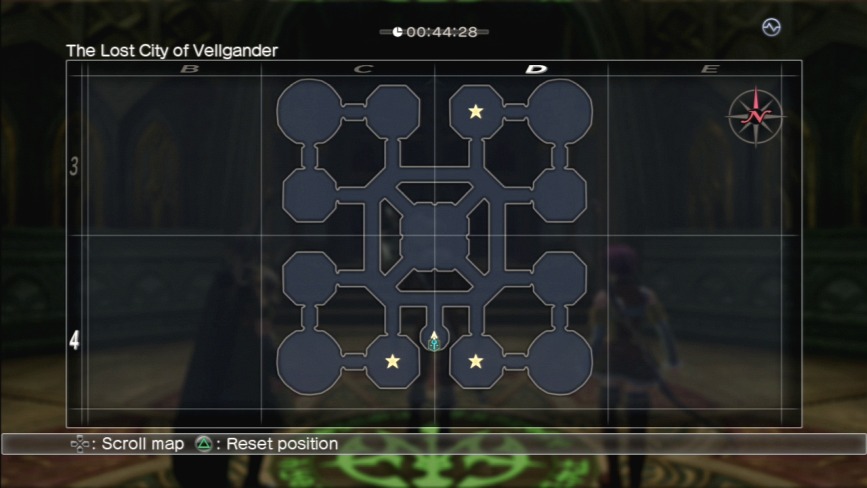
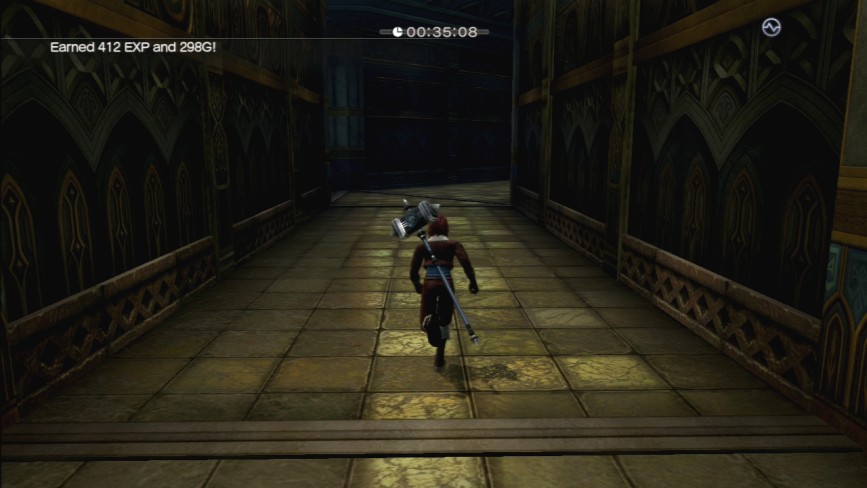
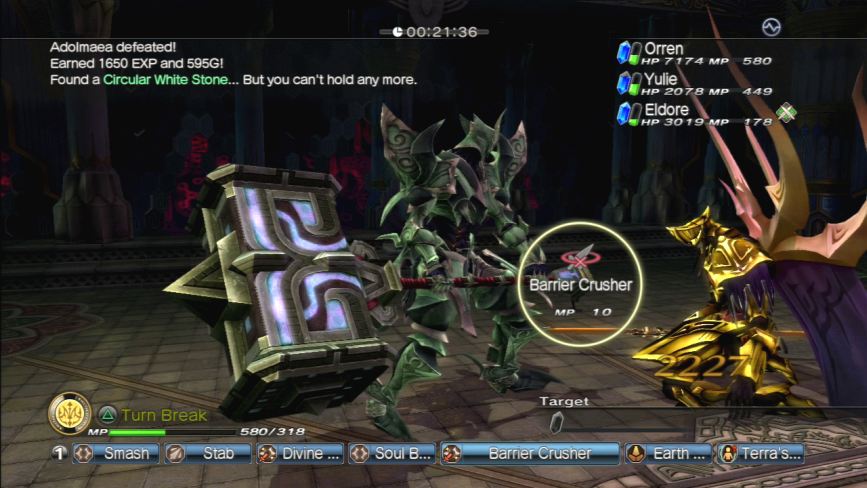
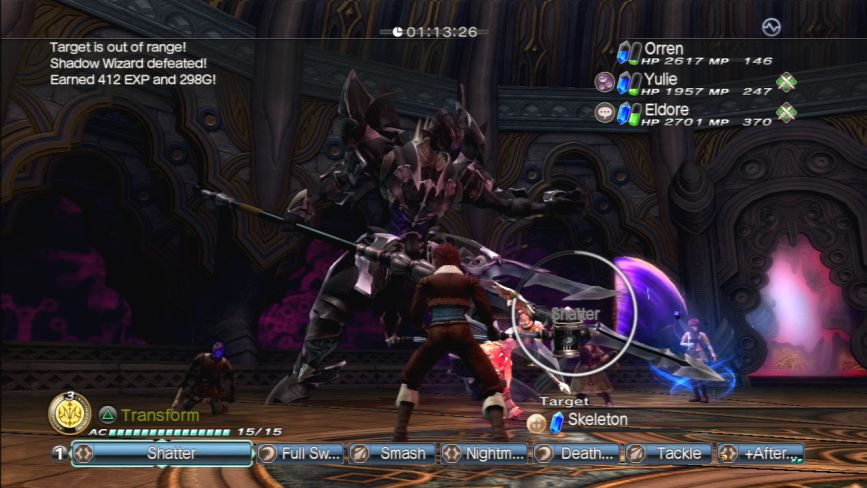
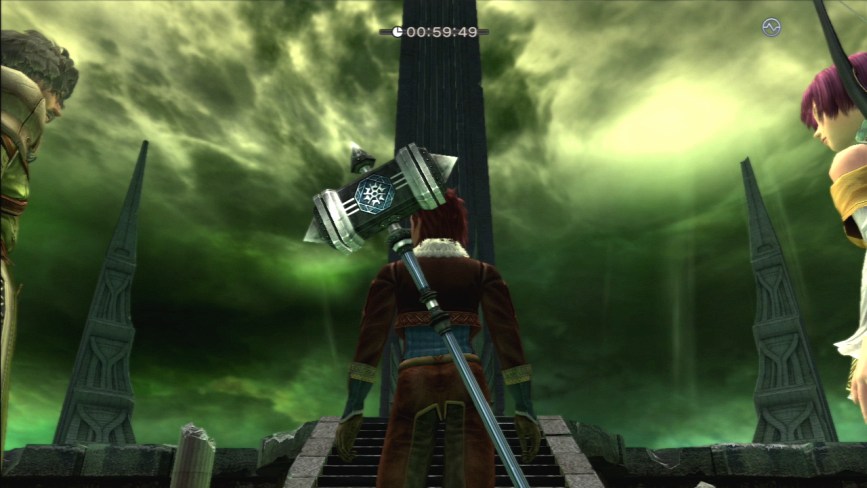
So here we go with floor 5 of section 2, and it’s a defeat all enemies floor.
I hate kill all enemies floors because most of the enemies on these floors are Skeletons, which take a long time to kill.
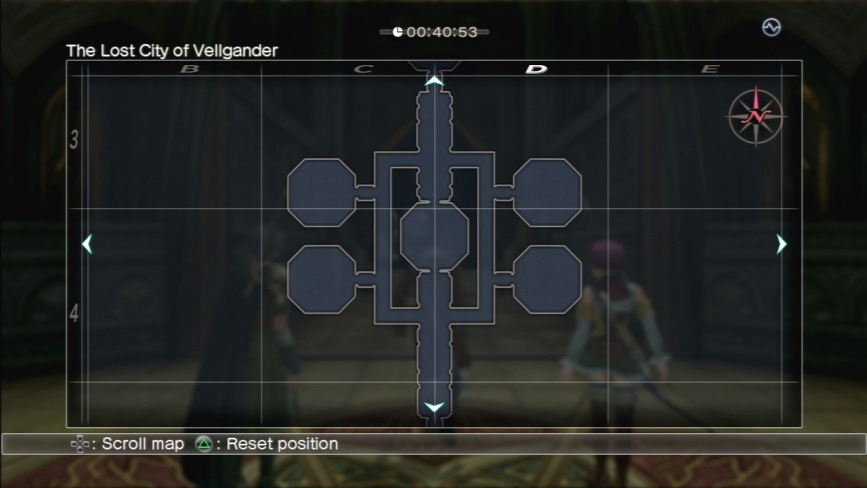
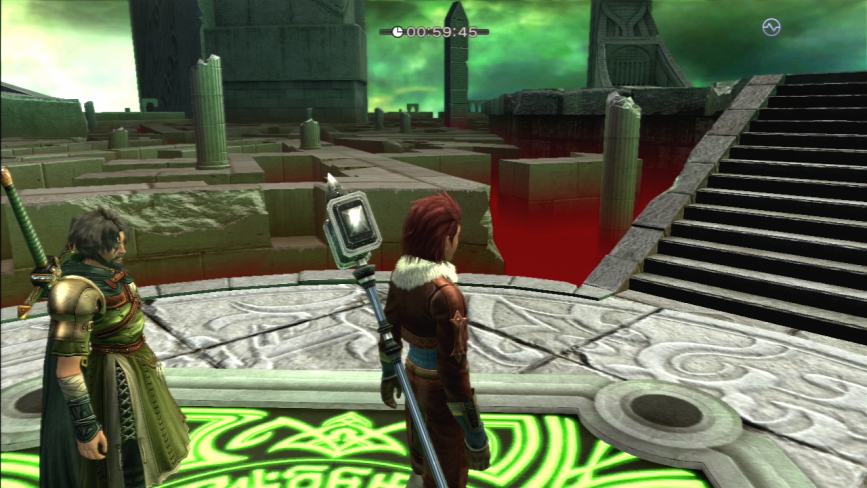
Here’s a map of this floor variant.
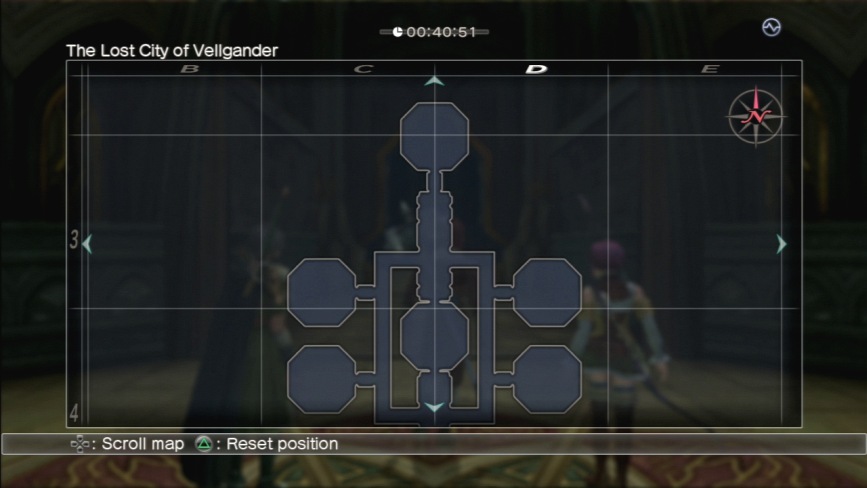
Six rooms connected by long hallways with a Logic Stone at the bottom of the map.
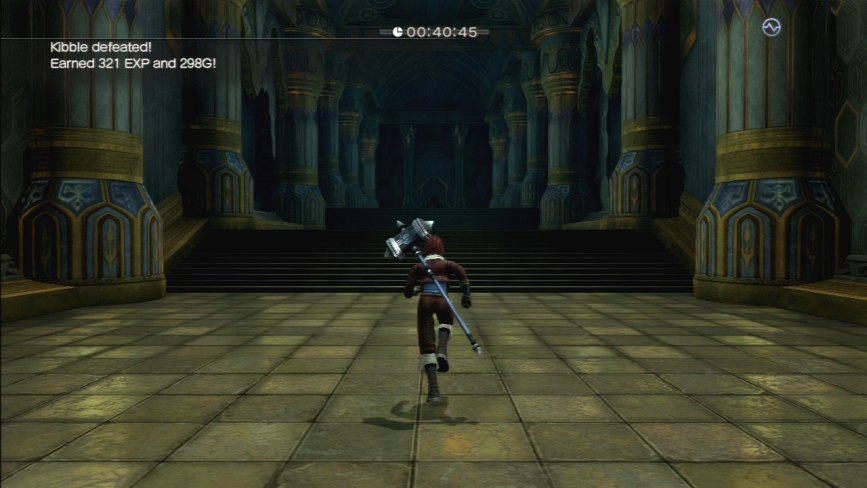
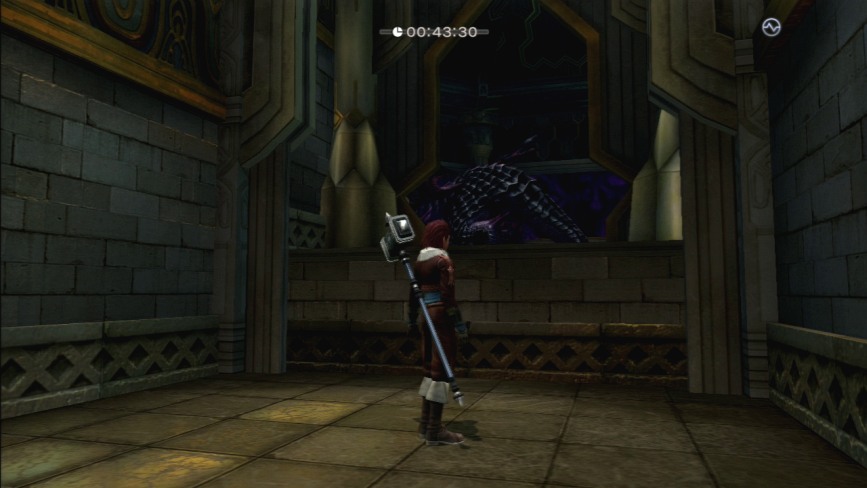
Time to mess up some zombies.
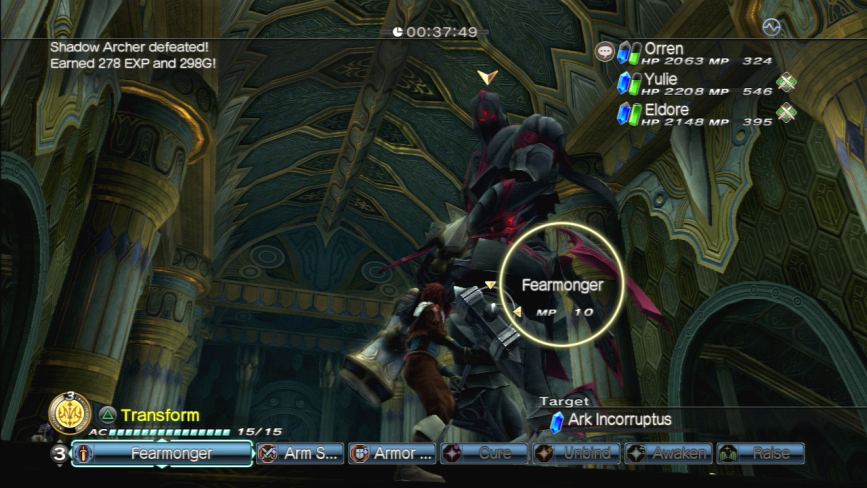
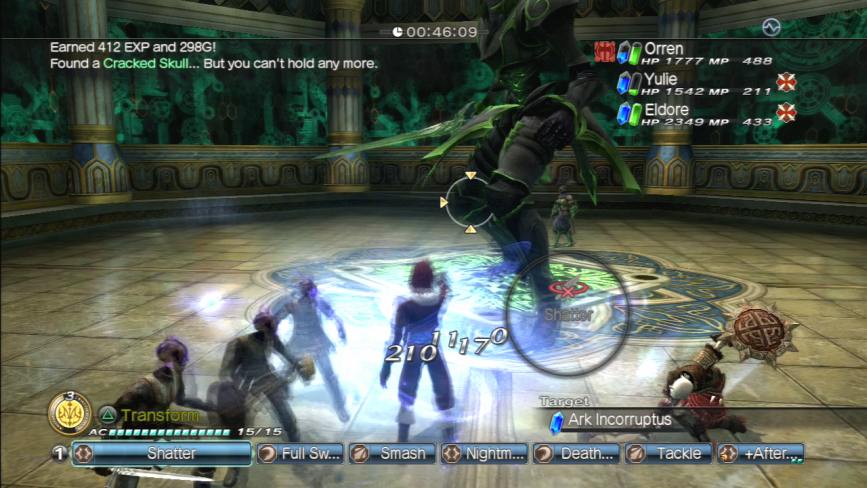
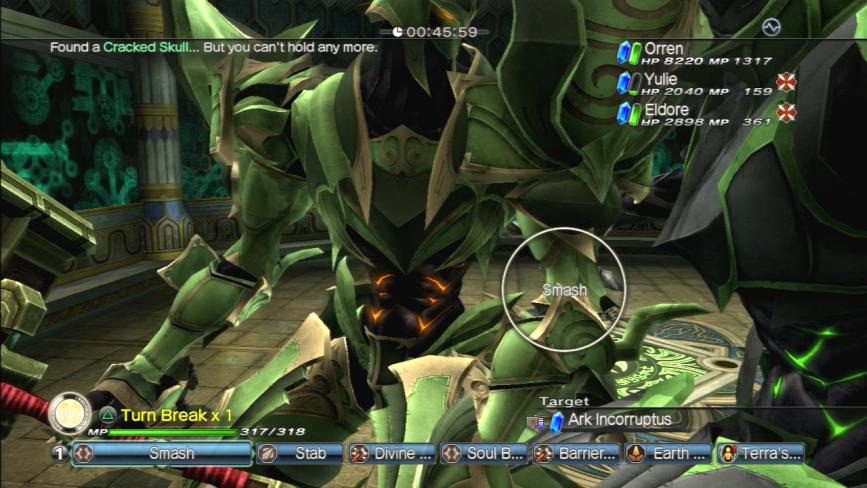
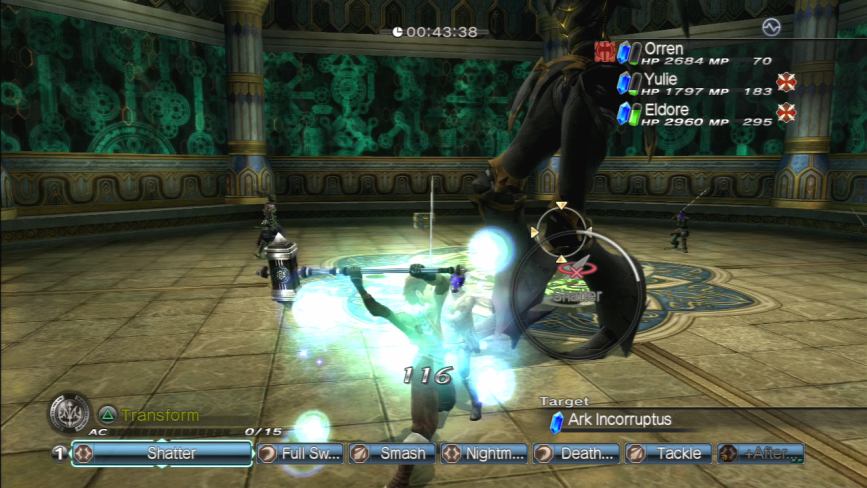
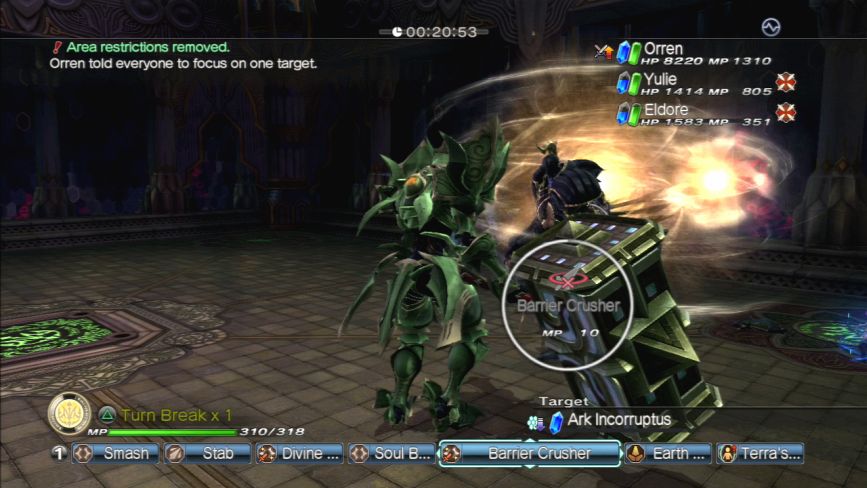
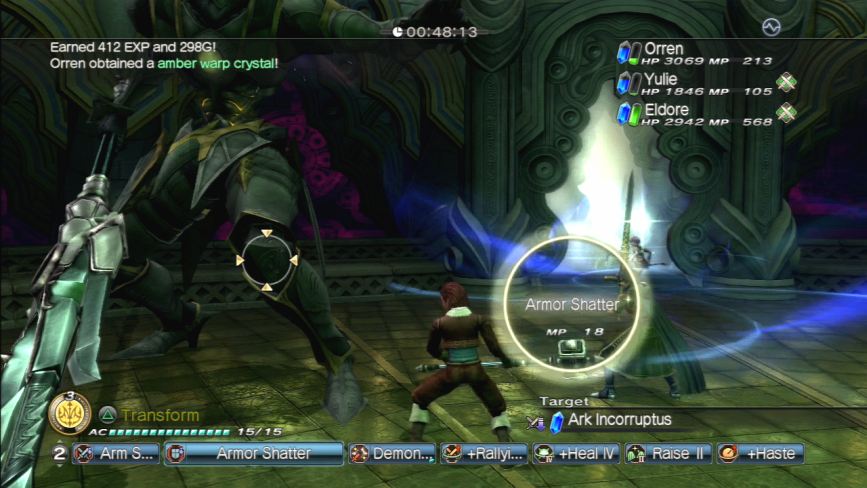
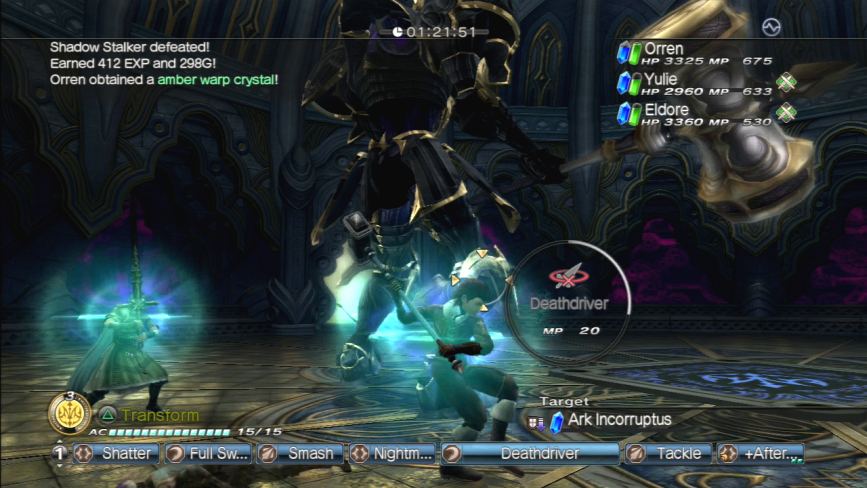
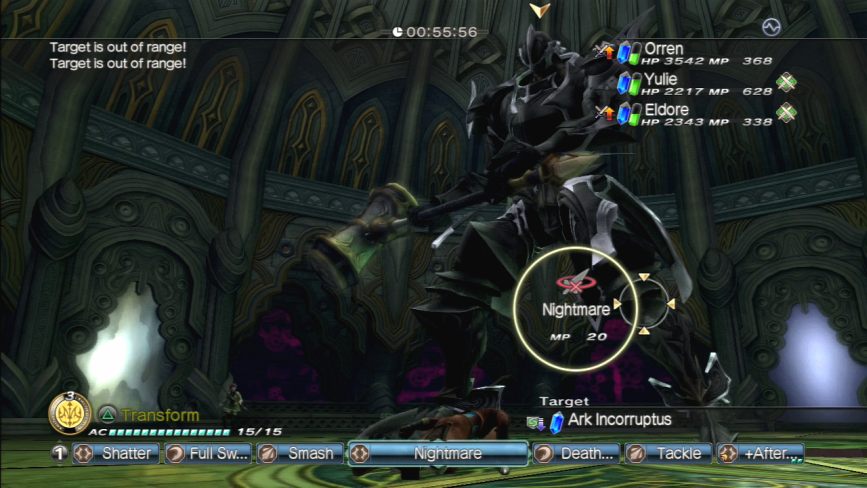
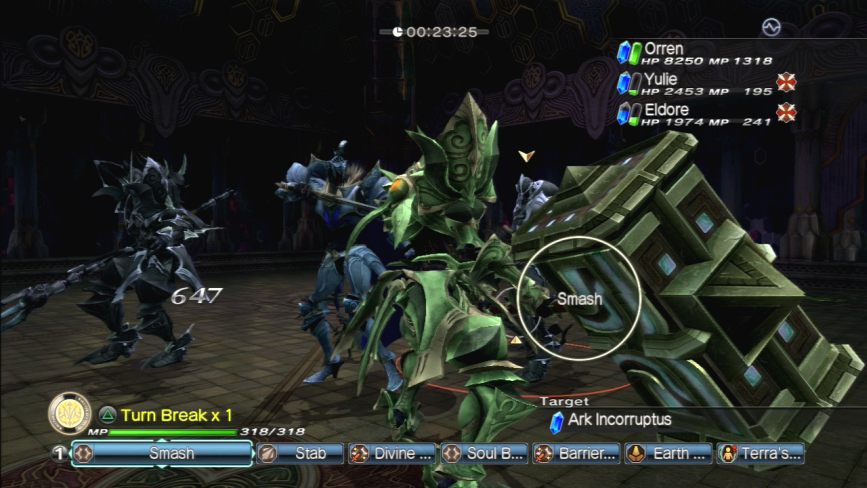
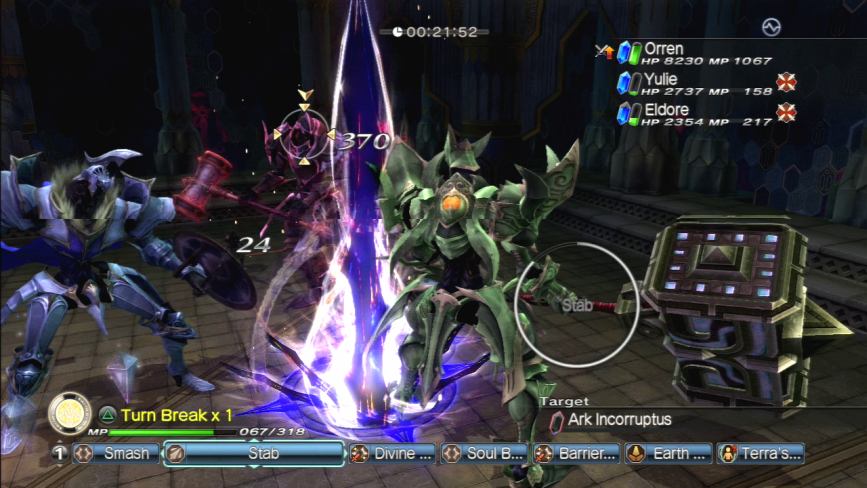
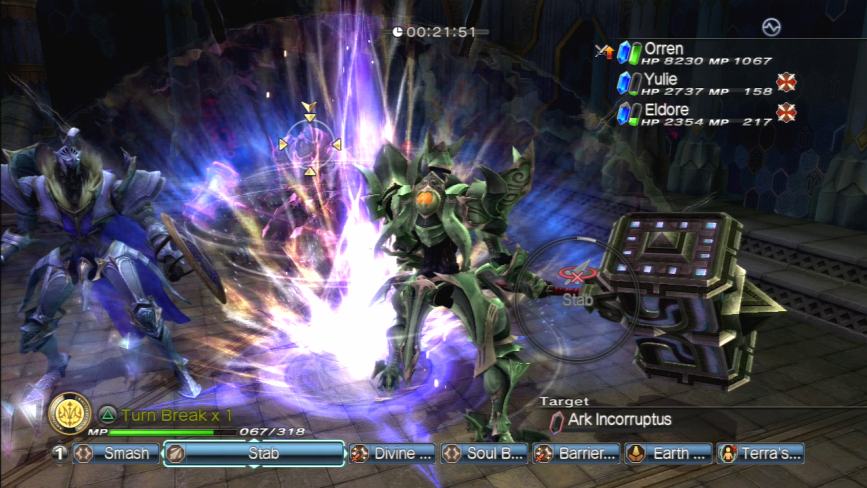
There’s also Ark Incorrupti on these upper floors.
He’s an example of a Tier 2 Ark Incorruptus. This one is an air elemental Incorruptus, as denoted by the green trim and internal colouring. This one is weak against earth magic.
He’s a fire elemental one too.
Another fresco that hasn’t shown up anywhere else in-game appears on this level. It’s just a drawing of a plant and two birds on either side of it. It’s in no way relevant to plot or mythology of the series, but I’m showing it off for posterity’s sake.
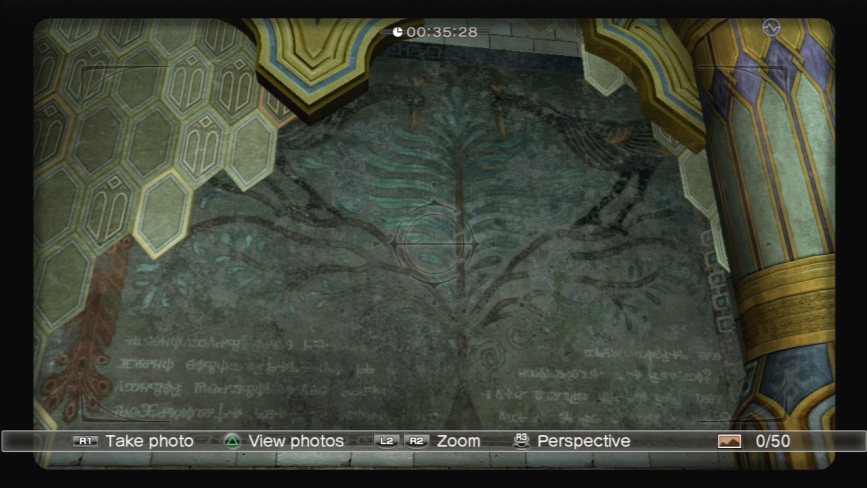
Here’s a closer shot of it.
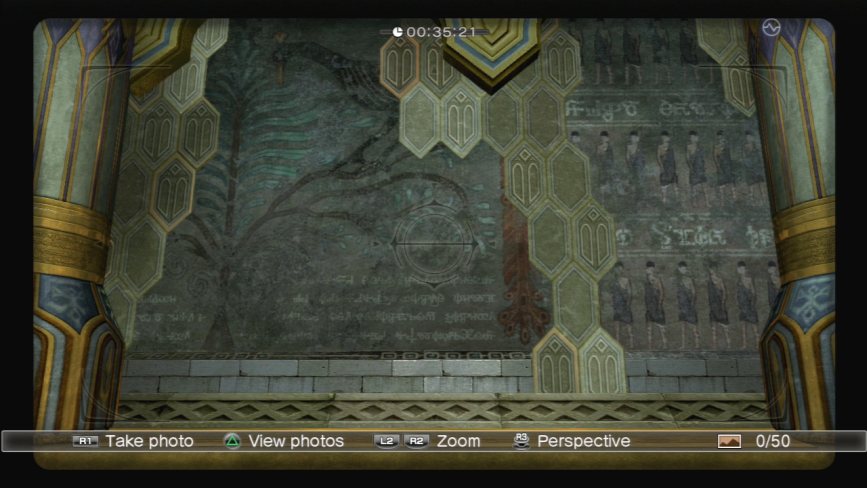
Curiously, the image is spit in two, with one half on the right side of the staircase you find it on, and the other half on the right side.
Here’s some more Evil Hotel accoutrements.
And, curiously enough, the bird and plant fresco also appears on the ceiling of certain rooms in the city, completely missed by most players because they don’t look up… and because the game camera sucks.
Another painting of Madoras. Guy’s got a bit of an ego, I’m thinking.
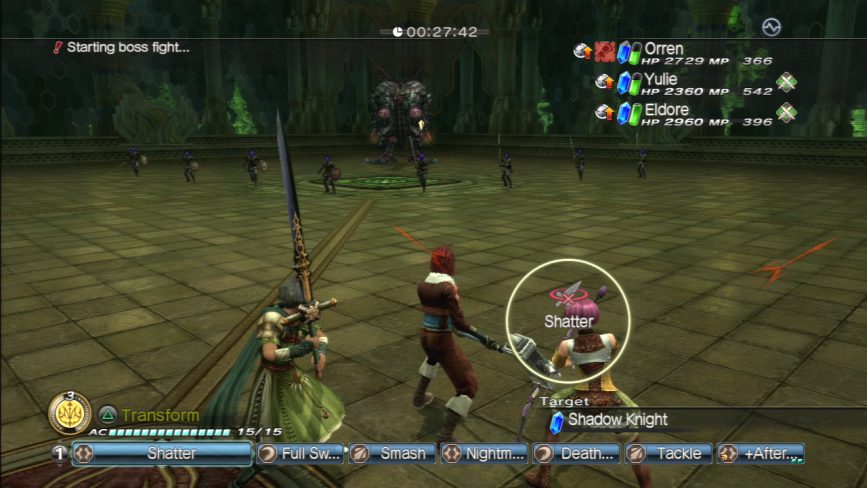
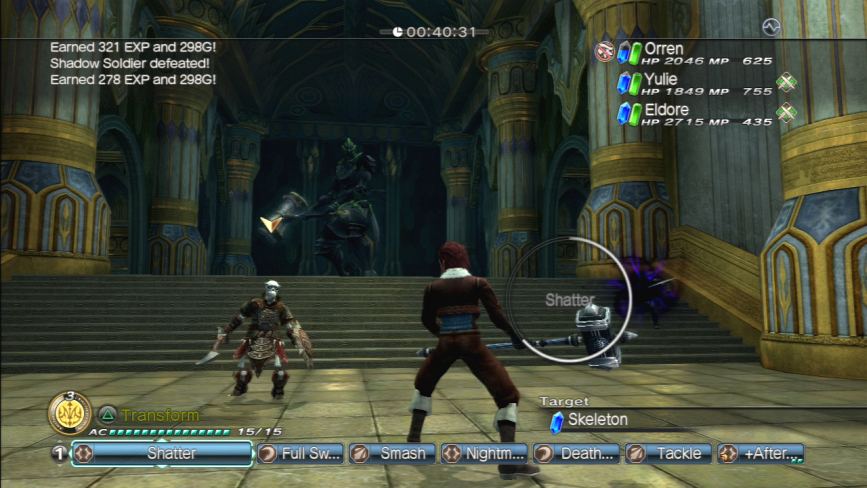
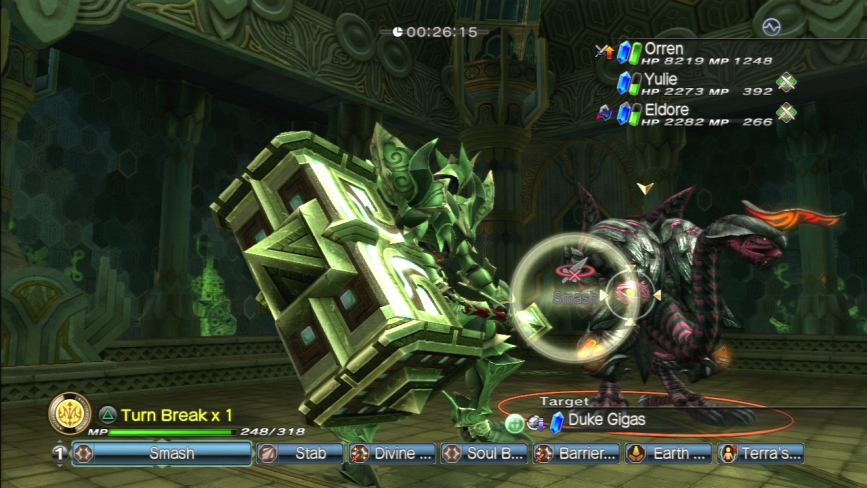
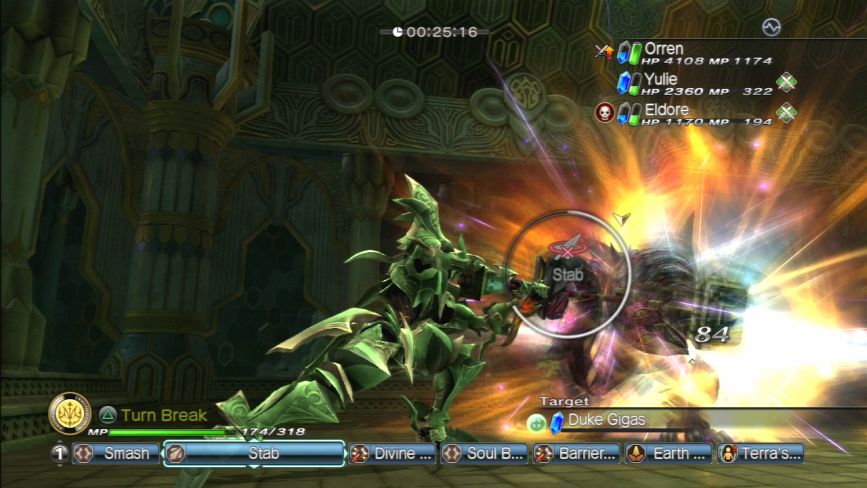
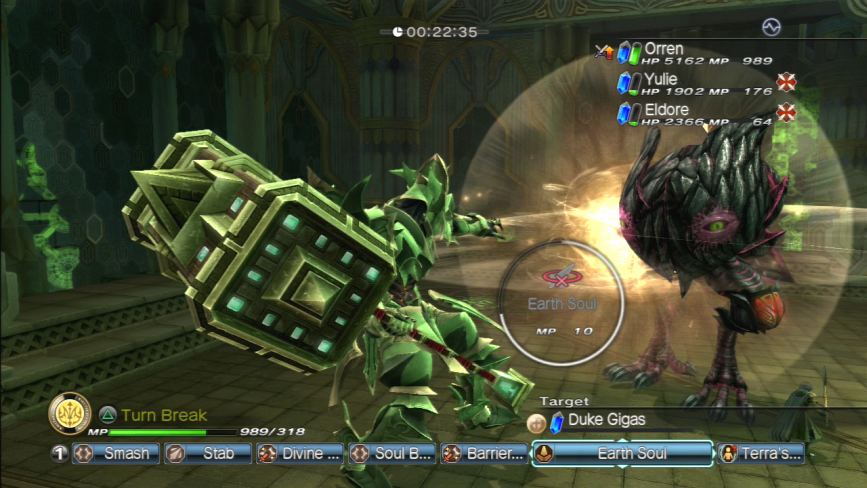
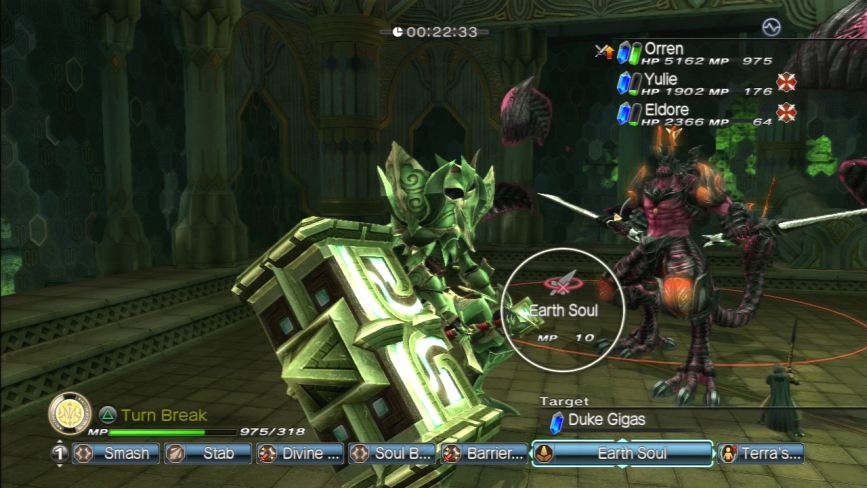
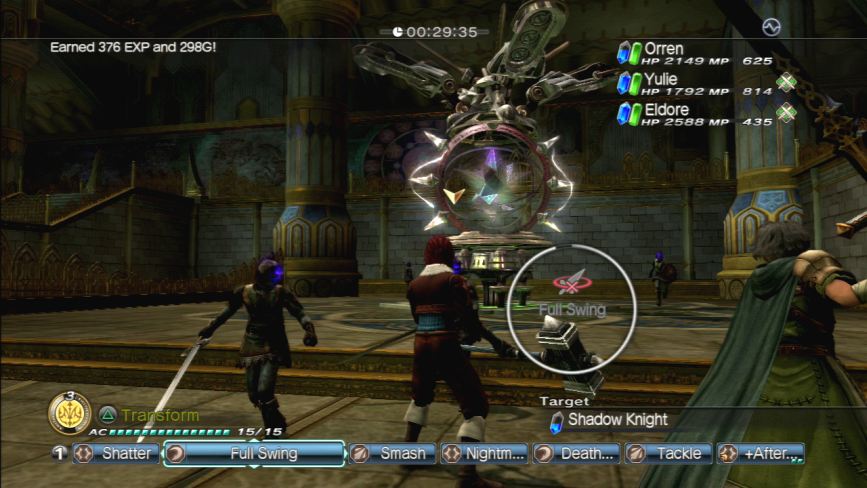
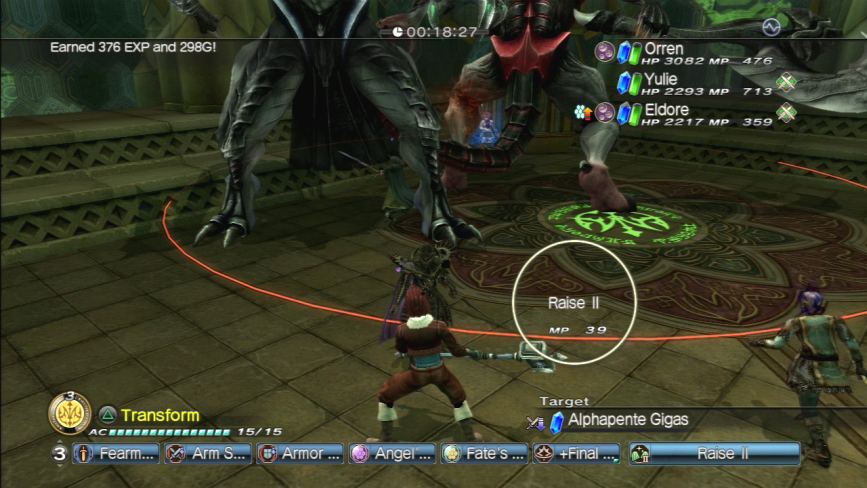
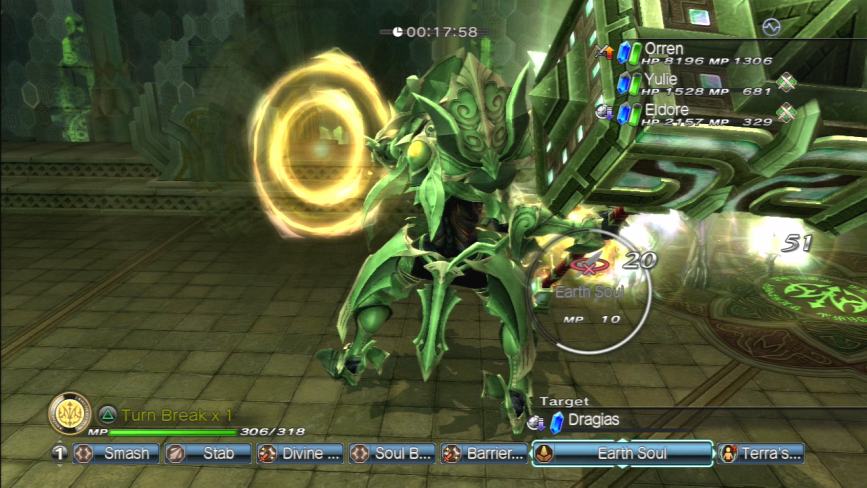
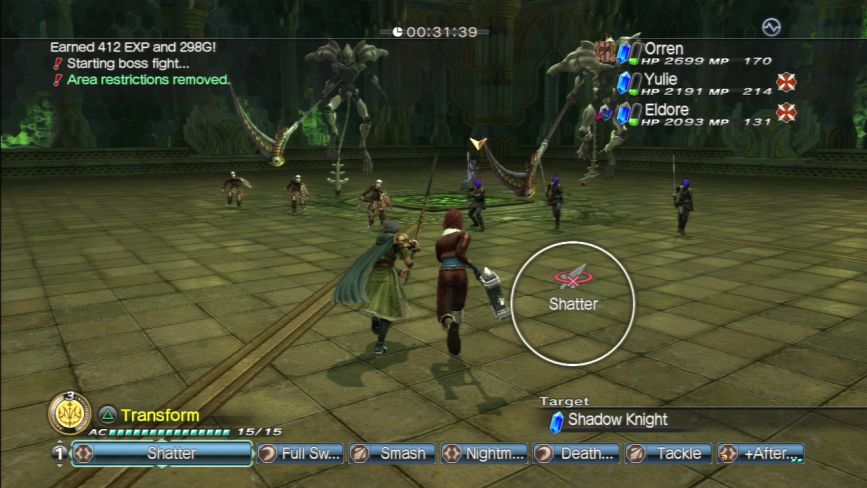
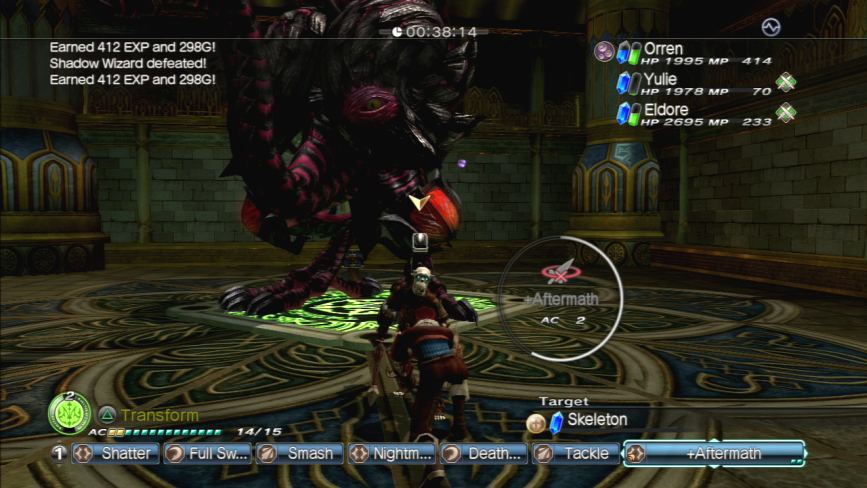
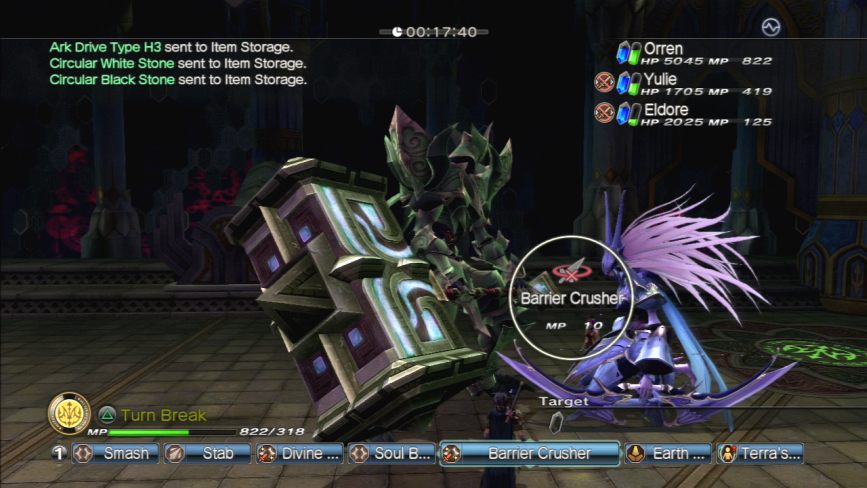
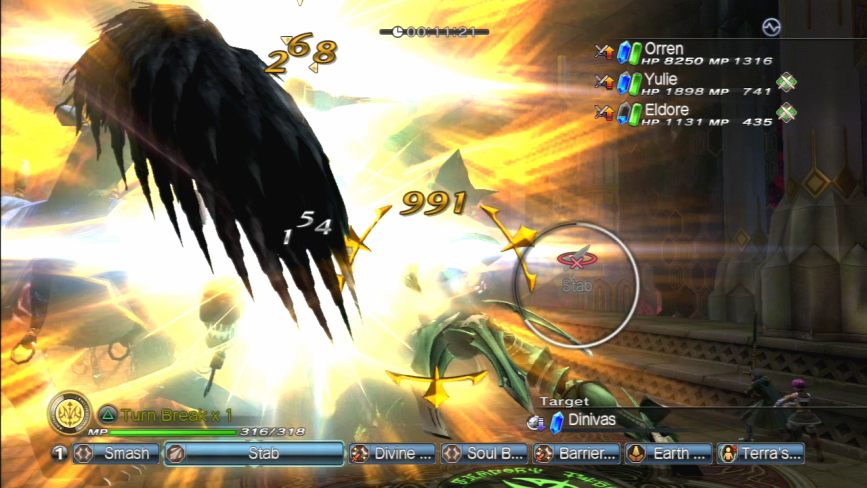
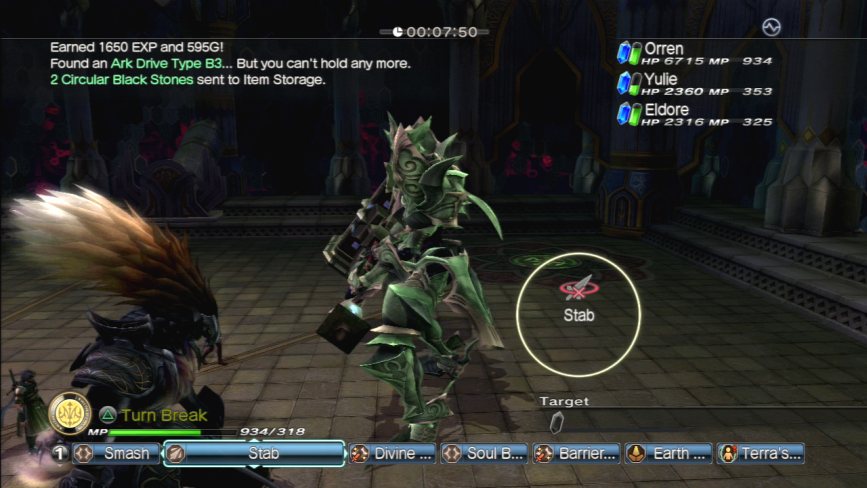
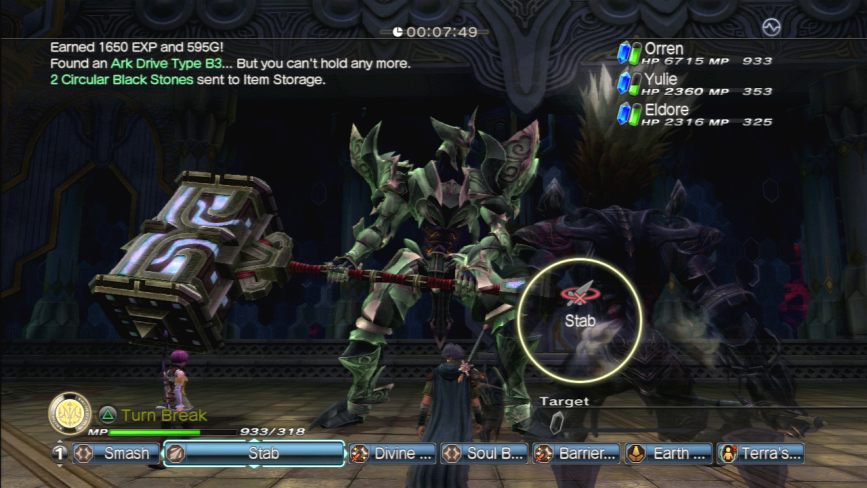
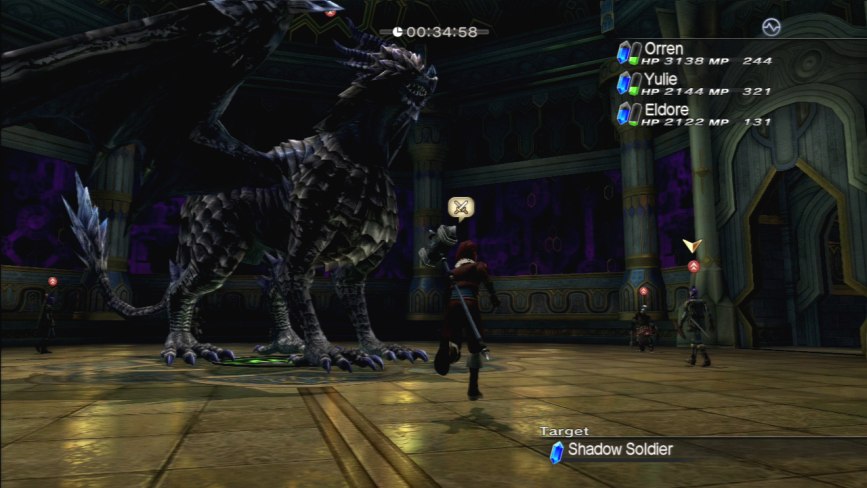
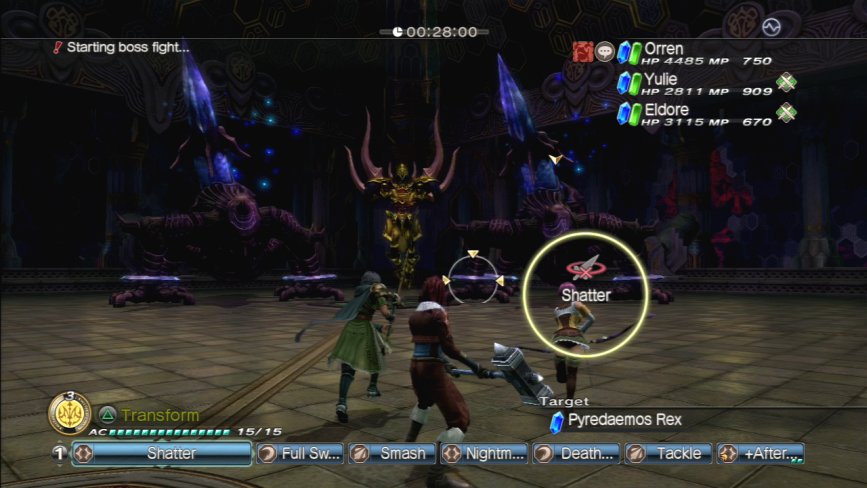
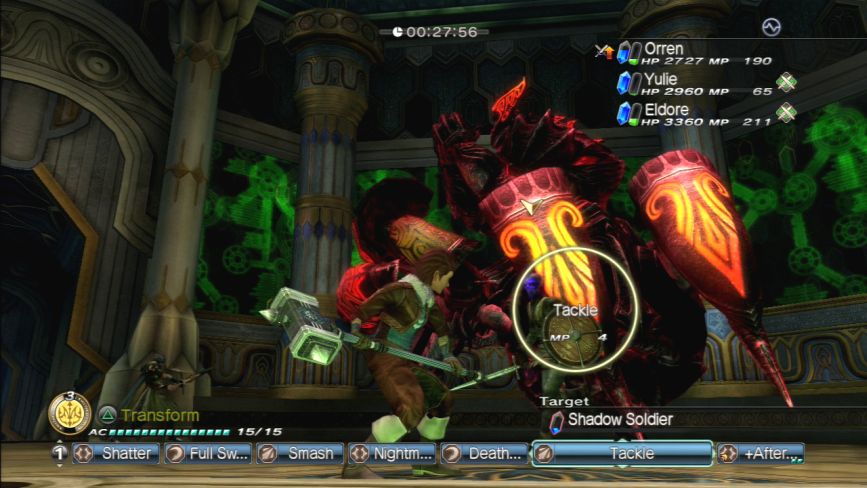
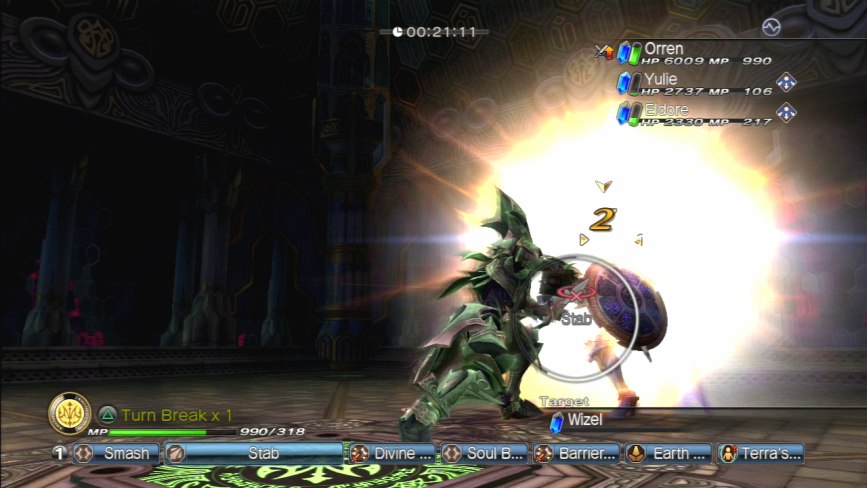
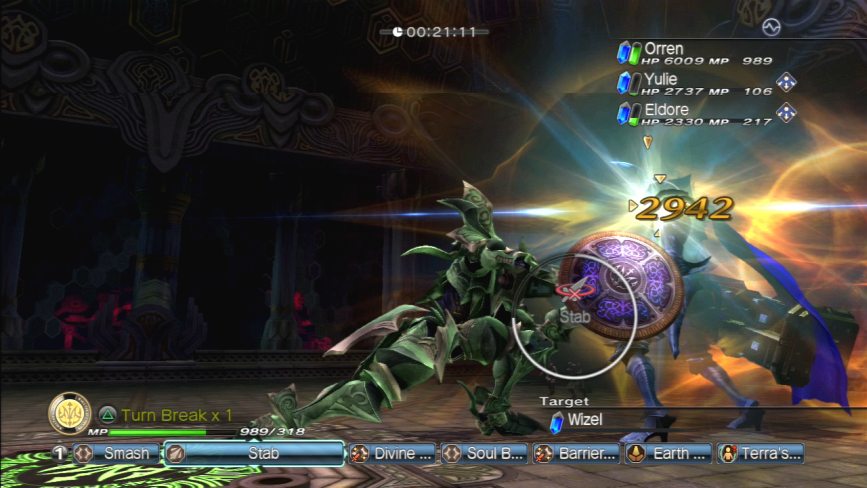
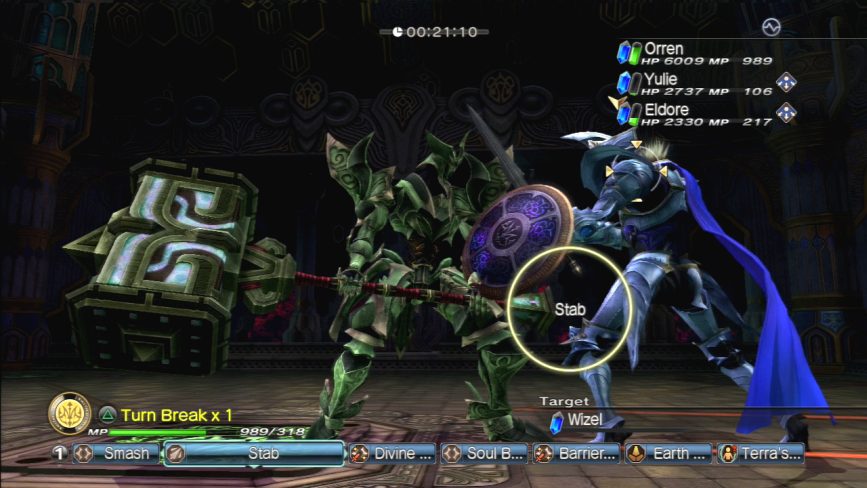
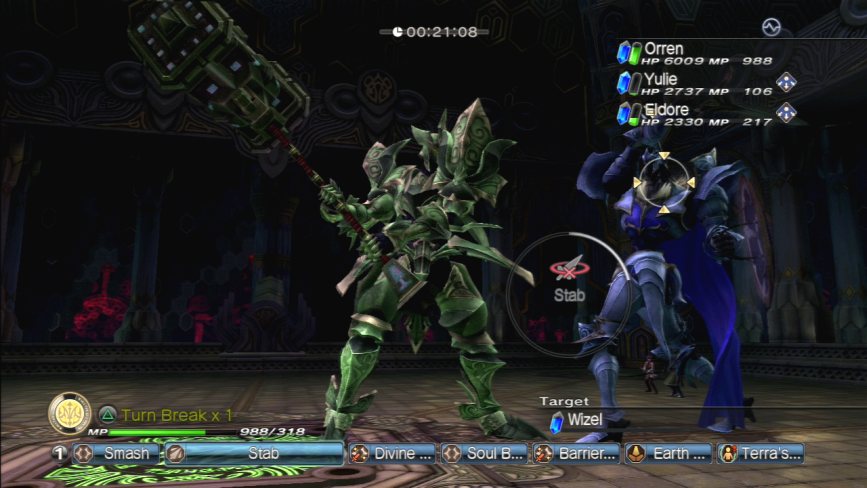
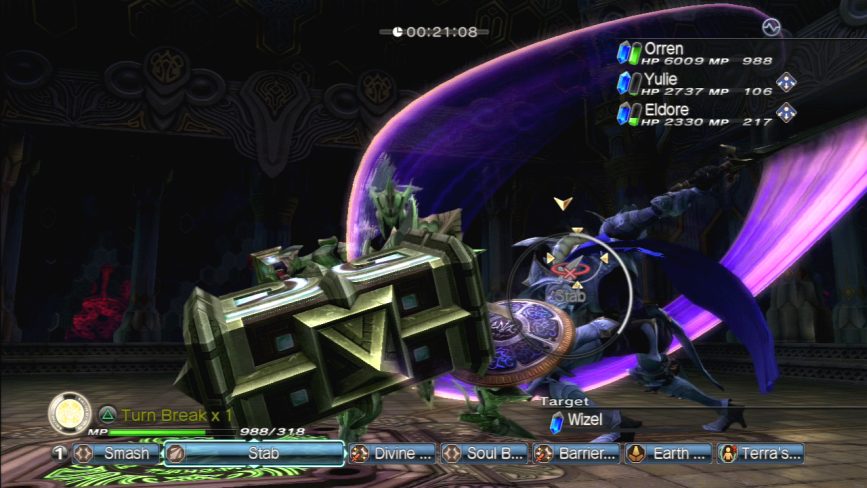
And here’s the boss for Section 2, another Duke Gigas. We’ve seen one of these before. Ban Nanazel transformed into one of them at the end of Chapter III when we liberated Faria.
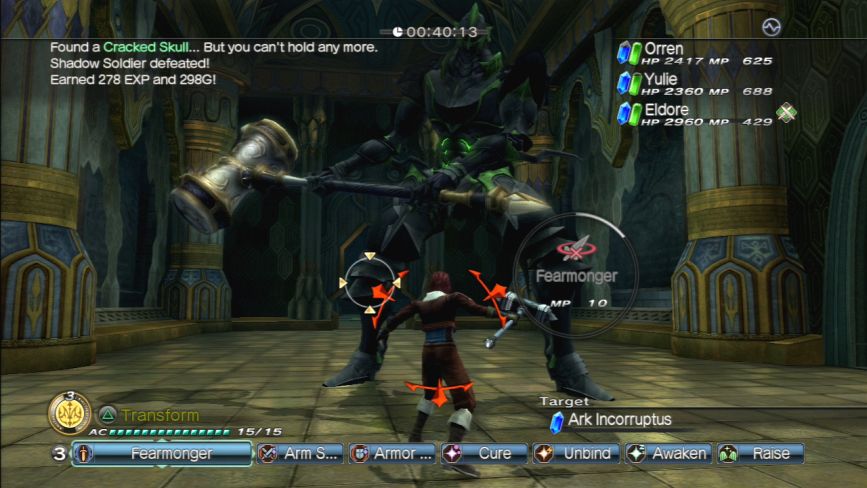
There’s also a line of Shadow soldiers too, but they’re mostly cannon fodder meant to try and weaken you.
They go down quite quickly with the Arc Knight.
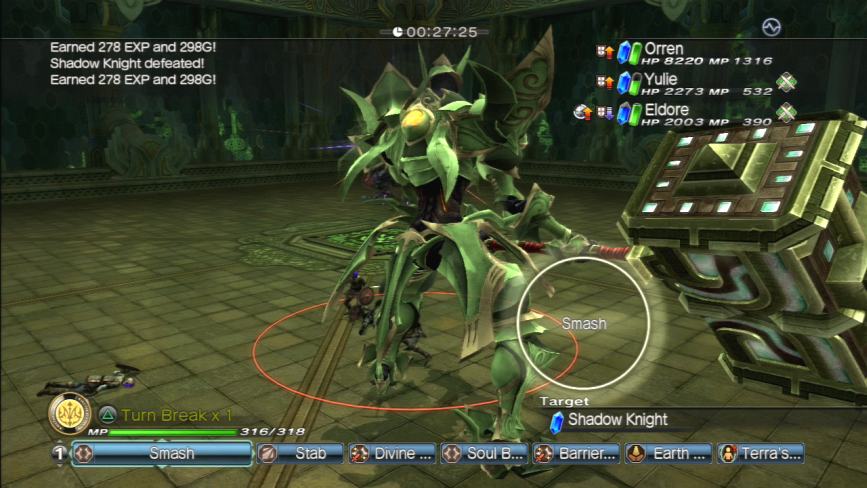
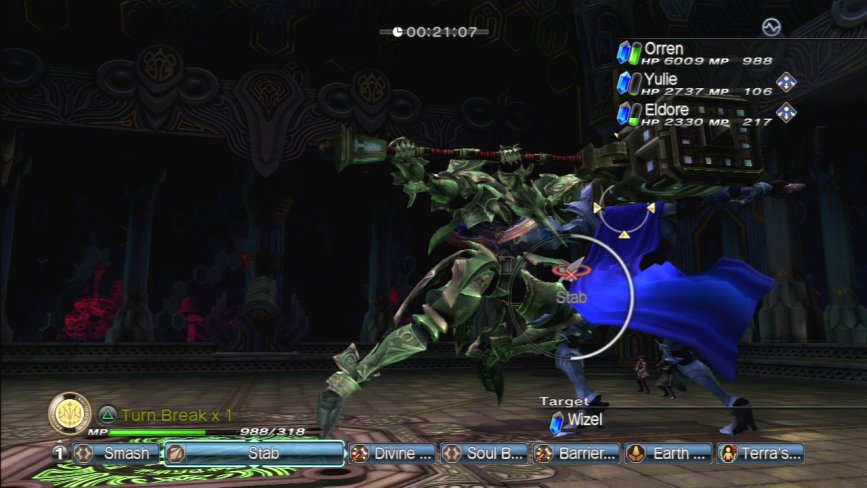
The first thing you might notice about this variation of the Duke Gigas is that it doesn’t look like how it did when we fought Ban Nanazel.
This is actually the first form of the gigas, which we skipped when we fought it in Faria.
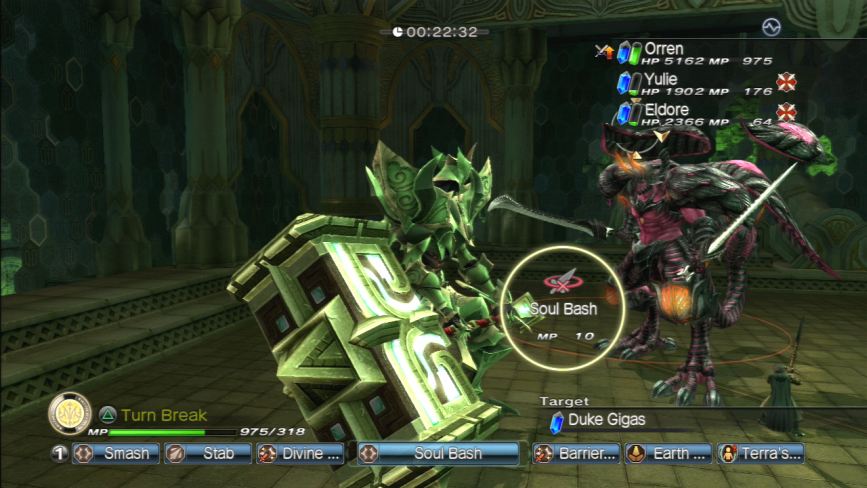
The Duke Gigas has an ostrich-like first form that has both Body-Guard and Magic-Guard on it by default, which nerfs your damage potential against it. In order to get it to reveal its second form, where it loses both these buffs, you need to break all four of its Evil Eyes, which appear all around its shell.
Like so.
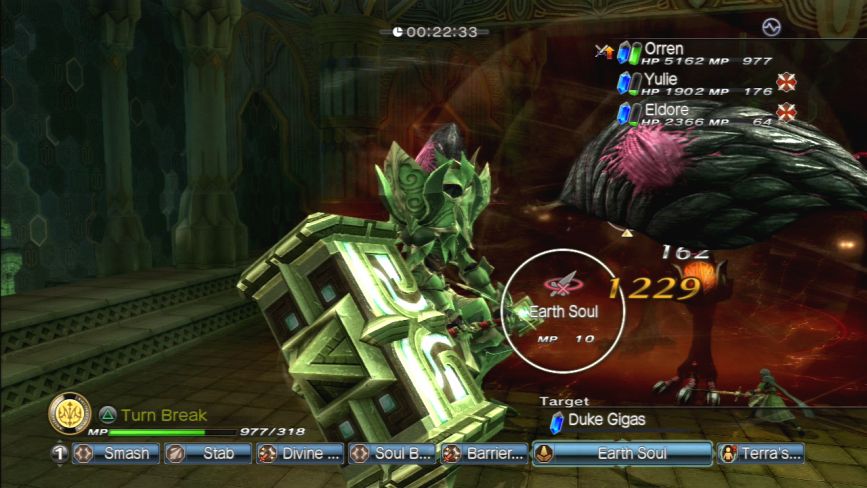
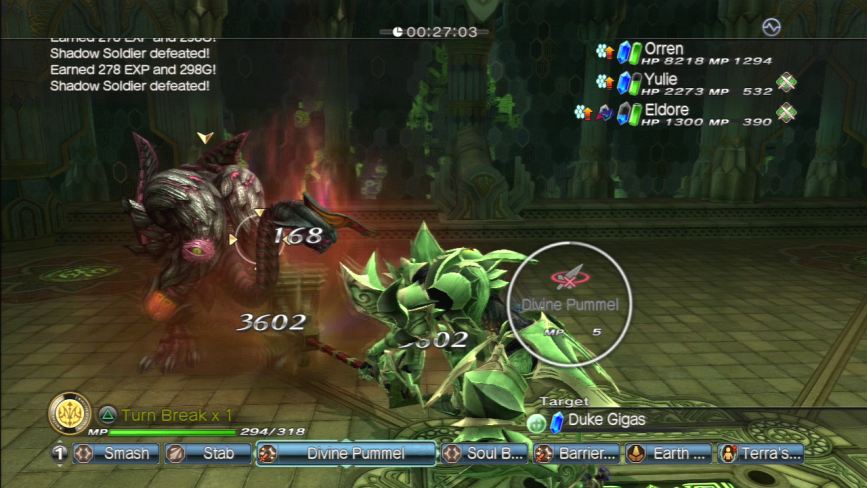
Eventually, its shell comes flying off it turns into a pair of wings like we saw on Ban Nanazel’s Duke Gigas form.
There, that looks a little more familiar, doesn’t it?

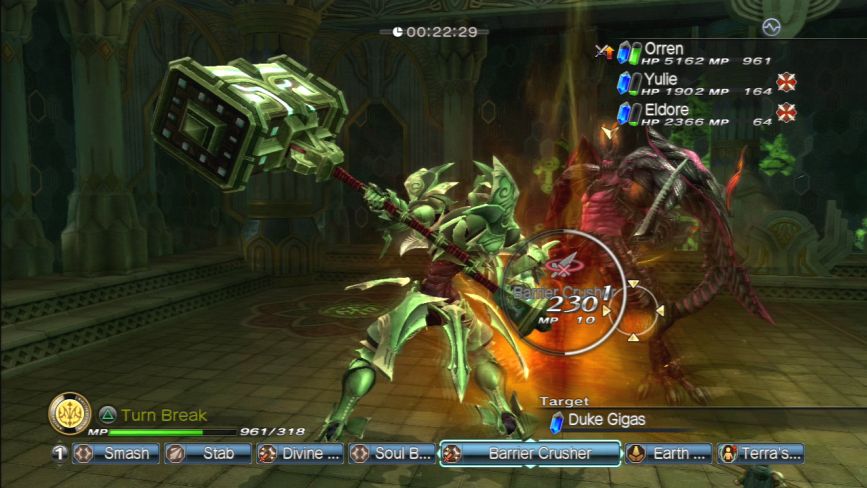
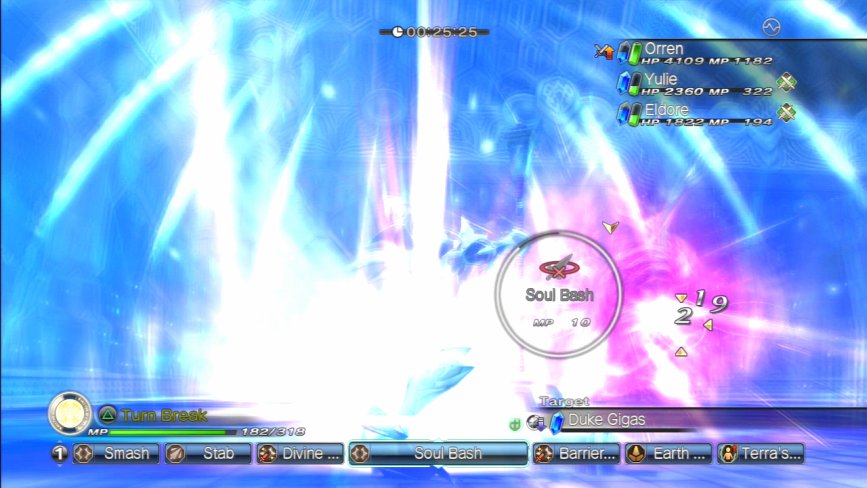
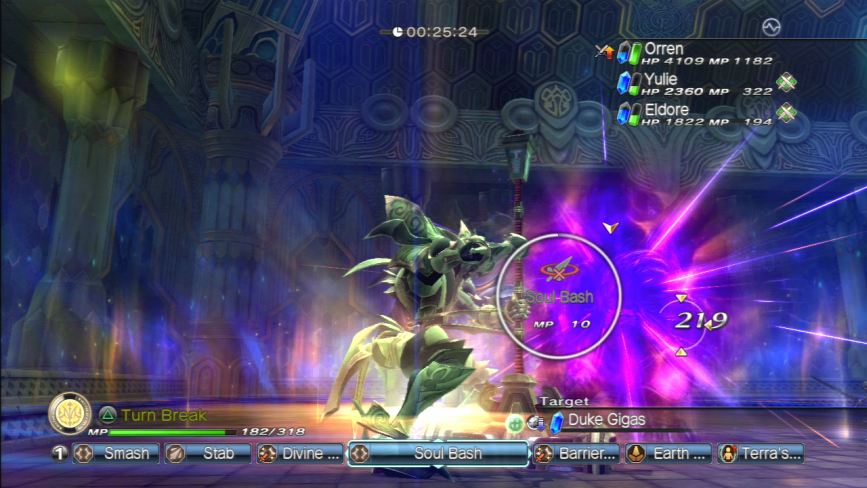
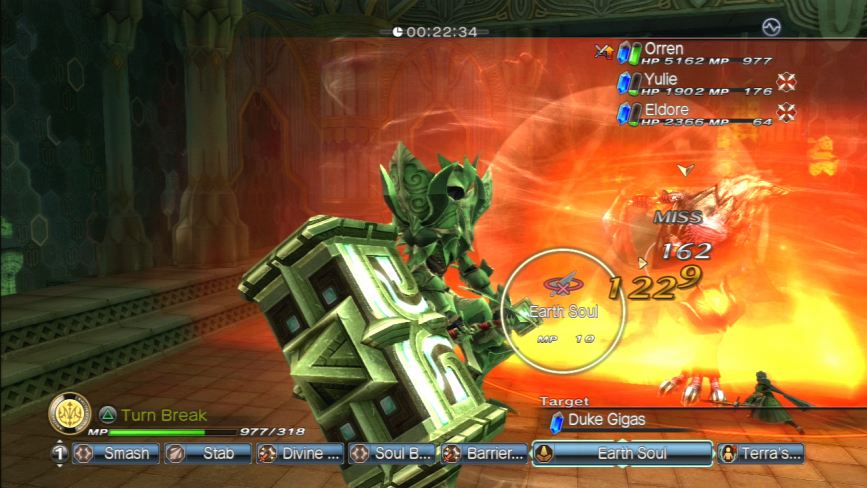
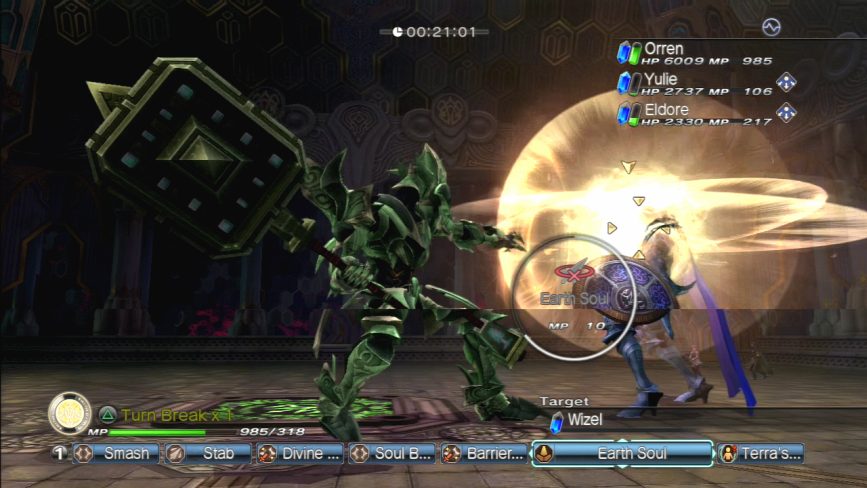
Now we can hit it for a lot more damage.
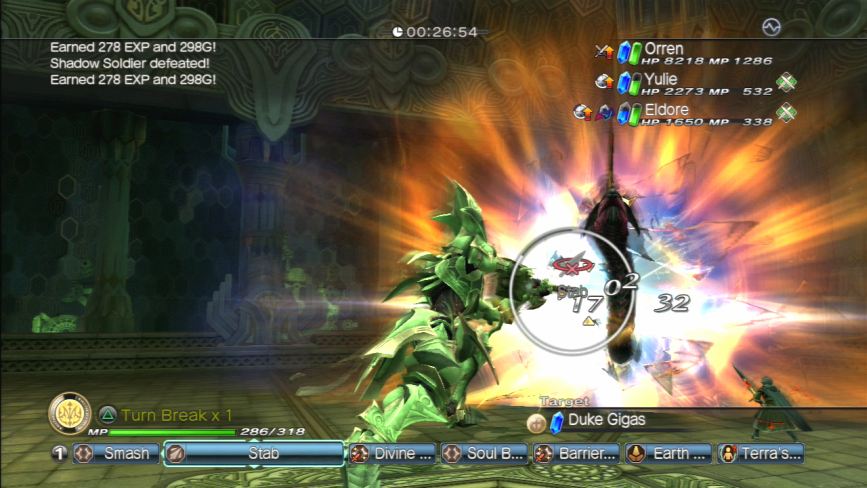
When it gets near death, it throws its wings open and reveals its Rejuvenation Engine just like Ban Nanazel did. This gives it HP Regen status, which hampers your ability to take it down a little.
But eventually, just like Nanazel did, it goes down all the same.
 Orren: Give Ban Nanazel my regards, fucker.
And your reward? A giant emerald crotch shot.
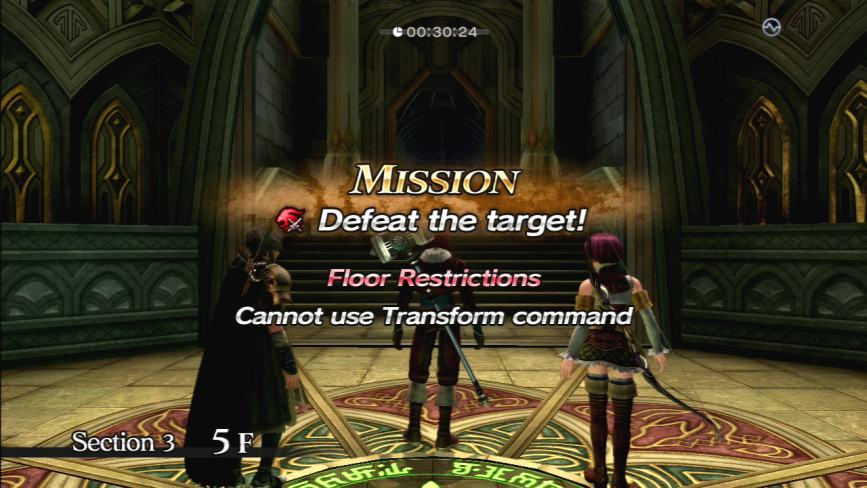
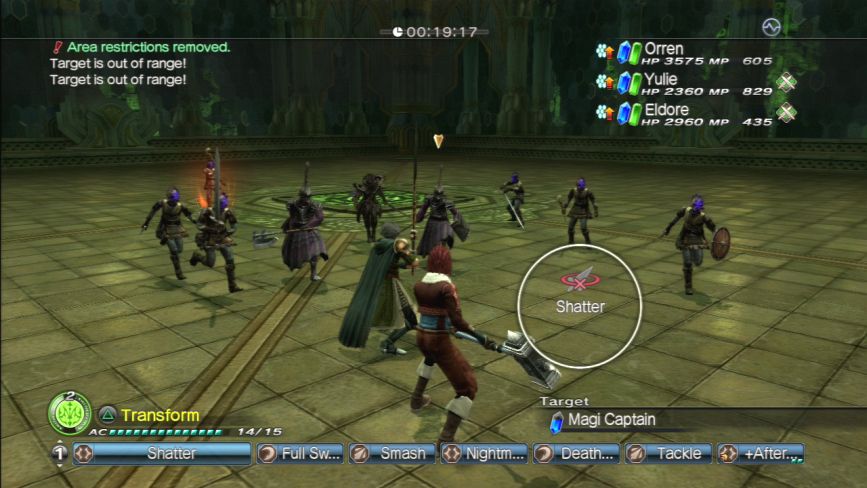
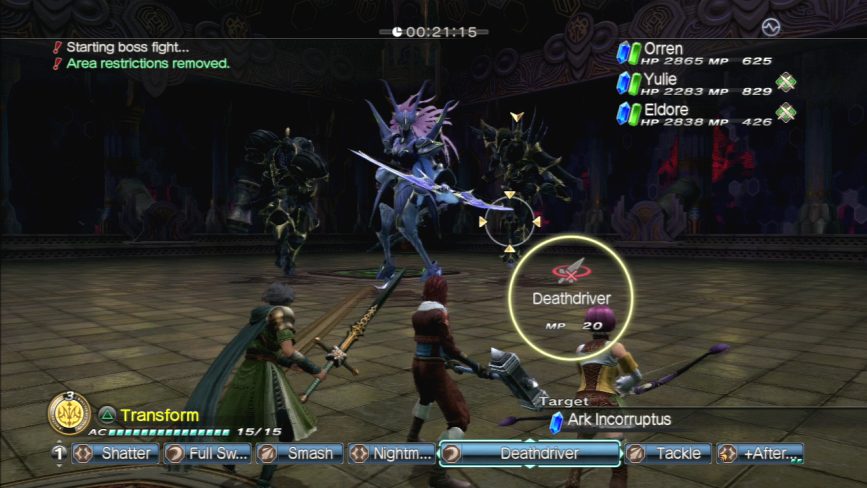
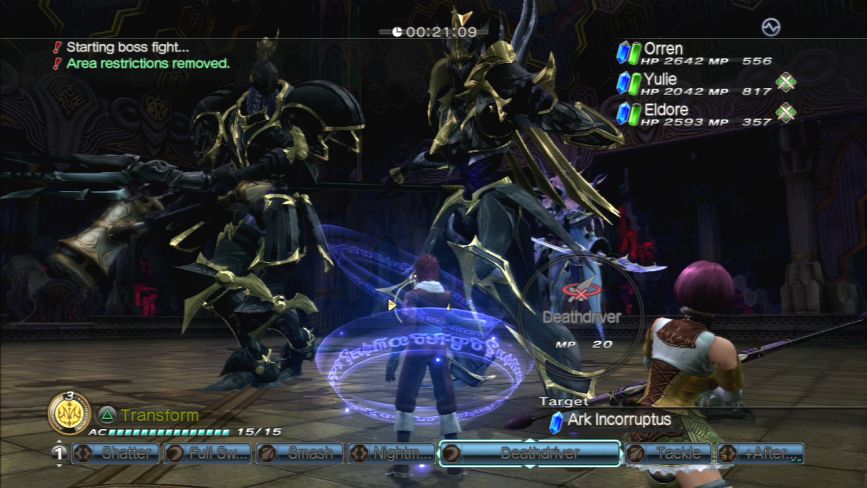
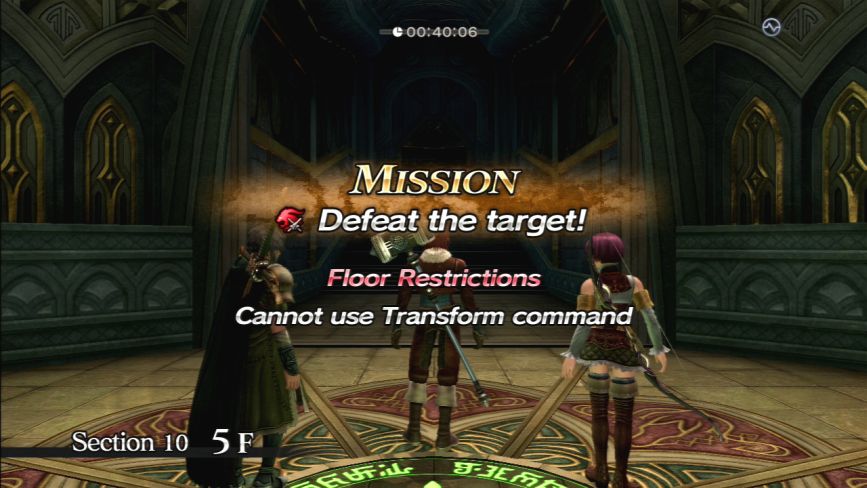
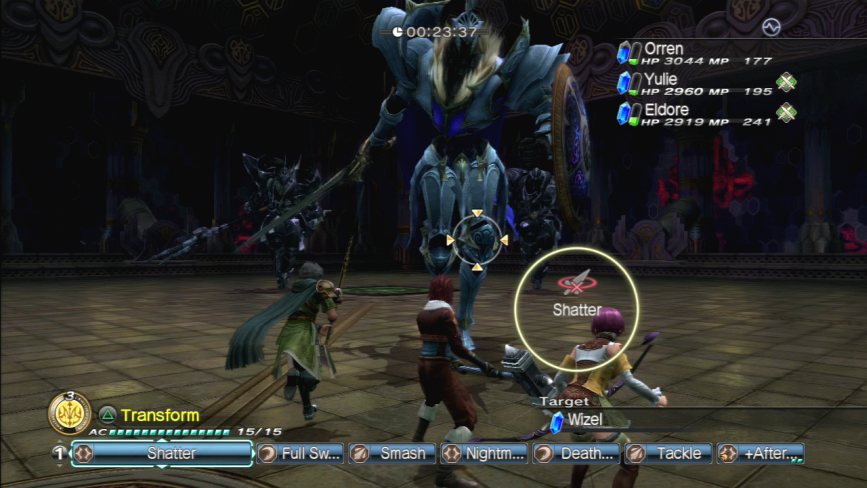
Section 3, Floor 5. Here’s where the restrictions start coming in. We can’t use the Arc Knight for this mission.
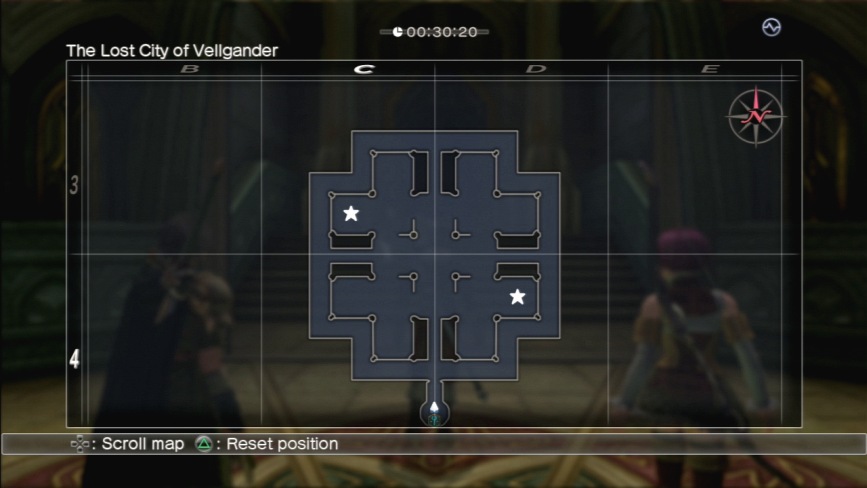
This floor variation is a single room that has a sort of sunken cathedral or amphitheatre feel too it.
This floor variant has the largest number of decorations to it so far.
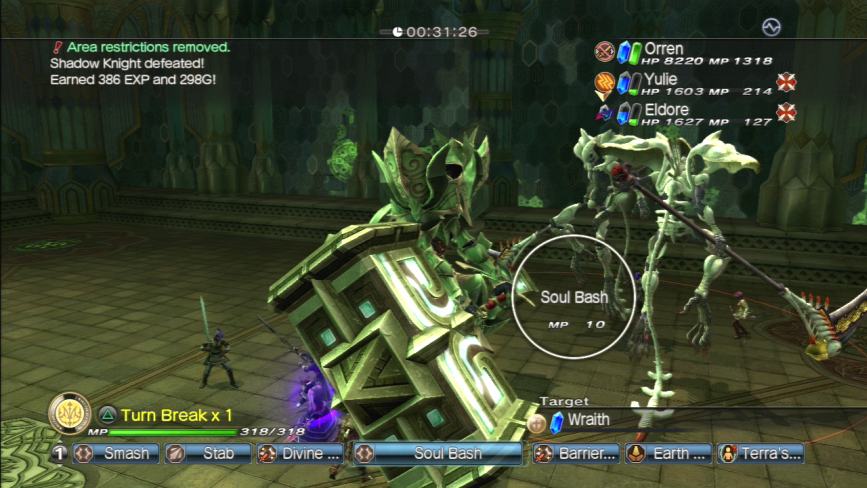
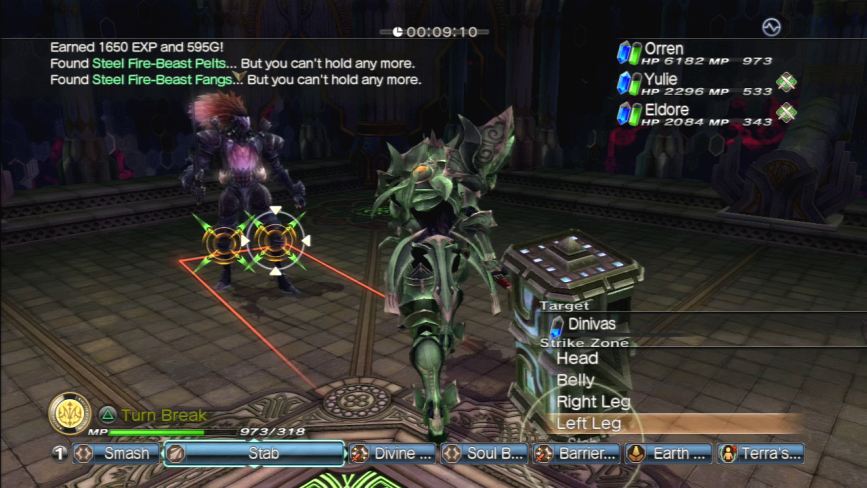
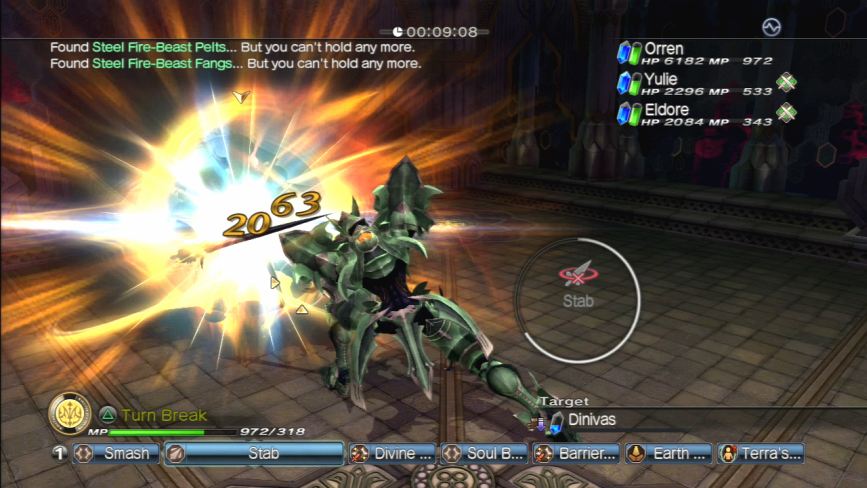
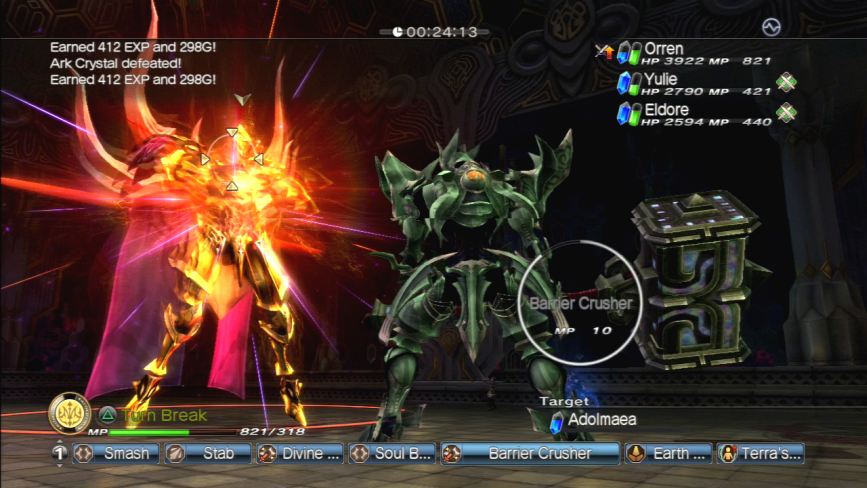
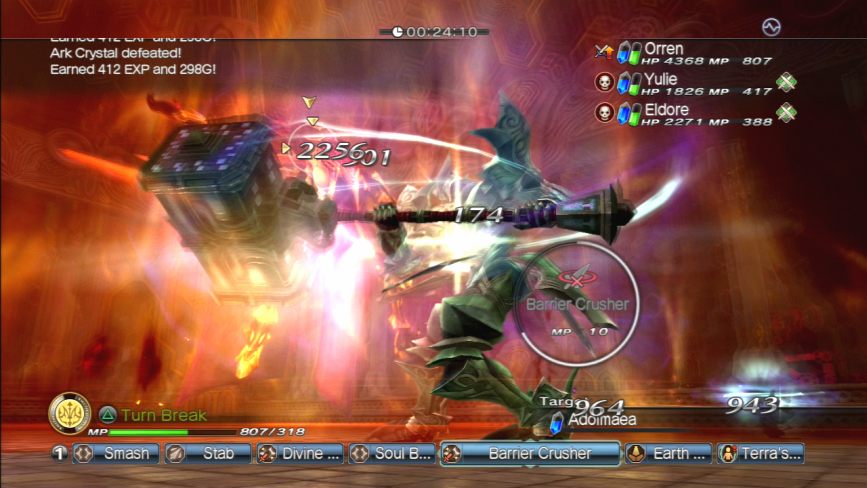
The two enemies we have to clear this time around are a pair of Zore II Crystals, last seen in the Van Haven Waste during the Moon Maiden hunt.
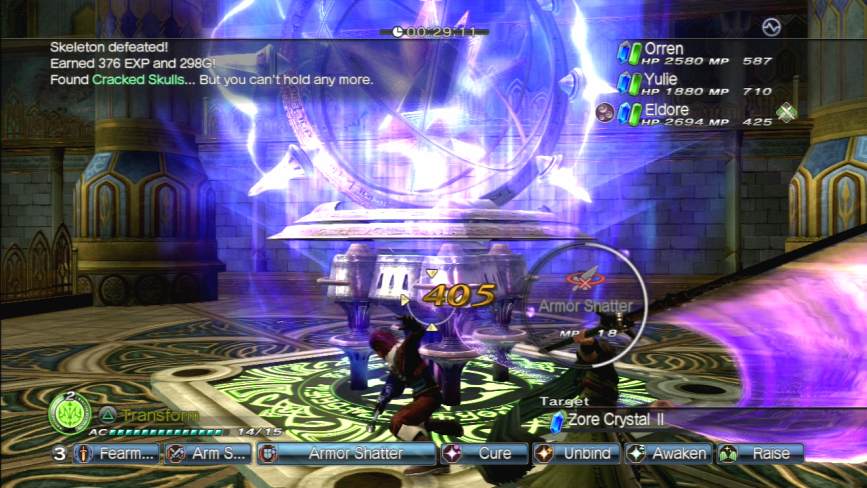
These things are old hat by now, but even they’re beefed up to impossible levels for Vellgander.
This map is broken up by cool reflecting pools and stuff too.
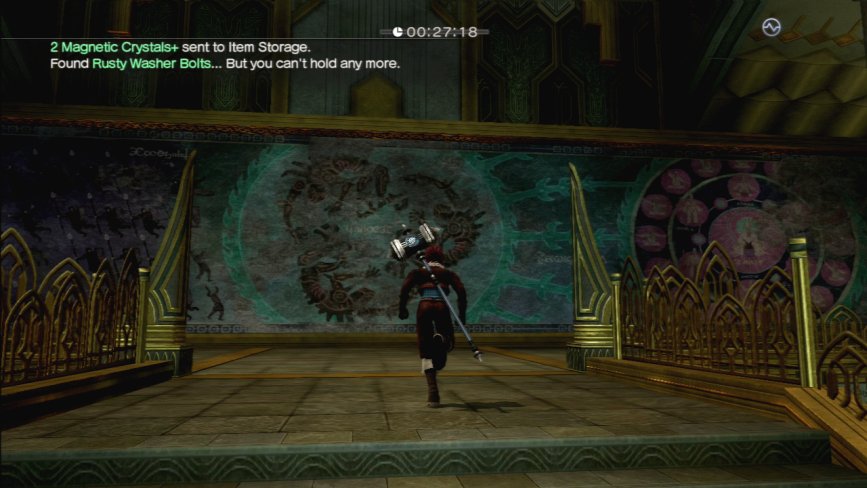
And on the upper promenade of the level, you can find full-wall views of the Dogma Era History frescos. I don’t know why there are all these frescos around the city depicting things that hadn’t happened yet when the city was still inhabited.
It’s because Level-5 and Akihiro Hino are incapable of thinking four dimensionally, that’s why.
 Orren: Yep. That sure is a bunch of ancient bullshit.
Orren’s trying hard not to remember that two out of three people in this picture came from the era where all this madness was happening live.
Okay, crystal #2. This is also the point where Assassins start showing up in large numbers throughout Vellgander.
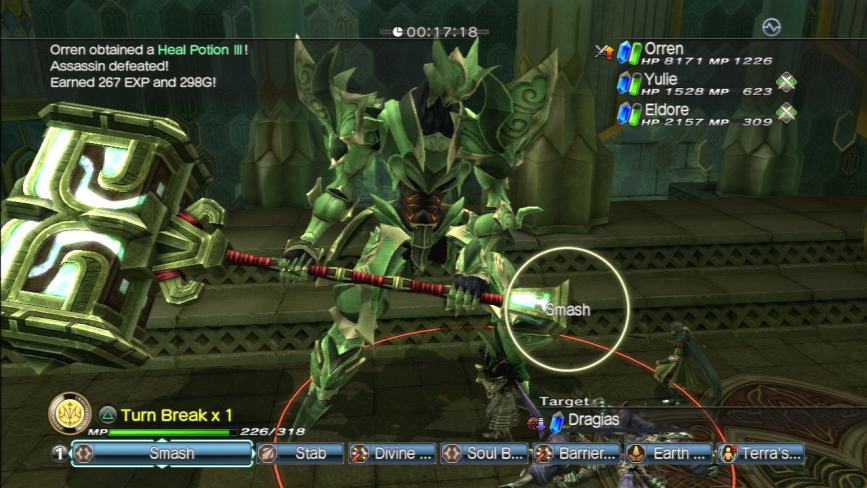
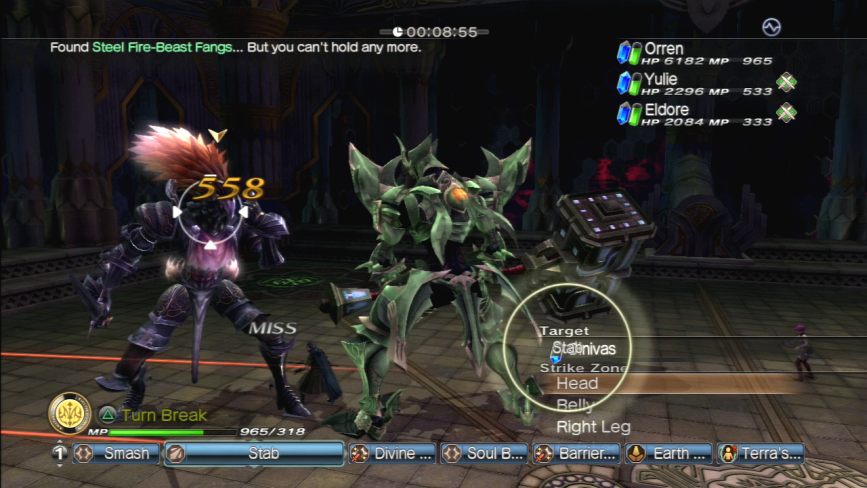
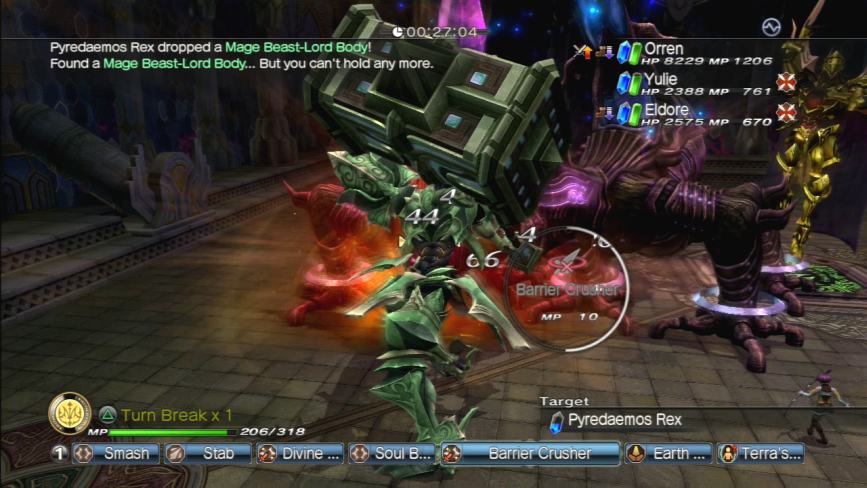
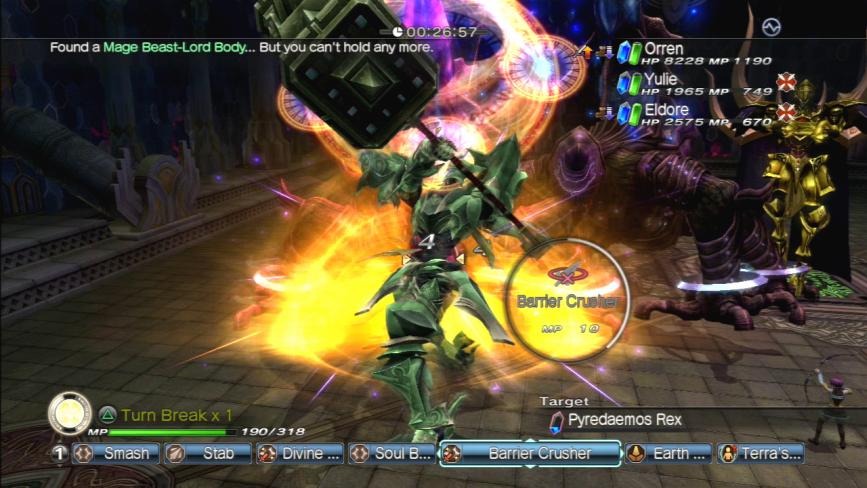
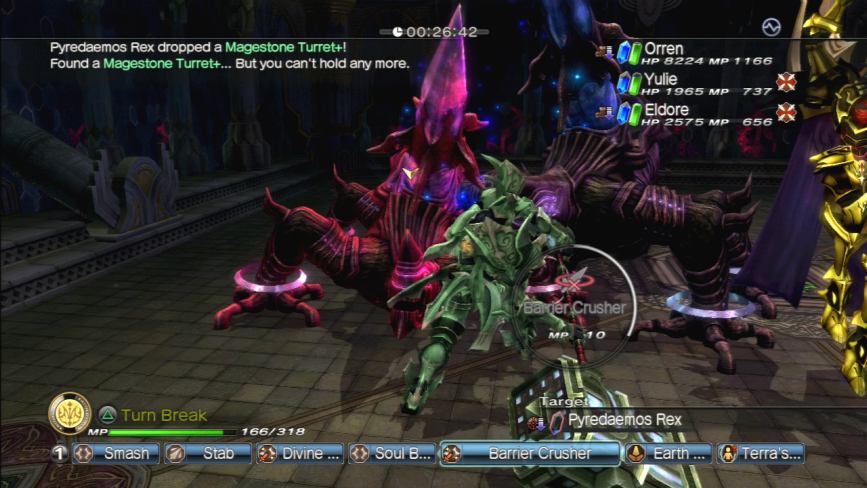
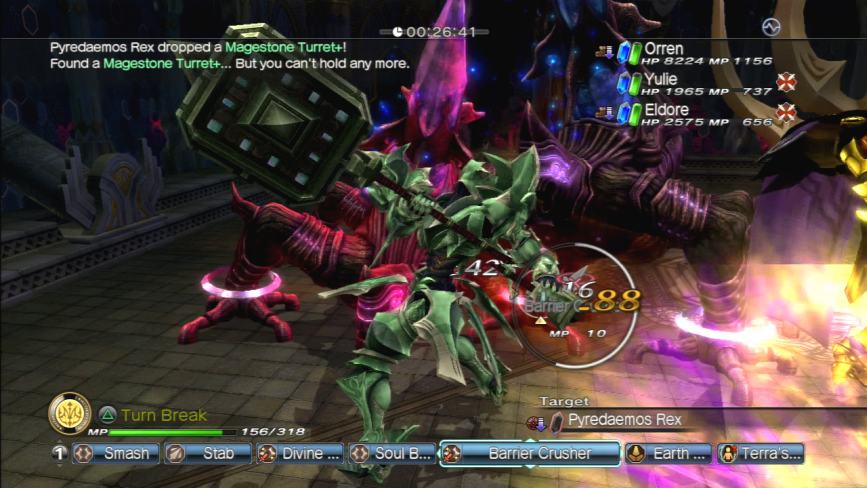
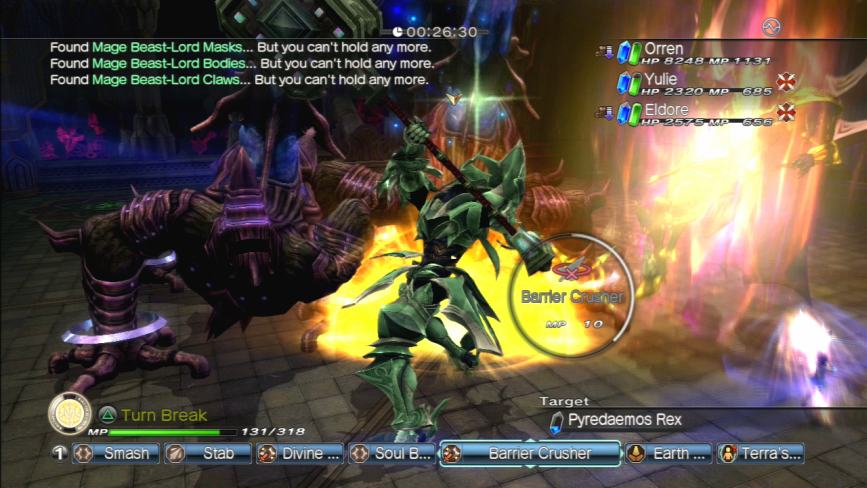
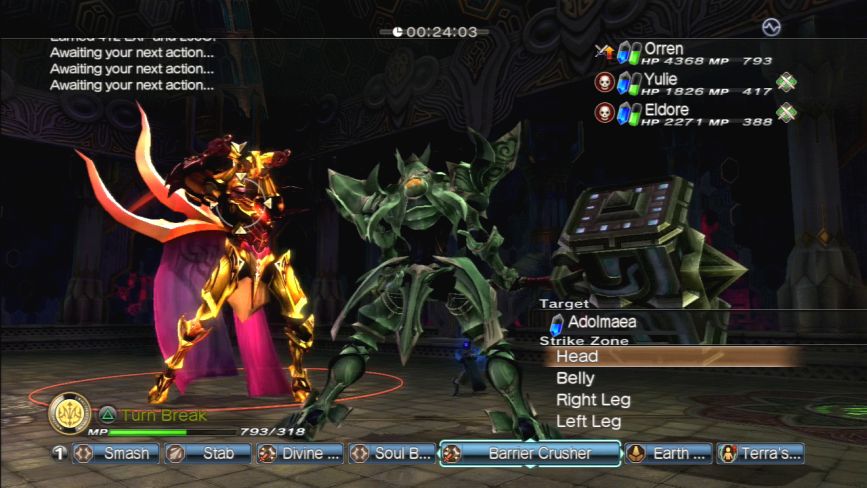
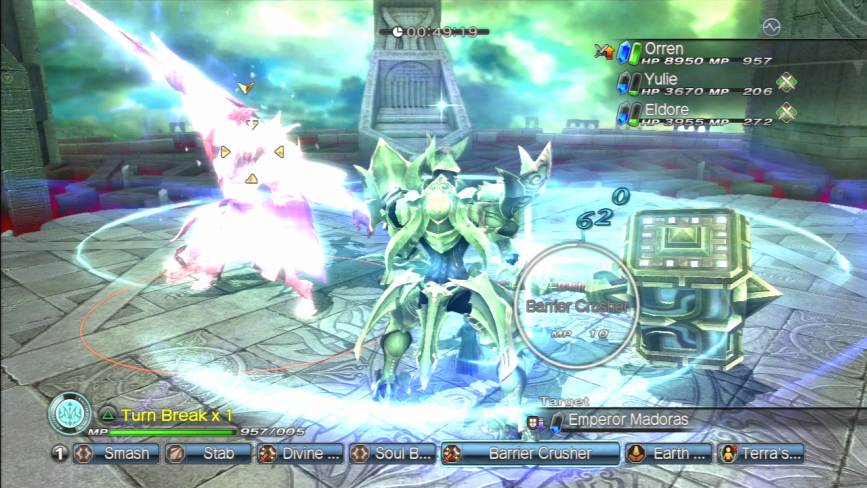
The boss for Section 3 is, interestingly, General Dragias. He’s joined by a group of Shadow soliders and a pair of trap soldiers who turn into gigases when they die.
See?
One of the spells the AI is able to use with any measure of competence and regularity is Holy Light and its AoE variant, which takes out the Shadow soldiers in short order, leaving the Arc Knight free to handle the gigases.
Thankfully, they both get corralled into the corner of the room and I’m able to plough Drega into their both their faces enough times to knock both of them out in short order.
Interestingly, we’re not fighting Kara’s Dragias from the Nordia Tunnels, we’re fighting Ledom’s Dragias from the Balandor Castle flashback. This includes his ability to summon a quartet of Assassins to his aid.
You can see the four of them dropping into surround him here.

And here they all are dying in one hit because I just happened to land a strike on them at the best possible moment. NUMBERS EVERYWHERE!

A pile of bodies scattered at his feet after something he didn’t even intend to do. Now Orren knows what it’s like to be Leonard.
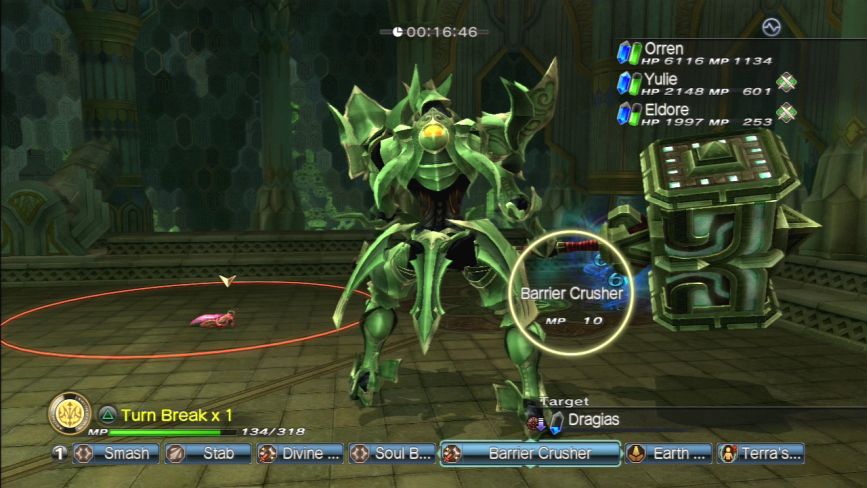
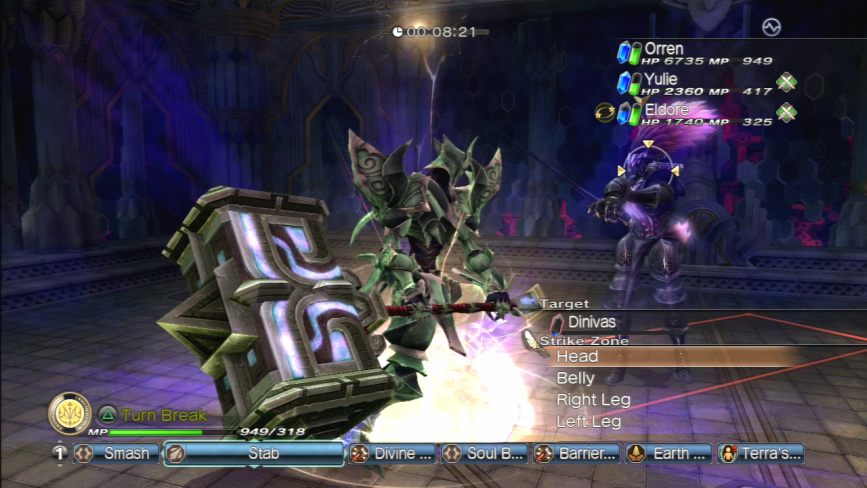
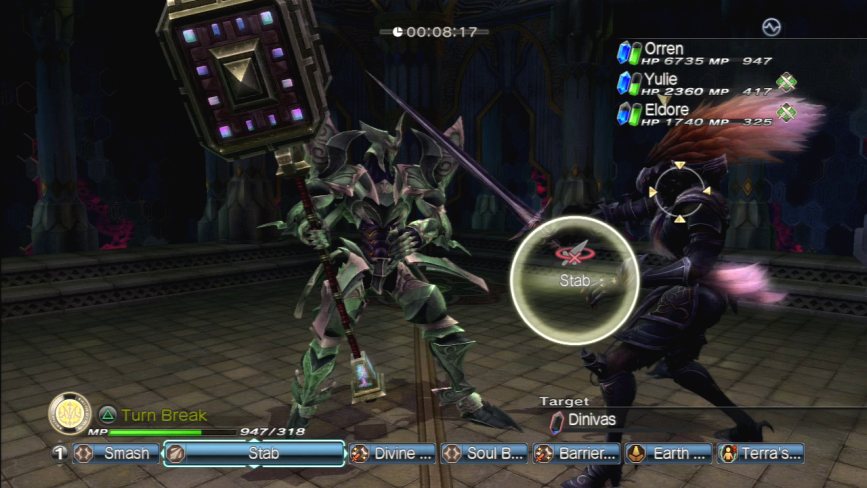
Aaaaand now it’s time to pile drive Dragias to death.
God, look at that backflip. The man is vertical in the wrong direction. I love this game’s insane physics some times.
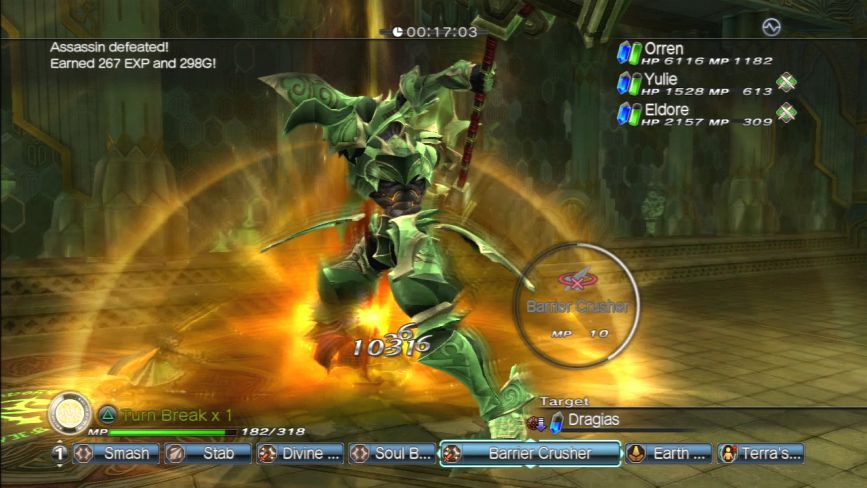
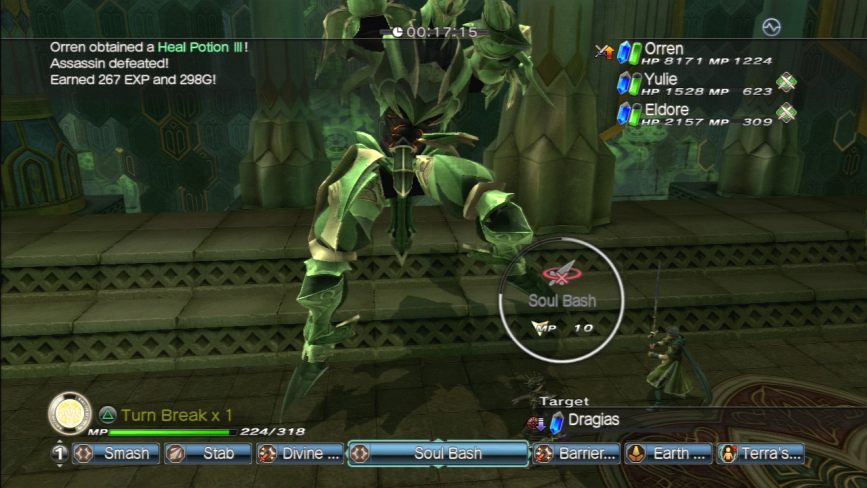
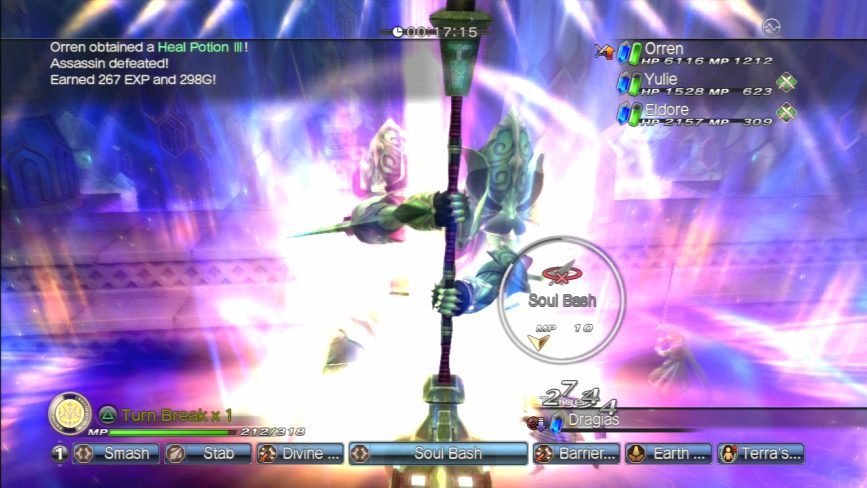
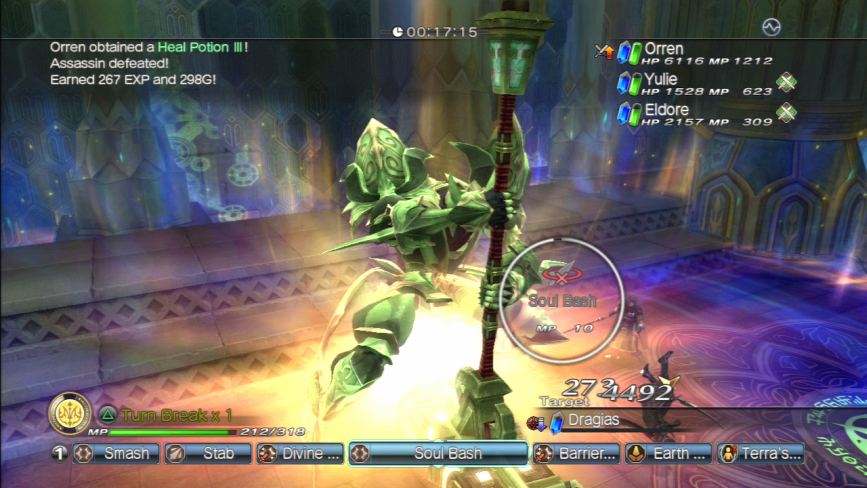
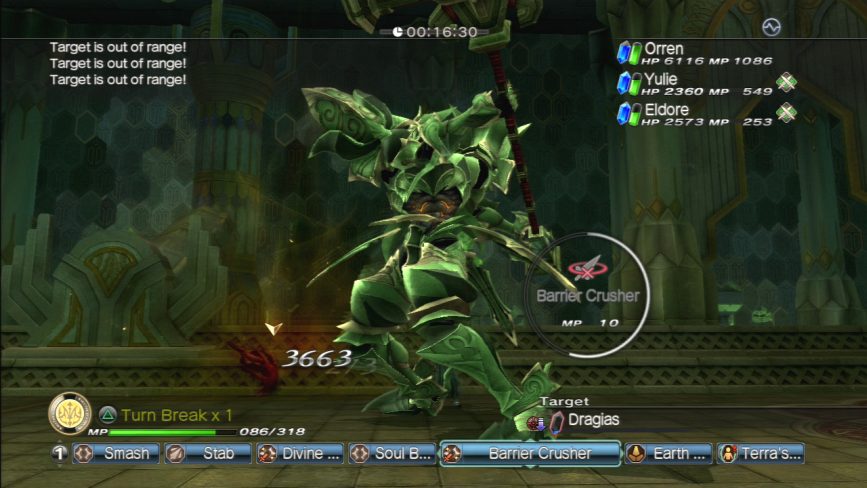
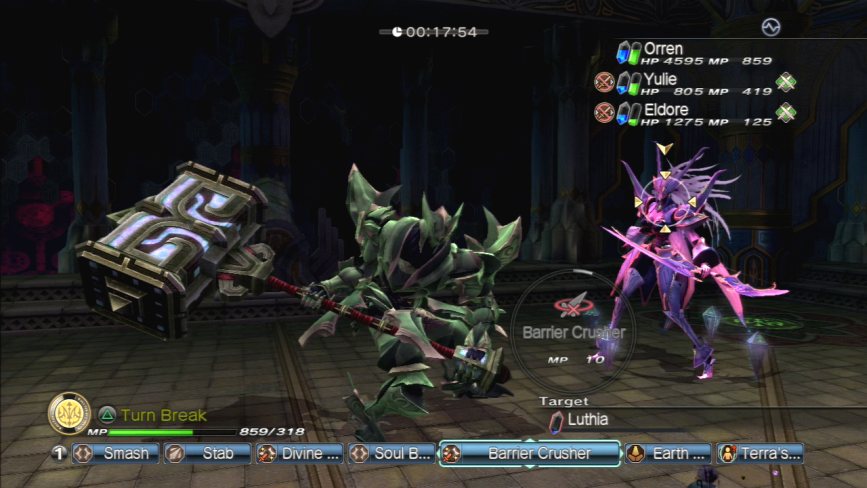
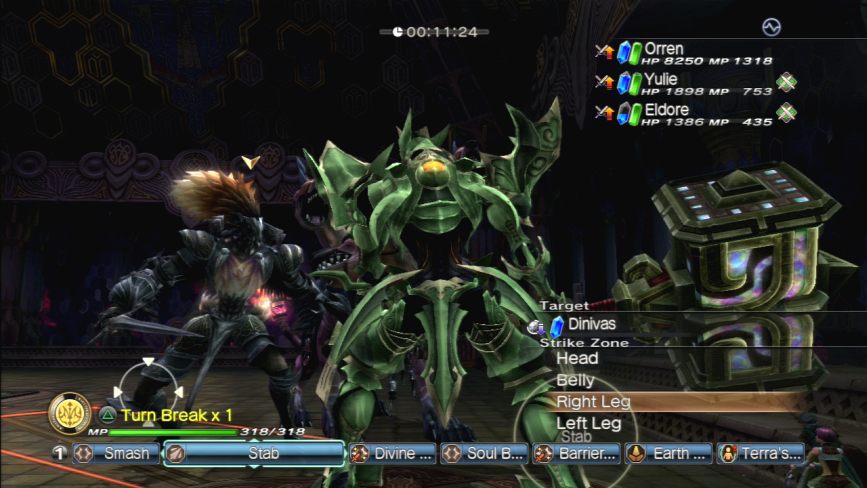
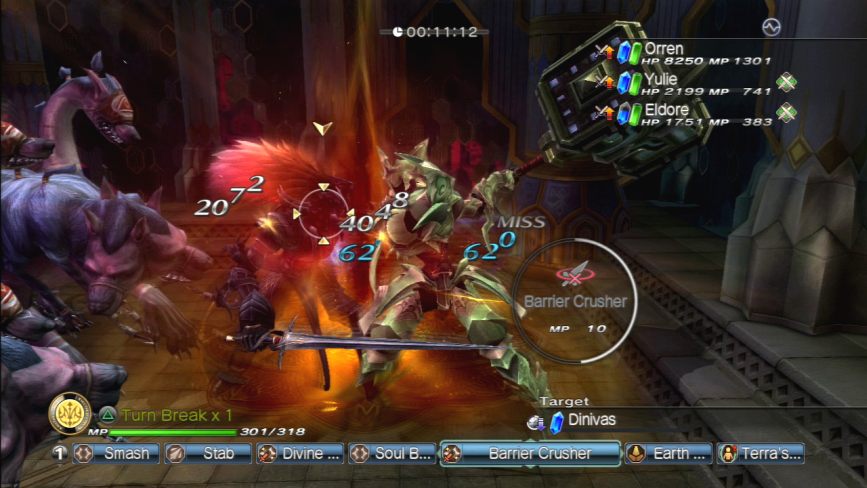
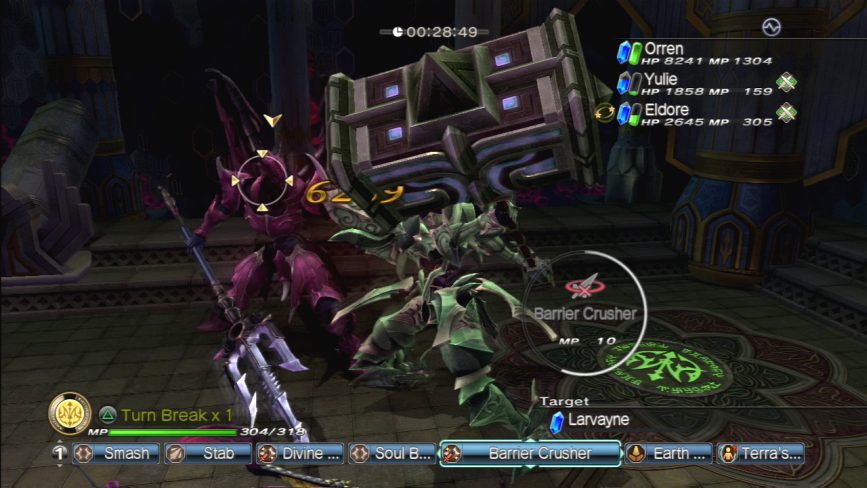
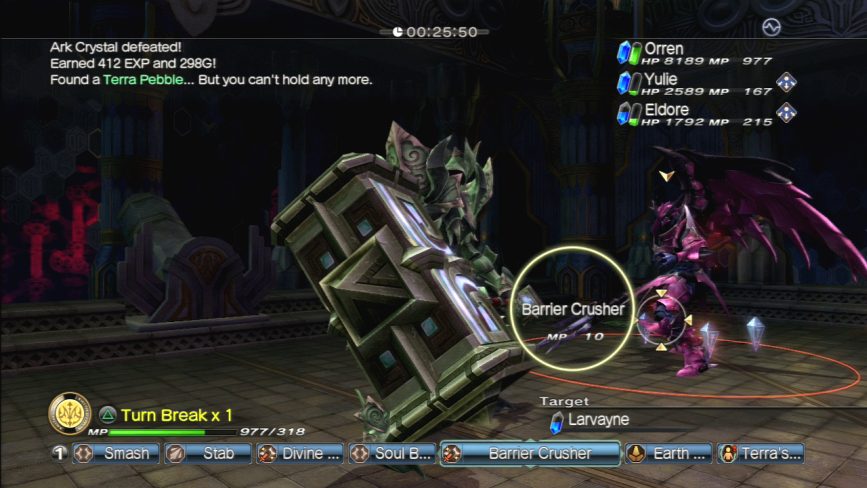
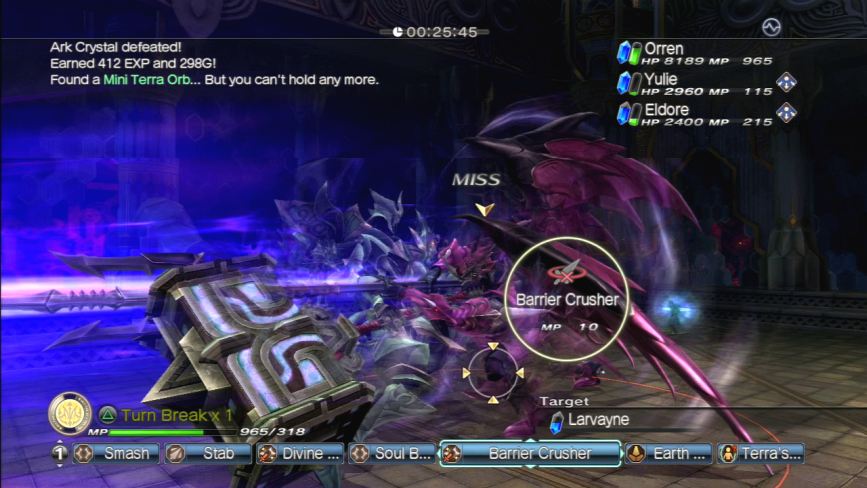
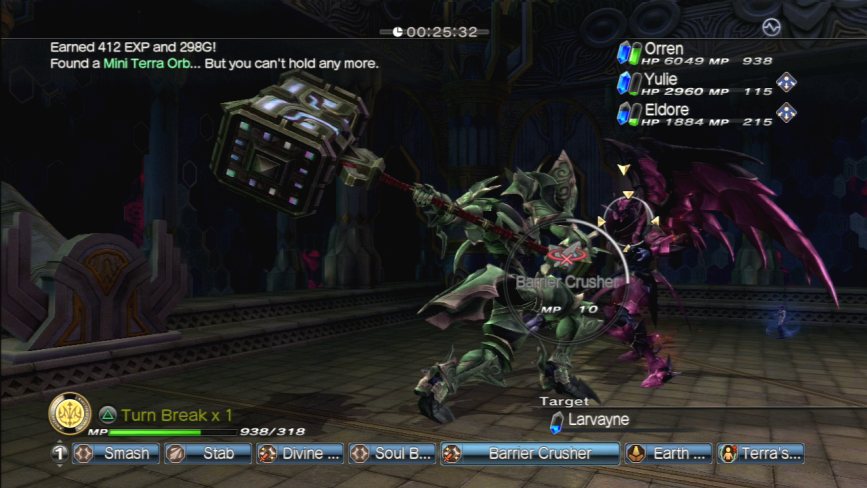
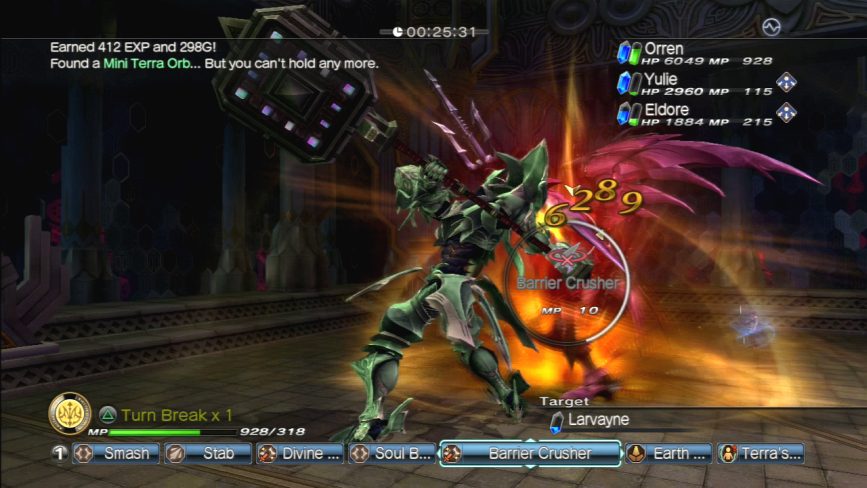
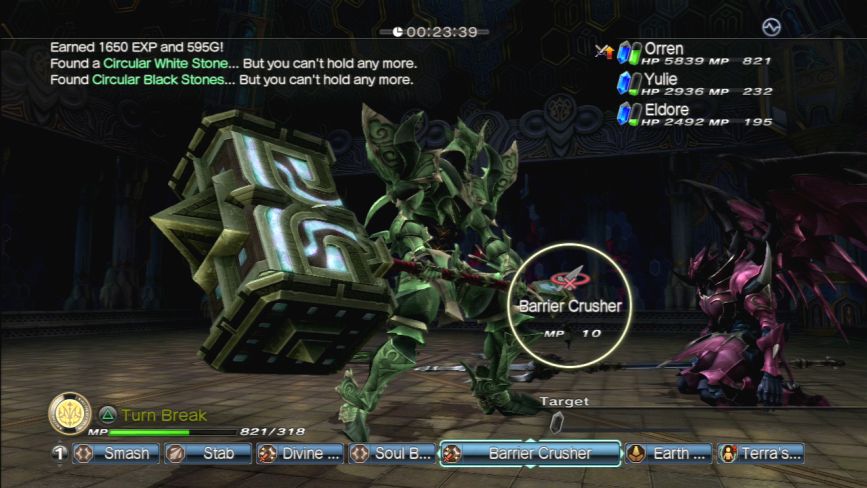
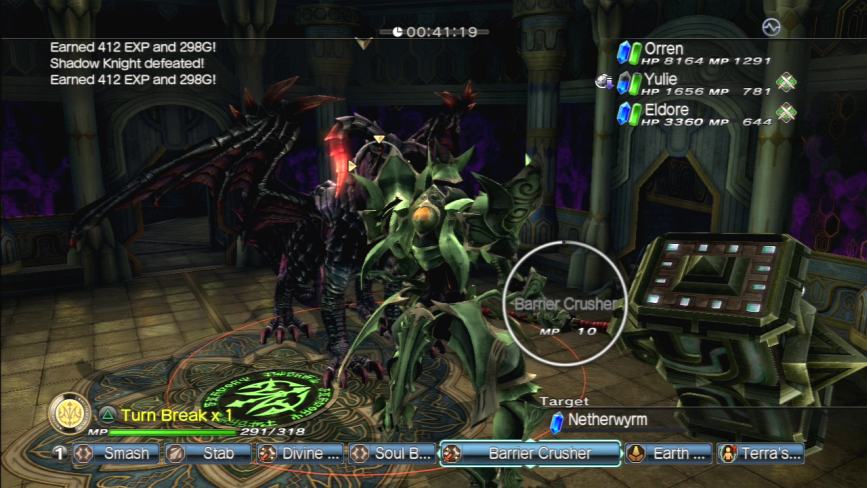
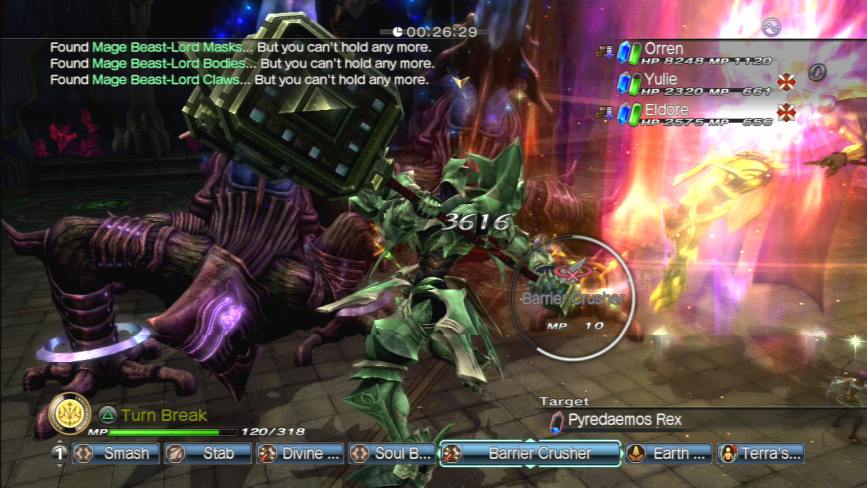
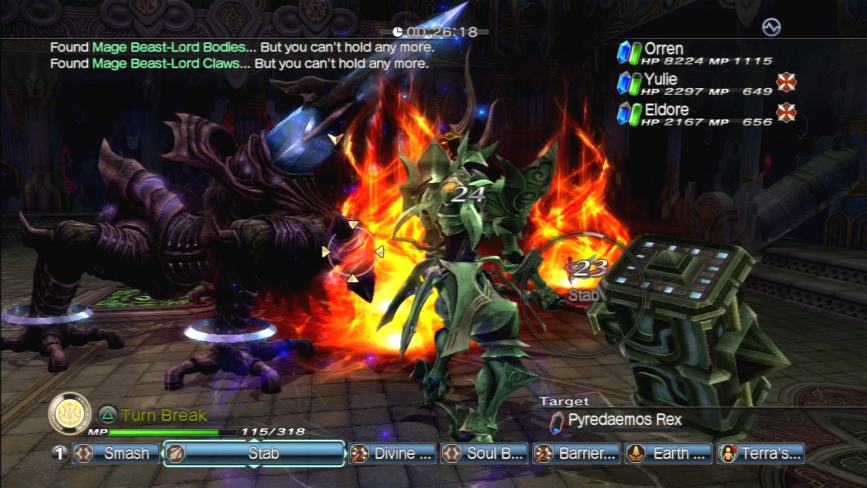
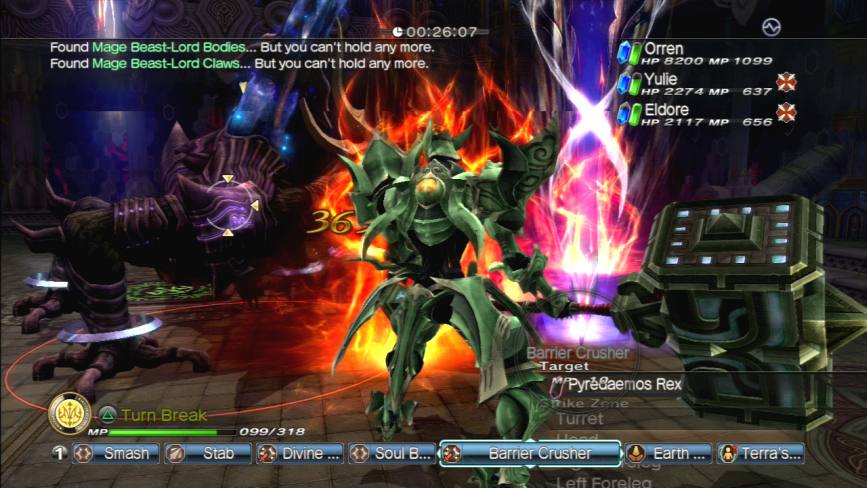
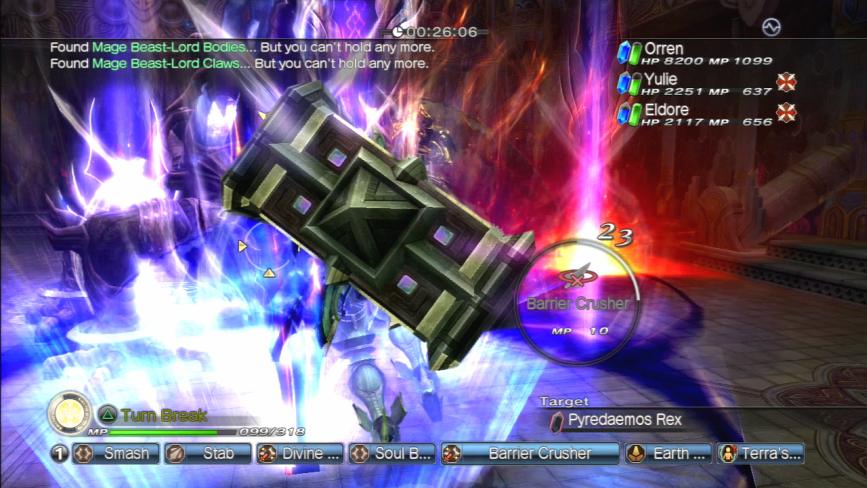
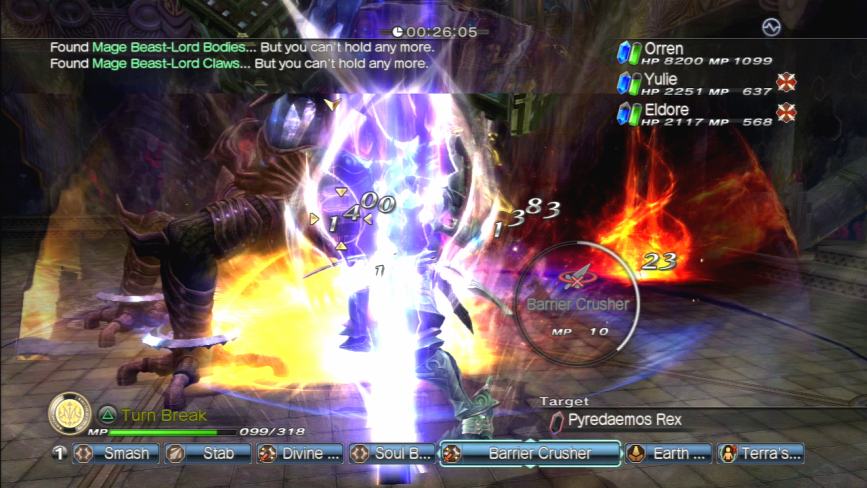
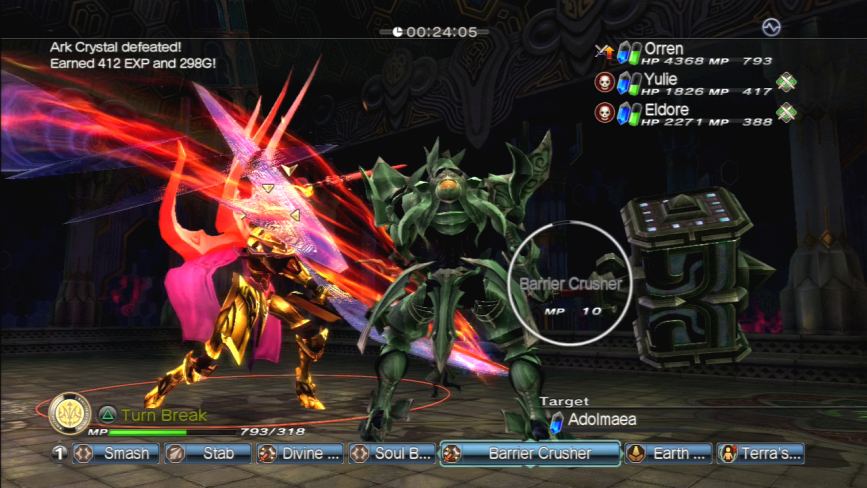
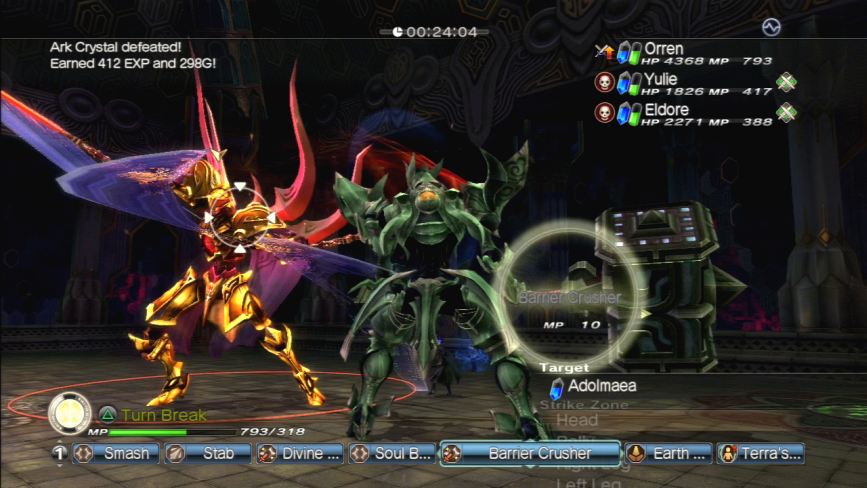
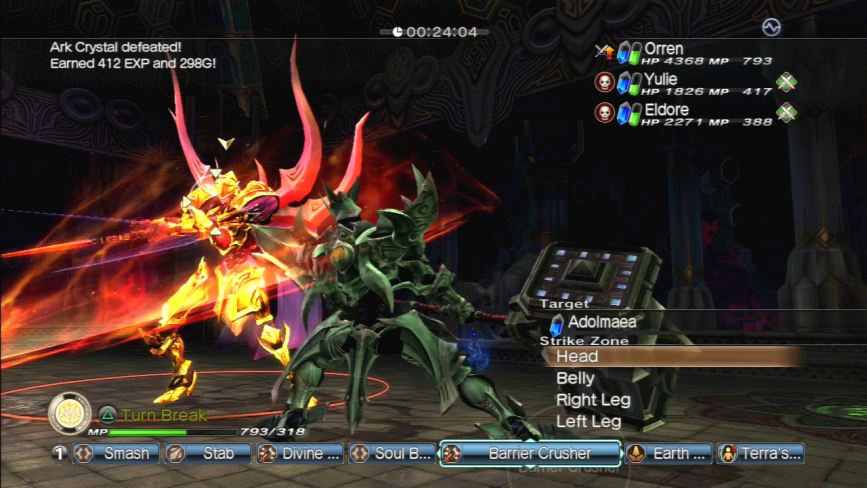
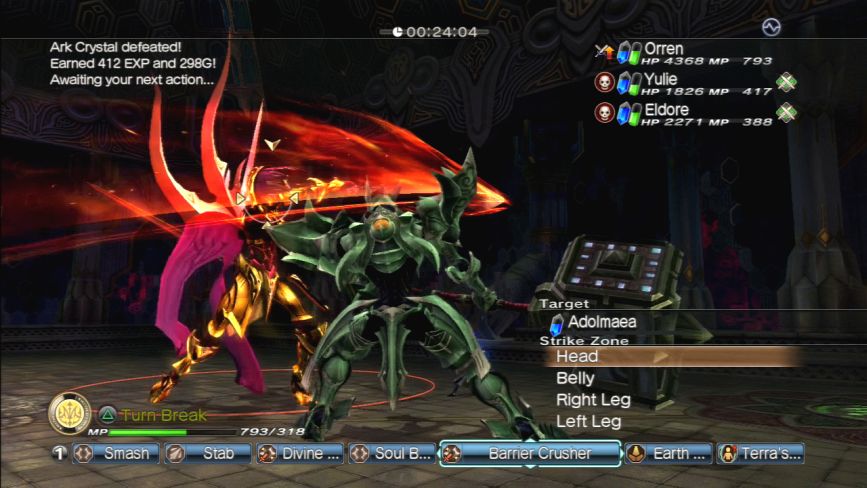
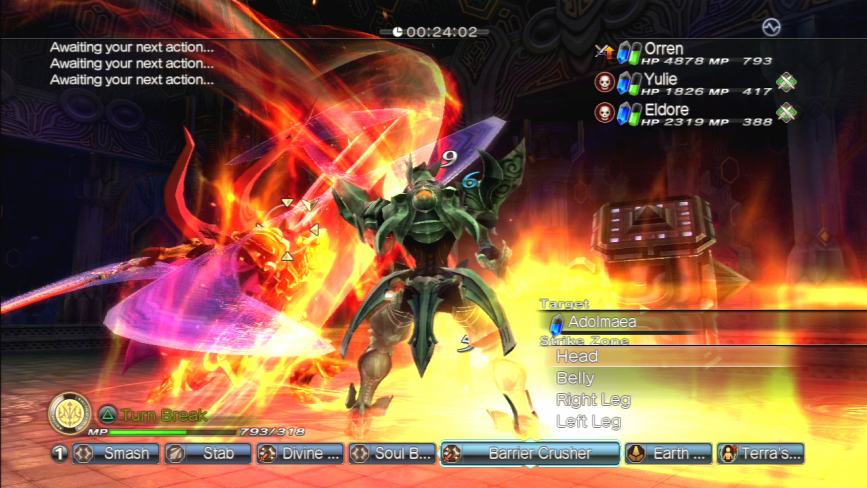
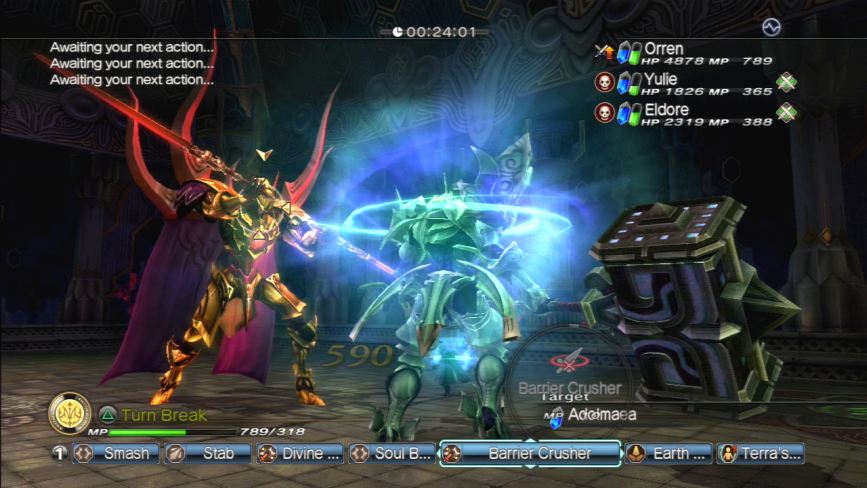
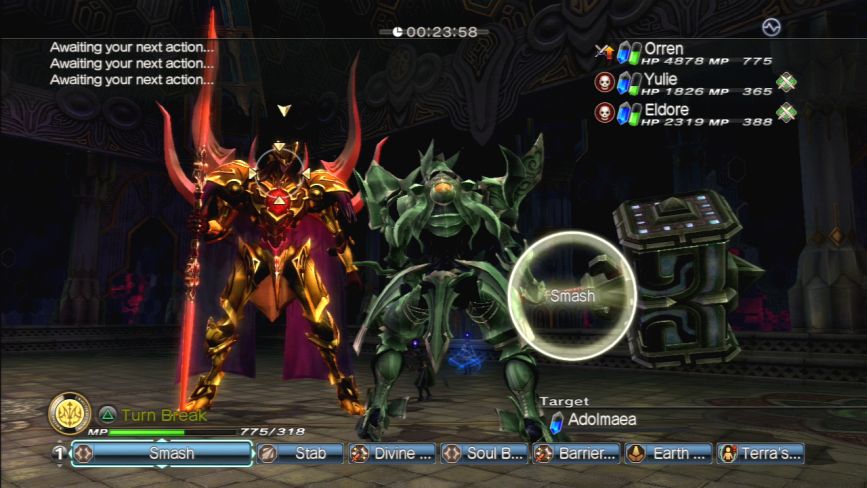
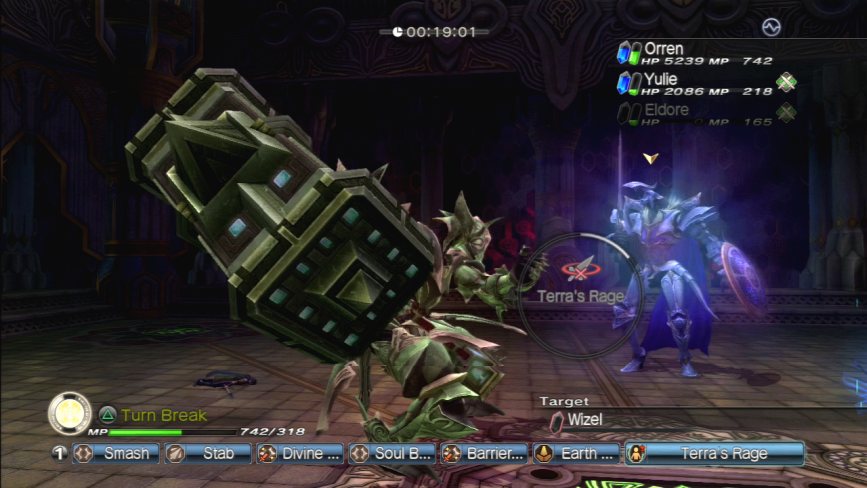
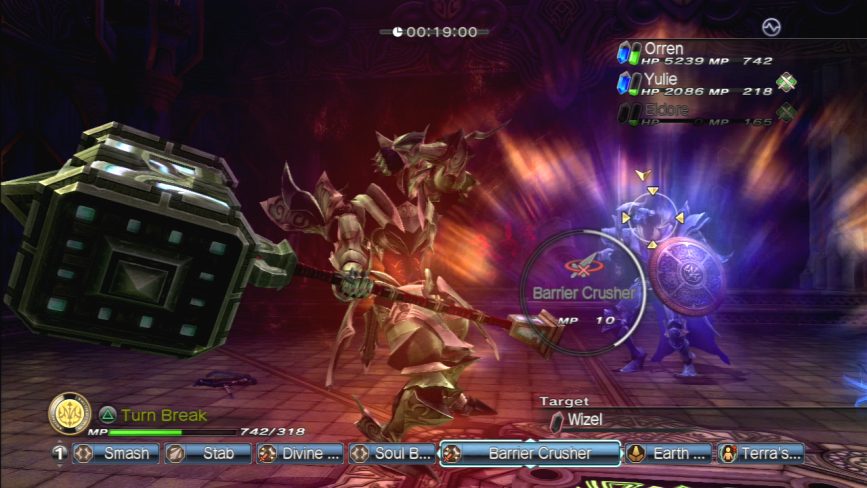
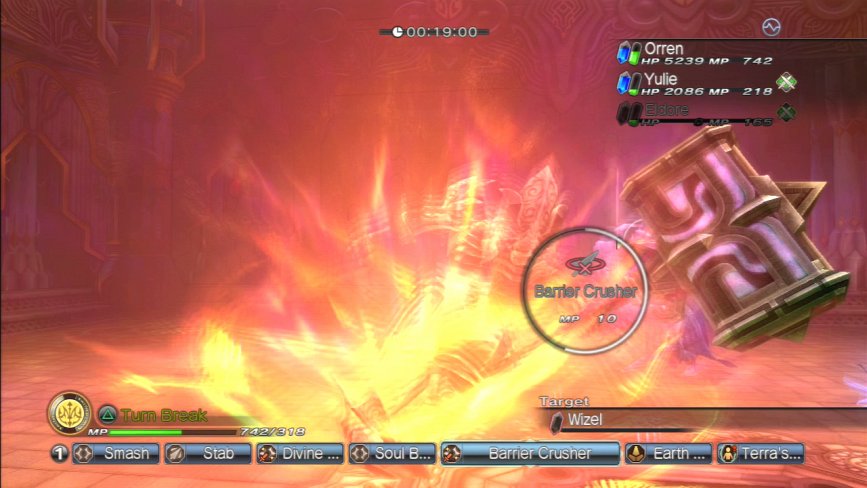
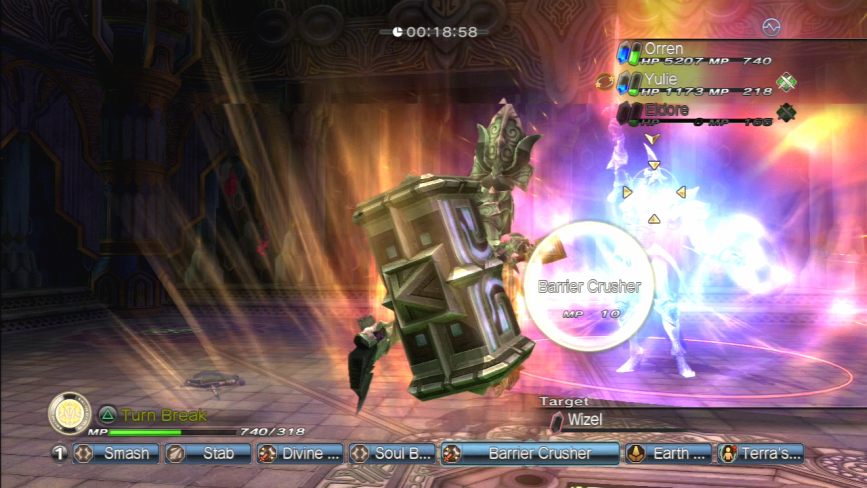
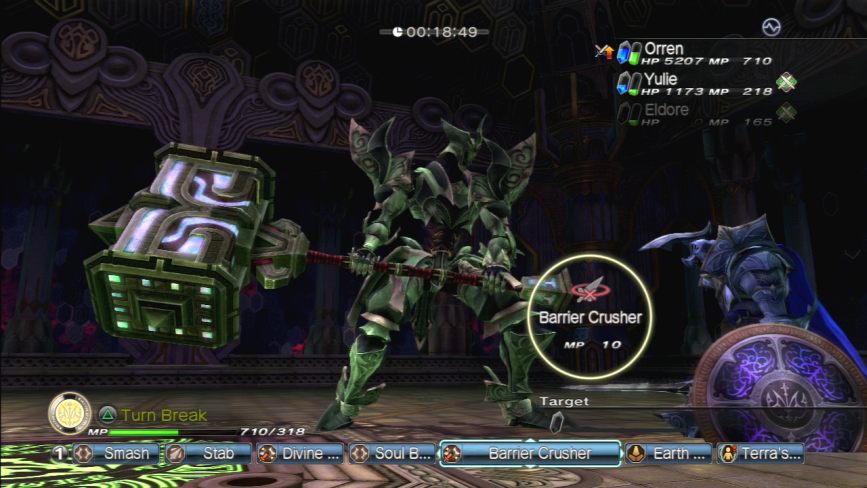
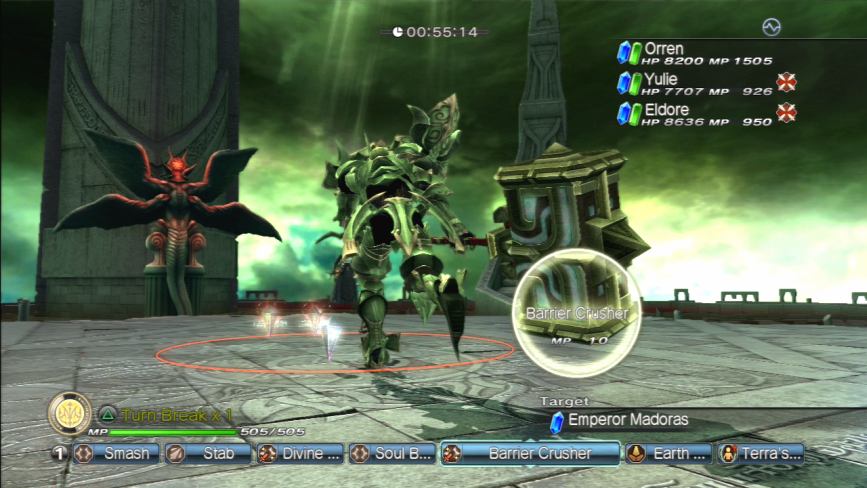
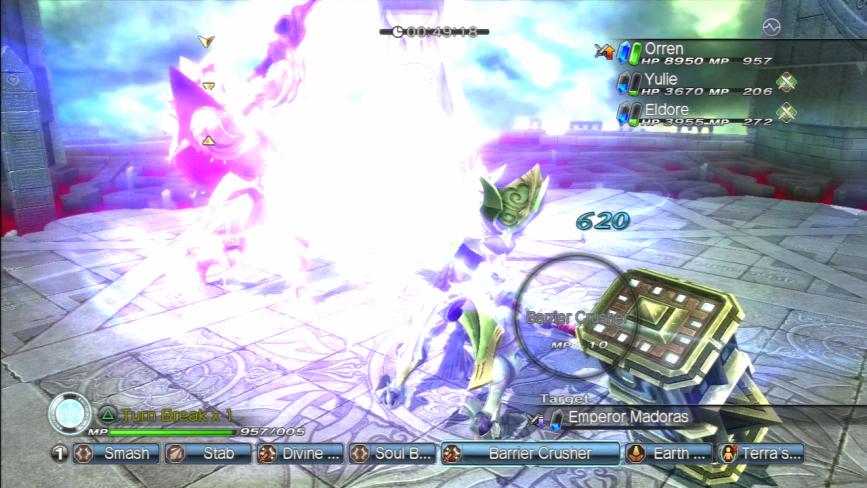
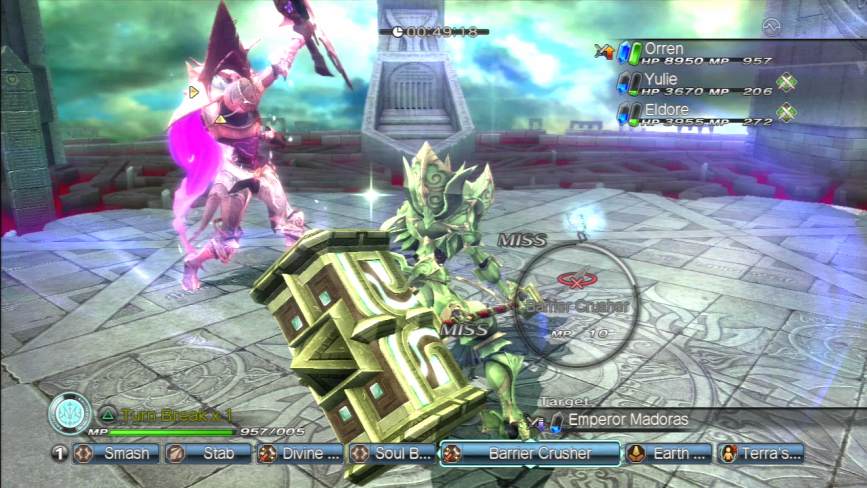
So because he’s a humanoid enemy, Dragias has no inherent attack weaknesses, however, he IS weak against being hit by a cargo van-sized hammer, so an attack like Barrier Crusher will send his spikey metallic ass flying helplessly across the room to an almost comical degree.
What’s more, the attack has such a quick cool off time that you can lay another one on him before he has the chance to get back on his feet, so you can use it over and over again to just take him right out of the fight.
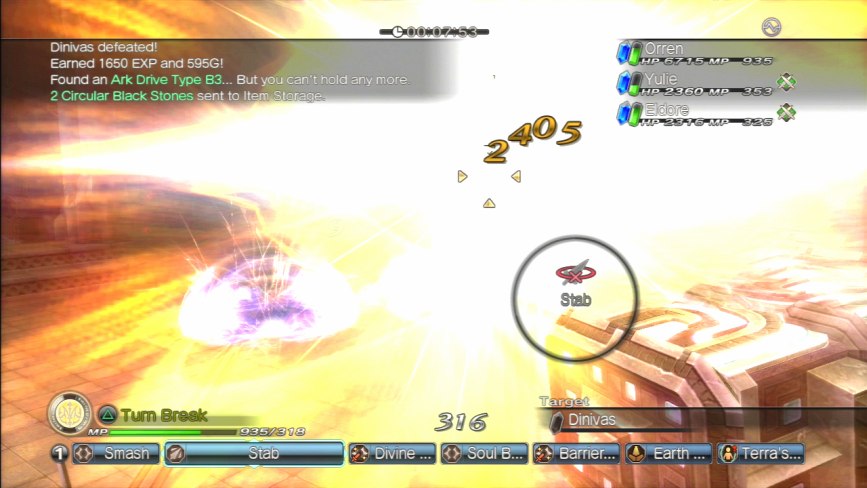
 Orren: Paypack for Balandor Castle, shithead. Enjoy your shattered bones and tell Pyredaemos I said ‘hi’.
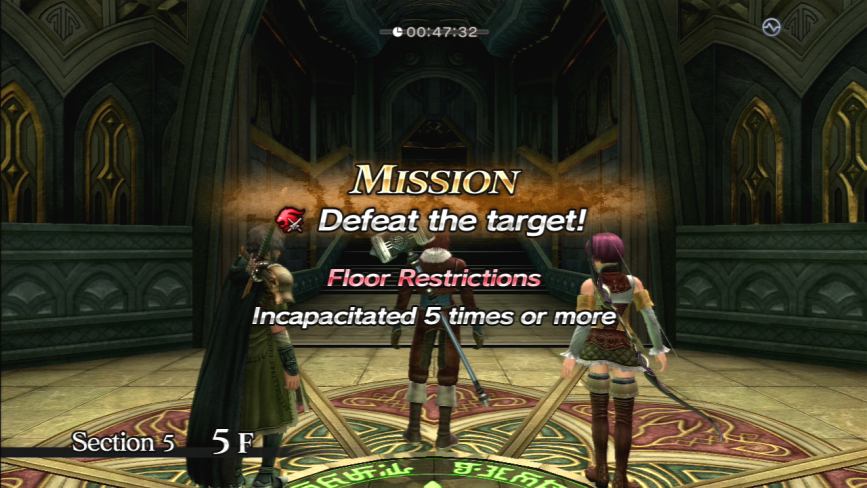
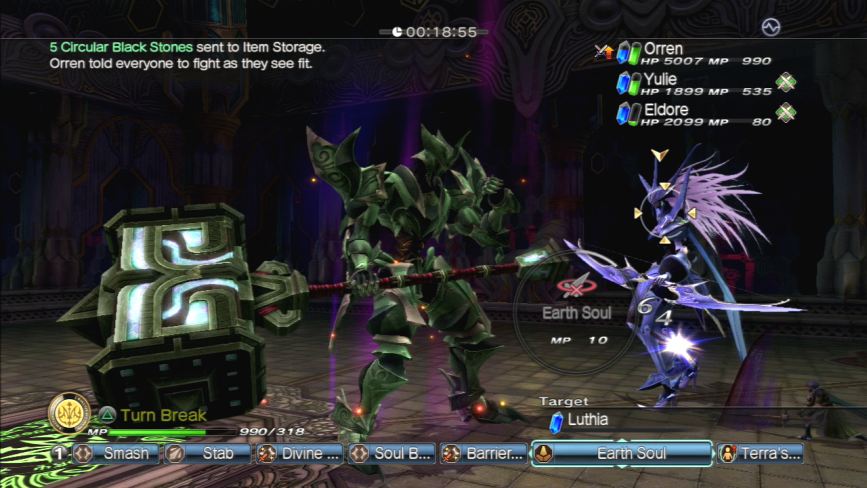
Like I said, occasionally you’ll get some overlap in terms of fifth level maps.
Here’s another Tier 2 Incorruptus.
Another Tier 2 earth elemental Incorruptus.
And just to shake things up, here’s a Tier 1 fire elemental Incorruptus.
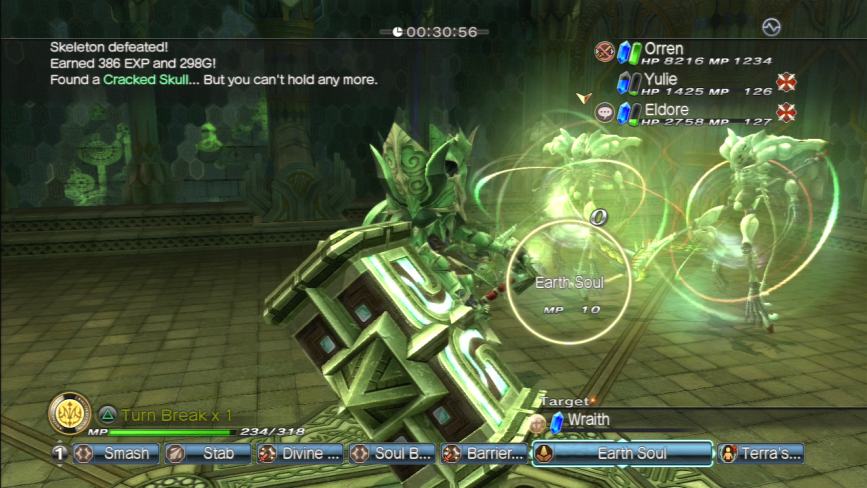
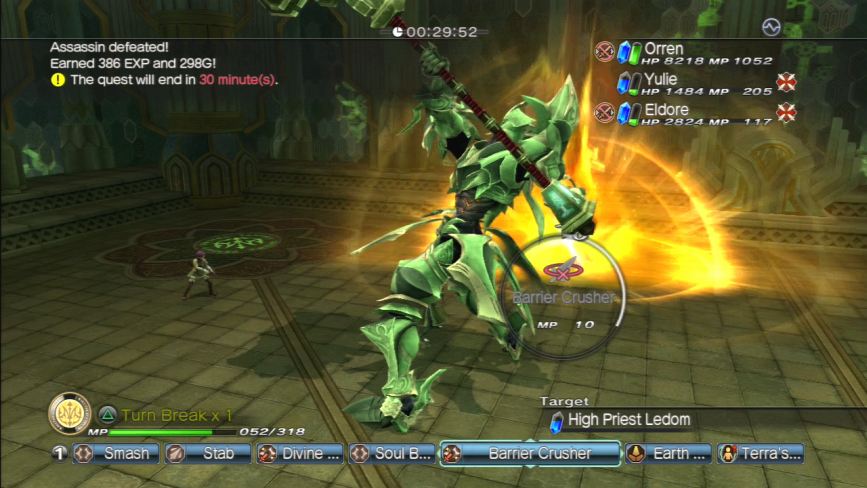
The boss fight for Section 5 has the largest number of enemies thus far. It’s High Priest Ledom flanked by three Shadow soldiers, three Skeletons, and a pair of Wraiths.
The Wraiths are probably the biggest threat in this fight, given that they’re so powerful and have Body-Guard on so you can only hurt them with magic unless you break it with Holy Light.
Which, to my surprise, the AI does.
It’s important to kill the Wraiths quickly before they summon a set of Succubi to aid them.
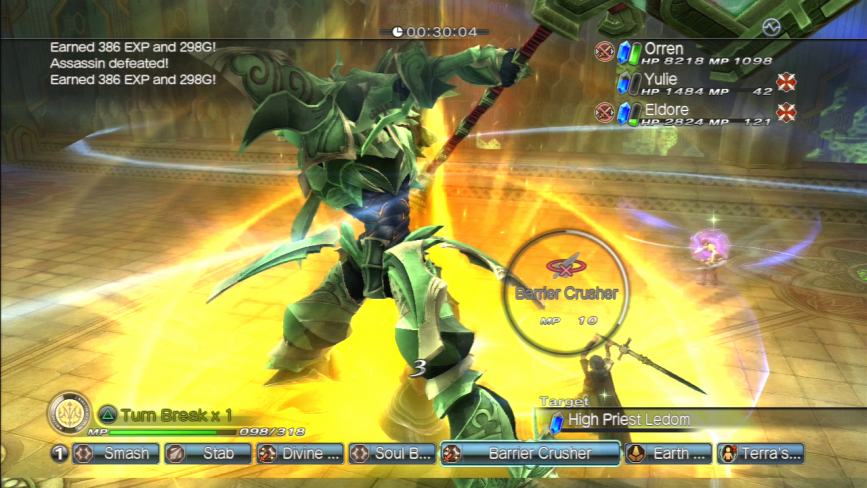
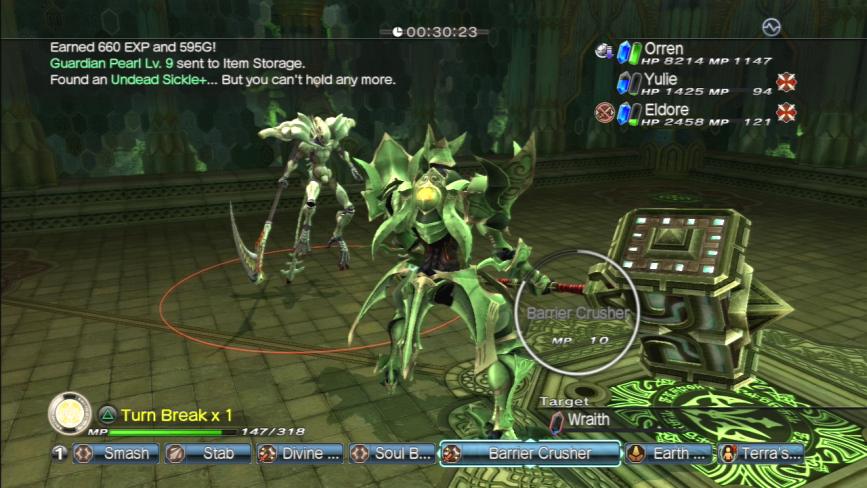
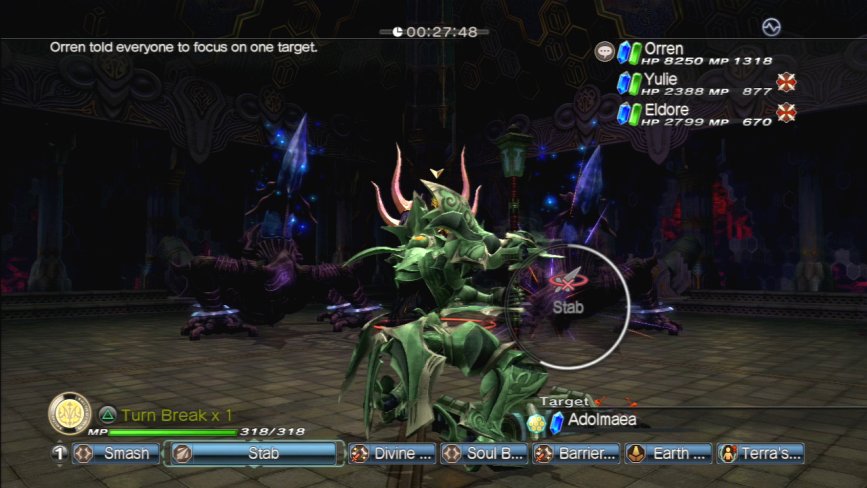
With all the smaller enemies and Wraiths taken care of, that just leaves Ledom, who is susceptible to the same trick that we did in Dragias with.
Sadly, you’re not getting fifty screenshots of me batting a 70 year-old man in a purple clown costume around the room with a gigantic hammer till he dies for a second straight time.
For the curious: Ledom shows up in another post-game quest called “Rival Survial” along with Belcitane and Grazel. So you technically can kick Ledom’s ass three times in a row if you wanted to.
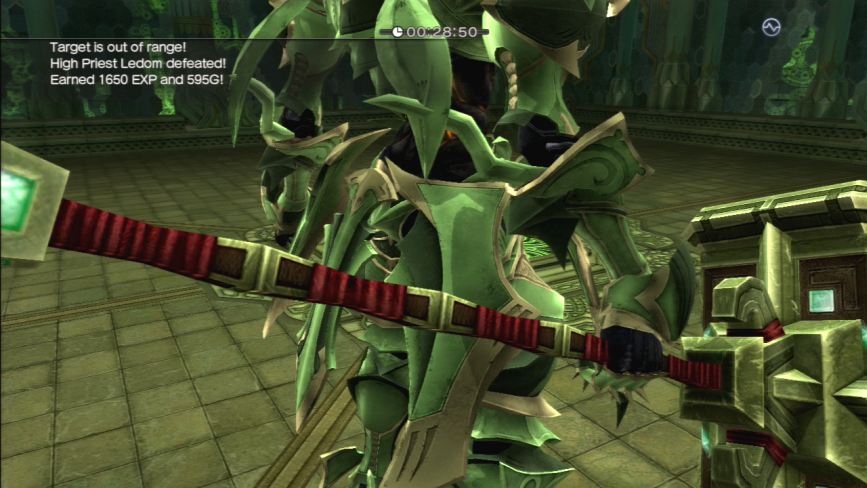
Bite my colossal emerald ass.
Now, from Section 6 onward is where things get something approaching interesting.
You can immediately tell things are different here because they’ve turned the lights off suddenly. The remaining levels are going to play out in something approaching total darkess.
That’s about it, really.
Here’s how the one room you see 80 some times looks from here on out.

The time we’ve got to take out another Duke Gigas to reach the boss for Section 6.
THIS is where things get interesting, however. The bosses from here to the Upper Apex are all going to be the story Knights. We start off by squaring off against the Moon Maiden and a pair of Tier 4 Ark Incorrupti.
I guess the rationale for this is that because the five Knights are now a part of Madoras’ body once again, he can conjure them at will and send them against the party as hostile reinforcements to try and bar their progress towards the main palace.
He’s a nice close up of the Tier 4 Hammer and Spear Incorrupti to go along with the Tier 4 Sword Knight seen back in Section 1.
With the two Ark Incorrupti down, it’s just you and the Moon Maiden now.
These remaining boss battles are kind of nice because it allows the Arc Knight a chance to appear on screen together with each of the five original Knights, something that doesn’t happen in game at any point outside of that one fight with the Black Knight and Brimflamme if you’ve managed to get the Arc Knight before attempting Redhorn Isle. Or if you play a New Game+ game and beat up the Sun King at the end of the first game with it.
I feel guilty bashing the Moon Maiden’s head in with a giant hammer like this, because even violence against giant metal women with torpedo boobs is wrong.
Buuuuut, I can’t get to Madoras without going through Luthia, so I just have to grimace and work through my issues with it in my private hours.
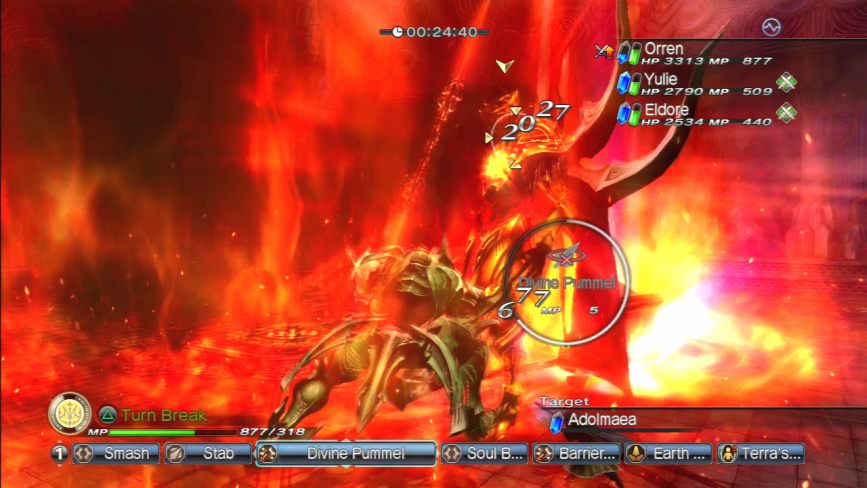
You can sort of see them down in the lower right of the frame at the Moon Maiden’s feet, but part way through the fight, each Incorruputus will summon four diamond shaped objects called Ark Crystals.
Ark Crystals supplement the Incorruptus’s by casting the game’s version of Ultima, Eclipse Gate and its AoE version, Final Apocalypse.
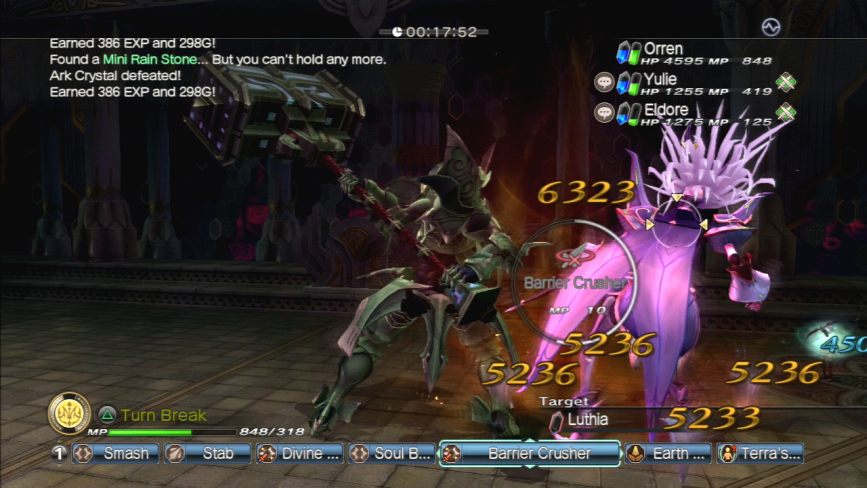
They’re weak against smashing attacks, just like the Moon Maiden herself is.
…Sorry.
In Section 7, we encounter the Black Knight and a pair of Cerberuses.
Now this fucker I have no qualms smashing up with a massive hammer.
Case in point.
The Cerberuses are weak to slashing attacks, so the Arc Knight doesn’t have a means of weakness matching them.
The Black Knight is, as always, weak to stabbing attacks.
Stab is useful for breaking its legs and knocking it down, but the impact attacks like Barrier Crusher does more damage to it over all despite being a non-weakness matching attack.
And here we have a classic clash of design styles. It’s sleek and eloquent, verses prickly and FUCK OFF.
The Black Knight also has its finger pointy lightning attack too.
And that’s all she wrote.
Two down, three to go.
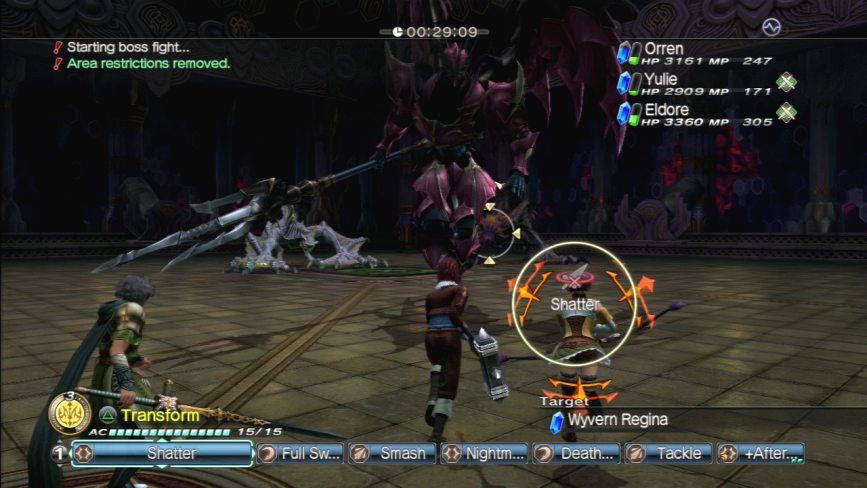
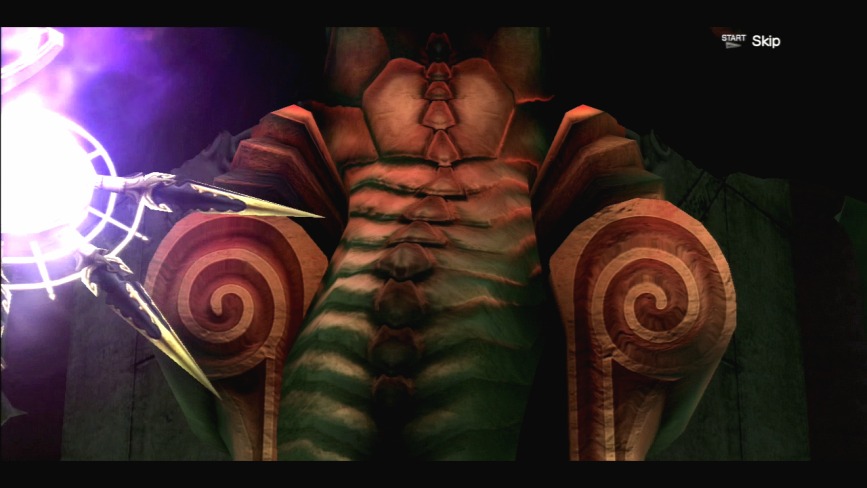
The boss of Section 8 is the Dragon Knight. It’s flanked by a Wyvern Rex, and the heretofore unseen female variant, the Wyvern Regina.
I fought a Regina at some point during my run through Vellgander, but it was in the 10-ish hours of footage I’d deemed “irrelevant” and scrapped. And that’s a bit of a shame because it had the better angles of it compared to this batch of screenshots here.
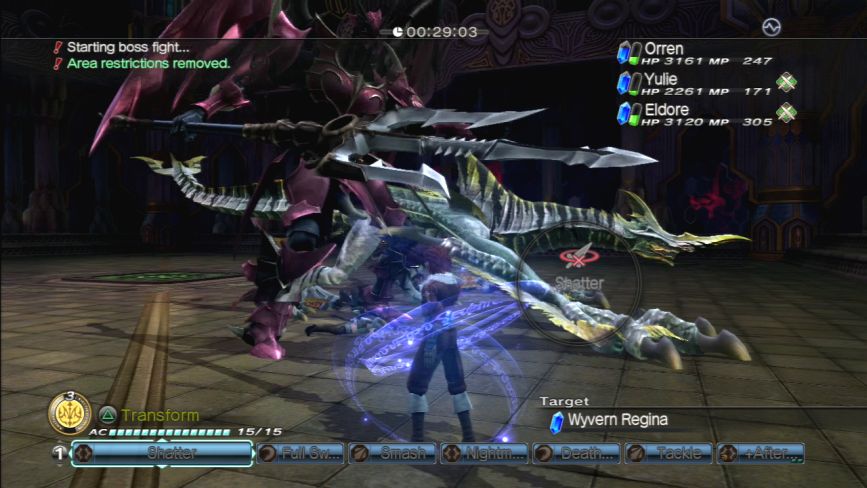
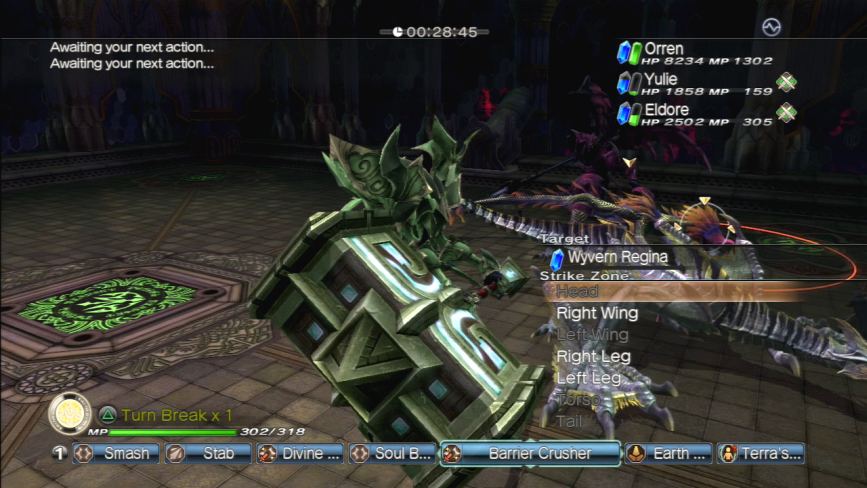
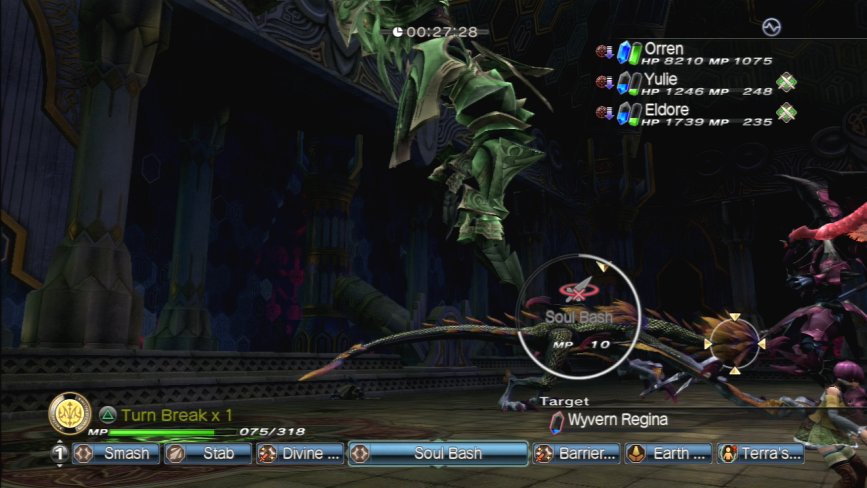
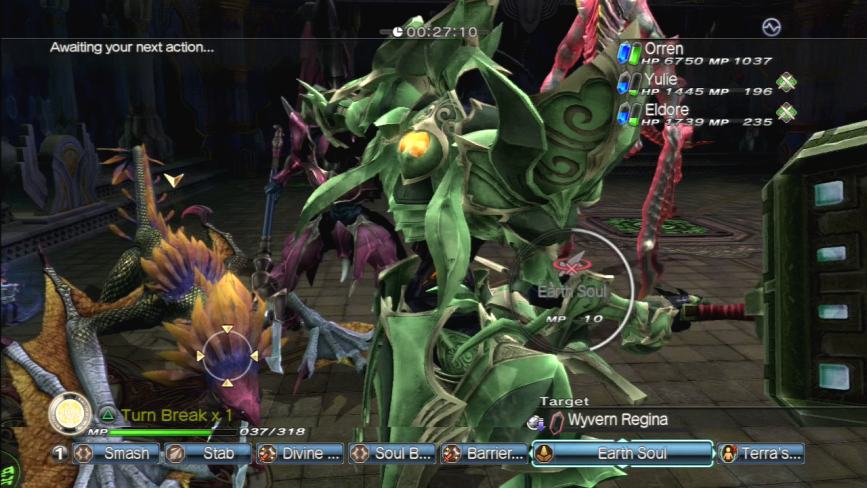
So while I can do killer damage to the Dragon Knight with impact attacks, the Arc Knight has no weakness matching attacks to keep the Wyverns at bay.
Here’s the best shot I was able to get of the Regina in the midst of this scrum. You can see it’s got a pink serpentine head, a frill of feathers not present on the other Wyvern pallet swaps, and a golden scale body.
Although here’s a better shot of the Ark Crystals from last time.
Now, see, here’s something that I’d imagine would happen in reality between Caesar and Orren. I could totally picture the two of them having a friendly Incorruptus sparing match in some uninhabited stretch of Frass Chasm where they could both really let loose.
Because I’ve got a headcannon I need to maintain in order to try and justify the fact that I pissed ten hours of my life into beating Vellgander for you people.
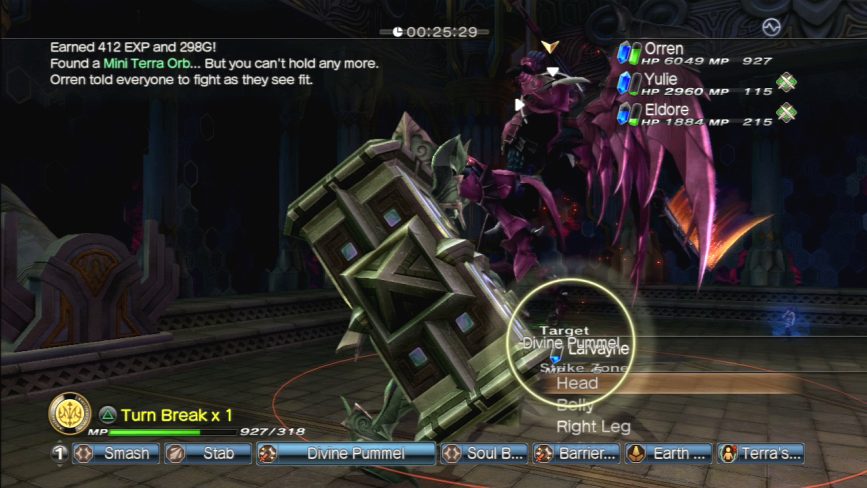
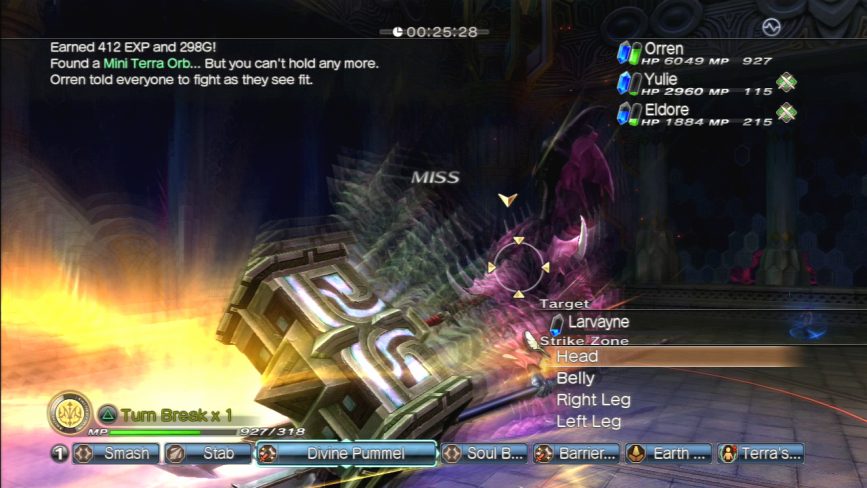
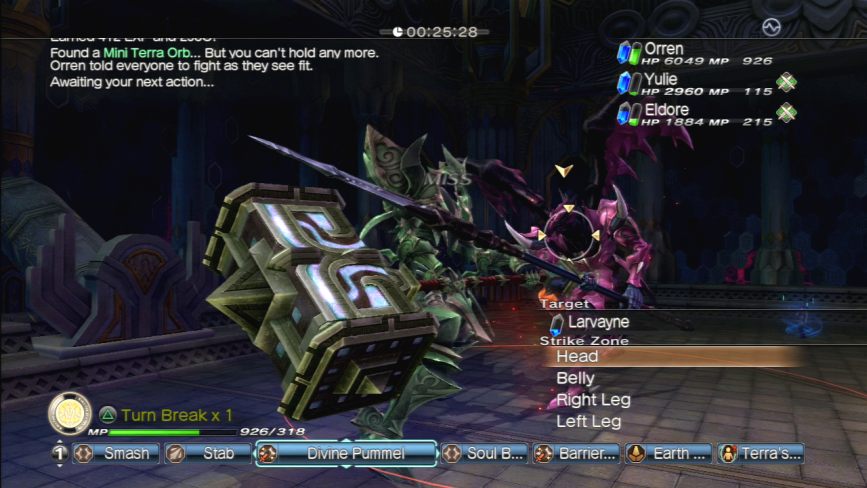
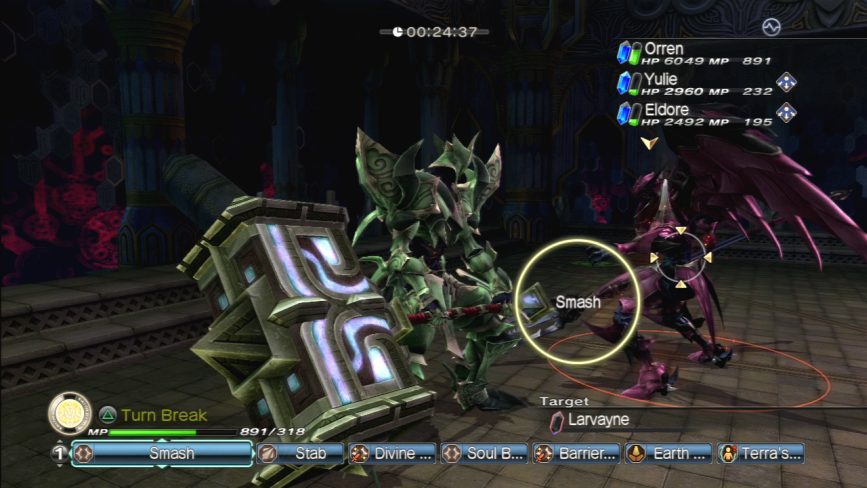
Eventually, Larvayne goes down too.
Throughout Section 9, Ark Incorrupti appear in nearly every room you visit.
We also get a unique fifth level to explore.
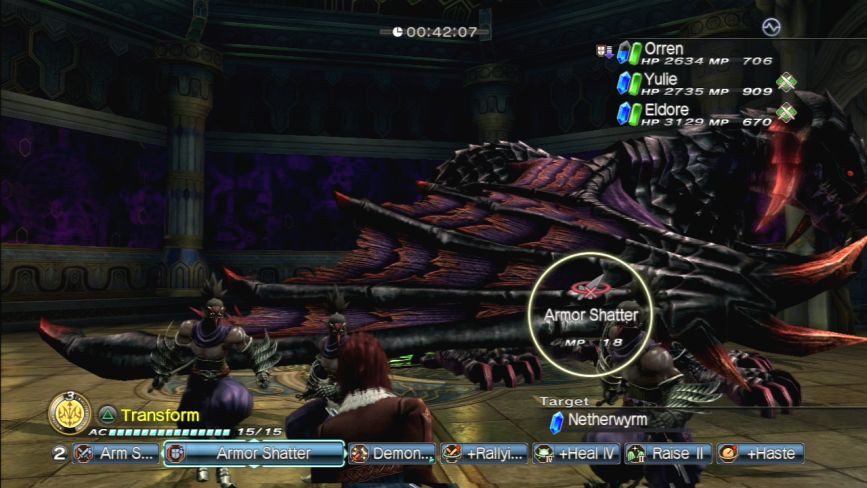
So the mission for this level is that we need to kill two Netherwyrms and an Ancient Dragon.
Remember this thing?
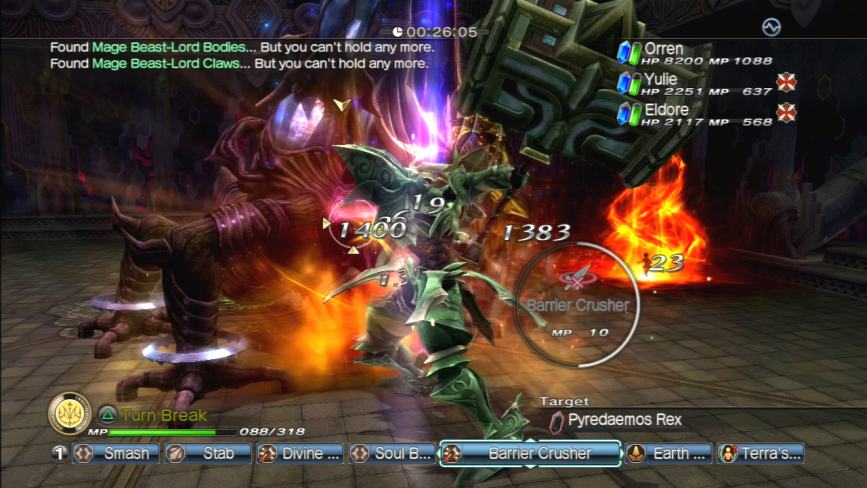
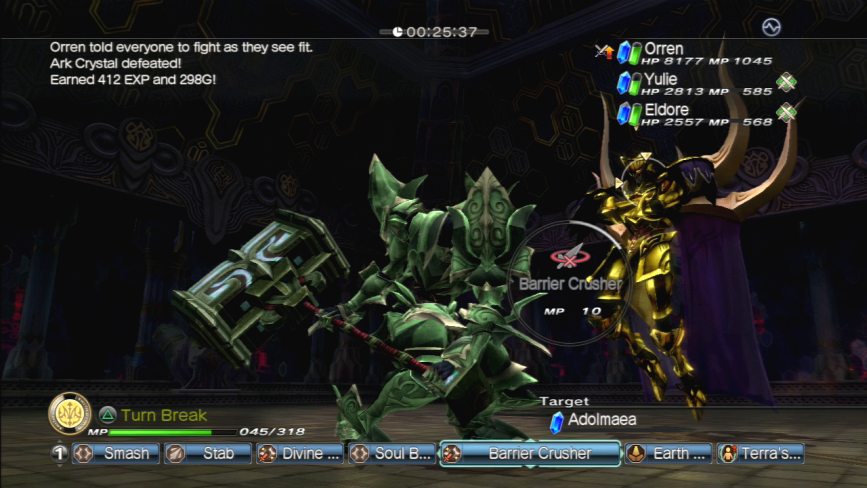
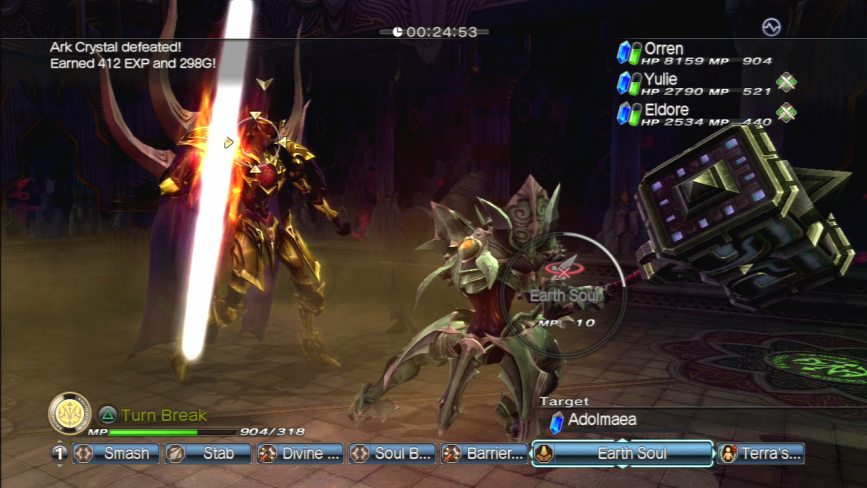
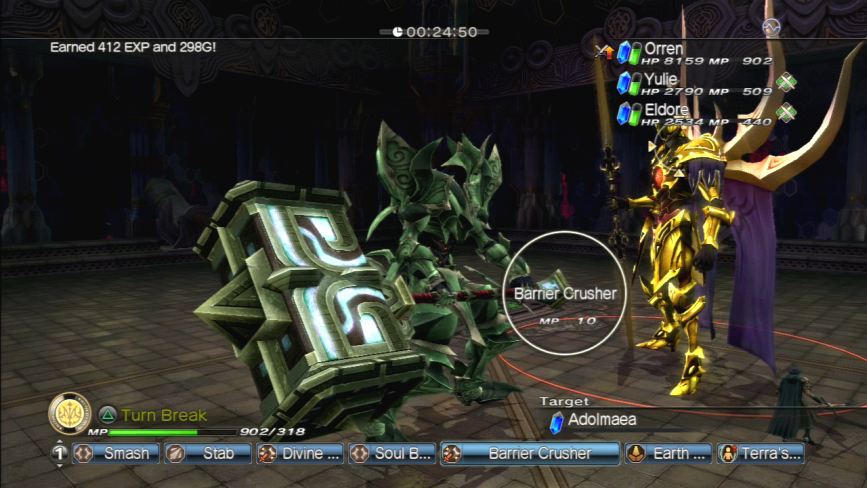
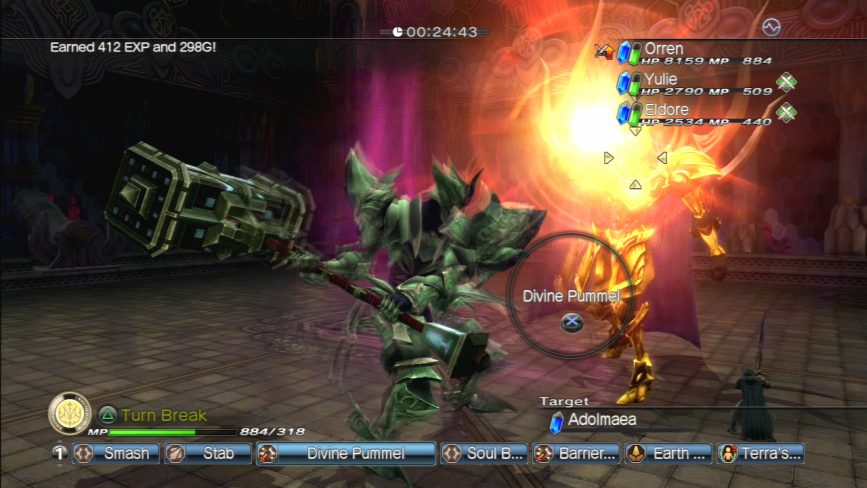
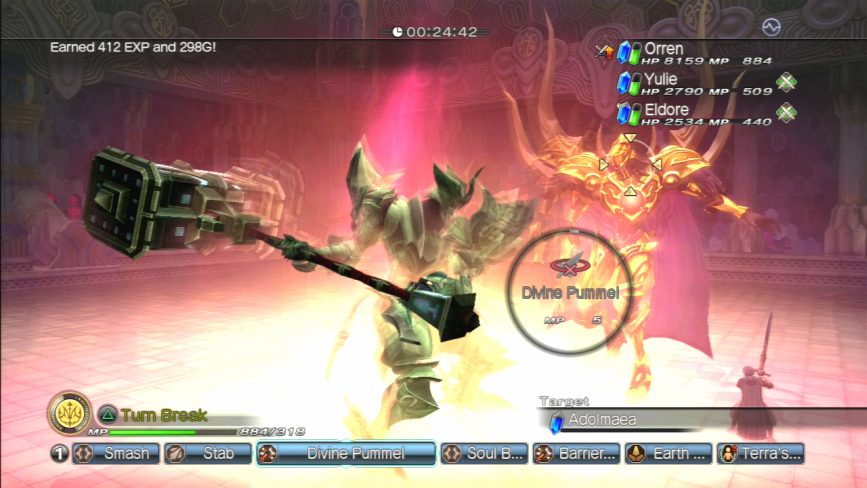
The boss of Section 9 is of course the Sun King with a pair of Pyredaemos Rexes to back him up.
There’s not a whole lot to say about these guys that hasn’t already been said. Although the Sun King does just sort of float around the arena in a reclined position for much for the fight while you deal with the Rexes.
He also takes fire-based potshots at the party.
Mmmm. Toasty.
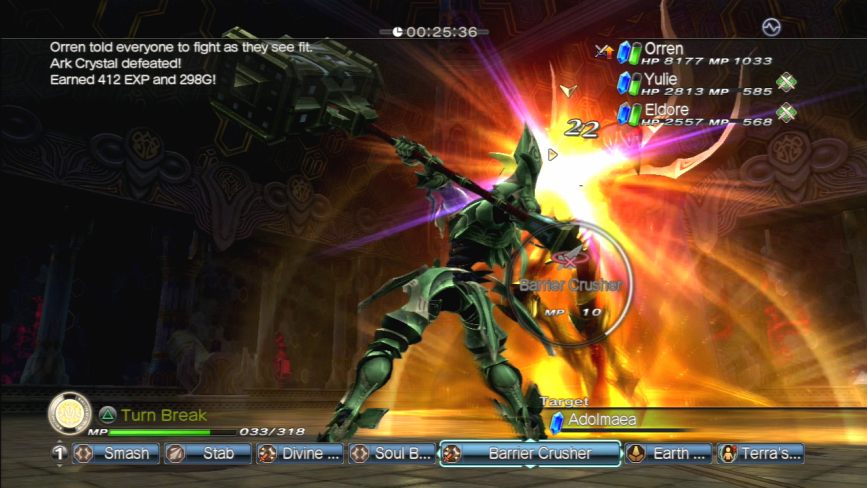
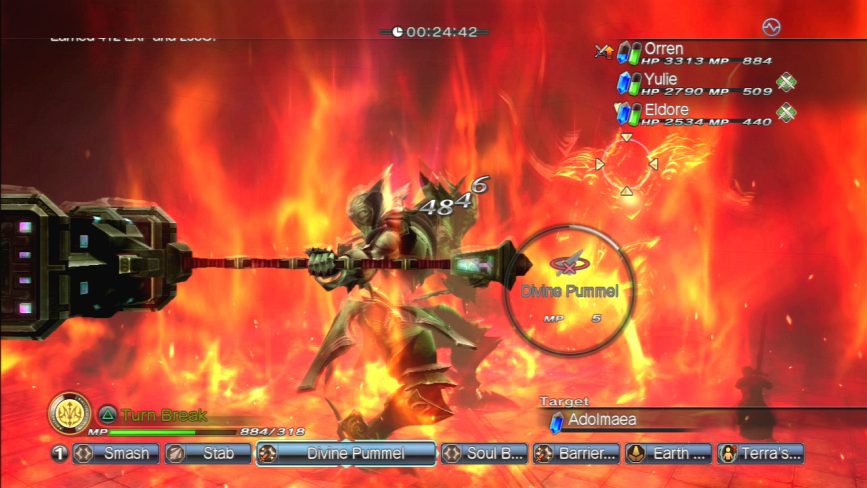
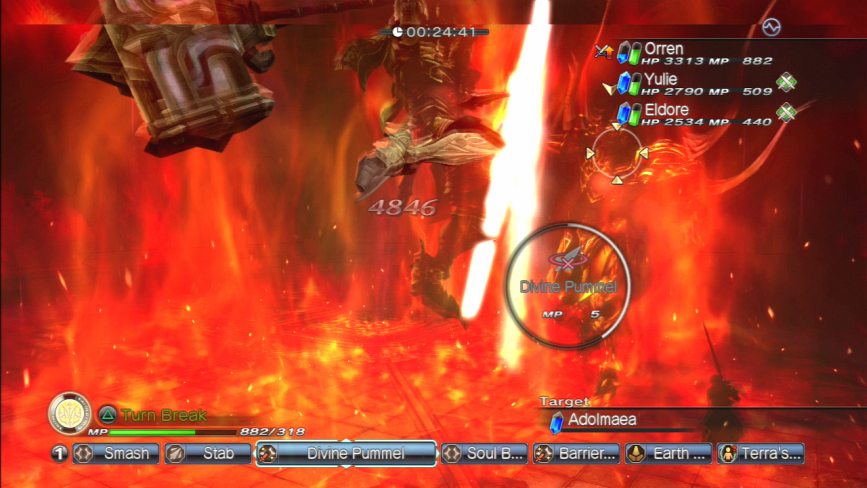
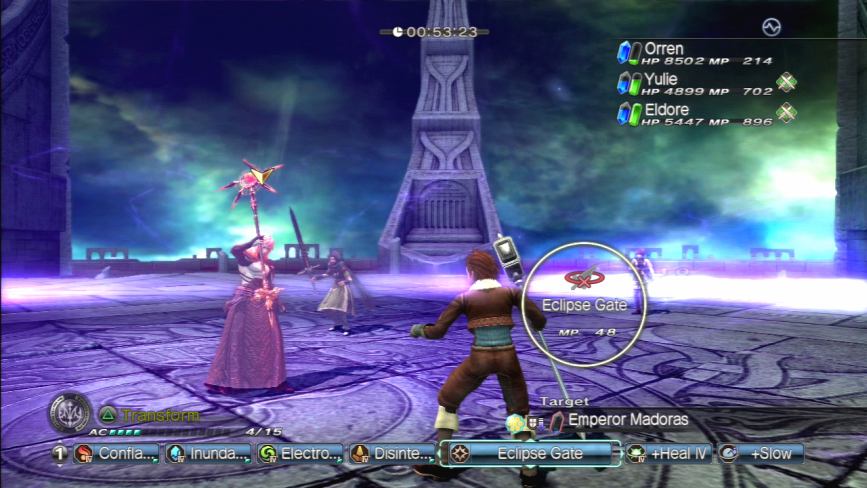
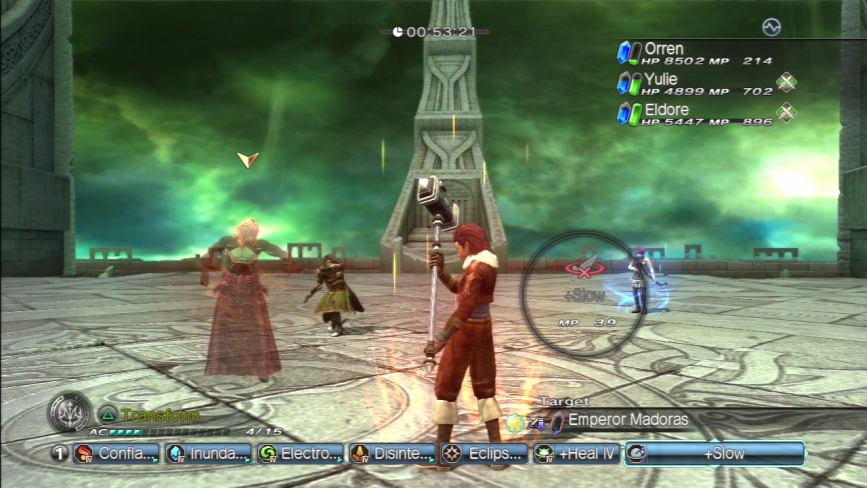
I promised I was going to show off Eclipse Gate/Final Apocalypse, and well here it is.
Eclipse Gate consists of a single pillar of purple light that shoots up and causes massive non-elemental damage to a single enemy.

Final Apocalypse is much the same but there’s a few subsequent explosions that wipe out enemies all around the battlefield in an Area of Effect attack.

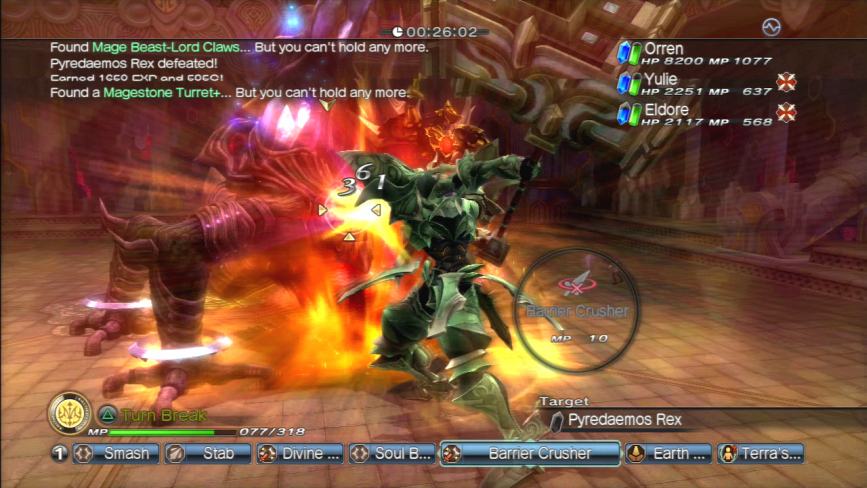
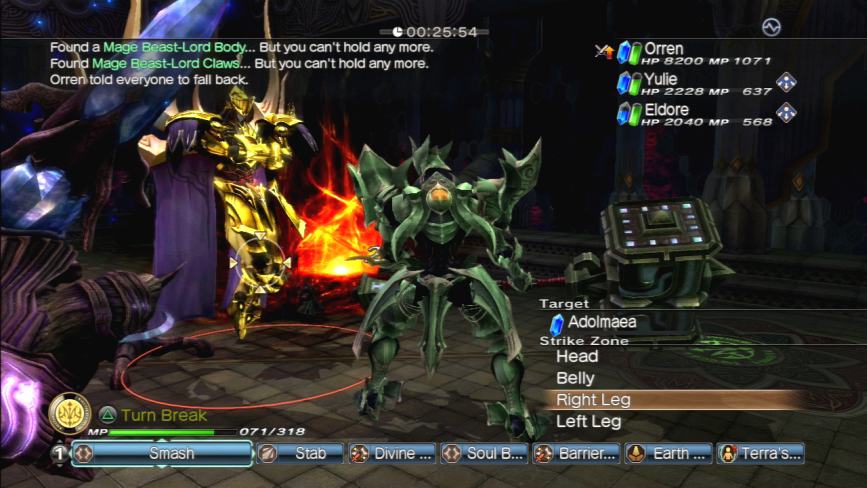
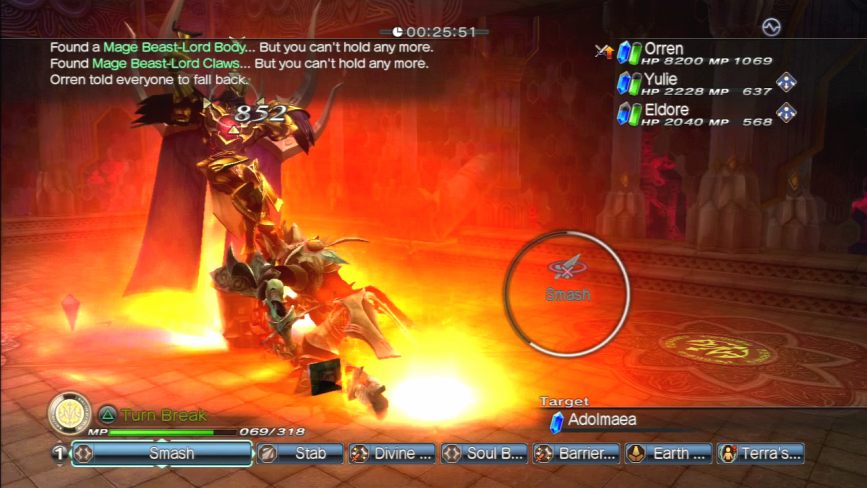
With the Rexes down, only Adolmaea stands before you now.
The Sun King is weak to slashing attack, so of course we don’t have any weakness matching attacks.
Even though Grazel’s dead, clocking the Sun King across the face with a massive blunt object will NEVER get old.
When it gets down to 3/4s health, the Sun King goes into serious mode. It plants its feet on the ground and summons the Lawblade out of the ether to attack with.

I love these overly long animation spells. Orren just shrugs it off and smashes the Sun King’s head in regardless.
Eventually the Sun King spits the Law Blade in two and begins to slash at the Ark Knight with them.
But just like all the others, it does down too. Only one more left now.
You all know what’s coming.
But first another glimpse of a Tier 4 Hammer Knight.
And a Tier 4 Sword Knight.
And a Tier 3 Spear Knight. Section 10 is absolutely swarming with high level Incorrupti.
And a Tier 3 Hammer Knight.
Aaaaaaugh. Thank god we’re coming to the end of this bullshit.
The enemies we need to take out for this final level of Vellgander are a pair of Lamia Comituses, pictured here as a pair of giant claws because I can’t pan the camera up to get a glimpse at its body in this room…
And a Karkinos Gigas, the generic type of the Sargatanas gigas Belcitane turned into when we obtained the Dragon Knight at the Bunker Lode Ruins.
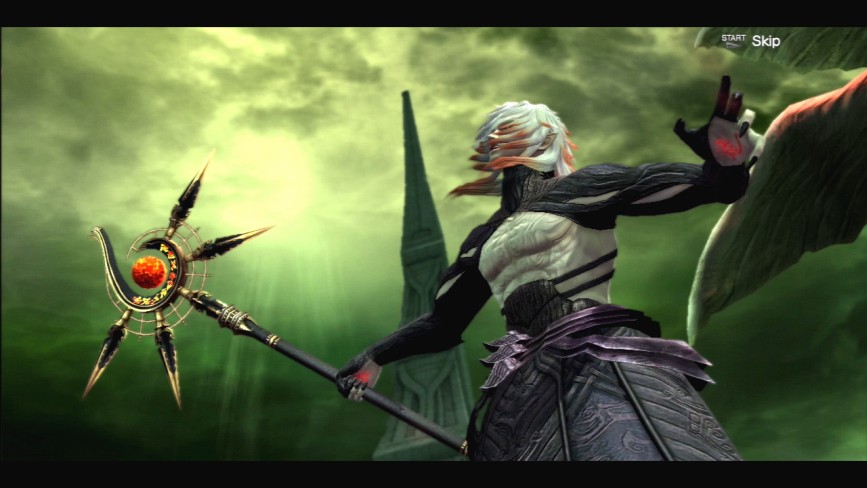
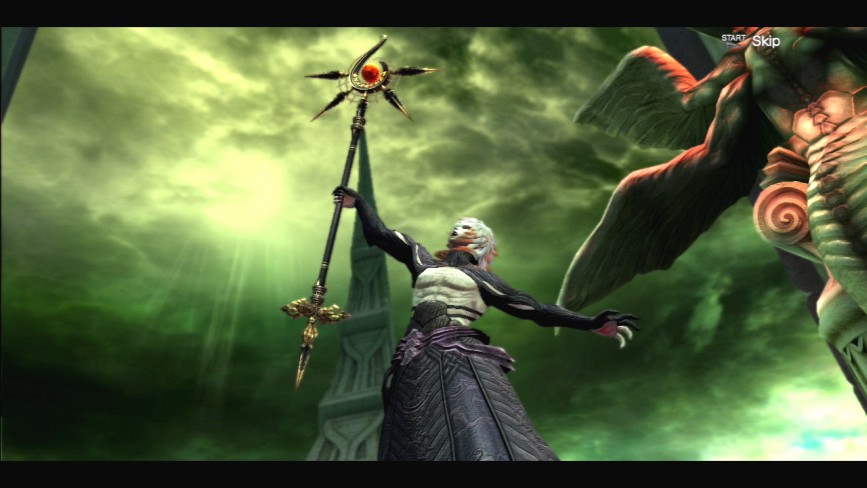
Aaaaaaaaand here it is, ladies and gentlegoons: the fight I know so many of you have been waiting to see. A no holds barred throwdown between the White Knight and its superior in every way possible, the Arc Knight.
So let’s give the people what they want.
Wizel is joined in this fight by a pair of Tier 3 Ark Incorrupti, one wielding a spear and the other a hammer just for the complete set of Arc Knight weapons.
It also unloads a set of Ark Crystals, which throw out Eclipse Gates on a regular basis.
And then, finally, it’s down to a one on one between the two enduring rivals (in this LP, at least). In the green corner, at 27 feet tall, weighing in at 24 metric tonnes and wielding the hammer Drega is the Arc Knight, Swordo. And in the stupid corner, at 20 feet tall, weighing in at 19 metric tonnes (on account of all the rocks jumbling about in its head) and wielding the sword Whitesteel is the White Knight, Wizel.
Round One… FIGHT!
The Arc Knight opens the brawl with a massive smash attack to the White Knight’s face.
It’s super effective.
Just as I imagine Orren and Caesar having a friendly Knight sparring match with each other, so too do I imagine Orren knighting up to crush the White Knight’s head with its hammer, just because Leonard said something stupid that afternoon.
The White Knight tries slashing the Ark Knight open with Whitesteel, but because there’s still some residual Leonard in it, it misses by a country mile.
And leaves itself vulnerable to…

Another massive hammer smash to the face.
As you can see by the orange numbers, the White Knight is vulnerable to stabbing attacks.

The White Knight also has this area of effect ability that it never had before that’s actually pretty strong. It kills Eldore and KO’s Yulie.
And then, finally, the outcome we all knew was coming finally arrives.
I think we have definitively proven once and for all which Knight is the strongest Knight of them all, and it sure as shit isn’t the one that appears on the game’s cover or in its fucking title.
From here on out, I hereby dub this game Arc Knight Chronicles. You’re welcome.
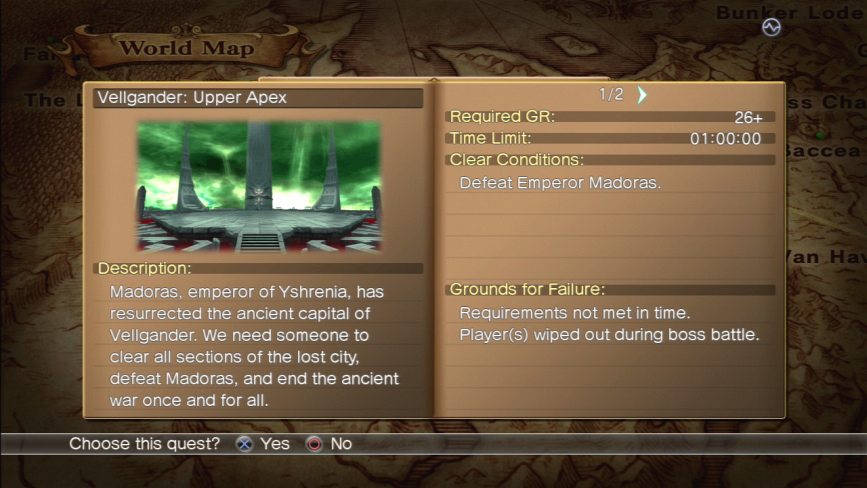
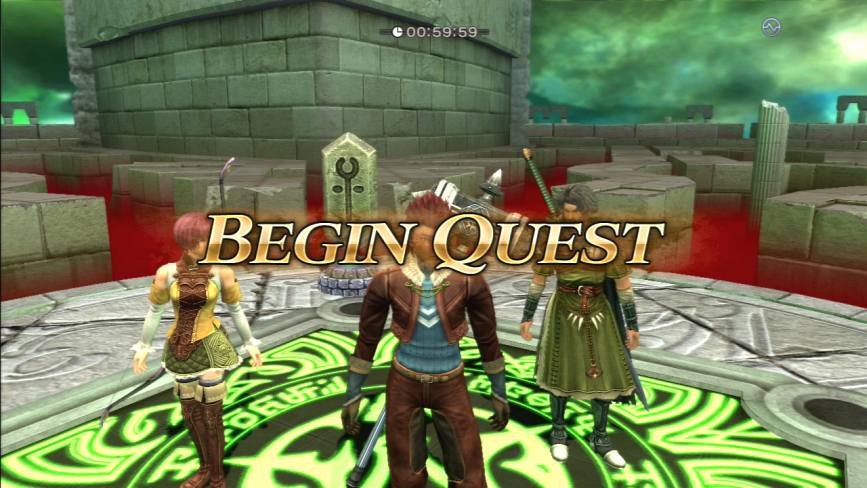
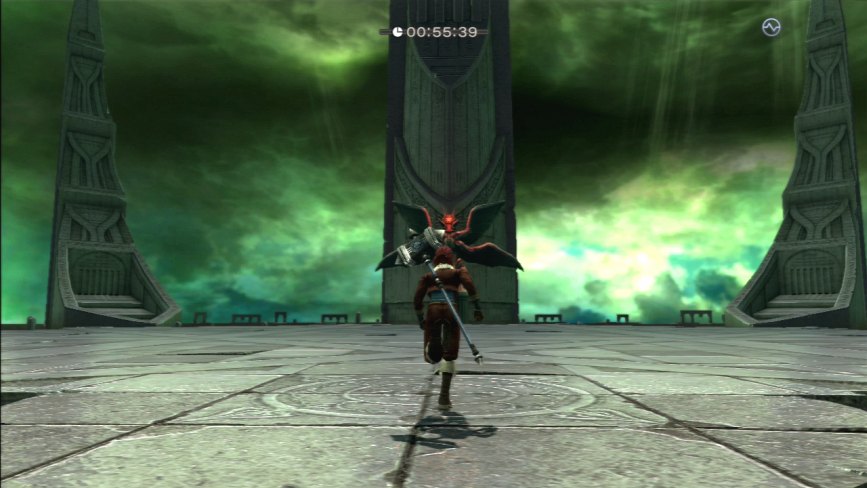
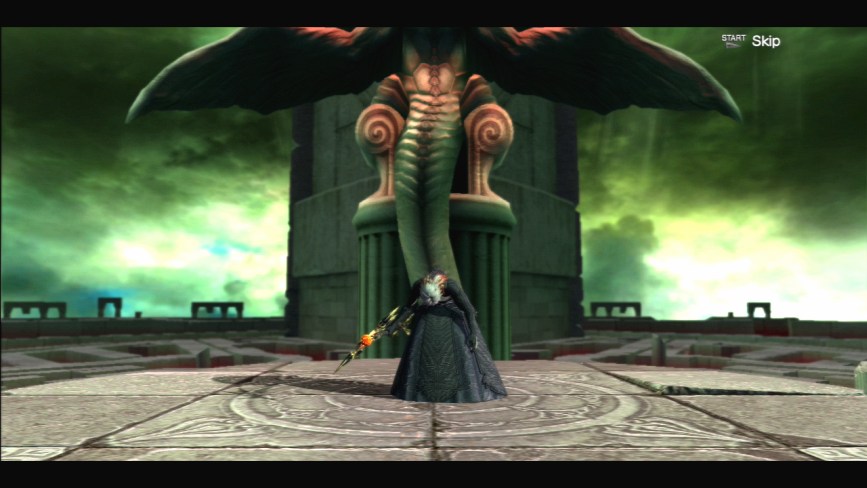
And thus we arrive at the eleventh and final level of Vellgander, the Upper Apex, where Madoras is waiting for us.
This is the simplest mission set in Vellgander. All it is is a single boss fight against Madoras. You’ve got a full hour to complete it, more than enough time, over all.
 Orren: This is it people.
 Eldore: We’re with you till the end, Niles.
 Yulie: Let’s finish this and go home. Orren: We’re partying in my town once we win. Pass the word to Caesar and Kara: you’re all invited. Eldore: And Leonard? Orren: What do you think? Eldore/Yulie: Fuck ‘im.
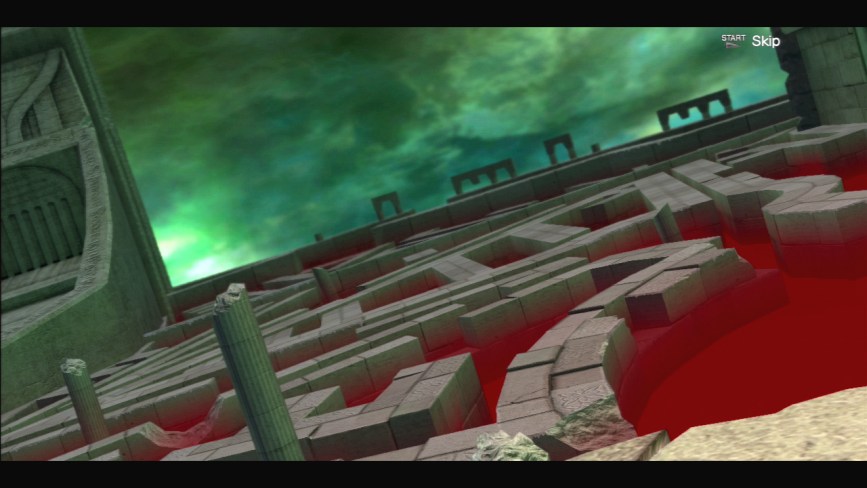
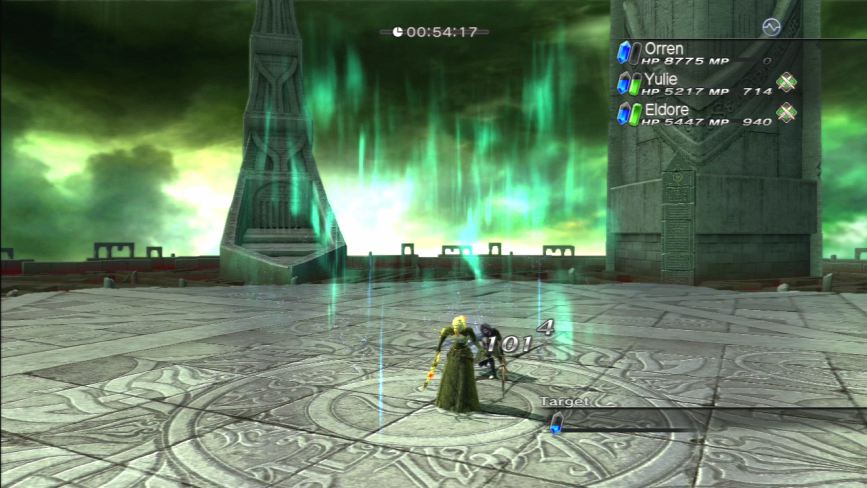
So the Upper Apex is a somewhat impressive structure.
Its surrounding by towers and meant to imply that we’re at the top of the palace structure in the centre of the city glimpsed in the CG cutscene that didn’t need to be made.
It also comes with a complimentary river of blood. Because Madoras is a complex and nuanced villain.
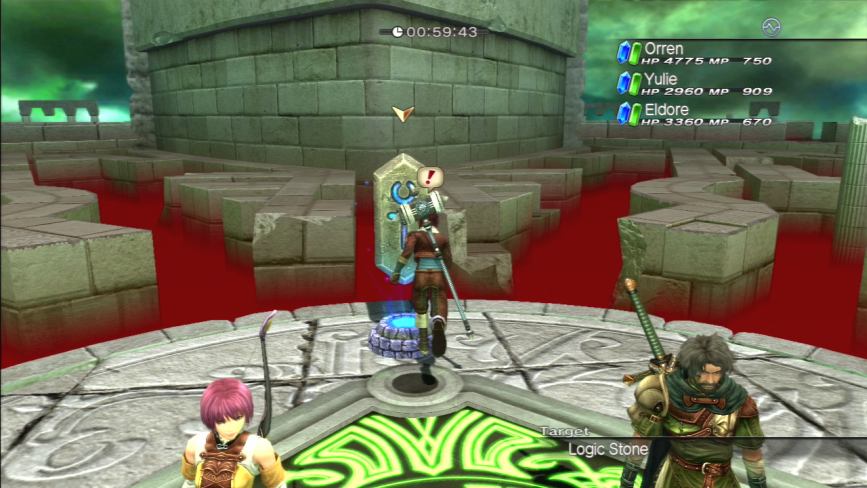
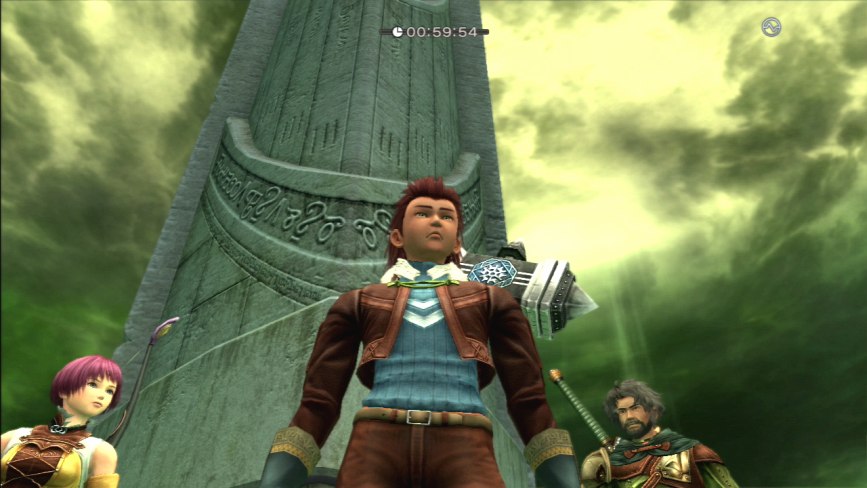
Once again, going to the Logic Stone is kind of essential here.
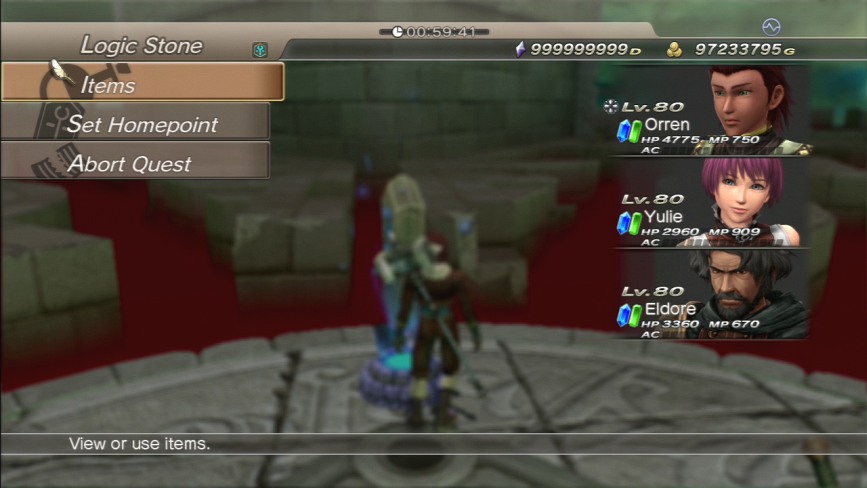
You’re going to want to draw out as many Charge Drinks as you can from your item bag in order to pump your AC up as high as it will go in order to whip out the Arc Knight as fast as you can in the fight because Madoras has some real nasty ass tricks up his sleeve coming up.
Once you’re ready, just run forward towards the centre of the arena and the boss fight will begin.
Fun fact: it was entirely possible to troll other players online by Leeroy Jenkins-ing this fight. All it took was one player running up the stairs and the fight would be automatically triggered. That means while everyone was busy huddled around the Logic Stone, if one jackass rushed at Madoras, everyone would be kicked out of whatever menu they were navigating through and forced to face the single strongest enemy of the game (outside of the Avatar Story final boss) as is. And best of all, there was no means of kicking other players out of missions short of GeoNet hiccups that fucked everyone over, so you were forced to try and salvage the fight without any means of retribution against the jackass who screwed you over.
If there was a quicker way to earn another player’s ire online short of being a racist, sexist, homophobic dick to everyone you encountered, I didn’t come across it. But then again I never made it to the Apex online, I’ve only heard horror stories from other players.
Beyond that, White Knight Chronicles was sort of griefer-proof on account of it being a simplistic slab of shit that you really couldn’t do anything creative in. Although the online community did manage to get a bug up its ass about players playing with modded save file while the GeoNet was still online, even though playing with people with modded Avatars was always more beneficial than not because you could just cruise through insanely tough missions like Vellgander with their help. And Sony literally did not care enough to moderate GeoNet and/or ban modders’ PSN accounts for blatant online ELUA violations.
Still, never underestimate people’s capacity to be belligerently dumb.

I started modding my save files with the PS3 Game Genie only after GeoNet went dark, never before, and only for the sake of this LP, so I never crossed that line myself, as tempting as it was.
Just in case anyone cares.
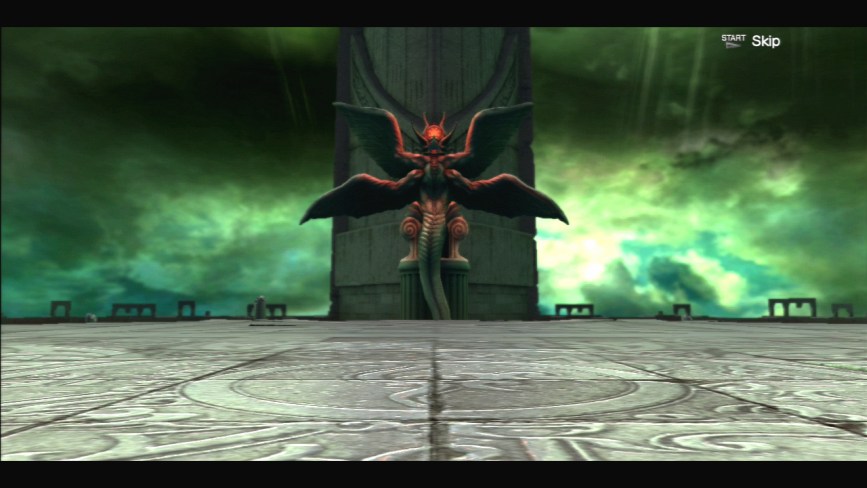
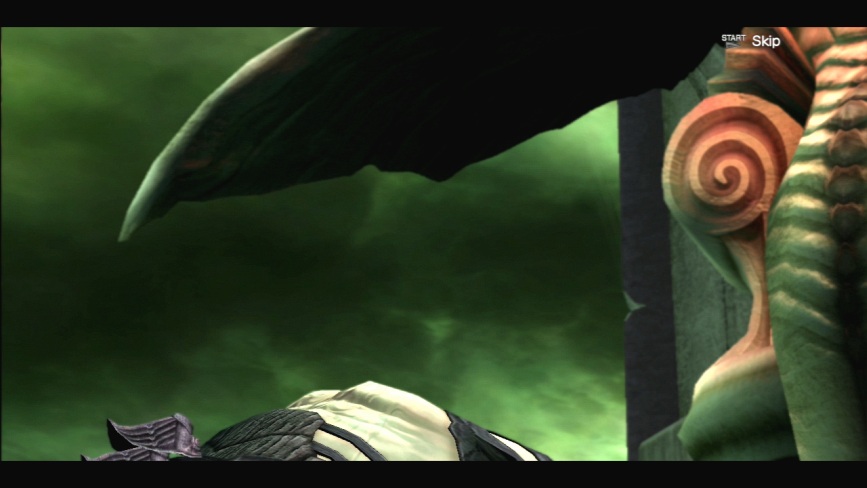
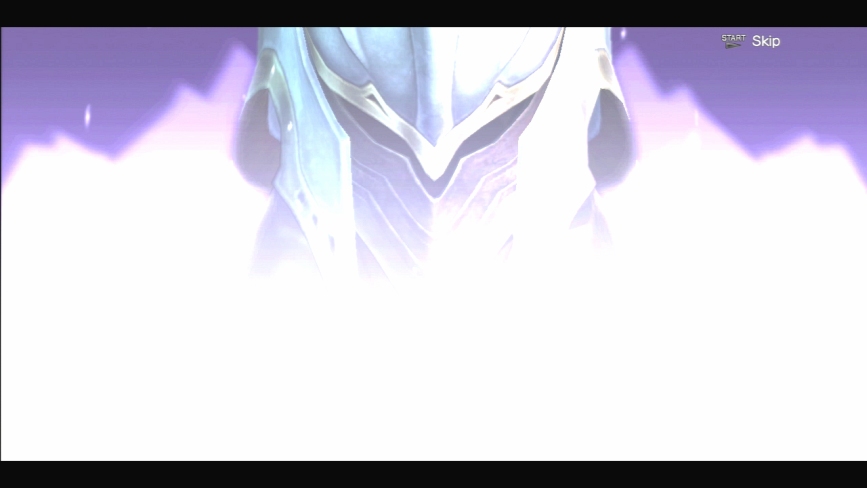
CUTSCENE: Madoras Falls
So for all our work fighting our way up to the top of the fortress, we’re rewarded with… a cutscene.

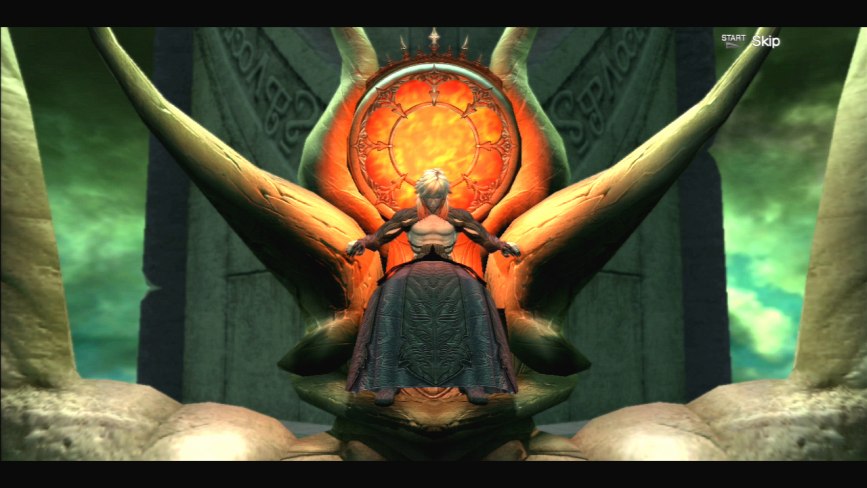
Ah, there’s the fucker. How’s the view from your giant impractical Evil Throne there, Ziggy?
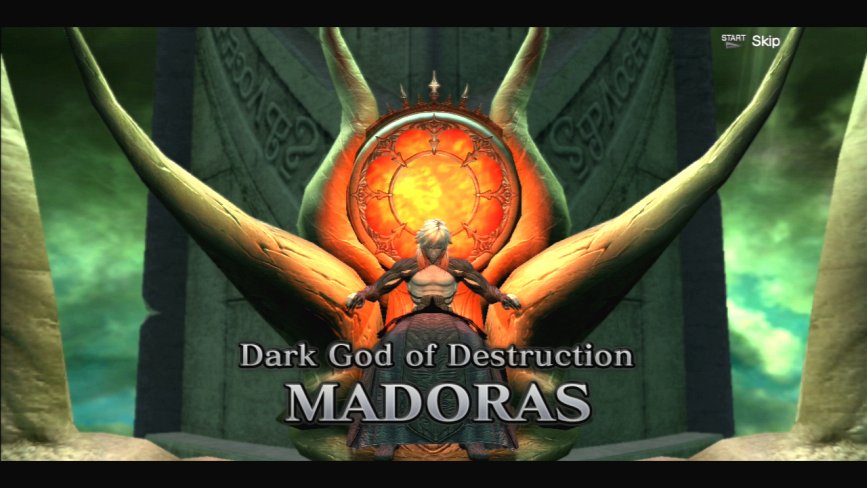
Madoras is perhaps the only boss in the game who gets two whole boss subtitles.
The way he’s slumped in his chair there, I’d swear we walked in on him sleeping.
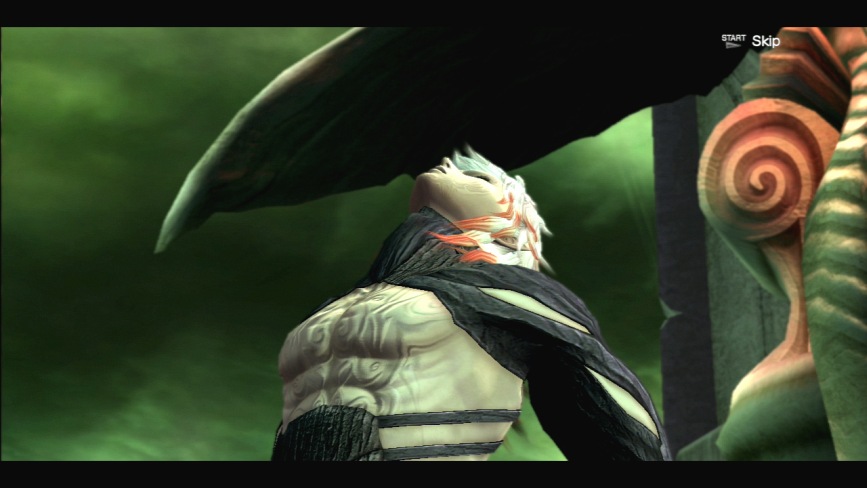
 Madoras: Hmm? What’s this? Mere mortals… And you’ve ascended my castle unscathed? Quite impressive.
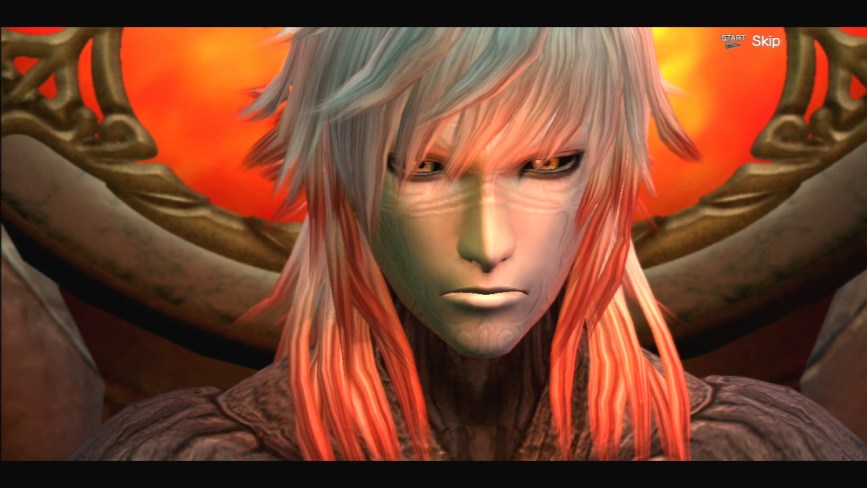 Madoras: Very well. I welcome you to castle Vellgander.
 Madoras: Mm? …Wait. Madoras: No. Nuhooooooooo! No. Oh fuck no. Not YOU PEOPLE again! Madoras: You’re the mortals who fought alongside Mureas. Orren: Knock knock, motherfucker. I’m looking for a soon to be dead man. Is he home?
 Madoras: Ha hah. I see. I see. What luck.
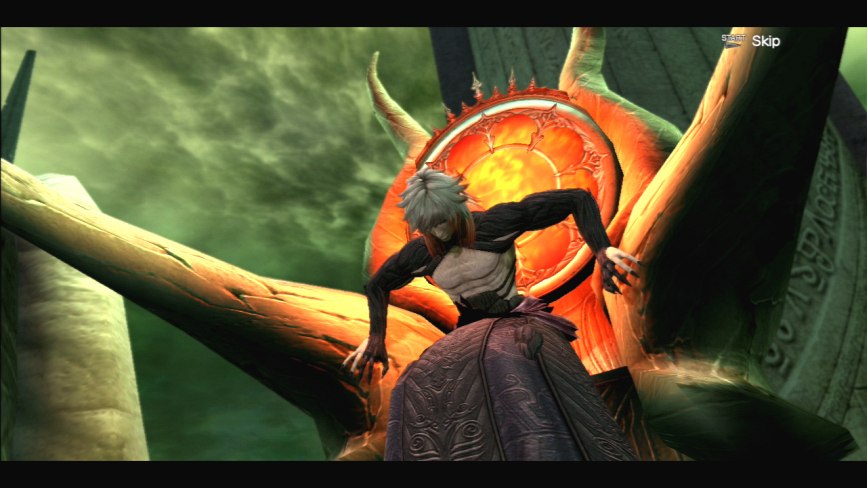
 Madoras: I was in need of a diversion.
He steps off his massive throne and floats down to greet our heroes. Also, ‘in need of a diversion’? Wow, I didn’t think Madoras had the level of self-awareness required for one to actually be bored by anything.

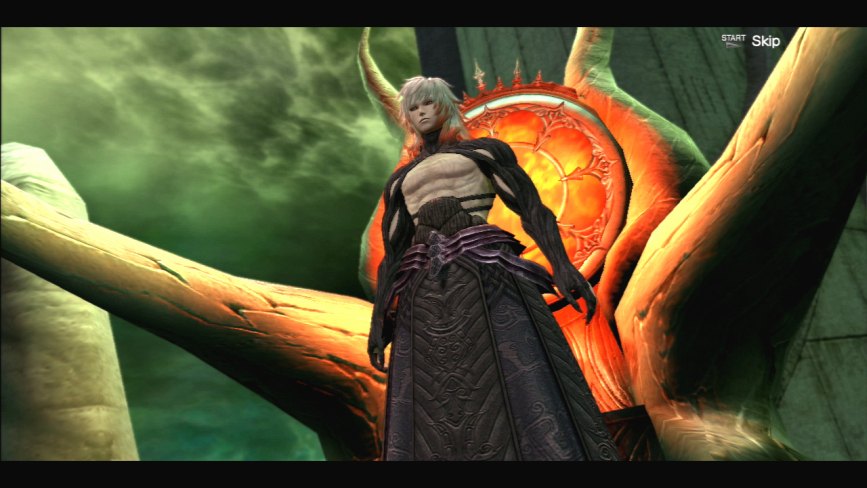
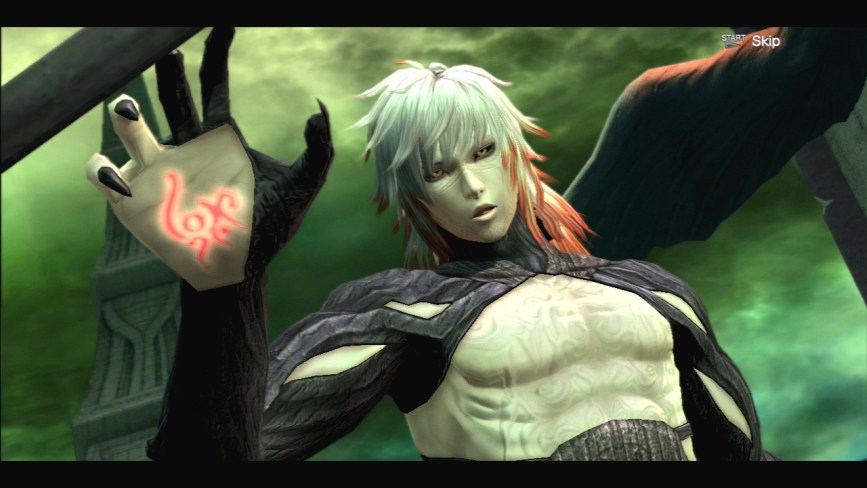
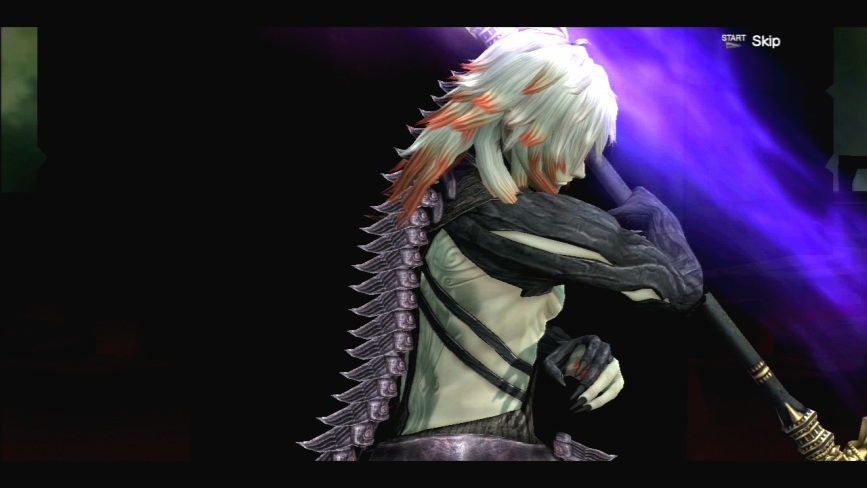
I can’t take this fucker seriously, I really can’t. He’s wearing a goddamn leather dress.

 Madoras: Before me then you would not bow…
 Madoras: So before me now, you all…
 Madoras: Shall
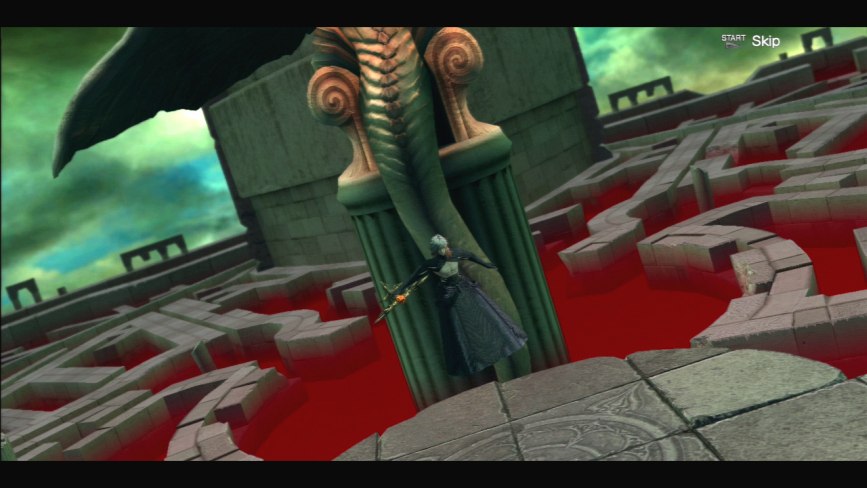 Madoras: BREAK!
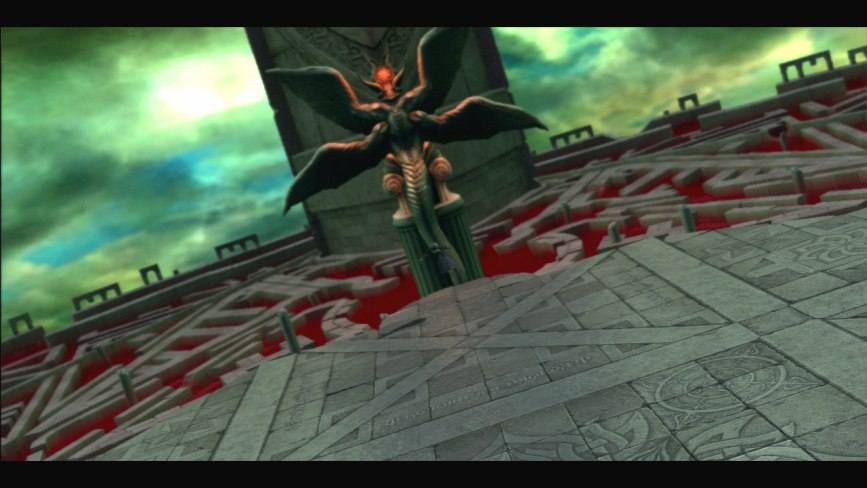
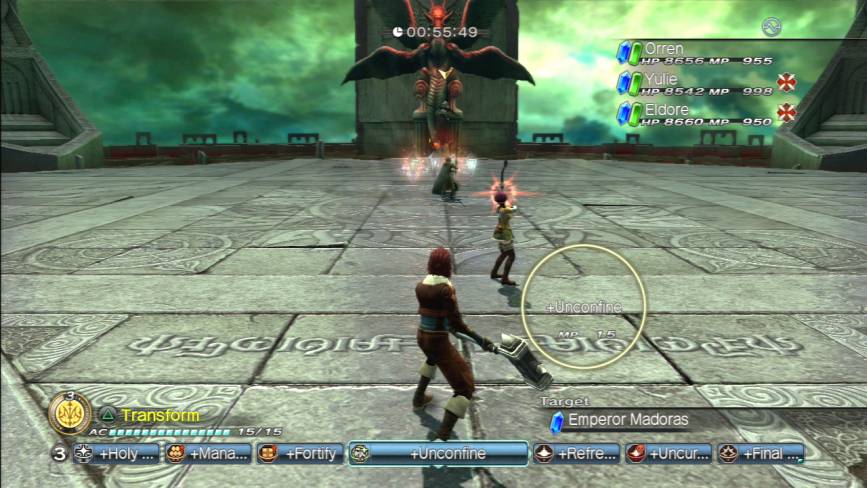
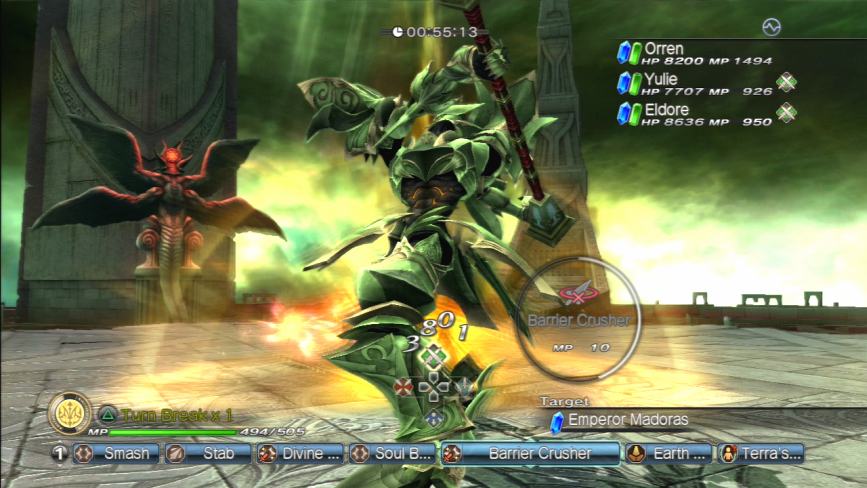
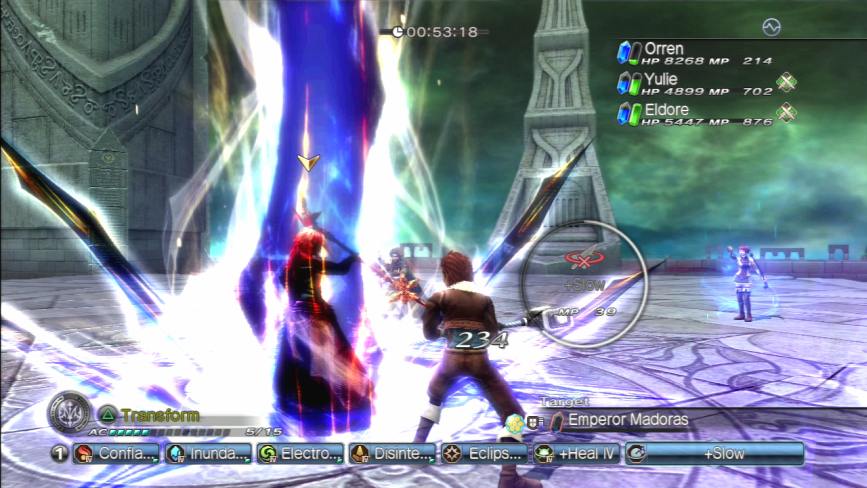
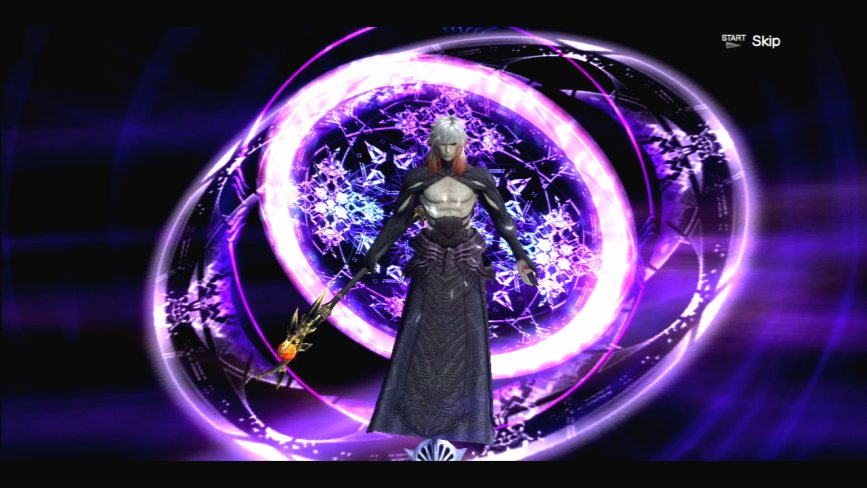
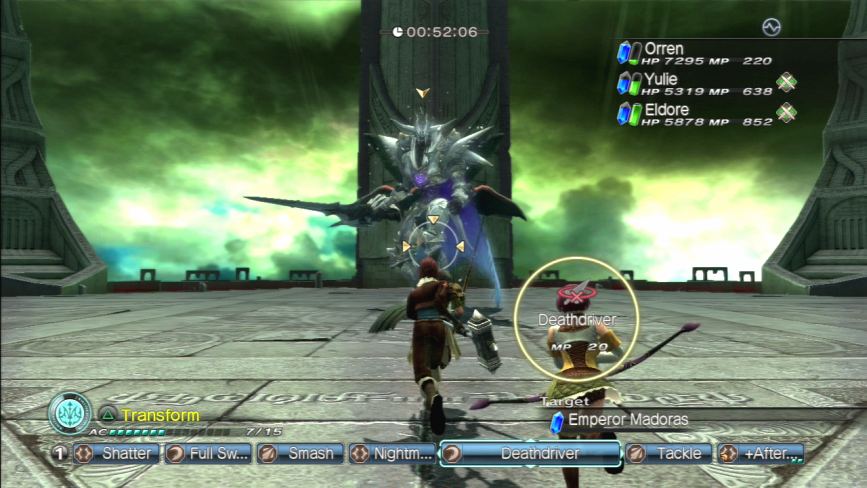
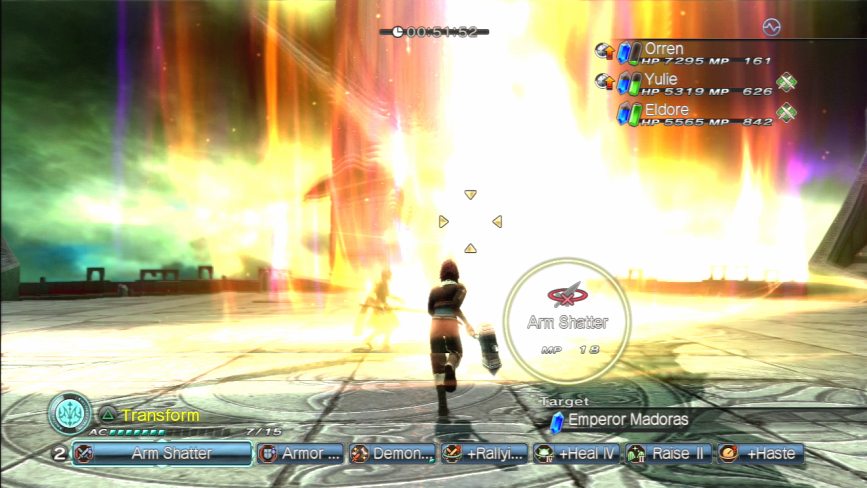
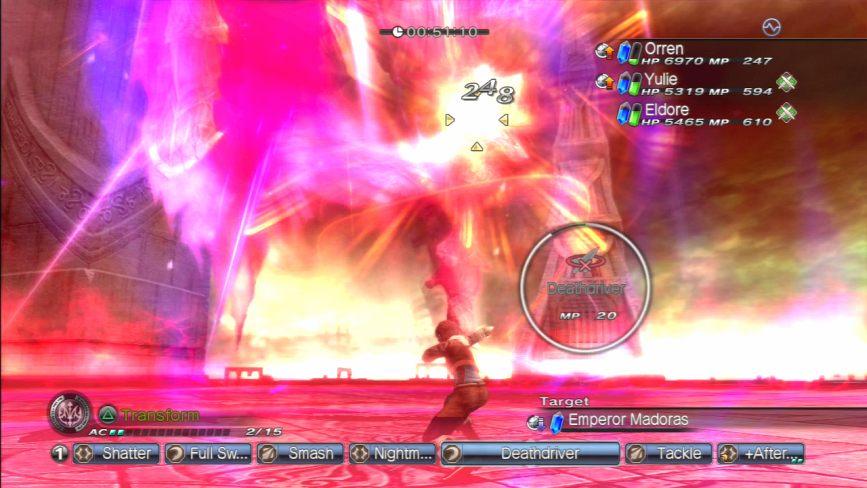
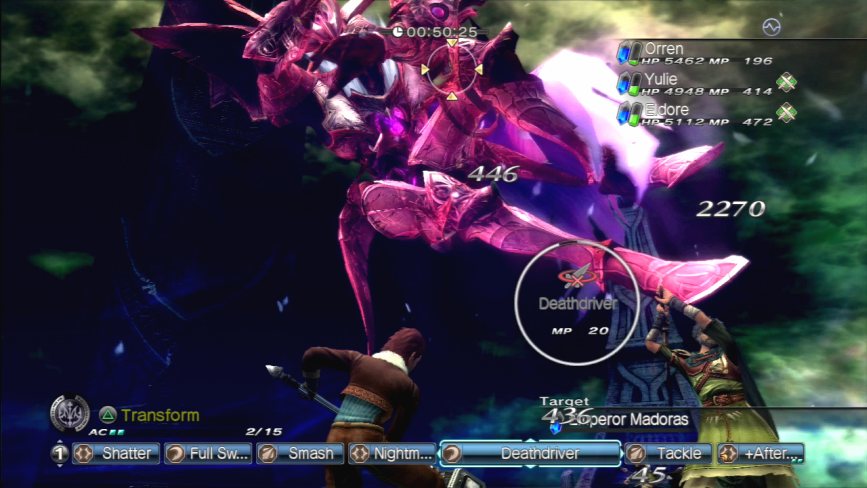
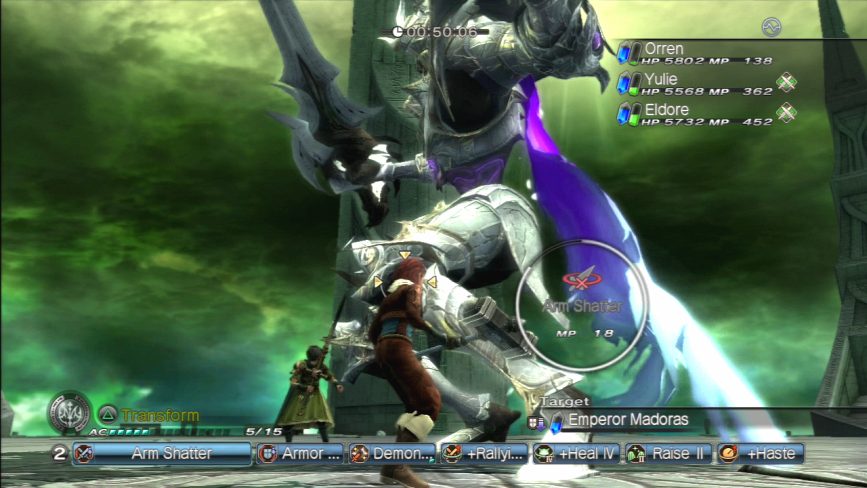
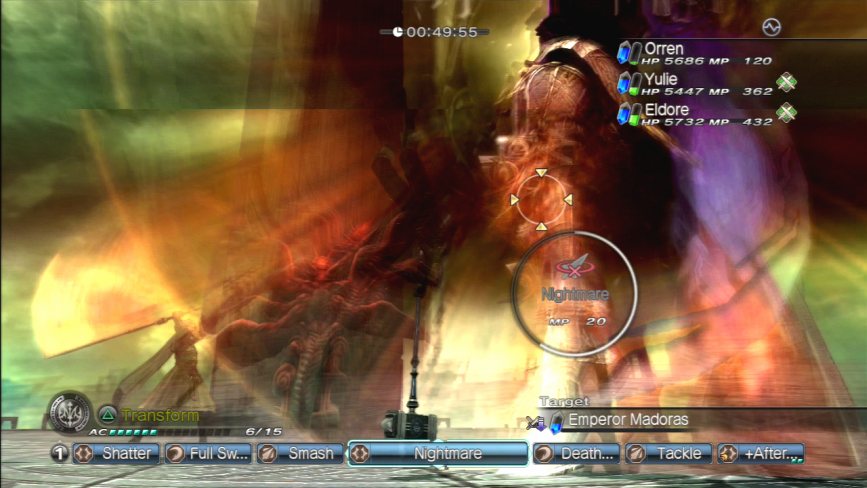
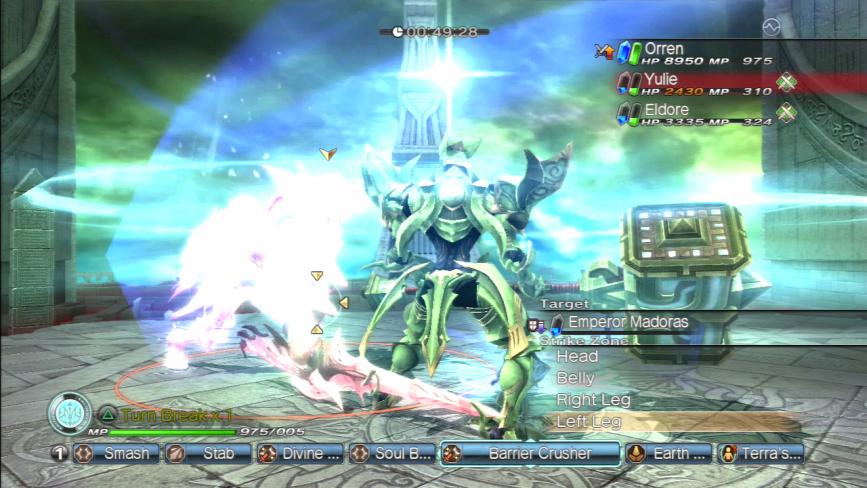
BOSS BATTLE: Emperor Madoras & The Demon Knight
BOSS BATLE MUSIC: “Tense Battle” (Disc 1, Track 30)
Madoras: I shall enjoy killing you boy, SO VERY MUCH! Orren: Well, you know what they say; you always want what you can’t have.And this is it, the single hardest boss fight of the NTSC version of White Knight Chronicles II. For a select handful of people who powered their way past all the monotony to get there, this is the true end of the game.
It’s still not the true end, however. We’ve still got to get through the Avatar Story before we can finally close the book on this unending trainwreck.
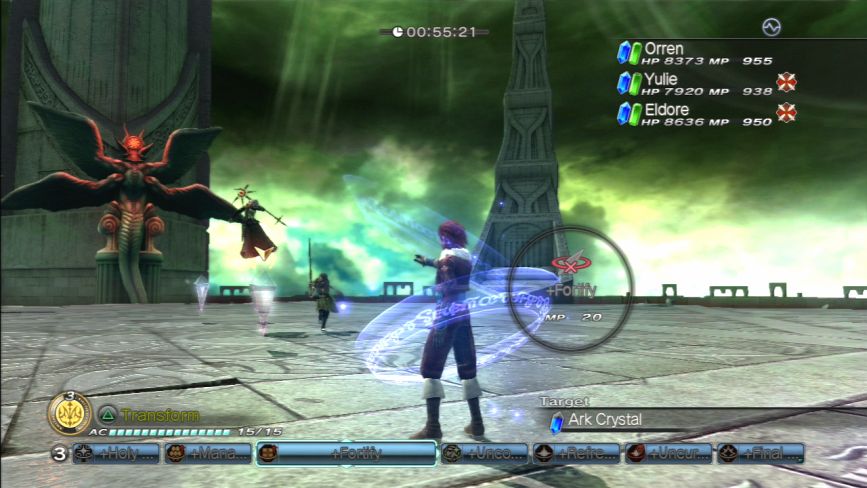
Madoras starts the fight by summoning a set of Ark Crystals to spam Eclipse Gate at you.
I open the fight by summoning the Arc Knight to counter this as quick as I can.
Before, I was giving out suggested strategies of how to handle battles in this game just in case you wanted to try and play it for yourself for whatever reason. I’m through doing that now because we’re in uncharted waters. You’re never going to reach the end of Vellgander on your own even if you poured a thousand hours into this game.
Now, I’m just showing you what I did on this run with no suggestions of “here’s what you should do” here, this is more “what I did and what worked in the context of this should-not-even-be-possible situation.”
But whatever, let’s stomp this fucker.
 Orren: You remember how that feels, jackass? Madoras: I hate you with the rage of a thousand million suns!
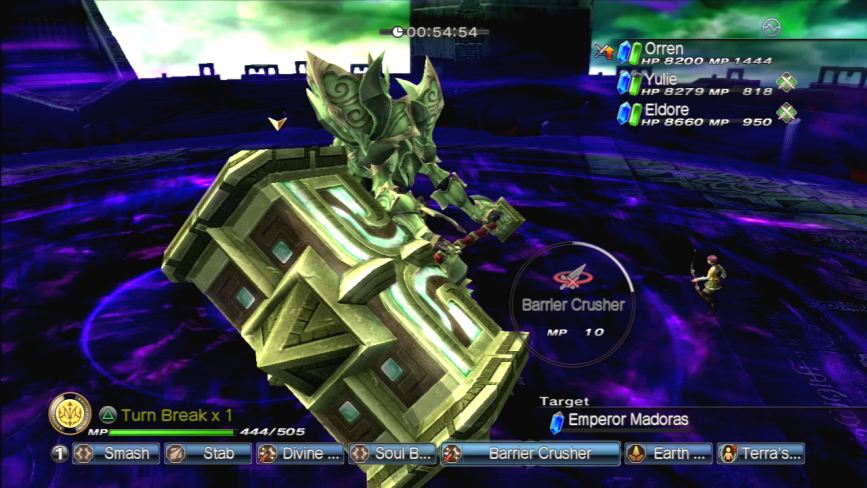
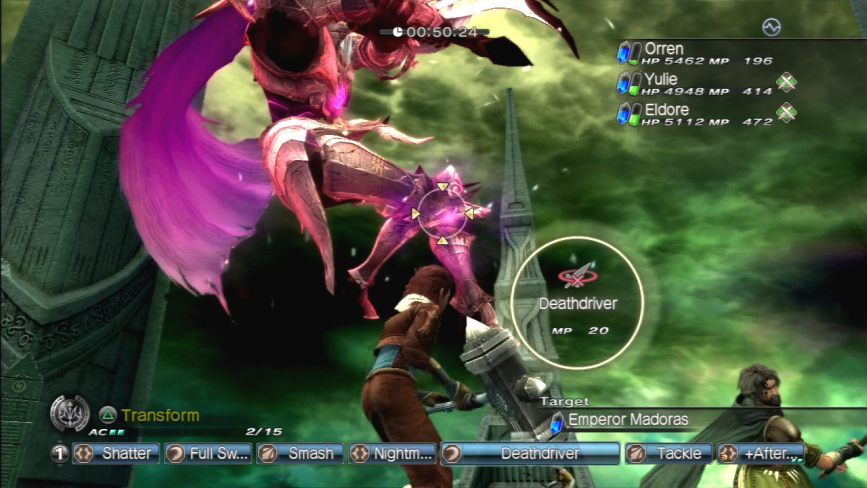
Los Emperado launches a massive area of effect darkness spell that does quite a bit of damage to all parties involved.
Okay, so I lied a little, I do have some minor general tips for how to fight this battle.
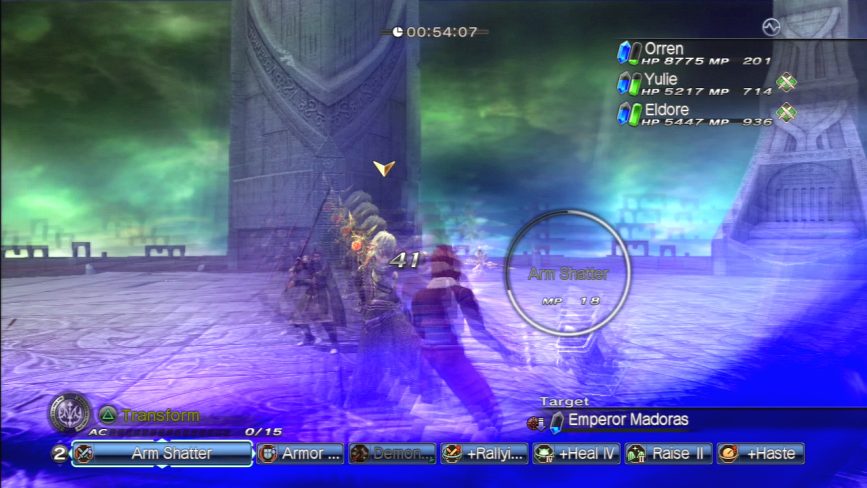
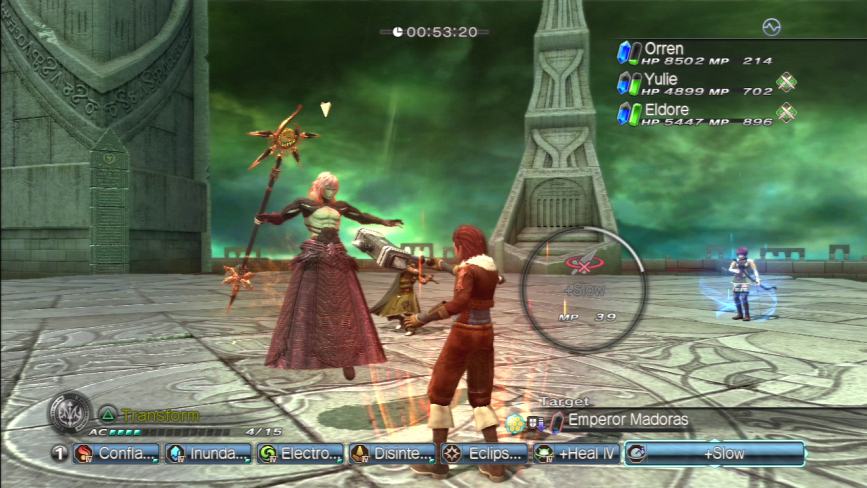
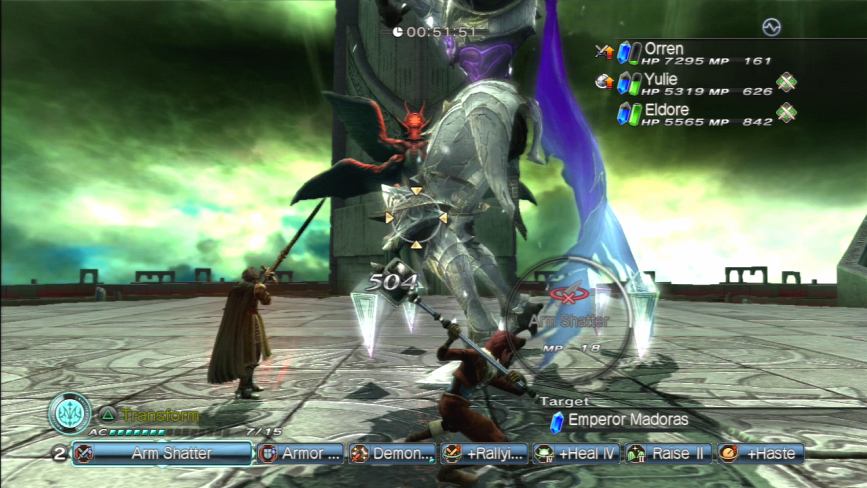
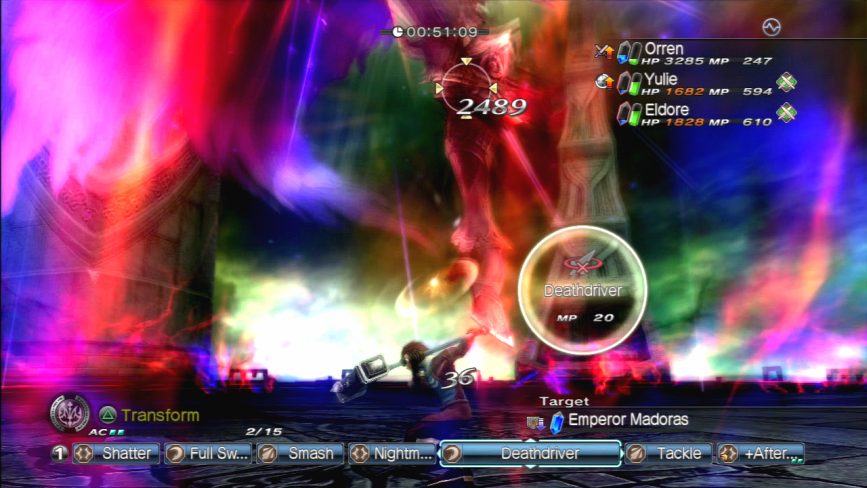
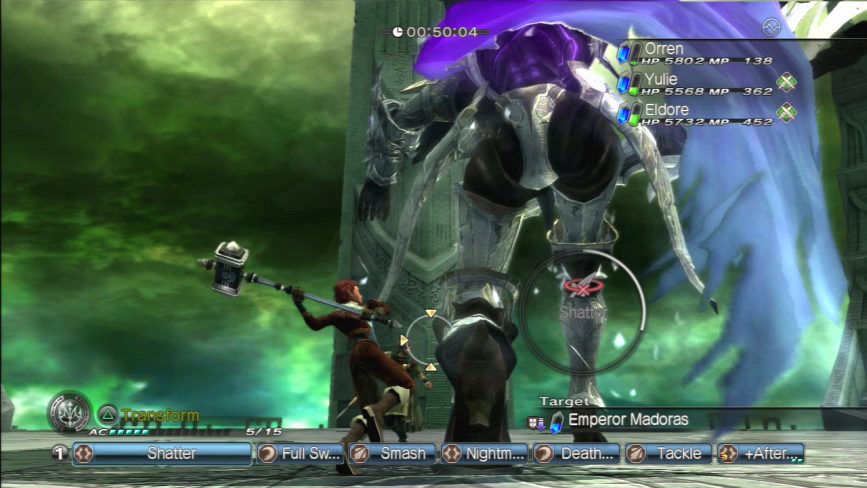
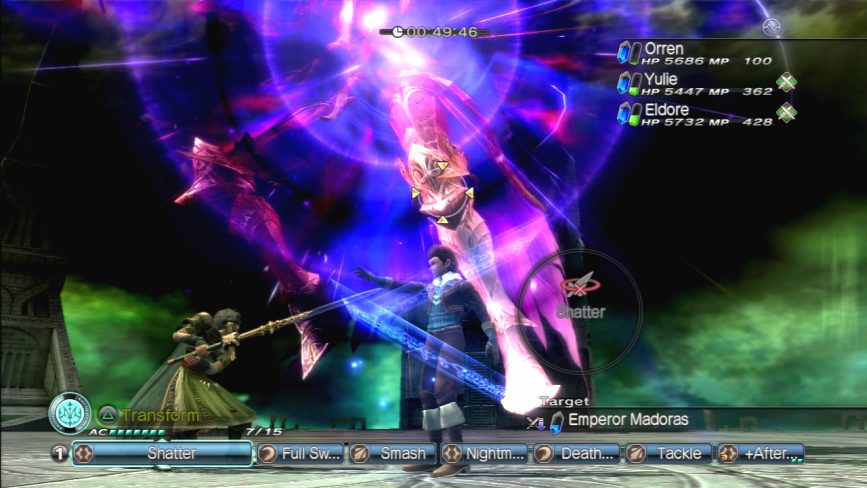
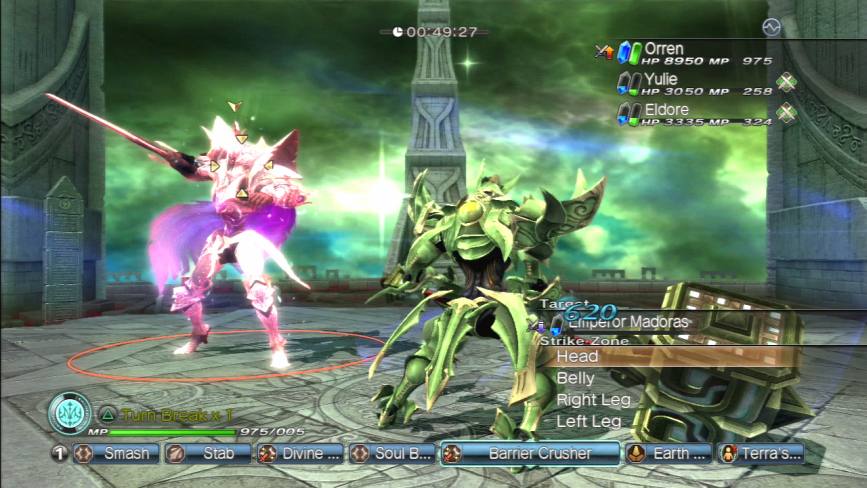
Madoras begins the fight floating in the air. You can’t hit him with anything but a bow and arrow or magic while he’s off the ground.
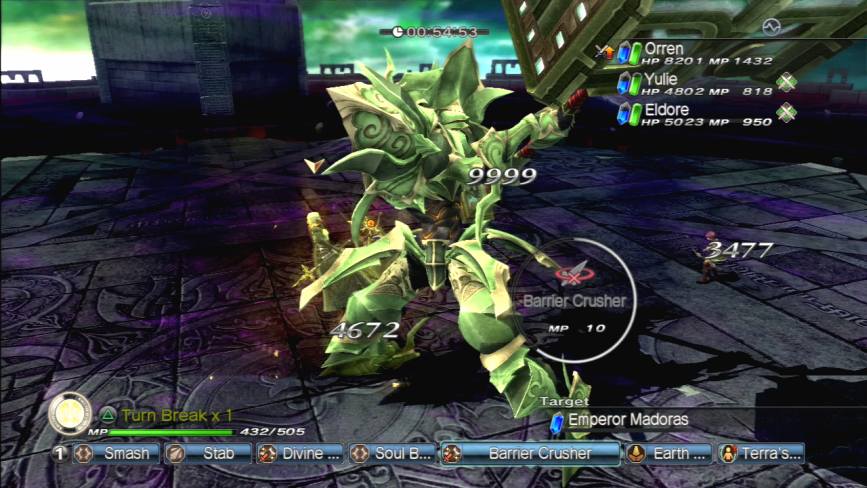
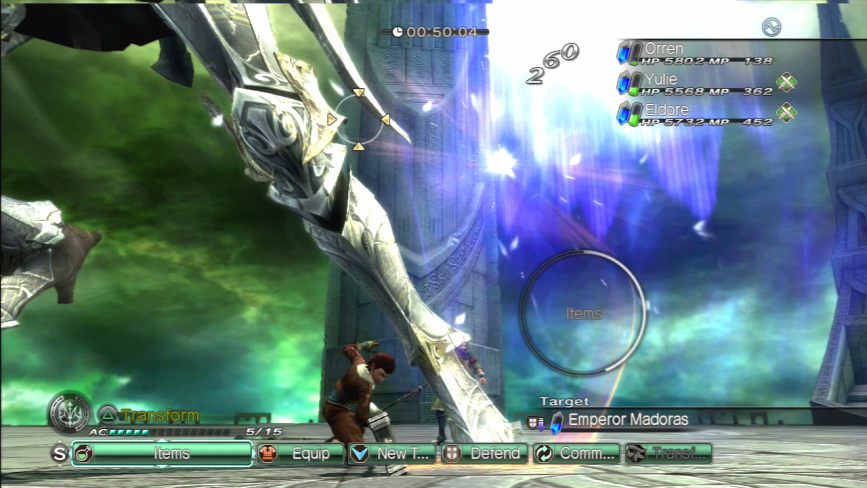
But because the Arc Knight doesn’t have to worry about range, you can put the hurt on Madoras easily enough with it. The only thing is, Madoras has the highest HP threshold of all the enemies in the game, easily somewhere in the million HP range, probably more. He’s also one of the hardest hitting enemies of the game, capable of dealing damage in the five-to-six thousand HP range, meaning he’s more than capable of one-shotting even properly leveled and equipped players.
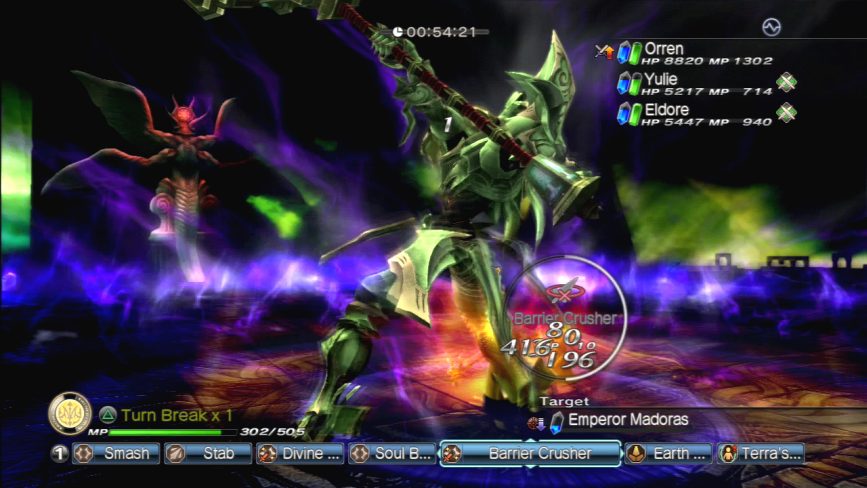
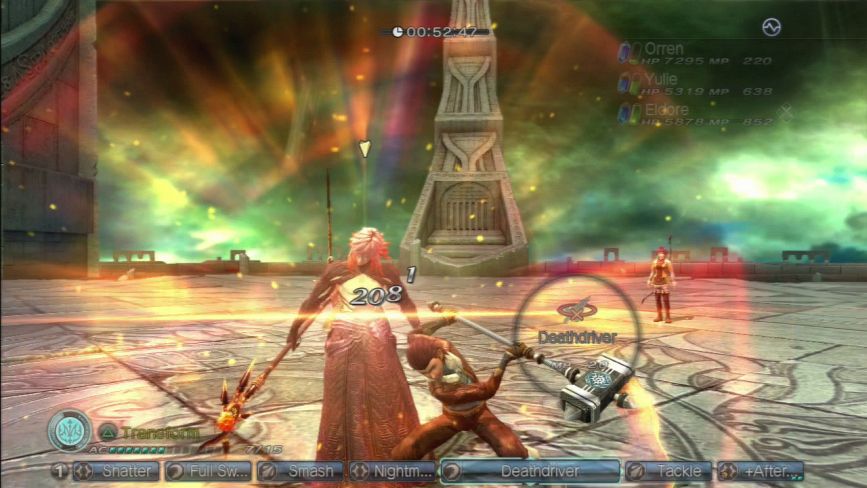
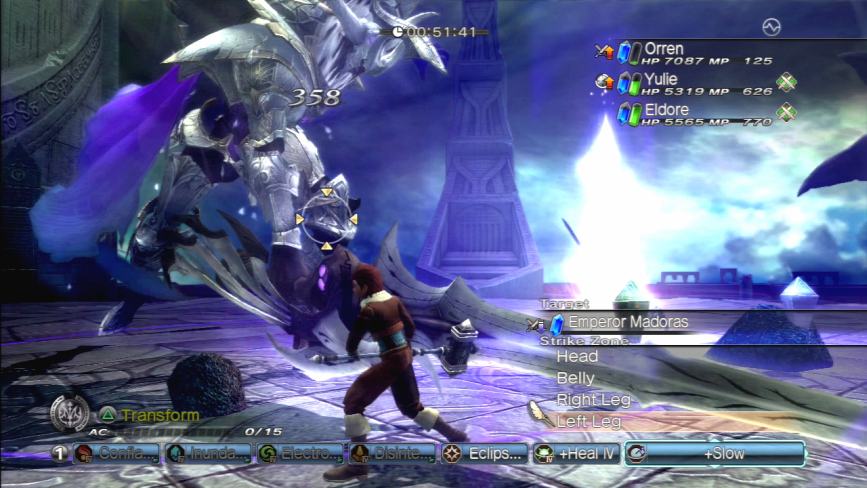
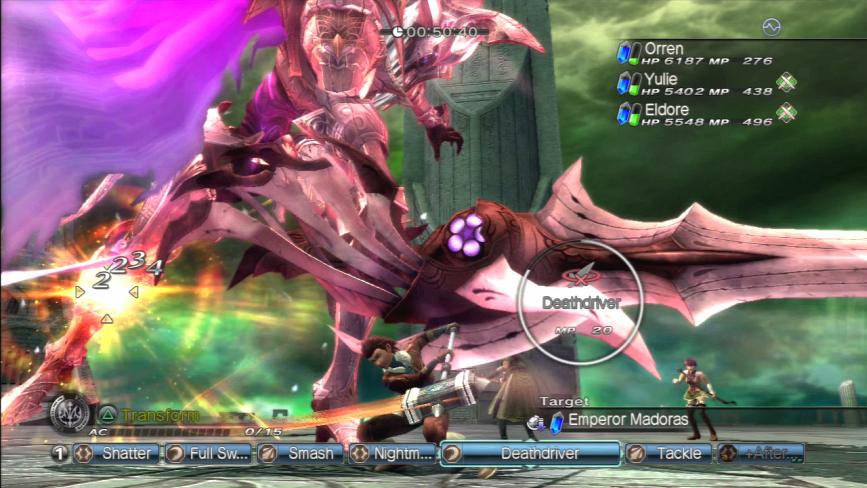
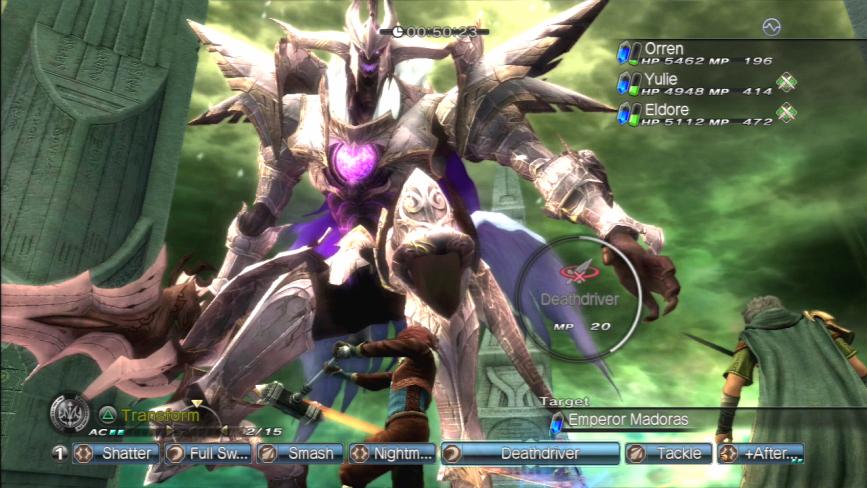
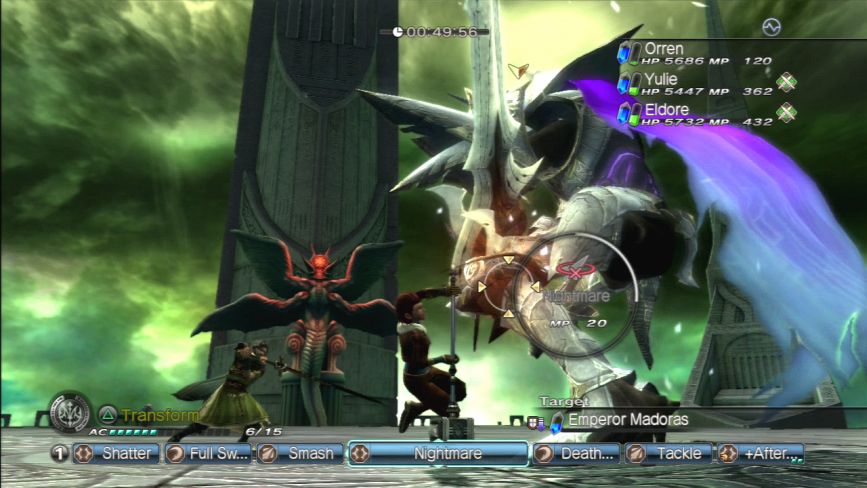
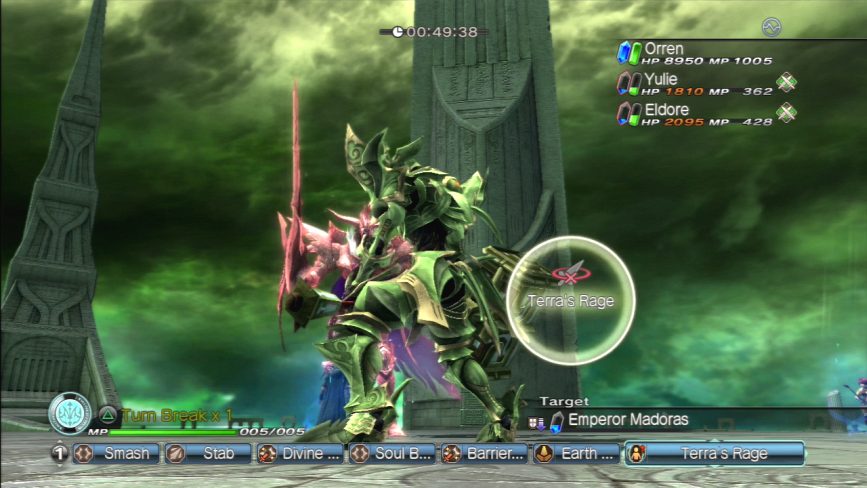
Madoras also has one really nasty dick move he loves to pull on you once you get him to come down to the ground (ie: when he’s around half health). He has this Zero Reset type attack that wipes everyone’s status effects, positive and negative, back to normal, including…

Knocking you out of Knight mode.
He pulls this attack off repeatedly in order to prevent you from using the Arc Knight against him, because it also resets any AC you’ve accumulated to 0 to prevent you from re-transforming.
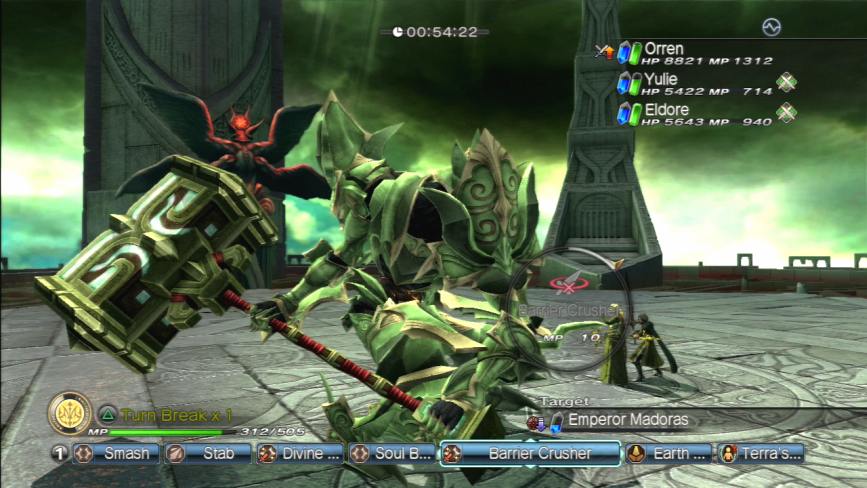
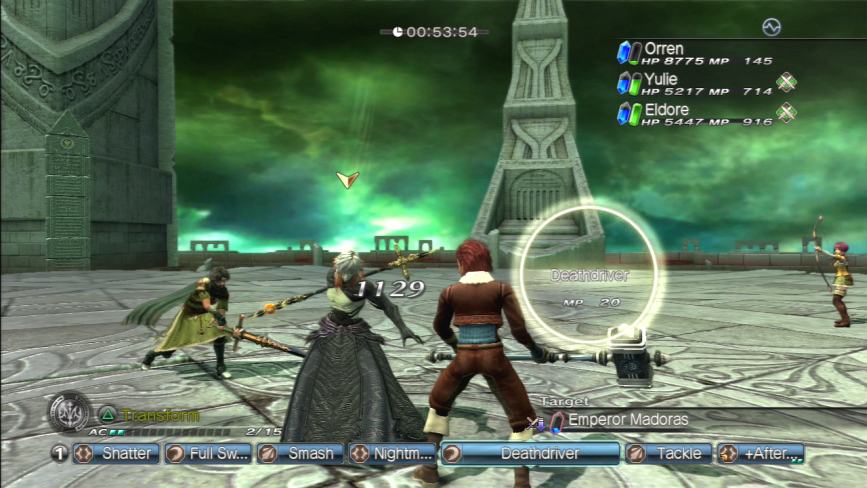
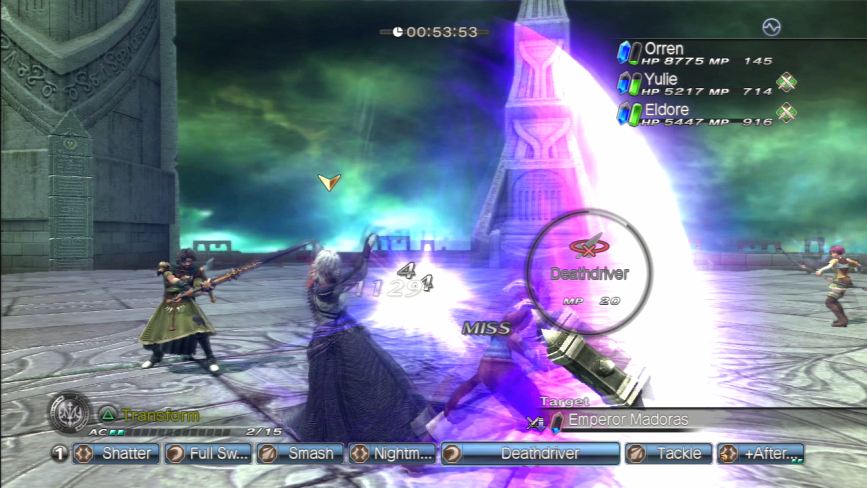
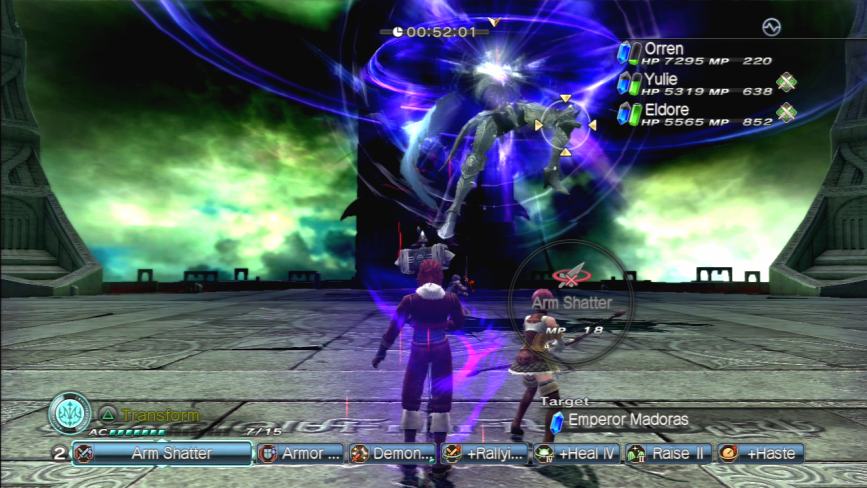
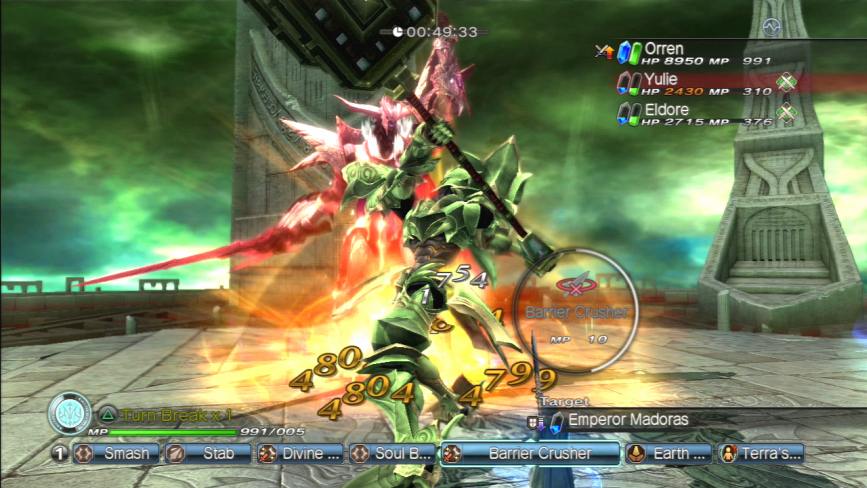
Still, it gives you the opportunity to mash Madoras’s head in with a slightly smaller giant hammer.
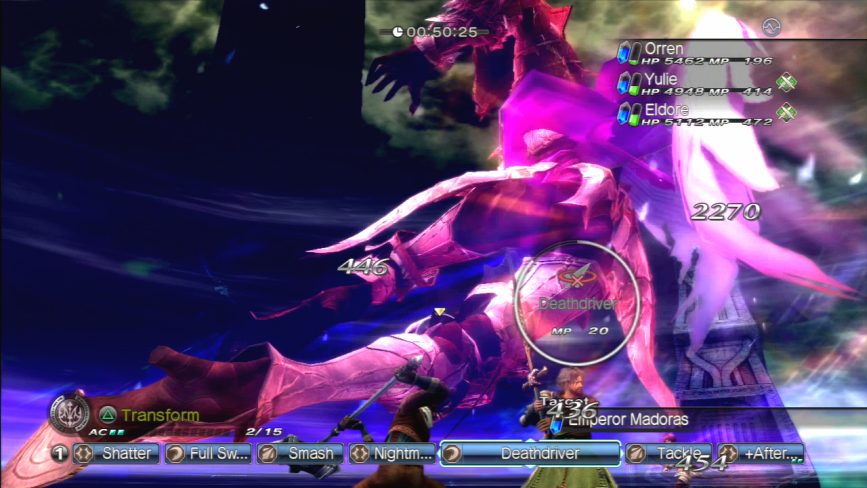
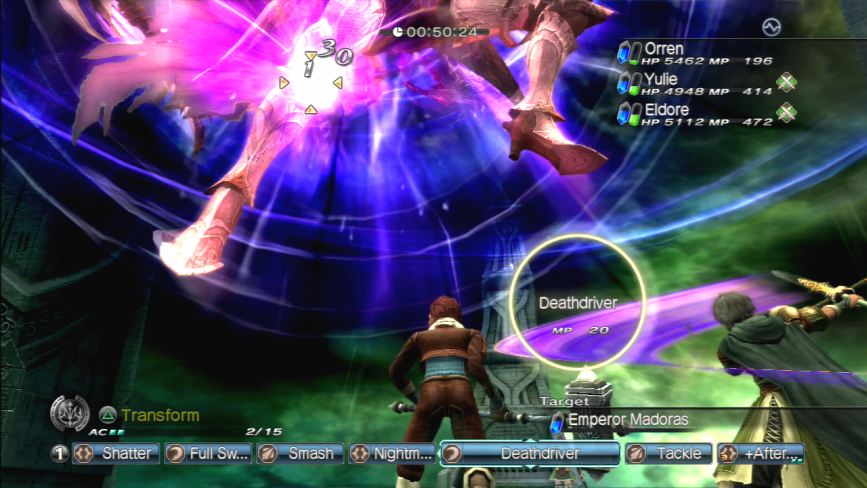
He’s got a number of technically physical attacks that are ranged, powerful, and nearly always knock you off your feet if you’re not strong enough to endure them.
There’s one in particular that he likes to spam called Exflare. I know it’s called Exflare because he screams out EXFLARE! every fucking time he casts it, which can be up to five times in a row if he’s feeling like a colossal dickbend.
When he gets down near a quarter health, he starts throwing up Physical Barrier, which renders him invulnerable to physical attacks.
He also does this move where he disappears…
And then reappears in front of whomever he decides to attack next (usually the party leader/Avatar) and then wails on you with an attack that stuns you and knocks you off your feet and cancels whatever spell you might be casting.
He can also go into a loop where he fires off numerous Exflares on your stunned ass leading to situations that could very quickly kill you. Now, if you die in multiplayer during a boss fight, that’s one thing. The game only counts the quest failed if everyone in the party dies, so there was still a chance that another player could resurrect you.
However, if you die in single player during a boss fight, that’s it, quest failed. Doesn’t matter if the AI party members are still active, they just shut down and the game kicks you out of the quest.
Madoras killed me three times before I finished this fight.
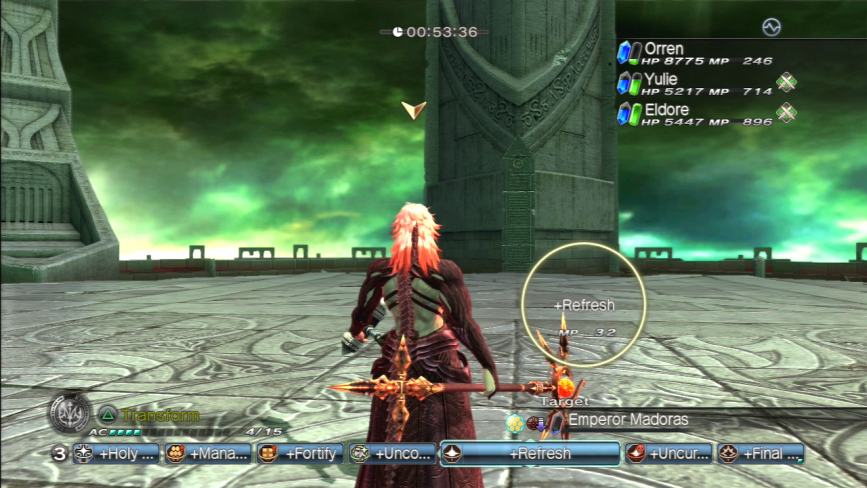
You can also see that for the first time, I’m working with the game’s Change Skill Set command down on the fourth line of the command bar. I loaded up a backup set of commands consisting of all powerful magic attacks to swap between in situations where I couldn’t use my physical attacks—because SOMEONE in this party needs to be able to use magic semi-effectively and it sure as shit won’t be the AI.
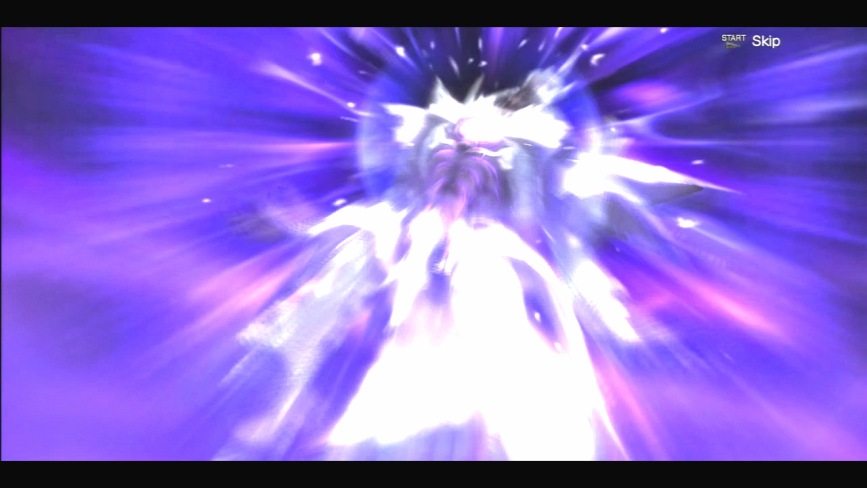
Eventually, Emperor Anime Palpatine goes down thanks to a well-placed titanium hammer strike to the cheek.
Also, one more interesting thing before we move on: Madoras is nearly seven feet tall. He’s probably the single tallest humanoid character in the game.

 Madoras: Urgh!
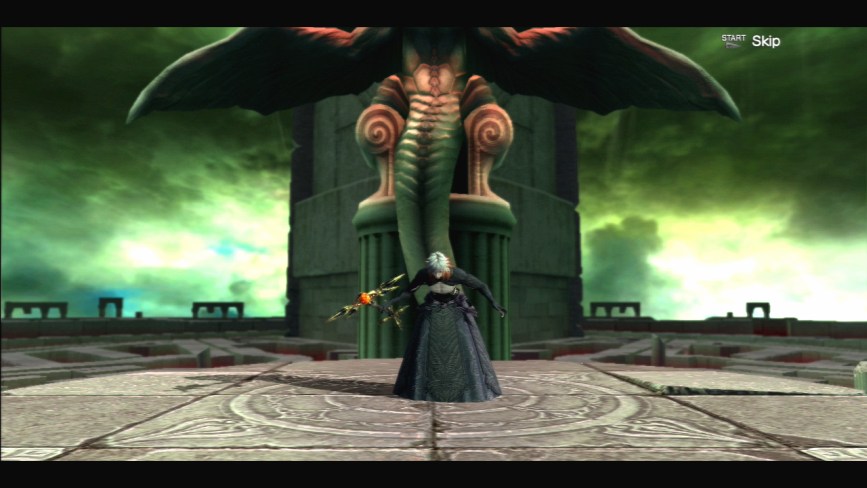
CUTSCENE MUSIC: “The Battlefield Flower (Violin Version)” (Game 2 OST, Track 18)
 Madoras: Impossible! How can mere mortals even touch me? Orren: Maybe we’re something more than mere?
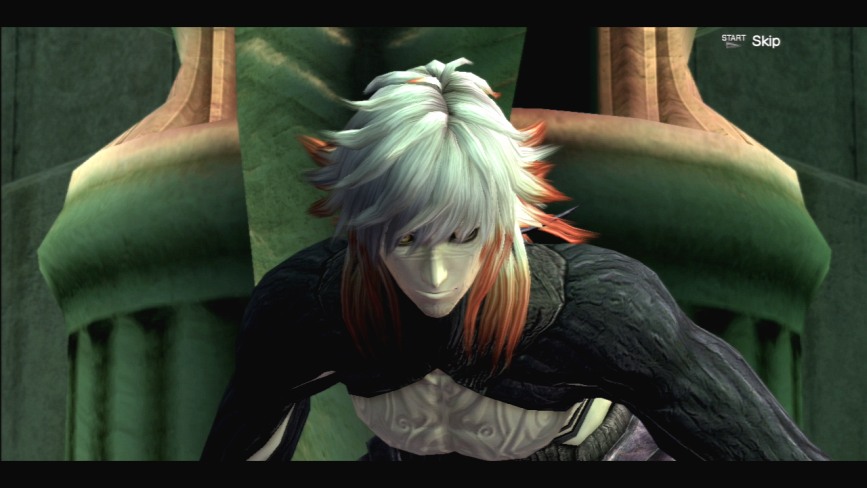 Madoras: You will pay!
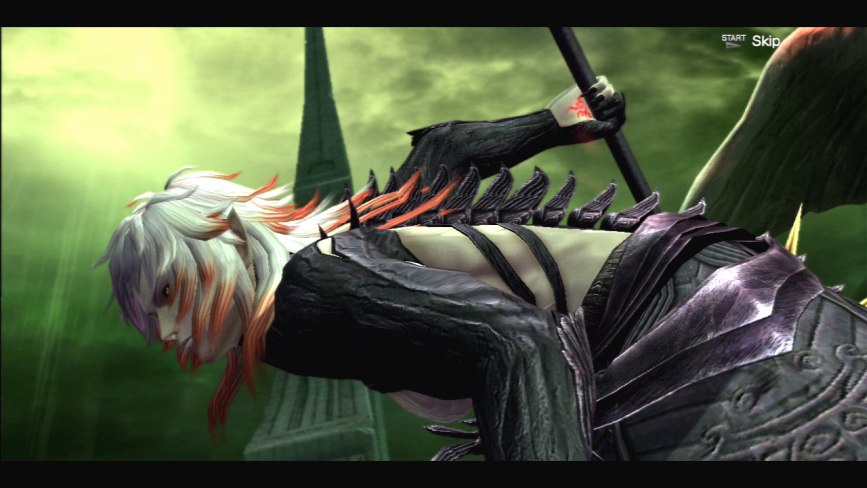
 Madoras: I will reduce you to DUST!
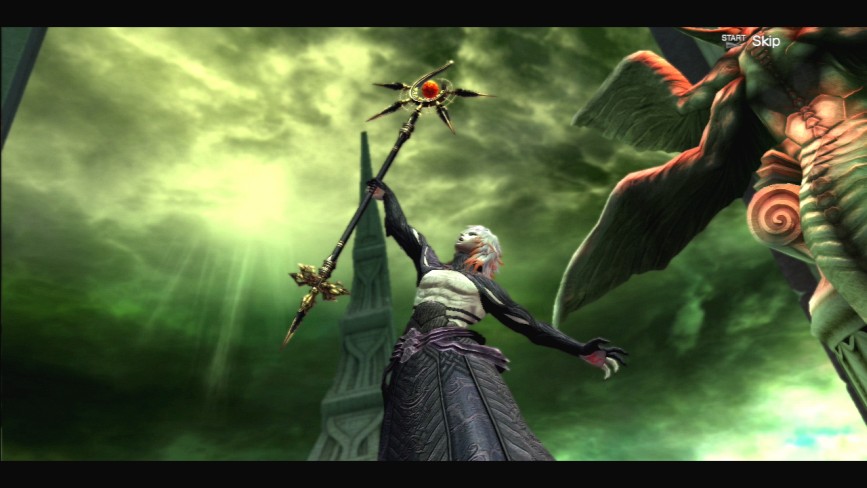
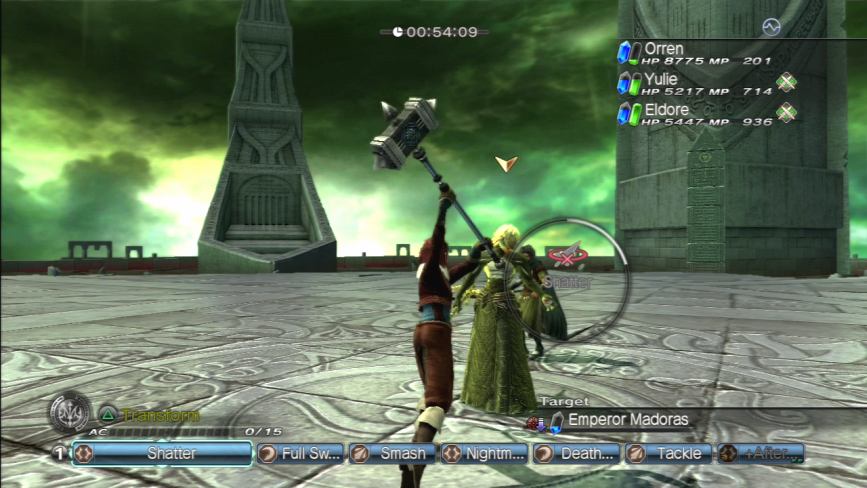
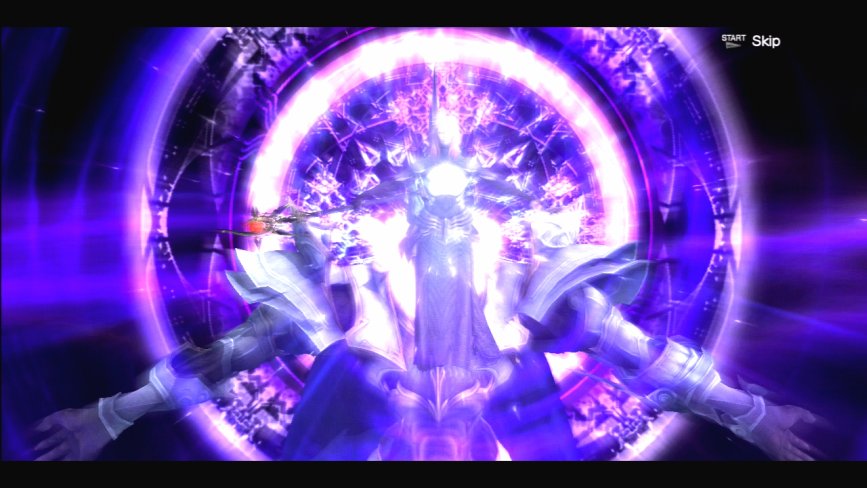
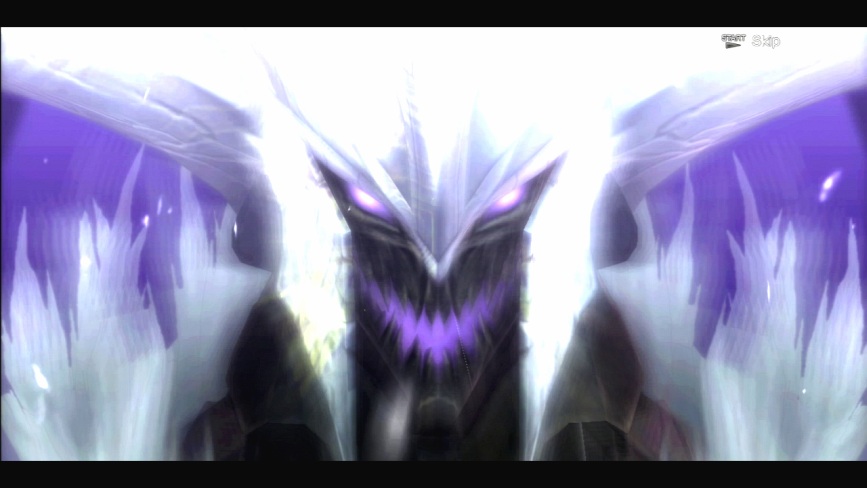
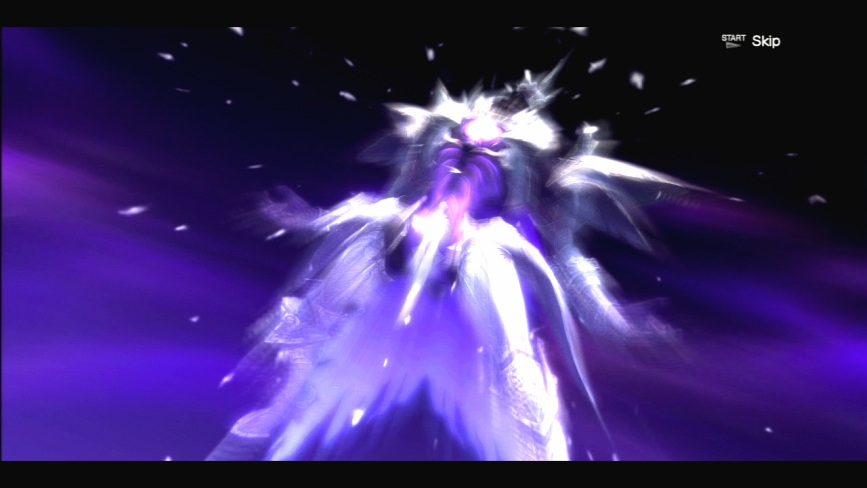
You know what time it is. It’s Rita Repulsa “make my monster grow” time again.

Because this game just wouldn’t be complete without another round with the Demon Knight.


 Madoras: Now I will annihilate the lot of you. Orren: You keep saying that, but we’re still waiting!
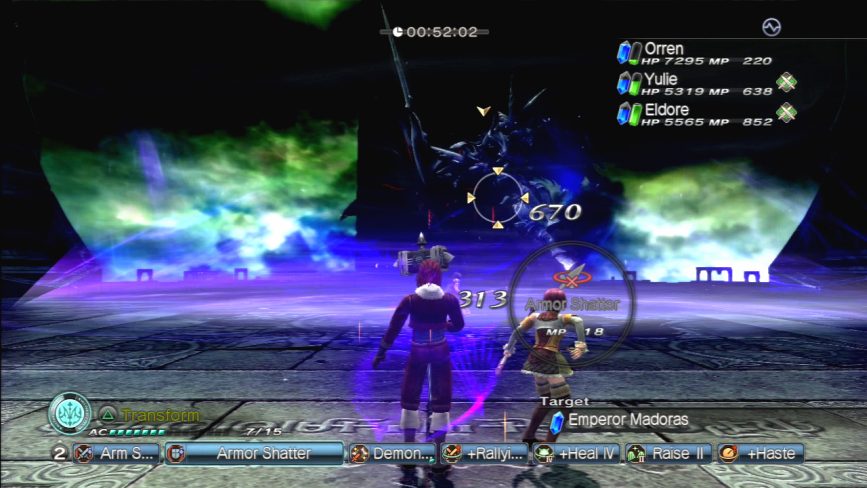
The Demon Knight is a lot more animated and frantic this time around. He’s got a few new attacks, none of which are particularly interesting.
He also summons a group of Ark Crystals to aid him, as usual.
He also likes to use the Zero Reset attack more often. I wasn’t in Knight more because I decided I was going to do some stat-breaking first before transforming, so I get all my AC sapped away when he hits me with it.
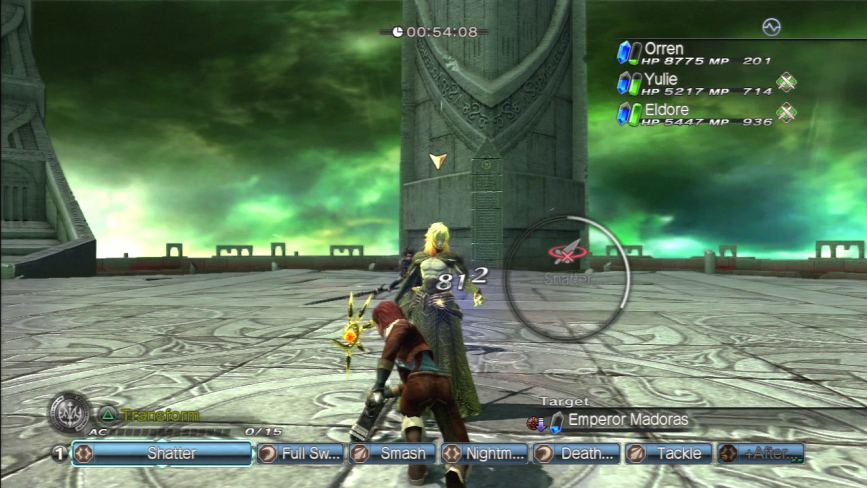
You can also see that the Demon Knight’s version of Talion features a few modifications over the White Knight’s version of Talion. It’s got darker highlights, such as its handle, compared to the original Talion, and the core gem on its handle is deep purple as opposed to purple-blue. And the blade itself is a more flat silver as opposed to the silver-gold colour of the original Talion.
It’s a nice little touch compared to just reusing Leonard’s version of Talion straight up, and it’s nice that we get to see it a little closer because the lighting the Garmatha wasn’t all that good for showing off finer details like this.
So yeah, Madoras has a bunch of unblockable AoE “fuck you” attacks that deal crazy damage.
This one did nearly 3000 HP-worth of damage on characters that have around a 800 defense stat, well above what you’d normally have on even a fully developed character.

Basically, Madoras is a massive fucker.
Oh hey look, a better shot of Evil Talion. Cool.
Madoras does this whirlwind attack where he spins around in the air and slams Talion down on the party for more massive damage.
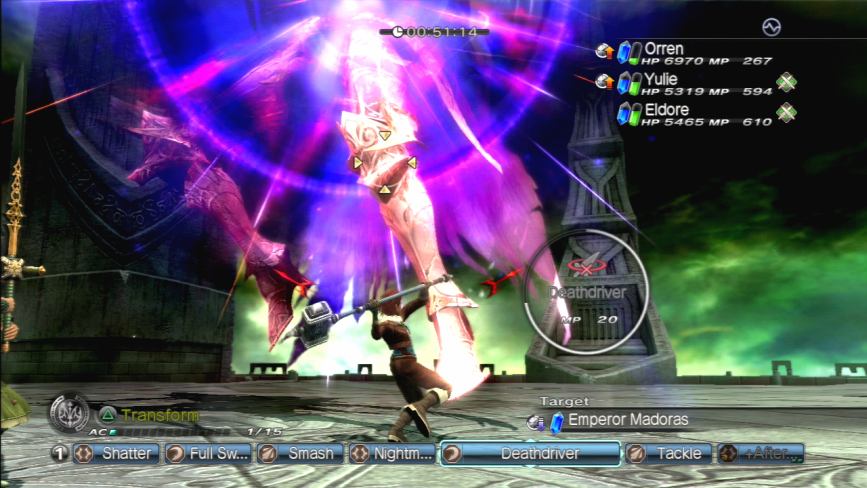
Okay, enough pussyfooting around here, let’s get back to more Knight on Knight action.
Madoras summons some more Ark Crystals, but they go down in short order thanks to the power of the Drega hammer.
 Madoras: That green monstrosity is no match for me, boy! Orren: Okay, before I was just suspicious of it, but now I’m certain of it: you are THE dumbest motherfucker alive. Madoras: You exaggerate— Orren: And that’s including Leonard.
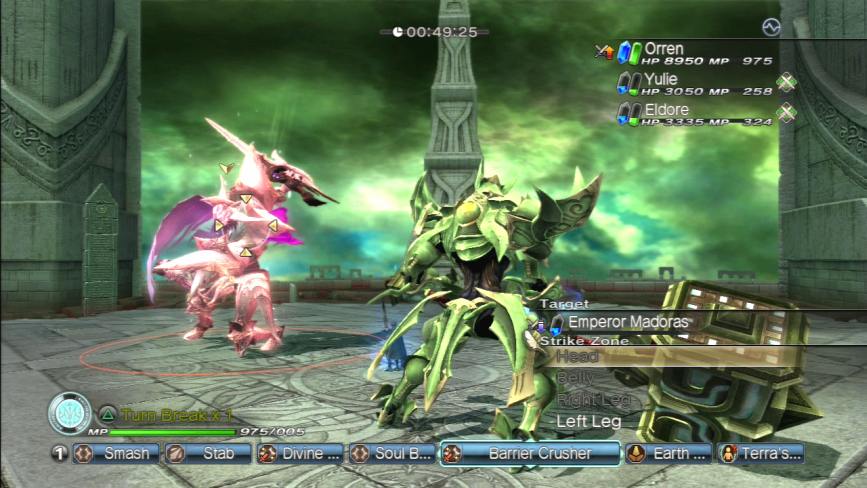 Madoras: YOU DARE COMPARE ME TO HIM?!!
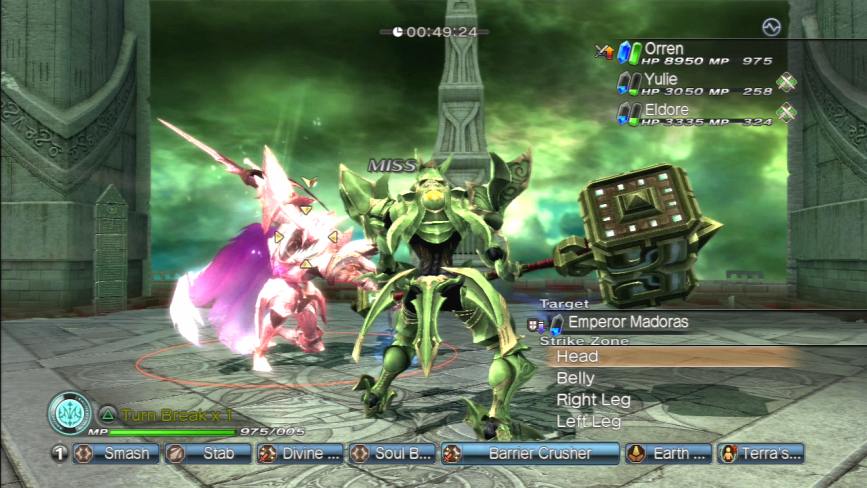
 Orren: Poor Emperor Madoras. You lost your war, you lost your empire, you lost your body, Mureas kicked the shit out of your Knights, you spent 10,000 years in a hole and another 17 in Cisna’s basement, then you got stuck with Leonard and got your ass kicked by Mureas AGAIN, and now, after all that bullshit, you’re gonna die at the hands of an apprentice wine merchant, and not even a very good one for that matter.
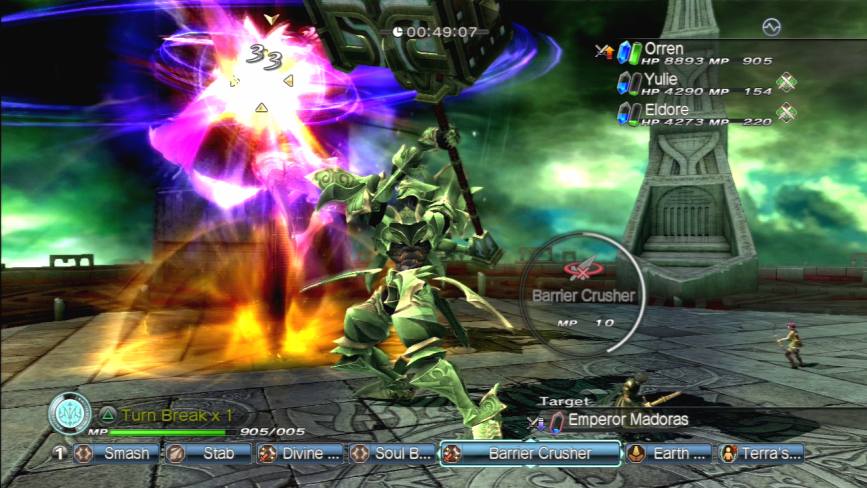 Orren: I’m having that sword of yours mounted on a pedestal in my village when I’m done with you, by the way.
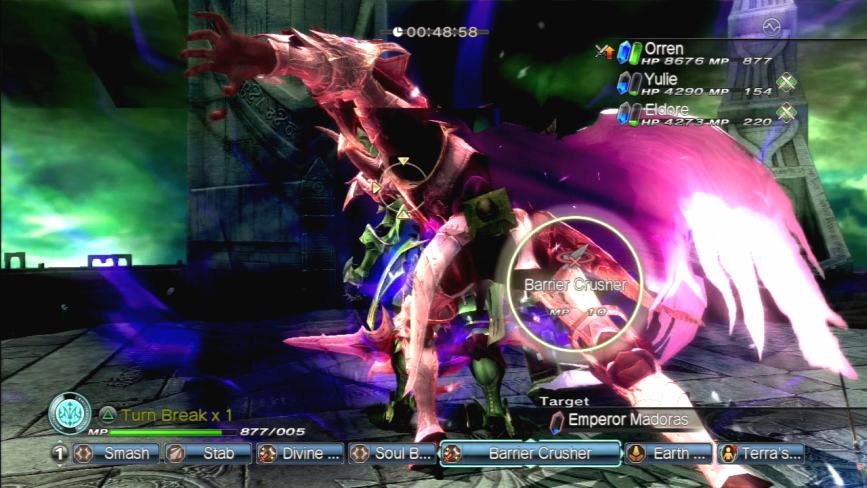 Madoras: Shut up! Shut up! SHUT UP! I AM TIRED OF HEARING YOUR INSIPID, PEDANTIC VOICE!
 Orren: Good. Because this is the part where you die.