Part 36: TF System: Tower O
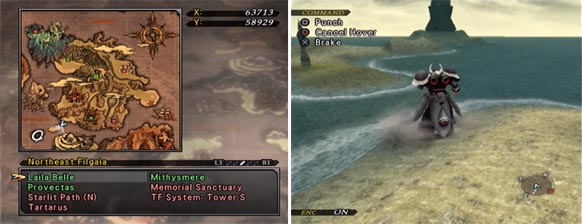
Tower O appears in the center of the map, and can be accessed from Northeast Filgaia by crossing some shallow water with Asgard.
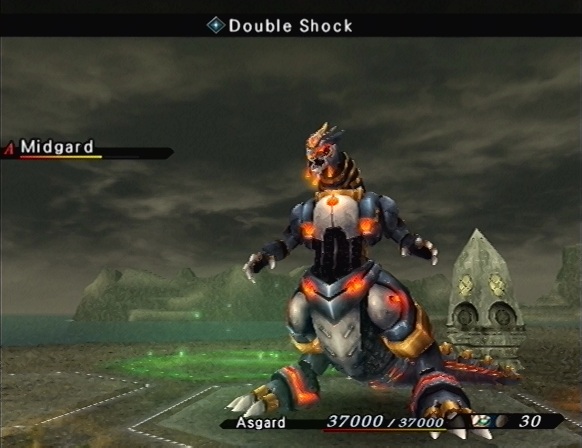
When we hit the shore, we're forced into a Golem Battle. Asgard spends 80% of his time guarding, but eventually he punches the Midgard enough to finish it off.
After this, we're free to enter the tower.
Upon entering, alarms immediately begin to sound.
Music: The Outpost is Our Trump Card

 The four TF System towers were protected by the Four Sentinels, Volsung's highest-level subordinates. Judging from that, it's likely that Volsung himself is guarding this tower.
 Looks like he's glad to see us.
 And I suppose he's sitting up at the top of the tower, just watching?
 Well then, let's put on a good show! Watch this, Volsung!
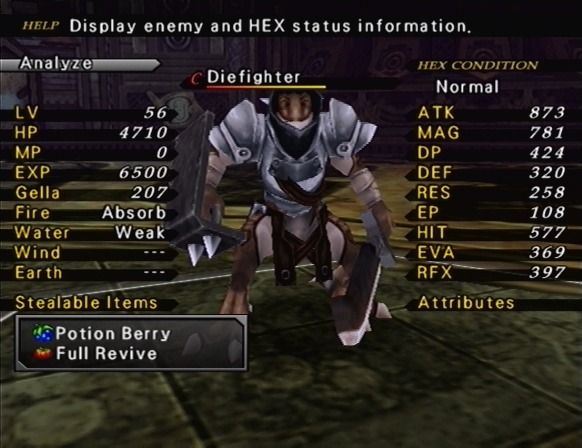
We're up against 2 Diefighters, who pose no threat whatsoever. After we kill them, three more enter the battle. This continues until we've killed 9 Diefighters.
They didn't manage to hit me once.

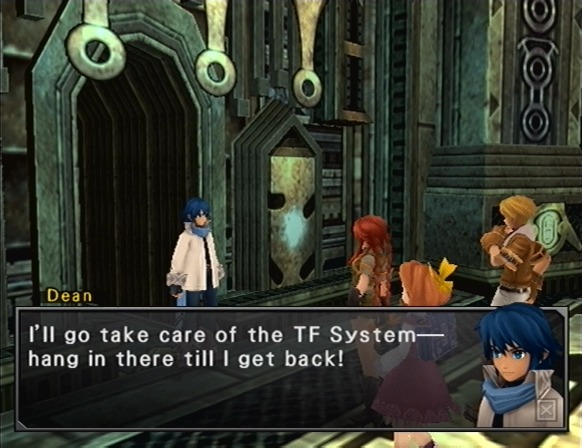
 At this rate, we'll be stuck here forever. They're sprouting up like mushrooms! Well, in that case... How about we split up? One team to take care of the monsters here, one to head for the top of the tower. Sounds good to me. Two teams of three should work well. Dean, who'll you take with you up the tower? Huh? Who decided I was going forward?! If not you, then who, Dean?
 Yes. After all, there's a big wall awaiting you at the top of the tower! -Yeah. Thanks! Let's see, then - who to take with me...
At this point, we're told to pick two characters, so I brought Greg and Avril with me. Surprisingly, Rebecca did not object to this.
 Sure thing! Don't worry, I'll make sure nothing gets past! Thanks. I'm counting on you!
Dean goes through the door, and Rebecca turns to Carol and Chuck.
Please, help me out...for Dean's sake. I know he'll be able to defeat Volsung...so let's do our part here!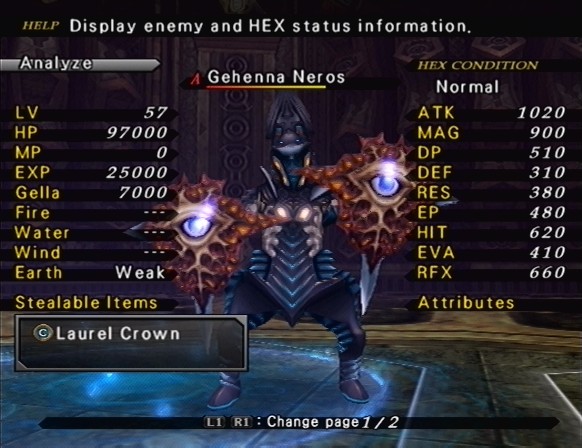
We're forced to fight this boss with the three characters we left behind. This guy is actually pretty tough, so I put a Sea Medium on Carol and a Sky Medium on Rebecca, because I didn't last long at all when I tried to stick with Luck and Moon.
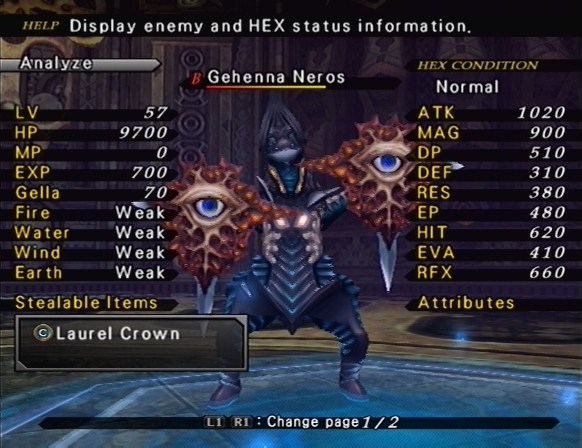
Sometimes throughout the battle, Gehenna Neros will create a Doppelganger. This is why this boss can be such a threat, because now it's like he has two attacks per turn.
Gehenna Neros uses Hi-Blast for 2000 damage, and Hi-Crush for 2500. He also uses Life Drain for 1350.
His real problem attack is Stare Down, though. Stare Down delays the target's turn, and he likes to use it a lot. When he's got a Doppelganger out, he can sometimes attack you four times in a row after using Stare Down a couple of times.
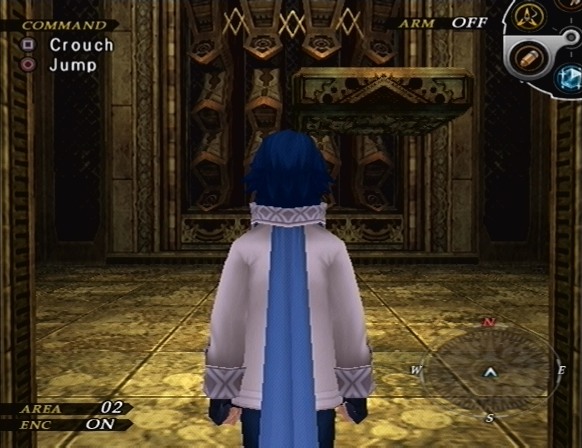
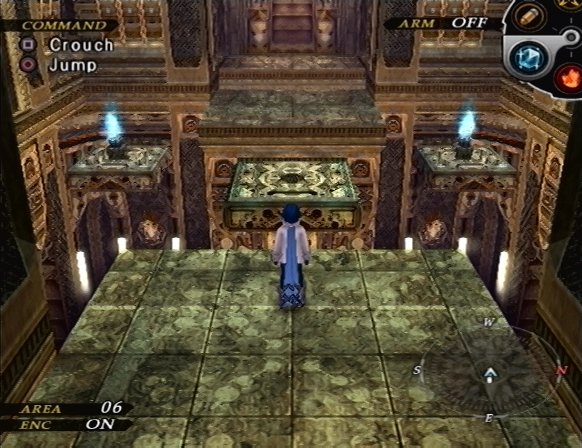
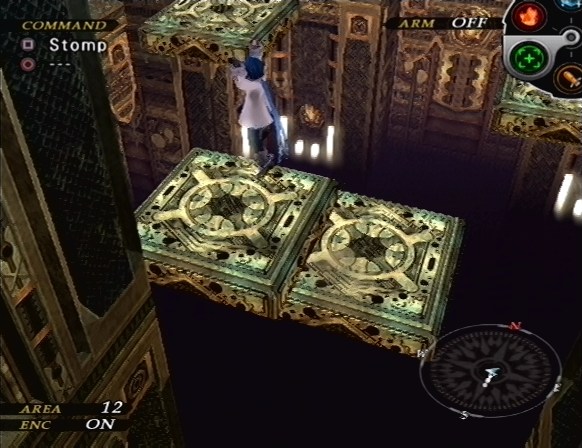
After we defeat Gehenna Neros, we're put into control of Dean. The platform on the right rises and falls, but it doesn't lower itself enough for us to jump on.
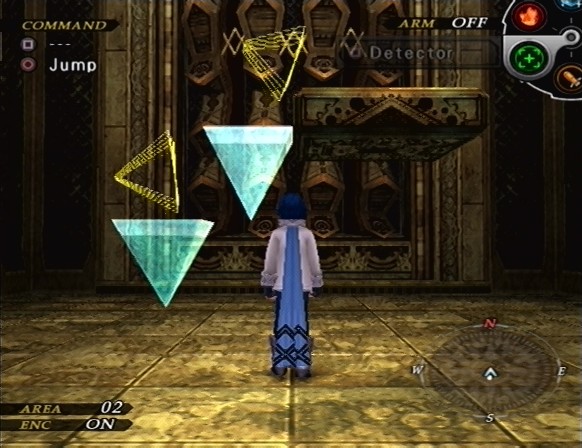
The solution is to use the Detector.
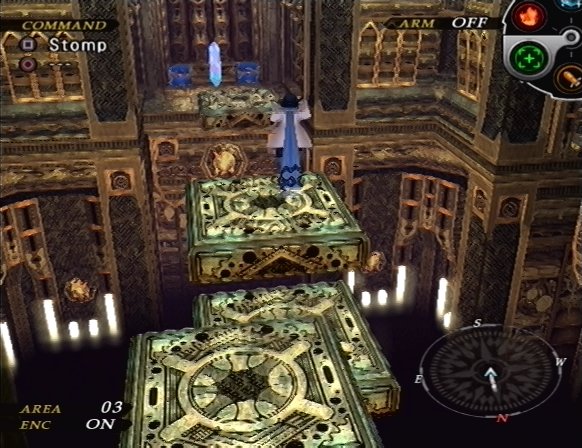
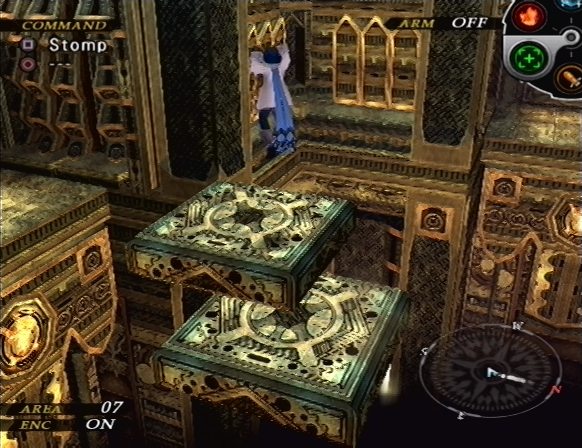
In the next room, we have to jump around between moving platforms. The Duplicator Chests by the exit contain a Dragon Fossil and 20,000 gella.
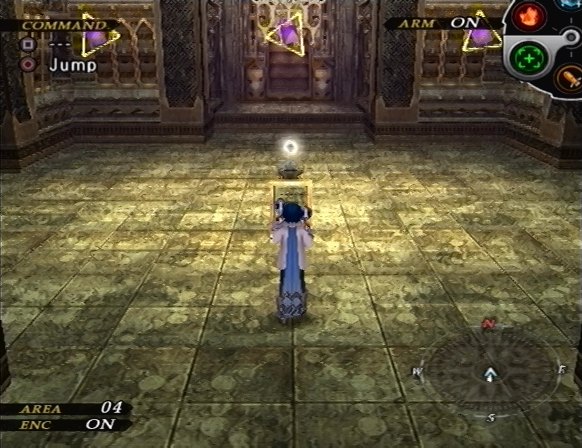
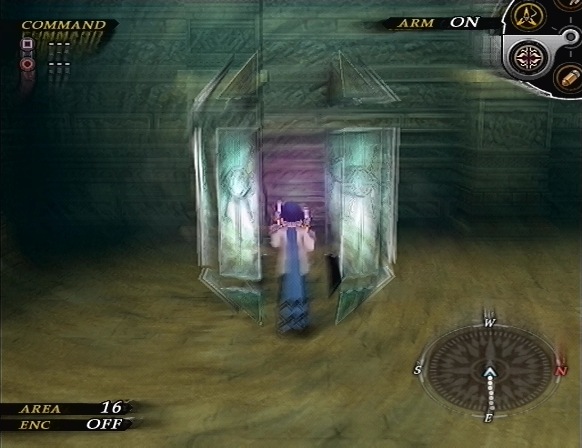
The next room contains a single white crystal, and a plaque.
*The Watcher's Eye reflects the souls that pass by. Newborn souls glow with a fierce red flame, while those returning to the afterlife are quiet as a clear blue lake. When all is done, the Watcher softly closes his eye.
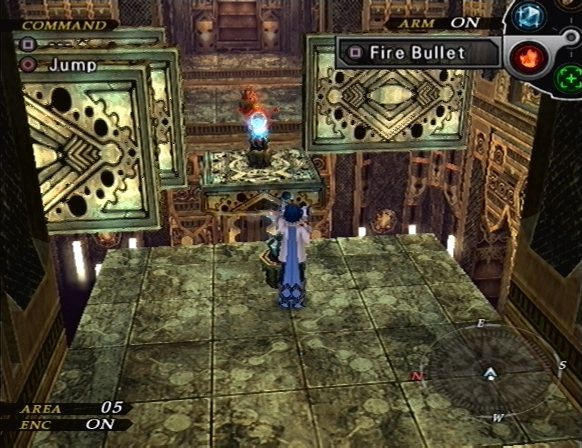
First we have to shoot the crystal with the Fire Bullet, which creates a warp.
In this room, there are three torches, and walls that quickly move left and right. We have to charge up a Fire Bullet, and fire when all the walls are out of the way.
After we light the torches, we return to the previous room and shoot the crystal with the Freeze Ray. This causes the warp to Area 05 to disappear, and a new one to appear.
This room contains a quickly moving platform and four lit torches in the corners. We have to put all of the torches out, but they relight themselves quickly. The timing is tight, but it can be done.
After we put all of the torches out, we return to the previous room and shoot the crystal with the Standard Bullet, which opens a new warp.
Once again, we have to do some platforming.
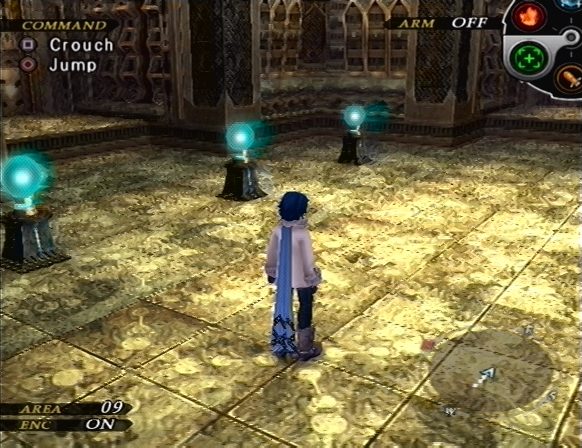
After that, we have a room with three blue spheres and a plaque.
*The traveler reached the land at sunset. Facing the setting sun, the traveler began to yell, a powerful cry that shook the lands about him, calling for the spirits to guide him. The traveler continued to cry out even as the sun rose from the east, gazing down on him from above before setting beneath the western horizon once again. When the following morning came, the traveler had exhausted his voice. But still he refused to give up. Gathering the last of his strength, he called out once more, a short, weak sound. At last, the guiding spirit answered, showing the way forward.
Using the Power Shot, we have to shoot the spheres in the order of west > east > center > west, and then shoot the east sphere with the Standard Bullet.
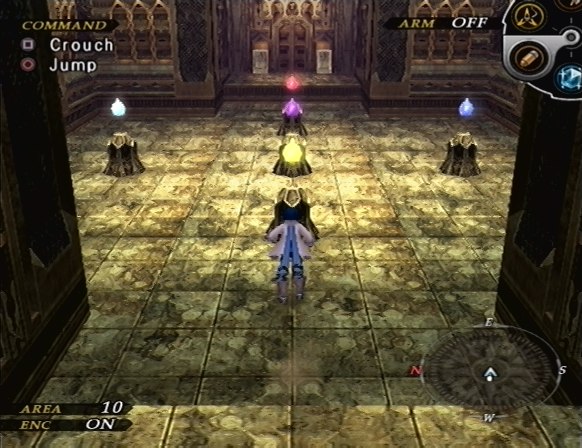
The next room has five colored crystals and two plaques.
*The unyielding ruler stands in the center. The crown on his head, the sword in his right hand, the seal on his left, and the throne underneath him. Those are the proof of his royalty.
*Despite the ruler's quest over countless battles for greater and greater strength, he was at last destroyed by a power even greater than his own. Blow after crushing blow rained down upon him. His crown was shattered, his throne cast down, his sword's blade broken, his seal dashed to pieces. And so his reign came to an end.
Using the Power Shot, I shoot the crystals in the following order: light blue (north), blue (south), red (east), and yellow (west), after which, the center crystal deactivates.
Lots of moving platforms in this tower.
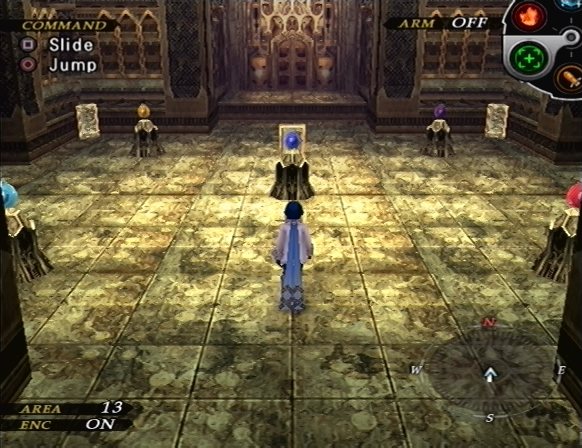
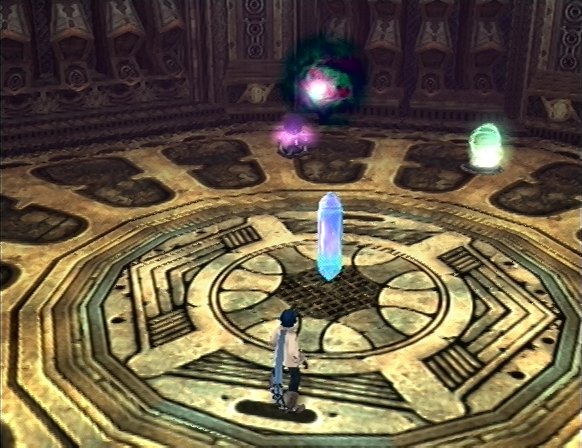
This room contains five crystals and five plaques.
The center plaque, by the blue crystal, reads:
*The guardians of the door sleep in the corners of this room. Recall your travels through this land, and wake each with the powers you hold. Use the power granted to you by the guardians to face me. If you are truly worthy of that power, the path forward shall appear.
The plaque by the yellow crystal reads:
*I am the guiding spirit.
The plaque by the red crystal reads:
*I am the glow of a newborn soul.
The plaque by the light blue crystal reads:
*I am the calm of a returning soul.
The plaque by the purple crystal reads:
*I am the unyielding ruler.
We have to shoot each of these with a certain ARM Cartridge. Yellow = Standard Bullet, Red = Fire Bullet, Light Blue = Freeze Ray, and Purple = Power Shot.
Once we activate the four crystals, a chest appears.
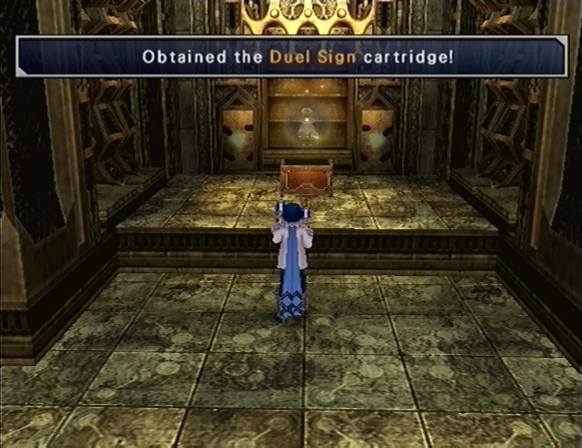
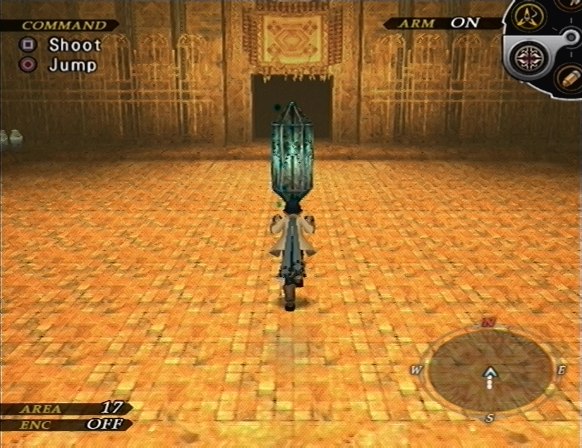
The Duel Sign is our final ARM Cartridge. When we fire it, a battle triggers. It can also be used to break open the Pillars in dungeons which hide optional bosses.
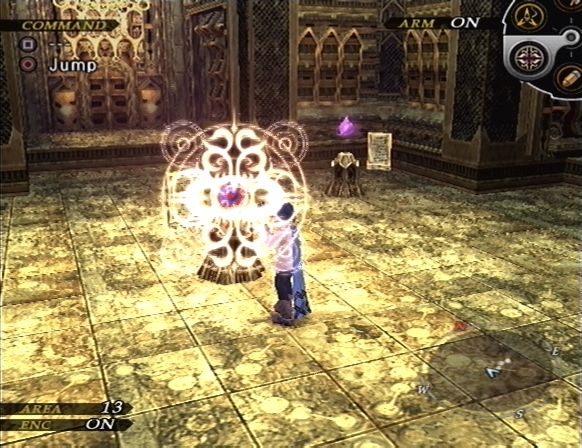
For now, we aim at the blue crystal and fire the Duel Sign.
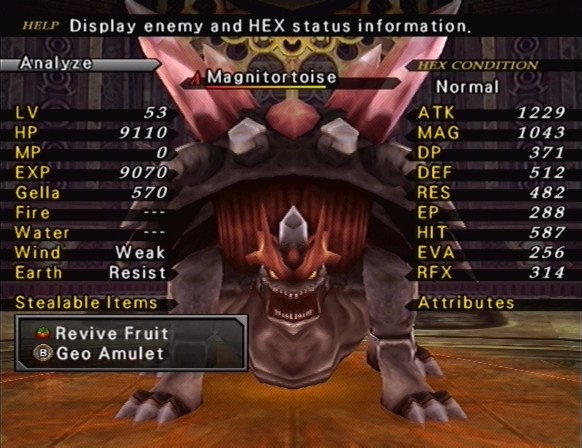
We're pitted against two Magnitortoises. They're pretty much just ordinary enemies. You might even be able to encounter them here, I don't know, I didn't run into many battles while I was in here.
After we beat them down, the door to the next room opens.
And now we get an actual boss fight!
Boss: Vagesta
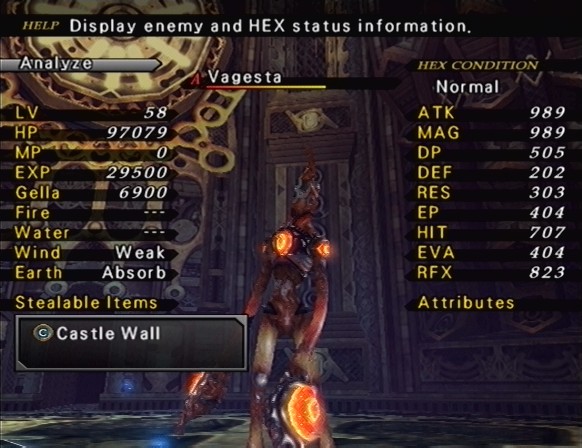
Vagesta has a standard physical attack which deals about 1500 damage. He also uses Ground Tremor, Storm Blade, Maelstrom, and Volcanic Trap, which deal Ground, Wind, Water, and Fire damage, respectively. These attacks all deal about 2000 damage, and they all attack a straight line of HEXes.
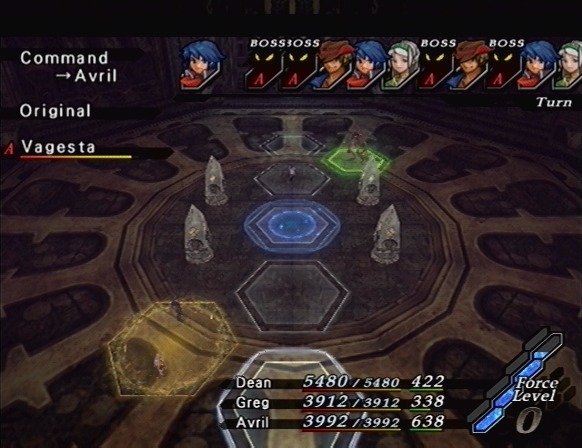
As you can see, the battlefield for this fight is set up to maximize the effectiveness of these attacks.
As long as you're careful not to put your whole party in a line, he's not a big problem.
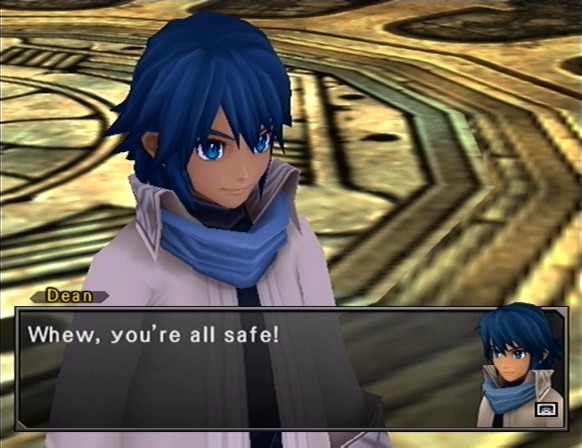
Yes, it's this awkward in motion, as well. Dean says "You're safe", and then it shows a shot of the full party from behind. It doesn't show the party members you left behind enter through the door, or anything.
Though we may have to get through the enemy's boss to do it. Avril... What kind of a person is Volsung, anyway? He is the only one who succeeded in waking me from coldsleep. Many others had applied their best technical knowledge, but none were able to succeed. Really? You mean, if Volsung hadn't come along, you might still be sleeping? I had no idea how long I would have to sleep, after all... So heavy protection was placed on the coldsleep chamber. In addition, technology of the present day is not quite as advanced as that of 12,000 years ago. Current technology is capable of repairing devices from that era, but not recreating them. But Volsung was able to get through all that, right? So he's not just powerful enough to become the leader of the Veruni, he's skilled technologically as well. Exactly. We cannot underestimate him. ...There is also one thing that concerns me. Hm? What is it? Well... The four Veruni we fought at the other towers were the Four Sentinels, Volsungs top lieutenants. But we defeated all of them, and the towers are no longer functional. Yeah, though they sure gave us a hard time. But...it feels wrong for Volsung. Almost as if he went easy on us. After all, he didn't hesitate to use the Darkness Tear, despite its cost to his own people. But in the end, we defeated all four of the Sentinels. It's almost as though he deliberately spread them out, intending us to defeat them... What?! Didn't he just underestimate us? Volsung did not become leader of the Veruni through power alone. His intellect is just as sharp. Even if he had underestimated us, he could have changed his strategy once the first tower fell. Well...yeah, I guess... But why would he do something like that? Let the Sentinels be defeated, I mean. Yeah. I'm sure he could have found other uses for them. Or maybe he didn't have any other use for them? And that's why he let us defeat them? That seems like the only reasonable explanation to me. No other use for them? Then what's Volsung planning? That I'm afraid I don't know. And not to confuse you, but I may not be correct in suggesting that he deliberately separated the Sentinels. But I do think it best that we be careful, whatever Volsung may be planning. Yeah. I guess we'd better not rush ahead here...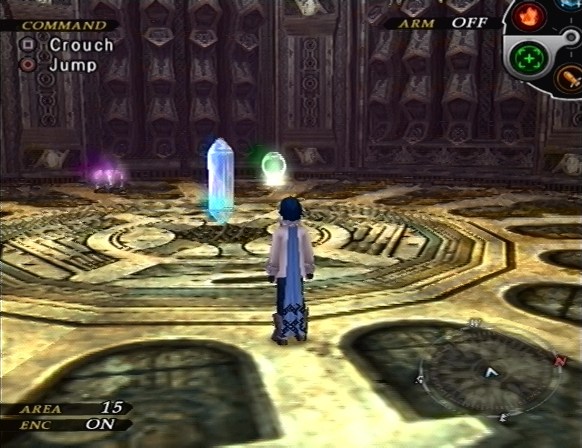
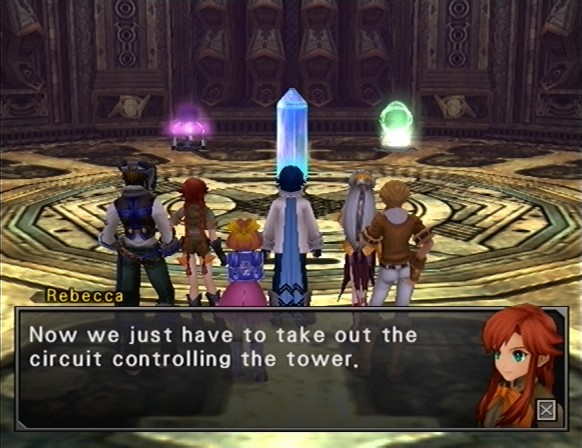
That crystal there is the point of no return. Once we touch that crystal, we'll no longer be able to freely roam Filgaia. Now that we've got the Duel Sign, we can complete every sidequest this game has to offer, so it's time to backtrack out of the Tower.
Luckily for us, there's also a chest in this room, which contains the Exodus Orb, which will teleport us to the entrance of the dungeon. We purify the Sol Niger, and then we activate the Exodus Orb.

The game is polite enough to put a warp in the entrance room, so we don't have to climb the whole tower again.
Anyway, let's go take care of some optional bosses!
Our first target is in the Isolated Path. We shoot the Pillar with the Duel Sign, and the battle begins!
Music: Terrible-Monster Attacking Crew!
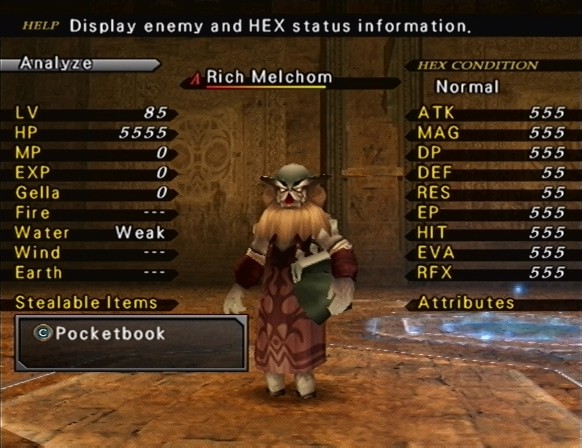
I wouldn't really consider this guy a "boss" to be honest. When you defeat the Rich Melchom, you get a ton of gella, determined by the power of the killing blow.
(Damage Dealt - Rich Melchom's HP) * 10 = Gella Earned.
So you want to get the Rich Melchom's HP as close to 1 as possible, and then hit him with your most powerful attack.
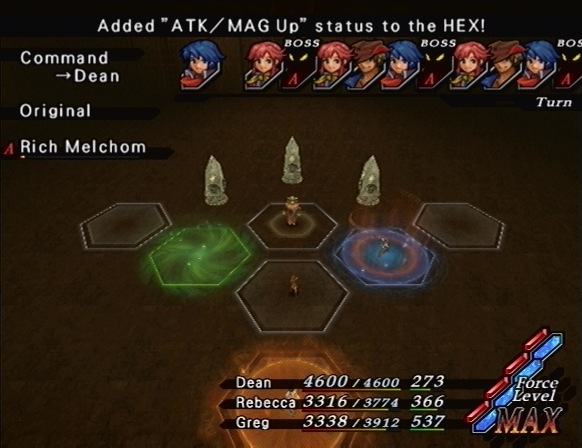
I got Greg on the water ley point and shooted at the Rich Melchom for awhile, then I casted Hyper on Greg's HEX and Fragile on the Rich Melchom's HEX. I ended up dealing 16,482 damage with Hi-Blast.
I forgot to use a Gella Card, but I still got a pretty acceptable sum of money.
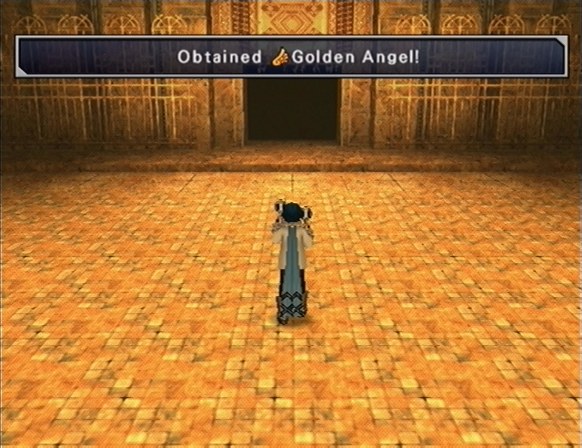
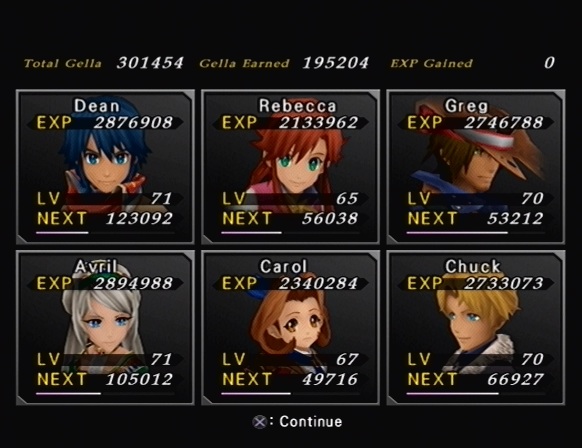
Every time you defeat a Pillar Boss, you earn a Golden Angel, of which there is a total of 12.
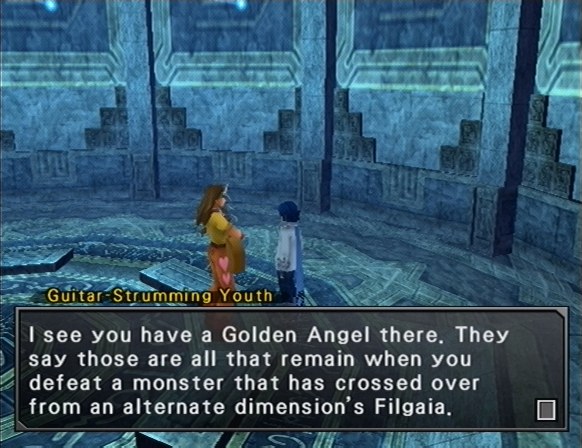
Guitar-Strumming Youth: Not much is known about their anatomy and life cycles, but by analyzing a Golden Angel, we might be able to learn all sorts of useful information. Will you loan that to me so that we Baskars can use it in our research? I'll let you have something good in exchange.
*Will you exchange your Golen Angel for a Genuine Vest, the garb passed down through a family of Baskar priests?
Yes
Obtained Geniune Vest!
Guitar-Strumming Youth: This suit is an heirloom of the Pillar family, which was handed down to me by my father. I think even he would appreciate that I'm giving it to a human who will put it to good use, rather than letting it rot in a bureau somewhere.
The Genuine Vest is an incredible piece of armor for Greg which increases his MAG by 131. It also has a nice surprise...
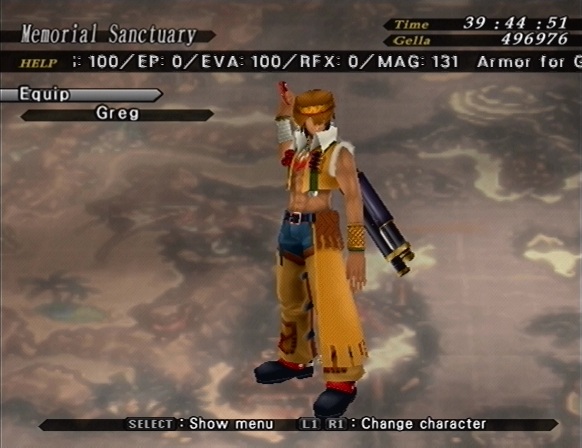
It makes him look like Gallows!
Each character has two cameo armors, which you get by trading Golden Angels with cameo characters.
Anyway, there's one more easy to kill Pillar Boss, so let's go take care of him.
The next Pillar Boss is hidden away in the Starlit Path.
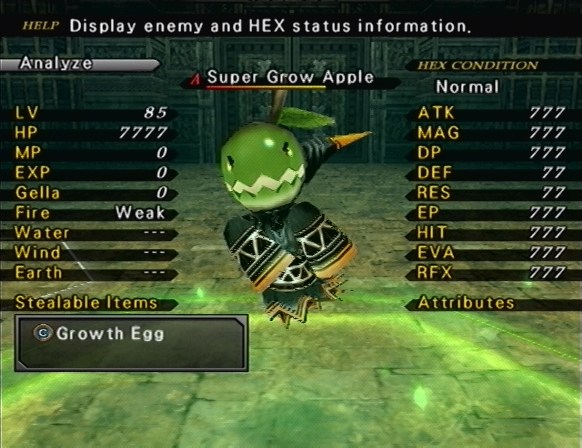
The Super Grow Apple works like the Rich Melchom, but with EXP instead of gella. So...
(Damage Dealt - Super Grow Apple's HP) * 10 = EXP Earned.
I put Greg on the fire ley point, cast Hyper and Fragile, and let loose with Hi-Blast. I also made sure to use a Lucky Card for this fight.
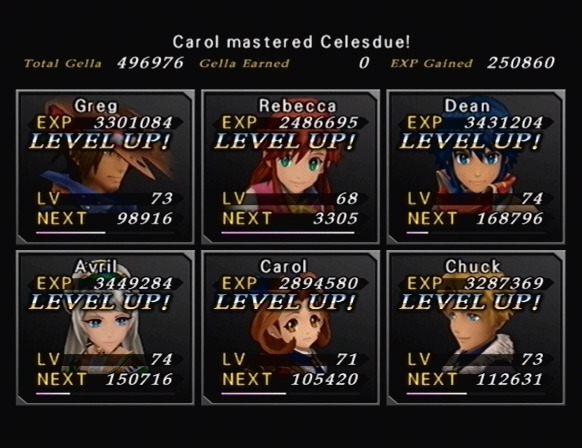
Not a bad EXP gain, considering that I didn't really worry about lowering his HP too much before finishing him off.
Once again, our reward is a Golden Angel.
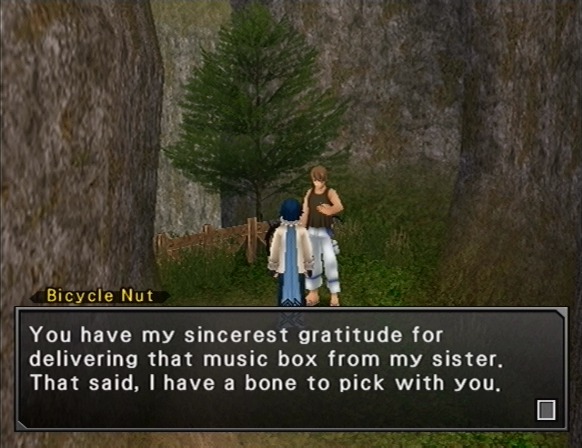
I'm not trading with Kresnik, I just wanted to grab a sidequest from him really quick. Kresnik isn't one of the cameos you can trade with.
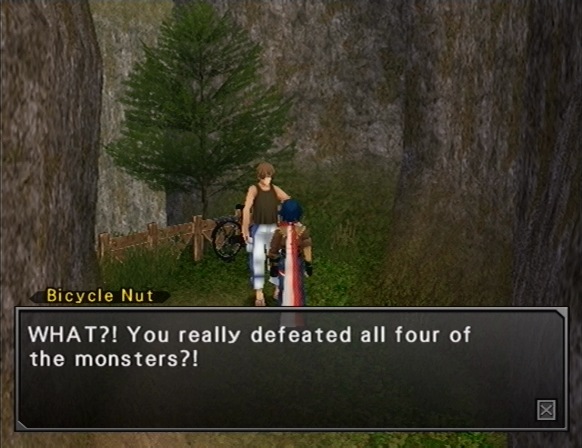
Bicycle Nut: I cannot abide the way you're always prancing around in your golem like you're the king of the world. You truly believe a golem is the world's mightiest vehicle?! I simply cannot imagine that to be true!
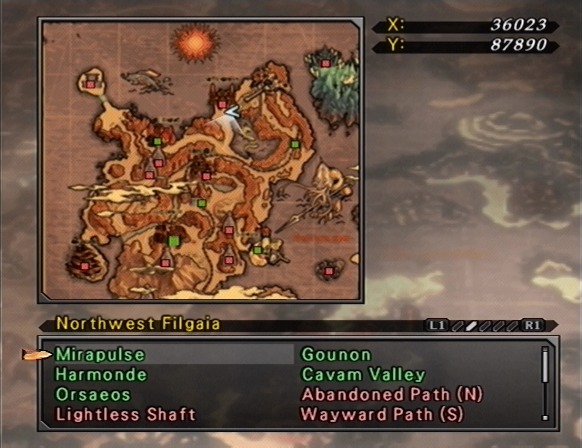
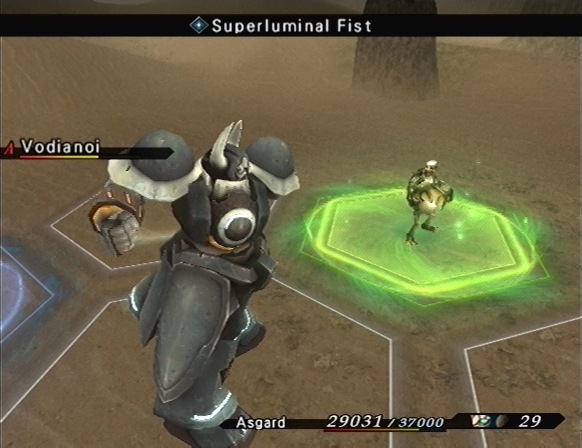
Don't you make fun of my Asgard! It's a hell of a lot stronger than your little bicycle!Bicycle Nut: Are you serious...? You honestly believe that your golem is stronger than my beloved bicycle?! That's quite a bold statement. If you're so sure, I'd like to see you prove it! The Greater Beast that lives at the head of the chick-shaped Lake Tweet near Gounon... The Vodianoi that lurks in the oasis at the center of the desert south of Twelbit... The Jumbo Bearcat that can only be seen at the three-tree grove near the snowy promontory besid the mine... The Creeping Chaos that appears near the world's only apple tree... Each is a monster that commands unimaginable power. But together with my trusty Halberd, I have defeated them all! If your Golem is truly as mighty as you claim, surely you can defeat all four of them with ease?
I wear upon my honor... I can - and will - do it! All four of 'em are goin' down. Then you'll see how much stronger my Asgard is than your stupid bike. Even you will have to admit it!Before we get started on this, I have someone to meet in Honeysday.
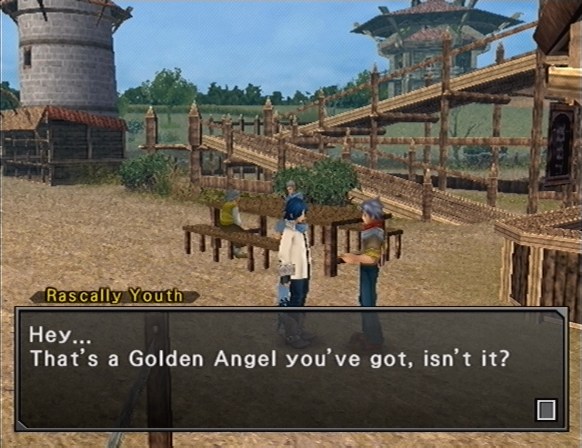
Rascally Youth: Well, I was given an item in the ruins of a certain research lab...told to trade it away whenever I found someone with that Angel. So...how 'bout it?
*Trade the Golden Angel for the Red Guard, armor forged from the memories of Filgaia and created to serve the world's warriors?
Yes
Obtained Red Guard!
Rascally Youth: Well, there's a load off my back. I dunno if that thing will help you at all, but don't let it go to waste, okay?
The Red Guard is armor for Dean which increases his ATK by 80. Very useful.
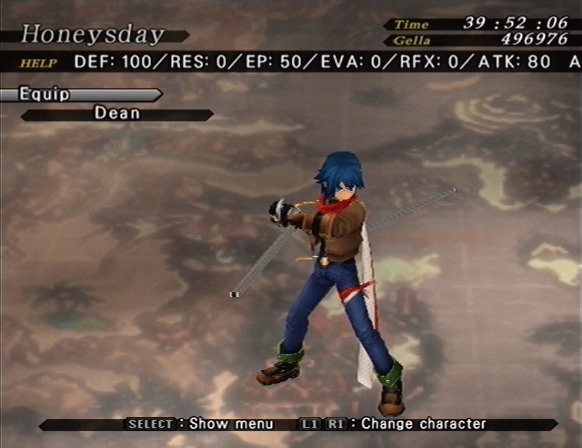
It also makes him look like Jet, so that's cool.
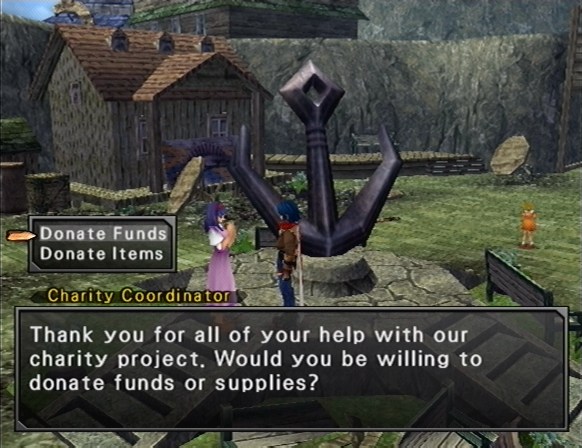
For donating 500,000 gella, we get 5 Blank Mediums.
For donating 1,000,000 gella (50,000 at a time...), we get a Soul of Lilithea, a fantastic ARM Part for Avril with no major drawbacks.
We're now done donating to Harmonde. We're done with all the sidequests here, so we'll only have to return to trade Golden Angels with a couple of people.
Now let's go take care of those legendary beasts!
While we walk around this area, eventually we get a message.
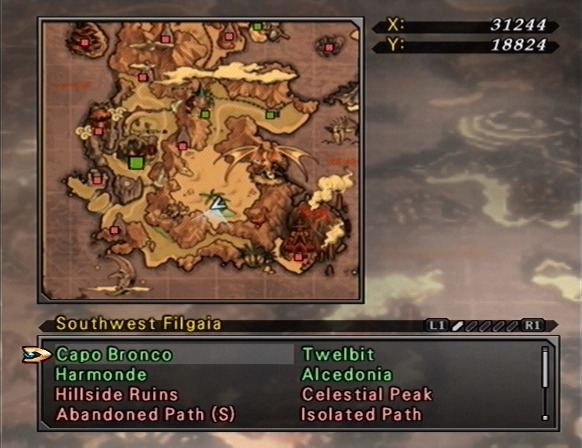
*For the faintest moment, the pleasant breeze that cools the plain is gone. In its place, an evil, otherworldly presence drifts across the landscape... The bicycle nut in Capo Bronco spoke of such a presence... It could only be one of his legendary monsters! What would you like to do?
Mount Asgard and battle this evil.
Music: The Burning Spirit of the Iron Fist
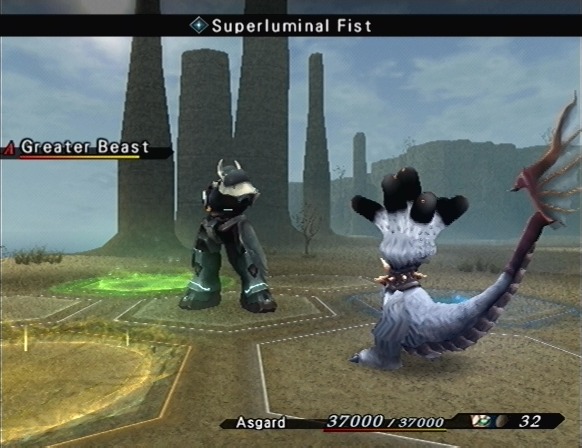
These battles are pretty much impossible to lose, unless you never touched Asgard's equipment at all, and even if that is the case, you'll probably win unless Asgard's AI shits the bed.
Speaking of which, the Greater Beast is healed by water attacks. Guess what attacks Asgard insists on using against it!
Next we head for the oasis to the south of Twelbit. While in the area, I find a chest with a Sacred Shroud in it.
A once-beautiful holy robe. One of the holy artifacts said to have sealed the king of the monsters.
Intersting...
Anyway, if we walk out to the small island where we found the Le Ciel Bleu, we get a message.
*This once-idyllic island is now smothered with a fetid, stifling stench. The oasis has fallen into the claws of a monster, its former beauty slowly but irrevocably being destroyed. The bicycle nut in Capo Bronco spoke of such a presence... It could only be one of his legendary monsters!
Once again, Asgard insists on healing the enemy.
The Jumbo Bearcat is in the middle of some trees to the northwest of Mt. Chug-Chug. When we enter the trees, we get a message.
*A giant shadow passes slowly over the clearing between the trees. Its owner cries out a warning to stay away - or else. The force behind that call hints at an immeasurable strength, a fierceness possessed by none save the King of Beasts. The bicycle nut in Capo Bronco spoke of such a presence... It could only be one of his legendary monsters!
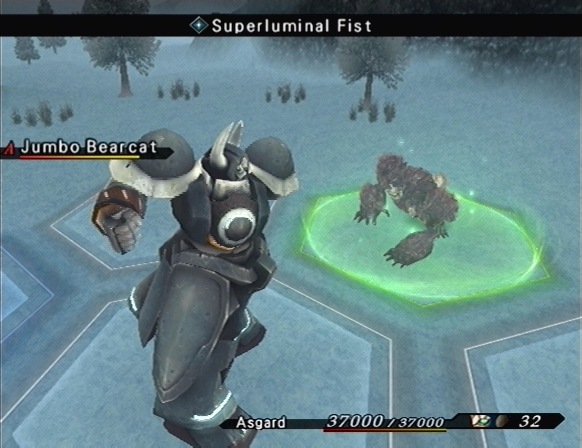
The Jumbo Bearcat does the most damage of the legendary monsters. If he had more HP, or if Asgard was less competent during this battle, he might have been a threat.
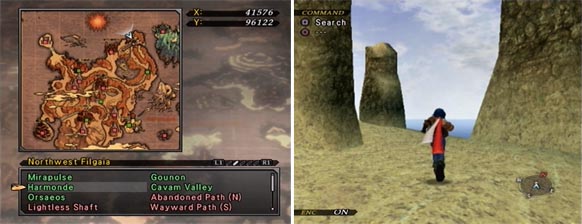
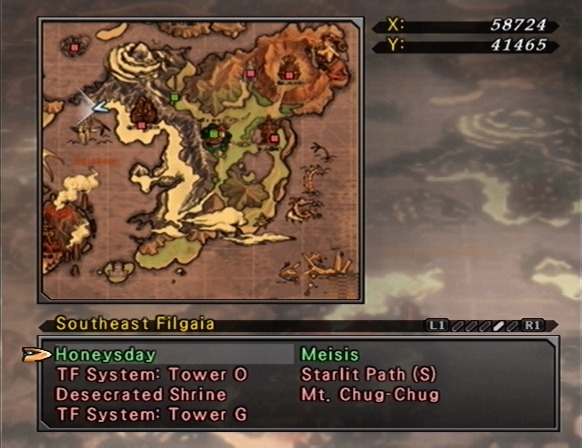
Getting to Creeping Chaos is a bit more complicated than the other monsters. First we need to go to this location and use Lilka's busted Teleport Orb.
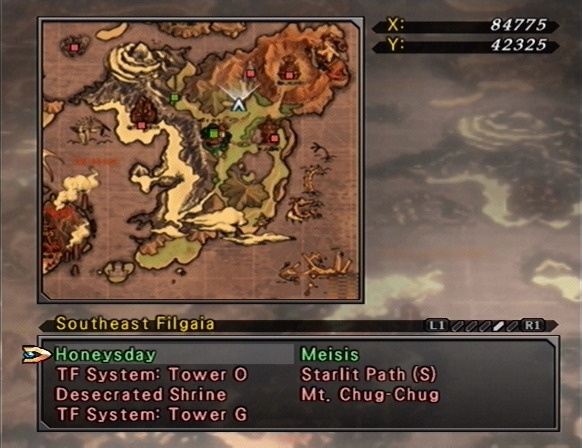
It puts us in an otherwise inaccessible area of Southeast Filgaia.
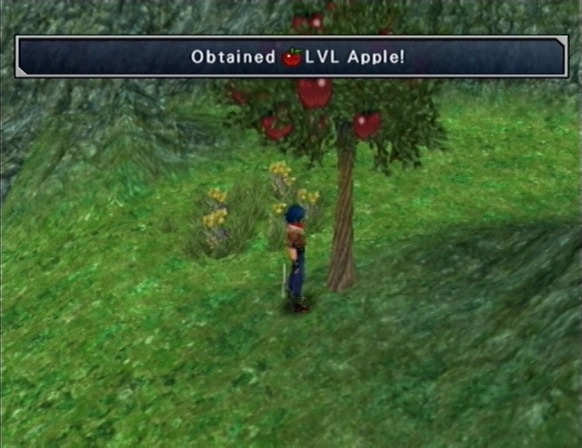
Johnny did a pretty poor job of planting those appleseeds, considering this is the only apple tree on the entire planet. The Creeping Chaos is hanging out around here too.
*A strange feeling begins to permeate the atmosphere. Something is there...something not of this Filgaia. The alien presence slowly extends its invisible tentacles toward this world, watching, waiting... The bicycle nut in Capo Bronco spoke of such a presence... It could only be one of his legendary monsters!
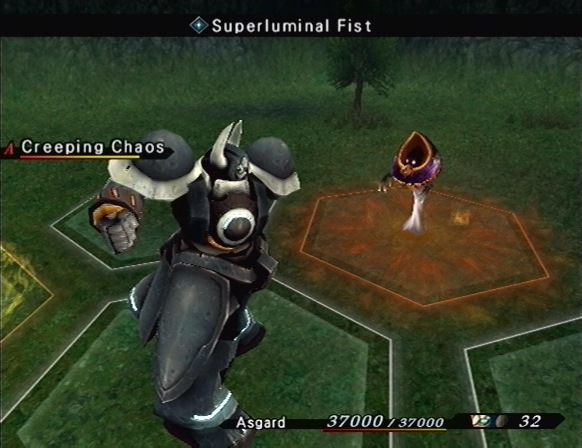
Creeping Chaos is a recurring enemy in the Wild Arms series. Their most notable appearance was in Wild Arms 3, during the Telepath Tower sidequest, in which aliens invade Filgaia. During this sidequest, you have to fight a Creeping Chaos.
Video: The Dumbest Golem
If you're interested in watching video of a golem battle, here's a compilation of every battle with Kresnik's legendary beasts. At the very least, watch the battle with the Greater Beast, just to see how dumb Asgard can be.
 I swear it! And now it's you who has a promise to keep. Come on! Admit that my Asgard is the mightiest vehicle in Filgaia!
Bicycle Nut: No! It...it just can't be! I was so sure that my Halberd was the mightiest... *Sob*... This...this can't be happening...
(Wow...he's crying? Now I'm starting to feel sorry for him...) ... Okay, okay, fine. How's this? My golem and your bicycle are the TWO mightiest vehicles in Filgaia. We both beat 'em, so it's a tie.Bicycle Nut: ... ... It disgusts me to think of a mere golem as being equal to my precious Halberd... But I suppose I must relent. Very well. I acknowledge that my Halberd and your Asgard are the two mightiest vehicles in all of Filgaia!
Obtained Omega Trigger!
Bicycle Nut: Take this. It'll come in handy one day.
What?! I mean, I appreciate it and all, but...I can't accept this!Bicycle Nut: I am the only me who exists in all of this world...and yet, you possess a power equal to mine! Therefore, I am you, and you are me! To think there are others so near to me whose strength might match my own... I must venture out again into the wilds, with only the strength of my own naked self! (And Halberd, of course.) Then I may go to my sister, having gained the condifence that no man is my rival, and that I need rely upon nothing!
... Okay... I understand, I think. Sort of. Anyway, thanks!The Omega Trigger is a pretty good ARM part for Greg, but I prefer the Coyote_M18F, for its huge MAG boost.
Another, more subtle reward for this quest is the ability to fight the Greater Beast, Vodianoi, Jumbo Bearcat, and Creeping Chaos as regular enemies around where we fought them with Asgard. The Creeping Chaos is the only enemy in the game that you can steal Duplicators from, so being able to fight them with your main party is nice.
Well, that's all for now. Next time we'll conquer at least one optional dungeon!
The Art of Wild Arms