Part 37: Cocytus and Inferno
Today we'll be tackling two optional dungeons, Cocytus and Inferno.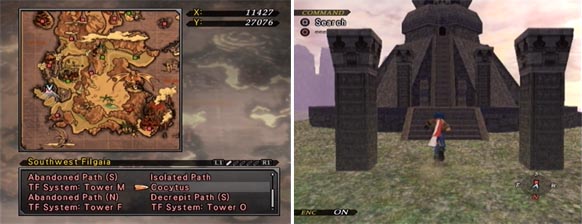
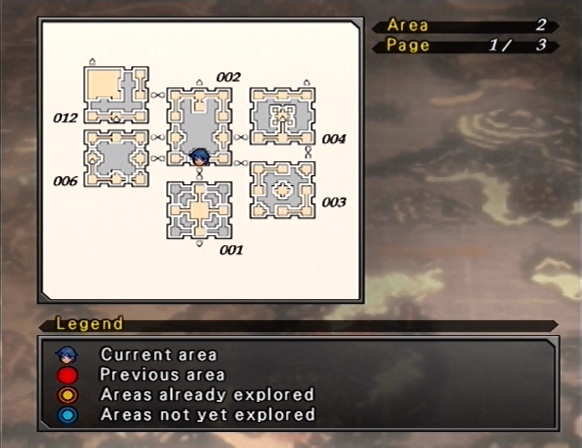
Located near Puzzle Box 17, our first optional dungeon is Cocytus. Cocytus is a good place to start, because it's simple and the boss at the end is relatively easy when compared to the bosses of the other optional dungeons.
Music: At the Frozen Depths of the Heart
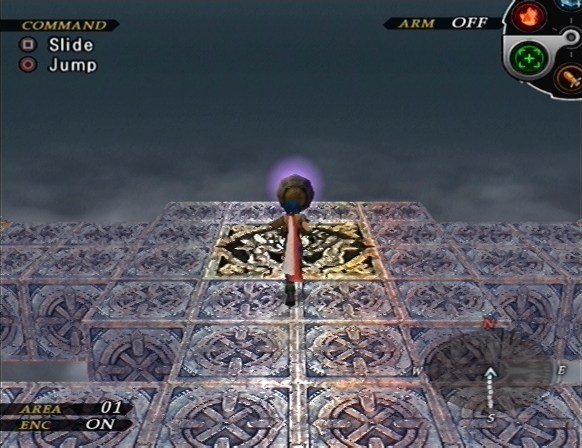
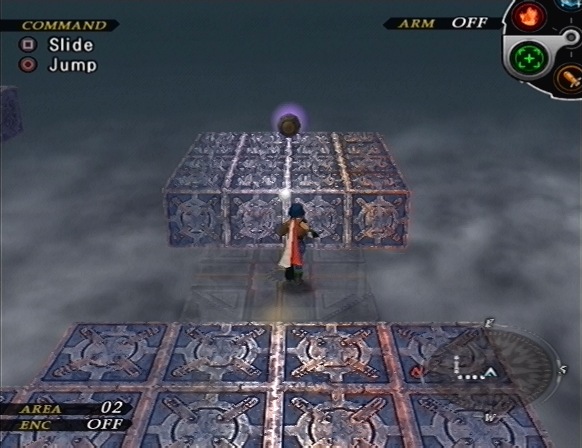
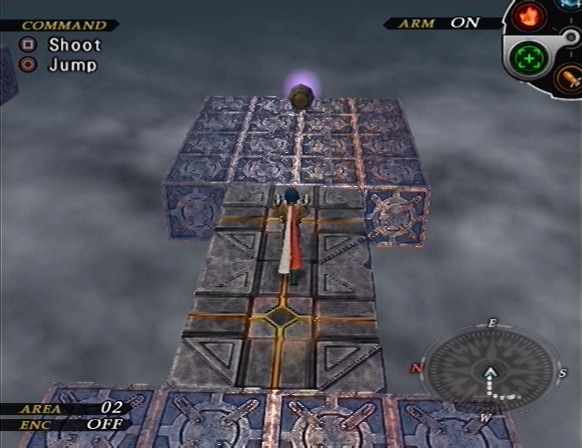
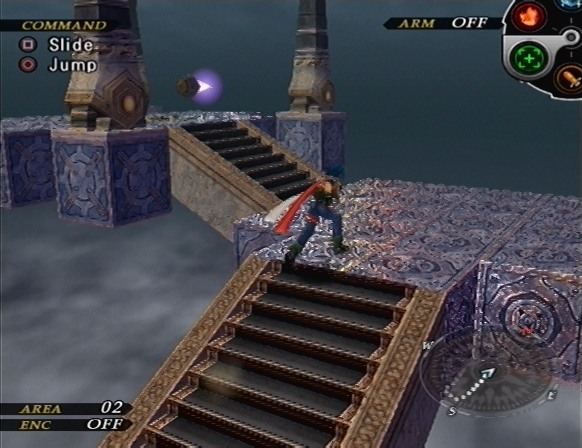
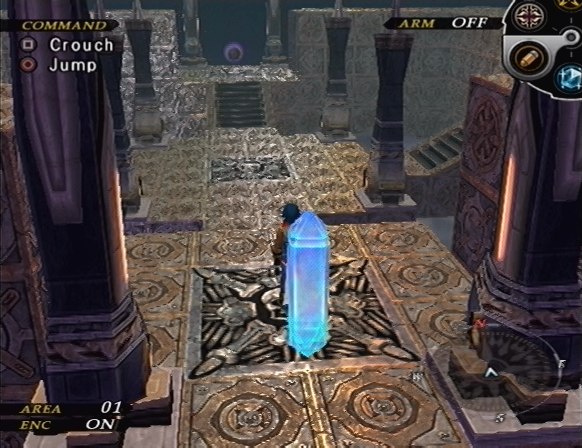
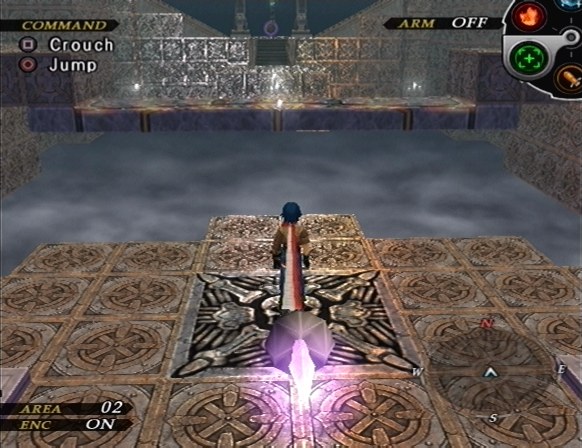
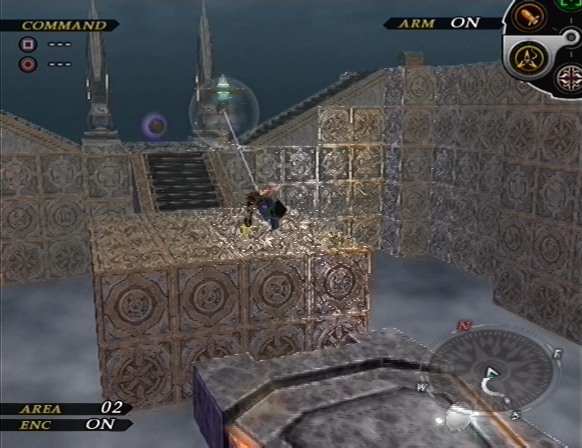
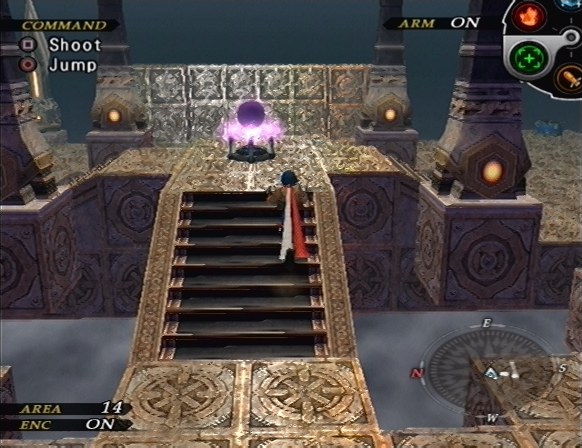
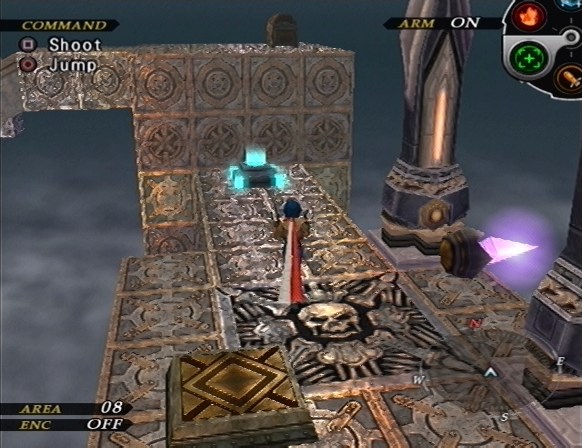
These glowing objects are warps which will take us to other rooms in the dungeon. All of the optional dungeons follow this mechanic, which is awful because I hate this type of dungeon.
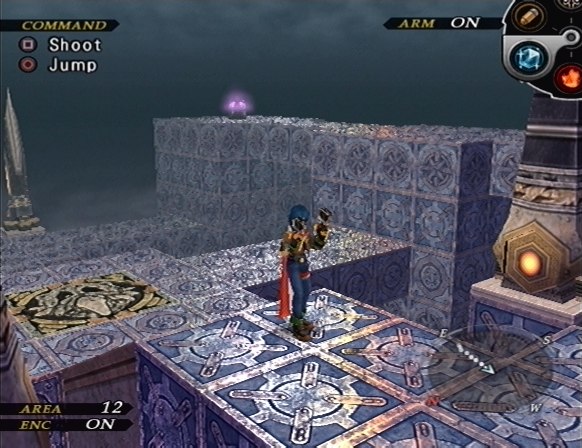
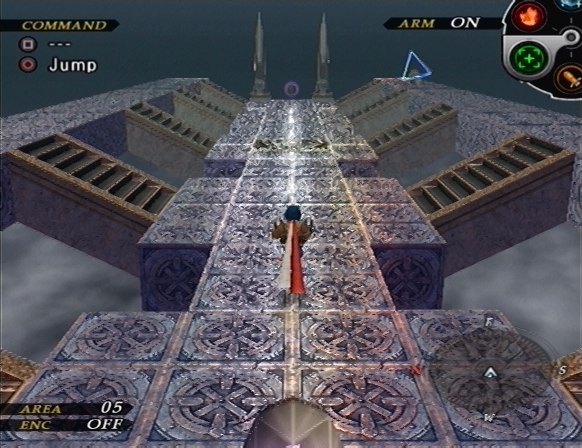
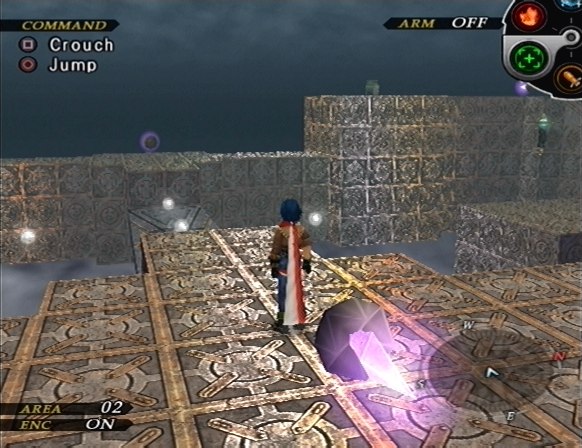
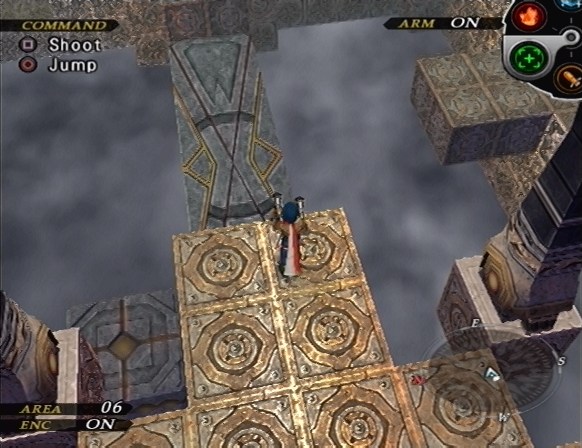
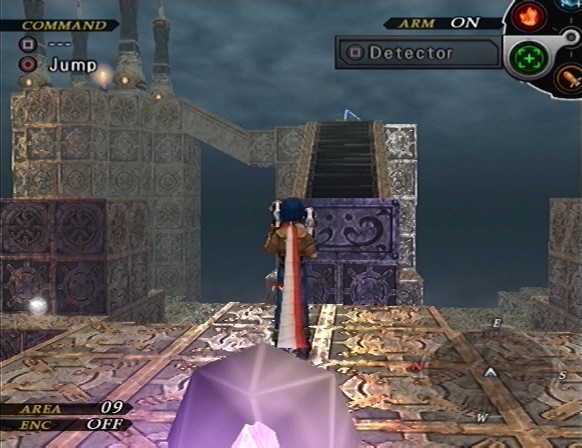
We're warped to the central area of Cocytus, which we'll be seeing a lot while we're here. There are six exits, three to the west, and three to the east.

There's a bridges that warps around to provide footing to reach the various warp crystals. The bridge's location depends on your PS2's internal clock, but I can't seem to find a description of exactly how it works. It only took me about an hour to do this place though, so it probably relies on the minutes setting of your clock.
A common problem with this dungeon is that sometimes people won't have their PS2's clock set, so it'll be stuck at 12:00 and the bridge won't move.
Anyway, we take the west warp first, for reasons which will soon become clear.

We run through an empty hallway and end up in this room. The chest contains a Shamil, a very good piece of armor for Carol.
The Sol Niger is also in this room, which is why I took the west warp first. This place goes a lot faster when you don't have to deal with random encounters.
The Shamil and the Sol Niger are the only things of note, so I return to the main room and take the southwest warp.
After going through another hallway (which contains a pot with a Holy Berry in it.), we end up in a room identical to the one behind the west warp, save for the Sol Niger. The chest contains a Cromwell, a good piece of armor for Greg, but the Genuine Vest is better. We return to the previous room and take the northwest warp.
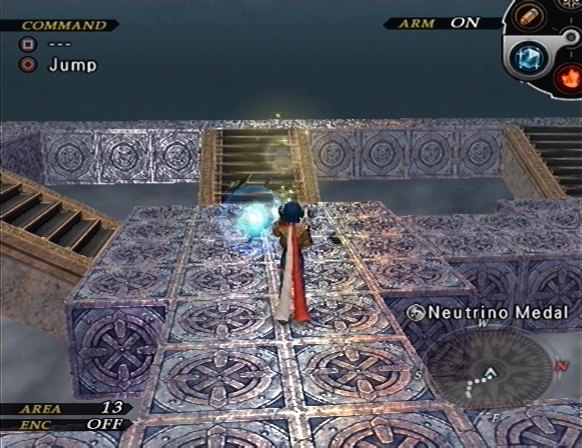
Aside from this Neutrino Medal, this hallway contains nothing of interest. The chest in the next room contains a Metal Suit, a good piece of armor for Chuck. After grabbing it, we return to the main room and take the northeast warp.
Once again, a hallway with nothing worth noting aside from a Neutrino Medal. The next room contains a Virtuous Guard, a good piece of armor for Dean, but the Red Guard is better. Next we return to the main room and take the east warp.
The pot contains a RES Apple, and the chest in the next room contains a Goddess Breath for Rebecca. After that we return to the main room and take the-
Fuck.
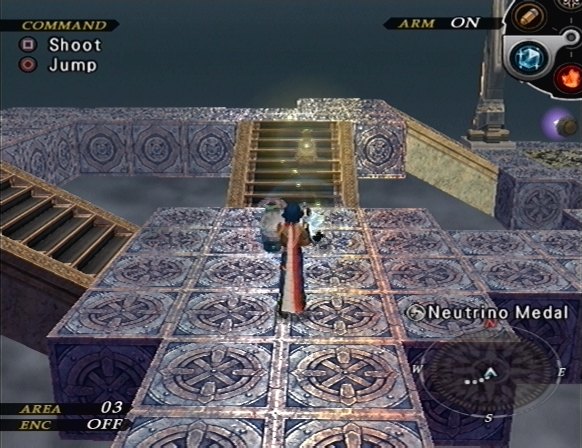
After waiting for ages, the stupid bridge finally comes back and we can continue through the southeast warp. The next room contains a Neutrino Medal, and the room after that contains a Seed of Eden for Avril.
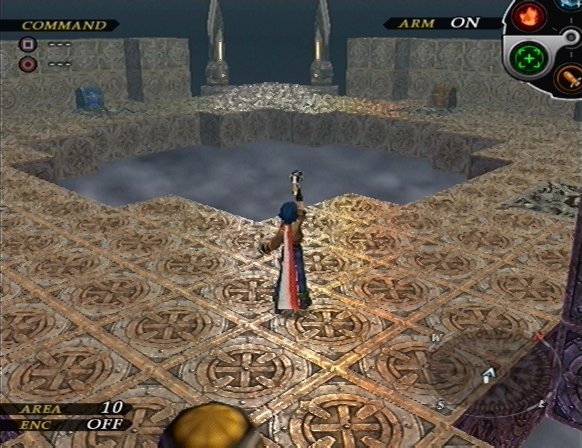
Upon returning to the main room, a new warp has appeared to the north.
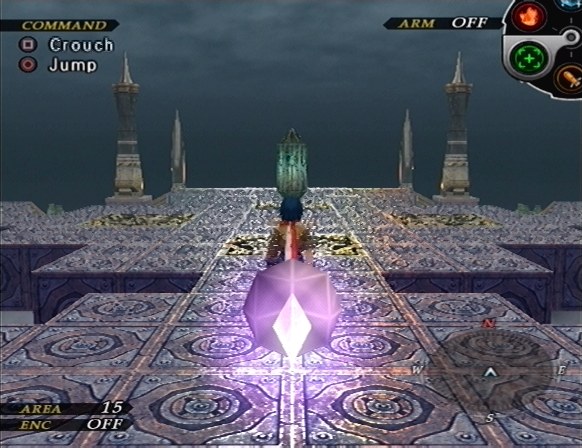
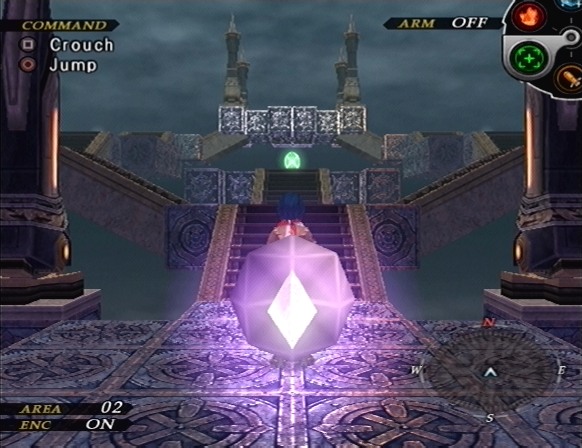
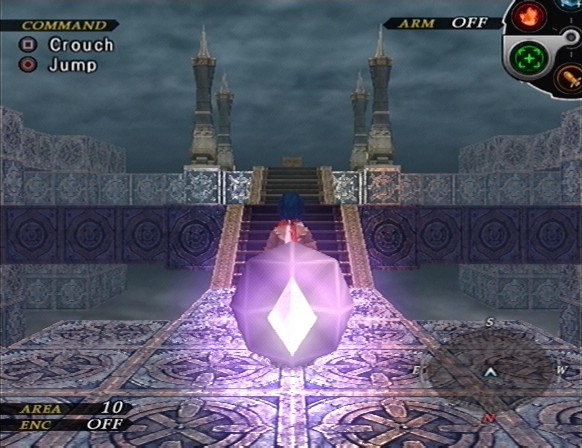
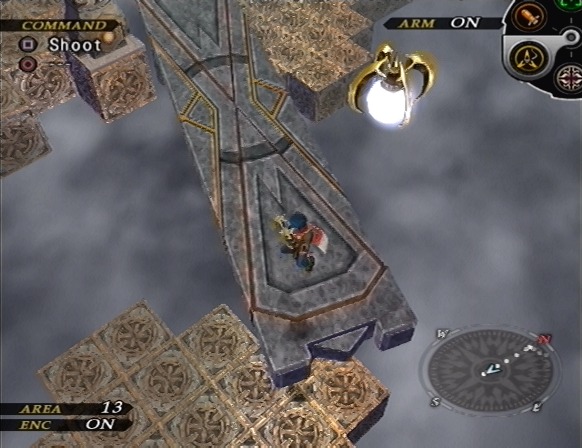
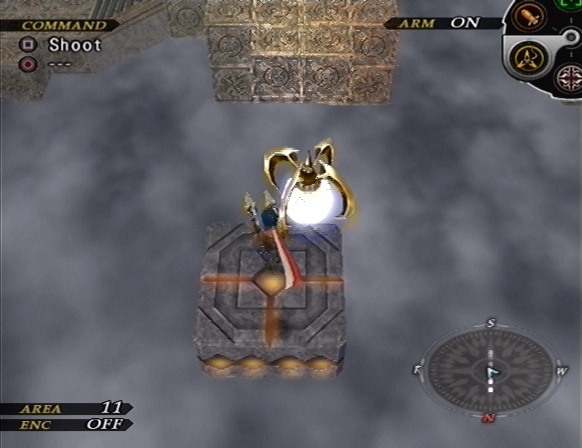
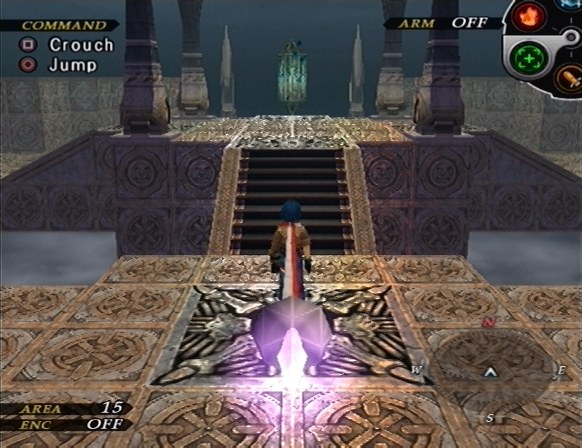
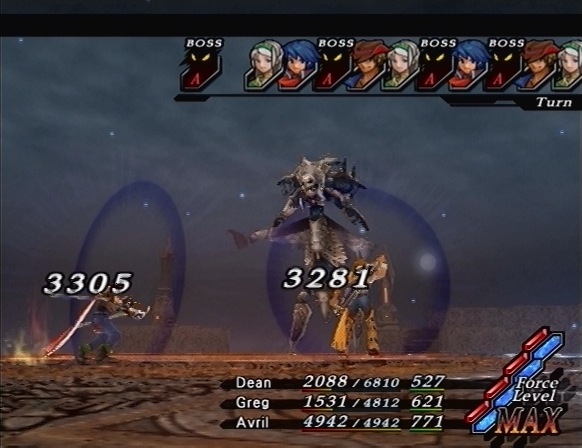
And we're already at the boss of this dungeon! We shoot the Pillar with the Duel Sign, and...
Boss: Lycanthrope x3
Music: Terrible-Monster Attacking Crew!
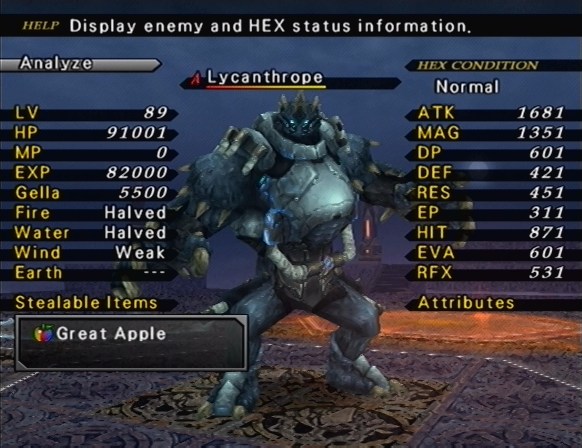
We're up against three Lycanthropes. I'm a little underlevelled for these guys, but they're pretty easy to deal with when you apply the strategy I used against the Adult Mags.
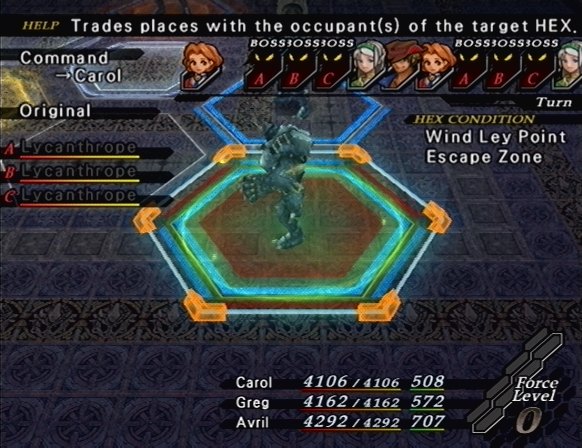
First I use Replace to get Greg on the wind ley point, and then I use Widespread with Hi-Blast. I keep Carol in the battle so that I can make sure Greg stays on the wind ley point, but it didn't end up being necessary.
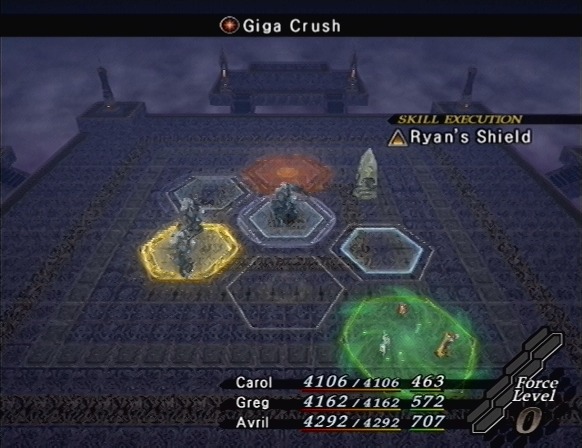
As for their attacks, they can use Giga Crush, which can be disastrous under the right conditions. In this case, it did 11000 damage to Carol, who was on the wind ley point.
They also have Crush, which does about 3000 damage, Replace, Jump, and Life Returner, which restores 10000 HP.
At one point their AI broke and they just kept moving and then warping back to the HEX they came from, so these guys weren't a big problem for me.
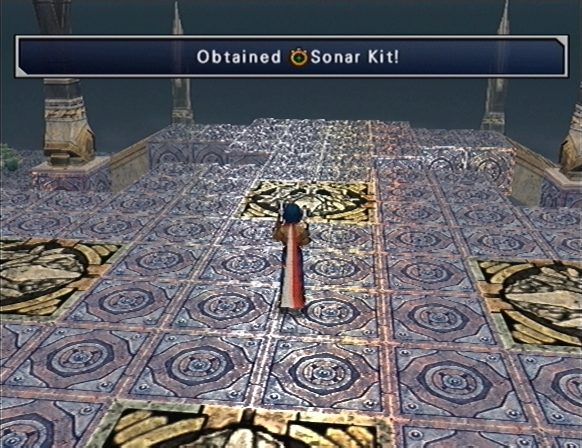
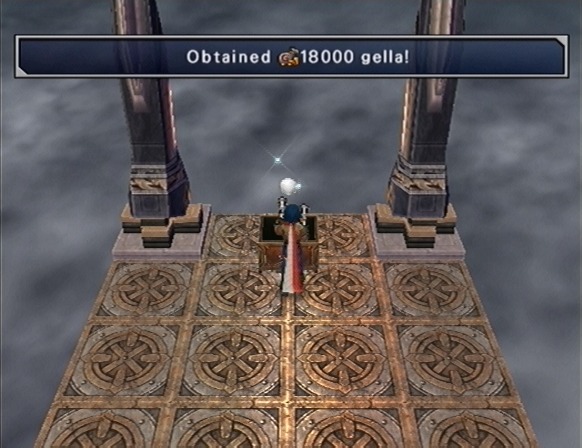
Our reward for clearing out Cocytus is a Sonar Kit, a very handy item.

The previously useless radar on the map now has yellow dots where hitten chests are. Coordinates are also displayed, so we don't have to keep pausing to figure out where we are.
After this I cleared the chests out of the world map, and purified Filgaia's four Sol Nigers as well.
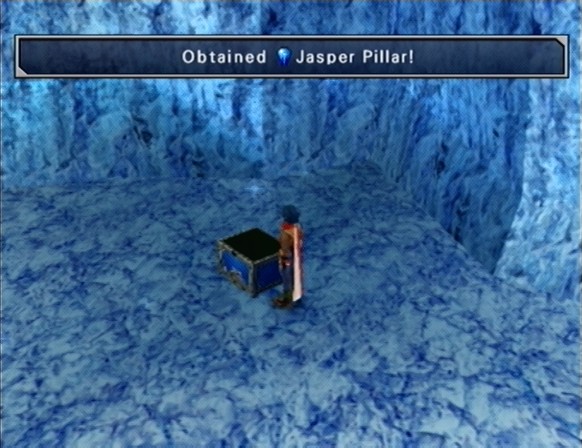
A crystalline plaque into which sacred words are carved. One of the holy artifacts said to have sealed the king of the monsters.
Hmm...
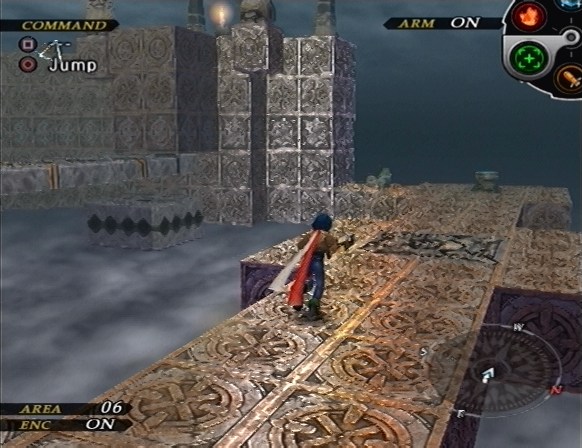
Anyway, Cocytus was pretty short, so let's go clear out another optional dungeon.
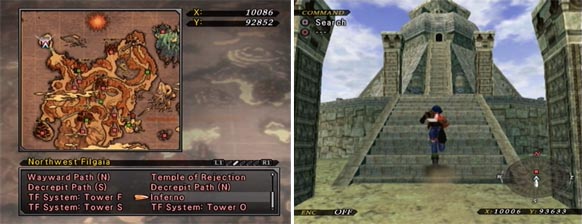
Inferno is located in northwest Filgaia, across a shallow river. It's not as simple to navigate as Cocytus was, but it probably has the easiest boss of the optional dungeons.
Music: At the Frozen Depths of the Heart
Oh look, it's...the same as Cocytus...
This place is a lot more complicated though. It's kind of hard to convey this sort of dungeon in screenshots, so forgive me if this ends up being a little hard to follow.
We can only reach one of the warps in this area, which is in the southeast corner of the room. We take it.
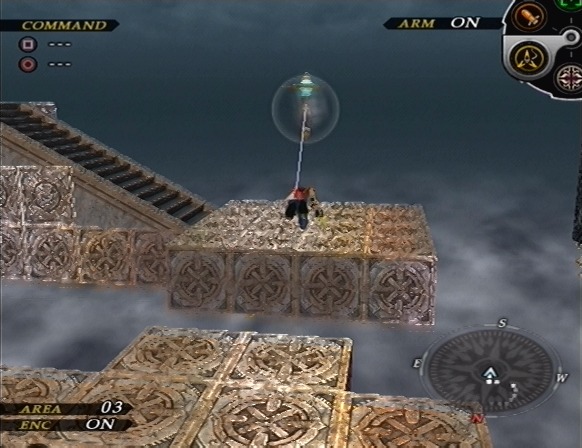
This room has a lot of grapple points, and a chest with a Lucky Card. We grapple around and eventually reach the exit in the northeast corner of the room.
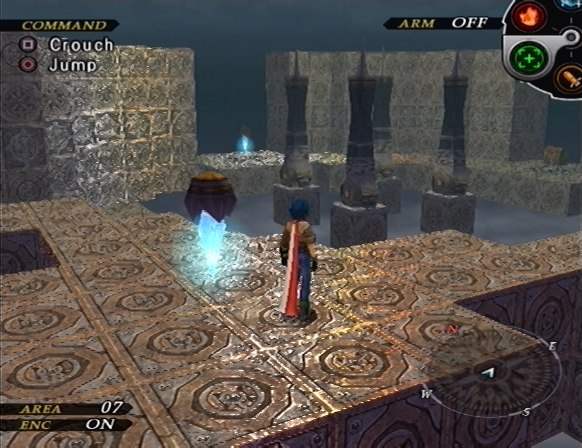
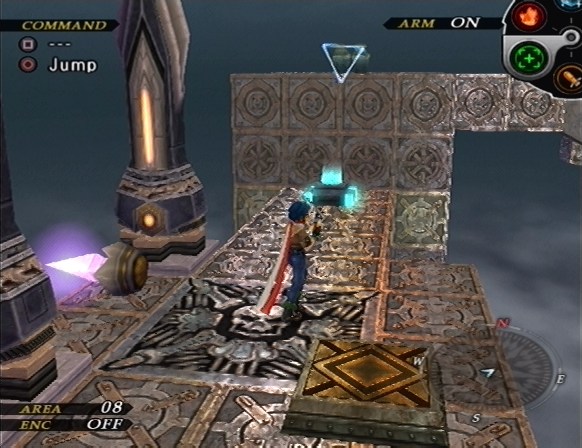
This room contains a new sort of warp crystal. As the purple crystals warp us to another room on the same floor, orange crystals warp us up one floor.

This room is empty, aside from two chests. We get 5 Cordyceps, and a Ryan's Shield. There's also a blue crystal in here, which teleports us back down to the room below.
In the previous room, we take a crystal to the west.
Now we're back to Area 02, but in a different spot. We cross the bridge and take the crystal to the west.
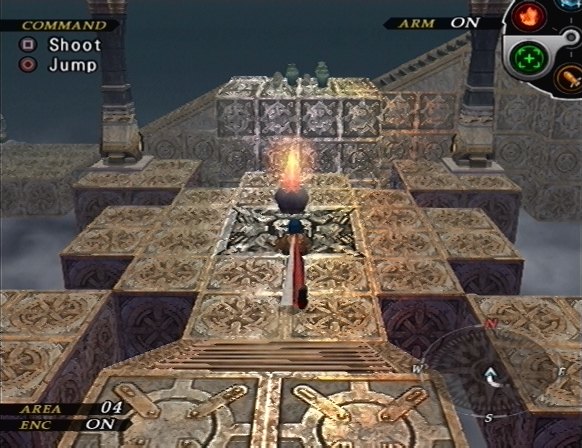
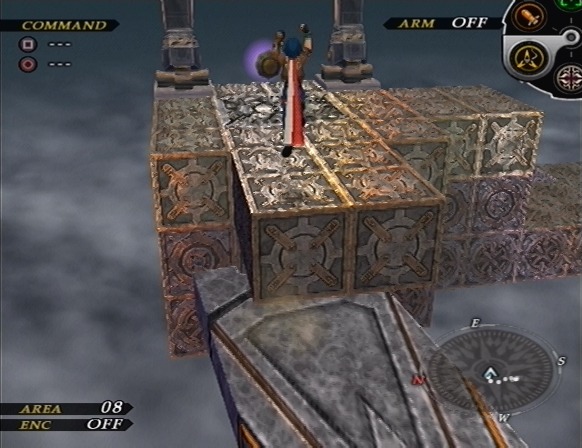
This room has a moving platform, and unreachable bridge, and a stomp switch.
When we hit the switch, the bridge rotates, allowing us to cross to the other side of the room. There's a chest with 2 Holy Berries, and an orange crystal over here. We take the crystal.
This room is divided into two halves. We can't reach the chests on the other side, but we can open a duplicator chest for a Warp. After watching those Lycanthropes in the previous dungeon, I'm not about to trust the AI enough to put Warp into Asgard's algorithm.
After returning to the previous room, the bridge's positon is reset, so we can cross it and take the warp to the east.

This takes to a new spot in Area 02. Pressing that switch causes the bridge in the center of the room to start rotating, so we can now get on it and cross over to the north side of the room.
This side of the room contains a chest with 5 Mega Berries, a warp that takes us to a Duplicator chest with a Vital Force for Asgard, and a warp to the next major area of this dungeon.

This room contains a lot of orbs for use with the Anchor Hook, a rotating bridge, a Save Point, and two switches we can't reach.

We take the bridge to the west exit.

This room has three exits, aside from the one we entered through, a moving platform, and two Anchor Hook orbs. We ride this orb across the gap and take the north exit.
This room has a rotating bridge, an Anchor Hook orb, a Duplicator Chest, and an orange crystal. The Duplicator Chest contains a Full Carrot badge, which fills the FP gauge to 100 if the wearer gets the first turn in battle.
To reach the bridge, we have to ride the Anchor Hook orb and drop off with good timing. The bridge takes us to the orange crystal.
This room contains the Sol Niger, along with a Great Apple, a Neutrino Medal, 8 Holy Berries, and a Gella Card. After collecting our loot and purifying the Sol Niger, we backtrack two rooms, to the room with the moving platform.
To reach this platform, we have to drop off of the Anchor Hook orb with good timing. Riding it to the crystal on the west nets us an Ambrosia, a Castle Wall and 5 Hi-Devastates. Riding it to the crystal to the east allows us to progress further through the dungeon.
We're back in Area 08 now, next to one of the switches we couldn't reach before.

Pressing the switch moves these platforms out of the northern wall, but we can't quite reach them yet.
This time we take the rotating bridge to the crystal to the east.
This room has a warp in the northwest corner, a warp in the southeast corner, and an orange warp in the northeast corner. First we take the northeast warp.
This room contains a chest with a Spiked Boots badge, which nullifies attacks that delay the wearer's battle turn, and a chest with a Dragon Fossil.
We return to the previous room and take the southeast warp.
Nothing else worth mentioning here, so we return to the previous room and finally take the northwest warp.
And now we're at the other switch!

Hitting this switch moves a second set of platforms out, which makes it possible to reach the northern side of the room.

The Anchor Hook orb on the southern side of the room drops us on the lower set of platforms. Here on the north side is a pot with a Holy Berry, and a chest with a Wonder Booster, which is an ARM Part for Dean which we already got for clearing Puzzle Box 17.
There's also a warp over here, which we take.
At last, the boss! There are also pots in this room, containing a MAG Apple and a Neutrino Medal. After grabbing them, we equip the Duel Sign and shoot the Pillar.
Boss: Mictlantecuhtli
Music: Terrible-Monster Attacking Crew!
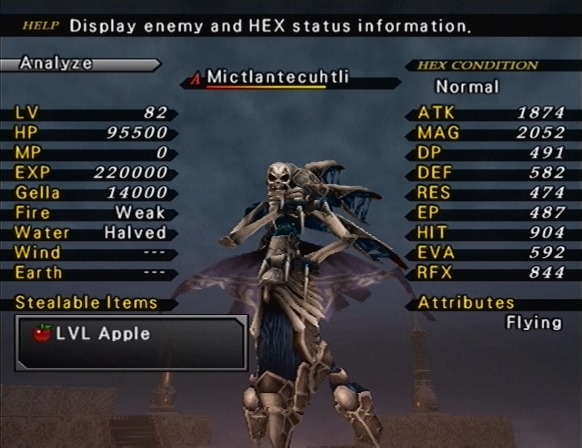
This guy is a real pushover. I beat him on my first try, and I didn't even come prepared for his trick.
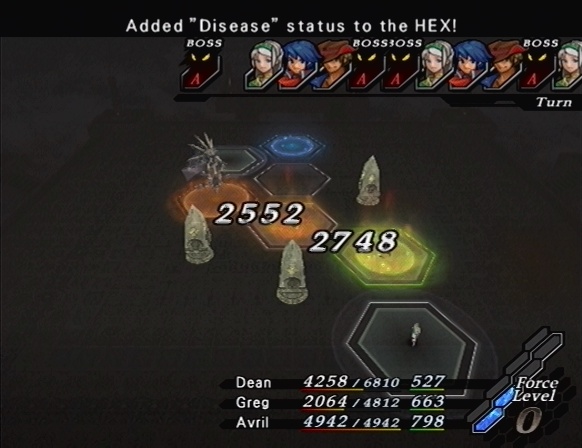
On his first turn, he'll use Noxious Stream to infect a row of HEXes with Disease.
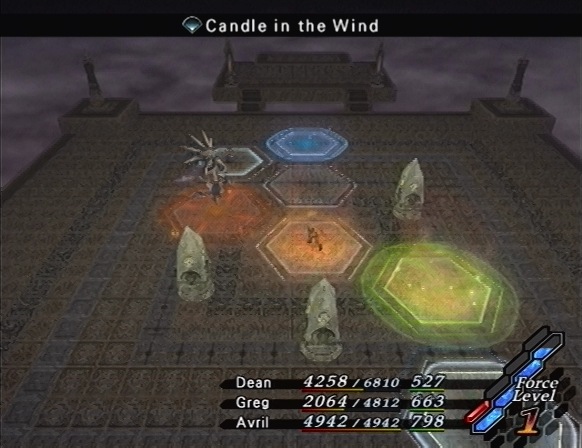
After that, he'll use Candle in the Wind to drop your party to 1 HP. If you're protected against Disease this is no problem, but even if a couple of your characters are affected, he can't infect every HEX at once.
This boss' gimmick would have worked a lot better if he could infect every HEX at once, rather than just a single row. It's really simple to just move out of the diseased HEXes, but needing to cure them could have actually made this guy a threat. His gimmick also would have worked really well in one of the games without the HEX System.
He only seems to use Candle in the Wind once, so after that he's pretty easy if you can deal with his powerful physical attack. He'll still infect you with Disease from time to time, but it's not a big problem.
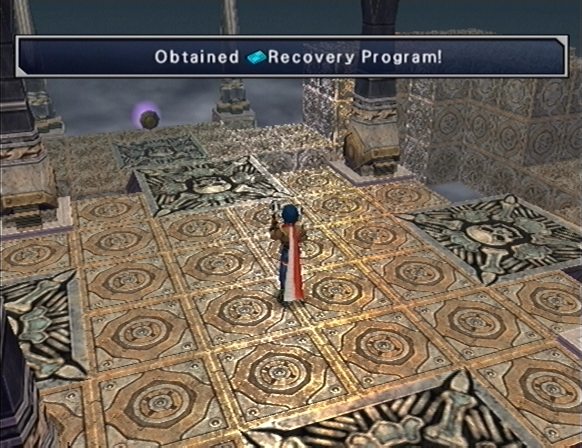
For clearing Inferno, we get a Recovery Program, which is basically just Heal. It's pretty worthless, because I don't plan on ever using Asgard again.
We've cleared out two of the four optional dungeons, so next time we'll tackle one of the more difficult ones: Tartarus.
The Art of Wild Arms