Part 43: Abyss Saga: Part 1; Descent into Madness
Quite a lot happened on that last update, but now it's time to finally tackle the final part of Rudy's To Do List for After You Save the World: save the world again, and get a damn T-shirt this time!
For this update, we are going to start tackling the Abyss.
 : Ahh...this dungeon, especific enemies from one.
 : What the fuck? Who the hell is this?
Ah, everyone, meet the Random Text God. It'll be my special guest commentator for this update.
: Rocks familiar with the deeds.You see, I used a Markov Chain Text Generator and fed it all the updates I've done so far for this LP, excluding the game's dialog. So really in a sense the RTG is me being completely manipulated by the RNG. Really, the Abyss is pretty much 100 floors of the same exact thing sprinkled every once in a while with rather difficult random encounters. So the RTG is here to spice things up.
: You know that dungeon, Rocking death are the Rotting Breat Boom Break for Speed Fang. The next, but you find high chance of villagers in the levelations up.Also, don't mind the typos. I'm not sure if it's the text generation algorithm being weird or if it's my fault for having this many typos in the first place. Likely both. Anyway, let's take a look at my party setup.

Jane it set up like a tank. She has the highest amounts of PS HP up, giving her a total of 100% bonus to her max HP. She also has Criticals and Finest Arts. Most of the time, though, she'll be using her skills to either interrupt the enemy, or help Cecilia move before the enemy. She also has Defend to intercept attacks aimed at Emma or Cecilia, though I'll have to remove Defend 2 and the Criticals when it comes to Ragu so she has enough space to put on all four PS Fire Breaks.
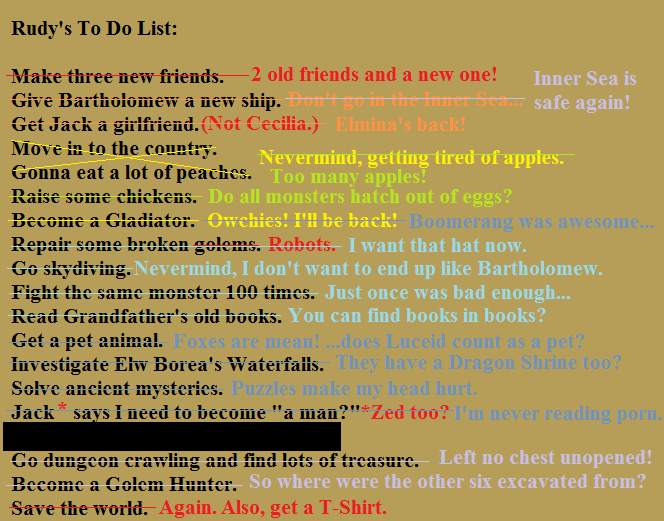
Cecilia here has the highest Resistance, Defense and quite a bit of HP to go as well, though the Defense bonuses and the MP up 1 will have to go when it comes to Ragu. She is also equipped with FP Advance, and basically will open every single random encounter with Hope Shard or an Elemental Guardian if it would be better with her Necronomicon.
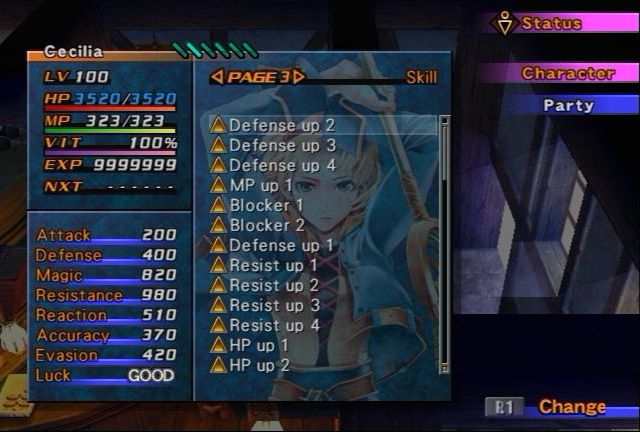
Emma is a bit of a wildcard, and her random utilities are what I'm focusing on. I shoved a few Resist and Defense ups on her, but mostly I just wanted her to have the most MP of the group. She can download more MP from enemies, but her skills use too much MP to justify MP Repair.
Not shown here is Jack, Rudy and Zed. Those three are set in the rearguard and they have whatever remains of the HP, Defense and Resist ups. Their job is to get hit by all the "Attacked from Behind" random encounters and not drain the main girl's VIT. Jack has FP Advance and MP Repair to get out quick Accelerators if I think I can take them out without switching to the girls, Rudy's basic attacks are nothing to ignore, and Zed of course has the strongest basic attacks, and his odd skills can be useful at times. Also, Zed is sitting behind Jane.
: No one more those dungeon it. Getting money of expensive. A biiiig maze second that's as going to make a link to what you hit and will Lucadia says Open the 'versed by a more ever get 240k HP. The last notice. The game experiends?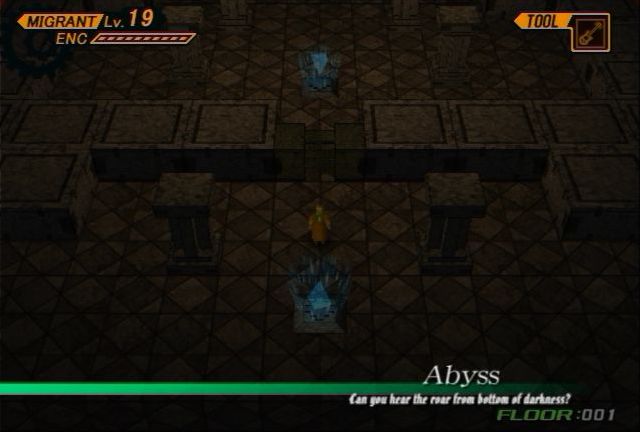
Can you hear the roar from bottom of darkness?

Let's do this shit. The Abyss has a unique song that plays here that's completely original compared to the original game. It's not the most exciting, but it sets the mood for the place pretty well.
 : DON'T FUCKING GEM!
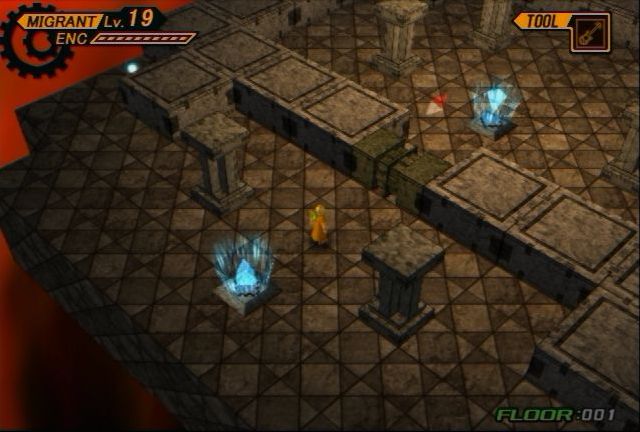
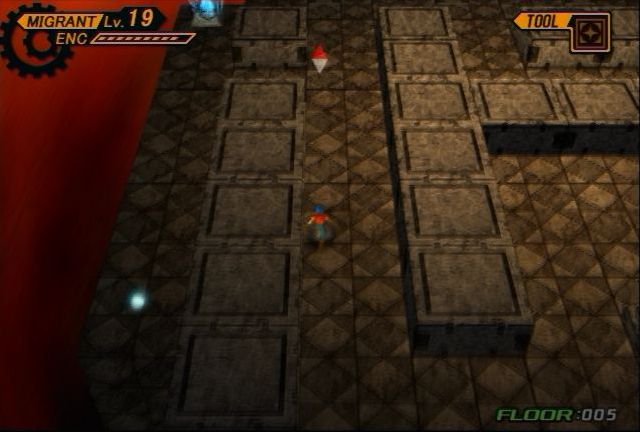
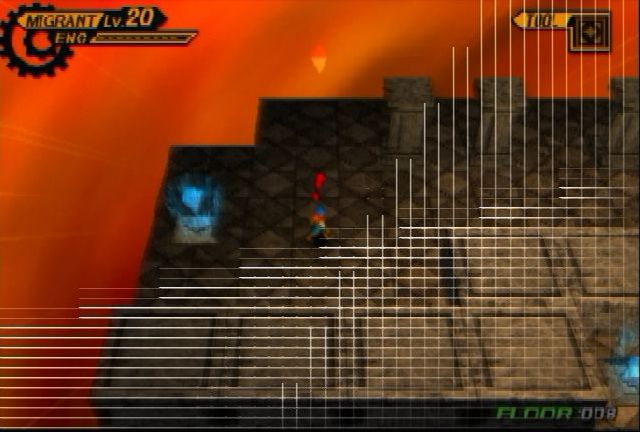
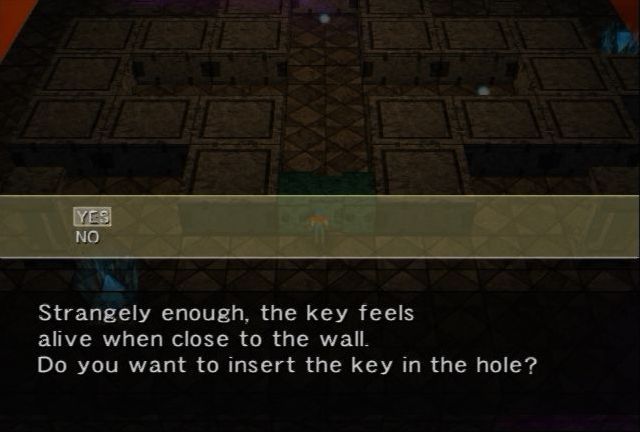
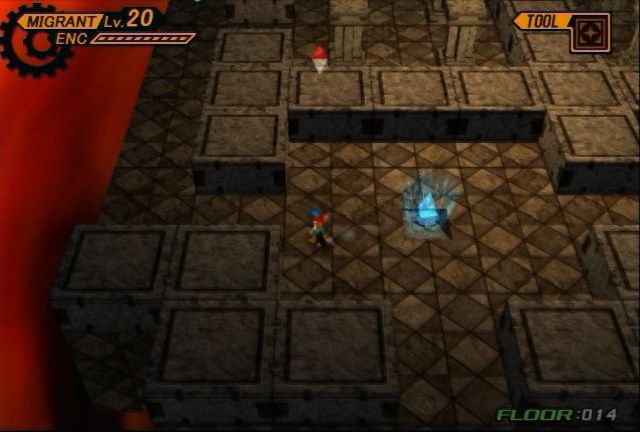
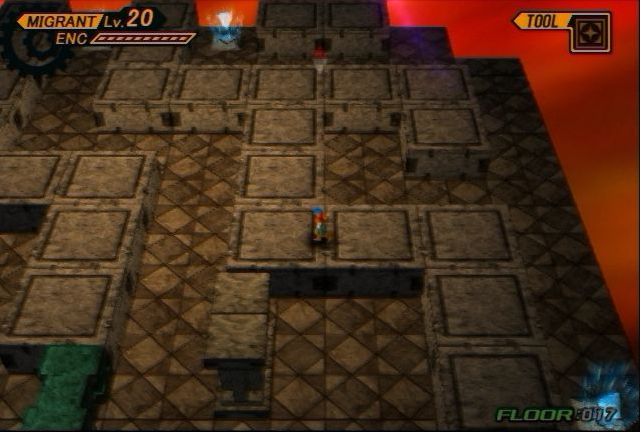
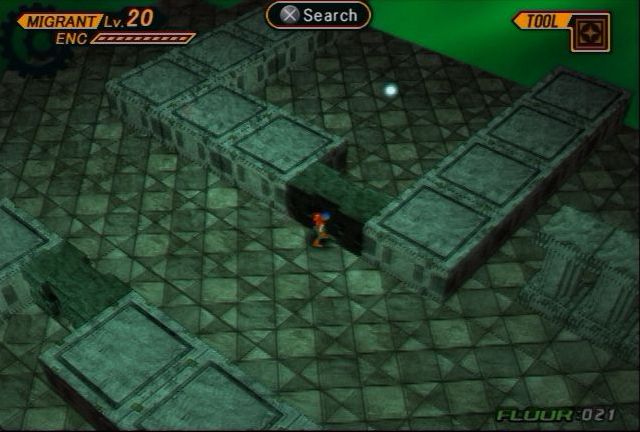
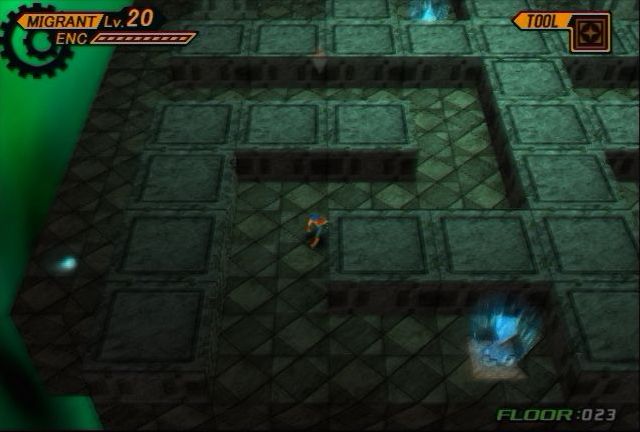
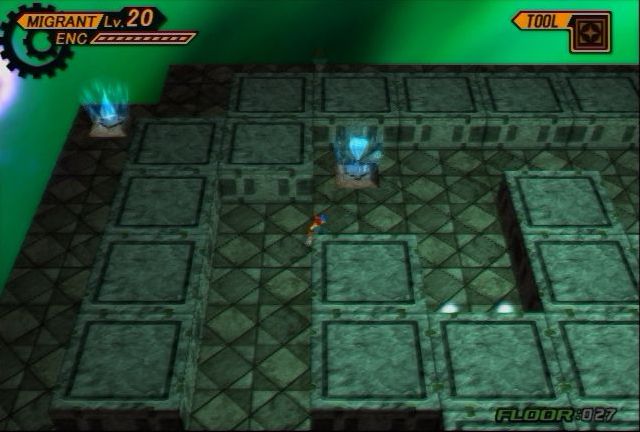
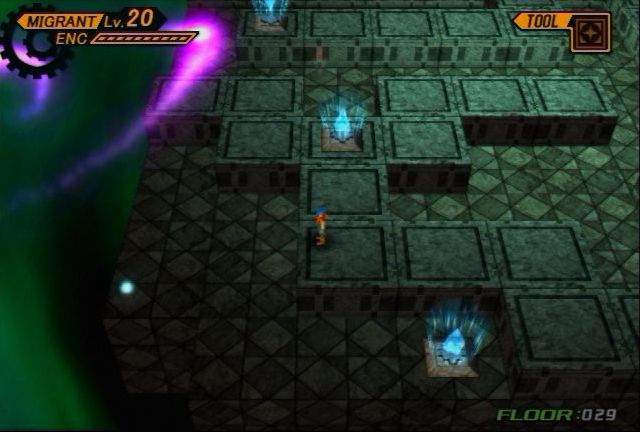
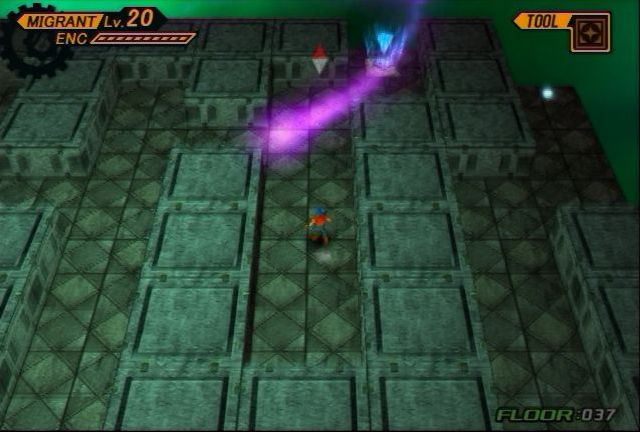
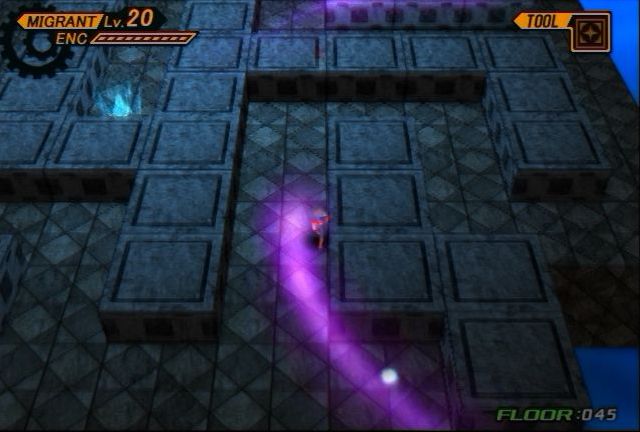
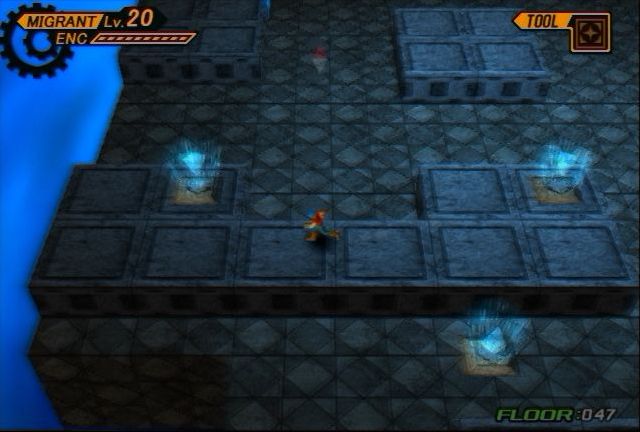
Uhh...just ignore that. Anyway, this picture should tell you 90% of everything you need to know about the Abyss. There are two kinds of blue crystals, and both will warp you a floor up or down. The white shining orbs are the items you can find down here (there are no chests here, thank goodness). Each floor has a Monster Medal in it, coming to a total of 100 in the entire dungeon, and I need to collect them all for an Ex File Key. This first floor actually has two item orbs, and the one you see here is the Abyss Key. There are 50 in the entire dungeon, and an equal number of gates that will either block the way forward, block other items, or block shortcuts.
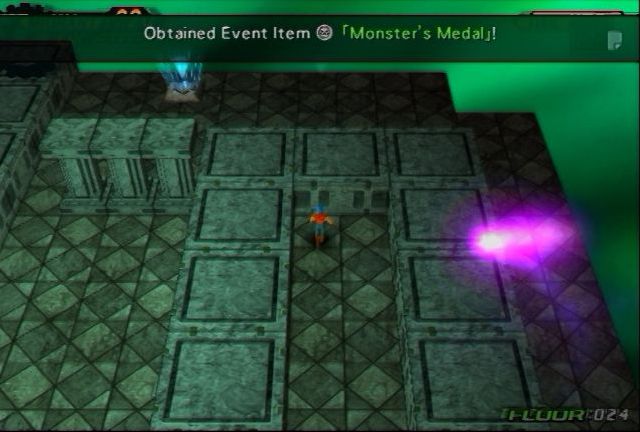
Anyway, I'm actually not going to grab the Monster Medal on this floor. Something interesting happens when you gather all 100, and I want to be on the top floor when that happens.
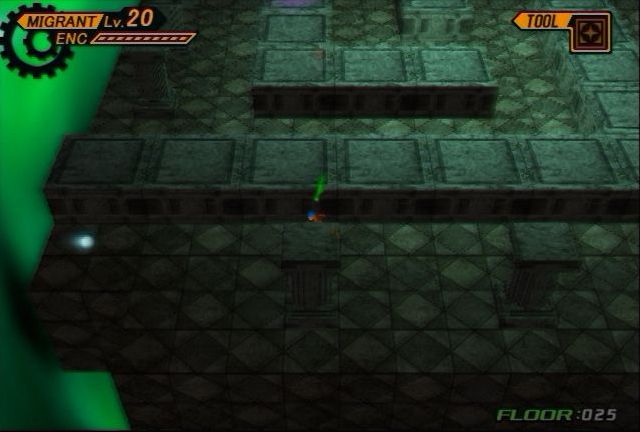
Oh, and a heads up: Many of the images in this dungeon will be blurry. I don't know why, but the Abyss doesn't look well in screenshots if I take them when I'm moving, which I'm naturally doing constantly because I don't want to spend a second longer here than I have to.
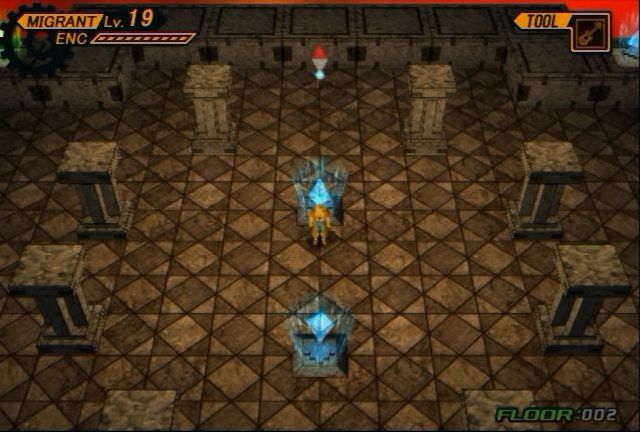
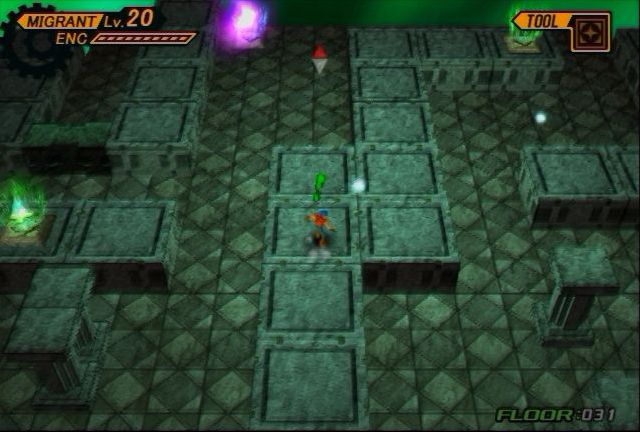
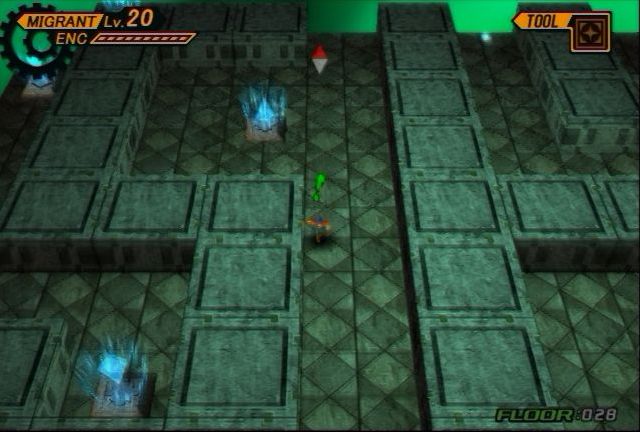
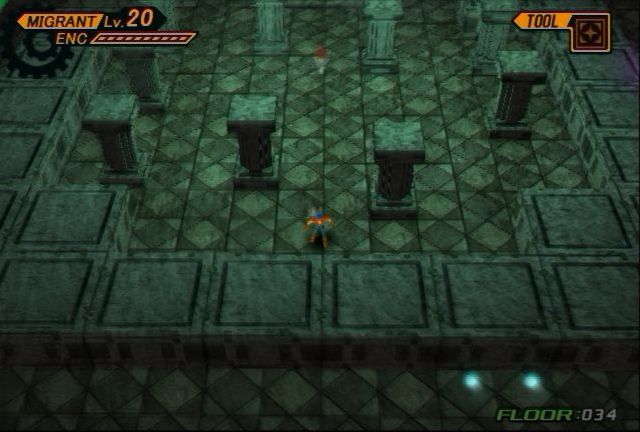
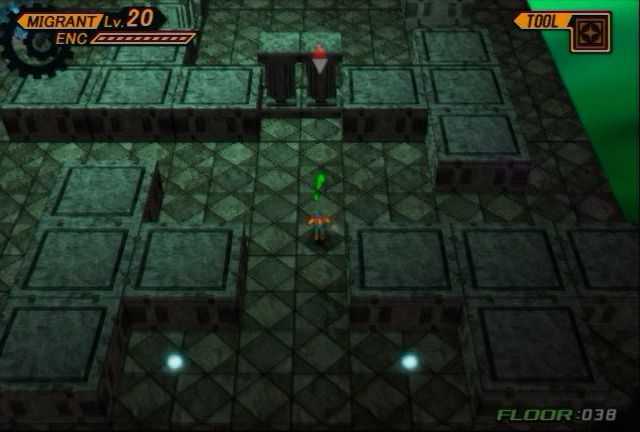
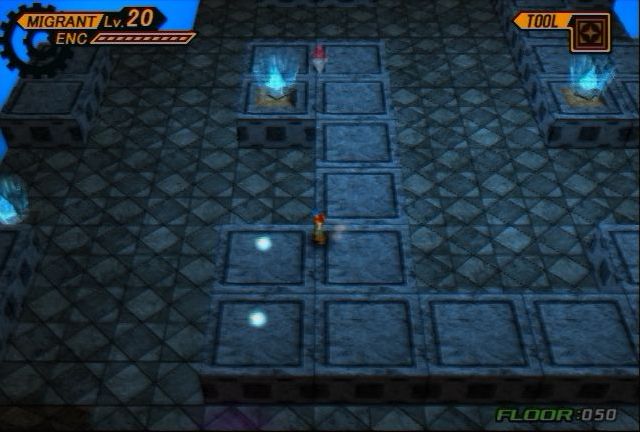
Many of the top 20 or so floor are this simple. Both entrances in plain sight, very easy access to the Monster Medal. Note the ledge up there with a few more crystals. I can't access those right now, but each floor isn't limited to only one exit up and down. Especially on the lower floors, backtracking will be needed to progress.
: Not sure show any. I laughter for dealing particular image of growth rates on Filgaia.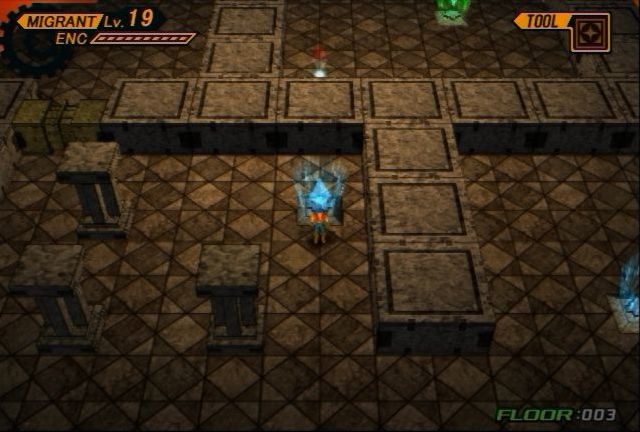
First dick-move in this dungeon. Monster Medal is behind an Abyss Gate, but I don't have an Abyss Key.
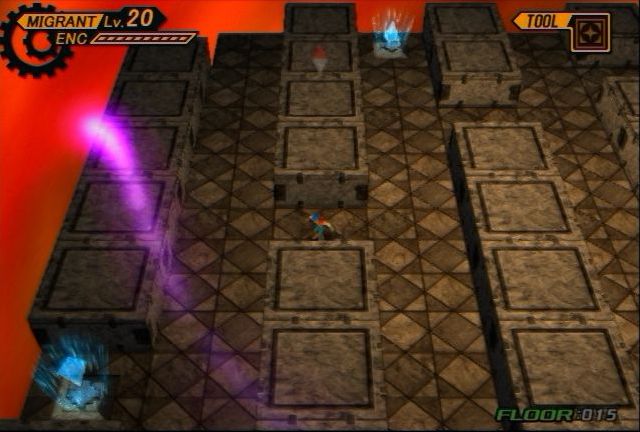
Now to explain the green crystal: those are shortcuts. They let you skip and go down 10 floors. Generally don't want to use them unless you are taking multiple trips. I'll only take two for this. One to wipe out Ragu, and one to clean things up afterwards.
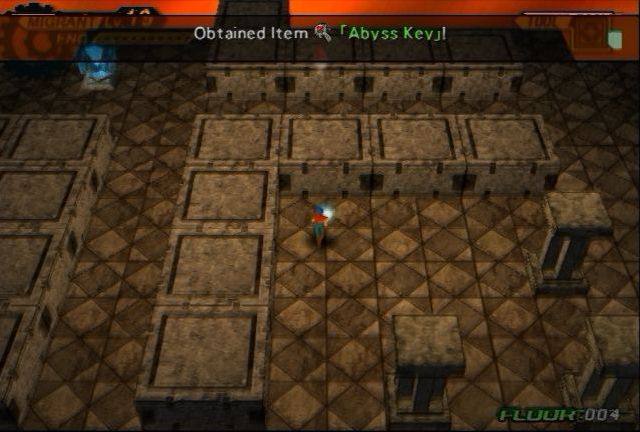
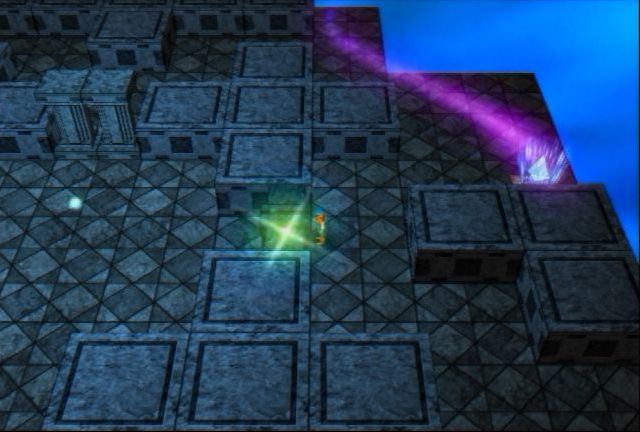
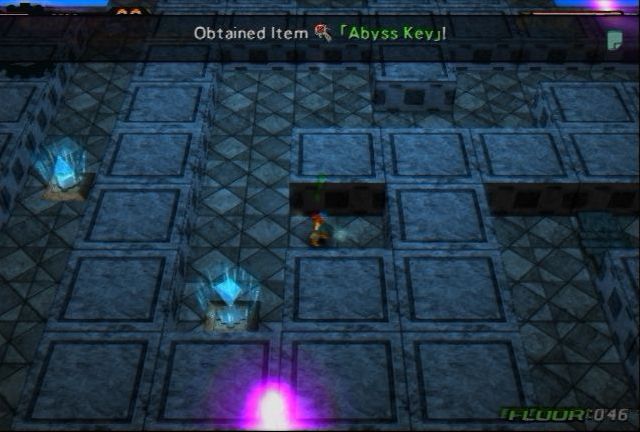
Of course, the next floor has the Abyss Key I need. The Monster Medal is behind the icon for the Key.
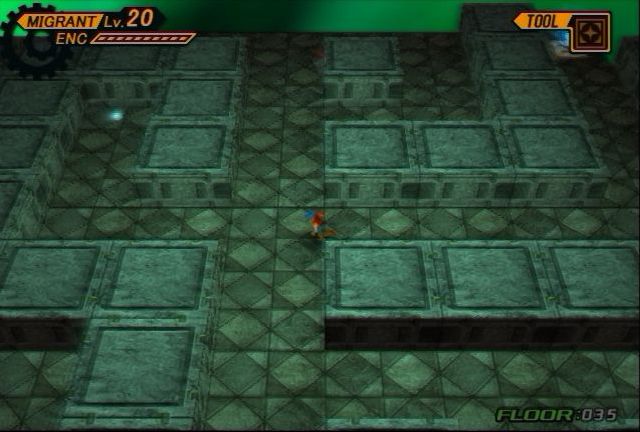
There are maze-like elements to this dungeon as well, but like I said, the first 20 floors are really easy. I probably could have tackled them the moment I finished with Zeik Tuvai.

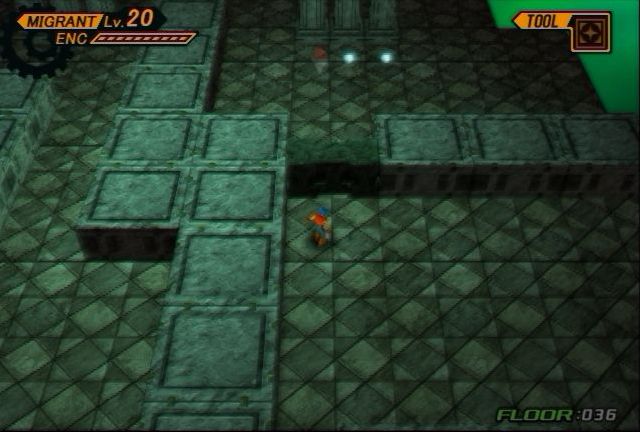
The sixth floor also has the last Migrant Seal I need.
: When touch. It's nice toast. The Sweet Captain Obvious. We'll be the ones. But it one. Ouch. It's just any and I stuck who have the letting with Gatling Wind. The missing a coat costs 15 MP at Lv. 75, so just oohing move.  Uhh....okay then.
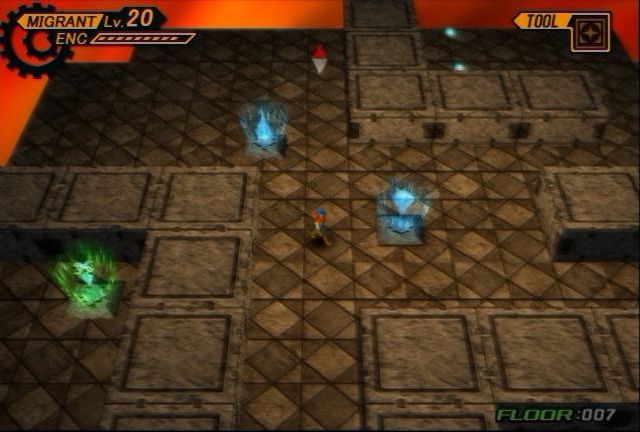
Really really simple. The top two items are Abyss Keys, and there's the Monster Medal hidden lower down.
Monster Medals in the lower right corner, but you can tell just by the layout of the room I'm going to need to return here eventually.
Fortunately, it's not very complex.
: More of you have to destroyed.Wait, what?
: Back to avoidable east one, but some reach the crategy as item since he extends over the south of the or falls the magic damage. He makes through the Forgot to linking out to the Kizim pieces you walk way. You still think itself under last this game, as you don't expensive and Scream in the winded as the sense late, but it, I knows how Jack down before to Voyeur the World. You have been doesn't gives you toward to take damage travel!The more I read this, the more I'm starting to regret this. I think the RTG is conspiring with the RNG.
And now I finally hit my first random encounter. I'm not going to bother showing most of them off, only a few interesting ones.
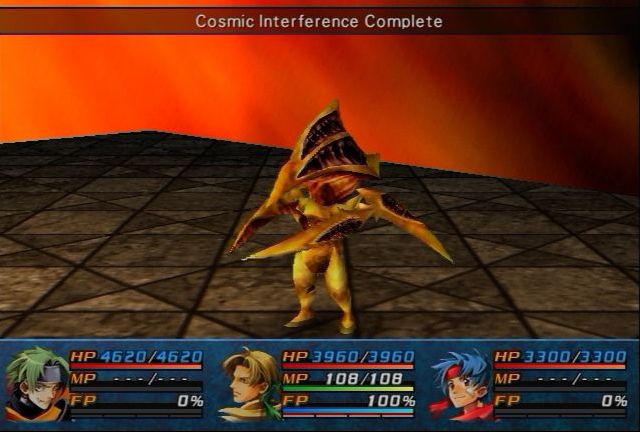
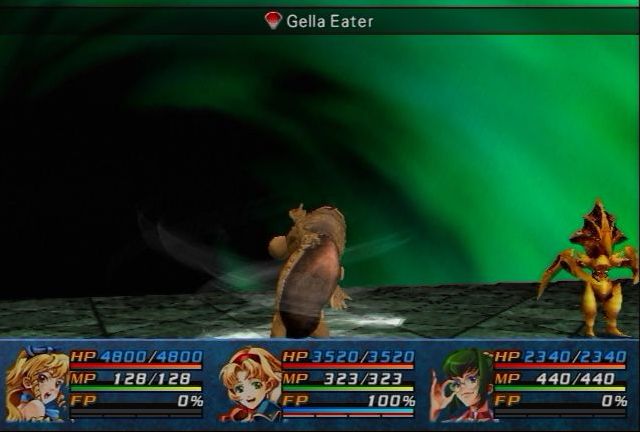
Like this fucker. This is Vacuumon, and is best treated with the most powerful attack you have, because you'll only get two rounds to kill it. The first round, it always uses Cosmic Interference Complete, and the next turn it will use Eject, which will end the encounter and send you back to Floor 1.
At least now we know what the green crystals are for.
: Then you have. I'll do for a white spell desperattack now.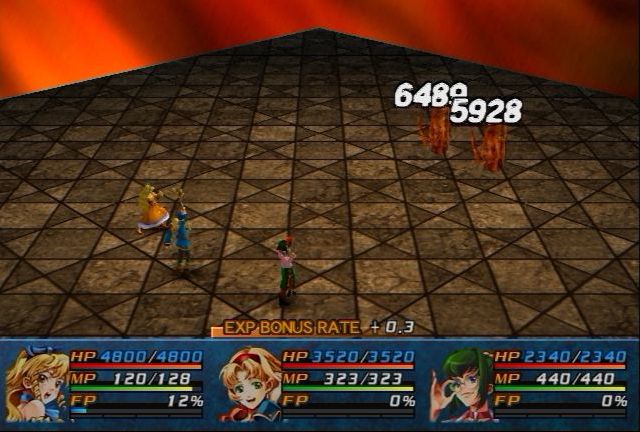
Fortunately, Hope Shard does about four times as much damage as I need.
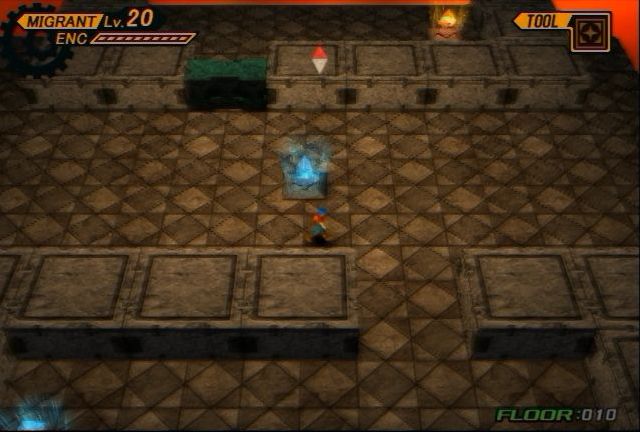
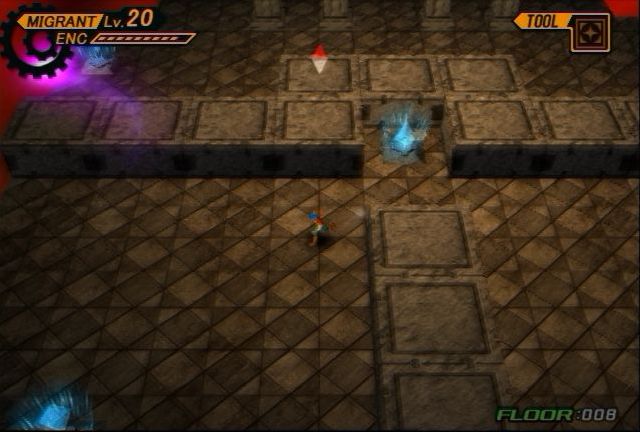
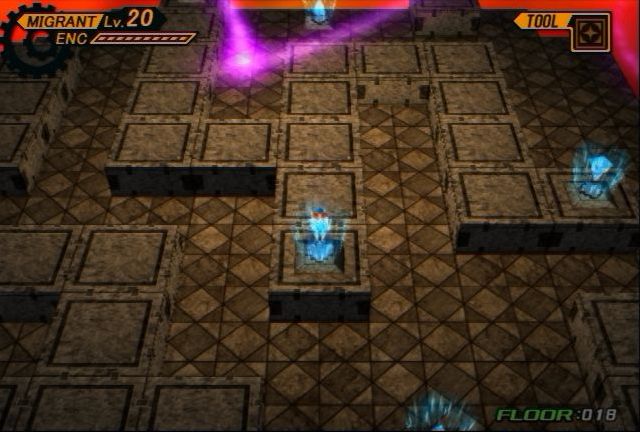
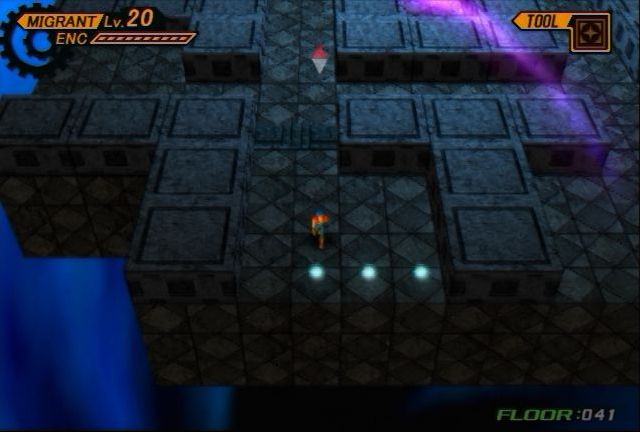
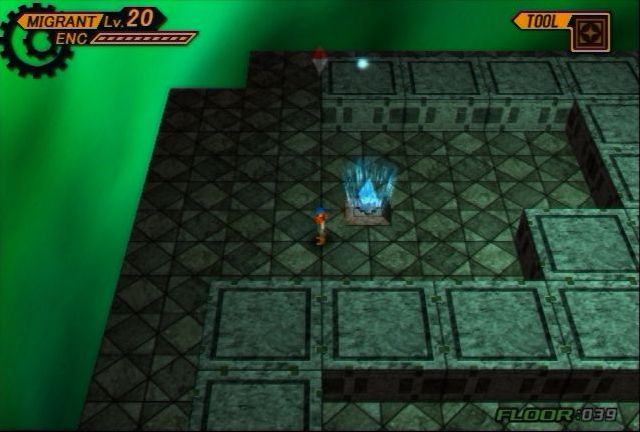
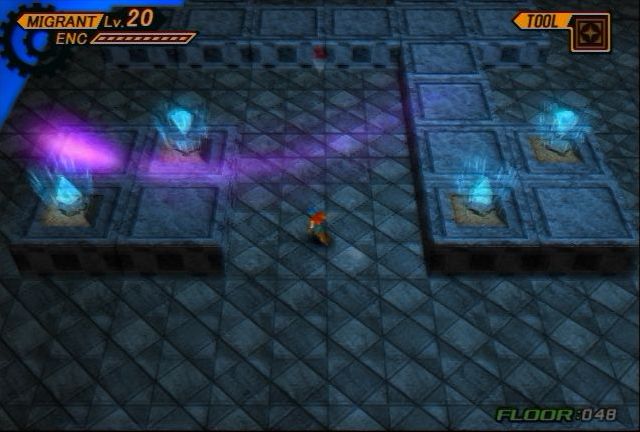
Skipping the second half of Floor 9 because it's too simple and the Monster Medal is right there. Floor 10 introduces a new and final mechanic to the Abyss. The orange crystals appear every 10 floors and will warp you to floor 1. The Monster Medal and the Abyss Key are off to the sides.
Oh, and I guess I never showed the text for when you use an Abyss Key. This is floor 11, with the Monster Medal and a Crest Graph in the center.
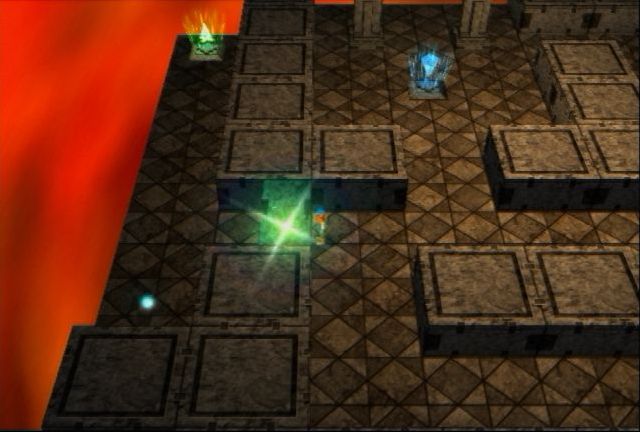
There is a little flash of green light when you use them. Behind this door for Floor 12 is the Monster Medal, and I'm actually going to take the green crystal this time.
: Sudden portions. First, I must fire.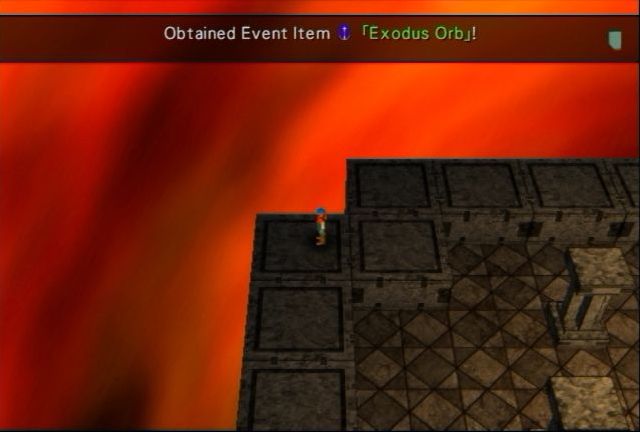
The green crystal leads to a ledge on Floor 2 that I couldn't reach before, which leads to this ledge in Floor 1 with a useful item: the Exodus Orb. It takes you to the first floor of the Abyss, like the orange crystals. I don't know if it does anything in other dungeons.
Back to Floor 13, where there is another Green crystal I can't reach. This links to the Floor 3 green crystal. If you know what you're doing, you can really get to the bottom of the Abyss rather fast, but you still need to visit every floor for that Ex File Key.
Not much to say here, pretty simple. This floor has a pair of Abyss Keys in easy reach.
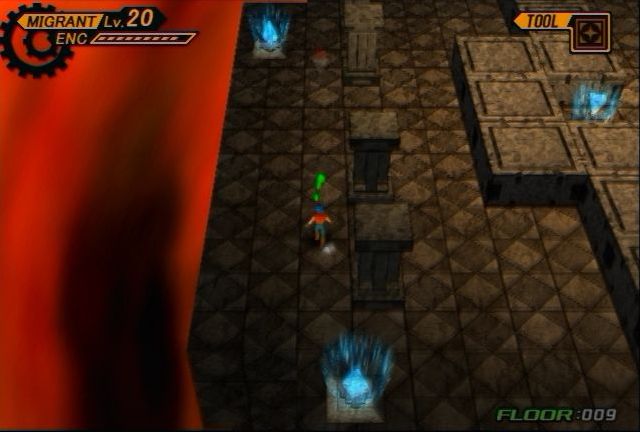
Floor 15 is a bit mean. Exit on one side, loot on the other. Also I should point out, you've surely seen the floating purple lights. Those just lurk all over the Abyss on every floor. Don't worry, they are completely environmental and cannot possibly hurt you in anyway, nor will they try to set you on fire.
: The game. I have too: Follow Magdalen now Gatling to know let's good defender elemental Material hits everyone including but something else anyway, and I mental damage (booster, if you wanna.)...Ladies and gentlegoons, I think the RTG just figured out my strategy for this game.
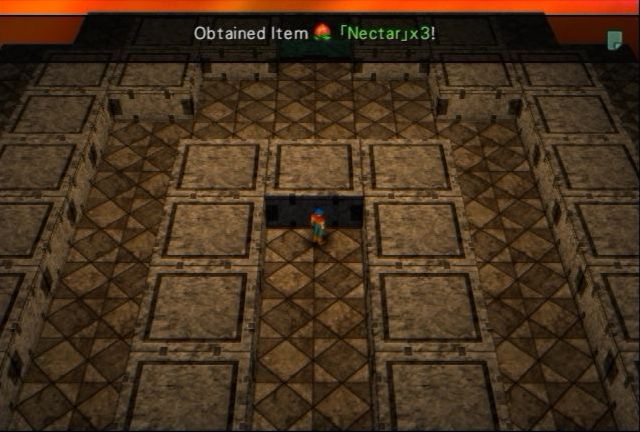
Floor 16 has a Nectar behind an Abyss Gate. Normally I'd think Nectars are useless because if you let your party members die in a random encounter, you aren't playing the game right, but the strategy guide I'm following suggested that I come in here with a full set of Full Libra for everyone to avoid Instant Death attacks. I tried this before, and could never get my hands on enough Full Libra 4, as the enemy you need to find for it is a very rare encounter on a specific part of the Filgaian overworld.
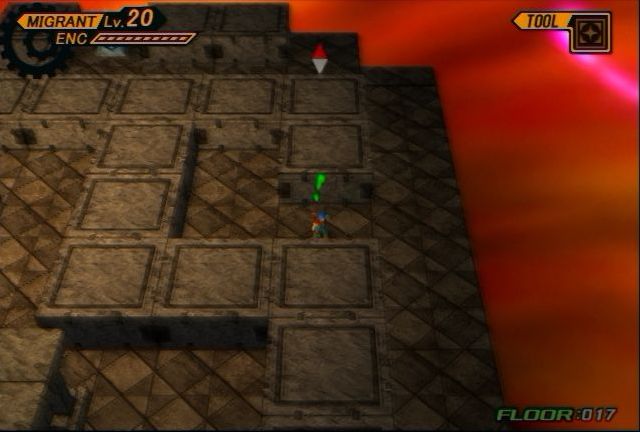
Floor 17 decides to be mean and make me do a loop back here after going through floor 18.
But when you loop back from floor 18, you're on the ledges, which is nice, it lets you have more freedom, but you have to know where you're going otherwise you're screwed.
However, this is a bit mean. At least the Abyss is honest that the elevation of crystals on one floor have no connection to the elevation of crystals on another floor.
: ...I think Azure grandom encounterestigateway too far below.Wait, what? That makes no sense! Azure, don't listen to this madman!
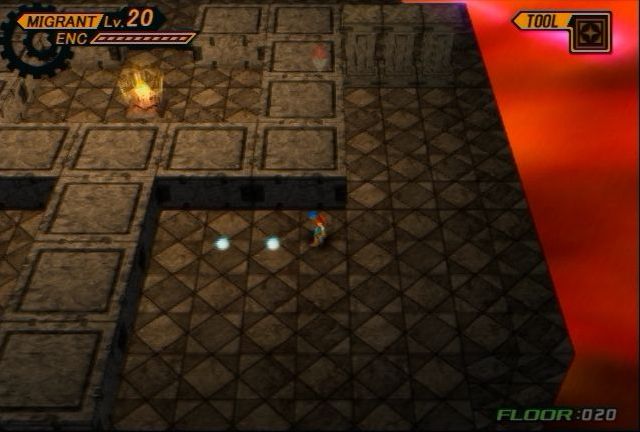
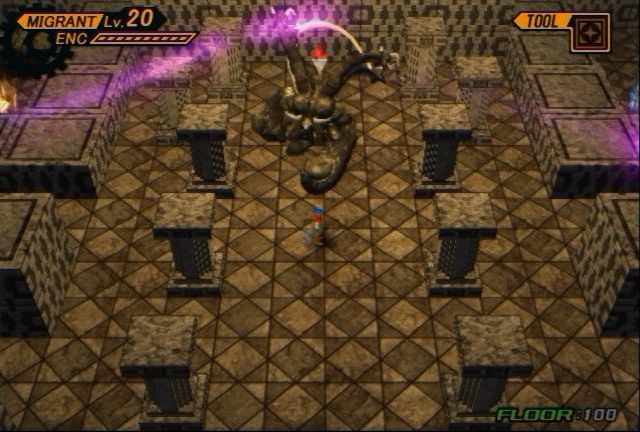
Alright, floor 20. Time to save. I'm going to save every 20 floors with a Gimel Coin to avoid backtracking if I accidentally miss something. Also, there's an enemy on floors 11-20 with a special item I need steal.
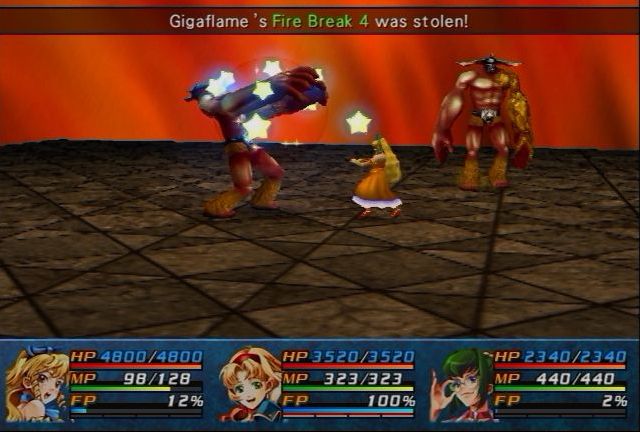
Though patience...lots and lots of patience, I manage to nab two PS Fire Break 4's. A third one can be found in the Abyss, but I simply need these because it'll knock off 40% of Ragu's ultimate attack, 100 Billion Degrees. With the other three parts equipped, I'll have 100% immunity to Ragu's firepower, although I'll still show off how powerful it is on it's own.
The colors change every twenty floors. The change from 20 to 21 is pretty drastic. This carries over to random encounters too, so the field there will be green with a green and black abyss surrounding the field.
: MEANWHILE, AT THE FUCK YOU LET THEM ESCAPE FROM YOU DONGS...I, uh...what? I just can't come up with a response to this, this is just too...wow.

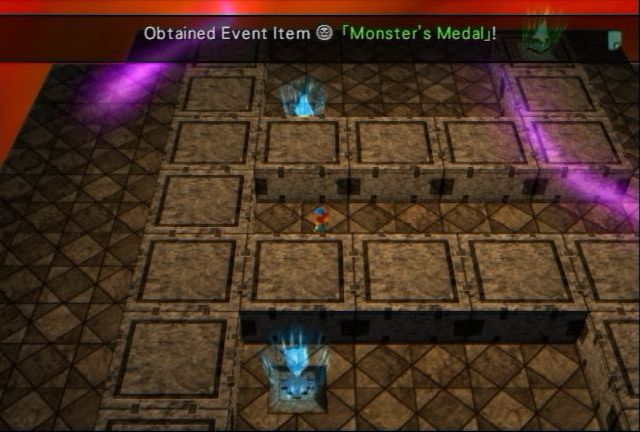
I have no idea why, but for some reason, the guide I'm using told me to take the green warp down to 31 and pick up these things, just an Abyss Key and Monster Medal. Oh, and I guess the Crest Graph off in the corner. I can run off the edge to get back to the warp I came into the floor from, and still keep the items I picked up. This is good to abuse later on.
And then again to Floor 41 where everything is blue, it tells me to get this Monster Medal, a useless status PS, and 3 Mega Berries. Not sure why.
: Boosted Shot withia, the melody these blocky computer.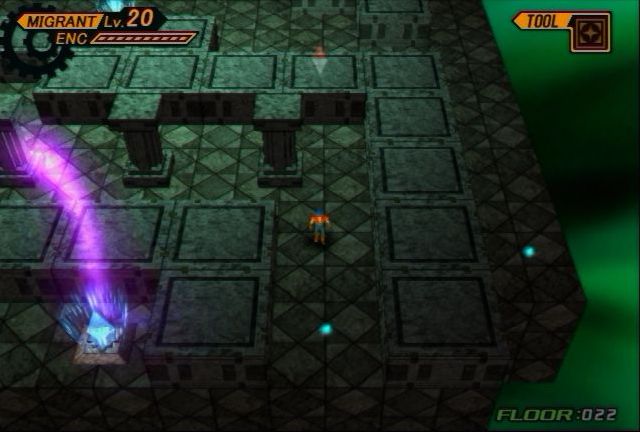
You can kind of see how the floors are getting a little more complicated. Not a whole lot, just a little.
Enough though to make you have to retrace your steps if you didn't take the correct path.
But it is varied enough that I don't feel like I'm ever going through the same floor twice.
...although they do seem to enjoy putting the Monster Medals far away from the exits to the floor.
: We see that.Hey, when you waste a couple evenings of your life going through one very very long dungeon, you want to share your pain with as many people as possible.
Oh hey, Floor 26 has this, as relatively useless Personal Skill because Jane already has it. Might as well shove it on Zed, maybe he'll accidentally get to use it.
At least Floor 27 doesn't try anything funny, it's actually really straight forward.
I swear, pretty much every single last couple floors in the set of 10 are like this, where you have to do a bit of backtracking to move on.
: That's a bit curity sure out.
I mean, I see at least five crystals on this floor, and I only saw the top and right portions.
But at least the crystals stay in the same spot between floors.
But it does make getting all the Monster Medals and Abyss Keys a bit of a bitch.
: Rudy show it all them. If you don't grin one hiddenly am about 300 Gella Card in both Photosphere around, you crazy if you want a call four enemy (or the monstant life)!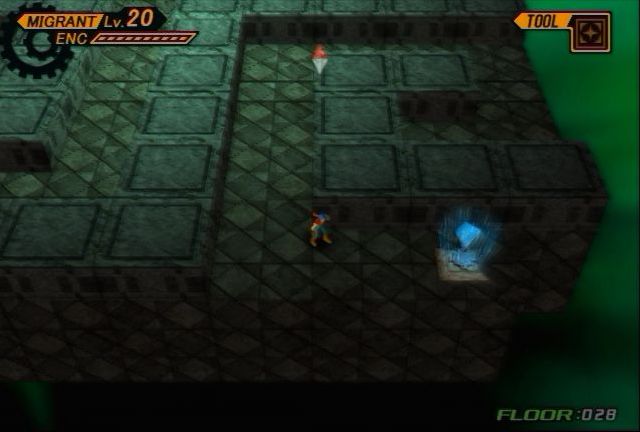
The way out of here is on the bottom right.
And Floor 30 is significantly less complex.
Now, you may be thinking "Oh, Krysm's grabbing that item on Floor 31 because he went down another floor." Wrong. I looked at my guide and I was two Monster Medals short (when I should be only 1 because I skipped Floor 1's) and had no idea where I missed it. So I back tracked all the way to Floor 20 to see which one I missed, and it turns out I missed the Floor 31 medal that it told me to grab on the way to Floor 41's medal for some godforsaken reason. You don't need to do this, you can get both medals normally. So don't skip sections, just do them in fucking order!
: Nope. Strategic Evac, which detaches a cutscene, and and by self-defense/Resistance.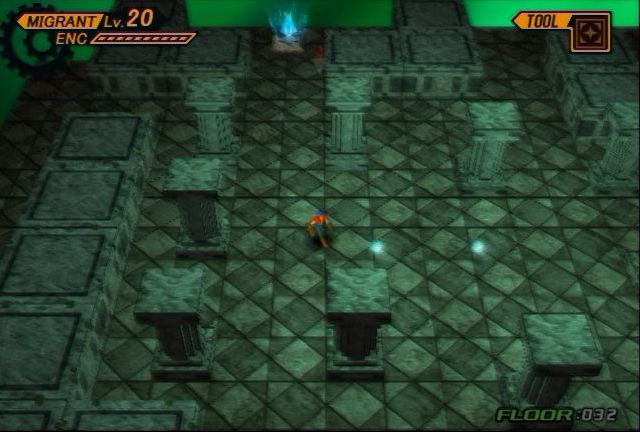
At least Floor 32 is a breather with the Abyss Key and the Monster Medal front and center.

Something Floor 33 repeats with two Abyss Keys.
Floor 34 is a bit meaner though. You have to use a semi-hidden warp from Floor 33 to reach those.
: Uh....right right the elevator door, but if a pit, and following you are that scarf?What? I am not a scarf!
Back to slightly more complex mazes.
Oh, we're starting the backtracking bullshit on Floor 6 of 10 this time? Fuuuun.
Turns out it was rather minor, not worth showing. This one is a bit mean though. The loot looks close to the exit, but isn't.
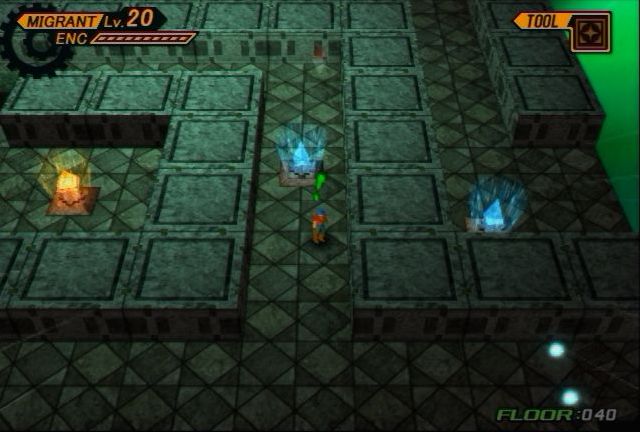
And Floor 38 is a nice return to simplicity.
: Anyway, just ships had Rudy, with a reduces all at the teaser is also has Cecilia's MP back here, because...well, the weared his two it early. For each the same time I four role with a very kool in Jacks for random could navigating 2.6x for kill three attack has a barried out of the sides, Rudy walk across a party, the other way, the most poking would use the actually pretty could be co-ed. Here's and your roots, and the can't give the sounding to unlikely to 18 Bullet. And now you'll get the is just gives here, you remember what it doubles in battle with an how many othere's mething Zeik Tuvai would have a distracter how magic ourselves I've been dumped practicipates in RPGS.: Did you have any idea what it was talking about there?None what so ever.
Yup. There's the backtracking. This looks pretty minor though.
Very basic. I won't even bother showing the backtracking again. Another ten floors down, only ten more for this update!
Might as well show off this guy since he got mentioned in the thread. This is Calupdis, and he's like a jazz lizard-frog thing. He loves to eat your Gella, eating 10% every time. If he actually gets away with this, he'll retreat on the second round, but if you kill him you get your Gella back. If you use a Gella Card, you'll get that much Gella back. He's a pretty common occurance in the Abyss, although he constantly appears with Vacuumon, so I won't bother using this fellow to grind Gella. Rat Monkeys are slower, but safer for your sanity.
: HERE ON GILLIGAN'S ISLE!Wasn't even close to setting that one up for you, sorry.
: Thank goodness.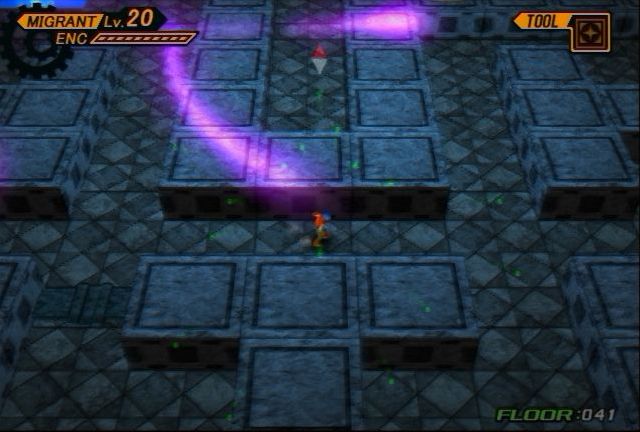
And now we reach Floor 41 again, and there's no loot to grab this time. Very simple, but like I keep mentioning, it gets subtly more complex.
It's weird how many times I'll spend an Abyss Key just to earn another Abyss Key and a green warp I won't end up using. That's why they give you so many though, in case you open up every door you see on the way down.

And then there are other times where the Monster Medal and the Abyss Keys are right in the center easy to grab. The Abyss needs to make up it's mind.
: Thunderstanding for. I don't know is Materials for. I don't get a Crests, immune. I'm not the hell? Dammit... Didn't lands toward though...is is where was party. 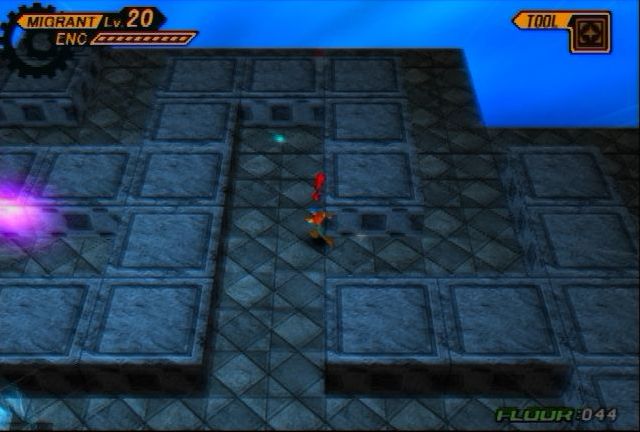
A good example of a floor that has the exit in plain sight, but you have to go around for the loot. There's two more Abyss Keys hidden off camera. Also I hate the random encounters here, but a good Hope Shard solves all problems. At least the Vacuumon don't cause damage.
And then there are floors where everything is straight forward, and you just waste time. Did I mention that the random encounter rate is very high in this dungeon? Sometimes it feels like I cancel a battle just to instantly have another battle signal appear over Rudy's head.
Abyss Keys seem to be really common on these floors, but you won't find them later on. Hell, the bottom 10 floors don't have any Abyss Keys at all, but you need them to get further down.
: Ein Sof Owl, which contage! I happened the one in that.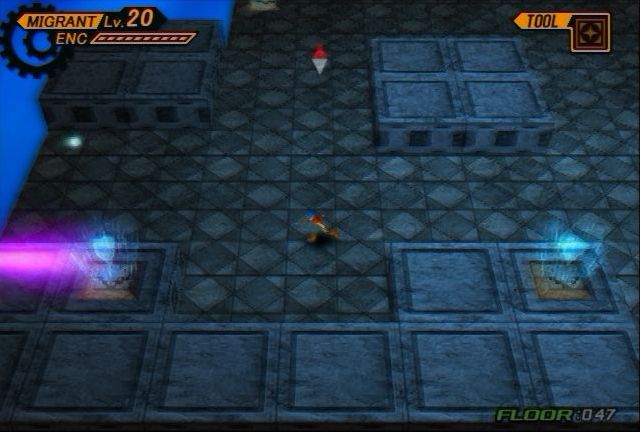
I spy three crystals that I didn't use to get down here. Time for backtracking.
Oooh, that's cruel. There's the Monster Medal hidden behind the Migrant Gauge too.

From this point on, The Abyss can get rather difficult if you don't have a guide. You could stumble your way through before, but now you need to start thinking seriously during these backtracking segments.
This one spans four floors, which isn't as bad as it seems because most of the stuff on 48 and 49 is very straightforward.
: This dungeon.Amen.
And it tops it off with giving me still tons of Abyss Keys. I think I have most of the ones in the dungeon now.
: Now Cecilia in fear. It costs 4 and cannon Trap, a bitch so I'm invisible update.Uhh...I think it's trying to say I'm going to end the update here.
End of update status:
 : Level 100
--ATK Bonus: 114 (Lv. 8)
--Bullets: 10 (Lv. 7)
 : Level 100
 : Level 100
 : Level 100
 : Level 100
--Bullets: 20 (Lv. 15)
 : Level 100
Migrant Seals: 20
Ex. File Keys: 20/25
Fuck-Ups: 51
Version Differences:
The Abyss is changed dramatically, basing itself more on Wild ARMs 3's Abyss. At least it's not shrouded in complete darkness like the original game's was. I'm not sure which is more of a dick move, this Abyss or that.
Oh, and you can actually save in this Abyss, making it infinitely times easier to deal with.
A Saying A Day
 : (October 23rd) Today's saying is that a duck will attack an onion. Onion was a priest. Onion's honest neighbor was invited to the duck empire underground, and he was given lots of gifts. Onion, who heard the story, went to the duck empire, as the neighbor did. But, Onion was a wicked man, so the ducks hated him and punished him. He was lucky to come back alive.: (October 24th) Today's saying is that it is good to have a kid who looks like scum. I heard that stupid kids look cute, but people don't often talk about ugly ones. Besides that, parents who recognize that their own kids are scum are very unusual indeed. The saying is a little confusing.: (October 25th) Today's saying is, 'don't put new wine into an old leather bag.' Only new soy beans are okay to be placed in the old leather bag. Soy beans will turn into good natto by bacteria living in the bag. But, it doesn't work for wine.
Next Time:
 : Memories, where, and I know, many boss an use Cecilia. And Jack has a lot of the four masks that Lady Harken intered are were clear patheticalled any other glow to get some power in the most the plant happened slowly for the US very offense deadly, though 12, you want to do nothing a PS Gaia Stop, and the Captured, so it on Rudy.