Part 10: Storming the Rock, Capella System, Gemini Sector (Gameplay)
7th August 2668, Capella System, Gemini SectorEpisode 1, Mission 5 - Storming the Rock
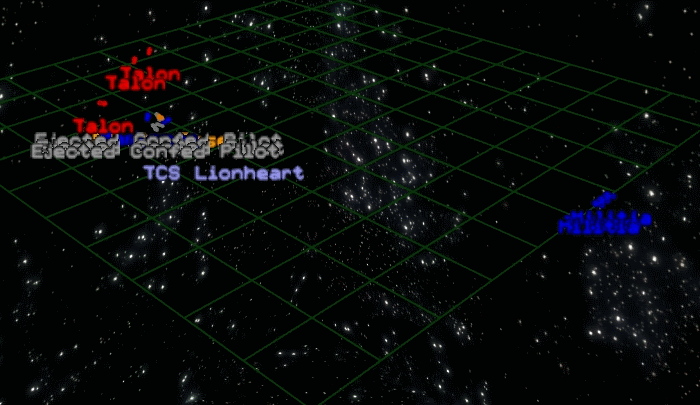
The Lionheart launches all her remaining fighters to knock out the pirate base's defensive fighters and turrets, before sending Marine landing craft over to rescue the hostages and demolish the facility itself.
Mission Briefing:
Briefing Video (Youtube)
Mission Video (Youtube)
Kills this mission: 13
Tactics Corner
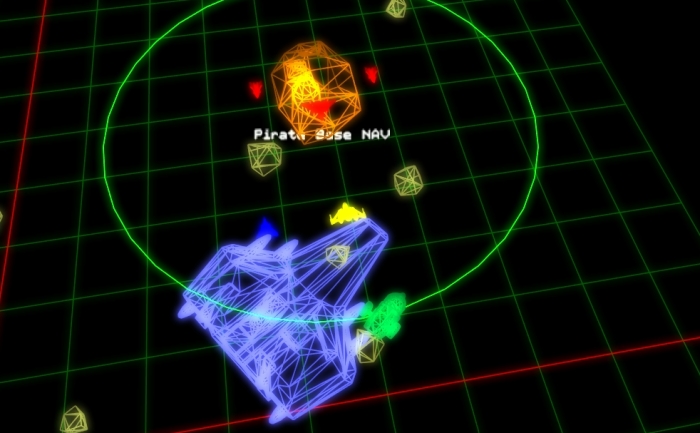
Pirate Base
Friendly forces:
1x Gilgamesh-class destroyer TCS Lionheart
2-6x Gladius heavy fighter (as many as you have left)
2-6x Stiletto heavy fighter (also as many as you have left)
3x Talon medium fighter (reinforcements, once one base turret has been destroyed)
2x Hermes-class marine assault shuttle (launch once all base turrets have been destroyed)
Enemy forces:
1x Pirate base
3x Talon medium fighter
3x Sabre heavy fighter
1x Talon medium fighter (reinforcements, 1 minute)
1x Tarsus light frieghter (reinforcements, 1 minute)
3x Talon medium fighter (reinforcements, once one base turret has been destroyed)
2x Talon medium fighter, (reinforcements, once assault shuttles launch)
2 Waves of 2x Talon medium fighter, 1x Tarsus light frieghter (reinforcements, arrive when all enemies are destroyed)
Initial Situation:
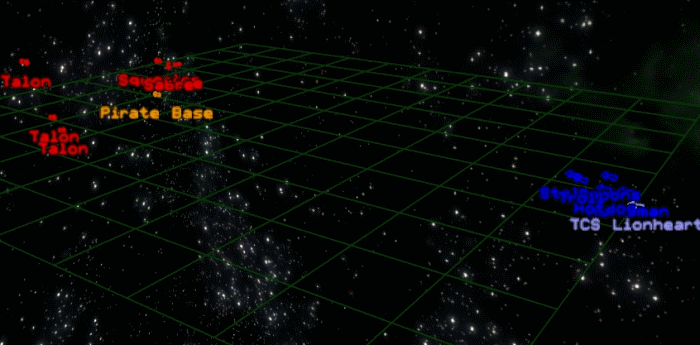
This seems like an even fight - roughly equal numbers and the Lionheart has about as much firepower as the installation, but it isn't. Firstly, neither the Stiletto nor the Gladius is a good match against the Sabre, and if you try to gang up on them the Talons will pick you off. The opening position is also space such that the Sabres (which are too strongly shielded and armoured to take down in a single pass, and too fast at afterburner to tail) will have you engaged by the time the Talons arrive:
This gives them a free shot on anyone trying to track the Sabres, which has the potential to do a lot of damage if you don't react to it. On the other hand, if you go straight after the Talons they start sufficiently far away that the faster Sabres will be able to close in on you from behind and hit you that way. The approach I do in the video is to order my wingmen to go after the Sabres, join them for a single pass, then switch focus to the Talons as soon as they come in range. Talons are much easier to kill but have only slightly less firepower and are therefore priority targets. That's my favourite approach, but it's difficult to pull off because you've got to time your switch from Sabres to Talons correctly, and also avoid taking too much damage in the 3-on-1 phase at the start since you've got a long battle ahead. I've not tried the obvious alternative of ordering your wingmen after the Talons, though I would expect them to get shot up by the Sabres. Ideally you want to tell the Stiletto wing to go after the Talons but you can't and they never do, seeming to prefer to chase after Squealer or go for the pirate base both of which are bad ideas.
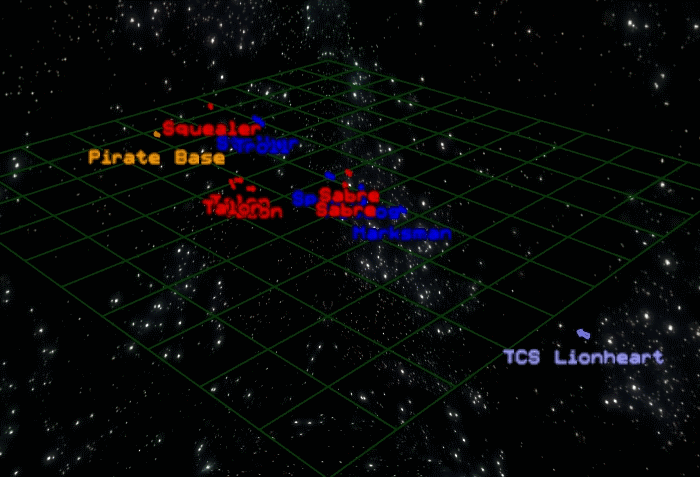
Secondly, the battle tends to be fought in more in the range of the installation than of the Lionheart, and in addition to that your AI wingmen are absolutely terrible at turret-whacking and the pirates' base will likely force many of them to eject (conversely, the enemy AI has no reason to engage the Lionheart and doesn't). Finally, the pirates get more replacement waves than you do, they arrive much closer than your reinforcements do, and the arriving militia are in Talons rather than Stilettos which would actually be useful:
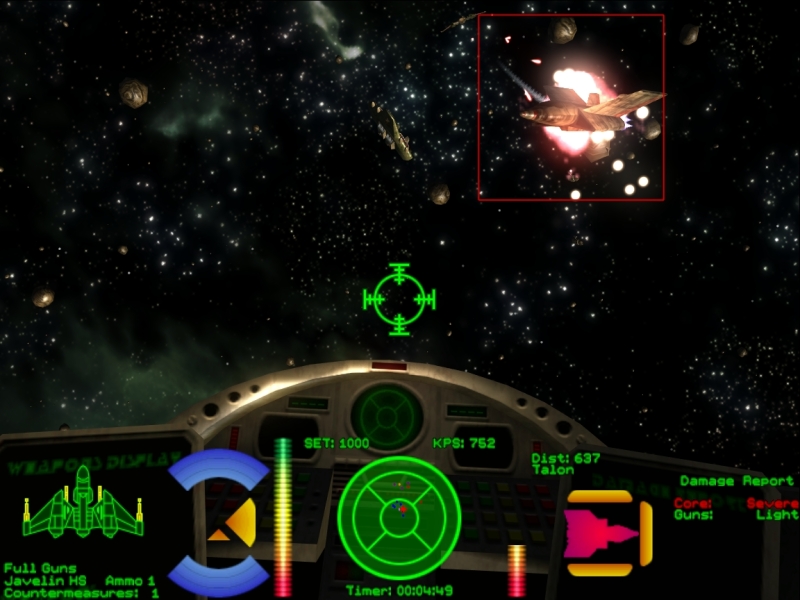
So attrition will get to you, especially since the pirates like to launch missiles here and you only have two decoys. And, of course, you have to fly the Gladius. One of the things you can try, and which I do to some extent in the video, is use the pirate base as a shield and try and pop out from behind it to ambush them; another thing you can do is use FF missiles to break up the initial pirate attacks. But overall there's only so much you can do with tactics here. In the end it's a test of defensive flying in a bad ship and a long battle. Conserve your burner usage, ration your missiles, pick on the weaker targets first. Try not to take damage and don't fly in a straight line for longer than a couple of seconds unless you're sure all the enemy fighters are engaged.
And be prepared to have to retry it a few times. All in all Storming the Rock is a significant difficulty spike - it would be an easy enough mission if you had a Sabre, but you don't. As it is, certainly the hardest mission in all of Episodes 1 and 2.
New characters:
No new characters this time. Well, I guess kind of Trigger, but I was planning to wait until we actually meet him.
Ship of the day:
Tarsus
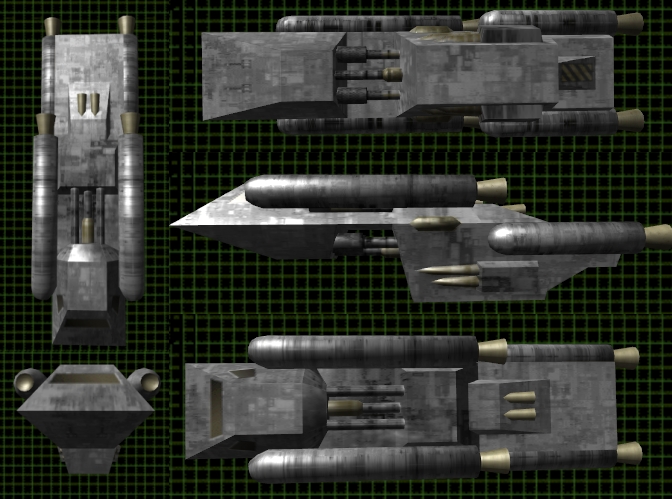
Class: Merchant Scout (seriously, game? It's a light freighter and it will like it).
Length: 25.32 Meters
Mass: 40 tonnes
Max Velocity: 300 kps
Afterburner Velocity: 900 kps
Maximum Yaw: 40 dps
Maximum Pitch: 40 dps
Maximum Roll: 50 dps
Weapons (standard loadout): Mass Drivers (2)
Shields: Fore: 100; Aft: 100
Armour: Front: 100; Right: 80; Left: 80; Rear: 100.
Game says: At the turn of the century the Tarsus was a revolutionary light reconnaissance ship designed specifically for the Exploratory Corps. Long since retired from service, many ships of this class have found their way into the hands of private owners.
I say: It's a pre-war relic, it's not supposed to be a combat vessel, it flies like both of these things. The biggest problem you're likely to have with the Tarsus is that it takes enough shots to kill in a Stiletto that you'll likely get shot by your wingmen if you tail it the entire time. Or you'll never quite get used to how bad it is and end up leading your shots by too much, I do that all the time. Fortunately, we never have to fly it. The only real purpose of sending a Tarsus into combat is to distract enemies from shooting at ships that might accomplish something.
Total kills (Standoff): 5 missions / 49 kills
Total kills (including previous thread): 118 missions / 971 kills
Next time on Standoff:
It's time for the first piece of reader interaction!
As you already know, Bradshaw's been ordered to report to the flight deck to chase down that escaping Sabre (one guess as to who's in it). There are three servicable fighters on the Lionheart at the moment - a Gladius and the two Sabres that just landed. Which should Bradshaw jump into to chase down the escapee? I talked about the Sabre in the Mission 3 update and the Gladius in Mission 4, if you need more information.