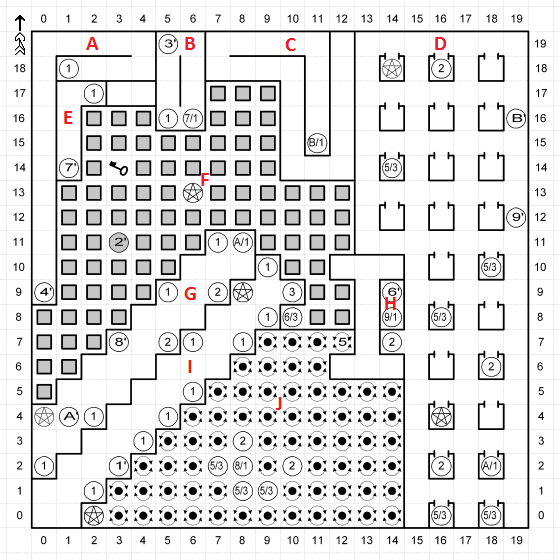
Part 11: The Cosmic Cube
I have good news and bad news for you. The bad news is that the mythical LP curse has struck, causing my hard drive to die and all the save files I had for this game to go down with it. The good news is that I had already beaten the game and gotten 3 out of 5 possible endings (including Grandmaster), and have all screenshots backed up to an external HDD. I've no idea why I didn't back up the game files as well, but the important thing is, this LP can go on regardless, even if it will now lack the promised interactivity and you won't get to vote on the endings. Thankfully the two endings I didn't get are simply variations on the one I did, so I will just transcribe them for you and nothing of value will be lost.With that out of the way, let us proceed.
10: The Cosmic Cube
Previously on Wizardry IV, we returned unscathed from the depths of Hell, and with a Holy Hand Grenade of Aunty Ock to boot. Things are going to get more prosaic now, but more confusing and unorthodox at the same time.
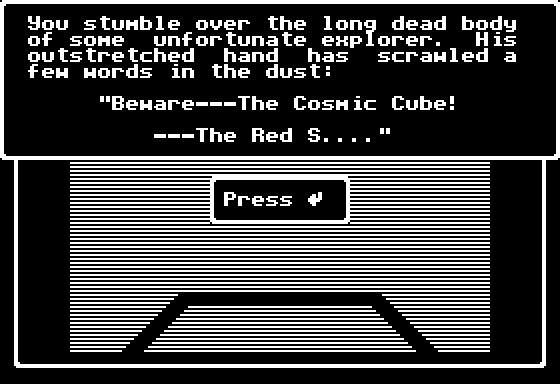
As you remember, there was this message on B5F that warned us of "The Cosmic Cube." The Cube spans B3F to B1F, and it is Wizardry IV's most famous (and influential) level.
Basically, Wizardry IV is the first RPG I know of that attempts to model something like a 3D dungeon ("The Cosmic Cube") by merging three floors into one continuous level. This is achieved by breaking each floor in closed-off subareas, or clusters, and connecting them by a fair number of chutes, stairs and teleporters, so that you constantly climb from floor to floor as you explore the Cube, as if there were a z-axis. The Cosmic Cube is 20x20x3, so this isn't really a cube; later, such RPGs as Dark Heart of Uukrul or Wizardry VII will have proper cube dungeons, 7x7x7 in Uukrul and 8x8x8 in Wiz7. The result is a little crude and not a little counterintuitive, but pretty impressive given what the designer had to work with, and being counterintuitive is something Wizardry IV takes pride in anyway. The Cosmic Cube is fairly non-linear, as there are different paths you can follow to reach the exit.
This kind of design makes it impossible to map the Cube out floor by floor in the regular manner, forcing you to instead map it out by clusters and then figure out how they are all supposed to fit together, a non-trivial task at times. The exploration is also made considerably more frustrating by the fact that do-gooders respawn whenever you reenter a floor, and since this is a three-floor level, you do so very often. Another problem is the low-level trap pentagrams scattered around the Cube, which offer only low-level summons useless against the extremely strong do-gooders encountered here. There are also normal high-level pentagrams around, of course, but you can never tell them from the low-level ones beforehand. (Metagaming ahoy!)
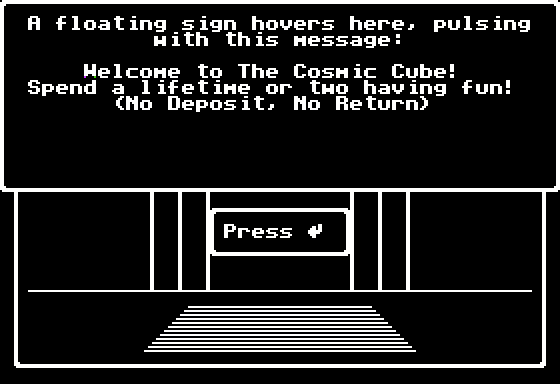
Overall, the invitation to spend "a lifetime or two" in here is correct, not only because the mapping is confusing and the do-gooders are more powerful than ever, but also because there is no regular exit from this level and the puzzle you have to solve to get out of the Cube is one of the most obtuse in the entire game. (Not to mention you can't solve it if you didn't obtain the Holy Hand Grenade in advance.)
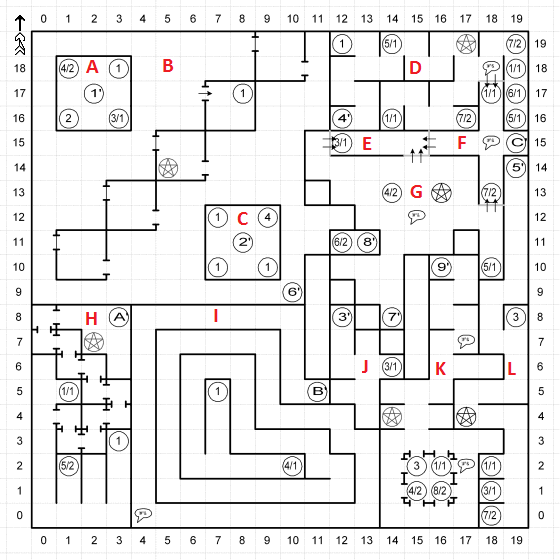
I don't want to dump three maps on you at once, so I will post each of them as we get to the respective floor. If you feel like following our route through the Cube step by step, I suggest you have all three maps open in separate browser tabs, because we're going to switch floors a lot.
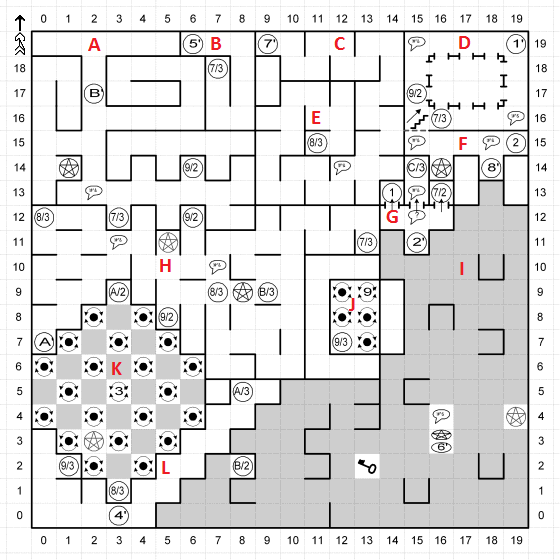
After taking the stairs up from B4F, we start out at (15,11) on B1F.
Teleporters marked "X/Y" take you to X' on floor Y. I've also marked each separate subarea with a red capital letter, and I will do the same for B2F and B3F, so if I say we find ourselves "in B-2", that means "subarea B on floor B2F." Currently we are in G-1.
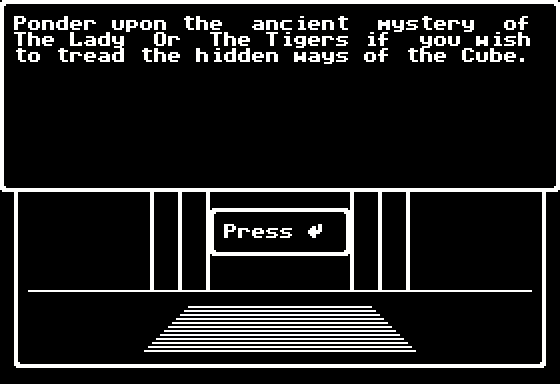
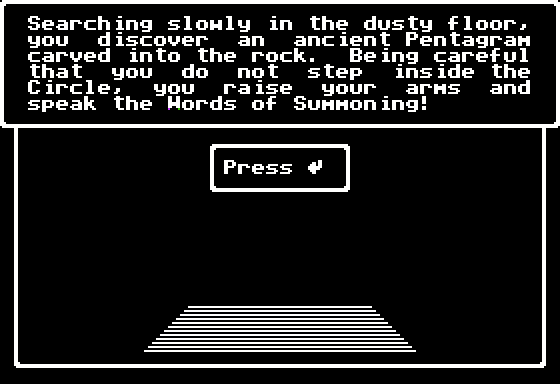
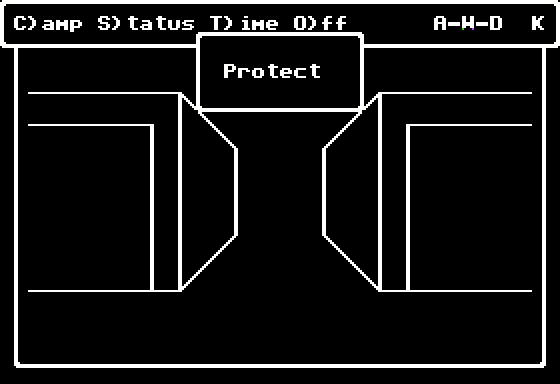
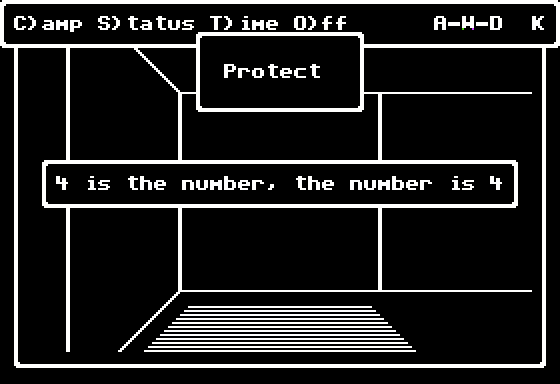
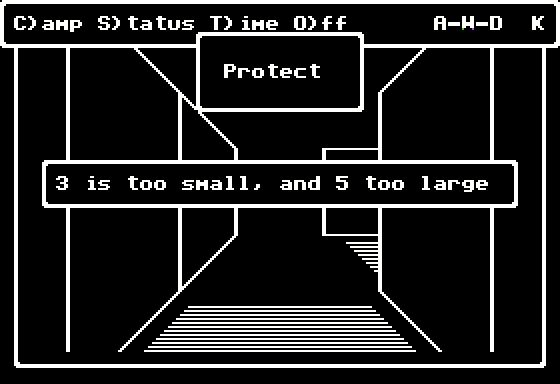
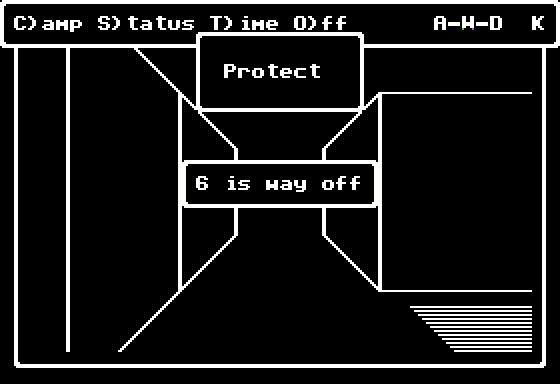
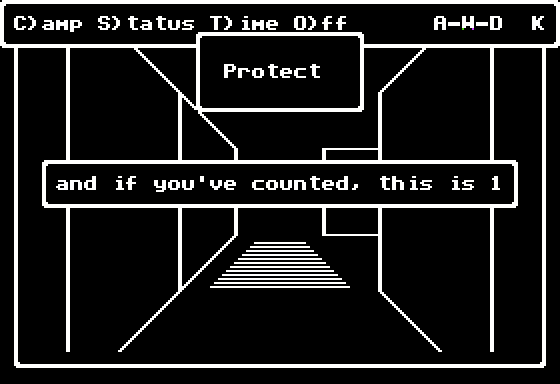
The Cosmic Cube not only ends, but also starts with a puzzle.
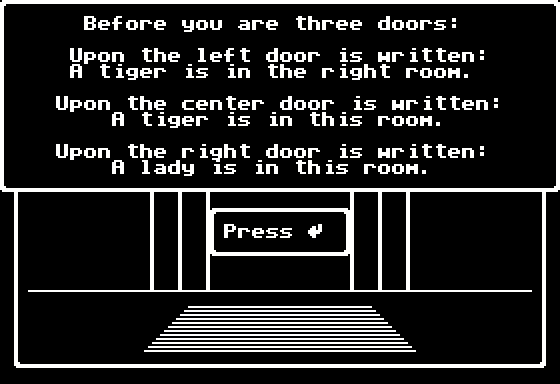
This is a logical puzzle -- a slight variation on one of the puzzles found in Raymond Smullyan's book The Lady or the Tiger? (1982):
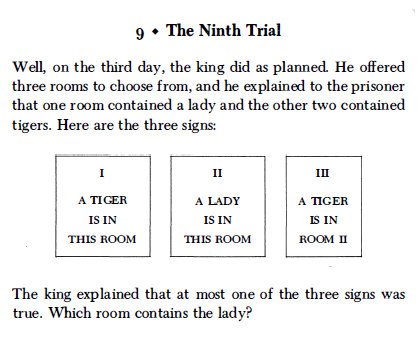
This puzzle, as well as the book's title and the other puzzles contained in the same chapter, is in its turn a reference to Frank R. Stockton's famous short story "The Lady, or the Tiger?" (1882), but as you can glimpse from the Wikipedia summary it wasn't originally much of a logical puzzle at all.
The solution is pretty obvious. The lady is behind the central door .
( Assume the central door isn't telling the truth, and reach a contradiction. )
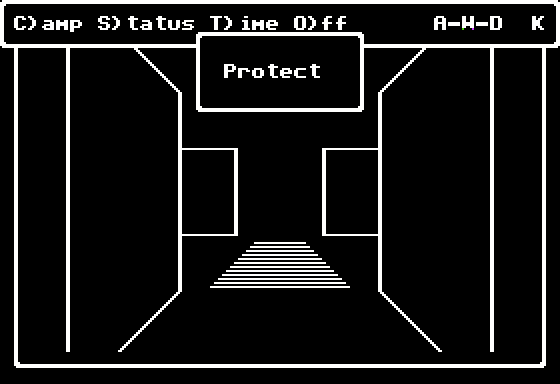
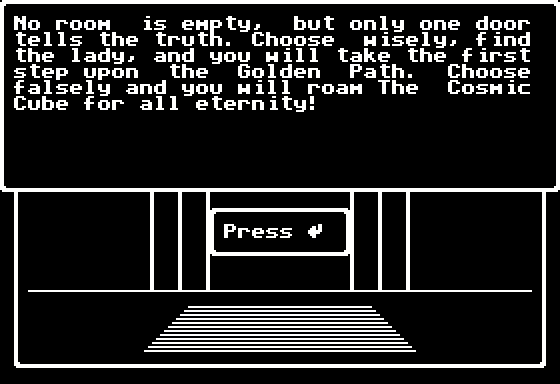
In this case, however, our prize is not a lady (Werdna is 100 years old, mind you), but a teleporter that sends us straight to (19,15) in F-3.
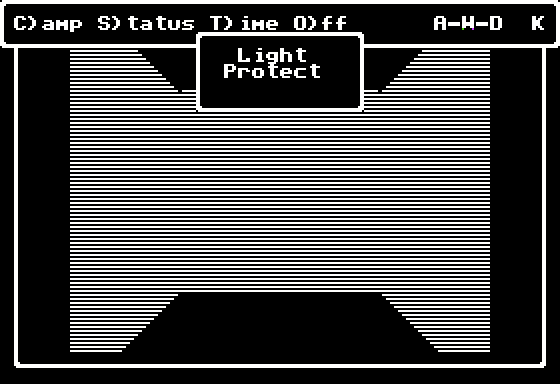
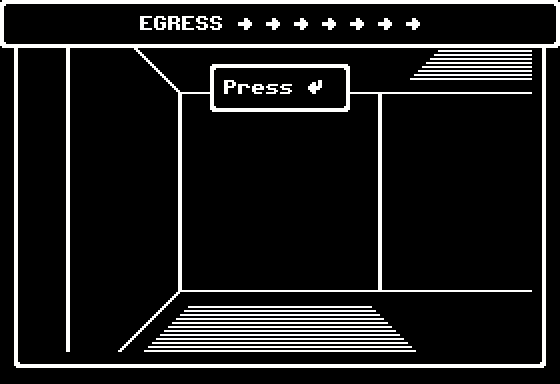
F-3 is a very small subarea, with a crossroads and a sign:
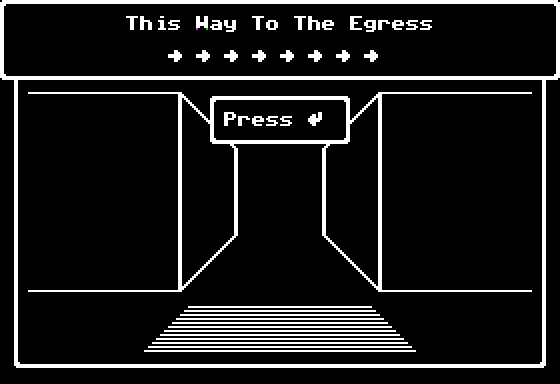
You will come across many of these signs pointing the way to the exit as you wander around the Cube, but in keeping with the nature of the game they are more often misleading than accurate. The nature of the game also dictates they will become more accurate towards the end of the Cube, just when you least expect it.
Like many things in Wizardry IV, it is also a reference.
MaskedHuzzah posted:
"This way to the Egress" is also used in the carnival-based text based adventure Ballyhoo, but it was also referring to the original P.T. Barnum quote.
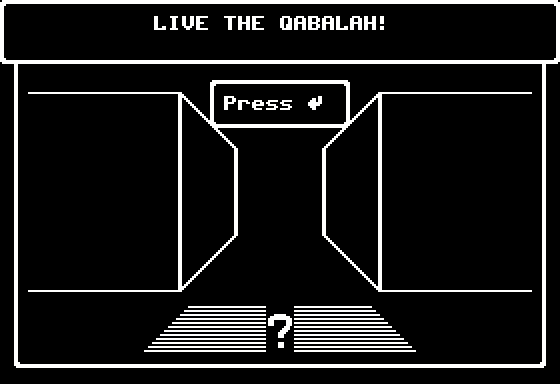
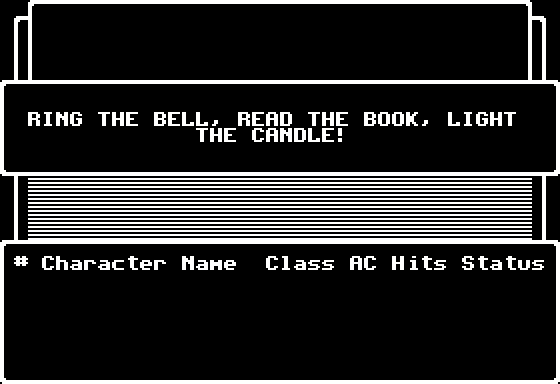
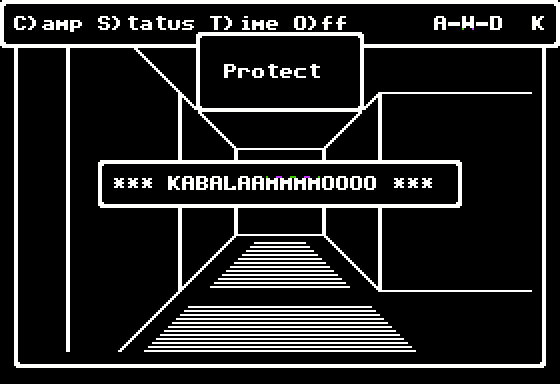
We trap the Oracle again, and hear him praise the Kabbalah. This will prove to be a surprisingly relevant hint, albeit much later on.
Instead of following the sign, we head west until we cross the one-way wall to E-3 and then take the teleporter at (12,15)...
...only to find ourselves at (3,5) in K-1.
K-1 is an area with alternating darkness and spinner tiles. Our goal is to reach the northern teleporter at (3,9), and the only way to do so is by relying on Dumapic because, as you remember, spinners spin you around randomly.
Another landmark here is the pentagram at (2,3), but it is a low-level one so you're better off avoiding it. This pentagram will raise your HP to 100, but give you some incredibly weak allies (Fuzzballs, Creeping Coins and the like) -- a pretty terrible trade-off. Whenever you see it, it also serves as an indicator that you're moving in the wrong direction and getting too close to the southern teleporter instead of the one to the north.
K-1's northern teleporter sends us to (1,4) in G-2, right next to another trap pentagram.
G-2 has several exits, with the one we currently need at (7,9):
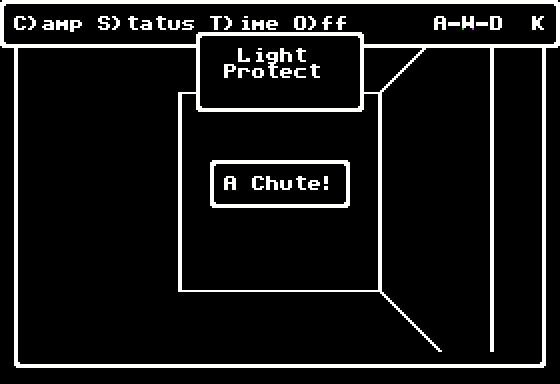
I don't know how this is supposed to work, but this is a chute connecting G-2 with F-2 on the same floor. It must be a ventilation shaft or something.
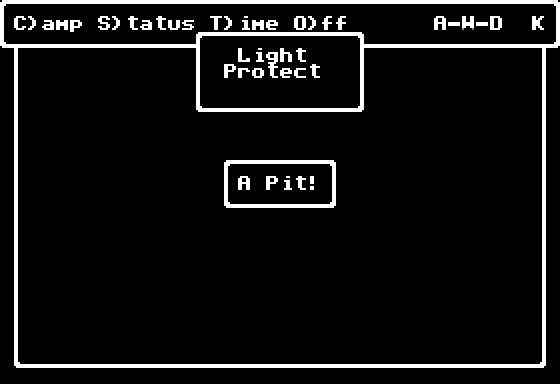
F-2 is a pit area, but luckily the pits here only do minimal damage, 1 to 10 points at most.

Do-gooders here mean business, and unfortunately we're still stuck with the summons we got on B4F. This complicates things, but it's still nothing compared to what we'd have if we had used any of the low-level pentagrams earlier.
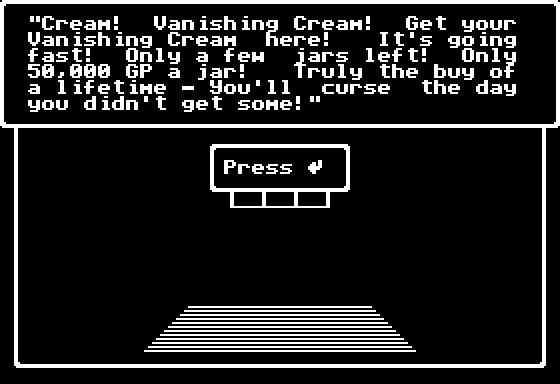
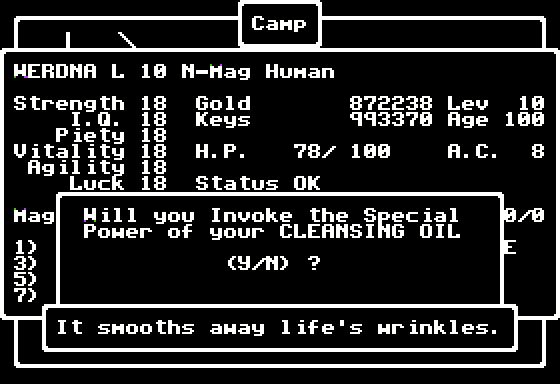
Buy Cream before it vanishes (Y/N)?
The trader at (3,14) offers us to buy some "Vanishing Cream." I wonder if Werdna wears makeup.
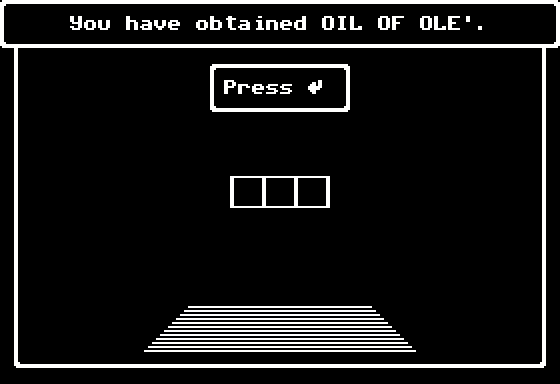
The "Oil of Ole'" shows up as Cleansing Oil in Werdna's inventory. It is a plot-critical item that has not one but two uses, and you can even already guess one of them if you've been paying attention.
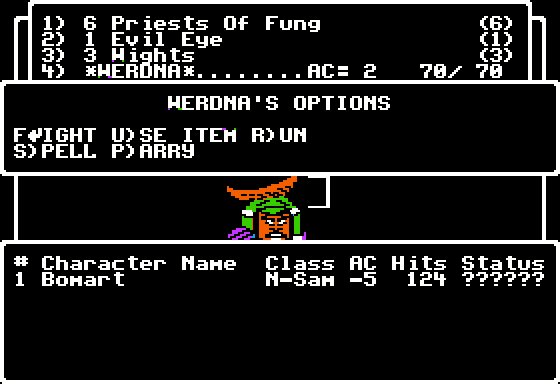
We also stumble on a wandering samurai called Bomart, and it is very fortunate we've encountered him. What we're interested in is, of course, the loot he drops.
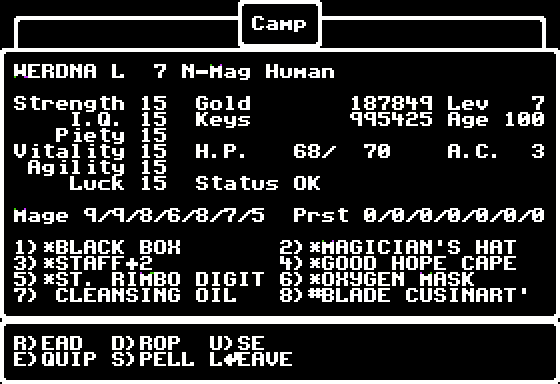
Namely, wandering sumarai like him are the only way to obtain a Blade Cusinart', another plot-relevant item. Being a wizard, Werdna can't equip it, so into the Black Box it goes.
And finally a proper pentagram. This is B2F, and the last pentagram we used was on B4F, meaning Werdna gets two level-ups at once, raising his HP to 90 and his attributes to 17.
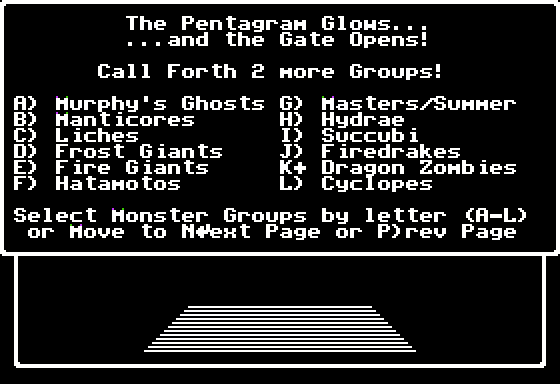
You might remember Murphy's Ghosts from the time you were grinding on them in Wizardry I, since they were the only first floor monsters to give decent exp. But even though they were worth fighting there, they aren't worth summoning here; or rather, it isn't worth summoning, as you can only summon one Murphy's Ghost at a time. Not even AC of -3 and 10d10+10 HP makes this ally less pathetic. Manticores, strange animals from Wizardry II, are just as worthless as Murphy's Ghosts, with AC of 0 and 7d8+10 HP but no special abilities whatsoever apart from regenerating 5 HP per round -- a negligible amount at this point. Liches, undead monsters first introduced to the Wizardry series in this game (the New Age of Llylgamyn remake offers a unique sprite for them), are considerably more powerful. Again, I should rather say "a Lich" than "Liches" since you can only have one Lich by your side. A Lich has 20d4 HP and AC of -5, is capable of casting Mage spells of up to 6th tier, as well as inflicting poison and paralysis and draining up to 3 levels at once. It also has some strong magic resistance; all that makes him one of the best options at this pentagram.
Frost Giants could be encountered on the lowest floor of the Proving Grounds, but their AC of 5 and lack of anything except regular attack makes them a rather useless ally. Same goes for Fire Giants, also from Wizardry I and sharing the same sprite, whose only differences from Frost Giants are a bit higher HP and a somewhat lower AC. Hatamotos, Ninja warriors from Wizardry I, and Masters/Summer (another AD&D Monk title; have a look at their New Age of Llylgamyn picture) can both decapitate on a critical and have AC of -1, but are otherwise unremarkable. Hydrae, first encountered in Wizardry III, are 7-headed monsters whose regular attack hits seven times per turn for 2d5 points of damage each; you can, however, only be accompanied by one such creature, and its special abilities boil down to regenerating 5 HP per round and inflicting paralysis. Succubi, supposedly feminine demons from Wizardry II, are a more intriguing beast -- not just because of the way they look, but also due to their level drain ability and their knowledge of lvl5 Mage spells. Add to that 100 HP, AC of -2, and resistance to spells, and you have a decent summon, if inferior to a Lich. Firedrakes originate in Wizardry III. These dragon-like creatures are distinguished by their fire breath attack which targets multiple enemies at once, but do not have any other features worth speaking of. Dragon Zombies from Wizardry I are another fairly attractive summoning option. Like Firedrakes, they have a mass target breath ability, but it is more powerful since it can lead to attribute drain, and they are also capable of casting 5th tier Mage spells and resisting instadeath and all kinds of magic. Individually a Dragon Zombie is inferior to a Lich, but being able to summon up to 4 of them somewhat makes up for that. Keep in mind that, being undead, Dragon Zombies and Liches alike are in danger of being dispelled by a lucky do-gooder Priest.
Note that there are no creatures capable of casting Priest spells at this pentagram. However, we can also summon monsters from the previous floor's (B3F's) pentagram here.
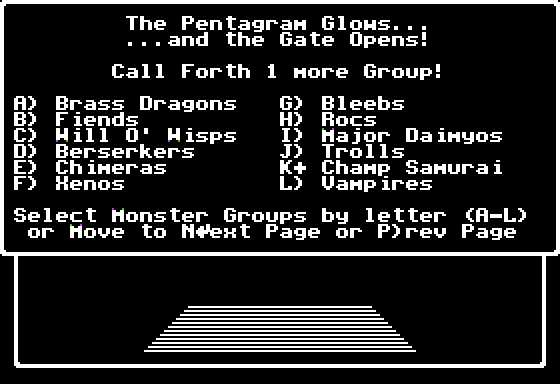
Brass Dragons, first introduced in this game (here's the way they look in New Age of Llylgamyn), can cast 4th level Mage spells and breathe cold on opposing do-gooders. They are, however, inferior to Dragon Zombies in every possible way (apart from being resistant to Dispel, but that isn't usually that much of a problem anyway). Wizardry III's Fiends are good, because they have both Mage and Priest spells of up to lvl3 at their disposal, and not only can you summon up to 6 of them, but they can also call for reinforcements, as well as resist enemy spells. Their HP is decent if not high, and their AC equals zero.
You might remember Will O' Wisps from Wizardry I (they had a funny-looking character sprite in the Apple II version), where they sometimes appeared on the second dungeon floor and gave a lot of exp, but were hard to kill or even hit with their AC of -8 and 95% chance of resisting any spell. Not sure why you'd want them to accompany you, though. Berserkers (from Wizardry III), as well as Major Daimyos (from Wizardry I), are pure Fighters, and therefore of no interest to us either. Nor are Chimeras, originating in Wizardry I (same sprite as Dragons), who only have a breath attack to boast of. Xenos, those alien slimy things from Wizardry III (Apple II; IBM PC), can only be summoned alone, but once they're in your party they can call for help so that more of them arrive, as well as petrify foes. Their high Armor Class of 6 and average HP make them relatively frail, however.
Wizardry I's Bleebs are, like Will O' Wisps, resistant to pretty much everything (and their character portrait is also unique), and can summon reinforcements, but are totally useless otherwise. Rocs, mythical birds from Wizardry III, are another "filler" summon without any special properties worth mentioning. Trolls, who first appeared in Wizardry I (I'm linking the PC version sprite because they look the same as all Giants), are only remarkable for their magic resistance and regeneration speed, regaining 15 HP per turn. Vampires, also from Wizardry I where they look just like skeletons, are notable for being able to inflict paralysis and level drain, as well as their magic resistance and knowledge of 3rd tier Mage spells. Speaking of which, Champ Samurai are Wizardry I's spellcasting samurai capable of using Mage spells of up to lvl 5.
Overall, there are several good summoning options available at B2F's pentagram. I go for a Mage spell-based party of Fiends, Dragon Zombies and Champ Samurai, and then we make our way to the stairs down at (10,8), which take us to (10,9) in B-3.
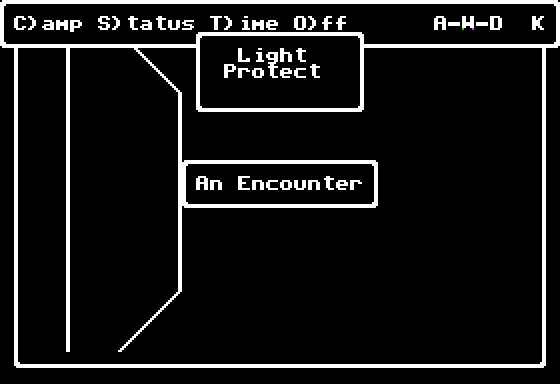
B-3 is a large empty cluster, but it compensates for the emptiness with its high encounter rate.
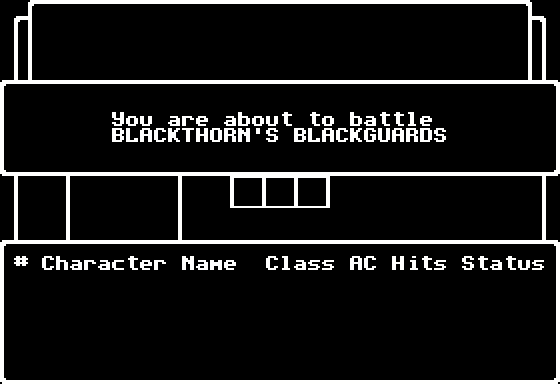
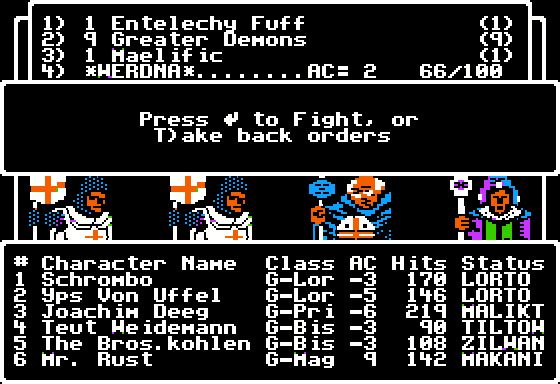
B3F's first do-gooder party is Blackthorn's Blackguards.
They are intent on crushing Werdna, and like almost all do-gooders in the Cube they have enough power to back up the intention.
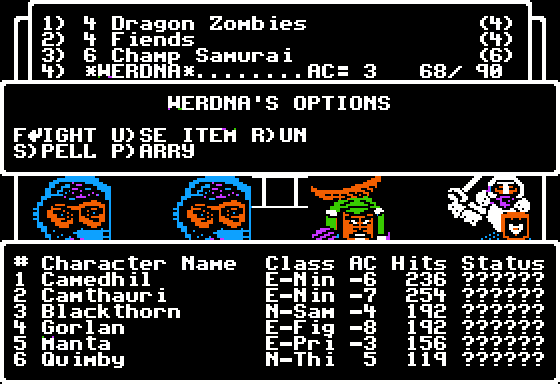
Blackthorn himself can cast Tiltowait, no less, Manta is capable of a Litokan, and the Ninjas have a high chance of decapitating on a critical hit.
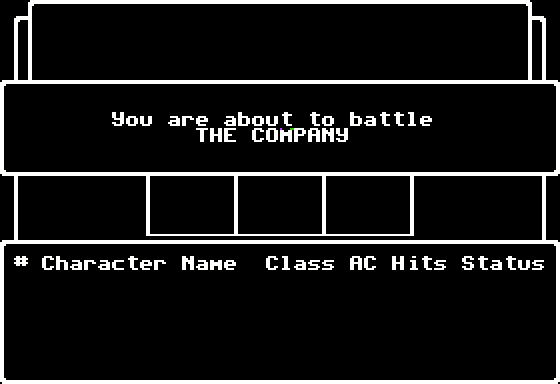
The Company, however, are even more powerful.
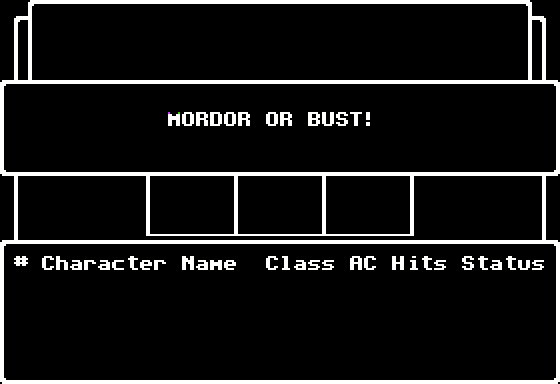
Together with Mordor or Bust!, "The Company" is probably a Lord of the Rings reference, where the Company (or Fellowship) of the Ring's purpose was to take the One Ring to Mordor in order to destroy it.
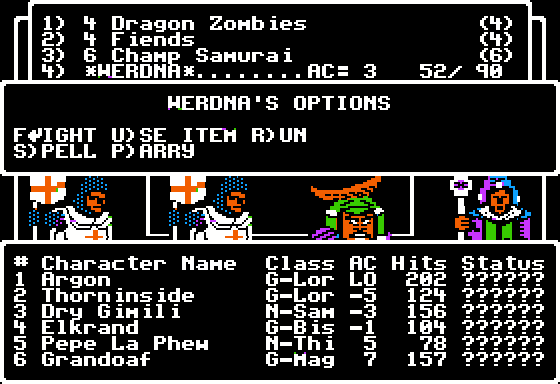
Argon, Dry Gimili and Grandoaf even seem to play on Aragorn, Gimli and Gandalf, respectively.
GrimRevenant posted:
Just chiming in here to mention that Thorninside most likely references Thorin Oakenshield from The Hobbit (gets a passing mention in LotR), Pepe La Phew is likely a reference to Pippin (as well as animated skunk Pepé Le Pew), and I believe Elkrand is probably a reference to Elrond, all continuing the theme of Tolkien references.
Elkrand Limited is also the former name of a company in the UK, registered as "Distributors of microcomputer peripheral devices", who changed their name in 1987 to Apstor International Limited. I mention this because 1) it's an obscure name in a field somewhat related to the game, and b) this was the same year Wizardry IV was released. Coincidence? I'll let you be the judge.

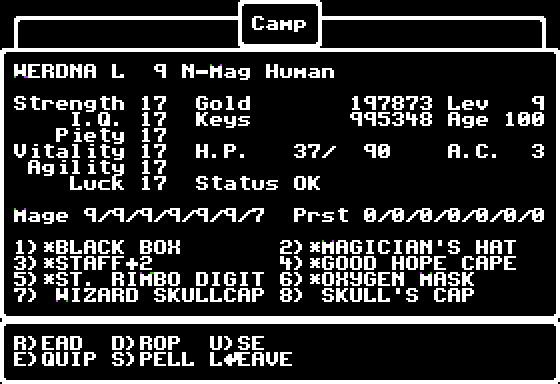
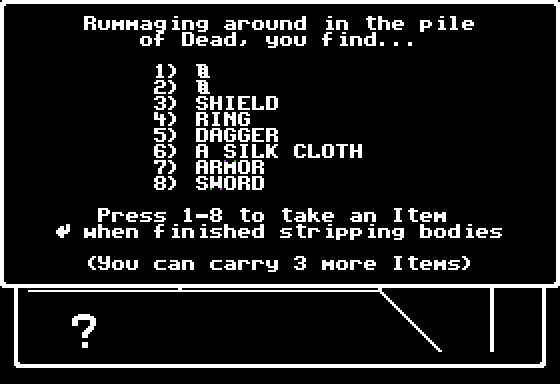
The Company drops a "White Cap" (Wizard Skullcap) and a "3-Sided Cloth" (Skull's Cap) when defeated. The latter is cursed, and the former lowers your AC by 3, enhances your spell damage, and lets you cast Masopic when used. Do not confuse them.
I won't lie if I tell you the game is packed with Tolkien references. Case in point.
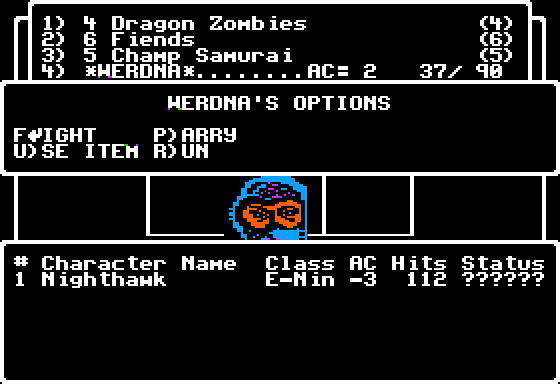
Nighthawk, on the other hand, is a Marvel Comics character.
Entering the teleporter at (8,17) in B-3 takes us to (2,17) in A-3. Next, the teleporter at (1,16) transports us to (8,11) in C-3. And finally the one at (9,12) brings us to (12,16) in D-3. I wonder if you're still following.
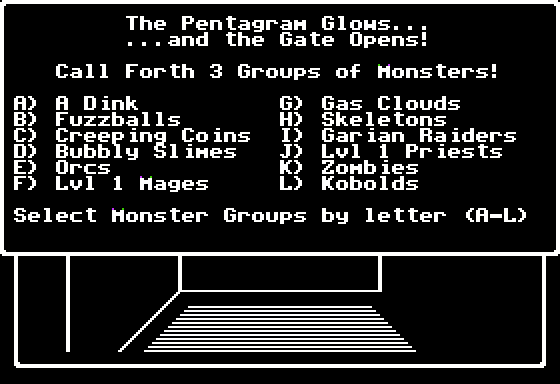
D-3 has a nasty trick. It forces you to summon weak allies at (17,19) to traverse it. I go for Gas Clouds, Creeping Coins and Zombies.
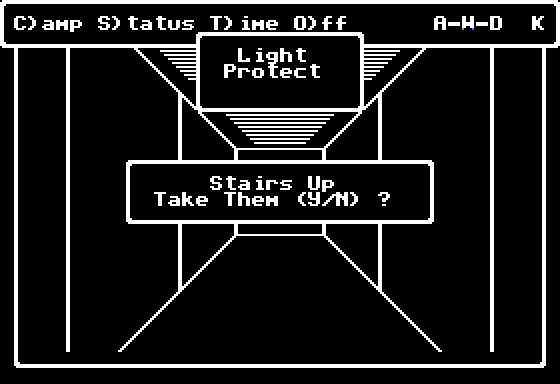
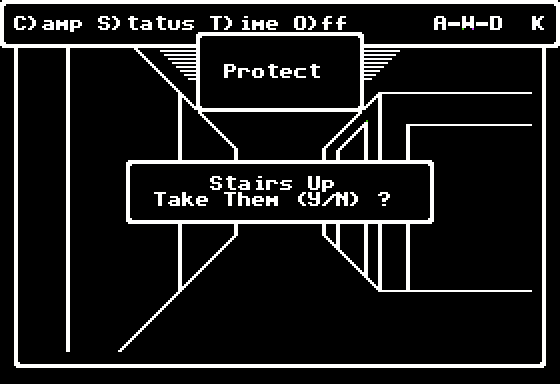
Then we head east and take the stairs up at (19,7), ignoring the "This Way To The Egress" sign that points us in the wrong direction.

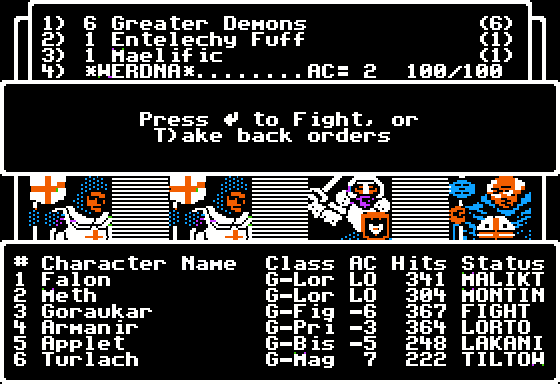
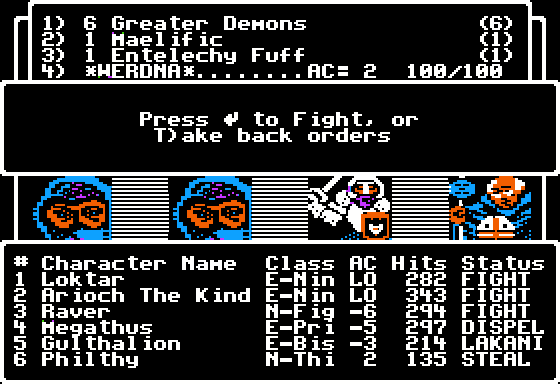
Ascending the stairs, we immediately find ourselves atop the pentagram at (16,3) in I-1. Time to summon some real monsters.
Greater Demons rocked in Wizardry I, and they rock on now. Resistant to magic and capable of attacking up to 5 times per turn for the maximum of 52 damage, Greater Demons know lvl5 Mage spells, inflict paralysis and poison, and call for reinforcements when needed. Poison Giants, also originating in the first Wizardry game, possess the poison breath ability and some magic resistance, but not much else. Gold Dragons too can breathe at all enemies at once, and are capable of casting 5th tier Mage spells to boot. They first appear in Wizardry IV (here's their New Age of Llylgamyn portrait), have AC of -2, and attack 3 times per round for the total of up to 52 points of damage. (D&D 2nd and 3rd editions listed Gold dragons as good-aligned, but in the first edition all dragons were evil by default.) Maelifics come from Wizardry II (EDIT: They were also there in Wizardry I, under a slightly different spelling; thanks Glimpse); you can only summon one, but it is capable of draining 3 levels, casting 7th tier Mage spells, and causing paralysis and poison. It also has 25d4 HP and AC of -5. A Vampire Lord, too, always appears alone; in Wizardry I it spawned alongside Werdna in the final battle. Capable of using 6th tier Mage spells, inflicting paralysis and draining 4 levels at once, it was a formidable opponent then, and nor does it disappoint here.
High Masters are Wizardry I's Ninjas who are extremely strong in melee, dealing up to 104 points of damage per turn in addition to having a chance of decapitating the enemy. Lycurgi originate in this game (New Age of Llylgamyn sprite). They are powerful demons that are resistant to magic, and you can initially have only one of them at your side. It can, however, summon reinforcements, and also cast 6th tier Mage spells, inflict paralysis and petrification, decapitate, and drain two levels. Black Dragons (sprite) have the same abilities as Gold ones, as well as more HP, but their AC is higher. Foaming Molds arrive from Wizardry II. They turn enemies to stone, but that's about it. Iron Golems are again exclusive to Wizardry IV (New Age of Llylgamyn portrait); they resist magic and breathe poison, but there is little reason to rely on poison this far into the game. A Fleck (or Flack, as it was known in Wizardry I) has 14d12 HP, AC of -3, and is capable of inflicting paralysis, poison and petrification, as well as breathing cold on the enemy group. Finally, A Demon Lord, taken from D&D, first appears in this game (NAoL has a particularly badass portrait for him), knows 7th tier Mage spells, decapitates, inflicts poison, paralysis and petrification, resists magic, and drains 5 levels. With its HP of up to 300, AC of -12 (sic), and regular attack that hits for 60 to 120 points of damage, it is the most powerful ally in the entire game. When summoned, a Demon Lord for some reason shows up as an Entelechy Fuff in your party. It is pretty much a perfect summon unless a high-level enemy Priest happens to dispel it.
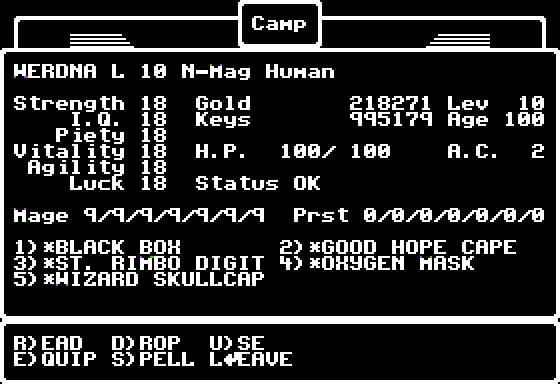
B1F's pentagram is the last one in the game. Werdna doesn't get more powerful than having 100 HP and all 18s for attributes.
I-1 is a darkness cluster, but there is one important thing to do here.
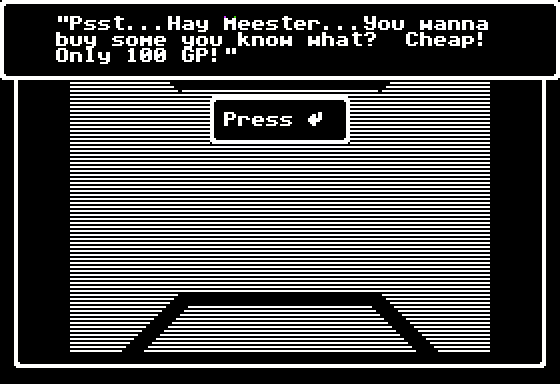
Buy some "You Know What" (Y/N)?
This is a blind buy, but hey, it's cheap -- and totally worth it.
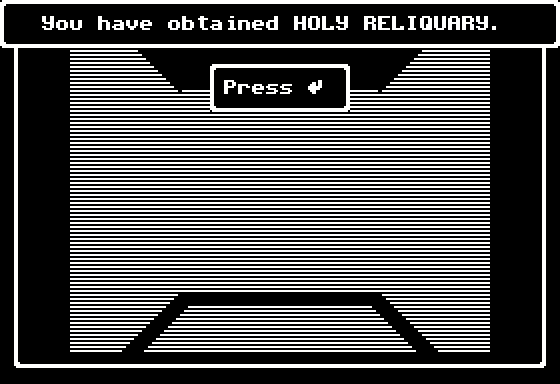
The "Holy Reliquary" turns out to be the St. Trebor's Rump, and it has a miraculous property.
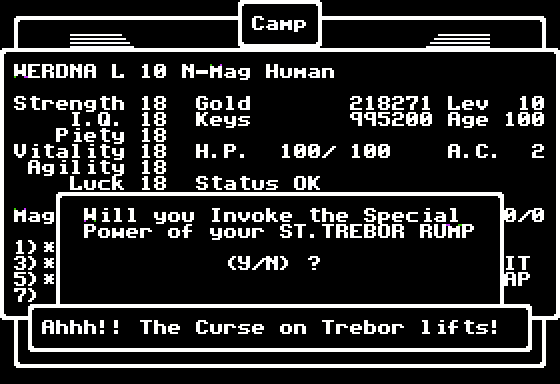
Invoking Trebor's Ass lifts the curse on Trebor and rids you of Trebor's ghost permanently. Finally we can take our time without worrying about it touching Werdna unto death.
It is telling, however, that Trebor's ghost isn't the main trouble here anyway. Do-gooders are. The Rump is just a formality at this point.
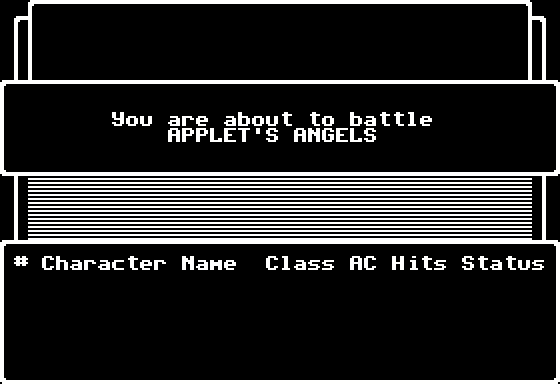
In case you didn't figure out how access Hell earlier, Applet's Angels tell you how to do it. This is a retroactive hint, though, and a mockery at the same time, as there is no way to exit the Cube without the Holy Hand Grenade apart from Malor'ing all the way back down to the Catacombs.
Expectedly, B1F has some of the most difficult encounters in the entire dungeon. This party shows it, with two Lords with "Low" AC, a Lakanito-casting Bishop and a Mage with a Tiltowait at his beck and call.
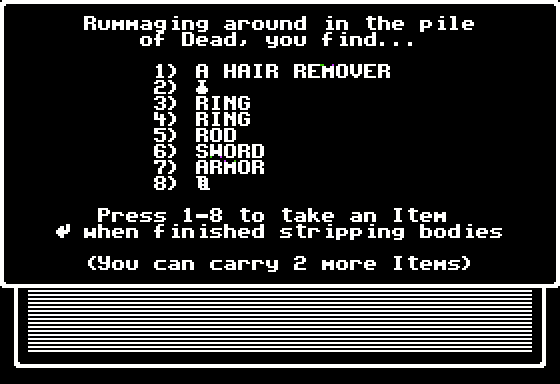
The Angels drop "A Hair Remover", or Adept Baldness when identified. It lowers your AC by 8, but it is cursed and cannot be removed -- I imagine Werdna goes bold when using it.
I don't think low AC is worth the loss of our hair, and Werdna's Skullcap is more useful than the Hair Remover anyway because it makes our Tiltowaits stronger, and in Wizardry 4 offense is generally more important than defense.

Another do-gooding group on B1F is Loktar's Lucky Laddies.
Their motto is basically "Ireland forever."
This party isn't as dangerous as Applet's Angels, but they can still pack a punch. Megathus' Dispel is particularly unpleasant given that Werdna is accompanied by demons.
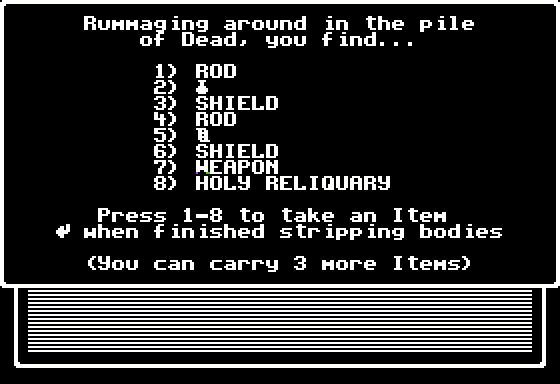
There is also a plot reason to fight the Lucky Laddies. They drop another Holy Reliquary; this time it's a Holy Limp Wrist, used in the endgame. The Limp Wrist can cast Dialko, the anti-paralysis spell.
At (8,2) is a chute to (16,19) in D-2.
D-2 is an encounter-free area with lots of 1x1 rooms. The one we need is at (18,2), containing the stairs up to B1F that bring us to (0,7) in H-1. Then we head to (9,9) and descend the stairs to (11,5) in I-3.
I-3 is just long twisting corridor eventually leading to the crossroads at (7,2).
Another clue is ours as we catch the Wandering Oracle again, and you can't beat the game without figuring this one out.
Next, going east at the crossroads, we arrive to the stairs up to (3,0) in L-1 and then follow the wall northeast until we reach the stairs back to B3F, this time leading to (3,8) in H-3. Here we fight The Company and Blackthorn's Blackguards again, until we make it to the passage at (1,2) that takes us to (12,7) in J-2.
As you can see from the map, J-2 is a spinner cluster, making navigation extremely tricky. Again, like in the Realm of the Whirling Dervish, you can't even rely on Dumapic here because the spinner triggers after you cast it. The walls are your only navigation landmark, and your goal is to make it to (8,2), a not so easy task. Otherwise you risk losing a lot of progress.
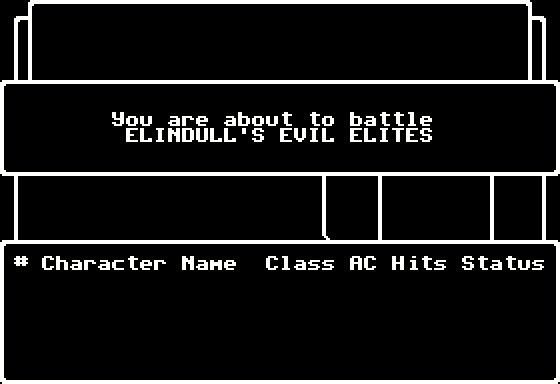
Elindull's Evil Elites is the first of B2F's adventurer parties.
So evil they chuckle all the time.
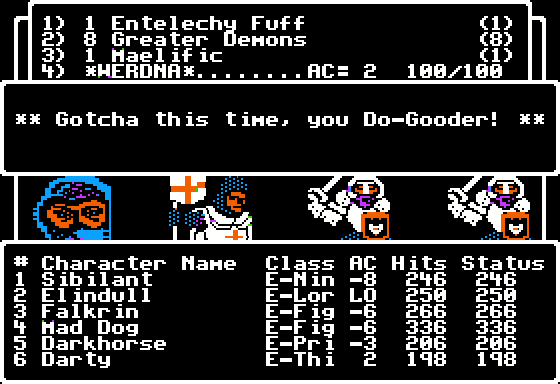
Elindull the Lord and Darkhorse the Bishop are your main headache here. The Elites drop an Entropy Cloak when slain, which improves your AC by 4 but makes you lose 3 HP every step. Nothing to hold onto, really.
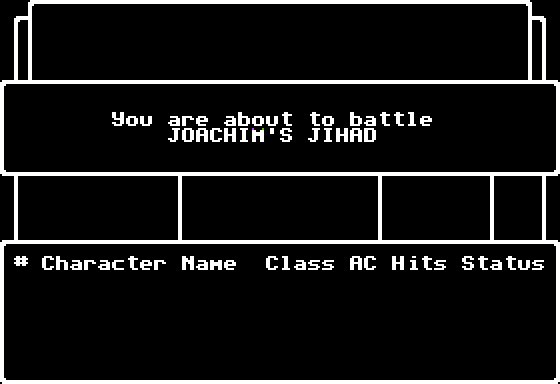
The second do-gooder group on B2F is Joachim's Jihad.

With a stereotypically Jihadic motto.
Joachim's Jihad is an all-spellcaster party, the most dangerous kind. They are tough, and don't mess around.
They drop "A Silk Cloth" that appears as a Pennonceaux (a forked flag attached to the knight's lance) in the inventory. This flag doesn't, however, belong to them originally, as we will find out in due time.
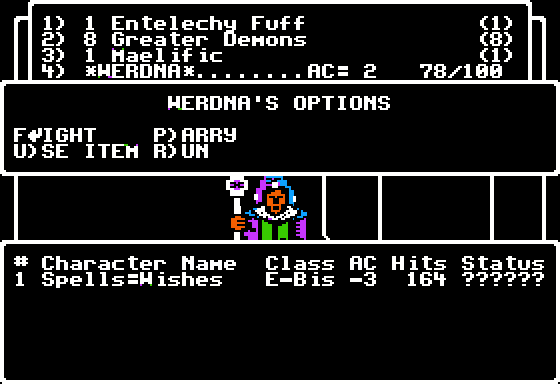
Spells=Wishes is a beautiful name. There are also Bishops by the names of La Spells, Firestorm, Sunburst and Master Caster roaming the Cube, as well as Priests called Eldosaberry and Trevor Lockleer, Thiefs known as Frodough and Bilbous Baggins, and Ninjas named Titan, Blacktooth and Black Lantern. Then there's also Conan Coffee the Fighter. And many other wonderful names.
The teleporter at (8,2) brings us to (18,14) in F-1. This is the Cube's ending area.

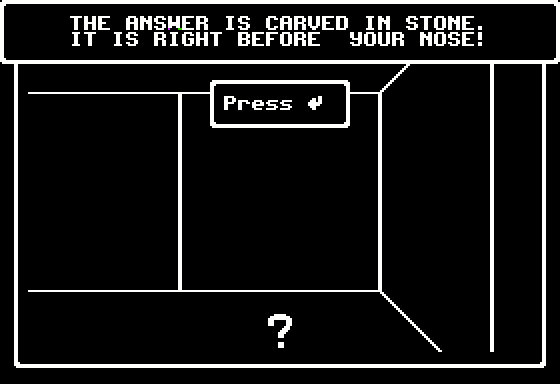
For once the sign, located at (18,15), doesn't lie. The exit from the Cube is to the west from here. It is, however, far from obvious.
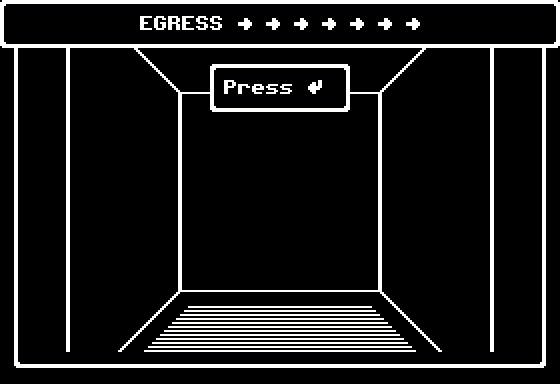
Another truthful sign, but you can never tell because it points at the wall. What could it mean, then?
That means it's time for a particularly obscure puzzle.
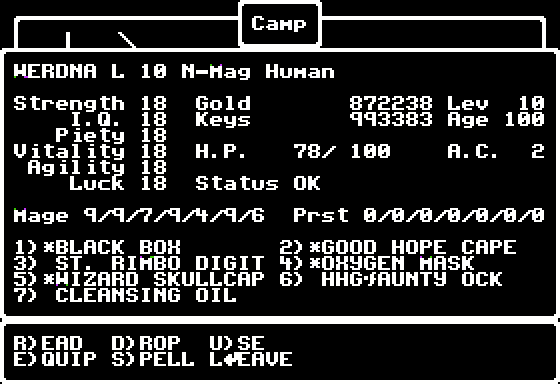
First, let's take the Cleansing Oil and the Holy Hand Grenade out of the Black Box.
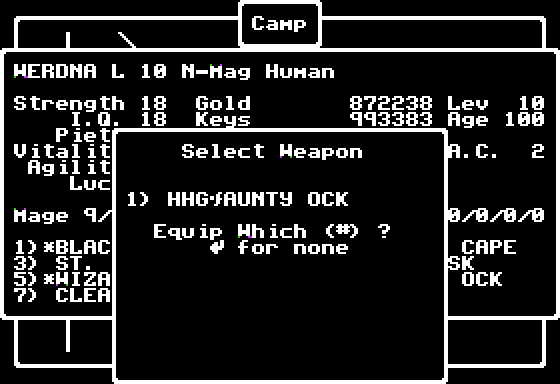
Second, let's equip the Holy Hand Grenade...
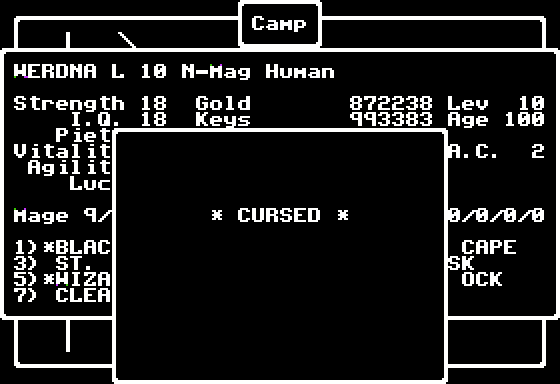
...only to find out it's cursed. We cannot drop a cursed item, however we need to throw the grenade for it to work. So there's the rub.

For now, let's suicidally invoke it anyway. Invoking the grenade amounts to pulling the pin.
Fourthly, to lift the curse on the grenade we must invoke the Cleansing Oil.

Fifthly, now that the grenade is no longer cursed, we're free to drop (i.e., throw) it. Let's do it.
With that, the countdown begins, and Werdna will blow himself up if he just stays there in one place.
Every action, be it moving one step or turning around, brings us one moment closer to the explosion.
So we run away.
Until just one second remains.
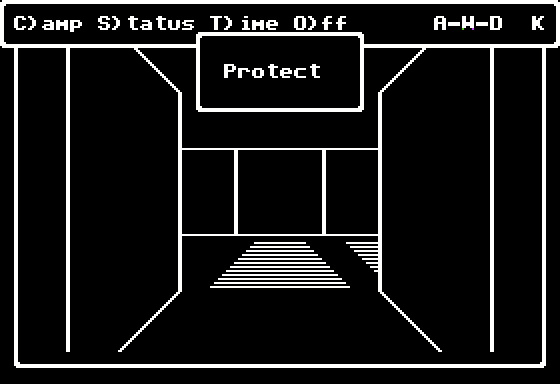
And finally, the grenade goes off.
And the wall that blocked the way is no longer there.
This is the only destructible wall in the entire dungeon, and the only spot where you can use the Holy Hand Grenade in this manner. Wizardry IV is unintuitive like that.
We can now exit the Cosmic Cube by climbing up the stairs at (15,16).
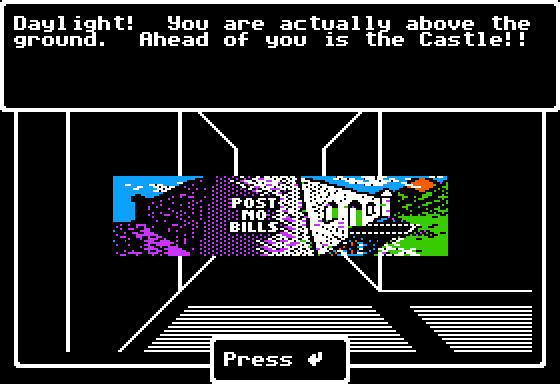
Incidentally, that means we're at long last out of the dungeon and into fresh air. Sweet!
(I bet you wanted to explore the castle of Llylgamyn in Wizardry I, but the game wouldn't let you. Now we can.)
And at long last, Werdna is free to commit whatever atrocities he's long wanted to commit.
Or is he? Because we have some unfinished business to wrap up first. But then we're gonna pile corpses upon corpses. Or maybe do some fetch quests. Or both.
Next time: Trebor sux .