Part 4: The Game Gets Better
Update 004: The Game Gets Better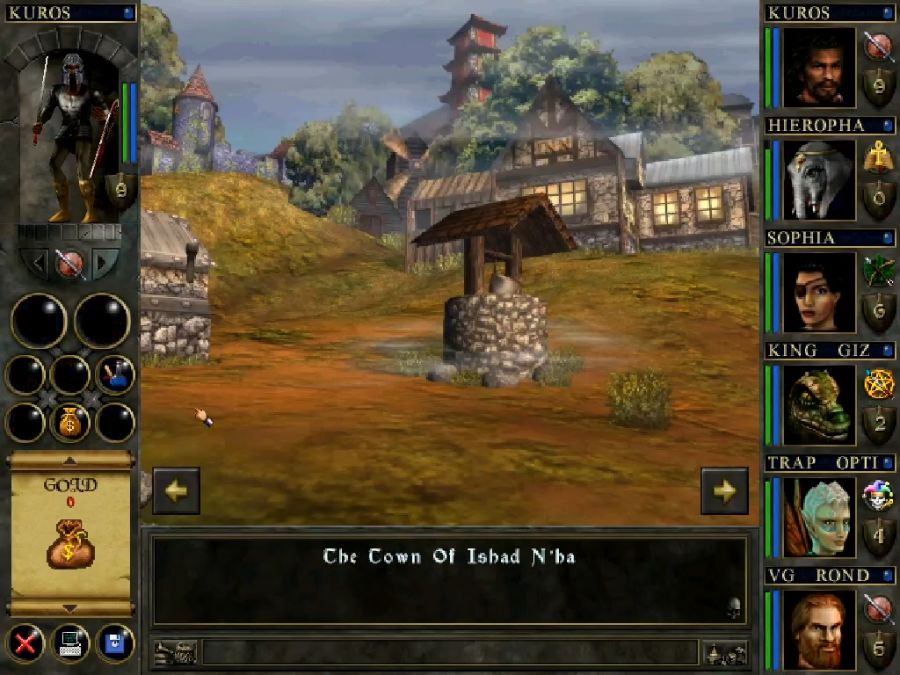
Alright, so, I know I've been pitching the game as having no real redeeming traits and while it still never has any memorably great places, the next big dungeon we're hitting is in no way as bad as the fucking Snake Temple.

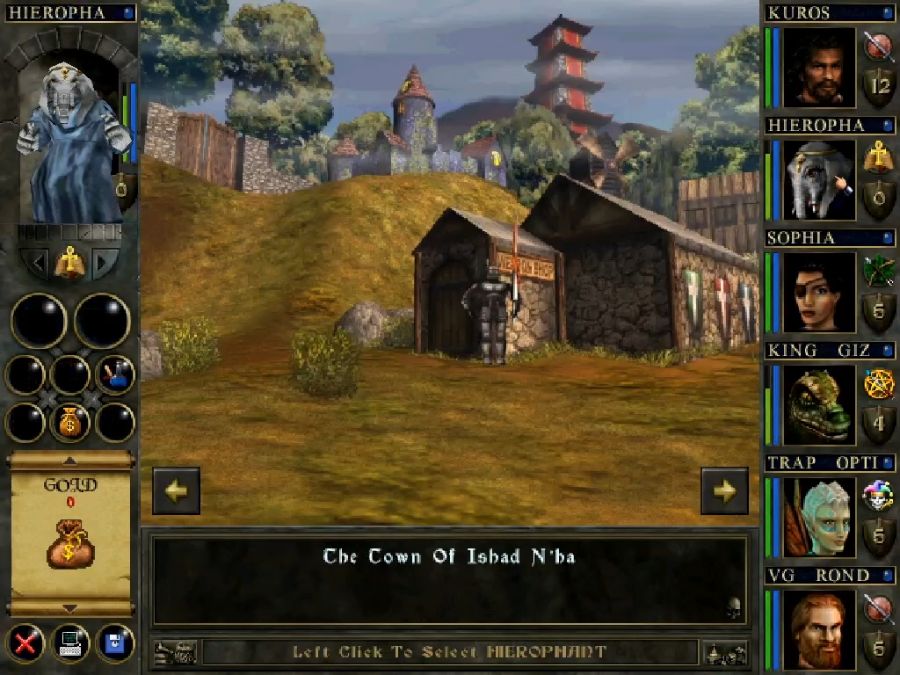
This update will take us up and down the eastern section of the area between Ishad N'ha and Brimloch Roon, though primarily I'll be running around Shurugeon Castle. So let's get out the door!
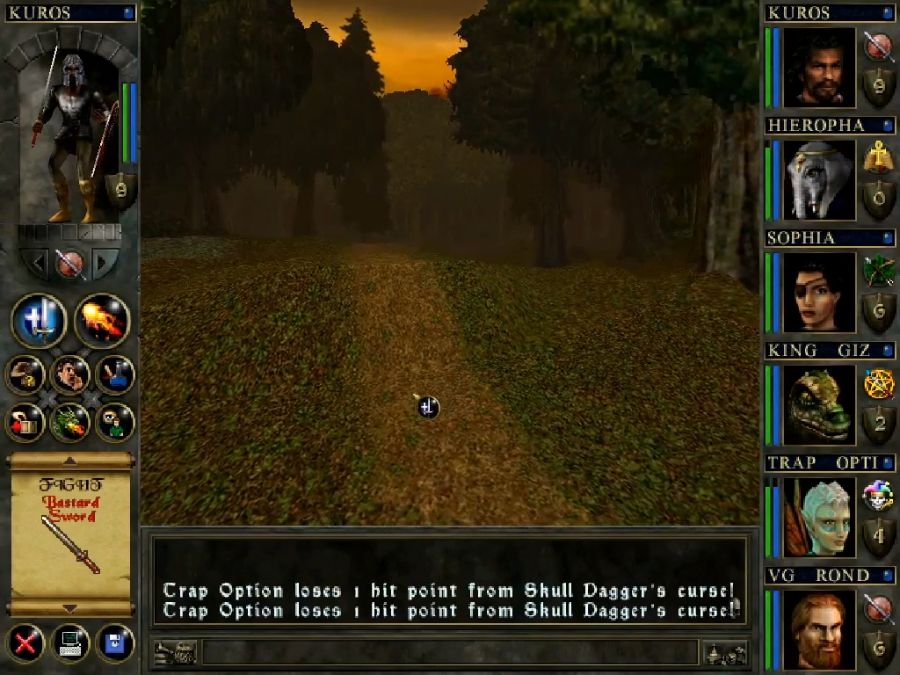
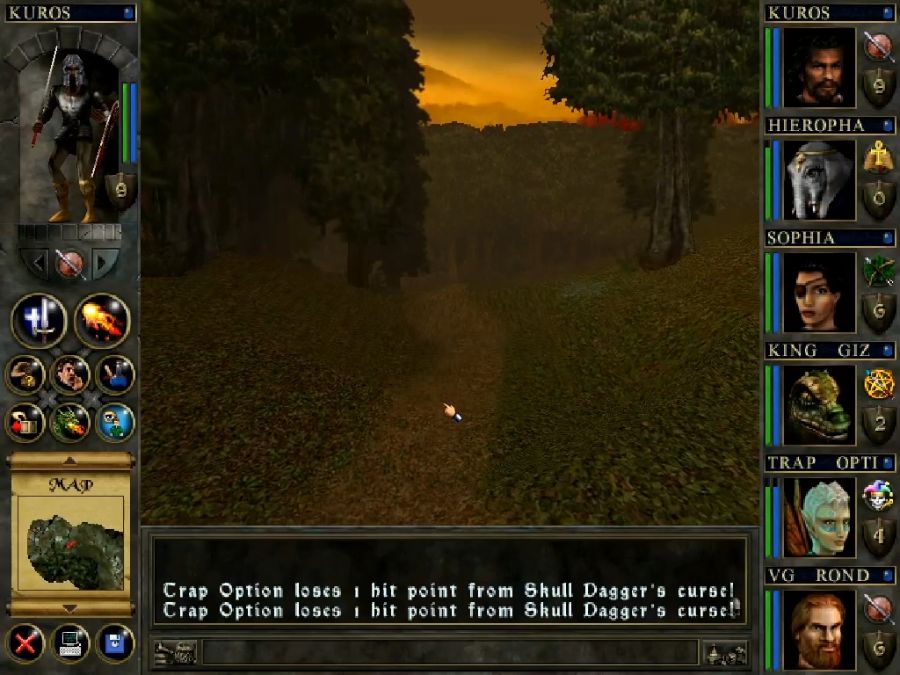
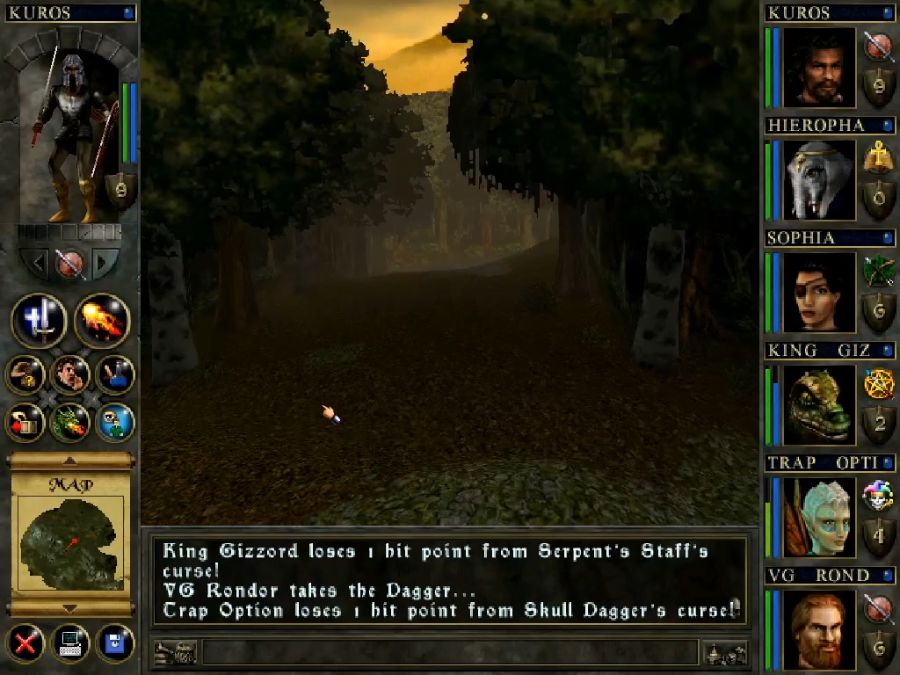
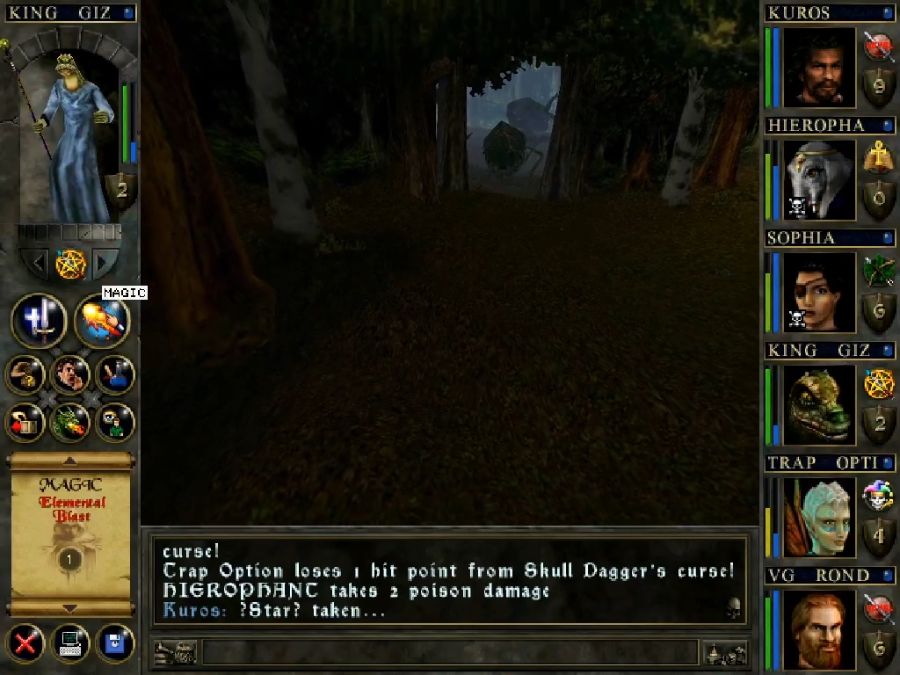
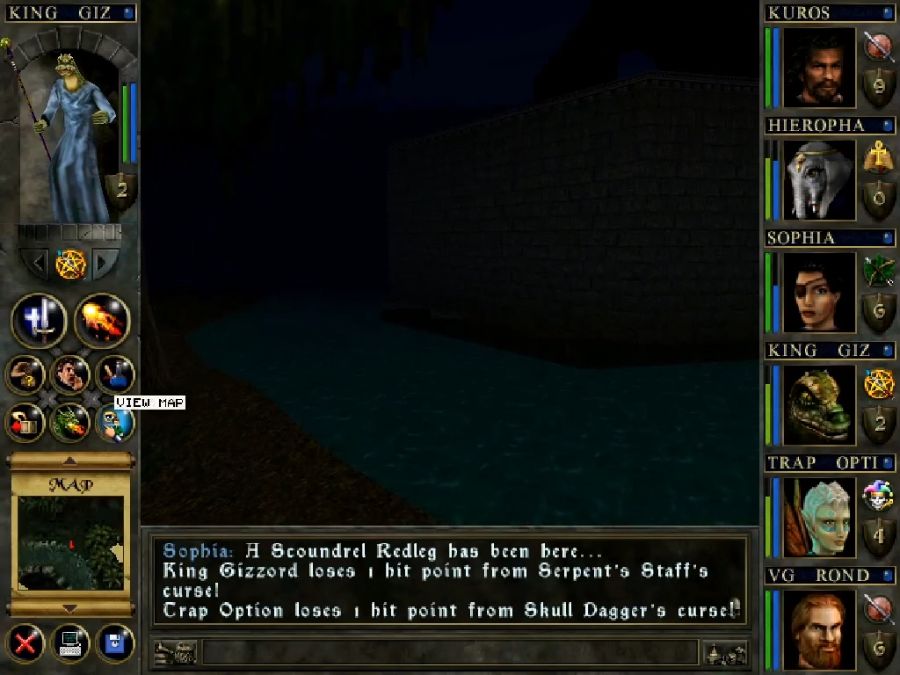
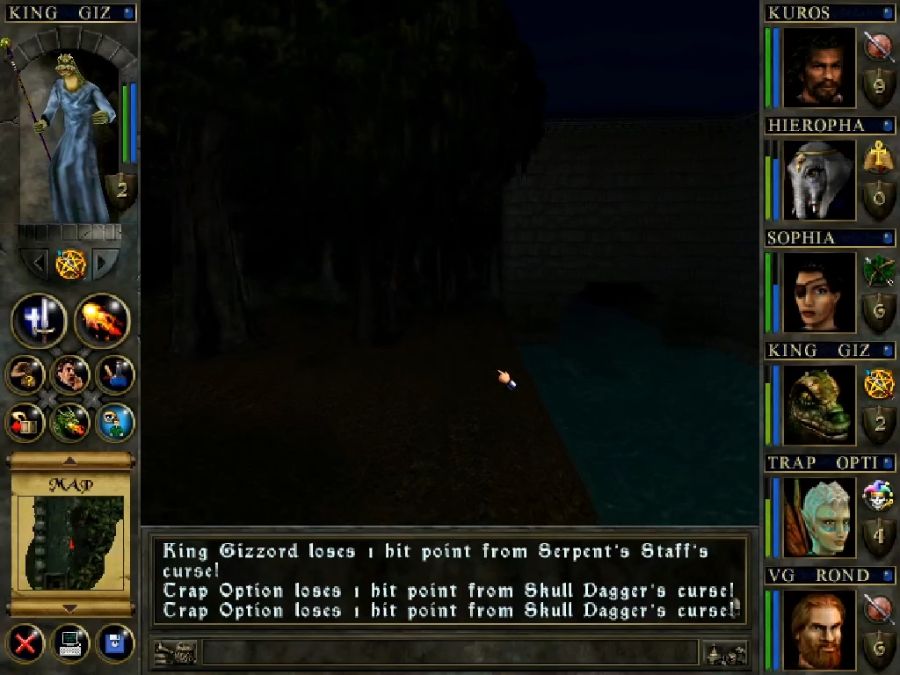
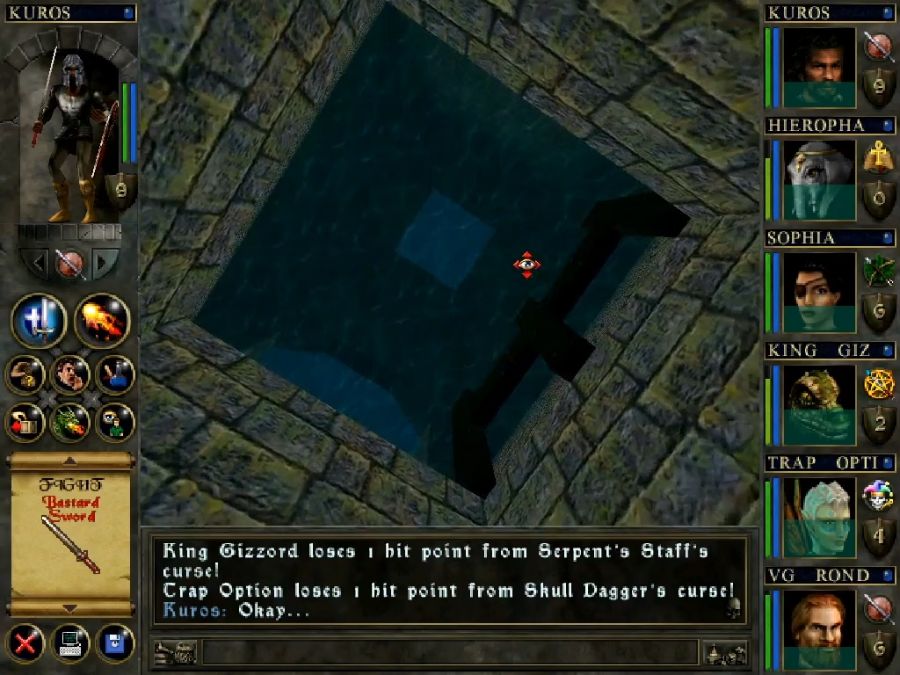
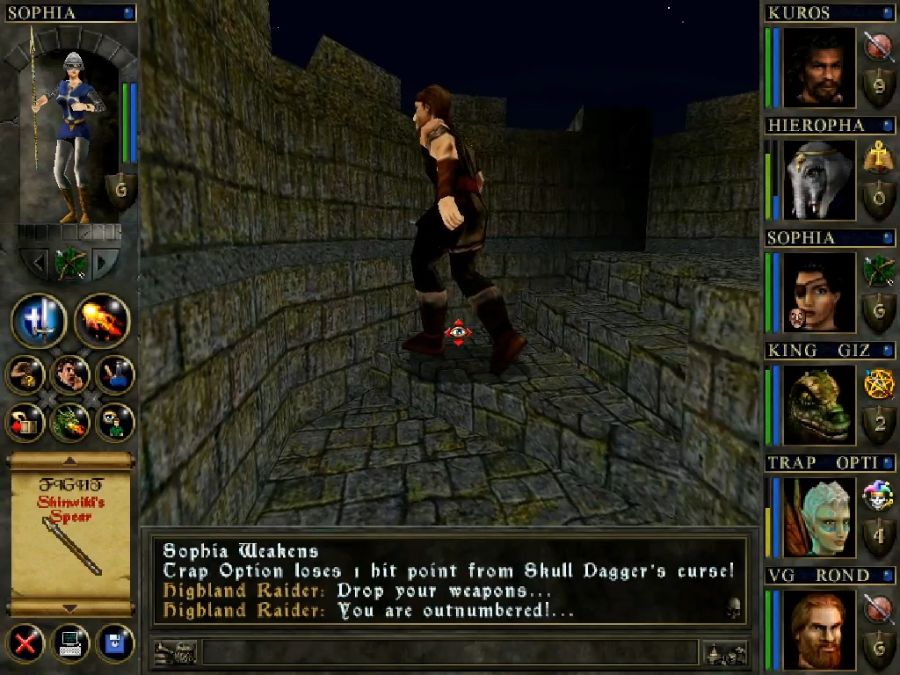
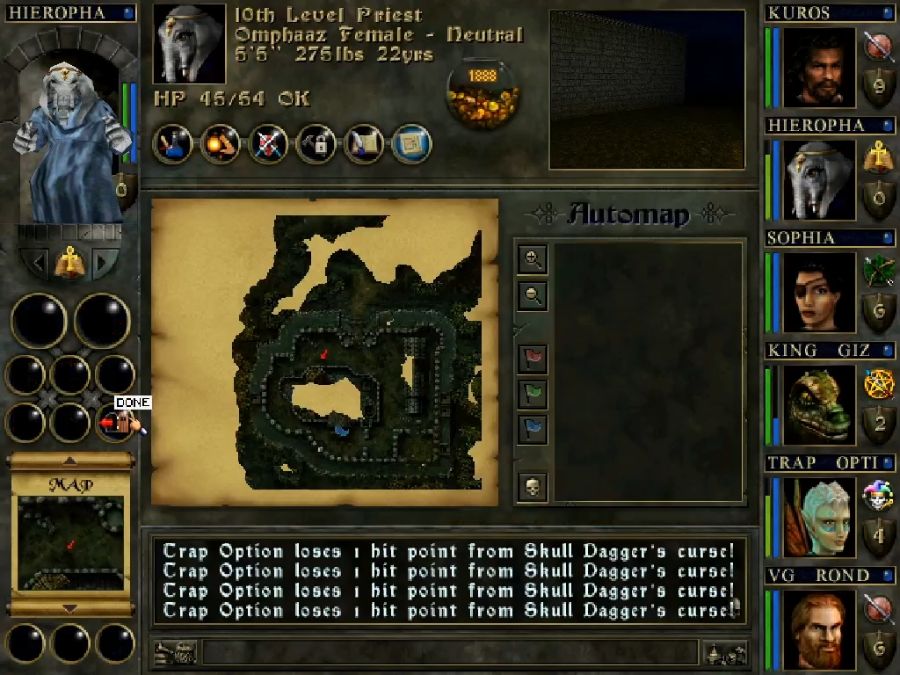
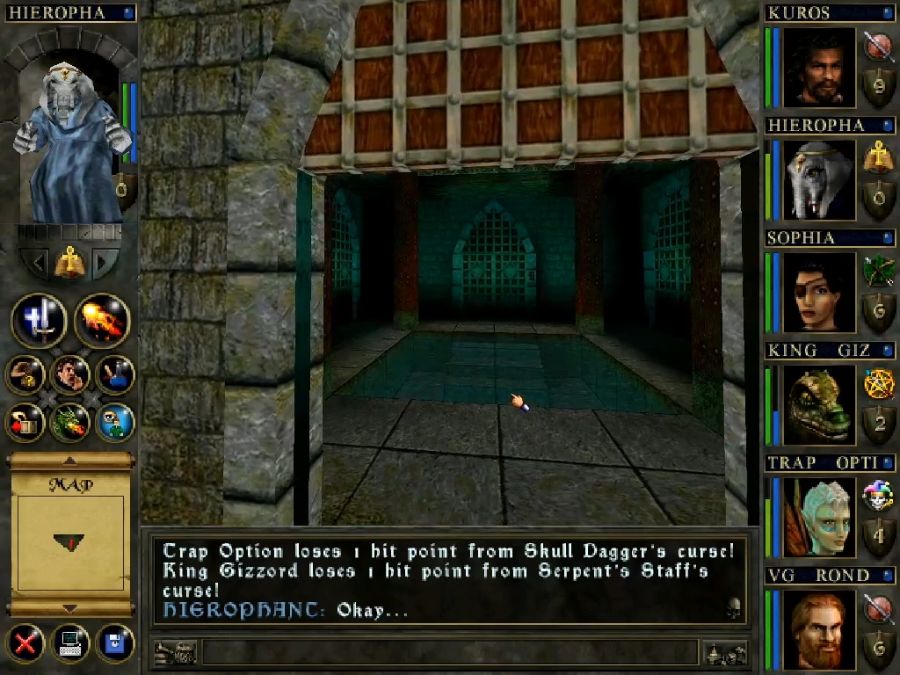
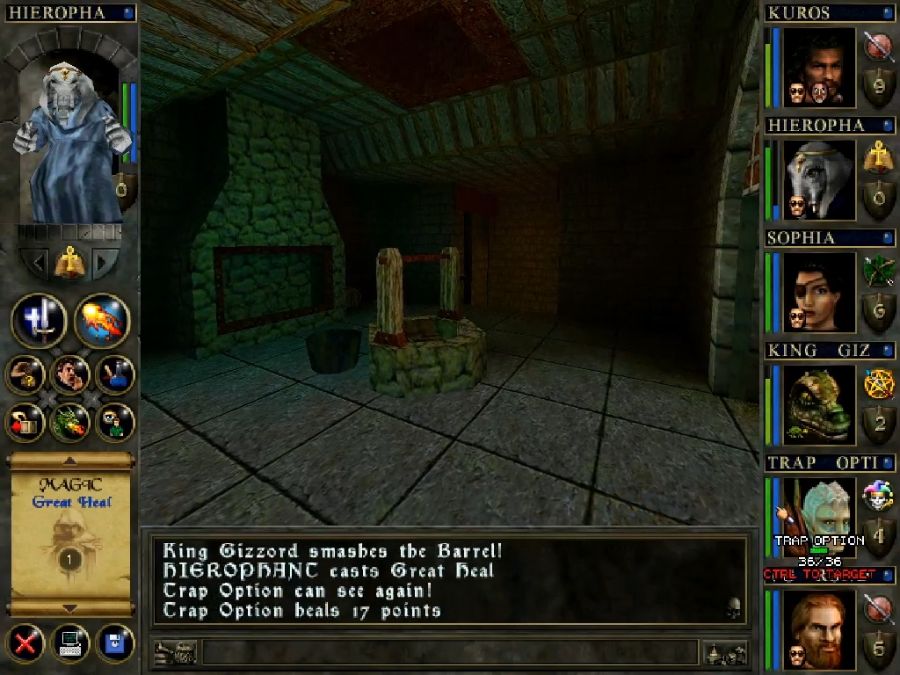
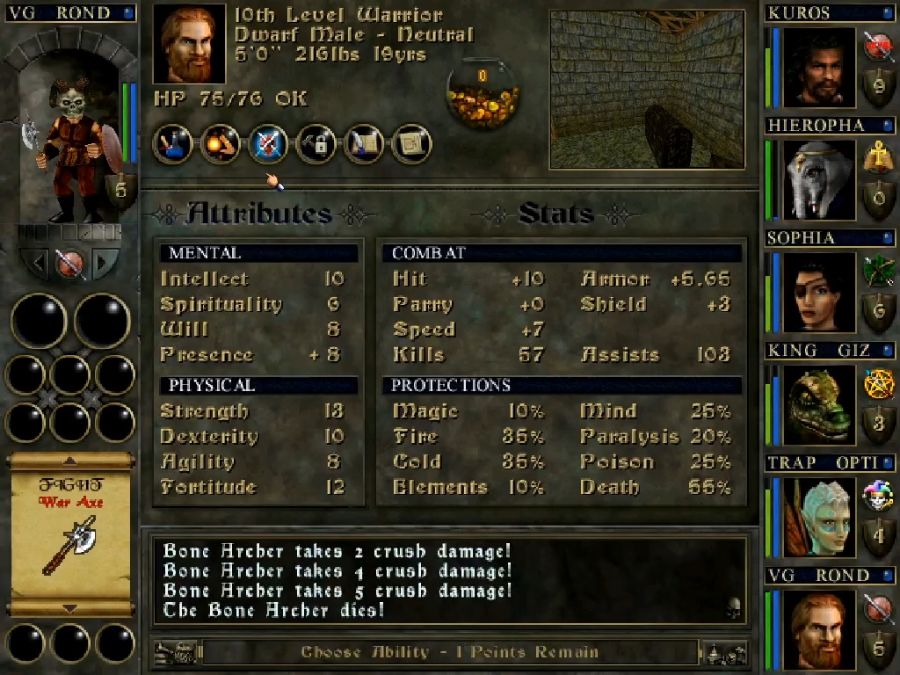
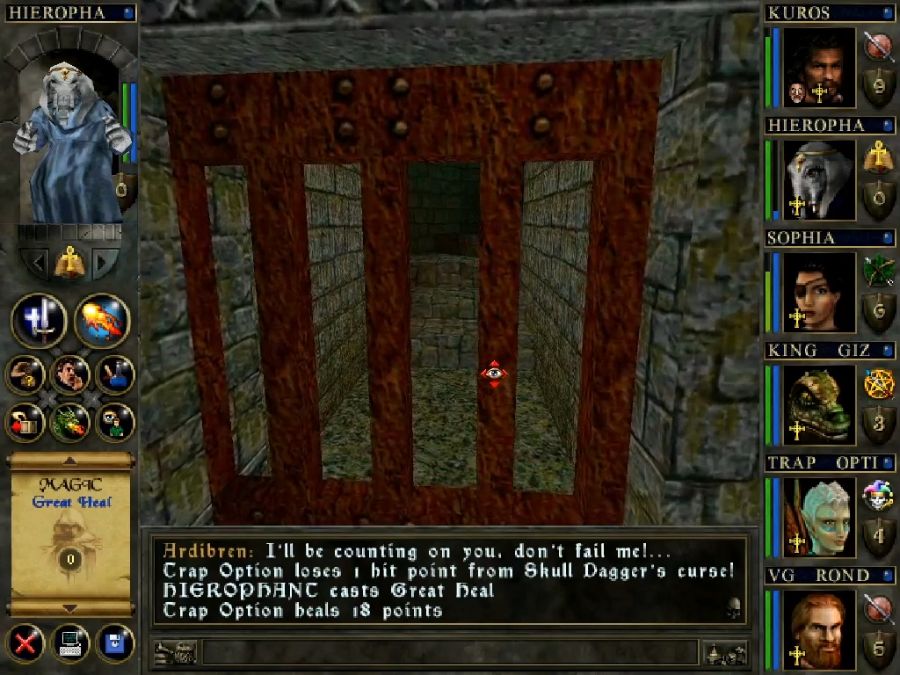
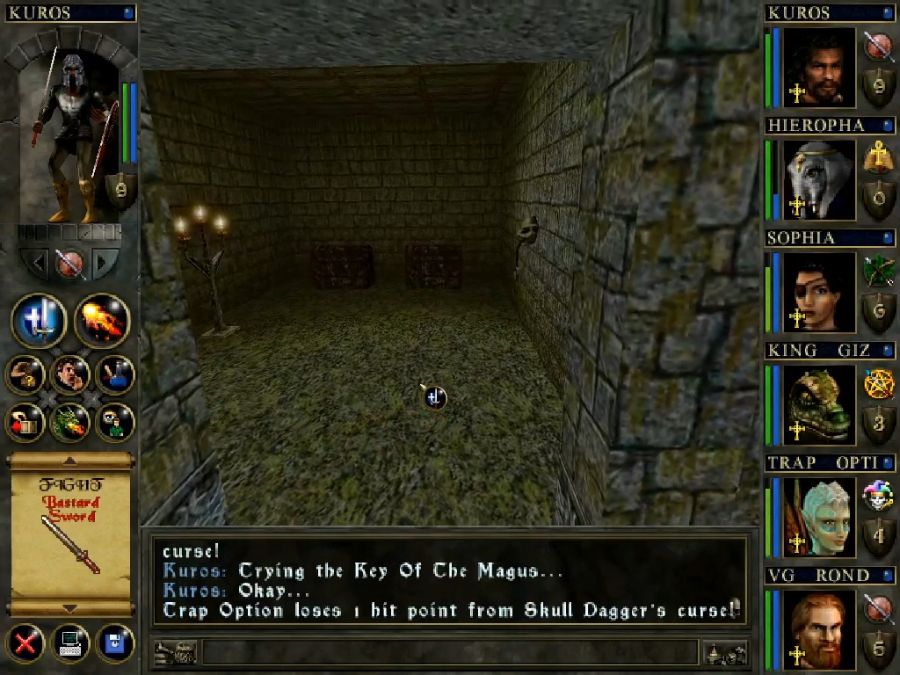
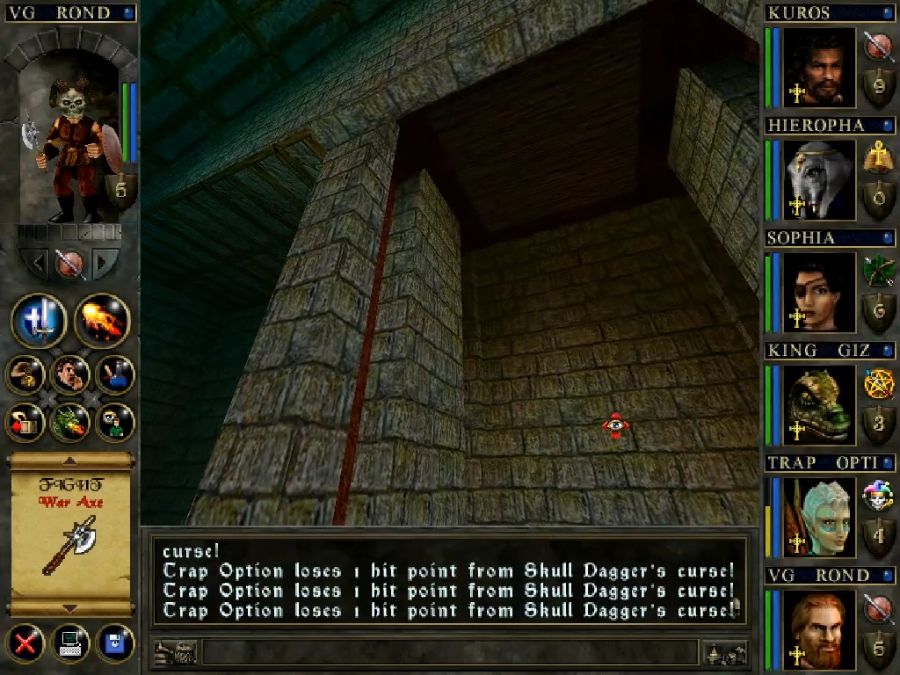
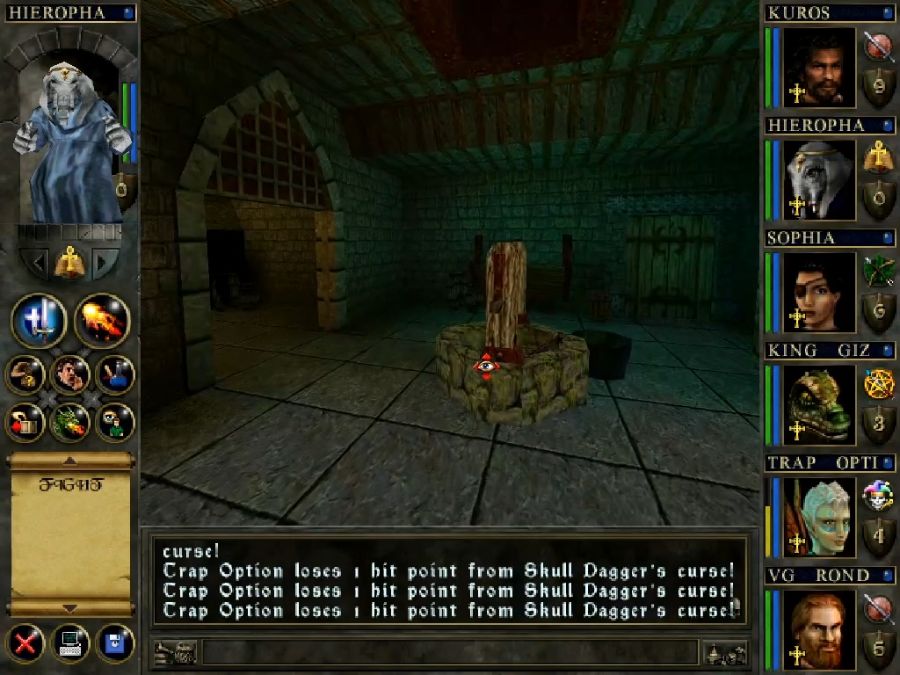
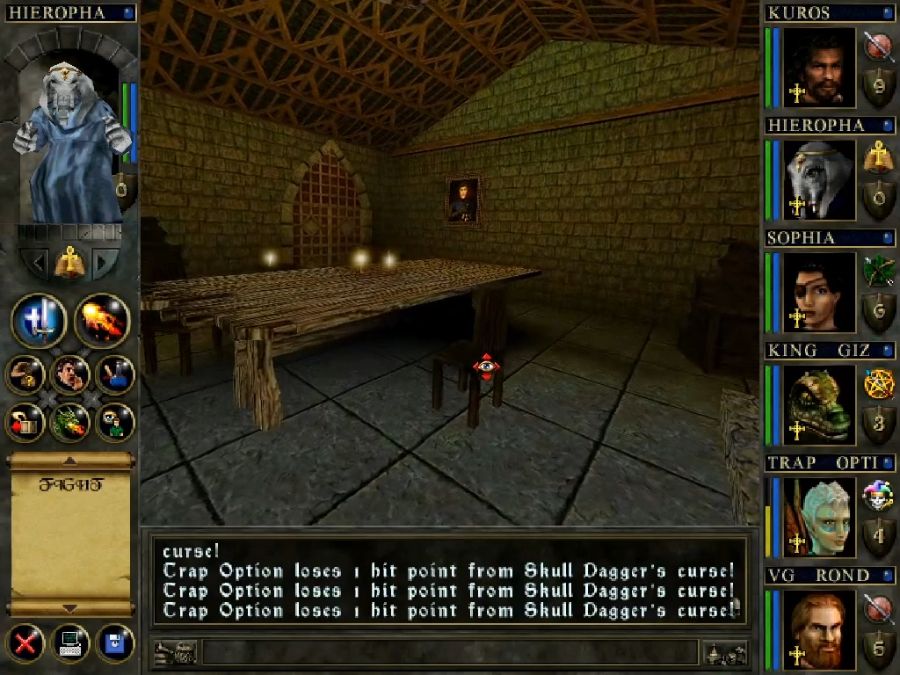
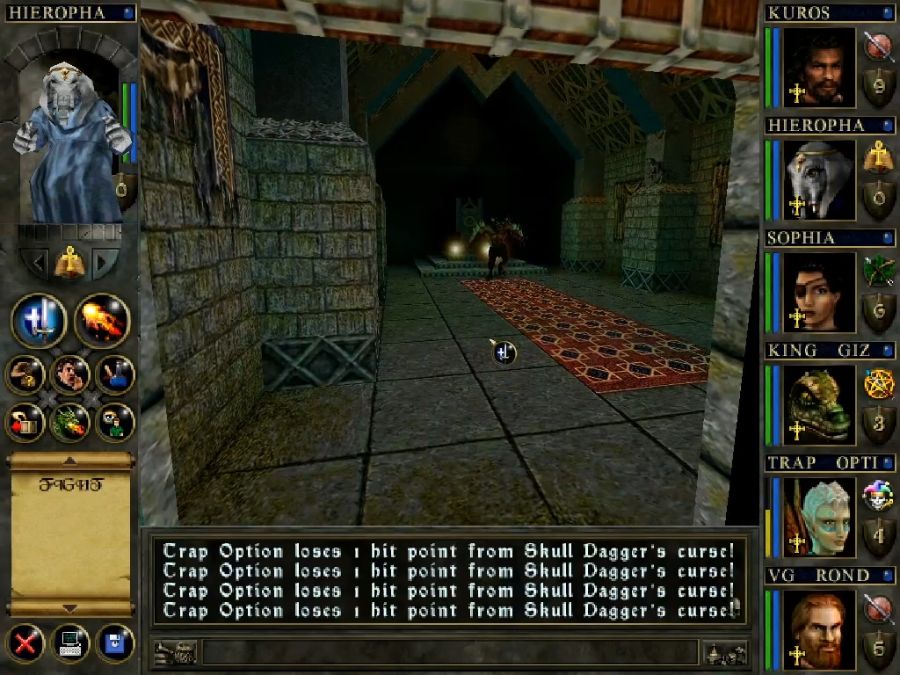
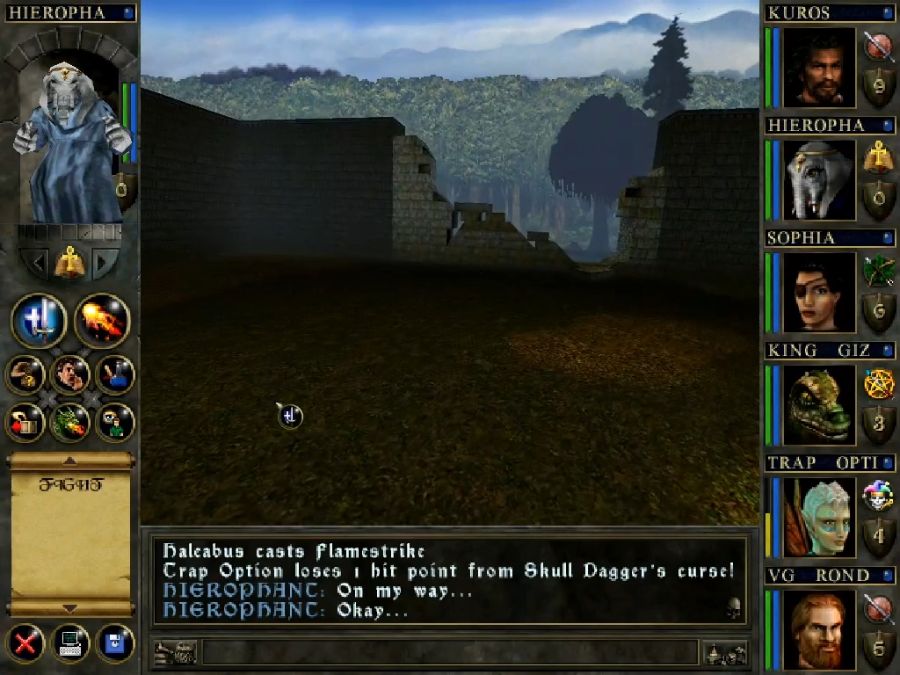
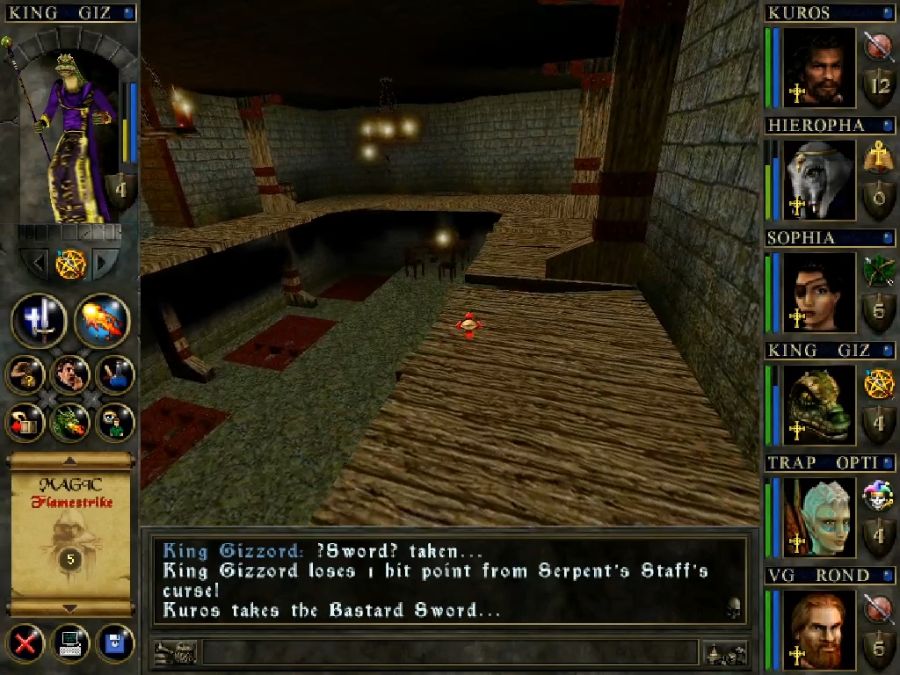
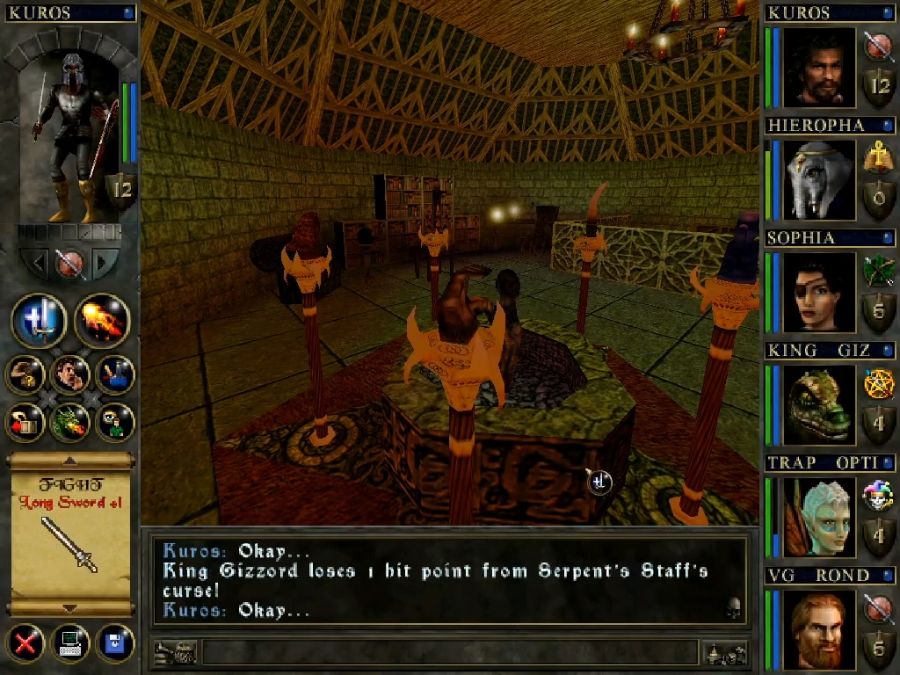
About two steps out the door I notice that the new dagger I bought for Trap Option from the Thieves' Guild is cursed. It's still an upgrade, it just kind of slowly makes him melt and is glued to his off hand for the time being. Far as I can tell, nothing in the guild indicates that it's cursed before you buy it and equip it.
New enemies include giant dragonflies, i.e. chump change that gets blasted by a single meteor taking out half the swarm.
Generally this area seems very chill at first glance, but because I've played before, I know it only seems that way and I'm intentionally going north rather than directly to Shurugeon Castle because I want to neuter one of the crueller tricks up the game's sleeve before it neuters me. Without anaesthetic.
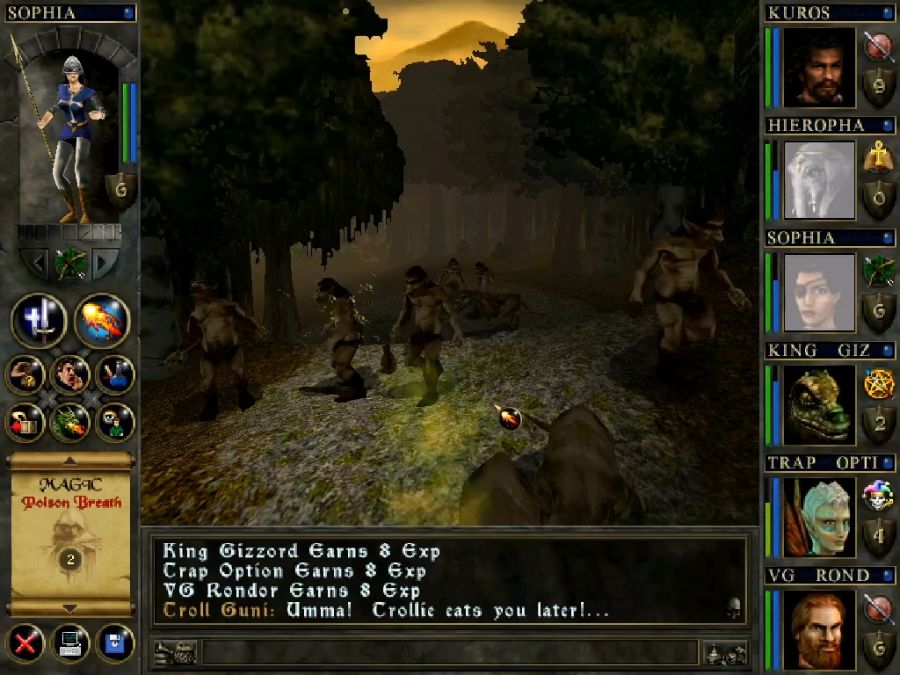
Trolls and Worgurs(the giant rats) also re-occur here, but with upgraded varieties(more meat for the worgurs, casters among the troll packs), but they're still completely irrelevant.
https://www.youtube.com/watch?v=yPUZ2iI5sKA
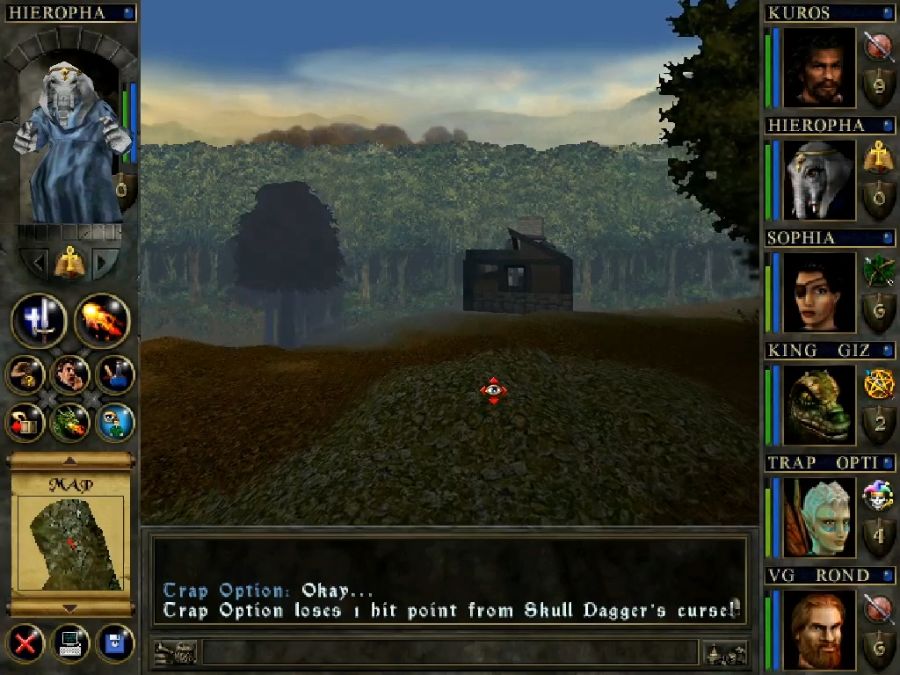
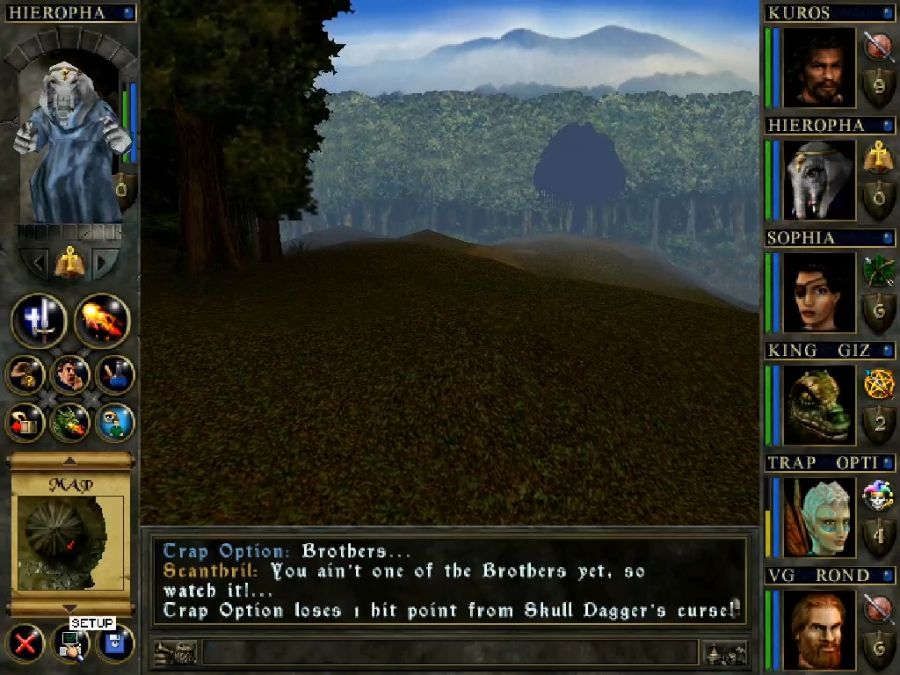
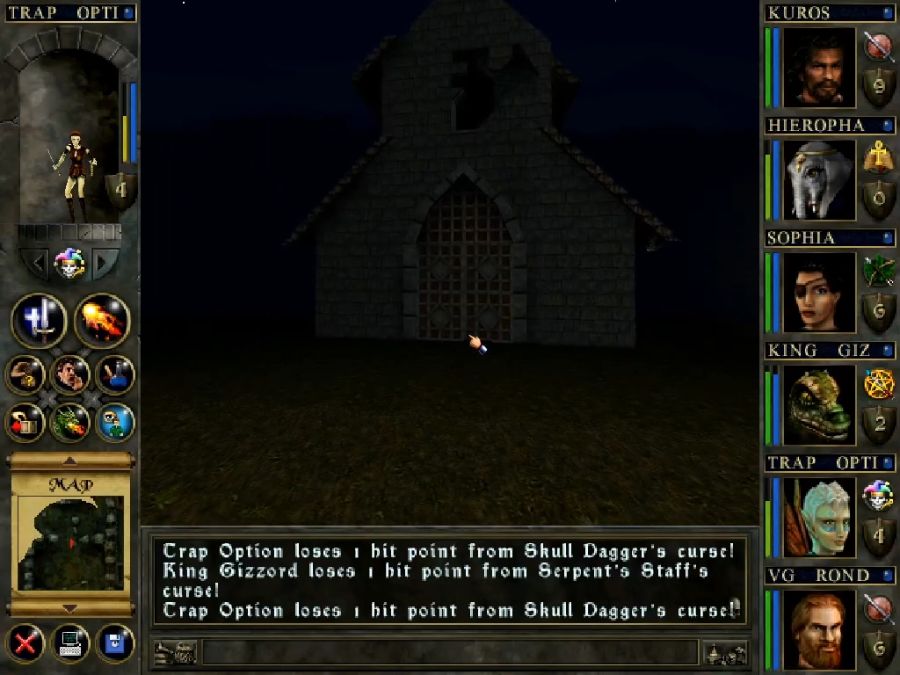
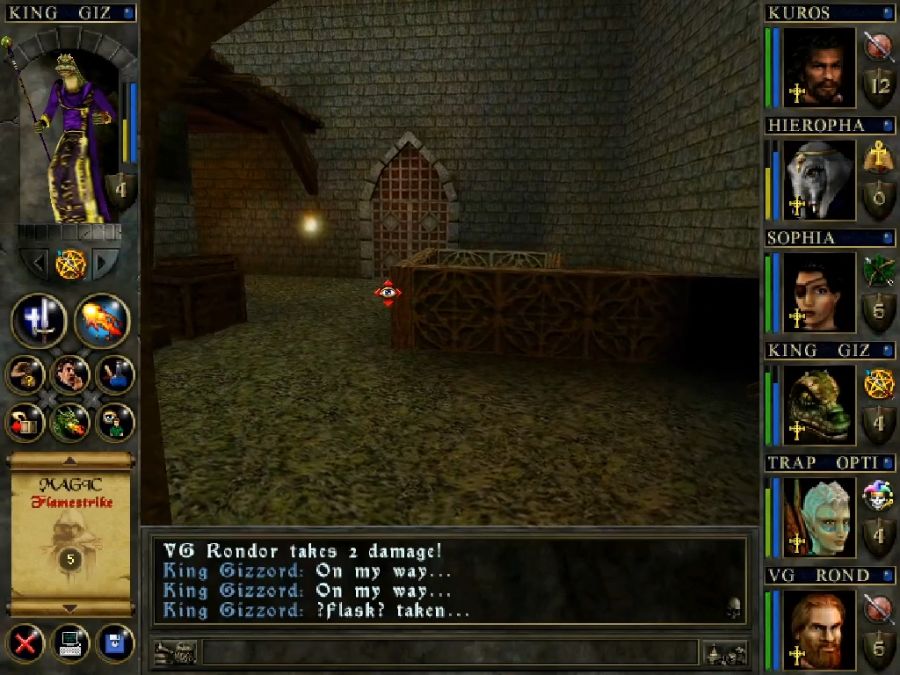
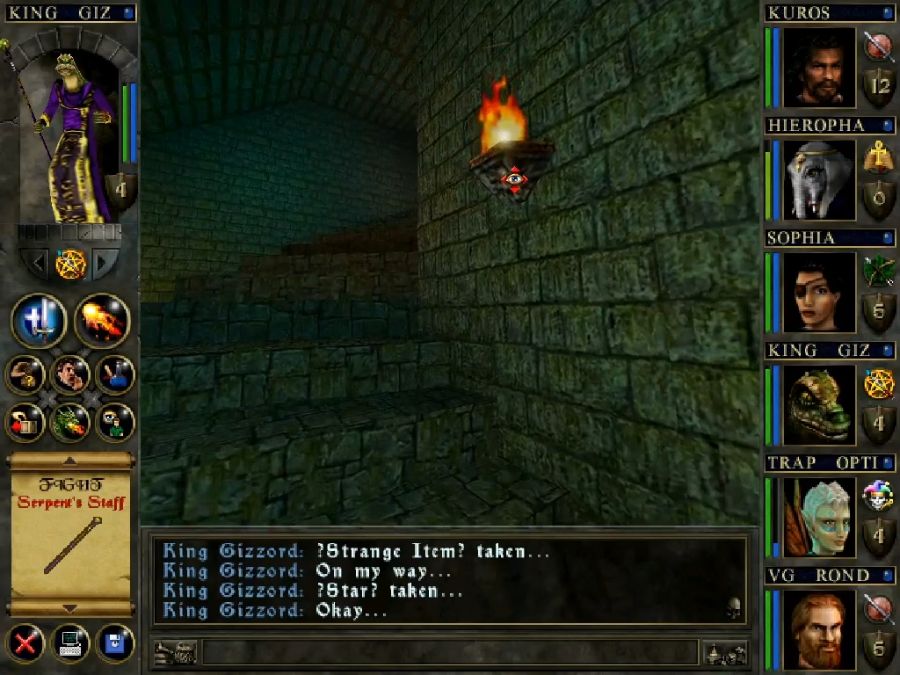
This little burned-out house contains SCANTHRIL and his merry rats who are so annoying I want to kill them except that their assassination quest conceals the secret way to advance Trap Option into the Assassin class, the absolutely best option for anyone starting as a rogue(and not an option for anyone else). It's an odd departure because the other two special classes you really only get one dungeon from ending the game, and thus they're kind of pointless, but the assassin you can get comparatively early.
Leaving the house, I also note that despite it being a square, roofless house the minimap shows it as a little round thatched hut.
 Attention to detail!
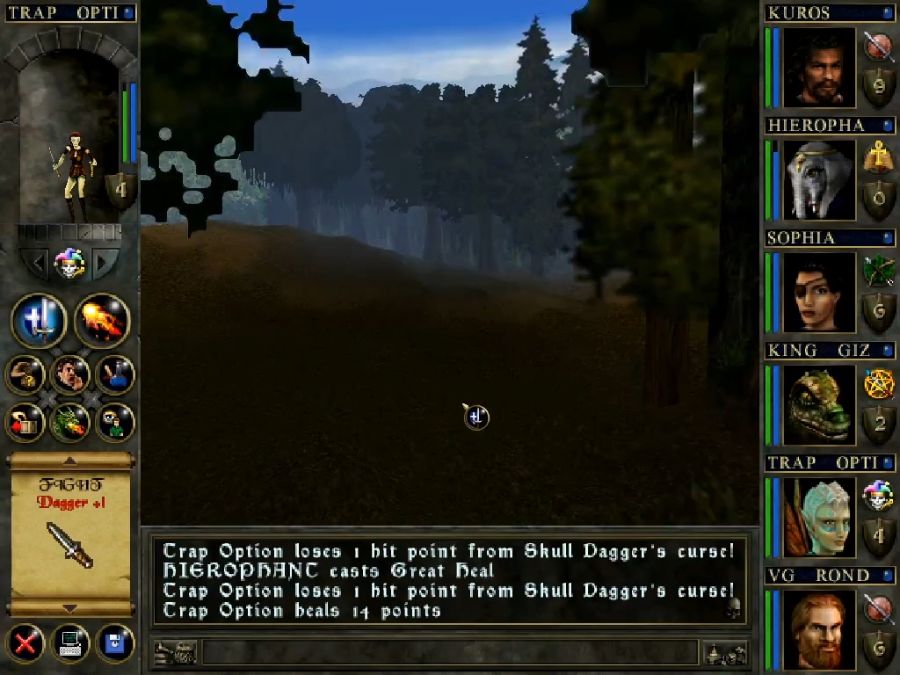
The reason I'm up here is that I'm looking for a very specific pack of enemies. I'm not sure if it's scripted or coincidence, but consistently upon approaching Shurugeon Castle they've ambushed me from behind every time, and others have reported the same "fun" experience, so I'm nipping that one in the bud.
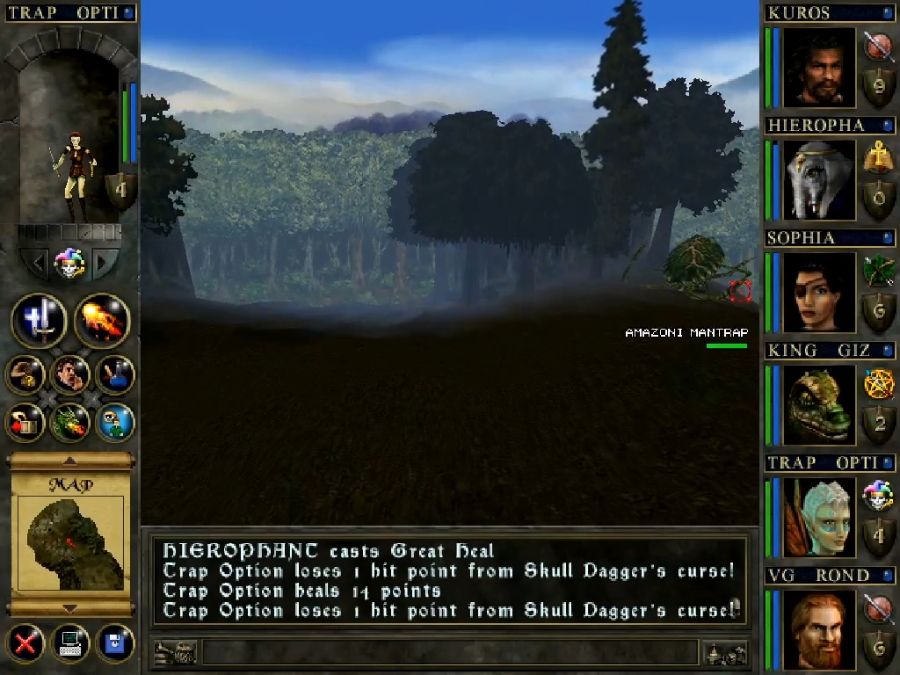
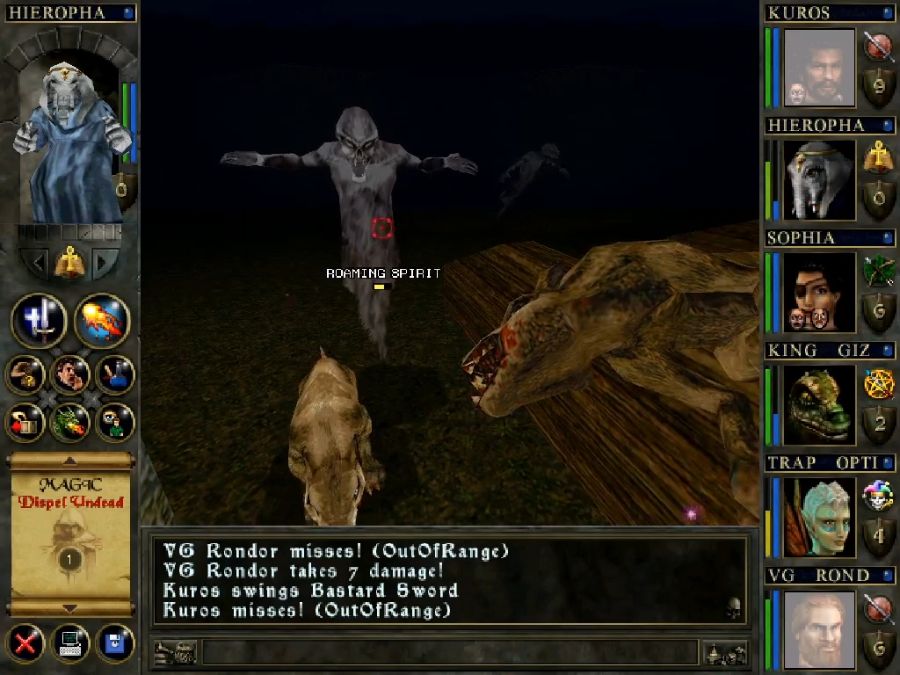
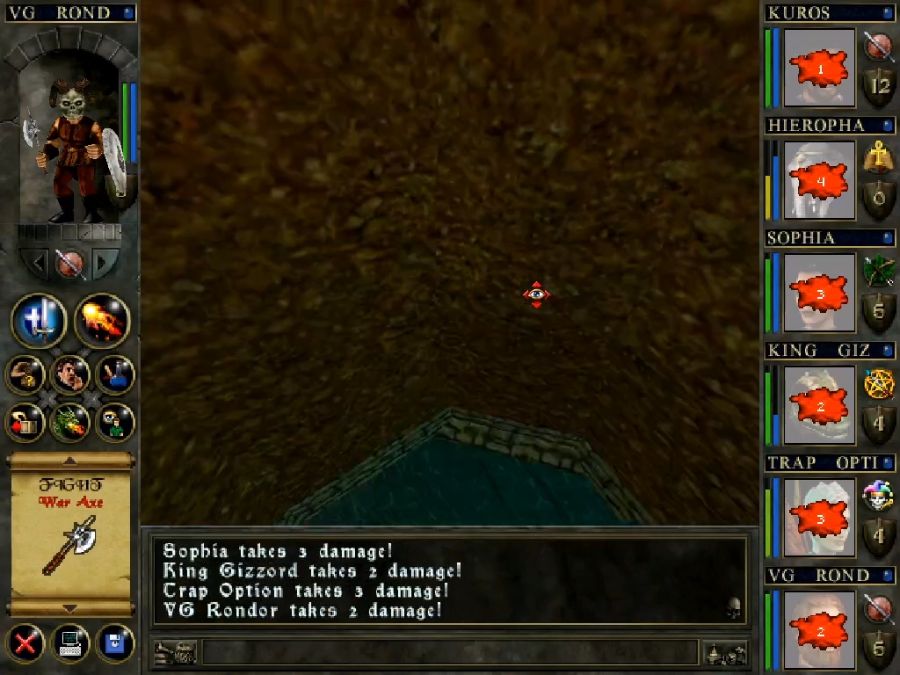
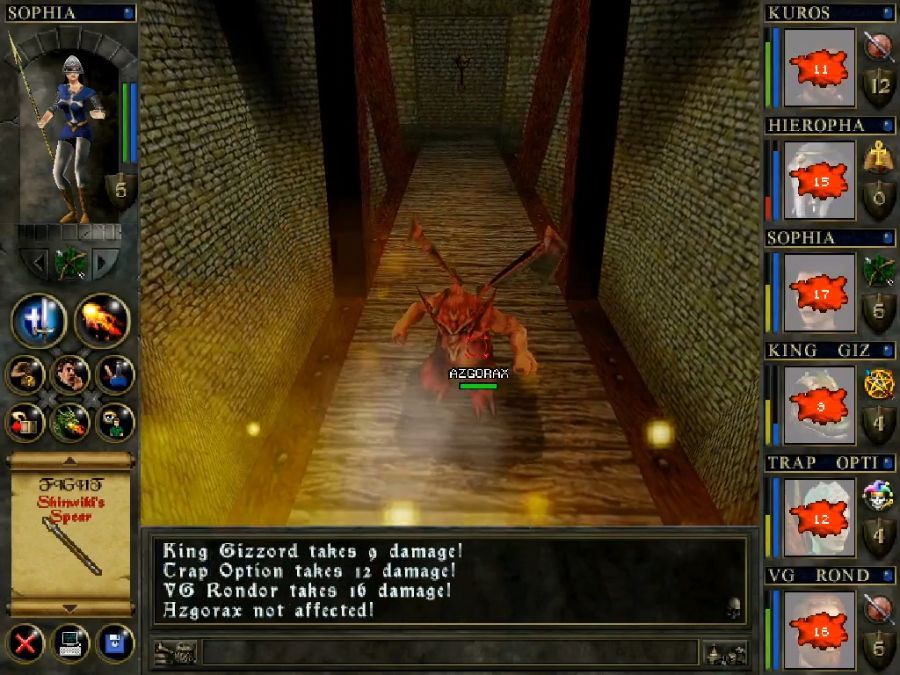
And here they are, the goddamn Amazoni Mantraps. They move slowly(actually, in hindsight, I think most enemies move at almost the same speed...) and are huge, they are also not to be fucked with. Note that I can reach them like two minutes' walk from the main gates and they will still one-shot the entire party. That is not to say, they will kill one party member with each attack, but one attack from them will kill THE ENTIRE PARTY.
Lemme show you by getting too close to one after pelting them with a few ranged attacks.
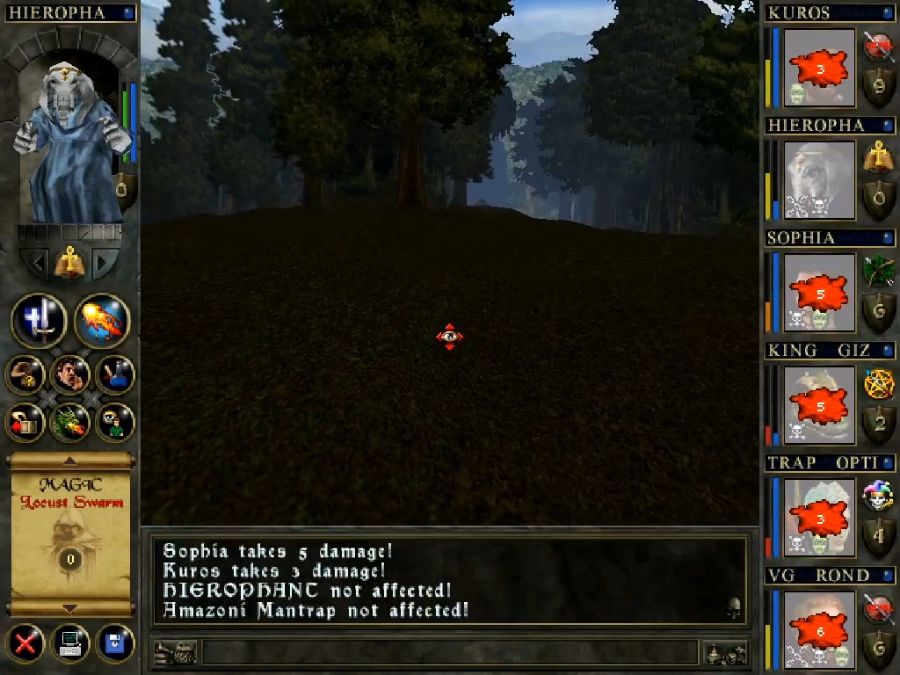
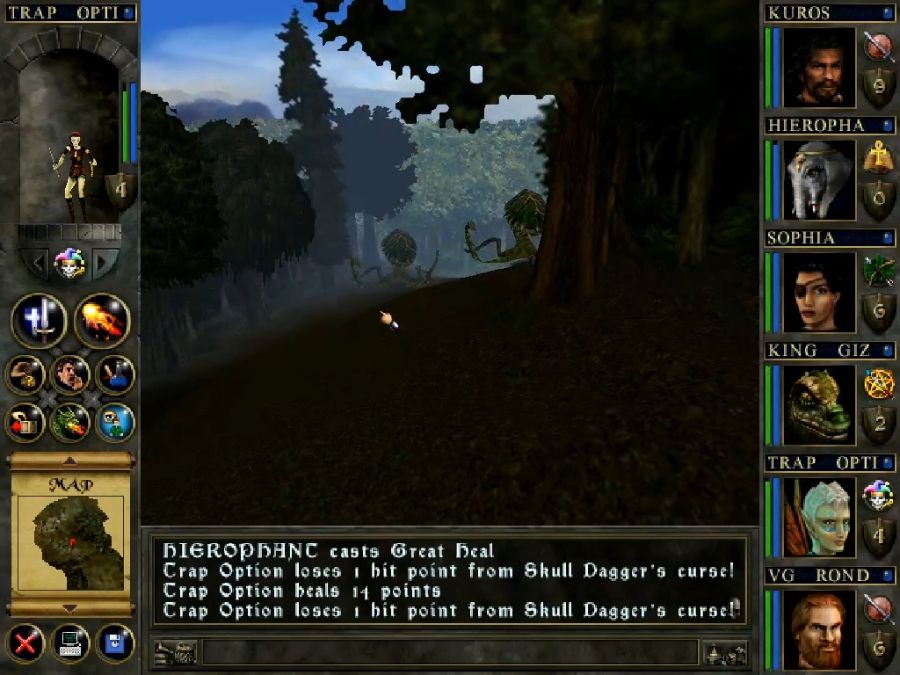
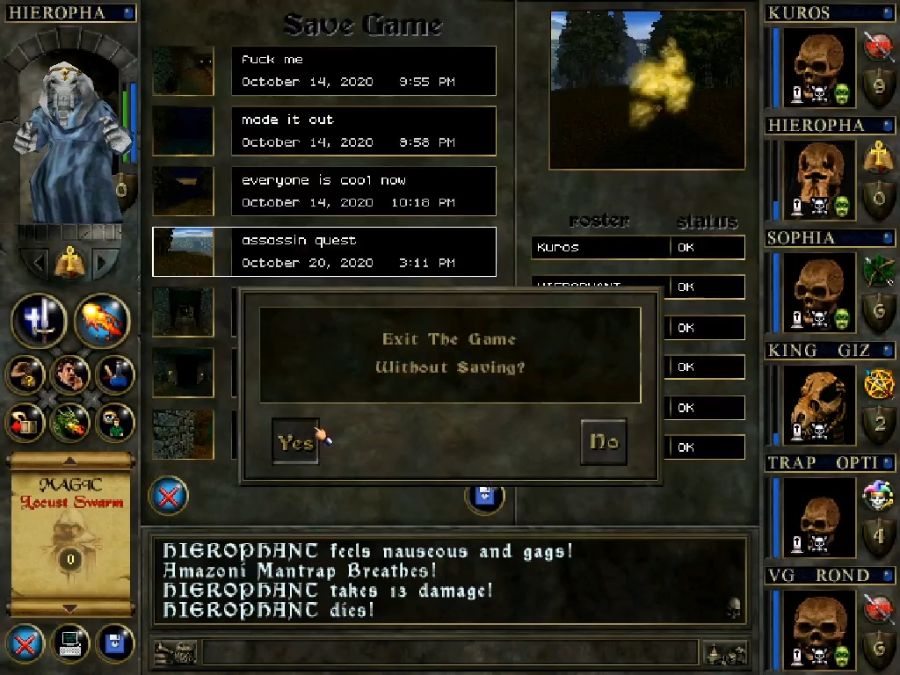
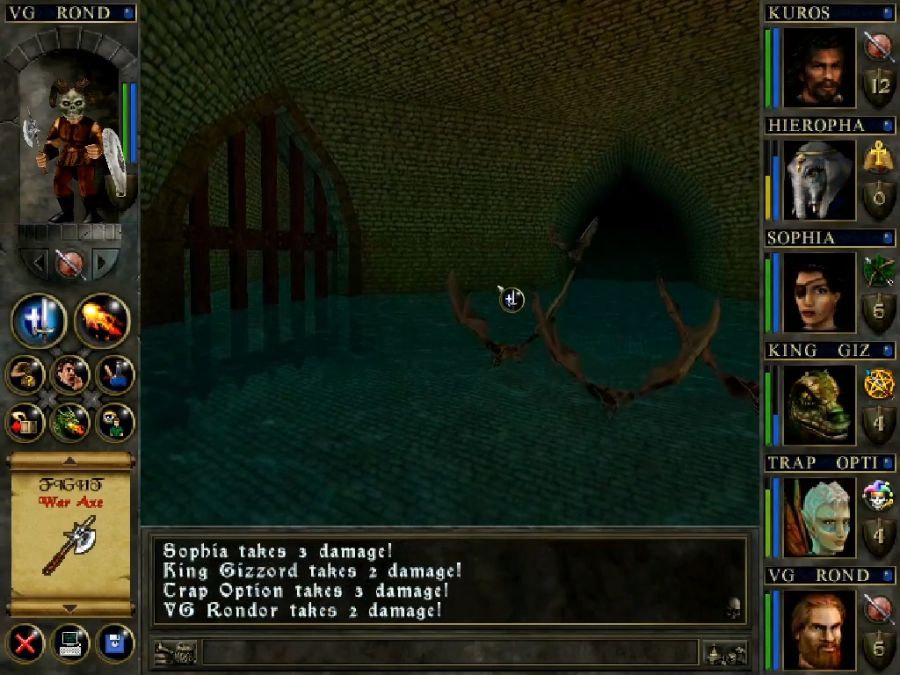
They also, of course, do not do so with a dodge-able long-range projectile, but instead do so with a medium-range vague attack. Also despite only two being visible at any time, there are actually four, the rest are just hidden behind the bad draw distance. Also during this first mistake, I got double-teamed from behind. Here's what I saw when I turned around.
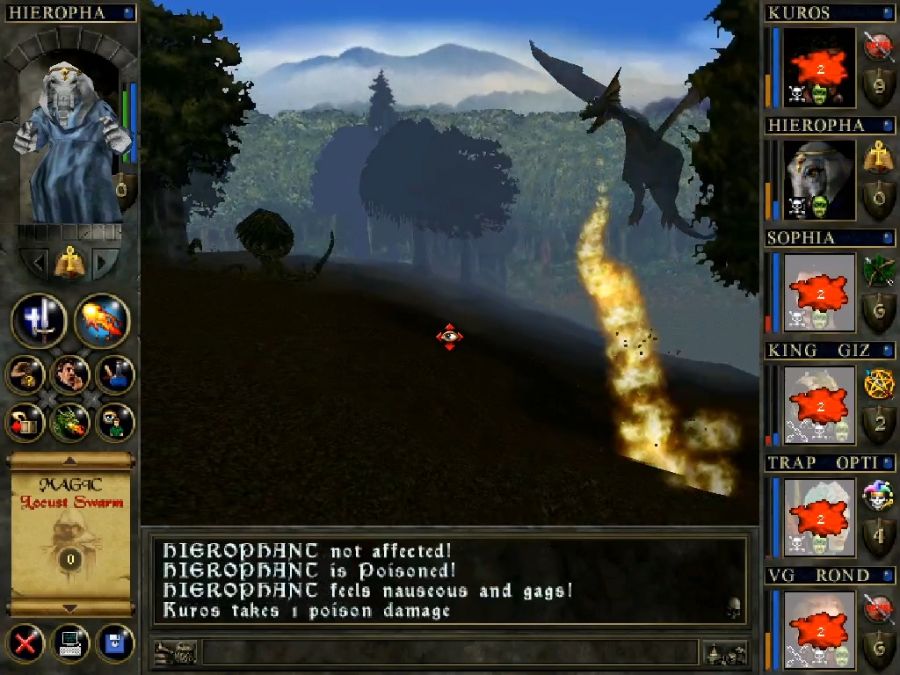
Yeah, some parts of the map just contain this big dragon called Erathsmedor who patrols casually and will fuck you up if he catches you.
Anyway, time to reload that one...
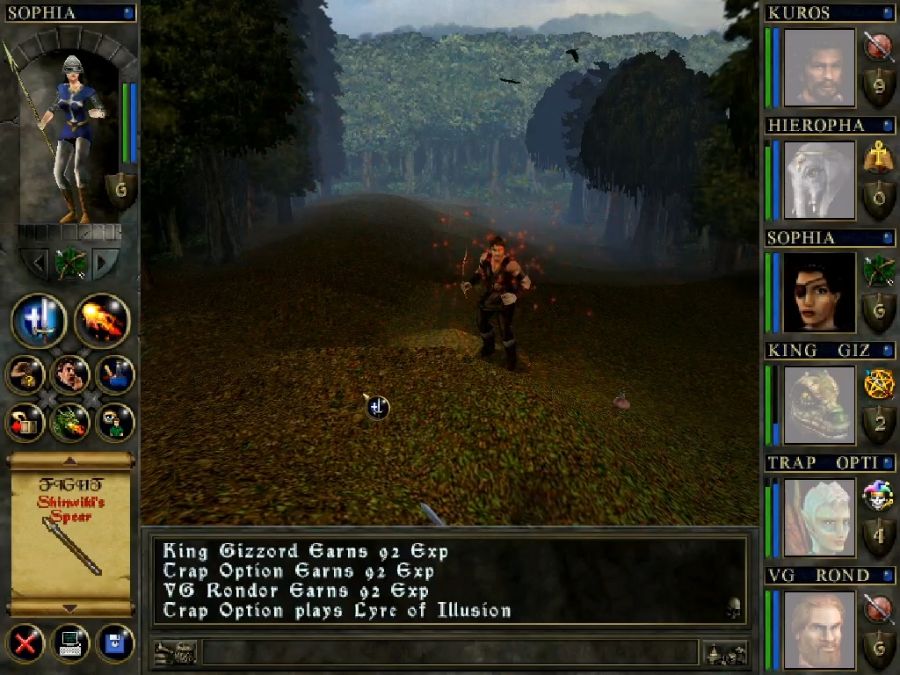
On the second try I run into some random enemies on the way to the mantraps and decide to try out Trap Option's new lyre of summoning on them!
It, of course, summons enemies that I could literally one-shot at level 1, just to mock and spite me. I'm starting to feel like bards are in fact a bad choice and I dodged a bullet by never bothering with them before.
I also want to point out that half the time casting spells doesn't lower the actual visible mana bar, but using instruments drops it every time despite not appearing to lower any mana amounts that actually have a numerical value associated with them anywhere on the character sheets or in the spellcasting menu.
Being a genius, I lure them to a gap in the trees large enough that they think they can path through it, but small enough that they actually can't. Dumb plants.

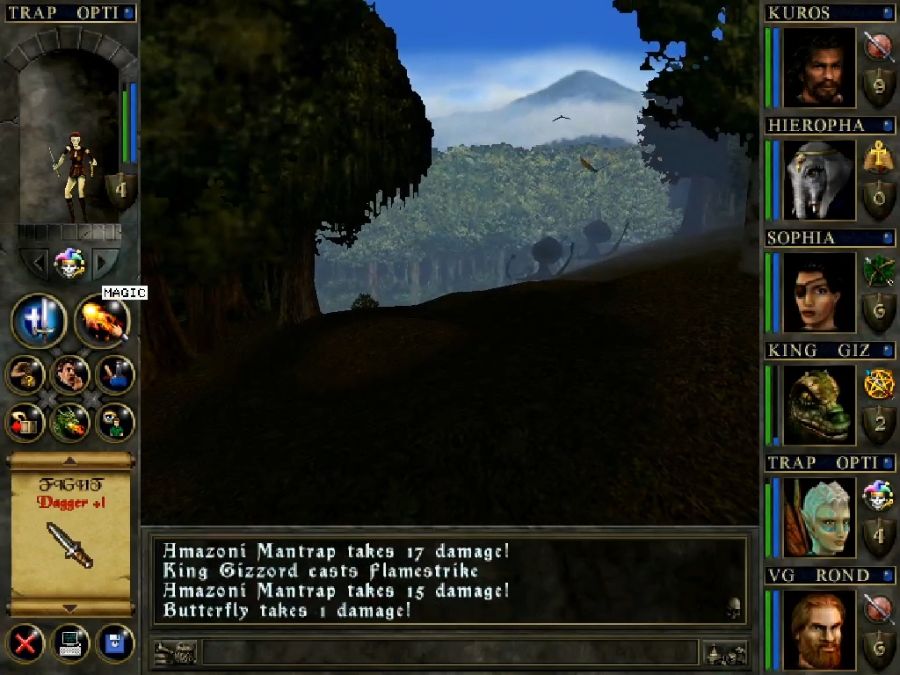
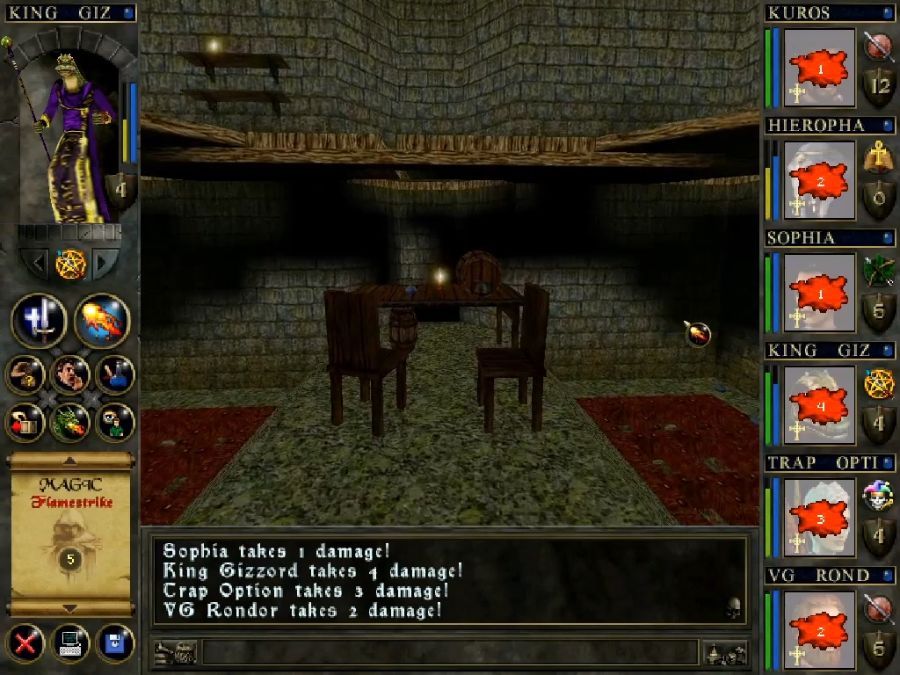
It takes a full load of ranged spellcasting from Gizzord to kill ONE of them, and sometimes there are misses, so I end up being here for almost half an hour sniping at them through the trees and slowly whittling them down.
During this lull in the action, I get some visitors.
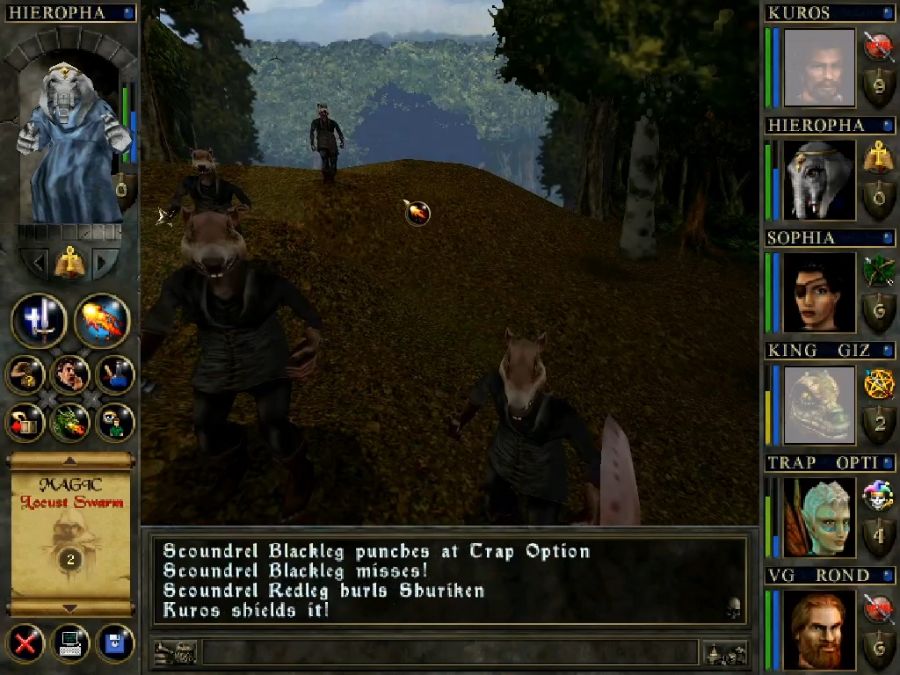
So, have I mentioned that Wizards & Warriors has enemies that can steal from you? And that they can steal any item, including quest items? Thankfully they don't try to run away with them and you can kill them and get them back. But there's some real softlock potential there. The various ratling enemies are, of course, all thieves, and if they jump me while I'm low on mana(like here), they can actually do a decent bit of damage to the party. They are, thankfully, also loot pinatas. Pretty much everything they drop that isn't their melee weapons is worth a solid bit of gold, even their goddamn shurikens sell for nice amounts.
(one of them also steals Rondor's weapon here and I don't notice for a while meaning that he spends a good bit of time punching people. Part of the reason for this is that the character models don't always update correctly so for much of that time his model in the upper left of the screen was still holding an axe even though he'd been disarmed almost half an hour prior)
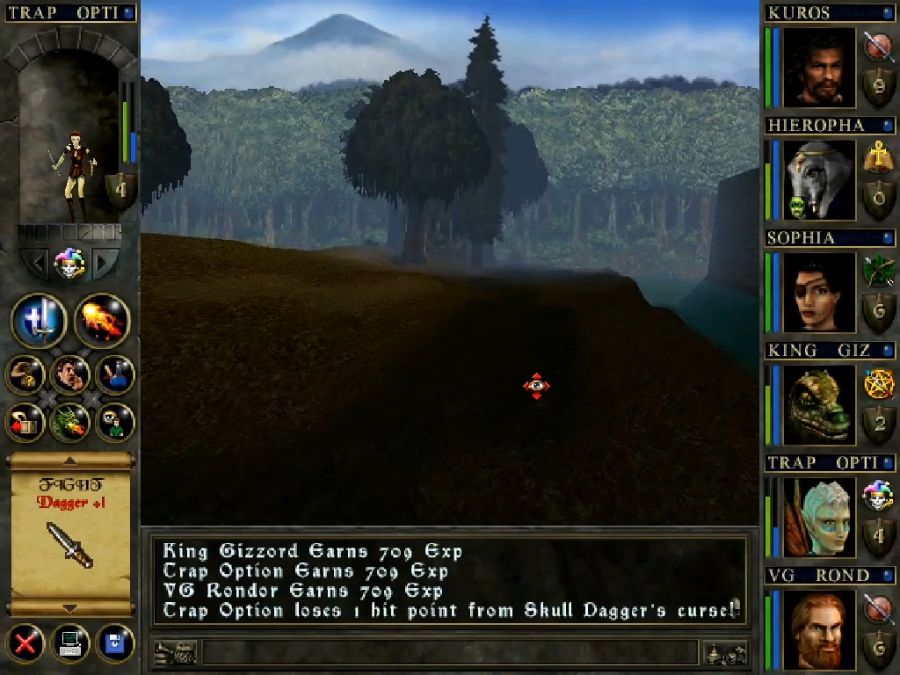
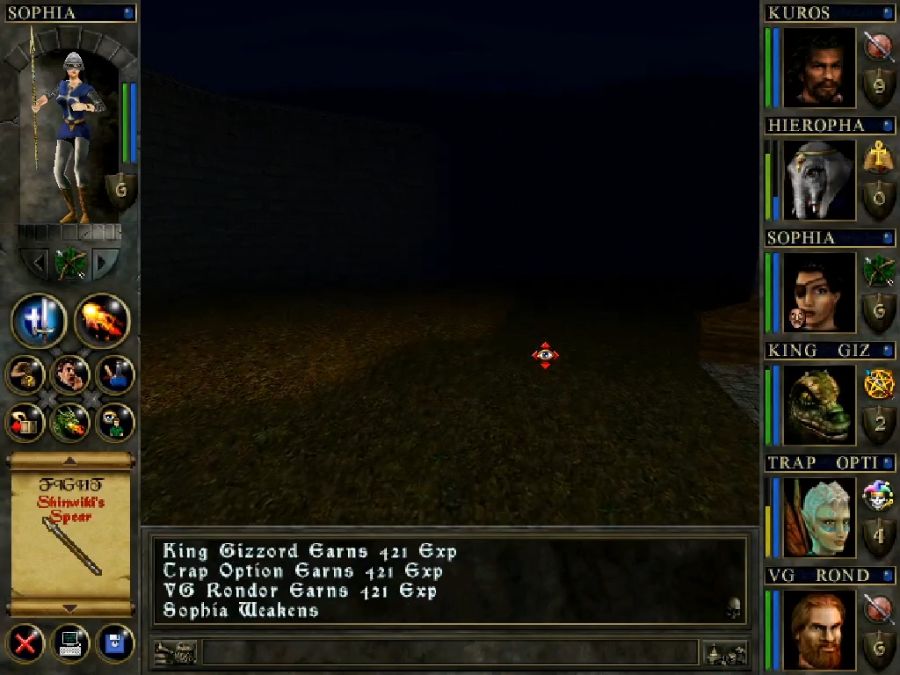
So it goes on for a while and eventually I take the damn plants down. This is delayed somewhat by Wizards & Warriors' unpredictable resistances, which caused me several wasted spell casts as I learned that they're what they're vulnerable to are a level 3 Sun spell and a level 4 Stone spell, while shrugging off level 3 and level 5 Stone spells.
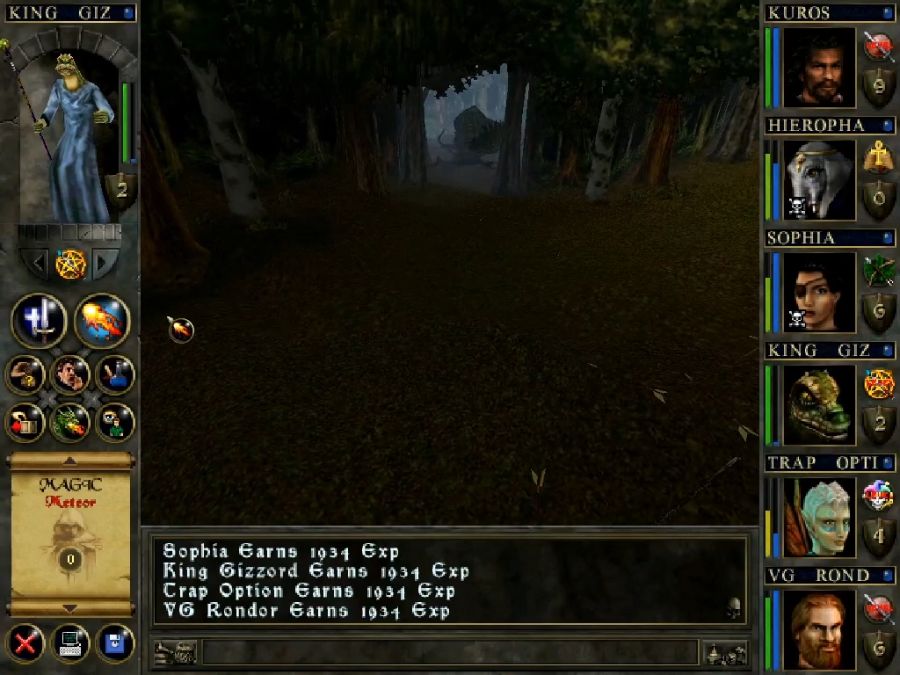
Their only saving grace is being huge XP pinatas, so far nothing else outside of Xydusa and Elysia has given this much XP in one go. So pretty much everyone ends up getting a level-up, which is nice.
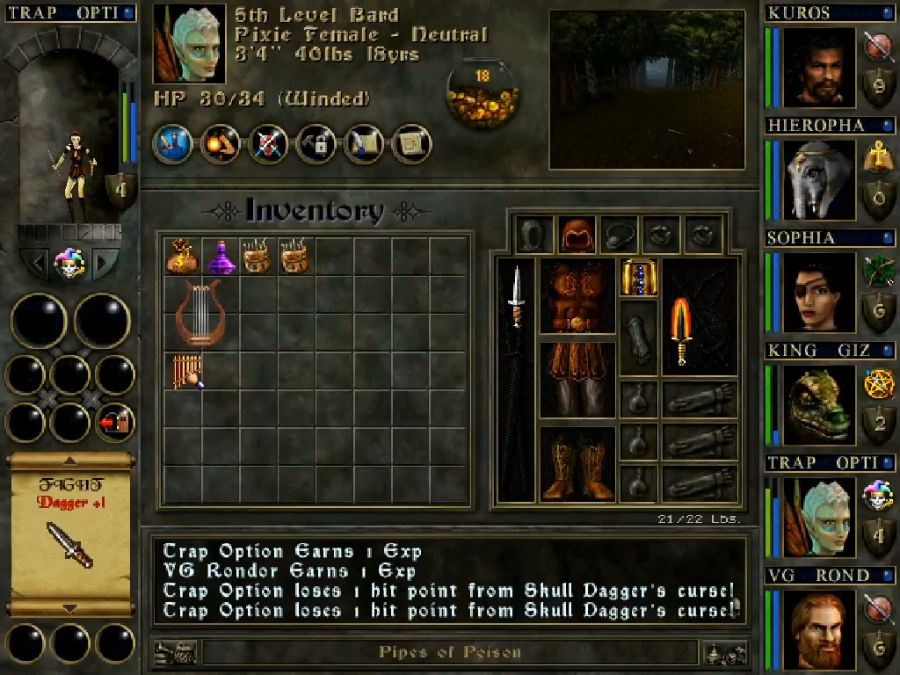
Around this point I also notice that Trap Option is "Winded" where he's normally "OK." I check a couple of times where he's "Weary" instead. Nothing in the manual indicates what Winded and Weary mean or what they do, or how they get triggered. my only reasoning is that it's related to use of instruments but... I'm really not sure! Could be something applied to him by being attacked by enemies.
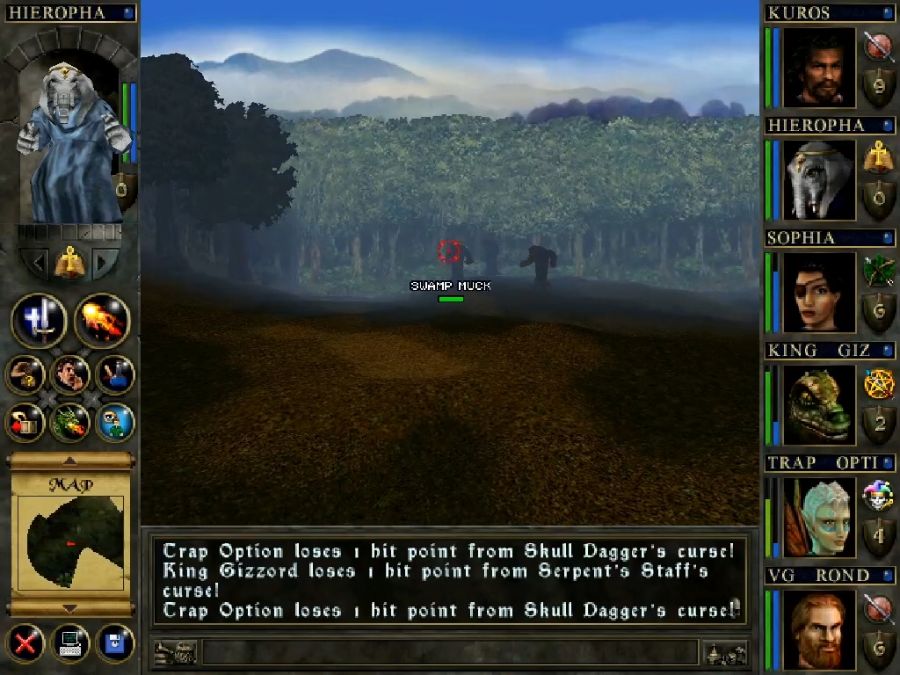
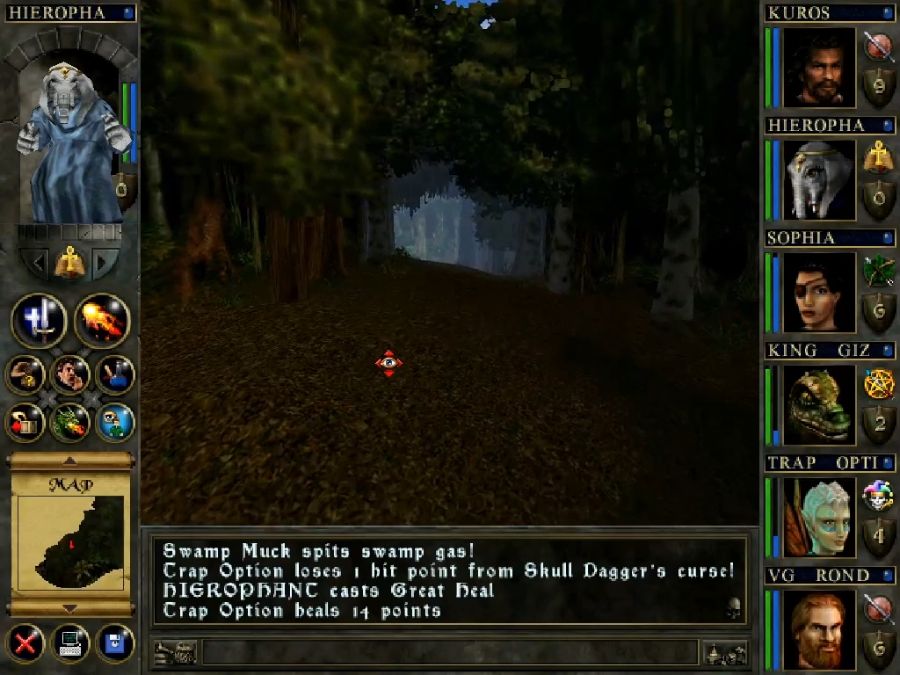
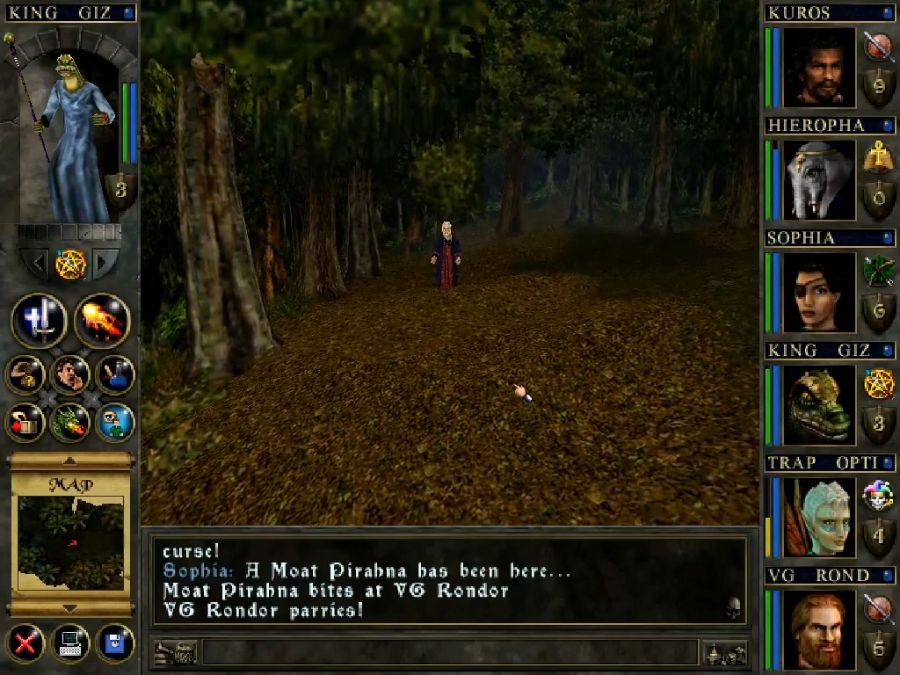
Once the plants are gone, I turn around to head for Shurugeon Castle, running into some Swamp Mucks along the way. You might be tempted to think they're new enemies, but they're really just Scabban clones, except, as far as I can tell, without a risk of dropping Disease on anyone.

The graphical design for Shurugeon Castle is... kind of... depressing. Like they didn't even try to give it any towering turrets or anything else to draw the eye. The wall's just a couple of flat polygons at right angles.
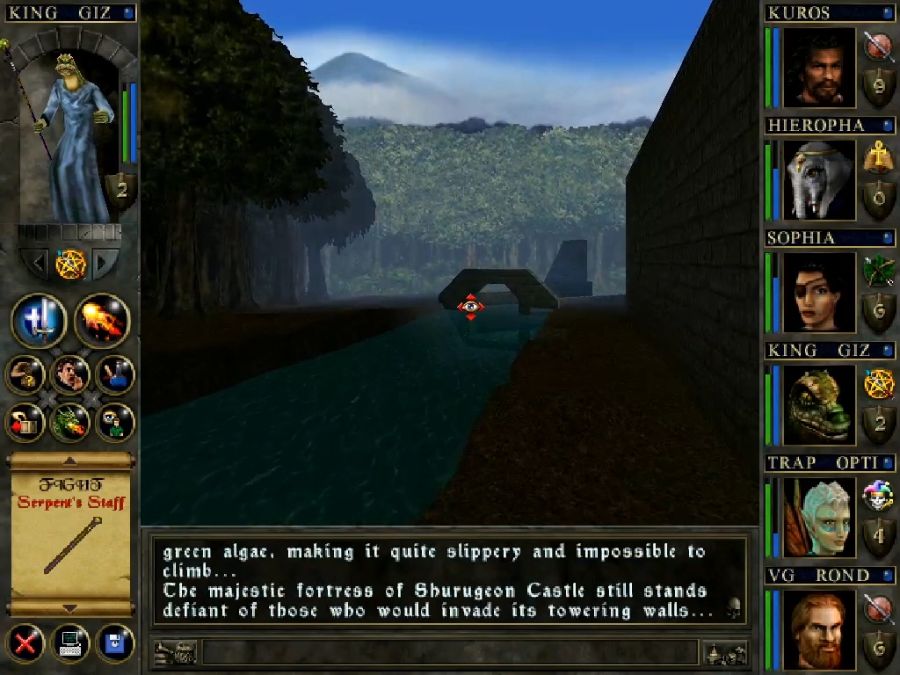
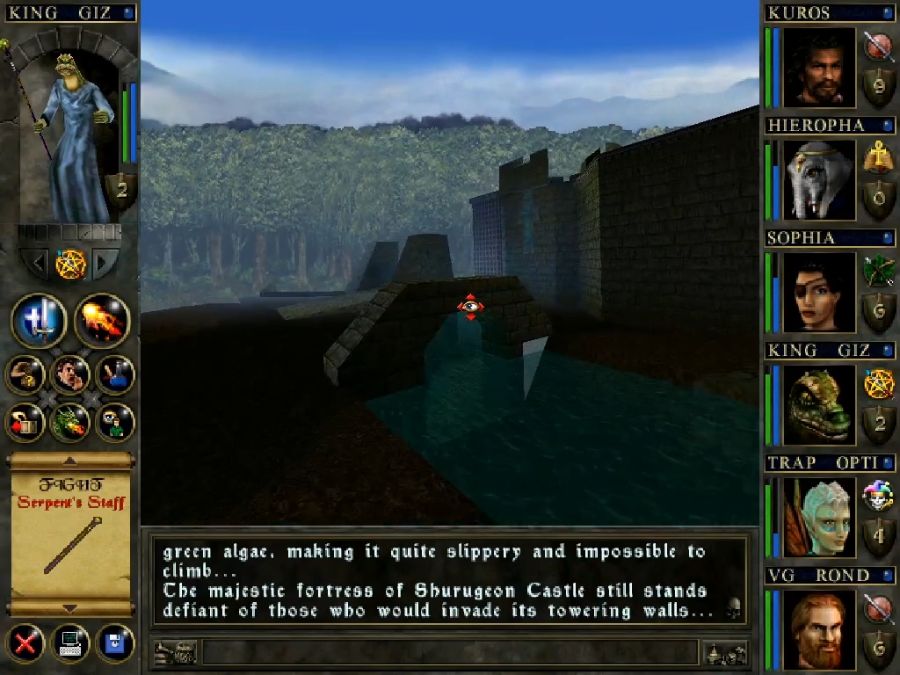
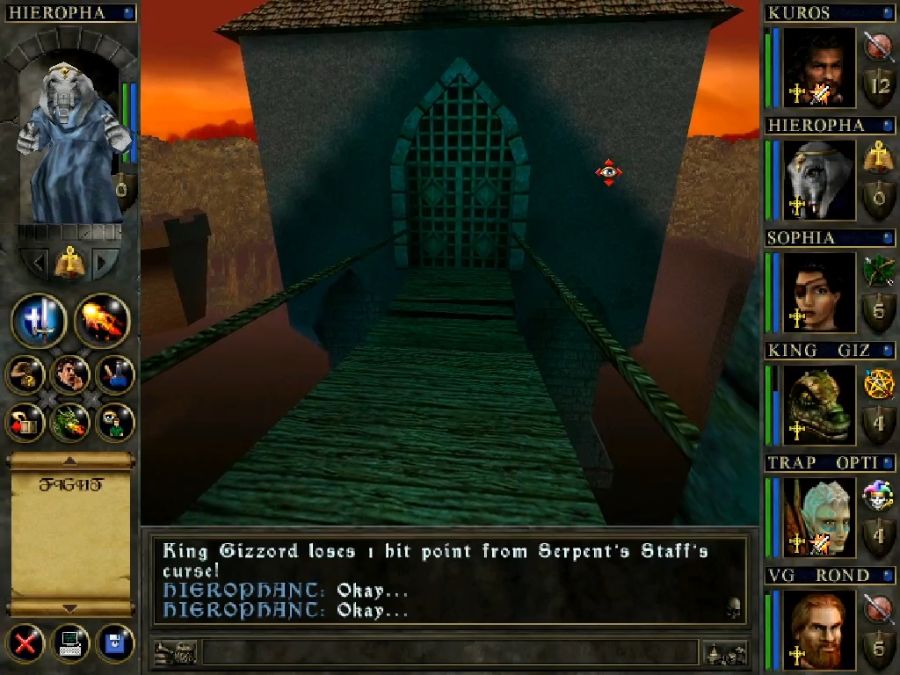
The gate has a few more flourishes, so I wonder if the rest was time crunches, but it's still pretty sparse. No way in so far, however...
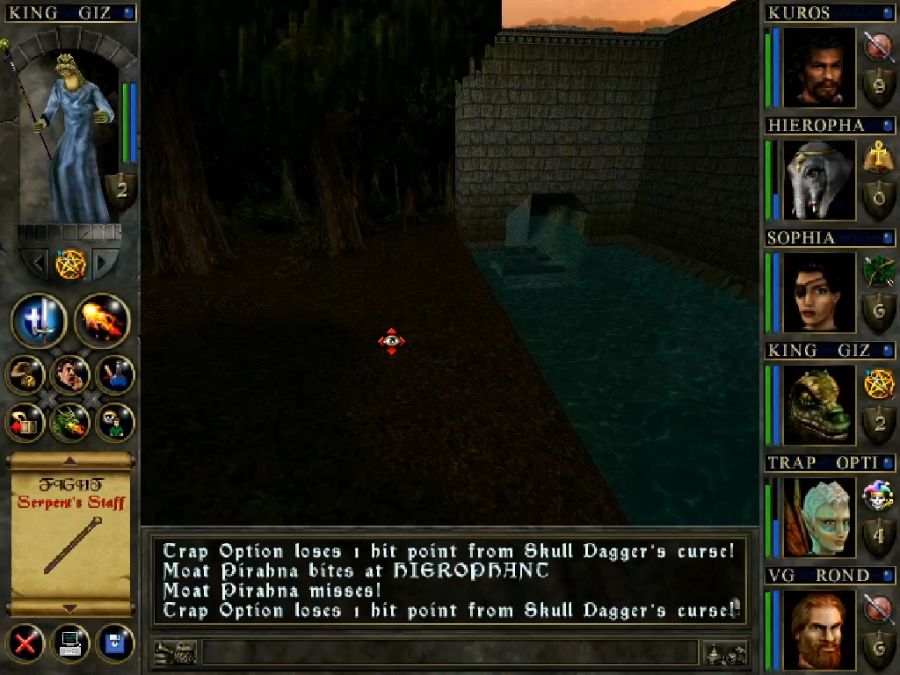
The real way in is to go around the side and swim through the moat. But first...
I gotta head back to town and offload the loot from the tons and tons of ratlings that I've been running into. Thankfully it's also a lot more profitable now because Gizzord can ID most of their gear rather than needing to pay for it, as the ID price is often 50% of the ID'd sales price this obviously matters a good deal. However, every time he ID's an object it also prevents the cursor from interacting with anything for like two seconds which is incredibly annoying and I have no idea why the game does it.
On the way back I also notice a little side path I missed...
https://www.youtube.com/watch?v=qgDl4N0_s4A
Erzebette gives us a bit of background on Erathsmedor but... doesn't really give us a way to avoid getting toasted by his big scaly ass. Also is it just me or is something up with her eye textures acting weird during animations? I could swear something's going on there. In any case, the experience so far is that every single sidequest may seem skippable but it'll fuck me if I don't go get whatever the unique reward is, so I'm definitely gonna get this one done.
Probably the most important thing to do while back at Ishad N'ha is that everyone training up their second class should also get as much guild training at possible, both because they're levelling faster(and thus can do more guild training) and also because their second class levelling only gives them 50% or 25% of their normal skill points until they gain as many levels as they had in their first class. So unless you get the guild training, you'll be a while before you can actually use whatever new skills their new class gets them.
(and speaking of, there's a bug where Bards, despite only learning Moon magic, get free Fiend spells on making their class change. Polished game design!)

In any case, back to Shurugeon Castle to take a dip in the moat.
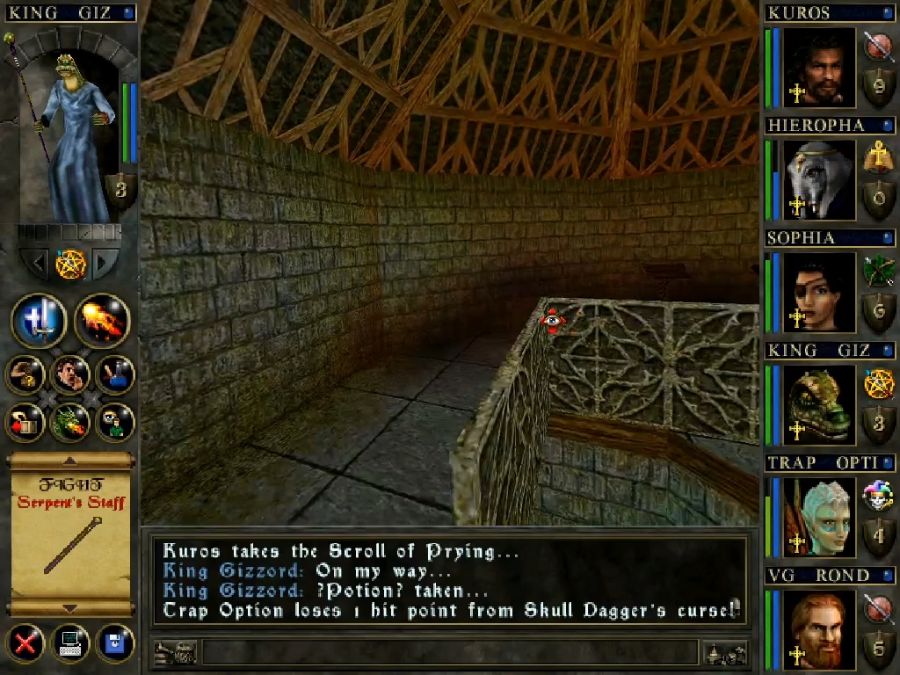
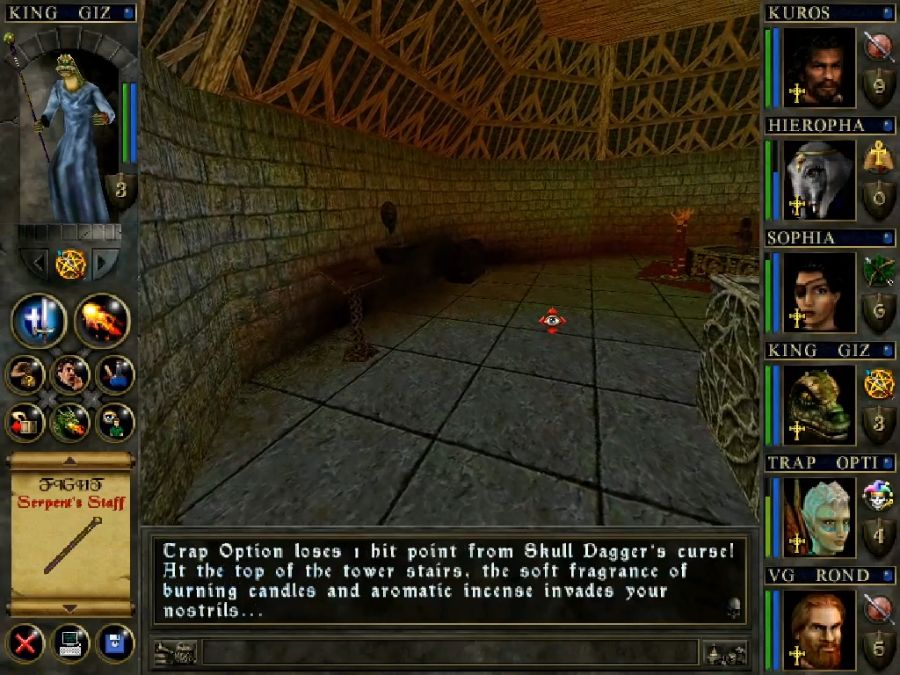
You might think you're gonna be missing out on a lot of visual splendour because it's night when I visit Shurugeon Castle but... no. It contains three buildings inside, the main building we'll actually visit, a closed building we can't enter and one that's just a hollow cube without even a roof. There isn't even a hidden chest anywhere.
This is the building we can't enter. I think what bugs me most about the "doors open when you approach them"-thing W&W does is that you can't attempt to open them to get a hint on how to do it. It doesn't go "this opens somewhere else" or "this is locked" or "this is blocked." Like, you might assume this was opened by a button or lever hidden somewhere, but it isn't. It literally can't be opened, but it might well waste your time.
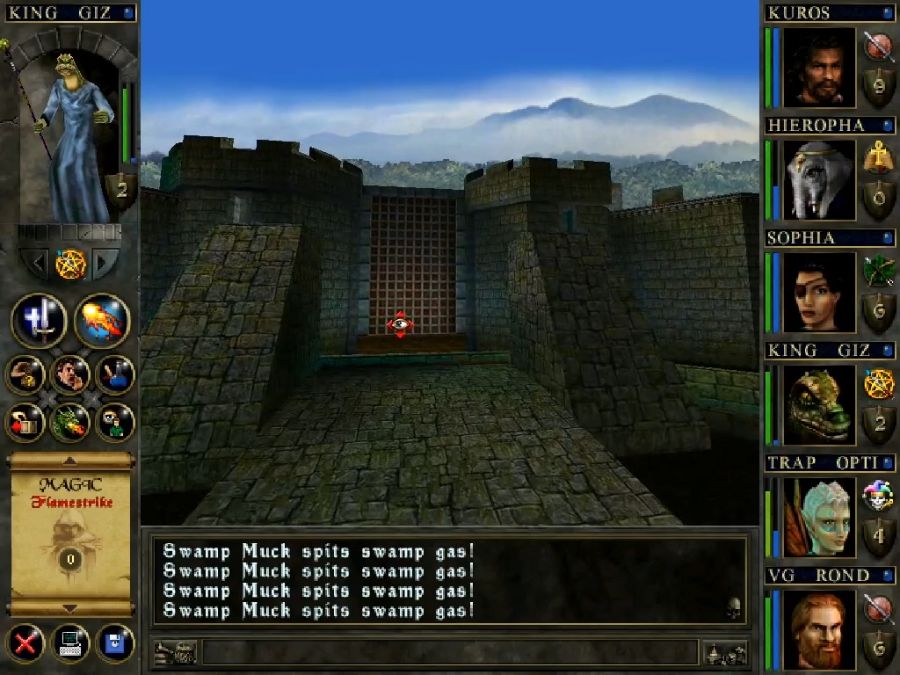
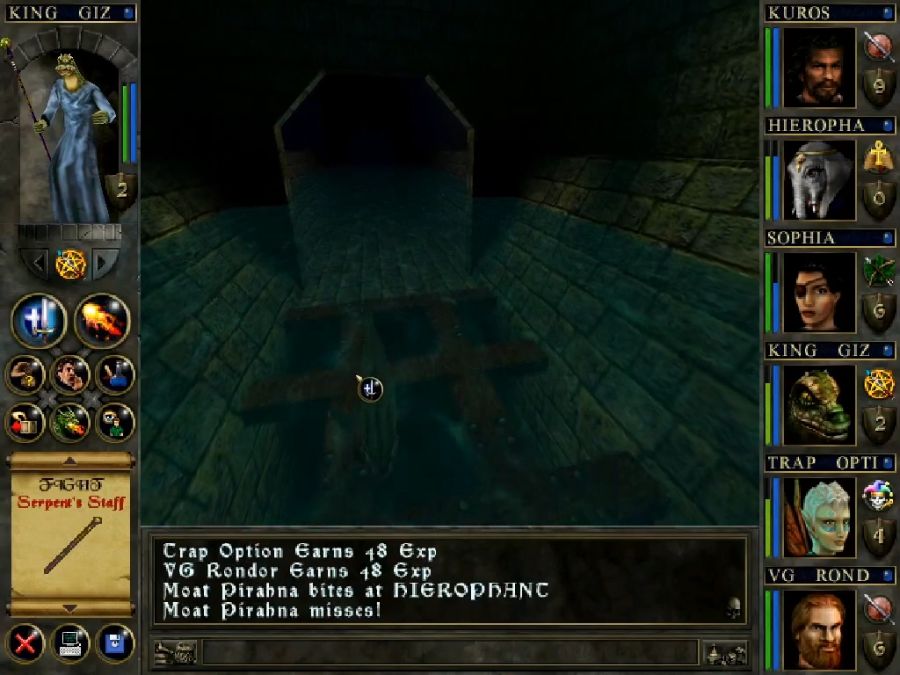
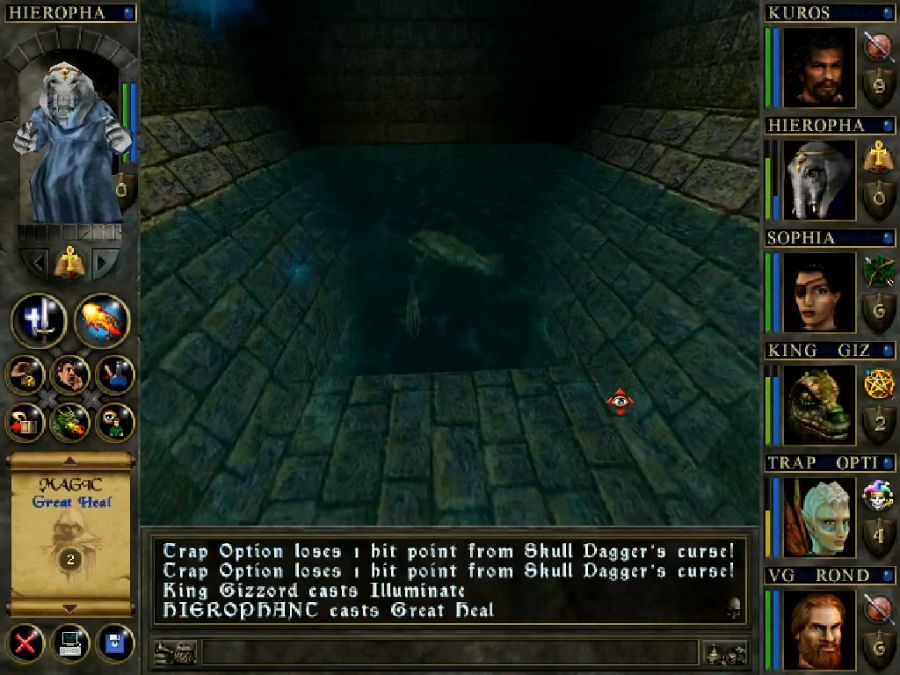
We can drop the drawbridge, though, this makes entering the castle a bit easier, but not much considering that going around through the moat takes 10 seconds assuming you don't get ambushed by another hundred ratlings or moat piranhas.
Some idiot rogue got stuck in here and hassles me as I climb the tower to the lever that drops the bridge.
Nice. So I head back down and meet one of the most ubiquitous enemies of Shurugeon Castle.
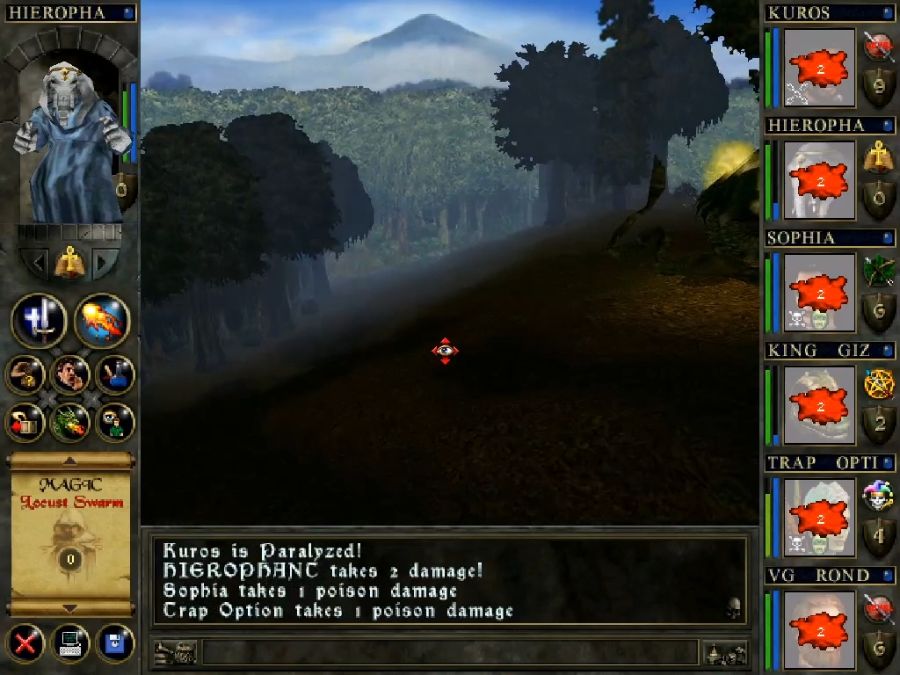
Now, they don't do an awful lot of damage and they go down easy to magic but what they LOVE to do is drop blinding and enfeebling spells on the party. It took me a bit to realize that's what they were doing, though, because the combat log at the bottom of the screen doesn't contain an awful lot of backscroll and, you see those icons on the characters' images on the right? Nothing in-game tells you what they indicate. On top of that, some of them are re-used, like Nausea and Disease using the same icons. And the manual doesn't even have a list of them.
Like, the weird bug-eyed one I thought was some kind of insanity, but it turns out to be enfeebling.
Also here's the map of Shurugeon Castle. The exterior isn't very large.
Let's head inside, also just to catch everyone up on why we're going into the haunted castle, because the game doesn't spend a lot of time telling you, it's because we're supposed to use the Masque of Death from Elyssia in the Snake Temple to somehow defeat the Dark Familiar of Lord Cet so we can get the user manual for the Mavin Sword from the ghost of Lord D'soto whom said familiar is holding in thrall.

For some reason it's always daytime outside when you're inside Shurugeon Castle. I also think I realized the reason they keep making the dungeons separate interiors isn't because the game couldn't handle them outside, but because it frees them from having interiors and exteriors that have any sort of spatial relation to each other.
Now, this dungeon... actually isn't that bad! It lacks any of the terrible difficulty spikes at bosses that the Snake Temple has and it also lacks the maze-iness because there are a lot less, in fact practically no, rooms that are just empty corridors or rooms with no purpose. Most of them are in fact furnished to look like they have some sort of reason for existing. It also helps that the dungeon is designed as basically a circle with a few little bits leading off and one major side path. I never got lost here and it never pissed me off or frustrated me.
Which isn't say it's all good but... we'll get there.
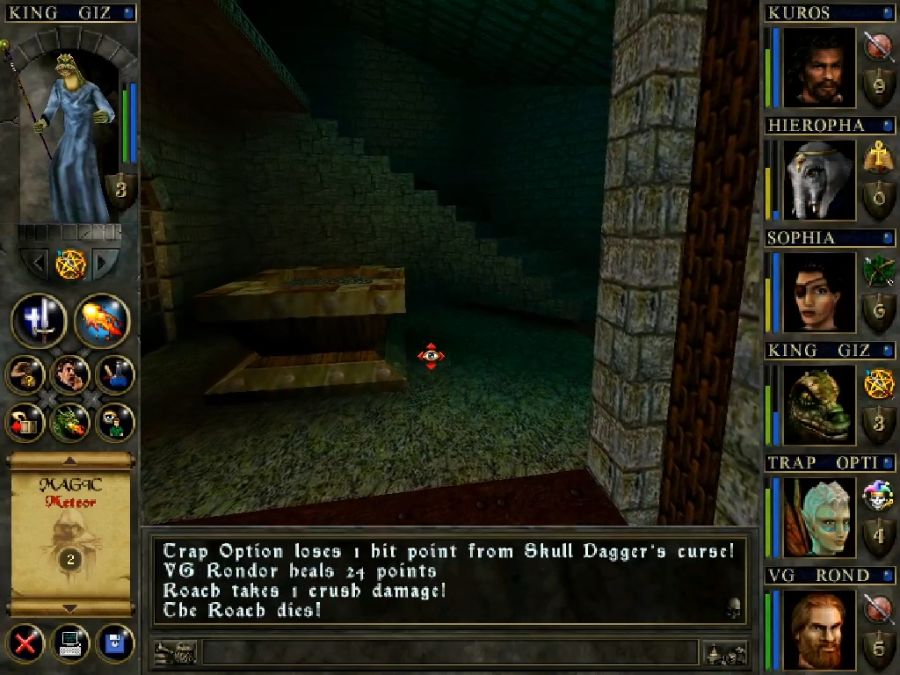
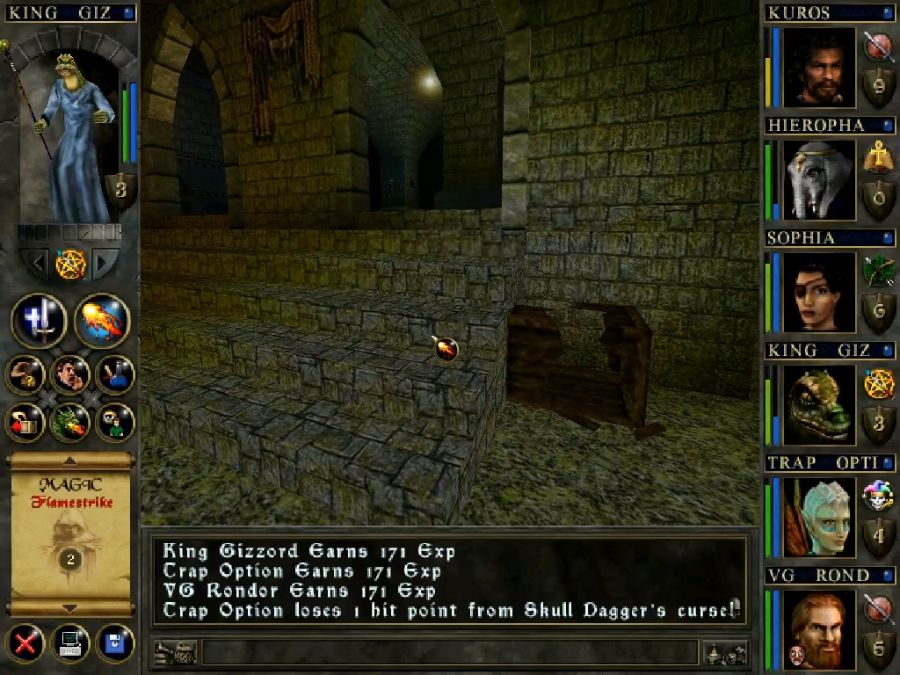
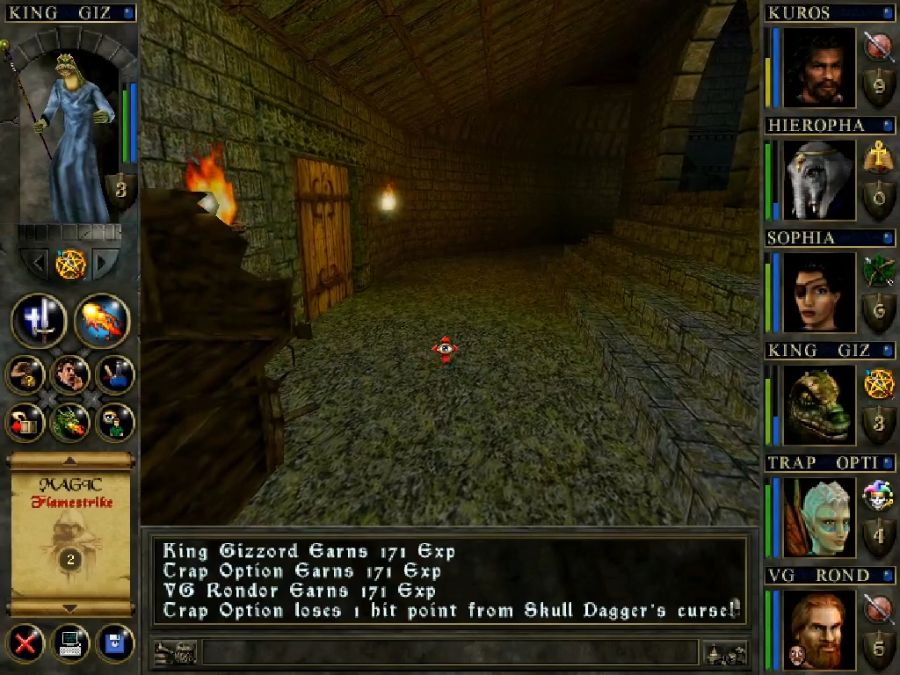
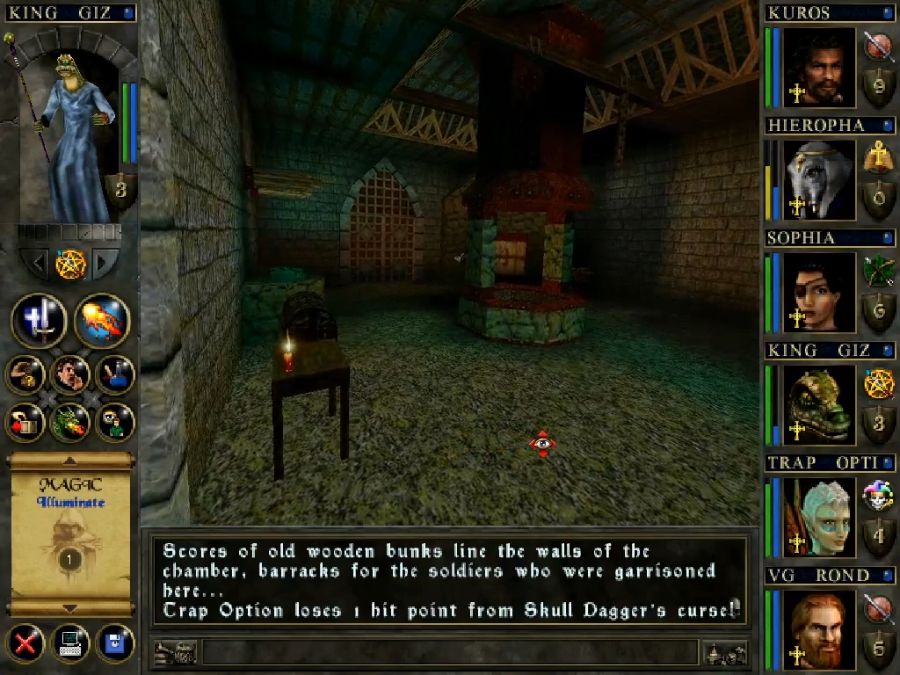
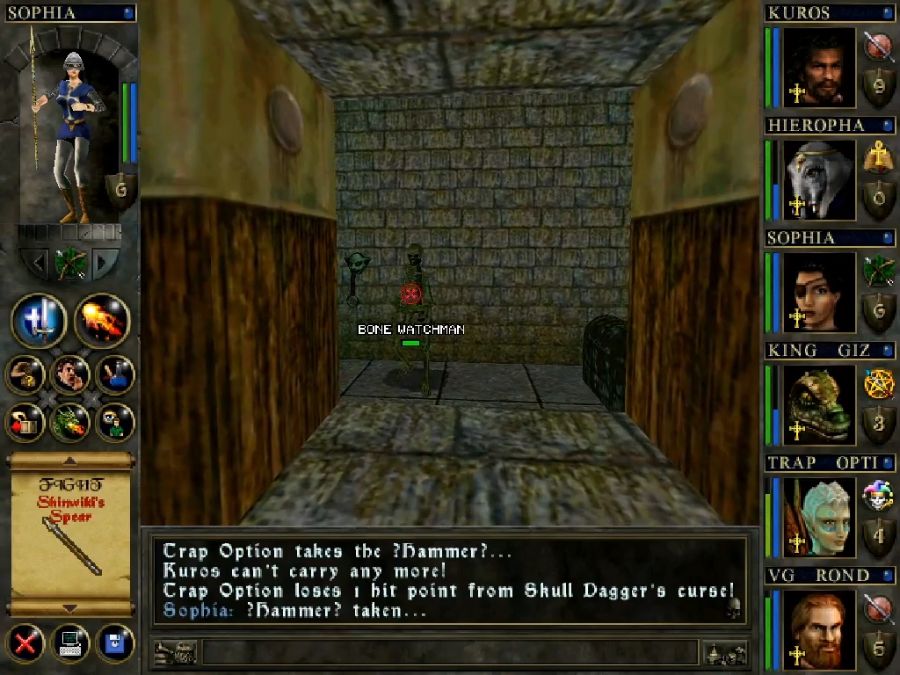
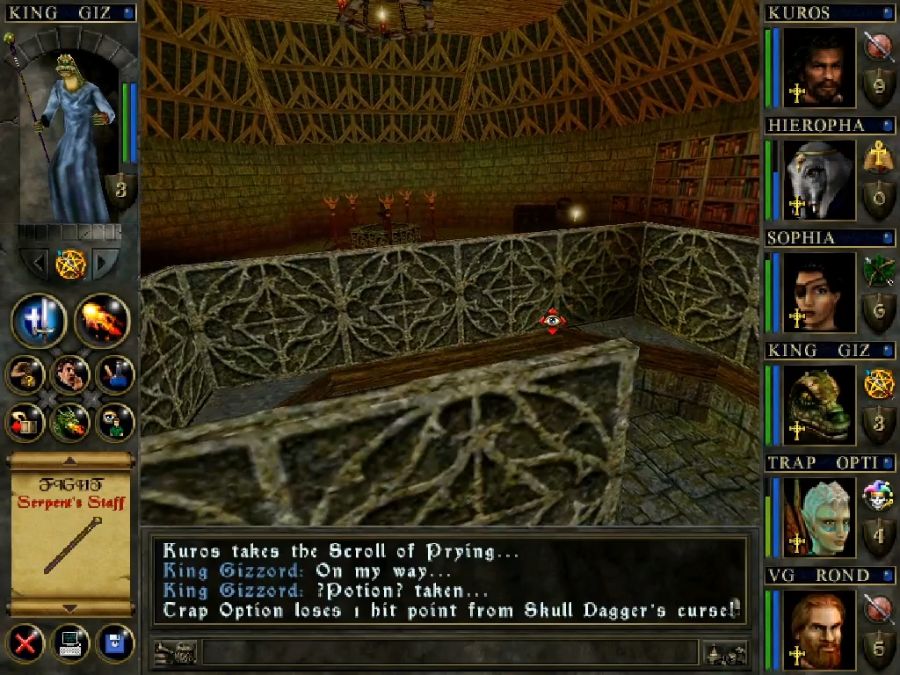
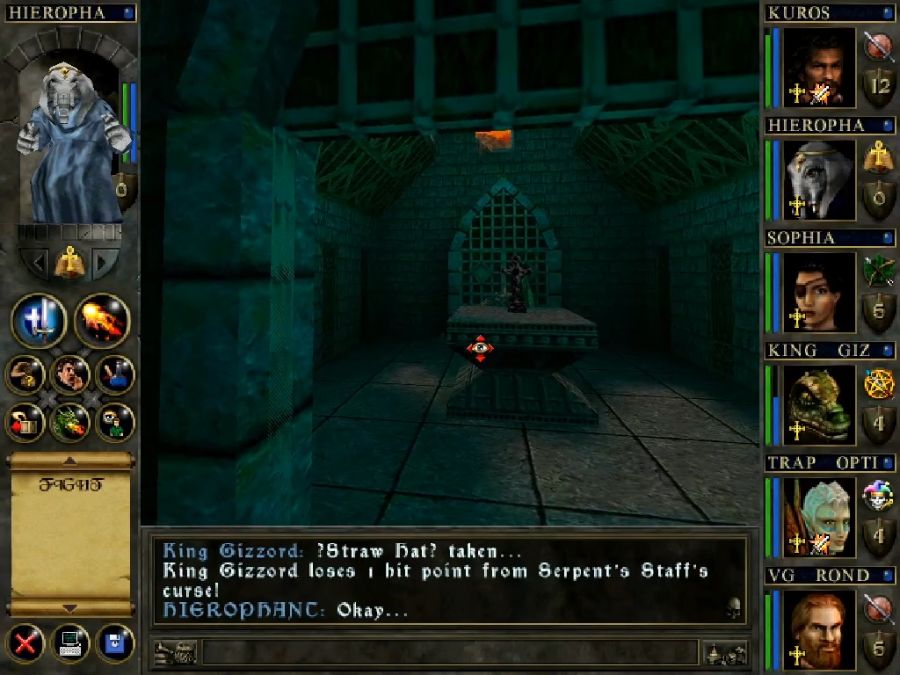
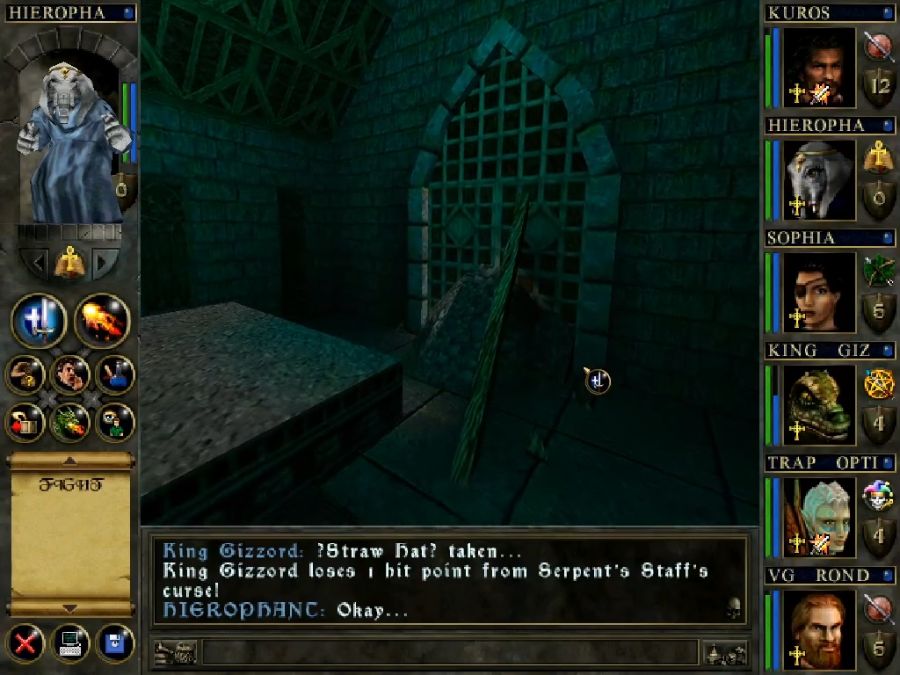
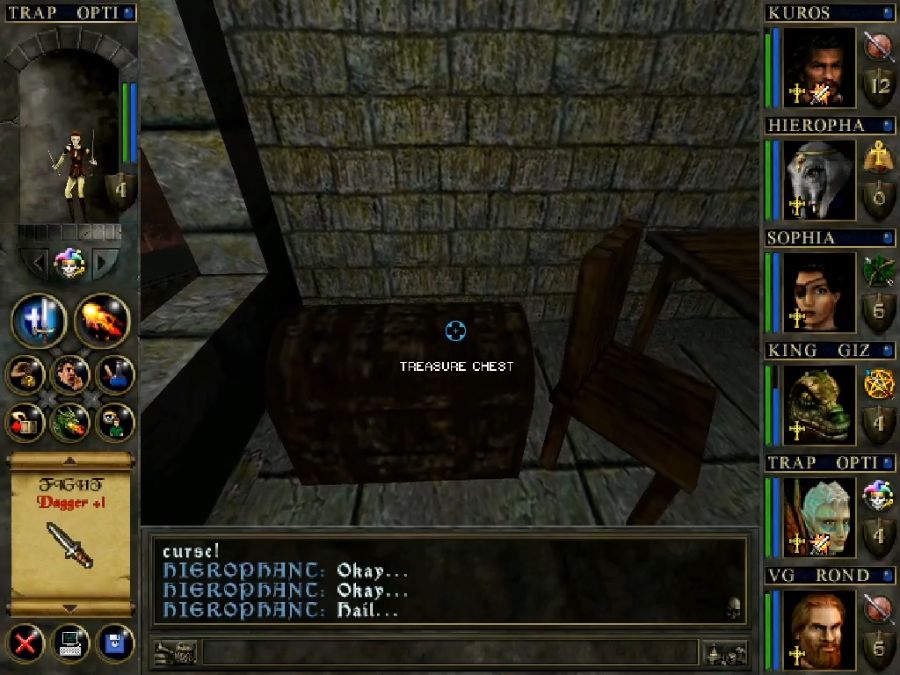
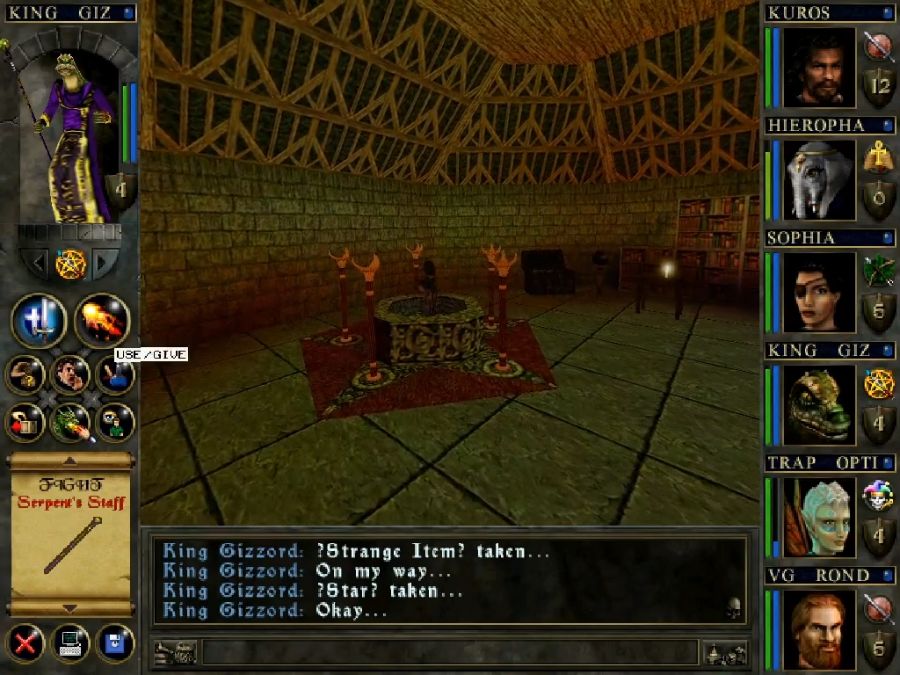
The intro hall has these three doors and one small closet out of sight in the nearest corner on the right, but all it contains is one chest(and the only interesting thing that happens when I open it is that like ten skeletons spawn in the room just outside and ambush me while I'm sorting my inventory. Because of course W&W doesn't pause while you're in a menu).
The doors ahead and ahead right are both locked, so the only option is ahead left.
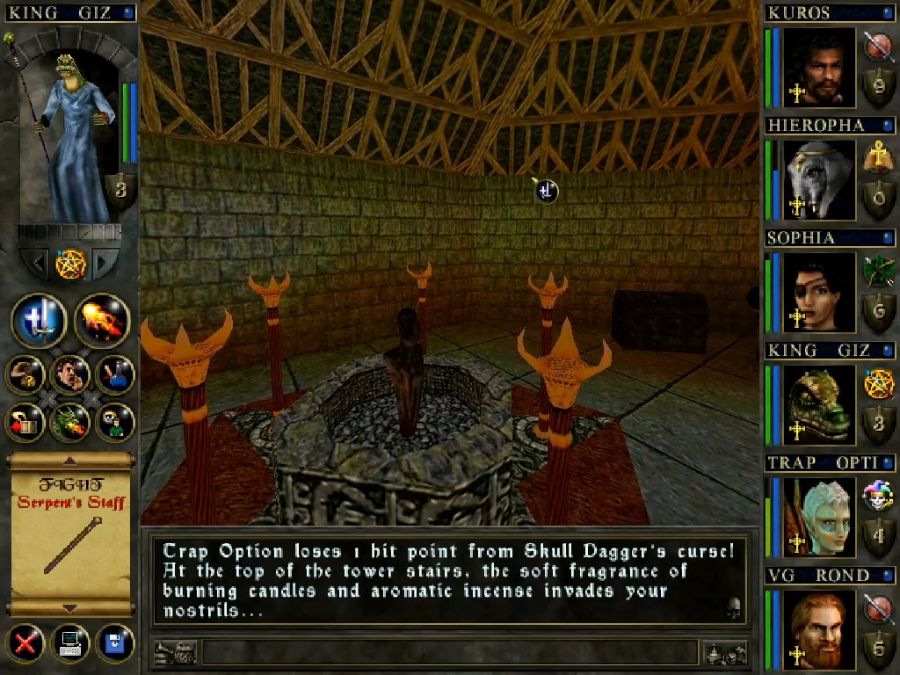
Not exactly the most regal of dining rooms, but at least it's something more than just a room with a table like in the Snake Temple. Also...
https://www.youtube.com/watch?v=gjLvxLSKa-U
I love that he actually says "moan" instead of moaning.

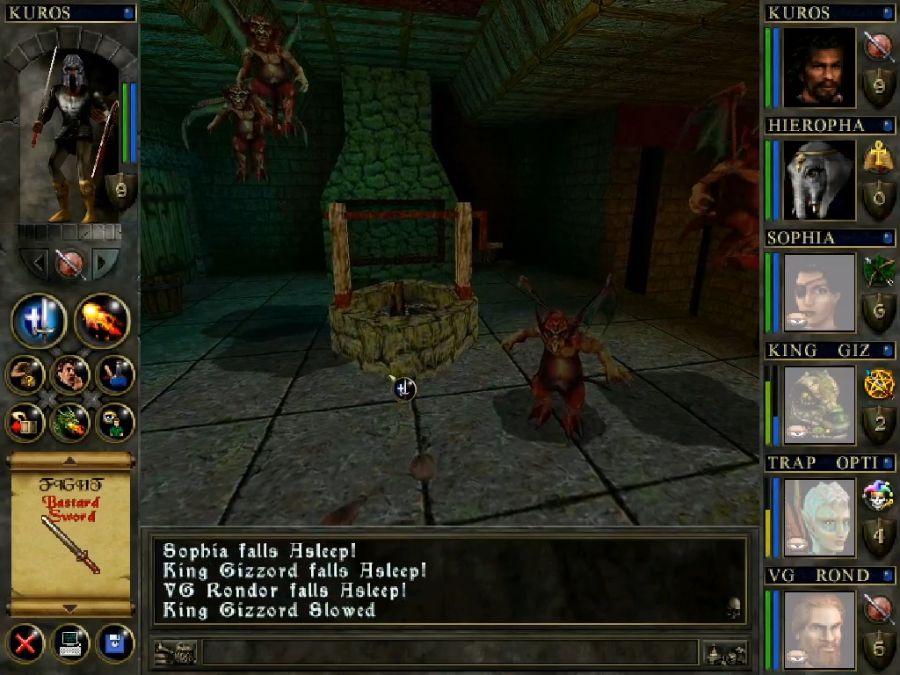
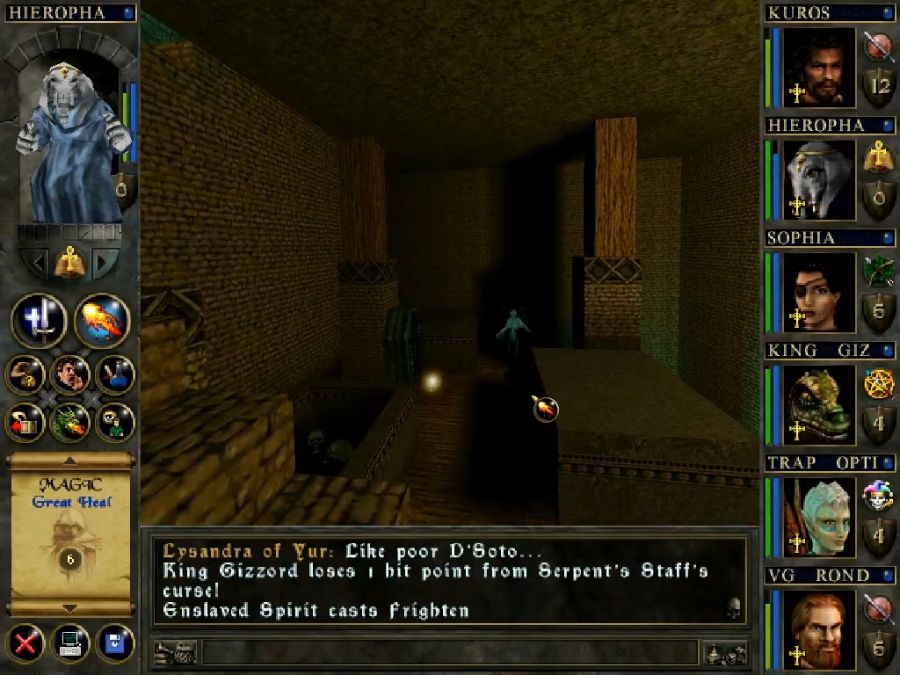
Here's probably the one encounter that felt somewhat frustrating. Much like the ghosts outside, imps primarily trade in blinding and enfeebling, i.e. preventing your physical combatants from contributing. So if you don't have the magical charge to take them all down, or at least most of them, in the first barrage, the remainder will take a while to wear down when you're missing 90% of your attacks.
I later learn that, completely undocumented anywhere including in the manual, casting Bless on the party cures some minor status effects, but since it's undocumented I of course don't learn it in time to help with this fight.
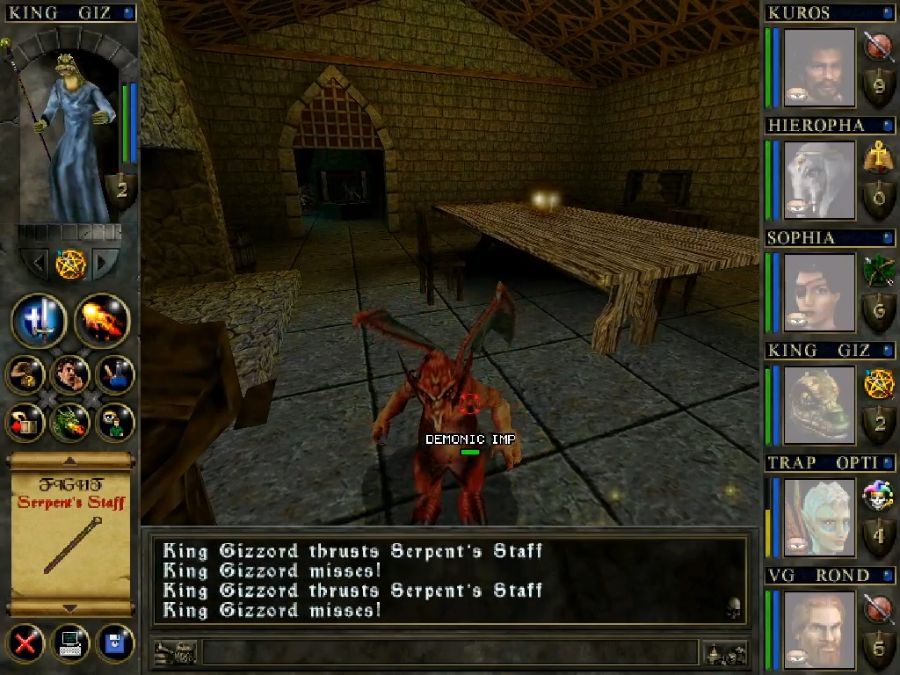
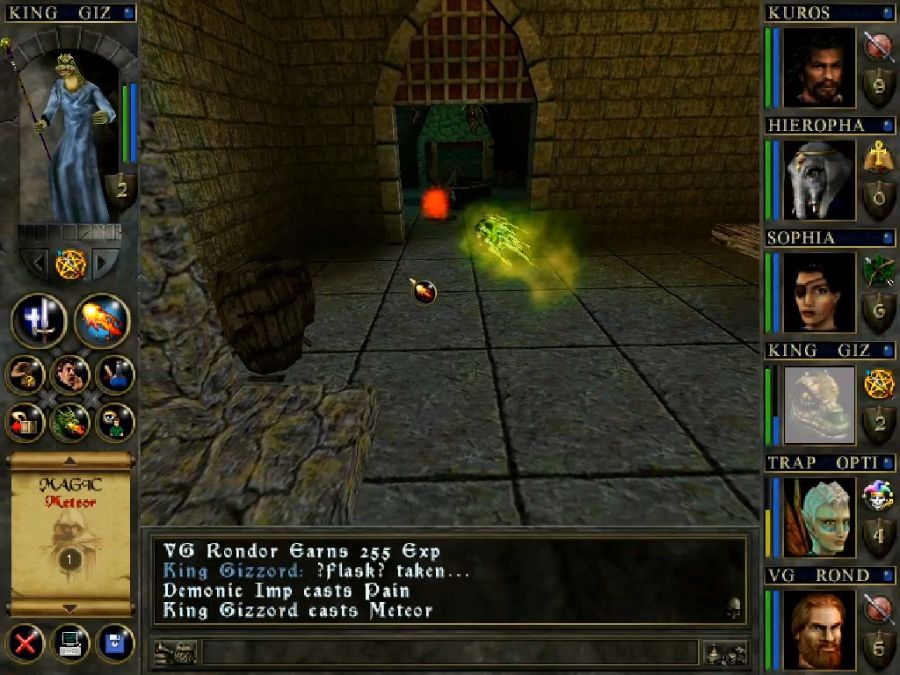
Sadly because of their wings, the imps tend to keep enough distance from each other that Meteor and Spectral Raven only hit one at a time, and of course, being from the nether hells, they're immune to fire spells.
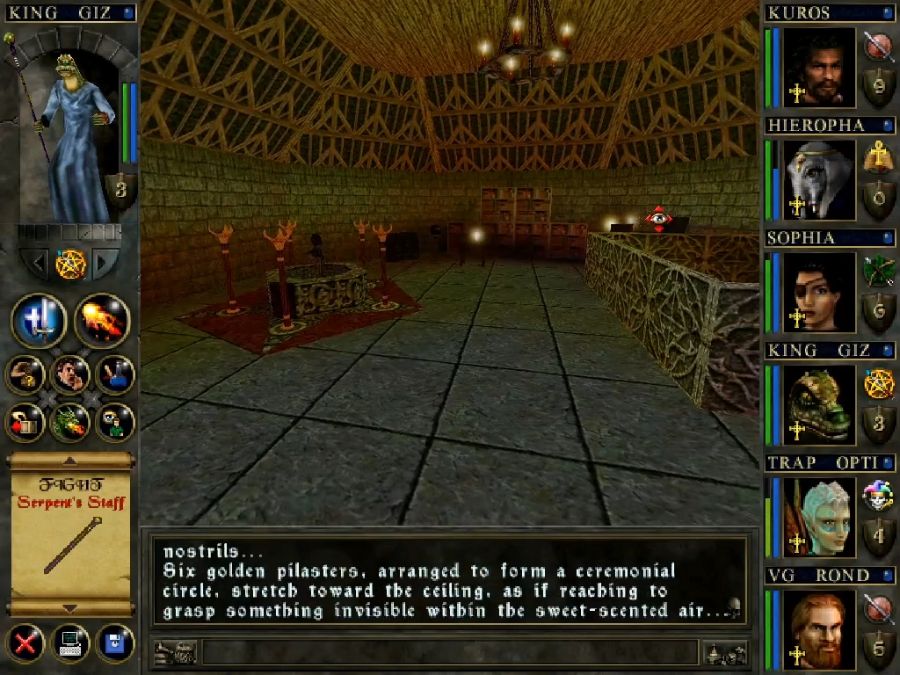
Also again just notice the kitchen in the background here, why the hell is this so much more detailed than the Snake Temple's?
A slightly better look with the squatters out of the way.
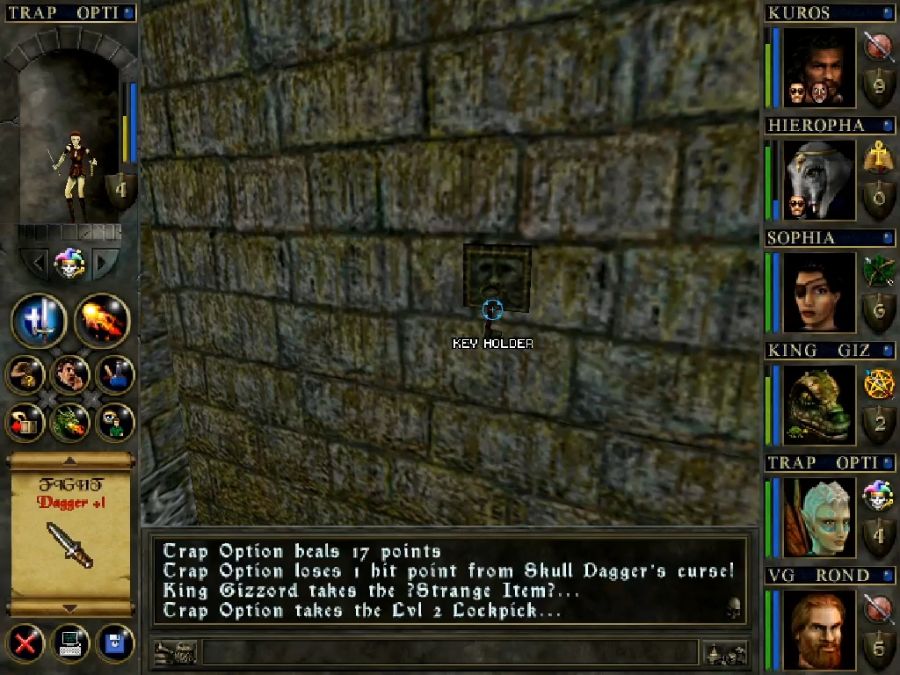
Also this tiny key holder in one corner contains a key you can't beat the castle without, though it's relatively close to where you need it(it unlocks the two locked doors in the main hall).
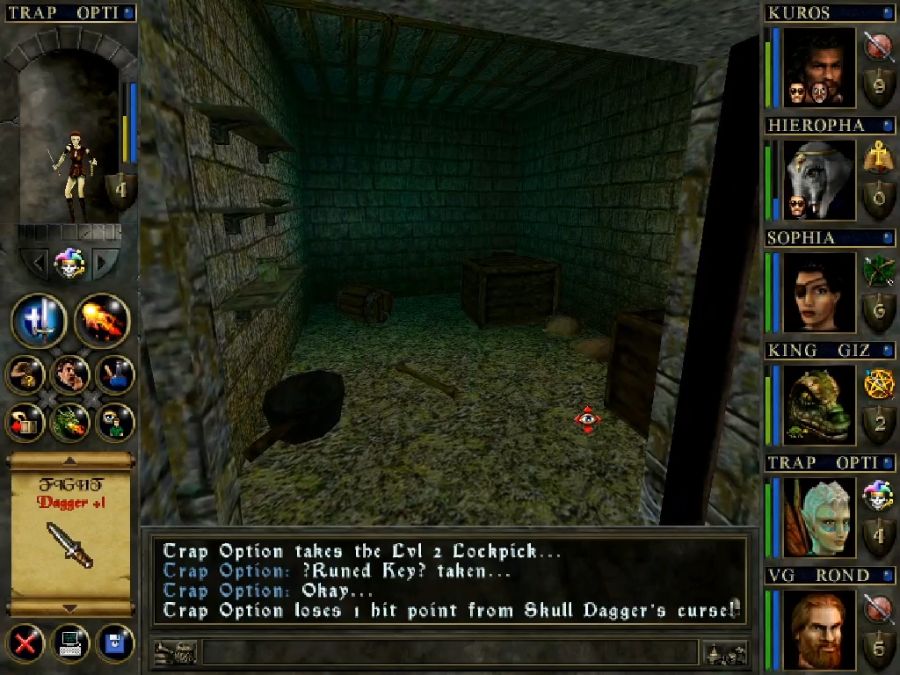
The door in the corner just leads to a couple of small, dank storage rooms with a single angry skeleton and a quest item scroll for the priest guild quest about discovering the fate of some off-screen NPC's ancestor(I, of course, put it in the wrong character's inventory and can't find it among the clutter and loot when I get back to town and get confused and think I haven't actually found it yet. In fact I don't even realize I found it until I was reviewing the footage and cutting it into screenshots).
Heroic D'soto's castle has bigger dungeons than they do above-ground structures, as it turns out. Maybe there was a reason that the Mavin Sword melted his dumb ass.
Again, I feel impressed that despite plenty of rooms having three or four exits, I never really felt lost down here.

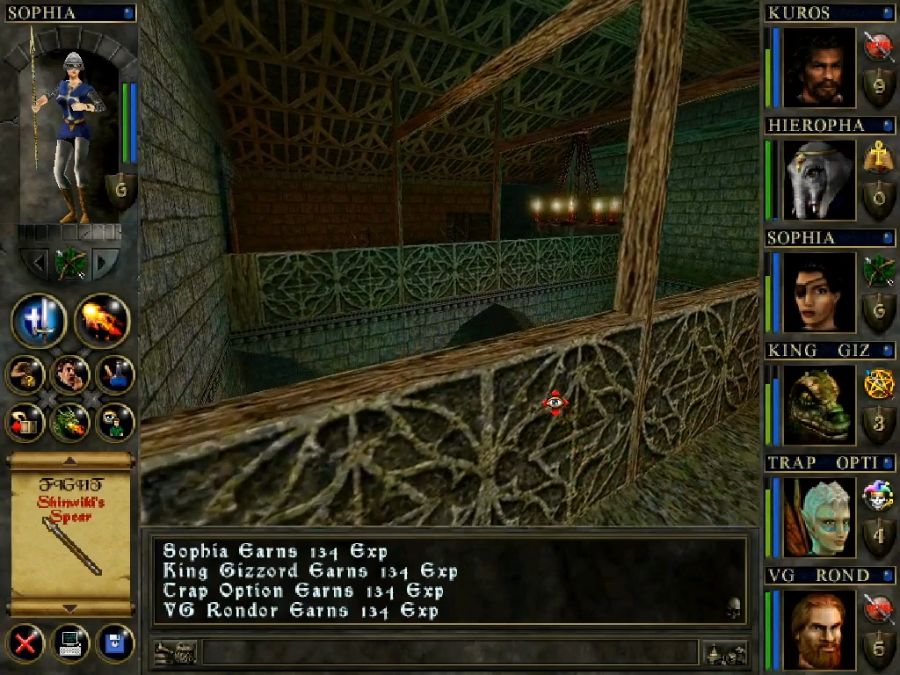
I enter the gallery at the top first and ignore the skeletons on the far side, because I figure, they'll be stuck in turn-based mode while I raid the chest and only able to fire an arrow each.
Instead it turns out they pause in one of the doors and get crushed by it while trying to path to the party. I have no idea why so many of the auto-opening doors in the game just hate NPC's.

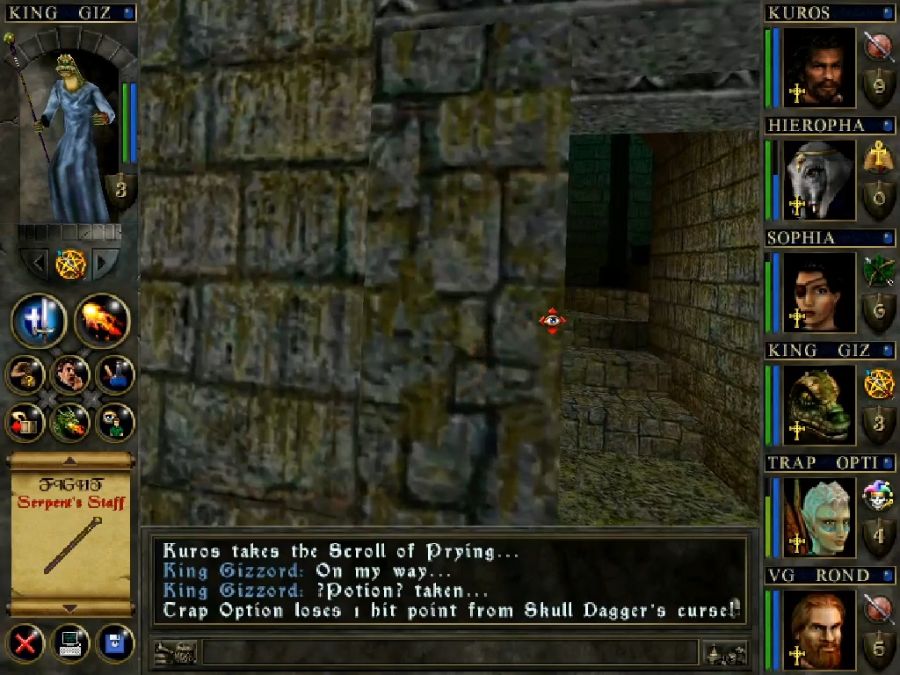
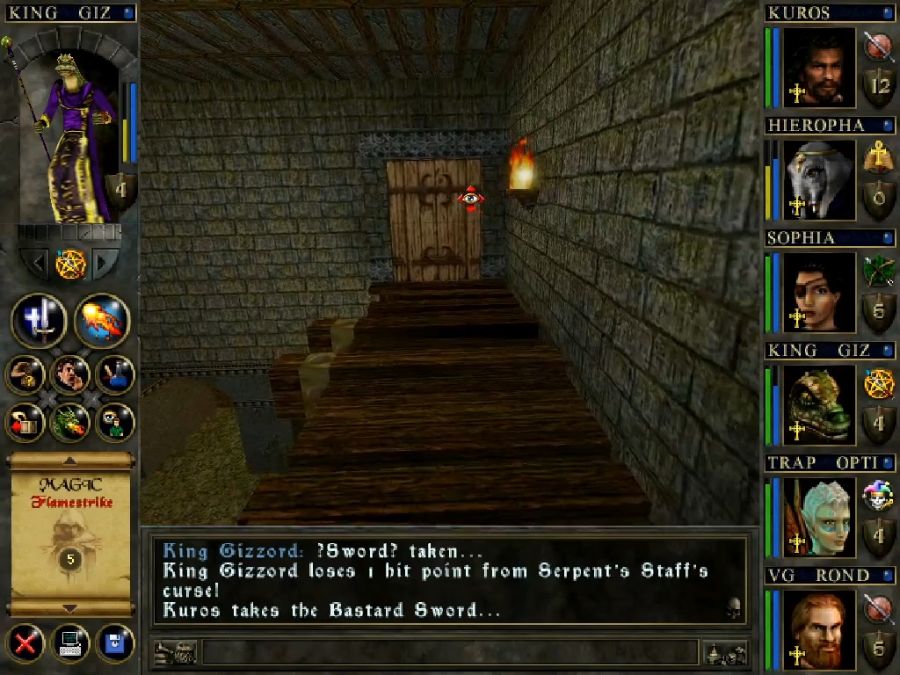
This chest actually contains a necessary quest item, the KEY OF THE MAGUS, or what most people would refer to as "it's literally a goddamn crank handle, you idiots."
Time to open the big door downstairs. Totally not a suspicious room.
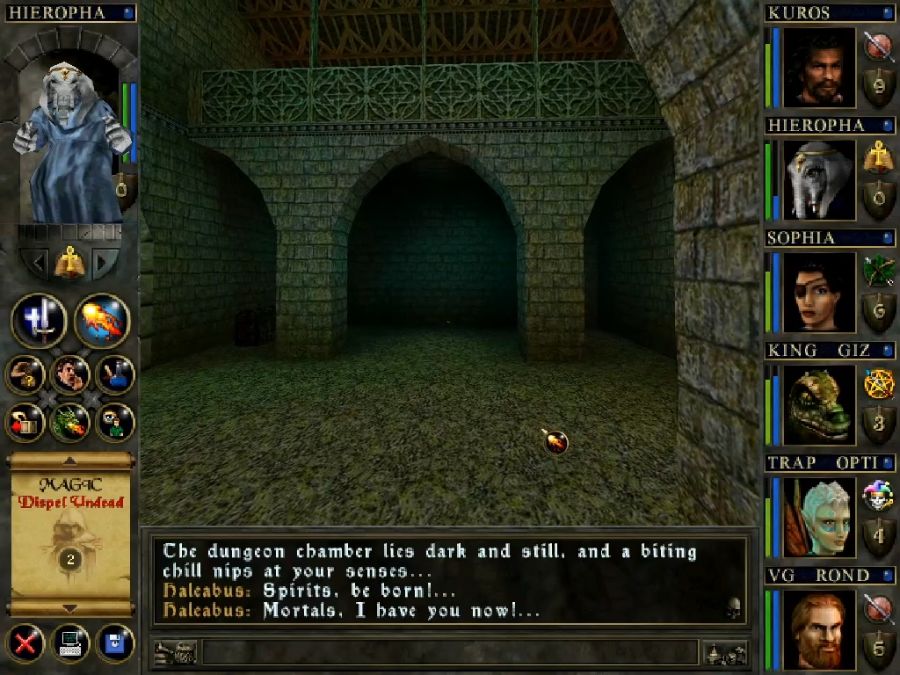
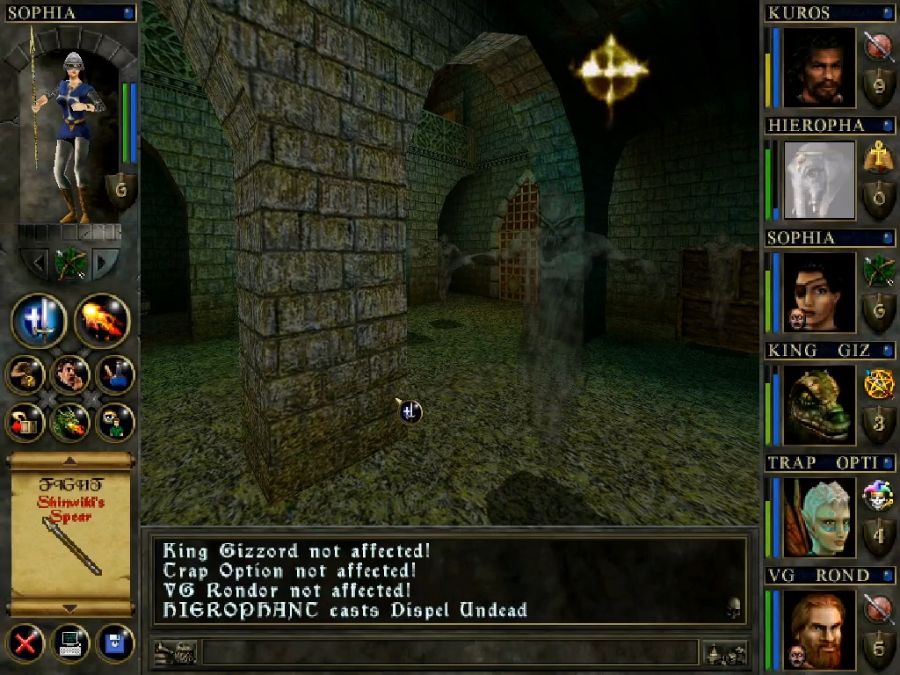
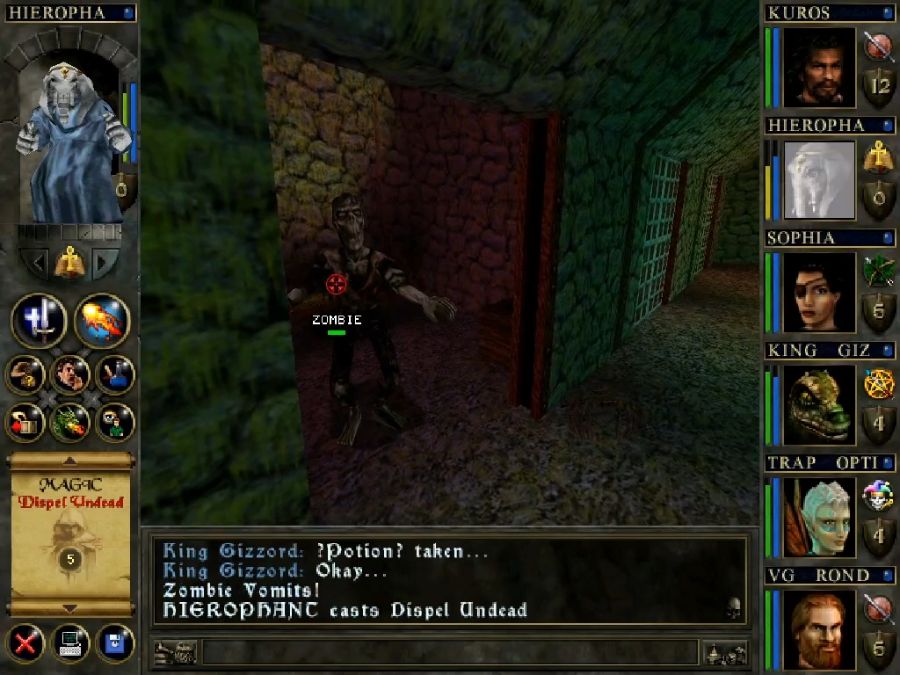
Oh no. Who could have foreseen that Haleabus would spawn an ambush of the same generic enemies I mulched by the dozen in the castle courtyard. In fact they're even easier here as they're easier prey for AoE spells like Meteor and Dispel Undead. Get owned, undead nerds.
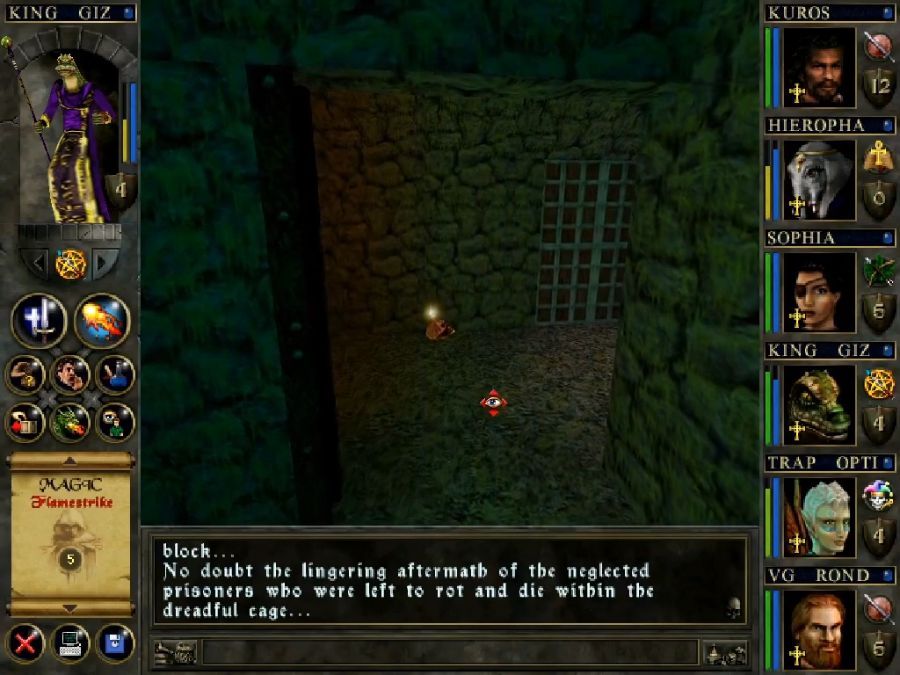
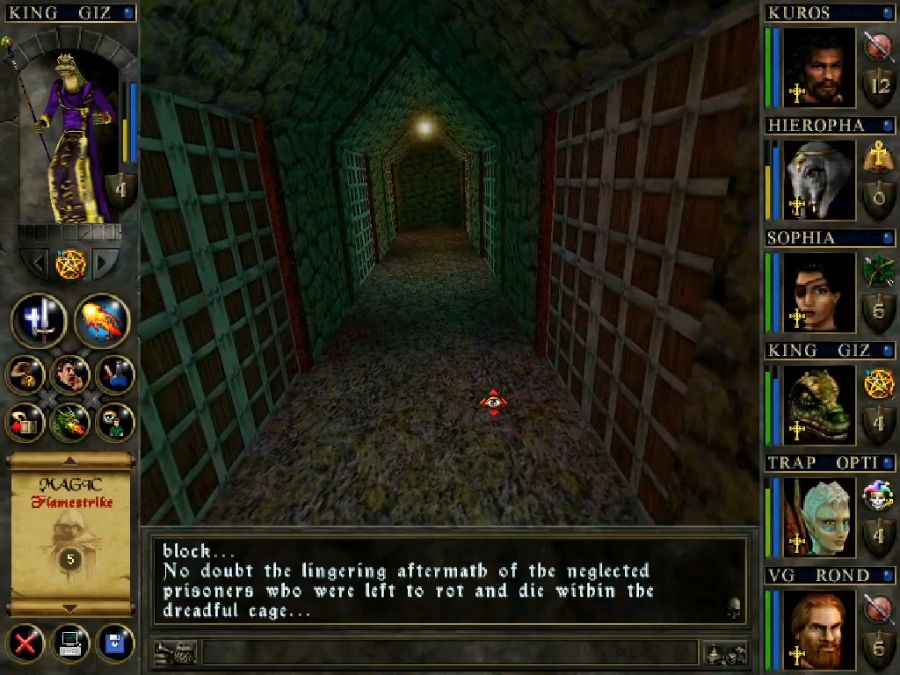
Some hallways have these coffins which I will never, ever open. Why?
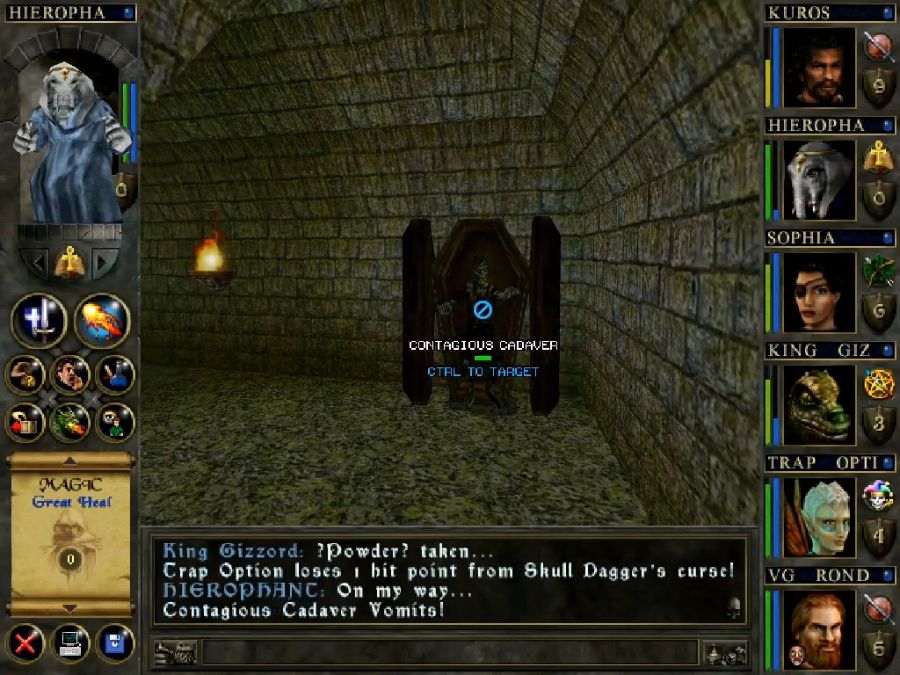
Because they contain these dickheads that can disease the party. They don't even have some random loot like the ones in the graveyard ruins at the start of the game and they're not even worth good XP.
This room has two exits beyond the one I entered by, and a raised dais with a bunch of switches on it. If you're guessing that walking up there gets me ambushed, you're right, but sadly it's both treasureful to do so, and also required for beating the dungeon, so this is one trap I literally have to walk into.
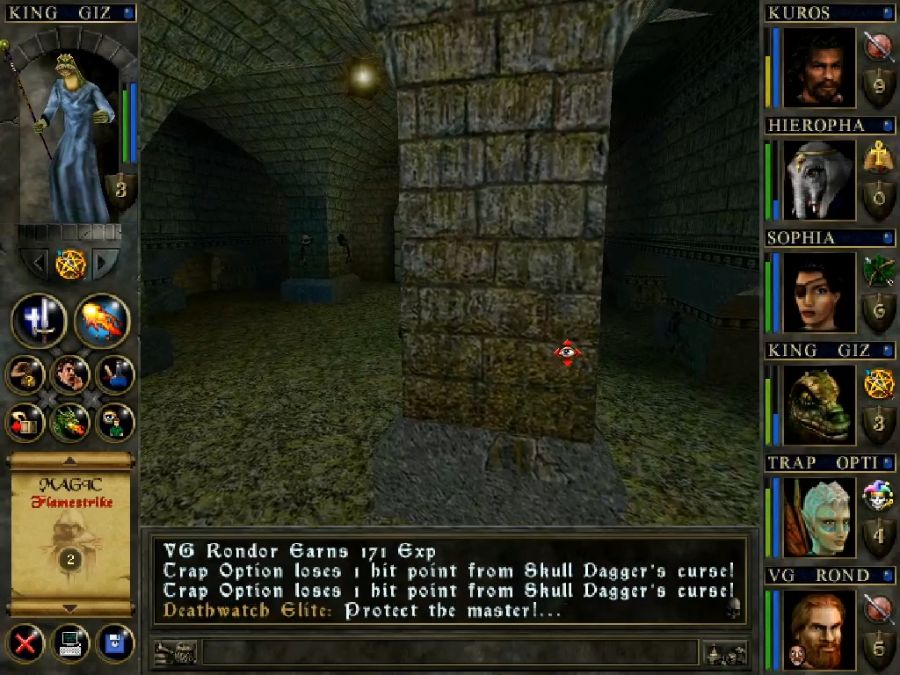
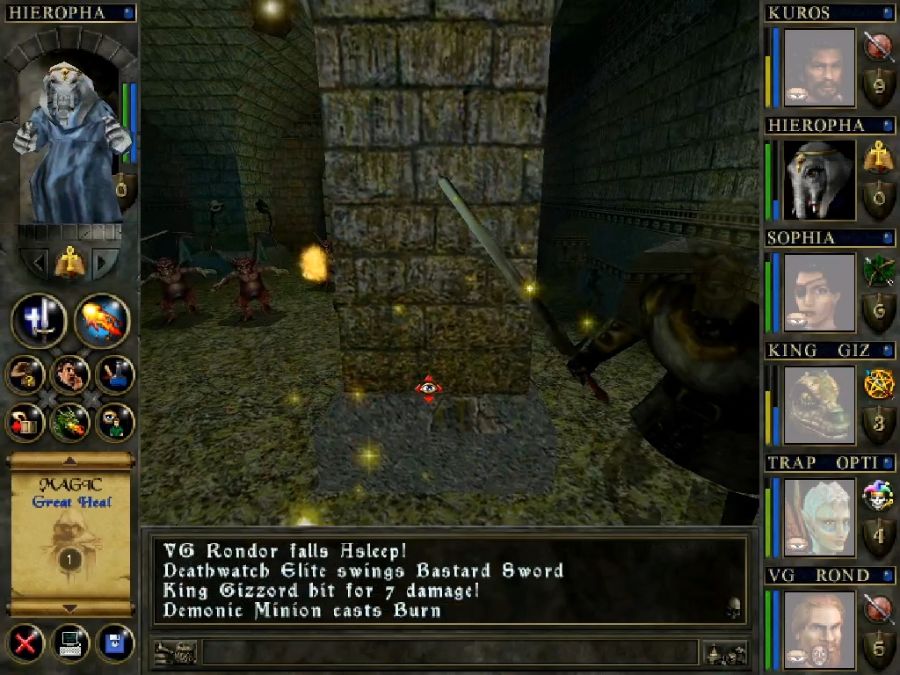
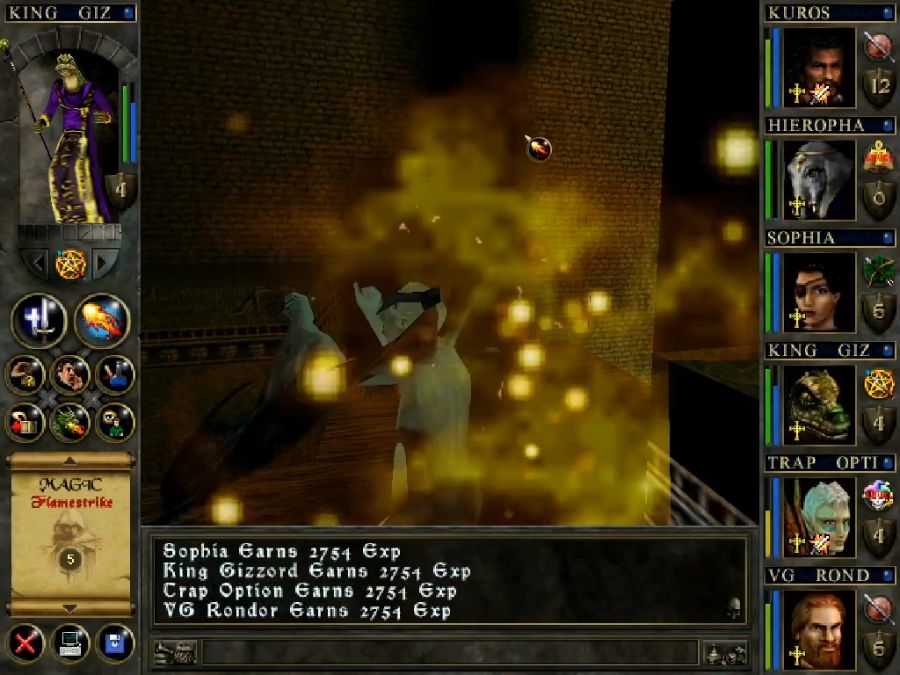
So from one moment to the next we get this fight and it's actually one that's decently challenging, and not because it's against an overpowered foe that can one-shot the party, but because it's actually against a group of mixed enemies rather than just ten of the same kind of enemy. The imps try to debuff you, while the Deathwatch Elites are tanky bastards that try to dunk you with their swords.

Kuros and Hierophant both get pretty close to getting owned, but I pull through and now I get to have a PUZZLE.

So I've got two chests locked behind a grate, and I've got eight switches. One of them is what I can pull when I've got the others into the right combination, which is having all of them flipped down, and it's one of those puzzles where some switches arbitrarily un-flip other switches when flipped. I could never really find a system to it, so I just brute-forced it, which took me all of like, two minutes of yankery.
If there is some sort of pattern, then I'm just too dumb to understand it, I guess.
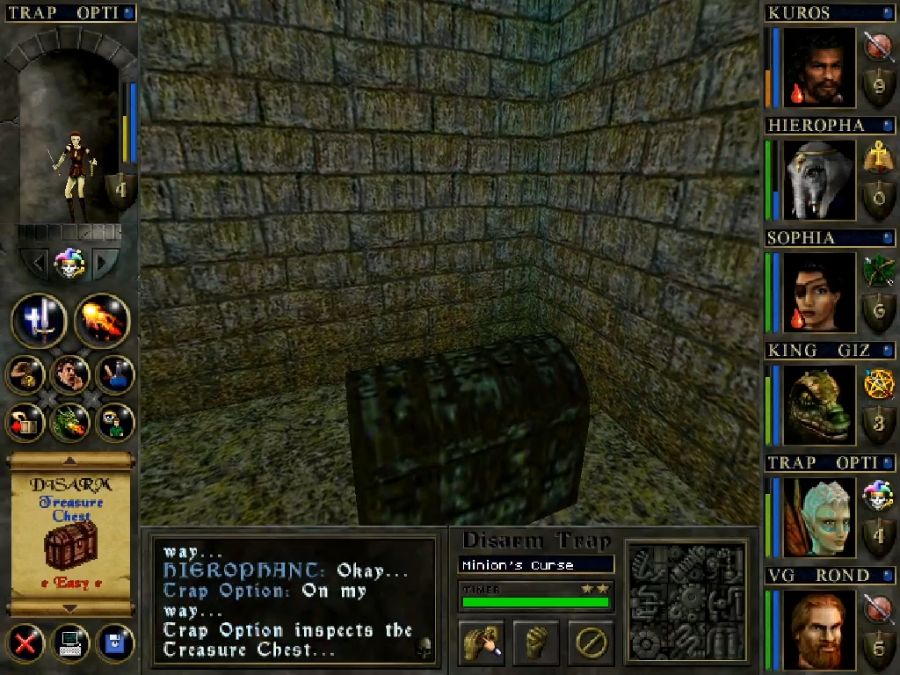
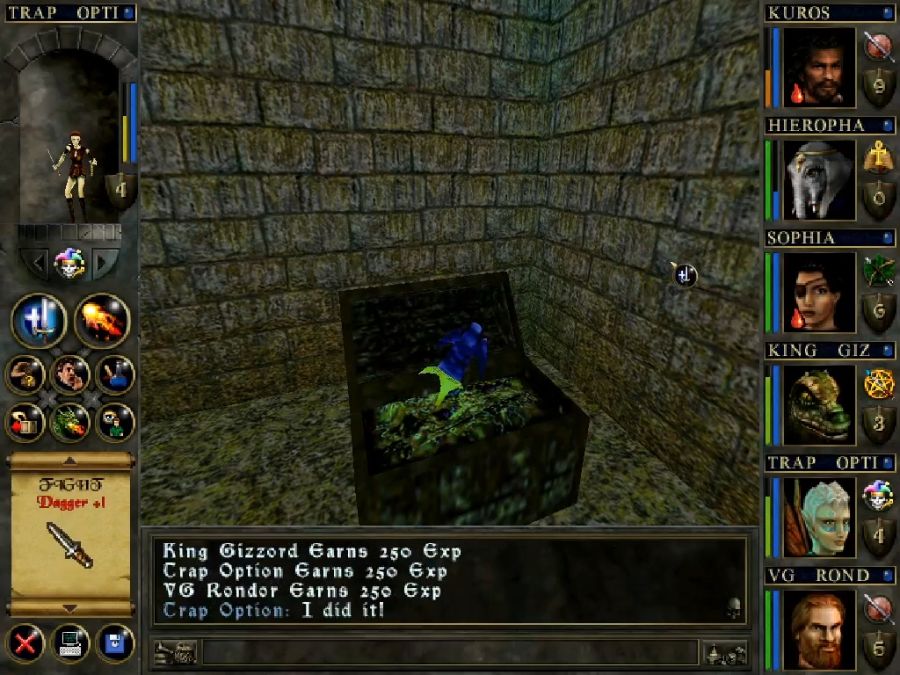
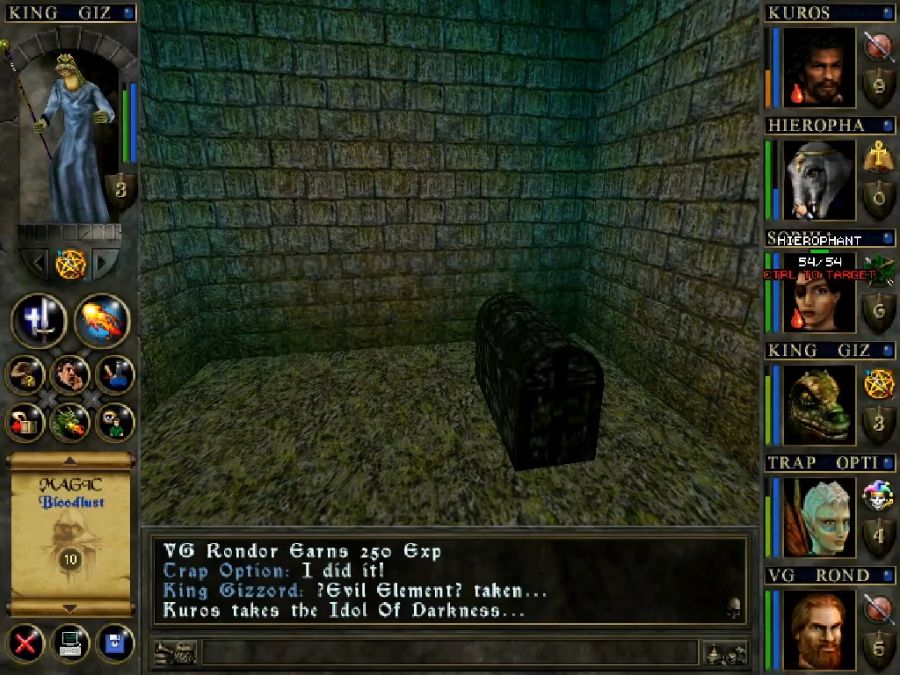
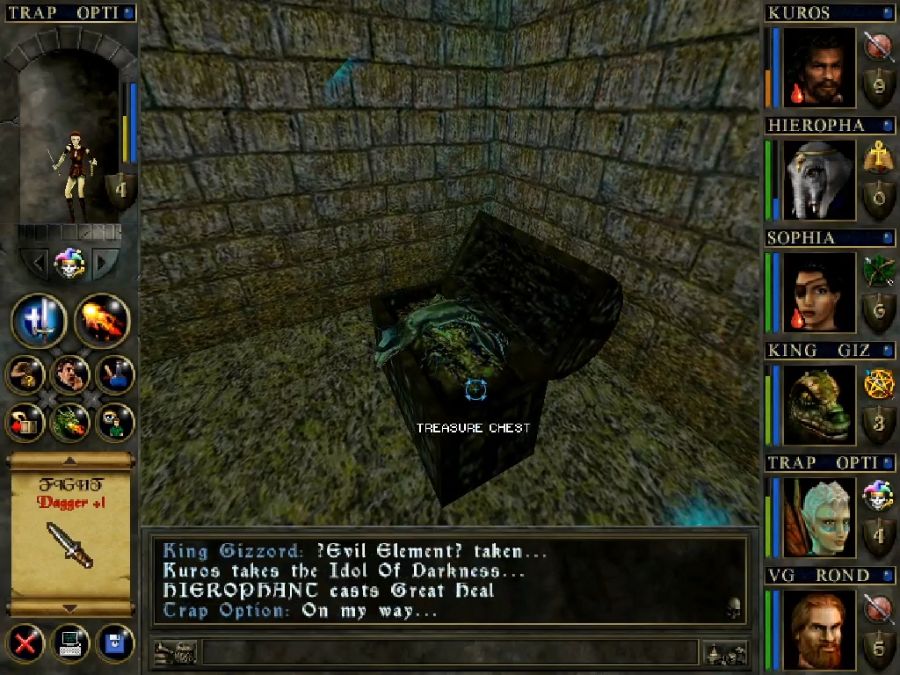
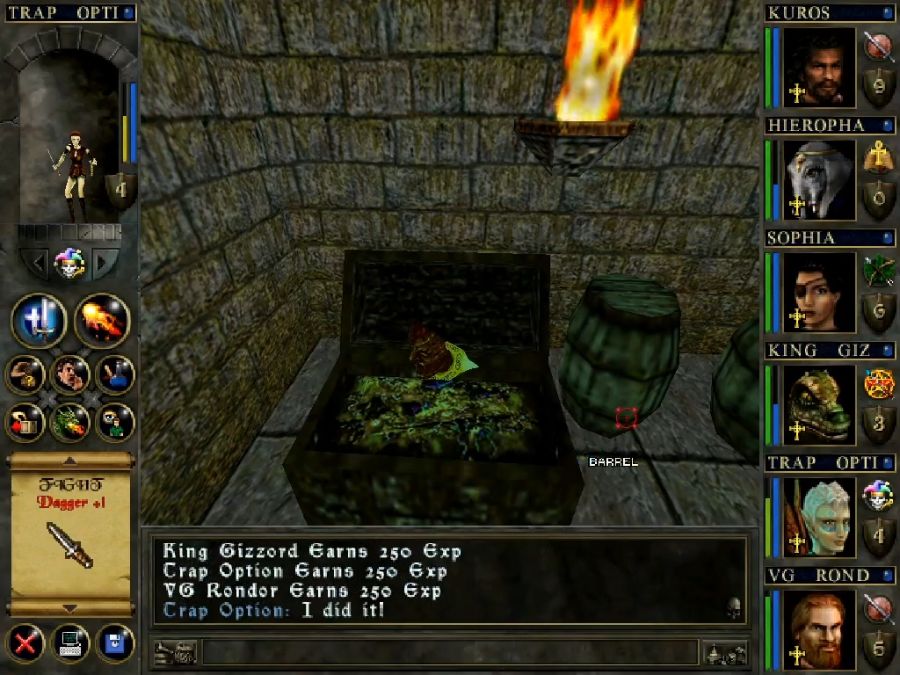
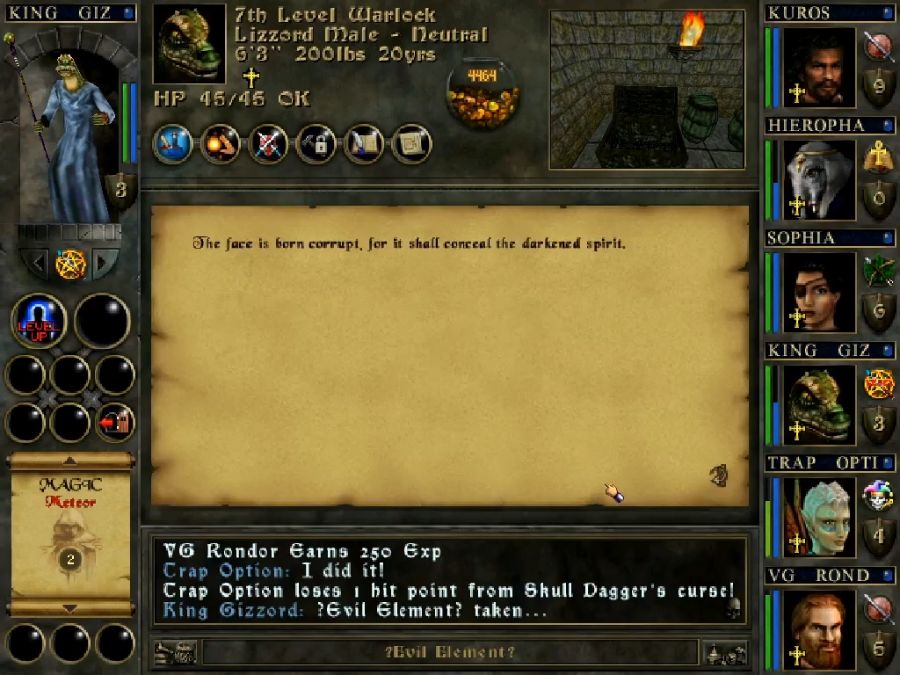
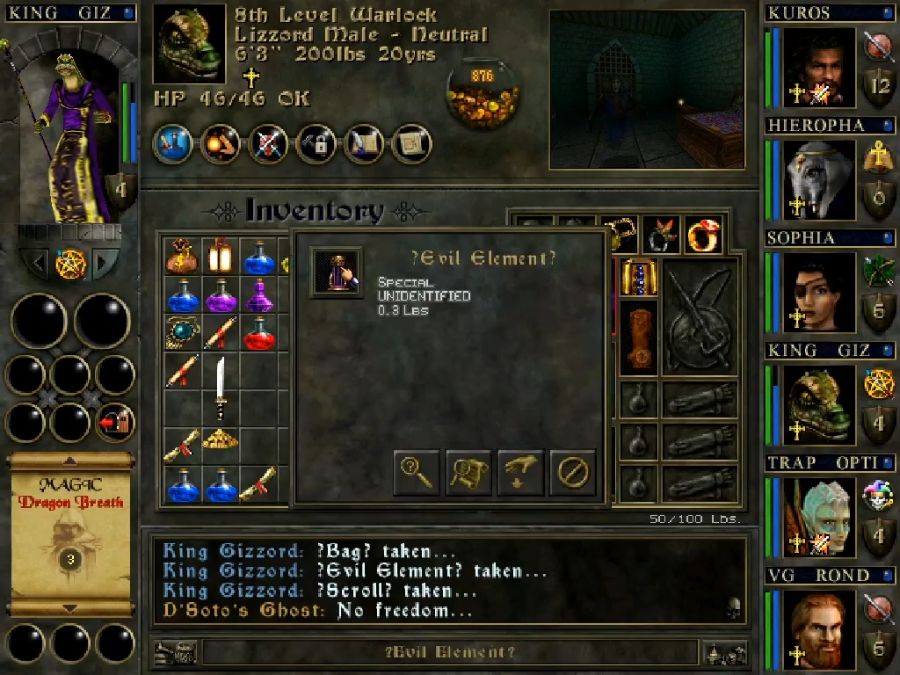
The chest on the right contains the first ELEMENT OF EVIL, of which we need to collect five to complete Shurugeon Castle, though we don't even know we're looking for them yet. Since it looks like a unique object, most players will likely be compelled to grab it to see what it's for, though. This one is the IDOL OF DARKNESS.

Then I poke at the leftmost chest.
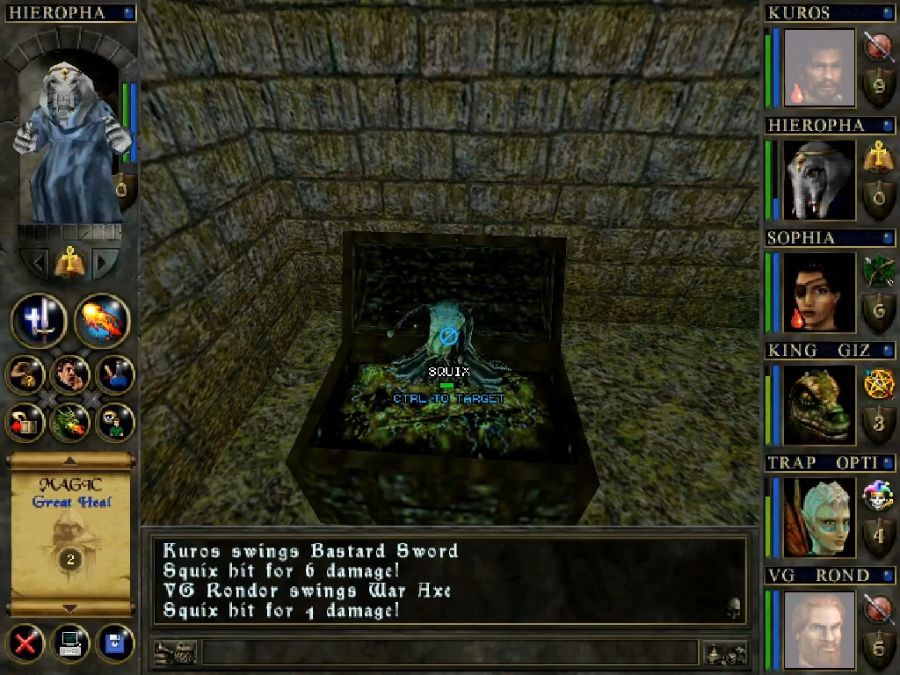
Squix are the game's take on Mimics, though unlike Mimics they're not very scary or dangerous. They do piddling damage, have no resistances and go down easy. Though chests they inhabit are also lame as there are no drops whatsoever even once the Squix has been busted. They look kinda like weird snakeslugs.
I murder it and then move onwards.
I follow some narrow and twisty corridors to arrive up here on this high perch above some zombie ronin(they can throw small bolts of flame but otherwise die to being bombarded from above without much resistance) and with some skeleton archers at the same height. I have a feeling like the game devs were expecting the player to arrive down below first, and fight the ronin in melee while eating arrows from above.


This turns out to really just loop back to where we first entered the dungeons, however.
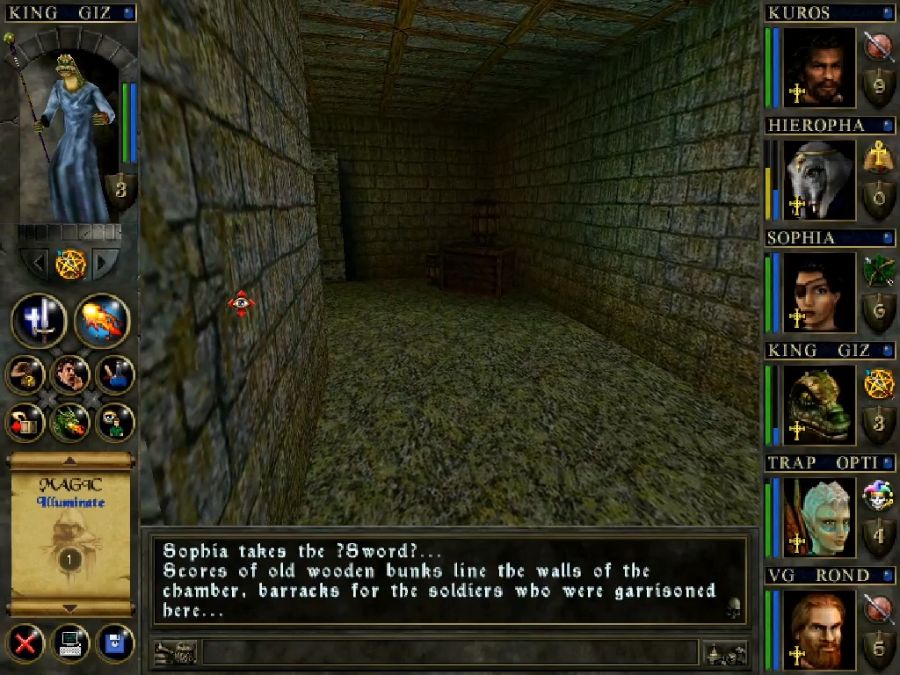
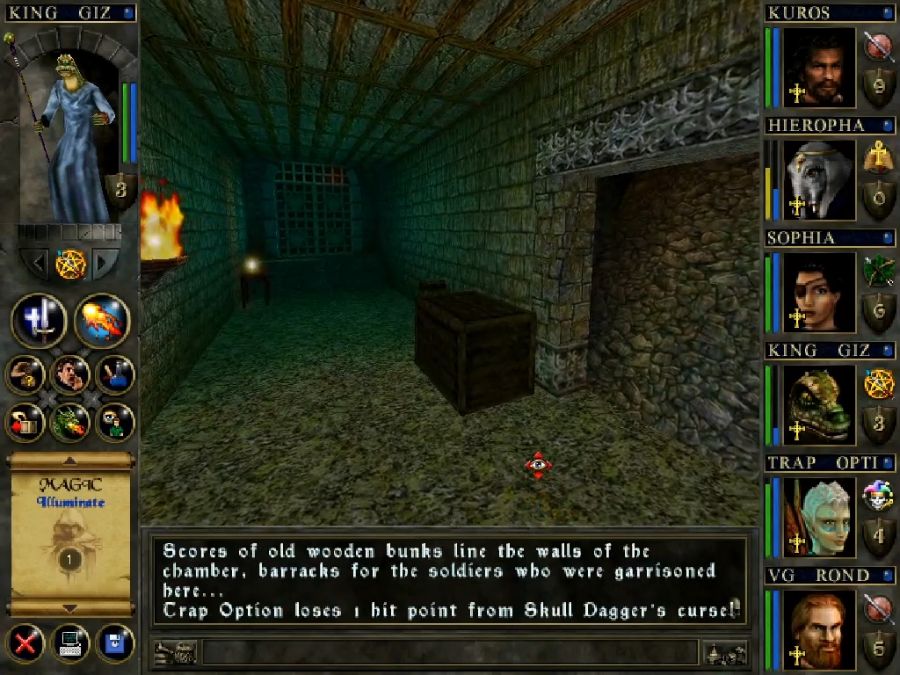
Looping back a bit, I take some stairs I'd skipped which bring me up to ground level in the barracks, which are, predictably, clogged all to hell with skeletons.
The only real thing of interest here is that I come across the ghost of Gliebott, whom the fighters' guild wanted me to put to rest, which is apparently done by repeatedly hammering him over the head with a sword.
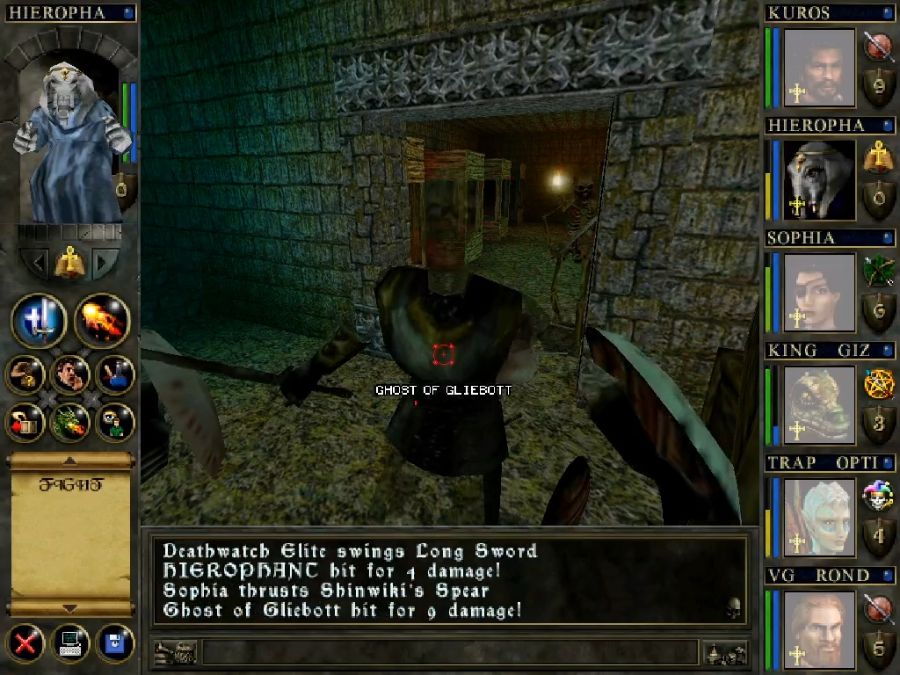
Pfff, who needs proton packs, am I right?
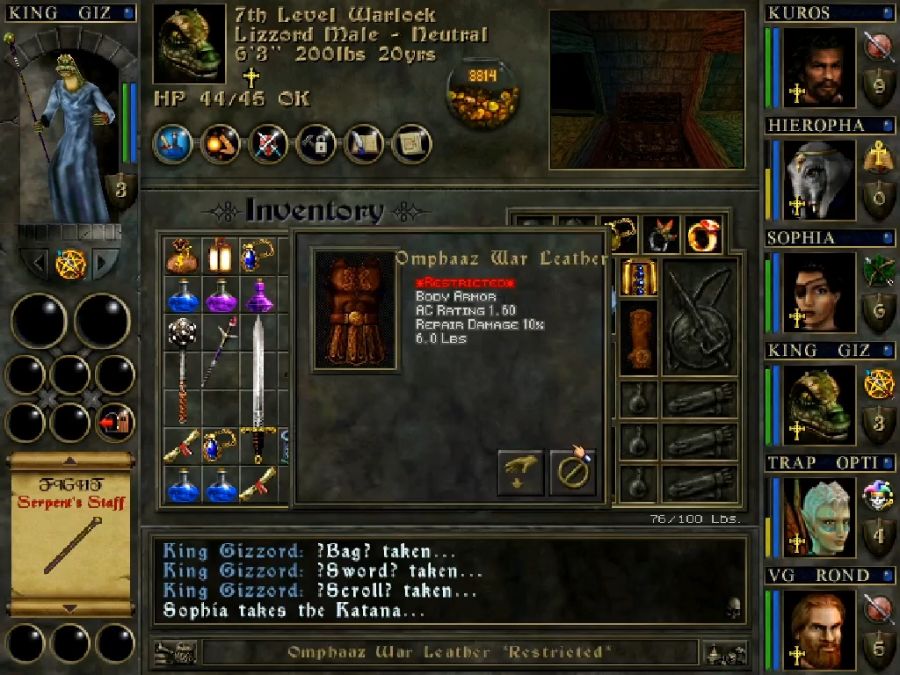
I also find the reason why Omphaaz kinda suck for fighty classes, which is that they can't wear most armor. They can only wear special Omphaaz armor that you never find in the stores and only ever as random drops.

At the far end of the barracks, I reach the smithy.
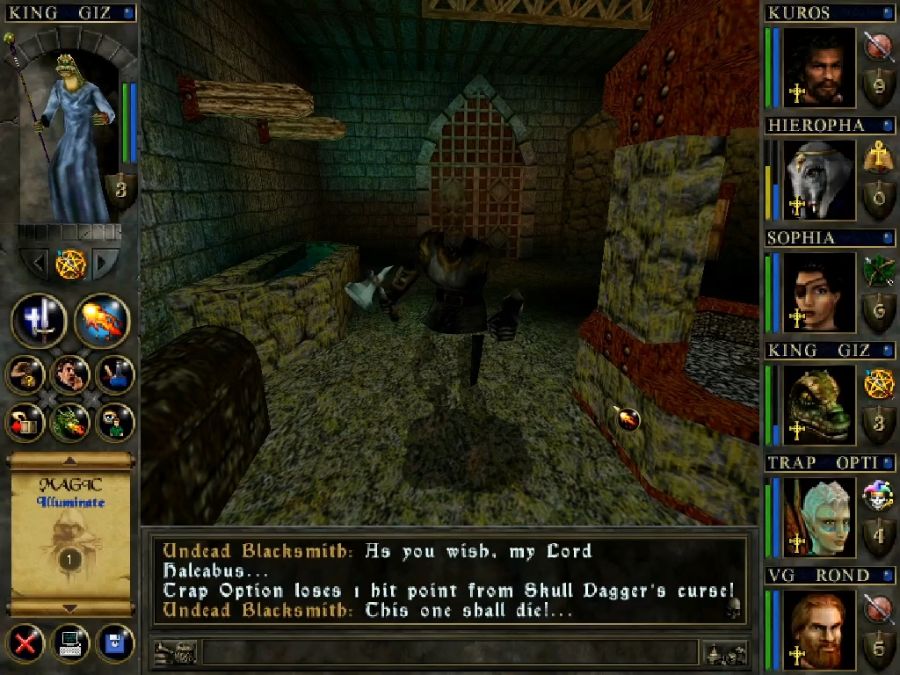
It's guarded by a single undead blacksmith who goes down like a wet sack of potatoes, leaving me free to poke around.
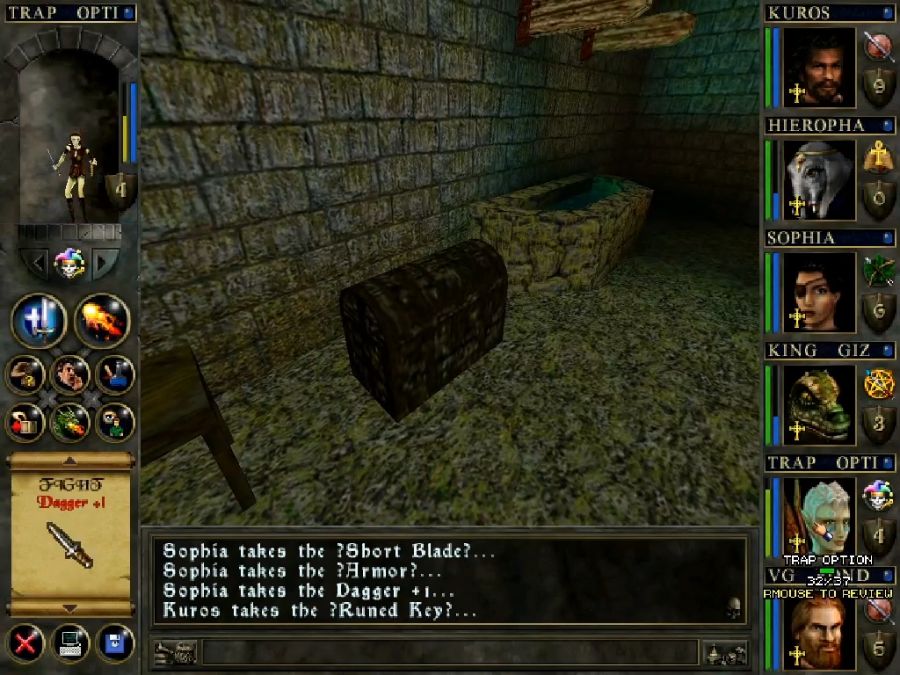
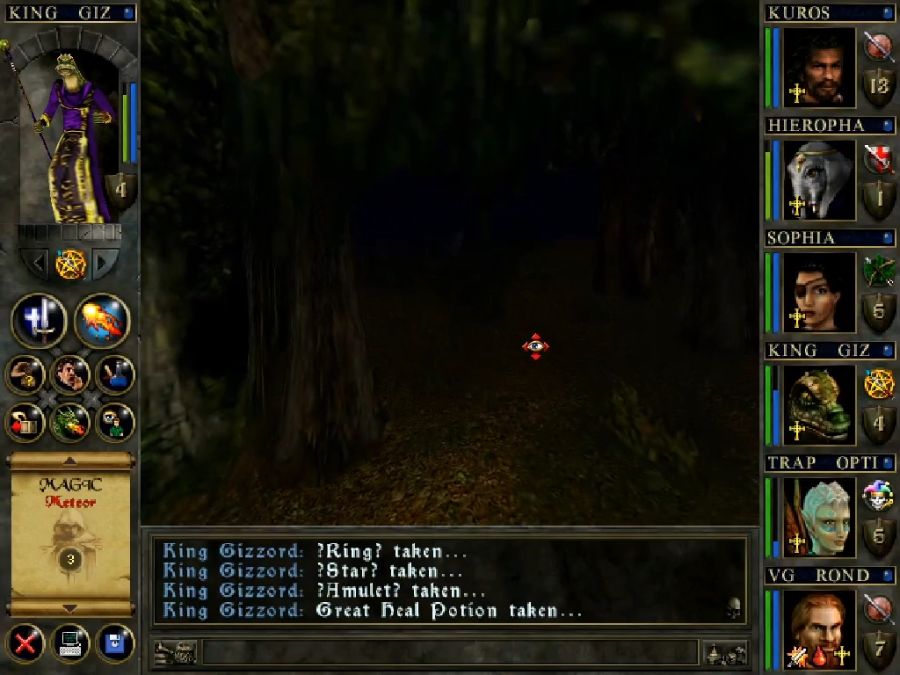
There's a chest, of course, with some forgettable loot in it.
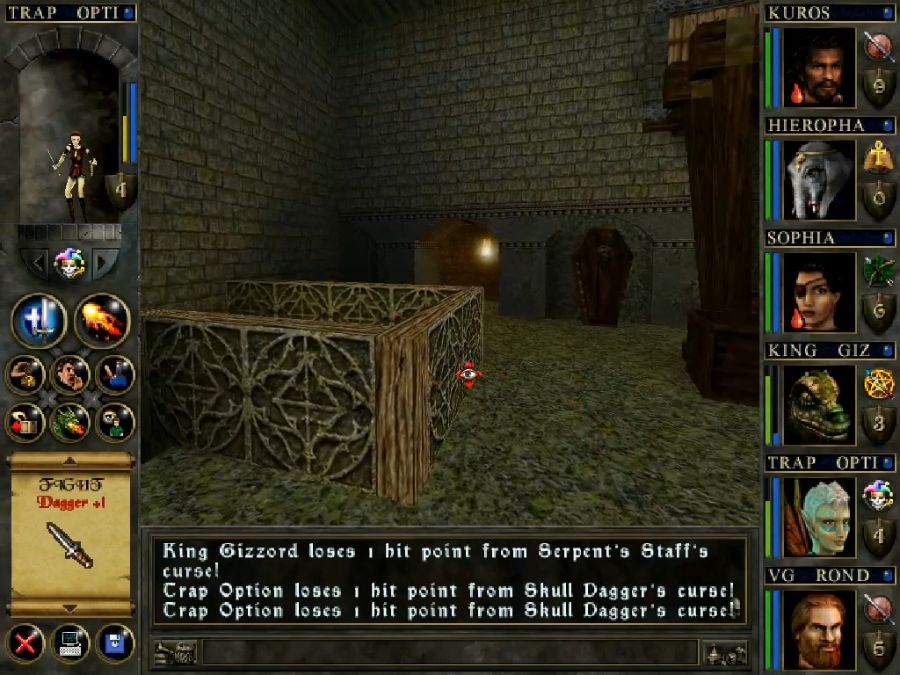
And, you know, like in all smithies, you've got your generic caged skeleton standing next to a switch.
The exterior switch for opening the skeleton cage is broken. Now, how would you solve this puzzle?
You might think of needing to find a pole for triggering the switch inside.
Or throwing something at it.
Or mind-controlling the skeleton.
Or bribing the skeleton.
Or maybe it's all just a ruse and there's a secret way in.
The real solution?


You blow up the skeleton and it collapses on itself as expected, but by the flavour text it pulls the lever next to it while going down, letting you in.
Second element of evil collected!

Continuing further through the smithy just takes us back to the entry hall, so I loop back to a door I ignored earlier.
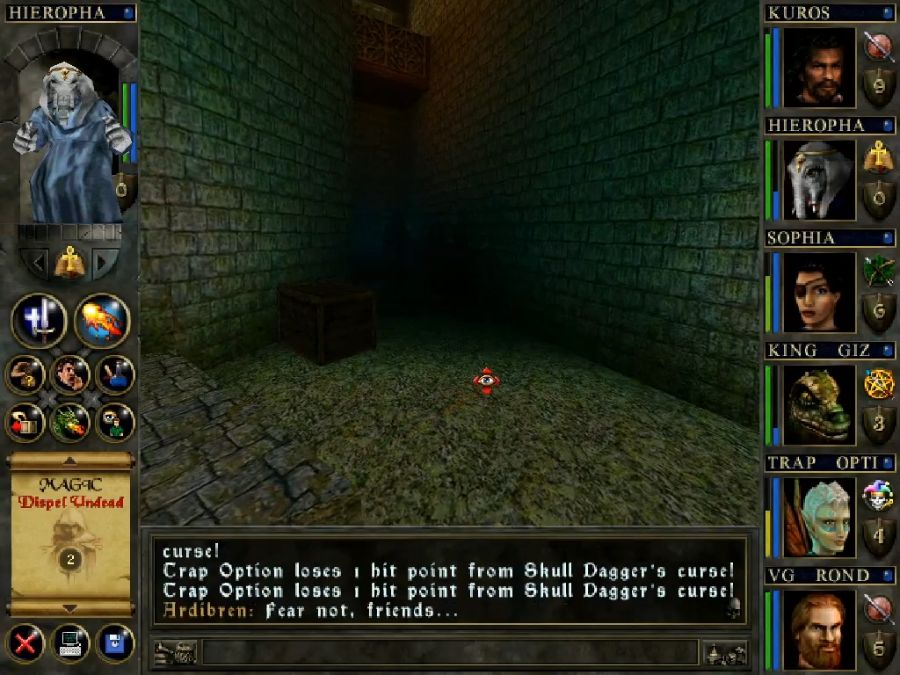
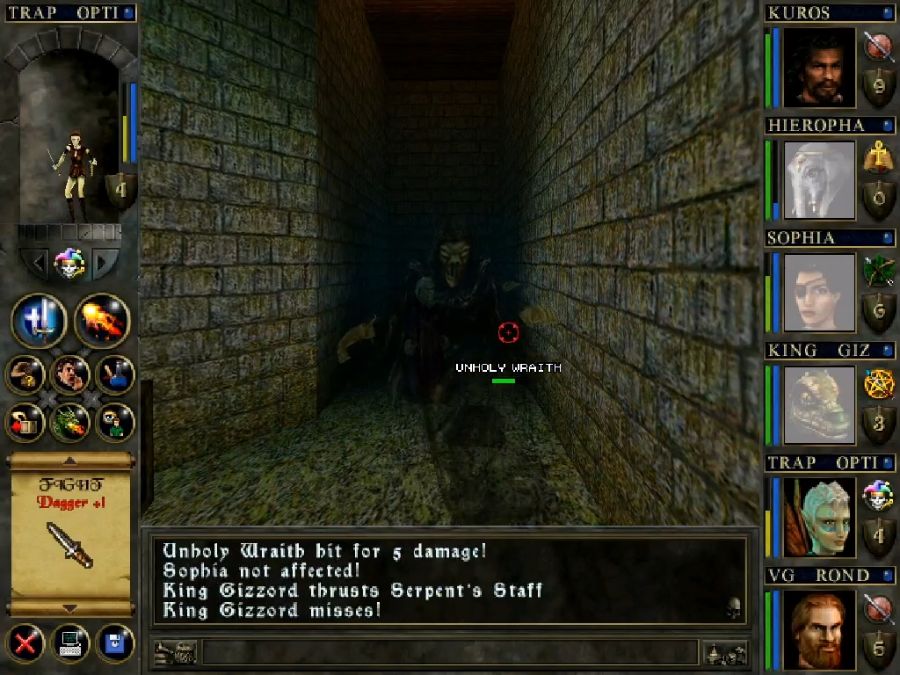
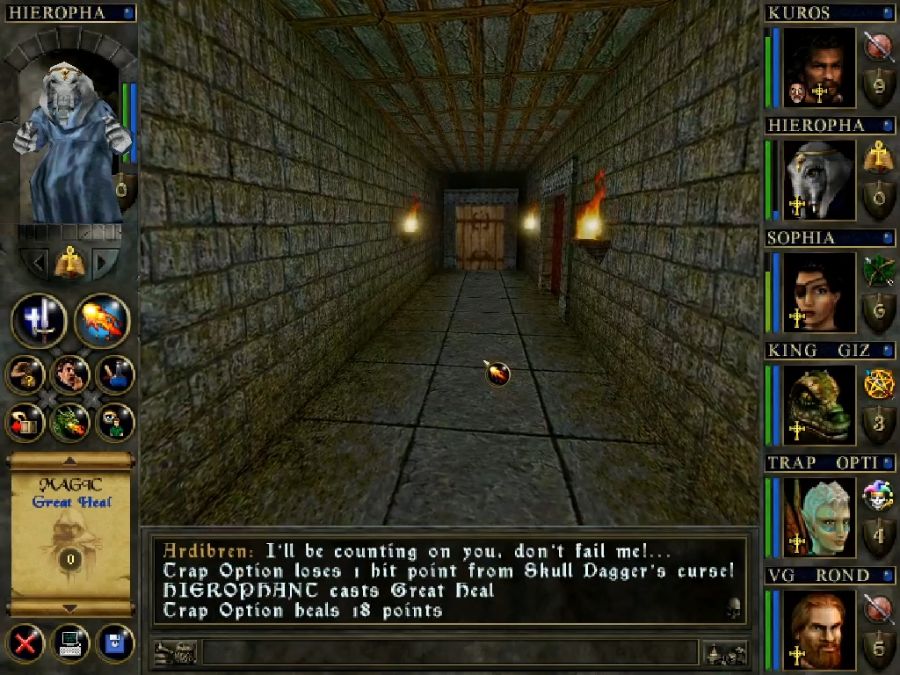
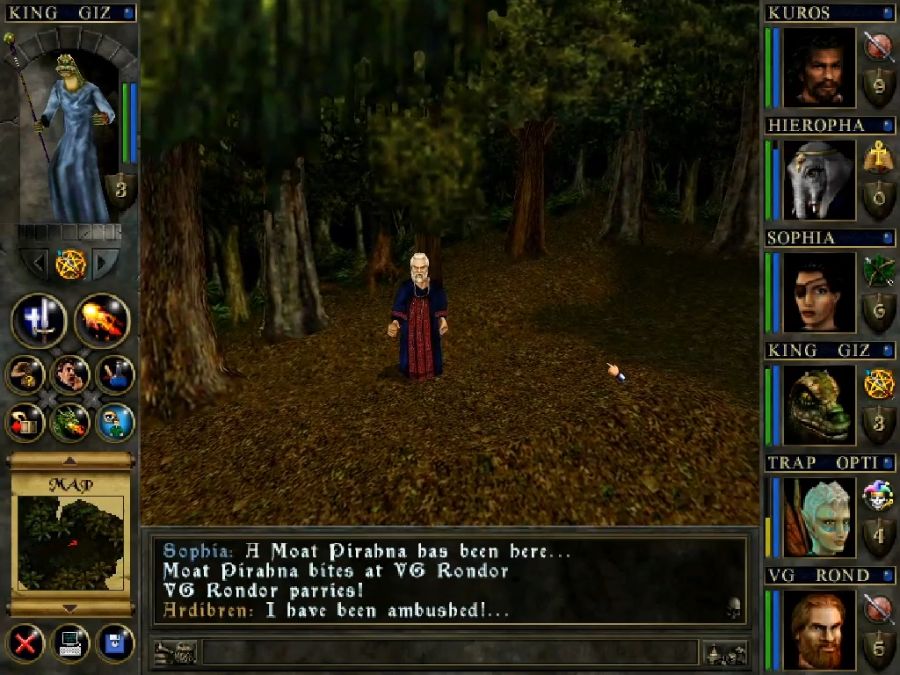
I enter another dingy room and suddenly three wraiths spawn in the corner and a guy, Ardibren, materializes behind them. He instantly vaporizes one with a high-level "fuck the undead"-spell and then spends the rest of the fight being useless as he swings his staff at them rather than casting spells.
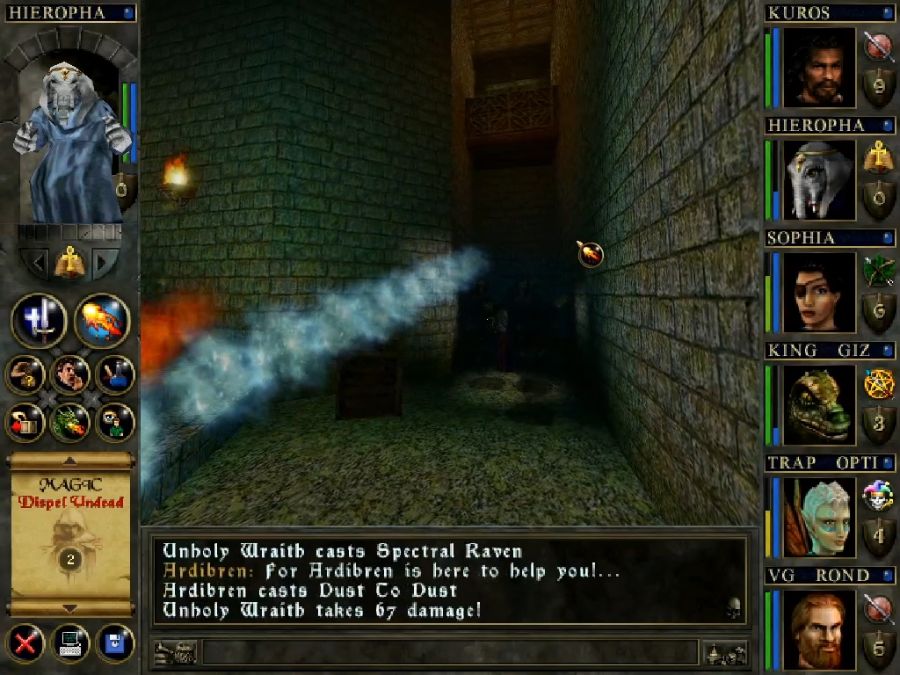
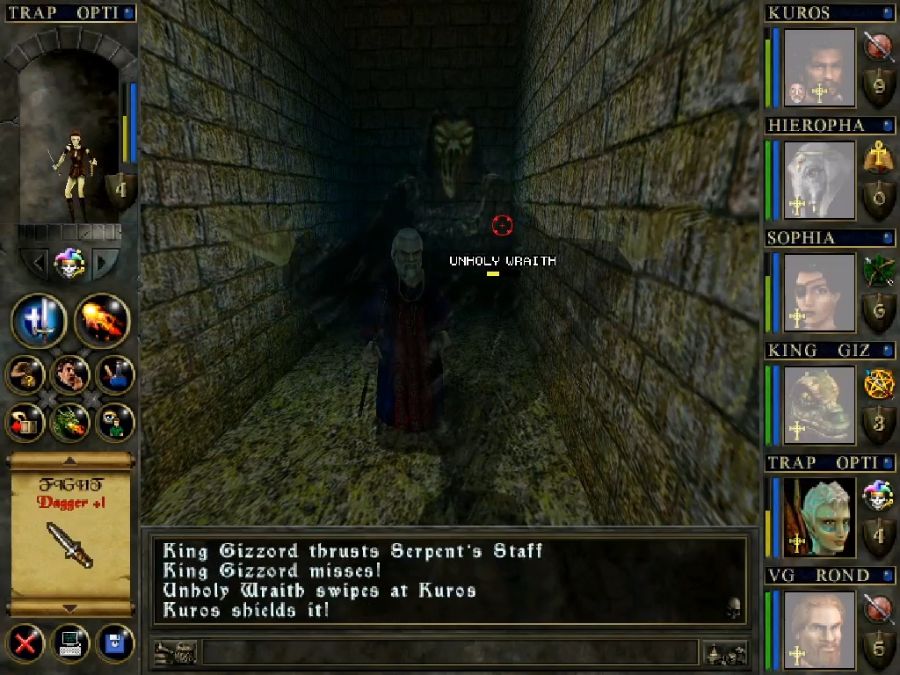
Thankfully the wraiths are janky and spend most of their time swinging rather than casting their nasty spells. On the other hand they take a while to take down because despite having the "do not blow up friendlies"-setting on, I decide not to risk angering the gods of jank by throwing explosive spells at their midst and maybe blowing up Ardibren.
Eventually, though, they go down and...
https://www.youtube.com/watch?v=mxDEsBsaGrE
Ardibren throws some exposition at us and teleports away after inviting us to go have a picnic with him in the woods outside. Before we do that, though, I want to see what's up the stairs next to him.

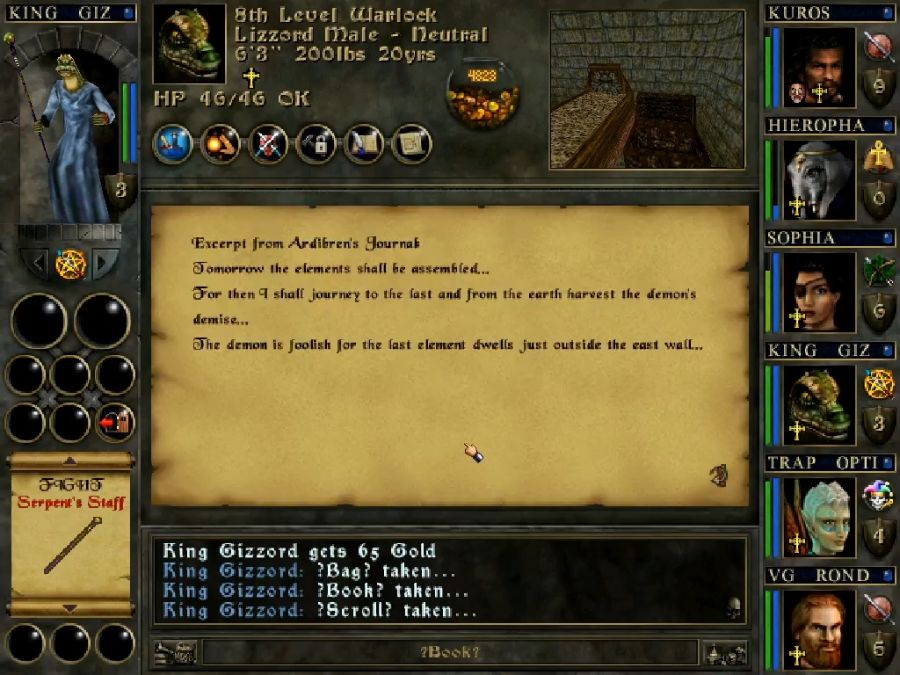
A locked grate and Ardibren's bedroom, containing the place to use the crank handle from earlier as well as a chest with Ardibren's journal in it, for the Thief's Guild.
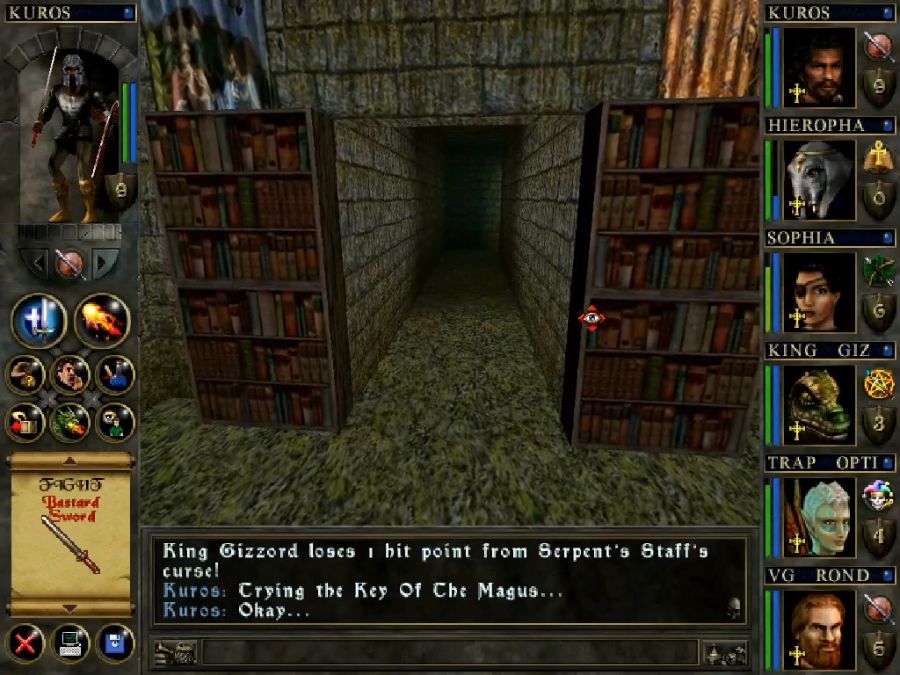
Using the crank on the mechanism, surprisingly, does not open the grate, instead it opens the bookcase on the wall.
Behind it is the actual lever for the grate, and two chests(one is, of course, a squix) and the other contains some generic loot. Still, selling it will fund some training.
The grating leads to some stairs up to Ardibren's lab. By itself there's nothing of interest there, no quest items, notable loot, enemies or lore, but this is where we need to eventually bring the five Elements of Evil and the Masque of Death. There is a bit of janky writing, though.
They only modelled and added five golden holders, and there are five elements, but the flavour text says there are six.
On the way out, I decide to use the key from the kitchens to check out the throne room.
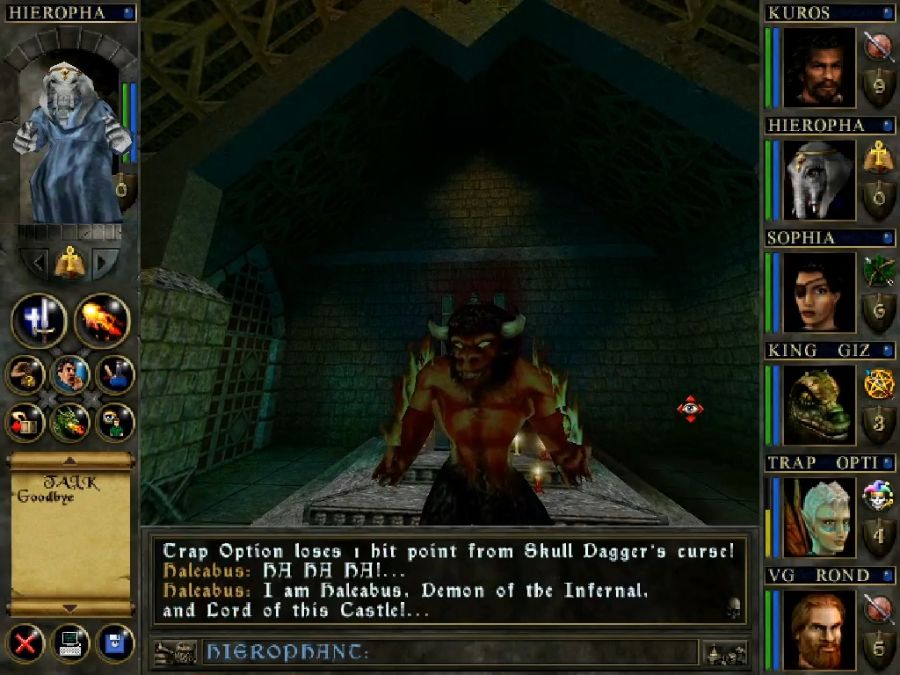
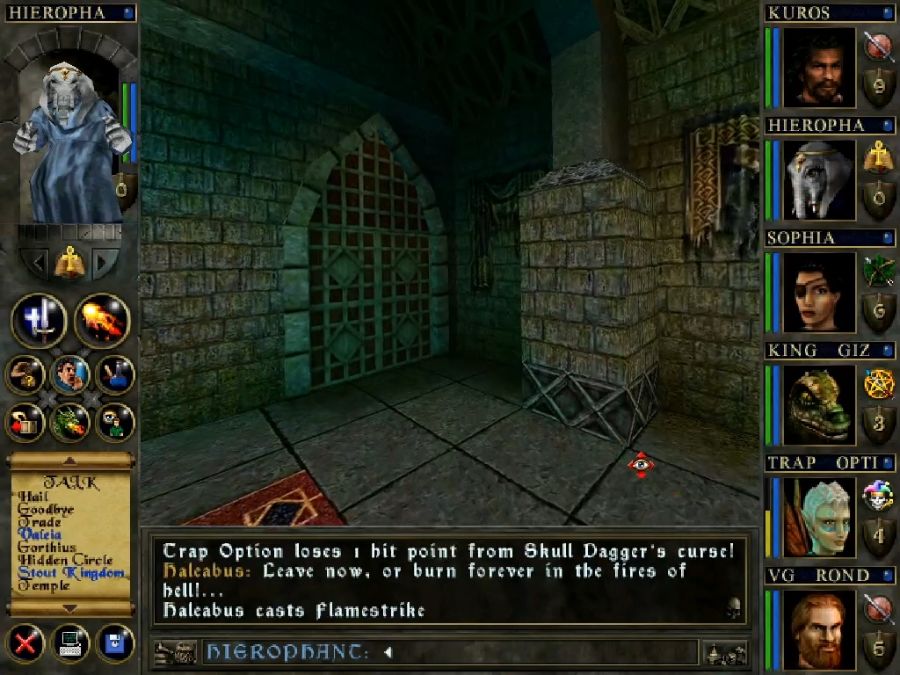
Haleabus is, of course, the boss of the castle and also currently literally invulnerable. Until we use the Evil Elements and the Masque to make him killable, we won't make any progress. I turn around and leg it while he throws fireballs after me.
Time to go see Ardibren and continue the quest.
Oh no!
https://www.youtube.com/watch?v=dJhIZHQe1LA
So what we learned here is... we gotta haul the five elements up to Ardibren's lab, slap them in the holders, slap the mask on the central pylon and boom, we've got the mask that can make Haleabus vulnerable, and the remaining two elements are with someone named "Lysandra" in the catacombs and in "the tower." Note that "the tower" isn't actually Ardibren's tower, and is instead another structure that's completely non-tower-like and also not reached by going up, but instead by going down. This is made even more confused by Ardibren talking about his tower and not the actual element location tower when asked about "tower."
After this, I stop by town and turn in some quests. The fighters' guild hands us our next quest of inviting the Stouts at their mines to join the guild, the wizards want us to find the "Idol of Aku" somewhere in the north and the thieves want us to find the "Band of Boars" somewhere in the north.
I then trudge back to the castle to find the last two elements and finish the quest.
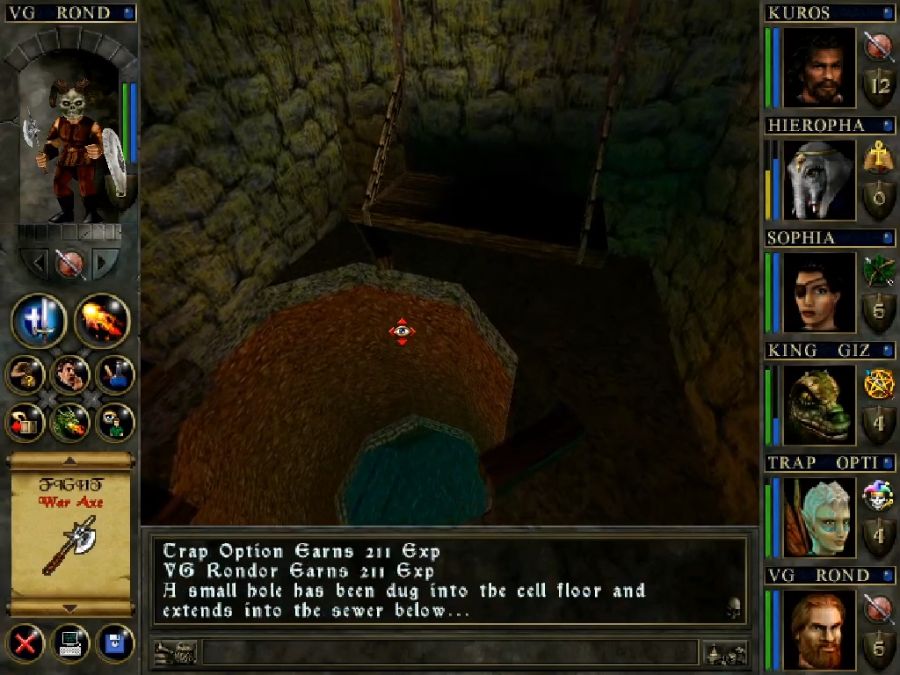
I walk around a bit, mildly confused, until I realize that I never actually explored the bottom level of this room. Not sure where the entrance is, I just jump down from the upper gallery.
Looking down these gratings, I see a number of cramped cells, about half of them holding zombies, and no obvious way down there.
After spending a minute being confused I leave and see the stairs right outside.
Six doors.
Four have zombies.
One has a magic beatstick that no one in the party has any use for.
The last has the only entrance into the catacombs that we can make use of.
And of course while dropping down towards the harmless water I hit a single pixel of protruding geometry that manages to break half the party's ankles.
The "catacombs" feel more like sewers, and with the grating leading to the direction we're meant to go currently sealed, there's only one alternative direction.

While the other imps weren't really scary on their lonesome, this named one is.


Thankfully I manage to cut him into chunks before he does that again, the little asshole. He, of course, guards the switch that raises the grating.
Pull that, head back downstairs and get to swimming.
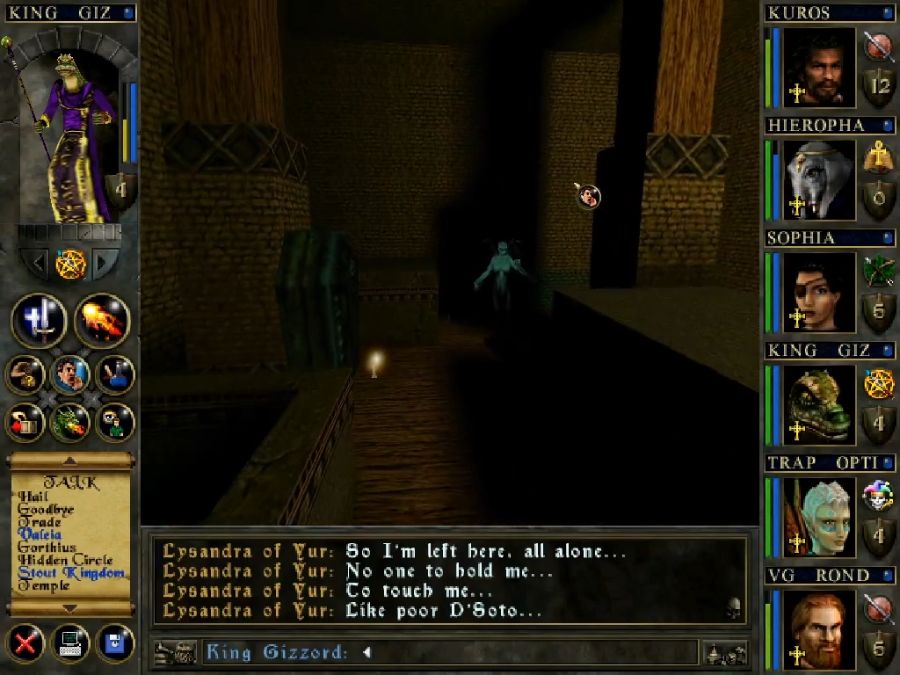
Ominous stairs ascend from the water...
And a pallid shape lurks in the darkness among the biers and coffins...
https://www.youtube.com/watch?v=UM7GUG_QjJQ
For fuck's sake. So, she holds the fourth Element of Evil, which Ardibren gave to her. She'll hand it to her if we make the incredibly stupid decision of letting her, uh, suck on one of the party members. This turns one of them permanently into a Vampire. It gives them constantly draining HP, makes them unhealable(except by biting and draining enemies) and gives them penalties in sunlight... in a game where you can't rest to pass the time. It is a terrible idea and also she's real gross. So time to do something that is a good idea.
Step one, get distance.
Step two, cast an offensive spell, learn that Lysandra uses ranged instakill spells if fought at range. Reload and retry.
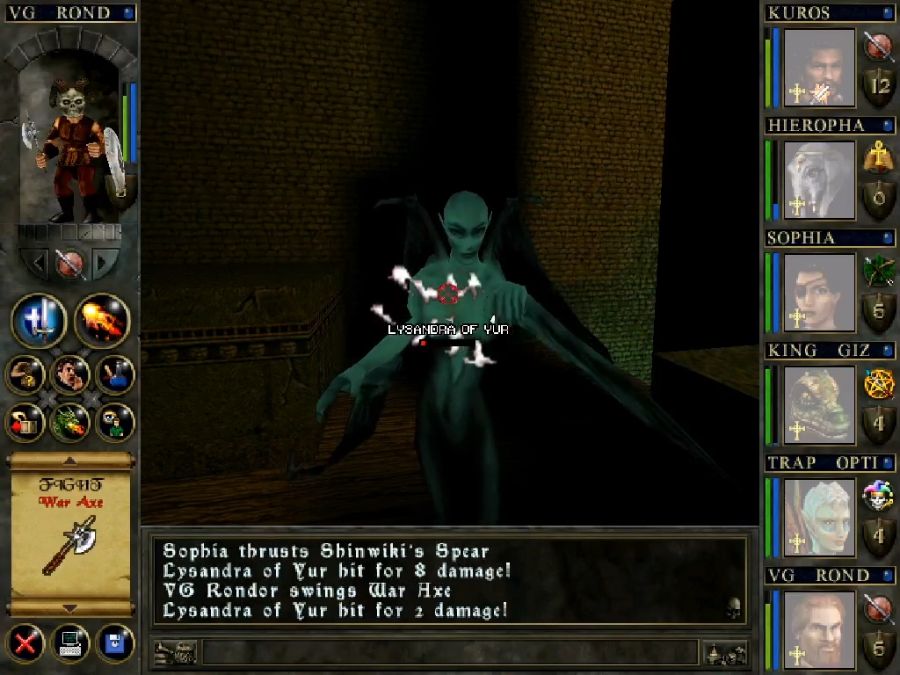
Step three, close to melee instantly and own her after needing to weather only one save-or-die.
Now, when she goes down, she's going to drop the fourth Evil Element. This is the mystery one. This is the one I asked everyone to take a guess at.
Ready?
Again only one person got this right.
Lysandra's dialogue might have a hint towards it.
Yeah, yeah.
Here it comes!
No you're seeing that right, it's a fucking dildo.
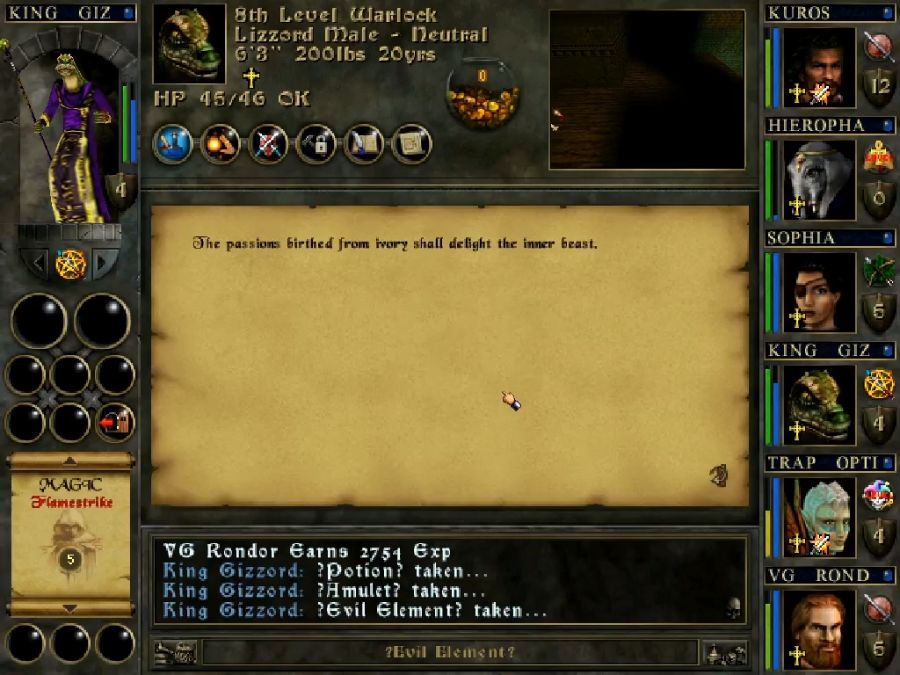
Seriously, what the fuck, DW Bradley. Let's just stuff it at the bottom of Kuros' pack and pretend it didn't happen and continue up the stairs. Goddamn.
At the top is a transition room to the outside, full of samurai zombies that need beating down.
They're not a real challenge. Few things in Shurugeon Castle are.
We come up inside the un-openable structure outside which resembles a small church more than a tower.
Also a good reason why we couldn't open the door... except that no doors in Wizards & Warriors ever actually swing in or out, they just slide aside instead.

Up top is a ramp you can jump off for a quick descent to ground level(try to land on top of the wall, though, if you like your characters to still have knees) and a rope bridge to the second half of the church.
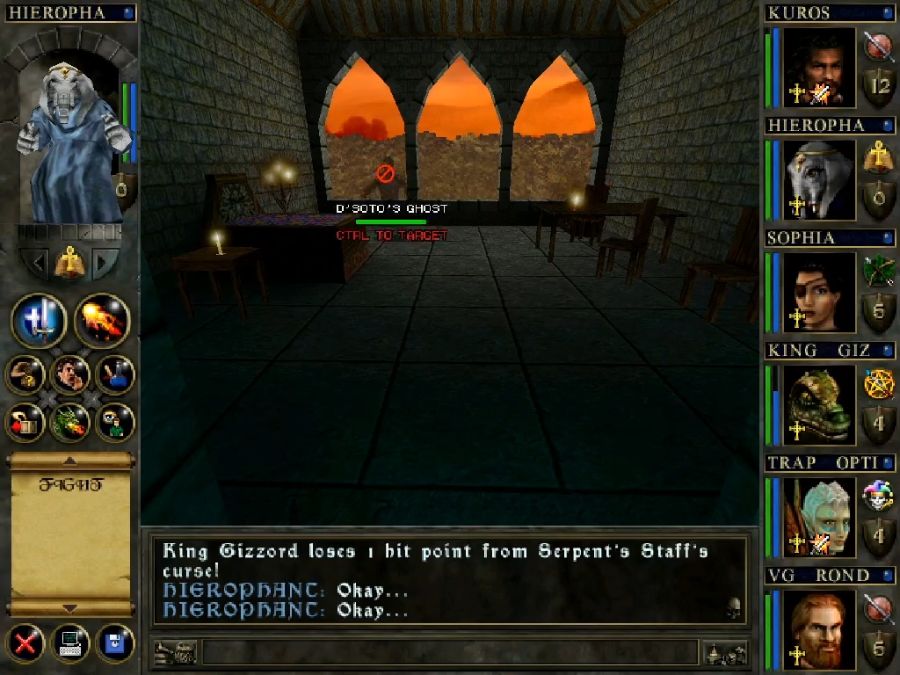
D'Soto's ghost is hanging out up here, just sort of floating around and crying about how everything is pointless and there's NO ESCAPE. In the corner, however...
Boom! Last evil element! Time to bail back to Ardibren's lab.
Time to do this.
Elements in place, time to slap the Masque on the central pedestal...
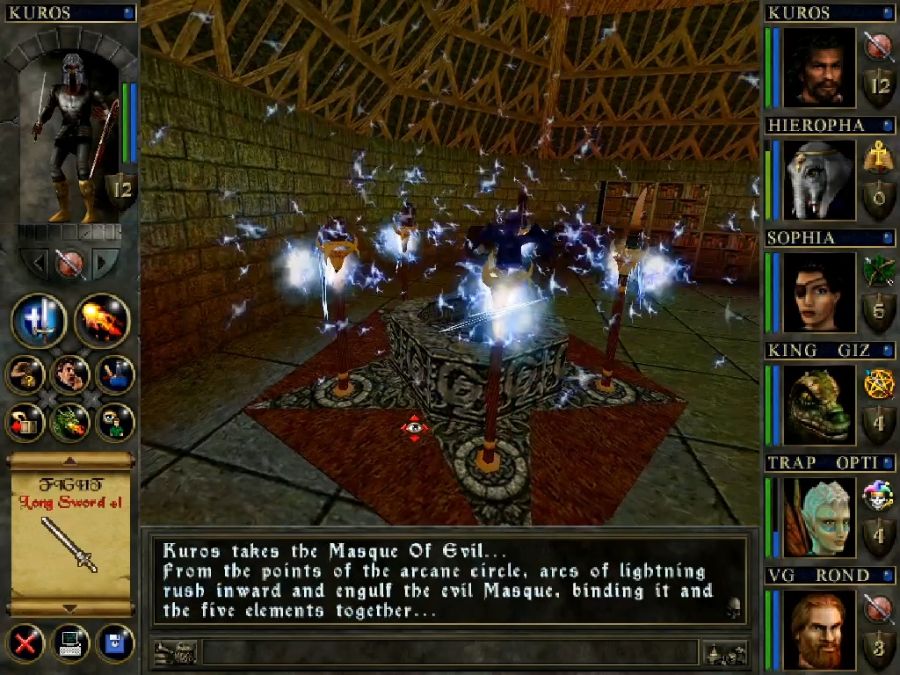
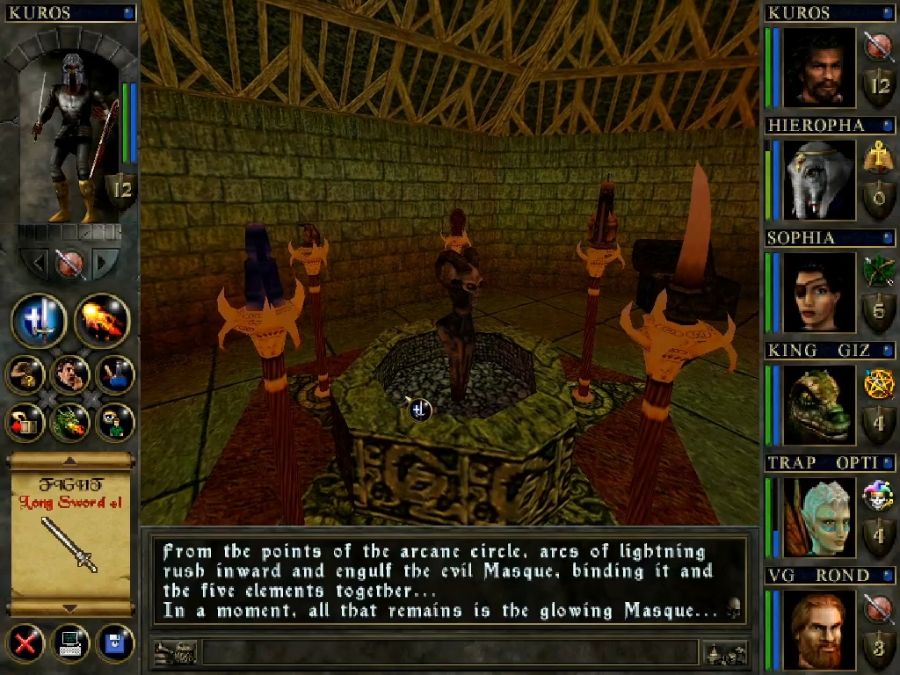
Wow! It looks exactly the same! And once again the descriptive test doesn't match what actually happens as all the elements remain in place on their pylons. Let's go own Haleabus.
So!
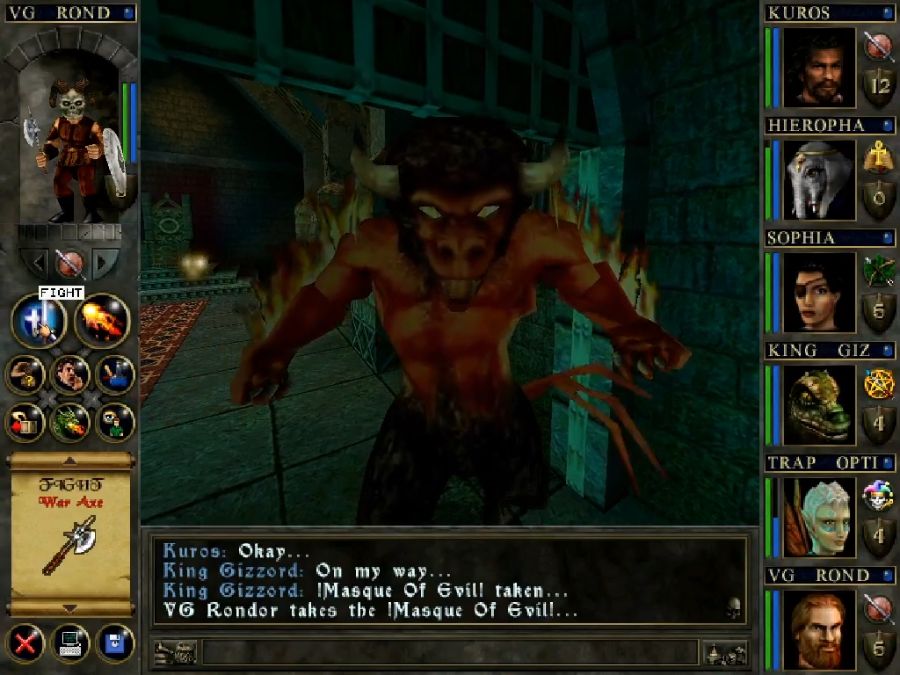
Haleabus actually took me down once! Because I spent a while trying to figure out how to use the Masque on him.
See, you'd expect you'd have to Use it on him, since he's not really a consenting participant in his own annihilation. Instead you have to Give it to him. So the first time he got to drop multiple Flamestrikes on me before I figured it out.
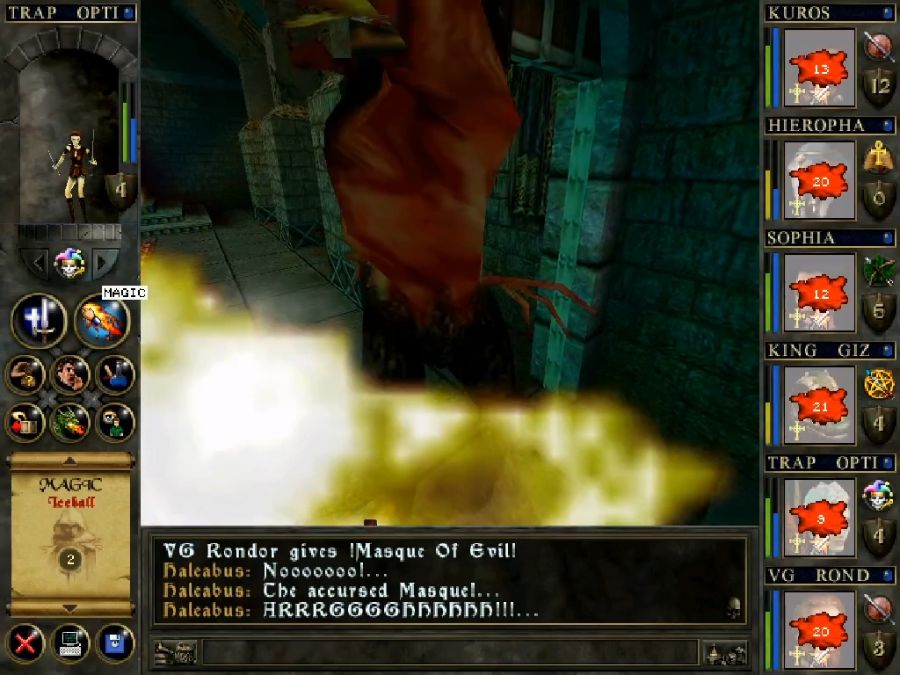
When you Give him the Masque he gets extremely pissed and throws a free Flamestrike at you, and then it's off to the damage races. He isn't a complicated fight, he doesn't drop conditions on you, he doesn't summon allies, he just throws lots and lots of Flamestrikes your way.
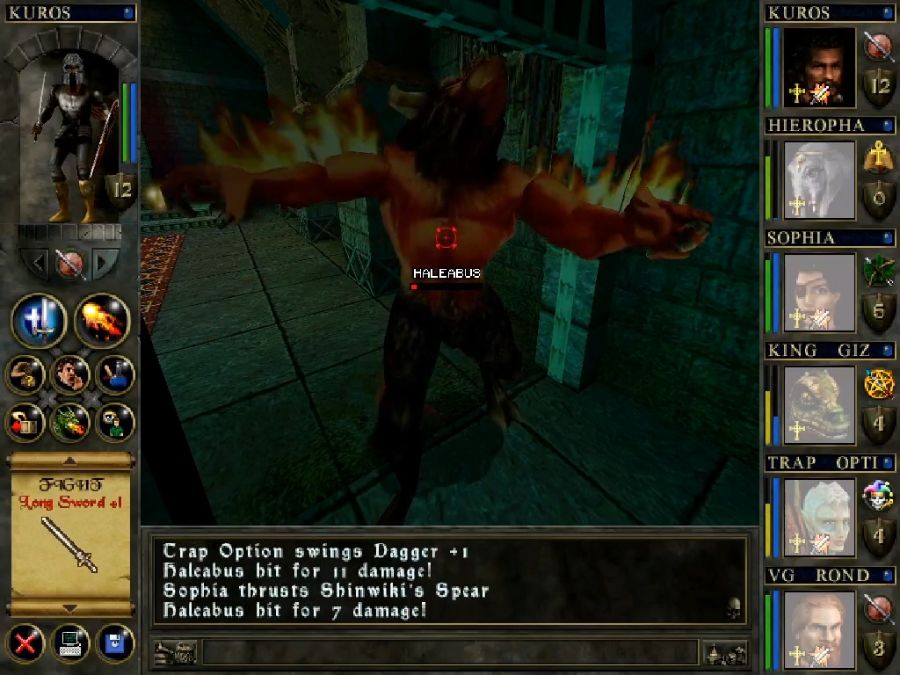
I manage to take him down with no losses and with everyone looking reasonably healthy because Hierophant managed to pick up Healing Realm, the full-party heal spell, just before the fight happened, which was a damn lucky thing.
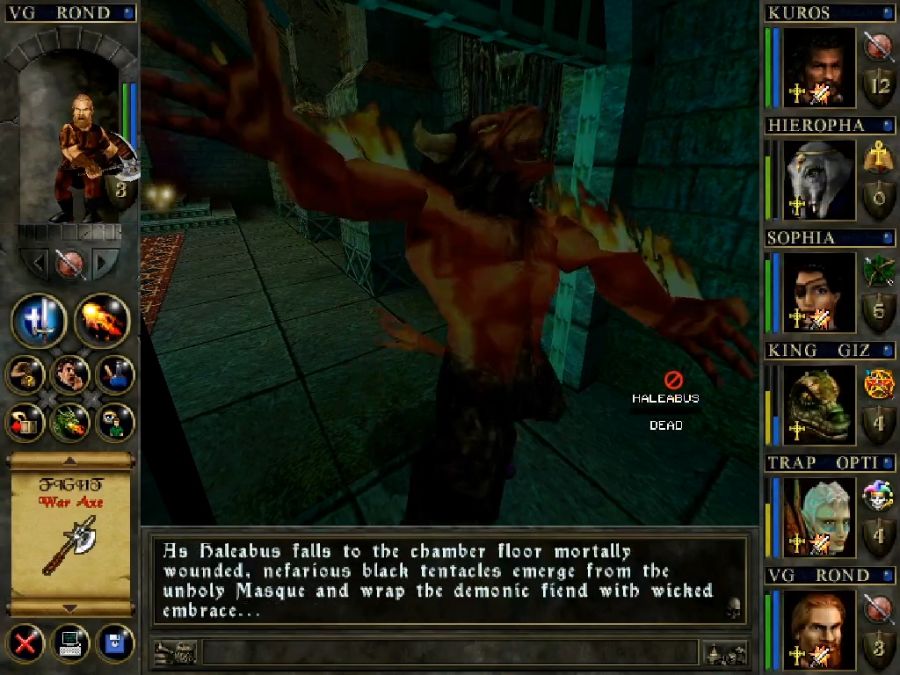
Then there's a long bit about how the Masque eats Haleabus(of course not shown in any way) after which we can pick it up again. I do so because it's honestly a decent helmet, and it goes back on Rondor as his hat.
https://www.youtube.com/watch?v=nLIC-YV8kO4
Our quest reward is that D'soto gives us the "please do not turn us into ash"-password for Erathsmedor if we meet him anywhere he isn't already incinerating us from the air. We also loot his treasure in the corner, the main takeaway from which is a decent shield for Rondor.
Let's get the heck outta this place.
With the castle sorted, I decide to handle a bit of bookkeeping.
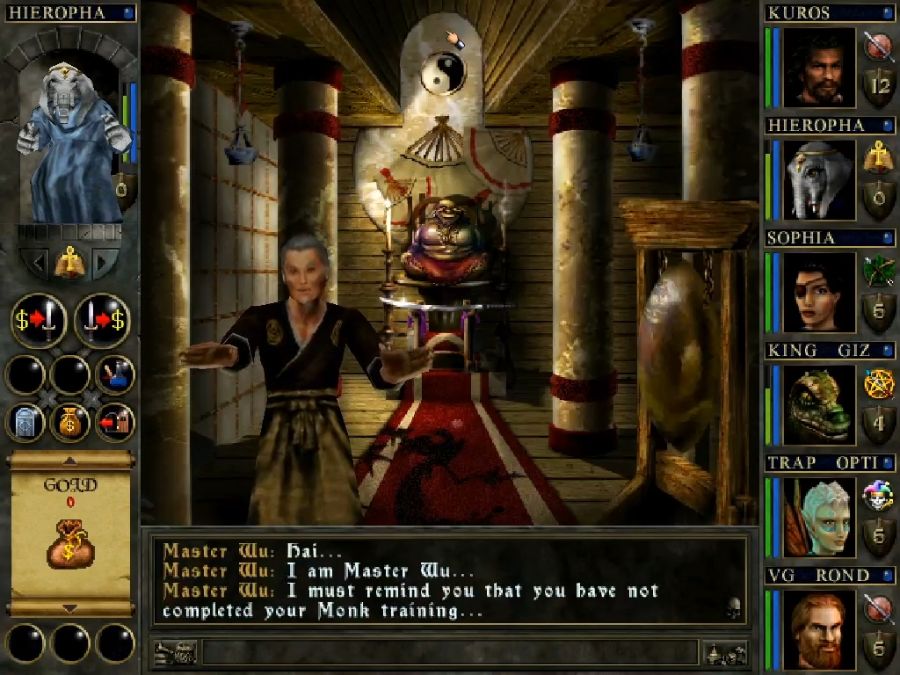
For some reason the game doesn't want to acknowledge Hierophant completing his Monk advance quest, so instead I decide to just go ahead and turn him into a Paladin instead.
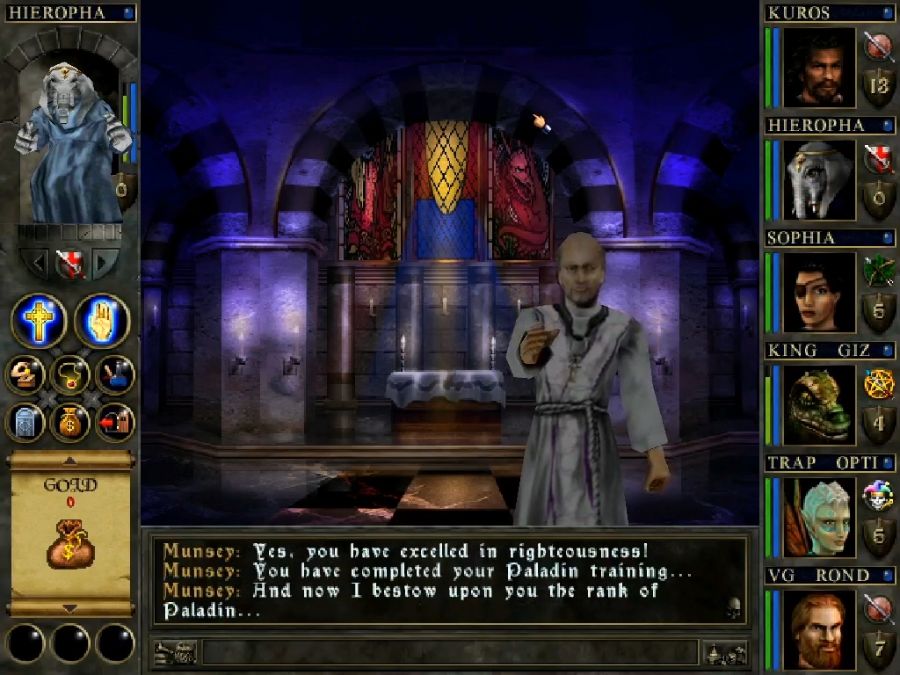
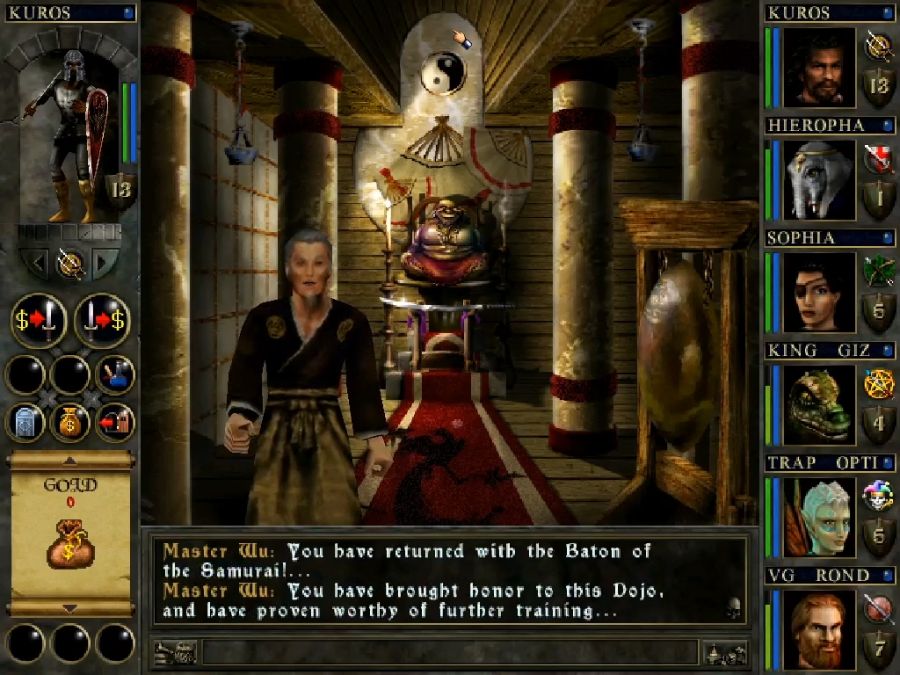
Said promotion is literally just a walk back to the statue near Valeia, so not worth recording. Kuros, I decide to get a Samurai advance since getting him up to Paladin stats is taking a hell of a long time.
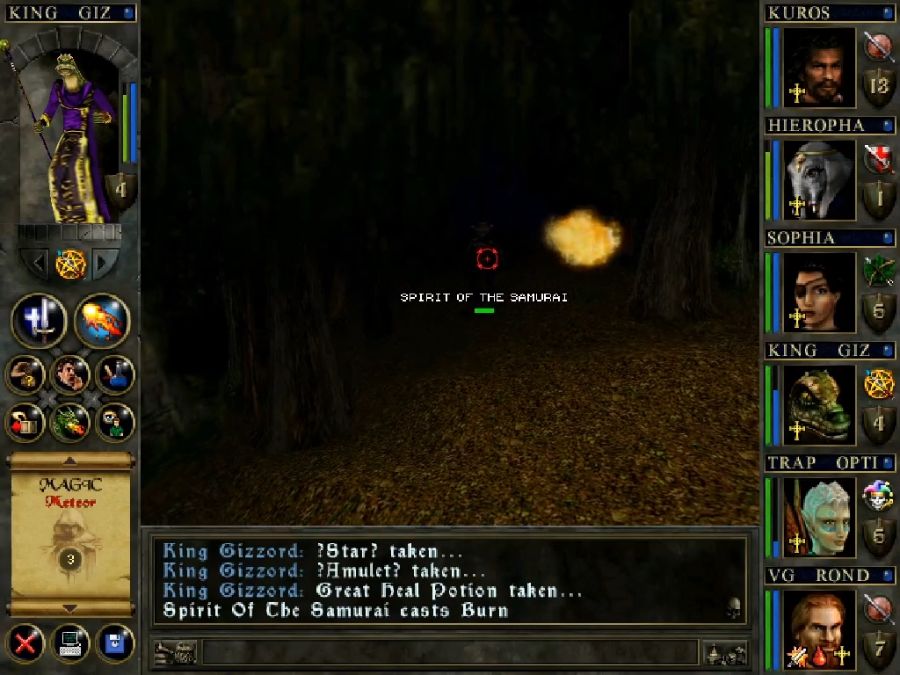
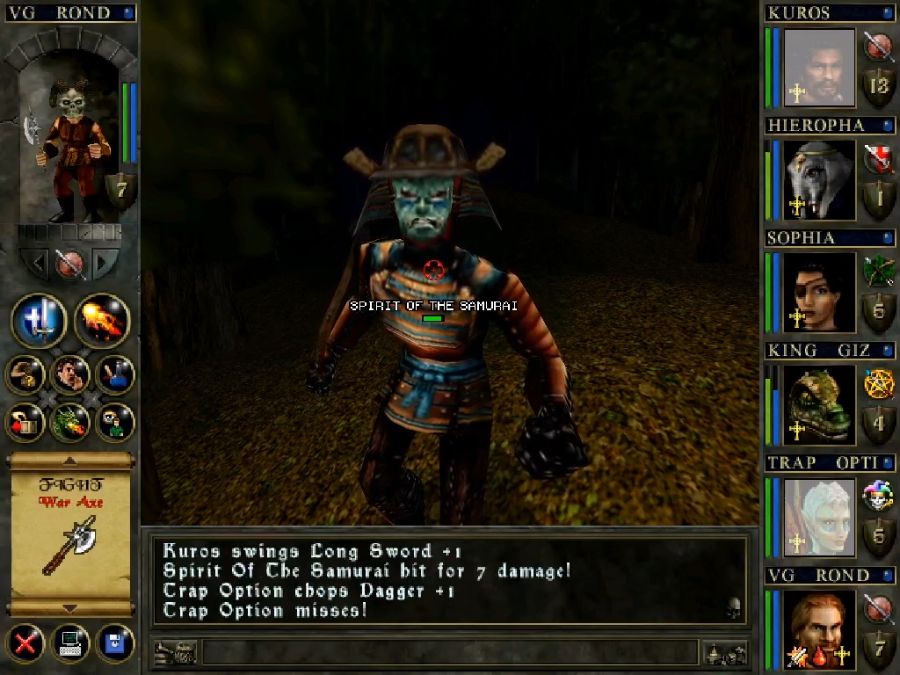
The only requirement for that is going into the woods and beating up an undead samurai for his magic wand.
In hindsight, another blasty caster is probably more important than another healy caster anyway, but I'm still going to try to get Sophia or Kuros turned into a paladin at some point. For now, I'm just gonna turn Kuros into a Barbarian for more smashy output, if at all possible.
And so, we're technically ready to go poke at the Dragon's Spire and advance the game. But there are two sub dungeons here, at least one of which is somewhat interesting, the Stout Mines(which we have multiple quests pointing us towards) and... another one, which is weirder. I think next update will take me to the mines so Trap Option can become an assassin.