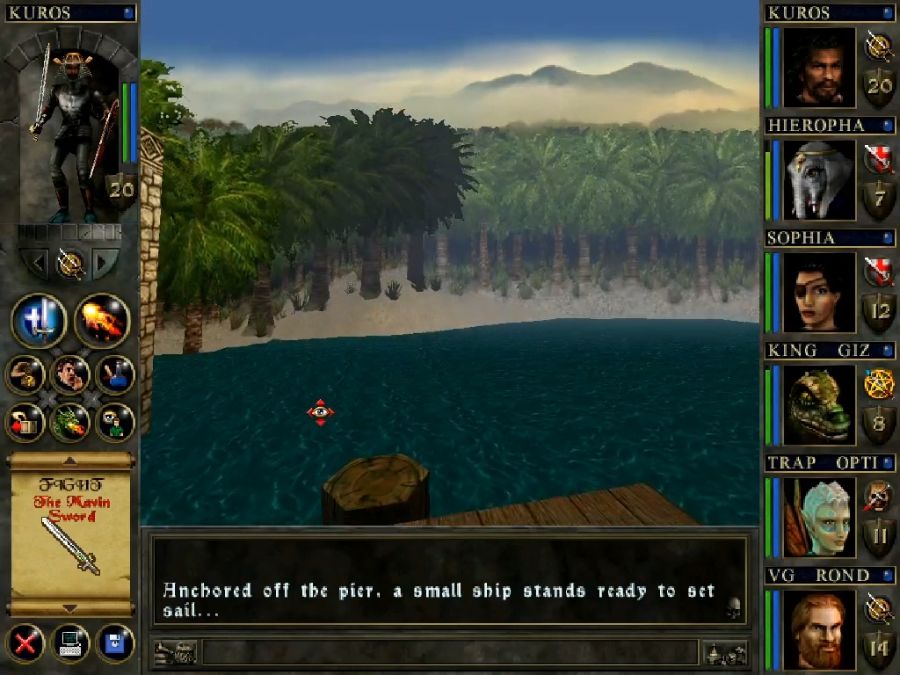
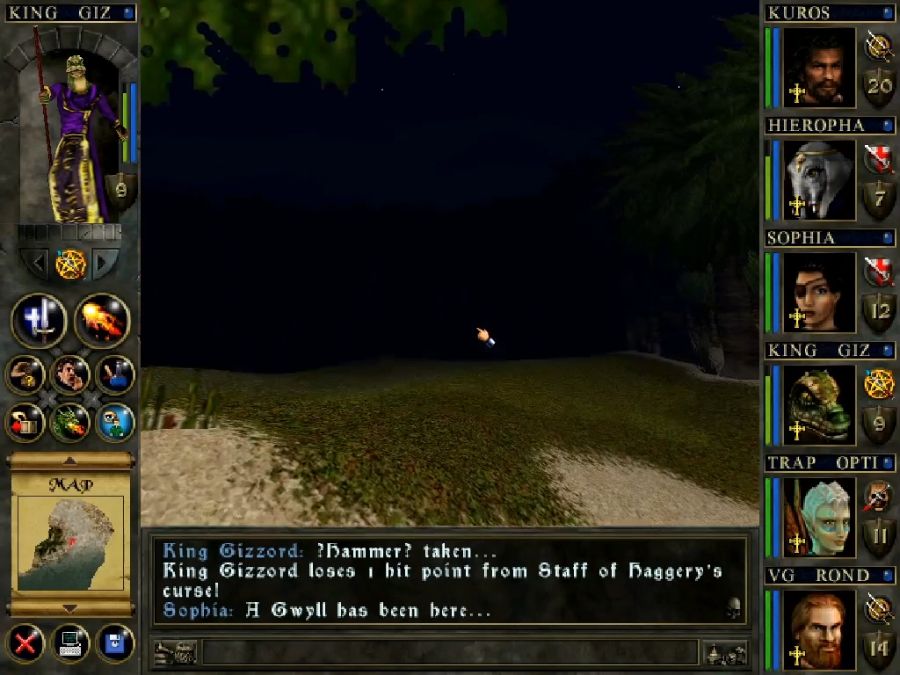
Part 8: Haunted Hitboxes
Update 008: Haunted Hitboxes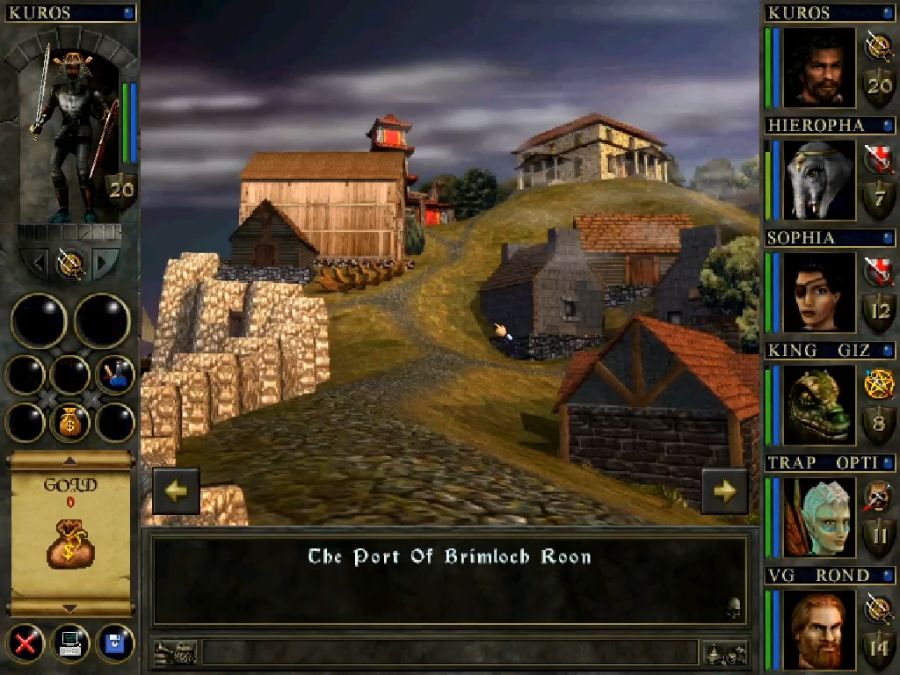
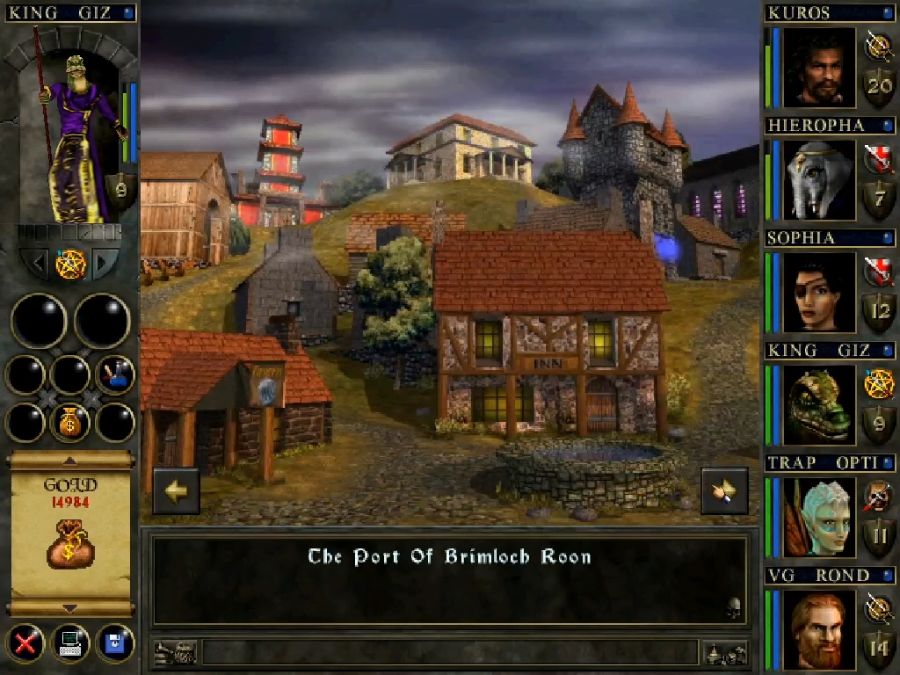
So last time we reached a new town, Brimloch Roon, the third and last town in the game. Ultimately it offers the same services as Ishad N'ha, but with different sidequests, except for the addition of having a shipyard. The shipyard, obviously, lets you buy ships, ships which you won't use and shouldn't use because they're just asking for this buggy-ass pile of jank to soft-lock you, but you literally can't leave town until you spend the 10000 gold to buy one. This can be a bit annoying if you do all your shopping first and have to bounce back to the Shire and grind up that amount, which will take you at least a couple of decent-sized battles to do since you'll likely have emptied all the dungeons well and truly by this point.
Anyway, first things first, I pick up all the quests that we can get. Now, since I have quite a few members in each guild I could pick up each quest for each party member, but some of the quest-get dialogue is so long that I simply couldn't bear to sit through it once for every single idiot who needed the quest. Goddamn.
The Armory: "A mean-assed Centaur rode through town a few days ago. He called himself Argothius. Well, he stole my best Helmet. I want you to bring it back."
The Pawn Shop: "There’s this ole pirate by name of Talrik that lives west o’ here on the great sea. He thinks he’s marooned out there, won’t leave his rotted shipwreck. When he was in here last, he left me his old Hook fer fixin’. Find ‘em and give it back to ‘em. It shouldn’t take you too long."
The Town Hall: "I have been receiving reports of gangs of wild Centaurs roaming the isles. Their Leader is the one called Gineleng. He’s rumored to be desperate and depraved. Driven mad by too many insect bites. Find this deranged Centaur and put an end to him and his band of renegade hoofers."
The Temple: "An old woman came to our temple not three days past. She said she was nearly four hundred years of age. I did not believe her until she spoke of a magical fountain that had granted her longevity. She said it was the fabled Fountain of Isis. See if you can discover the location of this miraculous fountain of youth."
The Magic Shop: "It all began in times long ago, when a plague of vampires descended upon these lands. The victims were found quietly dead, their pale corpses drained of all blood and life. And then as suddenly as it began, these strange deaths ceased. No one knew why, and no one questioned why. It was long ago and long forgotten. But the truth is, the elders of the village made a pact, with a vampire who called herself Mada Mabbig. It was agreed that she could take her choice of anyone in the village. But then she and her companions must depart forevermore from the lands of the Gael Serran. She had long lusted for one man in particular, one too noble to succumb to her charms, a handsome warrior by the name of Rejyr. He was sacrificed to Mada Mabbig to save the village. And for ages since, all has been well. But last month a man was found, having died with the mark of the vampire upon his throat. Yesterday I heard tell of another. And this morning I received a letter written in blood. It confesses the treachery of Mada Mabbig those ages ago. She had betrayed her own kind, imprisoning the other vampires inside the castle on Skull Island. They’ve been trapped there for all these years, and never left the Gael Serran at all. The letter goes on to say that Rejyr has died, the love of Mada’s life, alive all these years with her on the island. And now that he was dead, having passed from old age, the pact was at long last ended, and that the vampires would soon be returning. It was signed Mada Mabbig. I must ask you to go to the old Castle on Skull Island. Seek out the treacherous vampiress and destroy her before she releases the other vampires. You must slay the vampire Mada Mabbig!"
The Bushi Dojo: "I have learned of a most disturbing event. Sinister forces are in the wind, and the Gael Serran lies in grave peril. There is a Sacred Shrine which is hidden upon an island in the north. And its Divine Power has protected our lands for many ages. But a Creature of Darkness has spawned within, an agent of evil from beyond. And it seeks to destroy the Holy Power which protects us. It is the Darkened One, an entity of destruction. You must seek out this Holy Shrine, and destroy The Darkened One."
Fucking look at the insane wall of text for the magic shop, what the fuck, my man DW Bradley.
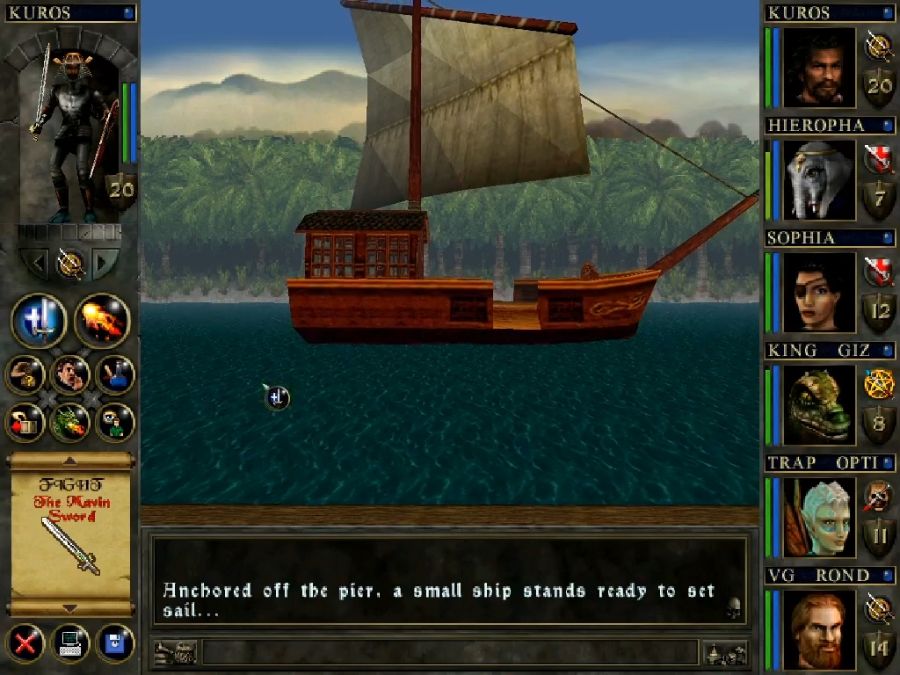
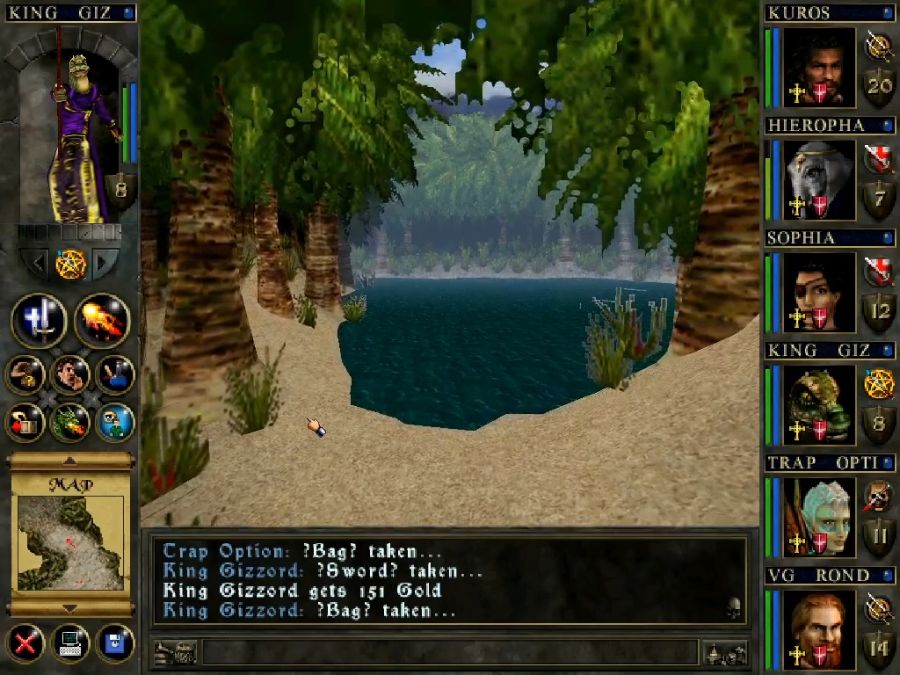
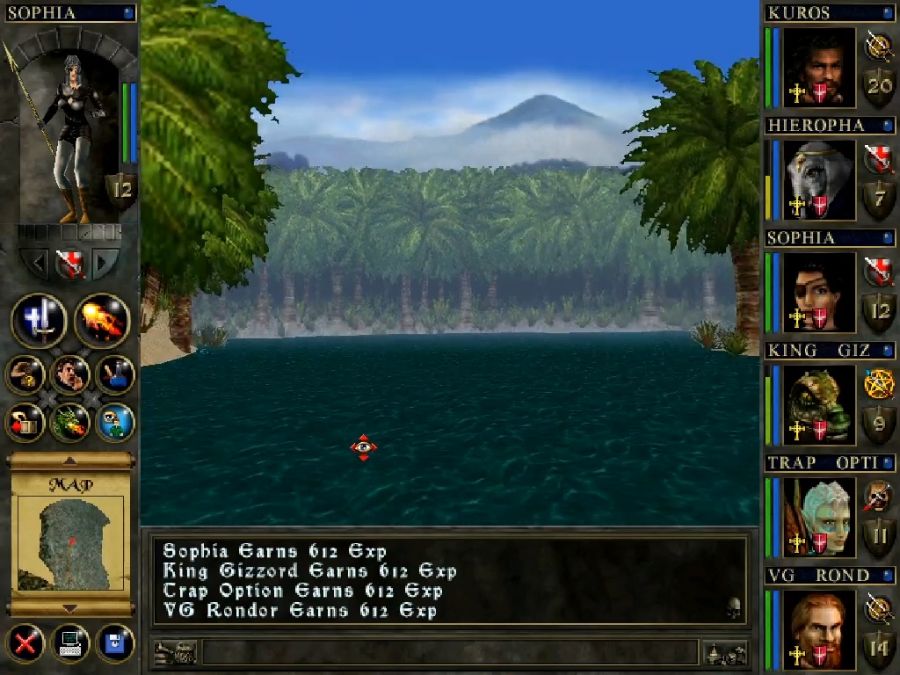
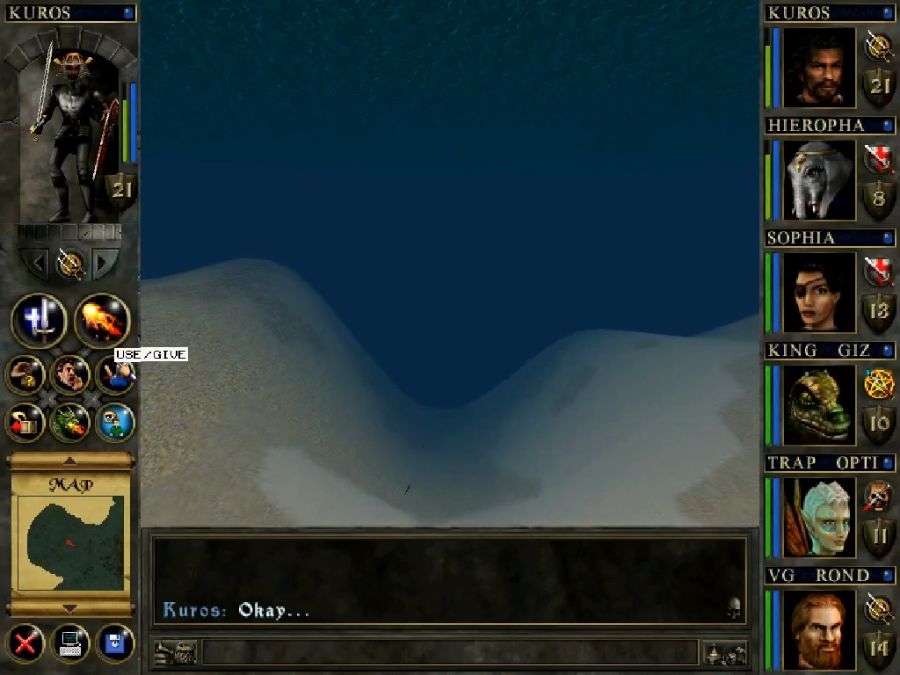
Then I buy a ship and poke my head outside into the WESTERN SEAS.
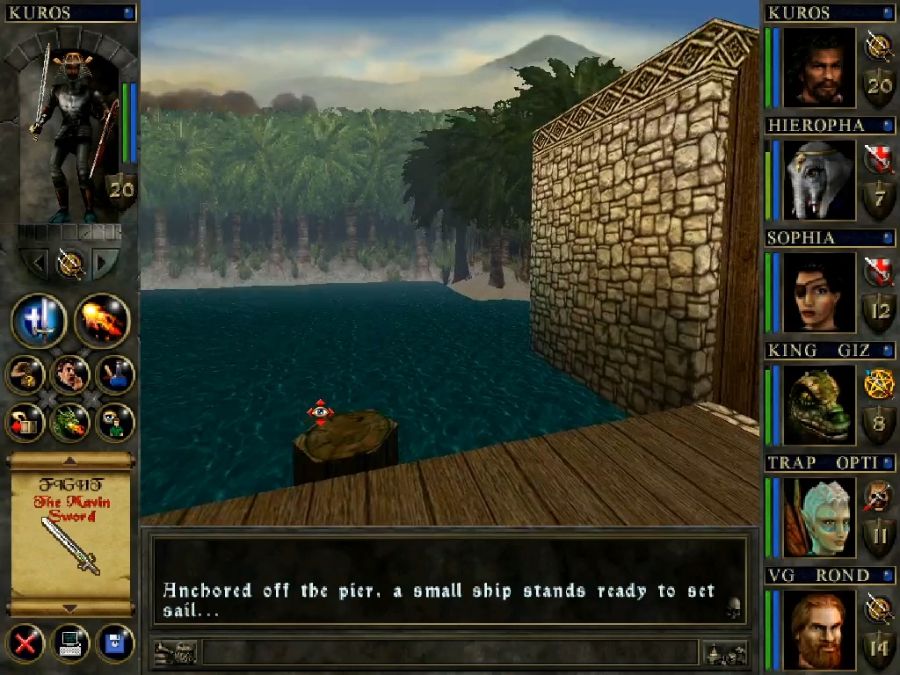
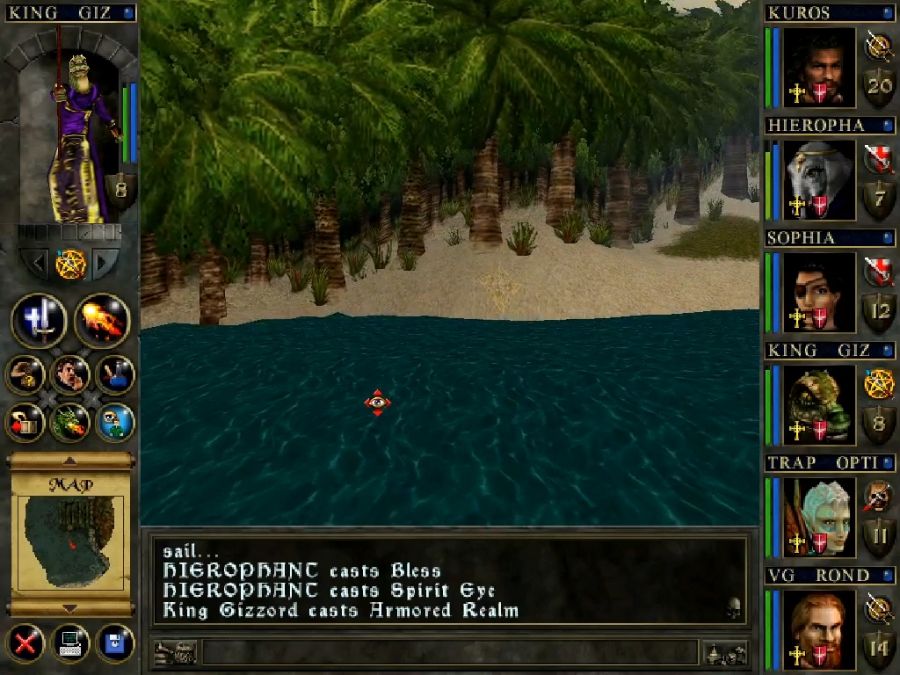
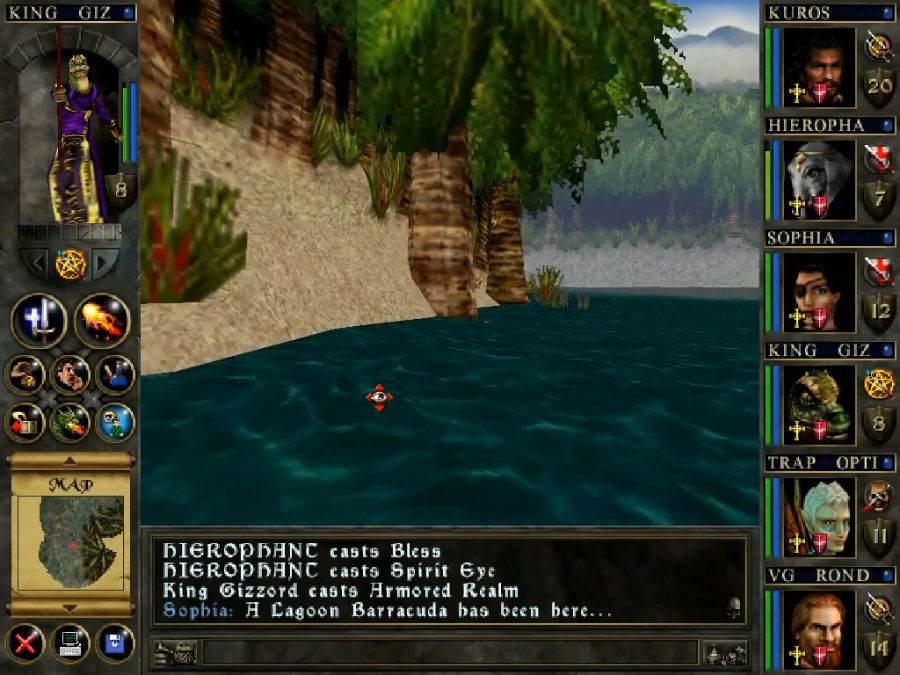
Oddly enough the water here is non-transparent when in all other places in the game, it's transparent. Anyway, while doing this update I found what appears to be the only W&W walkthrough that doesn't peter out somewhere before the midgame, so now I have ACTUAL MAPS and I can close down the game and browse through a .PDF when I'm otherwise about to waste 10 hours of my time on a completely illogical puzzle.
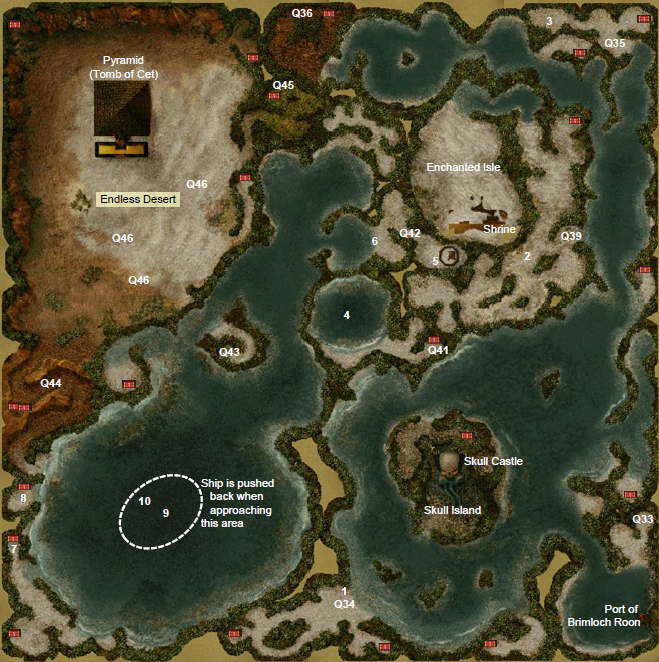
For this update I'll be visiting all of the eastern half of the map and also SKULL CASTLE.
Fuck the ship. It won't make us that much faster, the area frankly isn't big and we need to get in fights with the sealife as much as possible.
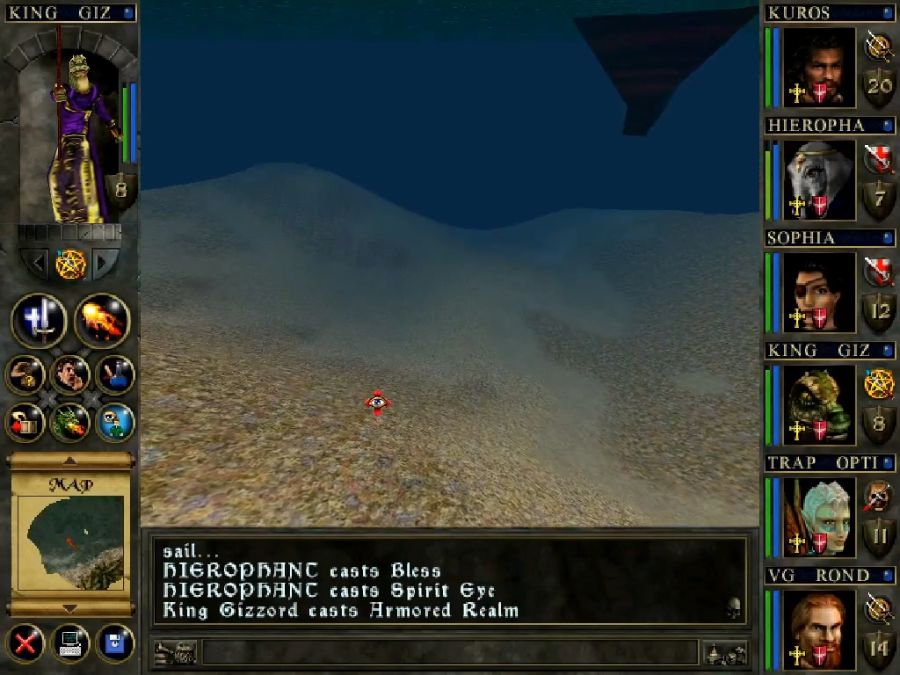

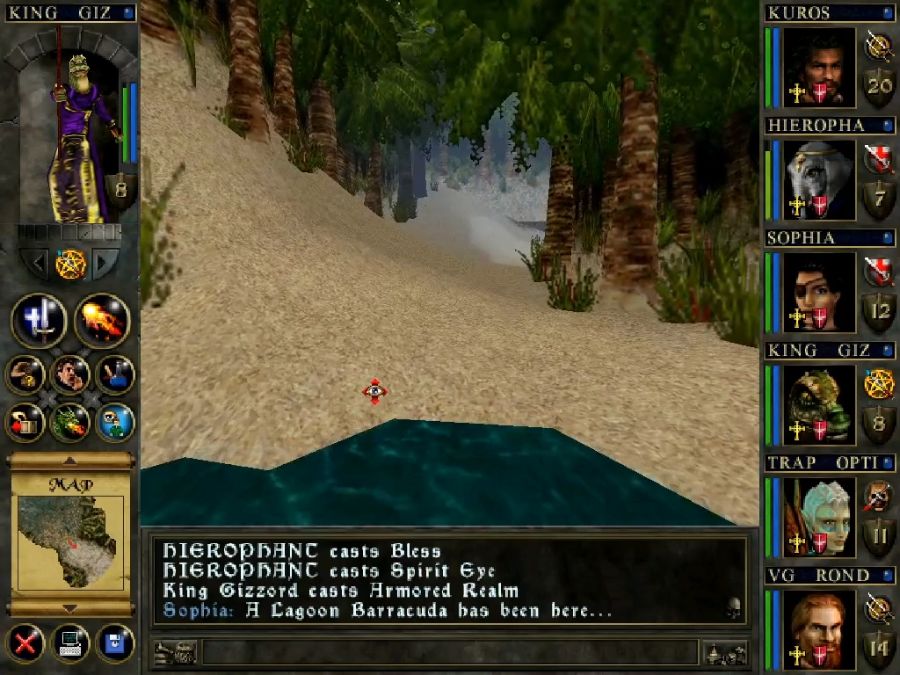
Still not a fucking thing underwater. Anyway, we need to get in fights with the sealife because a later section is entirely underwater, and the shipyard guy sells rebreathers, BUT. He only sells them once you've gotten him enough conch shells which are random drops from killing crabs which are also random spawns.

This fucking game.
You could theoretically complete said area with without rebreathers, but then you'd need to make constant and repeated use of a specific Vine magic spell that refills the party's entire breath pool at the cost of half the caster's max HP.
Anyway, this early part is going to be a lot of me exploring same-ish outdoor areas and commenting on the few unique things we encounter. So maybe it's time to talk about the spellbooks now that we've mostly got them filled up.
Spirit Magic
This one is accessible to Priests at chargen and also to Paladins and Monks once further levelled up. It has the only healing magic in the game.
Bless: Makes the entire party more likely to land hits and cures either Fear or Enfeeblement. This latter part is undocumented.
Heal: Makes people not die as much.
Awaken: I've never had a party member be asleep for more than five seconds due to the constant barrage of hits railing down on you in most fights. Pointless spell.
Charm: Is supposed to make monsters passive and stop attacking you. I do not see any real use cases for this since you want to mangle everything to get XP.
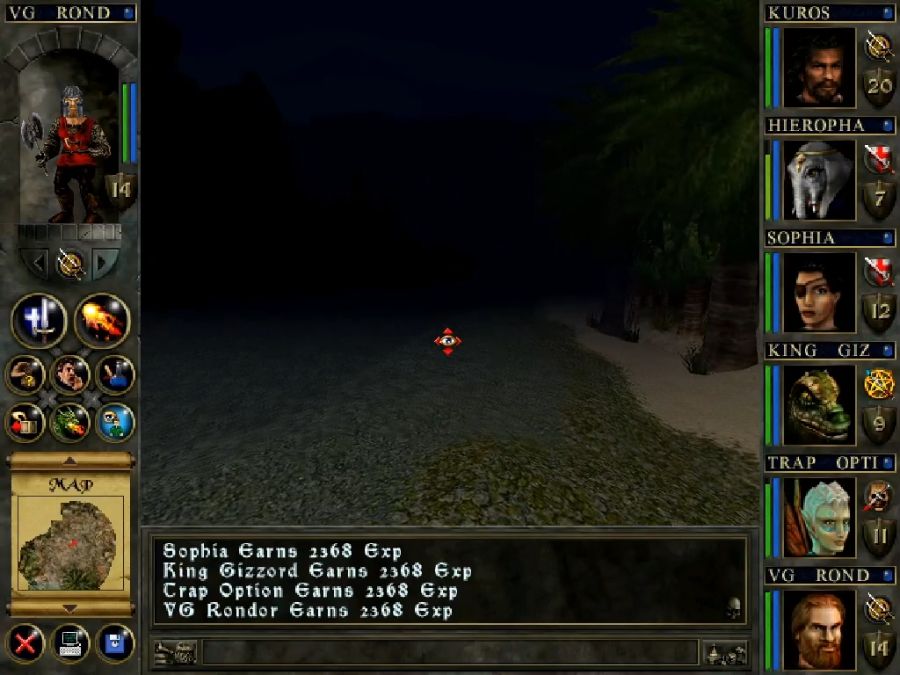
Spirit Eye: Indicates enemies on the map with little red dots. Unfortunately, it also indicates swarming vermin(rats, fish, birds, fireflies, etc.) which are all over the maps as well with the same dots, and in no way differentiates enemies in size or awareness level or anything. Pretty much useless.
Great Heal: A better version of Heal, which is necessary since Heal rapidly becomes something that only heals for extremely piddling amounts.
Mind Leech: Lets you read the minds of the all five or so non-hostile wilderness NPC's in the game. I'm not sure why you'd want or need this since the game doesn't ever really have any hidden secrets anywhere.
Dispel Undead: A fireball that only explodes the undead. Works great on low-level undead enemies since your Spirit mages otherwise have no worthwhile offensive spells, but higher-level undead tend to ignore it.
Heroic Might: Makes a character hit harder. I literally cannot tell if it actually does anything or the effect is just so small it's easily missed.
Force of Mind: A single-target spell that isn't just for undead, but is resisted by pretty much everything in the game. Do not get this and if you do for the increased mana pool, do not bother casting it. Completely worthless.
Resurrect: Restores a dead character to life and full health. Can supposedly fail and reduce the target to "ash" which requires another spell to resurrect, but I've never seen this happen.
Healing Realm: Heals the entire party at once, this is great since most things that are actually dangerous will be hitting you with AoE spells and attacks. The best healing option in the game.
Restore Health: Heals only a single target, but for more than Healing Realm.
Dust to Dust: Ostensibly does a shitload of damage to a single undead target, but in practice most enemies that you'd WANT to use it on, like vampires, will just no-sell it and ignore all of the damage it does.
Rebirth: Restores characters that have been reduced to ash to life.
Exorcism: Cures possession, curses and insanity. It feels mildly
 that Exorcism is what's used for curing insanity considering that historically some mental illnesses have been assumed as demonic possession.
Artifact of Spirit: Allows you to spend exorbitant amounts of gold on enchanting a piece of equipment with a very minor bonus.


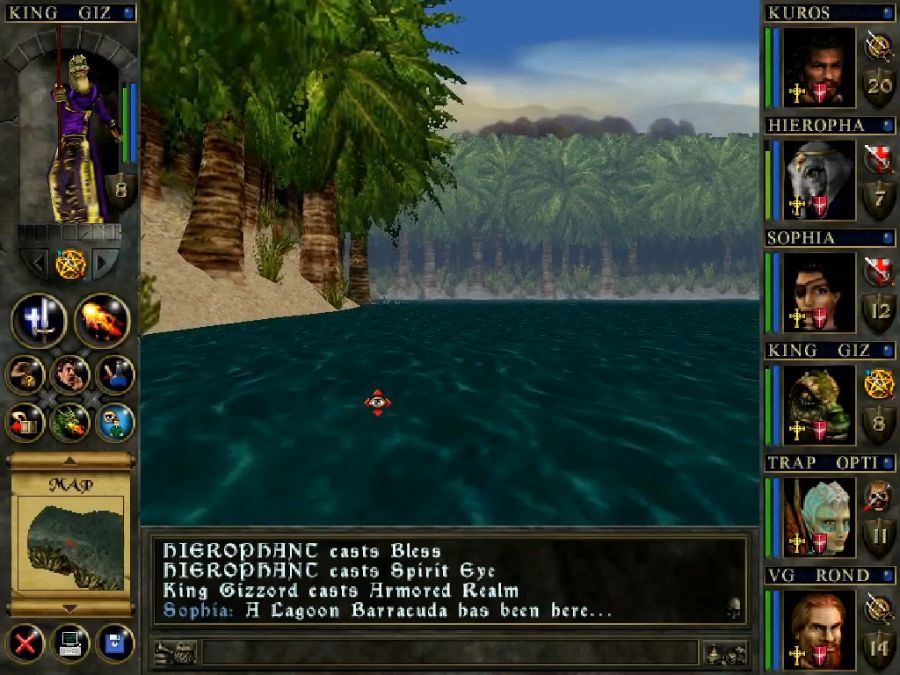
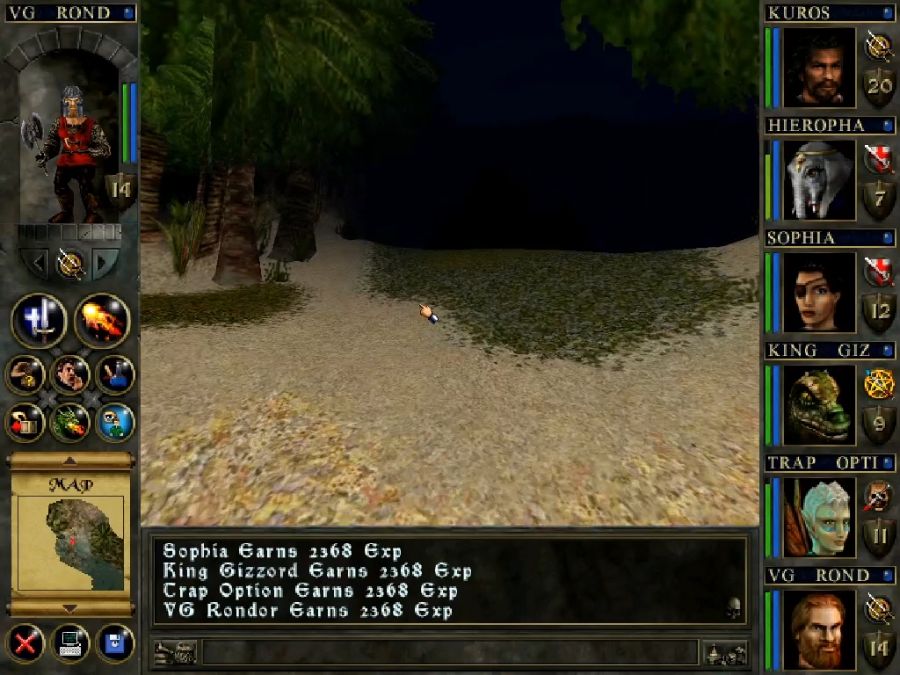
At least the enemies of the tropical sea are occasionally original, even if they're also mostly unthreatening. The big pink bastards in the back are the crabs that have a chance of dropping conch shells.
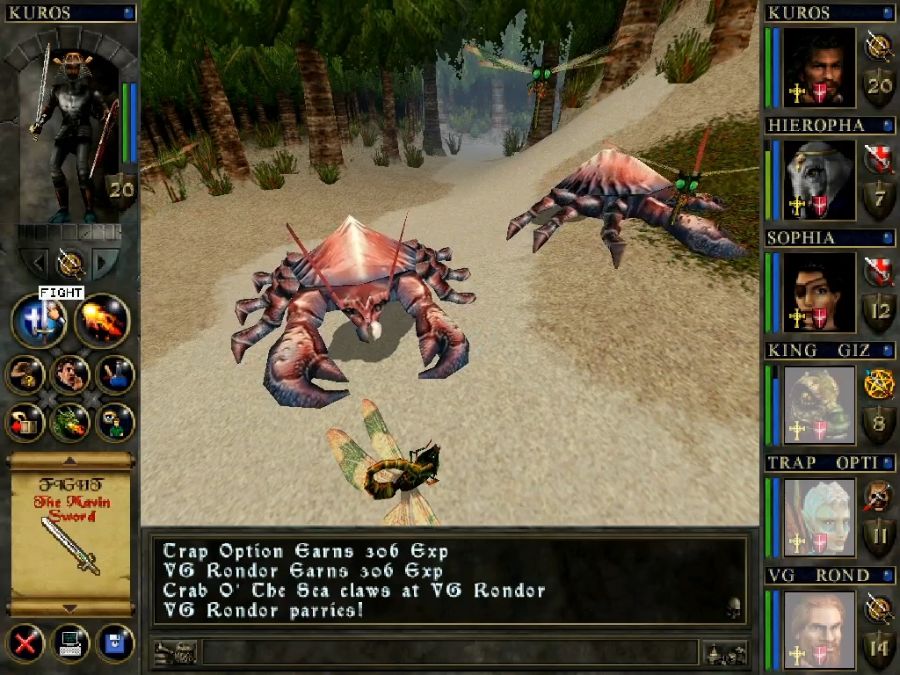
Here's a close-up view, it's literally just the same crab model as was in the Stout Mines.
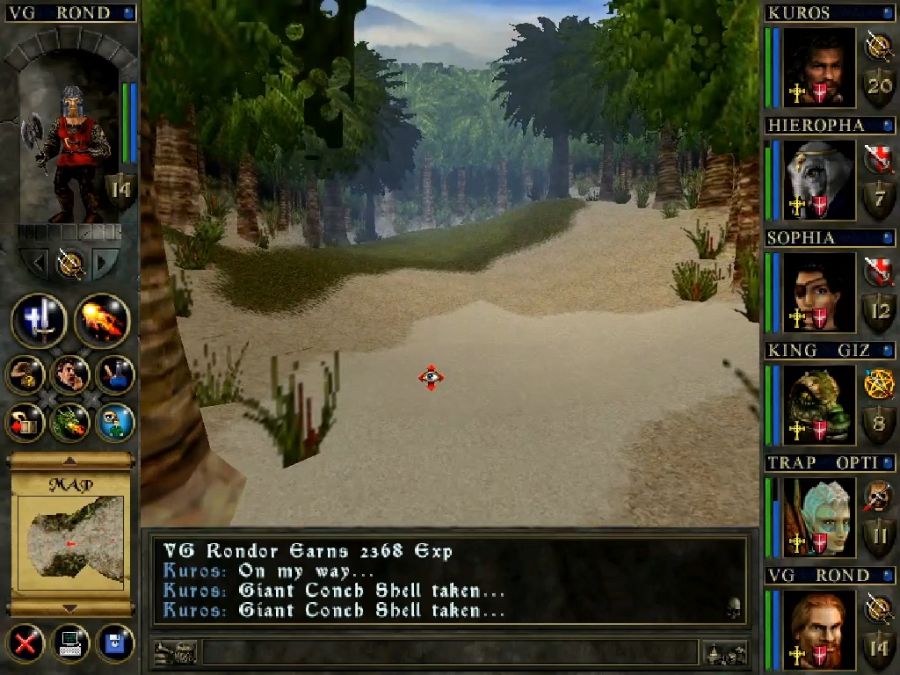
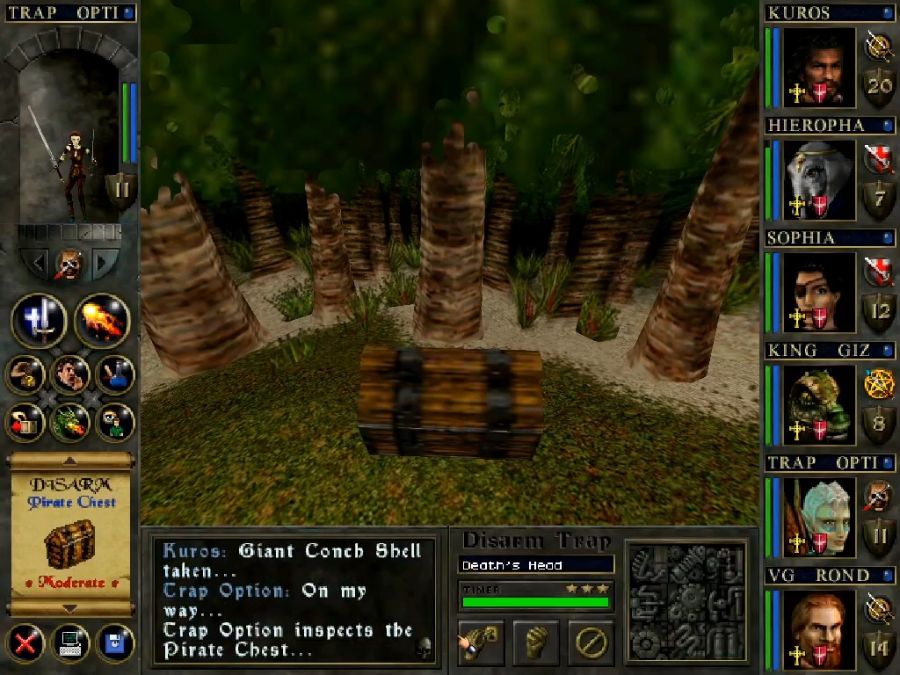
Amazingly enough we also find the first new chest model/skin in the game! I can't believe it's taken this long to get away from "a brown box." So now instead it's a tropical box. Random wilderness chests, of course, just have vendor trash, but vendor trash pays for the party's training regimen.
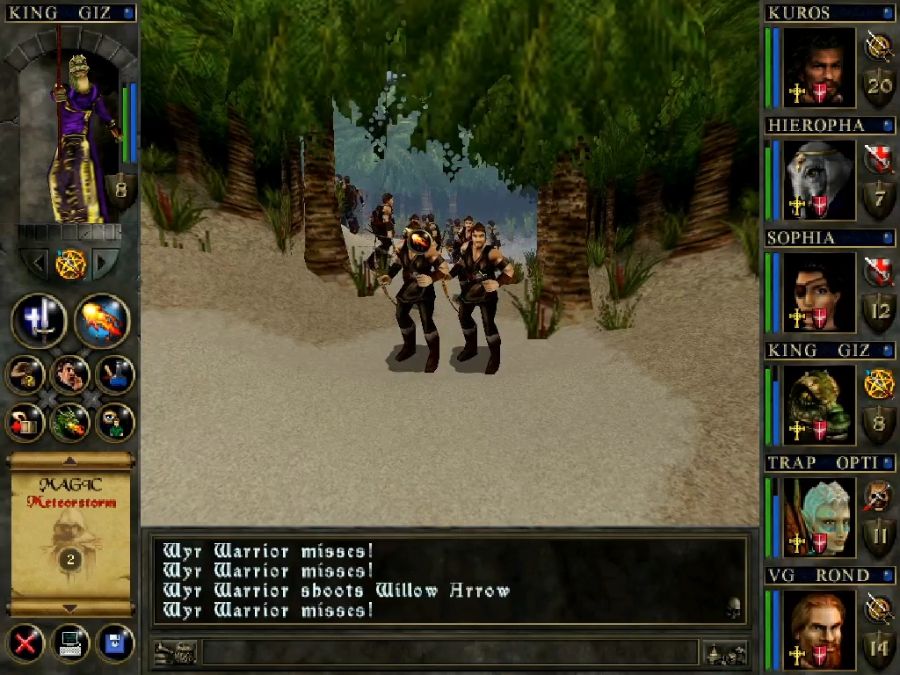
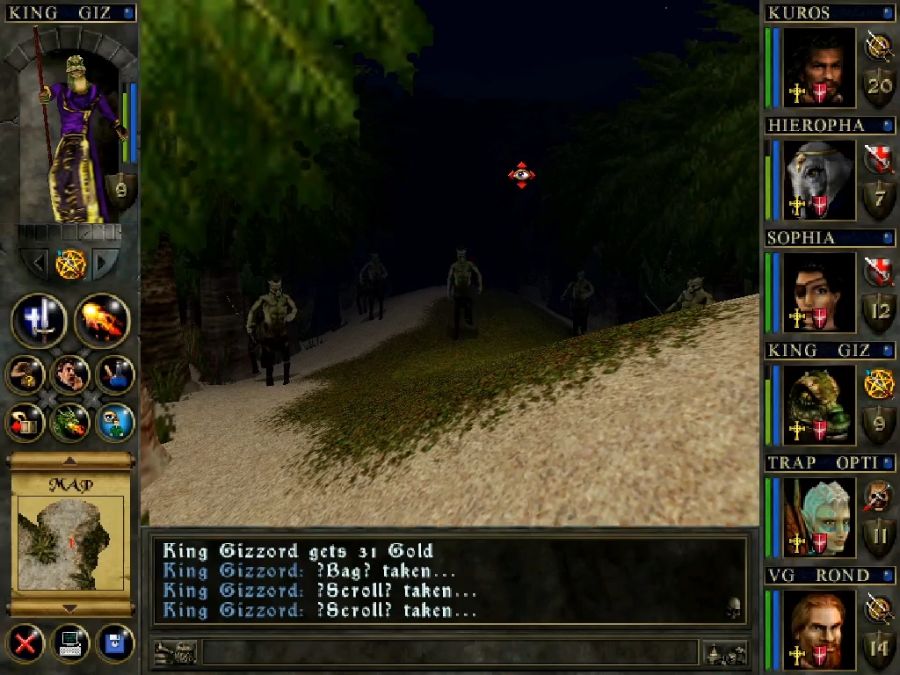
On the way out of the little tropical glade, like five-hundred brigands turn out to have spawned behind them. It'll take a while for them all to get nuked out of the way, so in the meantime...
Sun Spells
A starting magic school for Wizards, and also picked up by Samurai as an advanced class. It's more or less pure blasty magic.
Burn: The spell you'll be spamming while circlestrafing for most of the early game.
Torchlight: Lights up the party's feet. Useless.
Blinding Flash: Tries to blind nearby enemies, in my experience status effects on monsters last for roughly five seconds when they stick at all, so don't bother.
Flamedrop: Plonks down a fire that burns enemies in real-time while they're trapped in turn-based speed. One of the few offensive spells that work underwater, and initially an upgrade over Burn but rapidly outclassed to become a waste of mana.
Illuminate: It's Better Torchlight, which means while it doesn't really light up your surroundings much it's enough to help you find loot that's been dropped on the floor.
Flamestrike: Legally distinct Fireball, one of your first properly blasty spells that does more damage than Burn and also explodes. Even in the late-game I still find myself casting this.
Dazzle: Imagine Blinding Flash except you don't know which useless status effect you'll fail to put on the enemy. Useless. Useless. Useless.
Reveal: All of ONE time in the game when an enemy attempts to hide from you or turn itself invisible, you can Reveal it so you can continue kicking its ass. I'll be surprised if I get a second use out of this before the game is over.
Dragon Breath: Big single-target damage.
Burning Haze: It's just Bigger Flamedrop, I usually find myself using Flamestrike instead.
Artifact of Fire: Allows you to enchant armor for something like 25% fire resistance a pop, and yes, you can enchant ALL armor pieces, even gloves and boots, so total elemental resistance is trivial and fire is one of the few you'll encounter semi-consistently. When enchanting weapons they instead get a limited supply of Flamestrikes to cast, which is useless.
Incinerate: Bigger Dragon Breath
Magma Bomb: Bigger Flamestrike, which is very good as enemy health pools start bloating up.
Firestorm: What if you spent four times the mana of Flamestrike to drop eight Flamestrikes on an enemy? They're a bit spread out, so against a single enemy not all of them might splash him, but against groups this is muy bueno.
Circle of Fire: An oddly-targeted version of Burning Haze/Flamedrop which drops a wall of flames either behind the party or behind an enemy. If this was a game with party formations and stuff where getting attacked from the back might be worse than being attacked from the front, I could see it, but as it is I do not understand this spell at all.
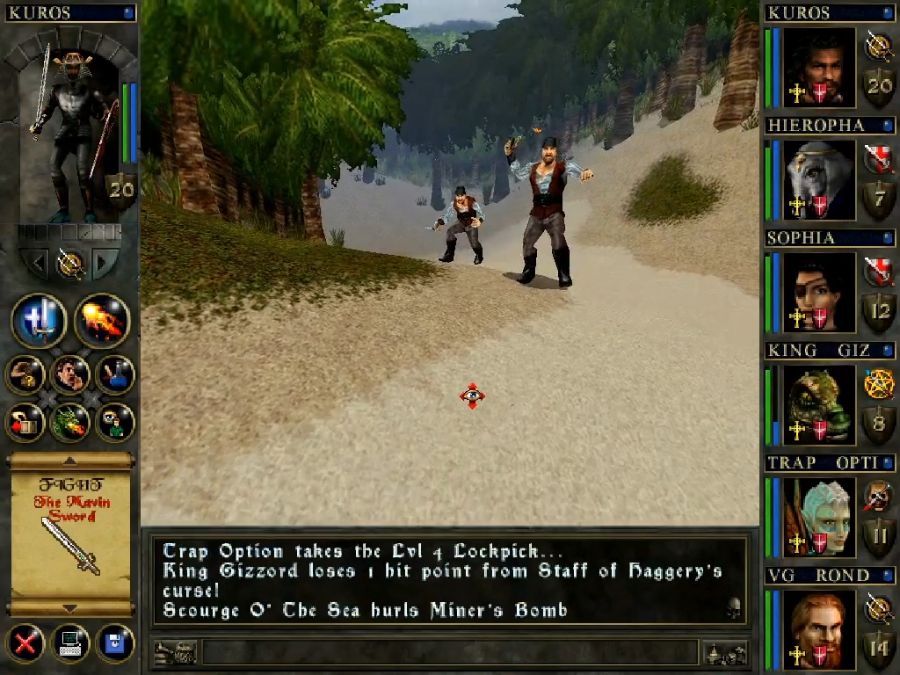
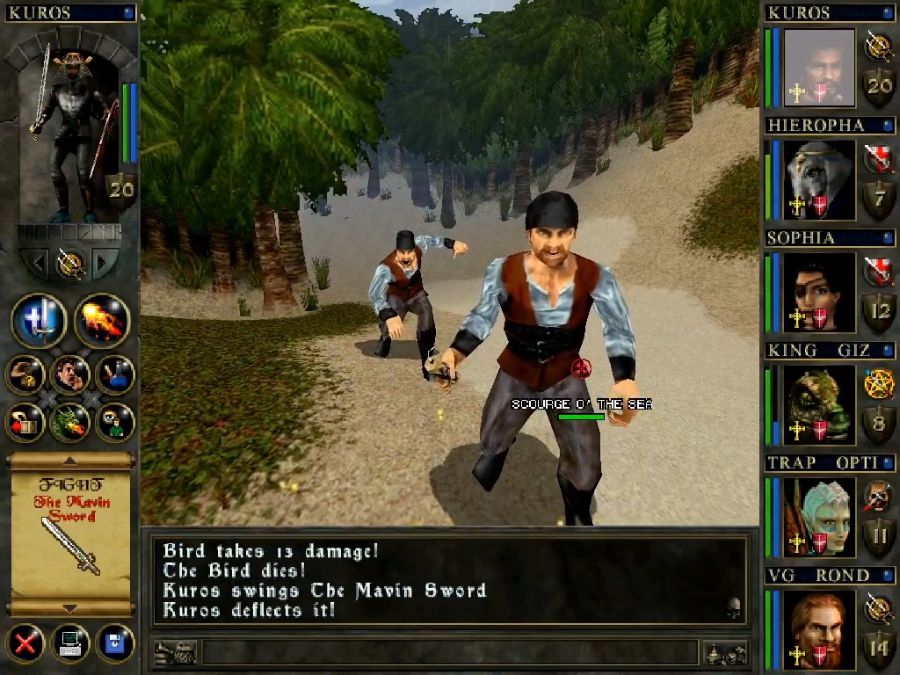
With the Wyr Warriors out of the way, I then run into two pirates. They always spawn in groups too small to be any danger, and their only gimmick is throwing bombs like the Stout Miners do. If they actually spawned with other enemies, rather than in only same-type groups like all non-pre-placed enemy encounters, they might actually contribute some challenge and tactical thought to the fights. But I guess we wouldn't want this to be anything other than a big fat numberslam.

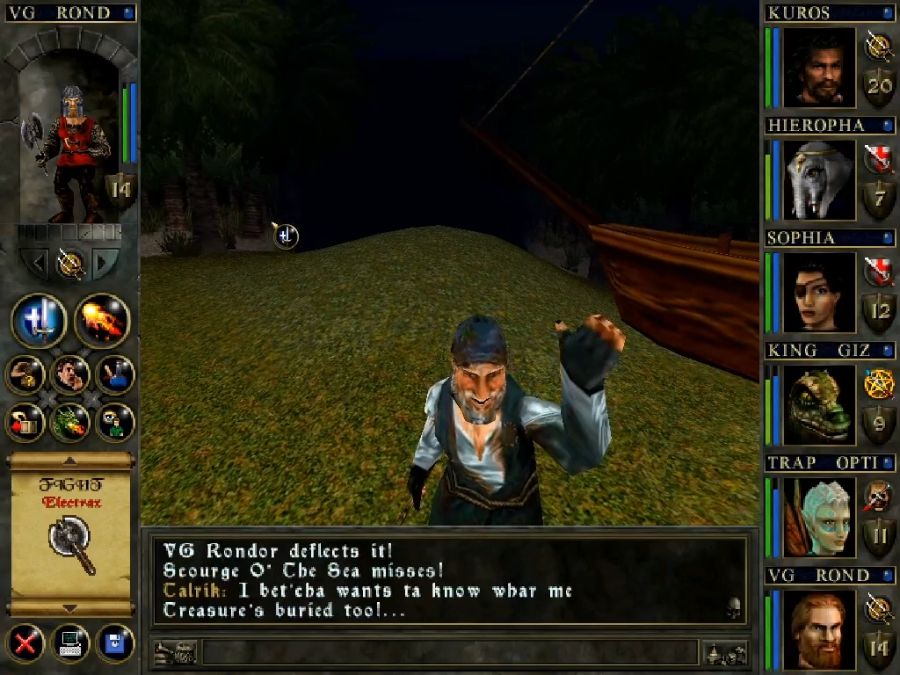
Welcome to Talrik, he's pointless as far as the game goes and doesn't tell us anything important, but he sure tells us a lot of nothing.
https://www.youtube.com/watch?v=h_oIqXuPwbs
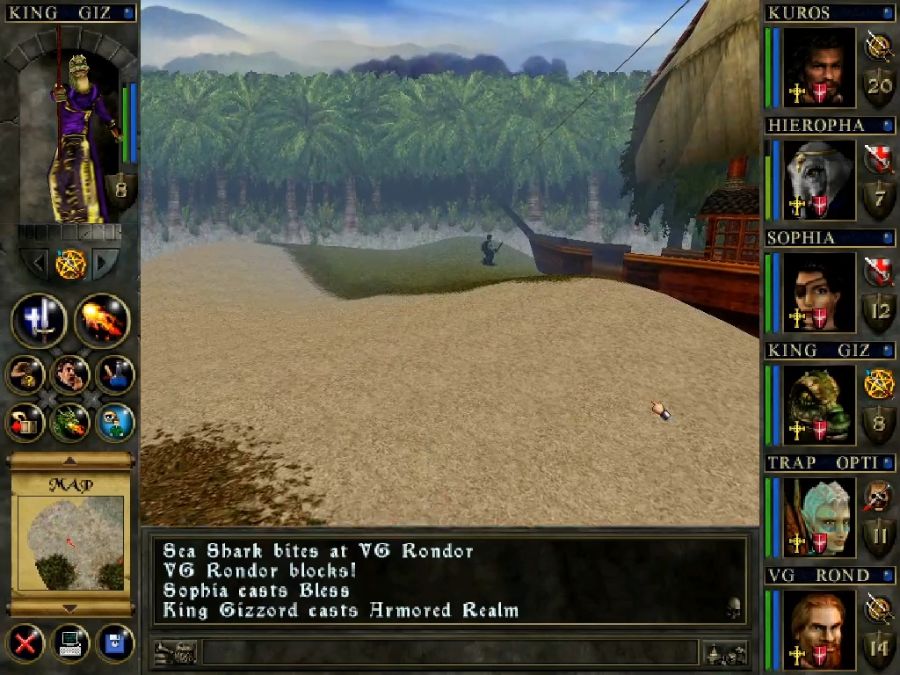
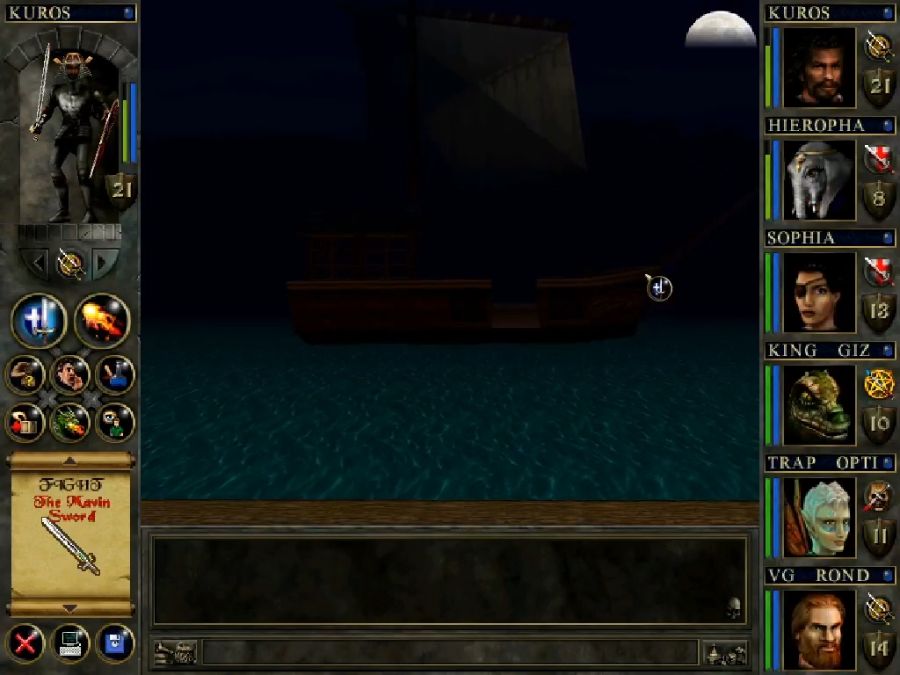
I still can't get over how low-effort the "ships" in this game are.
 It really is like some ten-year-old's drawing of a pirate ship that a poor 3D artist got told to turn into a model.
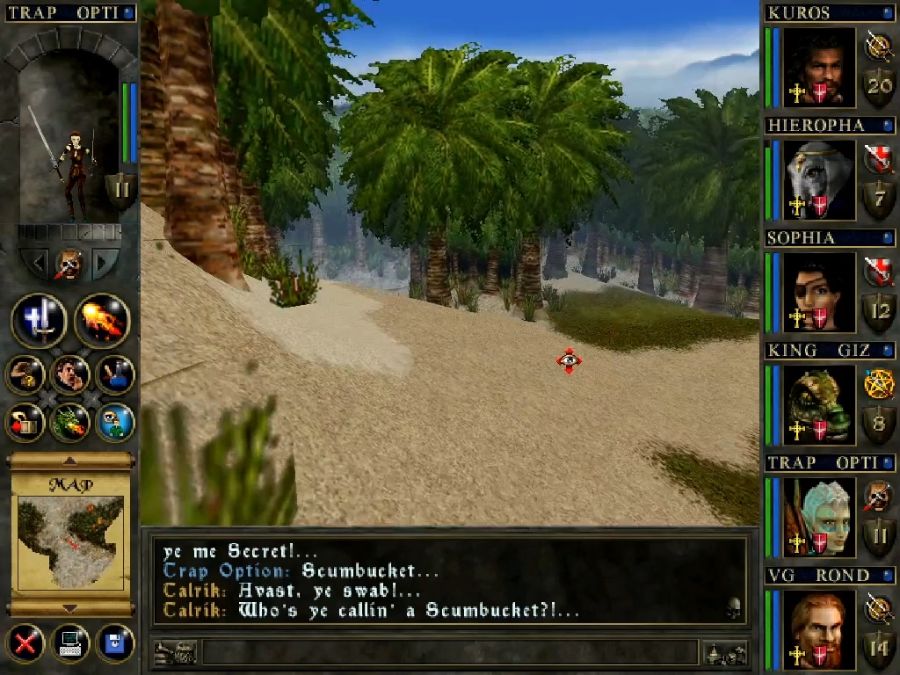

Talrik's little bay also contains raptors, in case you feel like collecting some eggs and promoting someone at this late stage of the game.

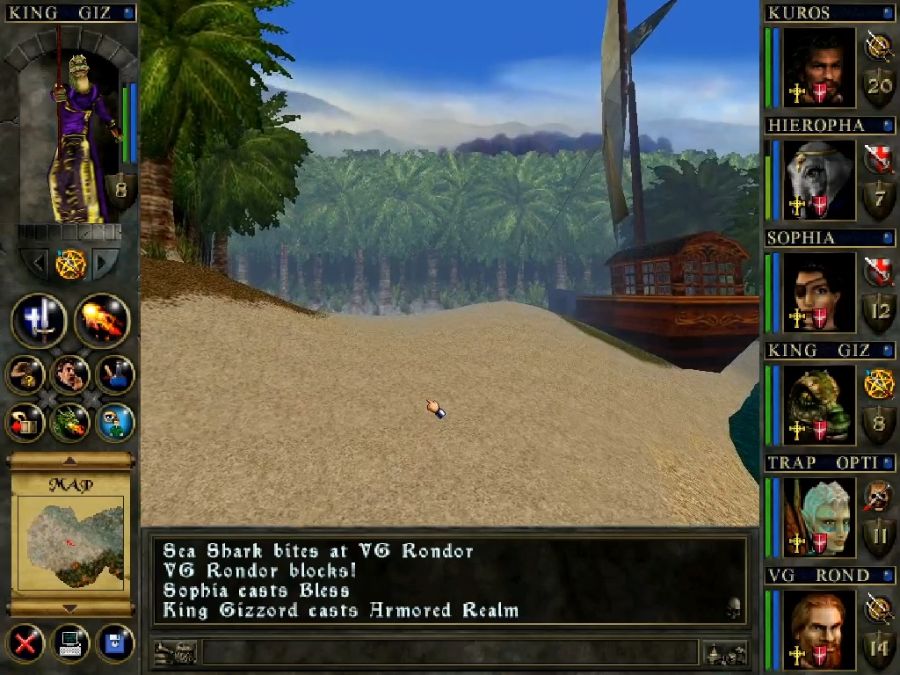
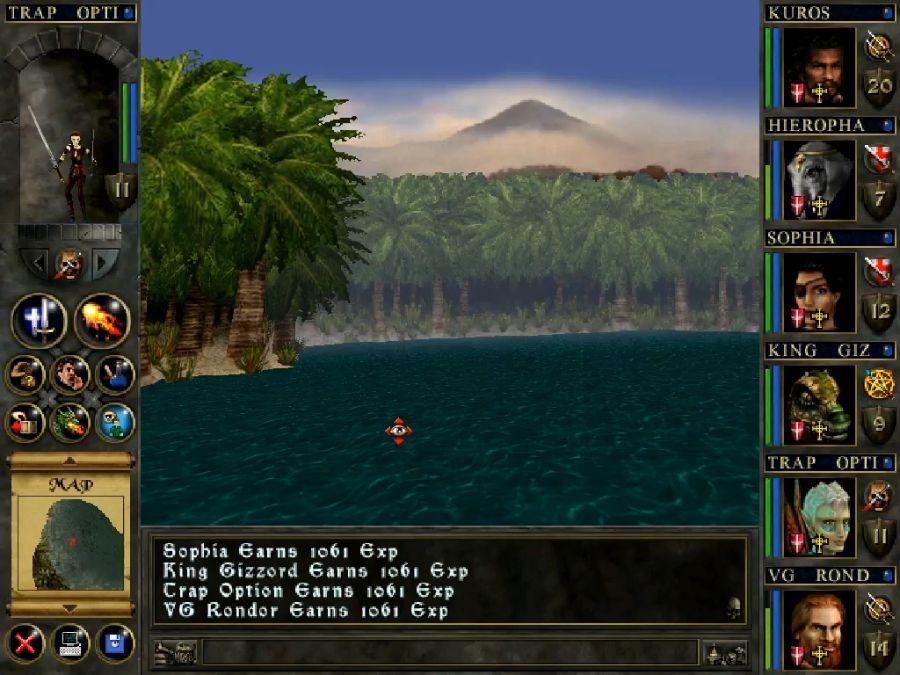
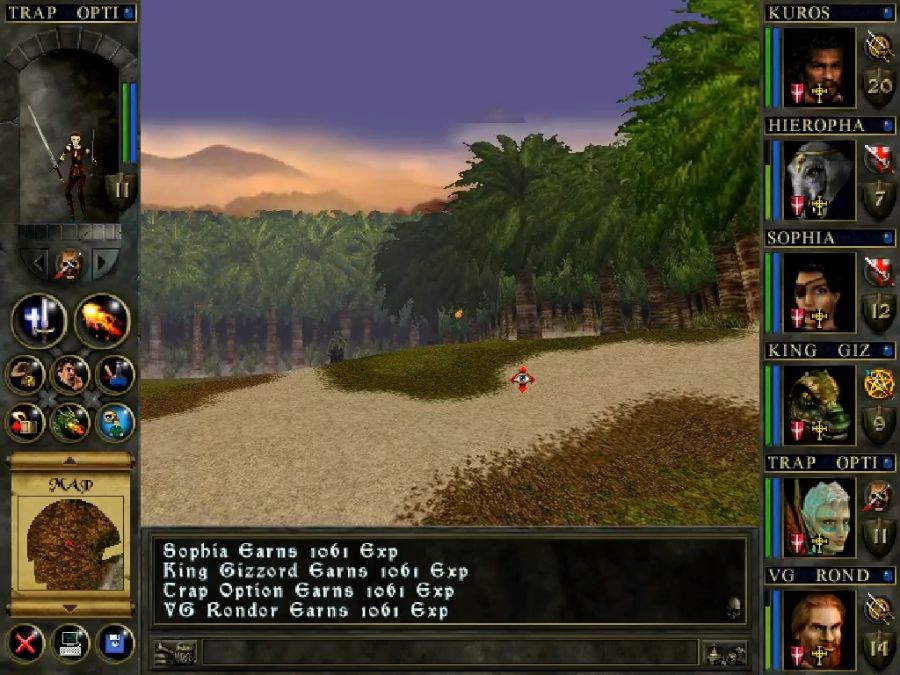
It's also worth noting that all water travel gets you harassed by these generic sharks(also sometimes dartha eels and crabs, but both are rare and not really that different since they're all generic melee attackers). They're relatively harmless(unless they all decide to pile on the same character on the first round AND all hit, that managed to get HIEROPHANT killed once), but worth okay XP, about 1k a piece at a stage of the game where level-ups cost about 100k to 200k xp each.
A neighbouring island hosts this little fellow, the Leprechaun! He supposedly has some very good loot on him if you can kill him, but he no-sold all my spells and then, well...
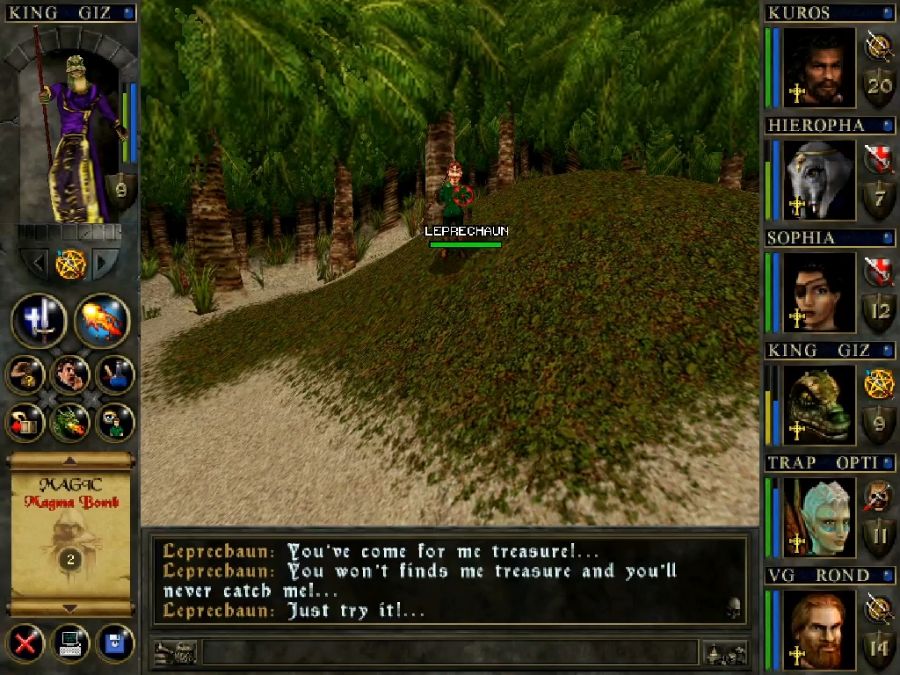
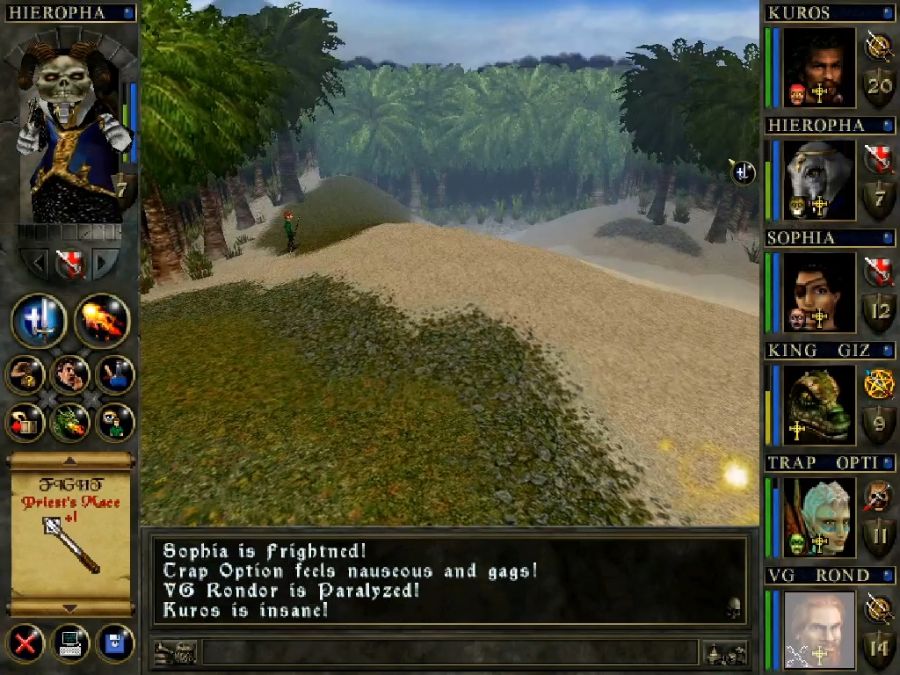
Dunked everyone with some annoying conditions. Oddly enough, Insanity in W&W is pretty mild since it's just a permanent paralysis that prevents the character from acting. Unlike in Wizardry 8, there's no chance of the character dunking on his own allies or anything.
Supposedly the leprechaun's main gimmick if you really get serious with him is to cast Vanish on himself or the party to escape, forcing you into tracking him down and killing him multiple times. I let him go for now since I wasn't really in the mood for dealing with that particular annoyance.
Moon Spells
Frighten: I have no idea what exactly the "afraid" status effect does. It's supposed to be like a reverse bless, but again, status effects are rarely worth your time.
Nimble: A single-character version of Bless. I have never bothered to cast this.
Sleep: Another spell that vanishes after you hit enemies. Not worth it.
Shadow: Makes a character real hard to hit, and if they've got the Backstab trait like Trap Option it should supposedly let them occasionally strike for double damage. I should probably cast this on him every so often, but at this point everyone in the party except for VG Rondor and Sophia has largely transitioned away from physical damage to just blasting the hell out of everything with magic.
Silence: The only enemies who tend to be dangerous casters are bosses, and I don't trust this game to not just no-sell all conditions on bosses. Aside from that, the boss casters frankly tend to be less dangerous than just the enemies with innate multi-target attacks like the plants.
Spectral Raven: A cold version of Flamestrike.
Freeze: A cold version of Flamedrop.
Iceball: A bigger cold version of Flamestrike.
Unsilence: A great spell except that sources of silencing are almost always full-party-target so odds are your Moon magic casters also got Silenced.
Frost Breath: Cold version of Dragon Breath.
Artifact of Ice: Presumably gives you cold resistance or allows weapons to cast attack spells a couple of times before running out of targets. The problem is that as far as I can tell, the only enemies who hit you with cold damage in this entire game are the vampires in the Skull Castle.
Invisibility: Like Shadow, but for the entire party. Potentially useful for enemies with big physical attacks like Erathsmedor(in melee he seems to go halfsies on using his breath weapon and just biting someone), but once again, the melee attacks are almost never the problem.
Vanish: Useful for softlocking the game. Theoretically you could probably use this to speedrun the game by skipping past needing to find keys or pull levers, especially if the game's "random" teleportation has any sort of internal logic to help target it. But I can think of way more ways to get yourself into unwinnable/inescapable situations with this than I can think of ways to get out of those.
Create Portal/Teleport: The Mark Recall/Lloyd's Beacon of Wizards & Warriors. No matter how many party members know this, though, you can only set one portal at a time, and the world of Wizards & Warriors really just isn't that big. The only two times I ever used it was when I needed to go back to Ishad N'ha after having gotten through the Dragon Spire, and when I needed to get Sophia back to the statue near Valeia for her paladin promotion.
Icestorm: Like Firestorm, but icier.
Hands of Time: A big time stop spell that still lets you attack and hammer away while it's up. This spell is actually, and this is a surprise for Wizards & Warriors, quite useful, since it would let you get some whacks in on those big asshole plants and the like without them being able to pin you in a corner or otherwise retaliate.
Call of Home: Teleports you back to the last town you were in, but only works when cast outdoors. I foresee this being useful for the last part of the game since there's a decent bit of ground to cover to get back to Brimloch Roon from the western half of the last world map section. But otherwise, again, you can't use it in dungeons which is where you really get burdened with loot and the world map just isn't all that big.
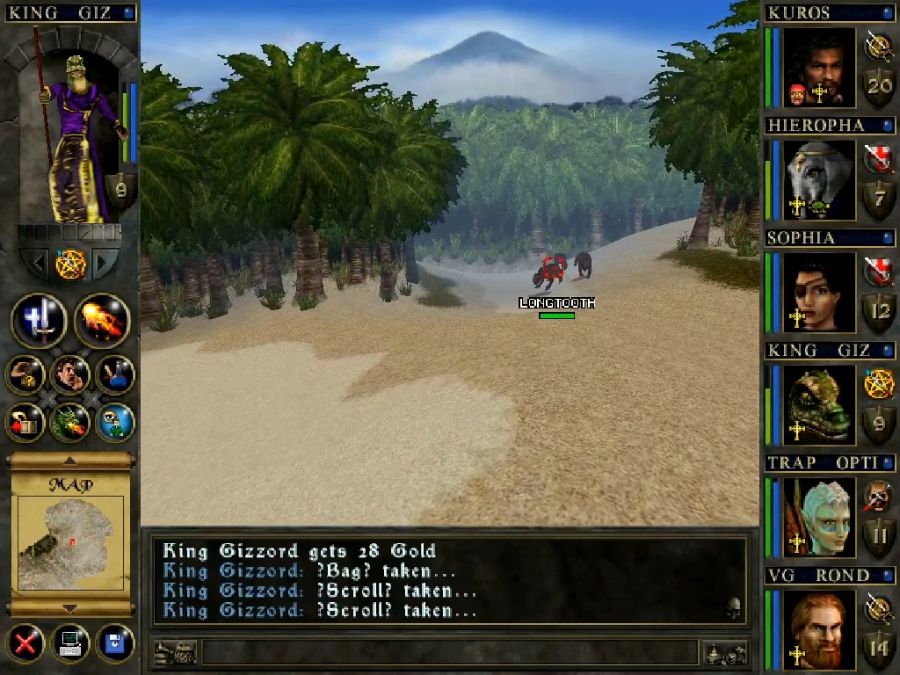

Just around the corner I get ambushed by a bunch of longtooths(longteeth?). Once again, like almost all the game's wandering enemies, they're no-big-deal melee attackers, but I can't get over how melty and deep-fried they look. I'll head back to Talrik with his novelty rug later.
Also, of course, they spawned far from the Skull Castle island, where I did not, in fact, see a single Longtooth when I went there later.

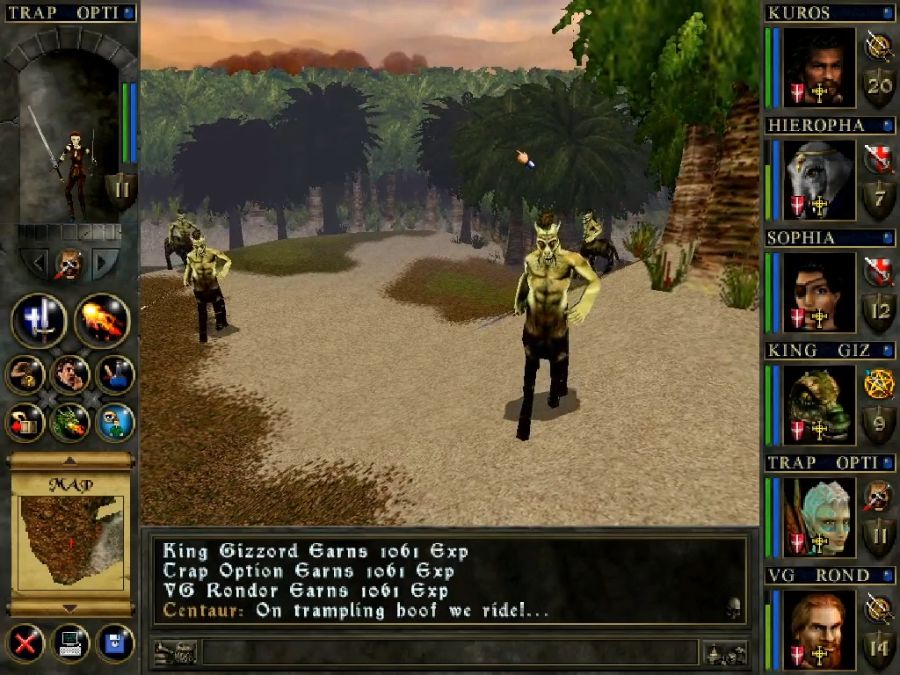
The next island has centaurs! Who keep telling us to get off their ancestral land, which raises some uncomfortable question of whether the other species in this world really are colonists who took their land, and then attack us with no option for negotiation. I'm just glad they didn't have a bad Native American accent of some sort, that would have made this even weirder.
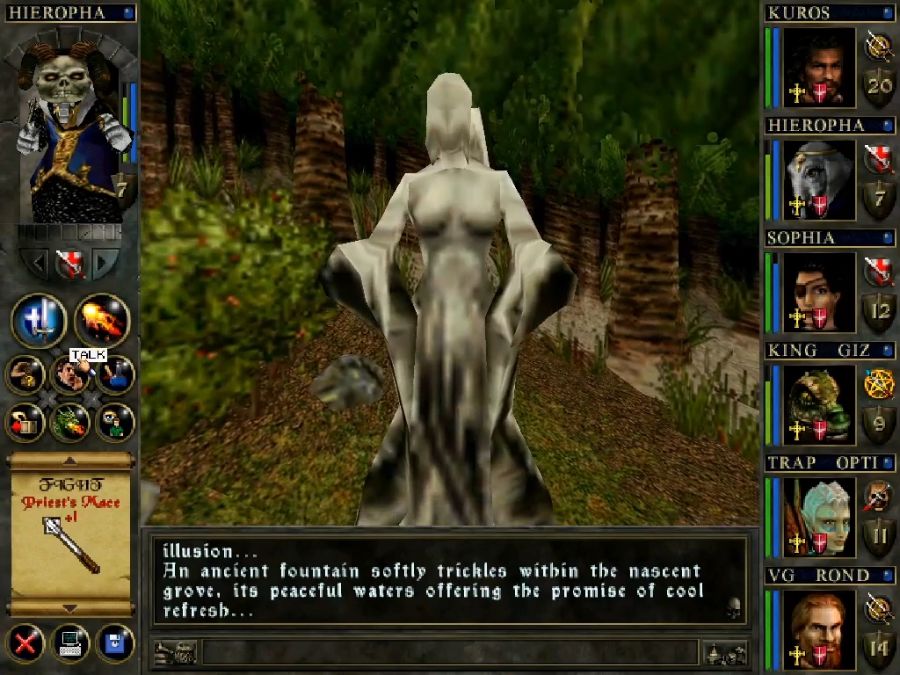
They guard this fountain of Isis which tells us that reality is an illusion and does not, sadly, give any party members eternal life. Guess that's a quest sorted, at least.

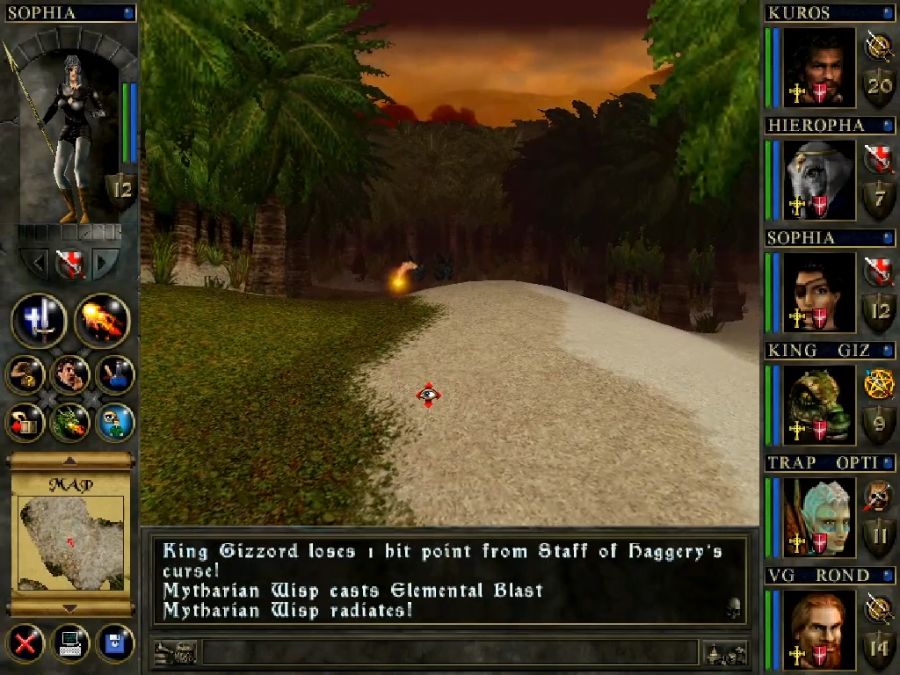
I then hardly have a chance to turn around before son of a bitch, fairies again. They suck just as much as in Wizardry 8, being small asshole spellcasters, but they're not quite as dangerous and they don't require me to get out the censor bars this time around. I never actually expected W&W to be less horny than Wizardry 8 at any point.
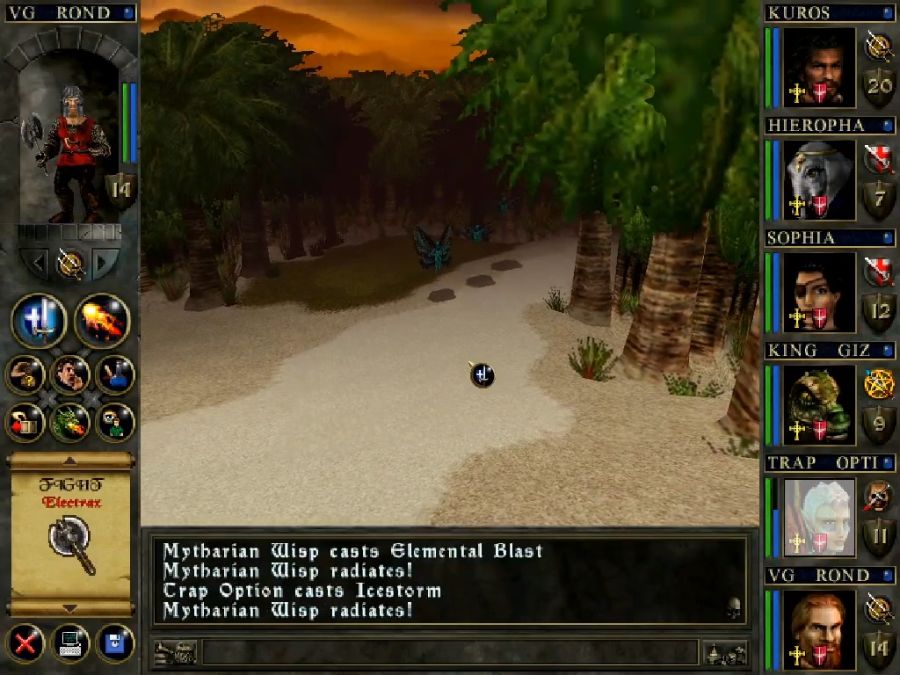
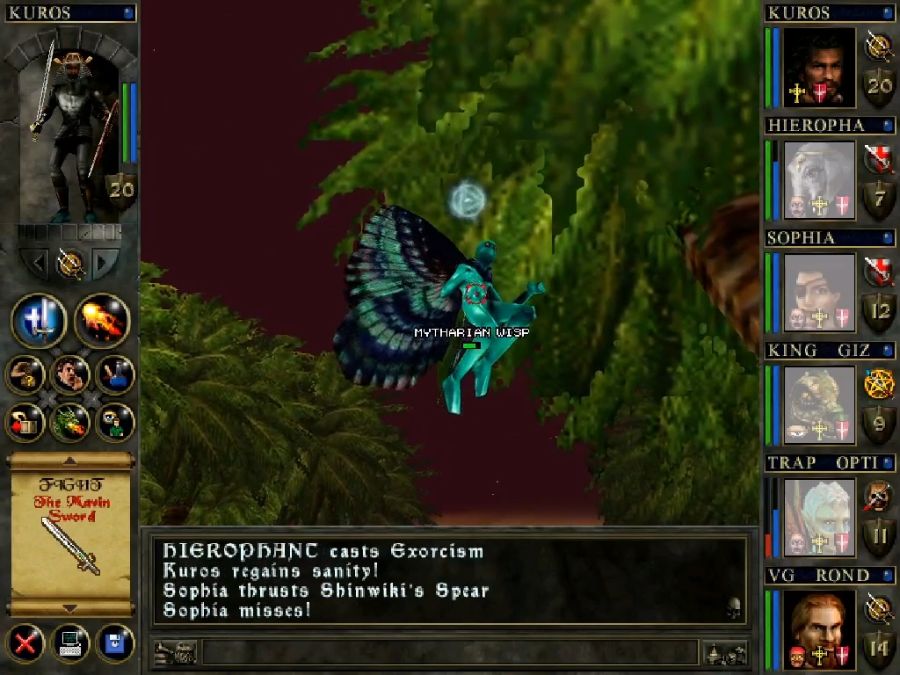
Things could have gone a lot worse, though, as one of them got Damage Reflection up. If I hadn't noticed that and just had Gizzord rip into them with a Meteor Storm or something, he absolutely would have died. Right past them is Gineleng the Trampler, for that town quest and uh... he's just a plain generic centaur. There is NOTHING special about him. He doesn't even travel with a pack or anything, even though the quest description specifically calls him out as leading a pack.
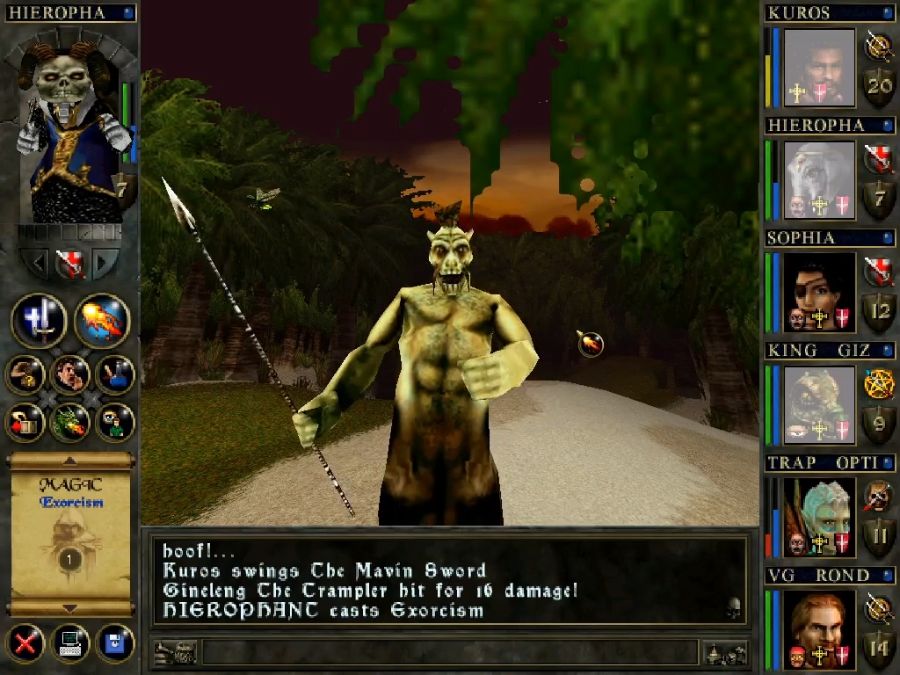
See? All by himself. All generic.
Lazy bastards.
At least he's guarding something somewhat interesting.
https://www.youtube.com/watch?v=fsHOk-x1QMk
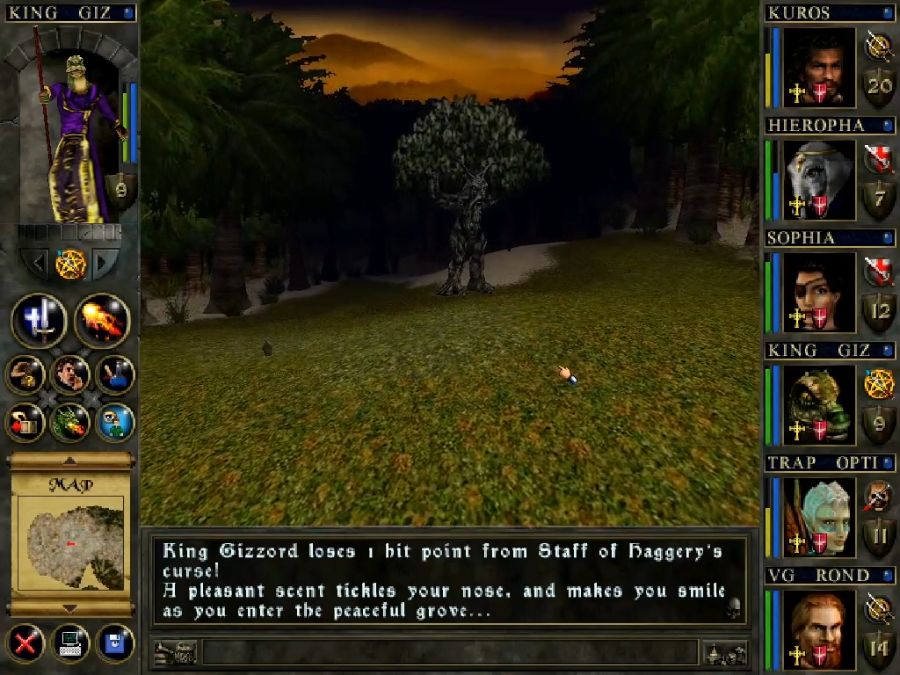
It's Oakenmir! The treant that Torin told us about ages ago. No, Oakenmir does not react to mentions of Torin, which seems like a missed opportunity much like not giving us a chance to tell Torin what happened to his father, Grunaxe.
Once again, he tells us nothing of any import, rather like Talrik, but at least he gives us some background lore. With him talked to, though, we've almost cleared up everything outdoors on the eastern half of the map.

I get in a quick preview of SKULL CASTLE. Very spooky.
And then I head back to Talrik with his new rug.
Talrik: "Ye’s brought me a Longtooth Hide from Skull Island! ... Me found a Treasure Map in the bottom of a ship I raided. Ye take it now. Ye’s just got ta find out how ta get it... Ya see, it’s at the bottom o’ the sea! I hope ye can hold yer Breath!"
His "map" is, for the record, a bunch of very vague instructions and the gameworld isn't large enough for any kind of treasure to hide from you very well.
Talrik's Clues: "From me’s boat ye cross the second sea. And travel westwardly for as far as the sea will take ye. In me’s secret isle I placed me old cart. Travel me far east for eighteen beats. Then dive and me treasure ye will see."
Like, what measure of time or distance is "eighteen beats"?

Anyway, the last encounter of this outside section is Argothius, the helmet-stealing centaur.
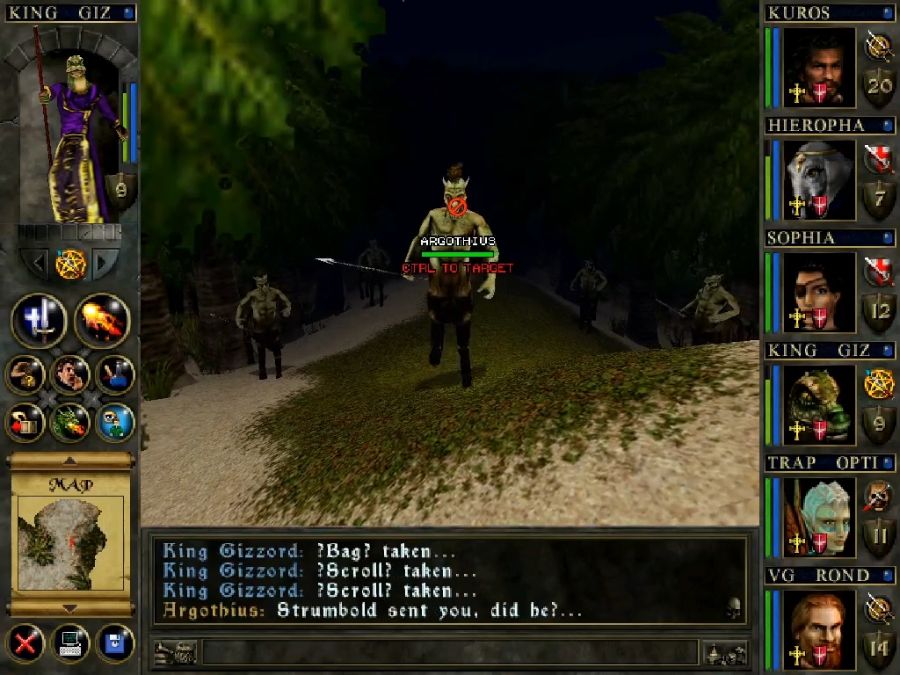

He seems to be holding the helmet hostage for payment, says we can pay him instead, and then just has his idiots attack us. Considering that Gizzord has multiple casts of Meteor Storm in his Stone magic mana pool by now, it works out as well as you'd expect, i.e. he gets blasted to giblets almost instantly.
With that done, it's time to head back to Brimloch Roon. I could've hit up the Skull Castle instantly, but my videogame instincts are always to do storyline stuff last because you never know when it'll lock you out of some optional content, repopulate the world, update the threats on the world map or simply whether you'll be underlevelled for it if you didn't clear all the optional content first.
I pick up a new quest from the fighters at the armory while I'm at it: "I’ve heard about a Magic Shield that once belonged to one of the Mystics of Wyr. Till the Mystic that had it met up with a giant. A two-headed giant by the name of Goshin. You’ll know him when you see ‘im cause he’s got two heads an’ he calls himself ‘Goshin’ And he’s carry’n a Magic Shield. Bring me that Magic Shield, and I’ll reward ya’"
I wonder if he might be one of the few quest enemies that spawn even without the quest, since Goshin not existing would let you softlock yourself once you get to Skull Castle.
There's also a fresh quest from the temple: "The evil over our land grows stronger. I fear we must have protection from the heavens. Or else we shall all be lost. Far to the north lies the ancient Shrine of Anephas, hidden upon an island of the Sea. Across a narrow channel of water. Deep within this Shrine are many sacred artifacts. Deliver to me a Relic crafted from the hand of Isis. I pray that it shall be enough to protect us."
And from the pawn store: "Some crazy old codbreath said he saw a Leprechaun out on one o’ the isles o’ the sea. Catch a Leprechaun and he’s got ta give ya all his treasure an’ gold! Why don’t ya see if the ole bloke was right... If ya can bring me proof o’ the Leprehaun, I’ll give ya a big reward!"
Vine Spells
Slow: Mildly annoy a single enemy.
Repel: Potentially possibly theoretically make a character get targeted less.
Stink Bomb: Cause Nausea in a group of enemies, might actually be useful if there weren't better spells that do this and ALSO do damage.
Haste: Supposedly makes all party members act more often, I cast it a few times in the early game and never felt a difference.
Venom Bite: Does less damage than Burn or Shock, while also causing a poison effect that does even less damage.
Lure: Makes enemies prioritize a single party member. A terrible idea since generally what keeps your party members alive is enemies spreading around their attacks.
Binding Force: Paralyzes a single target. Paralyze ends when a target is hit, so this is just a more expensive Sleep.
Artifact of Vines: Enchants an item with poison resistance. Resistances seem to not always matter.
Pry: Attempts to magically open a chest or lock, but will usually also set off any related traps in the process. Just bring a rogue.
Toughen: Temporary greater max HP
Cure Poison: Actually necessary since poison doesn't wear off by itself and there are shitloads of things in this game that will poison the party.
Unbind: Un-paralyzes party members, for those extremely rare situations where your Vine mage didn't get paralyzed alongside everyone important.
Locust Swarm: One of those damage-over-time spells, but it does physical damage that few enemies resist, does more damage than the previous ones and is the first good option for murdering things that Vine magic gets.
Disarm Trap: Once again, it's extremely rare that there are traps that Trap Option can't bust open or just use one of his overwhelming supply of one-use lockpicks on. Do not waste your time on this spell.
Poison Breath: Does heavy poison damage and causes nausea.
Cure: It only took until level 6 Vine magic to be able to cure Disease! The manual also states it cures "Sickness," a condition I've never seen ever afflict a party member and which may not actually be in the game.
Deadly Vapours: AoE damage-over-time Poison Breath
Purify Air: Despite the name, what it actually does is eat half of the caster's max HP as current HP and refill everyone's breath meter. I've yet to find somewhere it's either useful or necessary but the game's big underwater section is coming up in a couple of posts, so who knows!
Whirling Dervish: AoE tornado damage. Who knows if it's any good? I've literally never cast it.
Vine of Life: When cast on a character, the next attack that would drop them below 1 health only drops them to 1 health and then the spell ends. Since most of your Vine casters will probably also be Spirit casters, just hit them with a Restore Life instead if they're in danger.
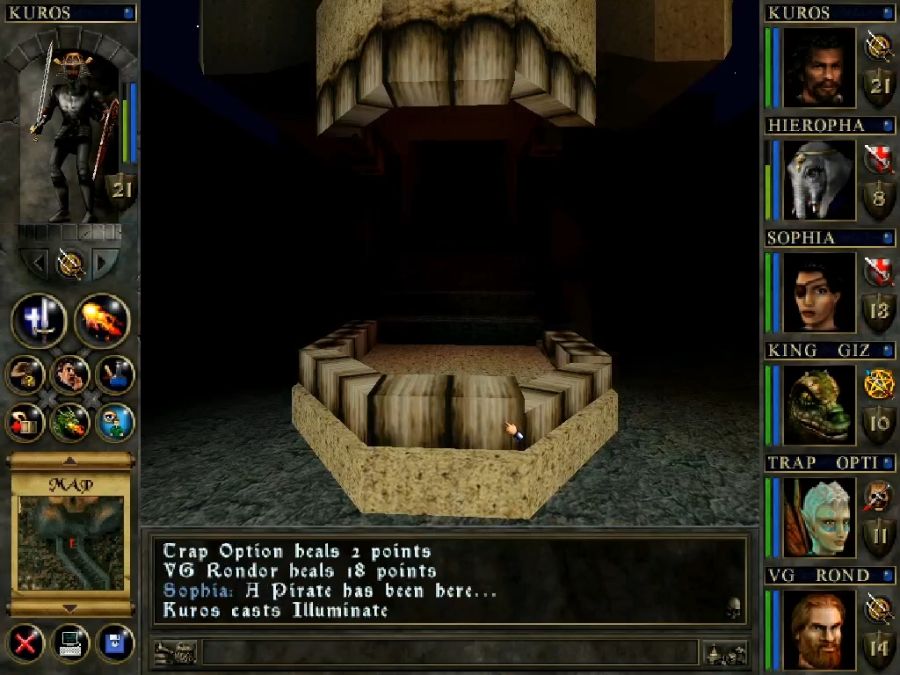
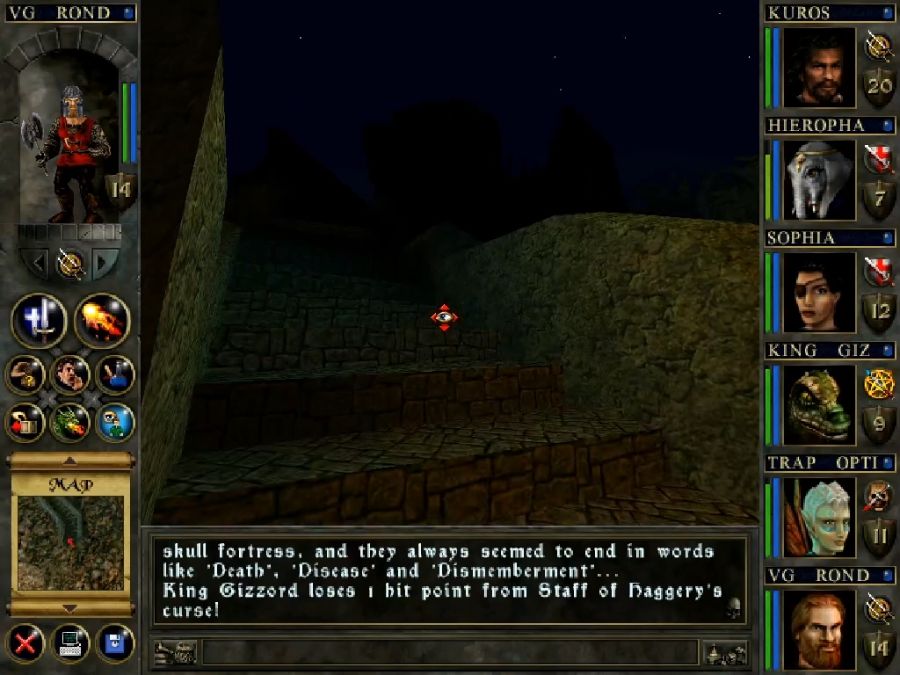
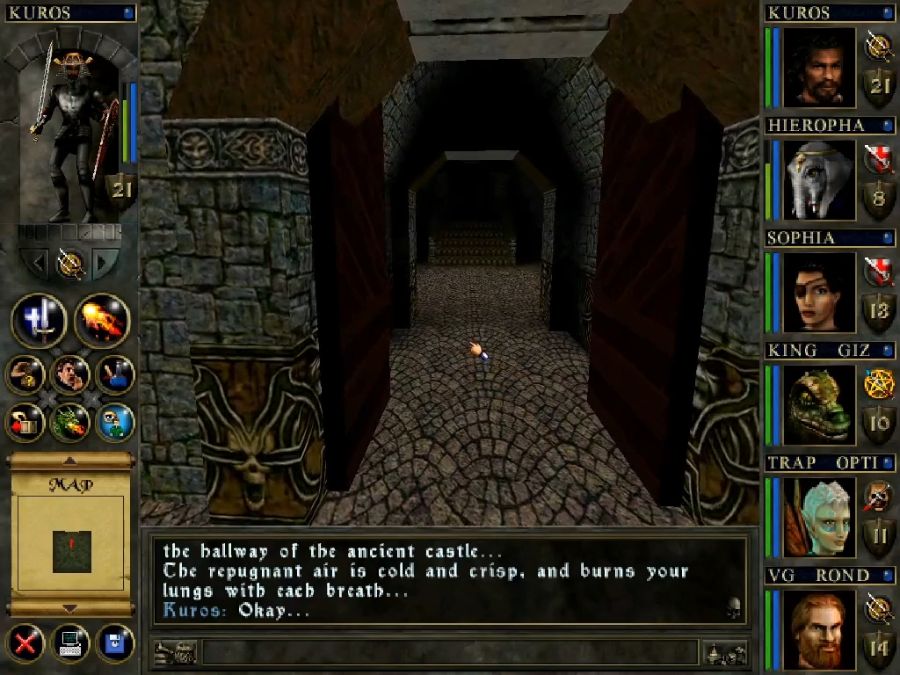
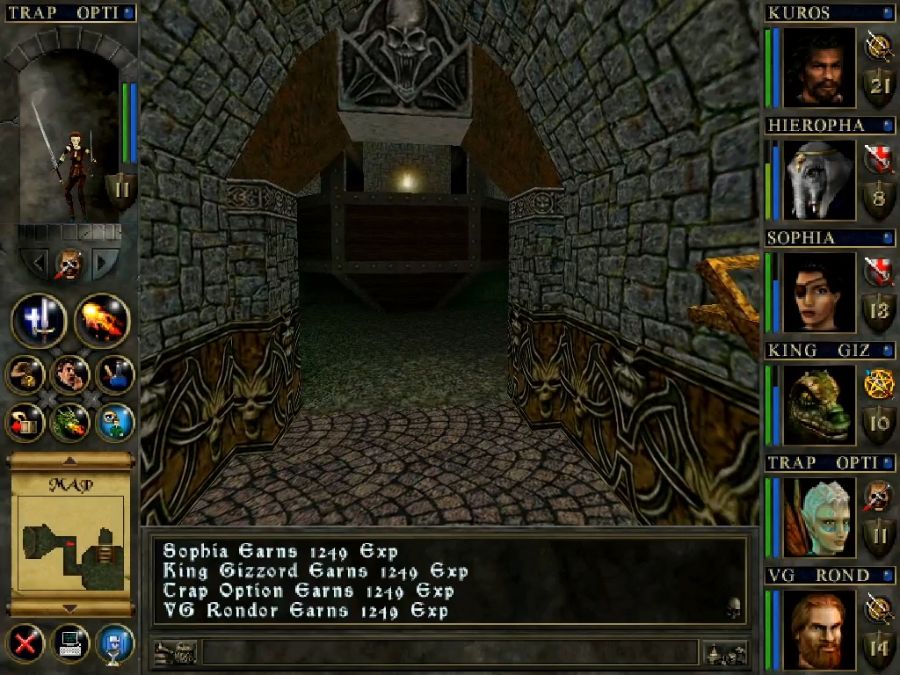
I do appreciate a good sinister skull fortress, conceptually very neat, with the entrance inside the jaws and all.

Complete with terrible hard-to-record physics jank that attempts to propel you at high speeds out of the eye sockets if you approach them to take in the view.

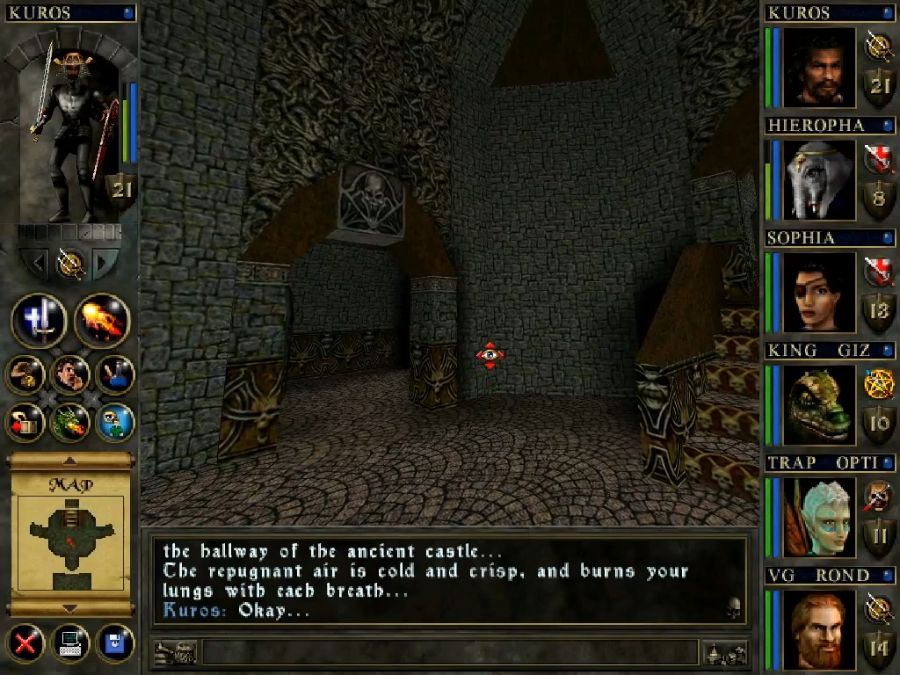
Now, I think I'd rate this dungeon as only slightly below Shurugeon Castle for purposes of not being painful to deal with. It has its fair share of fucking boneheaded design decisions, but at least I didn't get lost and it was generally obvious where to go next.
Generally.
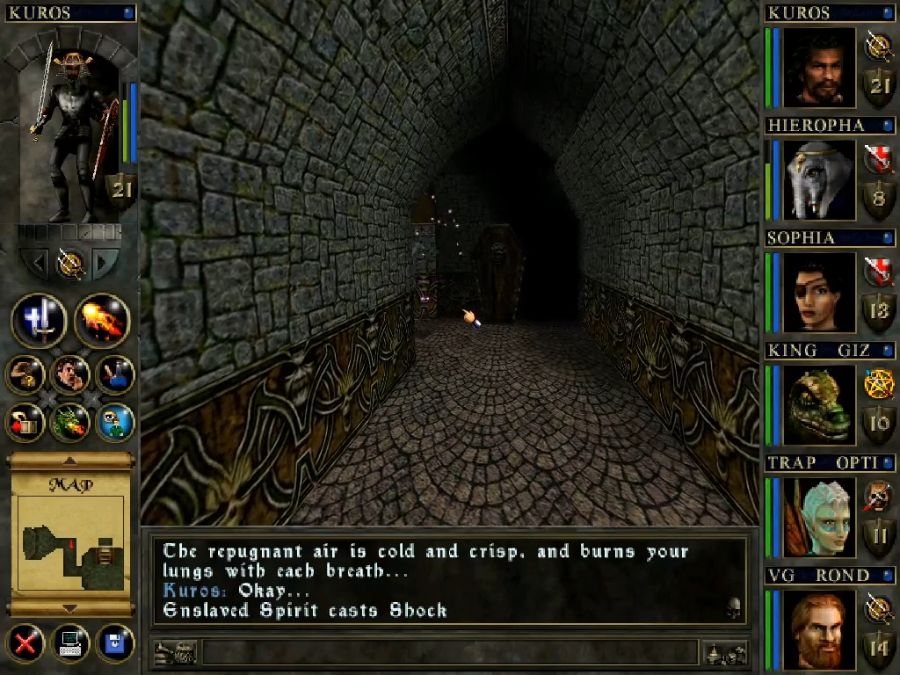
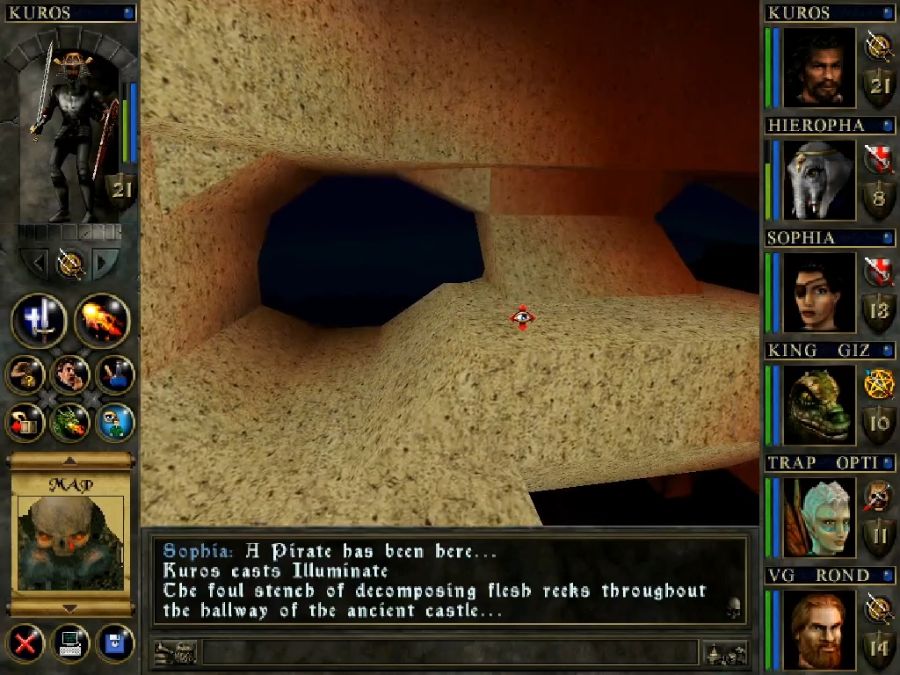
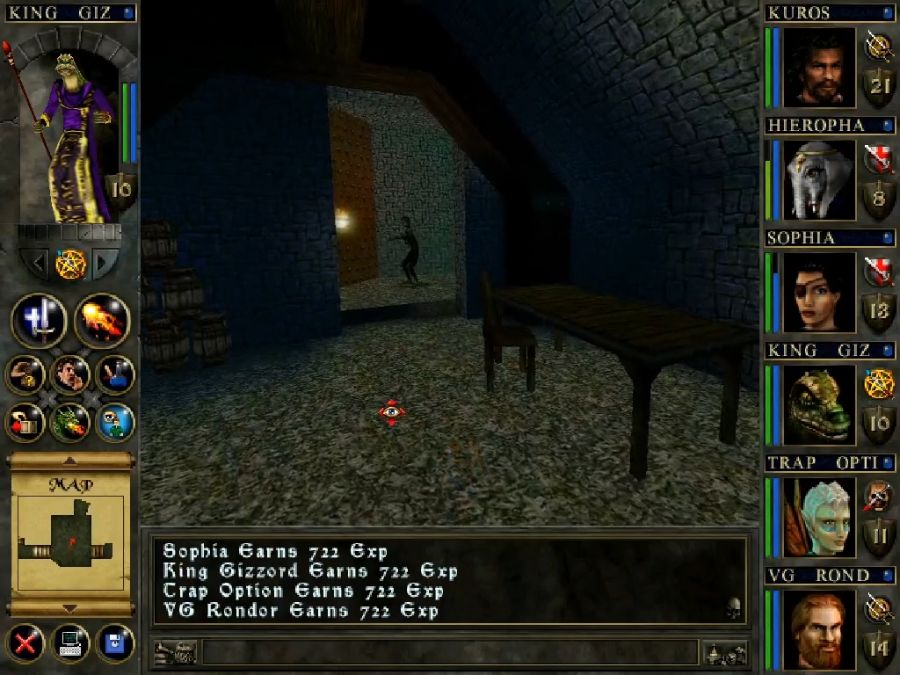
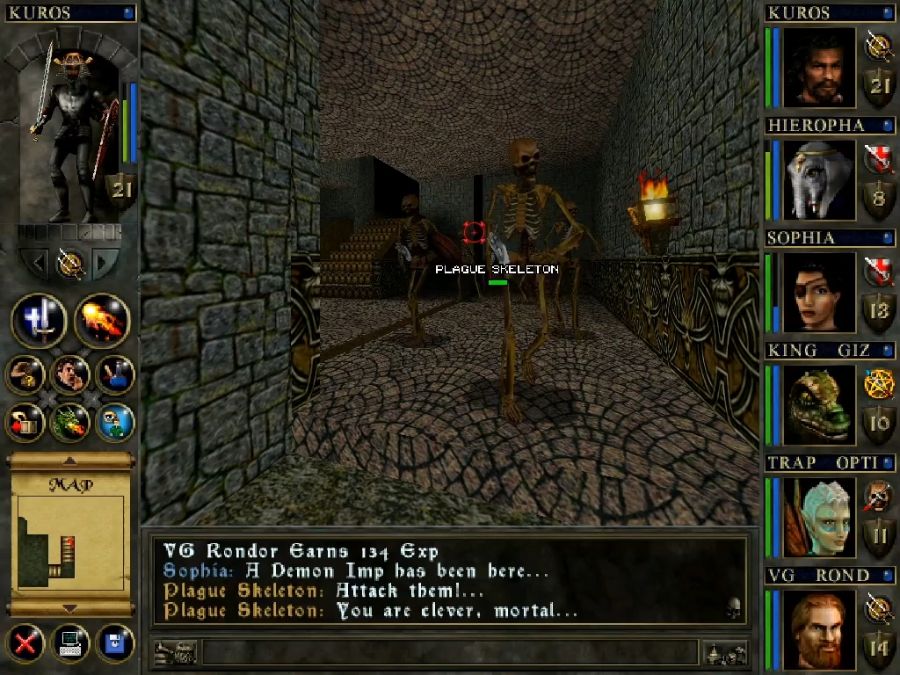
I'd also like to point out that even with the spawns on rare, as soon as I step through a doorway here, a group of ghosts spawn behind me and need killing. The ghosts aren't the worst, though they usually come with a Wraith who can cast Face of Death, which has a chance of instakilling a single party member. I have no idea what goes into making a character resistant to conditions, the only thing mentioned is the Will stat, but I think level might also play into it since my characters shrugged it off every time except once.
Once again, phys damage is phys damage so I just walk past the big spinny blades and ignore the fact that they're cutting off Rondor's ankles. Pointy items do not deal more phys damage than non-pointy items.

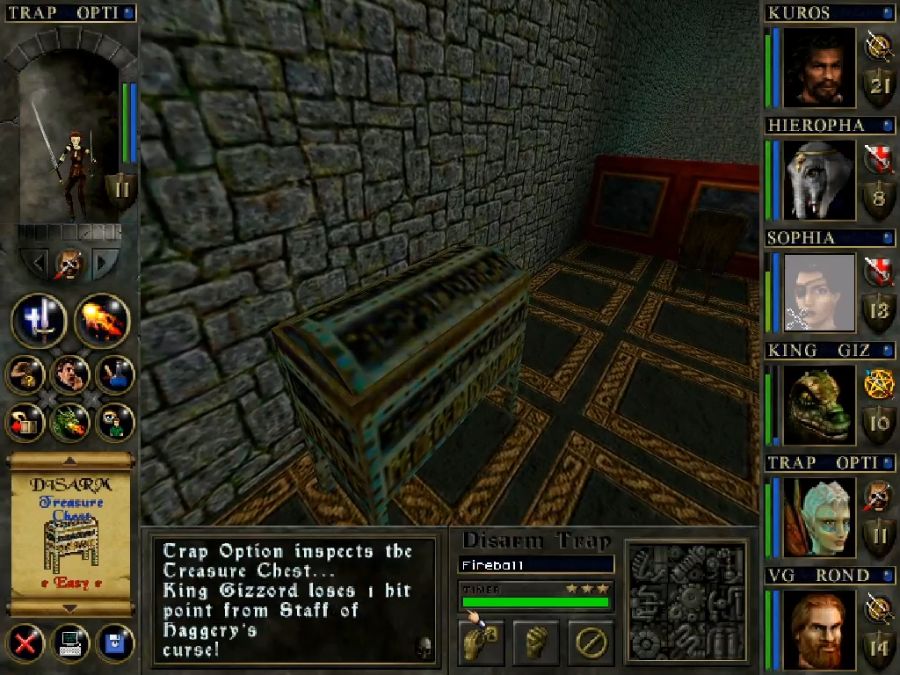
And you can just stand on the chest to safely lockpick it while the blades whirl about inches from everyone's elbows.
I think if I had any complaint about this dungeon, it's how it's mostly just decorated in shades of brown and grey. There are two places they do something interesting and I kind of wish they'd extended that to the whole dungeon.
Also the dungeon has these guys, PLAGUE ZOMBIES, that look like every other zombie, and, oddly enough, don't ever seem to cause disease, just nausea. I'm not sure if I was just lucky or if some smart person with the developer realized that "hey, disease is a dogshit awful condition that it sucks for the player to get hit by. We should avoid that!"

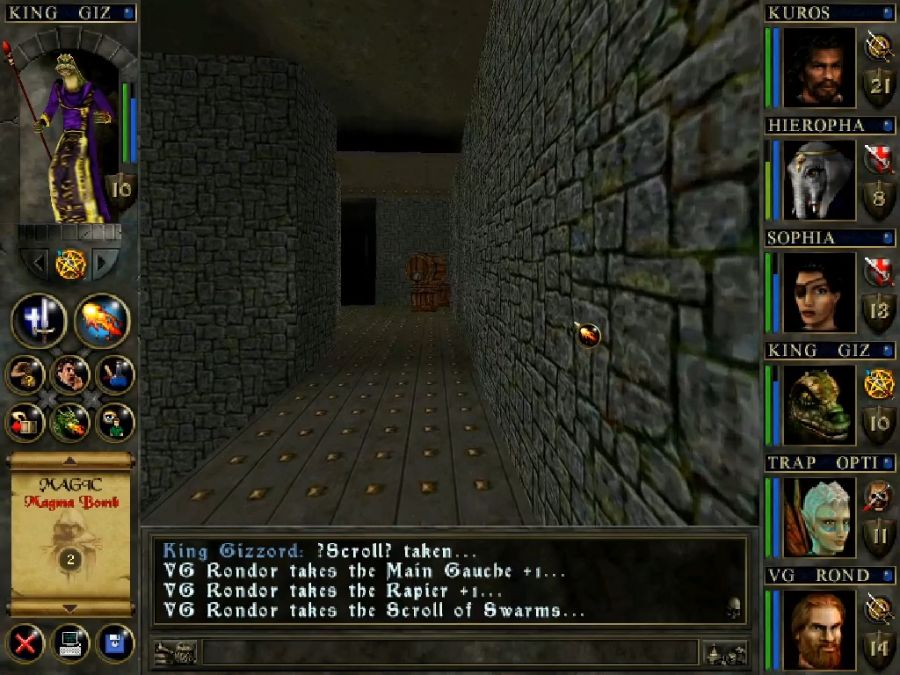
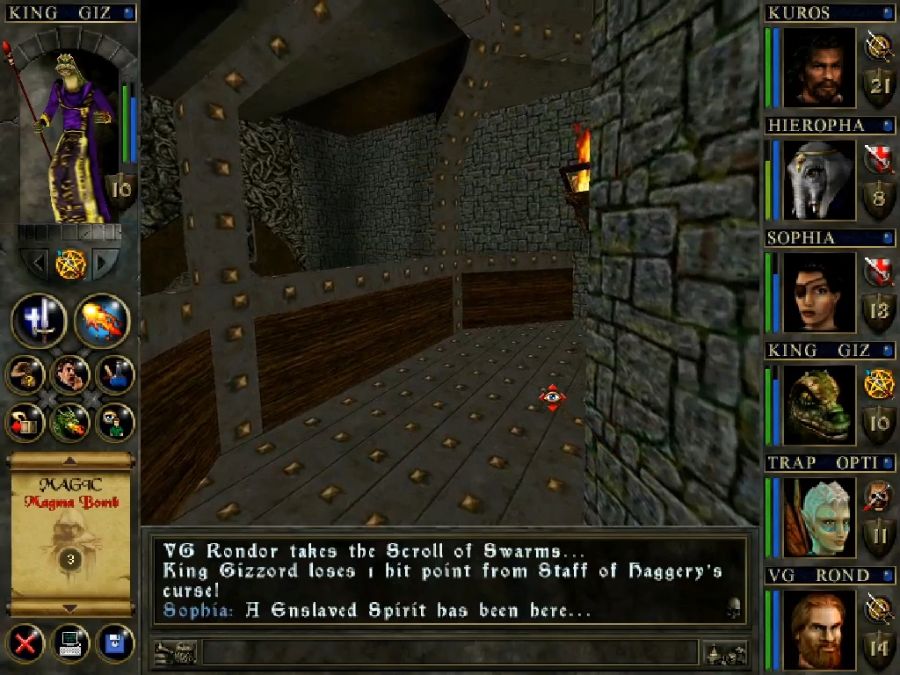
My other complaints besides the decor would be that a lot of the dungeon is kind of superfluous, there are a lot of rooms that are inoffensive but only exist to give you a chest of random loot, and random loot in 99% of all cases is just going to mean vendor trash, especially because the game loves to give you cursed items. Not that I'd expect anyone to actually wield any of them except for the Serpent Staff, Skull Dagger and Staff of Haggery which are cursed but not bad. All the rest appear to be just straight negative stats.
Among the neat-looking random loot rooms are:
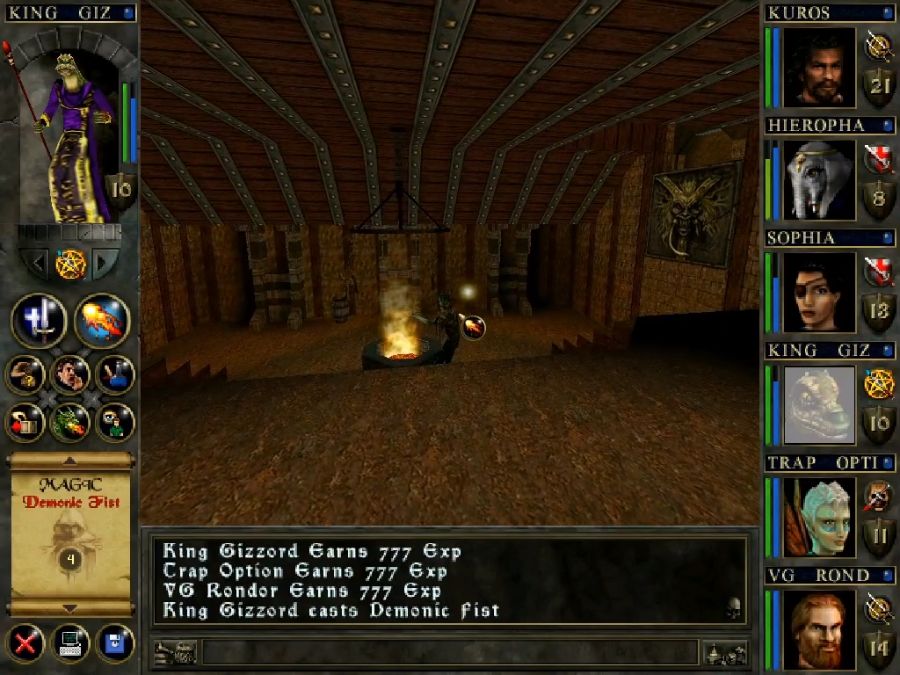
The zombie barbecue pit.
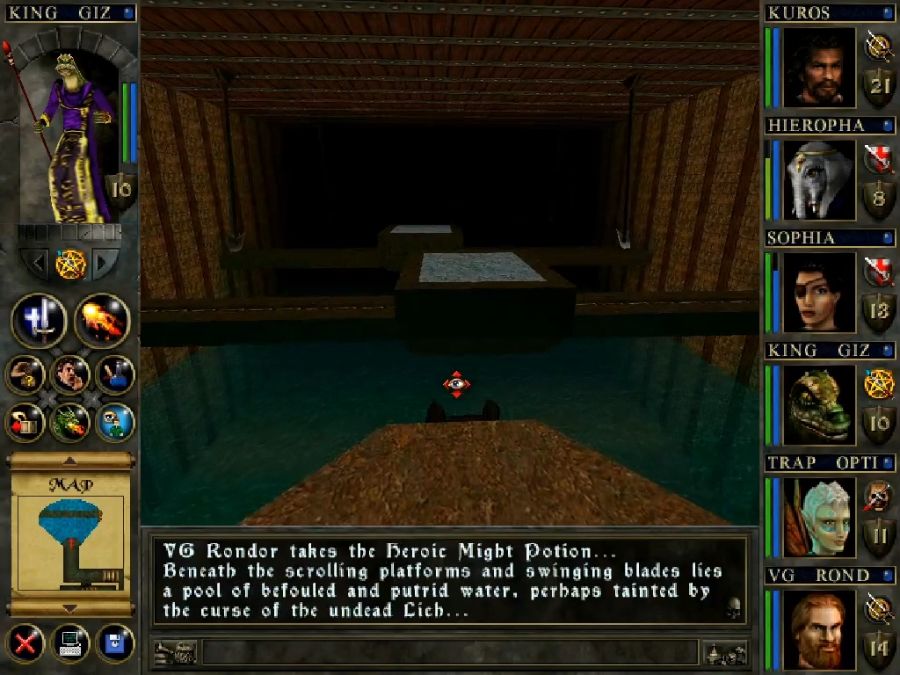
This jumping puzzle with water that poisons you and platforms that you can't actually get on to, so you just hop off, suck off the poison and climb up the ladder at the far end.
This prison full of wraiths, where the lever to open the doors is hidden in a corner and you might miss it because it just kind of looks like a splotch on the wall.

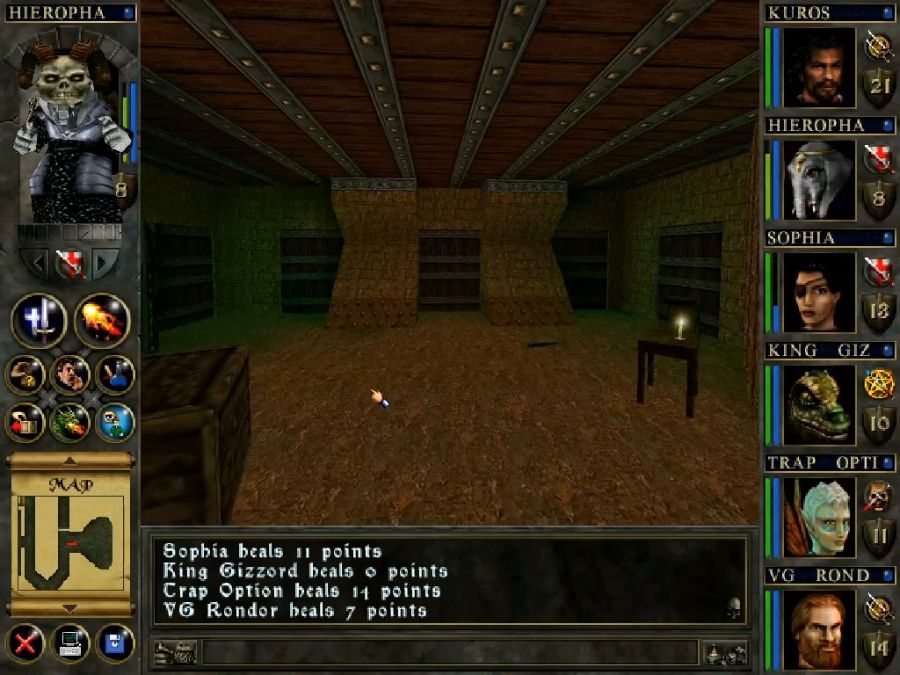
These skeletons hiding behind a fake wall, even if you'd come at them from the "right" side, though, they would have been completely inconsequential to defeat.
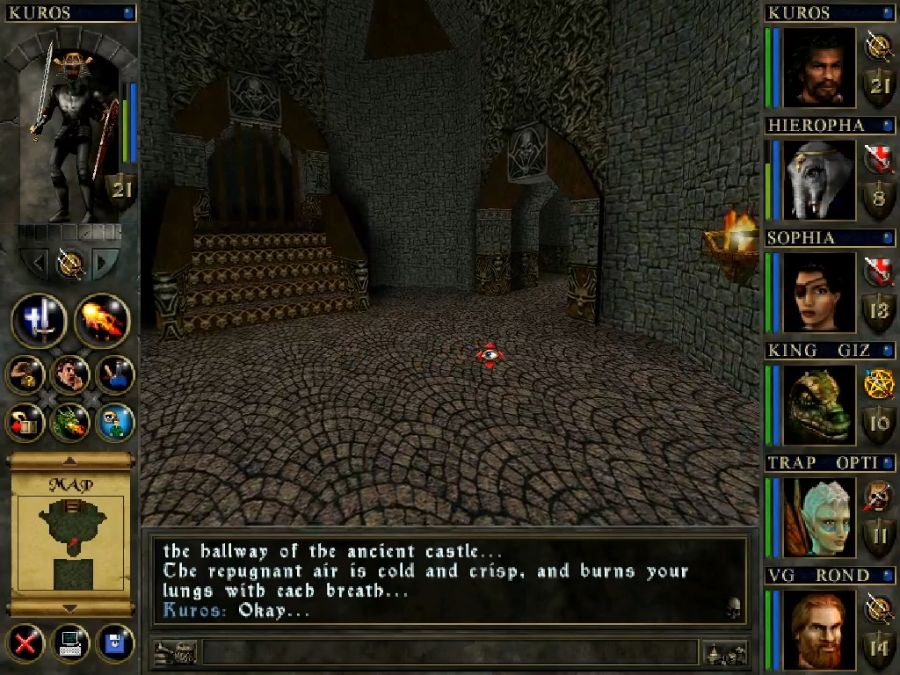
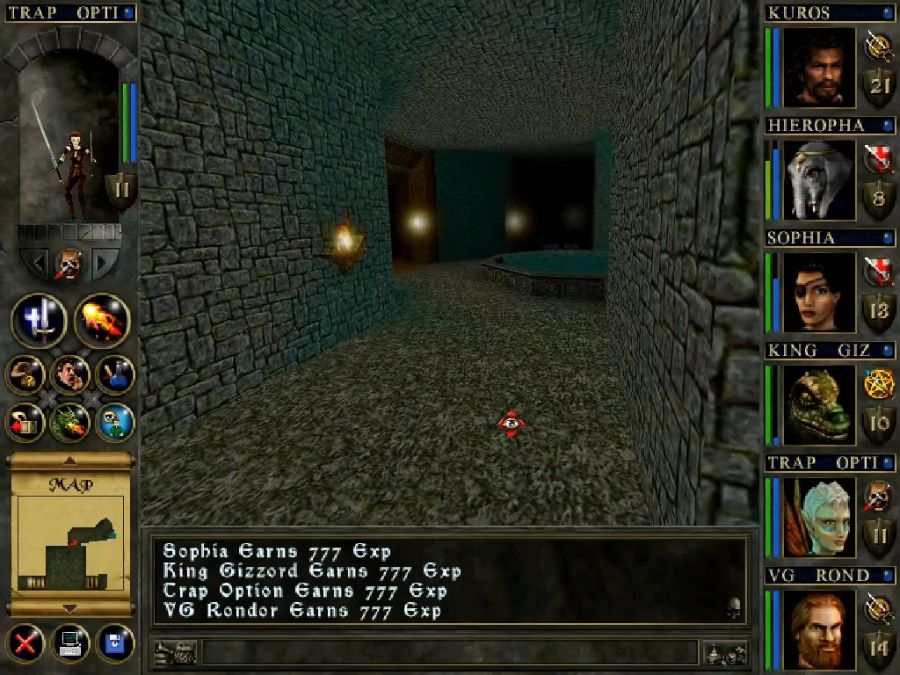
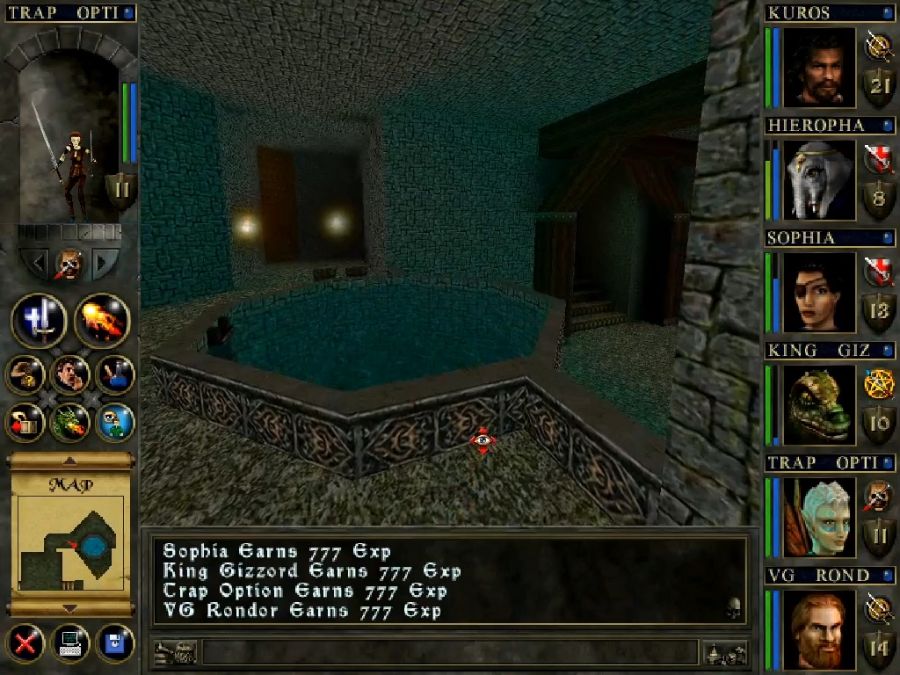
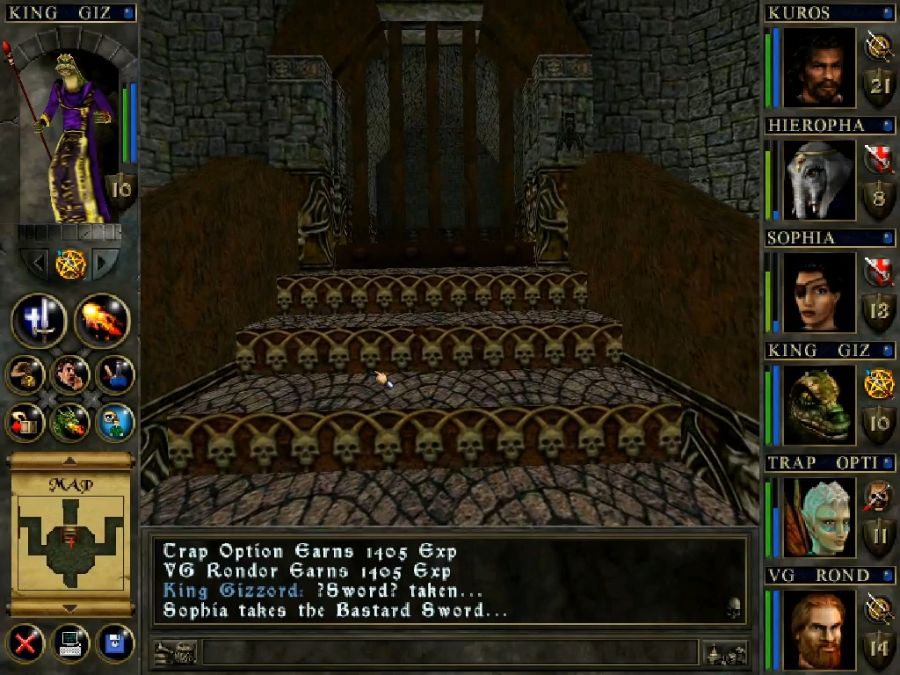
This nice regal-looking balcony area with a drinking fountain that paralyzes you and not just a third chest texture but actually a whole second chest model. W&W getting fancy.
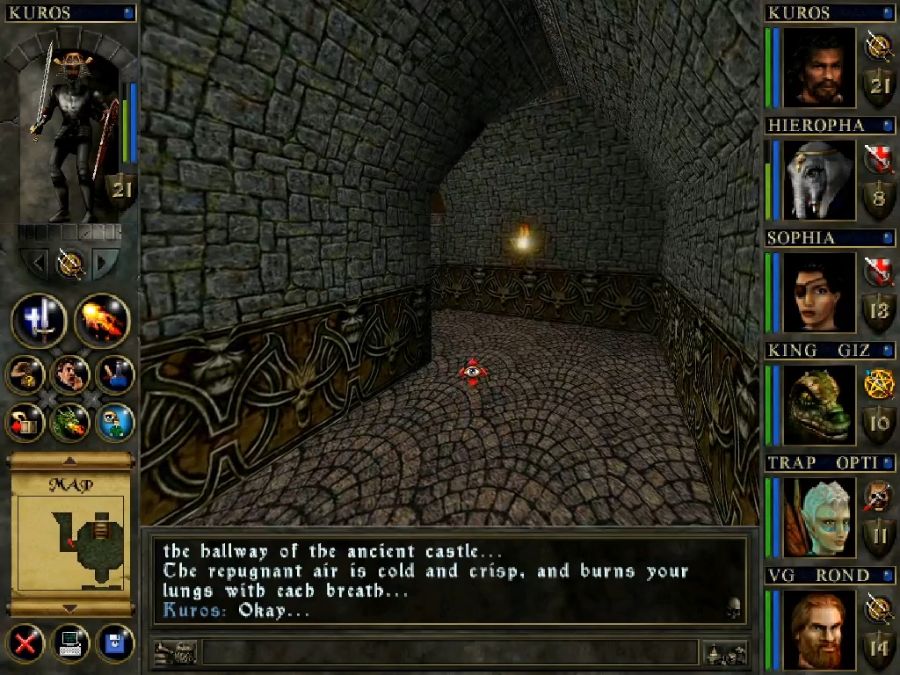
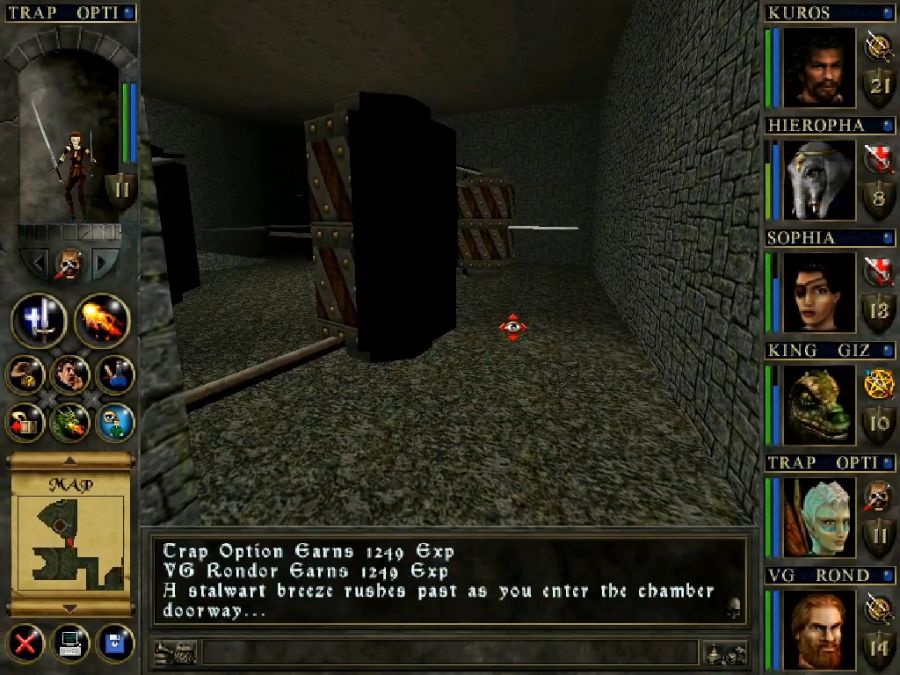
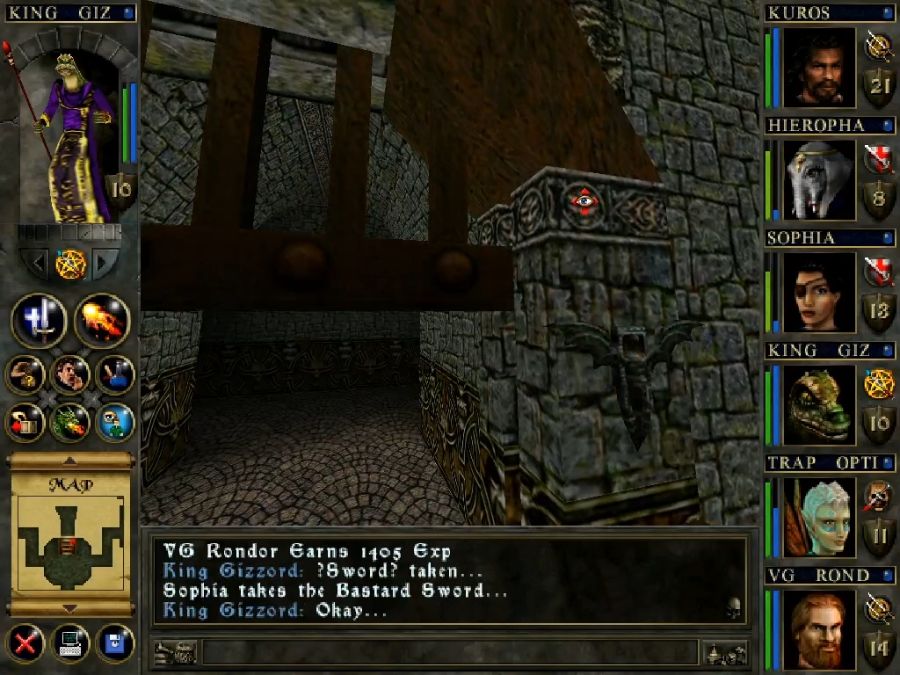
Anyway, all of this is optional and the only thing you should do is to go back to the entrance and go straight. You could, after all, go right through that grating if you'd just noticed the little lever next to it in almost the same colours as the rest of the dungeon texturing, you dunce, Purple.

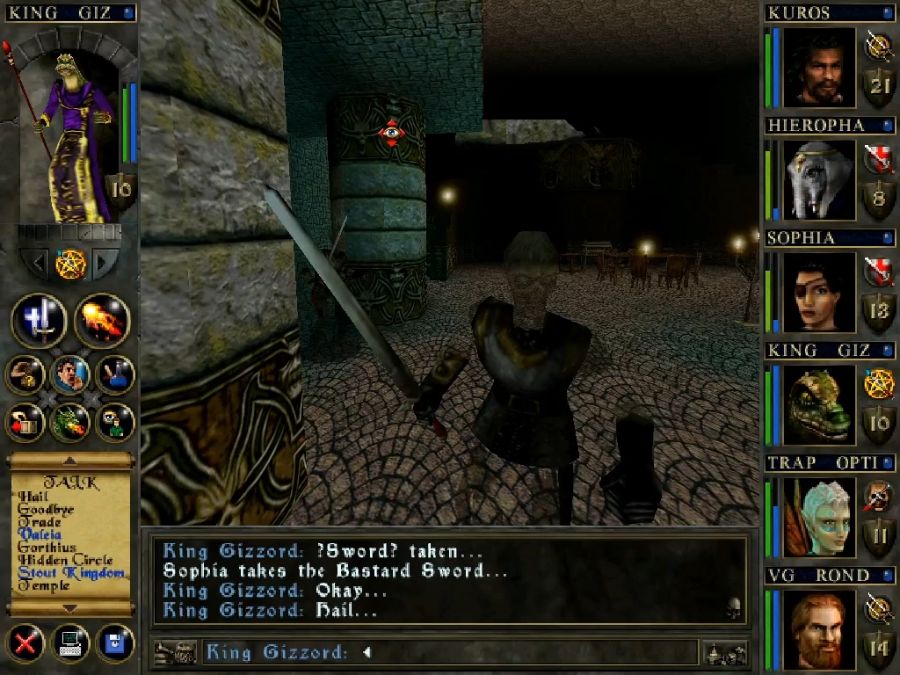
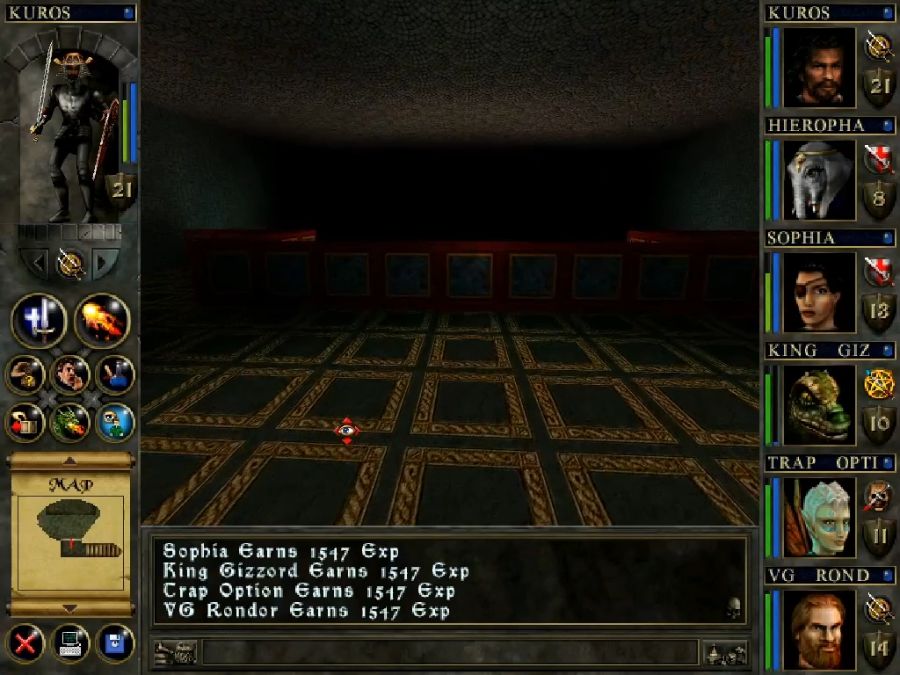
It leads to this area below the nice balcony where the local guards tell us their boss says we're cool and allowed to be here(shame no one else in the place got that memo) and otherwise just stand around and chill while the narrative text describes a much cooler room than we actually see.
(Also I went over the character limit, so this is getting split in half!)