Part 10: Ye Can't Catch Me!
Update 010: Ye Can't Catch Me!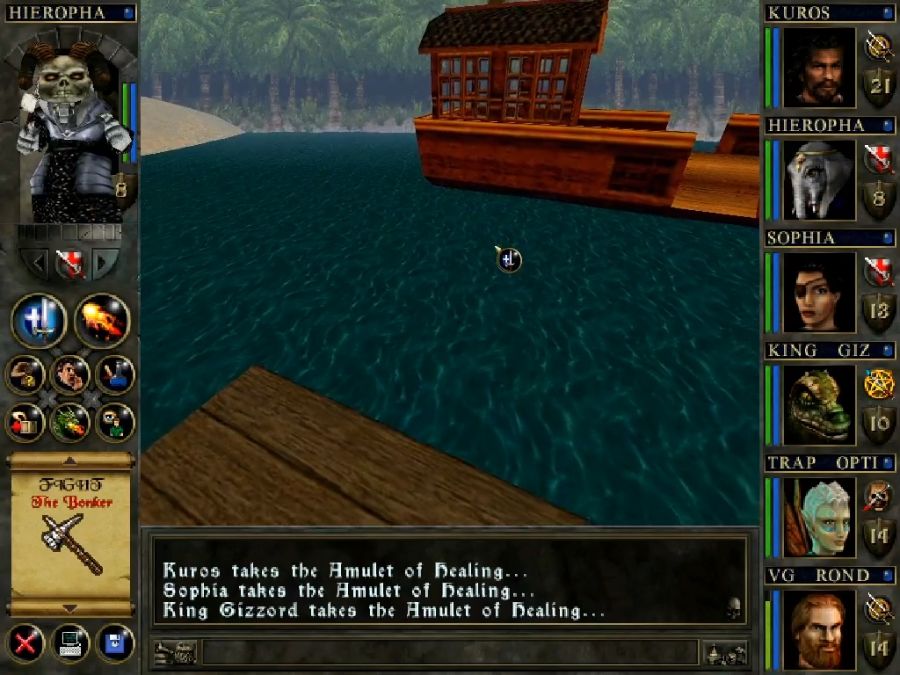
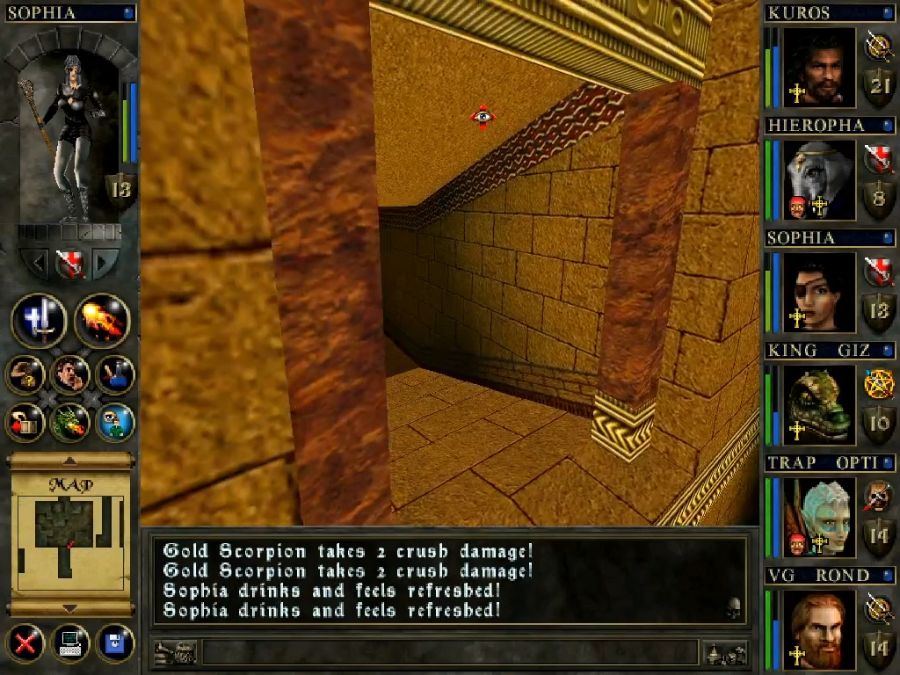
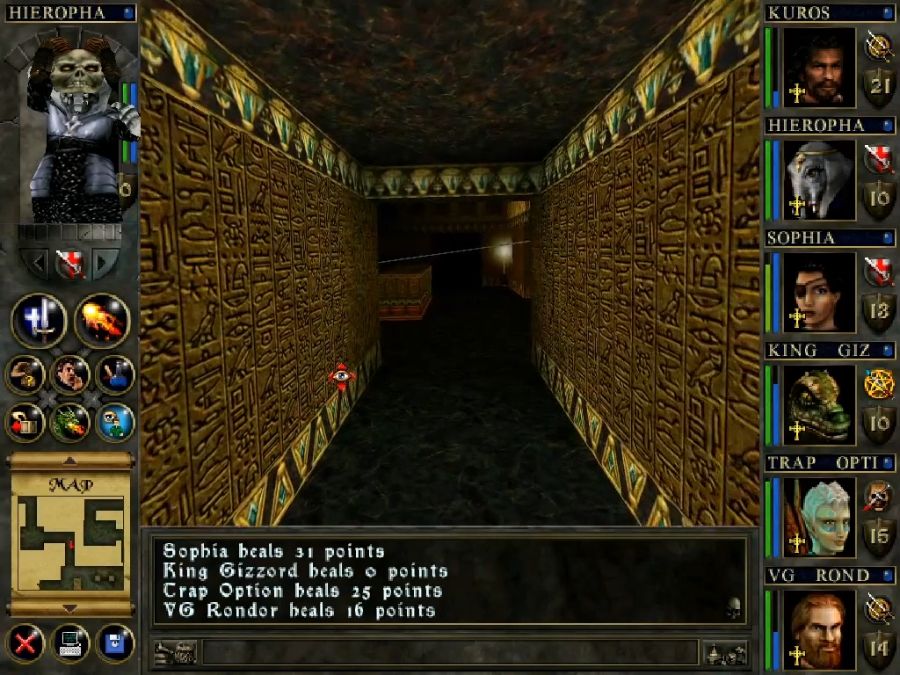
So after finishing off Skull Castle, it was obviously back to town to sell all my shit and head back out into the wild. I look over the list of currently active guild quests, everyone's reached level 3 in their relevant guilds by now, so I don't need to complete them, but it's a (tiny) bit of extra XP and usually the enemies they spawn, if they don't already exist, provide more XP than the quest itself.
Fighter's Guild/Armory: "There’s a renegade Wizard by the name ’a Ramakamil, and he’s gone out o’ control. Lost his kaboodle, if’n ya know what I mean. Trouble is, he’s a pretty powerful wizard. And the League O’Sorcery can’t do nothin’ about him."
Bushi Dojo: "I have learned of a most disturbing event. Sinister forces are in the wind, and the Gael Serran lies in grave peril. There is a Sacred Shrine which is hidden upon an island in the north. And its Divine Power has protected our lands for many ages. But a Creature of Darkness has spawned within, an agent of evil from beyond. And it seeks to destroy the Holy Power which protects us. It is the Darkened One, an entity of destruction. You must seek out this Holy Shrine, and destroy The Darkened One."
Temple/Priest's Guild: "The evil over our land grows stronger. I fear we must have protection from the heavens. Or else we shall all be lost. Far to the north lies the ancient Shrine of Anephas, hidden upon an island of the Sea. Across a narrow channel of water. Deep within this Shrine are many sacred artifacts. Deliver to me a Relic crafted from the hand of Isis. I pray that it shall be enough to protect us."
Pawn Shop/Thieves' Guild: "Some crazy old codbreath said he saw a Leprechaun out on one o’ the isles o’ the sea. Catch a Leprechaun and he’s got ta give ya all his treasure an’ gold! Why don’t ya see if the ole bloke was right... If ya can bring me proof o’ the Leprehaun, I’ll give ya a big reward!"
Two of these are literally on the way to the Shrine of Anephas(Fighters and Thieves), and the other two are in the shrine(Priests and Bushi), so we may as well run them over on the way.
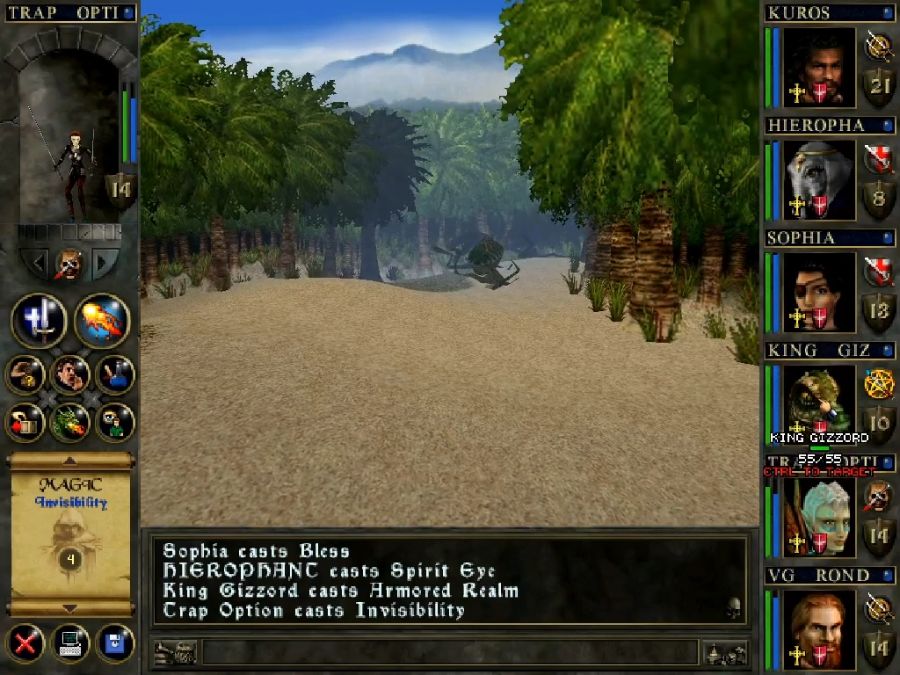
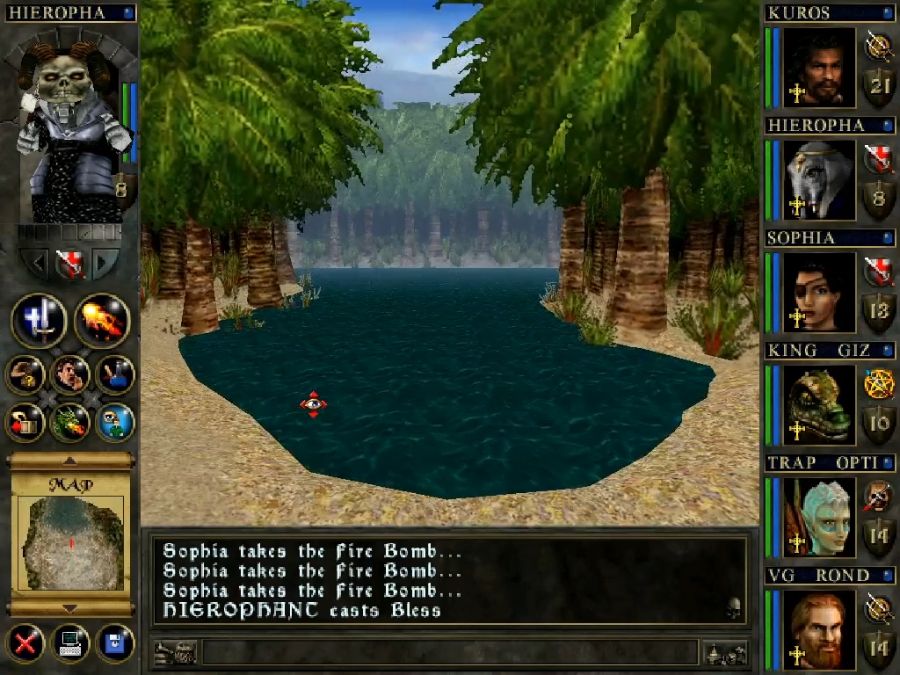
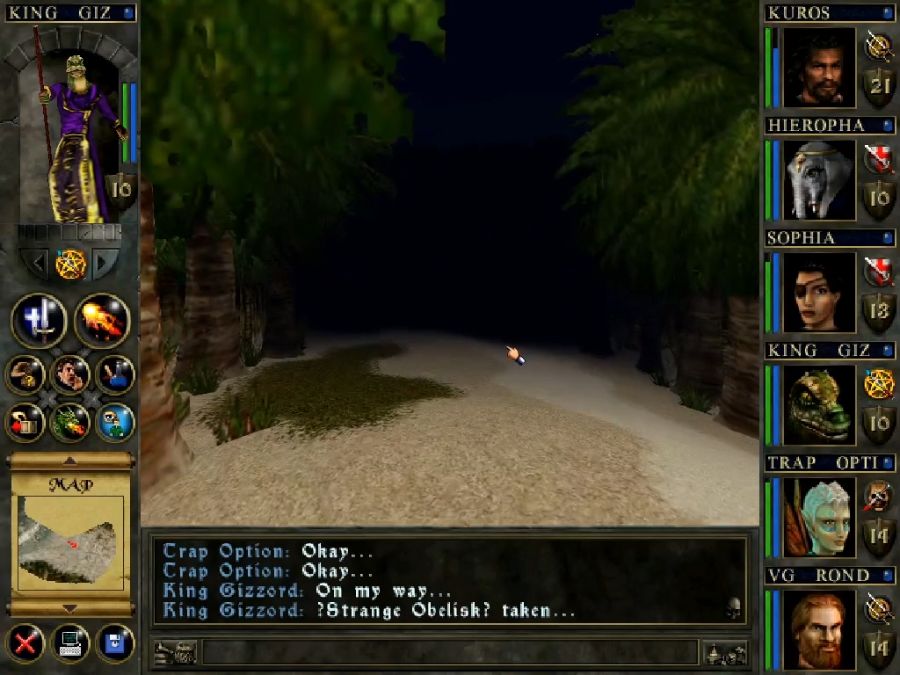
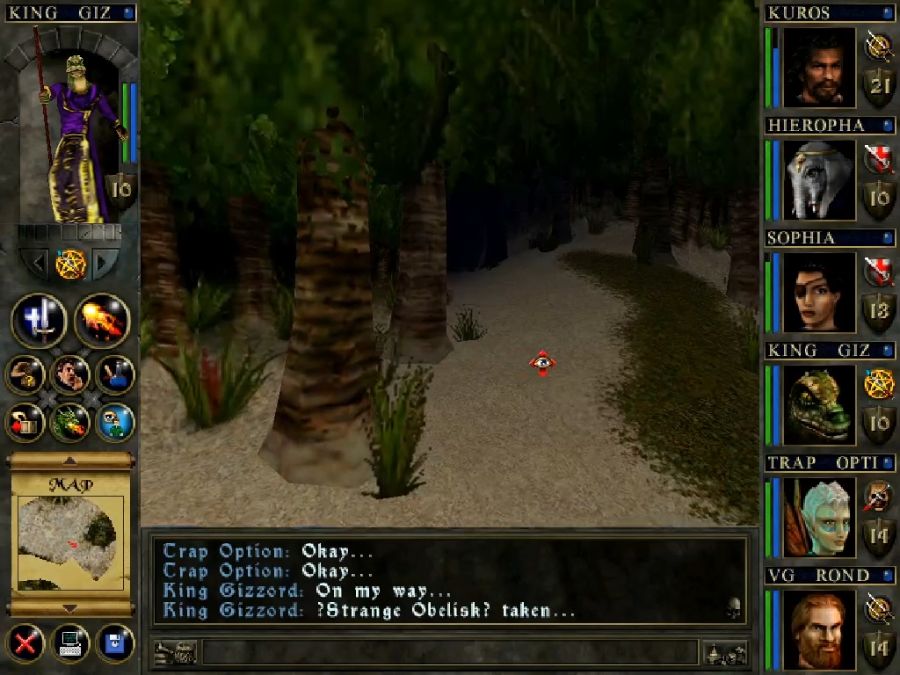
The Enchanted Isle is literally the only major landmass aside from Skull Castle on this side of the last third of the world map, so it's not hard to find. I make landfall and start scouting around.
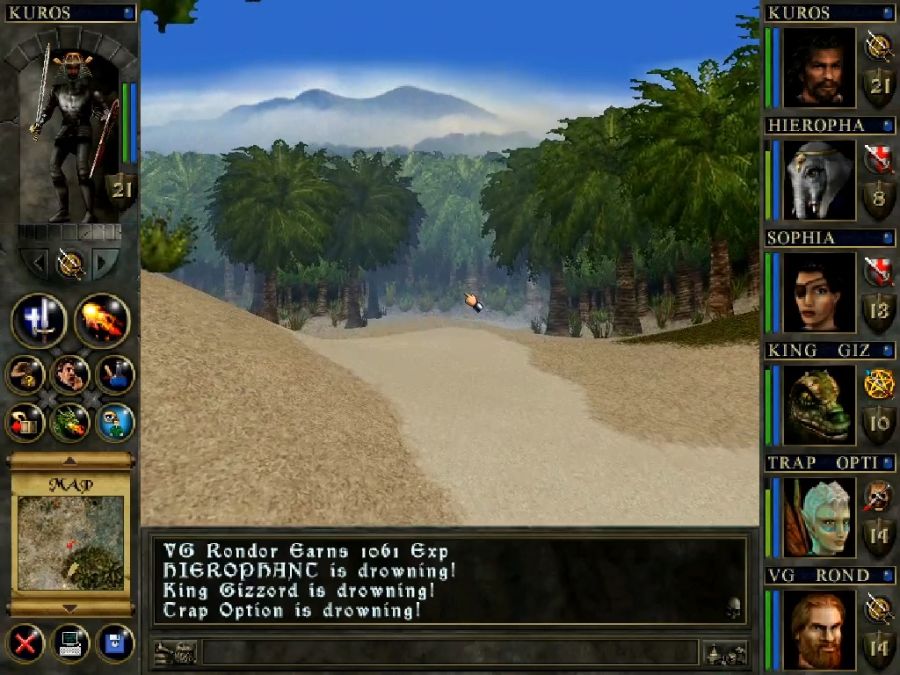
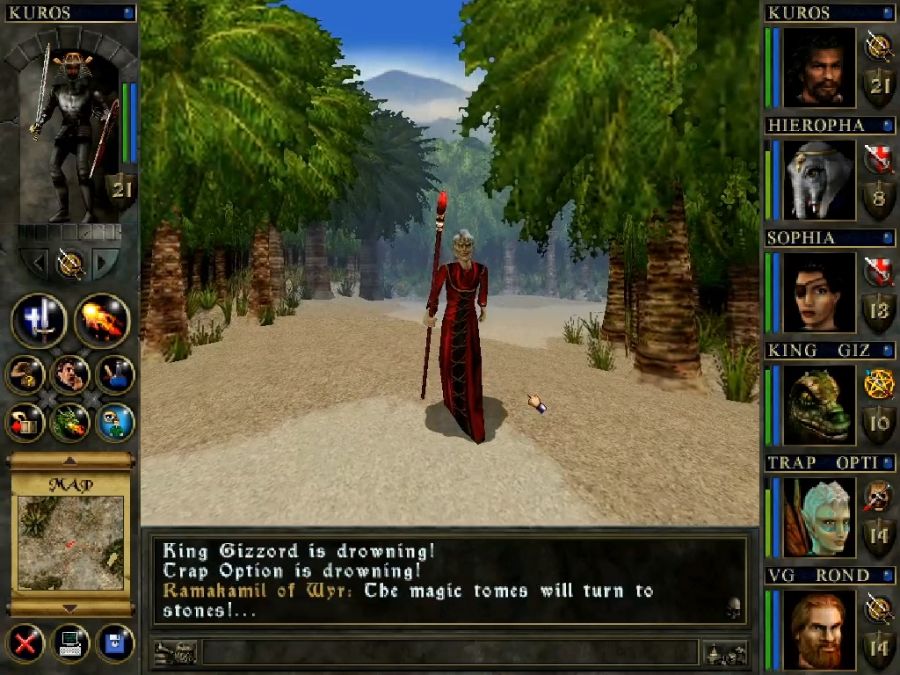
I run into Ramakamil right away. I'm mildly surprised that he has a unique model, but then five minutes after killing him I run into generic "Mystics of Wyr" which don't just have his model and exact stats(except maybe slightly less HP) but also his fucking voice lines, goddamn.

He does make me retract an earlier statement RE the Reveal spell, though. I've now cast it two whole times in this playthrough. I've clearly been owned and proven a liar.
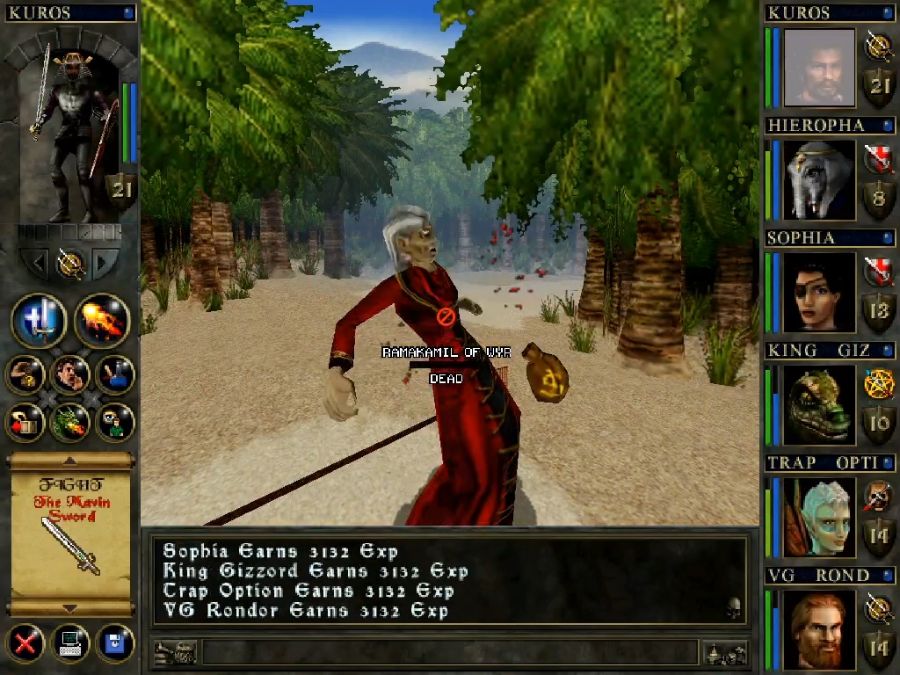
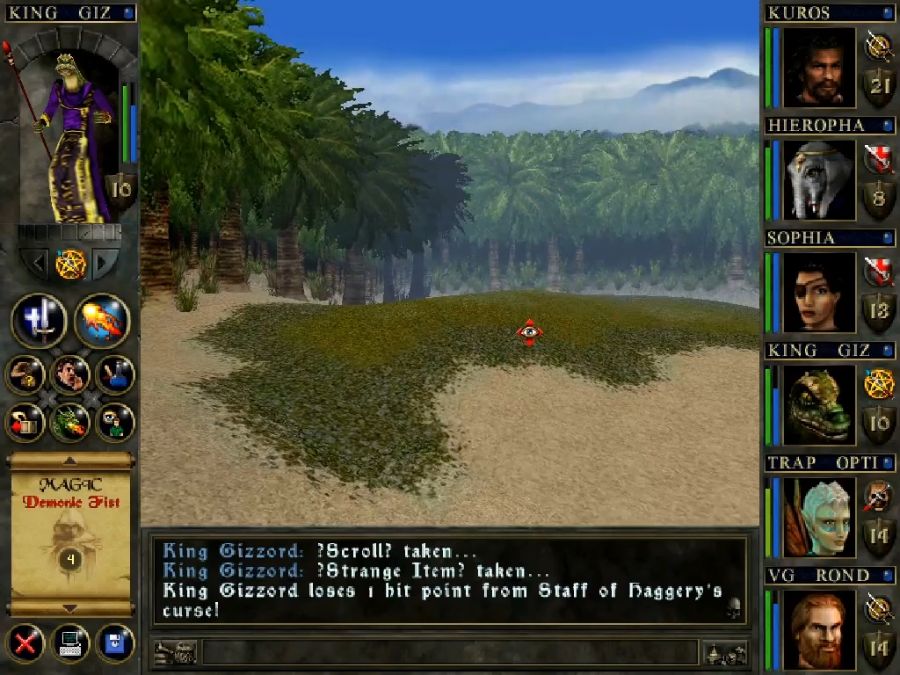
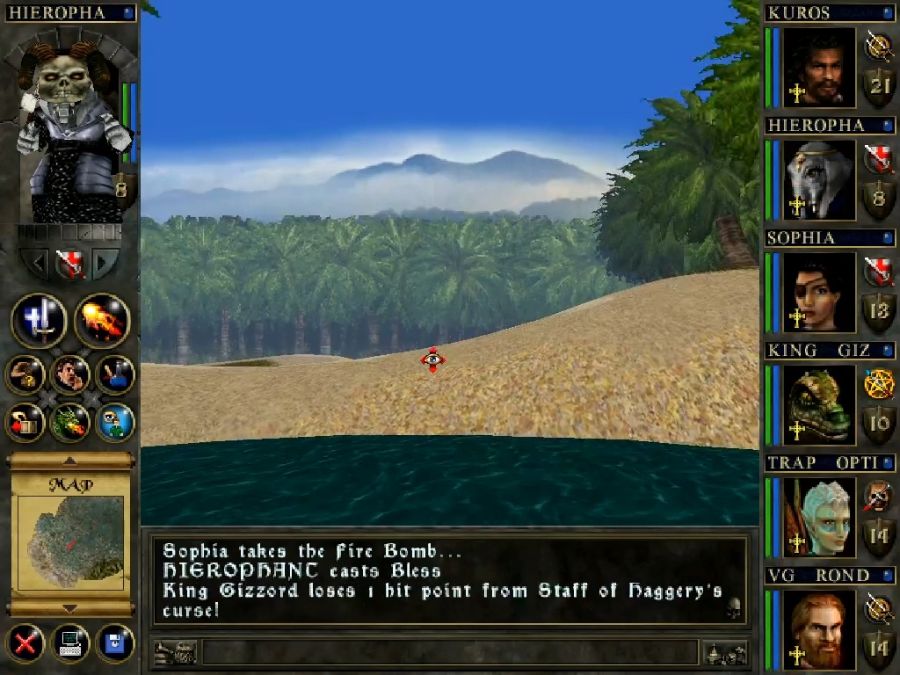
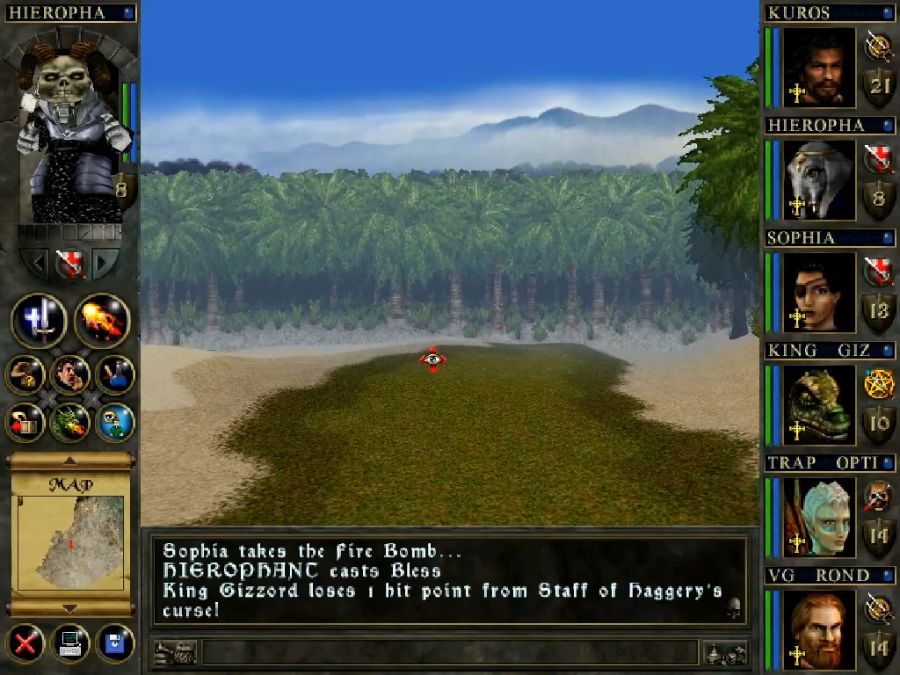
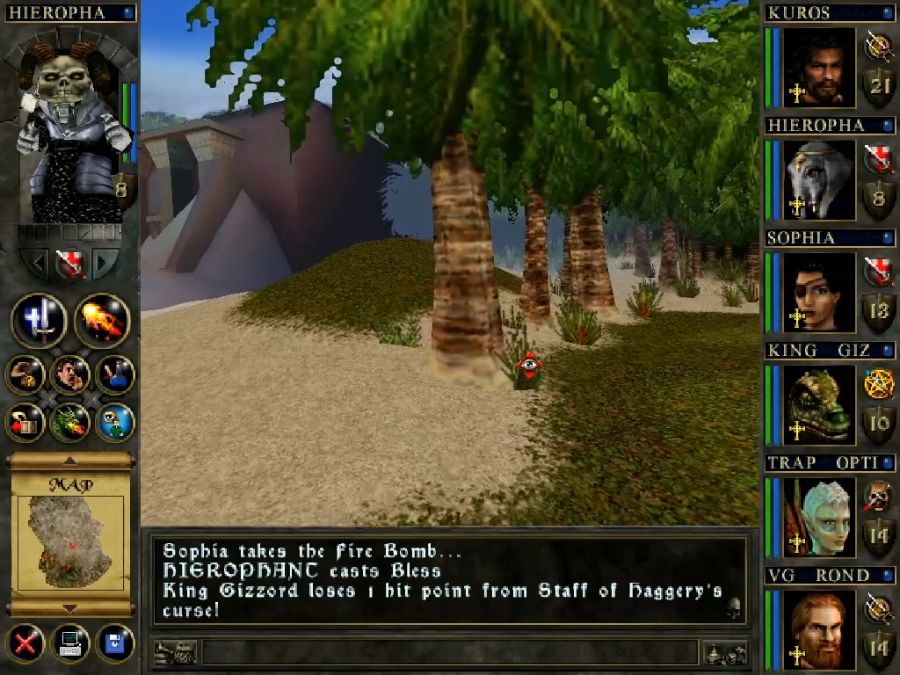
Anyway, he dies easy and I go back to looking for the leprechaun and would you fucking look at that, Jungle Lilies as random world spawns! What the fuck! Now, I see them at a distance, and now I can kill them FASTER, sure, but it still takes like half of Gizzord's mana to blast them back to hell, and I'm pretty sure they'd still annihilate me if I got up close. So fuuuuuuuuuuuuuuuuuuuuuuuuuuuuck that.
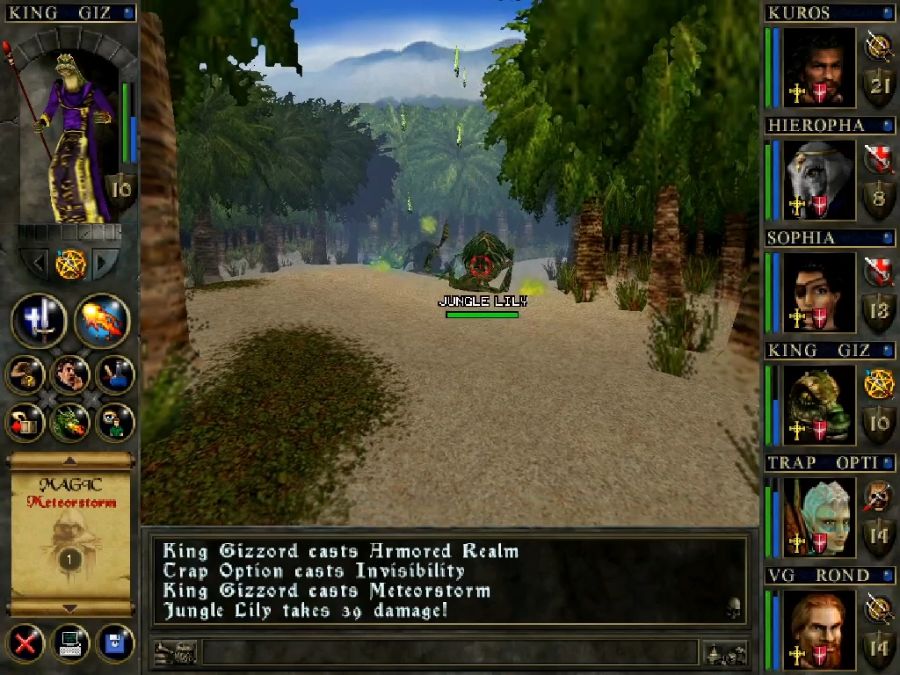
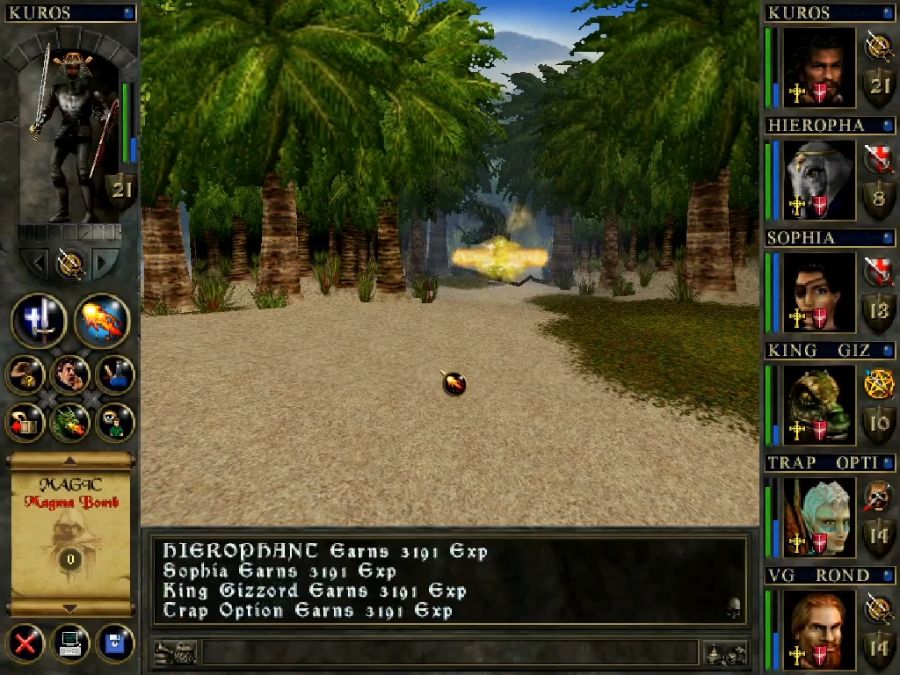
It is somewhat satisfying to nuke the hell out of them with meteor storms and magma bombs, though. Anyway, where's the fucking leprechaun?
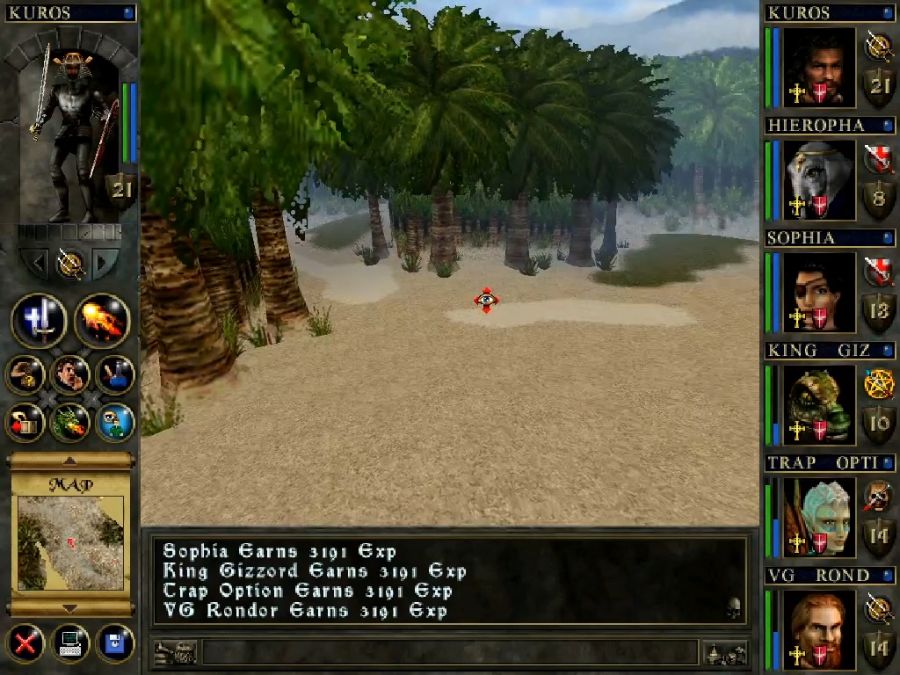
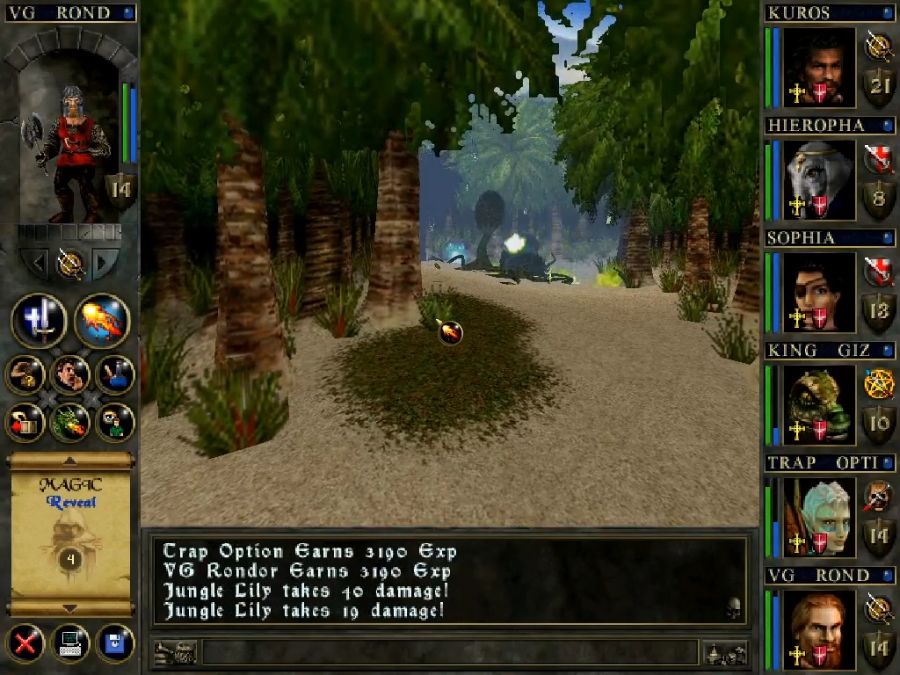
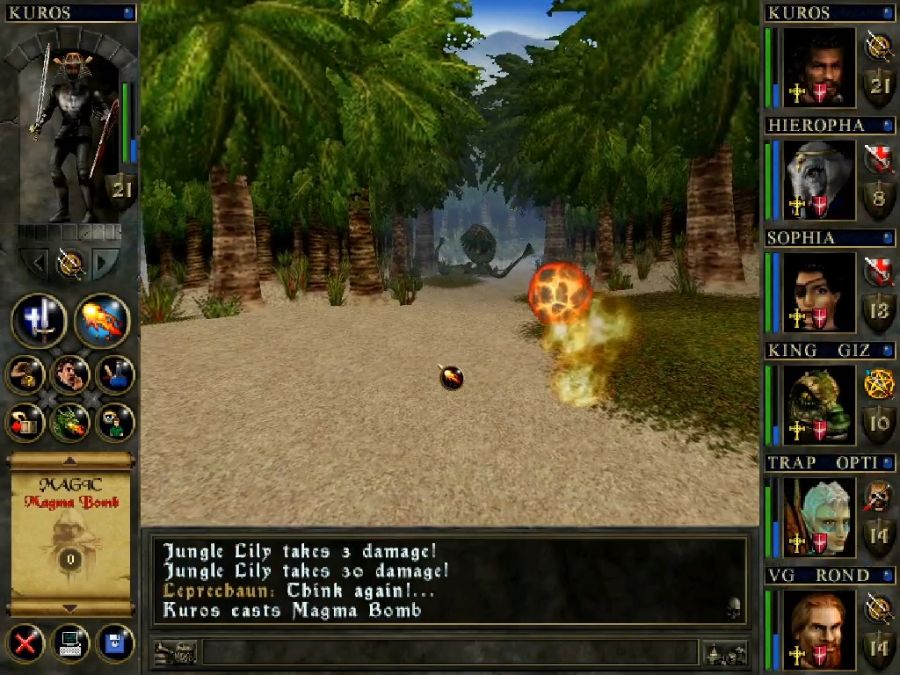
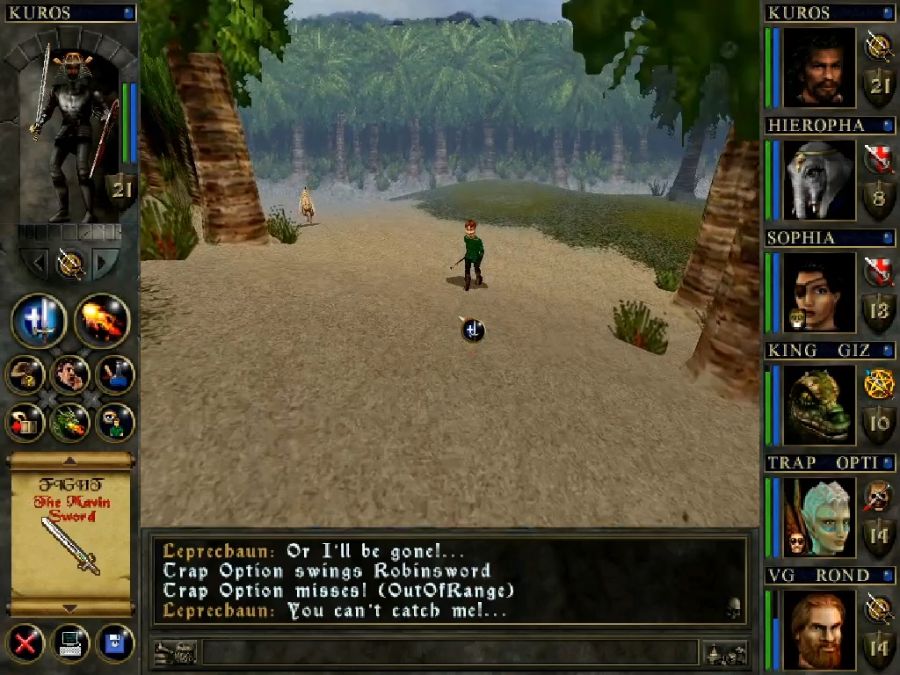
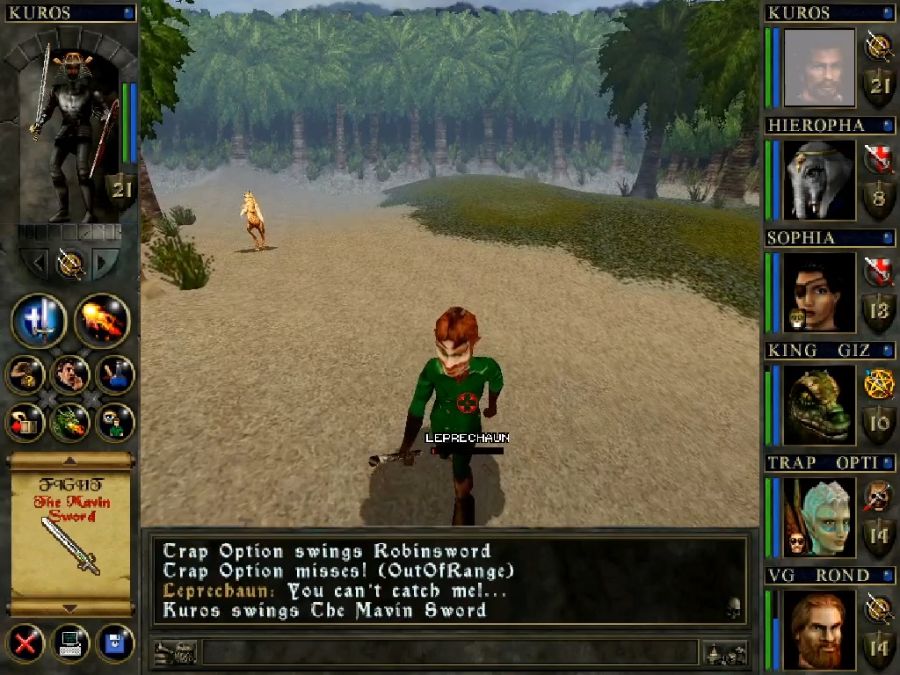
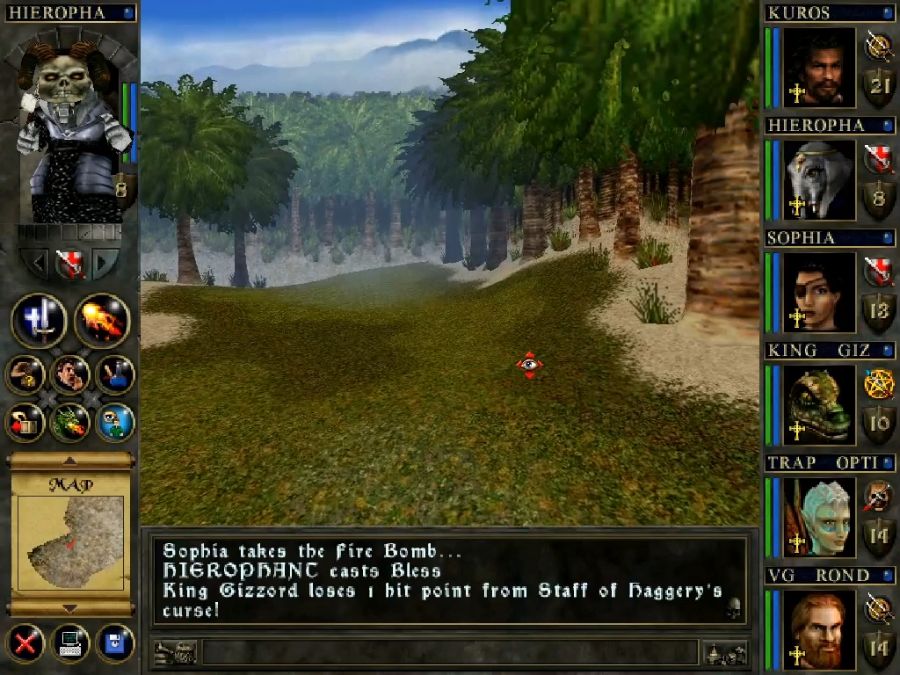
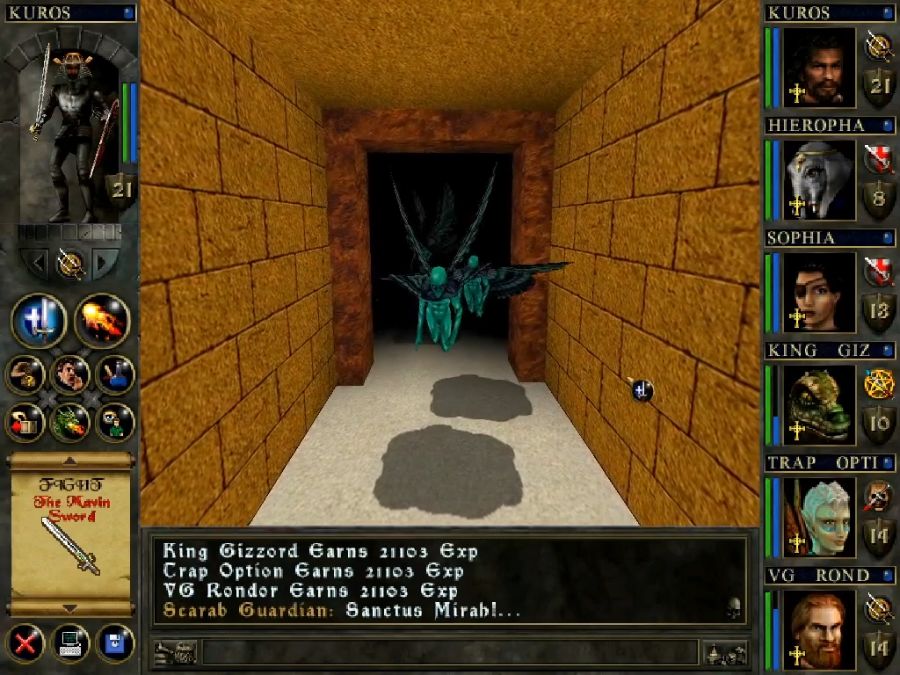
There he is, the little green bastard.
https://www.youtube.com/watch?v=FQhTzTkwW4E
I think I broke his voice script, though, since he starts screaming YE CAN'T CATCH ME over and over whenever I'm in a fight with him. At least, I hope to Christ it's not how it was intended to go.
His gimmick is that he never technically fights back, but he teleports away after taking a few hits, or teleports the party away(unless his script bugs out, which as you saw it kinda did during the video), or blasts you with Dazzle which knocks the party on their ass with random status ailments. I'm not sure exactly what it can cause, but it seems to primarily be Insanity, Blindness and Silence, all of which complicate my ability to dunk on his dumb ass.
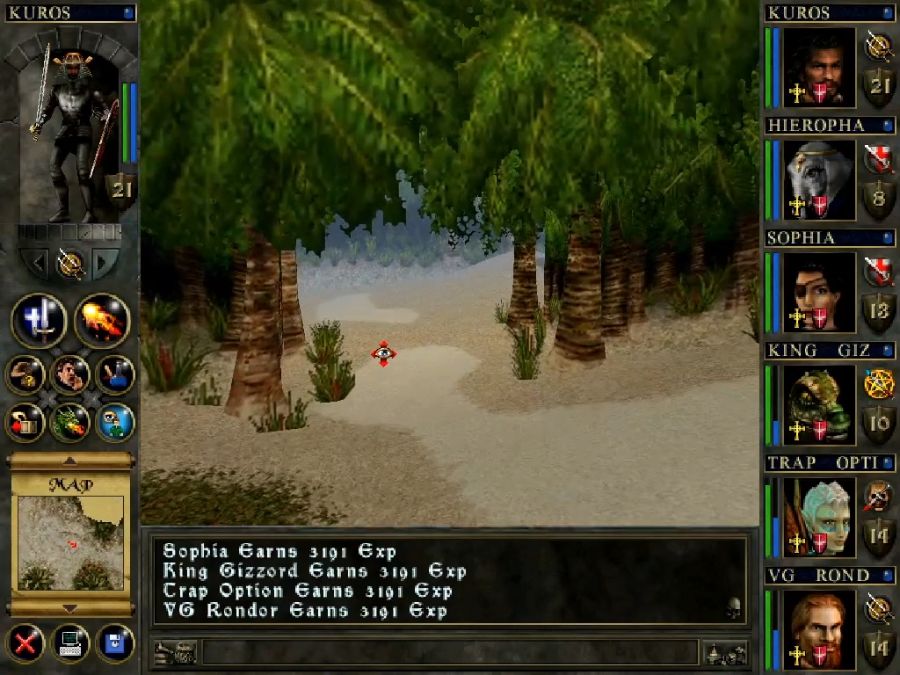
I chase him around for a real-time period of about 20 minutes, getting in a few hits, him teleporting away, me finding him, getting in a few hits, etc. and slooooooowly wearing him down.
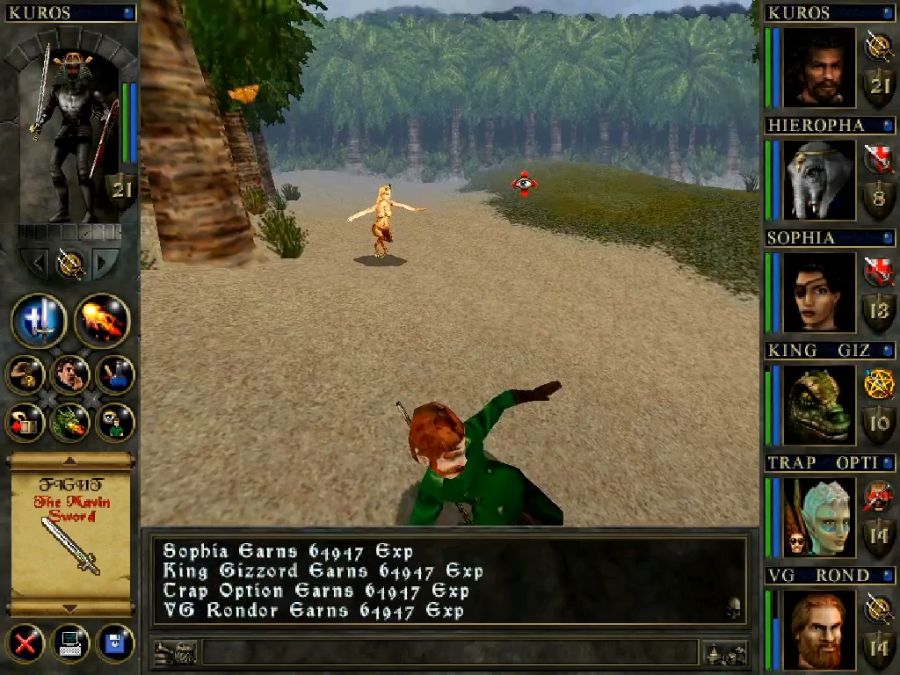
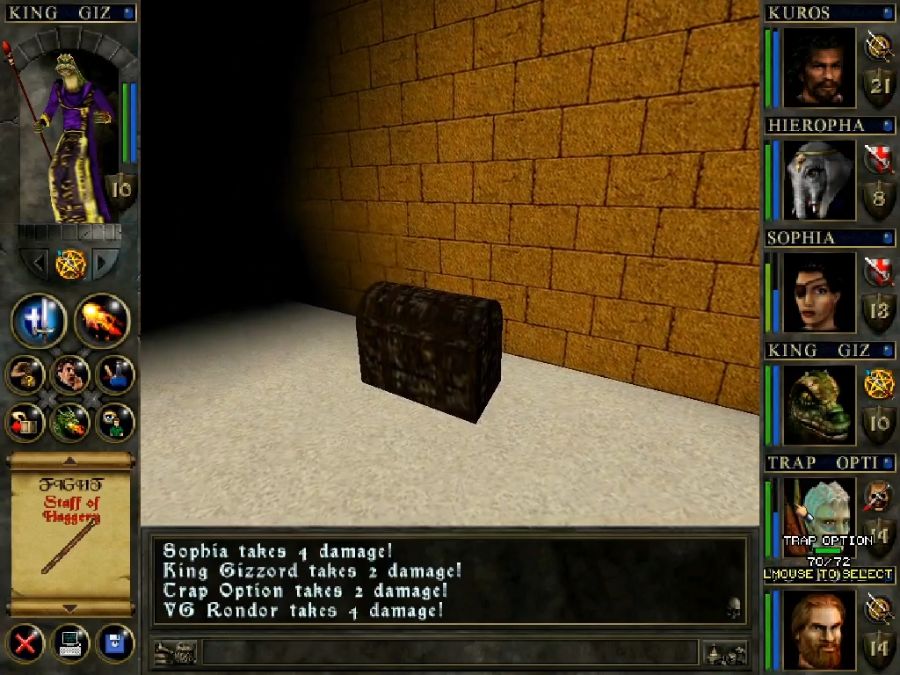
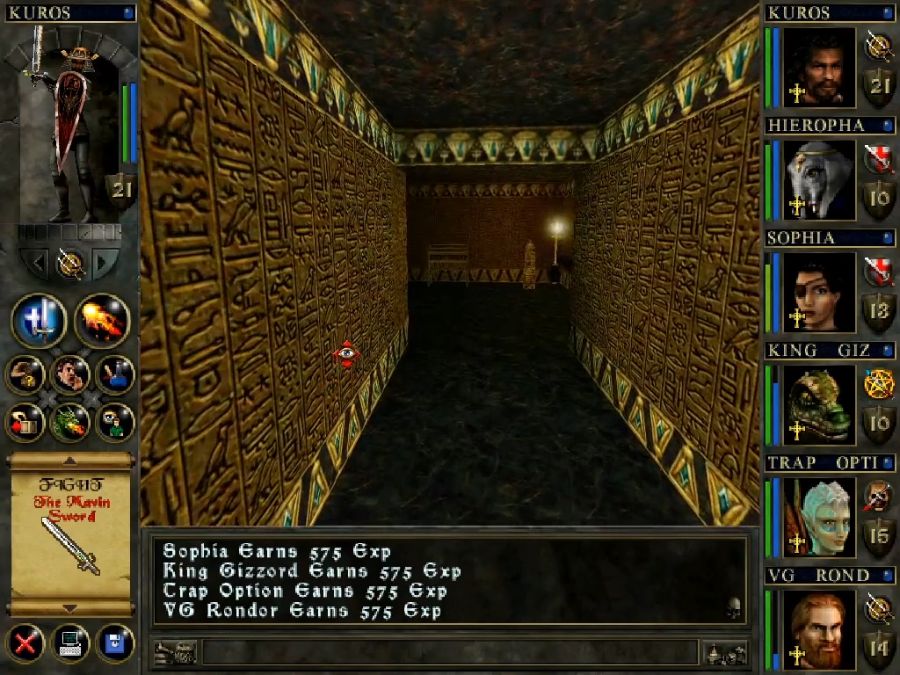
And I finally take him down. He's worth a fat payday of XP, too, even at this stage of the game that's like a quarter of a level-up. The walkthrough I've been using claims that he drops a great staff, but frankly both the Staff of Haggery from S'keser'da and the Staff of Power from G'Ezerred Ra are better weapons in the Staff/Polearms category.
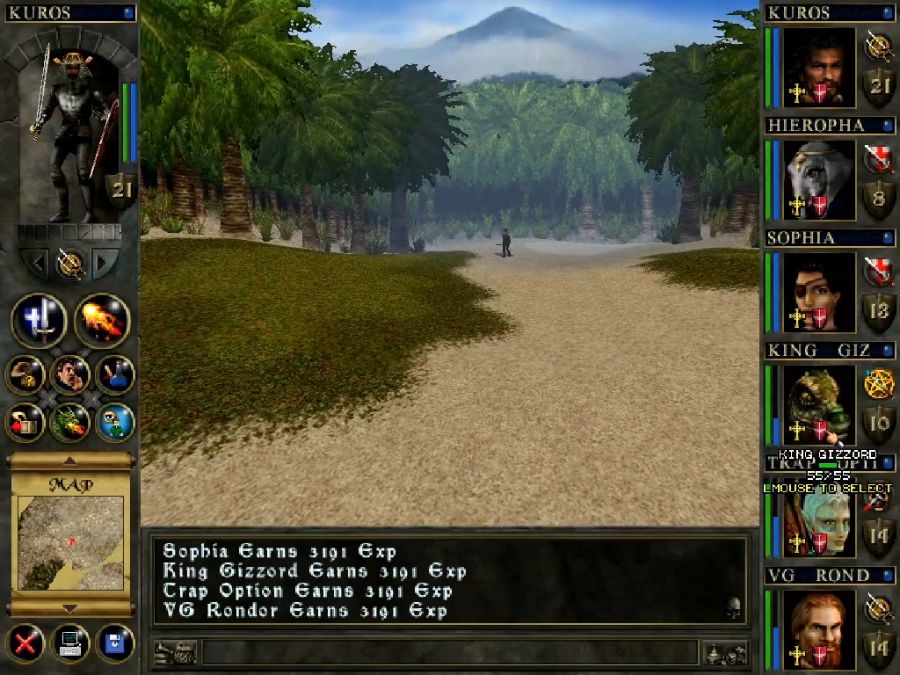
Now with that settled, I can go back on track towards the Shrine of Anephas.
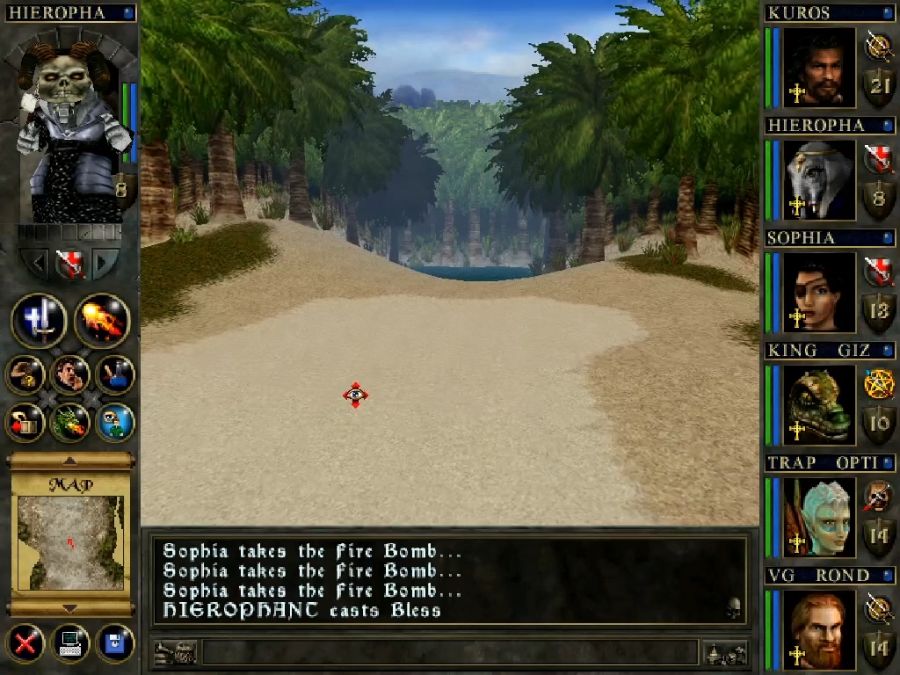
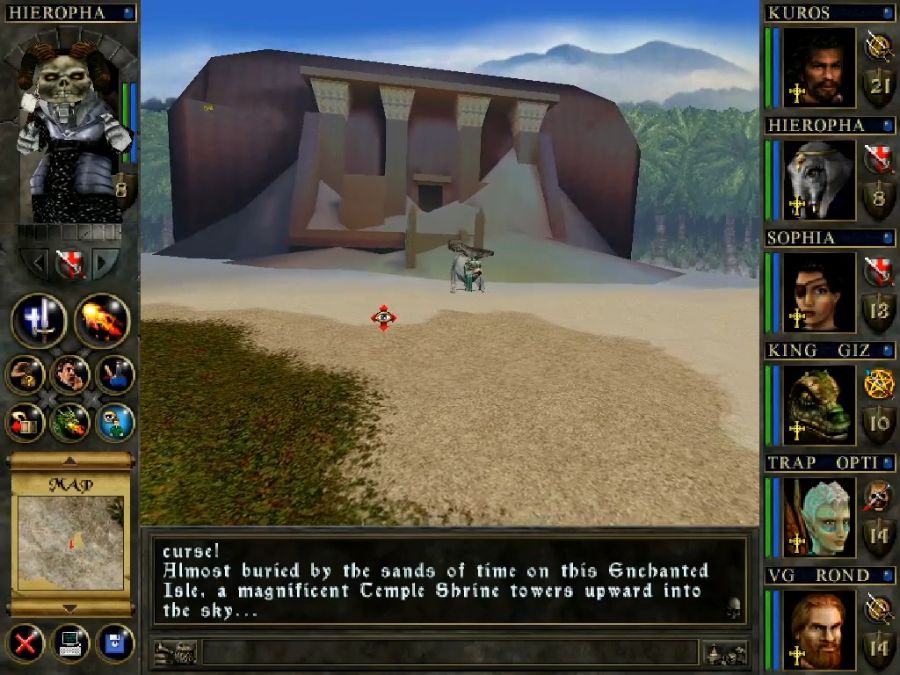
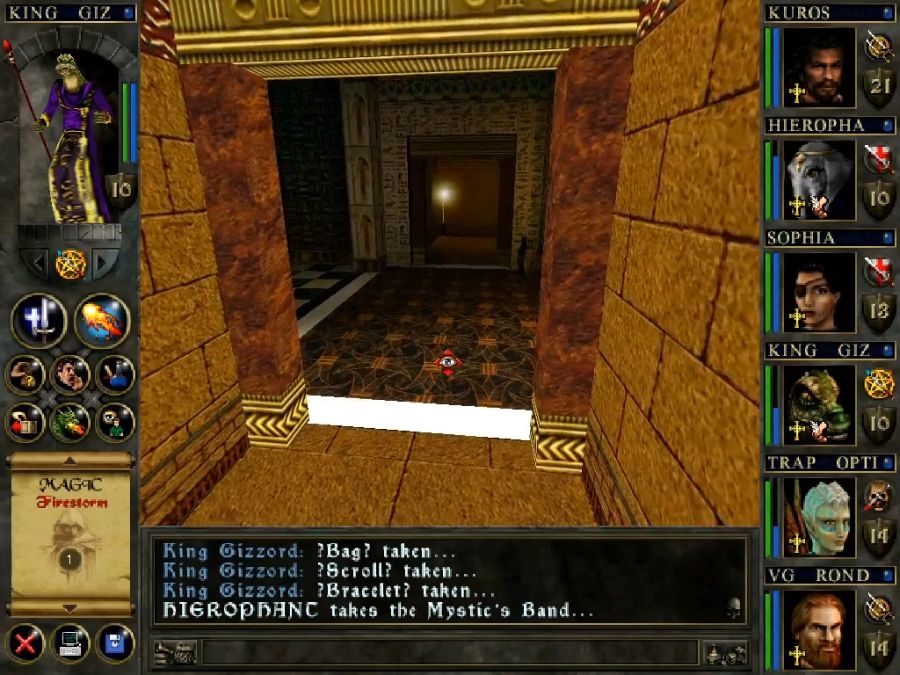
It's described as lying "across a narrow strait of water" which instead turns out to be a short corridor among the trees that has some water in it. Like a ten-second swim. I don't think the writer knows what a "strait" is in terms of geography, either that or they wrote and recorded the dialogue before finalizing the world map.
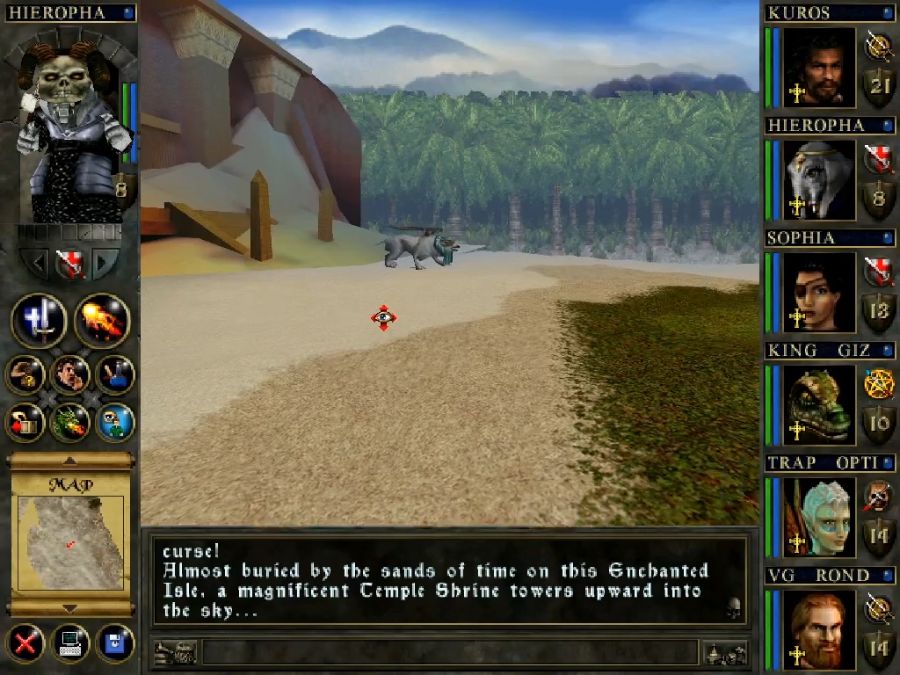
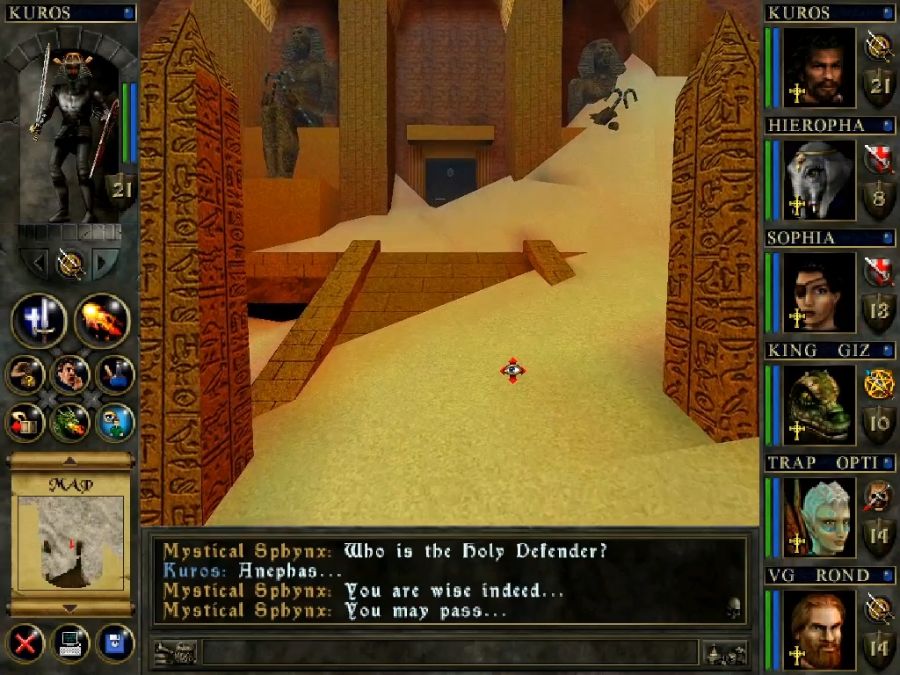
Another word that DW Bradley doesn't know the meaning of is "sphinx." That's a fucking griffon with a hat, you hack.
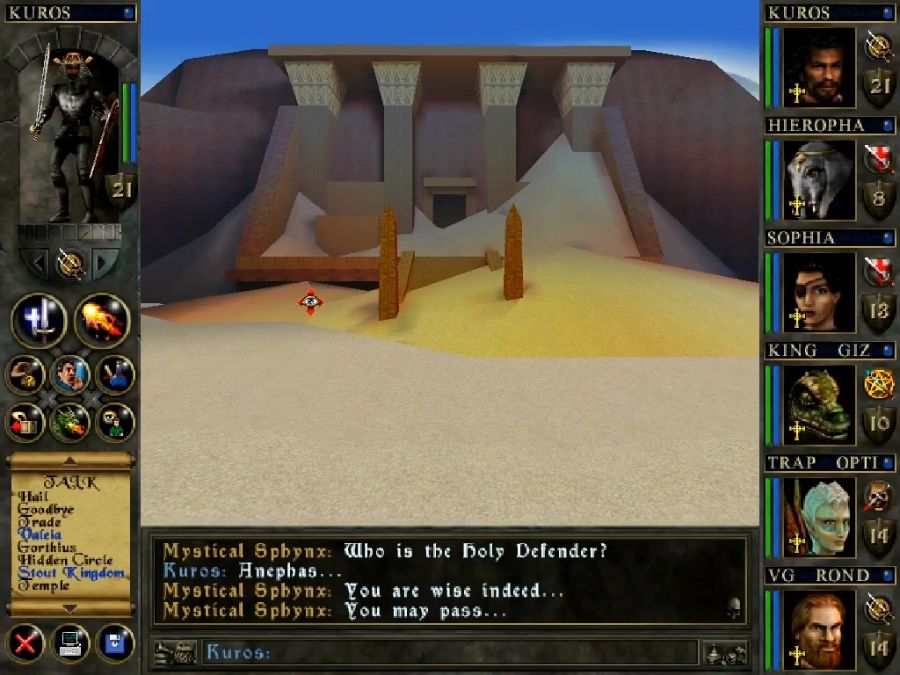
https://www.youtube.com/watch?v=97fYiGL57cw
I suppose I should give them props for not using the classic "man" riddle, but fuck yooooooooooooooooou for making me remember who was the Holy Protector and who was the Holy Defender, they're fucking synonyms you dickheads! Goddamn!
Anyway, riddles dissolve catbirds and we can proceed towards the shrine.

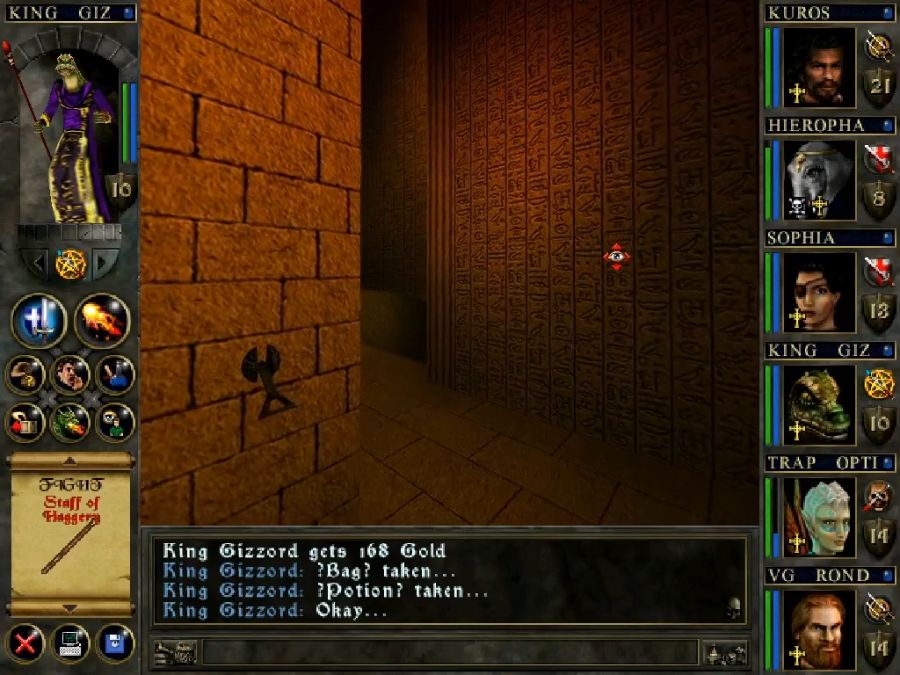
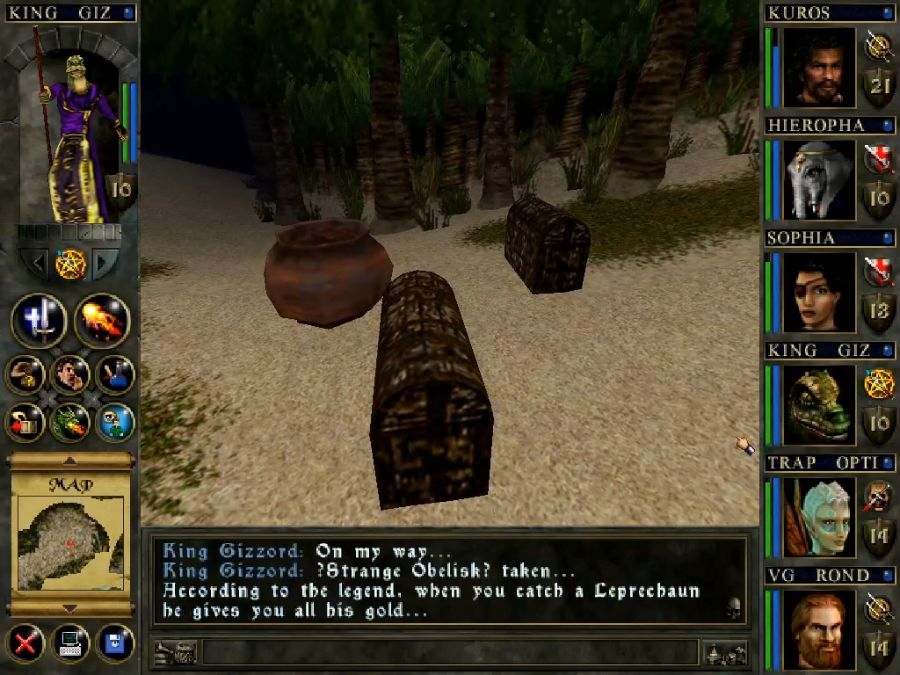
Now, we're just meant to whack the lock with the Staff of Power and we can go in, but before we do that, lemme draw your attention to something.
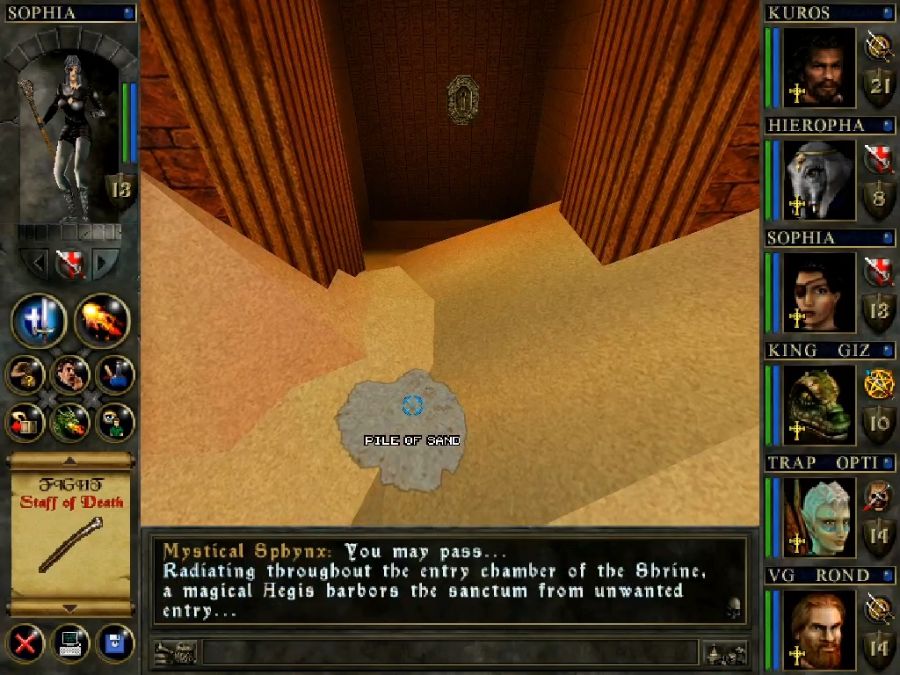

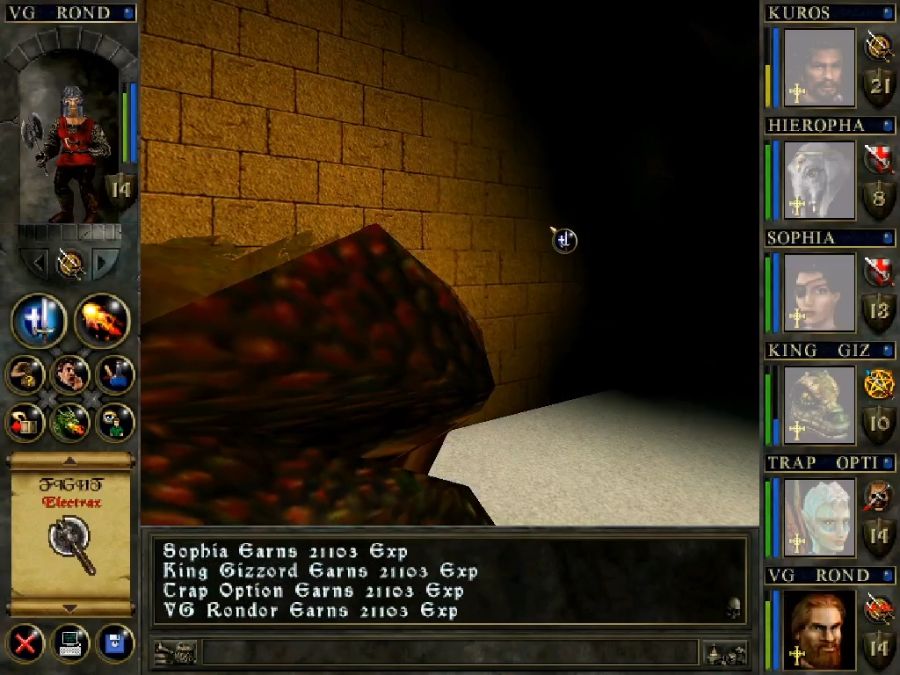
On top of this huge pile of sand-coloured level geometry, which we can probably assume is meant to be sand, someone added a little 2D object and called it a "pile of sand." I just don't understand. Is it so they're sure we realize we're in the desert? Is there some hidden easter egg interaction with it that no one's ever found? Was someone trying to be funny?
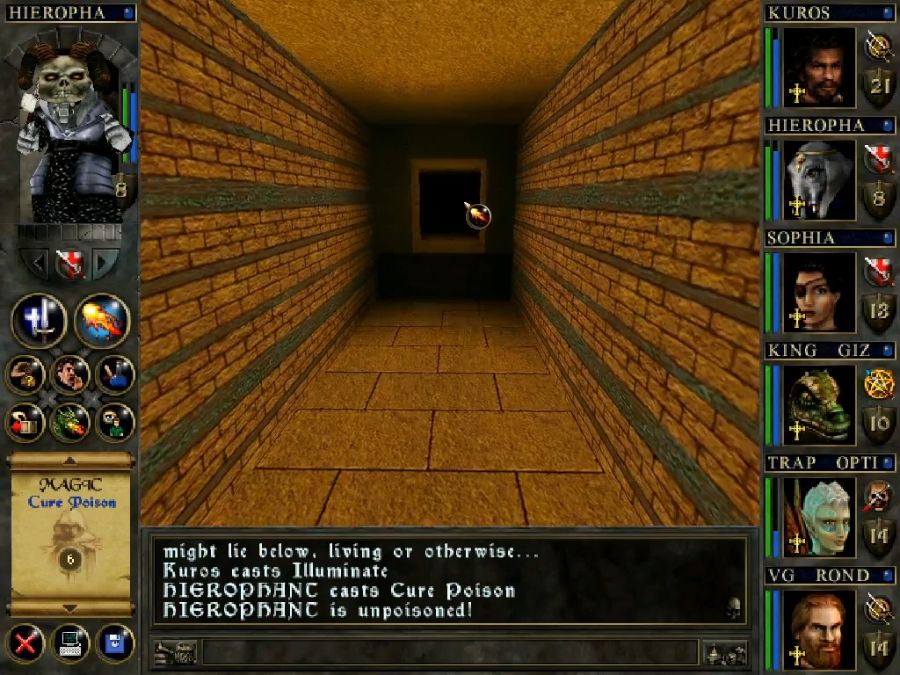
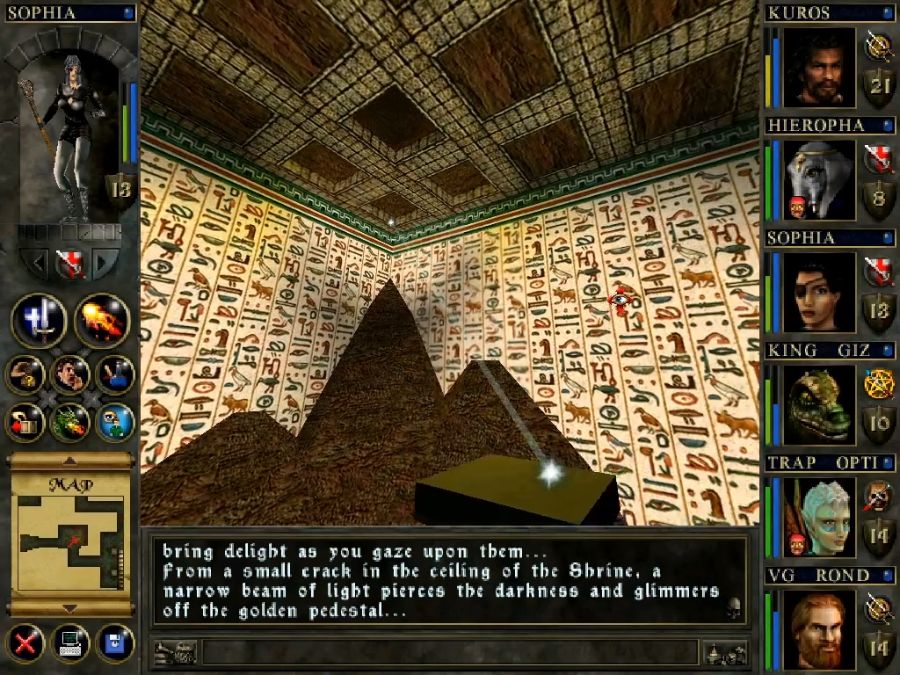
I scratch my head and continue on, with the narrator describing how the ward(the floating lock) shatters brilliantly and it's amazing and oooh and aaah and in-game it just pops out of existence.
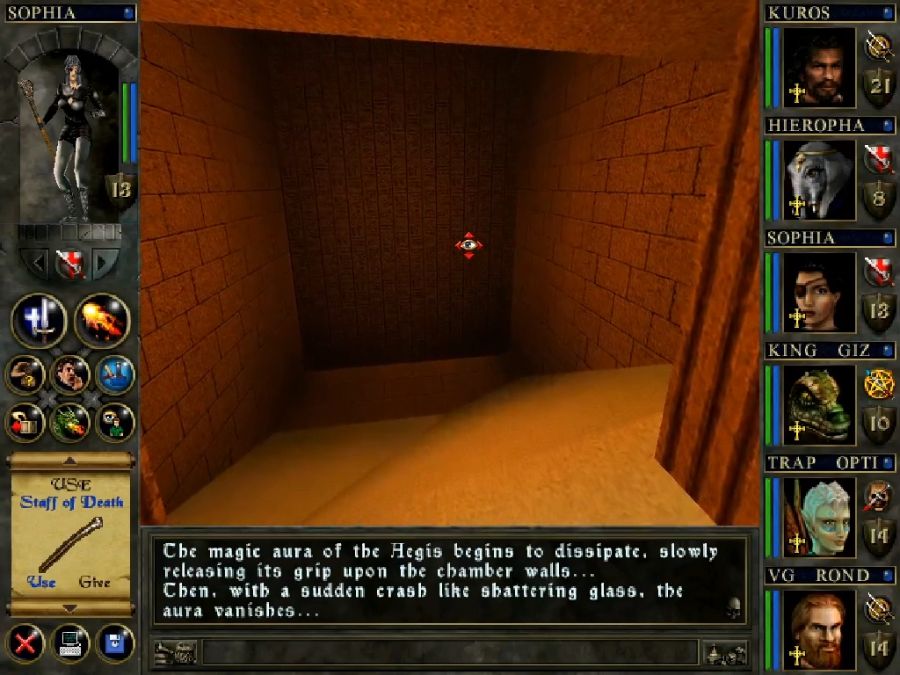
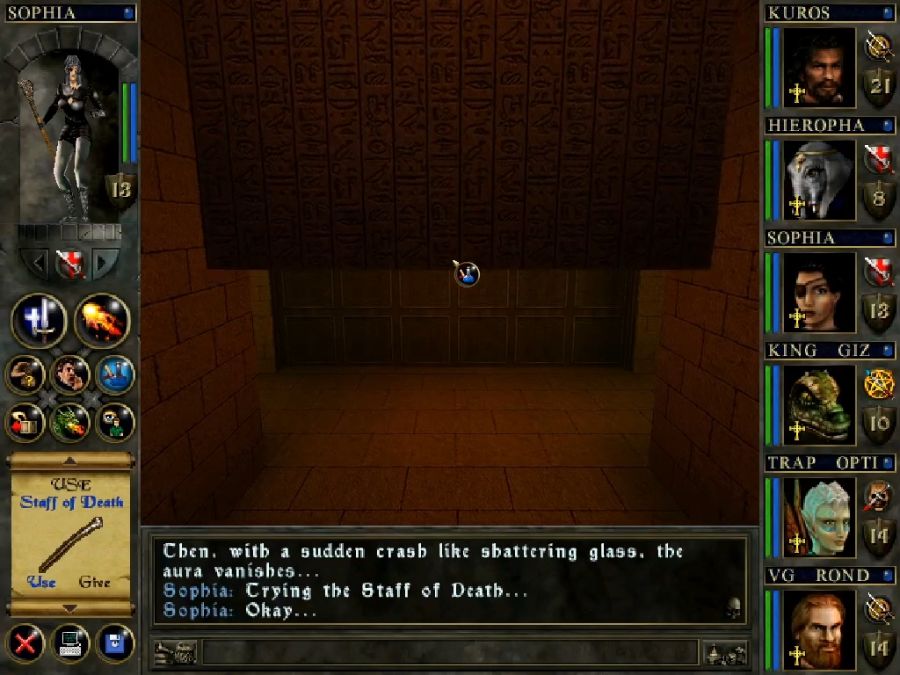

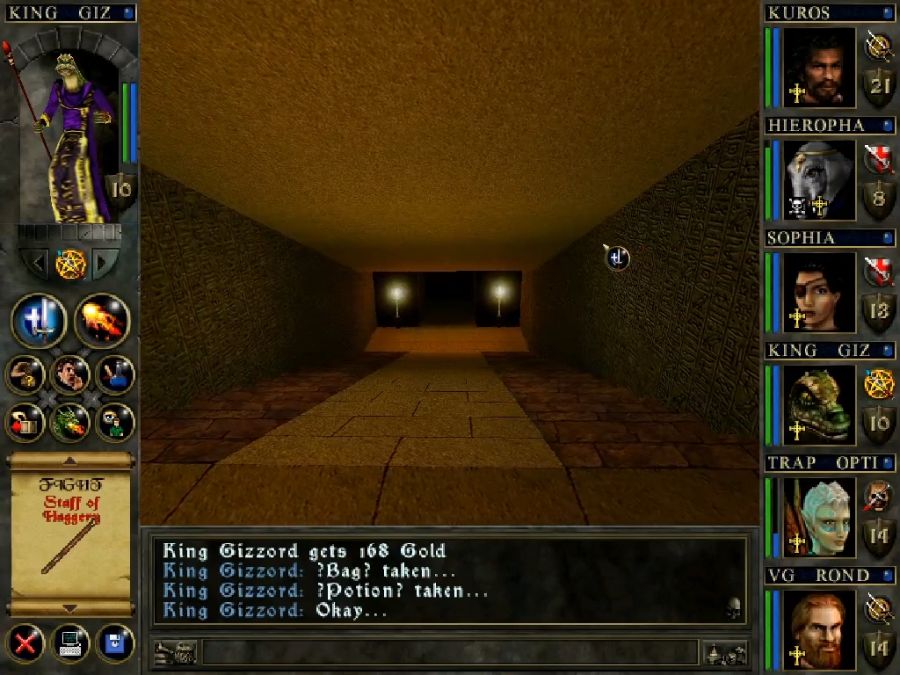
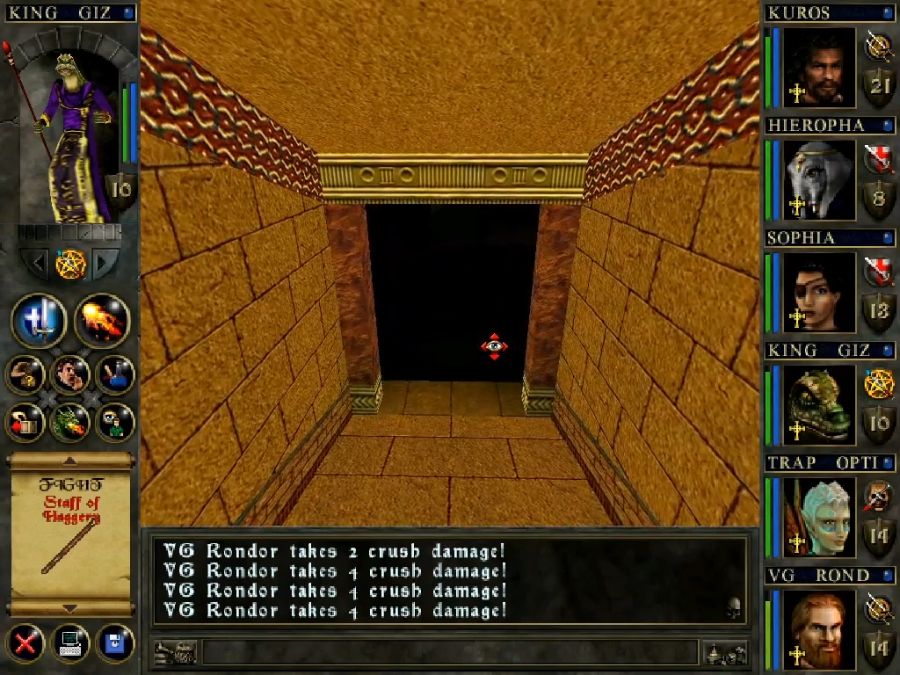
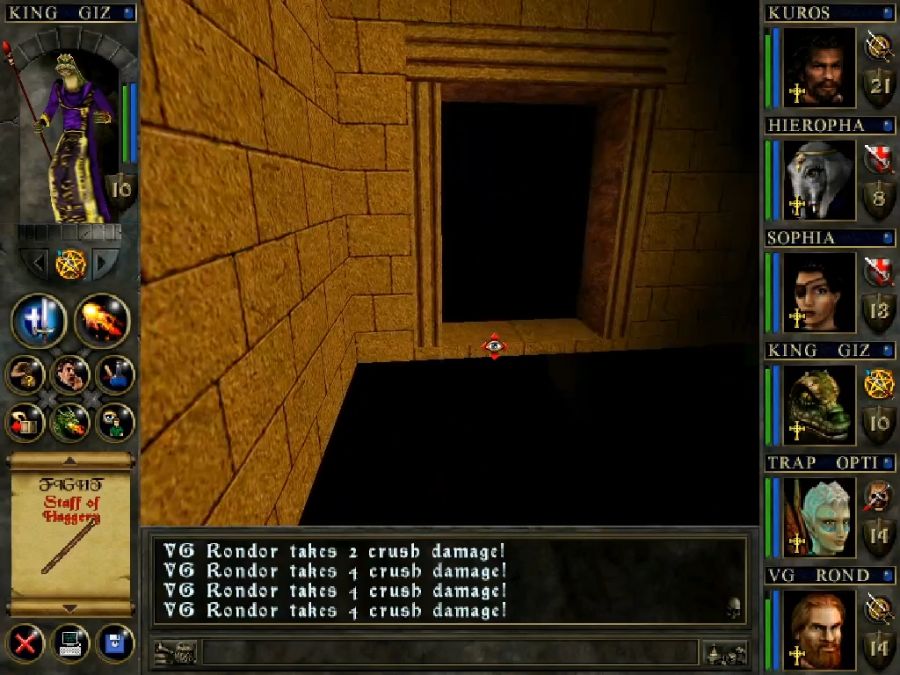
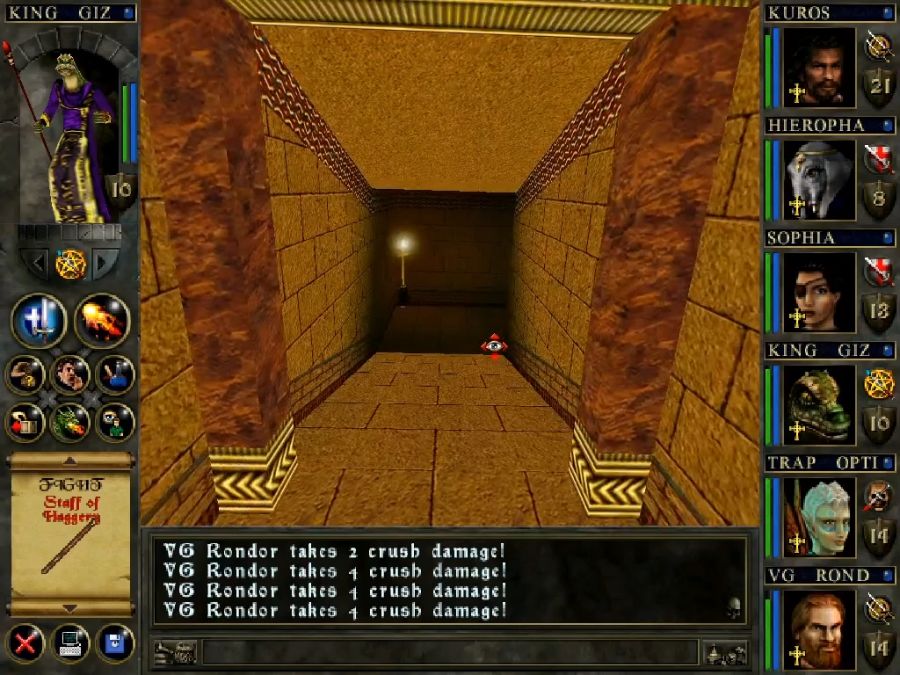
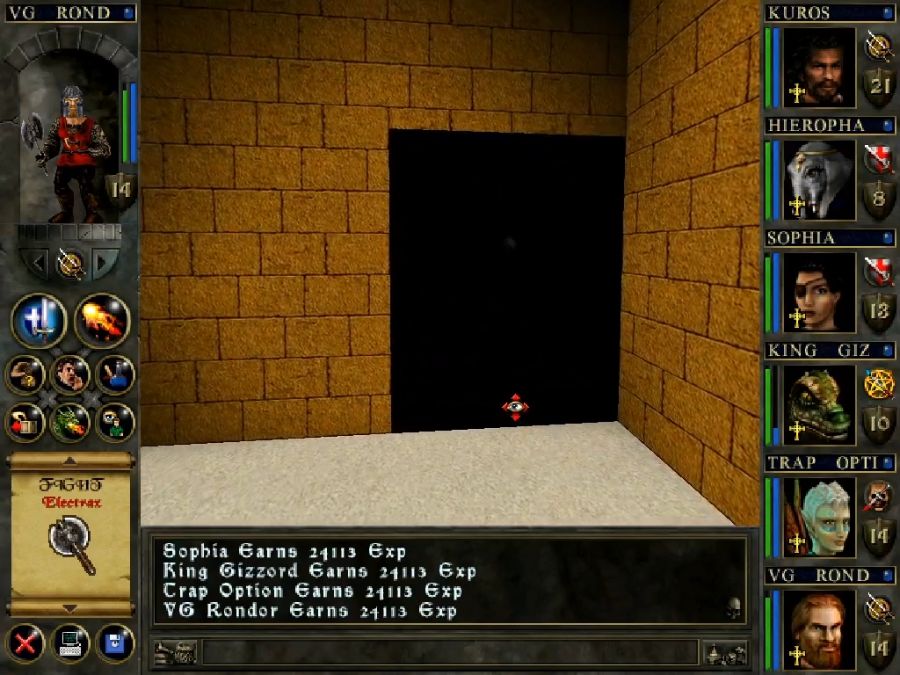
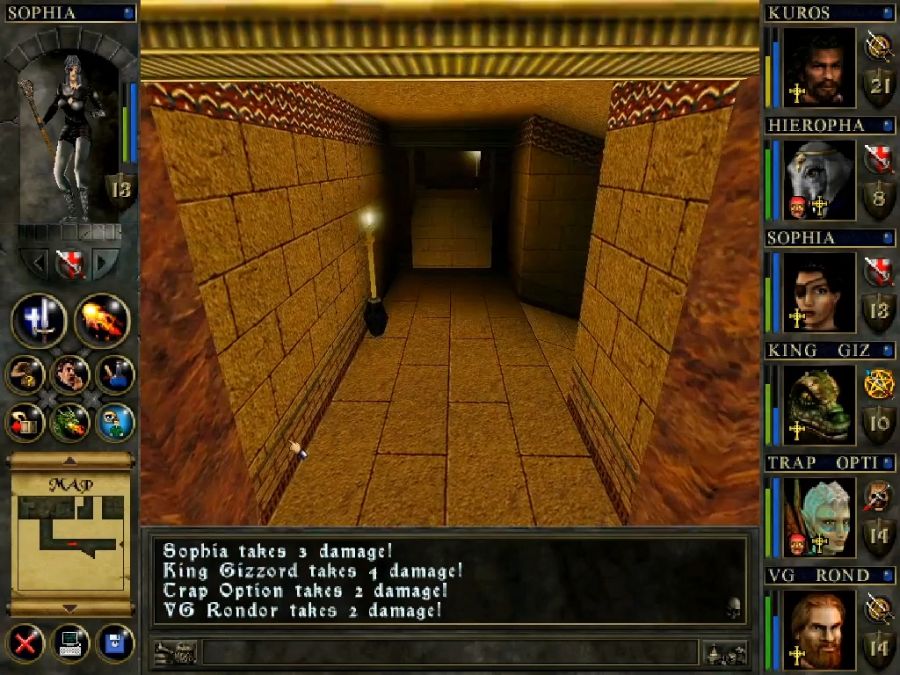
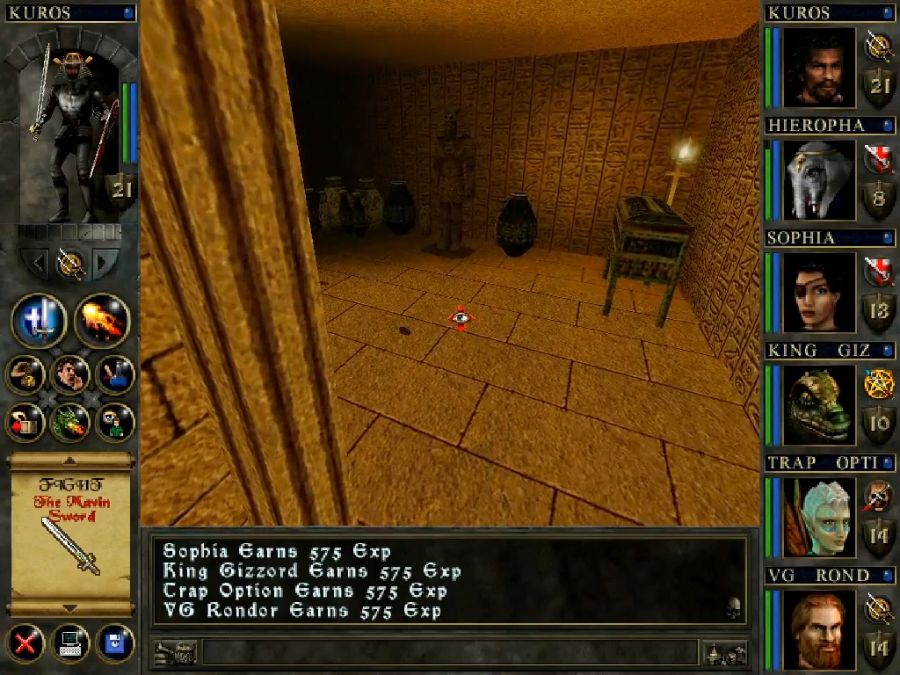
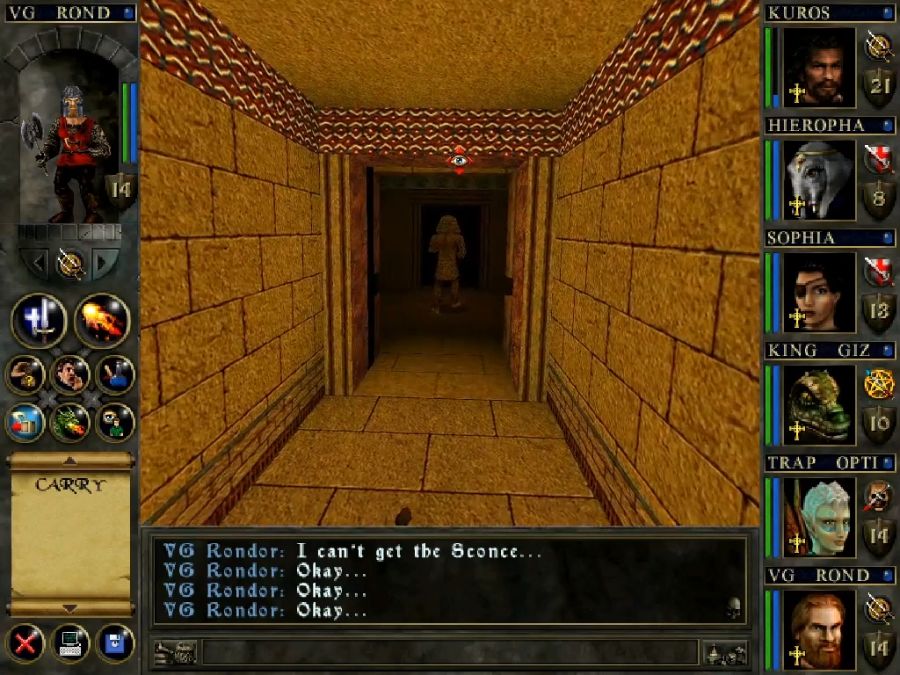
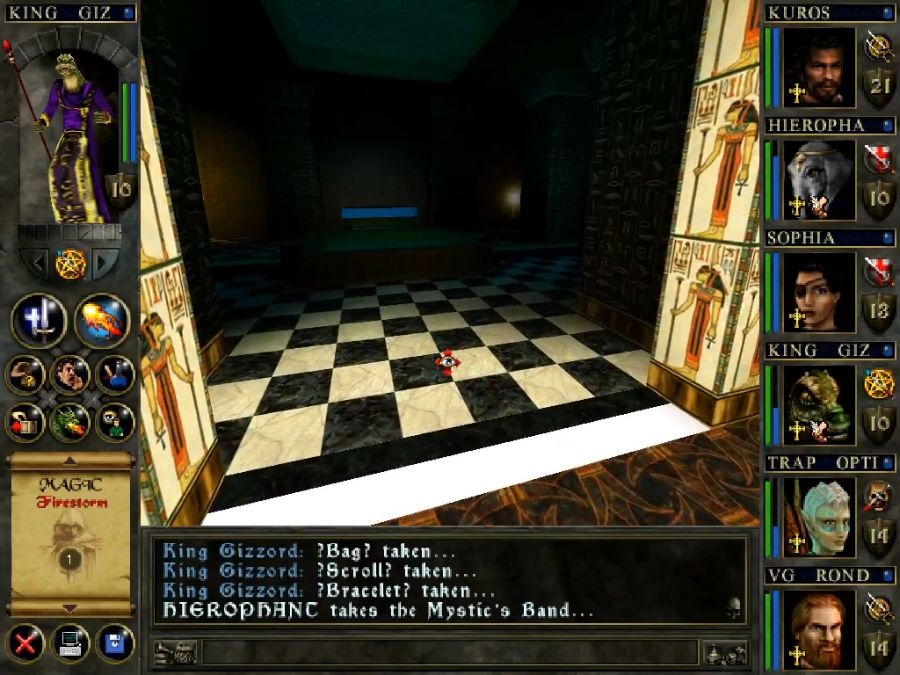
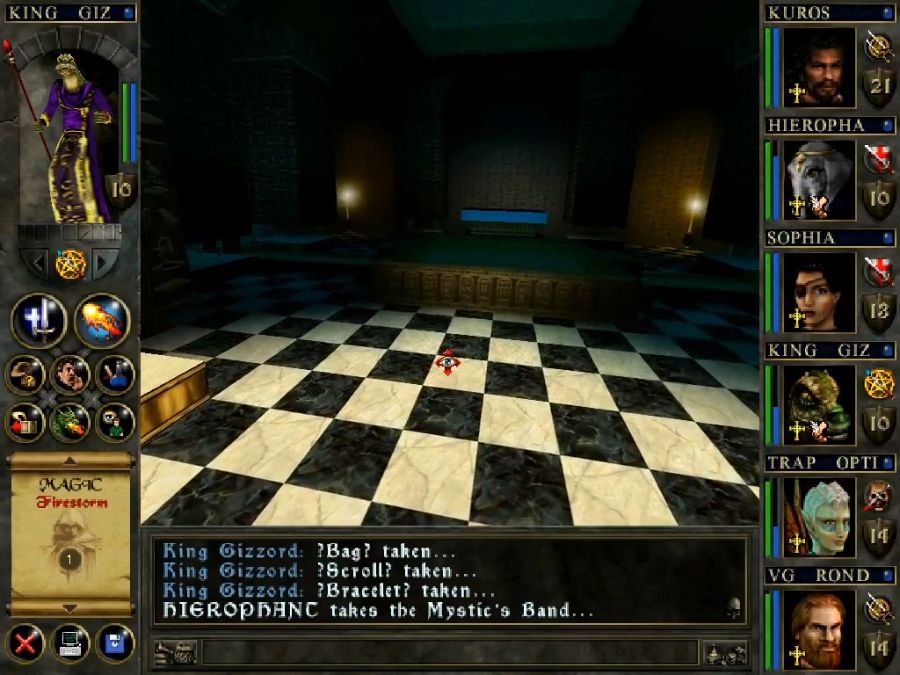
A nice, ominous entrance. That's a good sign.
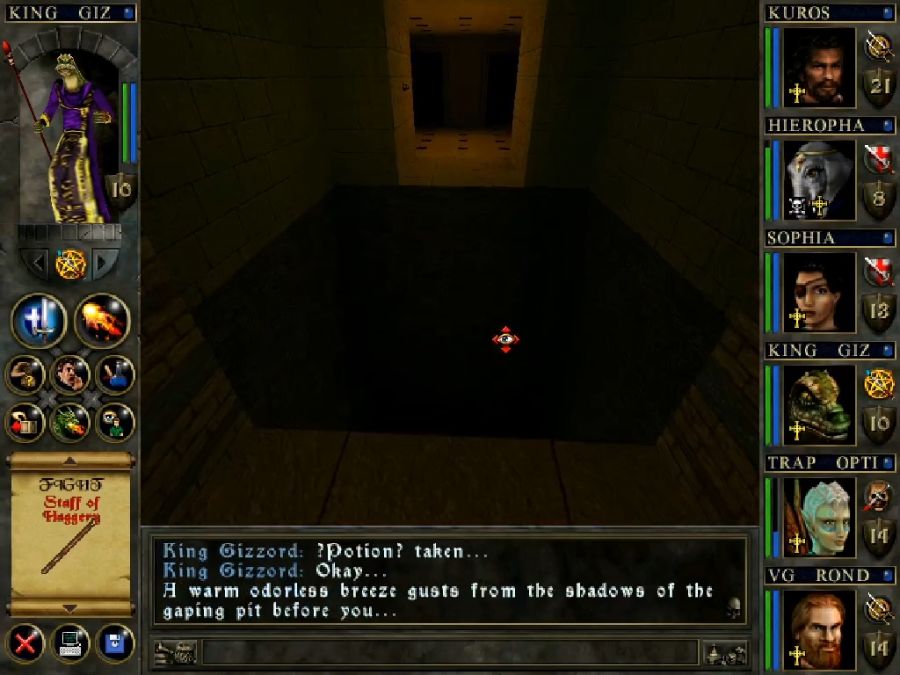
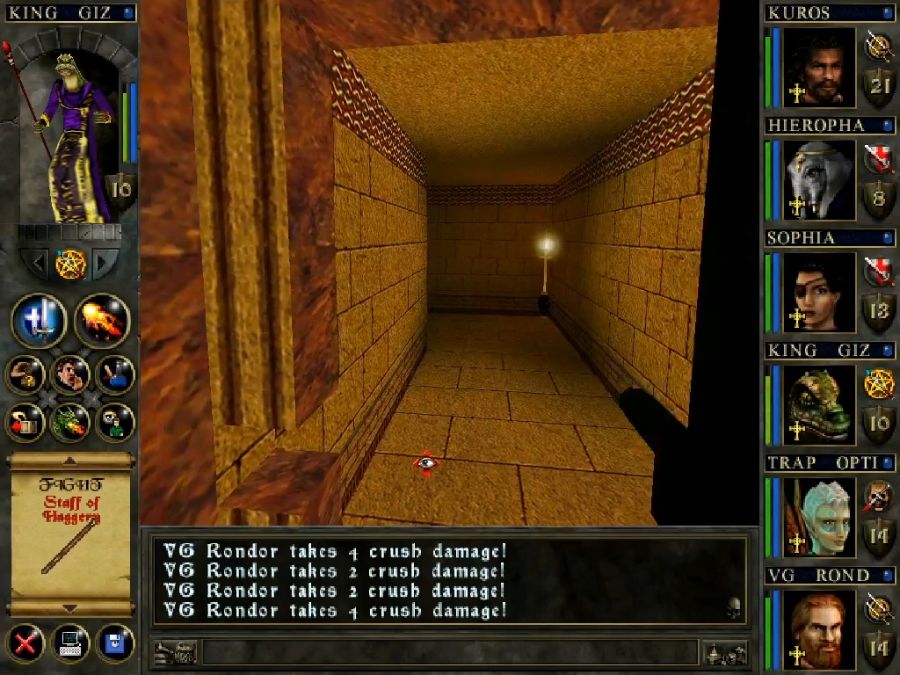
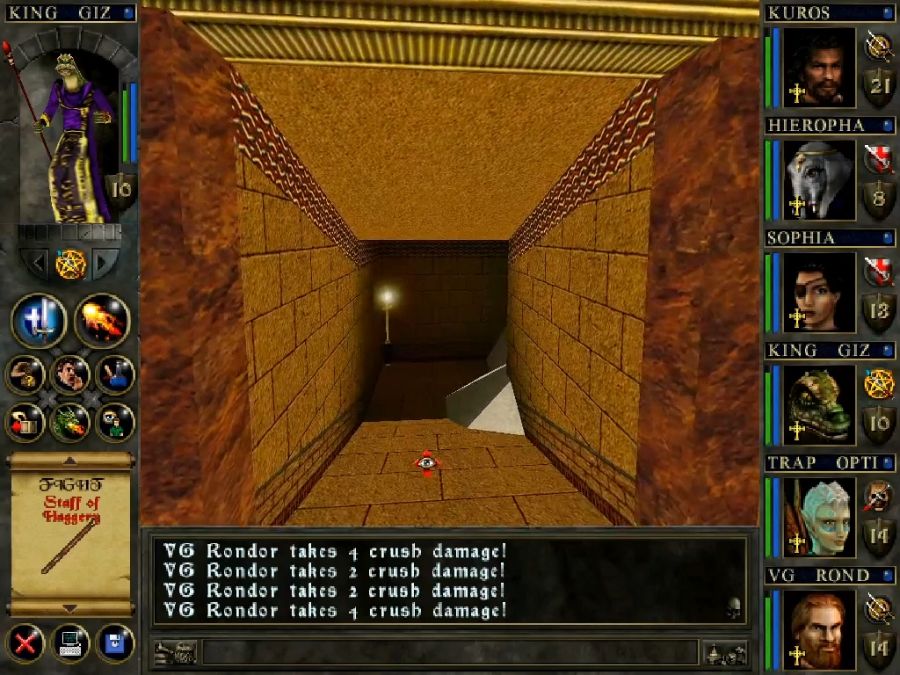
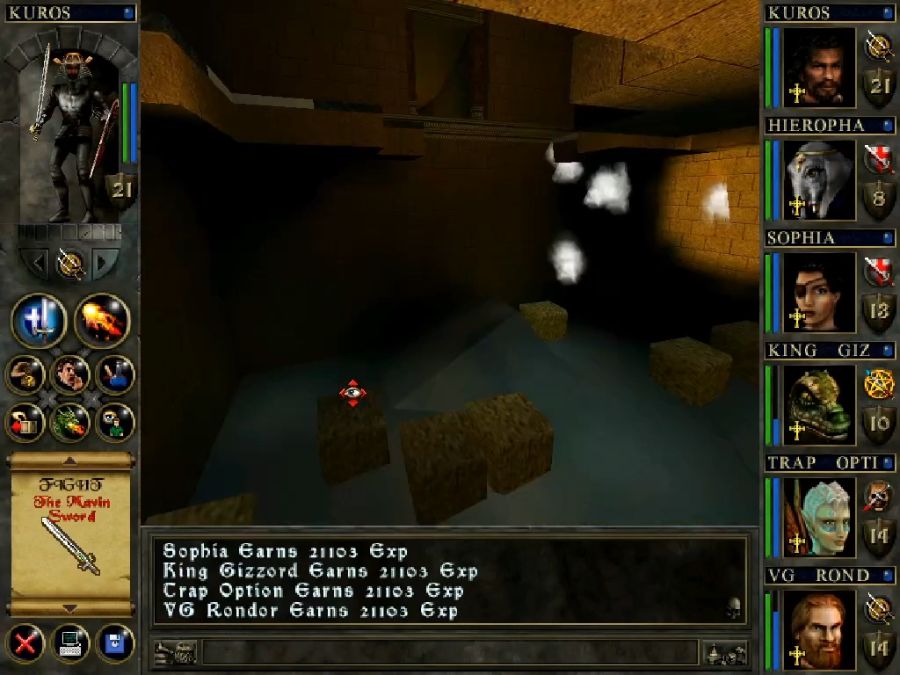
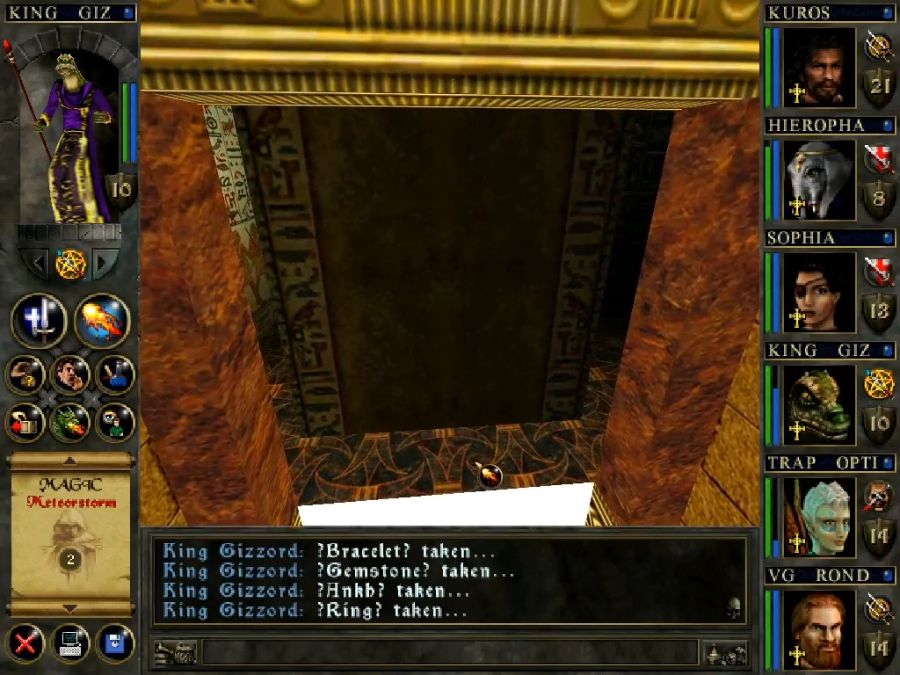
Now, note this goddamn pit. As far as I'm aware, barring some unintended physics jankery, it is impossible to cross this pit in either direction. This doesn't prevent you from crossing deeper into the game, but it means that if you lack a caster capable of Moon magic and casting Call of Home, or get said caster thoroughly incapacitated(there are a few ways it can be... complicated to recover from), you will have no way of returning to town, which means that you could potentially softlock yourself from this point onwards in a variety of fun ways.
I don't know this at this point in the game, though, so I back off for a good run-up.

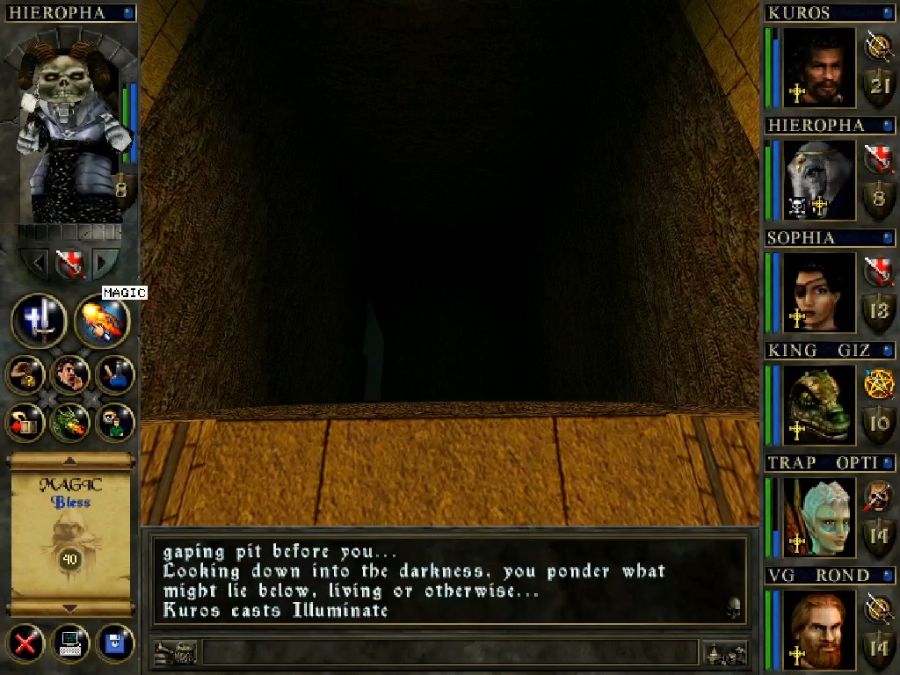
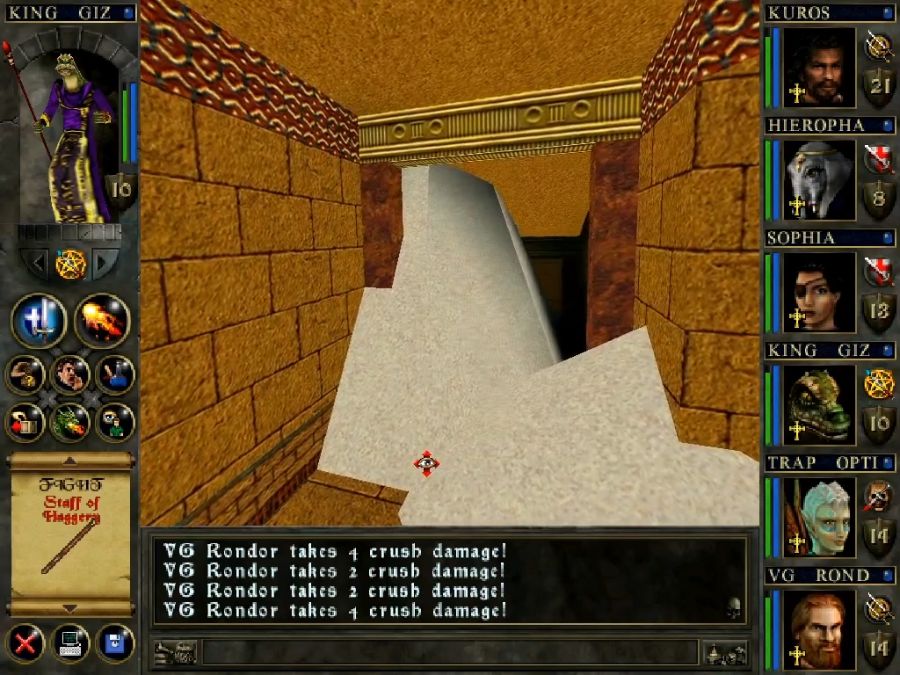
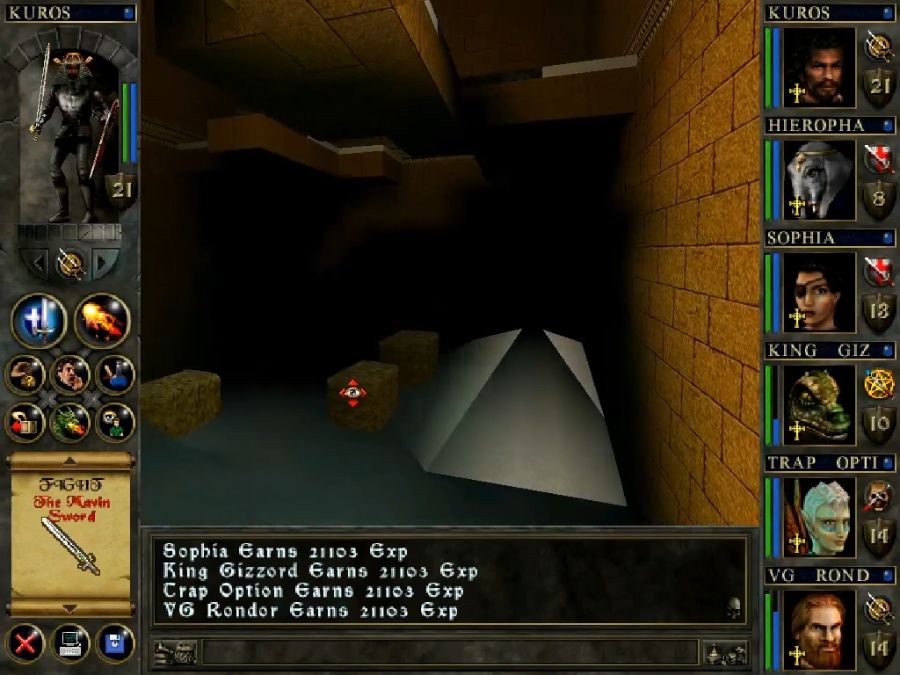
For a moment I hang suspended in the air.

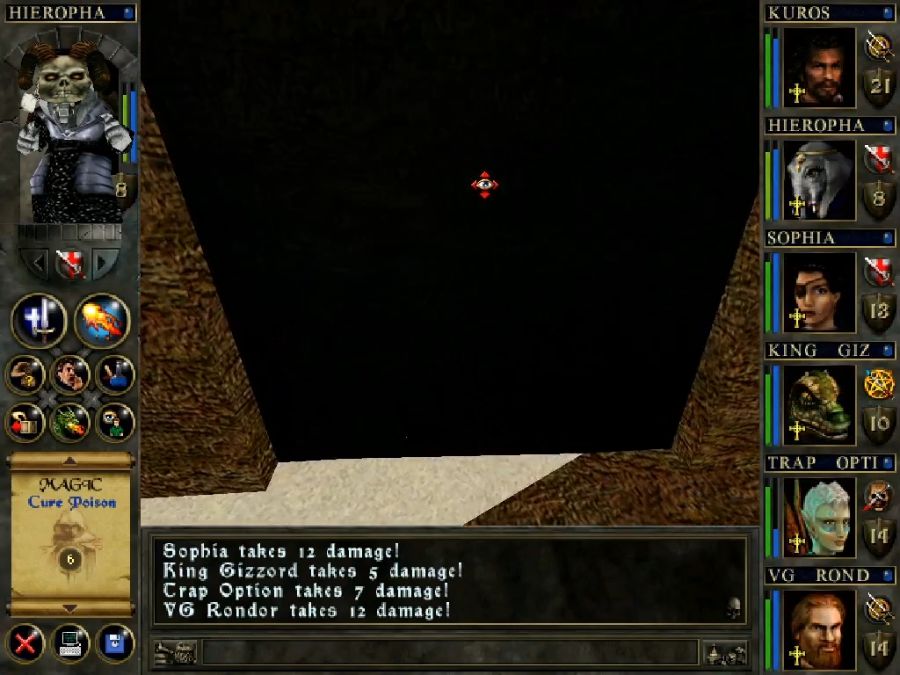
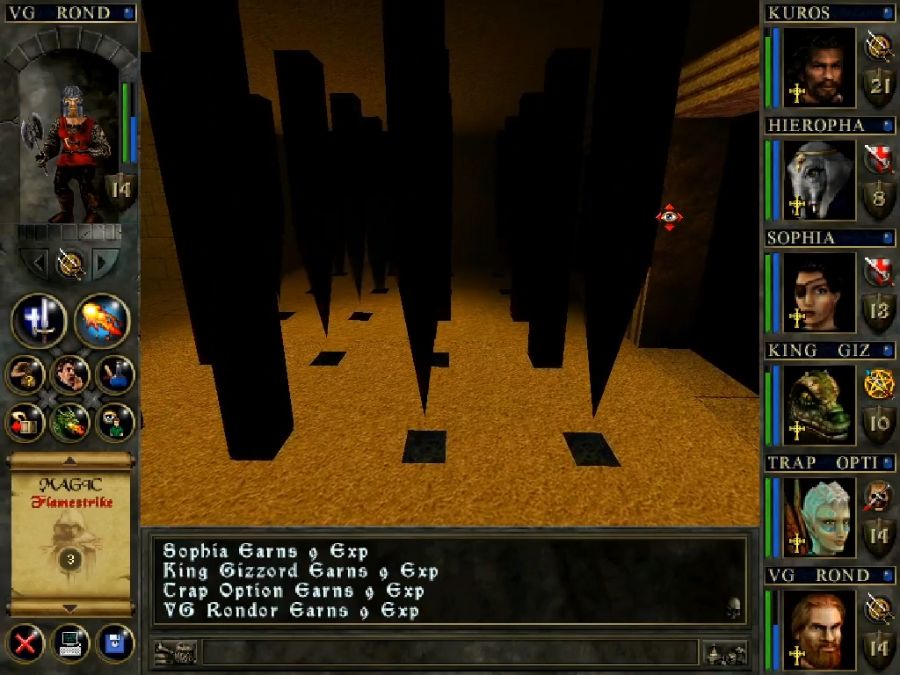
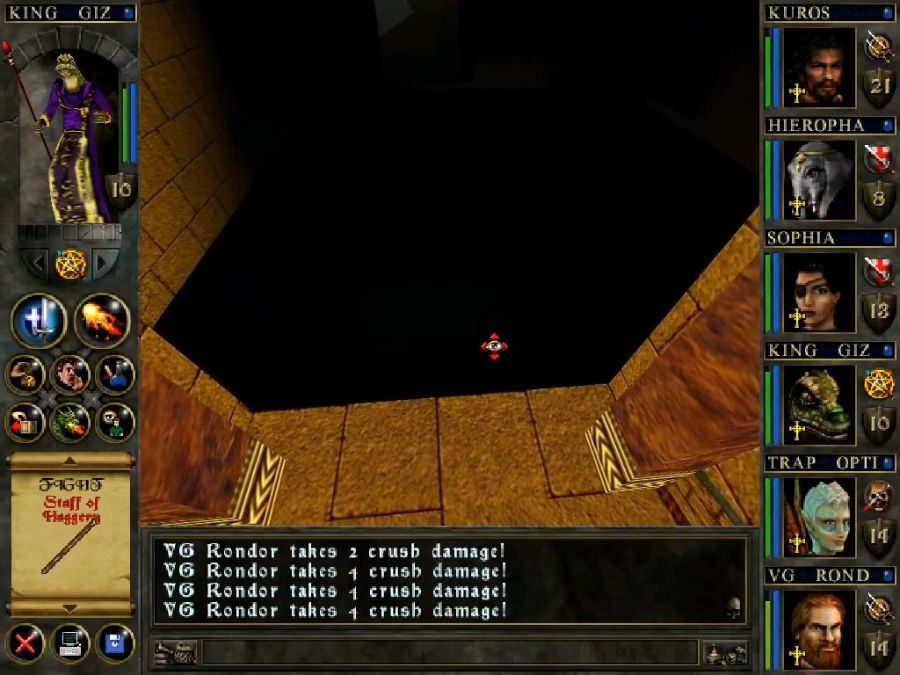
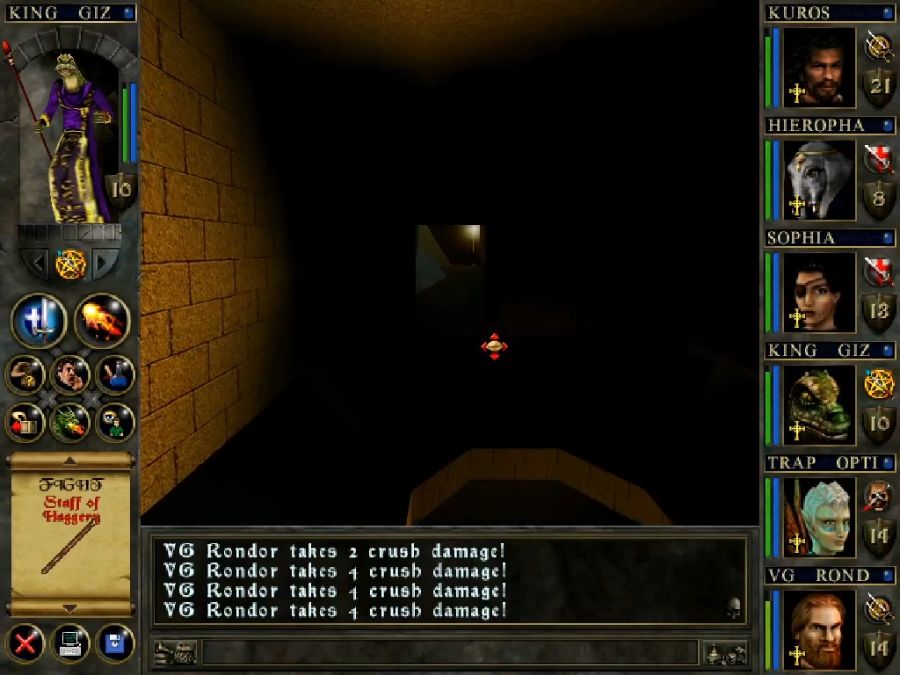
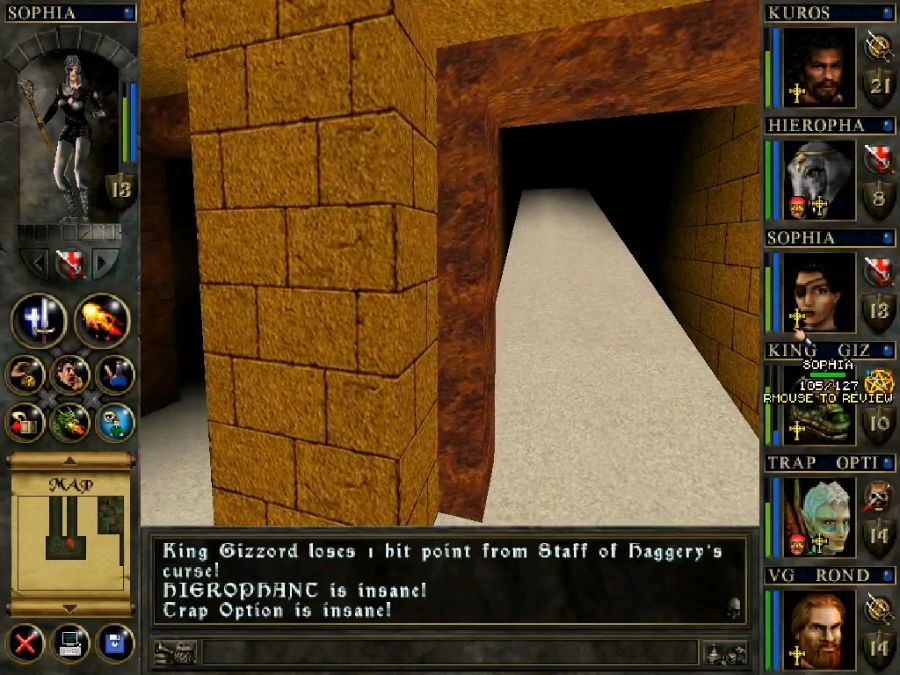
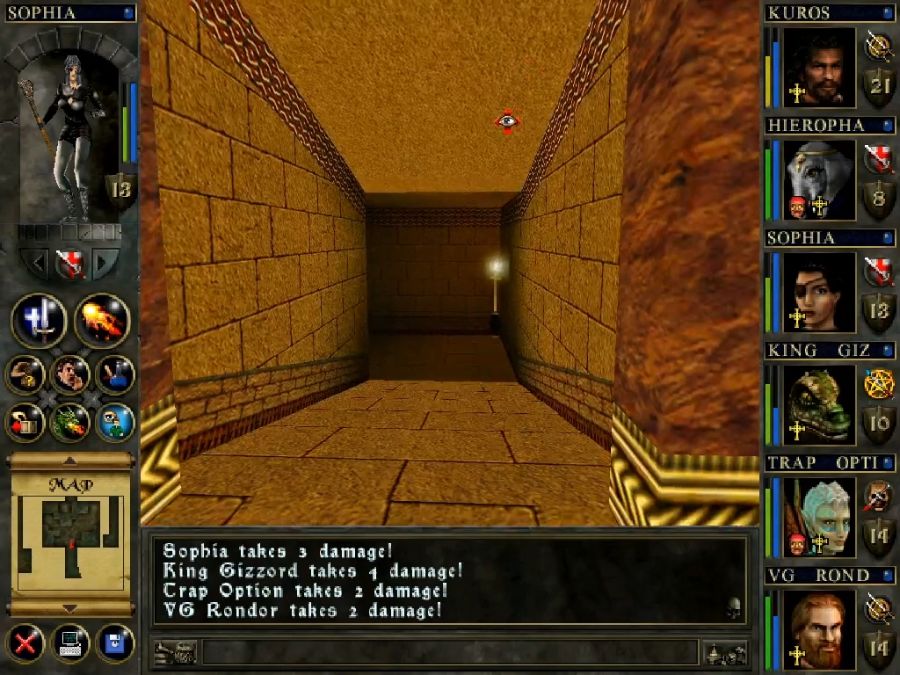
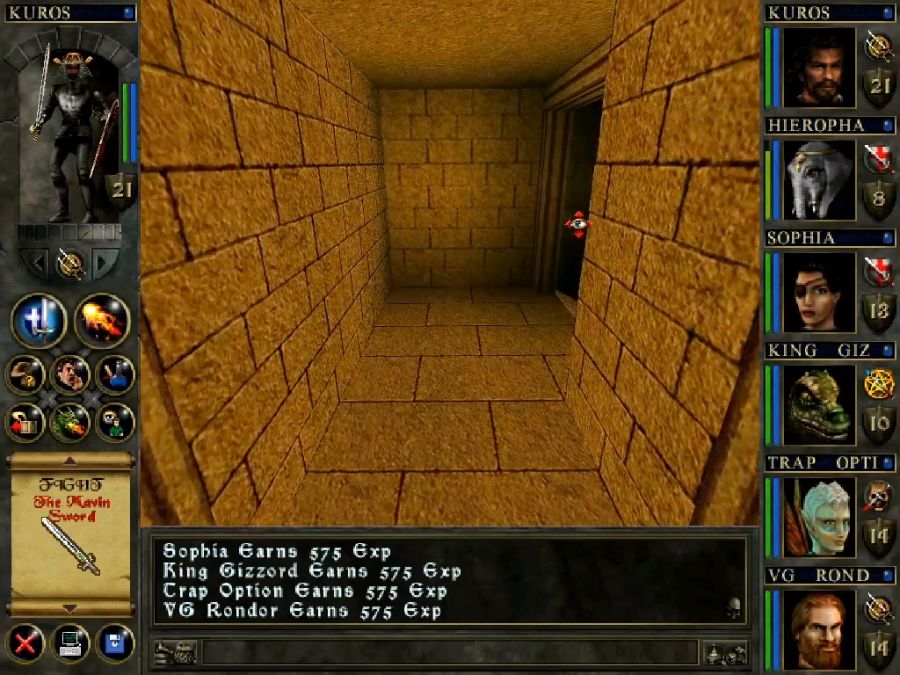
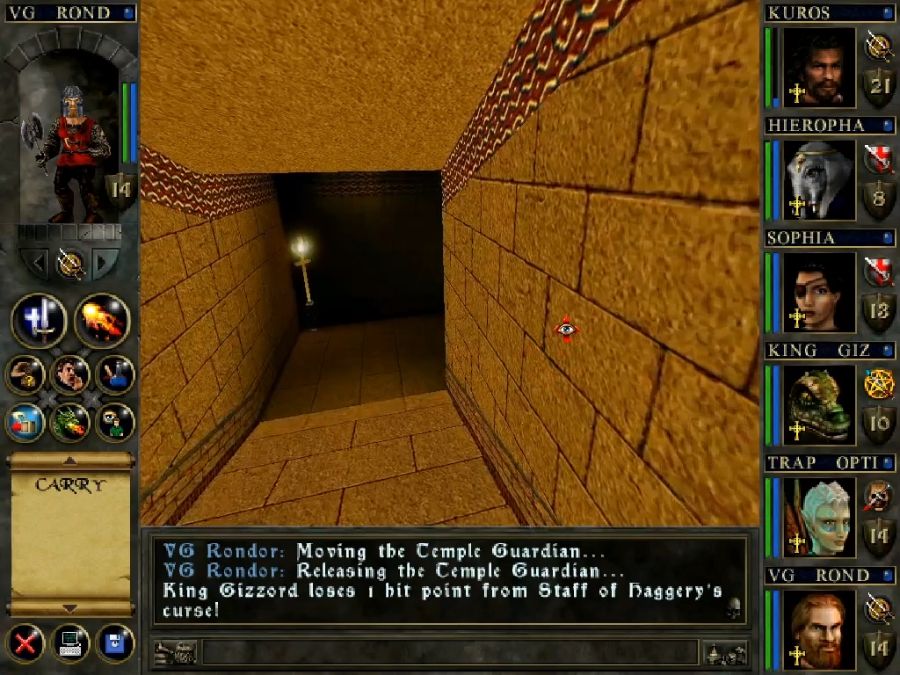
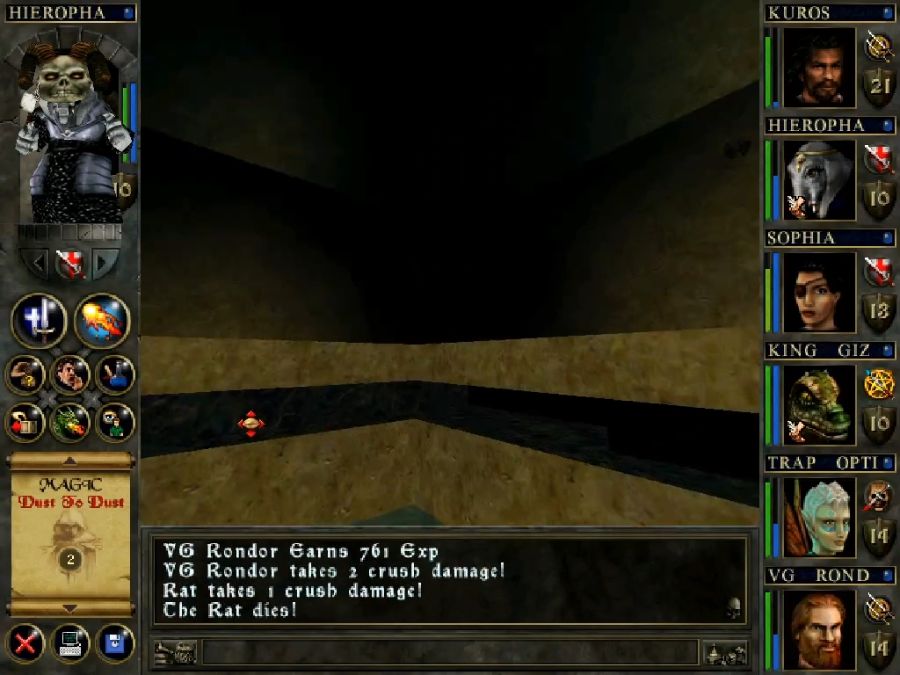
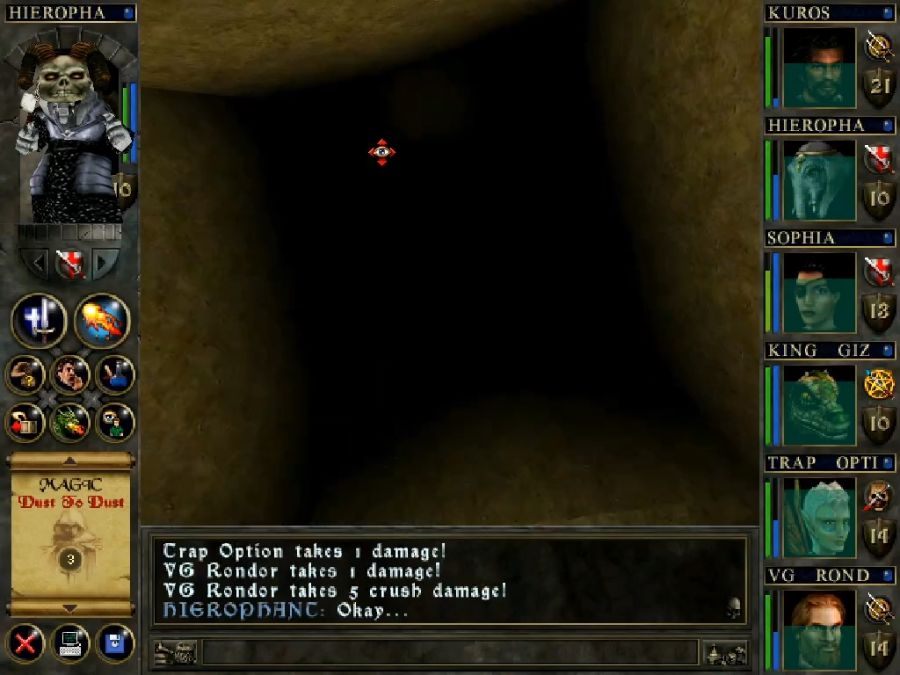
And then I clonk to the bottom of the pit, breaking everyone's ankles. Also as a fun thing, in this pit and several of the other "maintenance passage" sections of the shrine, the visibility is cranked even lower than the rest of the dungeon and indeed the rest of the game. In some rooms standing at one end you can't even see the walls or exits.
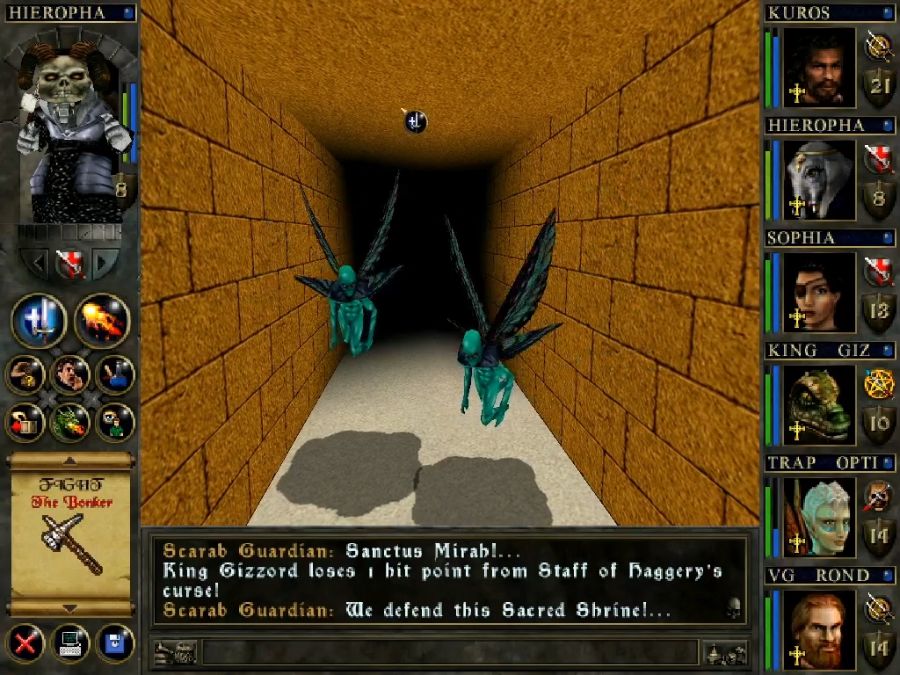
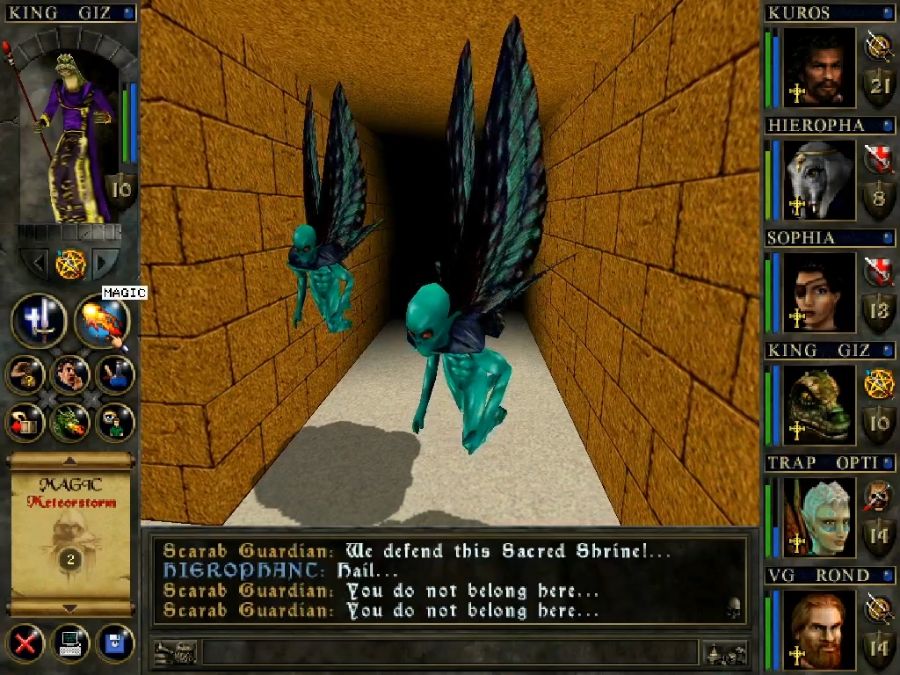
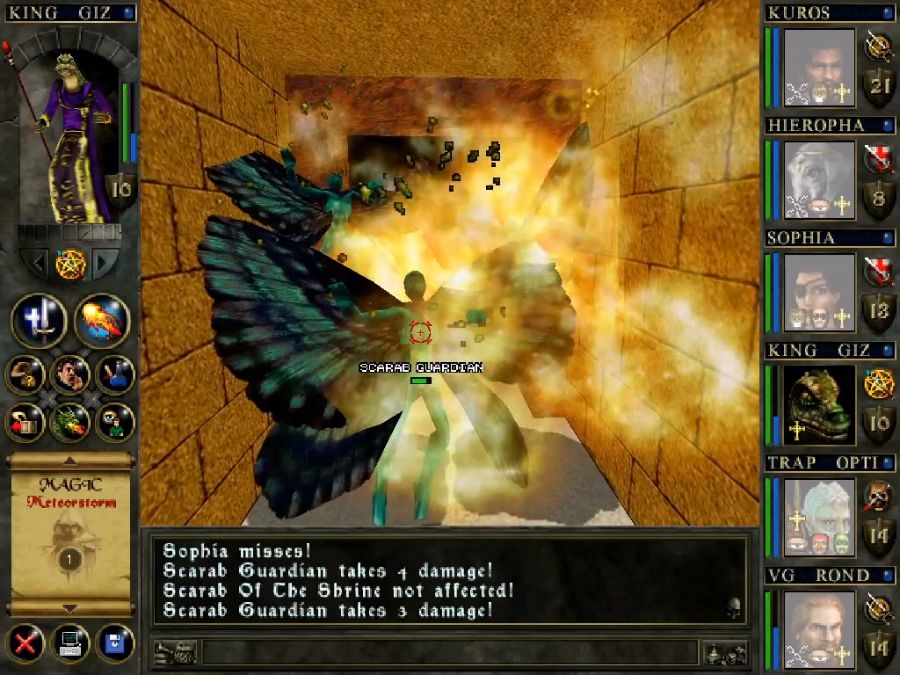
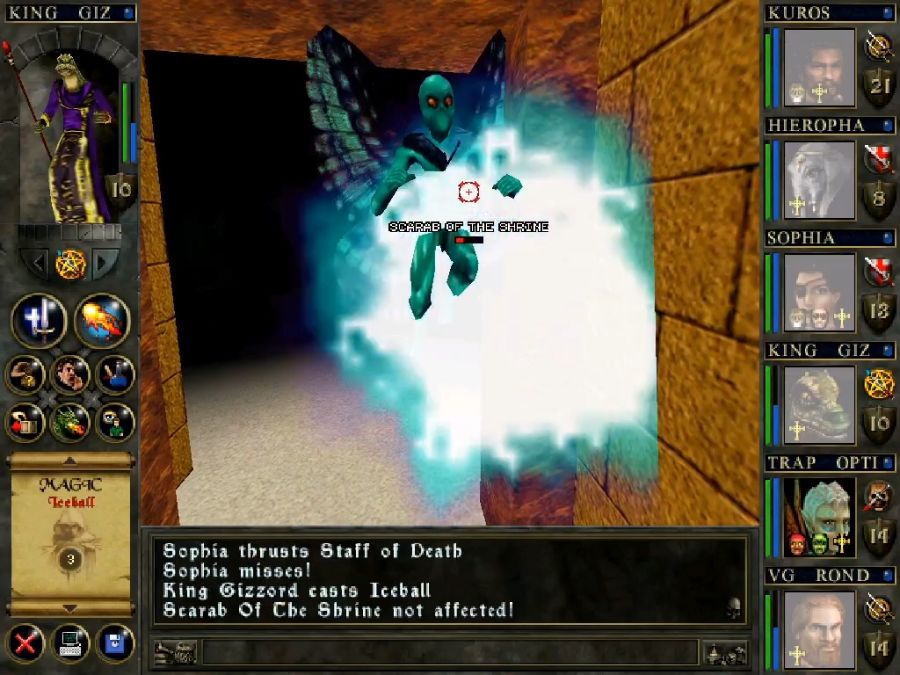
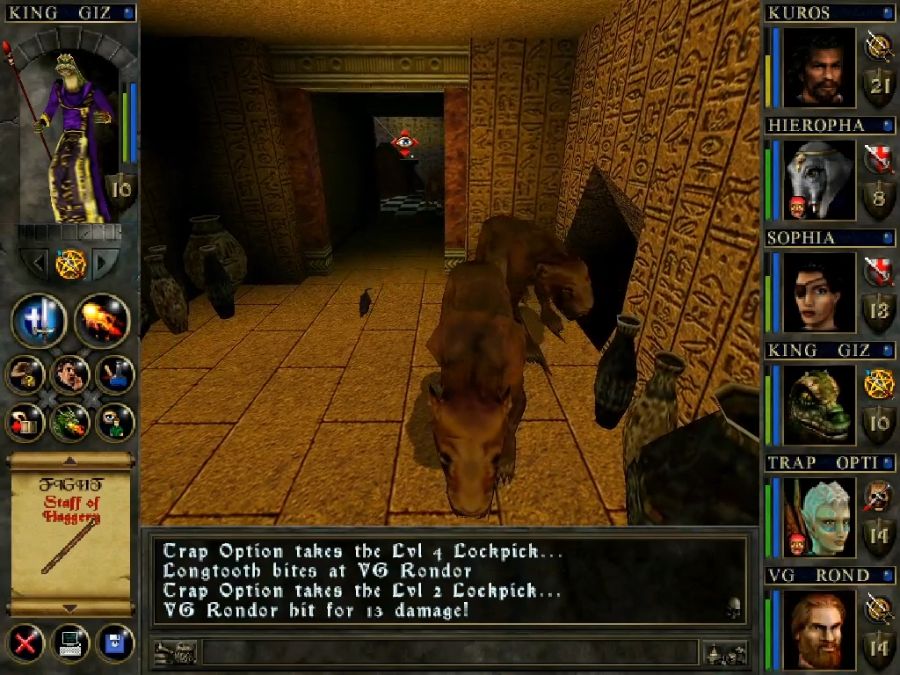
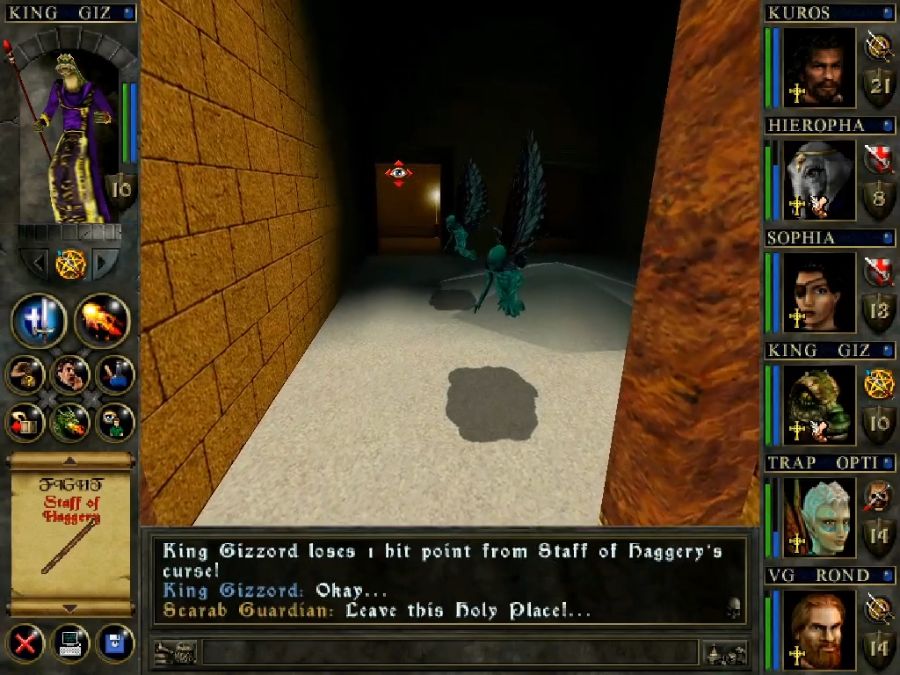
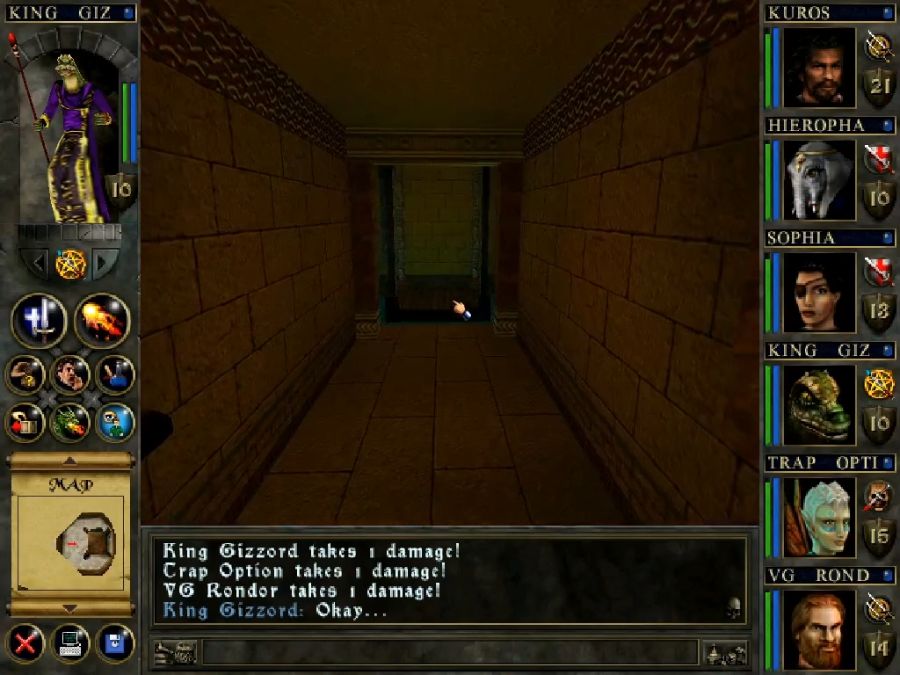
Oh and speaking of softlocks, these asshole bugs can and will fuck you up. See, their main "thing" is blasting you with Dazzle like the Leprechaun did. One of the things Dazzle can cause is Insanity. Insanity does not pass on its own. There are no potions or scrolls for curing Insanity. At this point I only have one caster that can cure Insanity, that being Hierophant(Sophia hasn't picked up Exorcism yet), if one of these fuckers were to hit Hierophant with Insanity, I'd be fucked, because Trap Option can't use Call of Home until we're out the other end of the dungeon. Or, you know, they might ALSO whack Trap Option with it.
Resultingly, I just hammer these little fuckheads with Meteor Storm whenever I see them.
Eat shit, fairies.
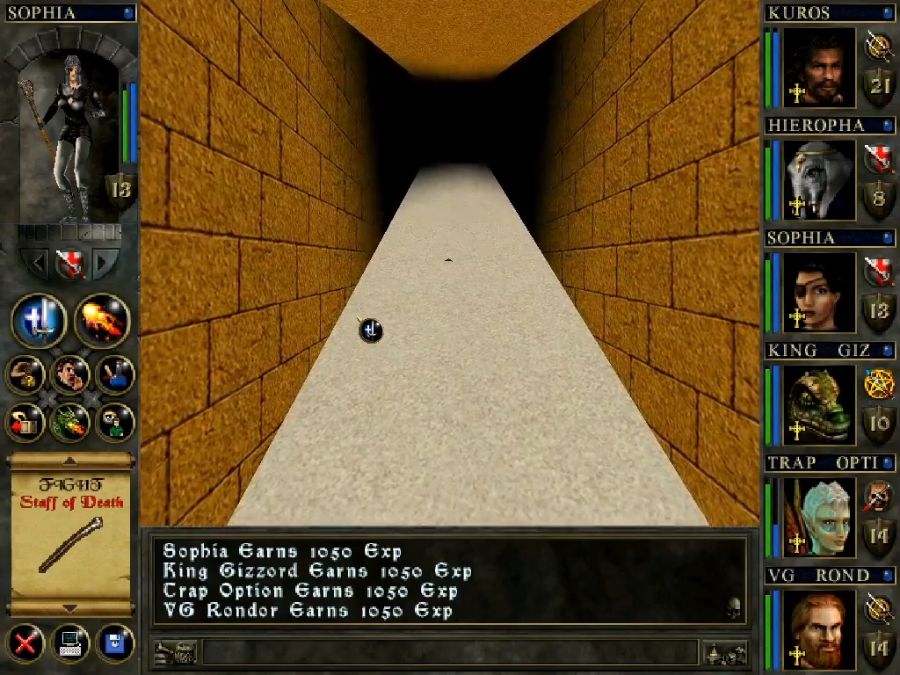

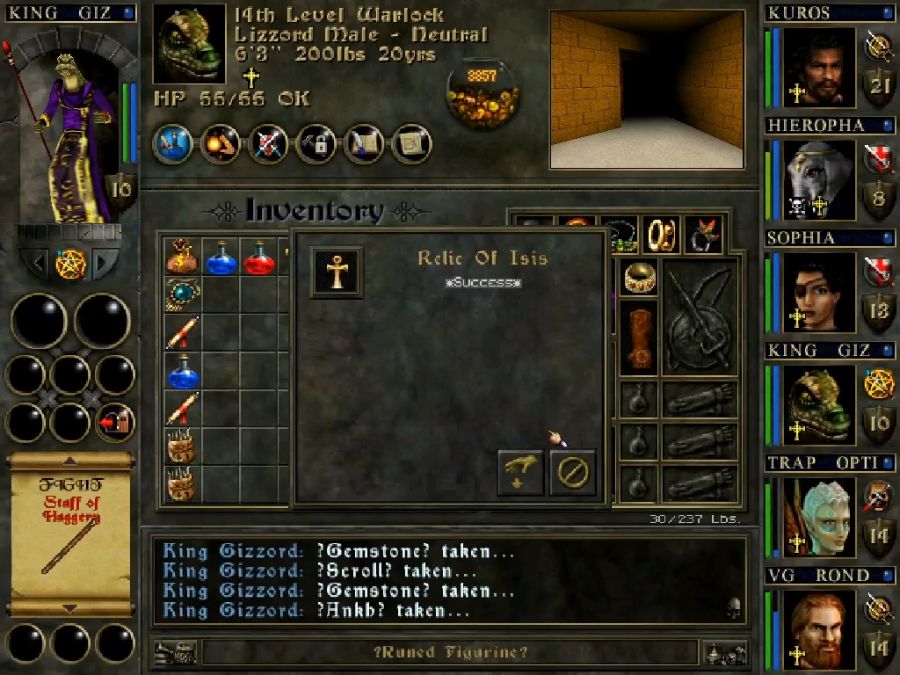
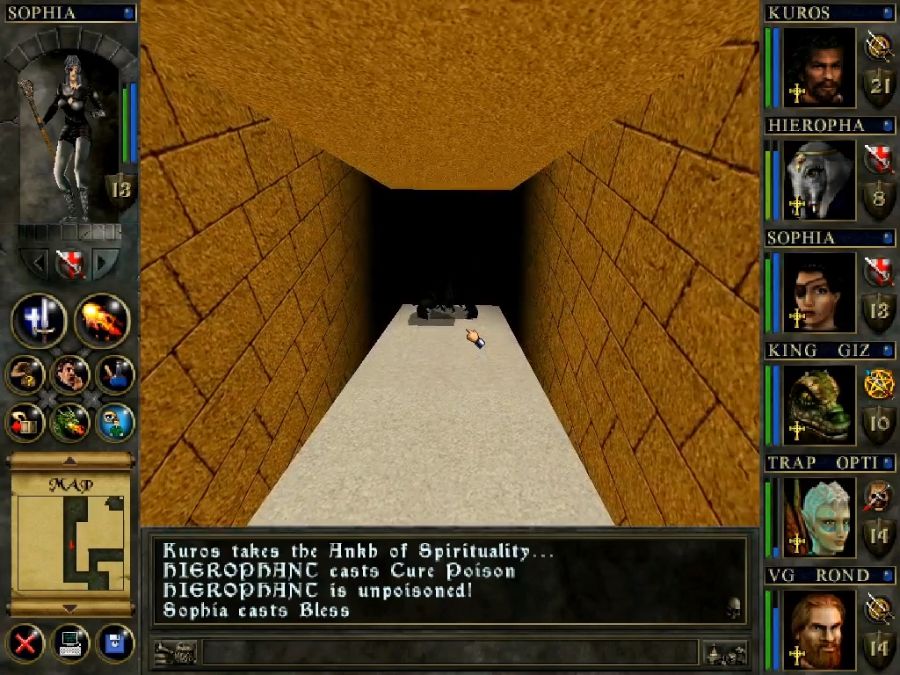
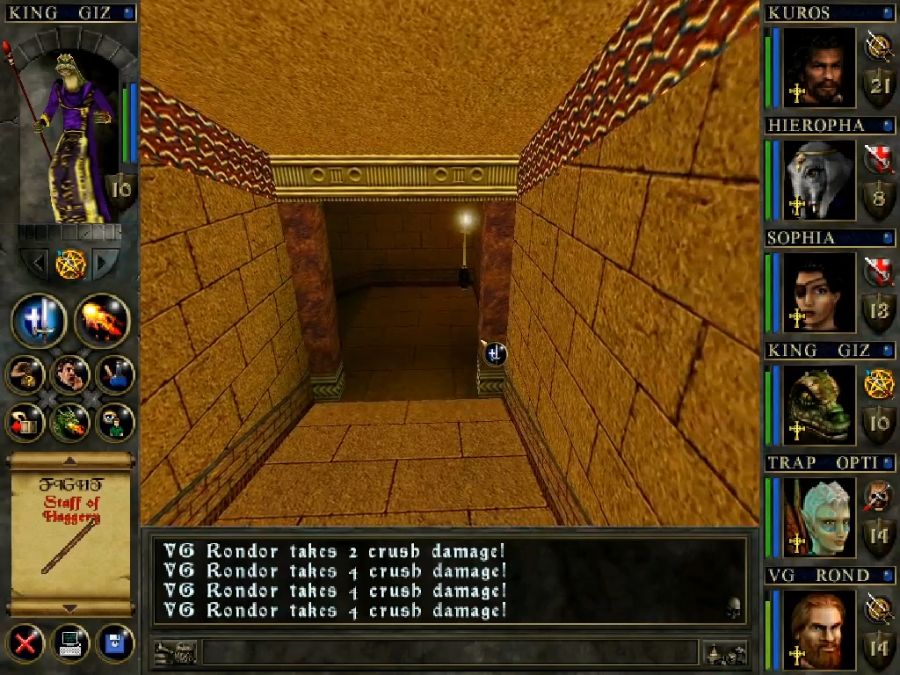
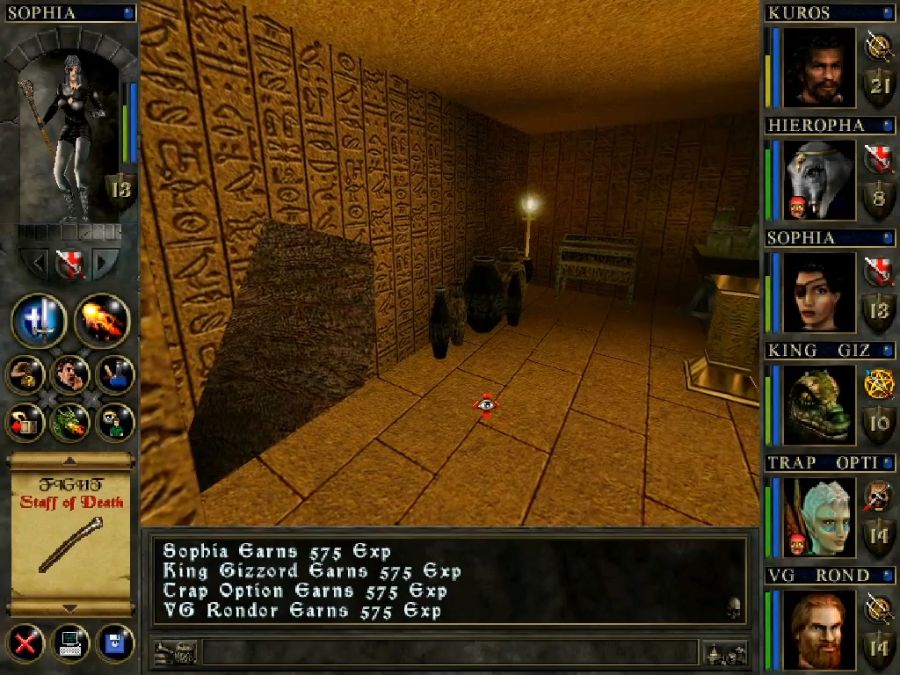
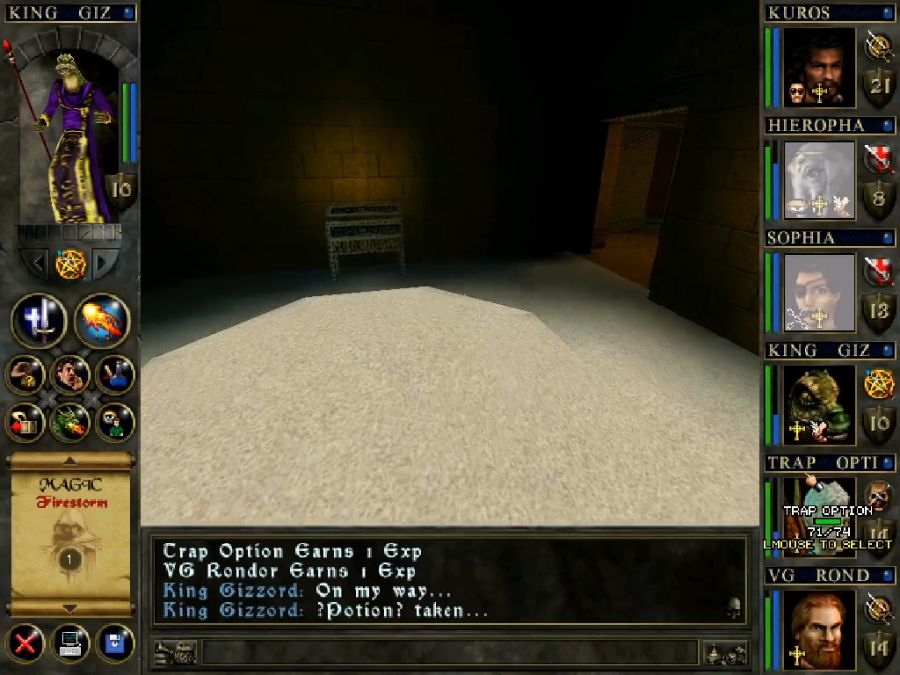
Exploring the tunnels I find, tucked away in a dark corner, the Relic of Isis for the priests.
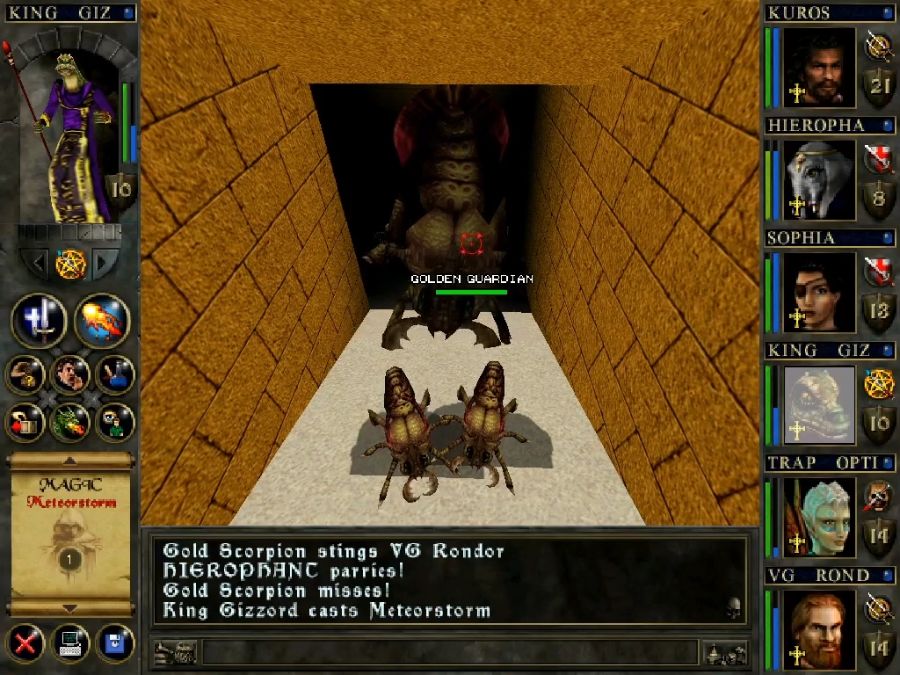
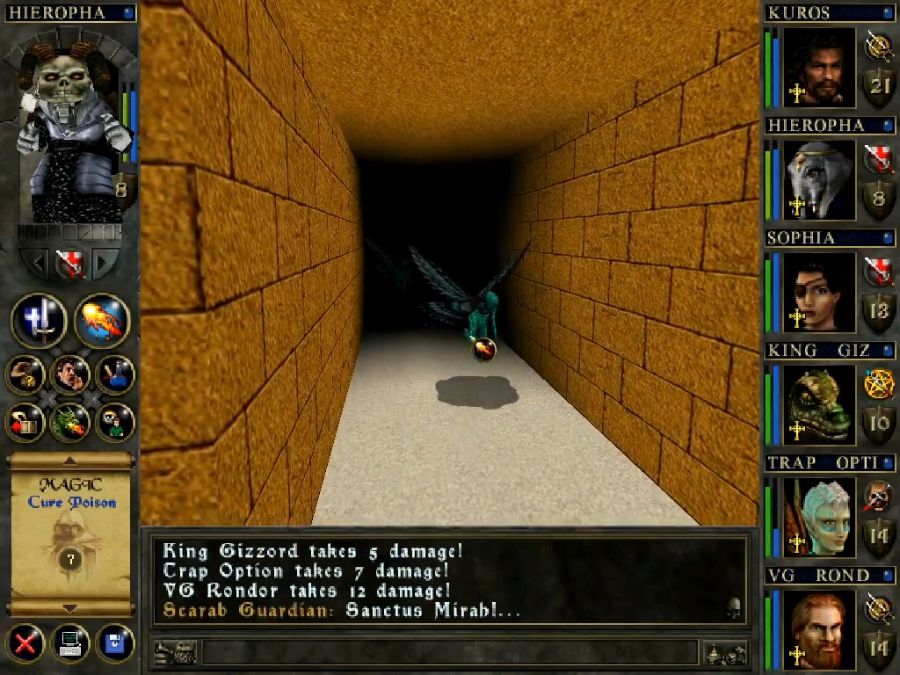
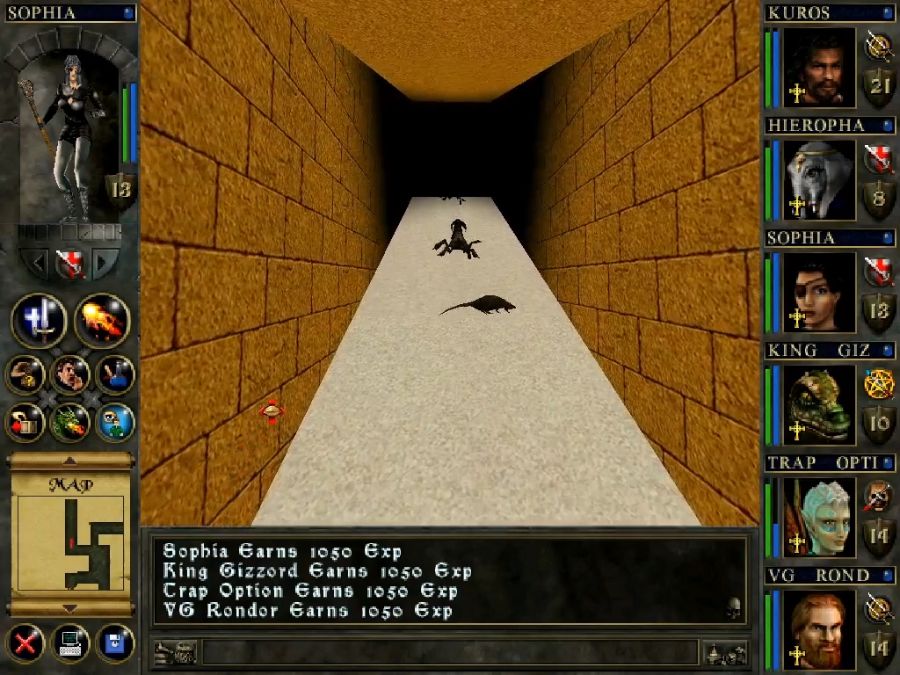
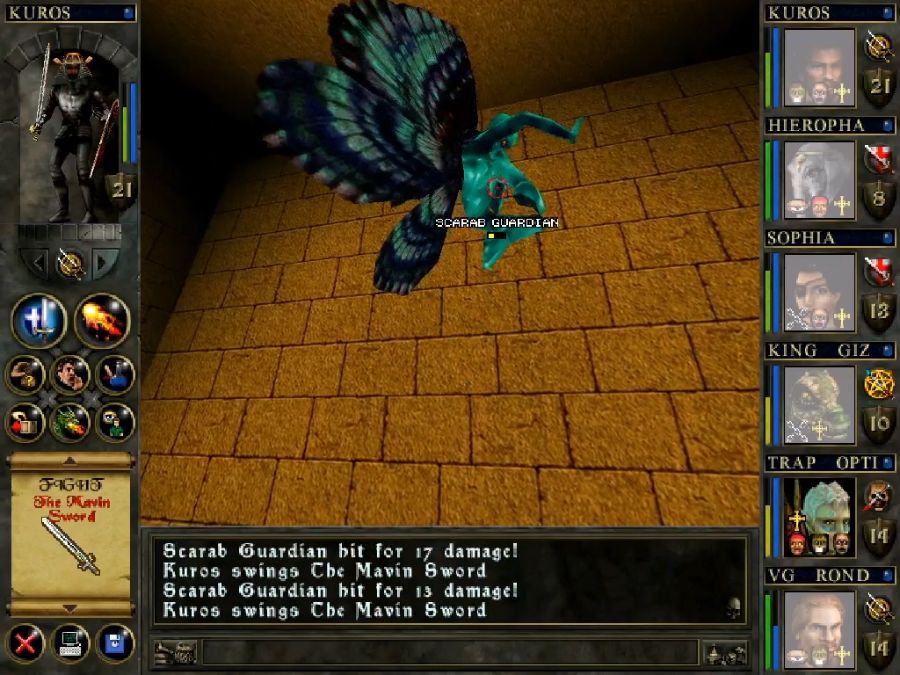
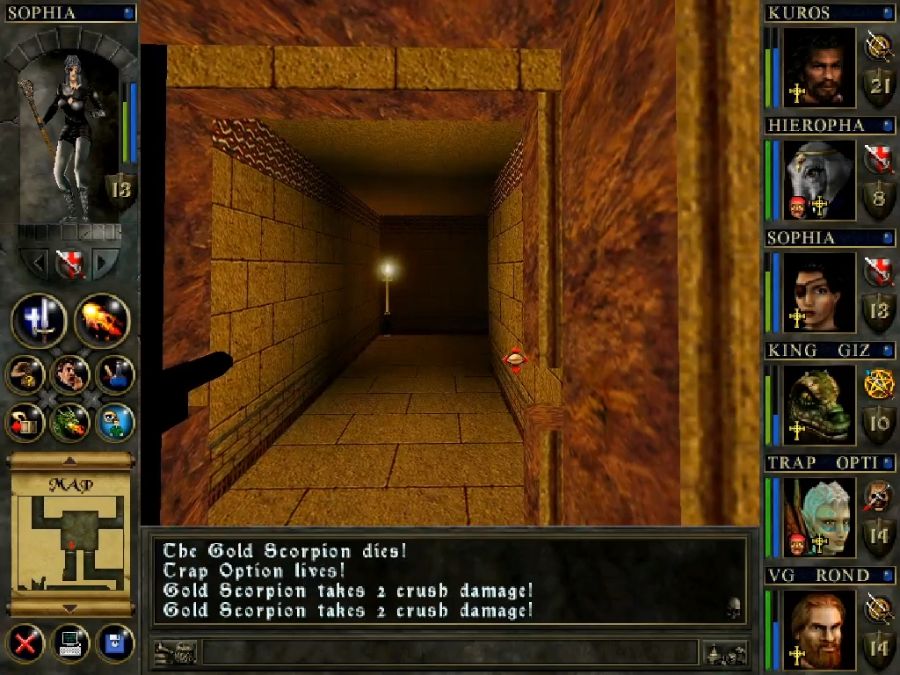
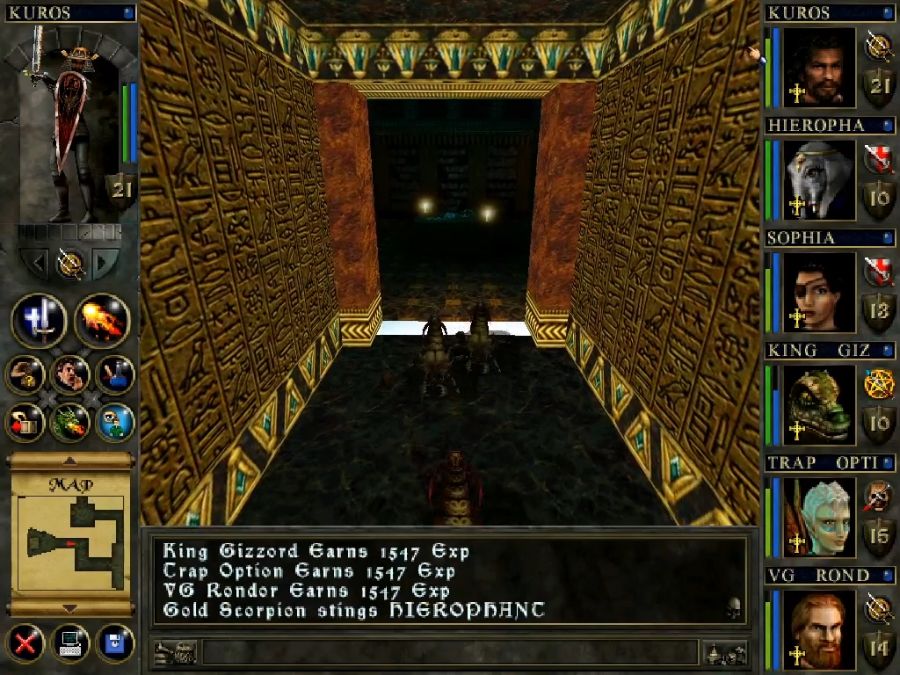
Then on the way out this happens and yes, he's fucking stuck because his model's too big, just like the other giant scorpion/beetle creature back in the Dragon Spire. Once could be an accident, but twice? Come on, you dickheads.

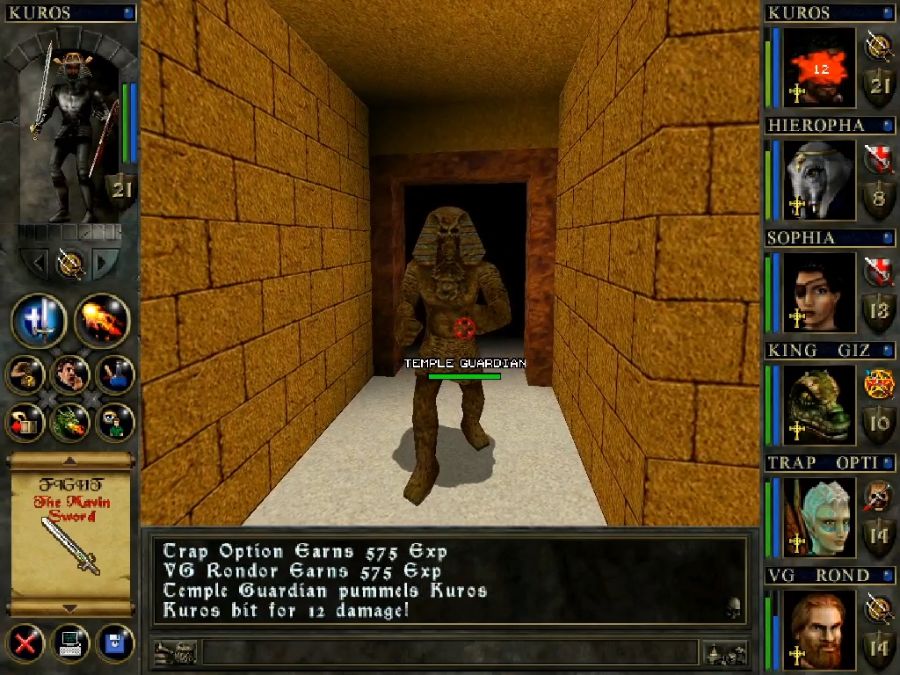
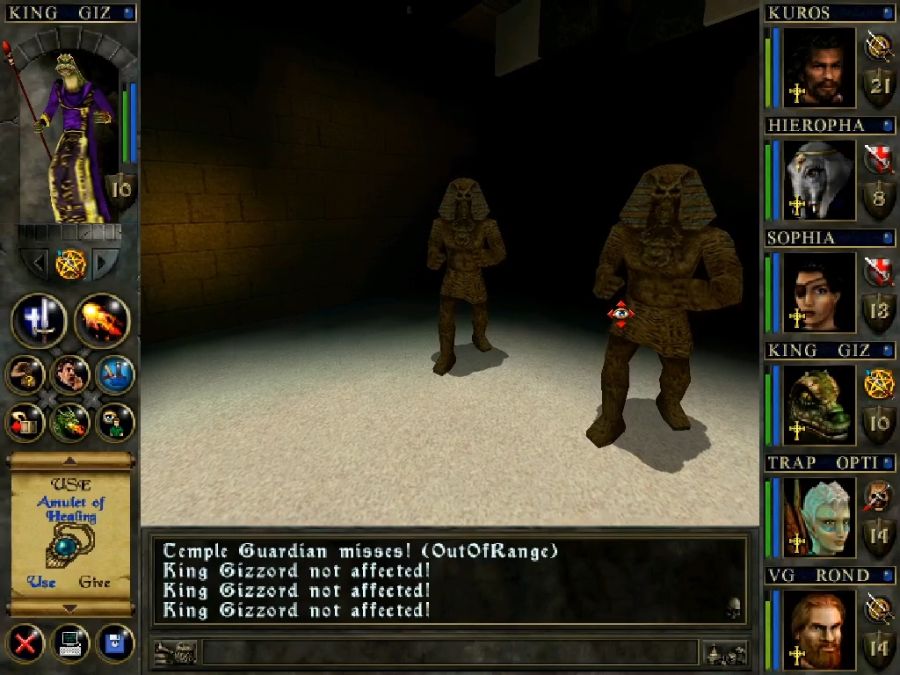
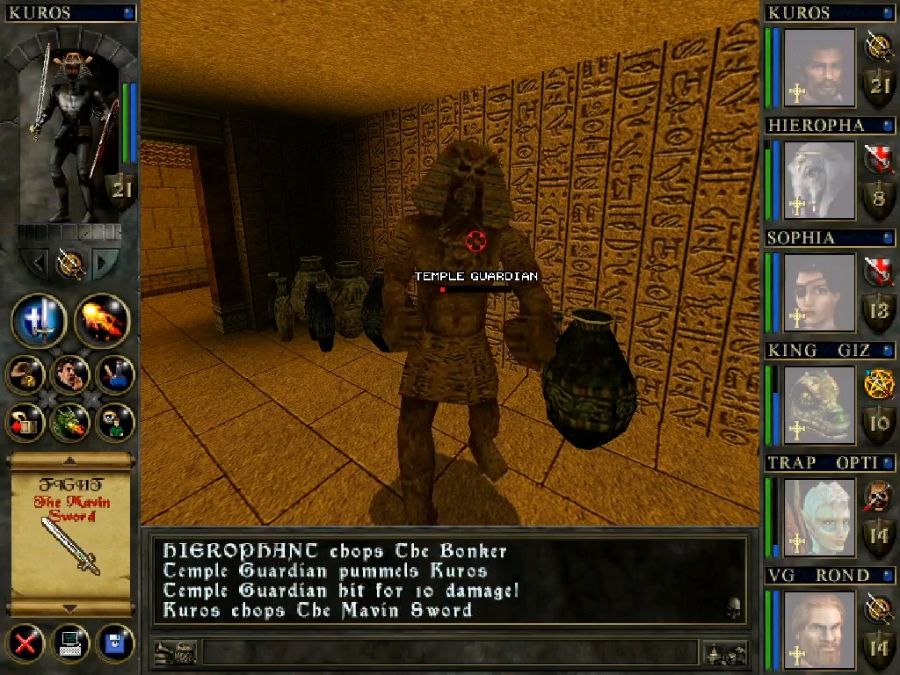
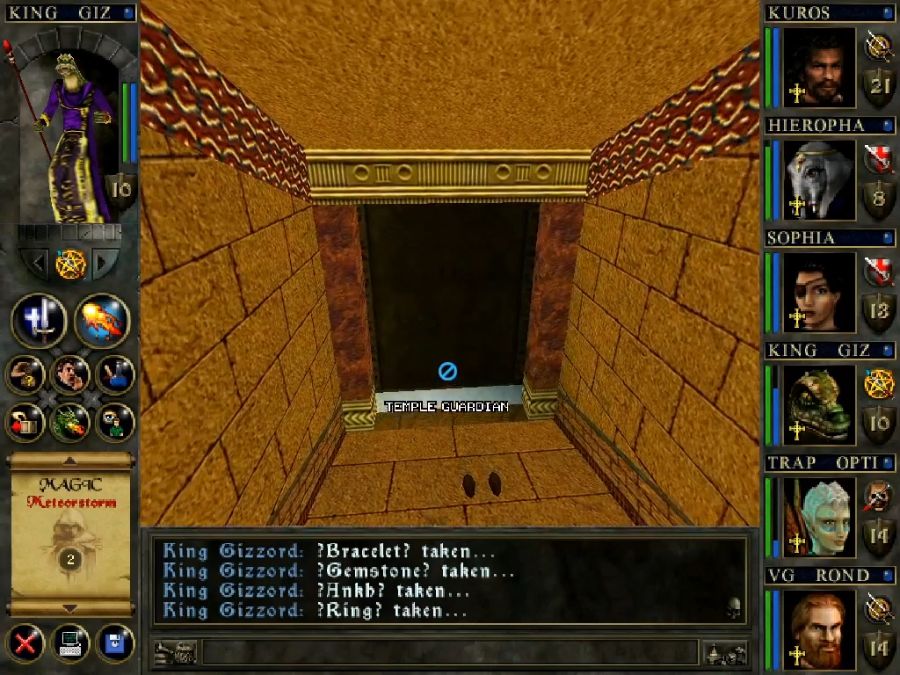
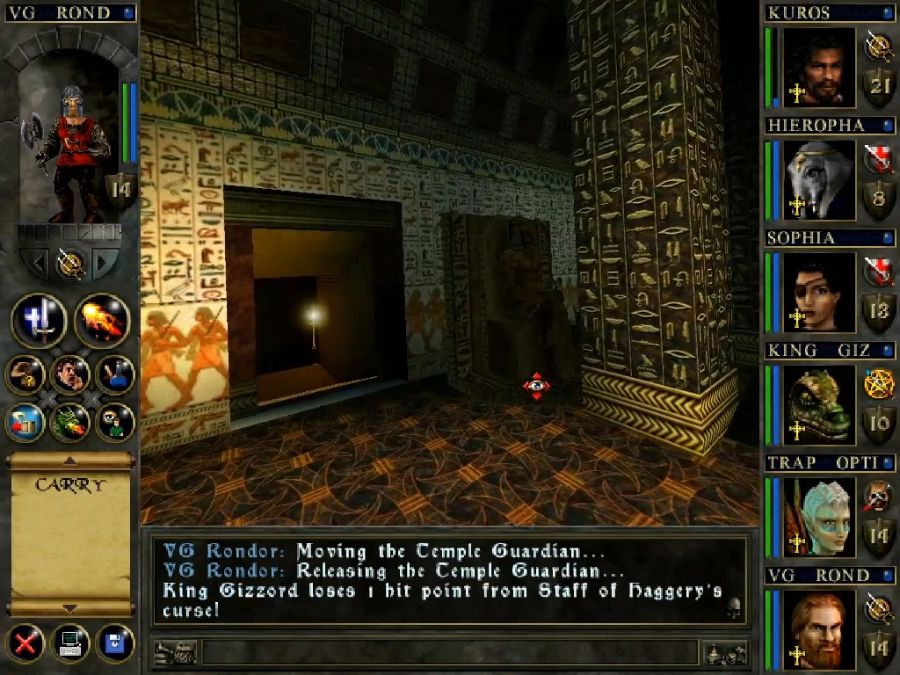
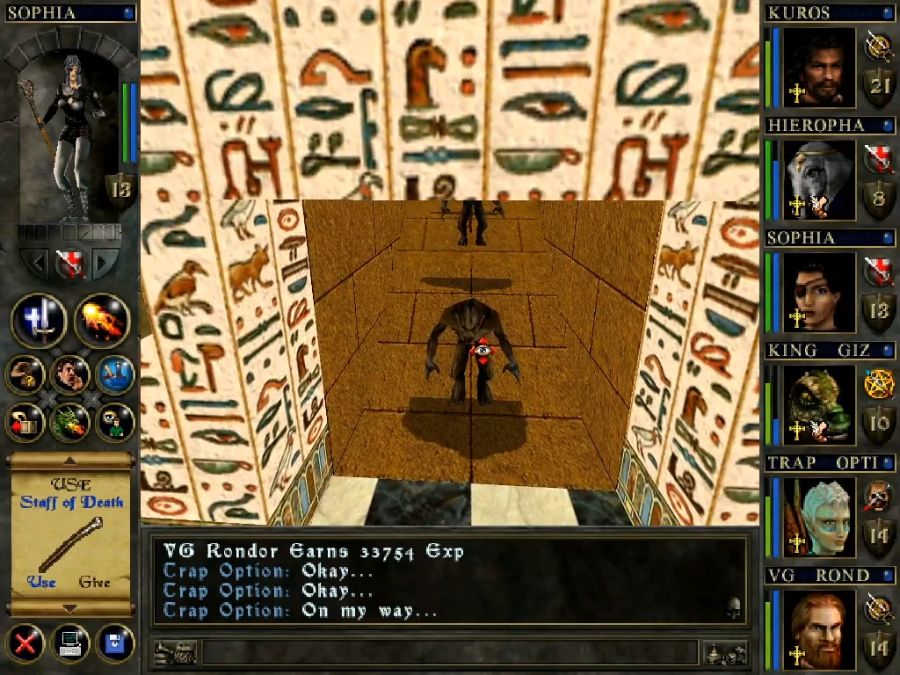
And then next I run into what's probably the most ubiquitous type of encounter in the pyramid, Temple Guardians. They're completely unthreatening in terms of offense, but unless I alpha strike them with Meteor Shower, they take literally two minutes real-time to wear down with the party's weapons and smaller casts like Meteor(they shrug off most fire and cold damage, and are obviously poison immune, so my options are a bit limited).


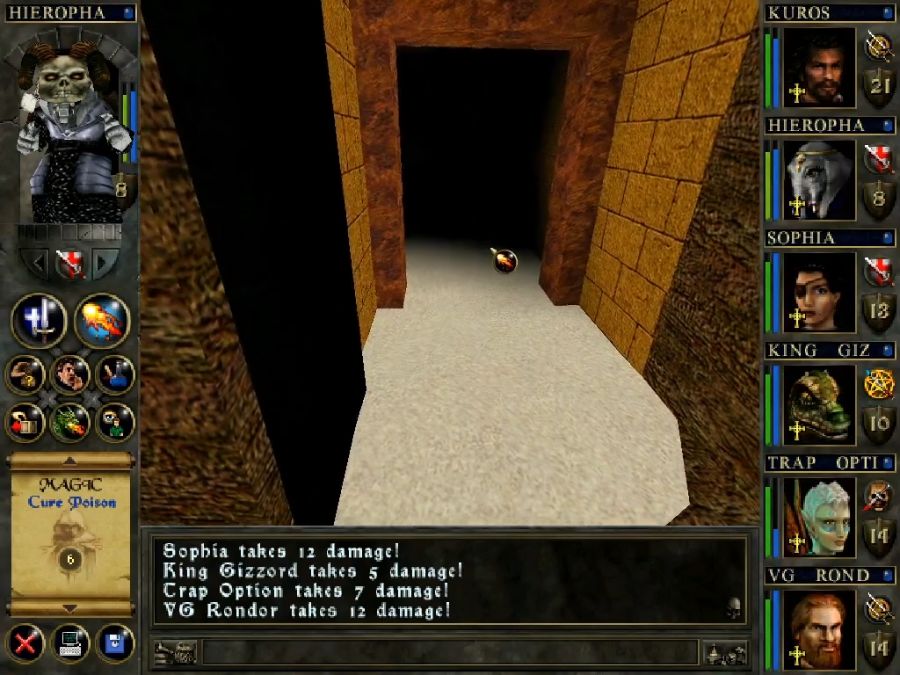
All that just to get to the other side of the pit. Well, first, let's step through the spikes because they'll only lightly mangle Rondor and fuck with that button on the left. Maybe it'll extend a bridge so we can cross back out!


Ha ha no, it just unceremoniously teleports you back into the pit because DW Bradley hates you.
Alright, doors on the right, then.
The leftmost door leads to an impassable corridor clogged with sand.
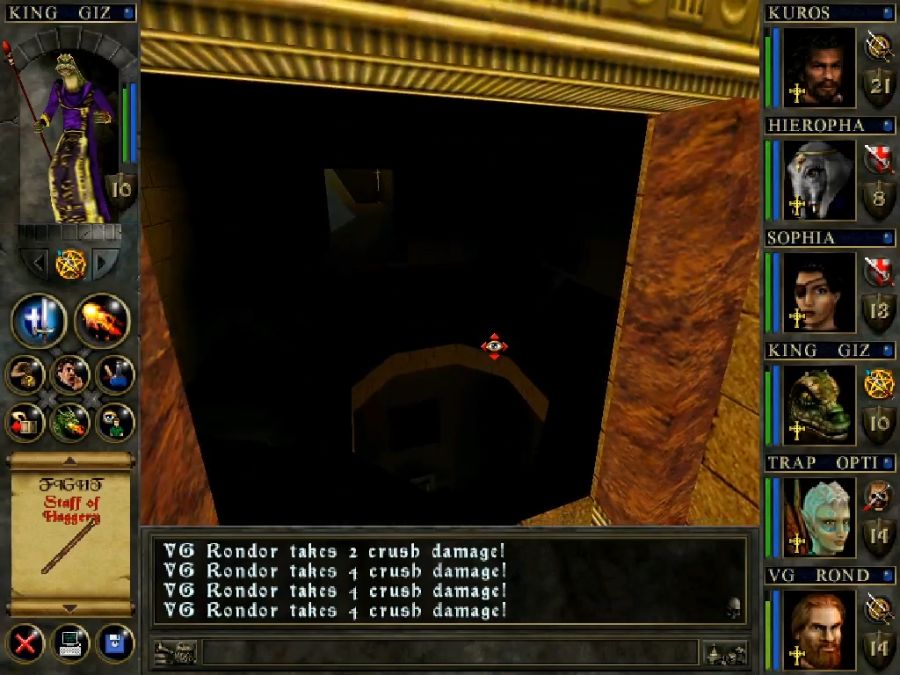
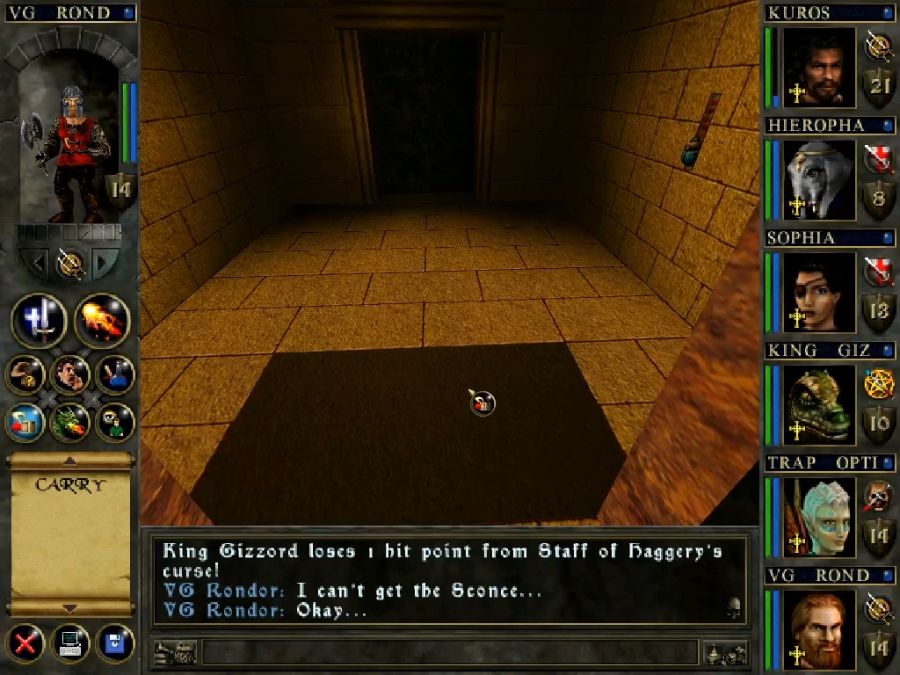
The rightmost leads to this room with a black floor, if you watch it for a few moments the floor opens up into a drop into the underground sections the party was just in. If you run and cling to the walls, you can sort of squeeze around it, but the physics makes it feel greatly like the unintended way to solve the problem, even though as far as I'm aware there is no other way past.

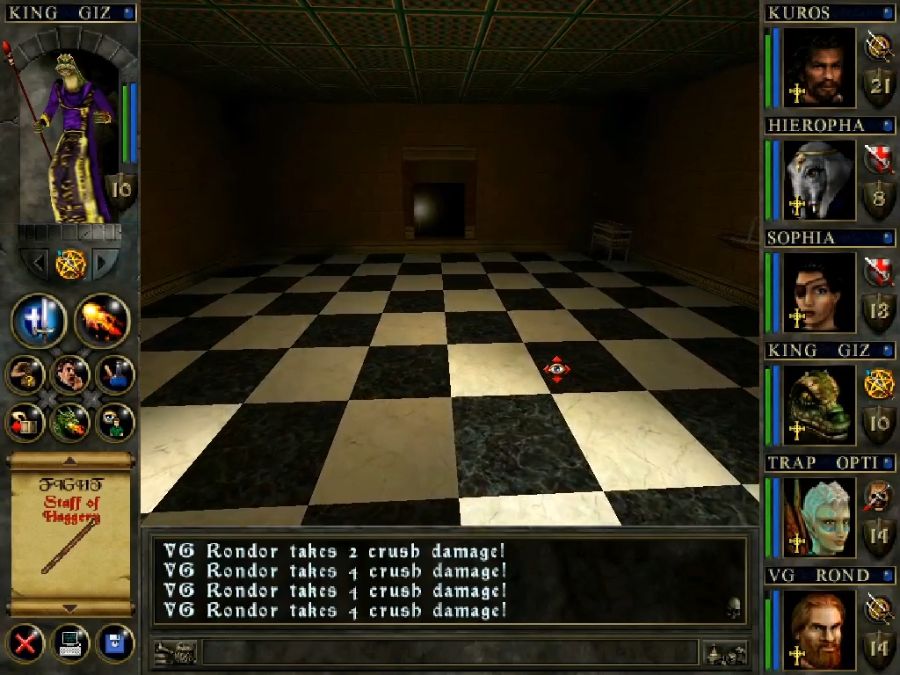
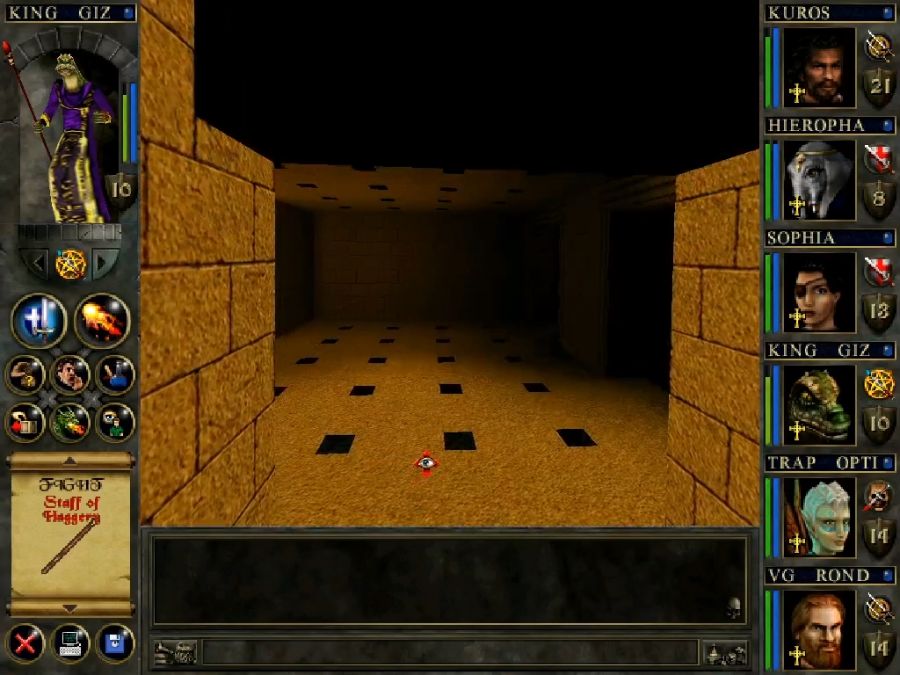
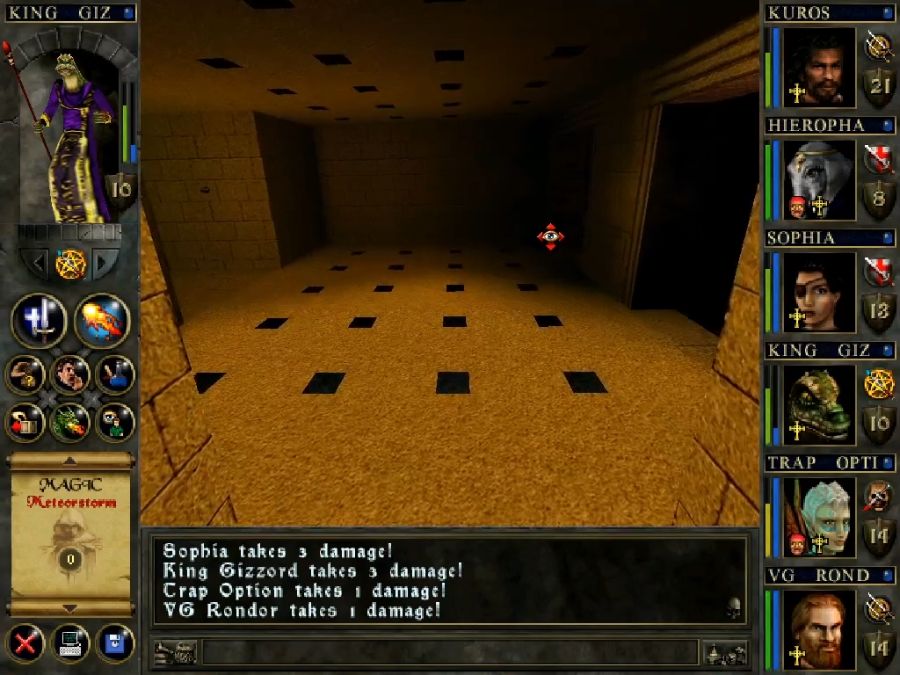
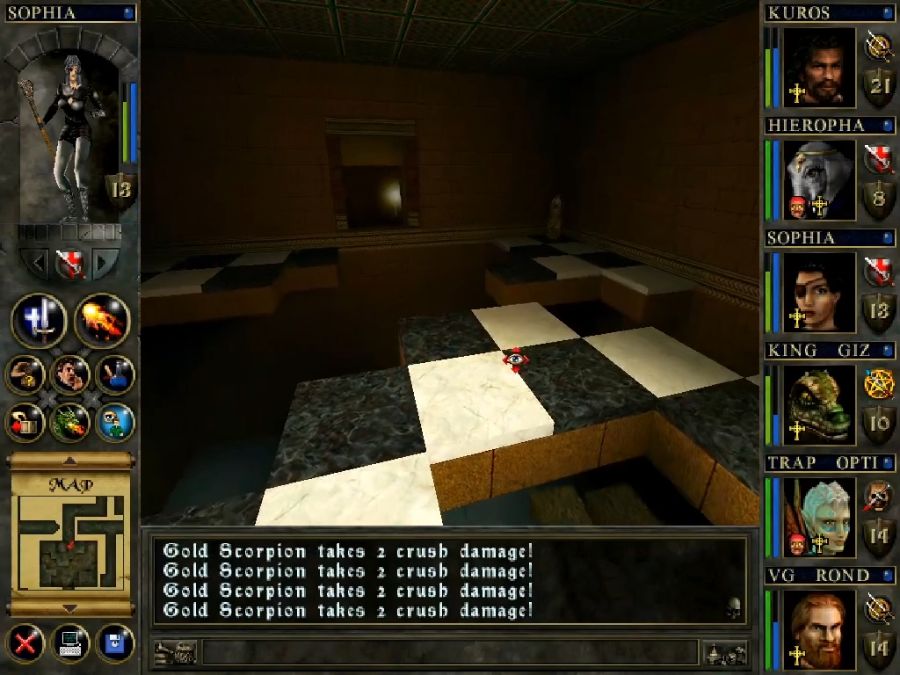
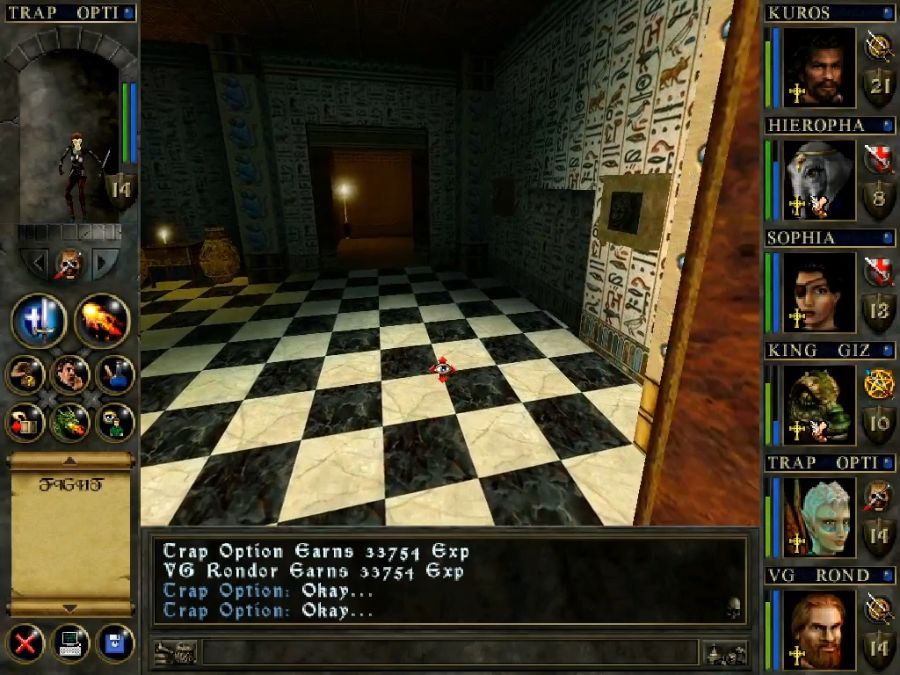
Alright, so, obviously there's a trap here. The trap is that the "darker" tiles are actually trap doors and will drop you into the room below. The double trap is that if you don't get dropped down into the area below(there's a bit later where you can walk there, but we may as well get it over with now), you can't complete the dungeon.
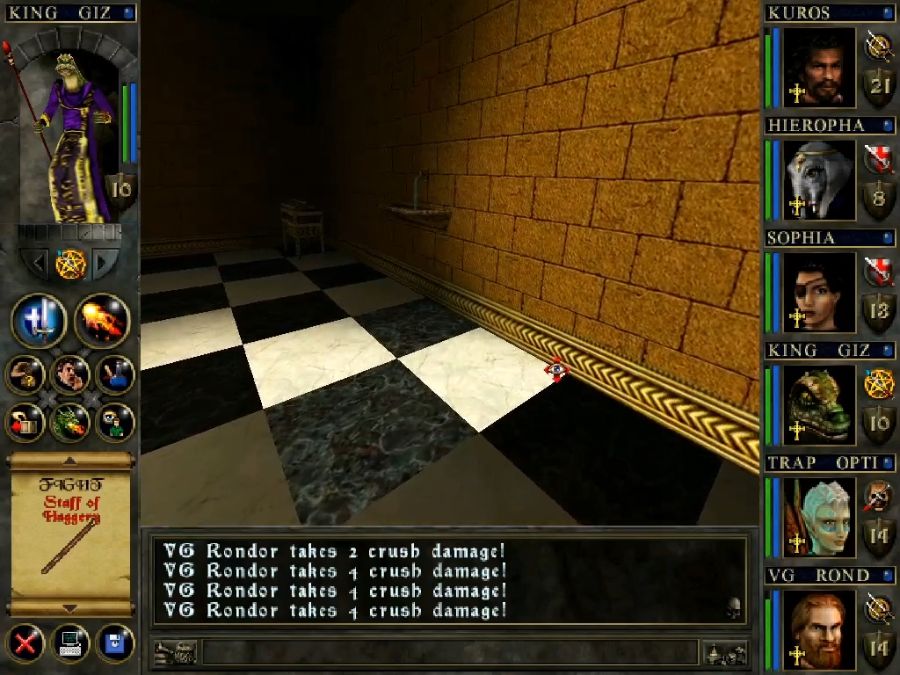
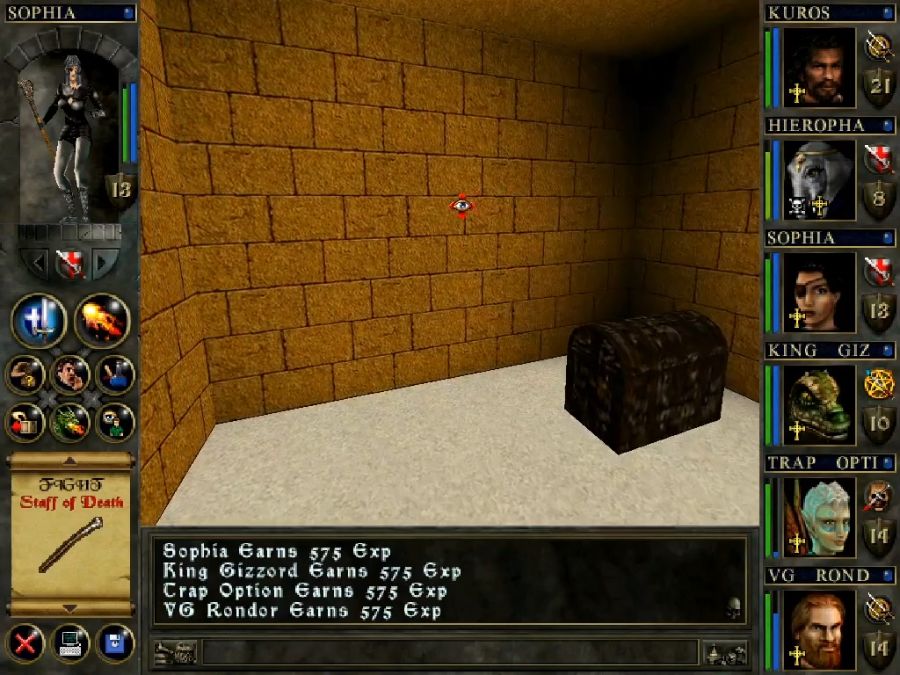
I, of course, don't know this at this point, so I try to dodge the traps and mess with this chest.

Like a total idiot I misclick and drop both the chest and myself on to a trapped square and into the room below.


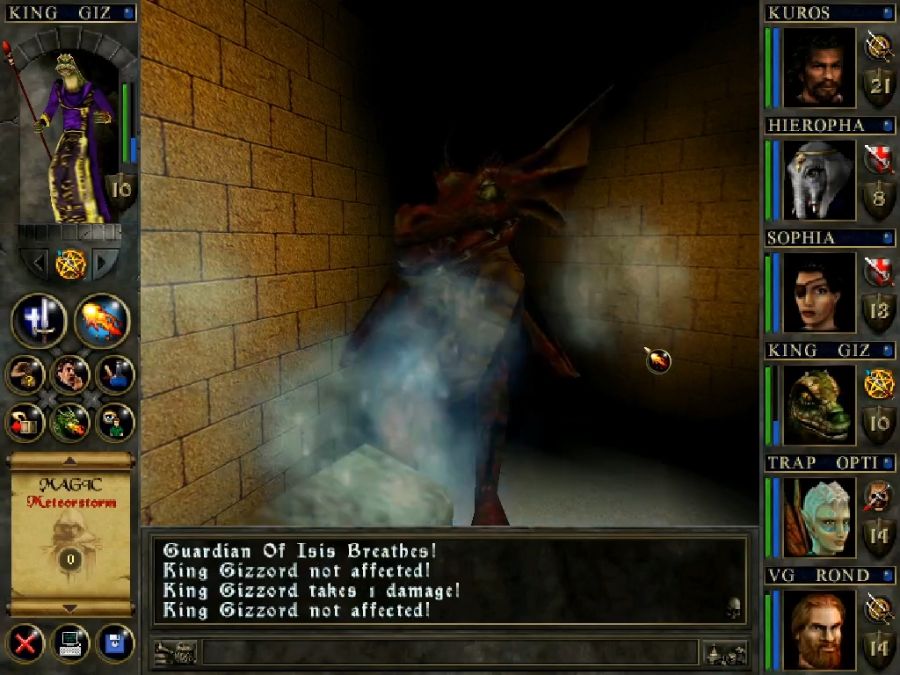
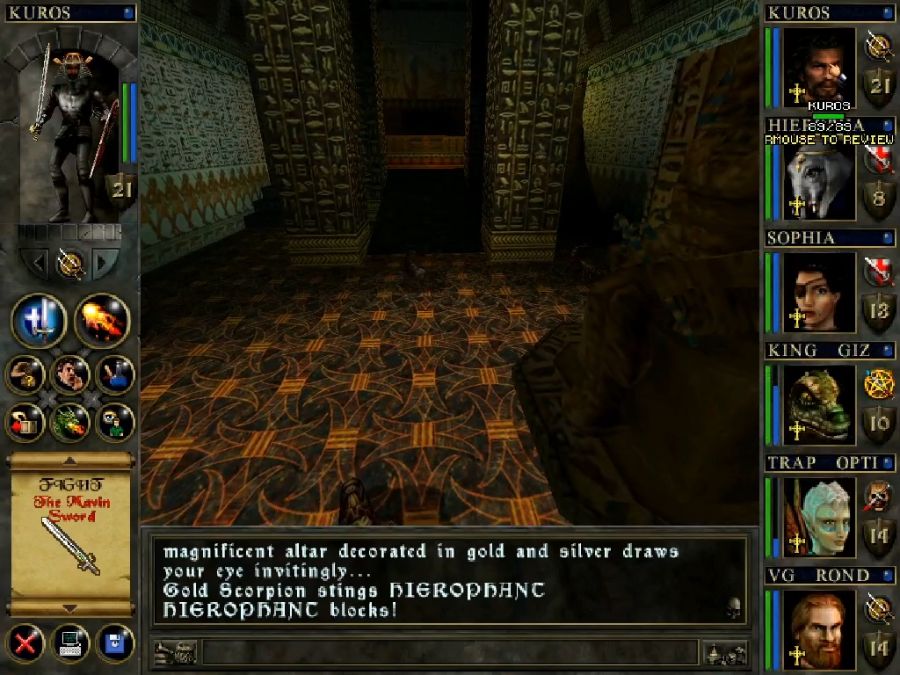
This room contains two Temple Guardians and the Guardian of Isis, a palette-swapped Erathsmedor(though weaker stats, obviously), who also has the same hitbox issues where you need to literally be standing inside his model to hit him with melee, resulting in most of the battle looking like the following.
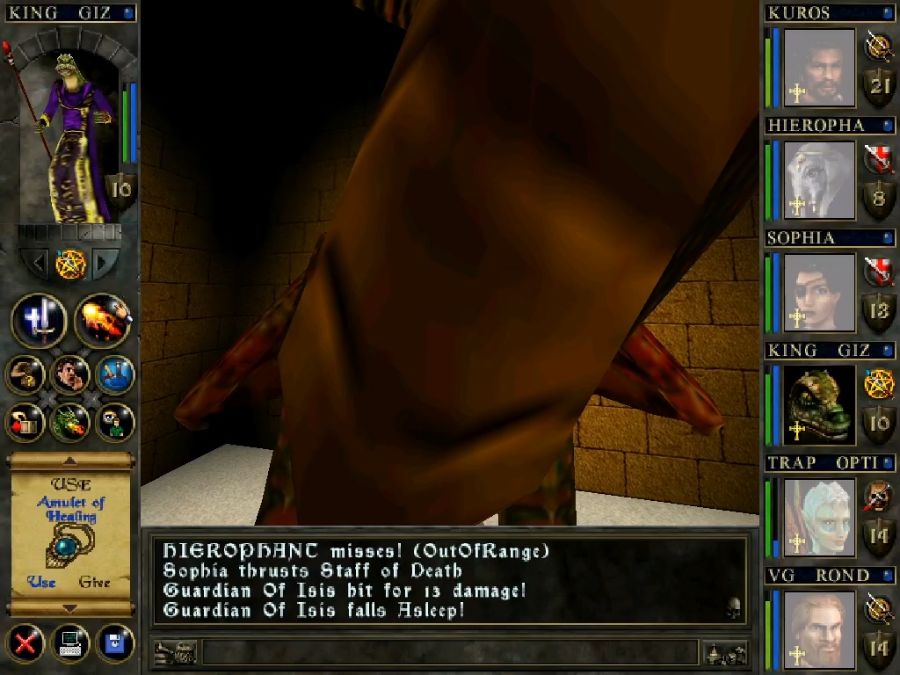
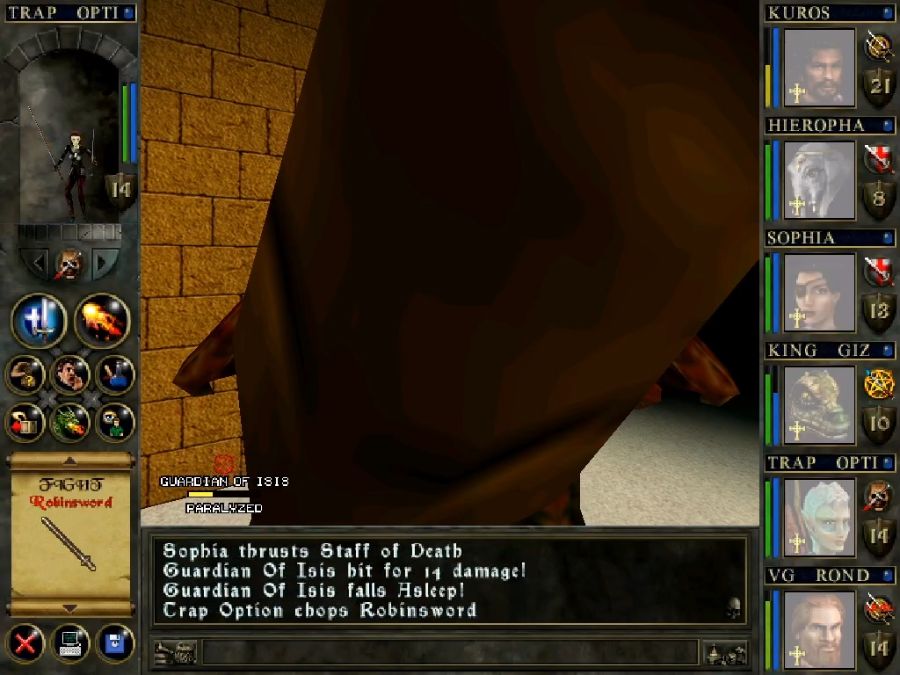
Funnily enough, it turns out his saves are so bad that Sophia was stun-locking him with the sleep/paralyze on the Staff of Power almost every turn, and he barely got to take any turns at all. On Gizzord's turns, he'd drop meteor showers on the Temple Guardians to wear them down.
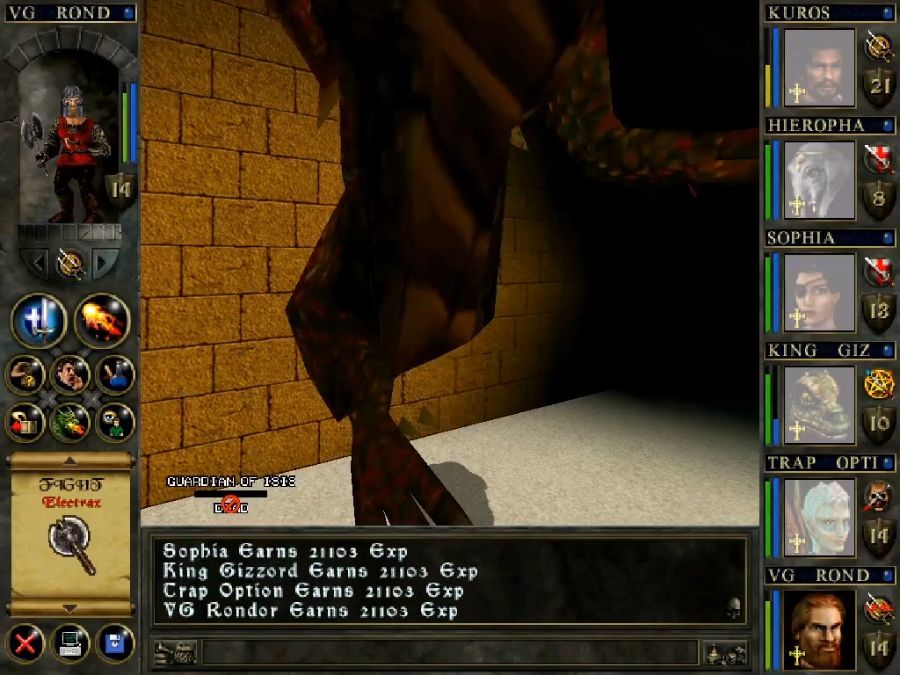
One basement-dwelling dragon down, the Temple Guardians, similarly, go down easily, they just require patience, not skill of any kind.
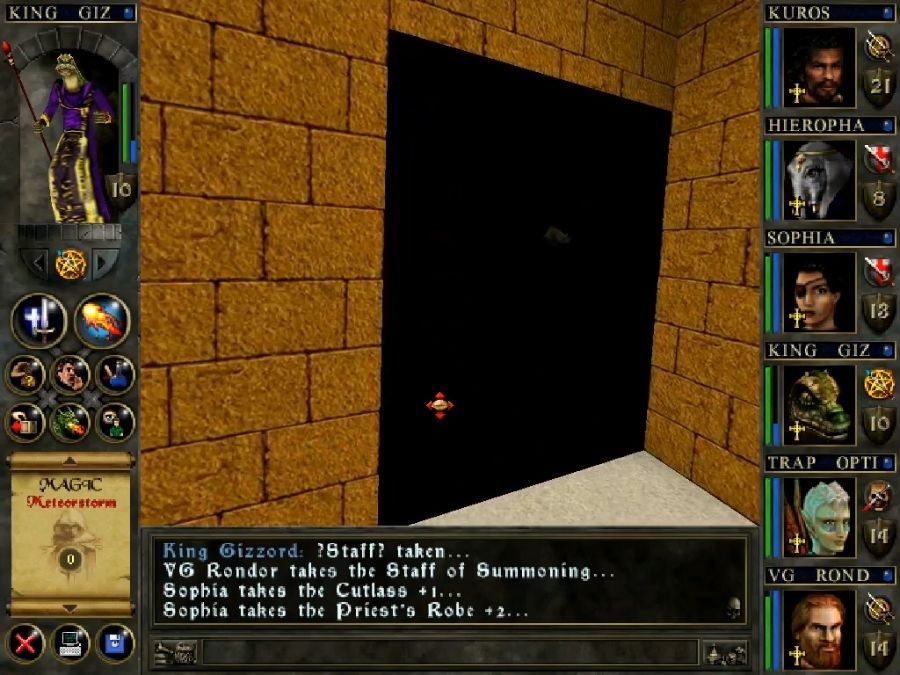
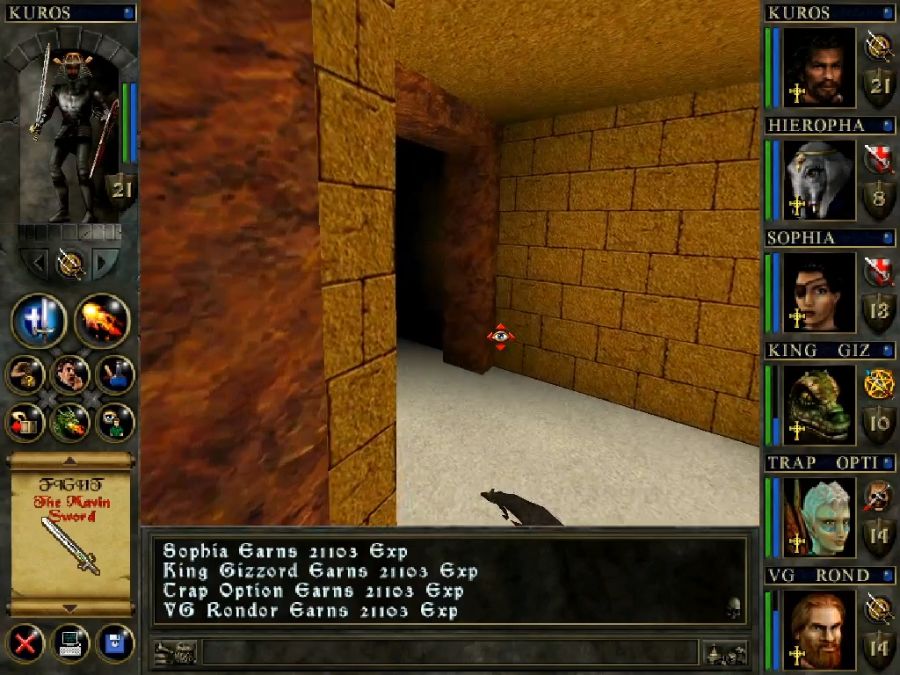
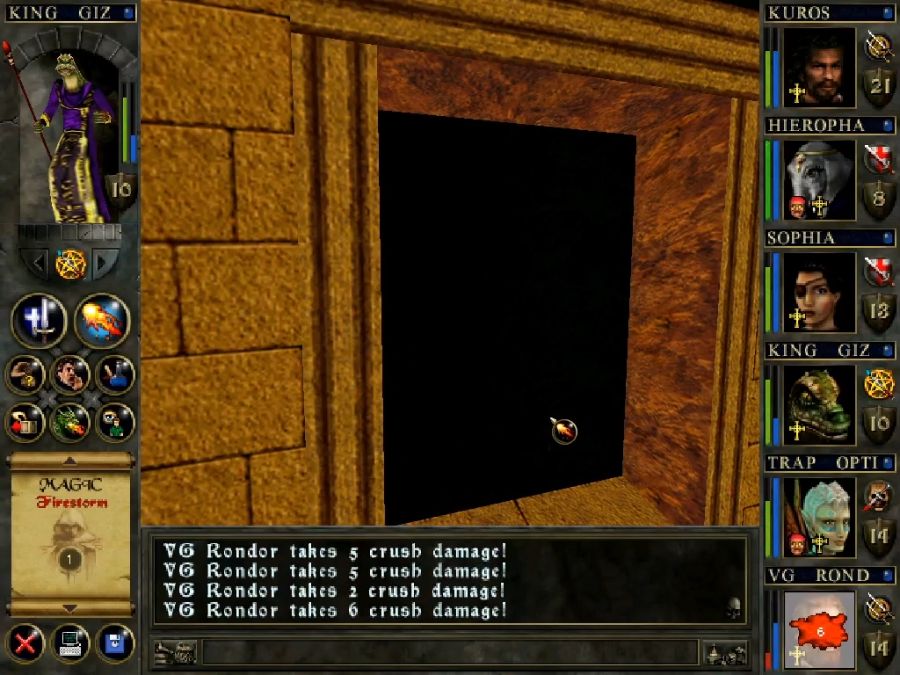
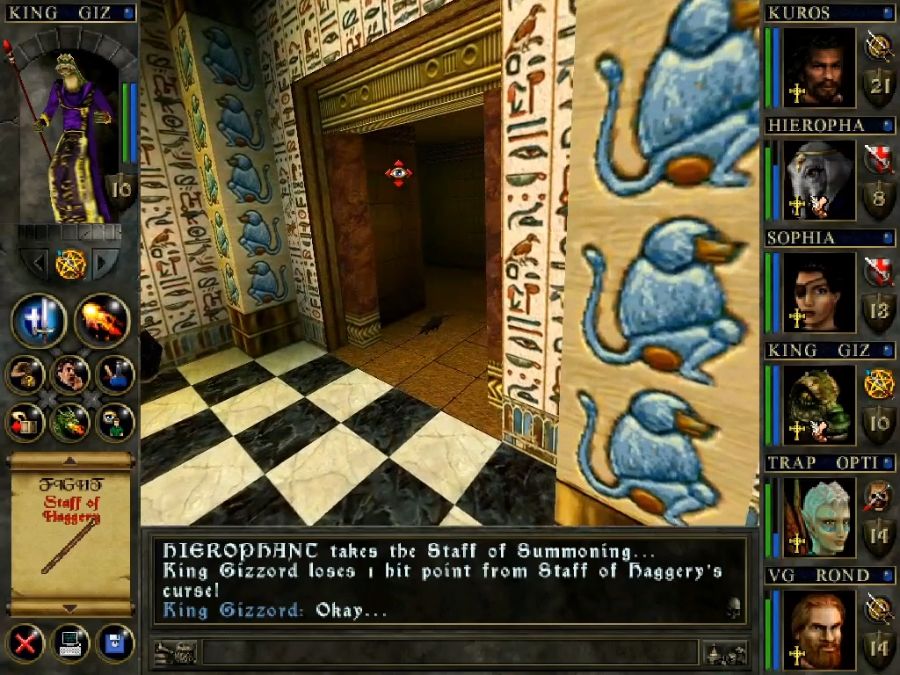
The door out has a rat partially clipped into it, which is why it looks like it has a nose.
I also honestly don't know if all the doors in here are meant to just be black slabs or whether it's a lighting engine/missing texture issue. With this game it could go either way, since I remember the "secret" doorway underwater in the Skull Castle that was just pure black because of similar fuckups.
There's another Guardian of Isis down here, too, but, of course, being alone it's even more of a curbstomp than the previous one.
It's stuck in a decrepit version of the previous trap chamber that you can use to get back up, since you can climb on a pile of sand in the corner and use the game's bad jumping physics to hop back out. Of course then you also need to use the game's terrible jumping physics to get to the exit, which doesn't have a platform immediately in front of it. The issue here is that, and it's hard to capture in screenshots, but whenever you hit a wall while jumping, you just suddenly drop, hang in the air for five seconds in front of any ledges you might encounter, and then drop again in the blink of an eye to ground level.
You don't have the "air control" to keep pushing forward while dropping and squeeze on to the ledge like in most games, so you gotta really nail it in one, you can't "shoot over" and still drop down.
Still, there were a few branches underground I didn't explore, so let's have a look around before heading back up.
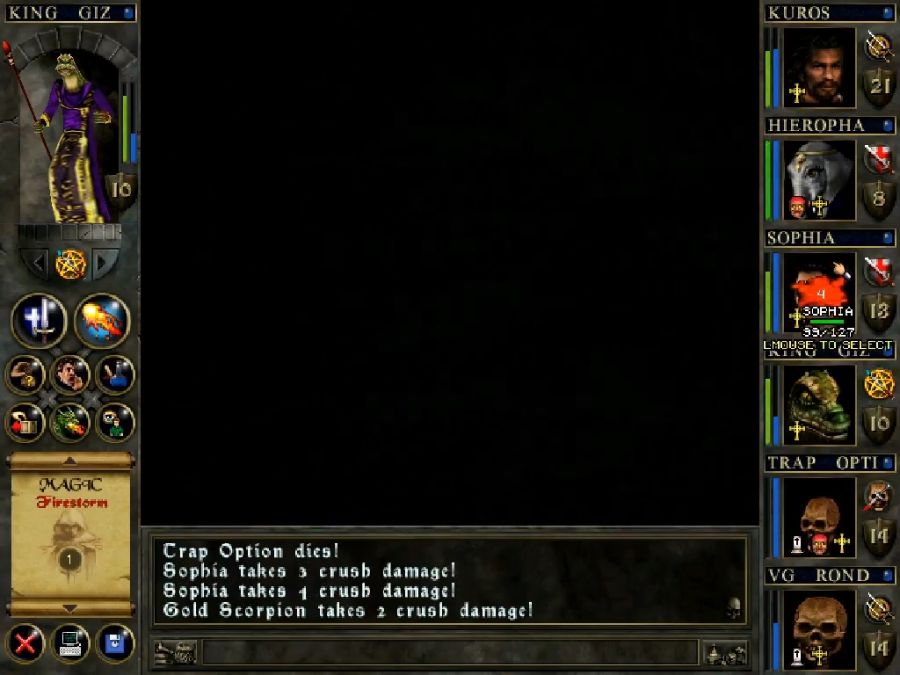
So this is... my only Exorcism caster turned insane. My only Moon mage capable of bringing the party home turned insane.
And I haven't saved in a while.
I decide to forge on, not realizing that the chest in the next room that I now can't pick, because Trap Option is insane(I can't even access his inventory and have someone else try to use his lockpicks, though I believe they're class-restricted anyway), contains the item I need to complete the dungeon.

Here I also find the alternate way back to the surface, which connects back to the spike chamber from earlier. It's a one-way passage, though.

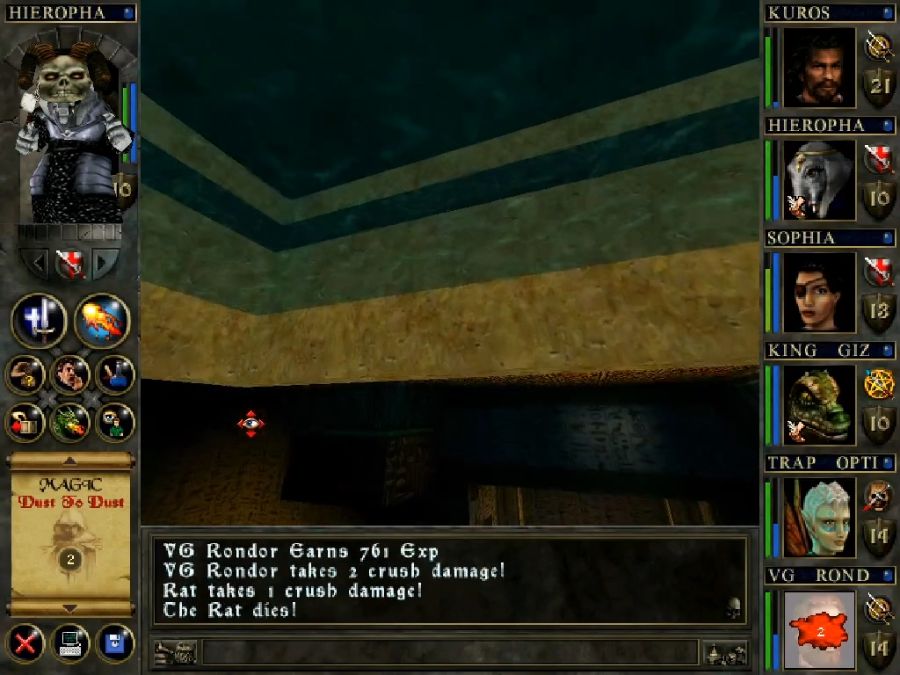
While I wait for the spikes to retract so I can get back to where I was, a couple of fairies spawn in and get owned by the spikes. Fucking awful things.
Seeing this, though, I have an idea. Surely, if Trap Option and Hierophant were to die, they'd be cured of all other conditions and I could just resurrect them!
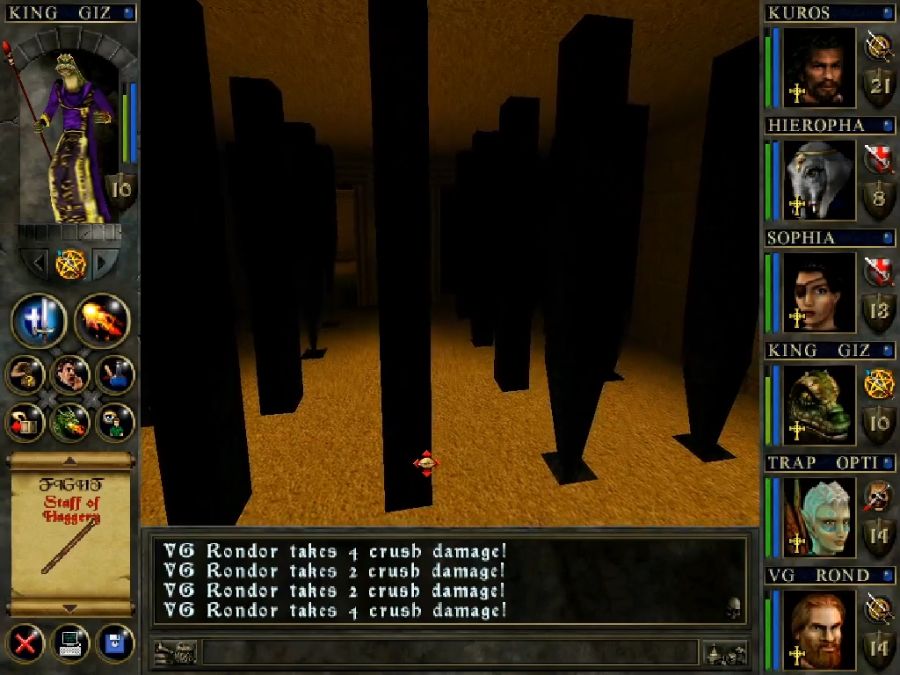
Unfortunately physdamage damage starts from the bottom of the party up, so I have to get VG Rondor killed first to test it out on Trap Option.
Son of a bitch! That didn't work either. Well, time to hope this dungeon is easy to solve when reduced to 2/3rds manpower. Oh wait, I can't even beat it without fixing up Trap Option. Maybe I'll get lucky and an enemy will drop a Scroll of Exorcism somewhere along the way.
Welcome to this jump that I flub like four times out of five. Goddamn.
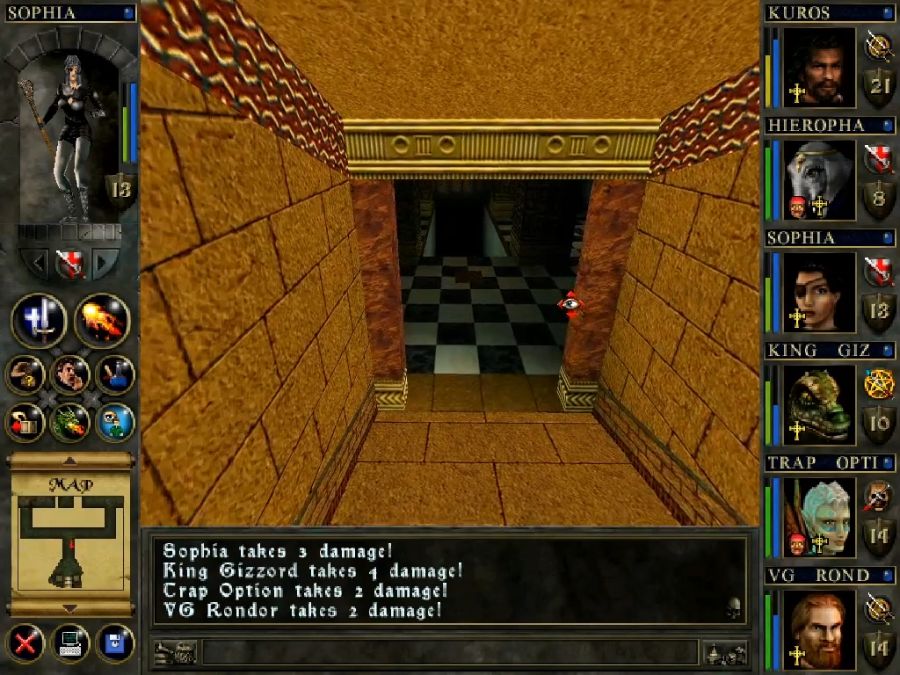

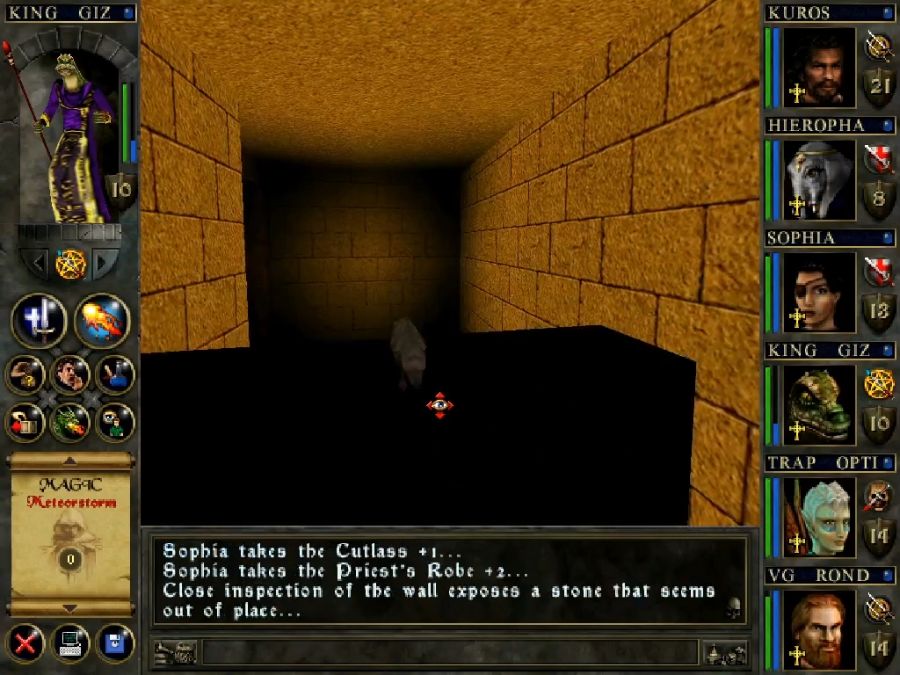
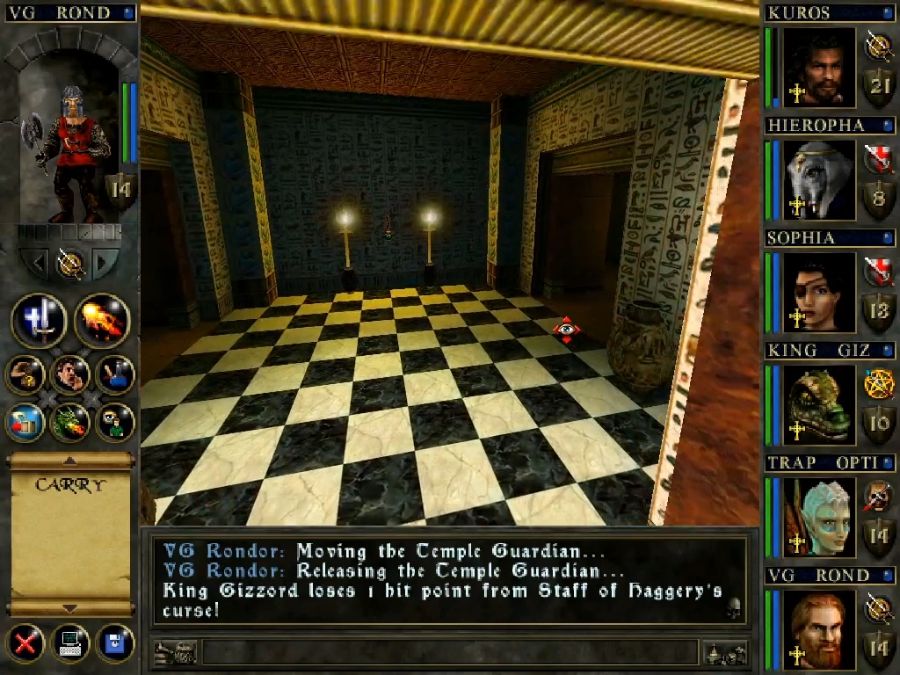
Now we're getting to a slightly fancier part of the shrine. This room has the big obvious stairs down, a doorway on the right and a "hidden" doorway in the right-forward corner.
I'll check the side path first.
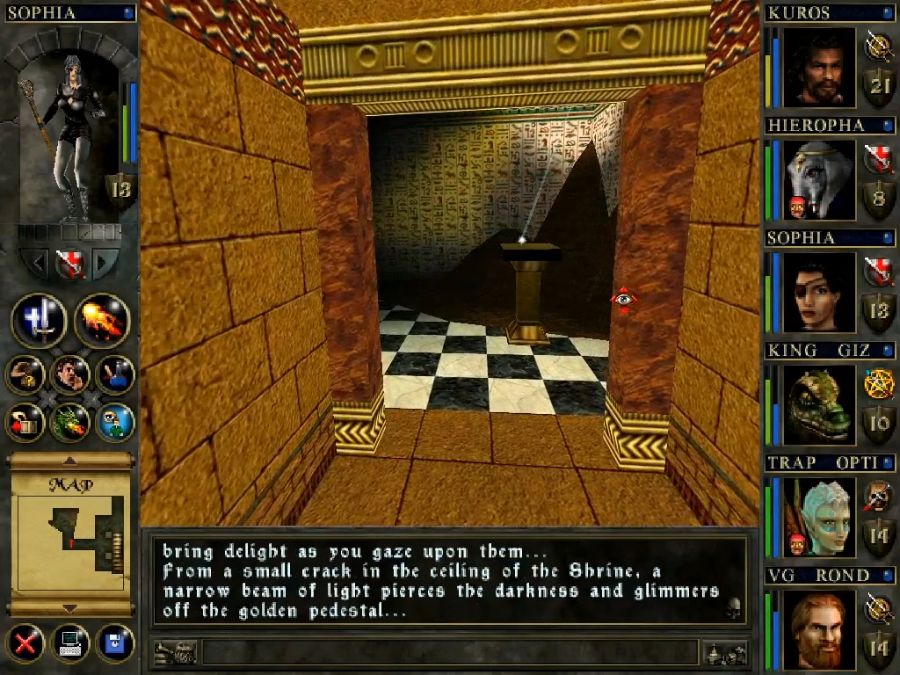

Predictably, the ray of light is needed for completing the dungeon. The hole in the wall not so much, but I think it just spawned this pack of tigers when I turned my back on it.
Normally a completely meaningless encounter but.
Guess who got a level up? Sophia that's who.

Thaaaaaaaaaaaaaaaank fuck. That saves me a lot of time and bullshit.
Even just in the 30 or so seconds it takes to apply the level-up points, another pair of tigers have spawned and promptly gotten stuck in a doorway. The spawns for this area seem completely off the charts, like, this dungeon and the Skull Castle definitely feel crazier about it than all the others, or possibly it's just a result of the more straightforward level layouts making it simpler for the monsters that do spawn to path to the party.
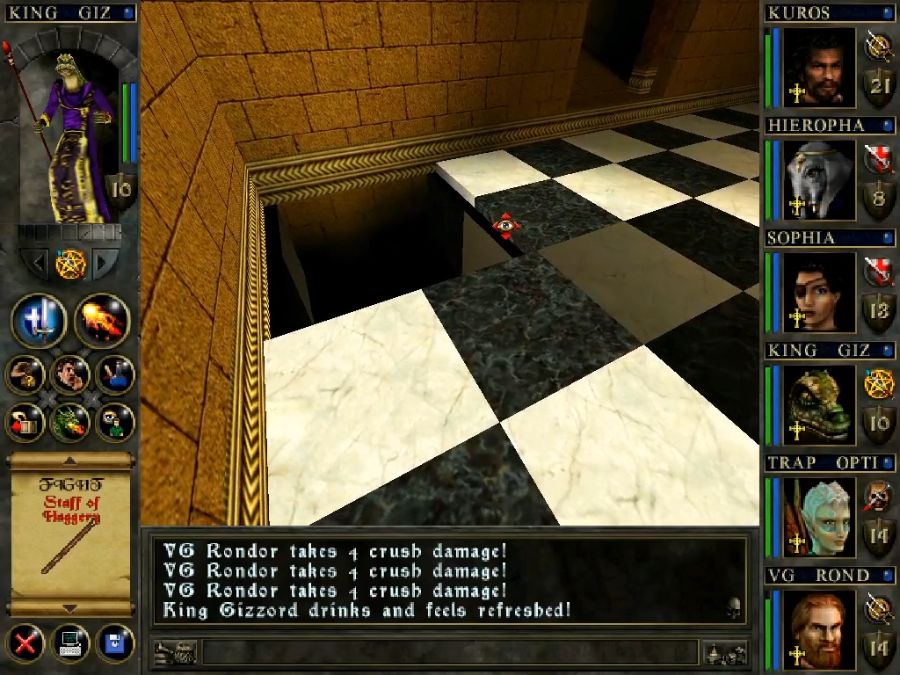
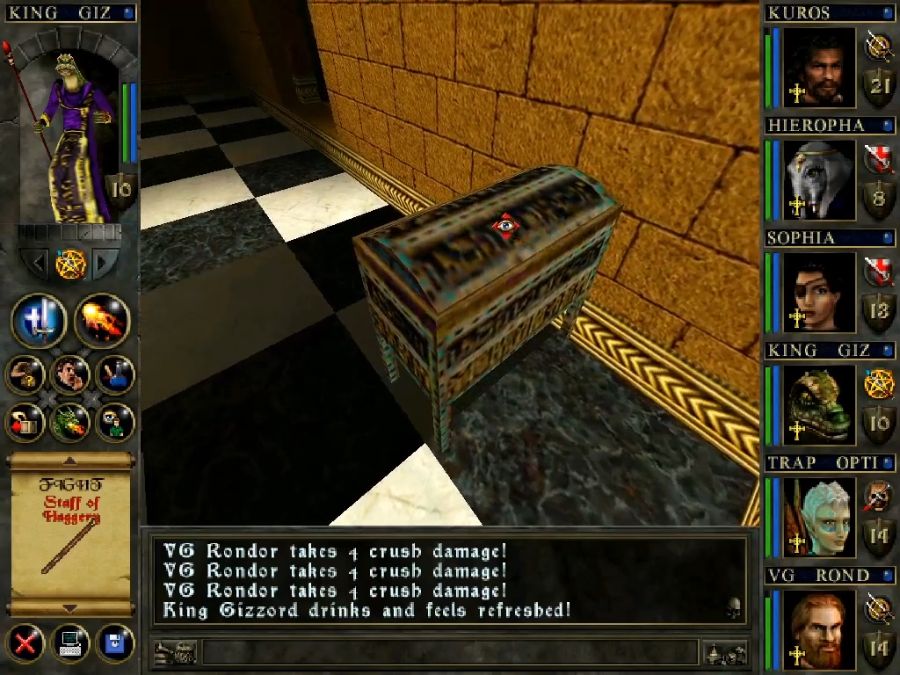
I run back real quick to the chest I couldn't open because of Trap Option's KO, it's funny, because I had no idea anything important would be in it, but there you go!
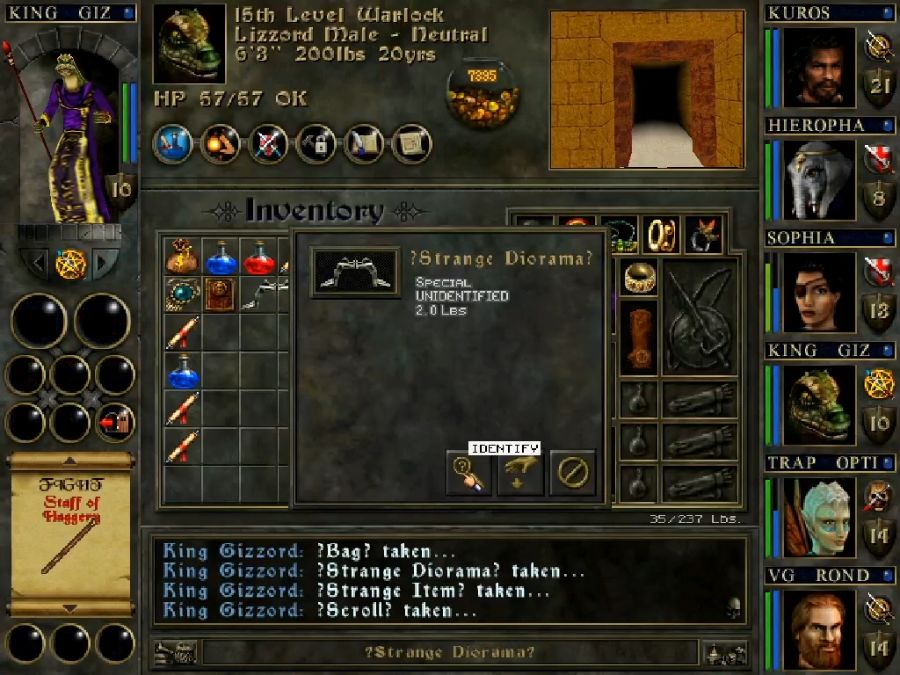
Though maybe at some subconscious level I had twigged to the fact that it was the only chest in the dungeon using the "old" style of chest rather than the new "egyptian" style chests that're otherwise all over the place.
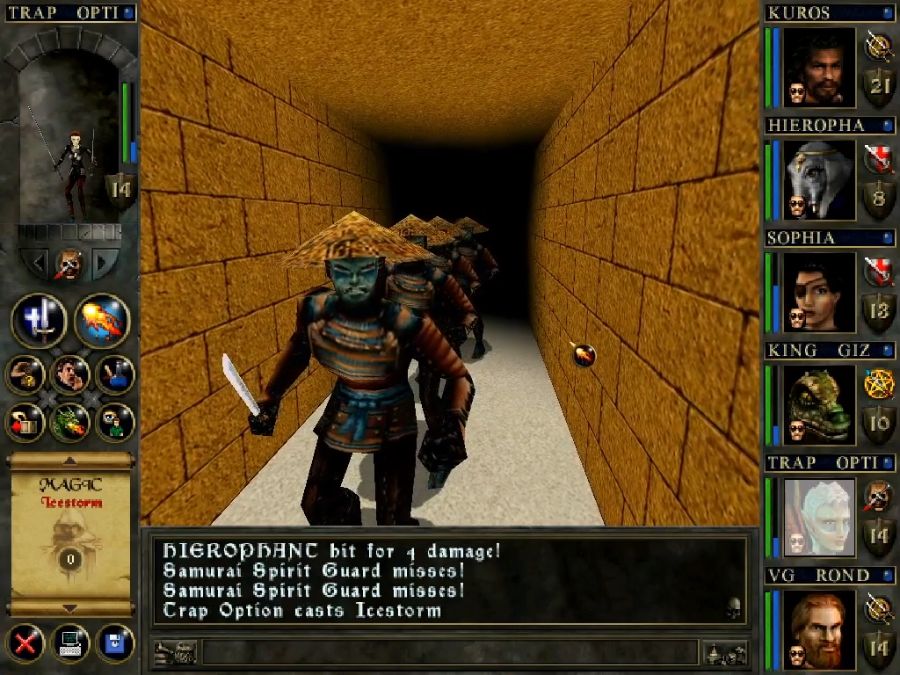
On the way out I run into another pyramid resident, a parade of undead samurai. Which is kind of weird, really, Torin is the only living samurai we've met, and he looks exactly like the undead samurai. I always assumed they had the greenish-blue blotchy skin because they were undead, but I guess maybe they're actually meant to be masks? Who can say.

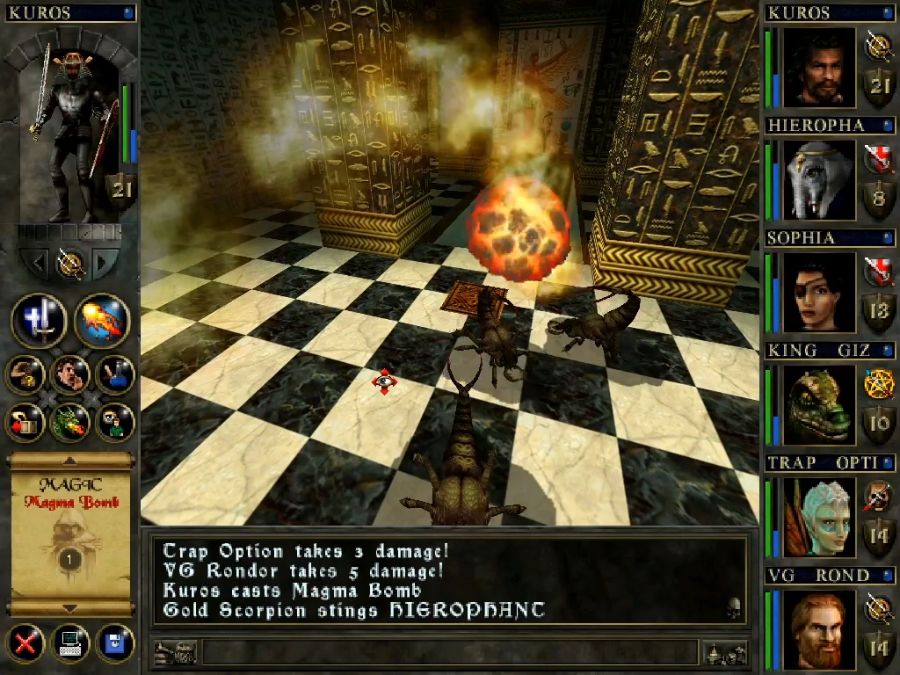
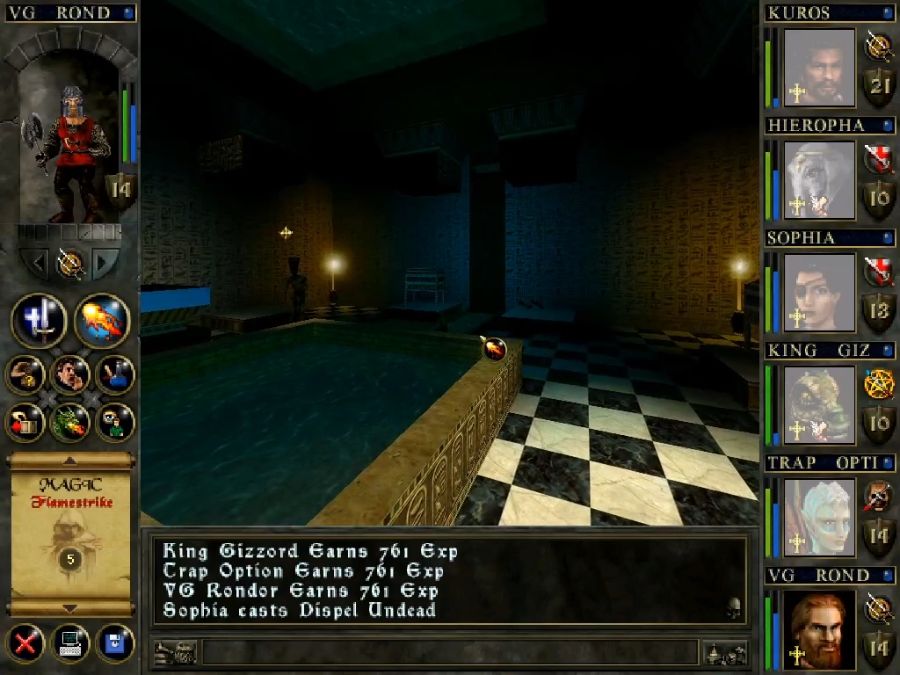
I get ambushed by a pack of scorpions as I get back on track and decide to blow them up with a Magma Bomb rather than a Flamestrike, to ensure that they die, and in the process discover another bug/feature of the game.
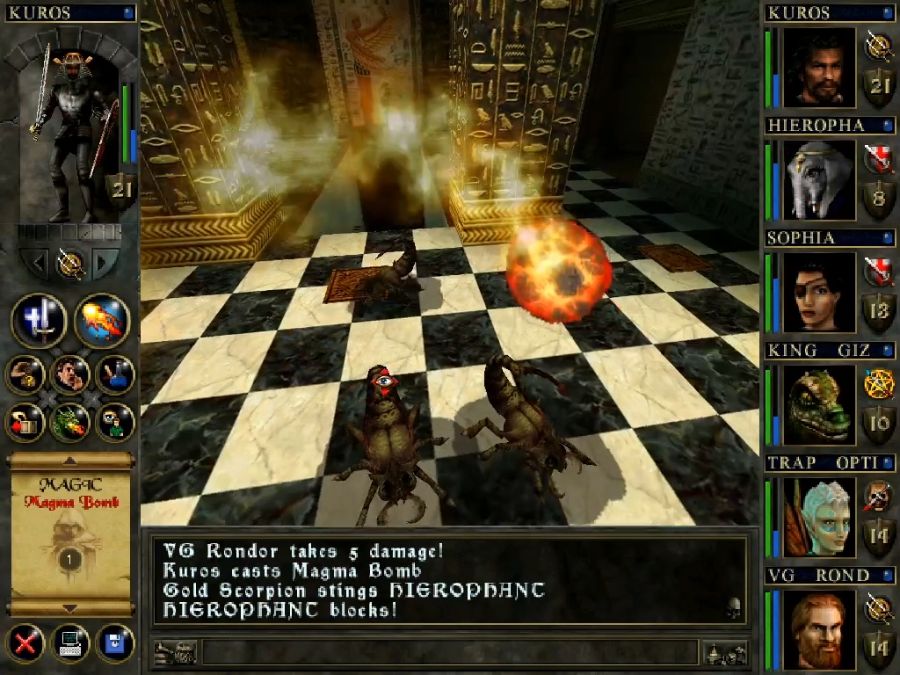
See, Magma Bombs proceed in a sort of bouncing pattern rather than flying straight at the enemy, so if the enemy is insufficiently human-sized/shaped, it might bounce over them, like in the case of these bugs. It then continues to ricochet for an unspecified amount of time until it explodes, which feels somewhat silly.
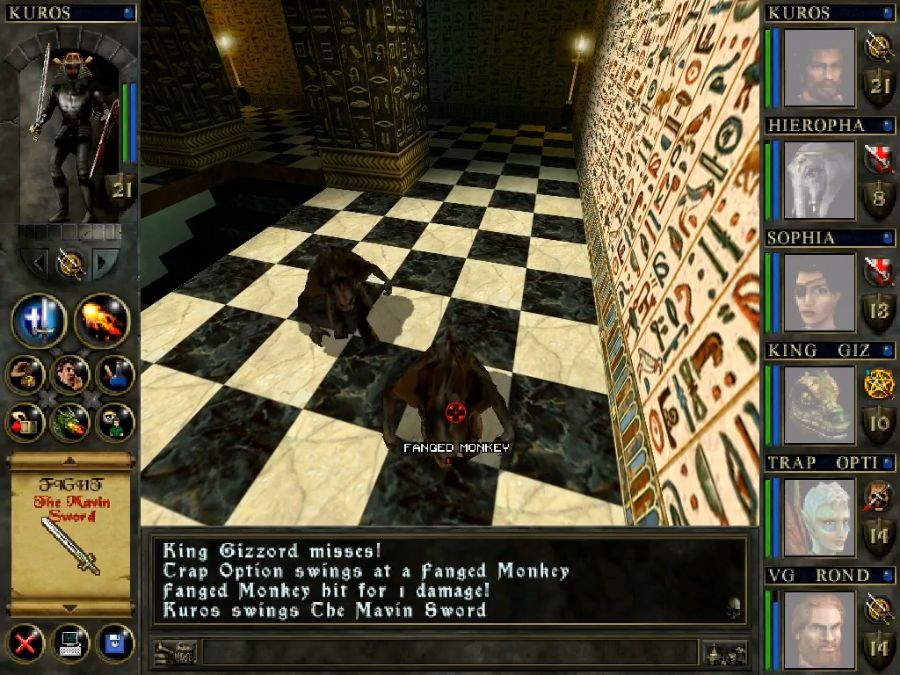
Before I can make it out of the room, I then also get attacked by monkeys, and I think this is the first time I notice that Trap Option is doing unusually low damage. Plus it doesn't say he's swinging his usual weapon, the Robinsword, at them.
Sadly my brain doesn't fully register it and I proceed to the "secret" exit.
Later, when I actually check up on it, it turns out that the game just straight up deleted his fucking mainhand weapon. No enemies appear to have stolen it(I would've found it on their corpses in any case), and it never displayed the red boorder in his inventory that would indicate it had suffered any durability damage. Just fuck me, I guess.
It's a physical object you can shift, and, uh, yeah, absolutely dogshit lazy hiding of this secret exit, though it kind of makes sense because it doesn't actually hide anything, it goes to the exact same location as the main route except for stopping by one small intermediate room with a chest in it.

Honestly I wouldn't even be showing this side passage off except for one dumb thing my brain keeps returning to.
See, it has this one Temple Guardian, well, guarding it, right? Nothing especial about him.
Goes down like all the rest to a bit of clonking and bonking.
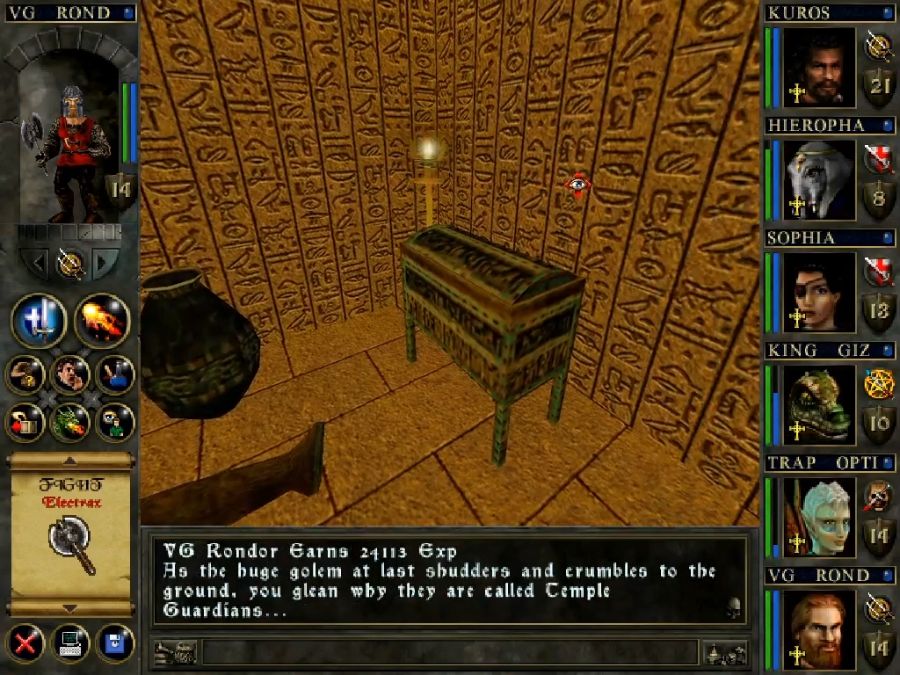
Except for this bit of fucking narration. Why does it suddenly become obvious to me why they're called Temple Guardians? Is there something to it beyond them being in a temple and guarding it????? What the fuck are you on about, Mr. Narrator Man?
Ahem, anyway.
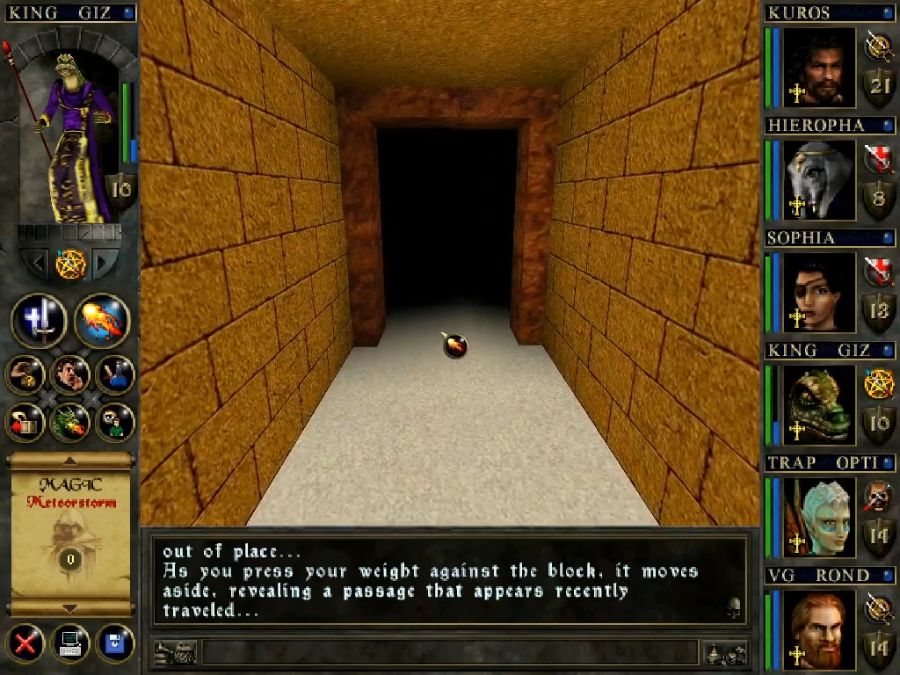
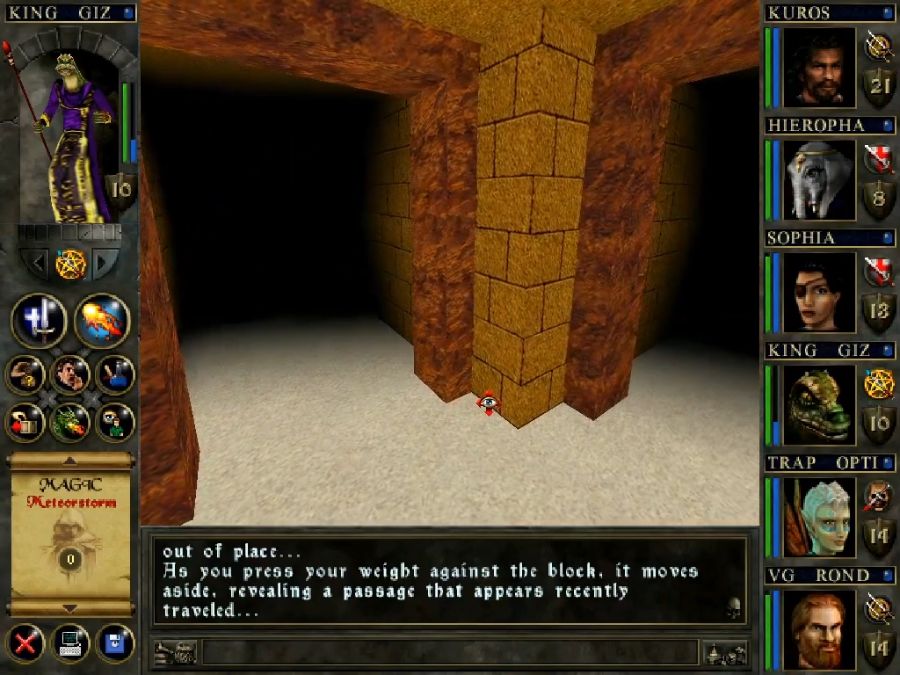
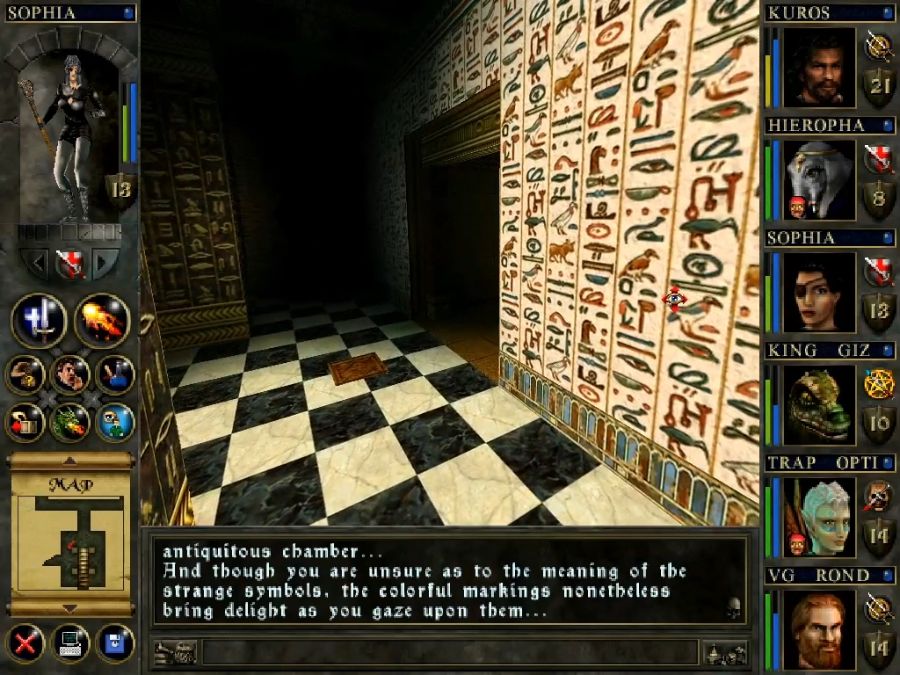
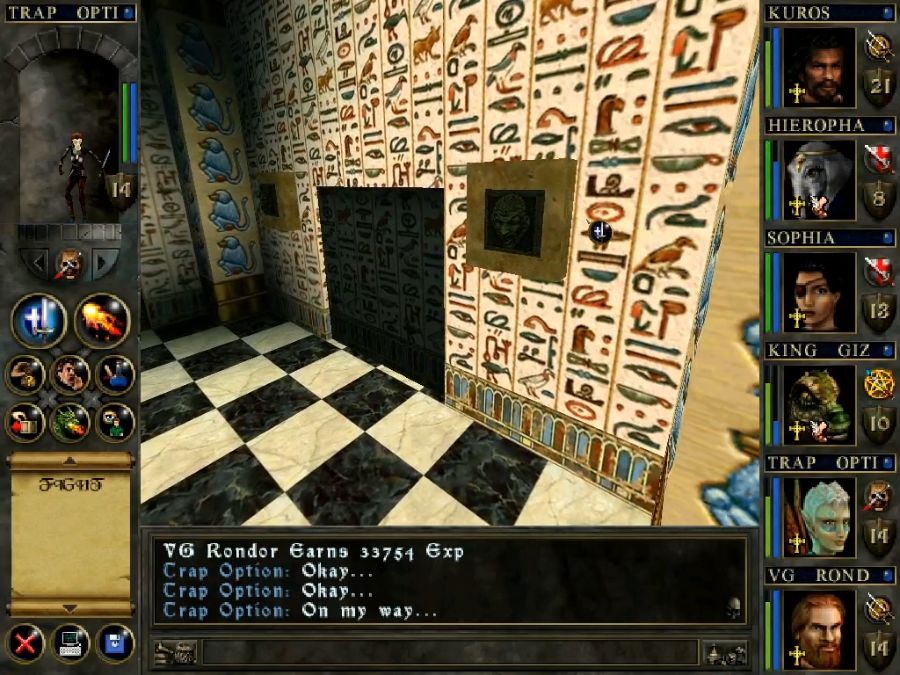
We arrive behind another statue cleverly "hiding" a passage, shift it aside, step out and turn right to have a look at the room.
Now what you're meant to do is completely ignore this room, step across it and shift another statue hiding a secret corridor.
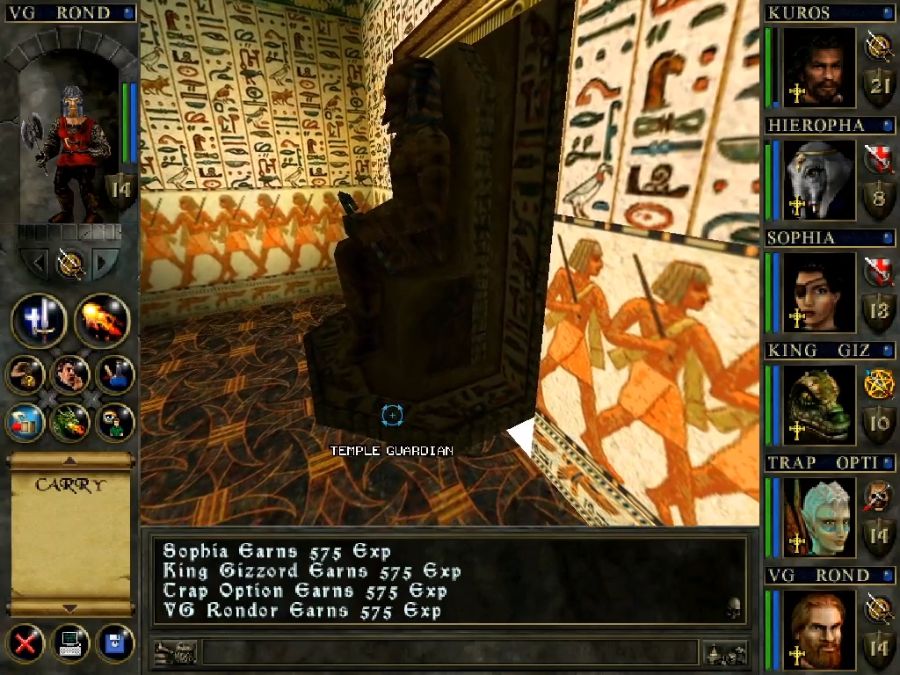

Like so. Because you can't actually complete the main section of the dungeon yet until you've been down this way and, in fact, have left the dungeon entirely to return to the overworld again.
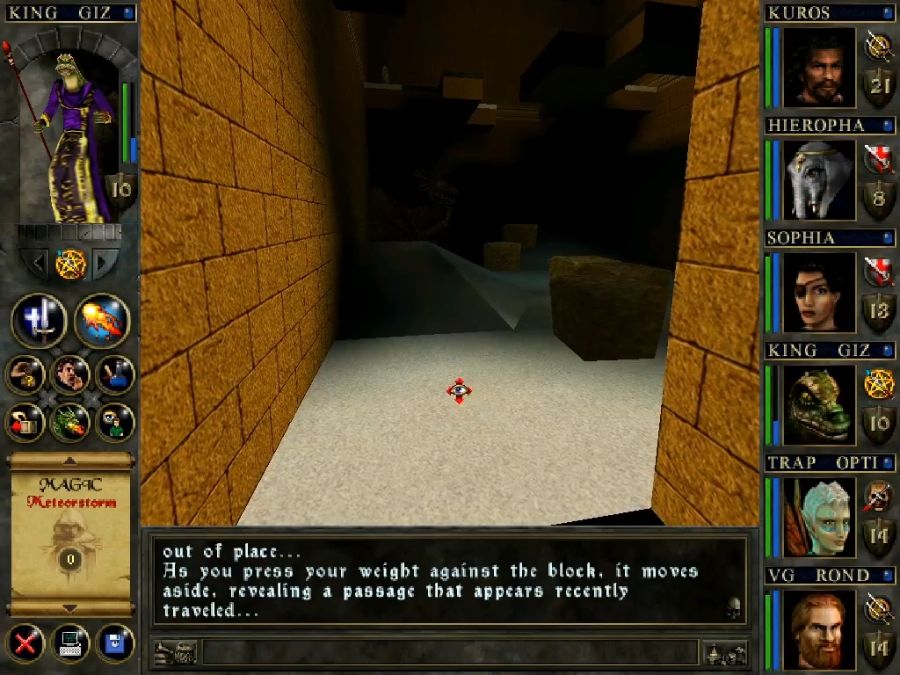
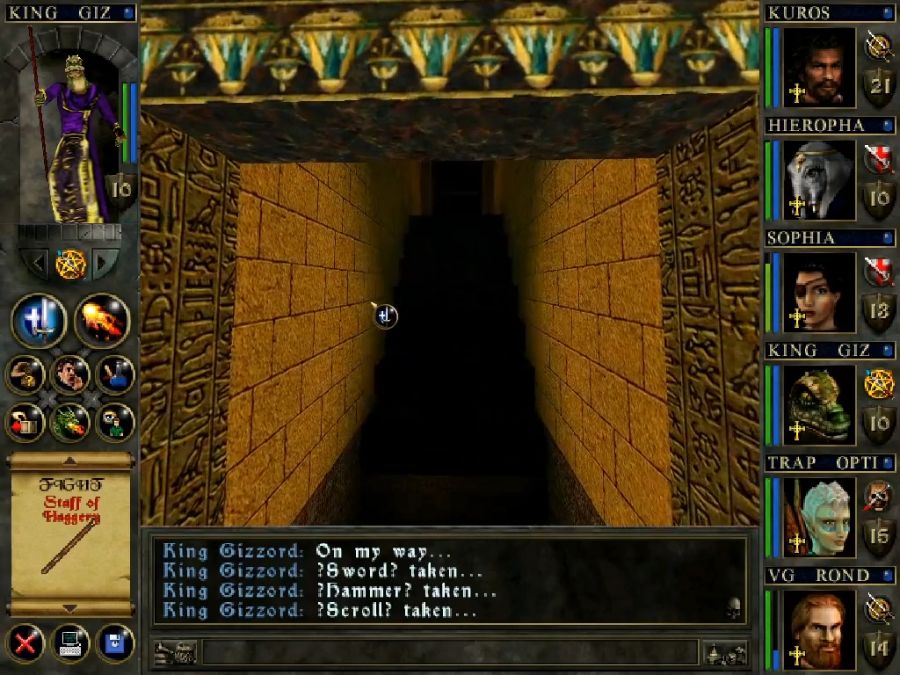
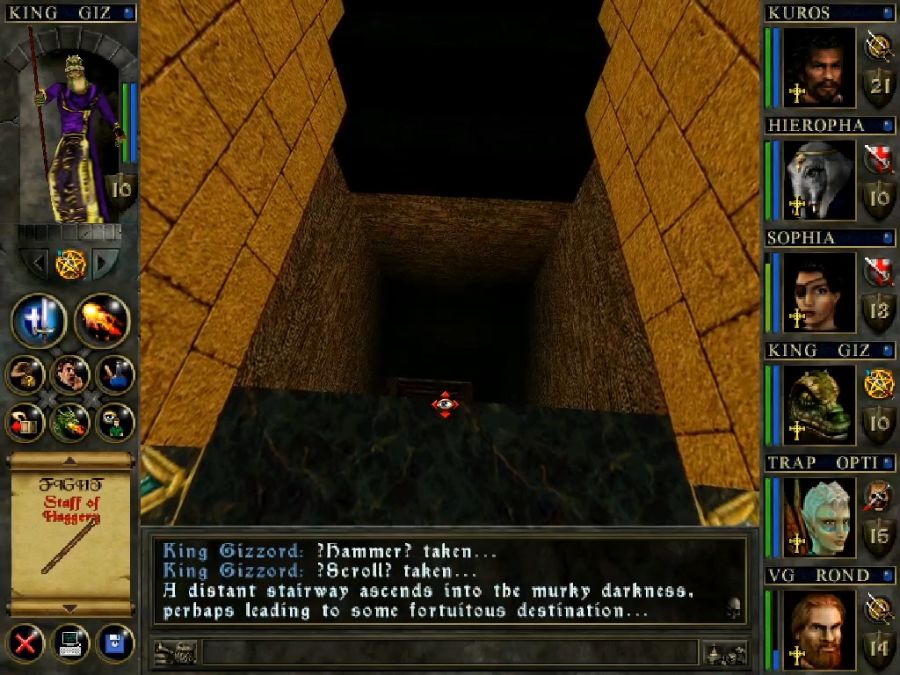
Next is a series of rooms that each have a single button or lever in them, where the "gimmick" is that you go left, pull the lever there. Go back, and then right, pull the lever there, rinse, repeat.
The rooms are weirdly unadorned and I wonder if these dark bits on the floor were originally going to be pressure plates of some kind. Anyway, in one(1) of them we find one(1) whole interesting thing!
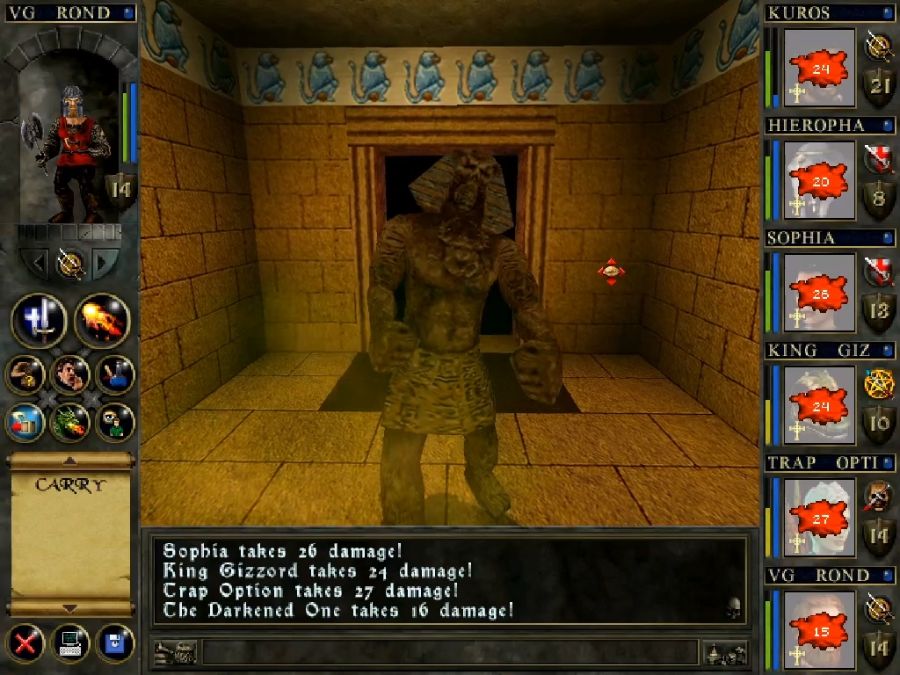
The Darkened One for the Bushi Dojo quest, who turns out to just be a reskinned Temple Guardian that shoots Meteor spells rather than trying to punch us which does, to his credit, actually make him mildly dangerous.

Meteor Storm solves most combat challenges, though, as long as they're not the fucking Leprechaun.
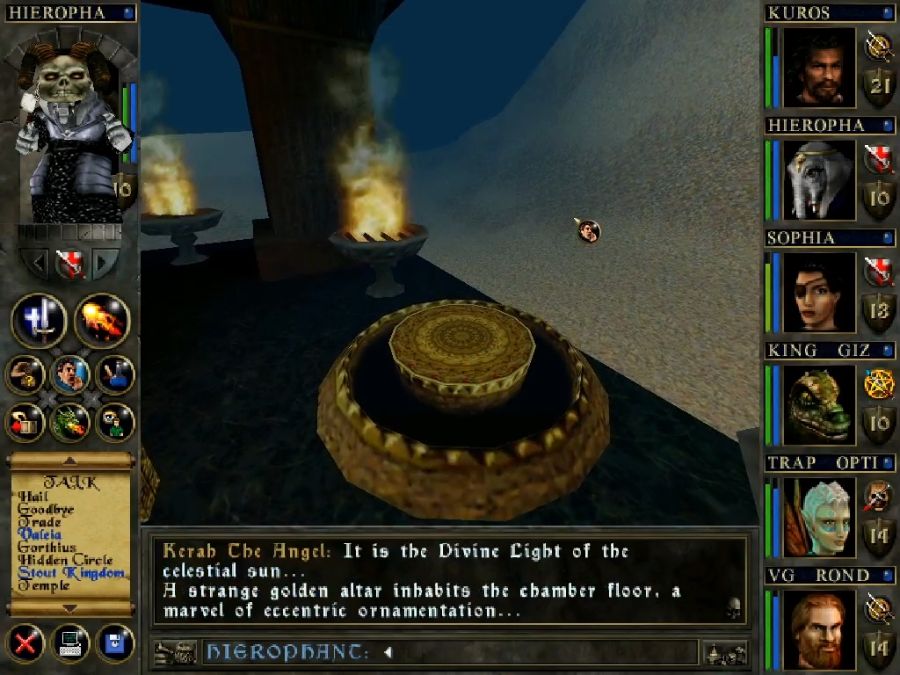
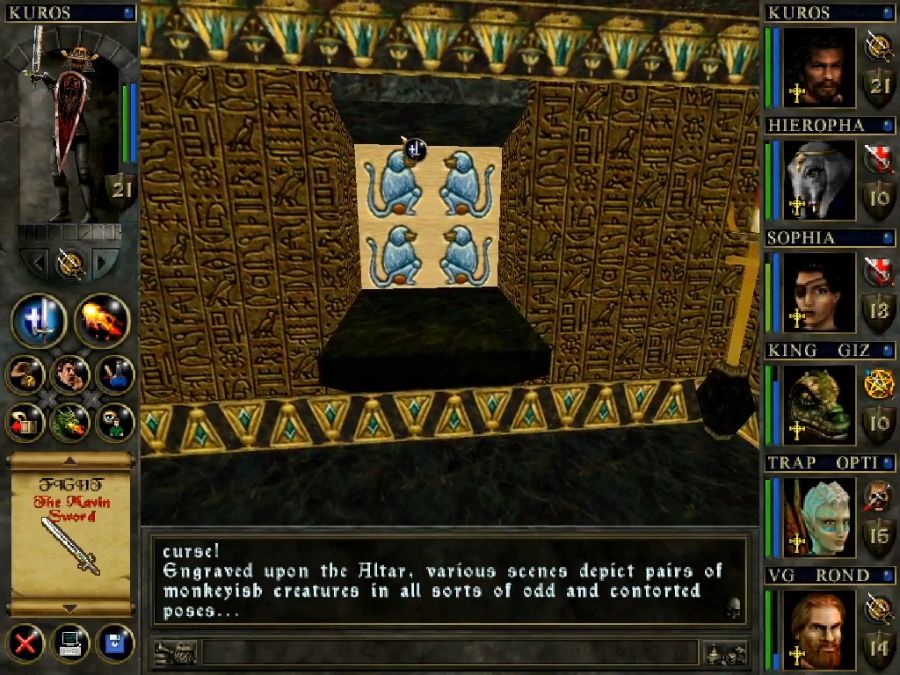
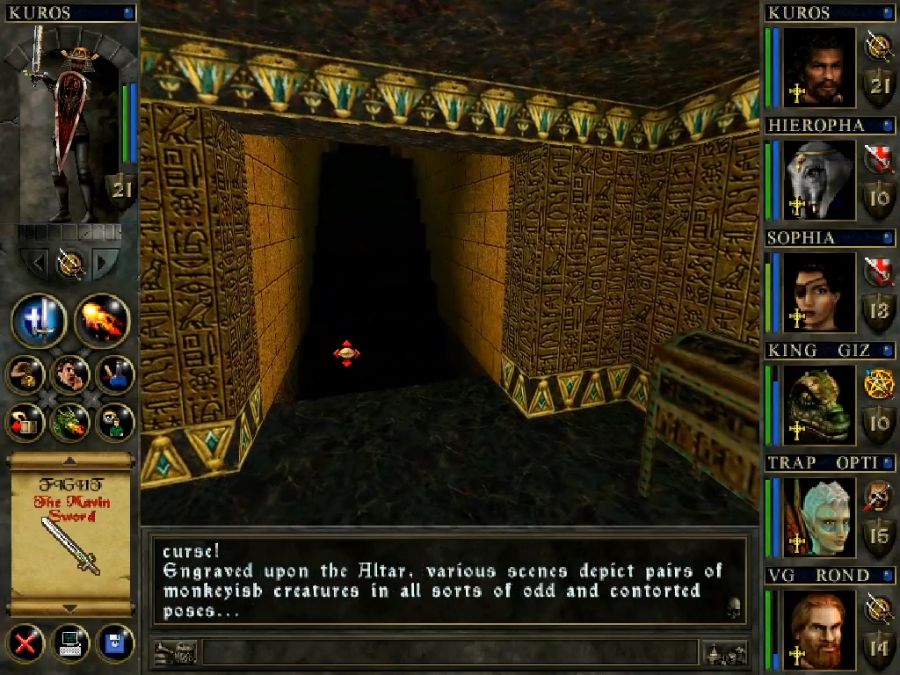
At the far end, this tableau. You'd expect it to be important or something, right? Maybe part of a puzzle? It even has two of those seemingly-interactible Stone Faces one of which was used as a lock to Mada Mabbig's closet back in the Skull Castle!
Ha ha no, it just spawns a couple of monkeys at us as we pass through.


What follows is a number of rooms with more of the same encounters we've already had, until...
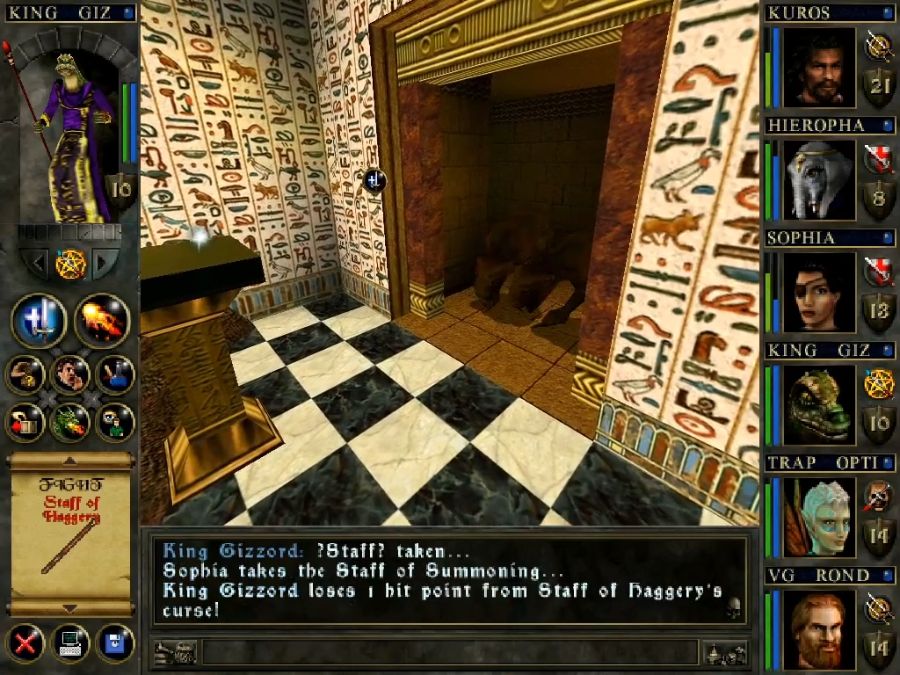
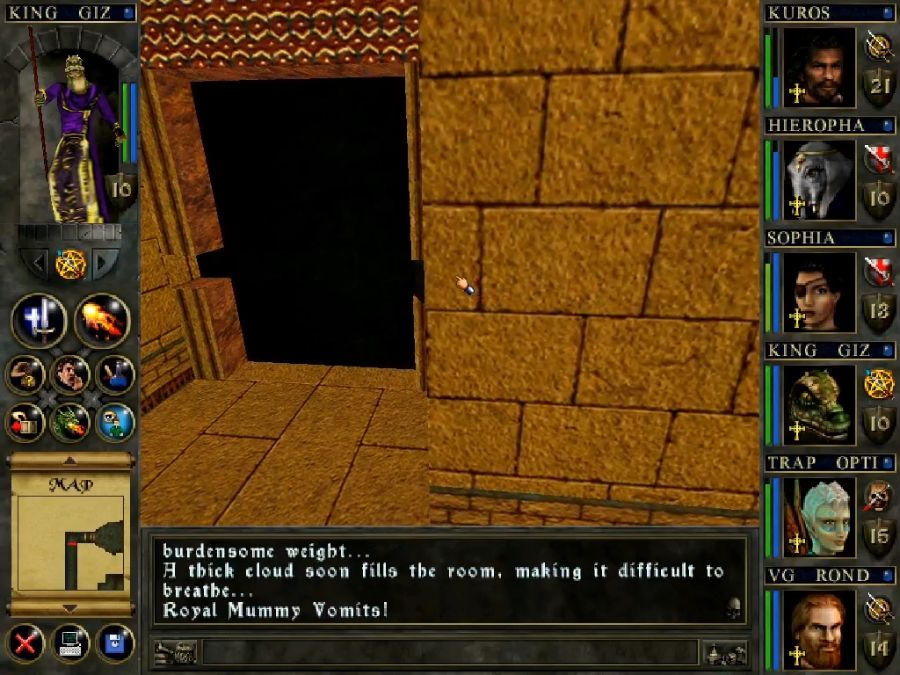
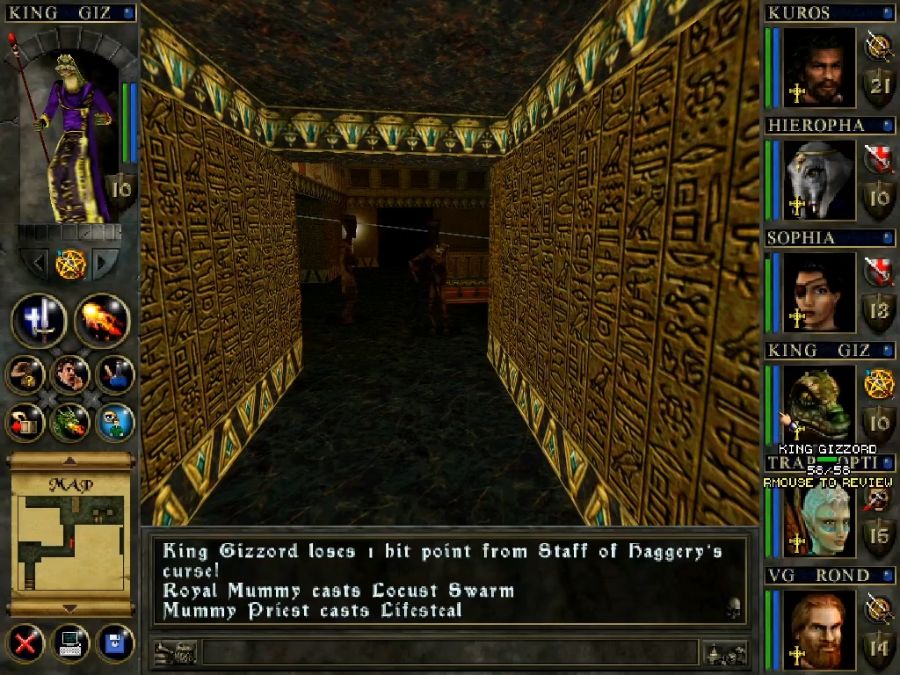
This ominous chamber.
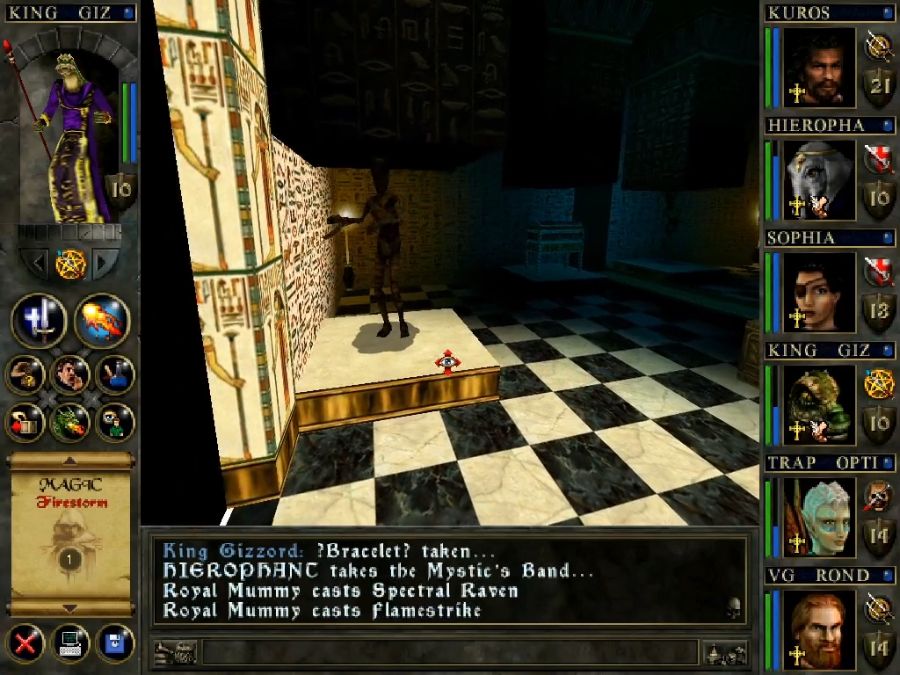
As soon as we step inside, the pillars glide open, exposing Royal Mummies who can throw spells at us. Now. This would be scary if we had a melee-focused party as time spent closing with one was time for the others to pelt us with spells, and especially if the pillars didn't open until we were halfway across the room, putting us right in the middle.
Instead, the surprise blows its load early, and we saunter over to the nearest to give him a beatdown from Sophia and Kuros, while the rest of the party start hurling fireballs and Dust to Dust spells at the remainder, peeling them faster than it takes me to knock over a single Temple Guardian.

And their offensive output at this stage is... not exactly terrifying. That's all the damage one of the mummies' Flamestrikes did. Or maybe Flamestrikes are one of the fire damage options that are coded to interact correctly with fire resistance, and wearing Dragon Plate was what saved Kuros and Sophia from a good crisping.
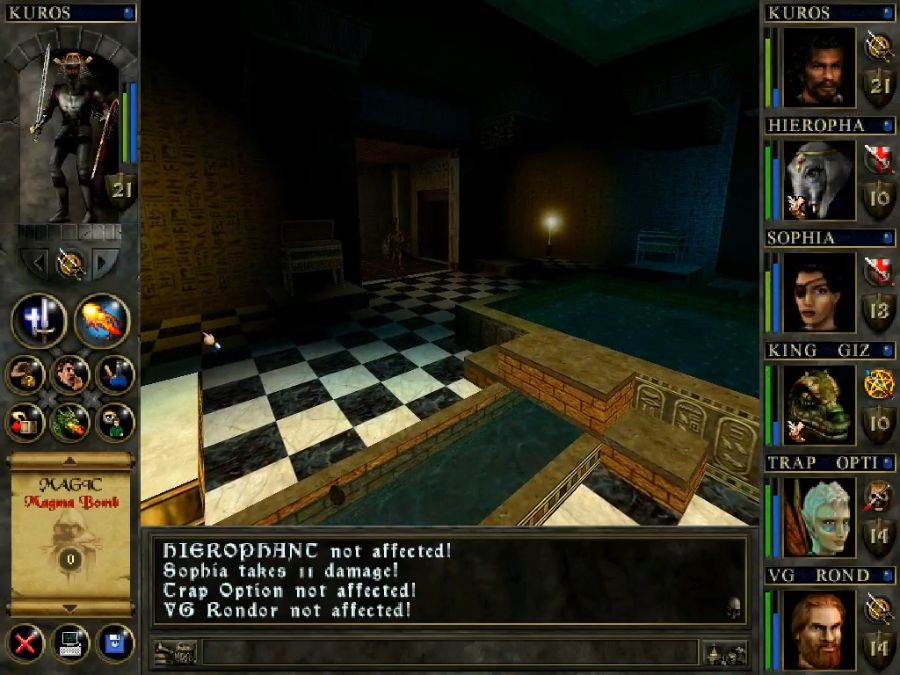

Also check out the background chest clipping through the foreground altar. Quality Design.
Coincidentally, that chest is part of the reason we came this way.
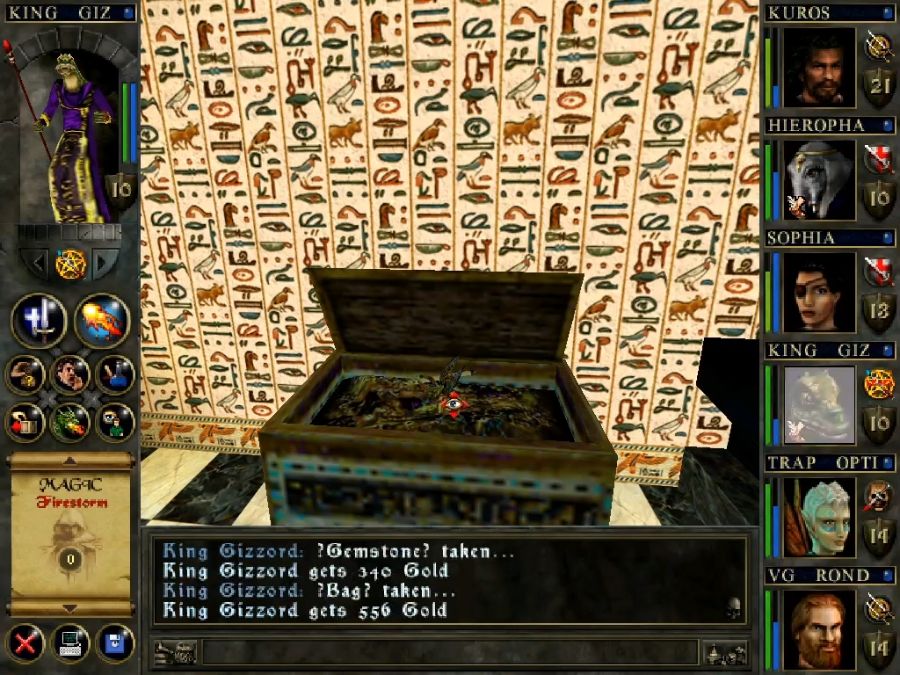
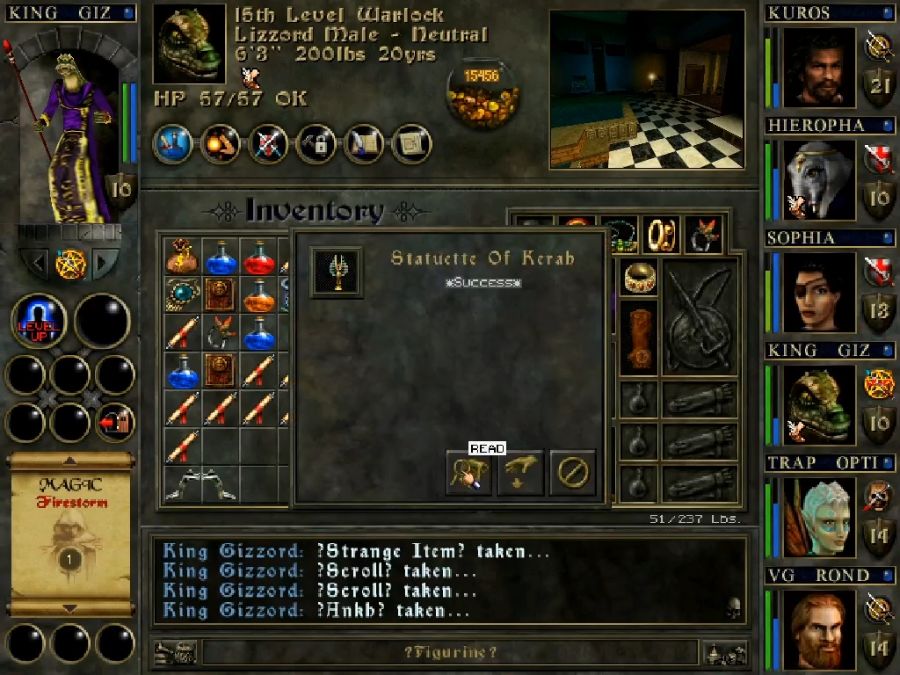
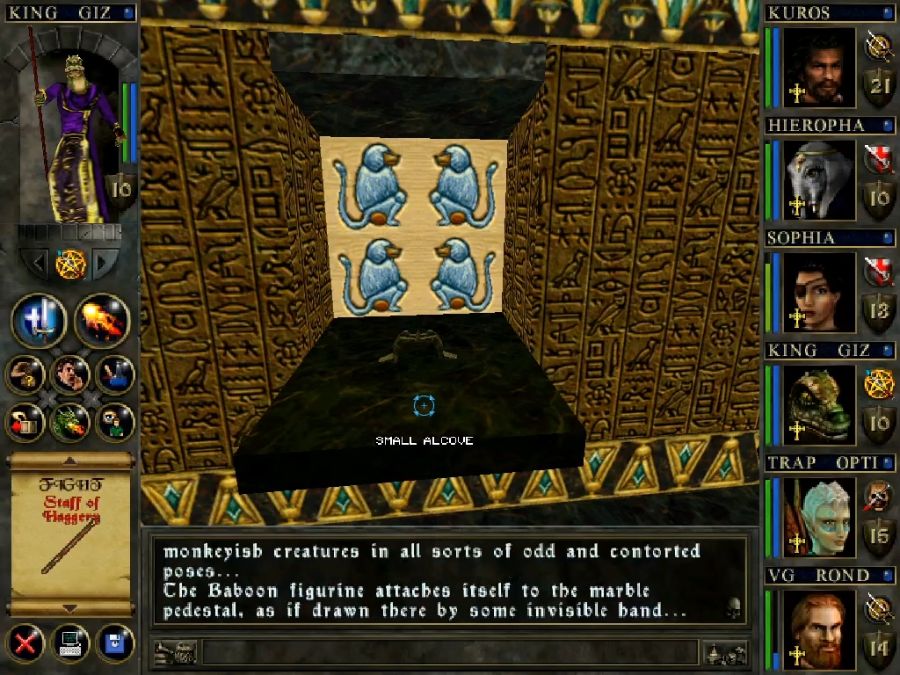
You open it and find this statuette.
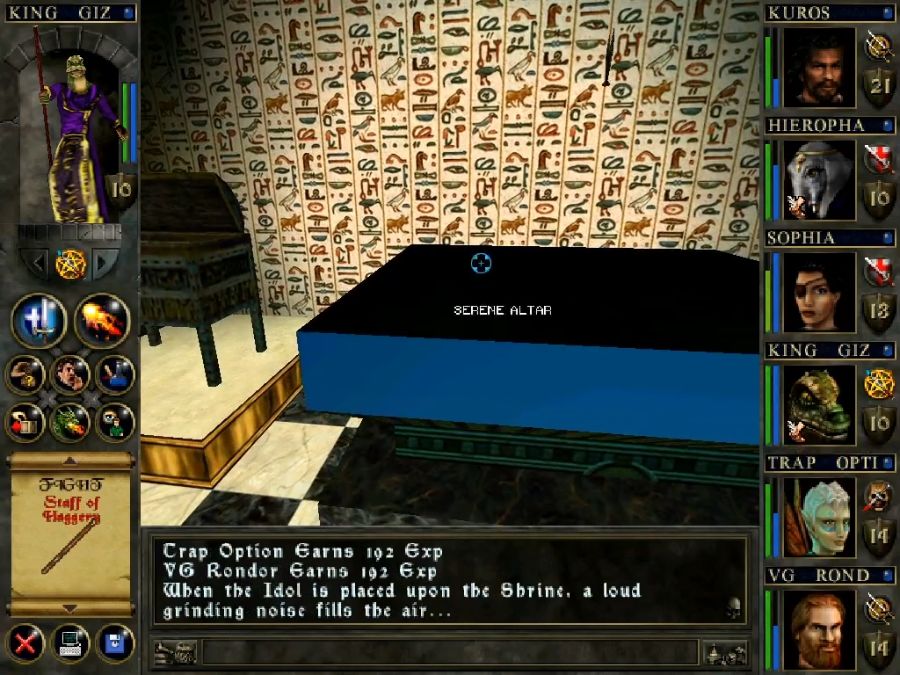
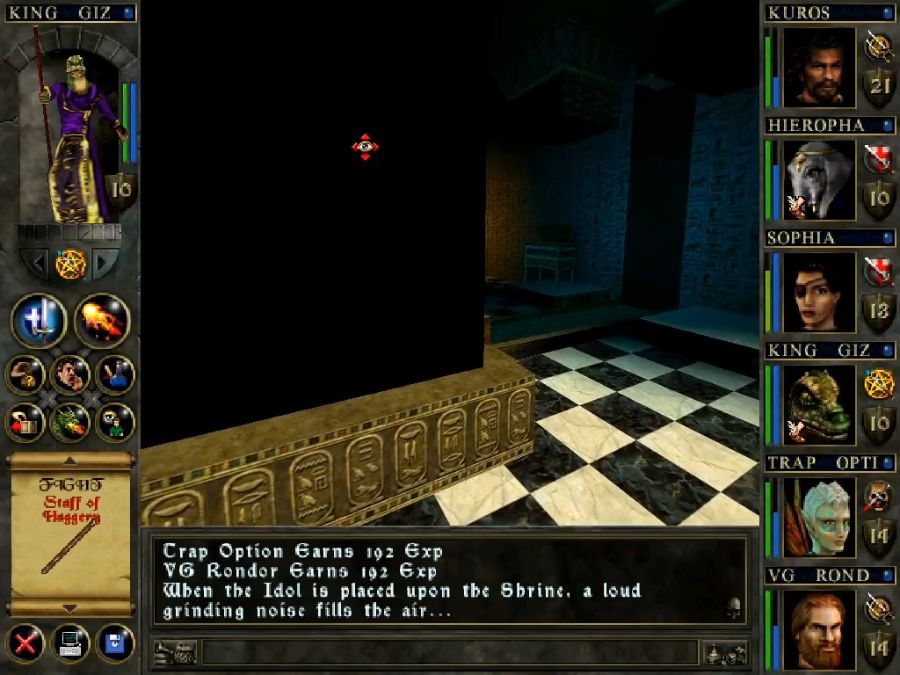
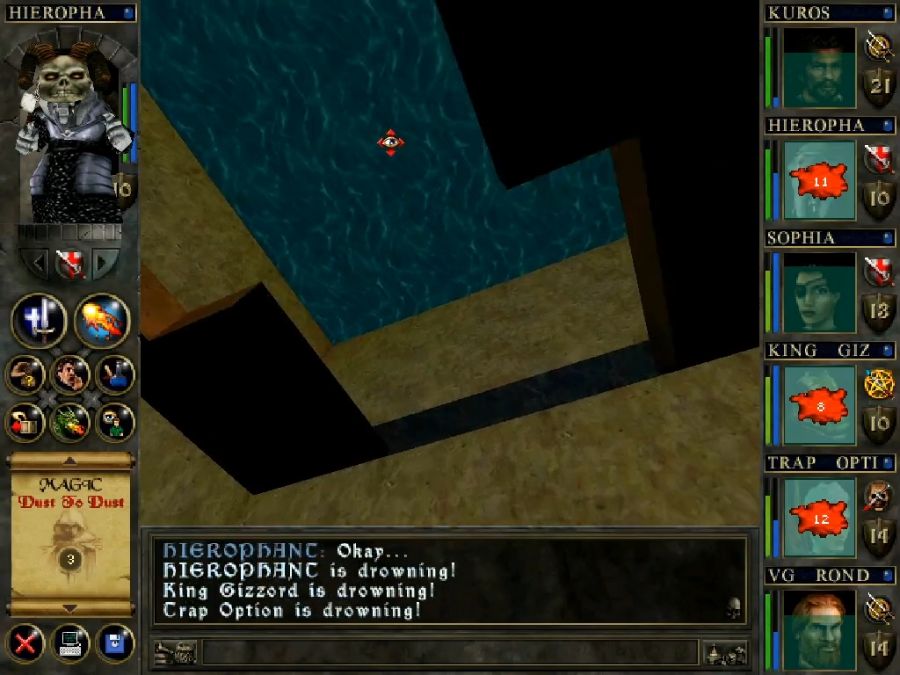
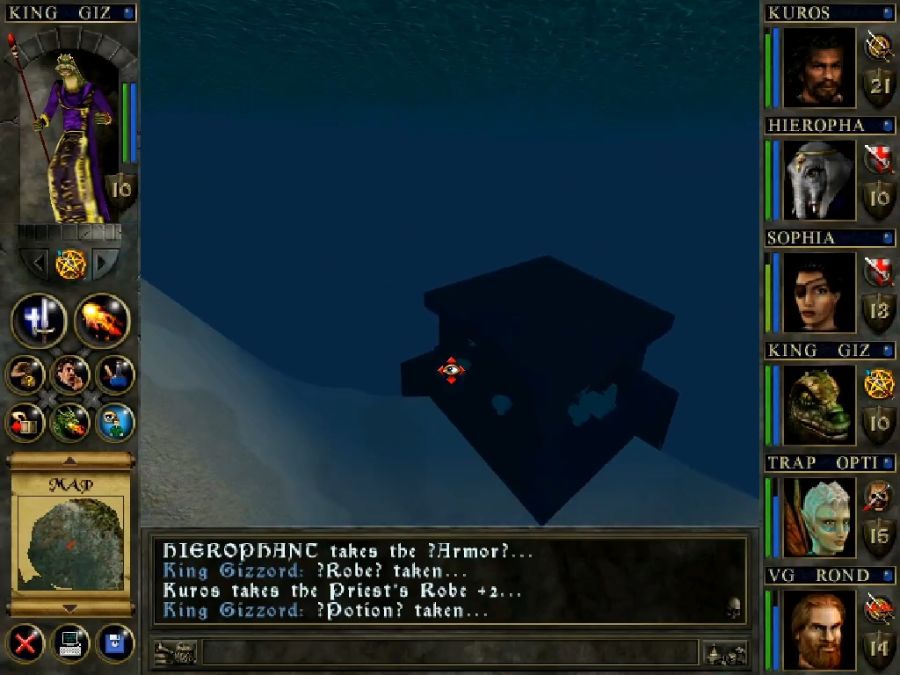
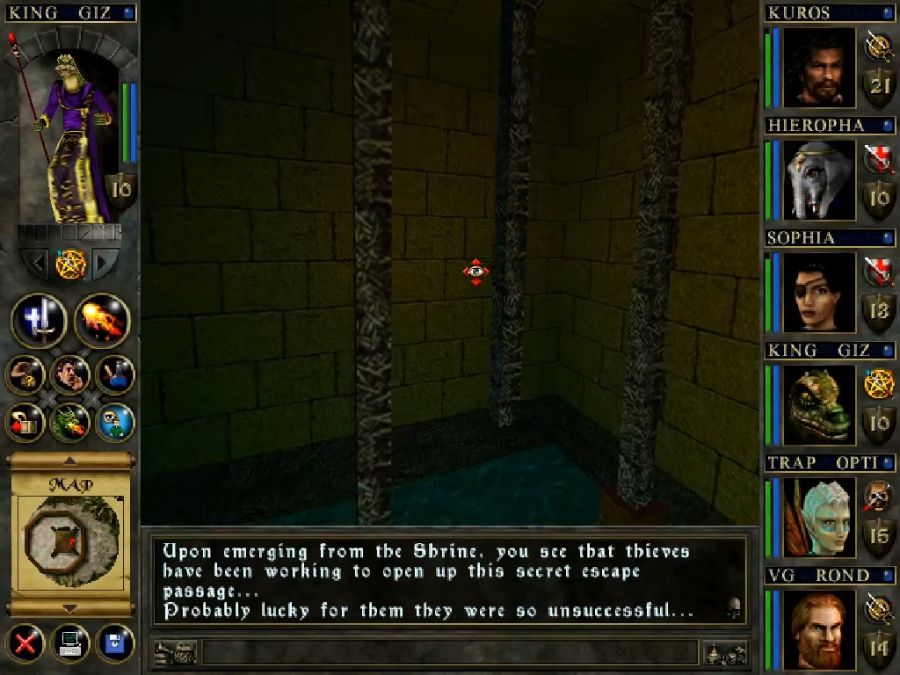
Slam the statuette on the altar and suddenly the wading basin behind you has turned into an elevator.

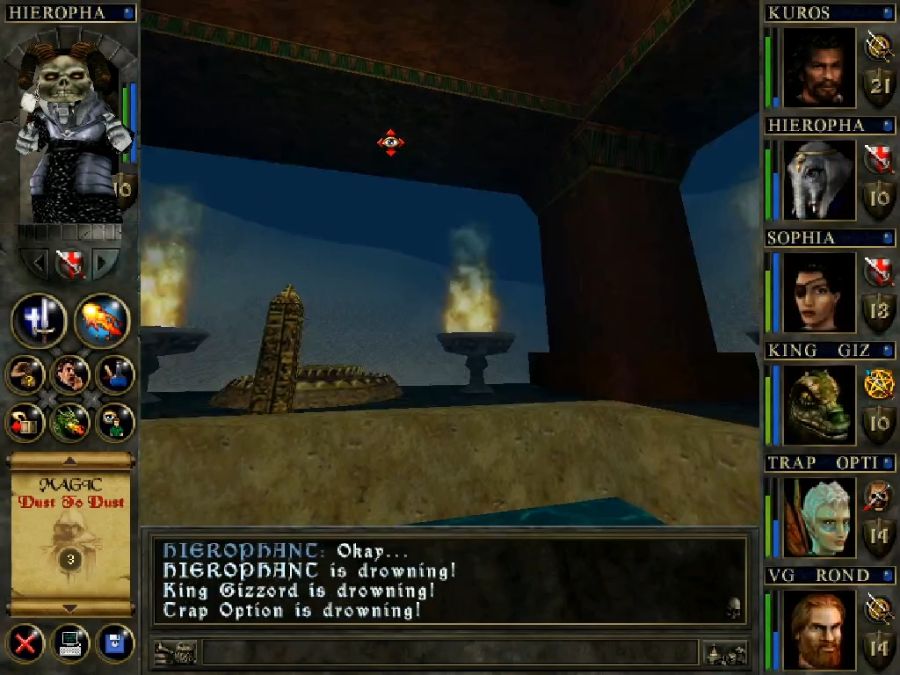
It lifts you up into an inexplicably underwater room where you yank a lever on the wall to let you out before you drown, transitioning the party back into the overworld.
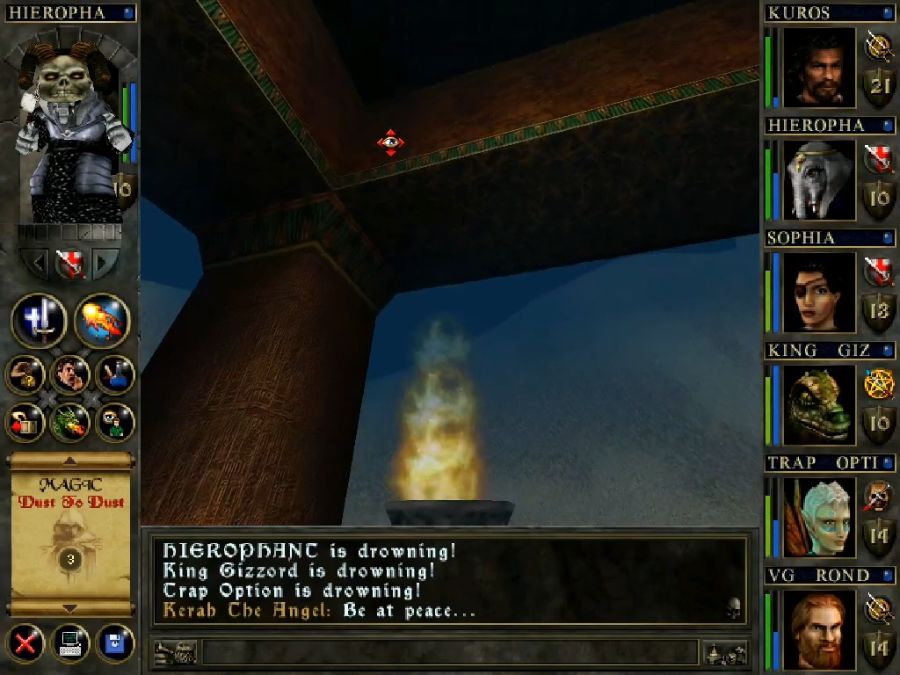
https://www.youtube.com/watch?v=J5a_nnE58nc
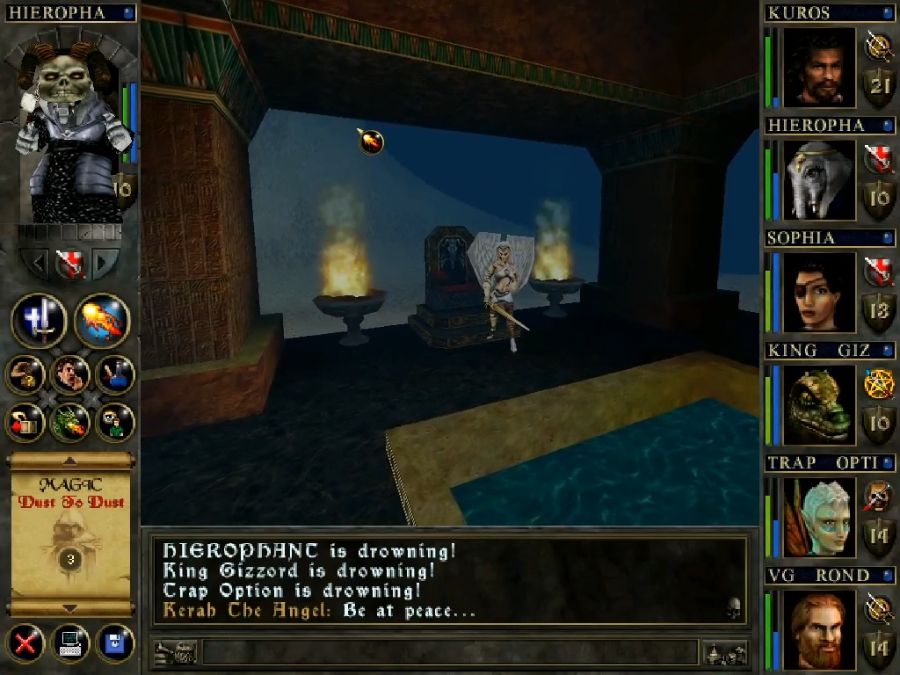
That's, uh, some model. Anyway, technically we don't need to talk to Kerah, but we do need to do something else here.
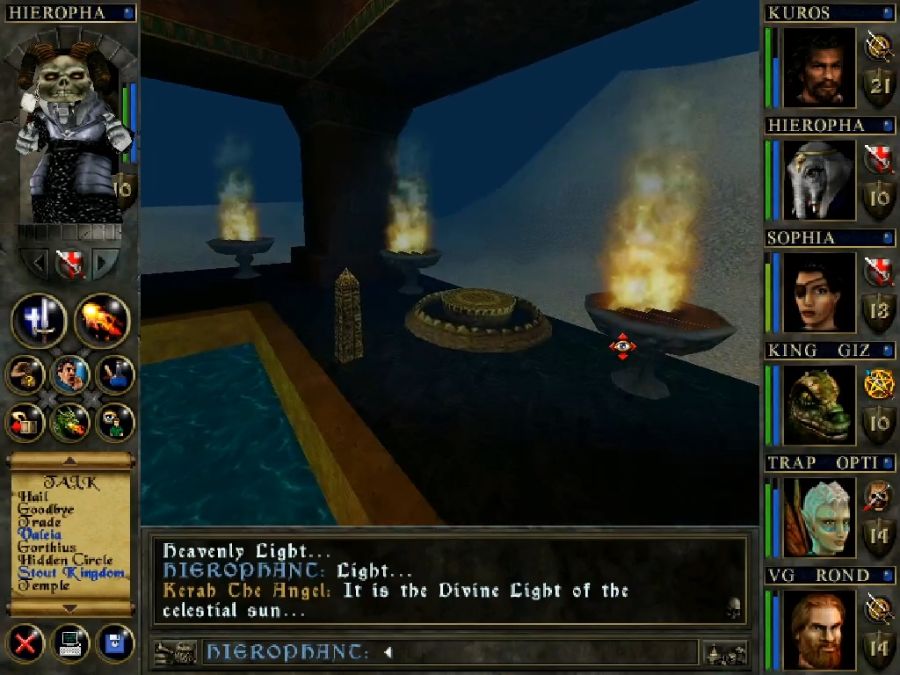
See, it should be super obvious that we need to do something with the light beam down below, and that it's related to redirecting it, but we don't exactly have any portable prisms or mirrors with us.
Instead, you interact with this portal in the corner, which doesn't function when you interact with it, but which does dispense a prism-like object we can use to complete the puzzle.

Far as I'm aware, Kerah never tells you about this nor does anything else indicate it.
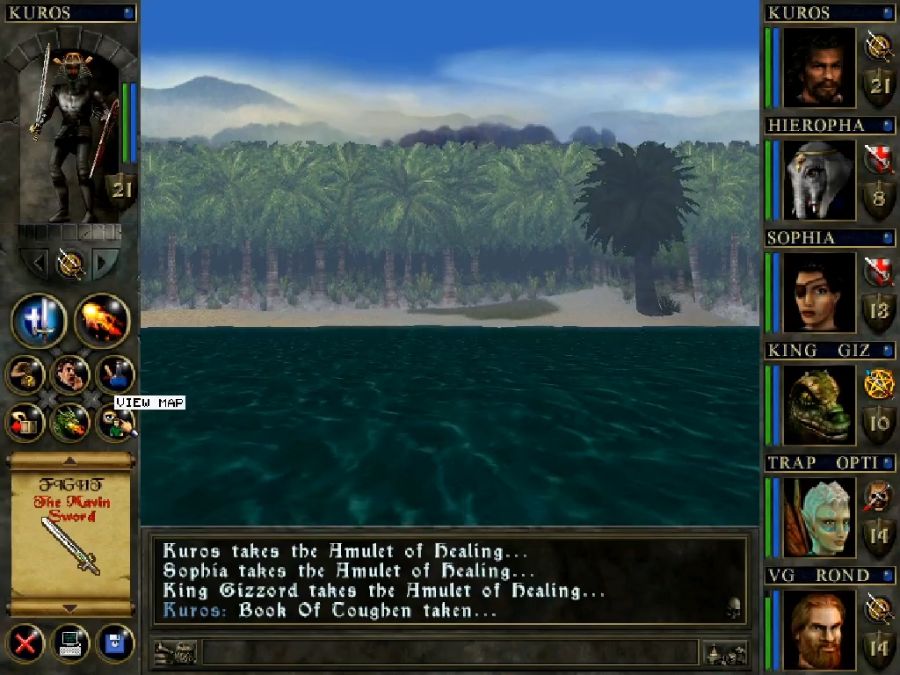
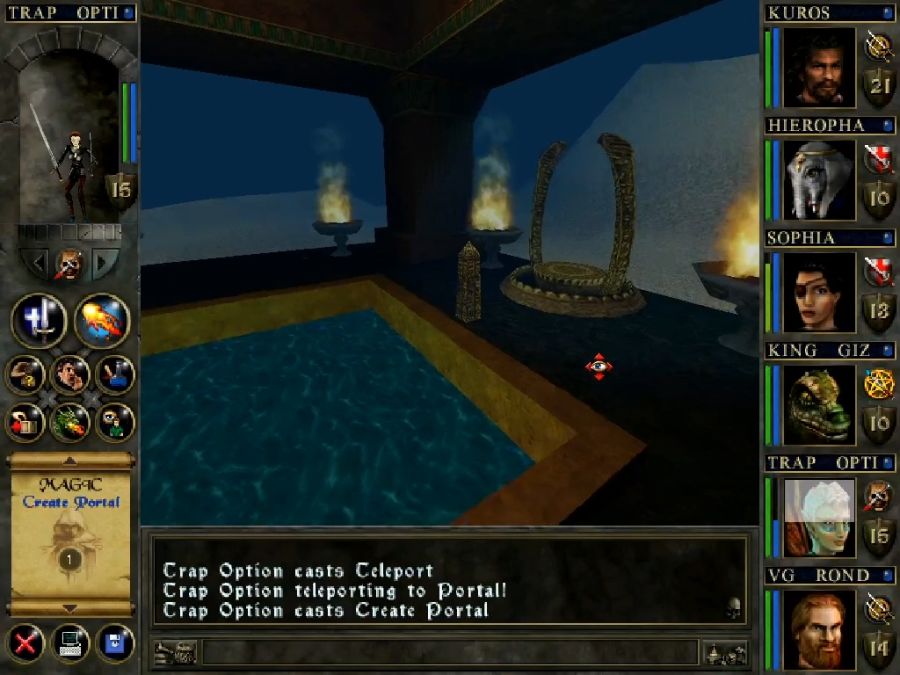
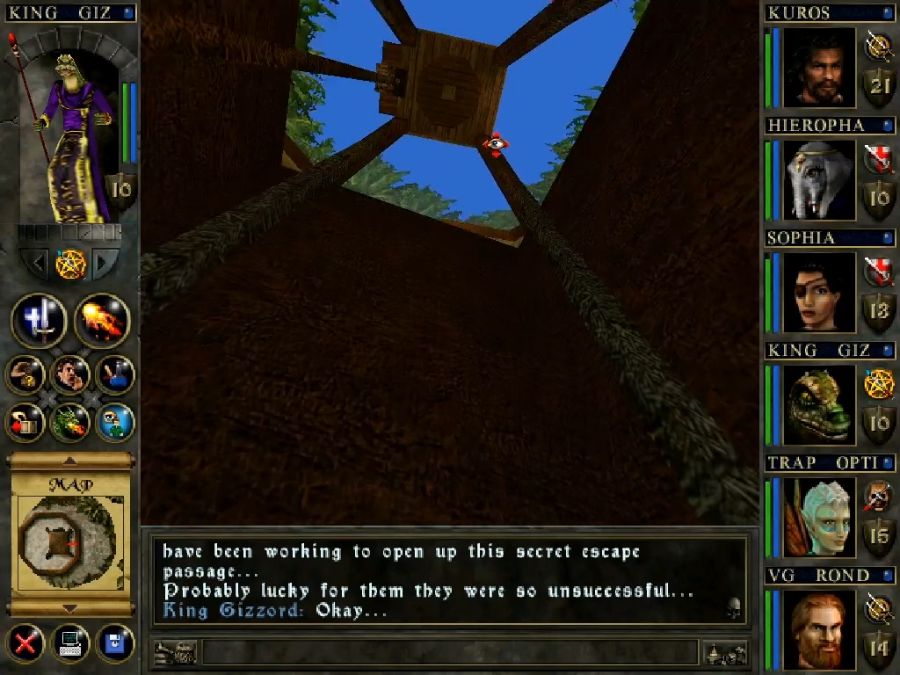
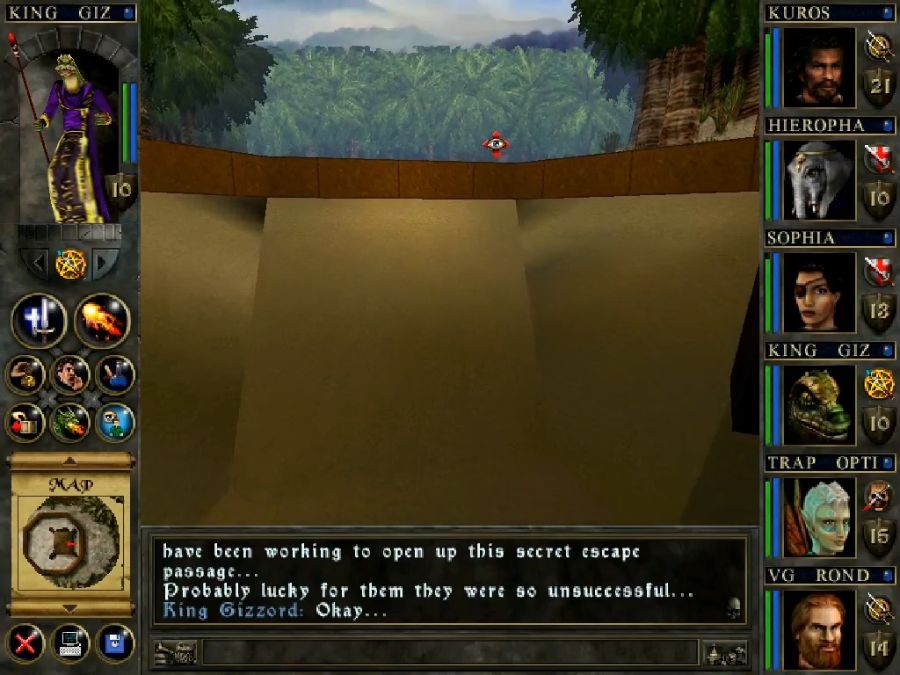
Anyway, outside the "windows" of this little minecraft house on the bottom of a lake is, predictably, water, and we can just straight walk out through them into the lake. We're also technically in the overworld here, so we can and will put down a portal and warp back to town to sell shit after we jaunt outside a bit.

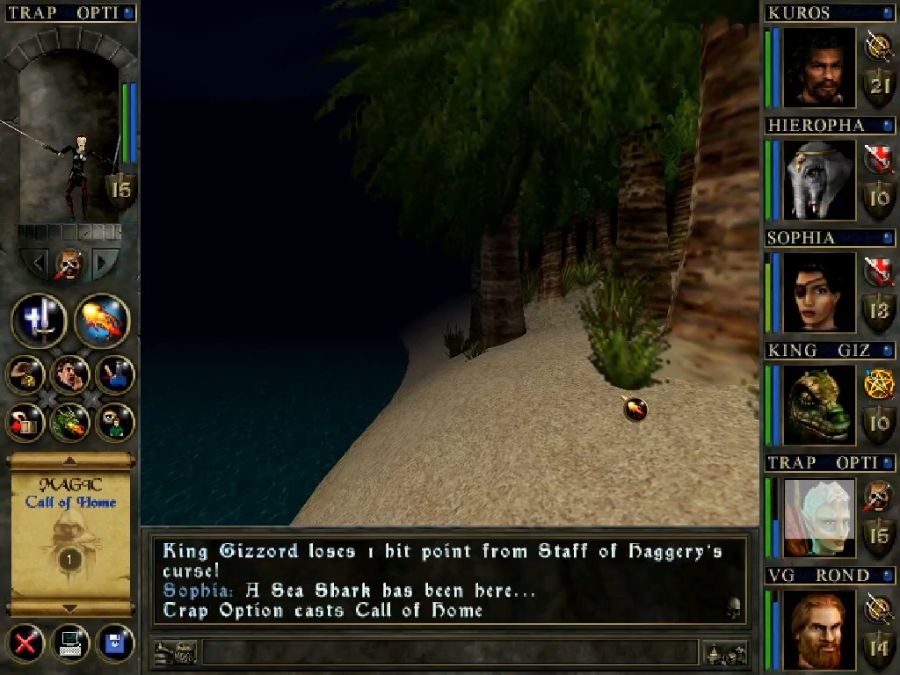
This isn't the exit from the Shrine that actually brings us to the last part of the world map, instead it's just "an" exit that takes us to a lake bounded on trees by all sides and with a single hollow that has the Leprechaun's somewhat underwhelming treasure. There's a magic neklace inside that we can haul back to the thieves' guild for our reward, so killing the Leprechaun wasn't necessary, just a thing I could do for fun.
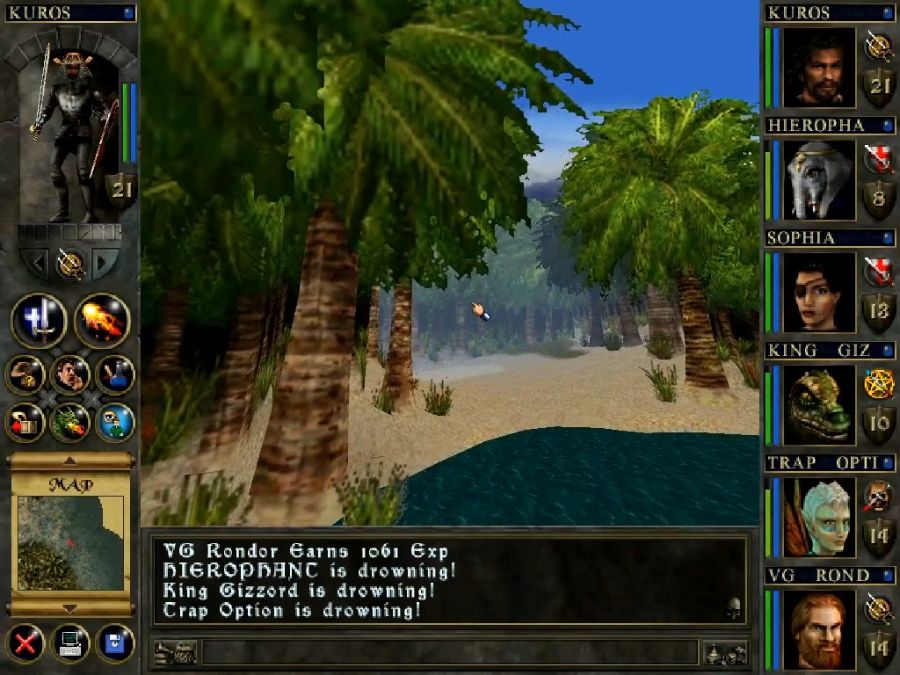
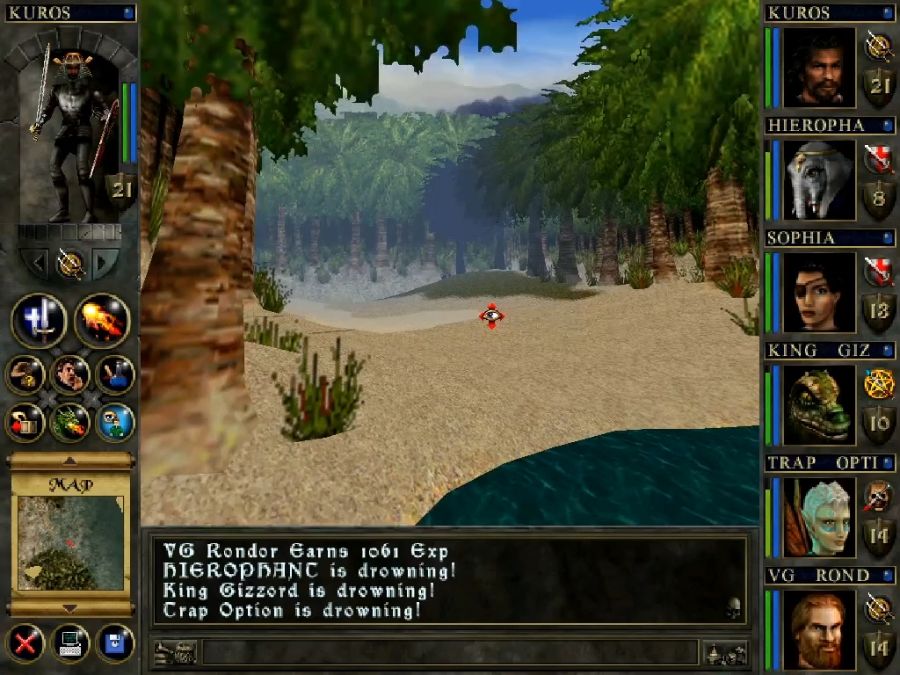
Also a view of the lakebed shrine from outside.
Time to bzorp back to town. I'd also like to note how underwhelming it is to cast. It has ZERO sound effects or graphical effects associated with it. You just WHOMP get thrown right back into the town screen.

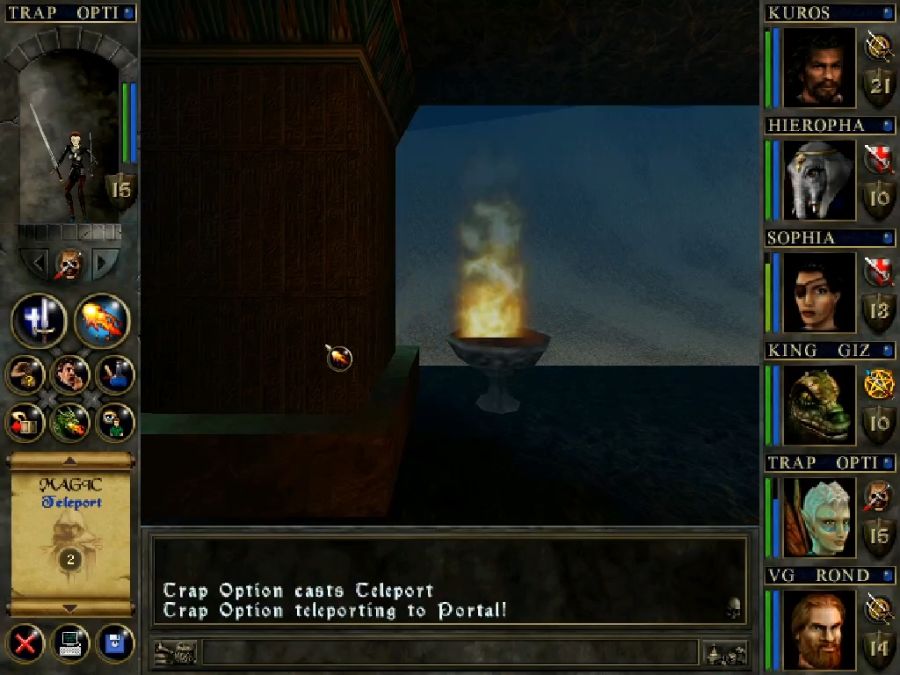
Create Portal/Teleport at least creates a weird shimmery portal effect for a few seconds if you're casting it at the right angle to the world.

Back into the pool, back into the shrine.
Now we can get started on getting finished with this fucking place.
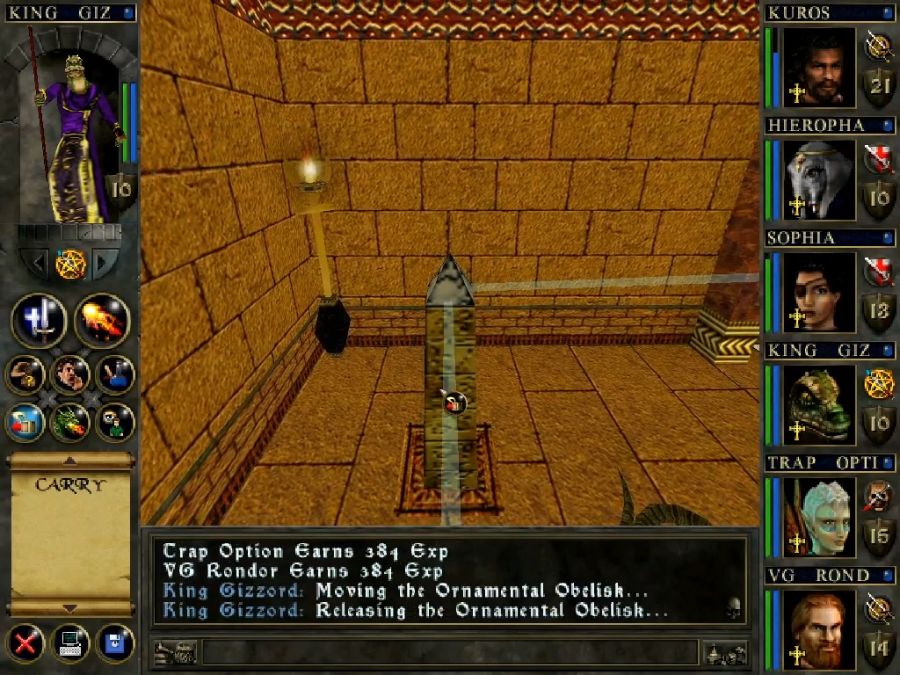
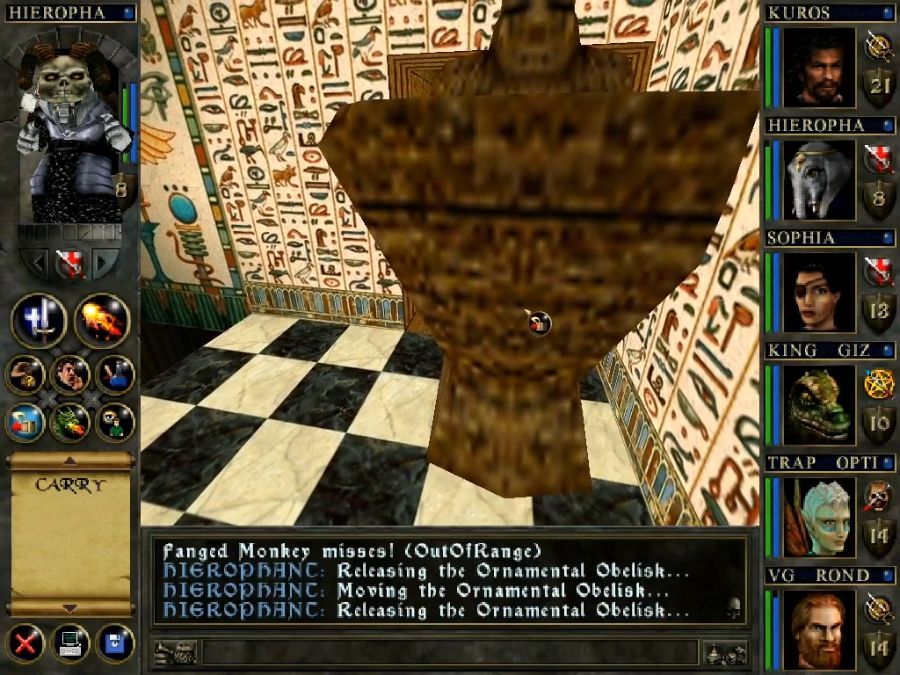
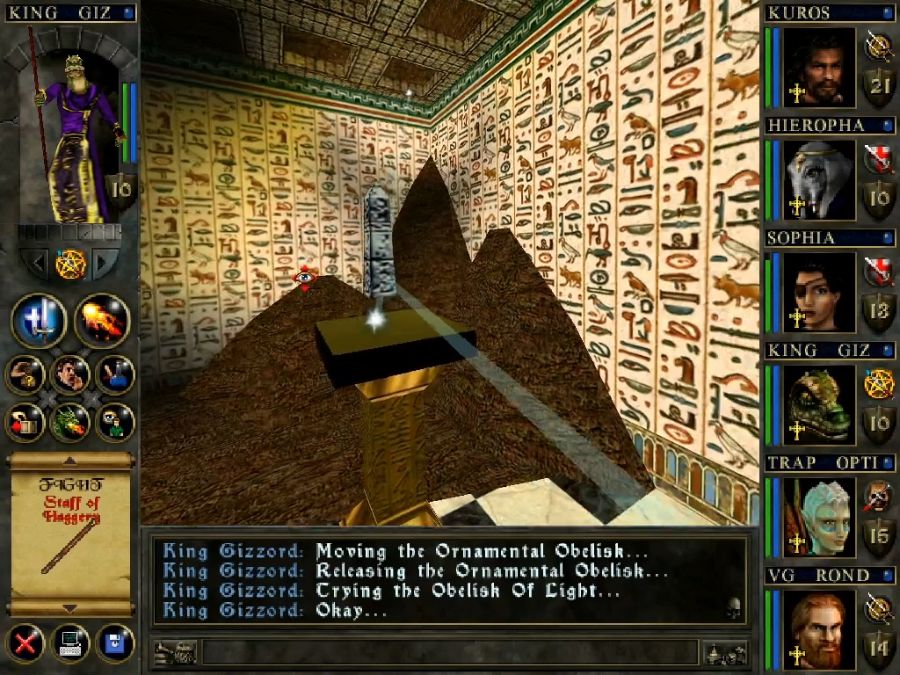
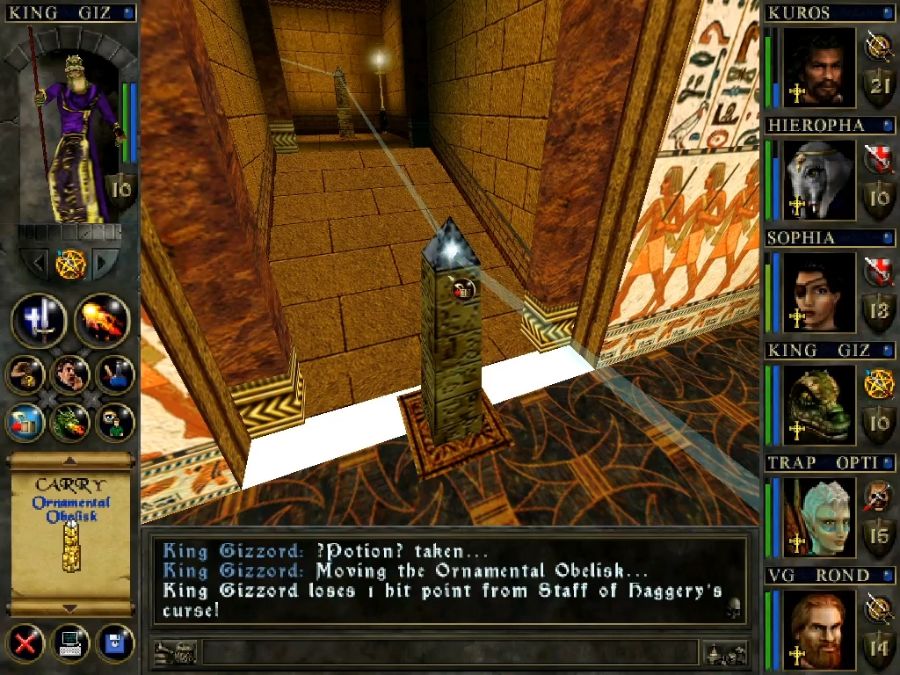
You might've noticed these obelisks in some of the screenshots, they're the prisms needed to reflect the beam the rest of the way, and the little squares are where we're meant to place them on the ground.
A bunch of ornery locals try to intervene and get owned along the way.
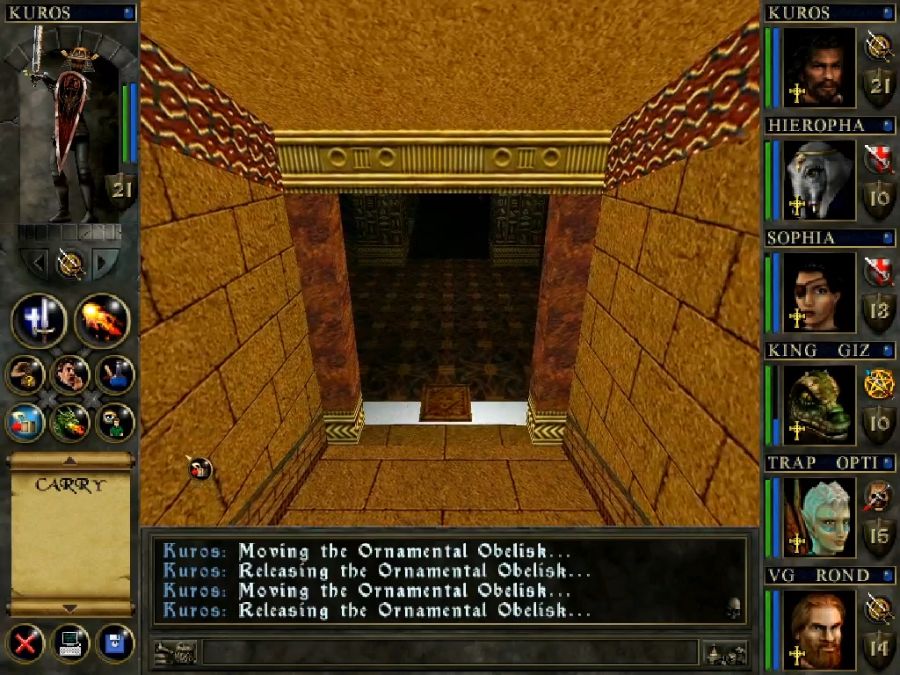
Unfortunately we run out of obelisks before we can complete the trail, so we need to go hunt some up and, coincidence of coincidences, we actually have a bit of dungeon left to go!
The altar for Anephas' ashes(which we also need to find) has a couple of obelisks by it, but we're still a couple more short.
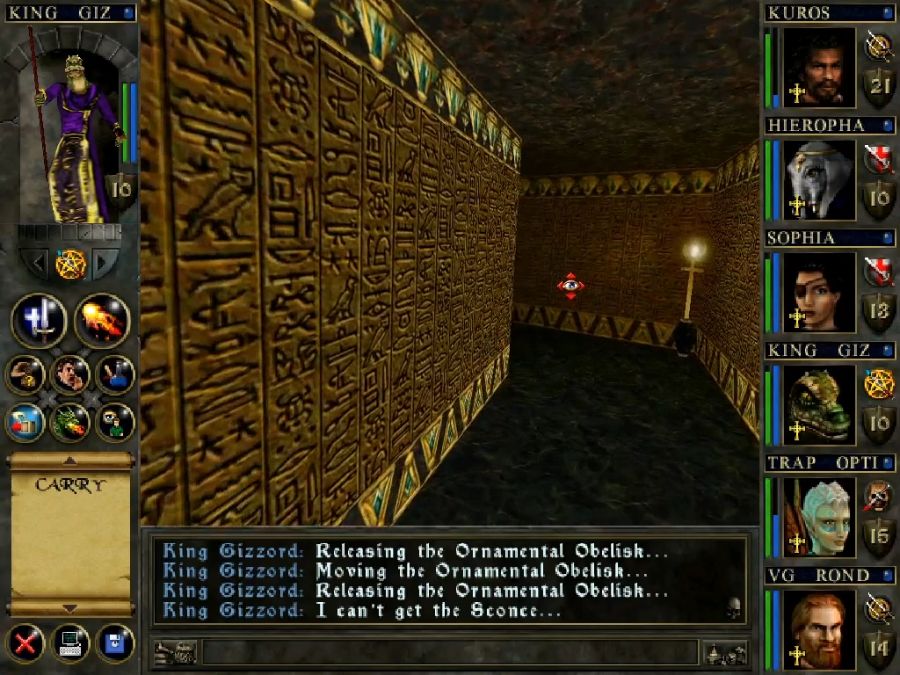
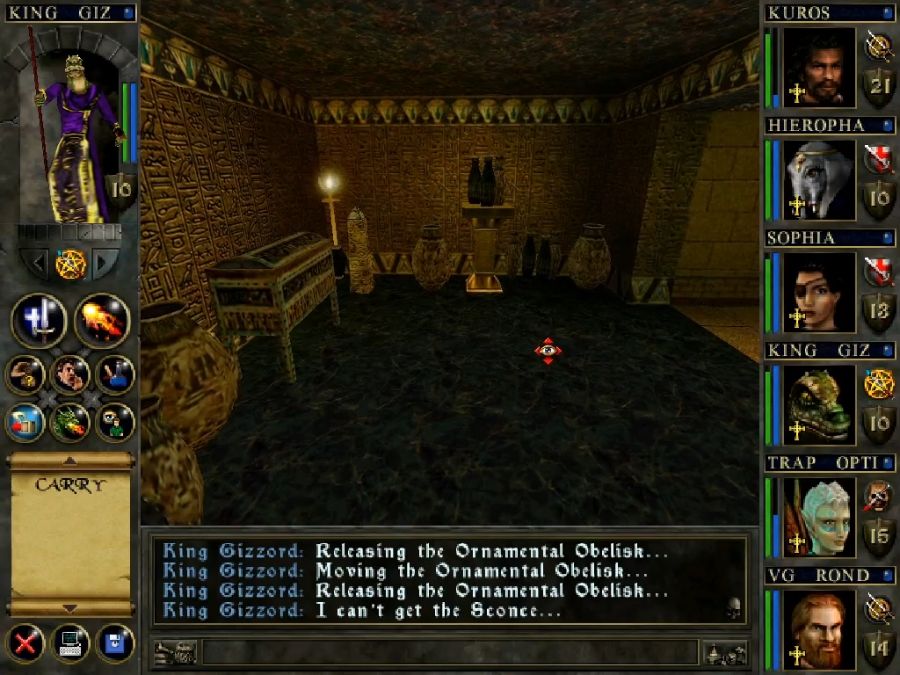
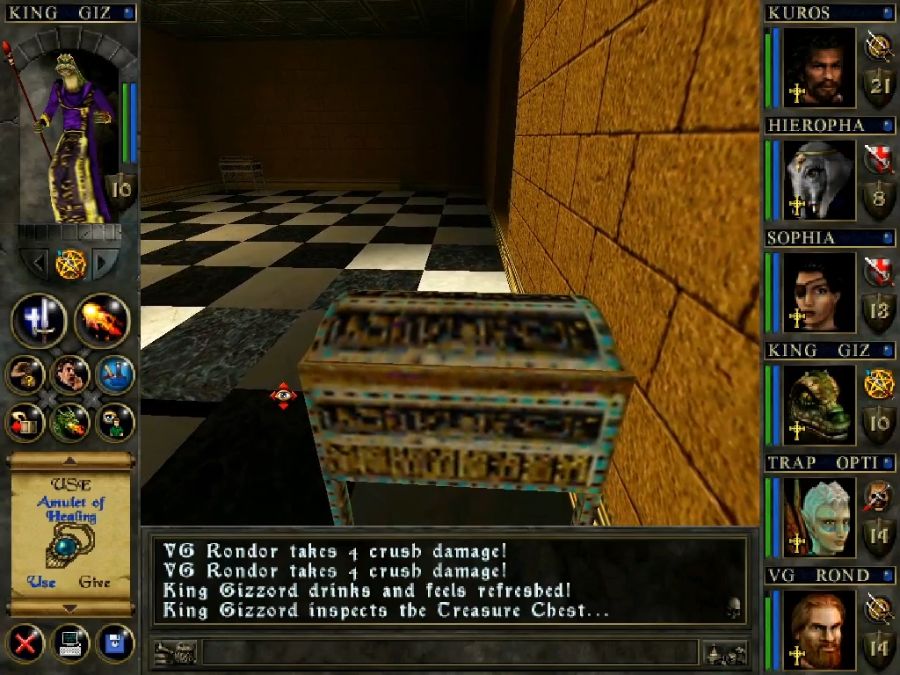
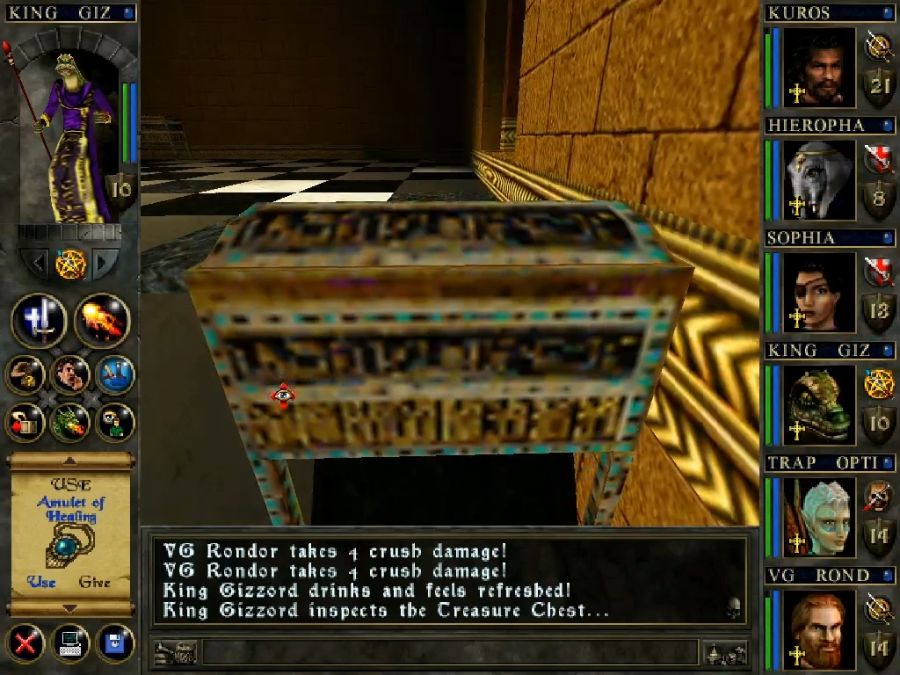
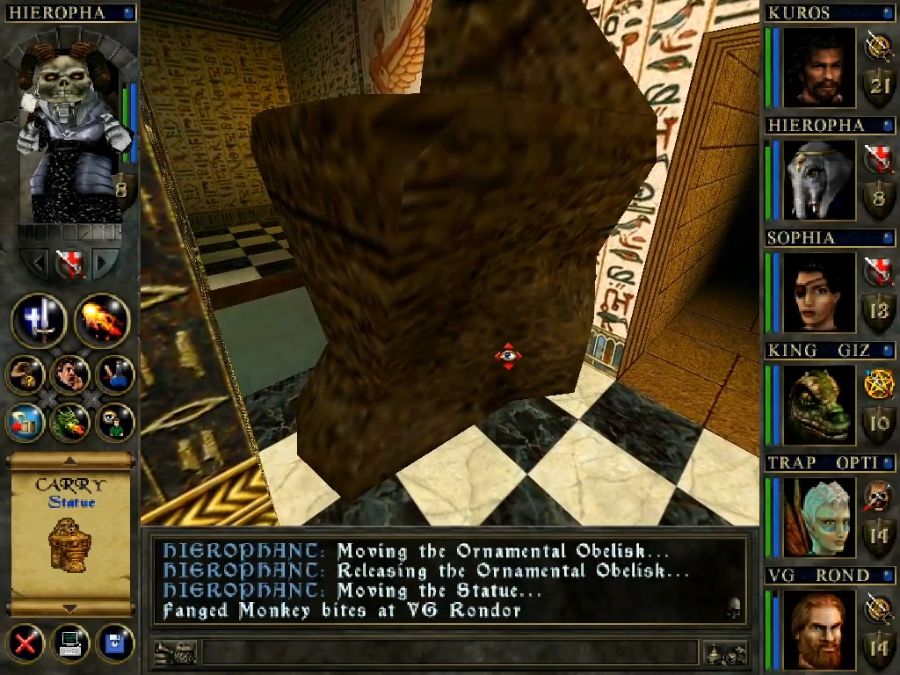
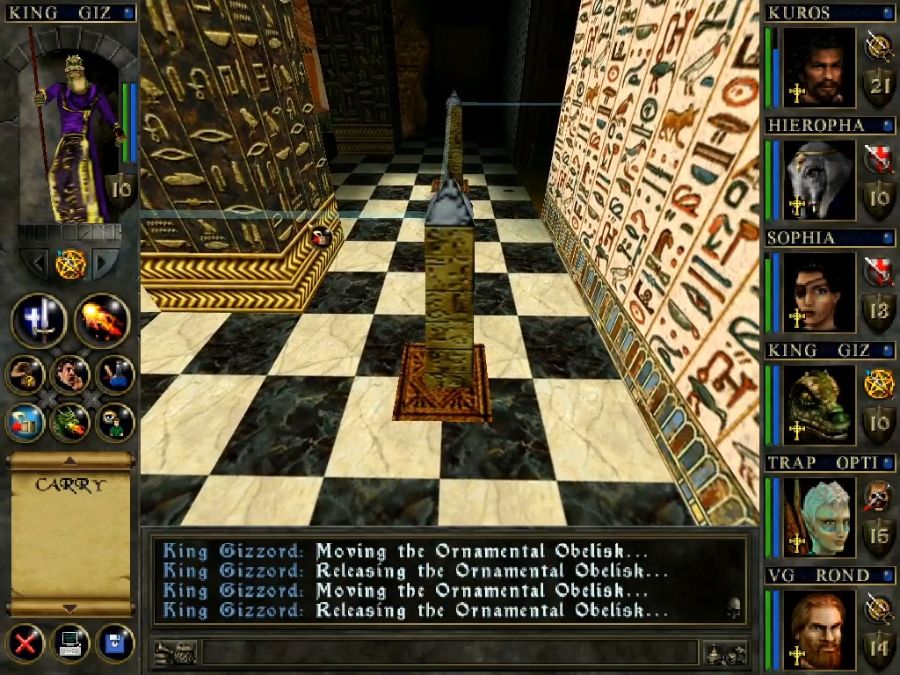
The corridor to the right of the altar thankfully has another(that caused me a bit of trouble as I needed to first move the chest to wrangle it loose).
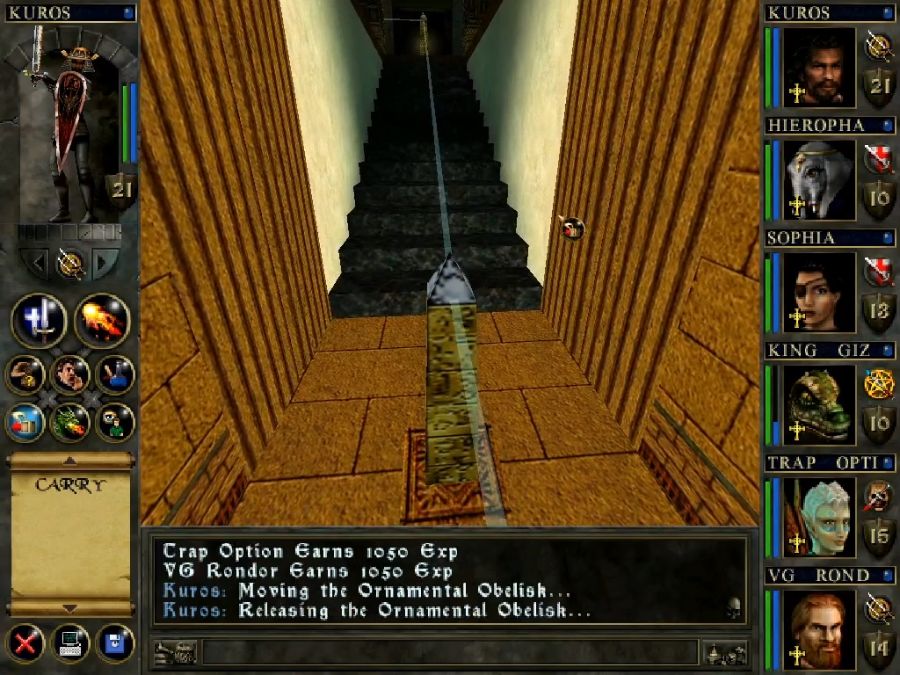
Boom, last obelisk in place. Now to go hunt up the ashes.
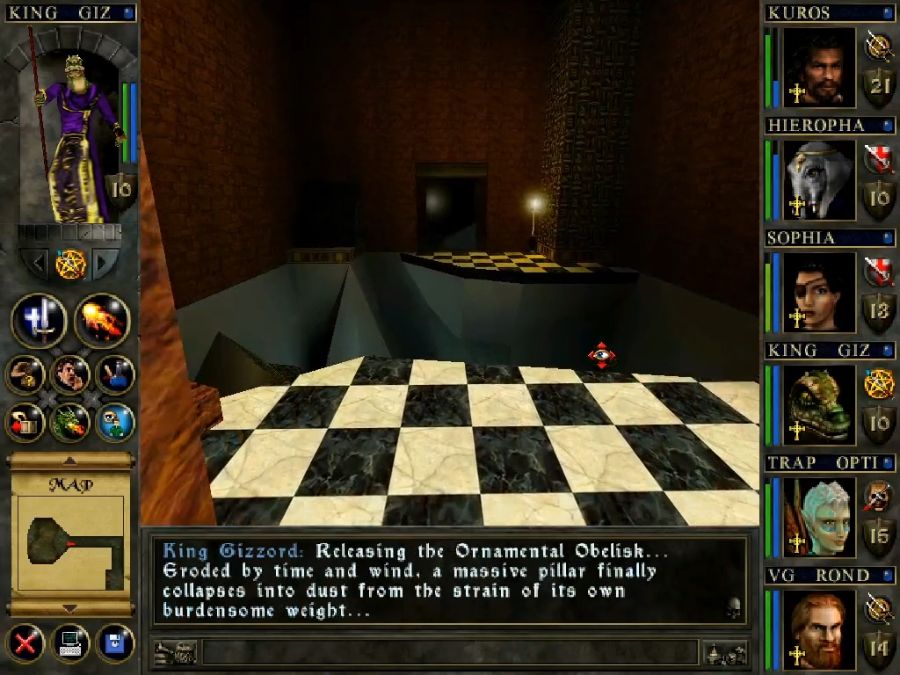
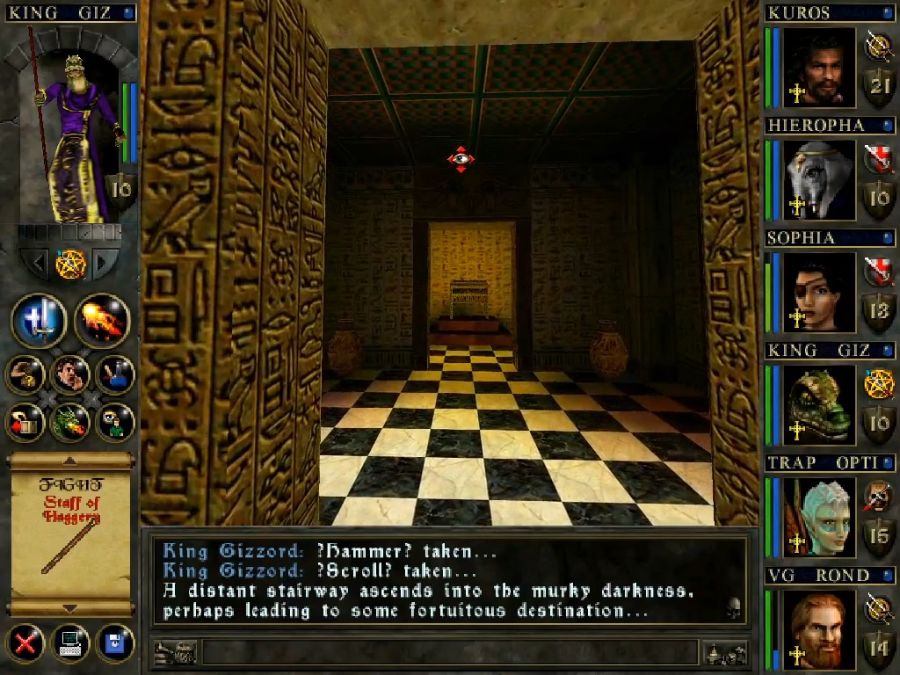
Continuing down the rightmost path I come to this chamber that actually looks decently cool. As I step inside, the pillar on the left falls down, forming a bridge across, but I can't help but feel like maybe that's something that should've been left as a minor puzzle for the player, rather than just something that happened, you know? A missed easy shot at some interactivity.
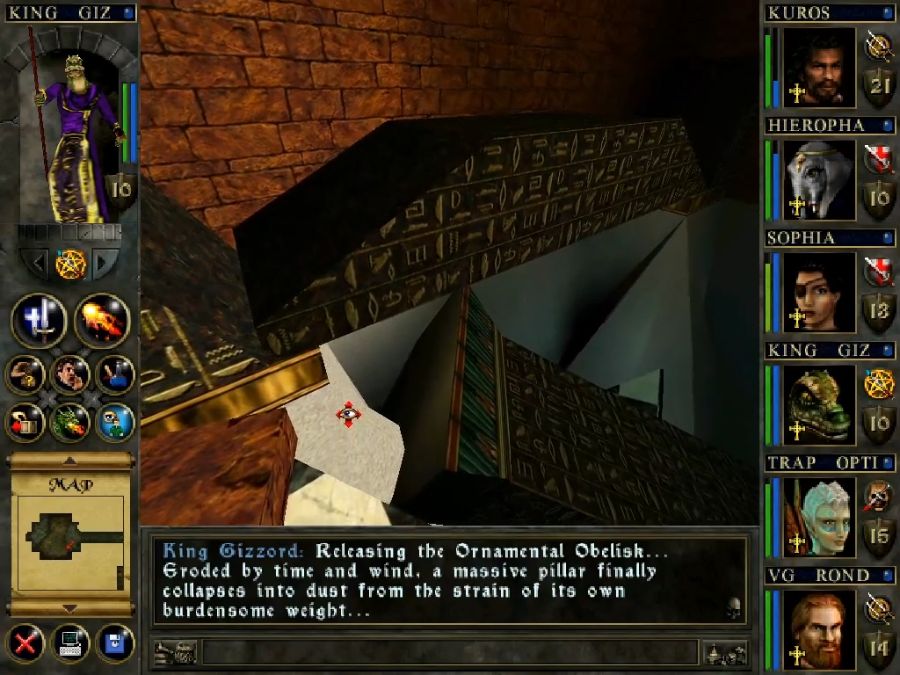
Past the pillar and the doorway on the other side is this unopenable doorway, which hides the real way out and will potentially confuse the fuck out of a lot of people, because it's arbitrarily opened once we've done the bit Kerah asked us to do, but nothing ever indicates this. I could easily see someone wasting a lot of time hunting for a button, key or lever before reviving Anephas and then not thinking to look back here afterwards.
Pictured: The Revival Laser. Considering that it's just passing on sunlight, I'm surprised we couldn't just take the ashes outside to bring them back to life, or maybe knock down a bit of the ceiling to let in some more sun.
Anyway, taking the left corridor is where we actually need that statue from earlier. Again, nothing anywhere in the temple indicates it, but this opens the door to the chest that has Anephas' ashes in it. Good fucking luck if you never spotted the chest in a corner in those dark tunnels.
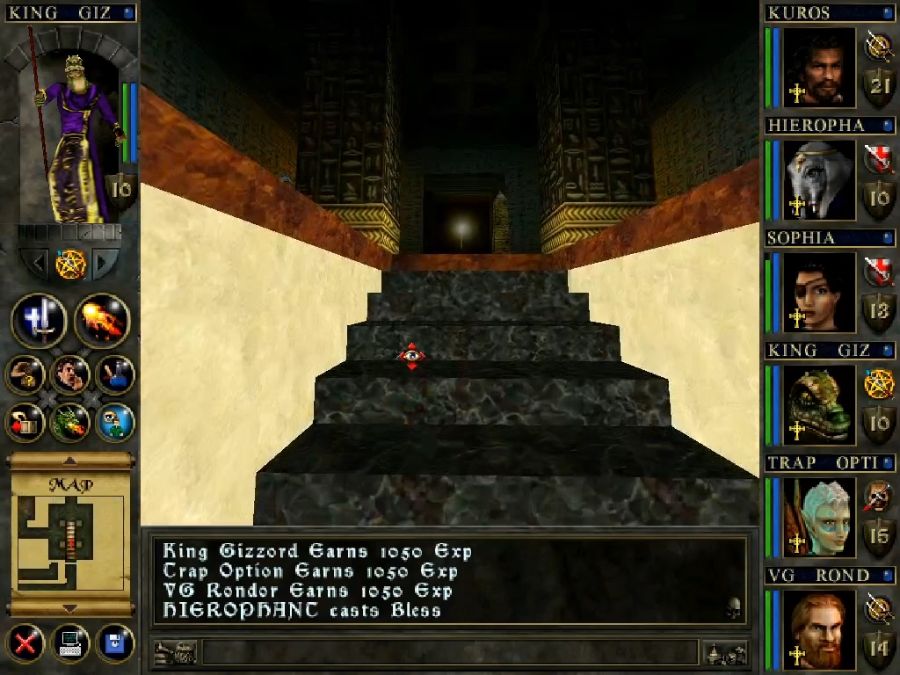
The ashes are just up these stairs, as long as you notice this rather mean pitfall just in front of it.
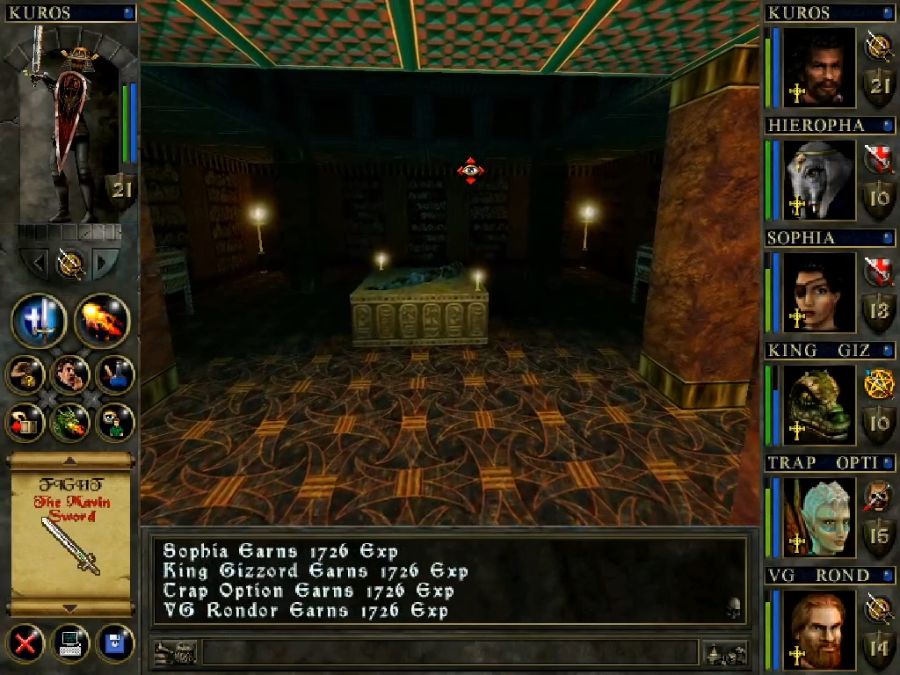
The room at the top is almost a disappointment. No traps or surprises, just three chests, one of which contains Anephas' ashes.
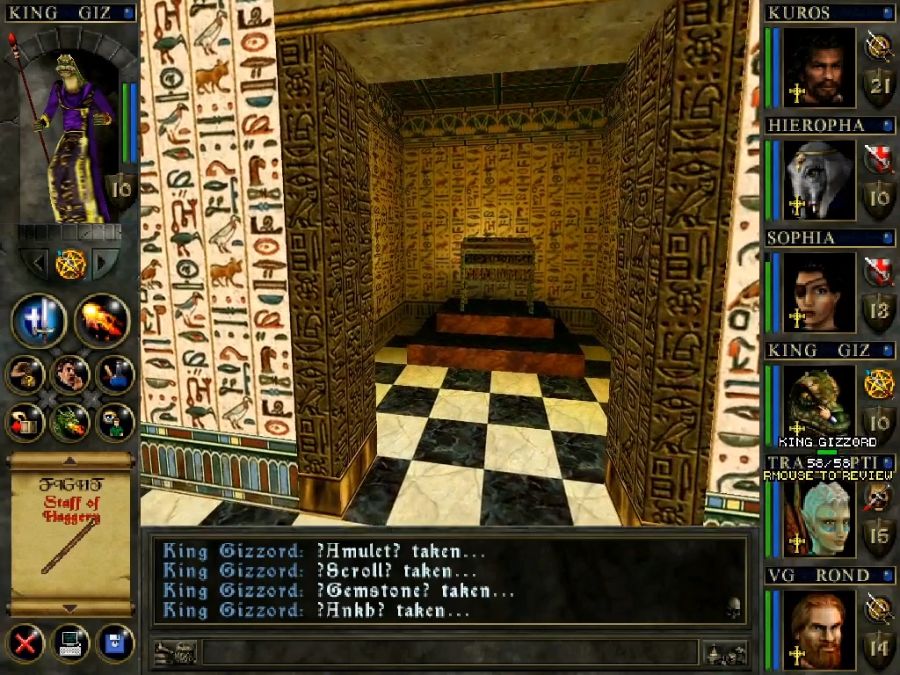
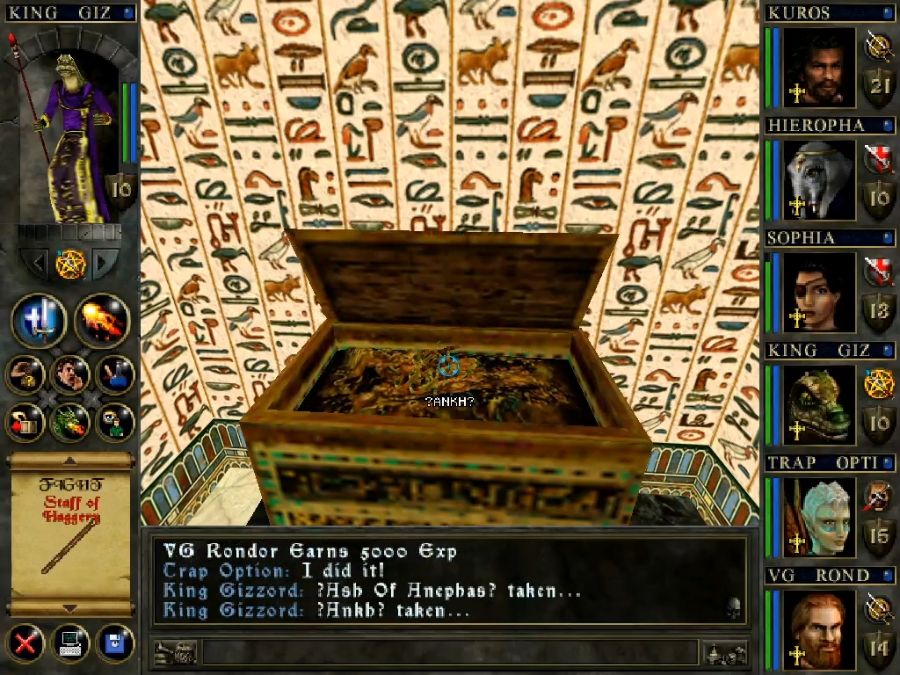
And an absolute assload of ankhs.

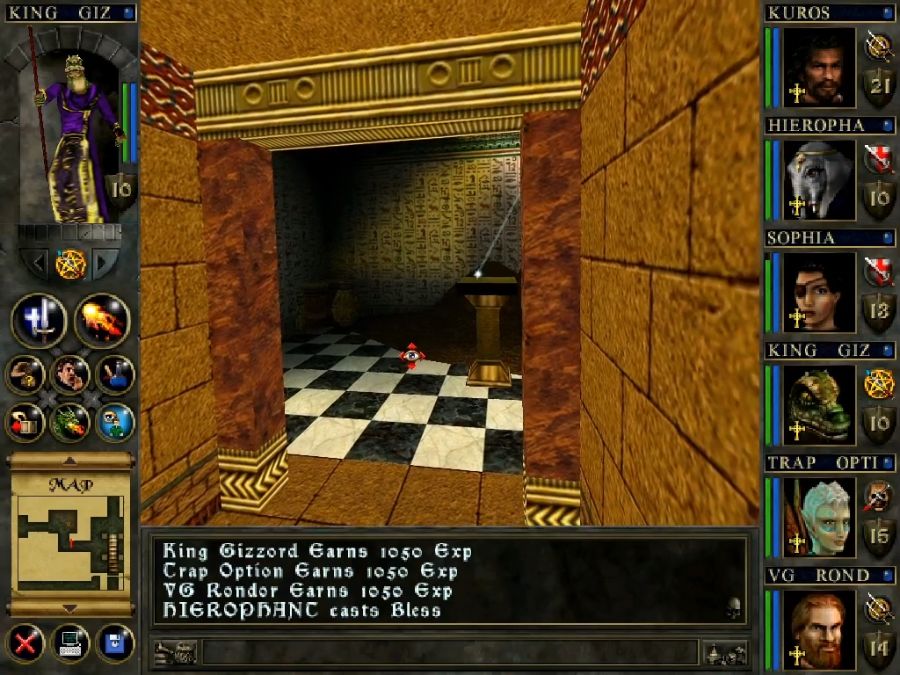
Before I plop down the ashes, I check out the last room, a library that contains nothing plot relevant, just a couple of chests and a nice bit of variety in decor.
Anyway, let's revive the messiah.
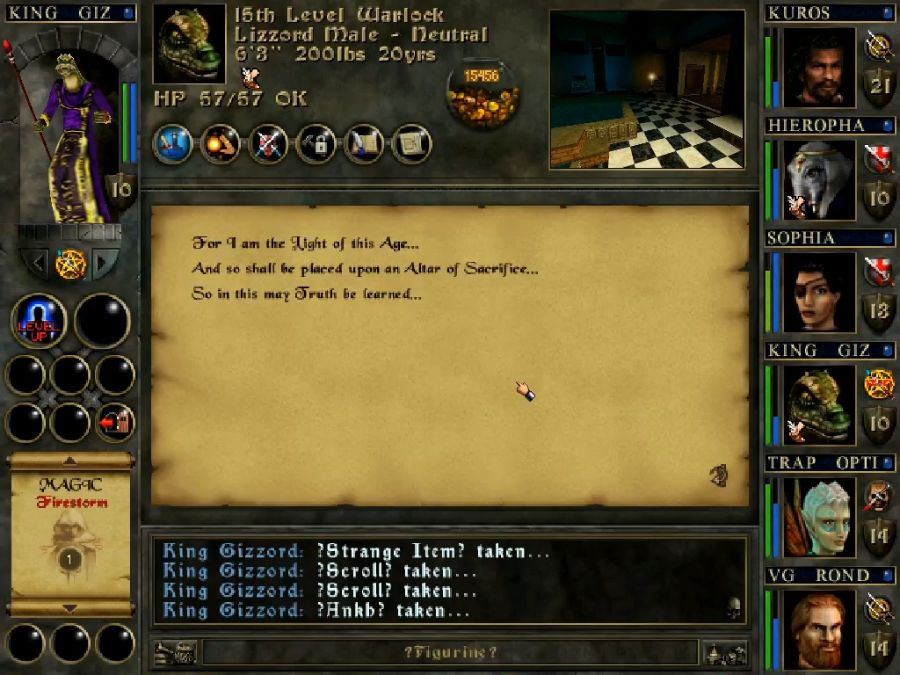
https://www.youtube.com/watch?v=r0DfcuScMEk
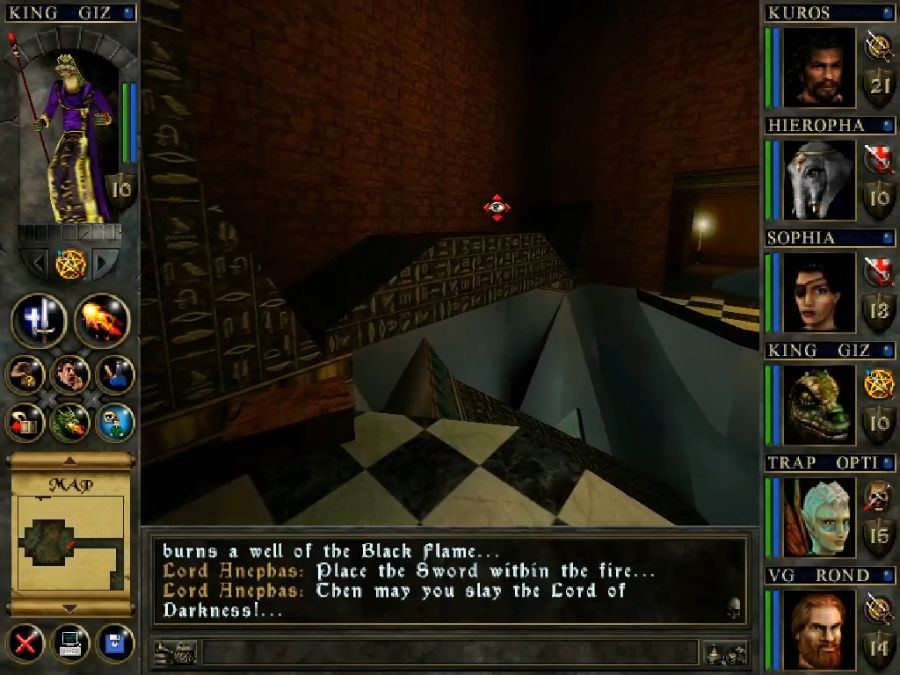
The only really new thing that we learn is where the tablets to crack open Cet's pyramid is, and that we need to re-energize the Mavin Blade with the Black Flame inside his pyramid before turning to the final showdown and owning his face off. Still, it's progress! And his revival is the unmarked thing which triggers the exit door to open.
And we're back in the overworld again. It's once again worth noting that there's no way here except through the shrine, so only Call of Home or a well-placed Portal can get you back on the other side, and if you haven't left a portal to get back to this side, you'll have to walk through the pyramid again. Not that bad now you've opened all the doors, but still a mild annoyance.
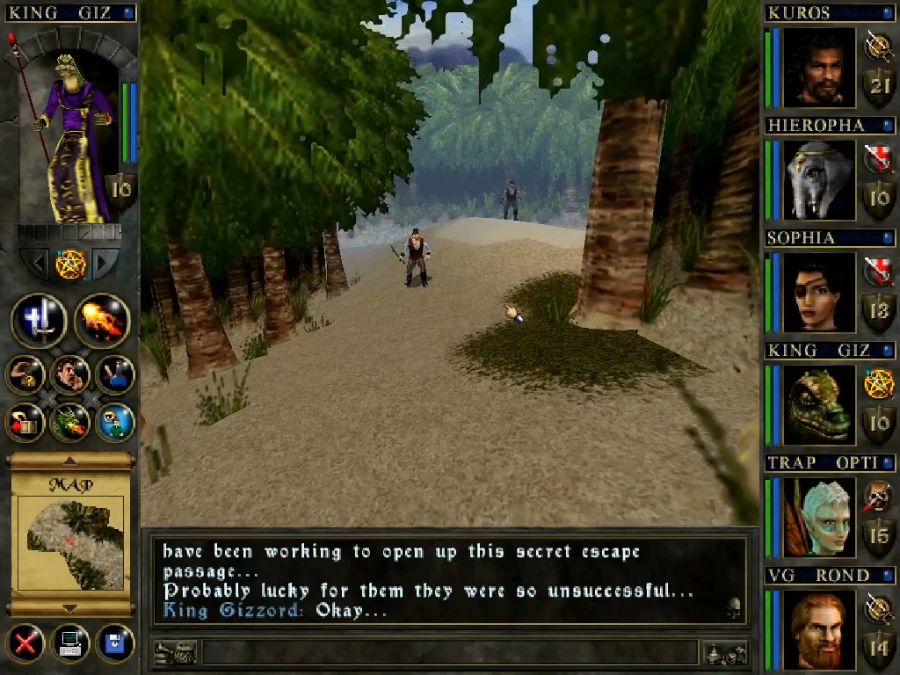
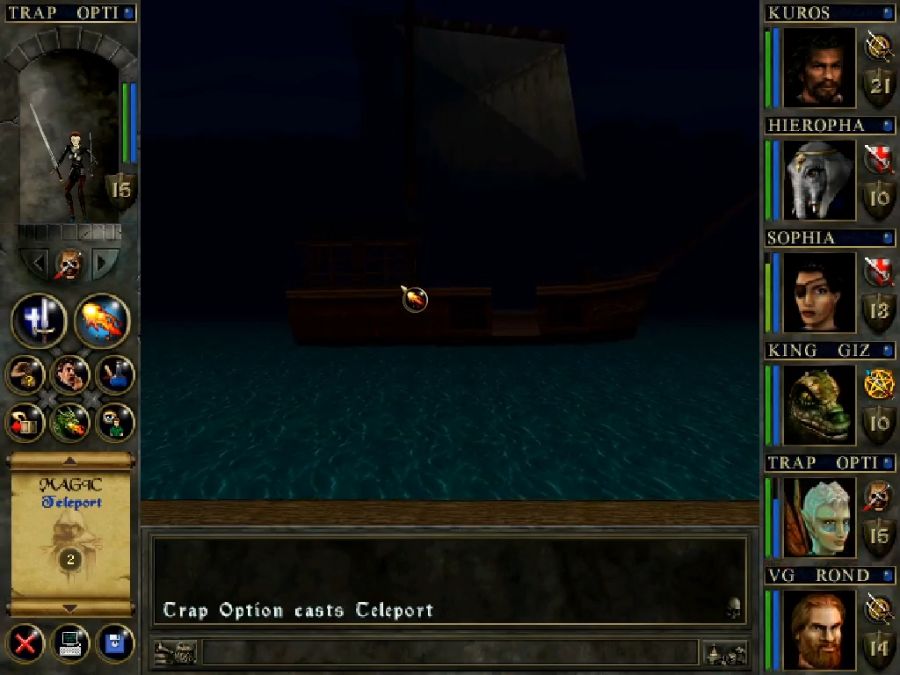
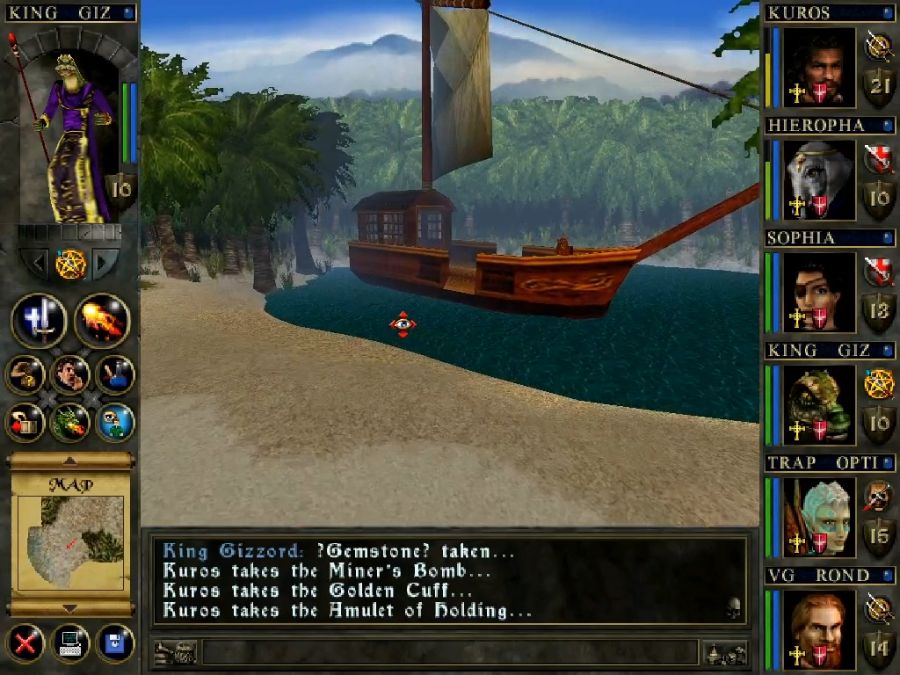
There's a welcome committee as we exit.
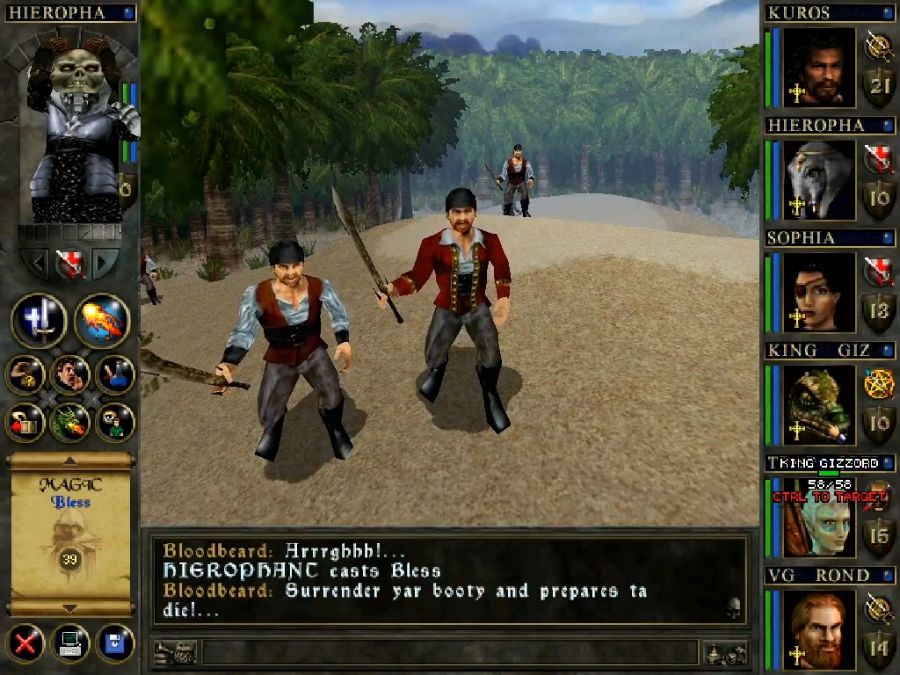
Hm, a handful of pirates with hand grenades and swords. I wonder if I have a response to this.
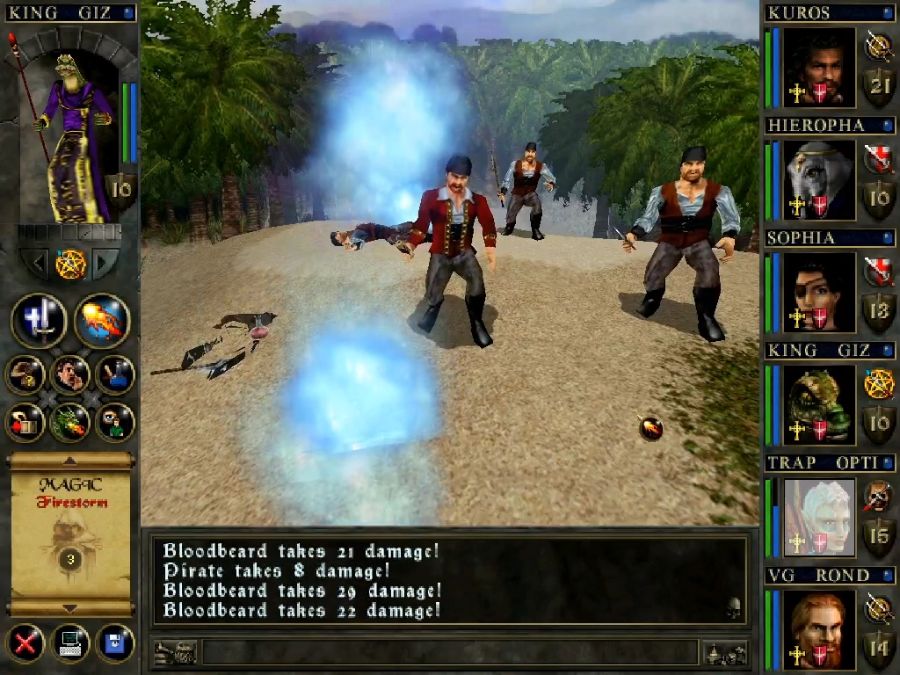
Oh yeah that's right, magical artillery.

I can't conceive of the party that would get through the Shrine and consider Bloodbeard anything but a forgettable roadbump.
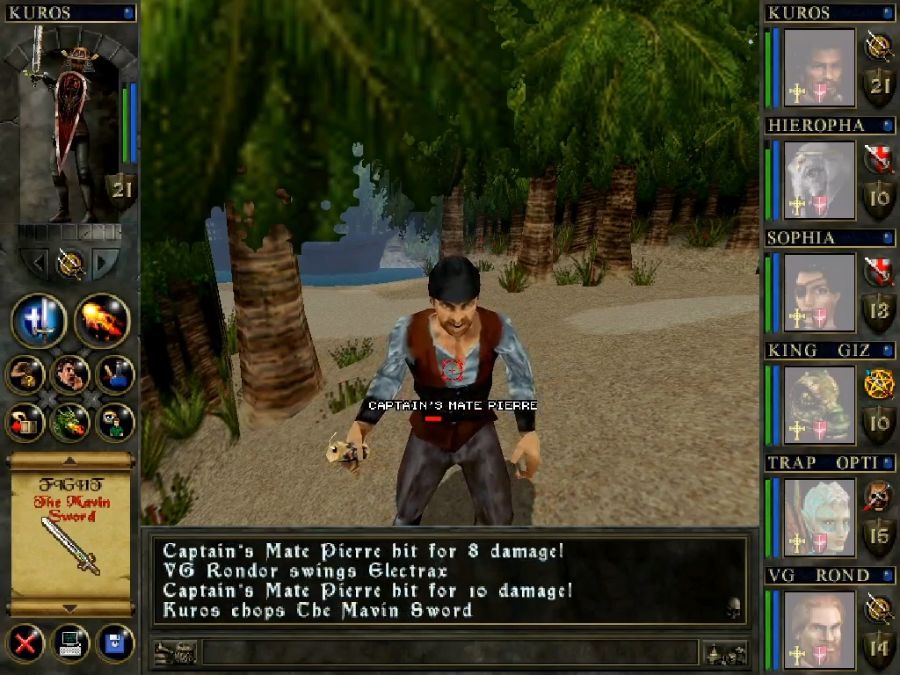
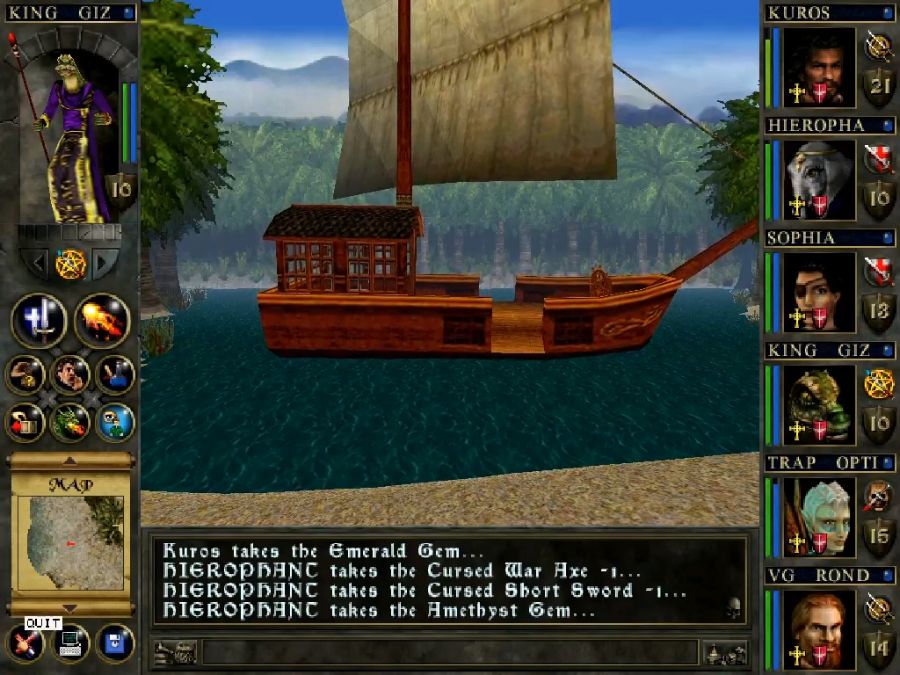
And now we could theoretically jack his ride or we could just go swimming, since we still need three more fucking conch shells. I patrolled the sea for like an hour before going leprechaun-hunting earlier, and not a single fucking crab spawned, fucking Christ. I am strongly tempted to see if there's a janky old inventory editor or something that I could use to plop down the remainder I'm lacking.
Anyway, tune in next time for exploring the last bit of the world map, me futilely hunting for crabs, and if I find them, exploring a city that the gods only sank below the surface of the world for the purpose of password protection. Though I suppose that engraving your password on slabs, putting them in a city and then sinking that city to the bottom of the sea IS stronger security than a sticky note stuck to the computer screen.