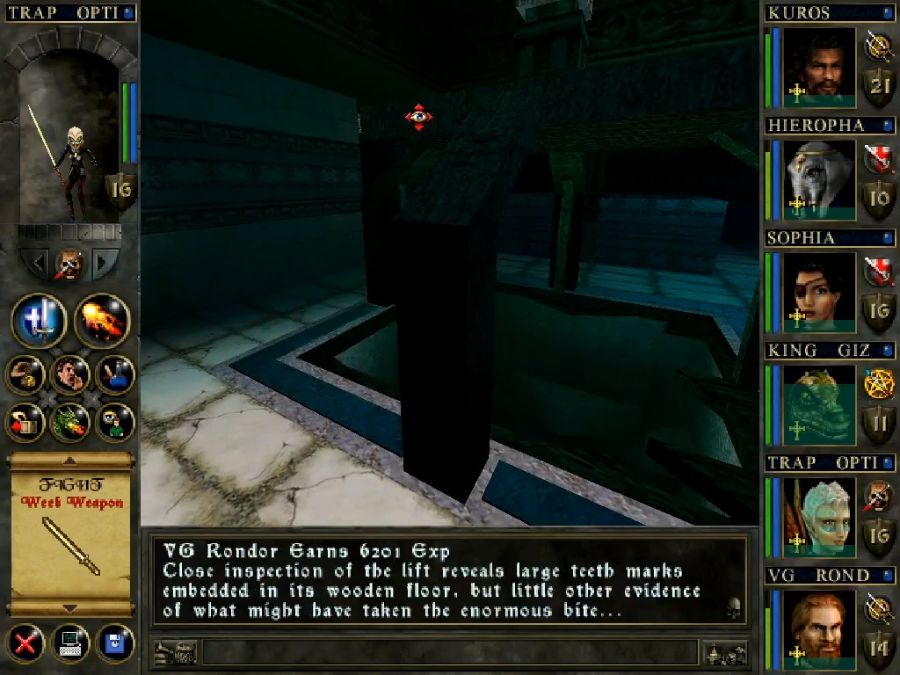
Part 11: Crabby Dungeon Design
Update 011: Crabby Dungeon Design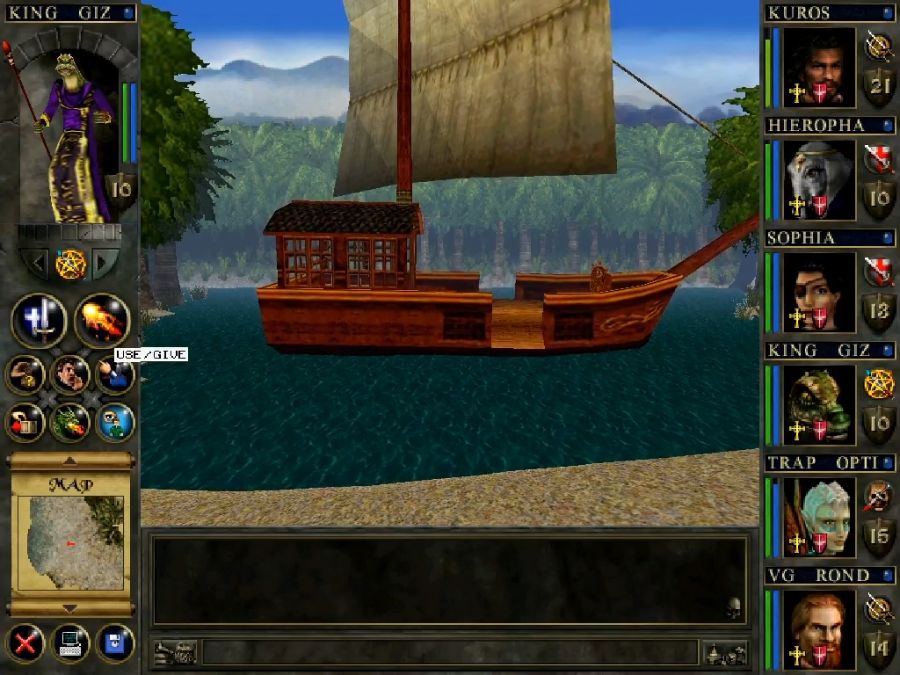
Time for the penultimate dungeon... after I explore the penultimate open world area and attend to... a task... that hurts.
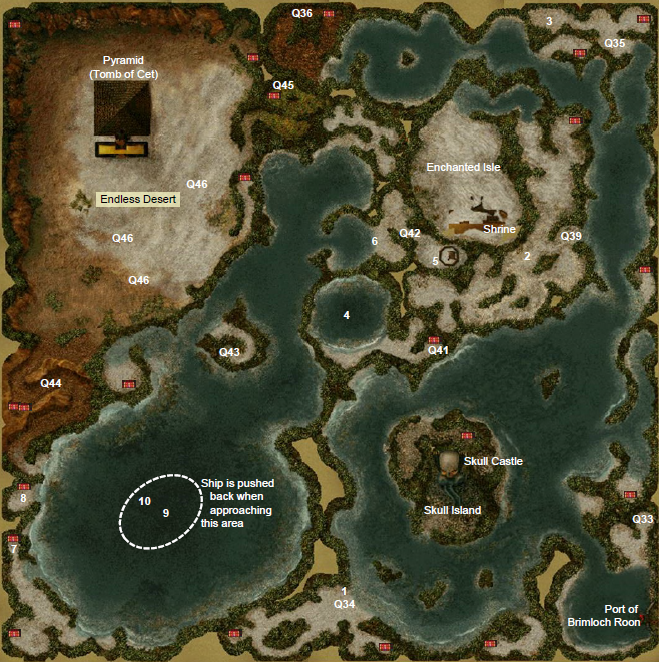
After completing the Shrine of Anephas, we're at the "6" marker and have a few remaining sidequests for this area, too.
Bushi Dojo: "Far to the north there lies a Sacred Stone. Within this stone rests a magical No-Dachi, etched in strange runes. The Way of the Dragon now requires the strength of this blade. You must obtain the Sword of the Stone and deliver it to me."
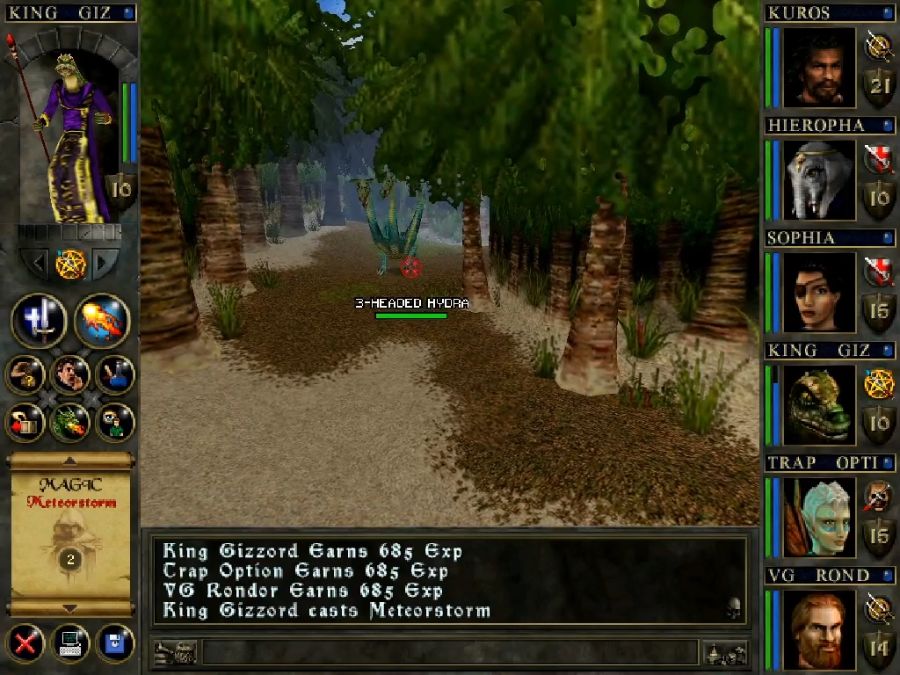
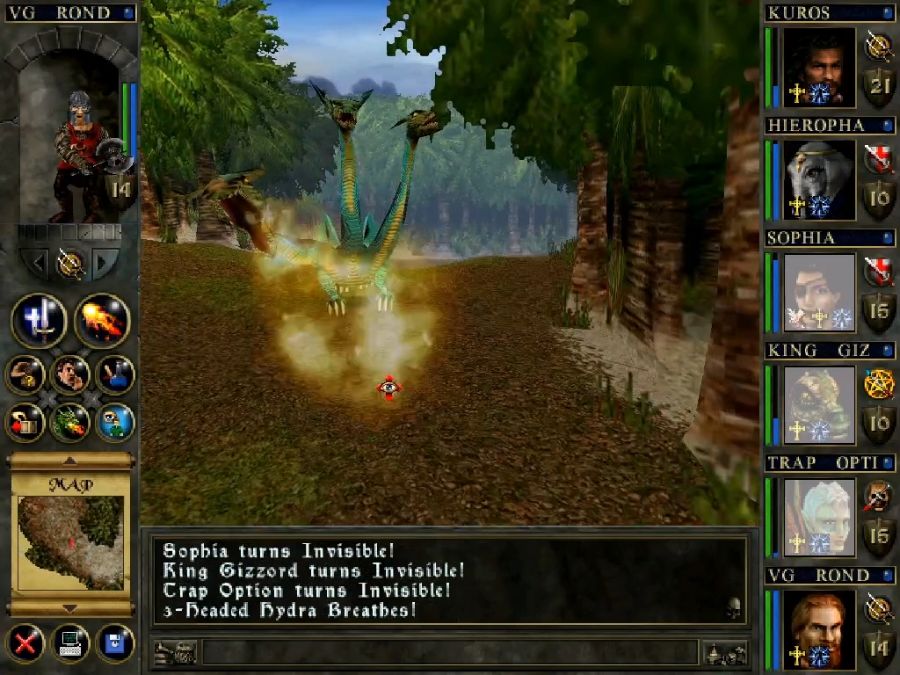
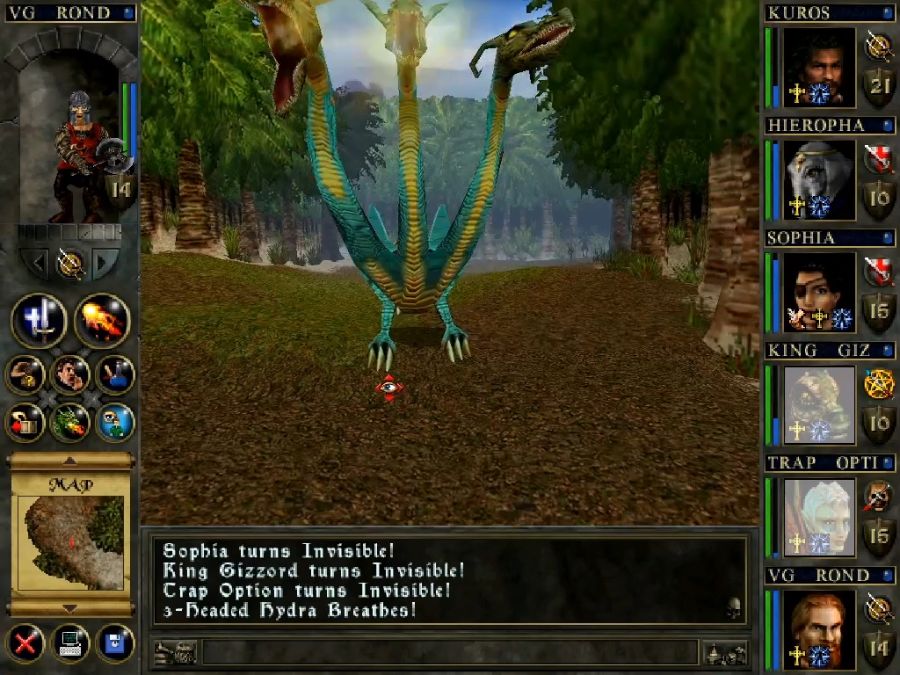
Town Hall: "I have a most dangerous mission, if you think you’re ready. On a mountain island far to the west, the Isle of Sands, come tales of a fearsome three-headed Hydra. They say it has a breath of fire. And ice. And of poison gas. And is more monstrous in size than any known creature. They say it can’t be killed by ordinary means. And that it stands guard over a pass through the island mountains. If the tales are true, it is a formidable beast indeed. No one has dared to face this challenge, and no one knows what lies beyond. And though I wouldn’t want you to get hurt, I am willing to pay you 10000 pieces of gold if you can kill the beast."
Temple: "Though we now have the Holy Relic, I fear that it alone will not be sufficient to protect us. There is a magical stone which I have heard of, a guard against all evil, and it is called the Monk’s Ward. The ancient Holy Books make mention of this Stone several times, though they never reveal a clue of its location. But I have come upon a pirate’s journal, which describes such an Artifact in its manifest of Stolen Treasure, which was abandoned in a great desert somewhere. Apparently, an ancient curse upon the Treasure unleashed a festering plague upon the pirates, and they all died horribly, to the last man. See if you can recover this Pirate’s Treasure, and find the Monk’s Ward."
Mage Guild: "Find and return to me a Seed from the Living Tree. I have heard they can be found on the islands far to the north. I shall reward you well if you can bring me the Seed"
One of these will remain uncompleted for... reasons. For once, it's only half the game's bad design, the other half is me being a fuckup.

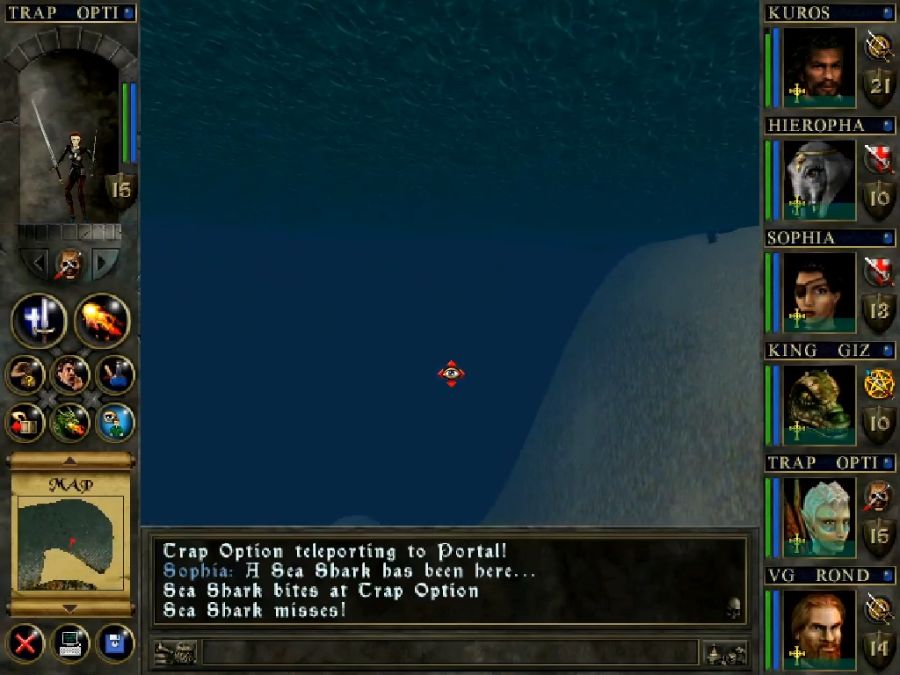
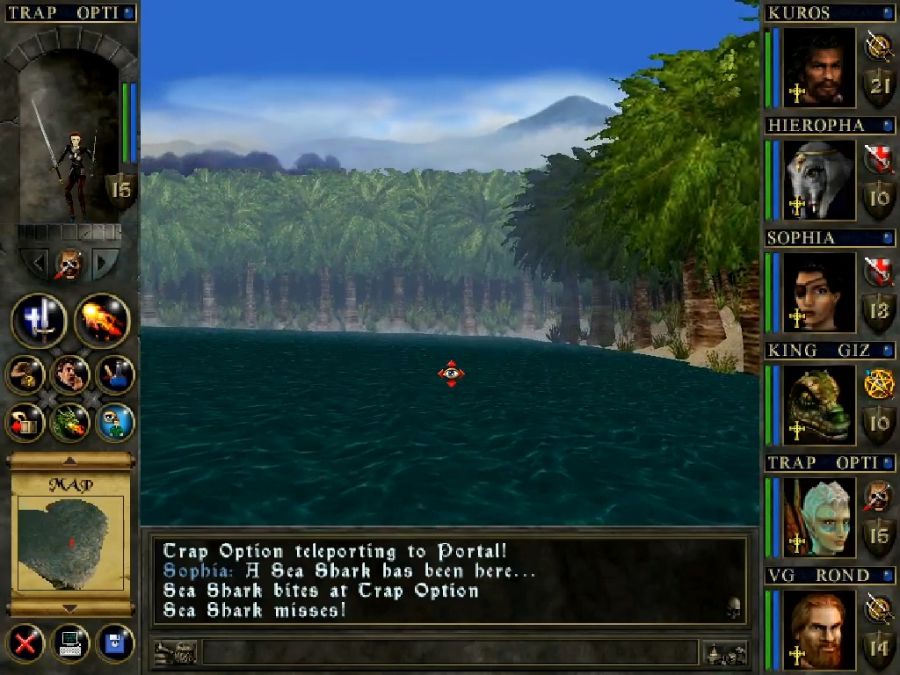
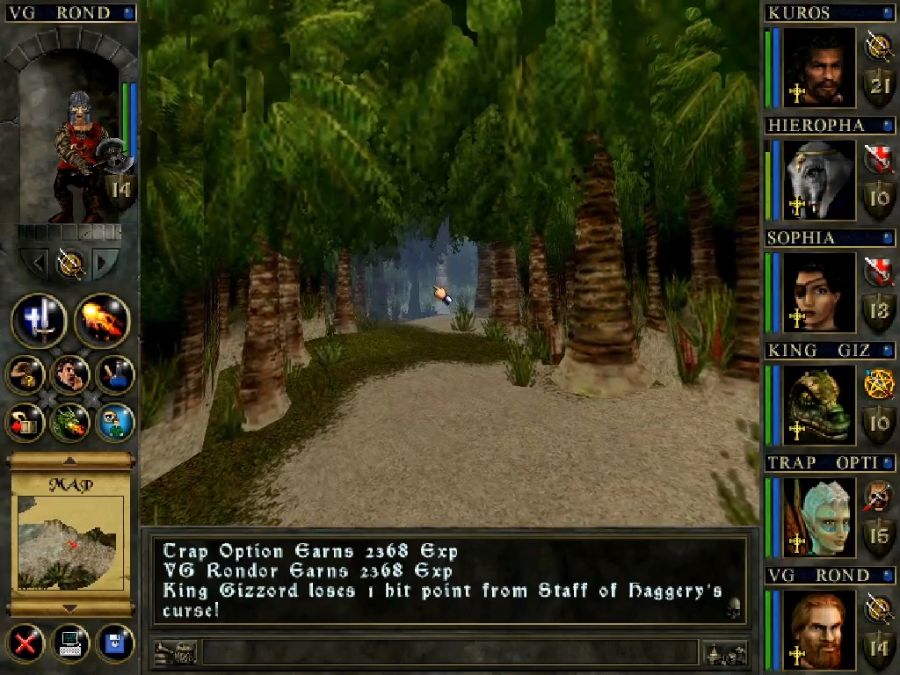
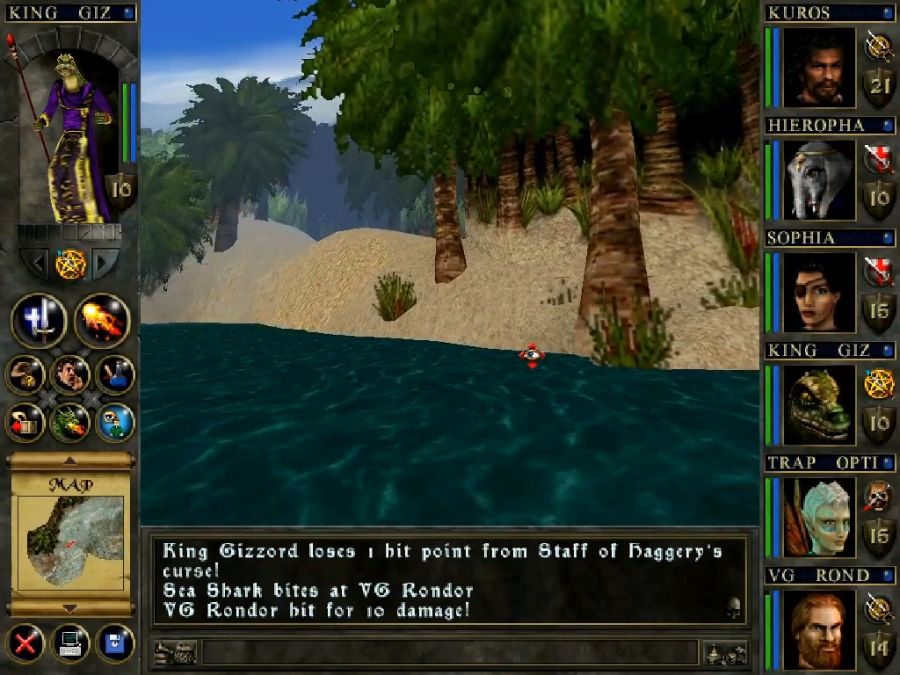
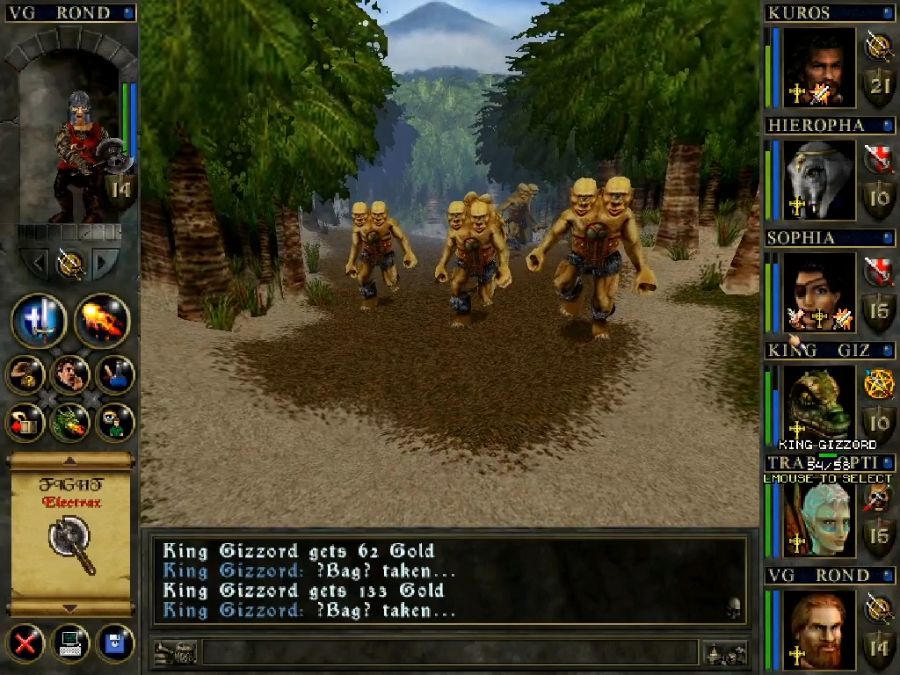
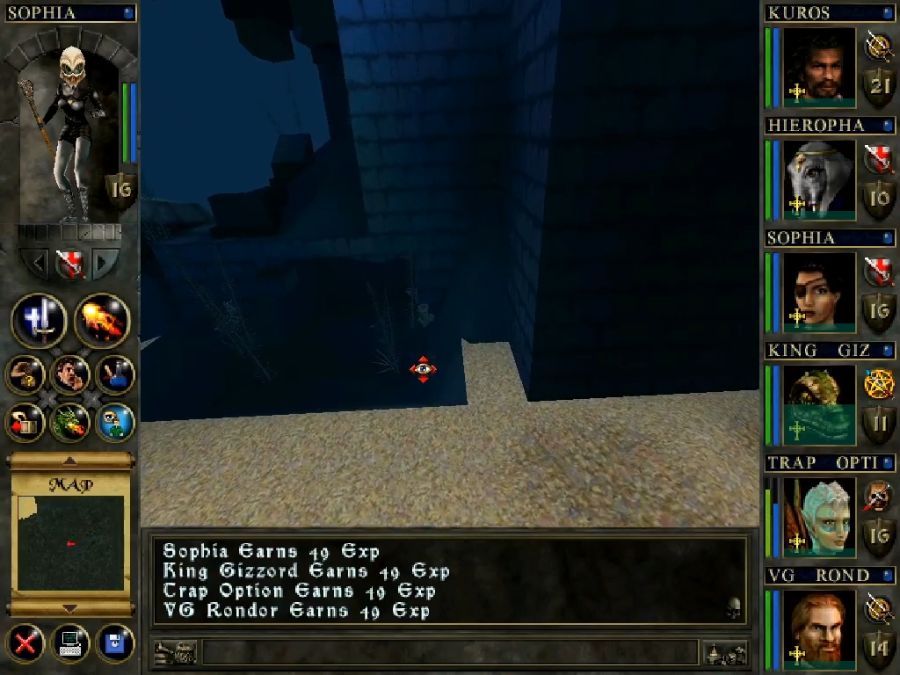
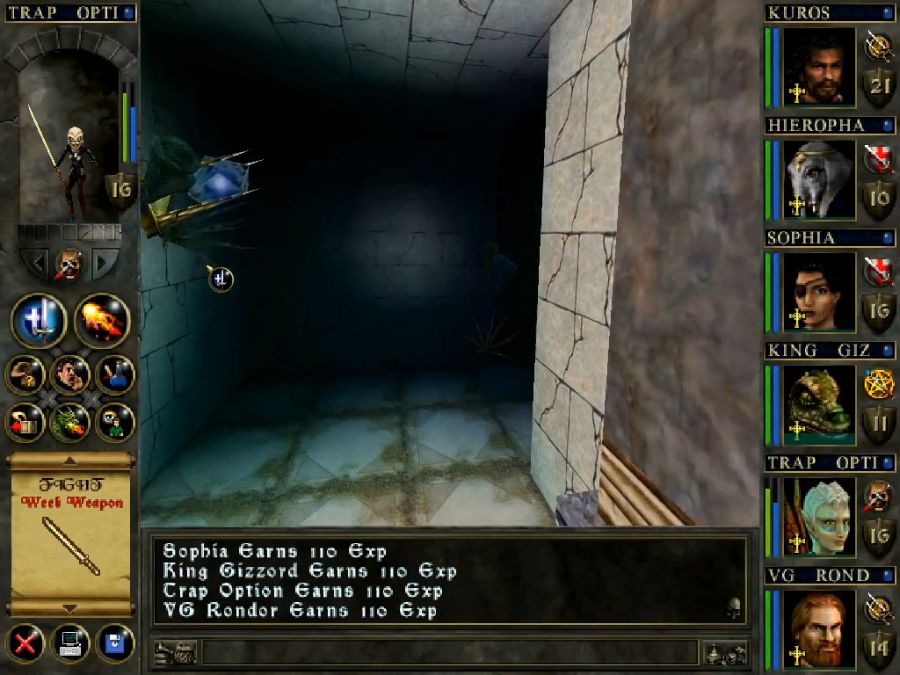
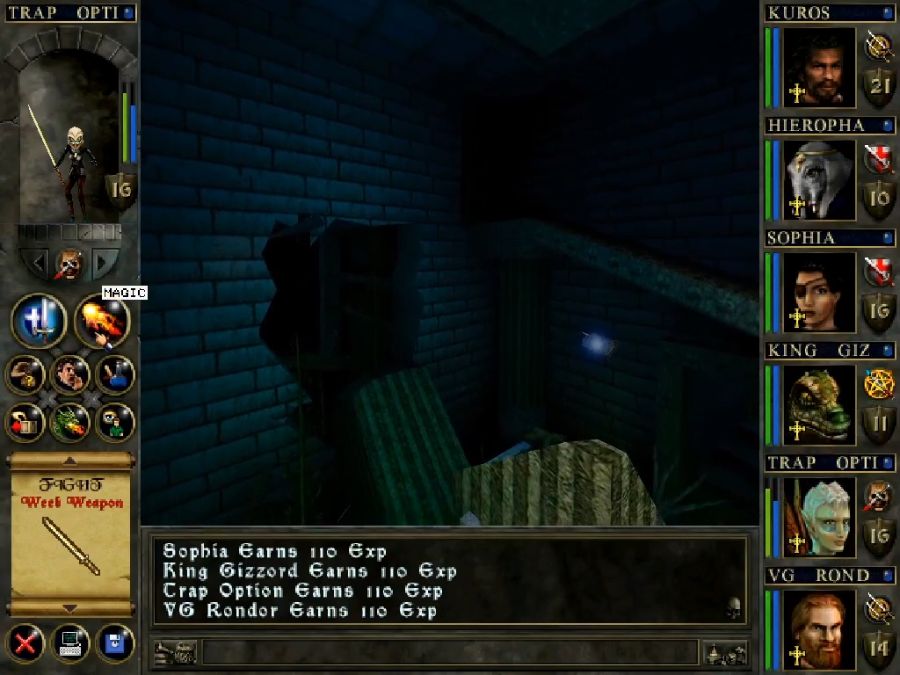
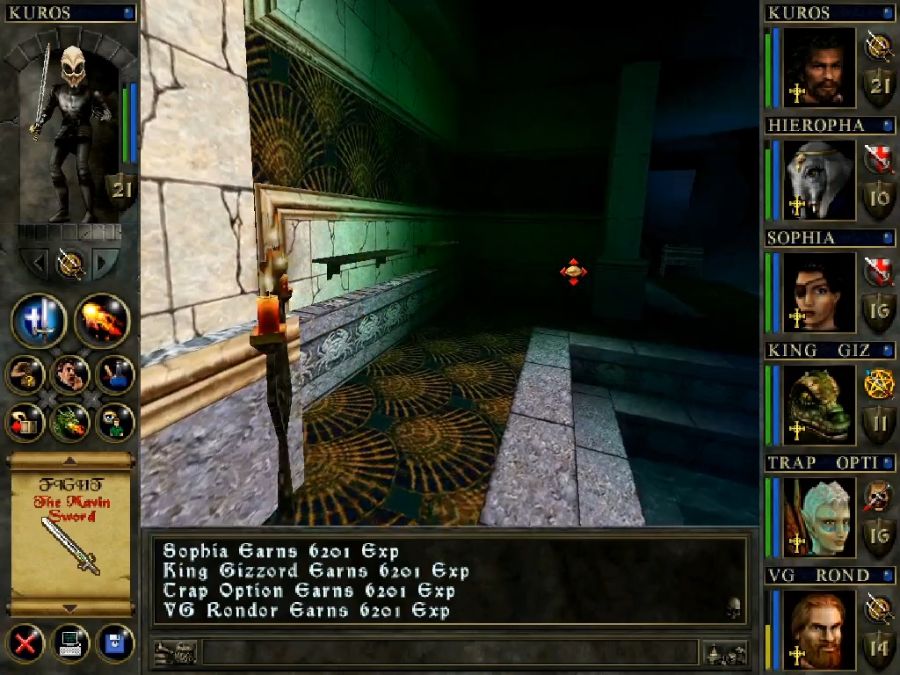
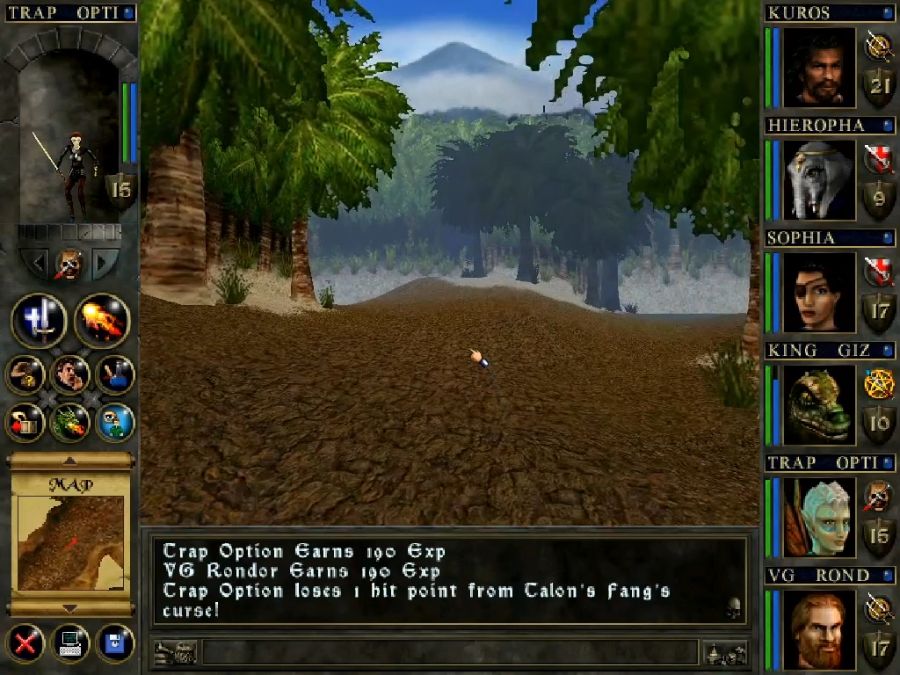
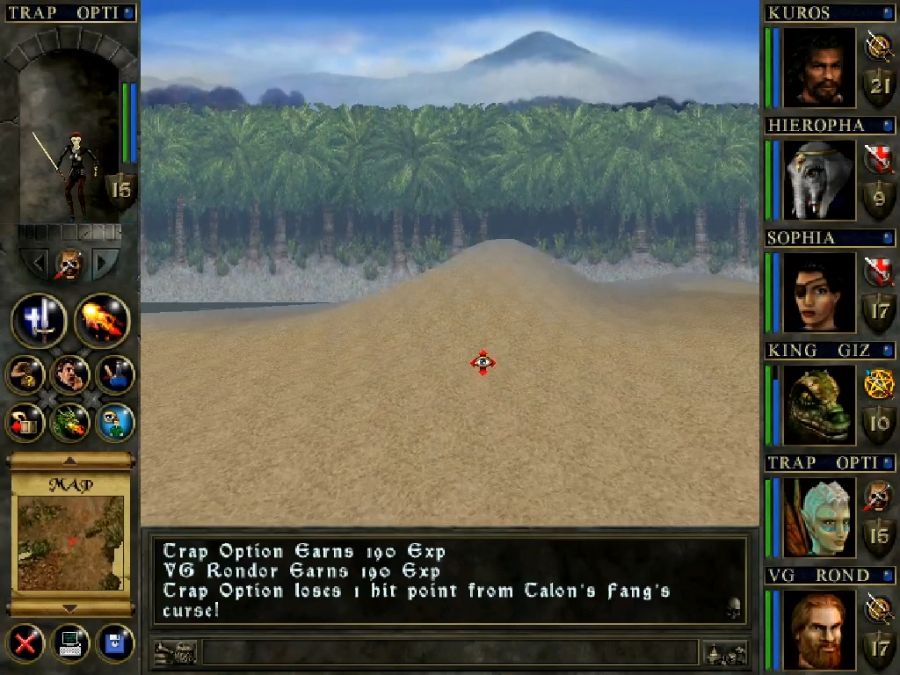
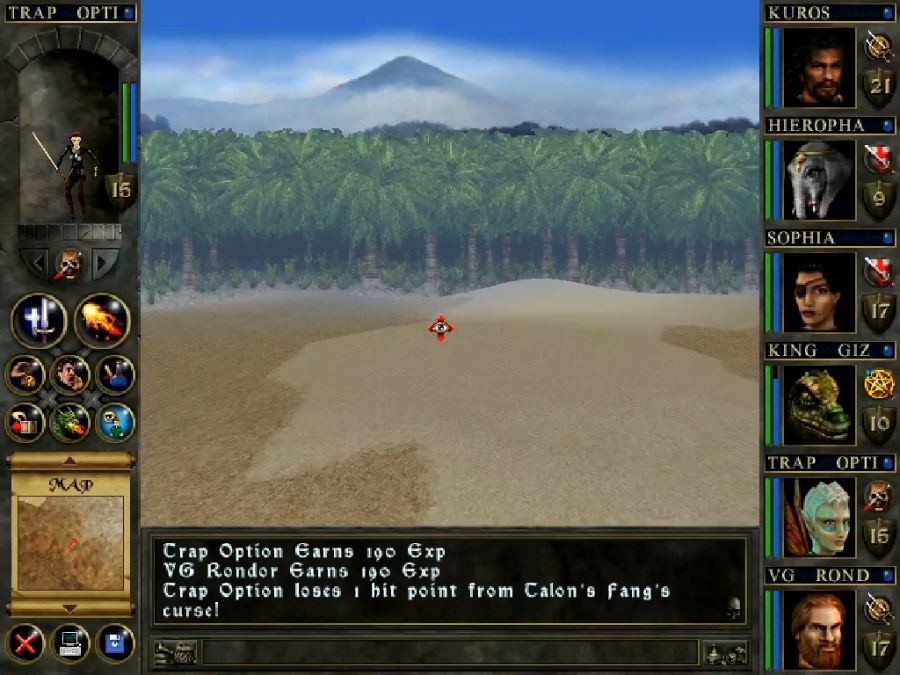
This is what most of the exploration looks like. The same generic coastal shorelines and me dipping underwater every two seconds to keep an eye out for crabs. Their spawns are rare as hen's teeth and they've only got what feels like a 1/3 of spawning a shell each. I also need a minimum of 12 shells, total, for the game to be beatable, and ideally 18 for the game to be comfortably beatable.
The first destination that isn't just copypasted is at "Q43," being the "sword in the stone"-location.


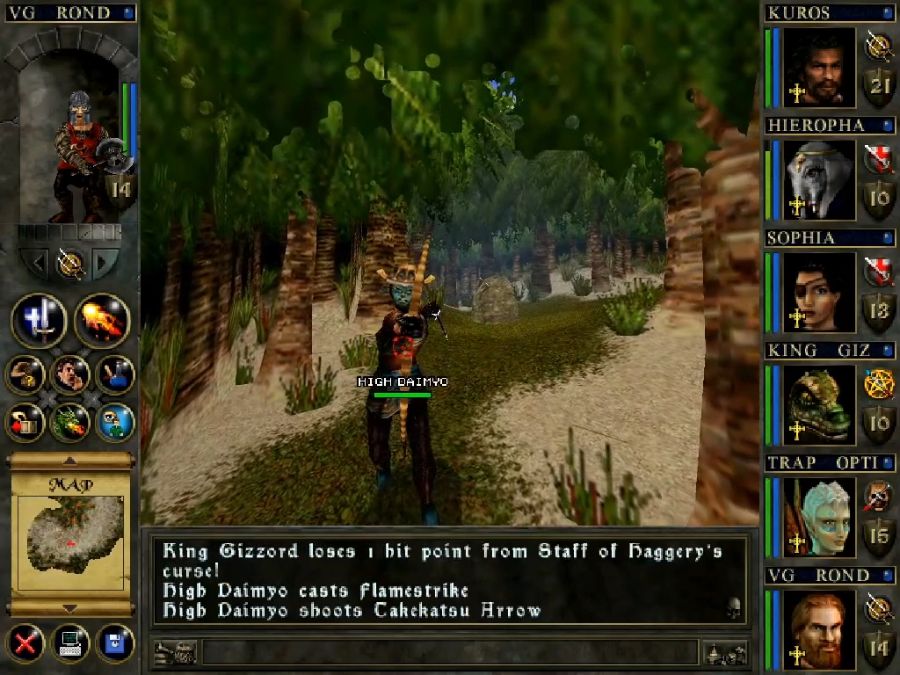
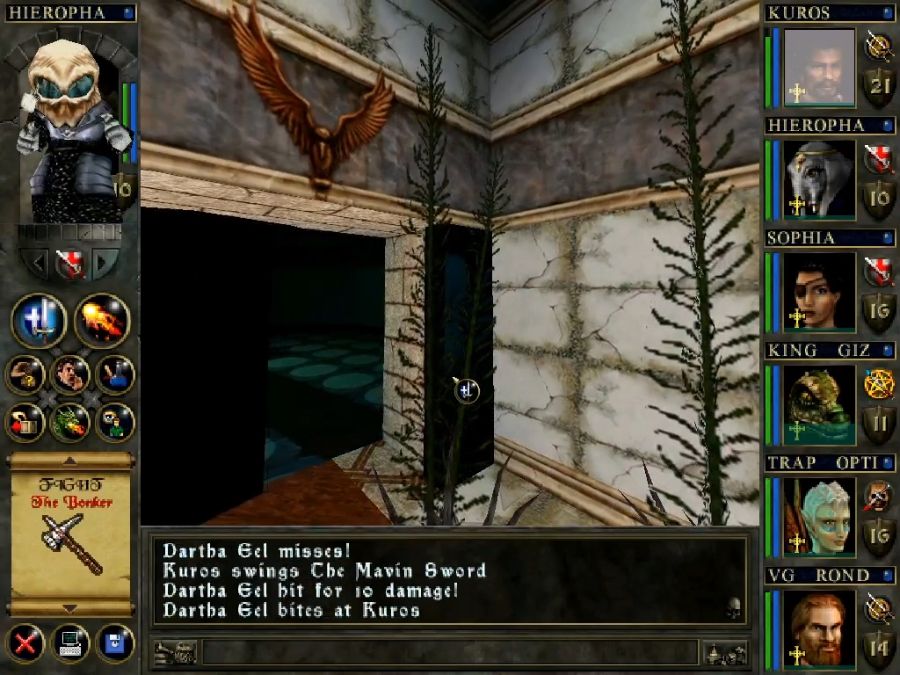
It's guarded by a single "High Daimyo" which appears to be a generic samurai enemy with more HP. He drops a very nice sword, though, that will likely be Trap Option's mainhand weapon for the rest of the game unless it happens to get deleted by bugs again.
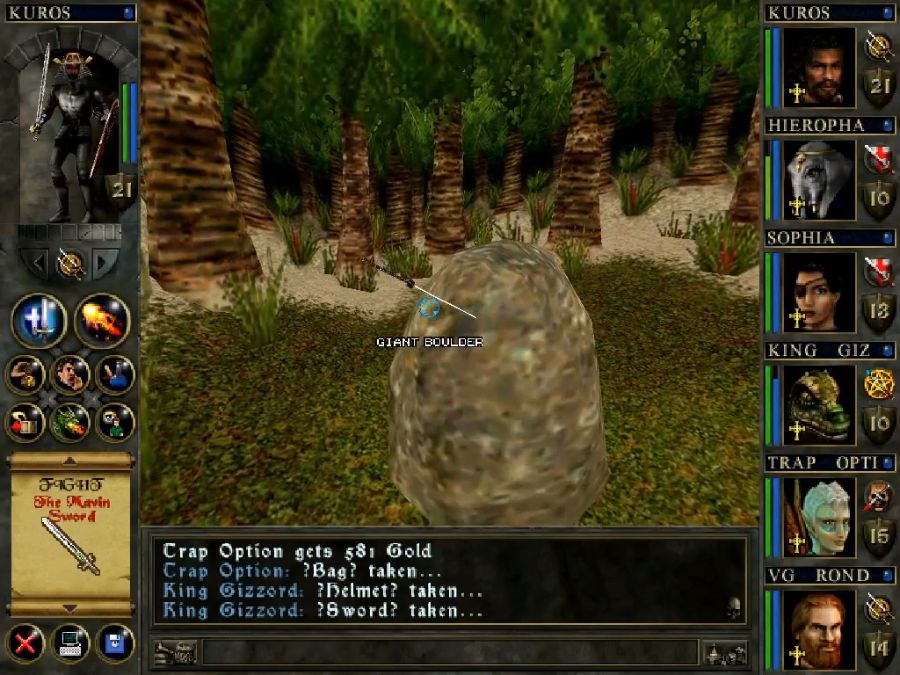
The sword in the stone itself is also a pretty asskicky two-handed weapon. If I had another sword-wielder(which, honestly, Rondor should have been from a min/maxing perspective), it would have been greatly tempting to give it to him except that it has a chance to turn enemies to stone.
Now, you might think, what's so bad about that? Instakilling enemies? Sounds great!
Except turning them to stone doesn't instakill them, they remain alive and drop no loot and cannot be actually killed until you un-stone them with the same spell you'd use for PC's. If I accidentally stoned an enemy that dropped a quest item or key, and let me be 100% honest and say that I have zero faith that the game makes any of those enemies immune to said status effect, I'd be stuck un-petrifying them to continue and, in some cases, they'd be unable to be unpetrified(for instance, I can't cast Stone To Flesh on a non-PC target if I'm underwater).
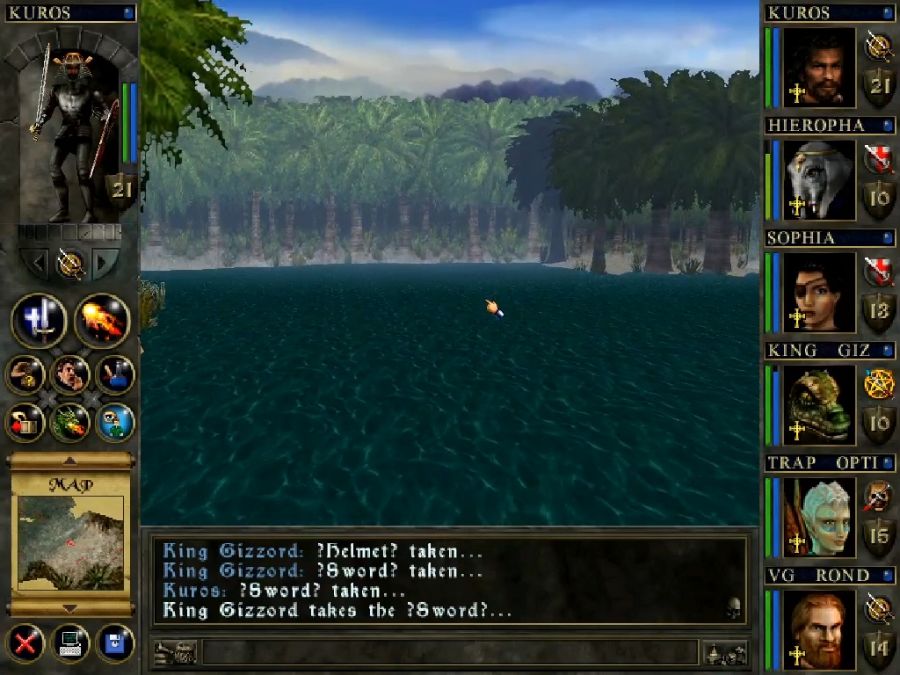
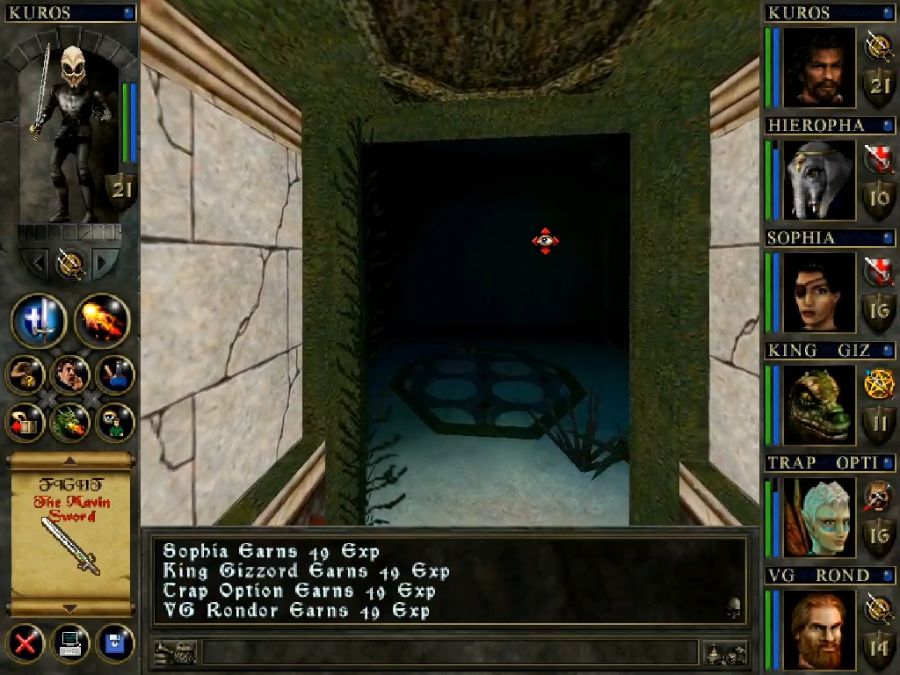
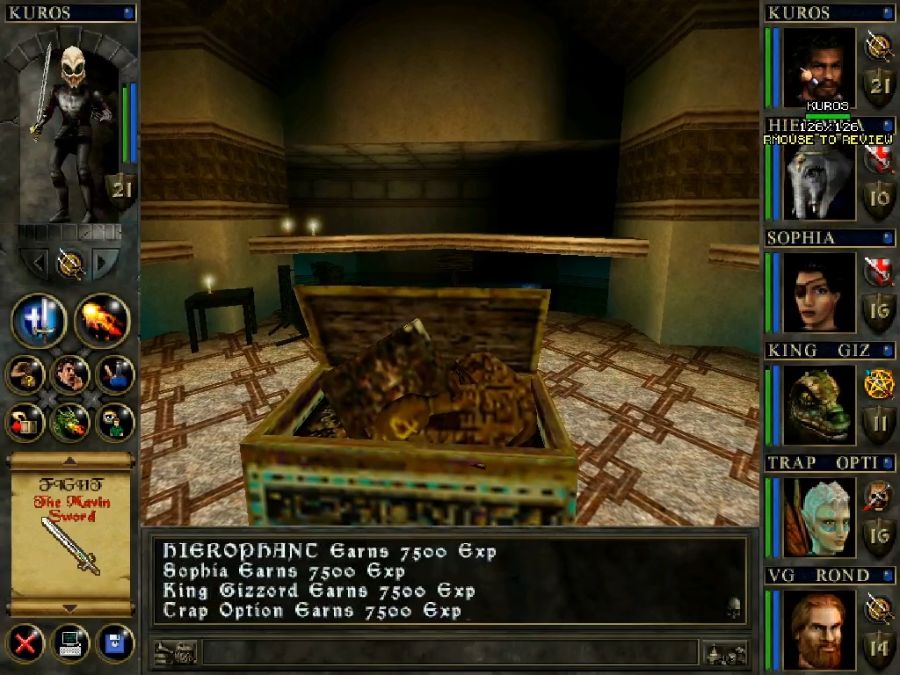
Not taking any chances with softlocks, so I'm just gonna hand this in for the meagre XP.
Yoink.
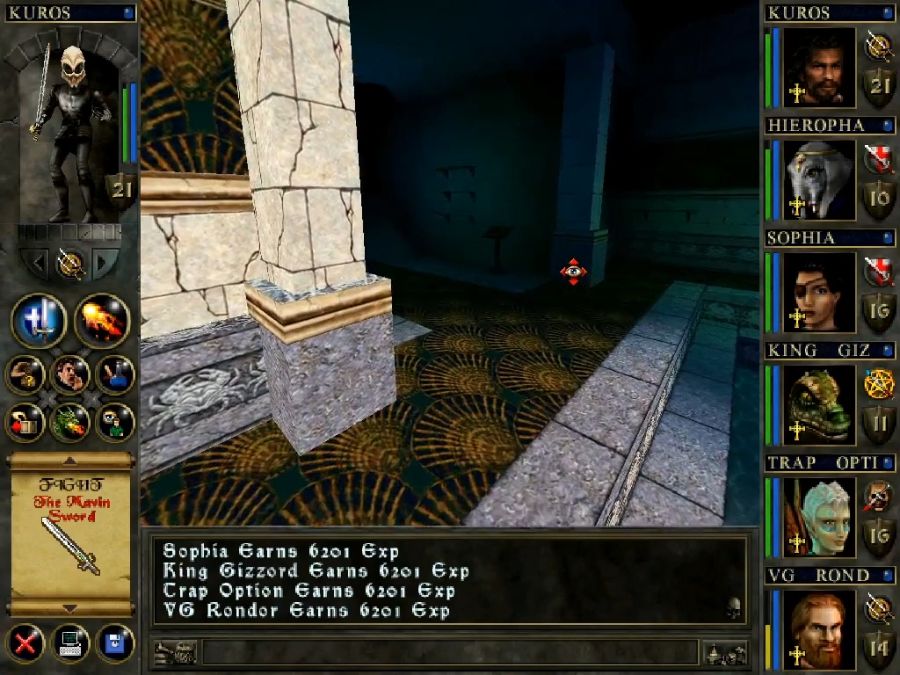
The next target is the path leading up to Q44.
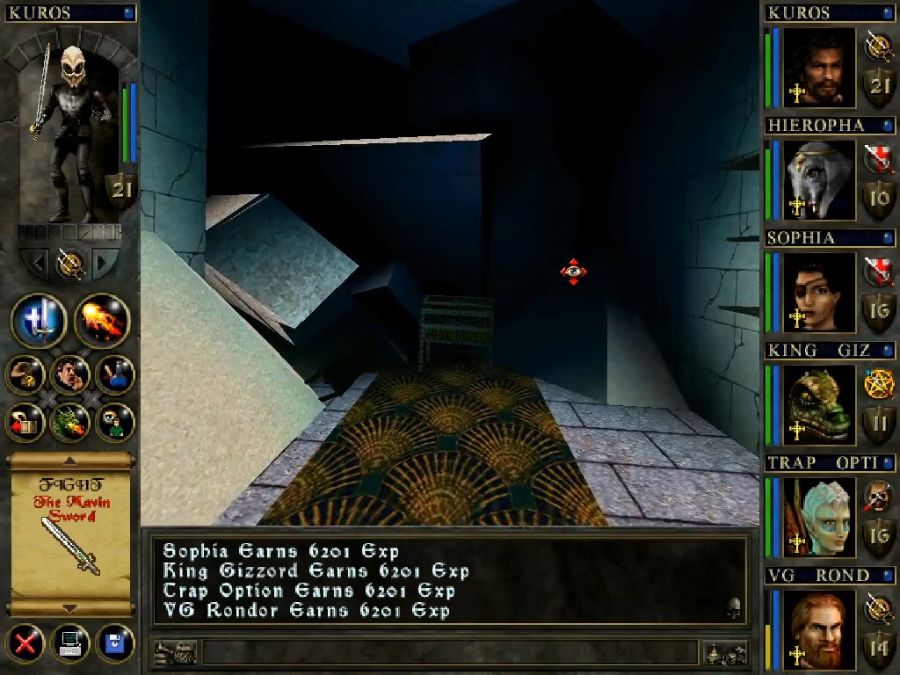
I may also have found Talrik's treasure along the way. There's a couple of chests on the floor of the lakebed(I refuse to call this a sea), here, but none of them have any exceptionally different loot or look any different, so I have no idea which one might've been Talrik's.
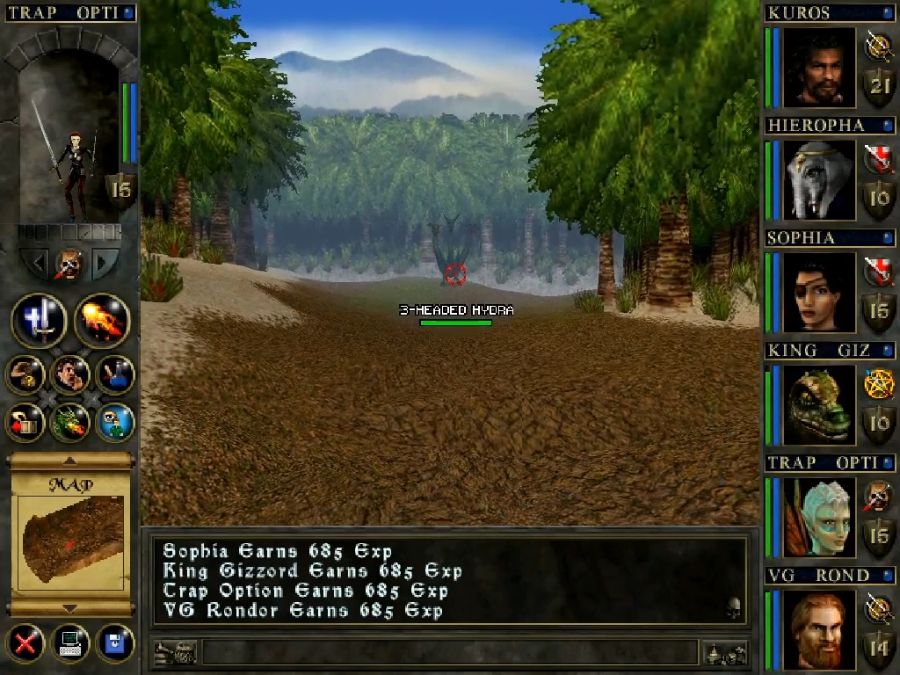
Dang, if any creature could justifiably have a "fuck your whole party in one blast"-breath weapon, it'd be a hydra. So I back off.
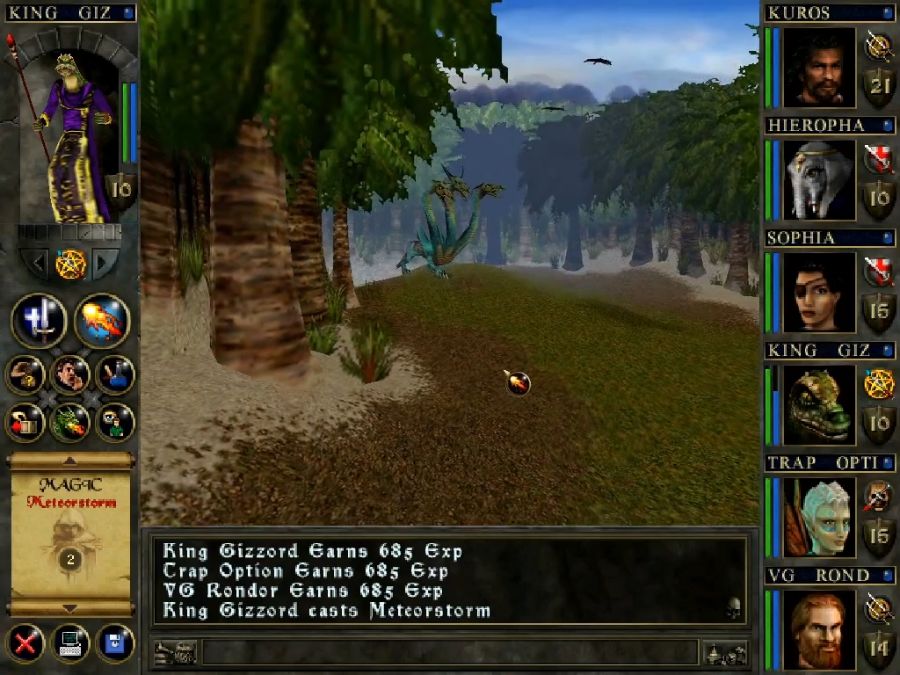
And he keeps coming until...
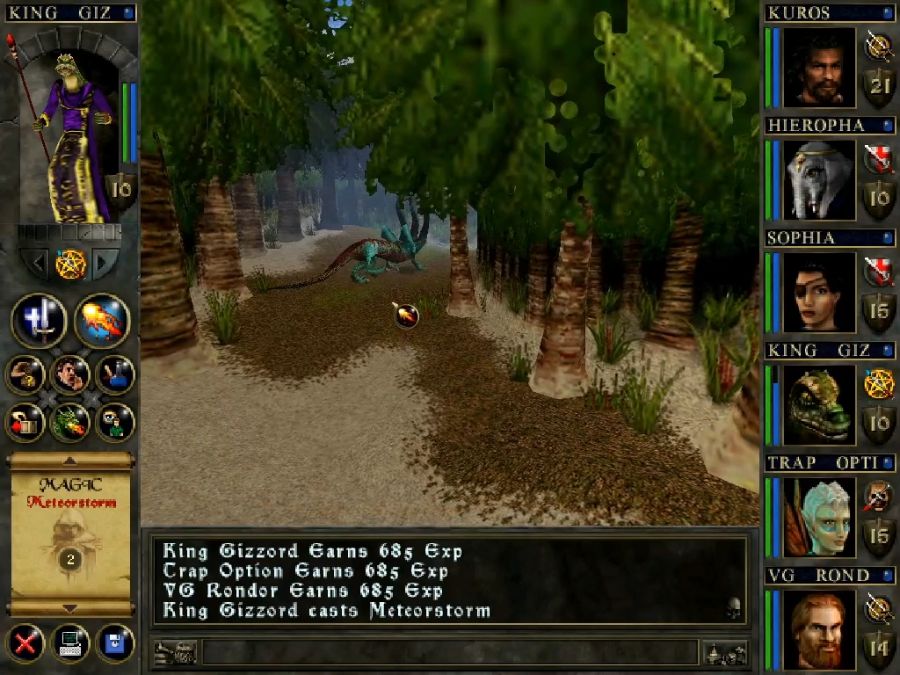
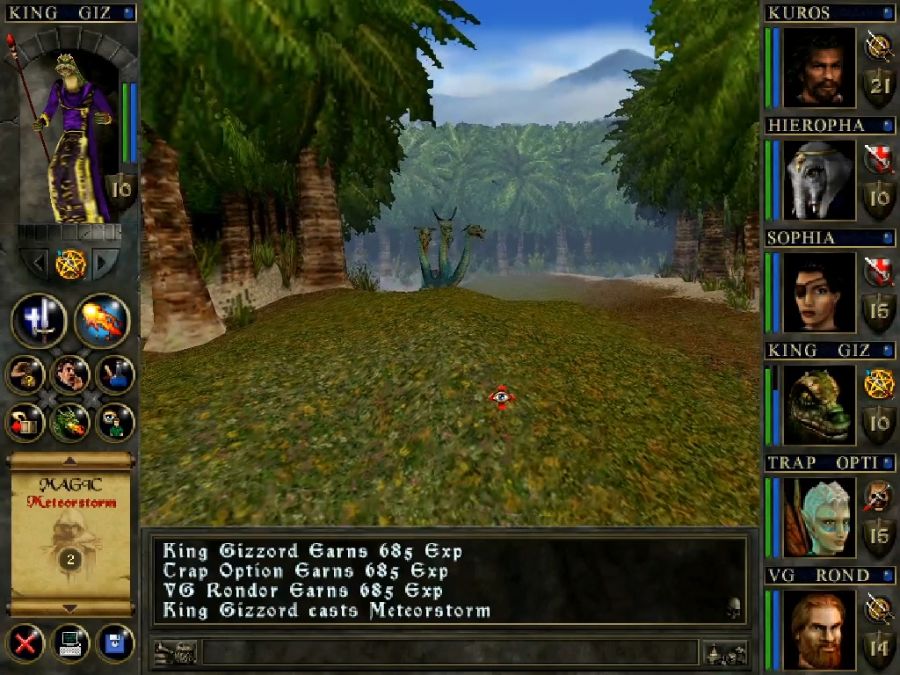
I'm close enough to aggro him, but there's a hard line he won't cross, so if I had infinite patience I could sit here and whittle him down, but this boy has a shitload of hitpoints. Multiple *storm spells only knock off like 10%, so I realize I might need the choppy cutty fellas to chip in if I want to get this done before the day's out.
Which is when I have a brilliant idea! Hands of Time! If there's ever a situation where it would be ideal to whip out to get in free hits, this would be it!
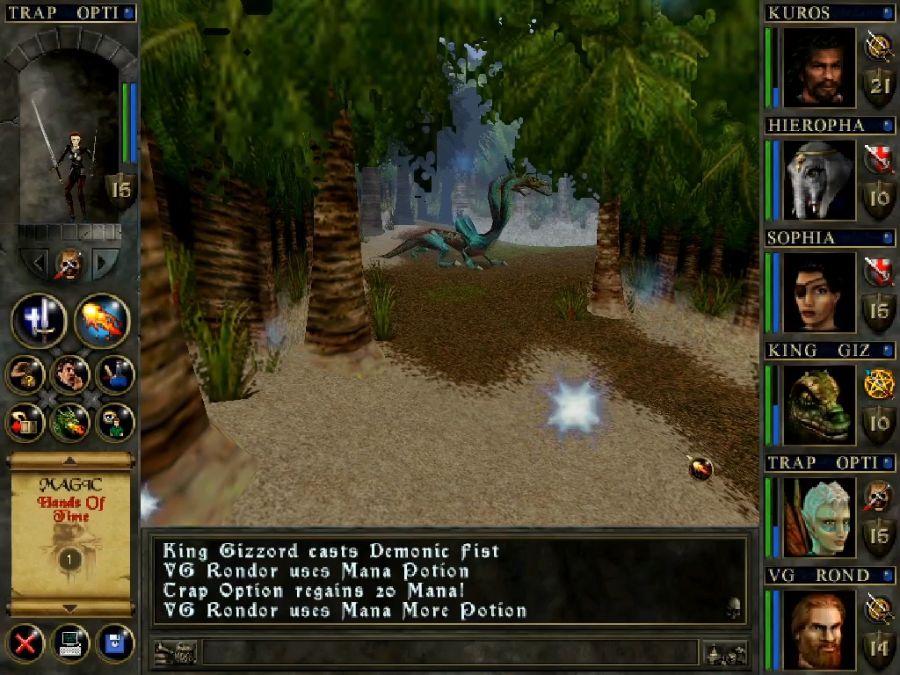
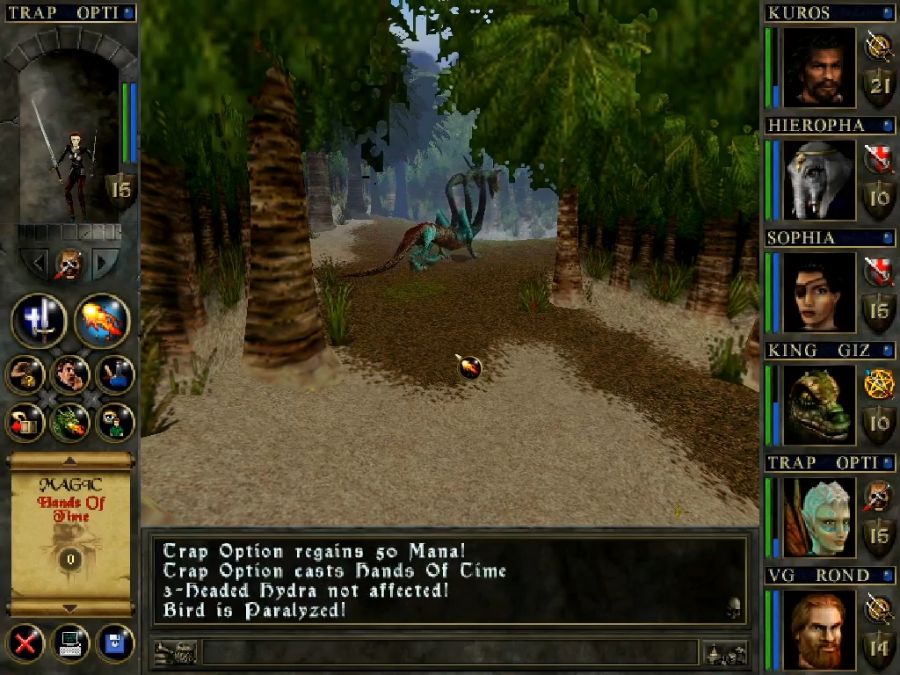
Except it turns out that rather than stopping time or anything for the world in general, as advertised, it's literally just coded as a paralyze spell and thus the hydra's magic resistance no-sells it.
Fuck this game.

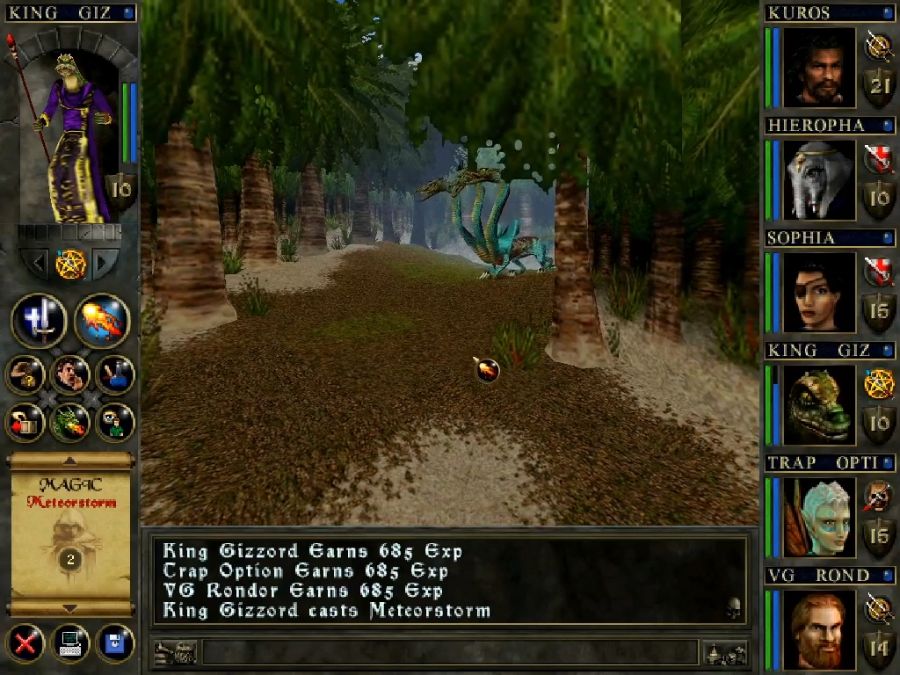
Guess it's time to do this the hard way.
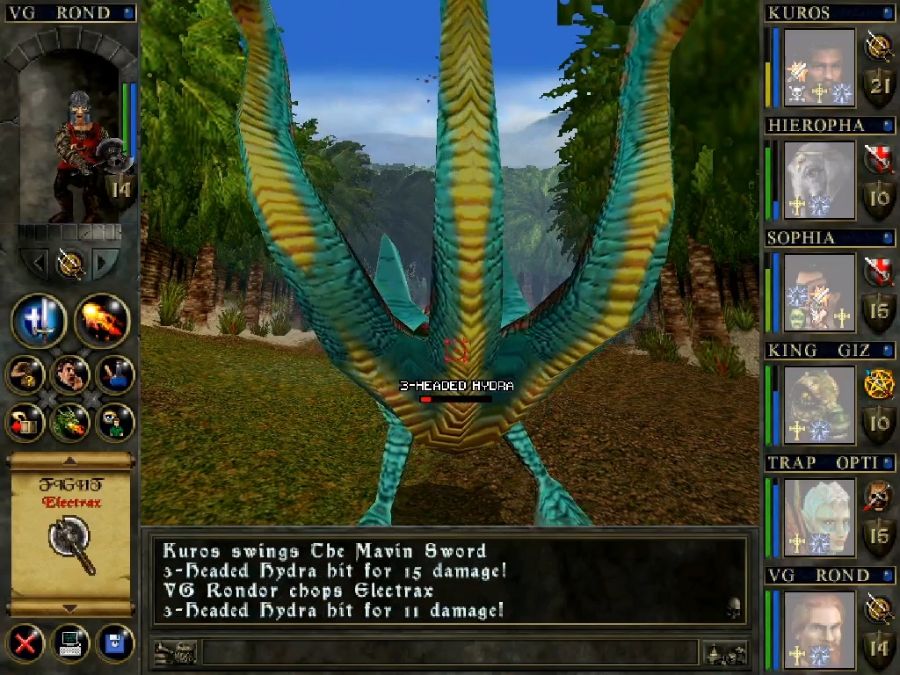
I think it takes me like five minutes of hacking and chopping to get somewhere, interrupted by occasionally healing someone up. It does have pinchy breath weapons, but they're single target and don't really come with any status effects nastier than poison and nausea, so I can handle it relatively easily.
It was guarding two chests of generic loot.

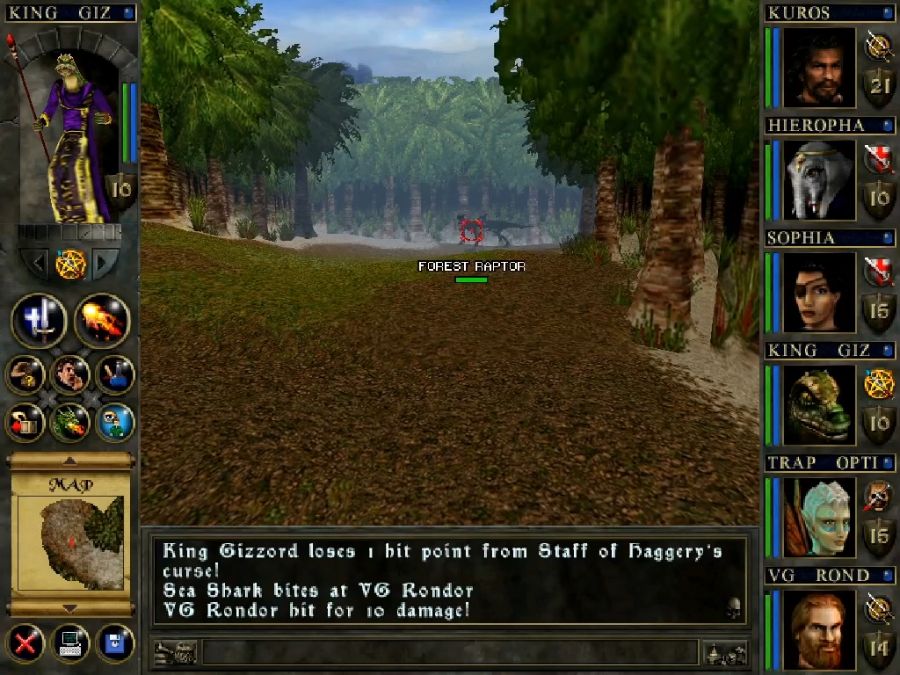
And the path onwards features a new enemy type called "Dumdee Oleoh," which... is it just a random gabble like the Mollipoddi mushroom enemies? Or am I missing some extremely deep reference of some sort? Either way, they're literally just big piles of HP and nothing else. Generally I rush into melee so they cluster up and nuke them with a firestorm or the like.
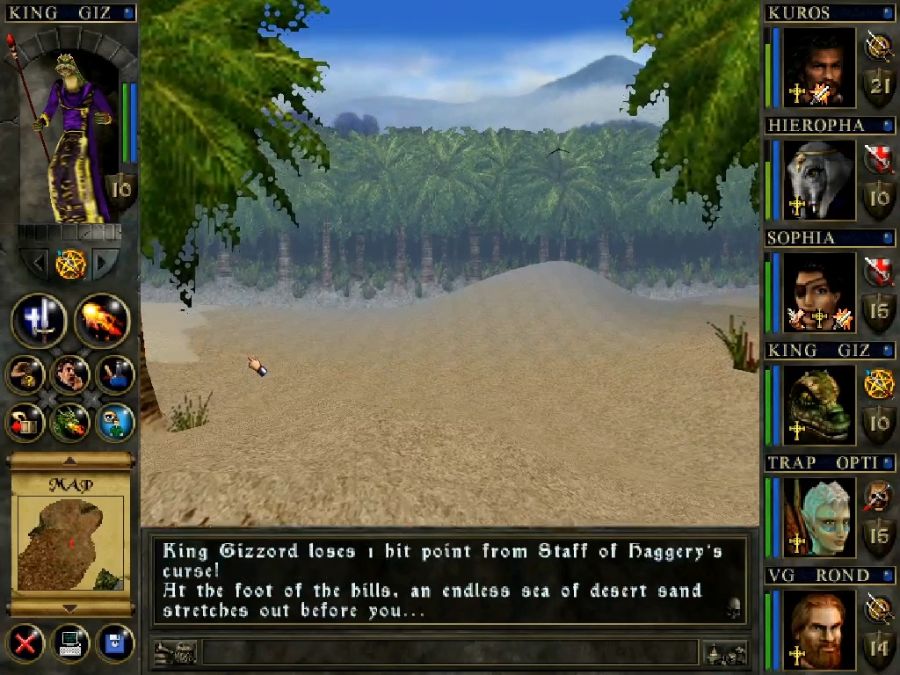
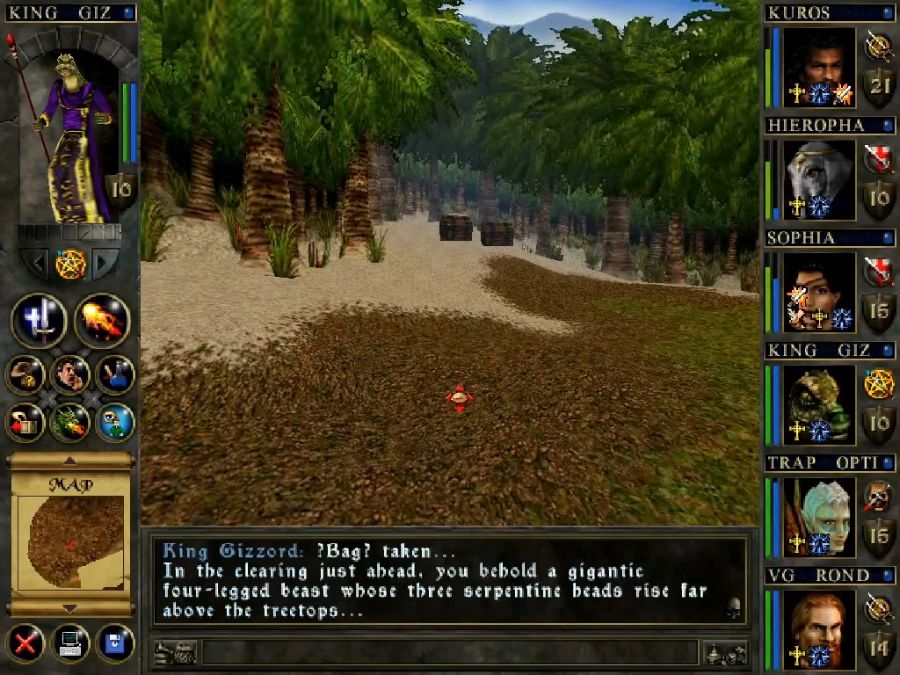
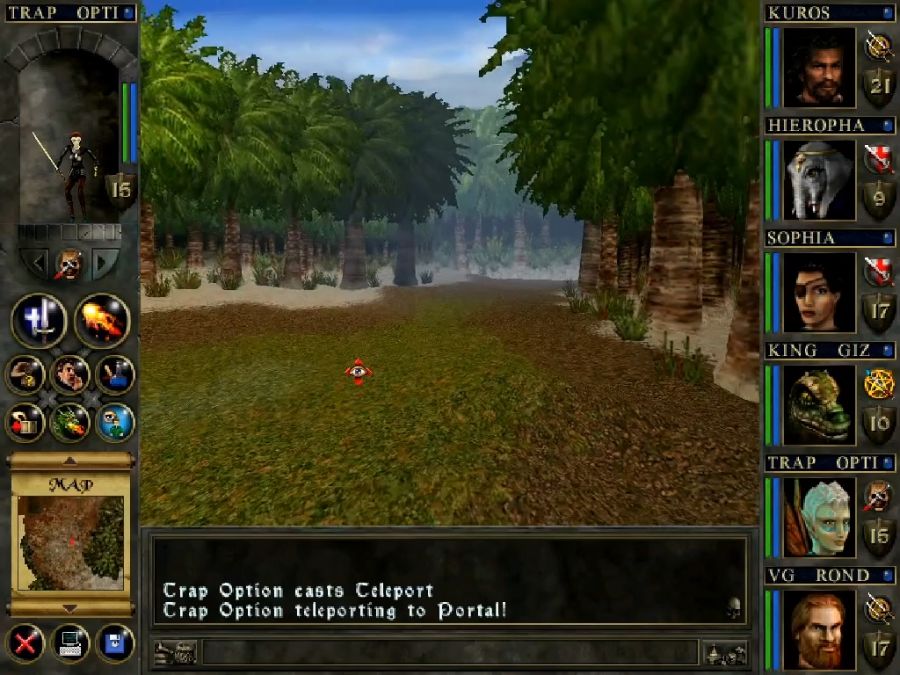
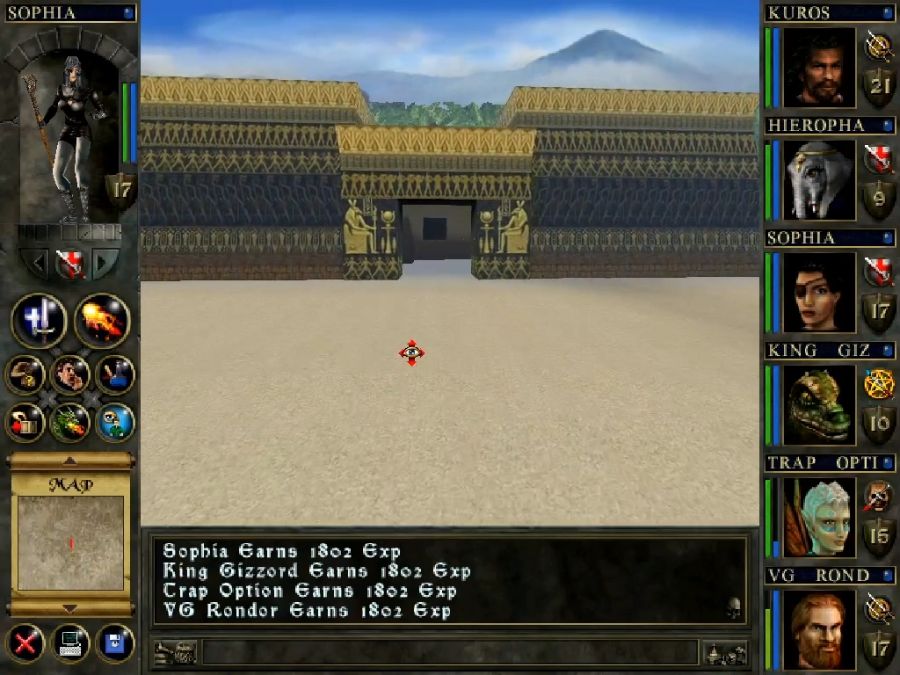
At the end is the big area that has Cet's pyramid, in the upper left of the map at the start of this post. I wasted like an hour of real time scouring every inch of it just in case there was anything at all interesting in the desert, but aside from the pyramid there's nothing but enemy random spawns. Even where the minimap indicates, for instance, a few palms, like in the lower left? Nothing. Just sand and enemies.
And only two we haven't seen before, too.
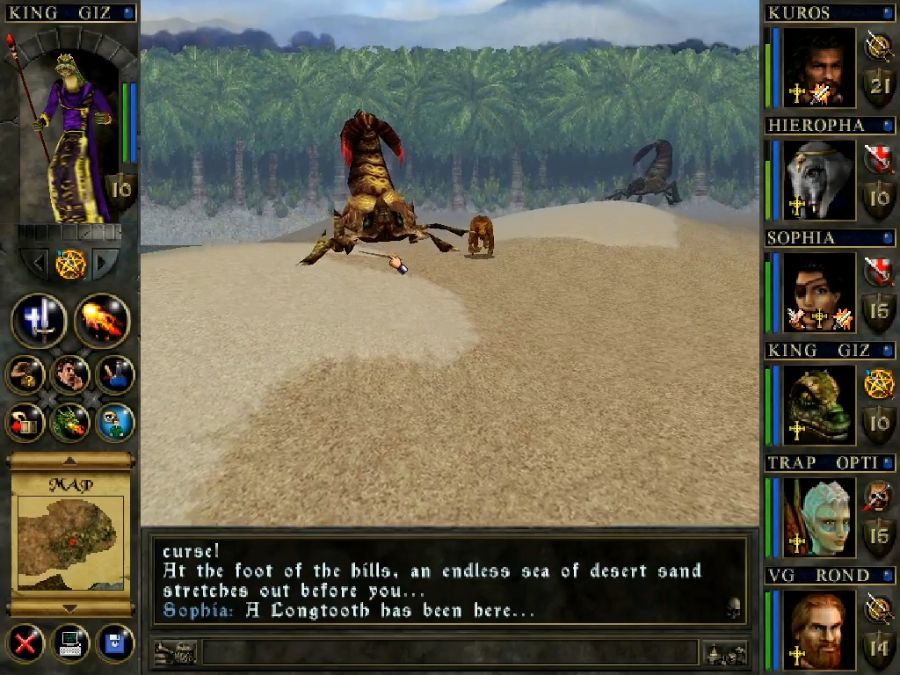
Sandcrawlers, again huge chunks of HP with nothing else going for them.
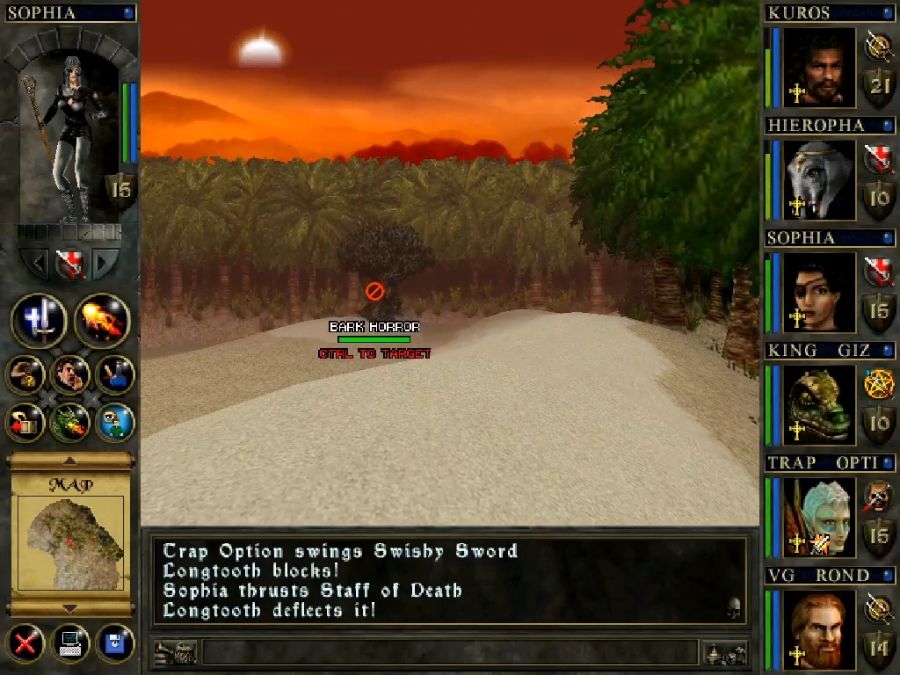
And bark horrors, one of which needs killing for the sake of the mage guild quest, and it's another one of those "are we the baddies?"-moments in NPC-hunting.
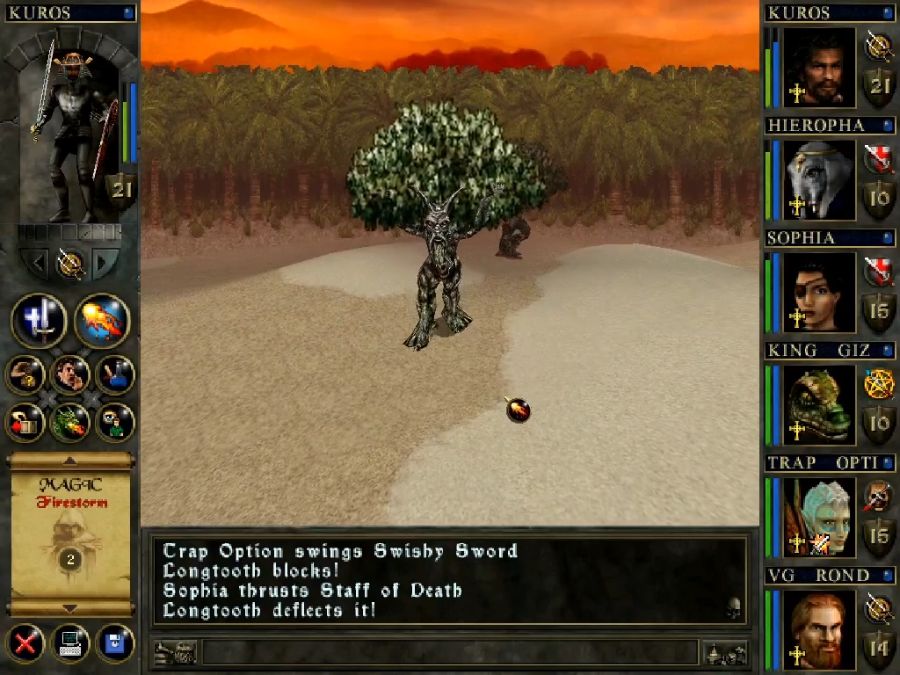
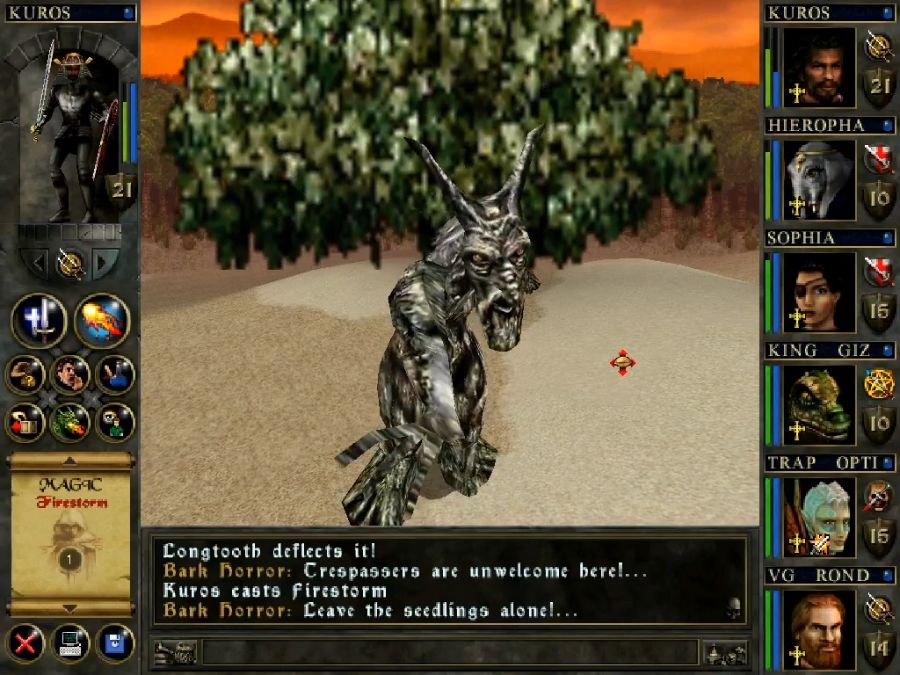
You know, when they're explicitly telling you to leave their kids alone, yet what you do is you kill them and grab their children off their corpses to sell to a shady magic merchant back in town for XP and nebulous "ranking up"-rewards.
In any case, they know a bit of Vine magic, occasionally casting Locus Swarm or Poison Breath, but ultimately they don't do enough damage to really be dangerous.
And with that. I set to grinding for conch shells(yeah, I know, why are crabs dropping conch shells? They're not goddamn hermit crabs.) which takes me, as mentioned, something in the vicinity of 8 hours time, counting both time spent actively grinding and time where I'm just casually playing the game and taking such shells as I find along the way, split about half and half for each.
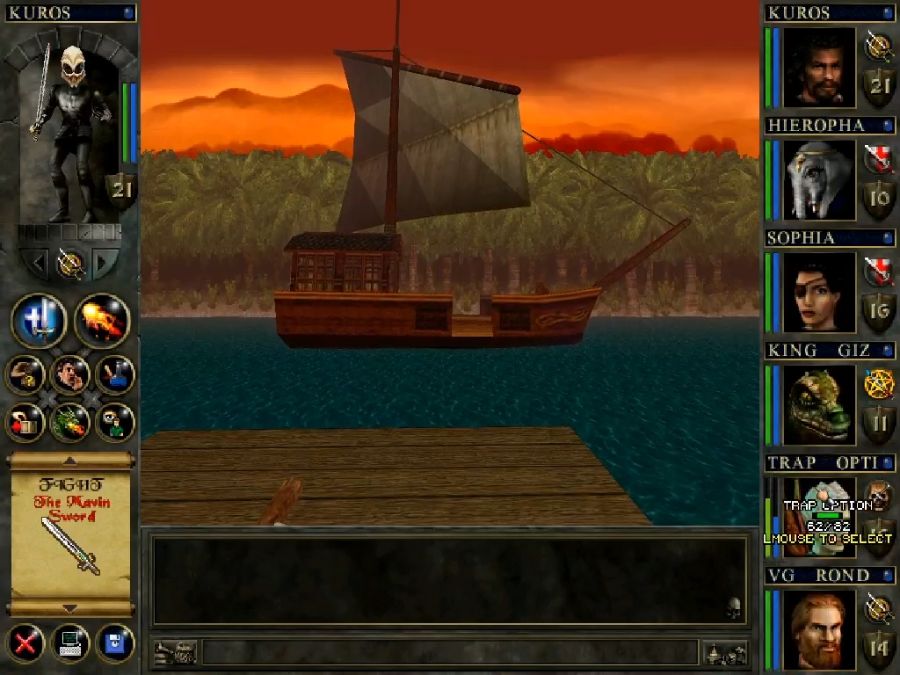
Once I've got them, I head back to town to cash in quests and prep before setting off for Colassium.
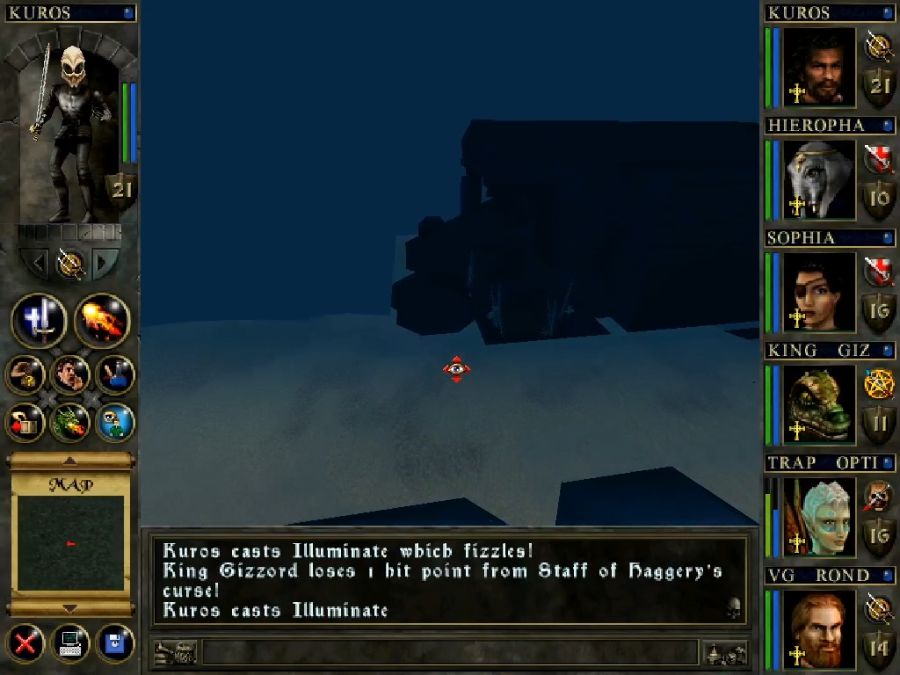
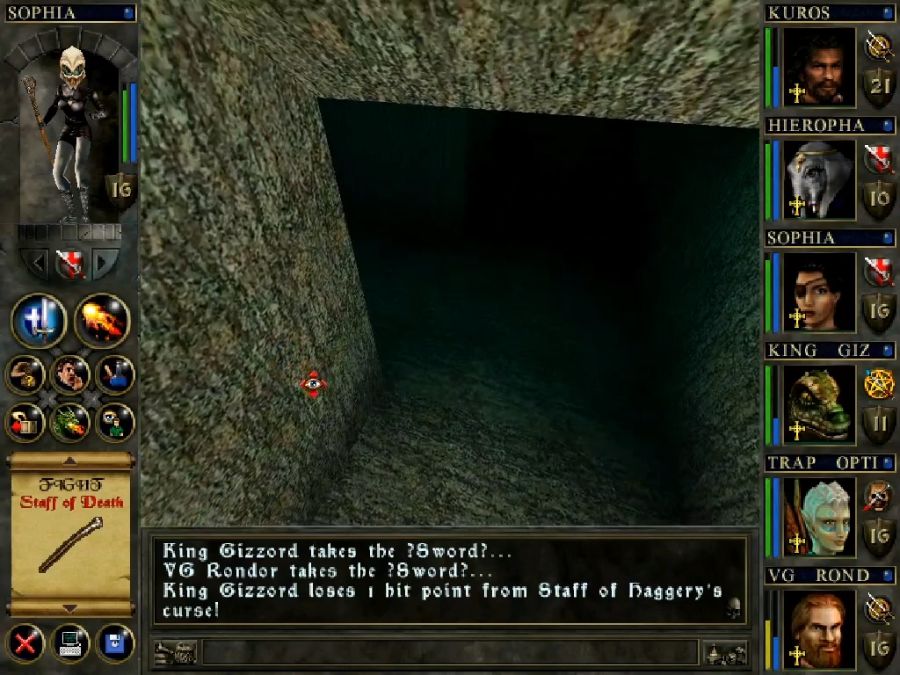
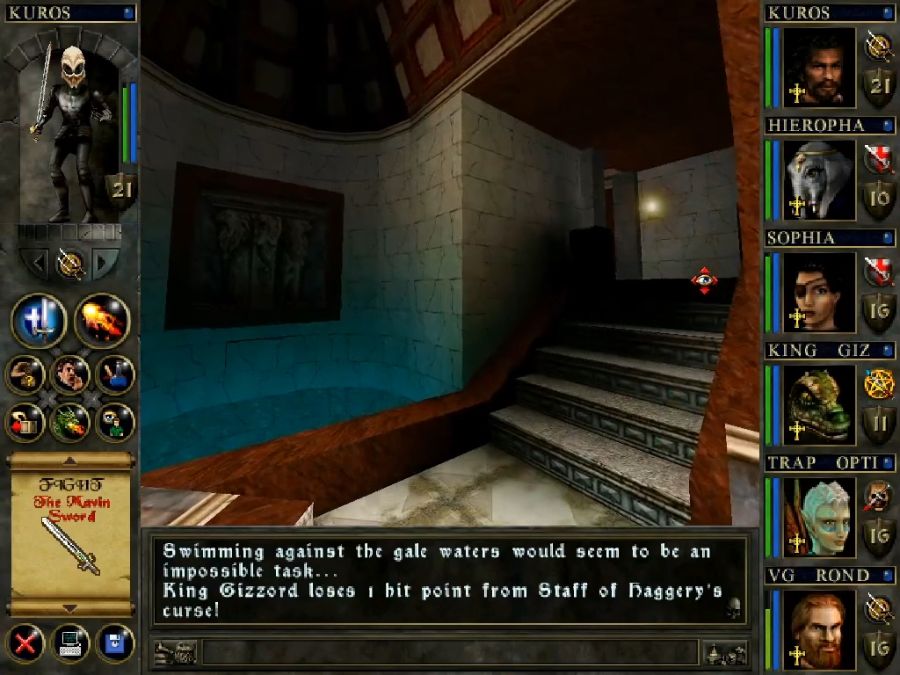
The "fun" part about what the conches yield is that they stock the shipyard owner's store with underwater helmets and conch shell air tanks. The helmets massively extend the drowning meter, and also holding a tank increases it further, but a tank on its own does nothing. The tanks are held in the off hand meaning anyone with a two-hander(Gizzord and Rondor, oddly enough Sophia's Staff of Death is a one-hander) is fucked, and anyone with an off-hand(Trap Option's main gauche, Kuros' dragon shield) is reduced in power.
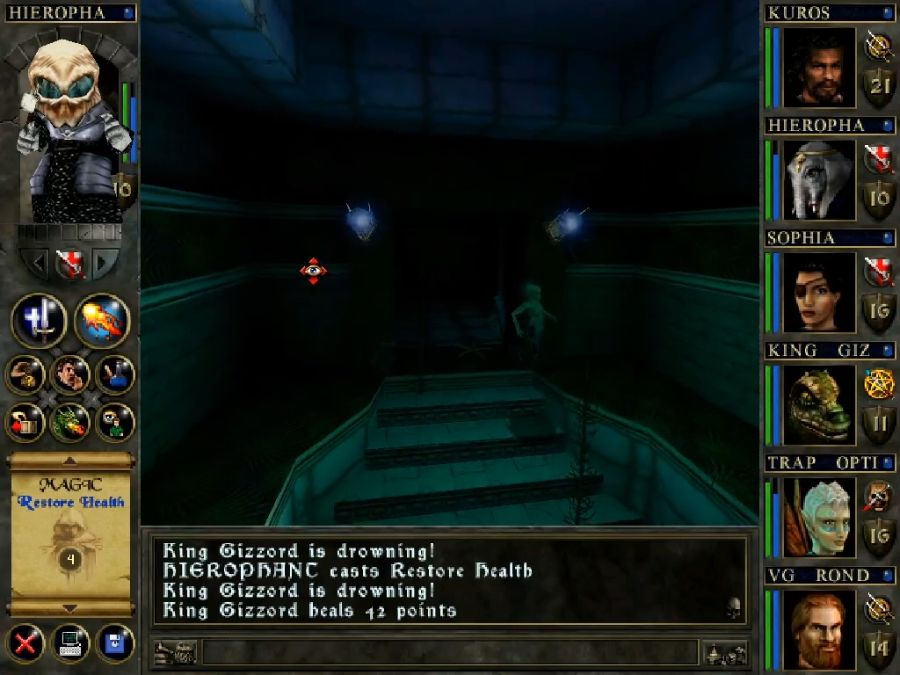
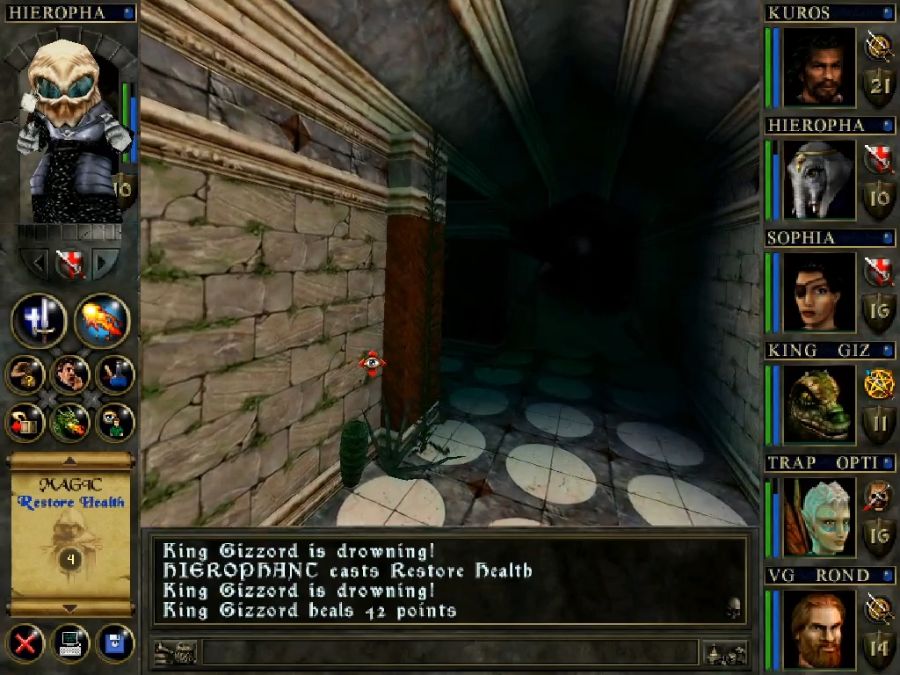
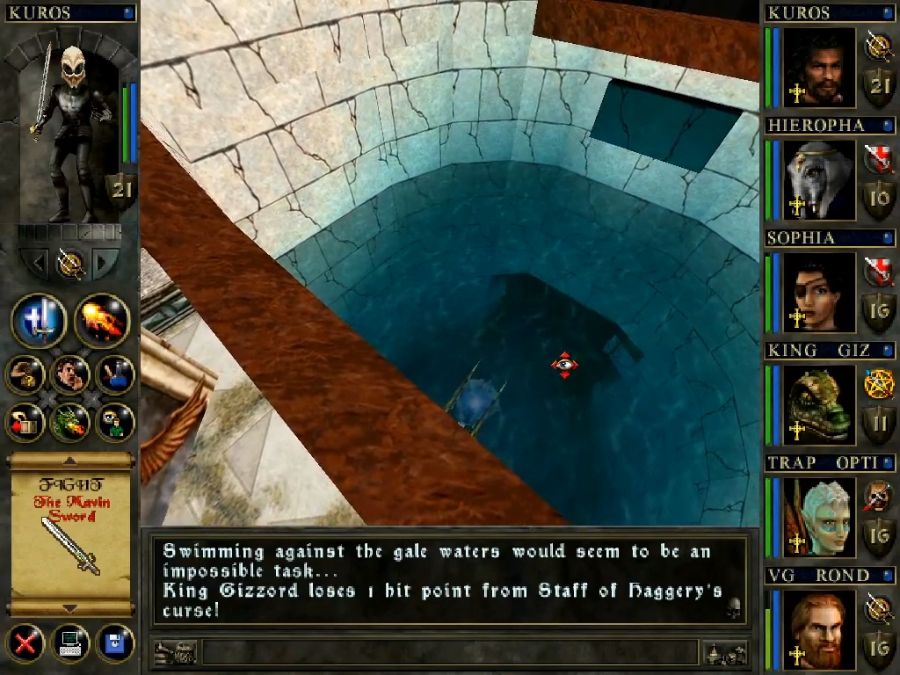
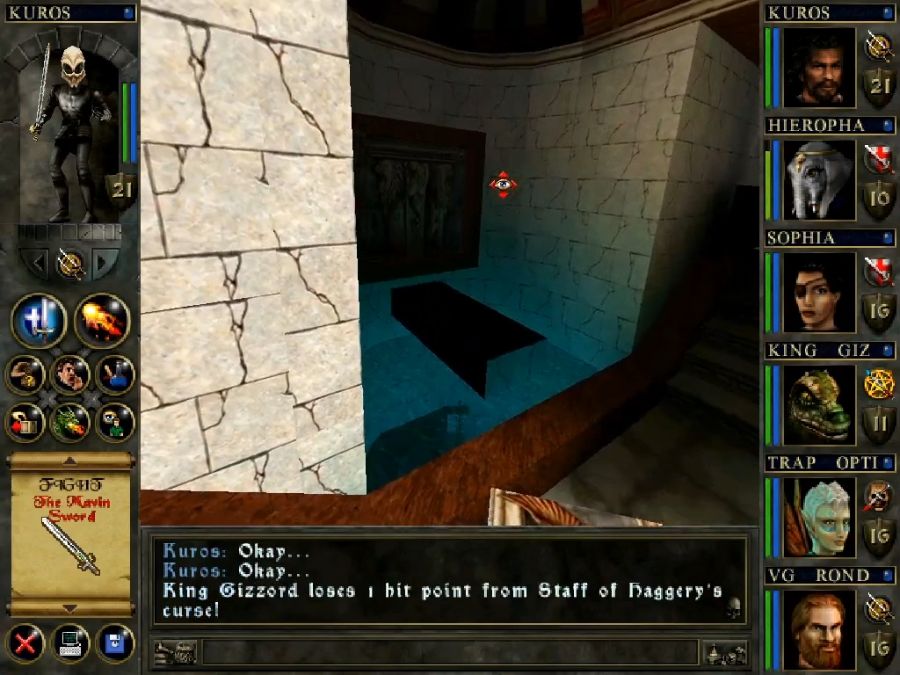
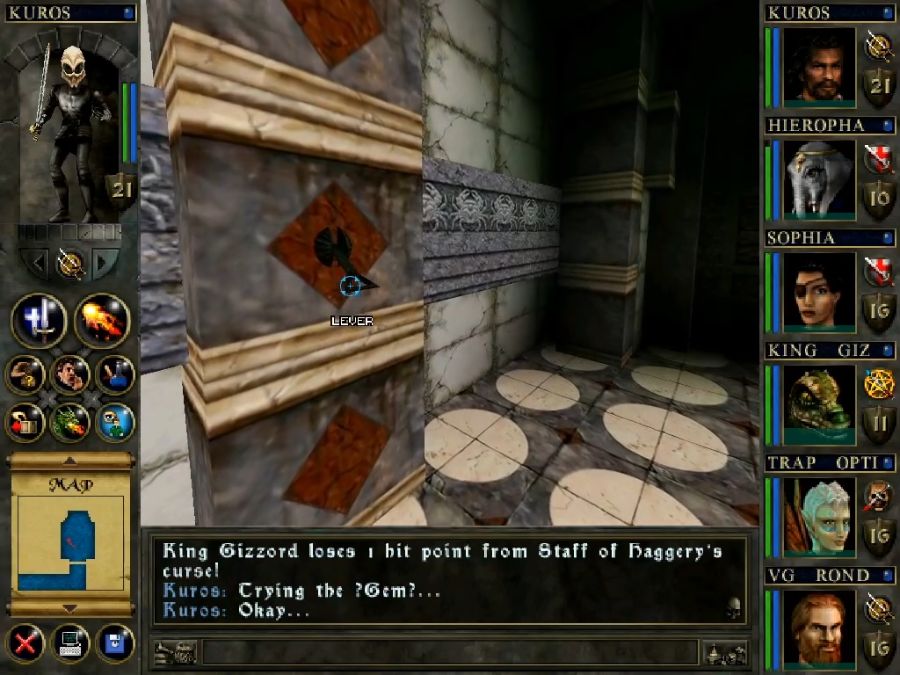
Above water this wouldn't matter greatly, but under water most spells don't work, so I'm relying on every single HP of damage from the goon squad, so it sucks a bit. I end up having to downgrade Rondor to a generic war axe for the duration, and Gizzord ends up having to drown a couple of times because I couldn't afford to uncurse his Staff of Haggery so he could unequip it. Whoops.
Now, the sidequests...
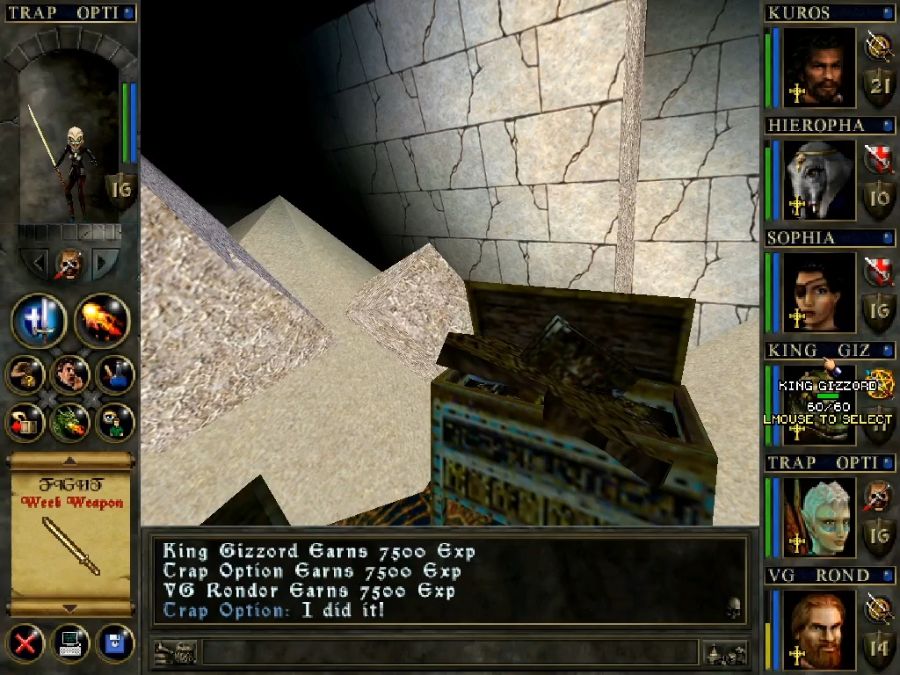
Handing in the seed and the sword of the stone went easily enough. I also dropped by the pawn store to train Trap Option a bit more, and found out that the leprechaun quests gives its reward every time he returns. Sadly, the 5k exp reward is like 2.5% of a full level at this stage, but out of the principle of "fuck this game," I still used it to cheat him up an extra level.
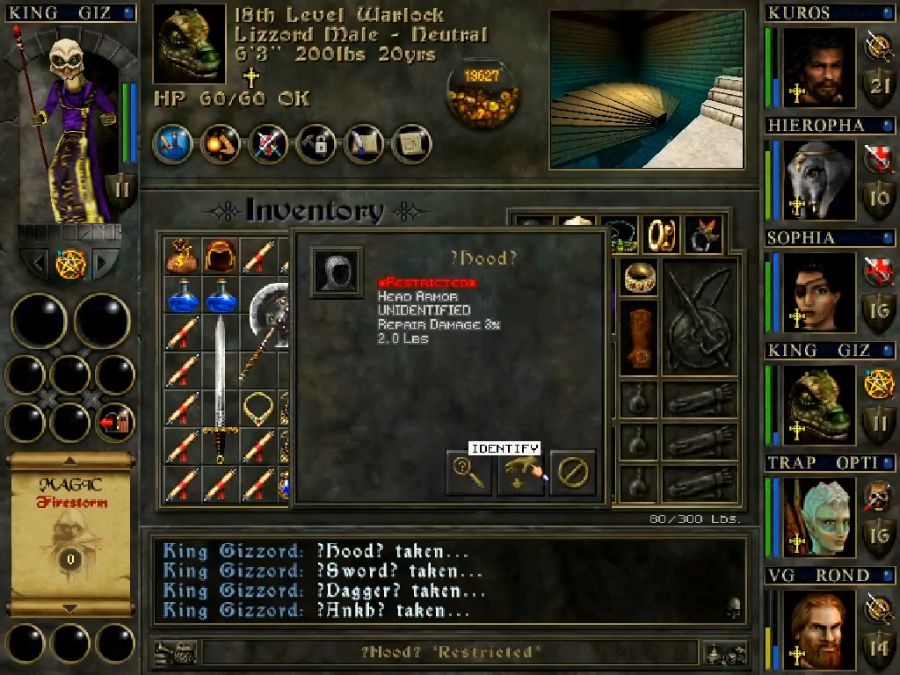
The Monk's Ward, though... see, I don't even remember what chest I got it in. It looks EXACTLY like a generic Priest's Stone(priest-only necklace item) and popped up in a random chest, so my brain didn't register it as a quest item. I sold it for 10k loots and was proud of myself until I dropped by the temple and the priest went "oh no without the Monk's Ward, we're doomed!"
"Oh," I think, "I'll just go back to the store and re-buy it. Shame about those 10k golds."
Except the shopkeeper refuses to sell it to me.
Because it's restricted for monks only, obviously, if you wanted to use it. And he refuses to sell me an item that's restricted for the character trying to buy it. And I don't have any monks. And it's like two hours of play since I last saved.
I decide to leave the quest uncompleted.
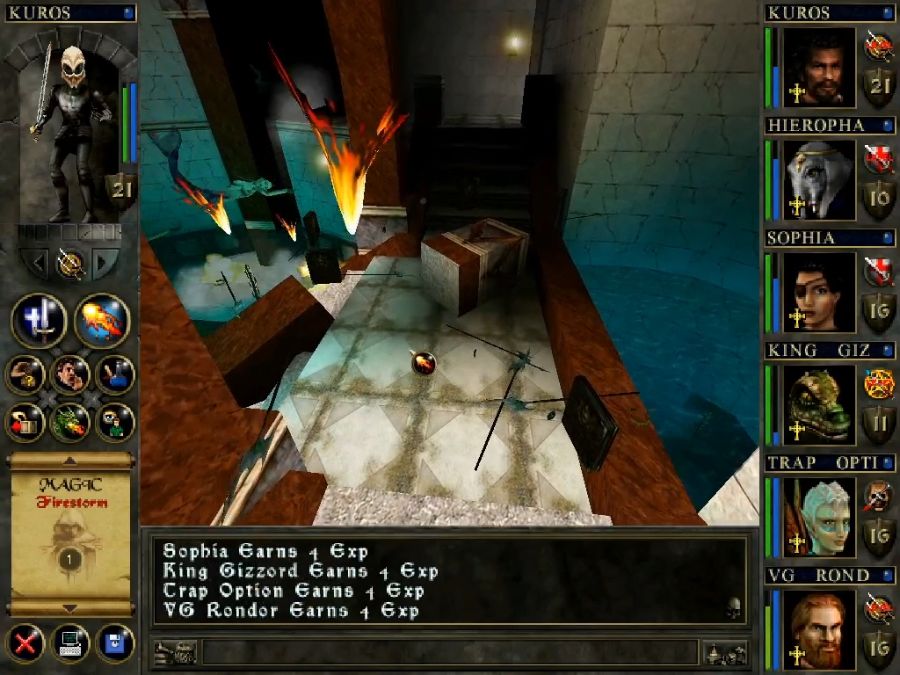
Also everyone looks really fucking stupid wearing the underwater helmets.
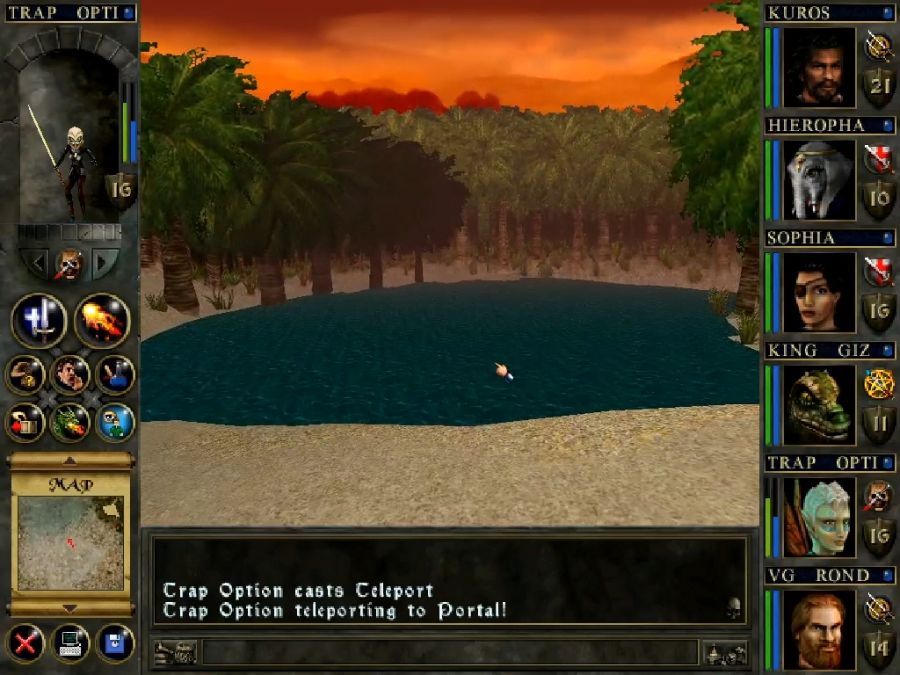

And yes, as many crabs as I usually see in an hour of play spawn in the two minutes it takes me to warp back to the last outdoor section and swim to Colassium.
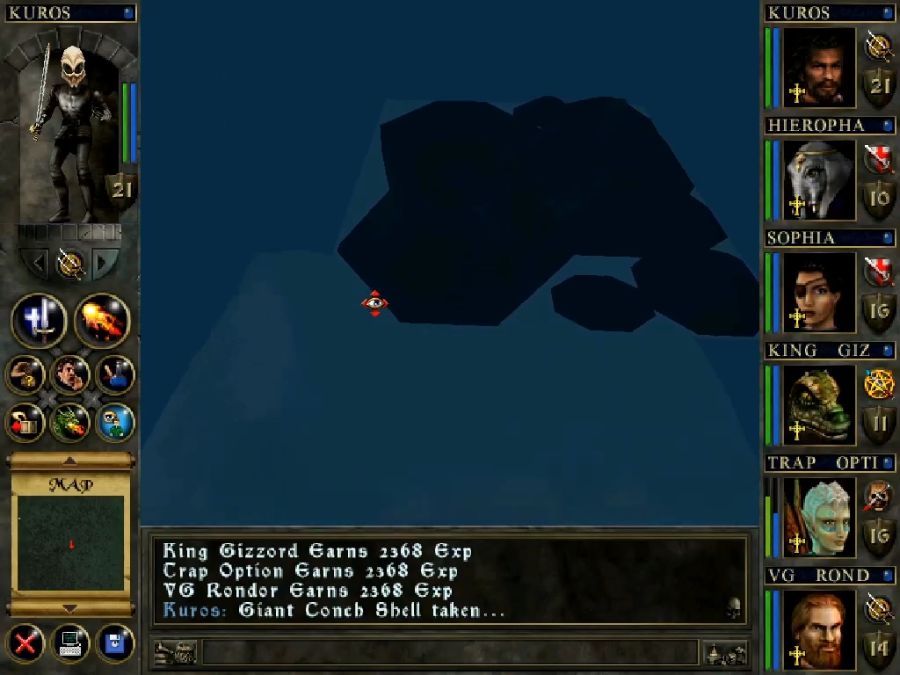
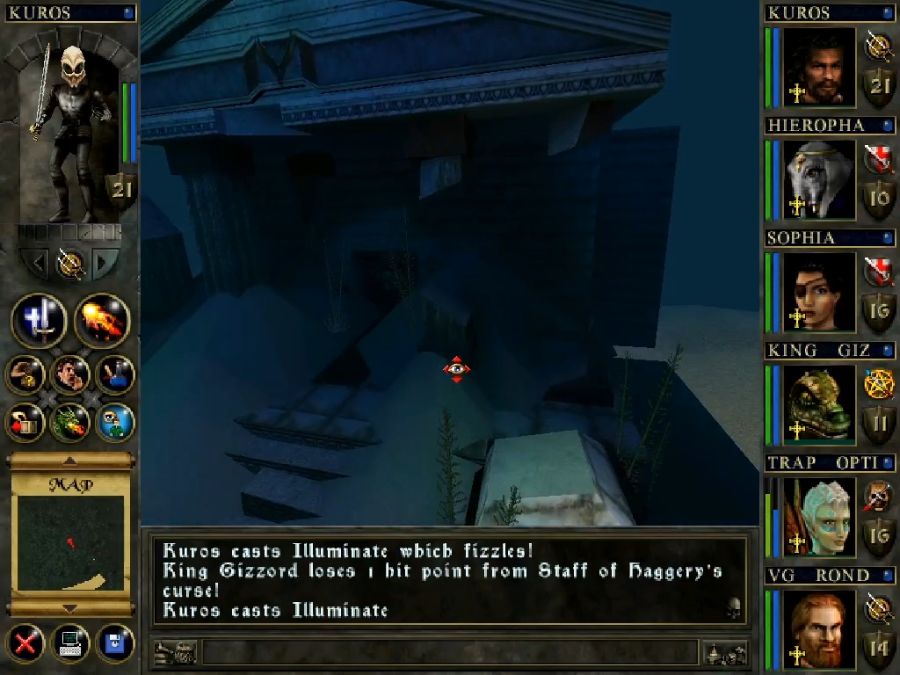
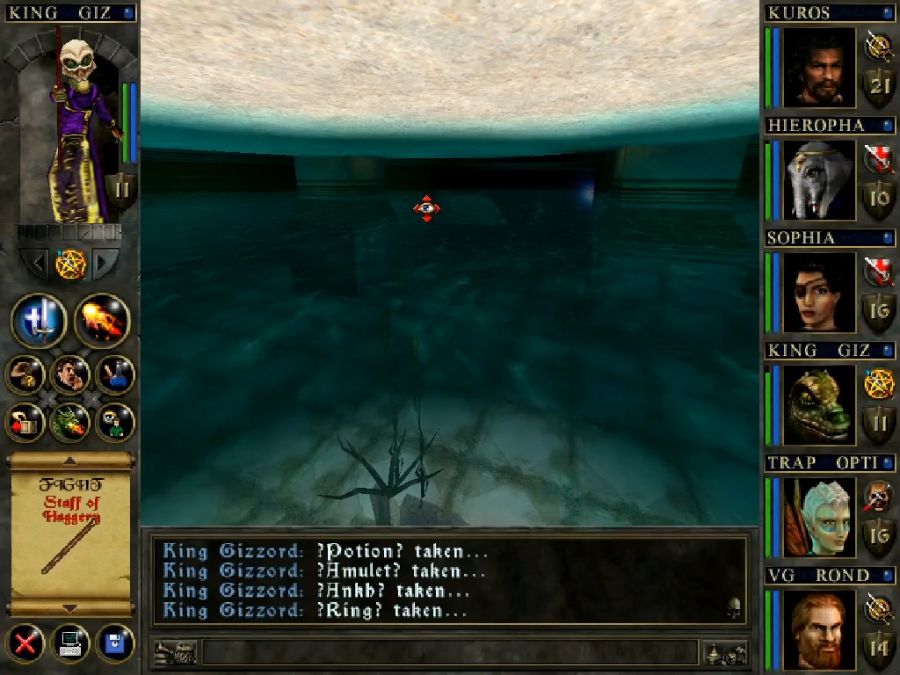
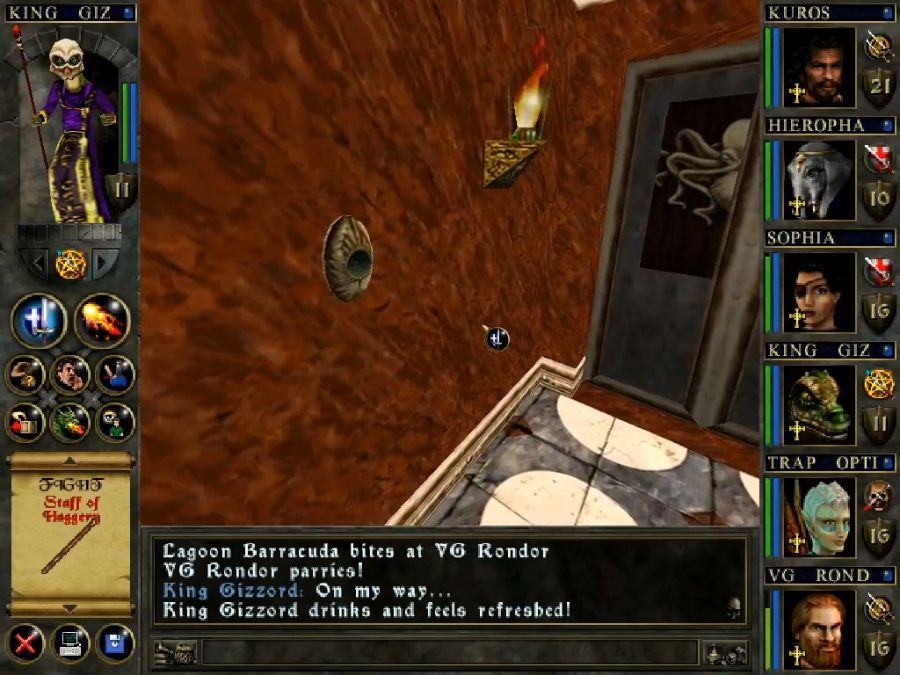
The underwater ruins pop into view from much farther away than any other objects and, despite the fact that my PC is almost 20 years newer than this game, something about them makes the game fucking chug whenever they're in view. Like what the fuck.
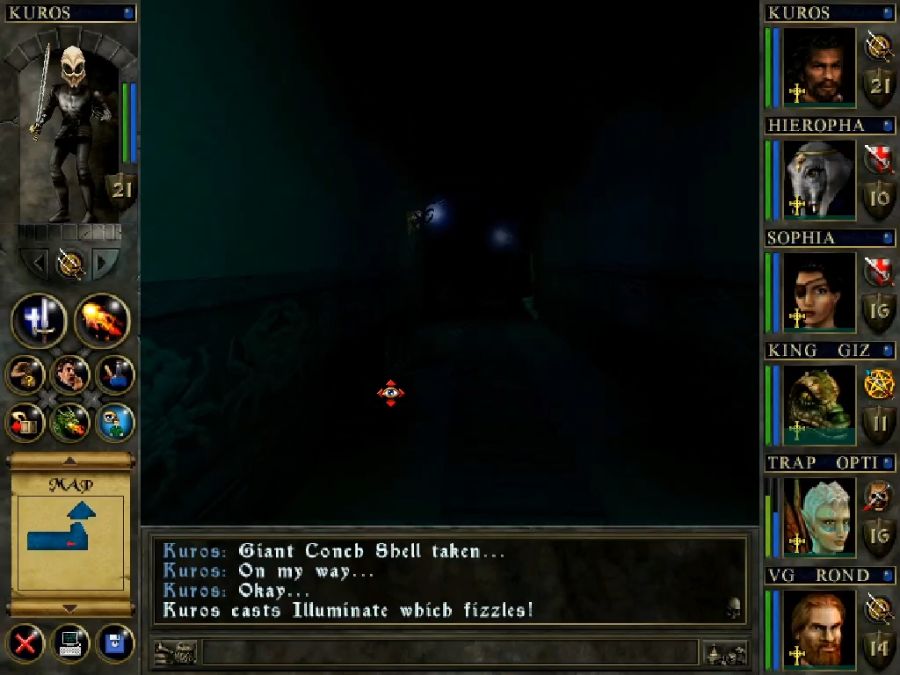
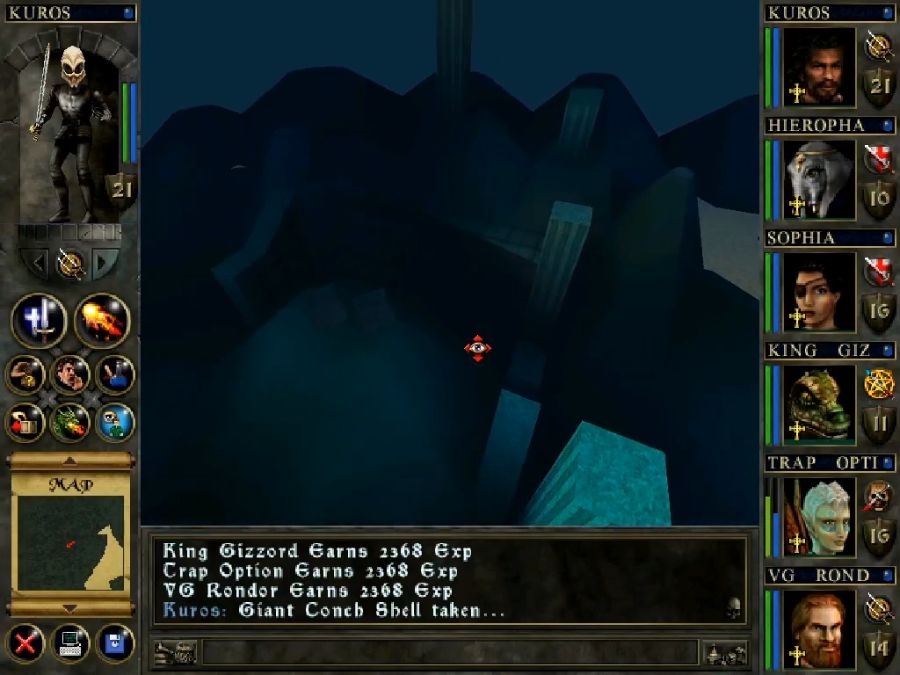
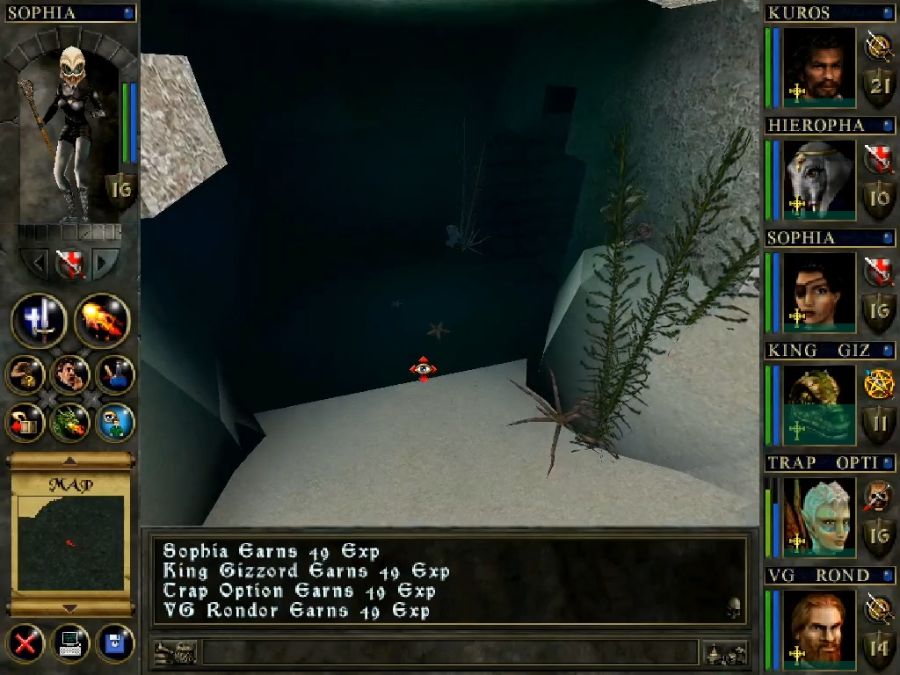
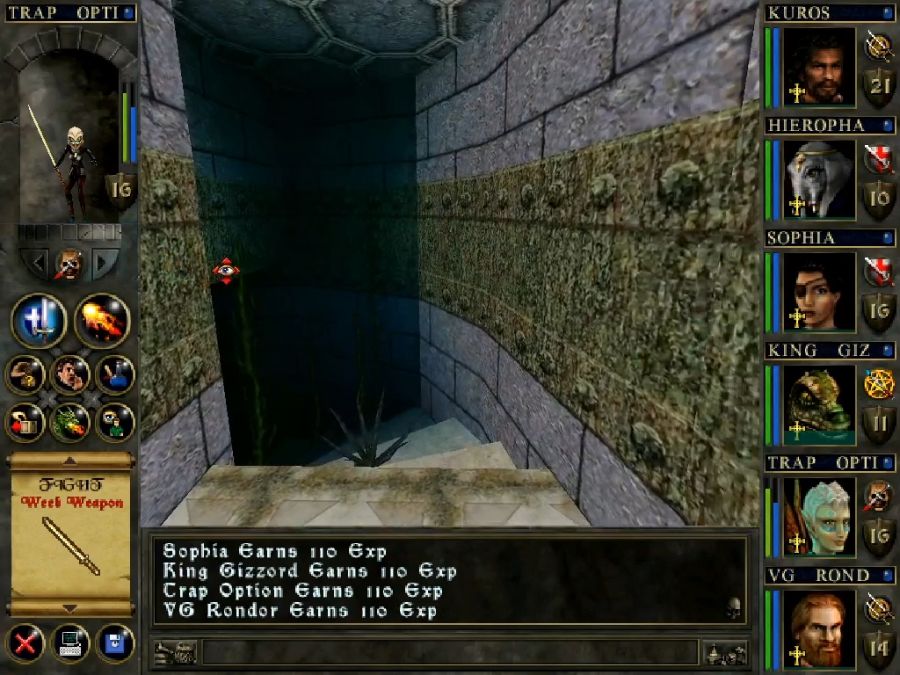
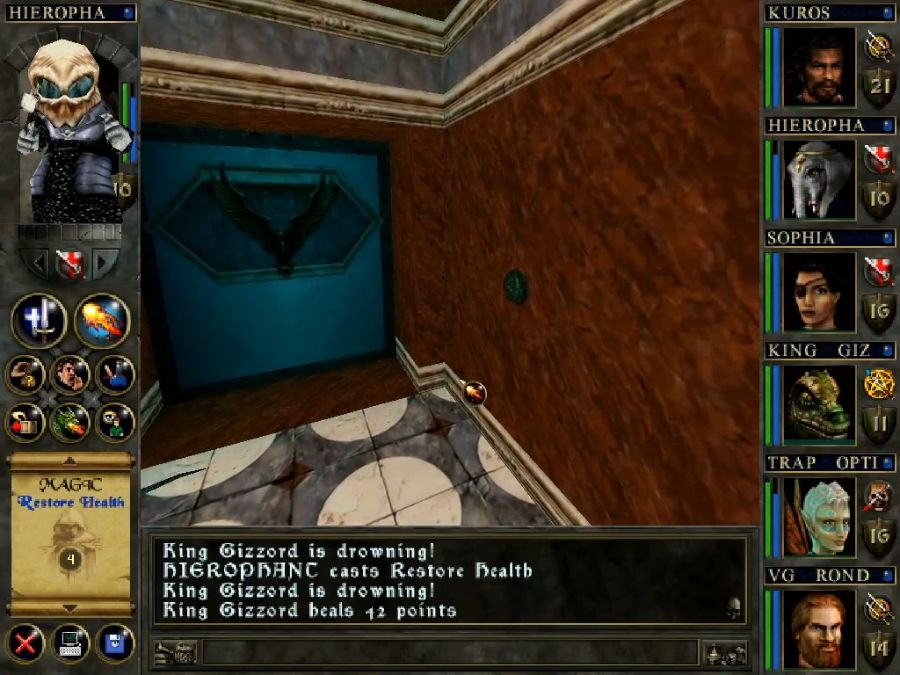
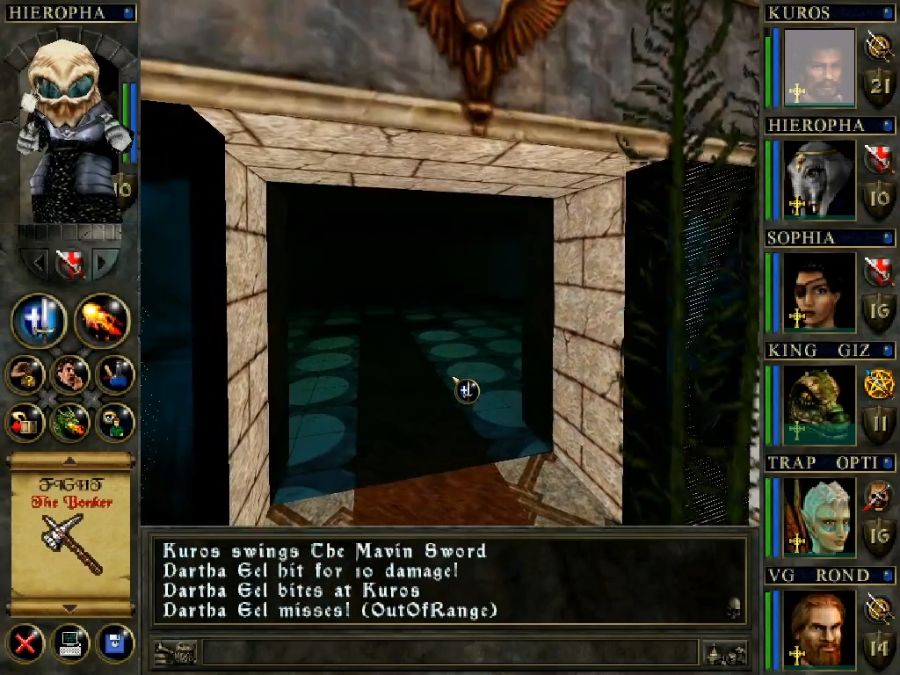
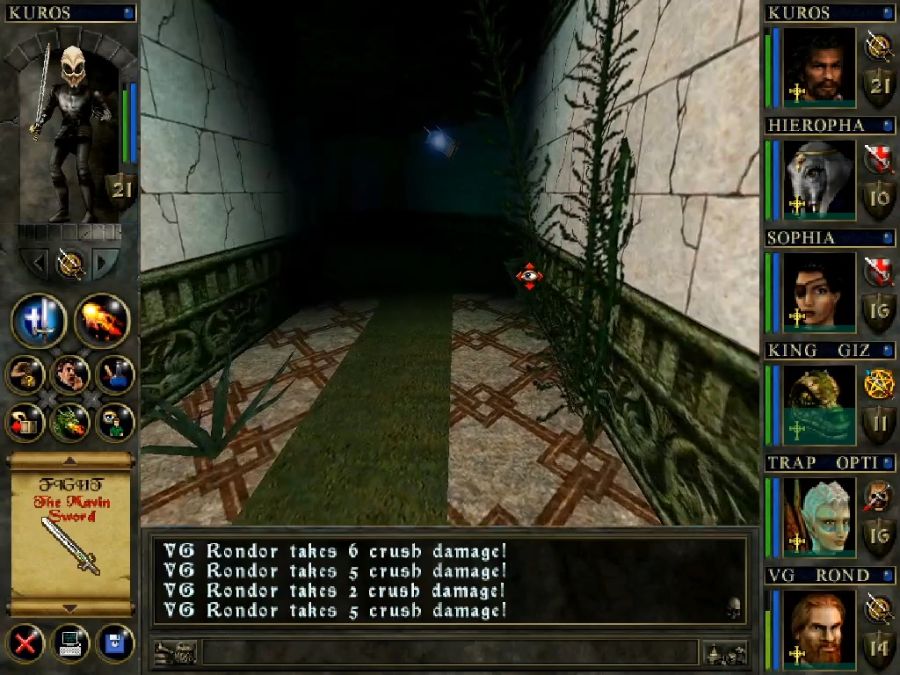
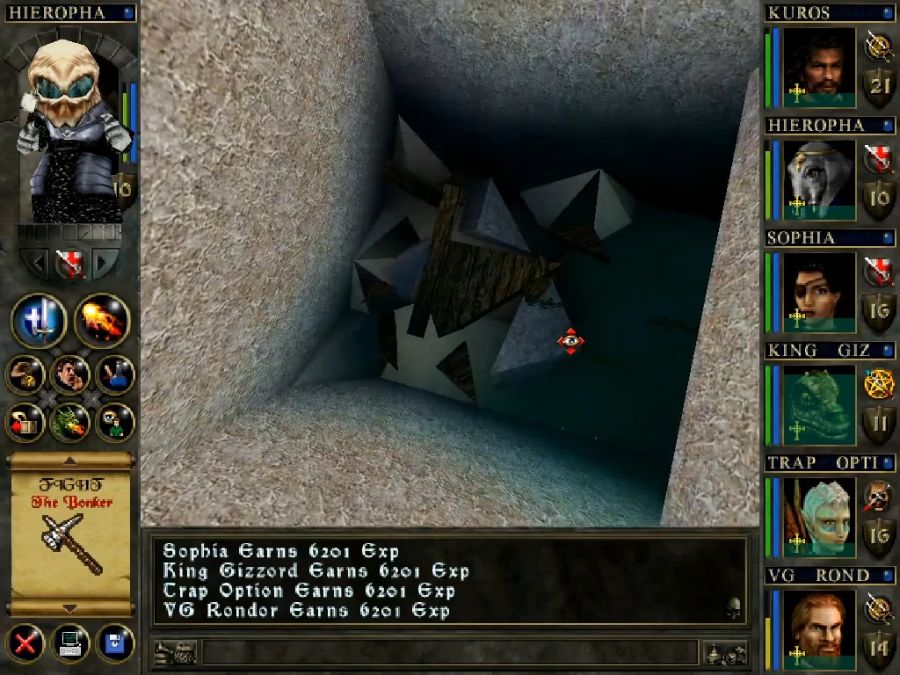
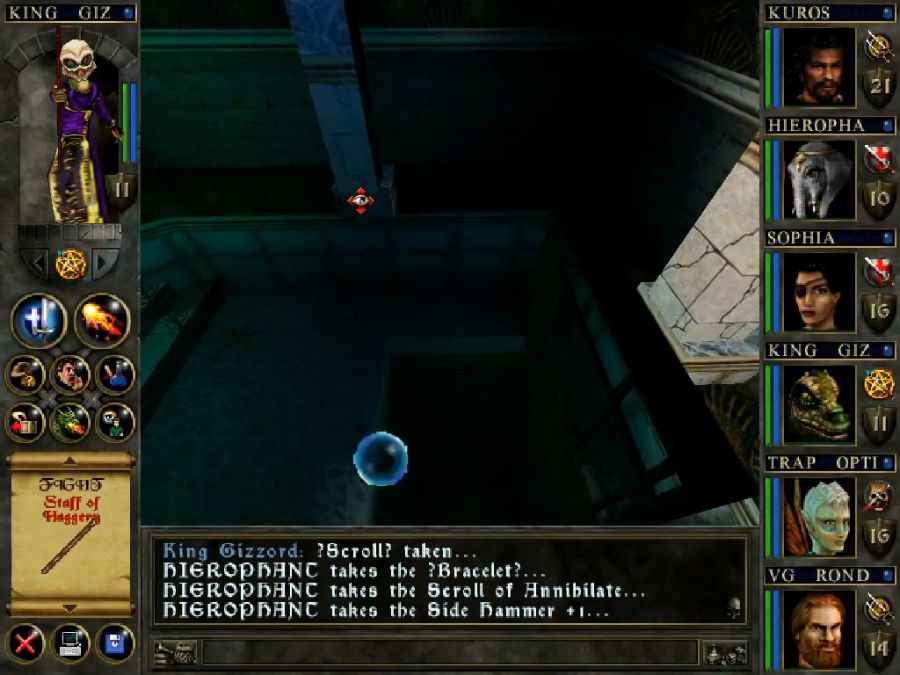
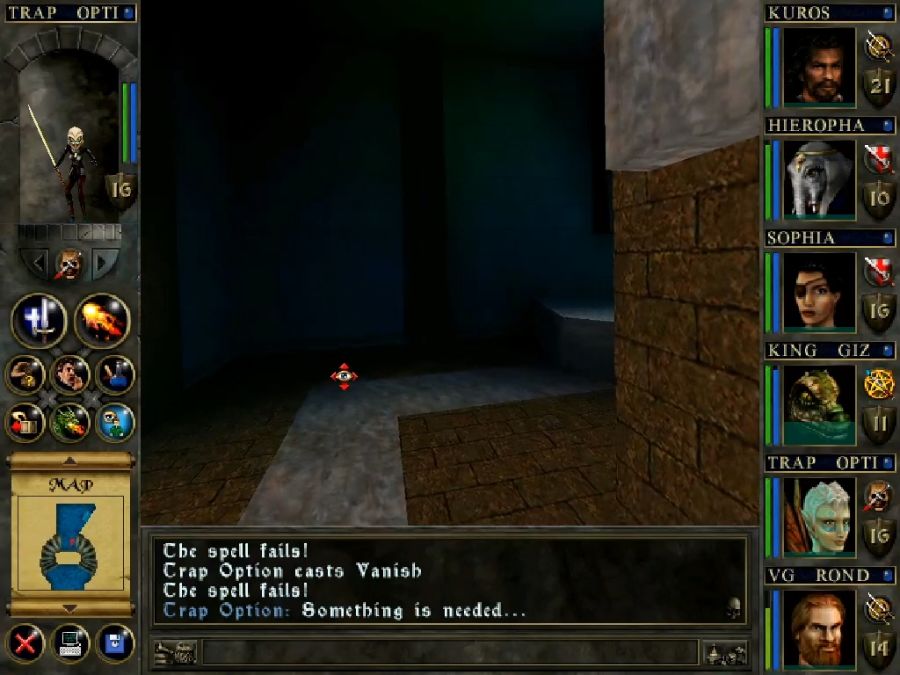
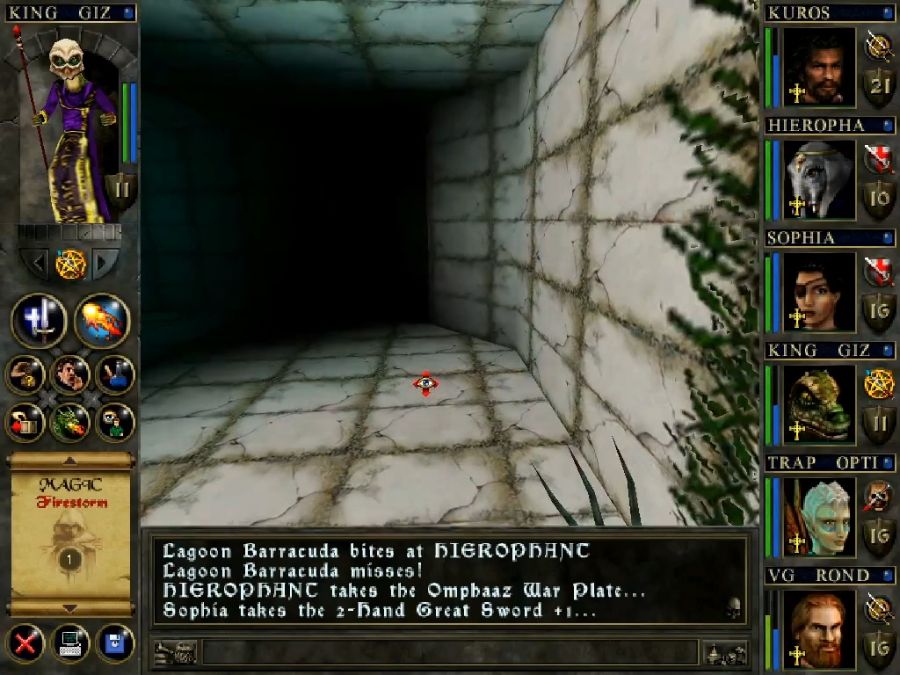
I find a narrow passage among the collapsed pillars and navigate into the dark interior.

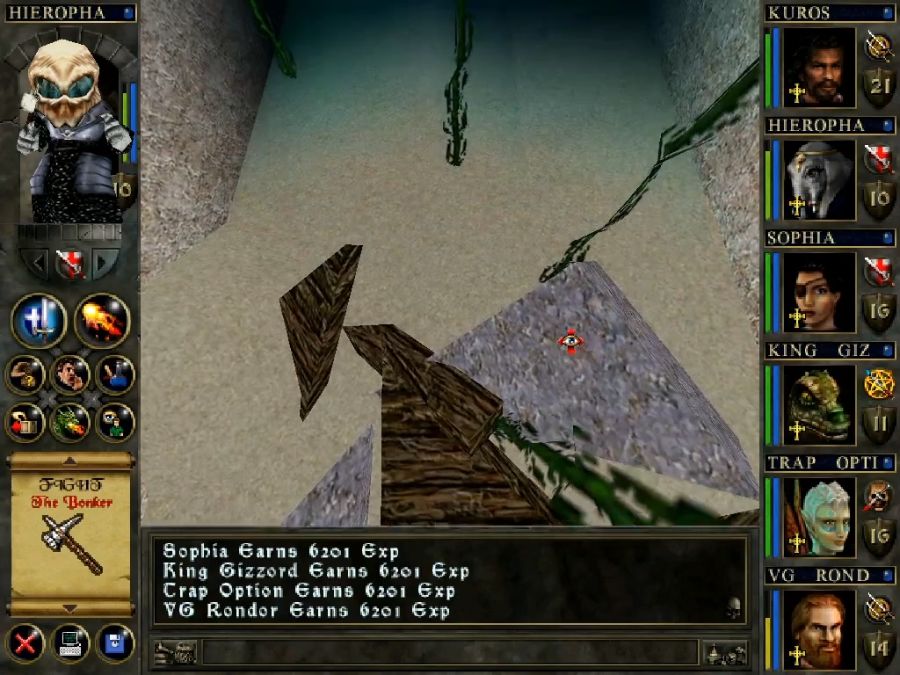
Also, you see this shit? YOU SEE THIS SHIT? They do have seaweed and coral models, even with some nice waving-in-the-currents animation on the seaweed, and yet all the exterior lake/seabeds are completely fucking barren! They had them all along, the bastards, and they just didn't give a fuck!
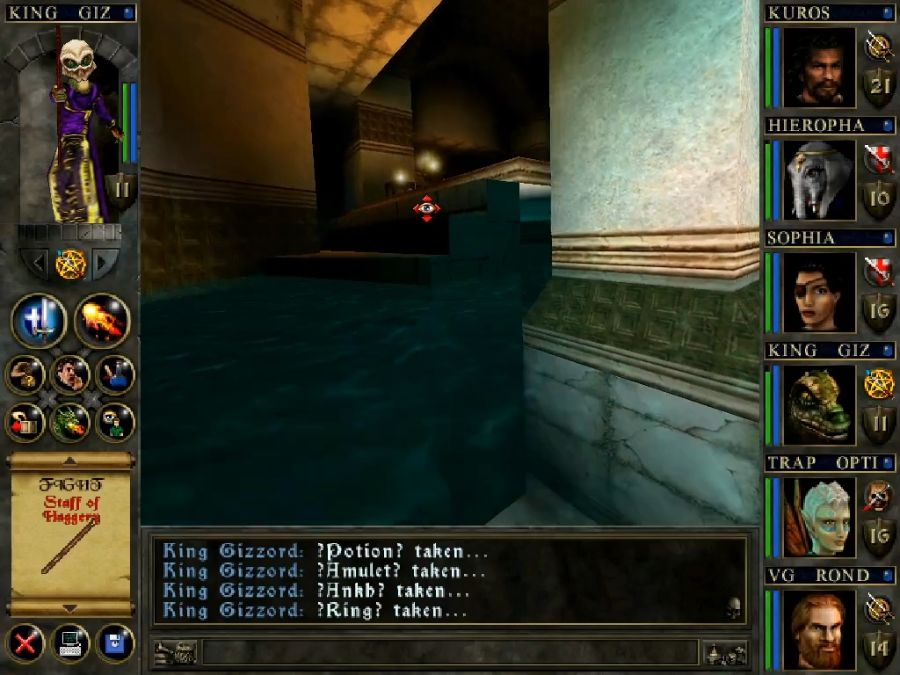
And what's even better is that this entrance exists purely to waste your time with the level transition since you can't get in this way. I'm not sure why it's even accessible, other dungeons with "back doors" have them be not enterable at all from the outside, at least until you open them from the inside first.
It's doubly better when you read original reviews of the game where load times were like five to ten minutes on the PC's of the time along with a 1 in 4 chance of a hard crash to desktop.
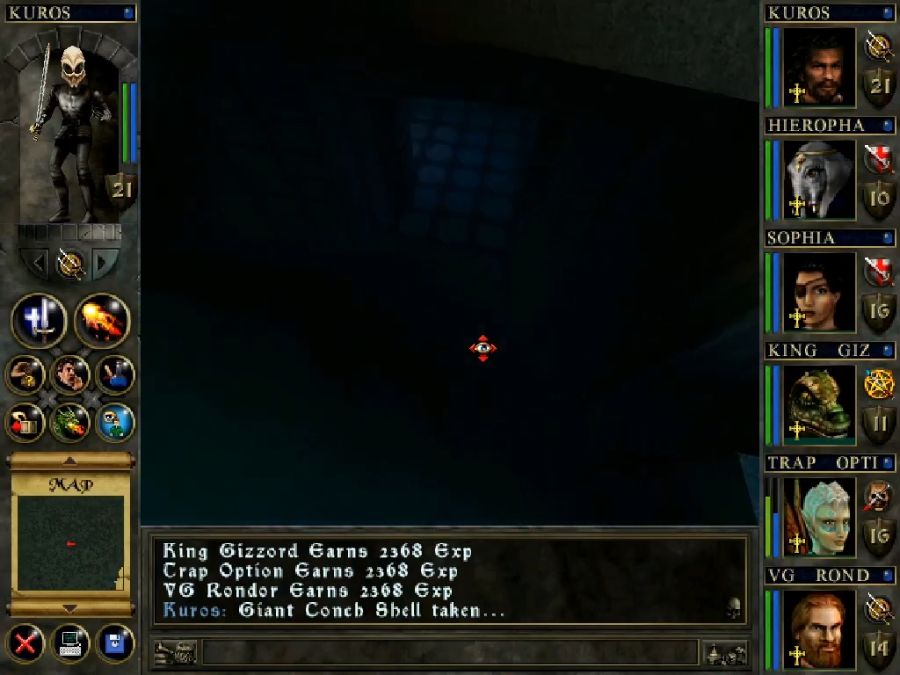
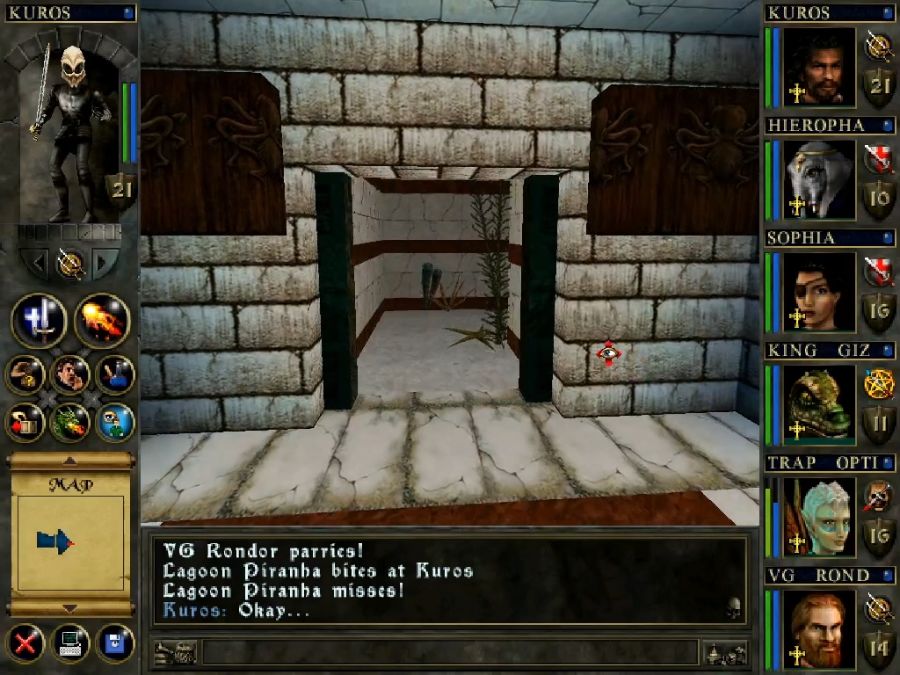
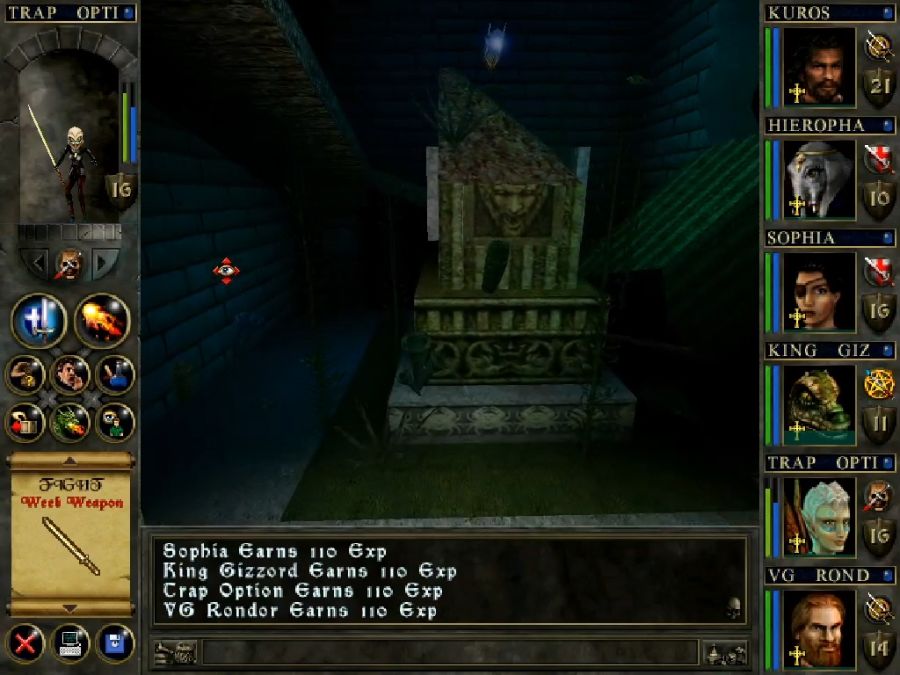
Outside again, there's a big temple next door where the front door is collapsed and inaccessible.
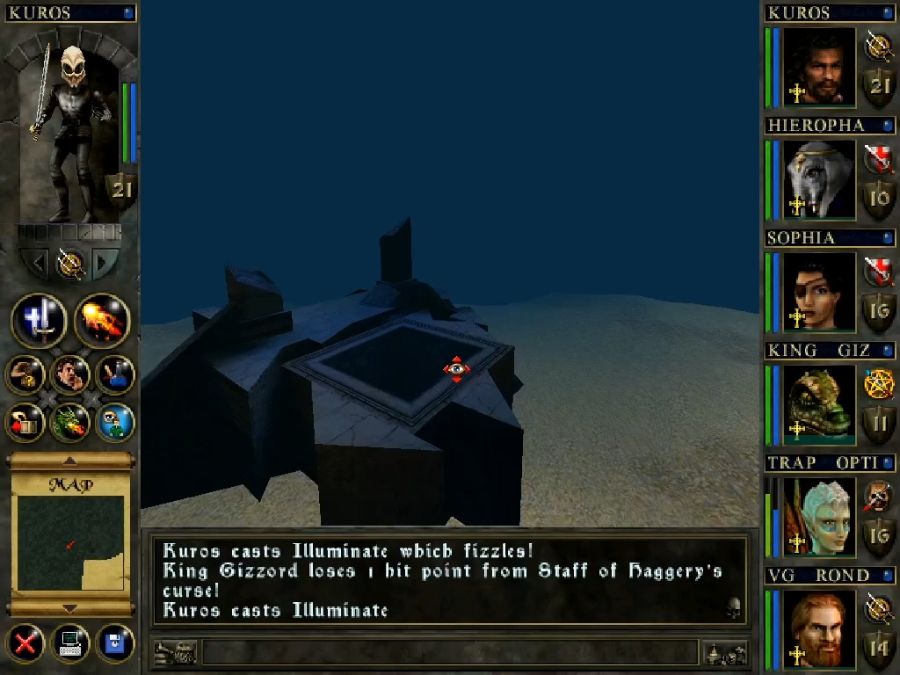
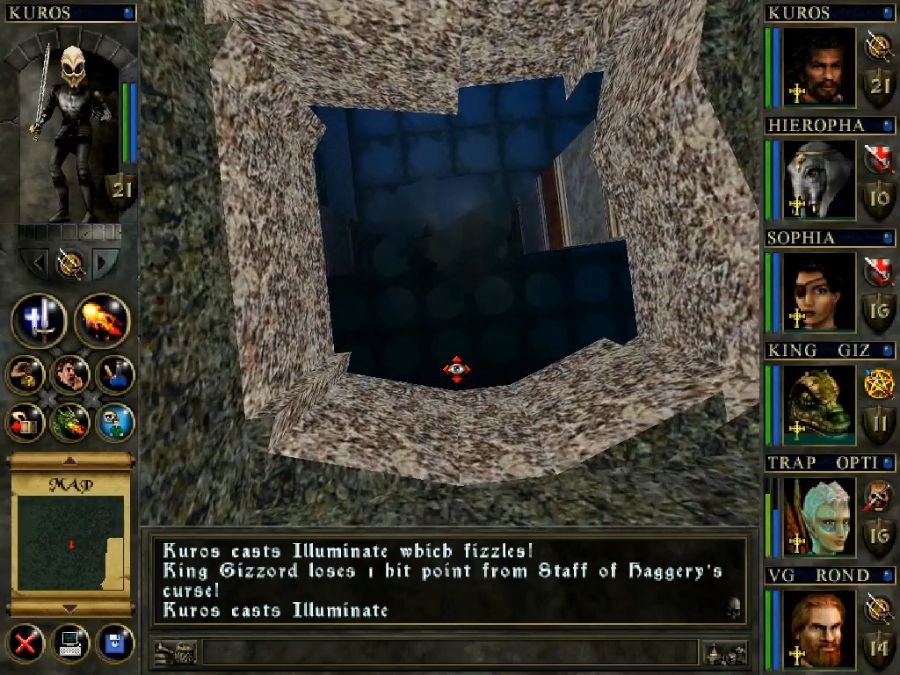
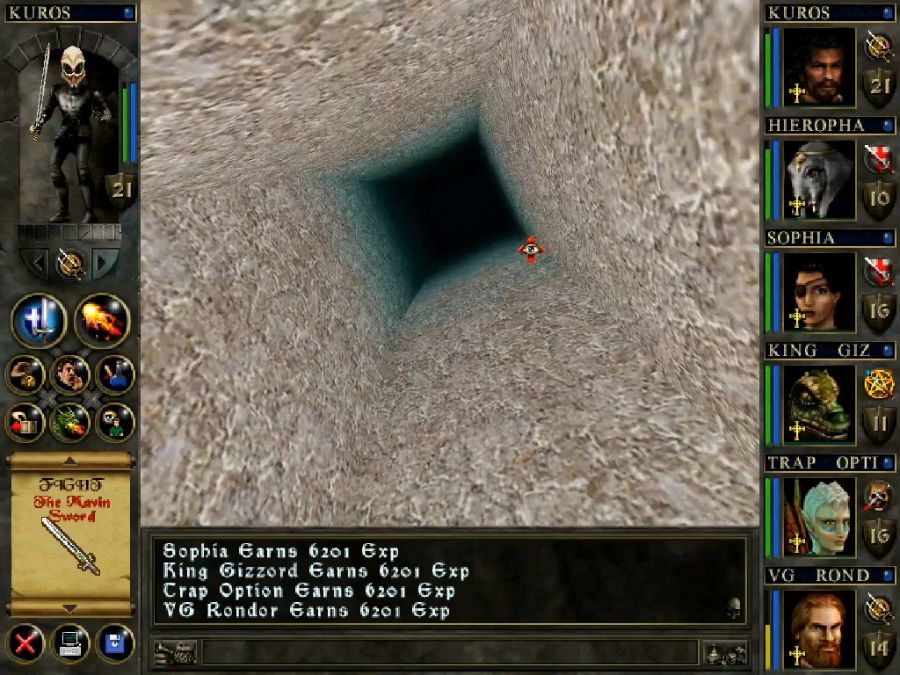
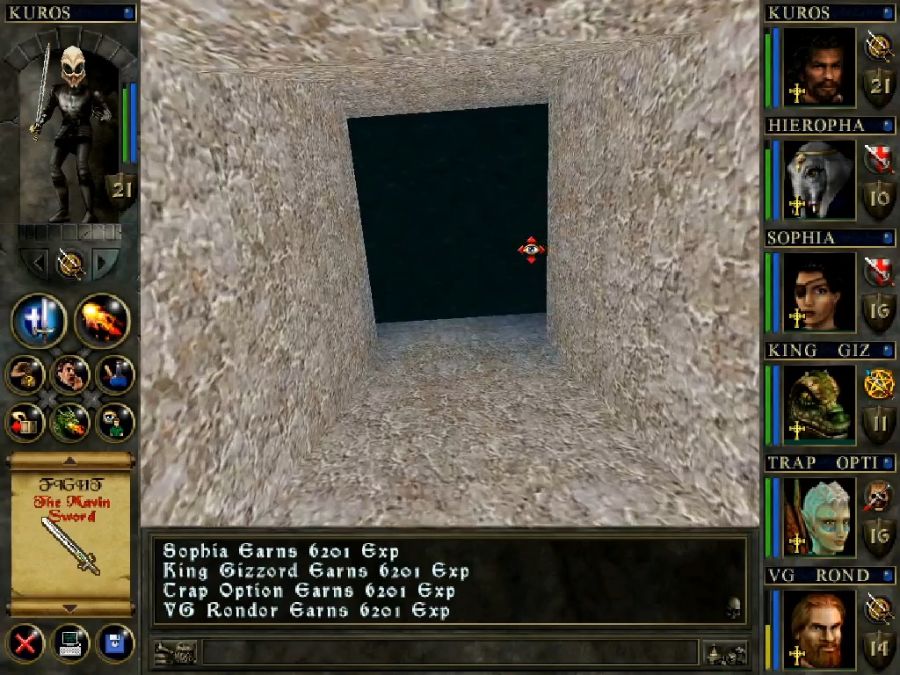
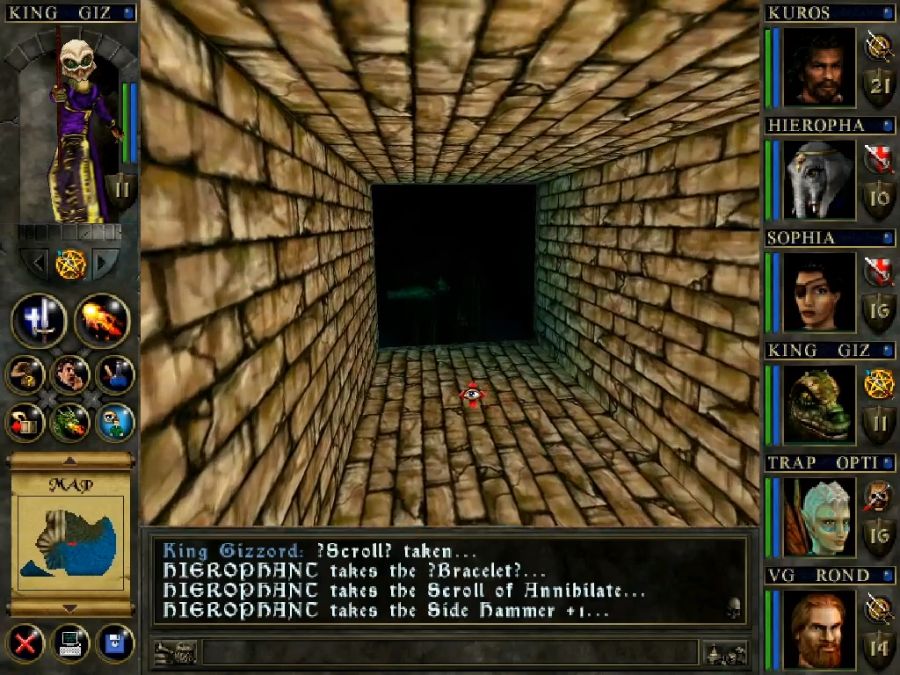
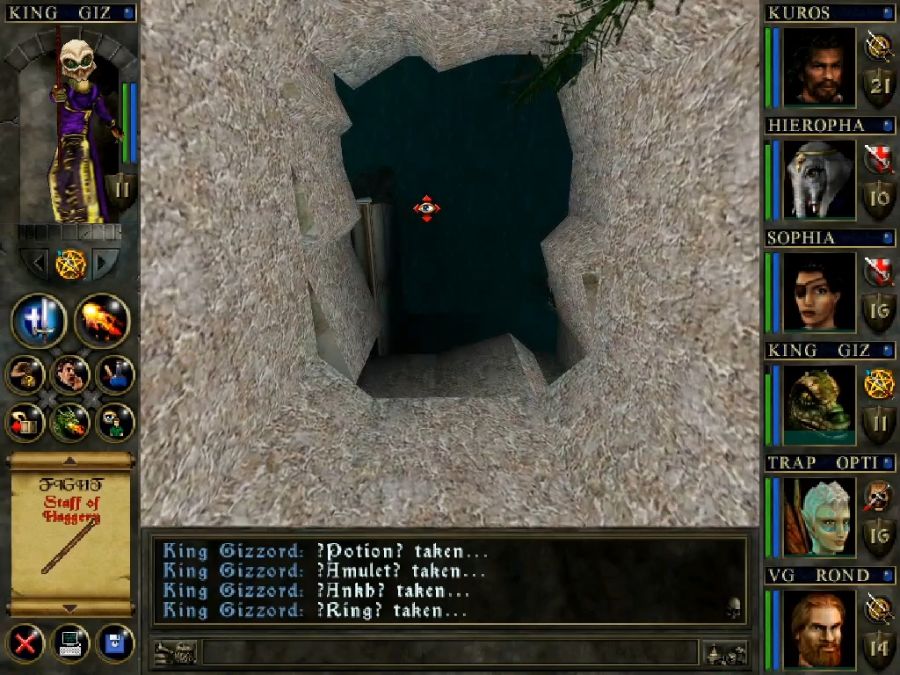
Next door there's a pointless hole in the ground that leads to just more sand-clogged corridor. So where are you meant to enter Colassium?
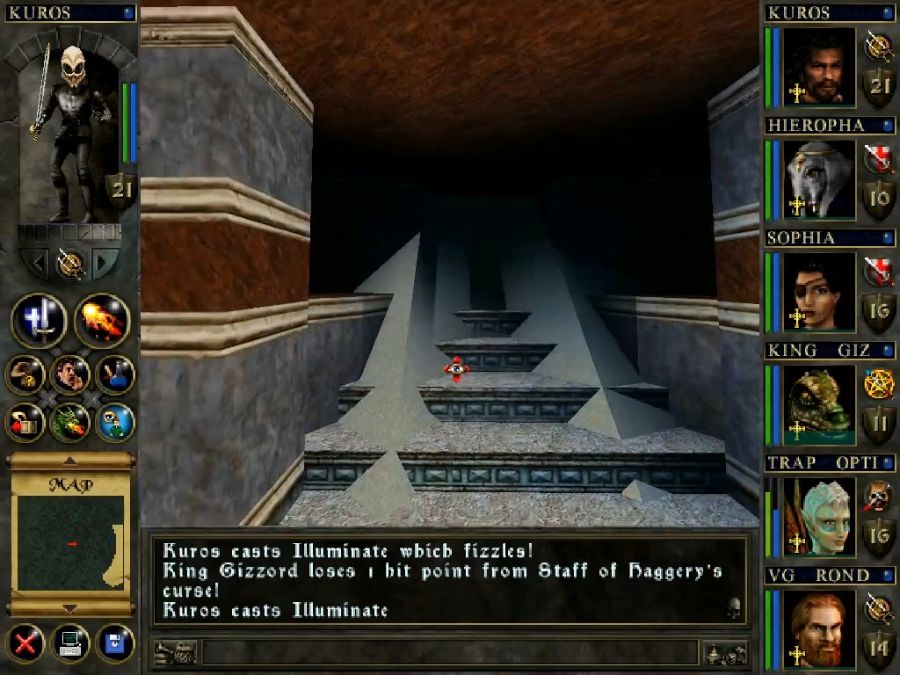
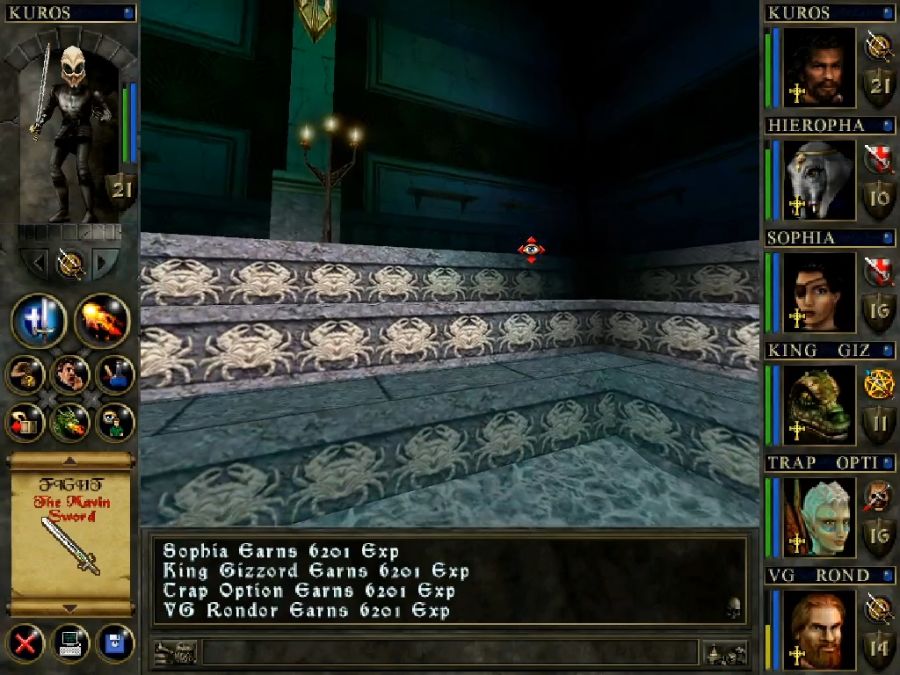
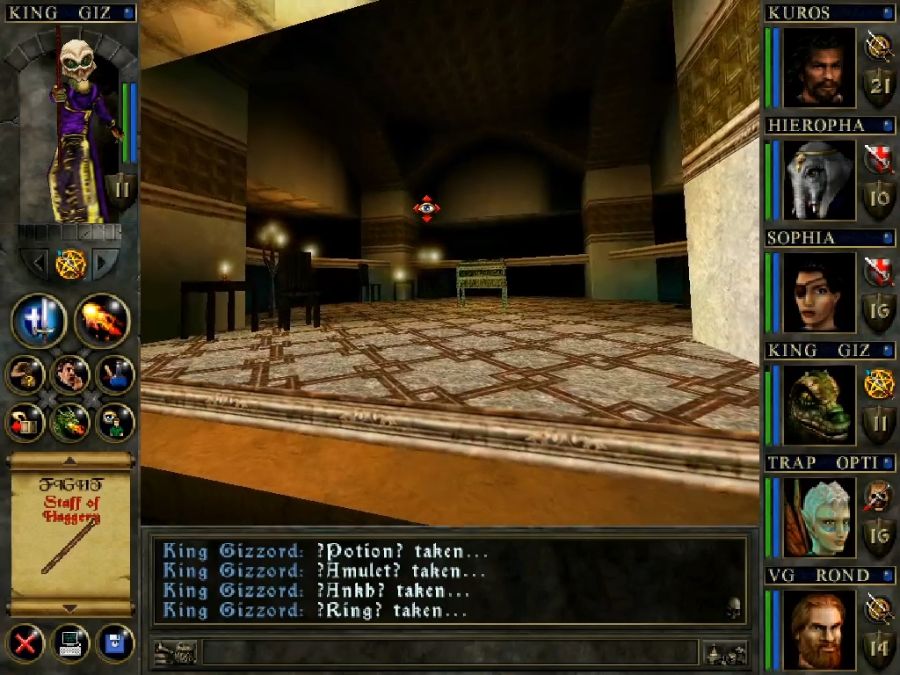
There's a hidden entrance under the side of the stairs of the temple which is the real and intended way in.

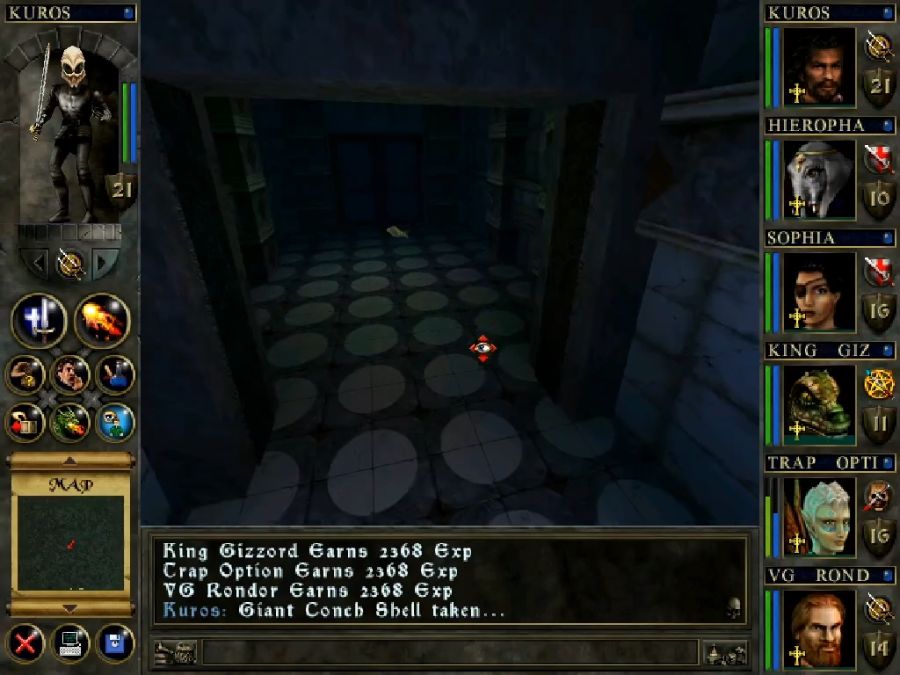
And with that, we enter the worst dungeon in the game(barring, possibly, the last one, since I haven't ever played that one).
Like... it actually looks nice. It's probably the best-looking and least dull-appearing of the dungeons, but at the same time it's the dungeon that's the most spitefully designed. Like, the one that has the most illogical solution necessary to complete it and employs some garbage non-logic for said purpose. The other dungeons might've had chances of combat-related softlocks or, like the Dragon Spire, been quite buggy, or hard to find your way around in like the Snake Temple, but none of them were as utterly unconcerned with giving the player even the slightest hint on how to complete them as Colassium.
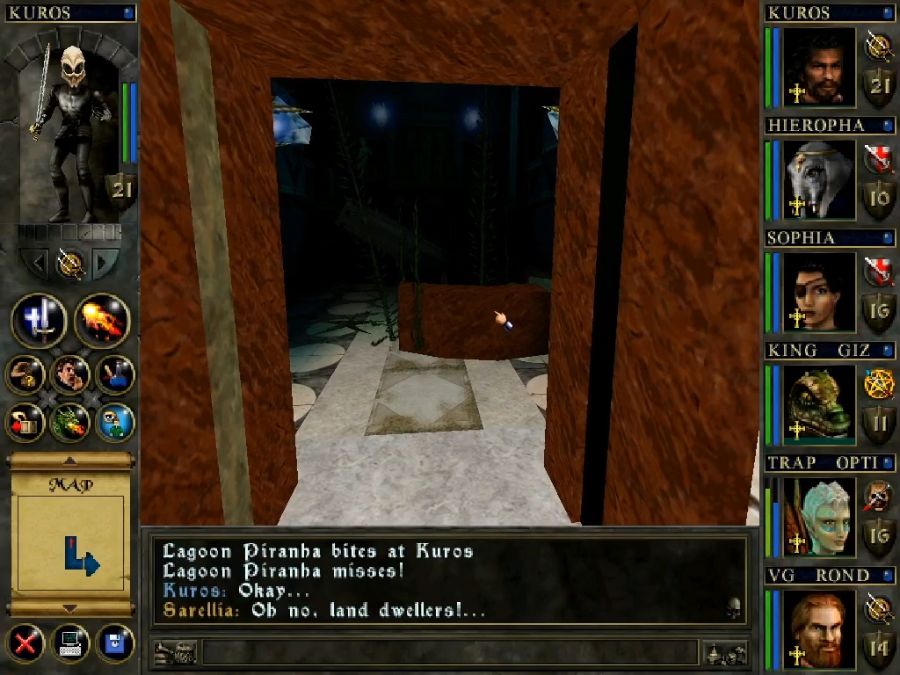
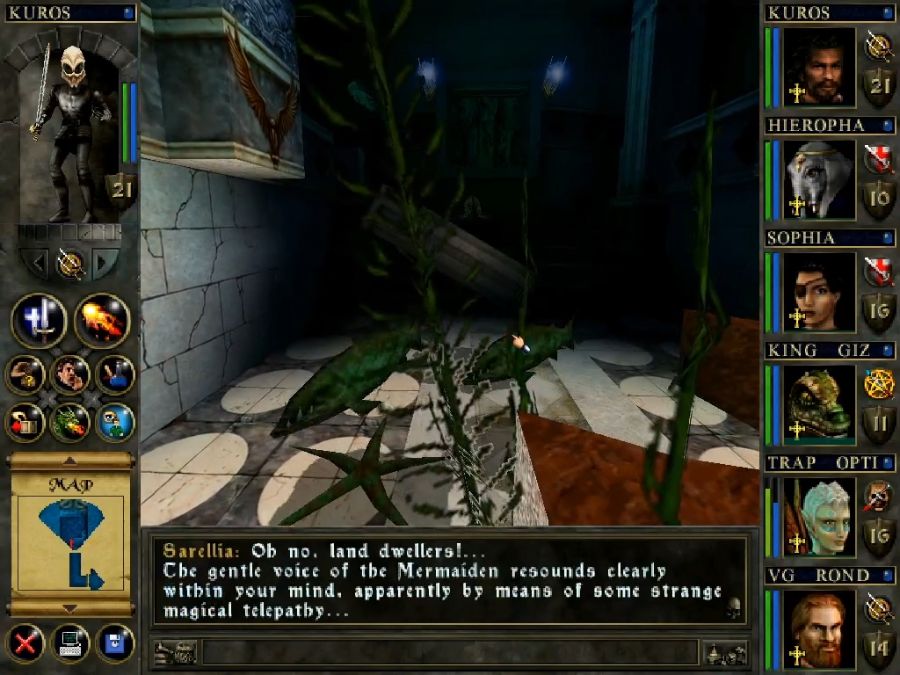
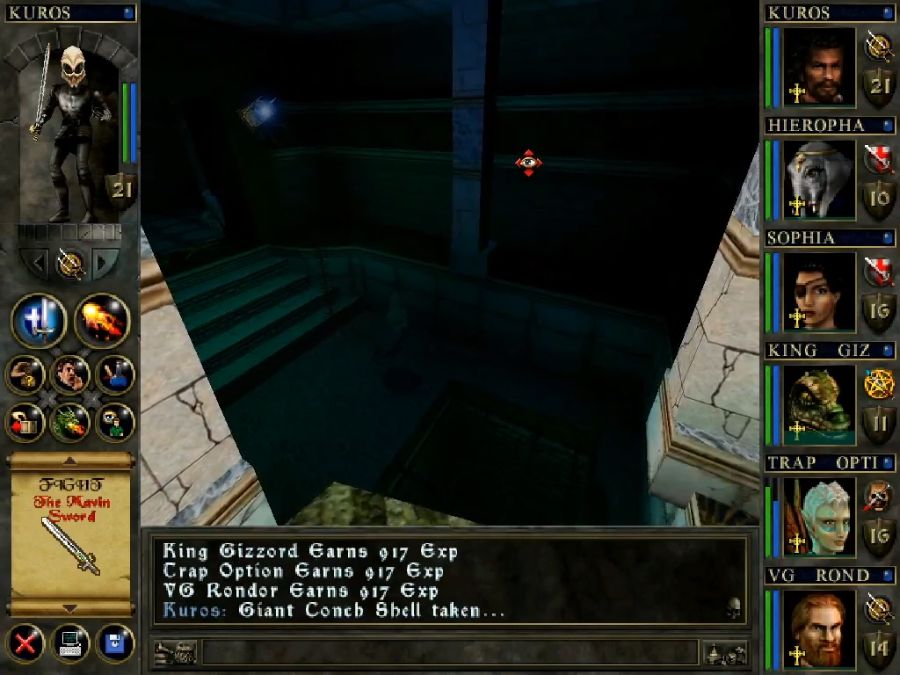
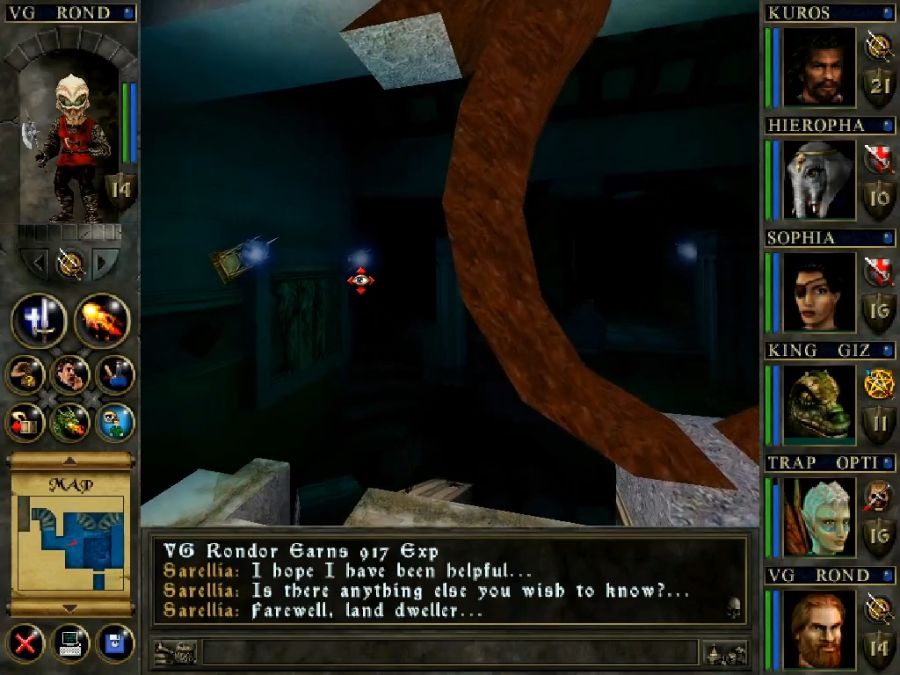
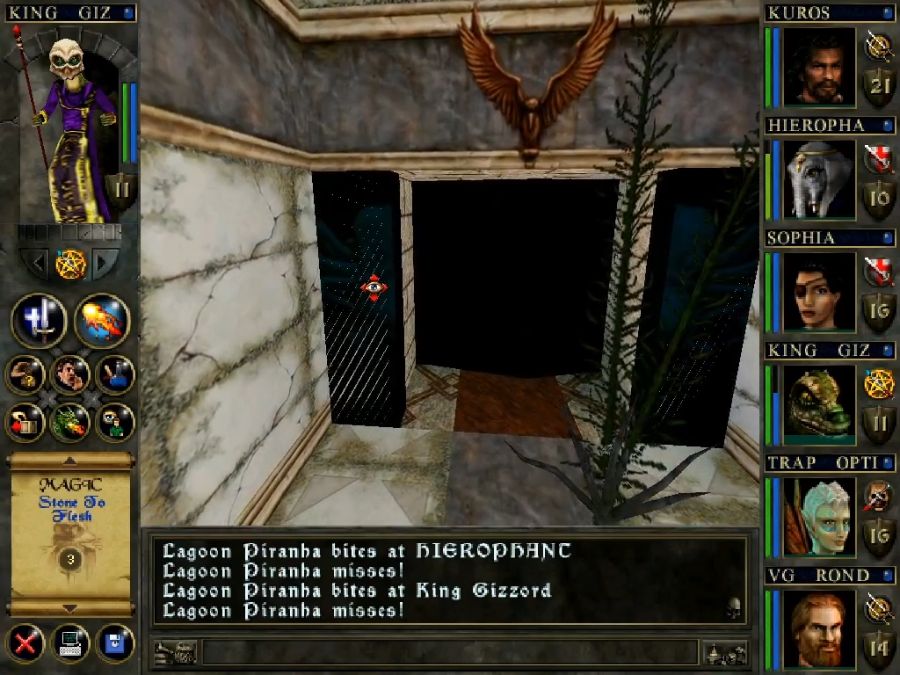
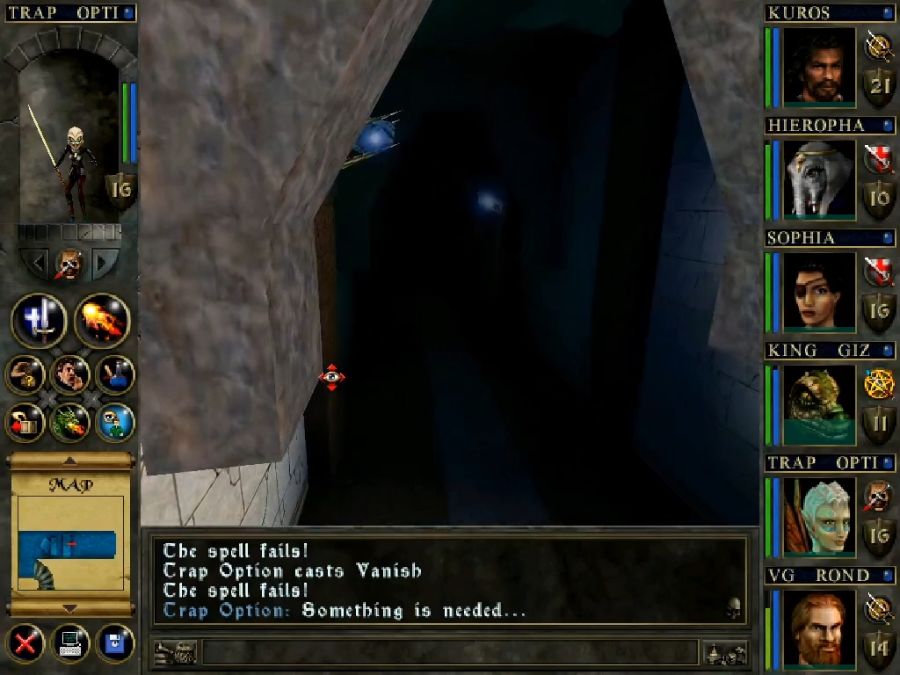
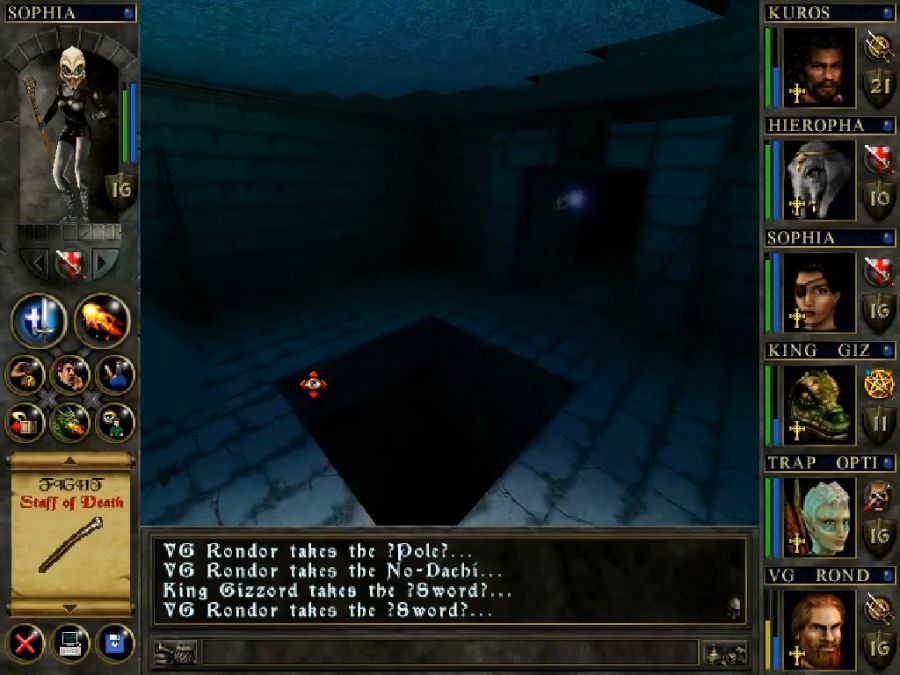
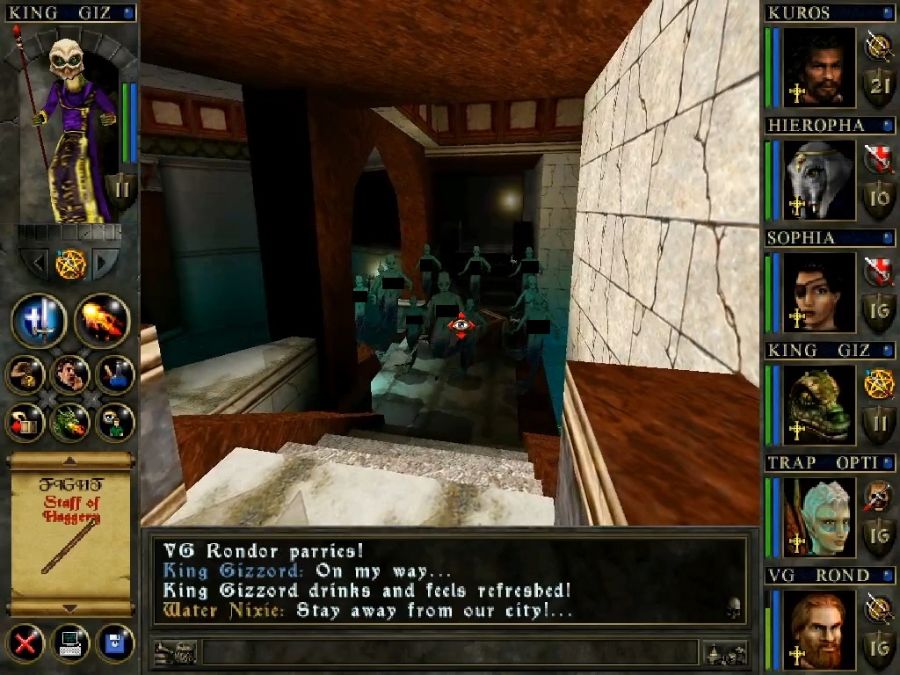
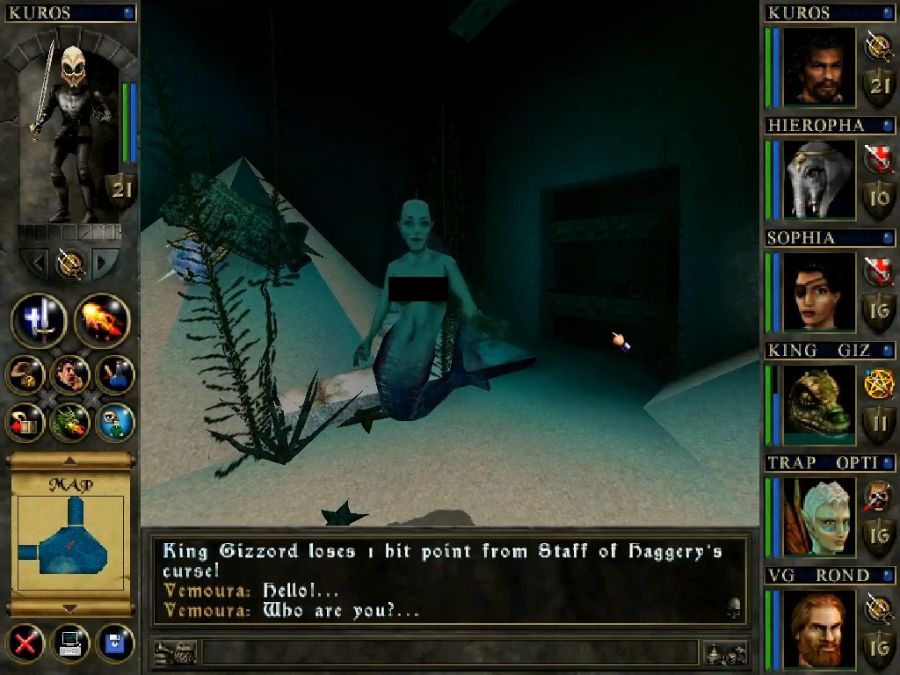
You might manage to catch a faint glimpse of Sarellia through the seaweed as she flees leftwards. This dungeon has three voiced NPC's, I will be recording none of them for a reason I'll explain once we track Sarellia down.
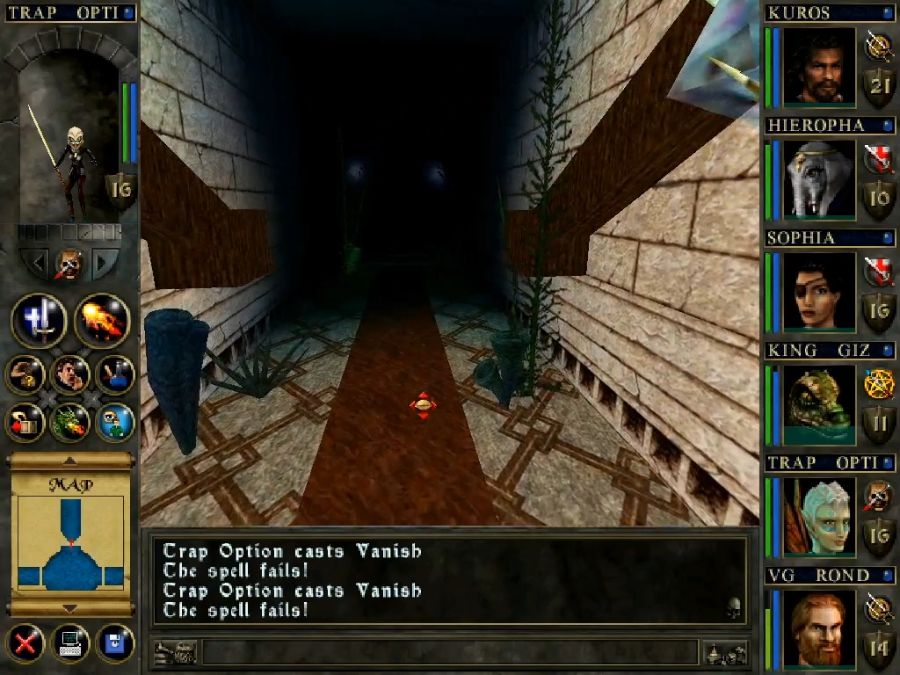
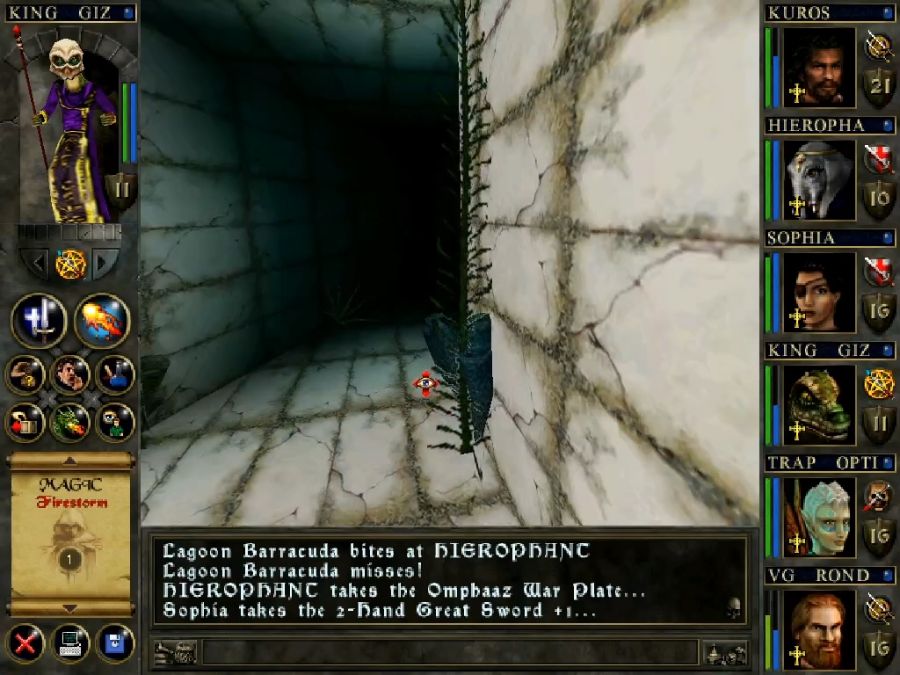
I honestly really like how this dungeon looks. It's just a shame that the geometry is all kinds of fucky and you get caught on every second edge you try to pass.
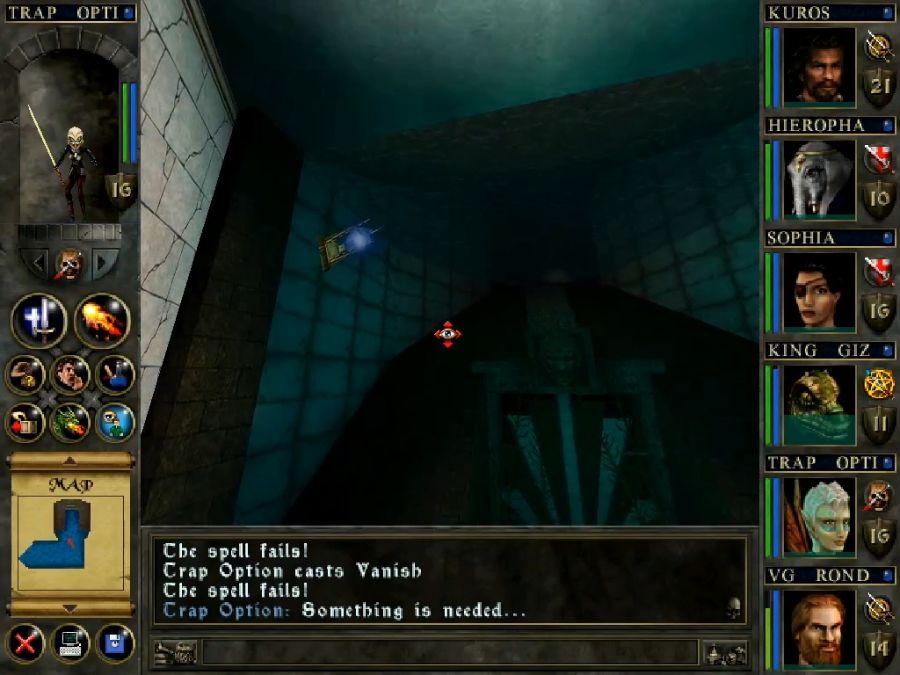
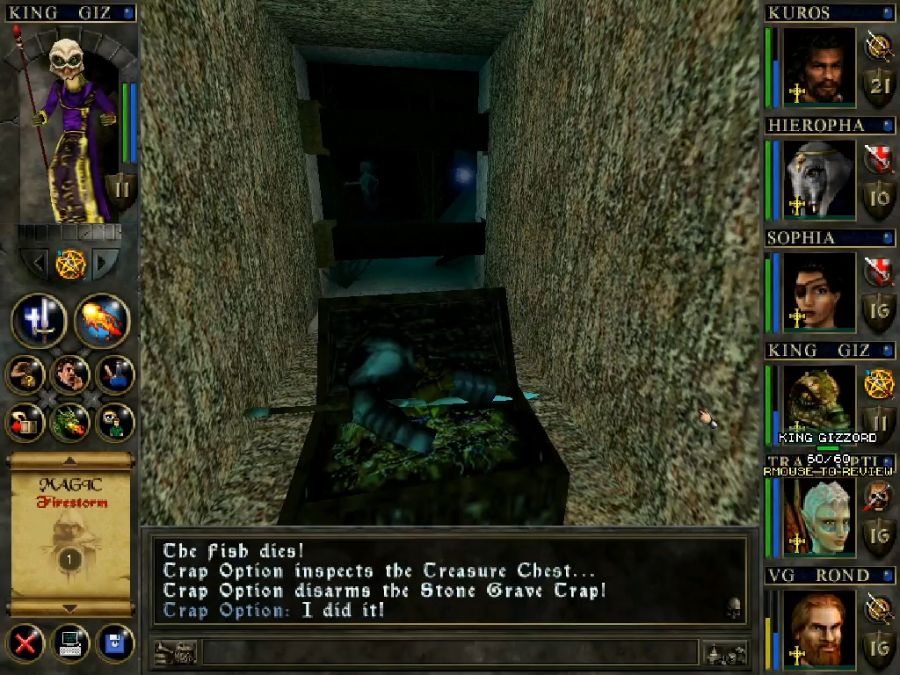
Though the 3D environment does get used well in places, for hiding chests and such in places you might normally not to think to check, like in the rafters of some rooms.
Also, even with full-party breathing gear, both helmets and air tanks, you couldn't do the entire dungeon in one breath of air, so every so often a room or corridor will have a raised part where you can dip up for air, and some parts of the dungeon are actually not flooded.
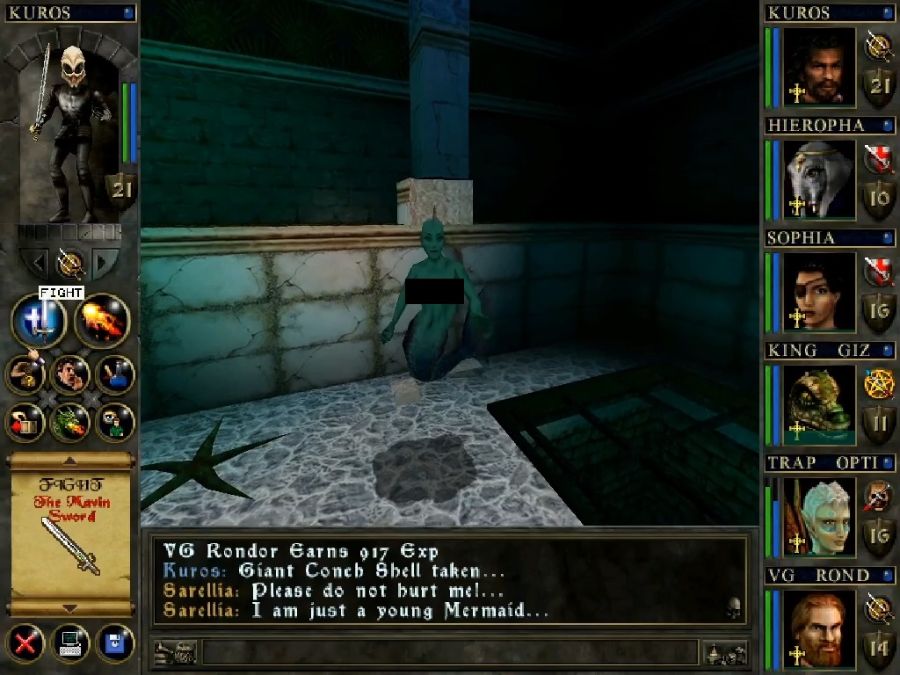
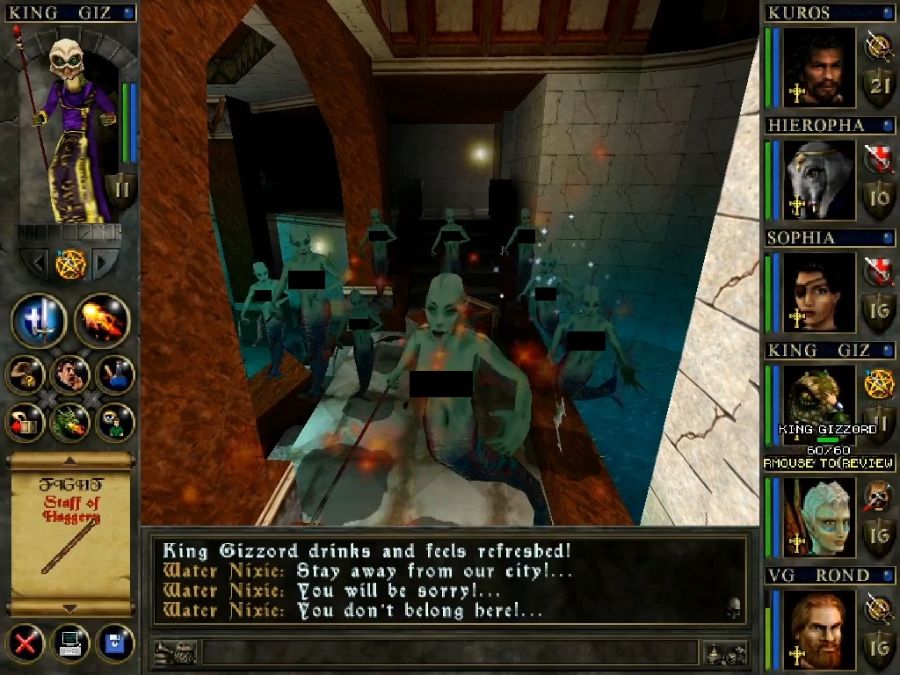
The reason I'm not recording them is that they're all topless and censoring video is a pain in the ass.
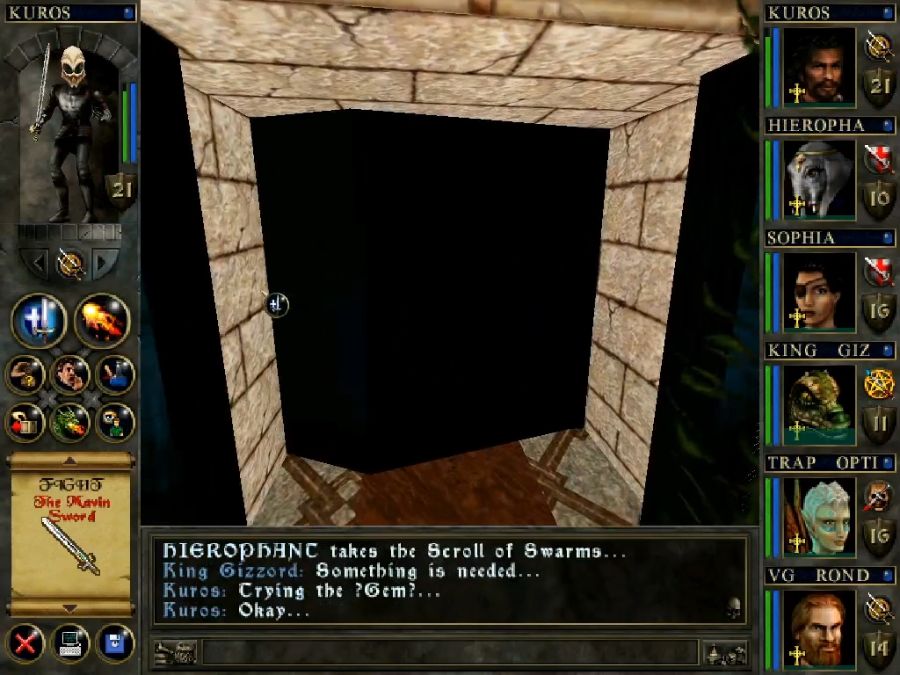
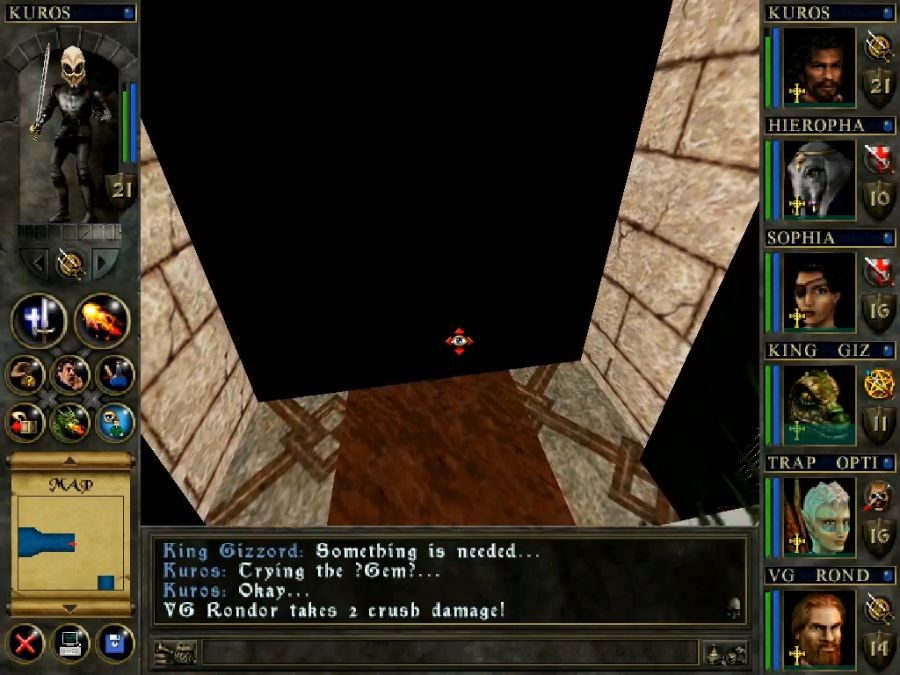
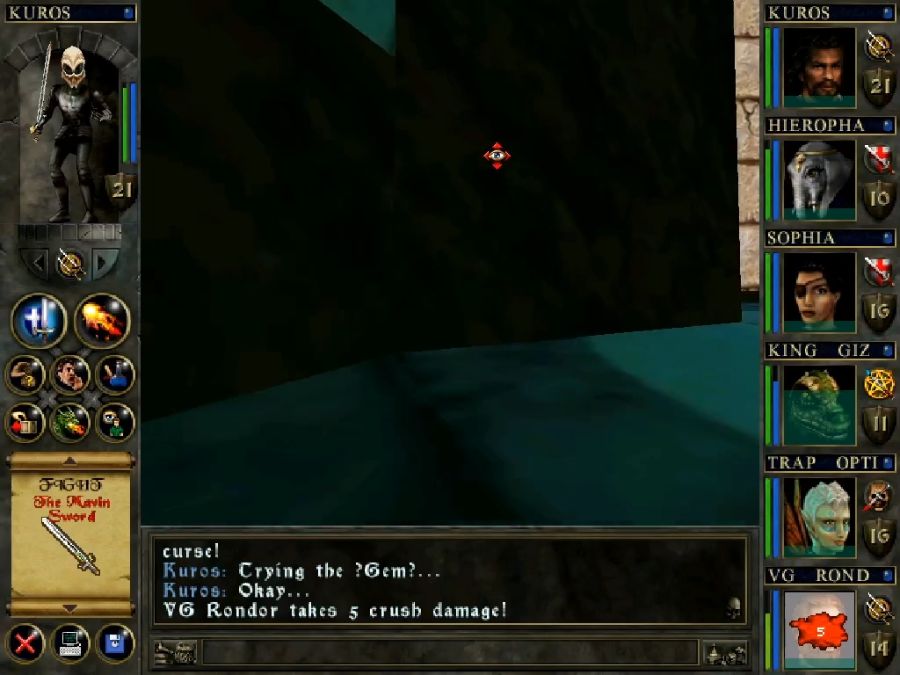
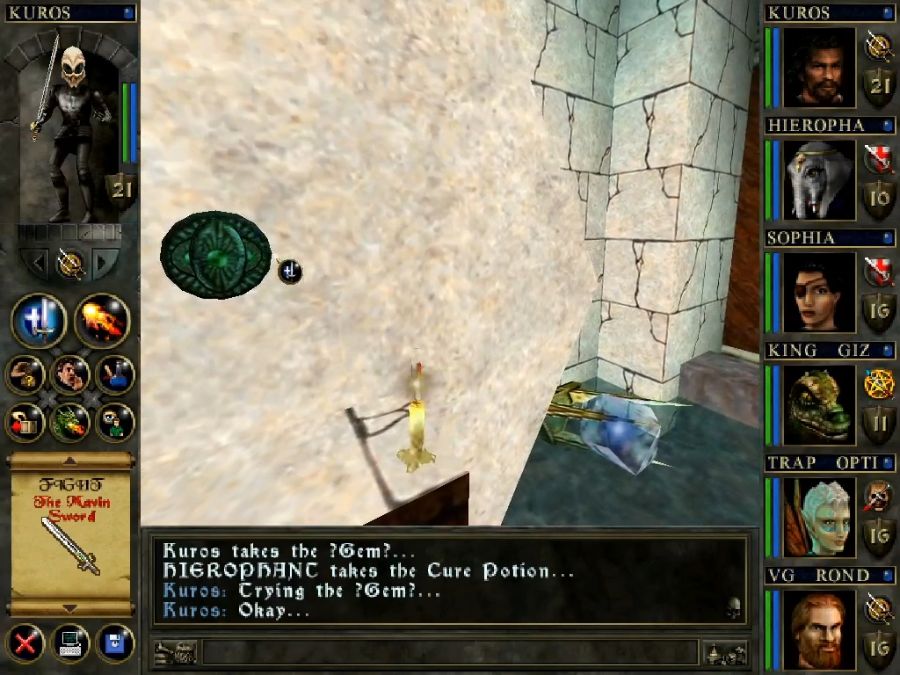
Sarellia here goes: "Oh, gee, I hope you're not here to murder us all! Are you?" And if you say: "Nope, not gonna be murderous" she goes "oh golly gee thank you" and has nothing else of interest to say about anything except if you hit her with the keyword "Lost City," which is necessary to complete the dungeon(possibly just killing her and looting her corpse could accomplish the same, but I did not check), since it makes her hand over a mystic gemstone that functions as a sort of key:
"The Oracle teaches us that in ancient times it once floated upon the water. A Divine Magic sent the City tumbling beneath the waves, as a gift to us from the heavens. But now our City is crumbling, its fragile walls prone to collapse at any moment. Here, take this Crystal from my hand. Many of these Crystals were lying about the City when we arrived. You will need it to venture about our underwater haven. The Crystal will enable you to travel through other areas of our City."
You also need to hit her with the "Oracle" keyword.
"She is the eldest of our kind, and watches over our fair city. She keeps the Ancient Library, to protect the old knowledge. Her, let me show you how to find her. If you travel through this sewer, you will come to a passage that leads the old Library."
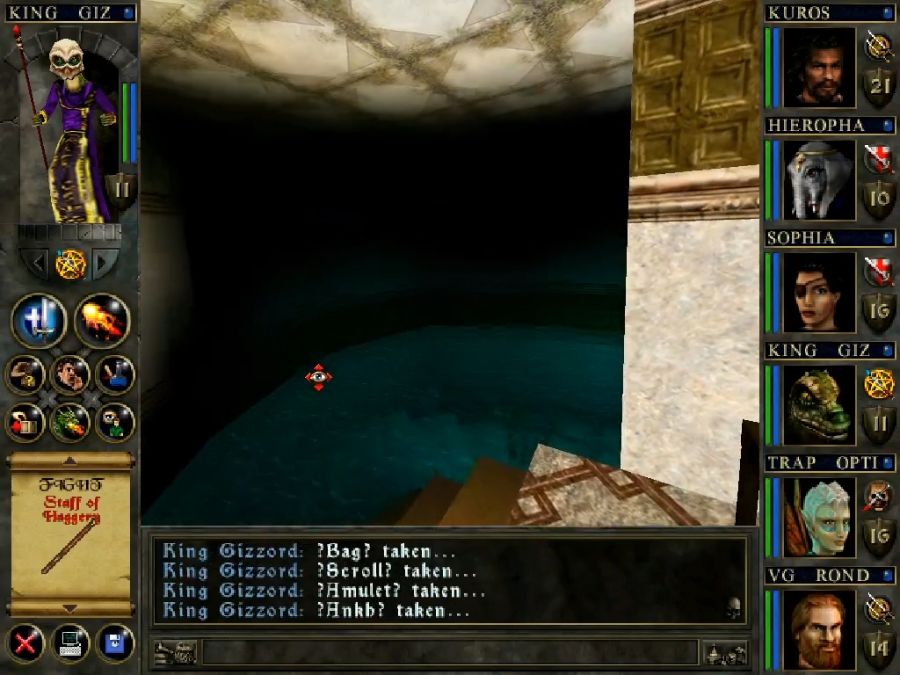
She's standing next to a sewer grating she won't open otherwise and which connects us to one of the three items we need to continue to the last dungeon. If we want to go there, we need to collect three mystic tablets, and to collect said tablets we need to collect three mystic gemstones(though you might think you need four, there aren't four in the dungeon). We've now got 1 of 3 mystic gemstones! The remainder will be in completely anonymous chests.
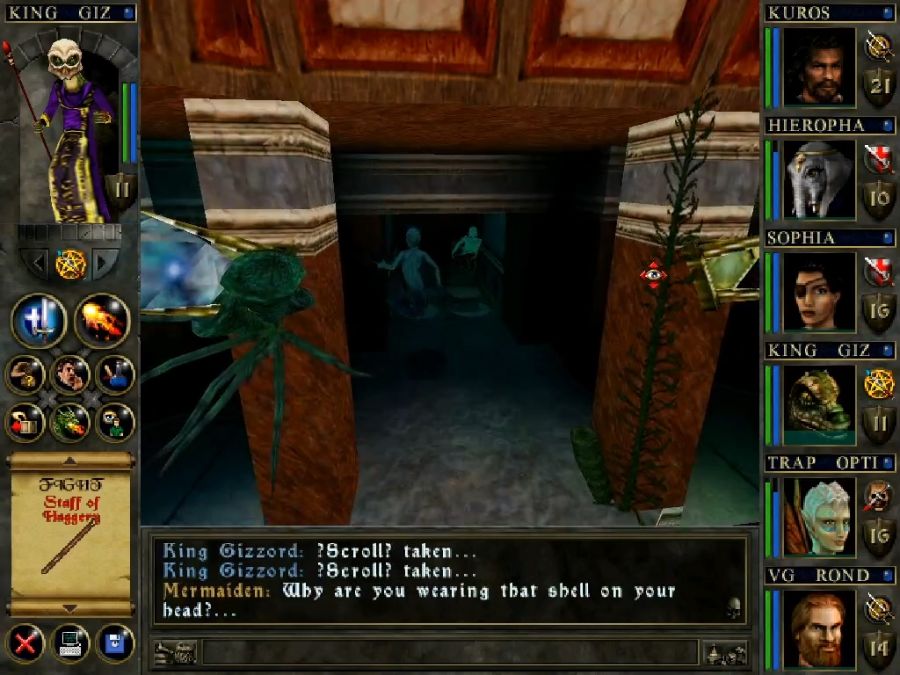
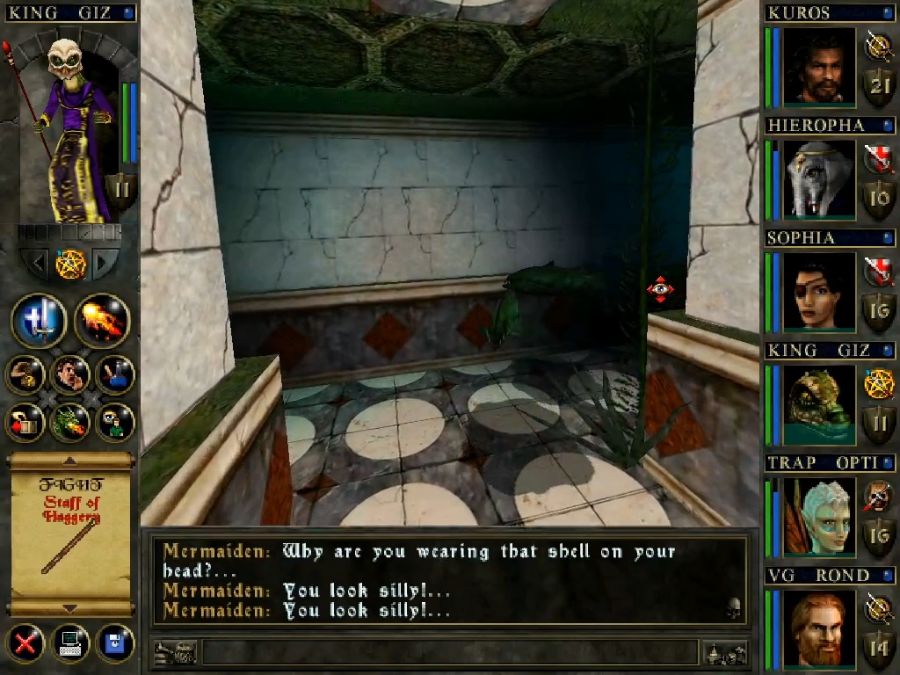
Not being a dick to Sarelia also means that some of the other mermaids(gee I wonder why they're all female and topless, DW Bradley you gross nerd) aren't hostile. Instead they just hang around and make fun of our new hats.

The dungeon starts off with two branches. There's one that goes left to Sarelia, it then splits off when you get the option to enter the grating. Both branches meet at the same point, but you can't reach the sewer grating part through the non-grating part. Going the other way we'll see what holds in a bit.
Because first I need to go this way to find #2 of 3 mystic gems! Whee!
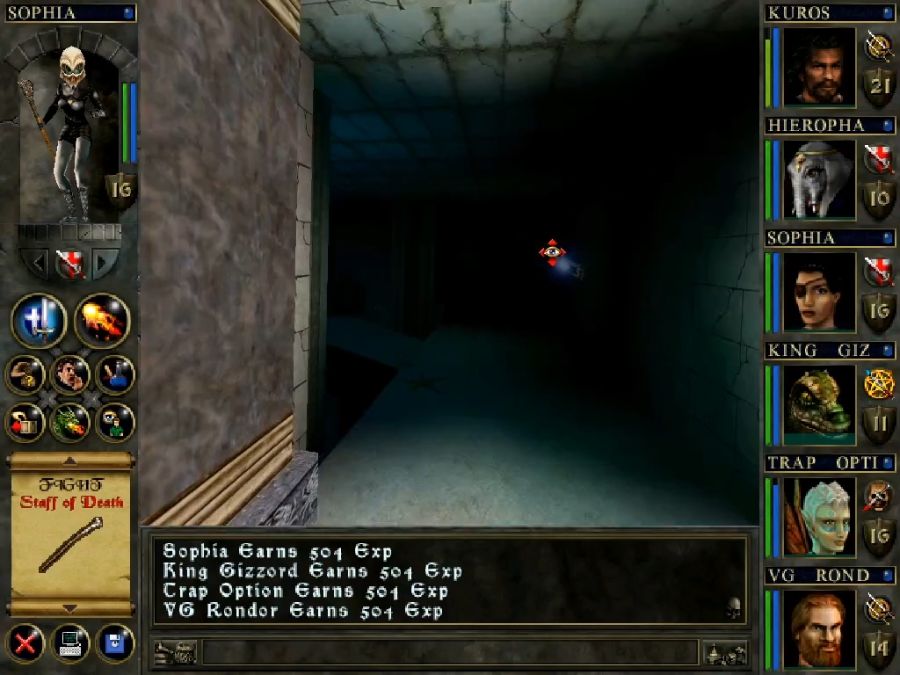
I loop back to the main hall and try out the other branch before diving down the sewer grating. Under the arching bridge is a small hall containing three chests of random loot, but no quest items or unique or interesting drops.
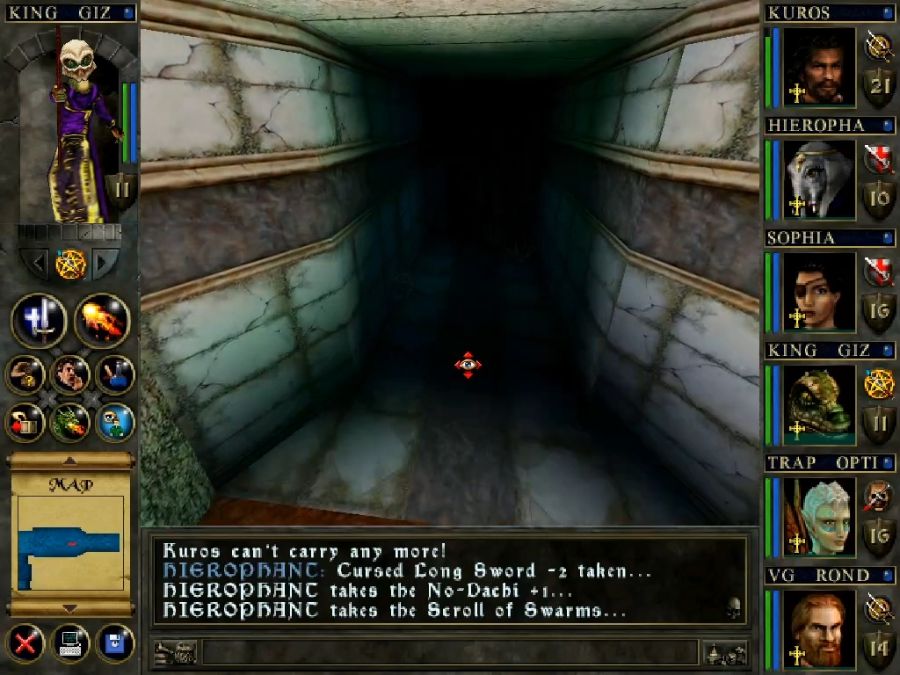
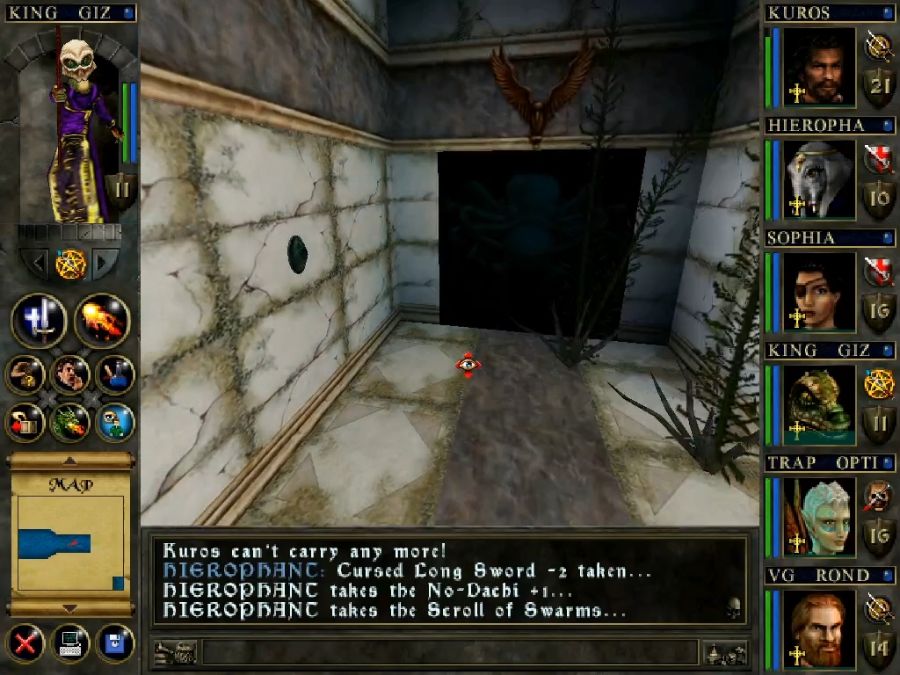
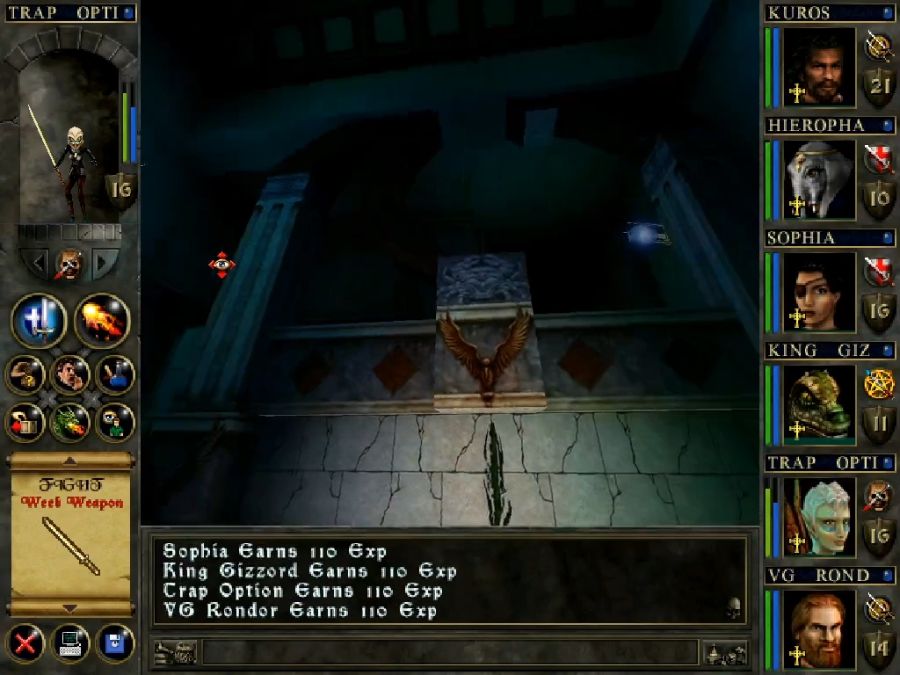
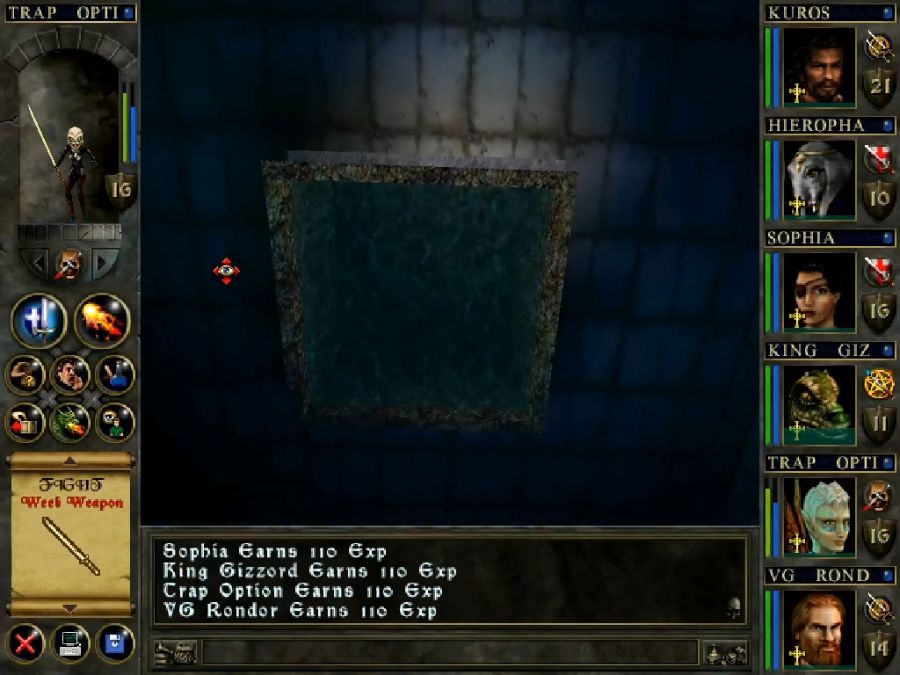
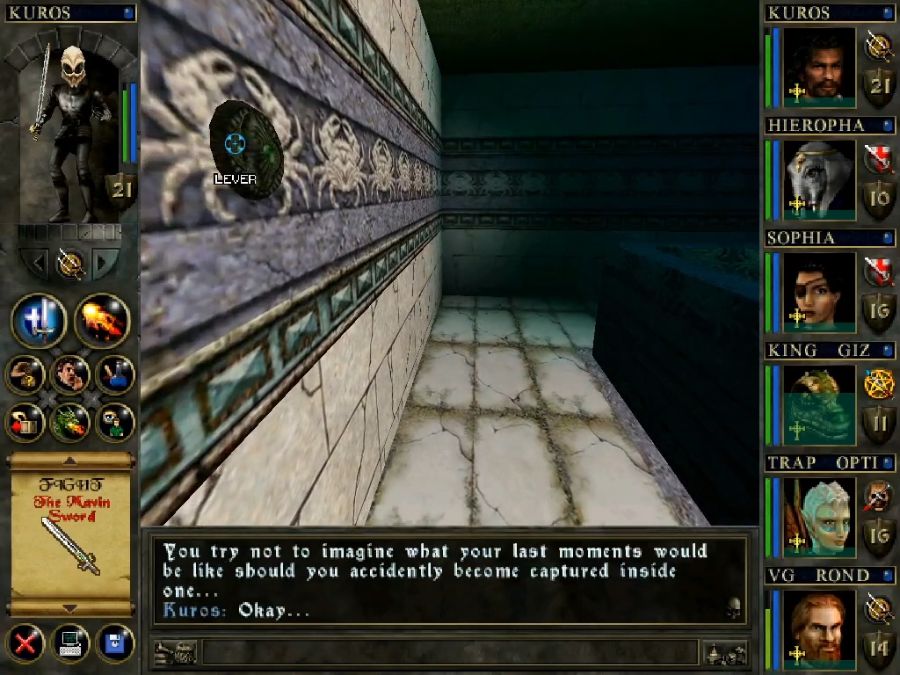
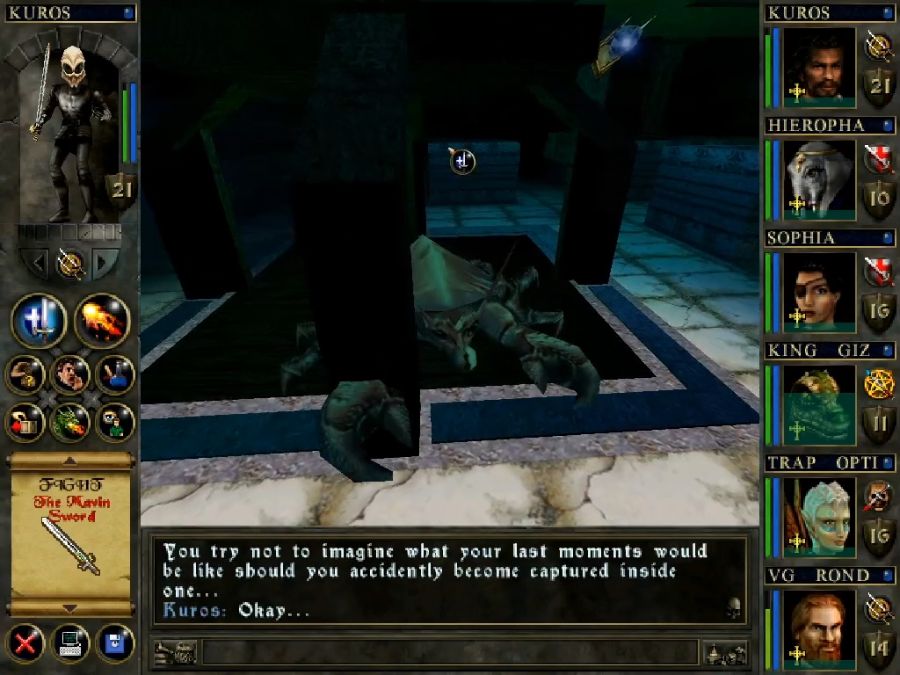
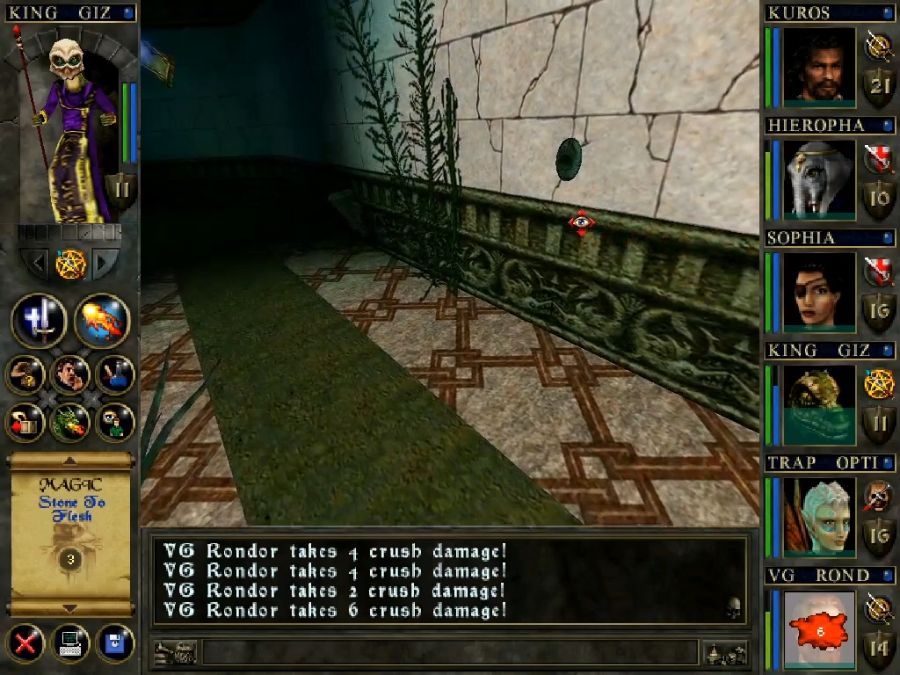
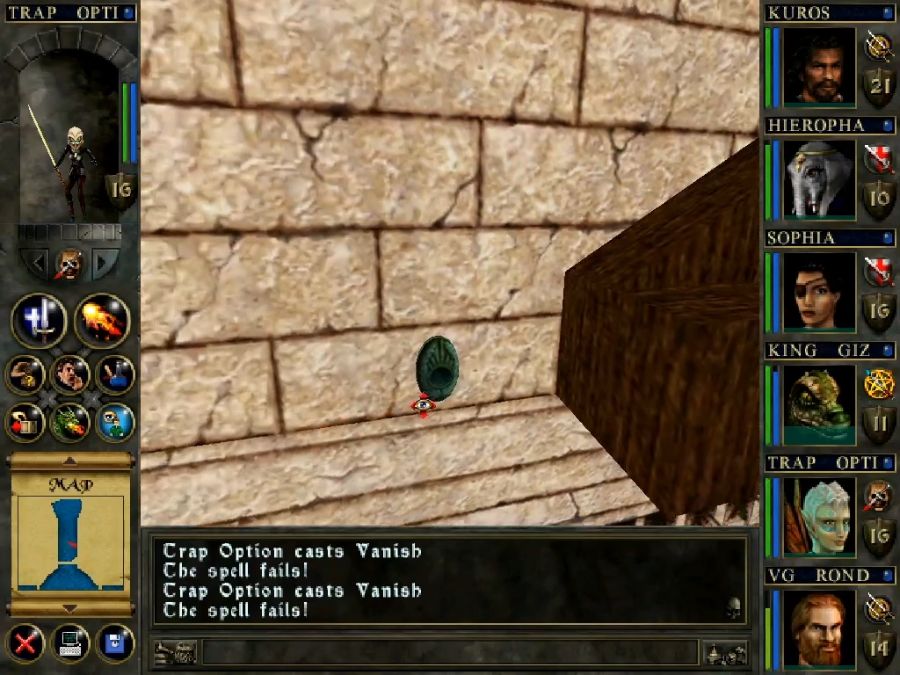
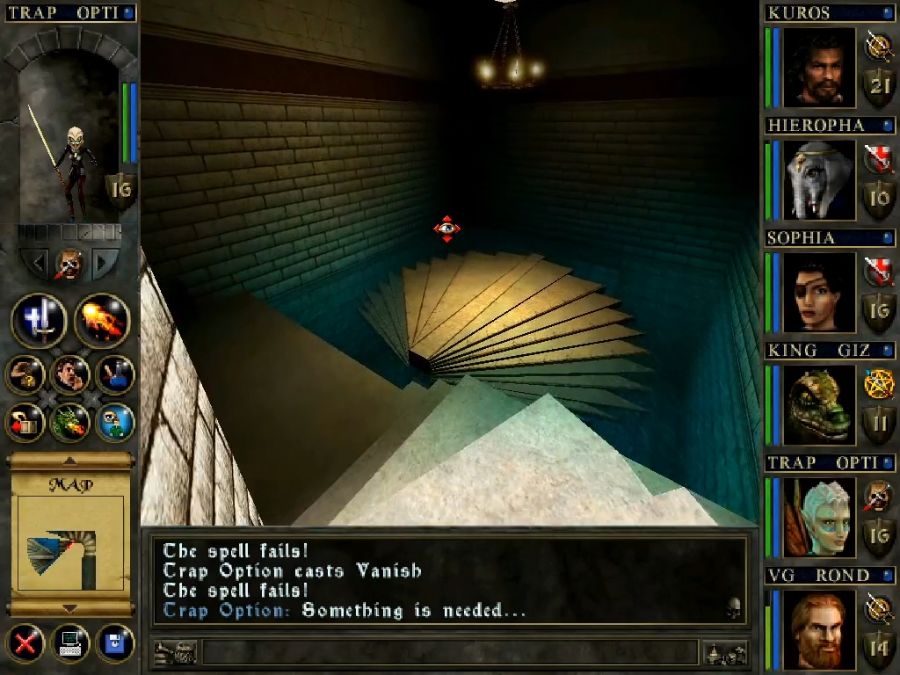
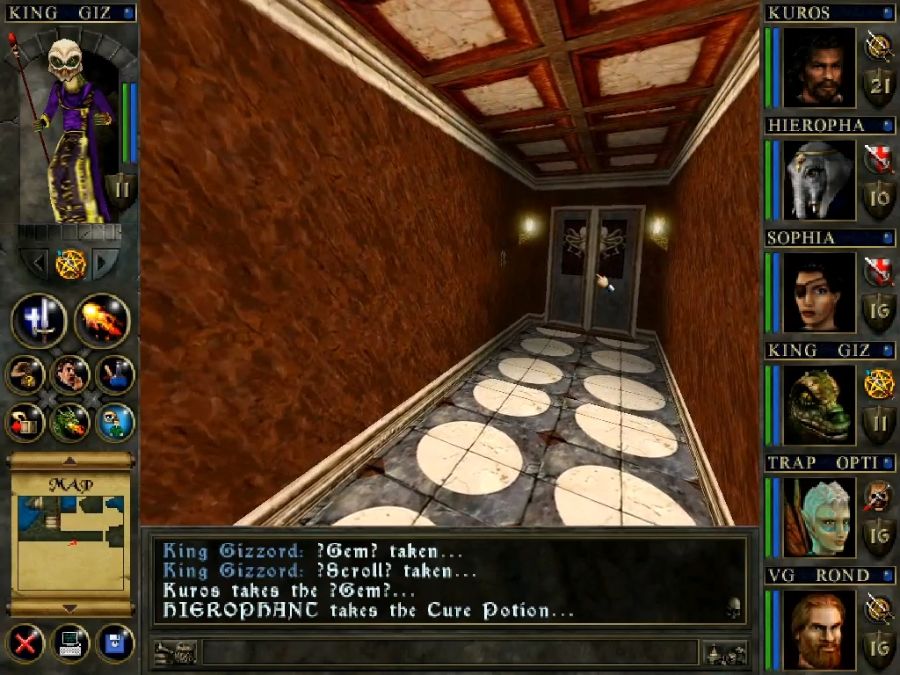
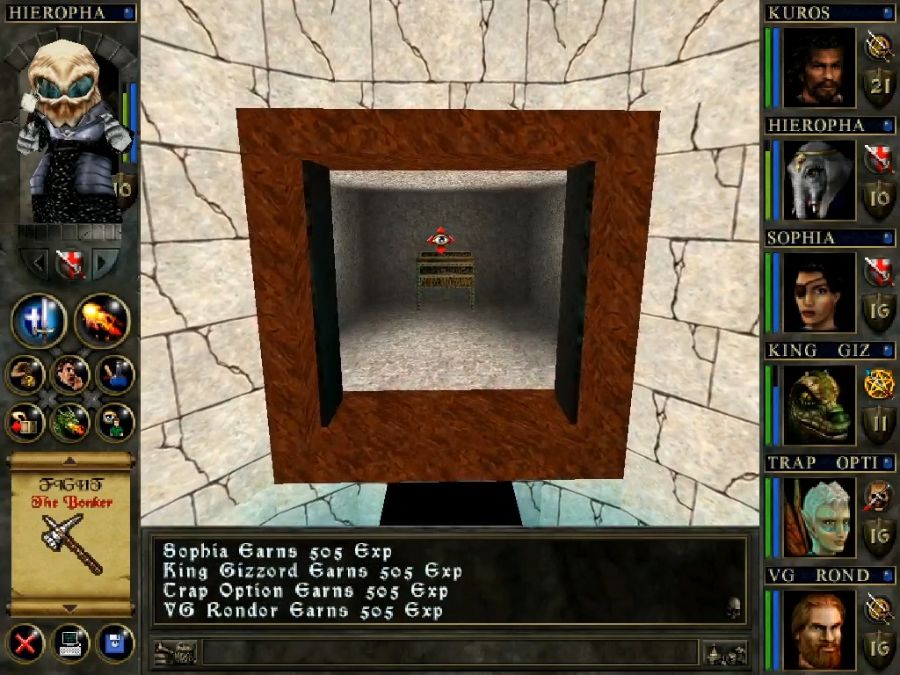
What we need the gems for is that some doors in the dungeon have little slots next to them, like these, that need gems jammed in them to open the door.
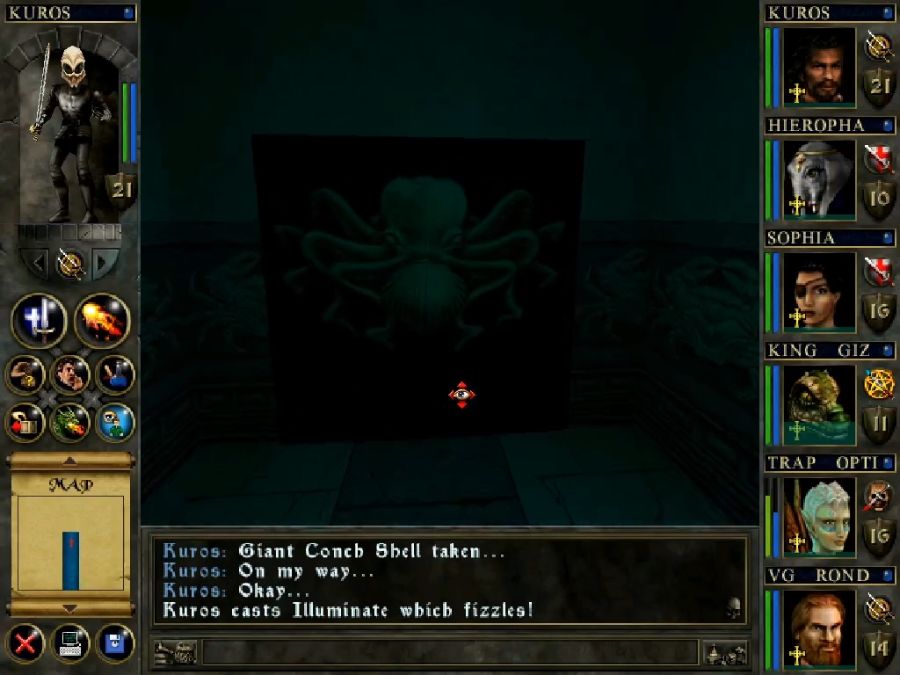
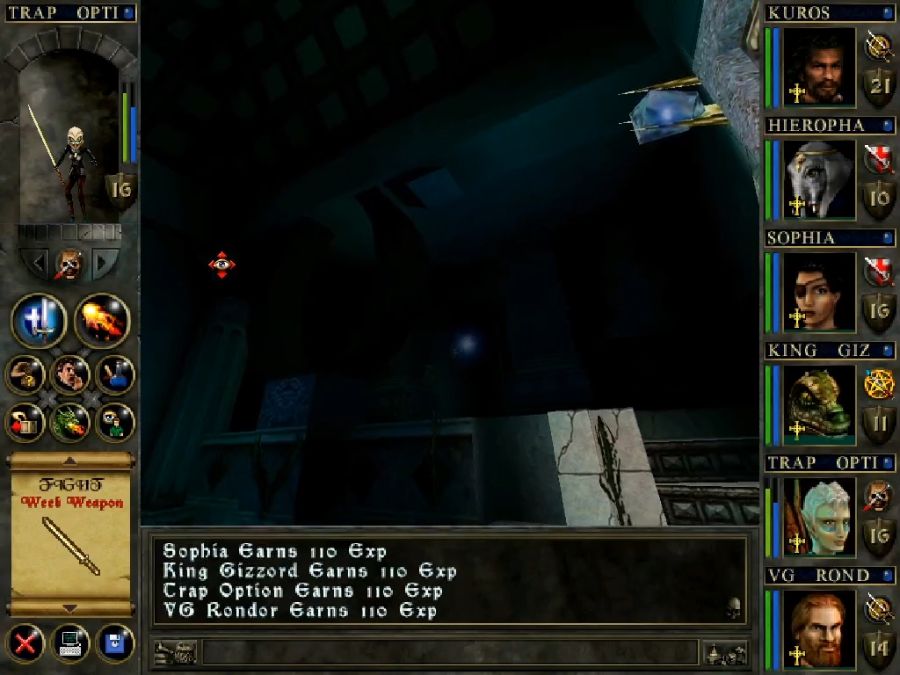
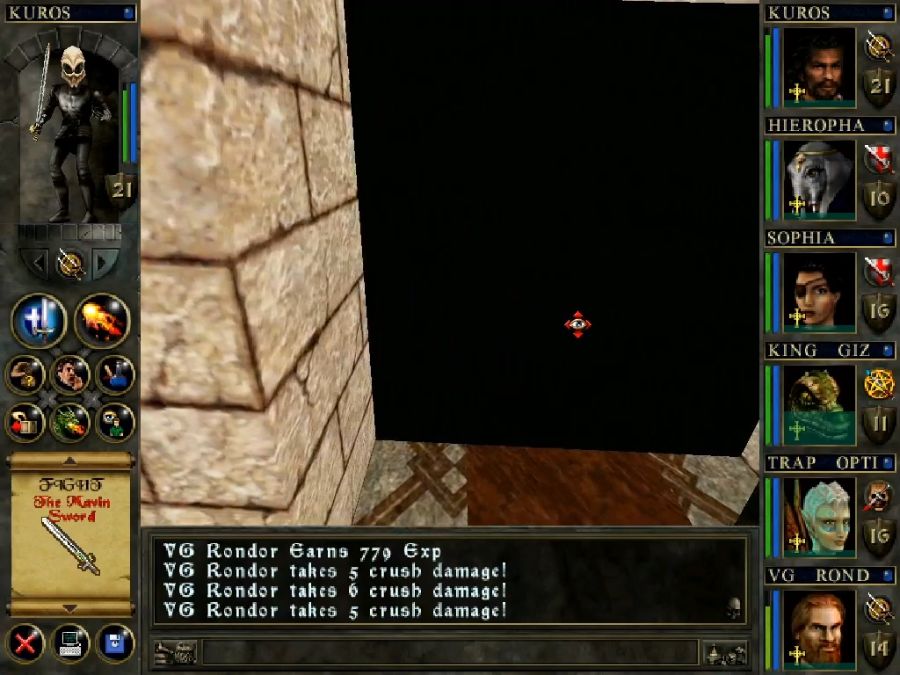
No, that shifting veil of pure blackness isn't a bug. Nor is it a secondary door. Or an enemy.
Approach it and it does phys damage, because it is, in fact, a moving object, and possibly jams you into the level geometry. You can usually pop back out again, but there's no reason to tempt fate. Instead, sit there and wait for a minute.
What it actually is, is a rotating "round"(polygonal approaching roundness, vaguely) room with a door on one side, servicing four doorways as it swings past them. If you're lucky you can duck in as it goes past yours, otherwise you get crunched and have to wait until the next go around.
It adds nothing to the dungeon except annoyance.

Two of the four doors it services are currently closed and cannot be accessed, and one of the open doors is the one we arrived through, so we've got all of one option.
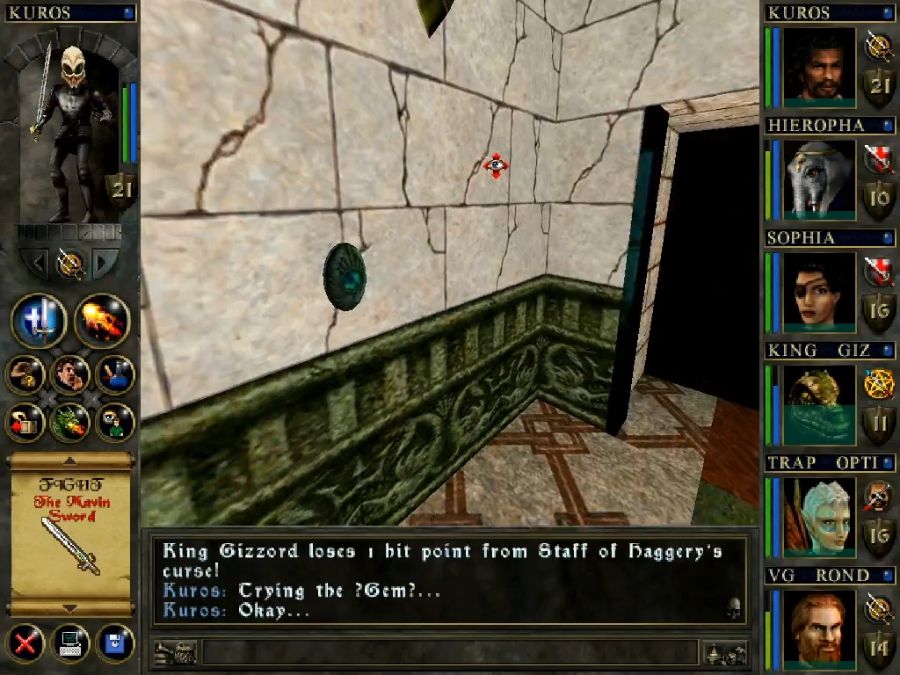
You may have noticed that this door, despite being open, also had a slot for a gemstone.
This becomes important shortly, and ties into this dungeon being a dogshit sack of fuck.
The room up ahead contains four vats, each with a button that can be used to open the vat.
Three of them contain guaranteed crabs. Have I mentioned that like 50% of the spawns in this dungeon so far have been crabs? Fuck this game.
The fourth vat contains progress!
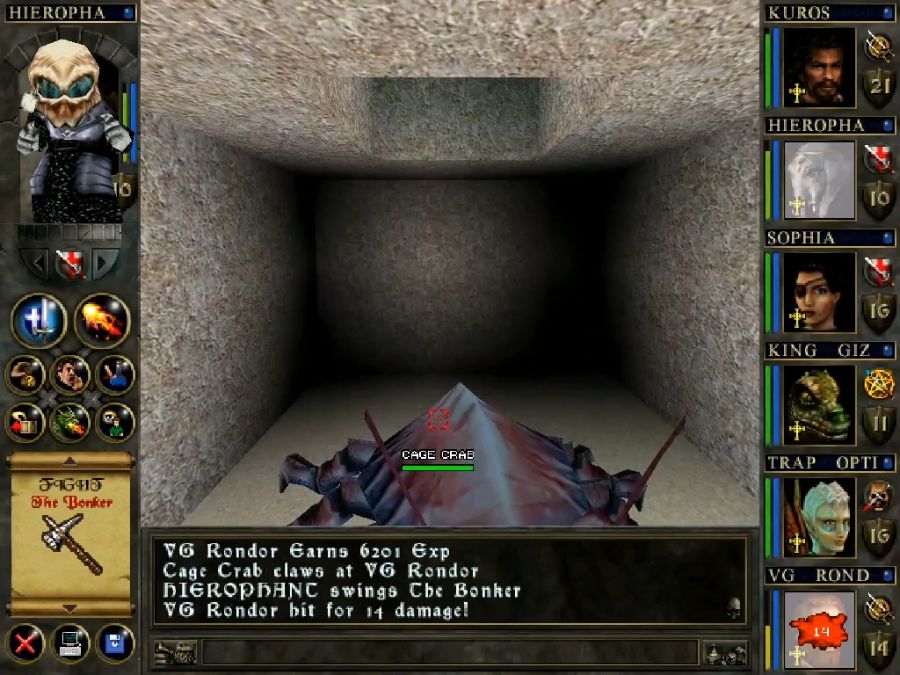
And a crab.
Also, did you notice that Gizzord is no longer drowning? It's because an arbitrary plane along the swim down through the vat counts as being above water and refreshed everyone's air supply. Almost certainly a bug.
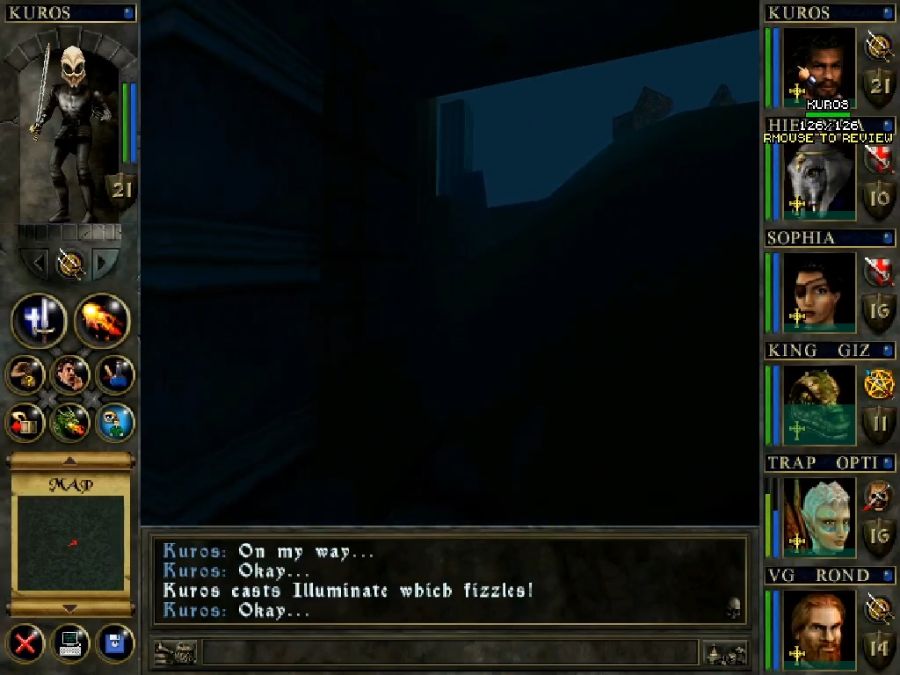
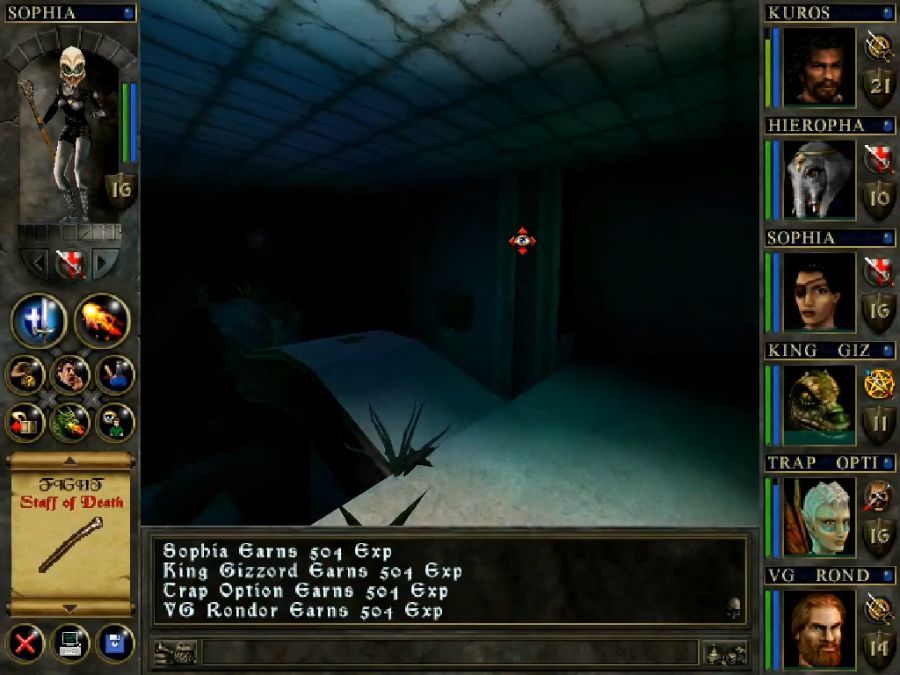
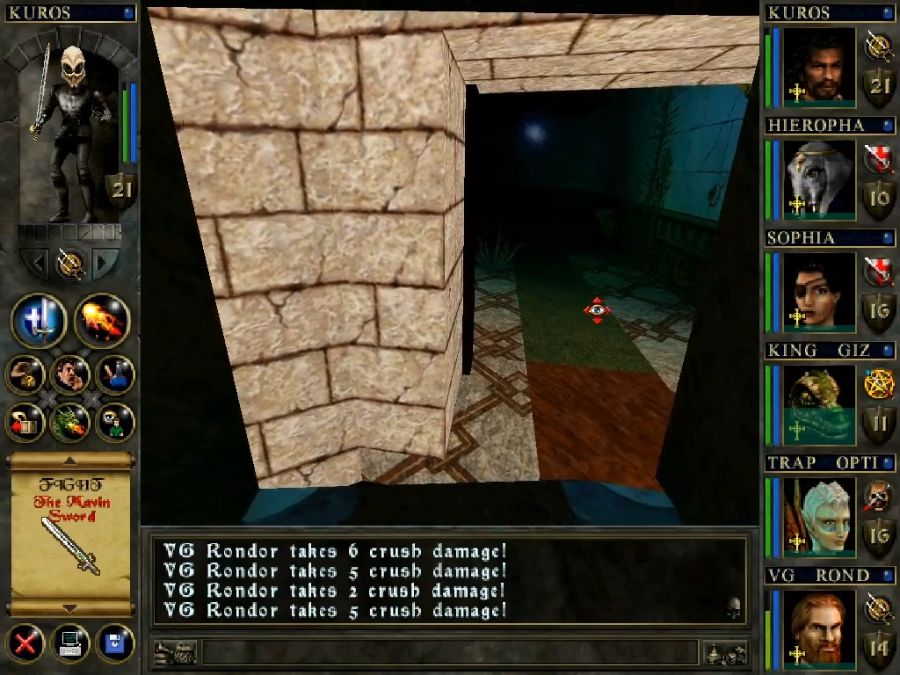
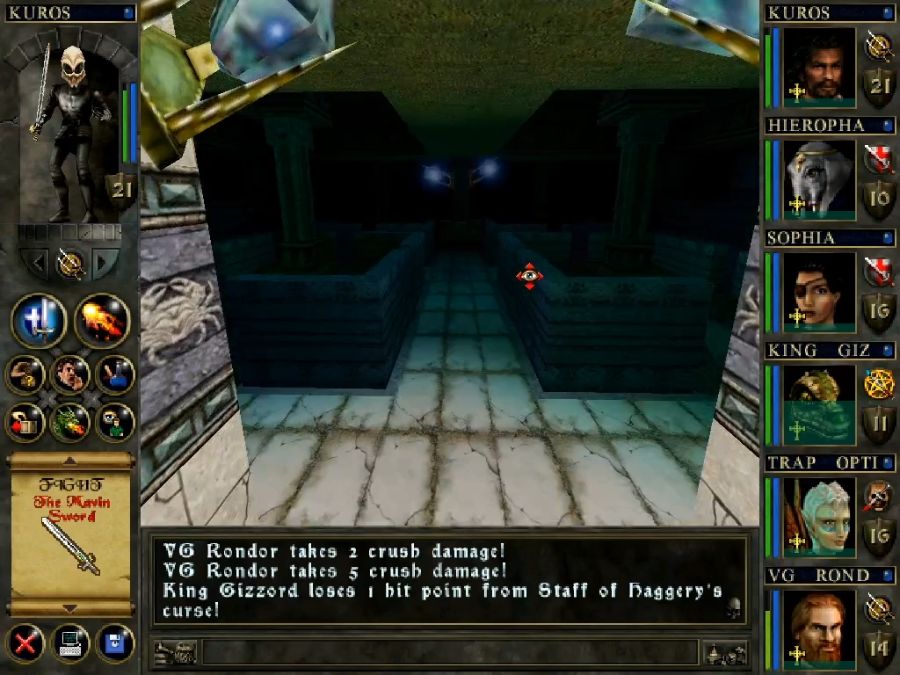
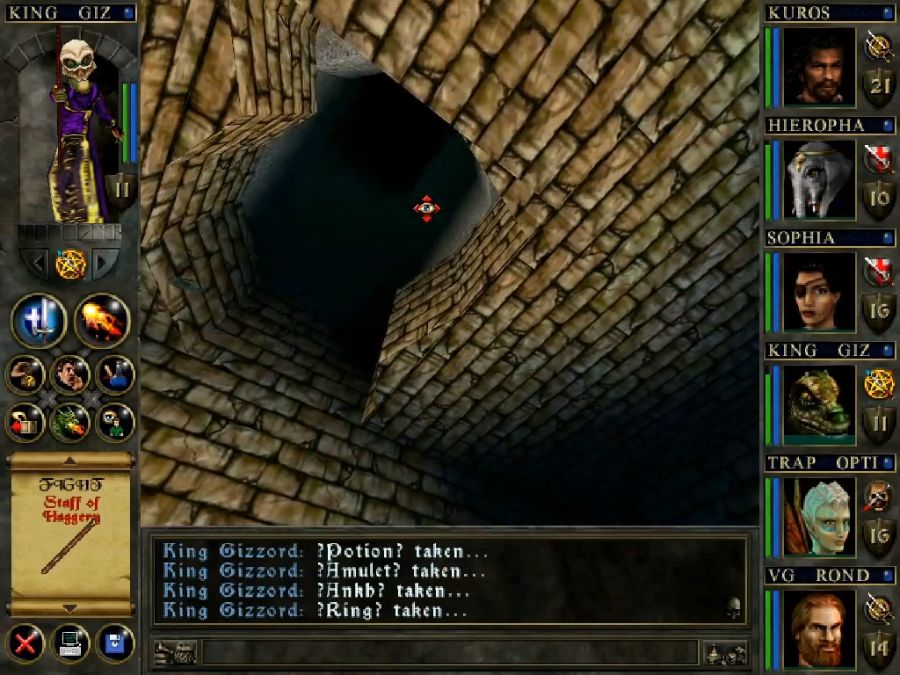
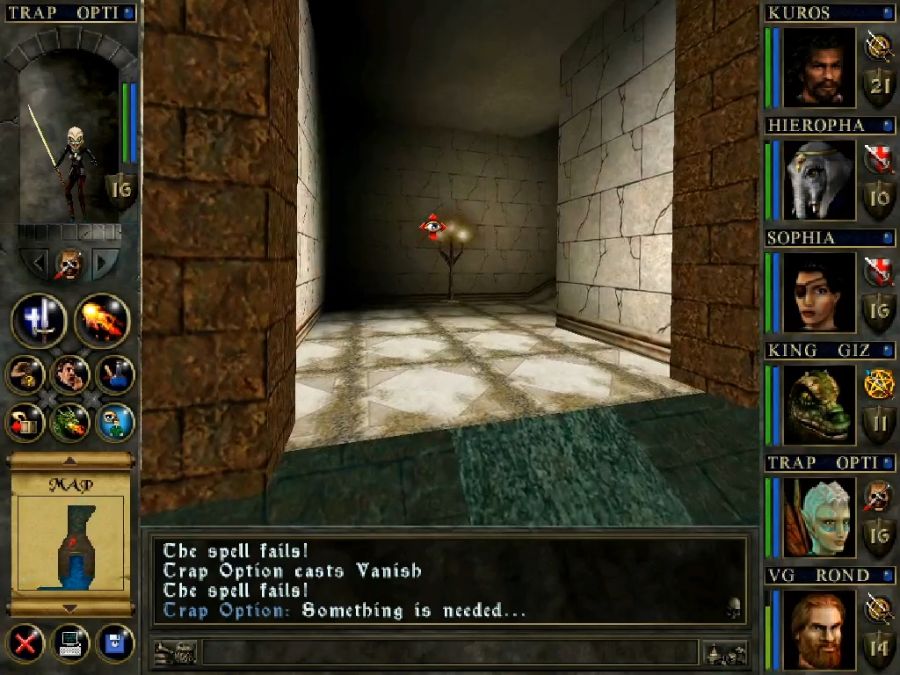
Dispose of the crab, swim up the shaft and emerge in another nice-looking part of Colassium.
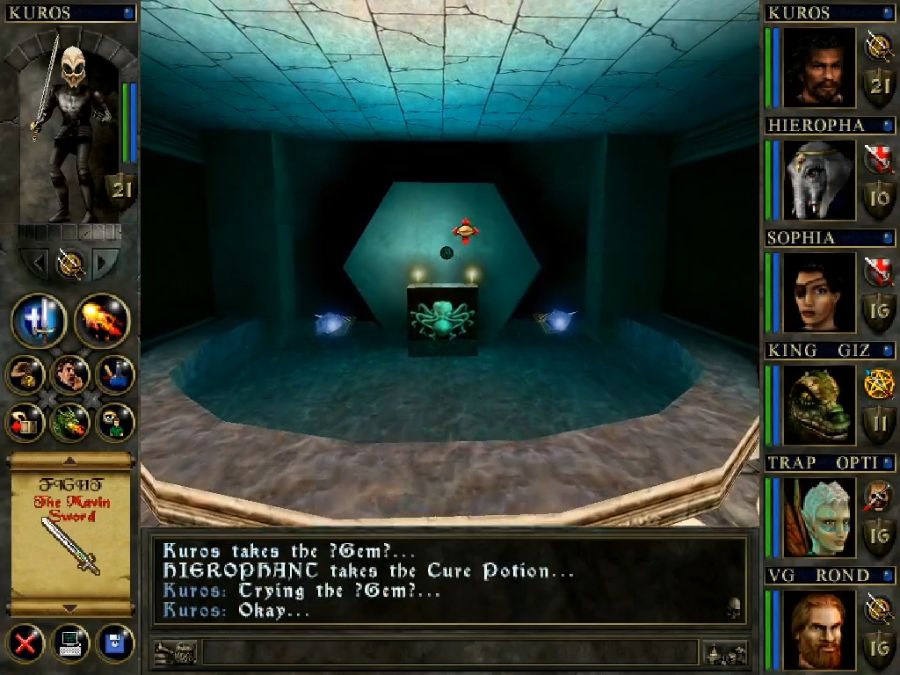
Down a short connecting corridor and we find the first of three mystic tablets! Now we're 1/3 for tablets and 2/3 for gems!
I loop back to Sarelia to take her invitation to visit the Sewer Oracle.

More crabs. I never want to see another crab again. They've betrayed me.
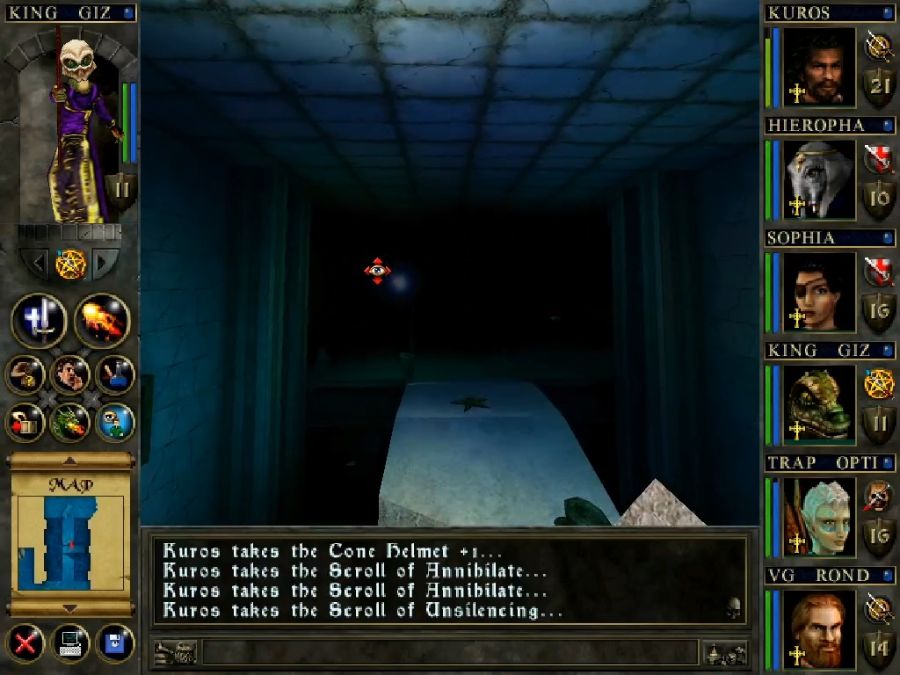
Emerging through a hole in the ceiling puts is in a nearly-dry room.
And the second tablet! This puts us at 2/3 for gems and 2/3 for tablets! Clearly this dungeon will be over shortly and Purple won't be fooled into wasting a literal hour of his time that he didn't have to!
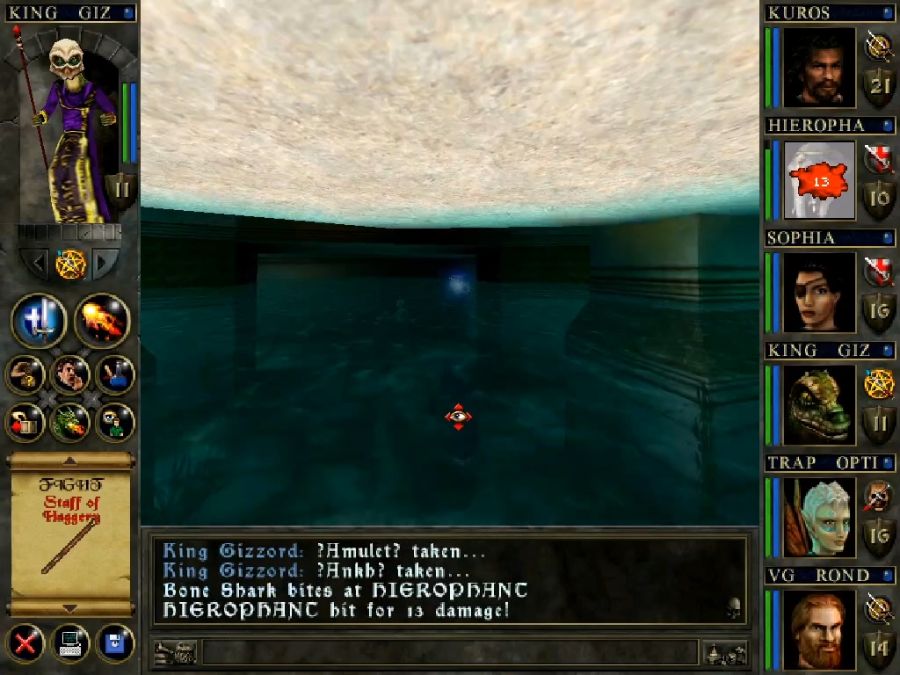
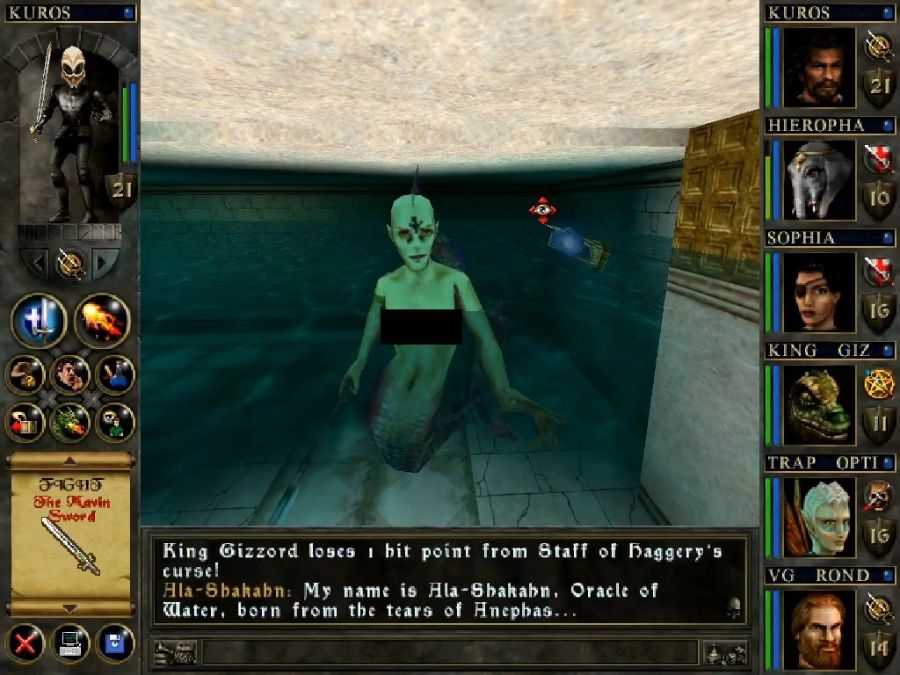
At the exit from the chamber is ALA-SHAKAHN, the Oracle of Water. She has nothing of interest to say but is extremely insistent that we read THE PROPHECY which she's printed on a scroll for us.
"Time is of the essence, so I must speak in haste. My name is Ala-Shakahn, Oracle of Water, born from the tears of Anephas. The Prophecy is the promise of the age... Take this Scroll and read it when you are ready. Upon it is the Prophecy of this age. ... Hope dwells within the Corroded walls of the Sunken City. For the three Magical Tablets which sealed the Dark Lord’s Pyramid Tomb are hidden here, far beneath the waves."
Let's read this prophecy, I'm sure it's a vital clue!
"As it were in the Beginning, and until it shall be the End.
The Prophecy of the Age hath been declared Divine.
For the Darkest Shadow was born from Incarnate Desire.
And the Angel’s Defender shall be blessed in Heaven’s Time.
When Darkest Shadow has fallen upon Face of Beauty,
And the Fire of the Unbelievers has burned Still.
From Horror’s Masque shall be born his Lord’s Familiar.
Incarnate Desire unleashed, the Undead Prophecy fulfilled!"
Wait, hang on, we've heard most of this before.
Also even if we hadn't, none of it has any bearing on anything we we're doing. Like, it doesn't provide us with any vital clues or anything. It's just some shit DW Bradley thought sounded cool.
Continuing past Ala-Shakahn just brings us back to where Sarelia is, so, you might wonder. How do we progress? Simple: We open an open door.
First, we head back to the rotating room.
And then we depart at the only open exit.
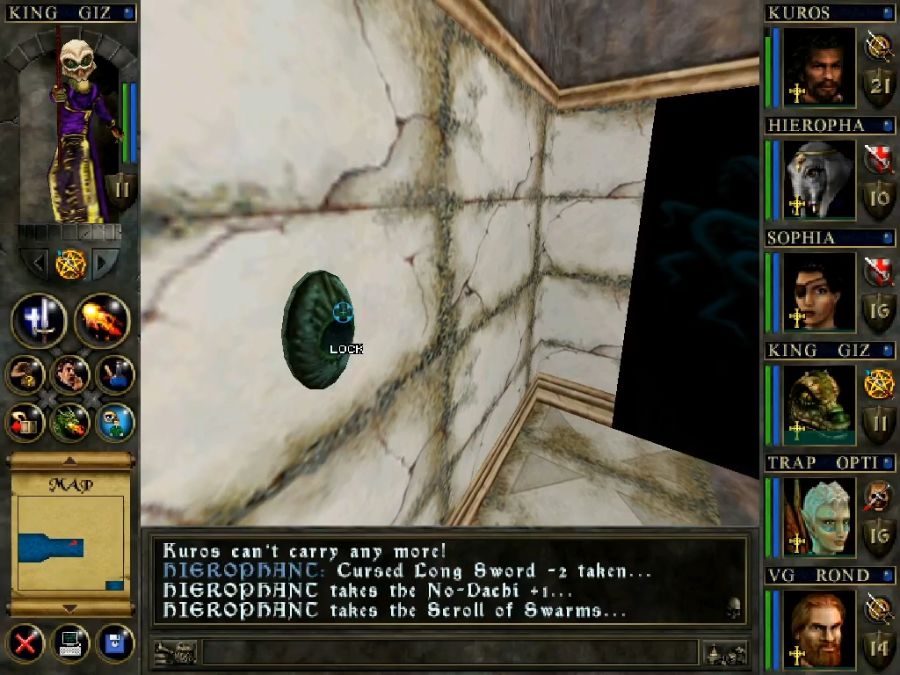
Then we use our second mystic gem on the lock next to this already-open door, which opens one of the remaining two closed doors radiating off the rotating room!
And then spend like five minutes lodged in the geometry due to getting snagged by the room while trying to disembark.
This open door also has a lock, which, predictably, opens the fourth door off the rotating room. Said door just leads to the exit we tried to enter through earlier, however.
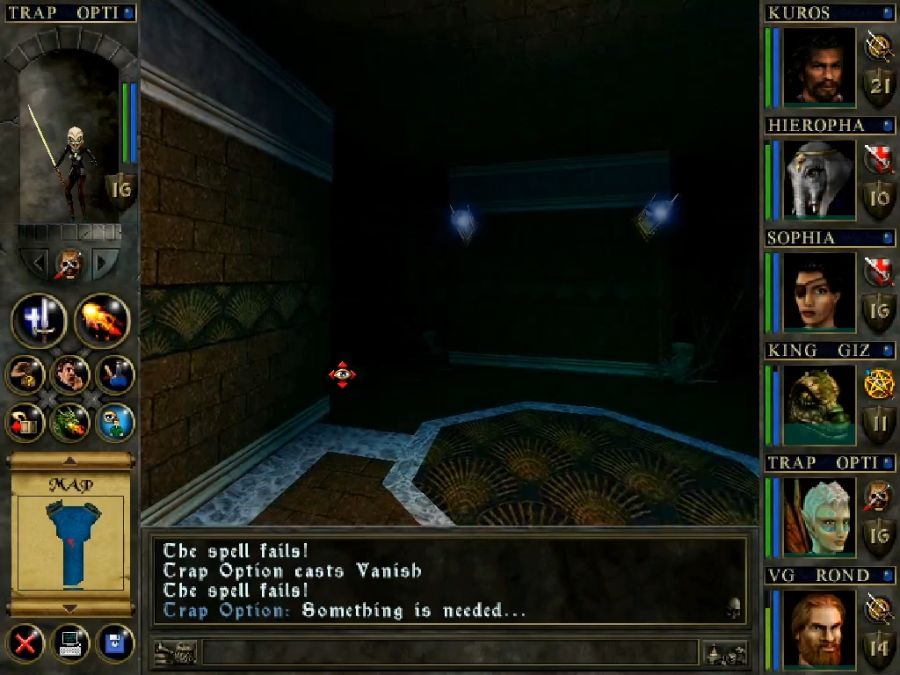
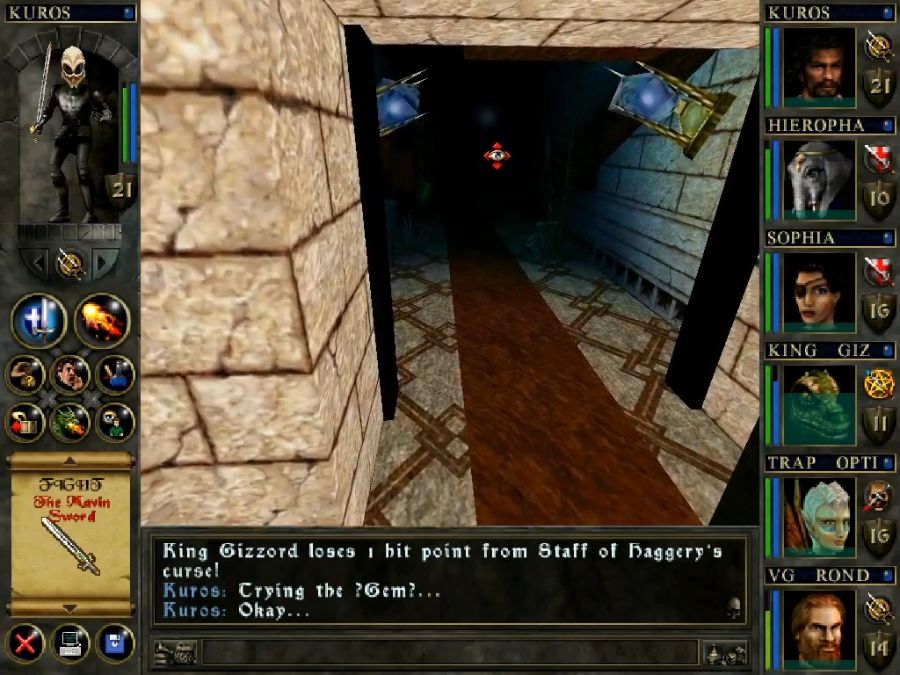
Anyway, it starts by proceeding us off through some more flooded, ruined corridors.
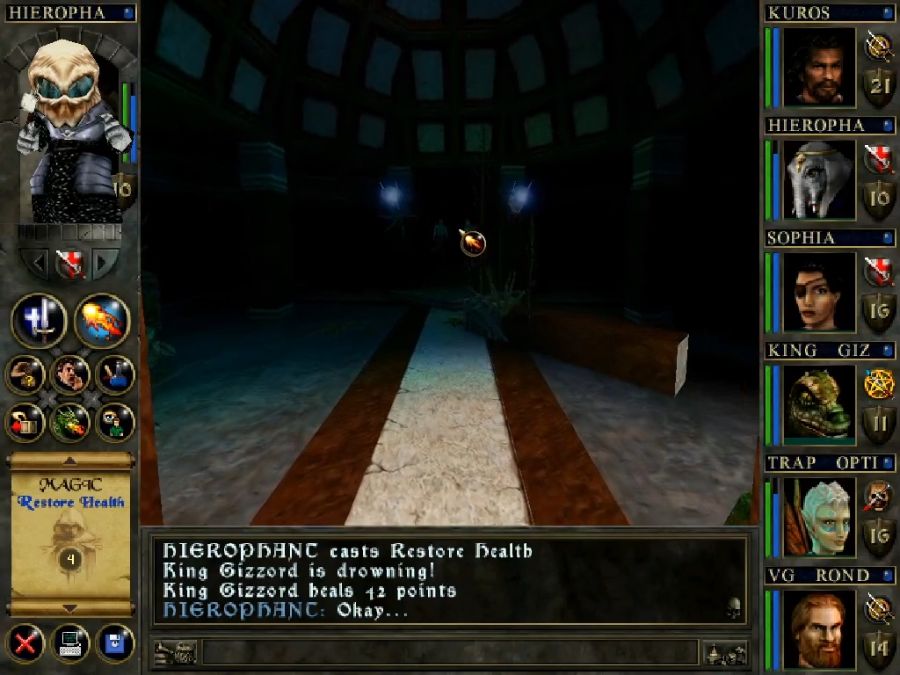
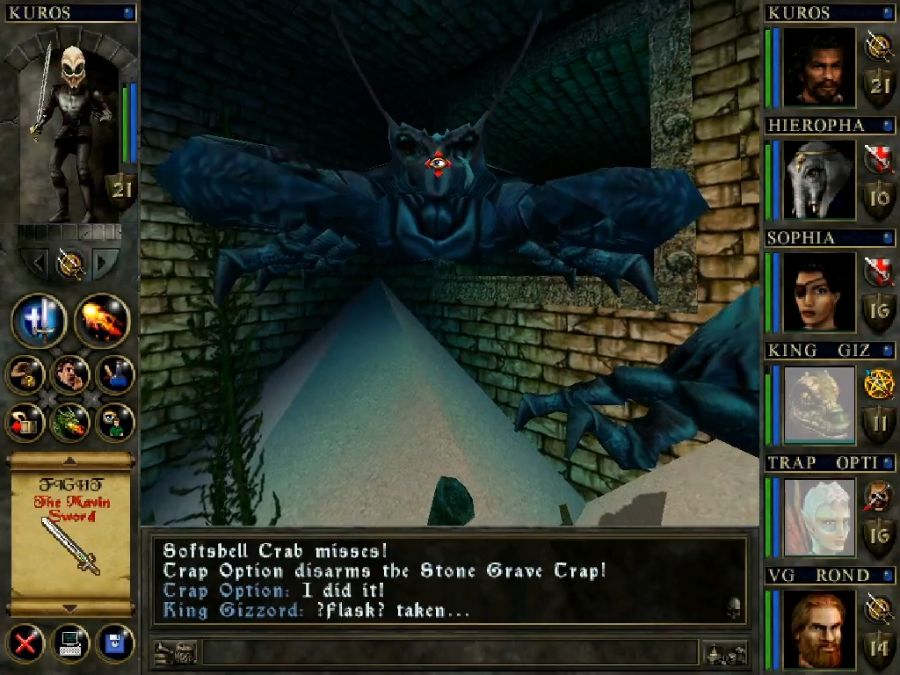
Eventually leading us above water and, by some stairs and corridors, into yet another nice-looking room. But this one has a surprise. As soon as we enter the water...

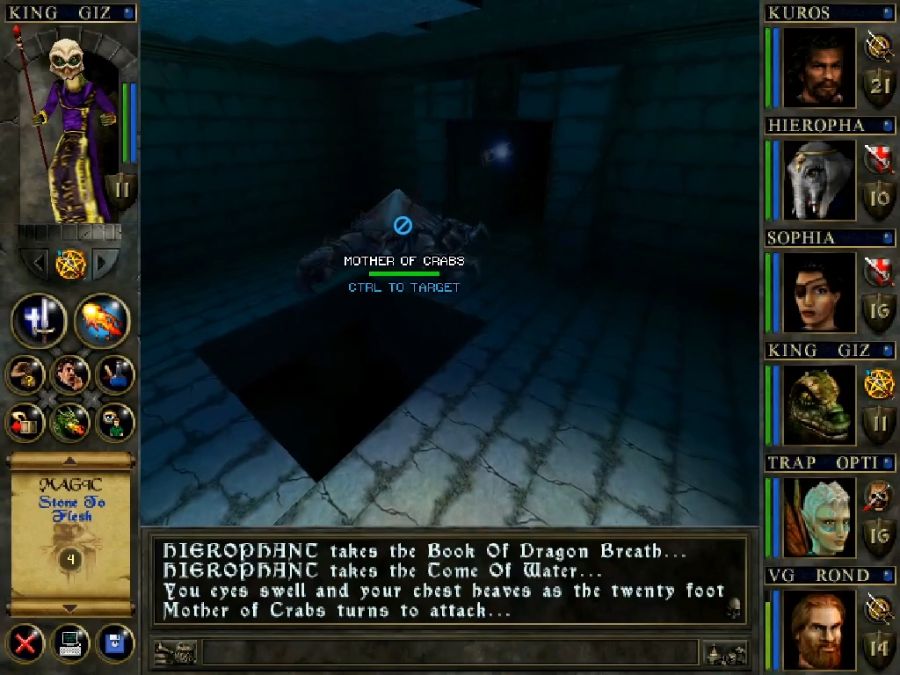
Look, okay, narrator man. That's not 20 feet. Not unless every humanoid enemy in the game is also 20 feet tall.
The worst thing is the game engine clearly CAN handle huge enemies, so why not just really make a bigger arena and really give us a 20-foot crab beast? You could even size up the basic crab model if you were lazy.
Just don't lie to me.
Anyway, we need a plan. Or, well, don't really need but I feel smarter when I cheese these encounters.
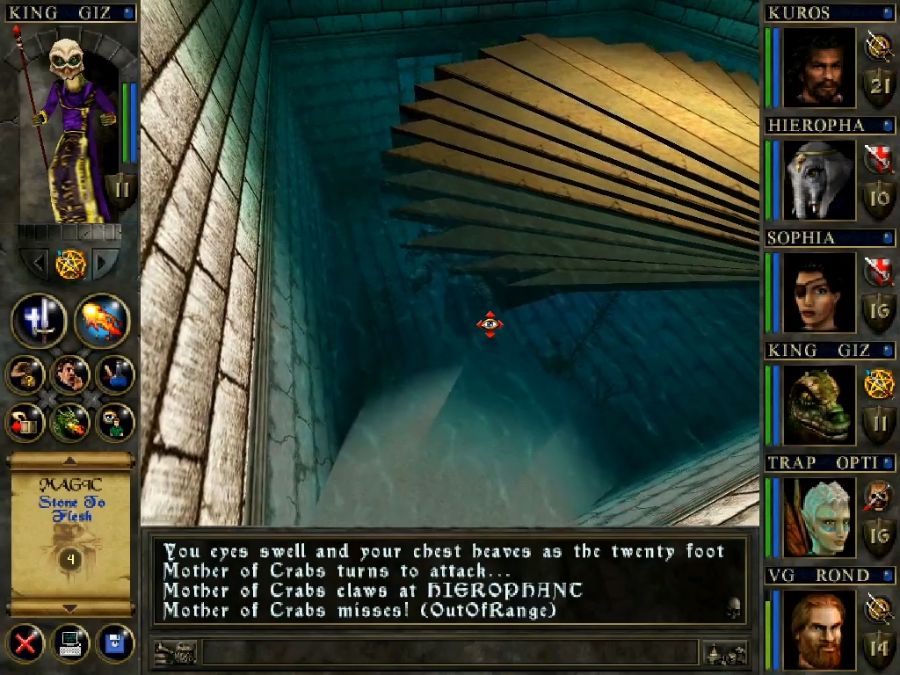
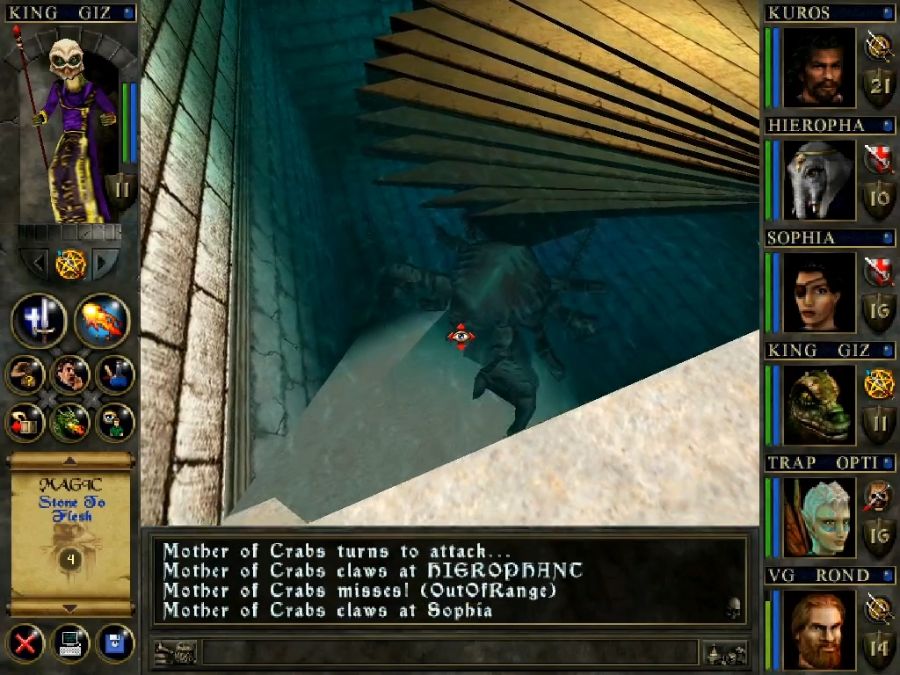
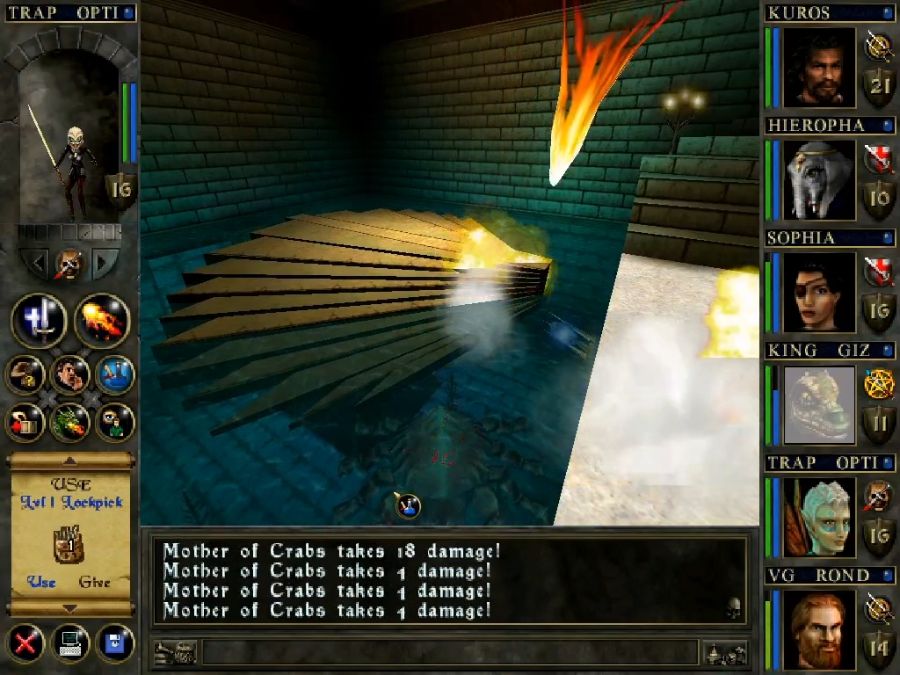
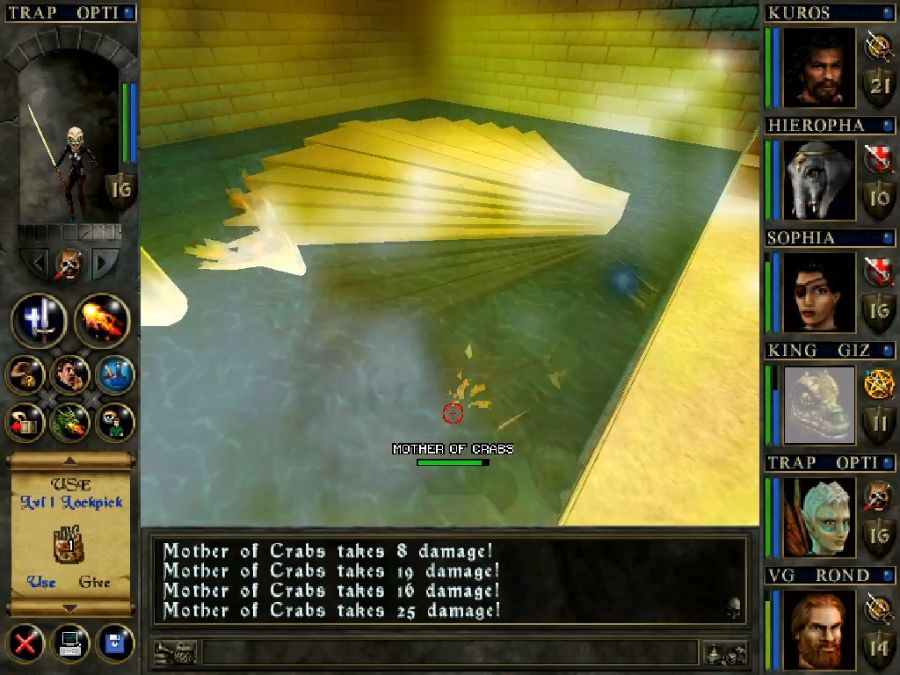
In this case, I just lure the MOTHER OF CRABS over to this pile of sand at the corner of the pool so she climbs it towards me and then I drop all of my magical artillery on her. Most projectiles disappear when they hit the water's surface, but not the ones from the various storm spells, apparently. This takes away most of her health and I resolve the rest of it with some plain chopping and hacking. Once again, single-target enemies aren't threatening in any way.
She drops one of the rarer items in the game, an enchanted chain coif. Weirdly enough, the game has a slot for nothing but coifs, despite there only being one type of coif(albeit with +1 and +2 variants) in the game. Most other games would just put this thing in the helmet slot and have chain coif as an intermediary upgrade between leather and plate hats, but not Wizards & Warriors.
Anyway, we've got a game to progress in.
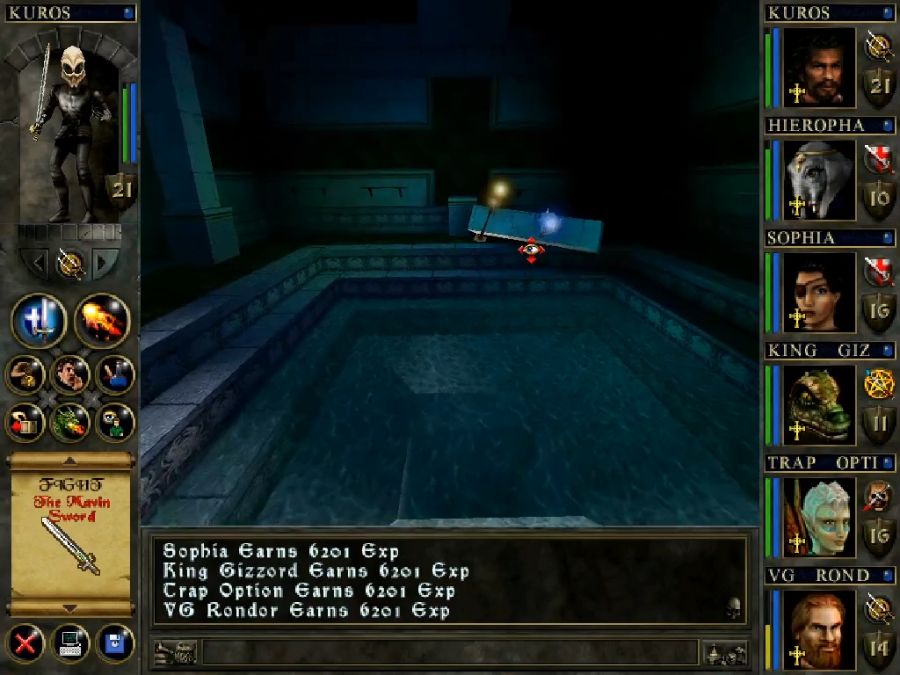
First, under the clamshell platform there's a tunnel to dive down.
All it leads to is a chest and some bars we can peek through to perv on the third topless mermaid of the dungeon.
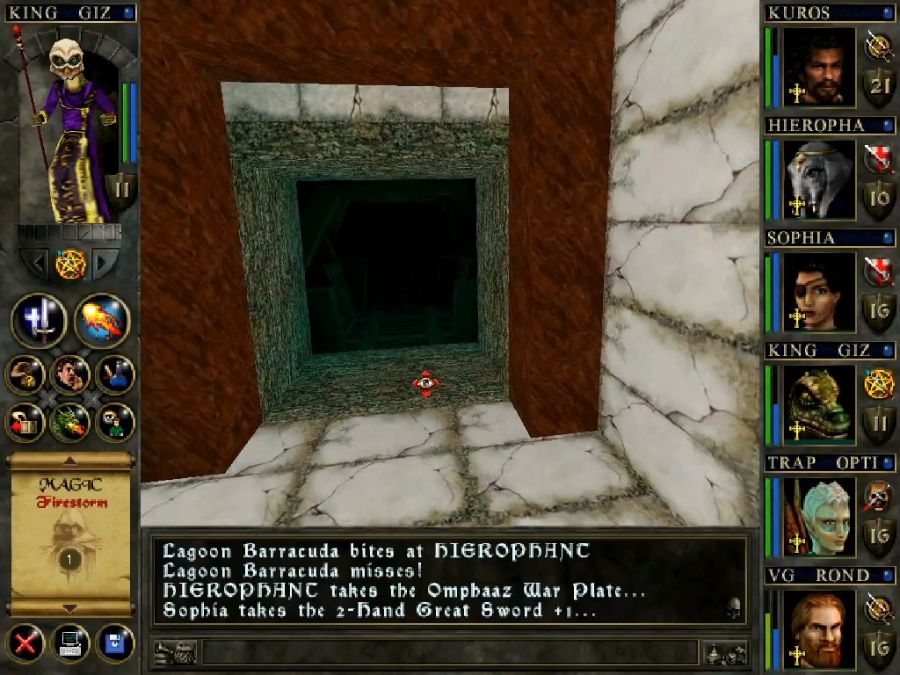
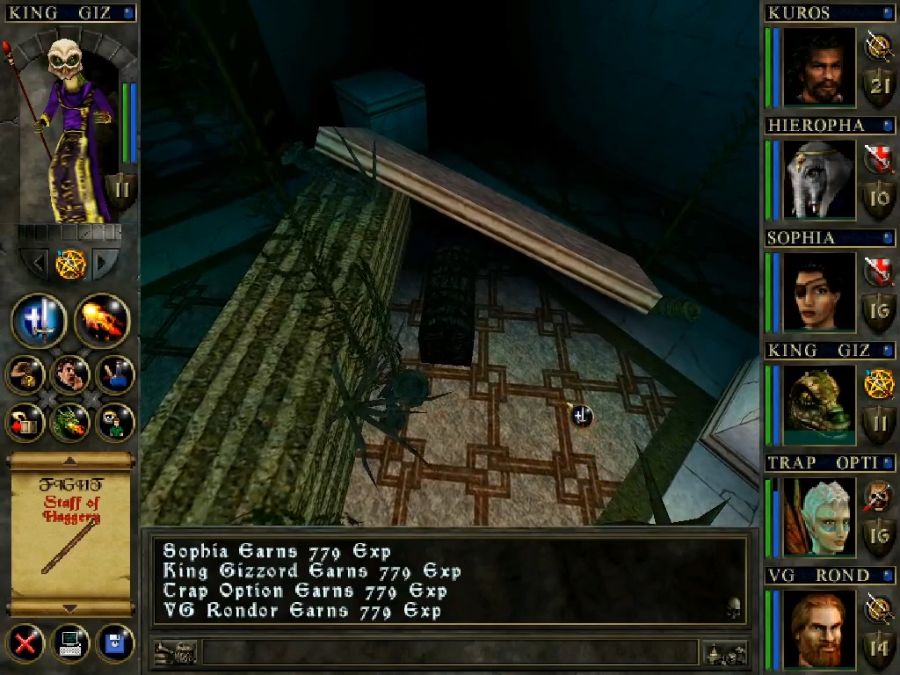
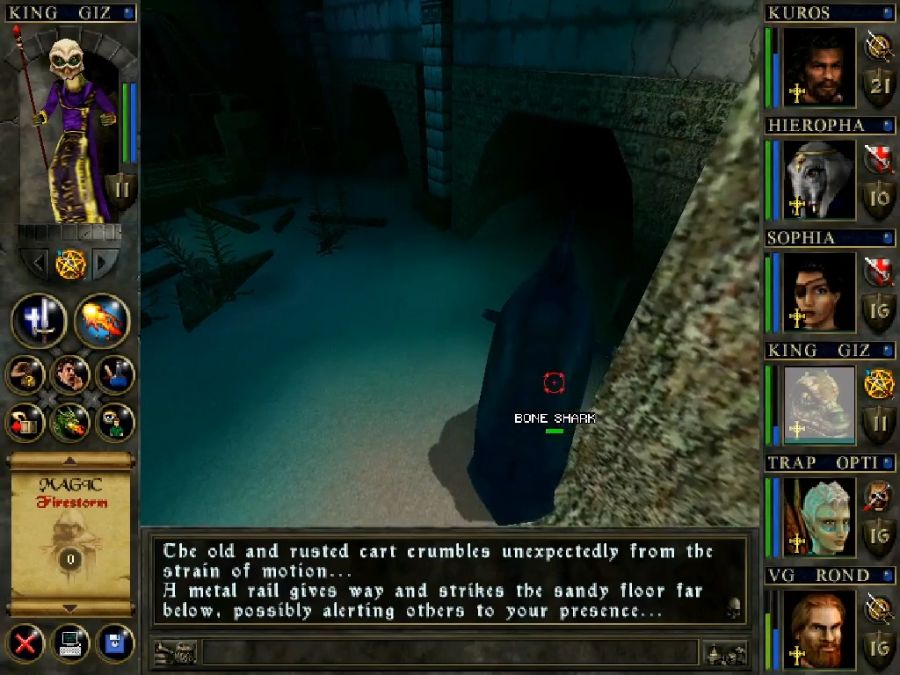
There's also a more conventional flooded passage leading onwards horizontally. As we approach this exit...
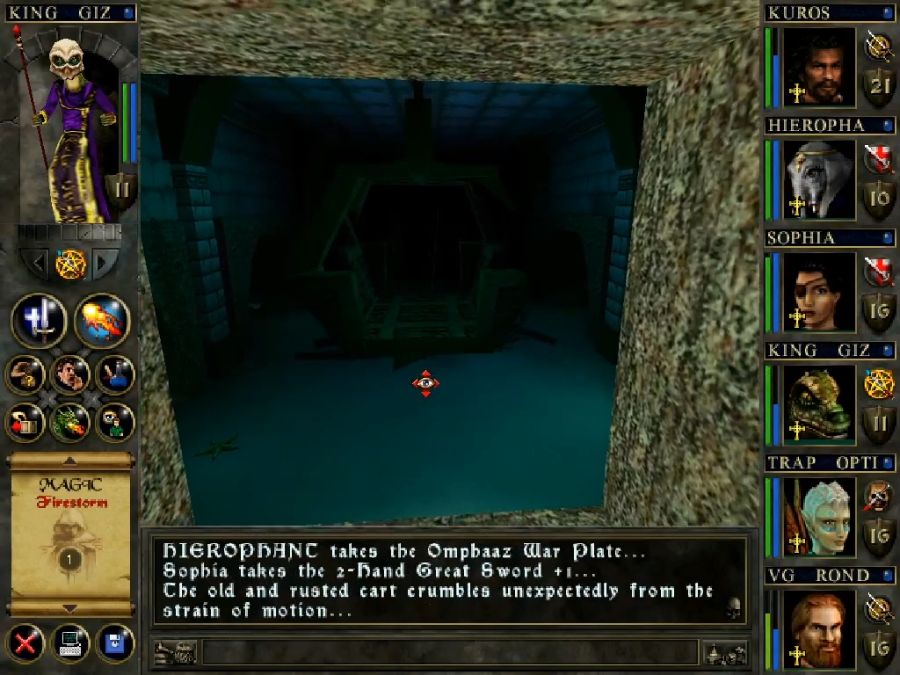
The cart rolls forward, drops off the rail and breaks. The narration says it makes a lot of noise and alerts monsters, but literally all that pops up is a single shark. Not sure if it's a bug or just an unimplemented ambush.
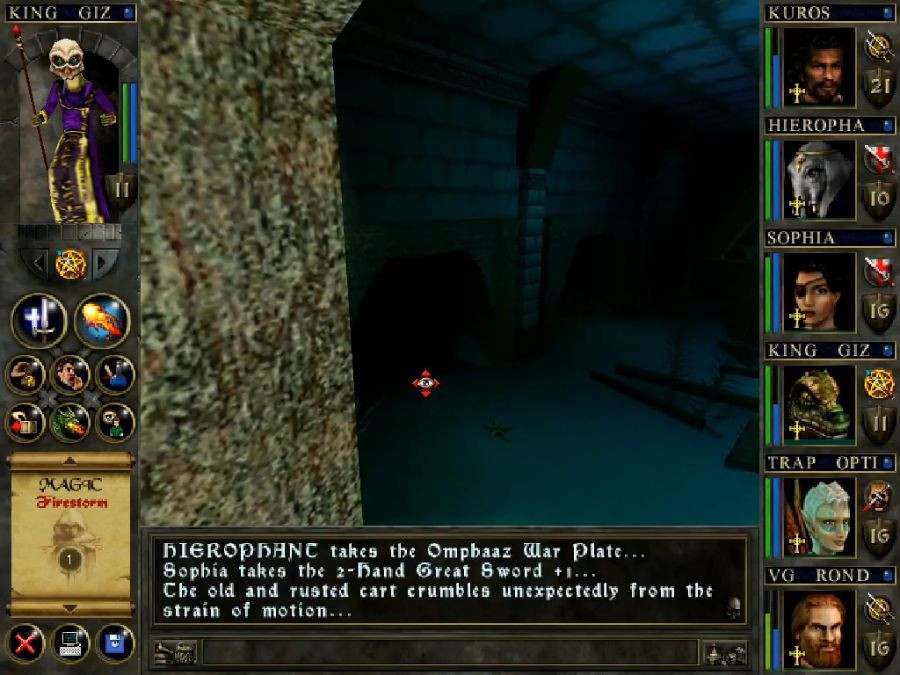
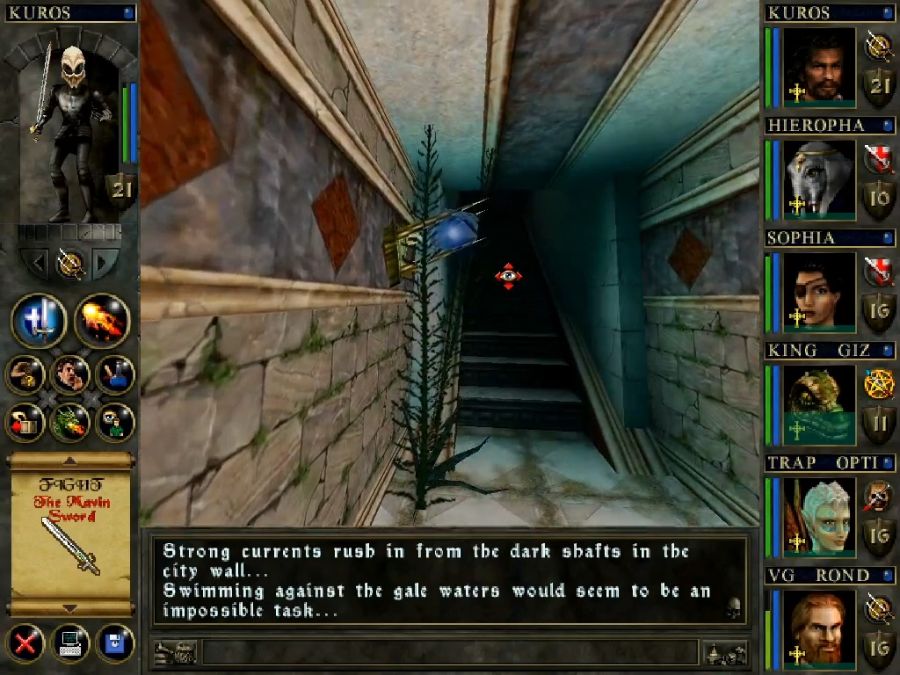
The room has three tunnels on either side and a door at the far end. Let's take a look at these tunnels.

The narration says I can't enter them, but I try anyway. Unlike other places with "strong currents," like the Dragon Spire, these can't be beat. I try the first two corridors on either side and make zero progress. Having learned my lesson(my false lesson, as it turns out), I head for the exit at the far end.
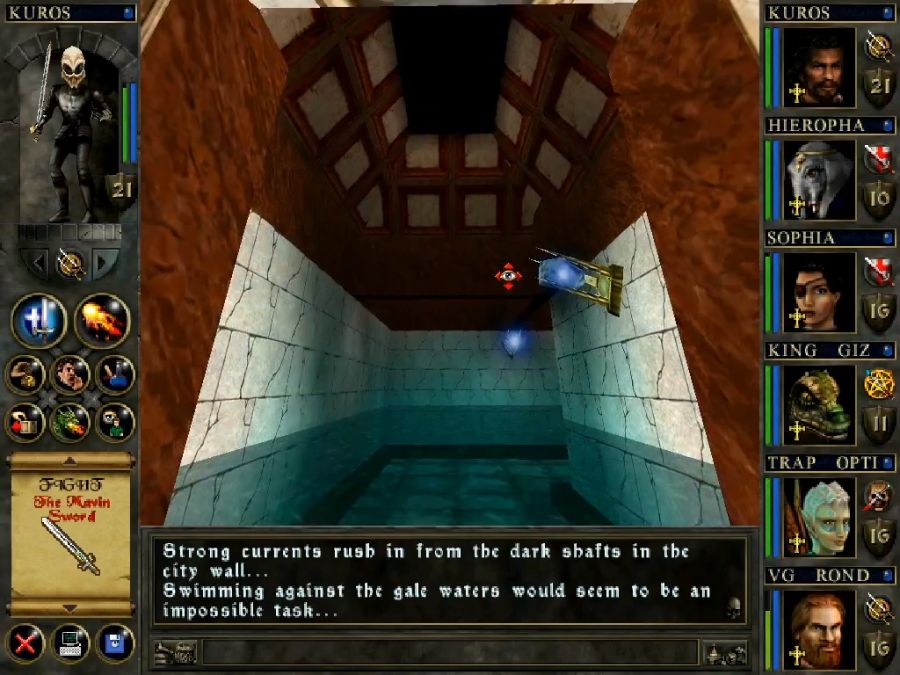
So we've got stairs leading to two corridors, and a pool. The pool just loops us back to where we've already been. What's up the corridors?
Two doors that require MYSTIC GEMS to open. Hmmm! Guess we need to find that third gem!
I turn around to go look for it.
And a shitload of mermaids spawn behind me, and oh fuck they're casting Dementia, which causes insanity!
PANIC BUTTON, PANIC BUTTON.

Phew. Also for some reason stranded fish and sharks kept spawning on these stairs every time I came past, it was somewhat funny.
So, now I cut out me running in circles for a while to try and find that last gem.
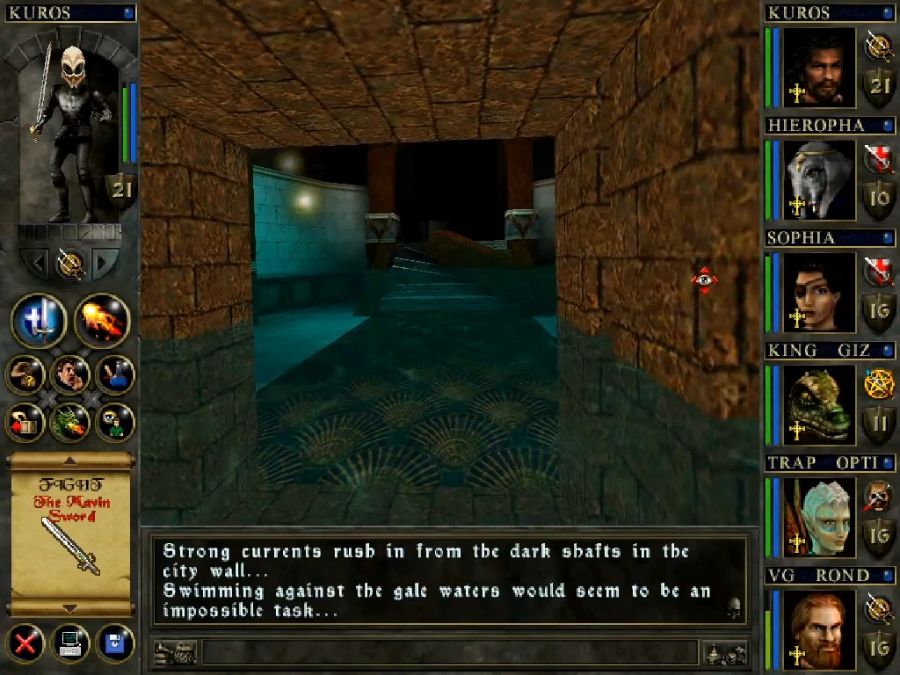
Can you guess where it was?
Did you guess the room with the six corridors that couldn't be entered?
Did you guess that arbitrarily one of them, of course at the back so you wouldn't even bother to try, could be entered?
And that it had a chest with the last gem in it?
Then you were right!

On the way I run past the third mermaid, Vermoura, whose only contribution is to titter and go "tee hee mister man I hear there are some tablets hidden here~"
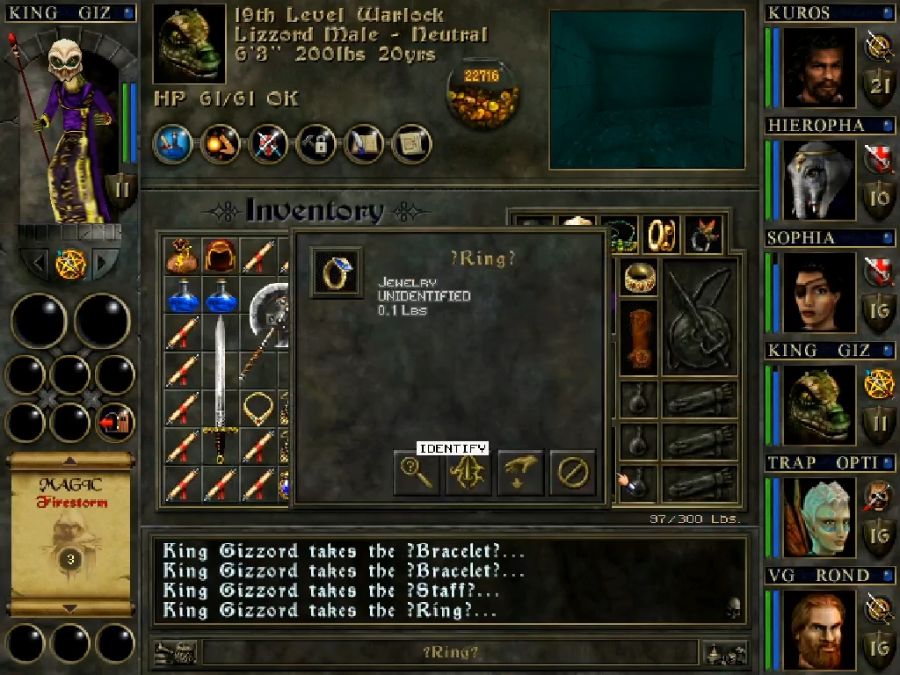
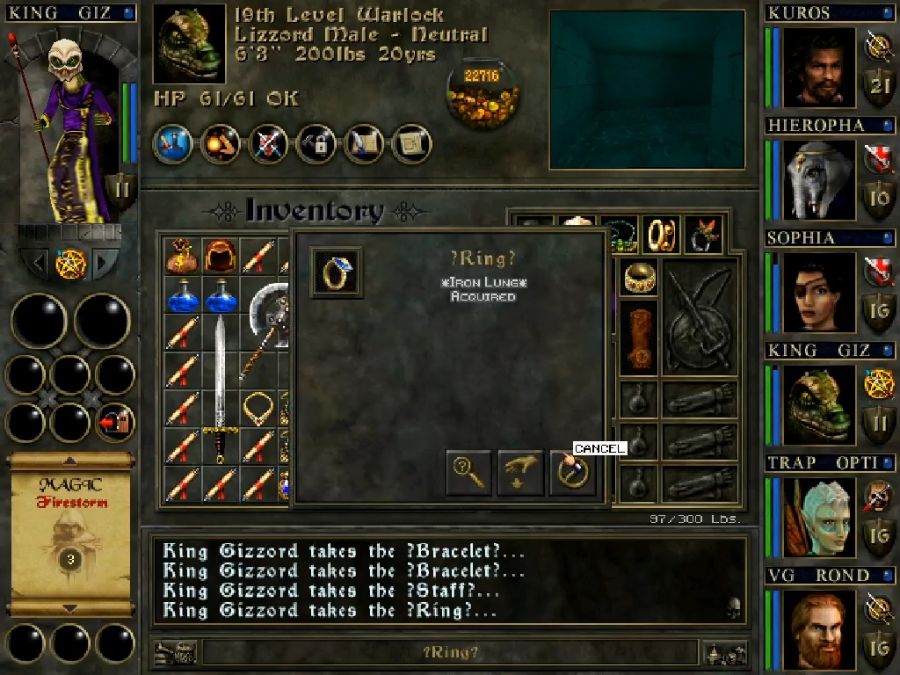
I also find a chest with a ring that grants Iron Lung, copying the effects of an underwater helmet pretty much, now that we're in the last underwater section of the game. Great.

So now I have the last gem! Now let's go open those two doors!
The rooms are identical, each containing a single button that does nothing. The doors also only remain open when a gem is slotted in, so I cannot open both at once.
I reason that, perhaps, the buttons only have their effect when both doors are open(this turns out to be correct).
So I go back and pick up the second gem we used... but that closes the door that we use to reach these doors. Well fuck. What do I do now? There are only three gems? And none of the shortcuts back to the rest of the dungeon work in reverse. Also the game is picky about letting Create Portal work where it needs to(I could, possibly, had I found a location where it worked, have done it that way, though).
It turns out, instead, upon reading a walkthrough.
That the very first gem we used, keeps the door open even after its removed. Something it has in common with no other item in the game that can be slotted in and removed later(like, say, the worn sticks back in the boogre caves).
I can see that frantic experimentation may at some point reveal this without a FAQ or walkthrough, but if you, as I did, yanked the wrong gem first(or even just saw the doors to the buttons close after you removed the gem to open the other door!), you'd think nothing in the game worked that way!
FUCK YOU, DW BRADLEY.
Ahem. Anyway.
Once both doors are open, you press, arbitrarily, the left button once, and the right button twice, in that order.
This extends this little bridge and opens the door behind it.
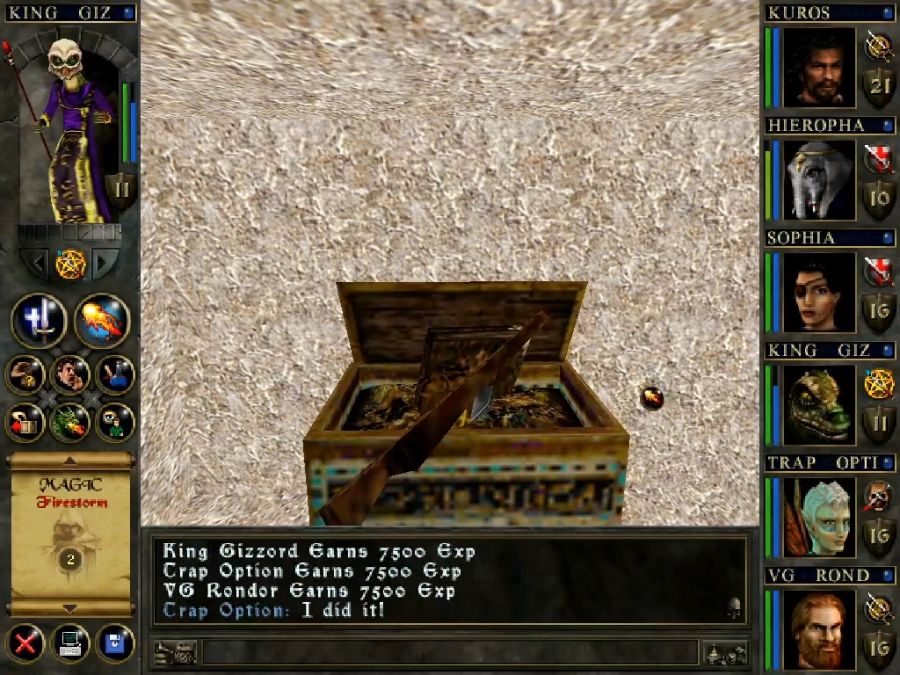
And this chest contains the third tablet! Now we can get the fuck out of this soggy hellhole! Fuck Colassium!

Fuck the ocean.
Wake up, Cet, you asshole.
We're coming for you, fffffffffffucker, to finish this!