Part 25: Update -XXI- Soul Train

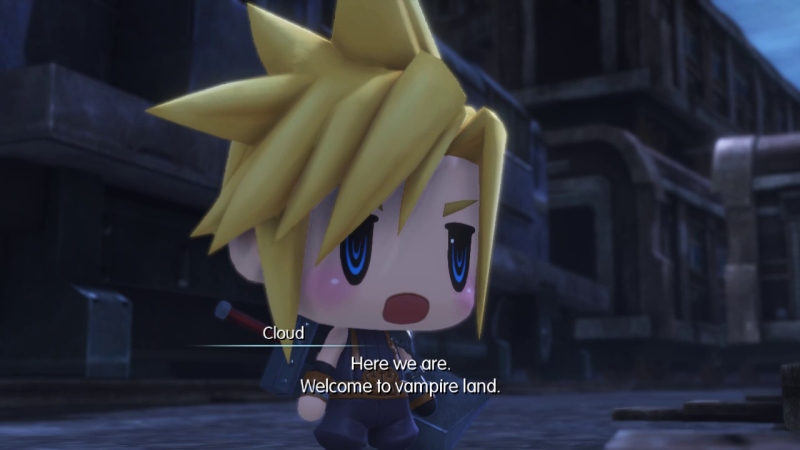
Now that the story stuff is out of the way, we need to talk to Cloud to move on to the dungeon and hunt us some vampires.
Before we go, let's quickly scope out the Library. There might be some stuff hidden around here.
Final Fantasy V Music: Library of the Ancients
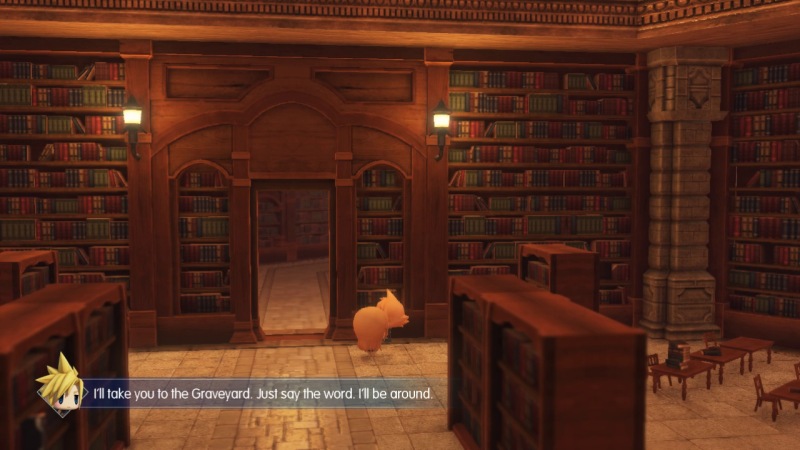
Thank you, Cloud. I'm not going anywhere, just passing by the door looking for goodies. It's fine.
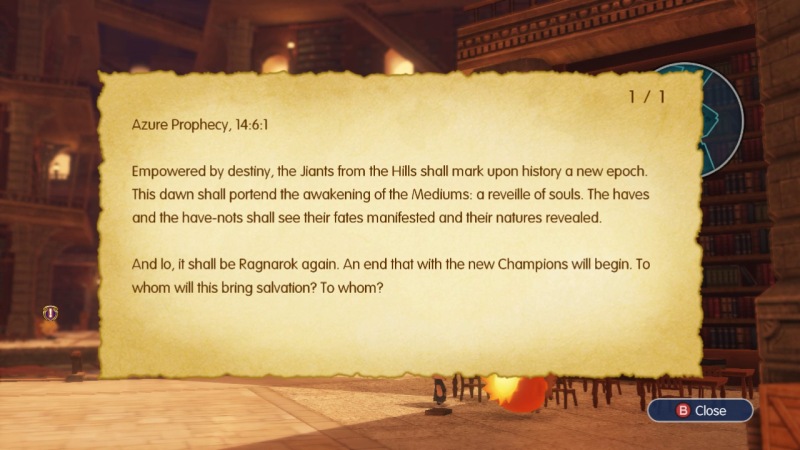
Towards the entrance, there's a book on a table that has part of the Azure Prophecy in it. Alright, I can see why the normal people are so concerned with the prophecies. Kind of sounds like there's a Rapture thing being suggested there with the "have and have-nots" stuff.
THANK YOU, Cloud. Still not planning to run away. Calm down.
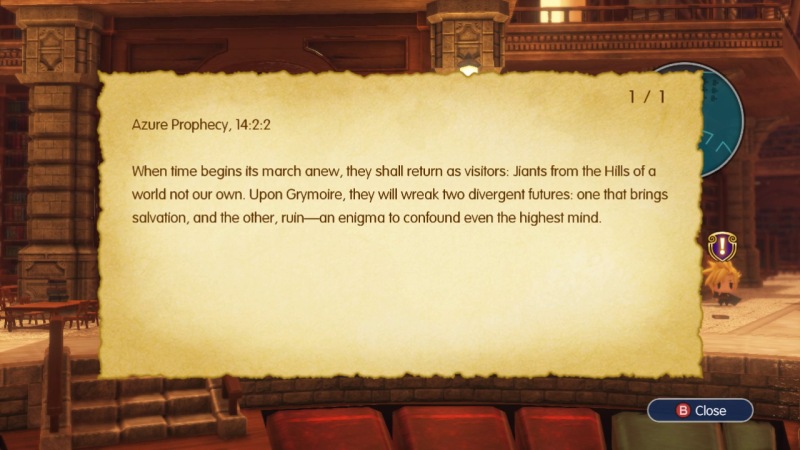
Over to the left of Cloud there's a table with another piece of the Prophecy. I don't know Reynn, that sounds like a pretty spot-on description of you two. I don't think there's much room for doubt with lines like "from the Hills of a world not our own".

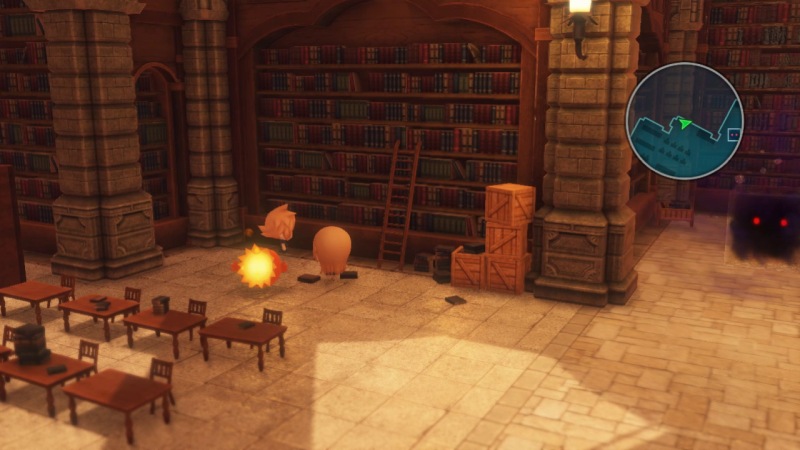
In the back half of the library there are a bunch of glowing spots on various bookshelves.
Hmm, no page number on this one.
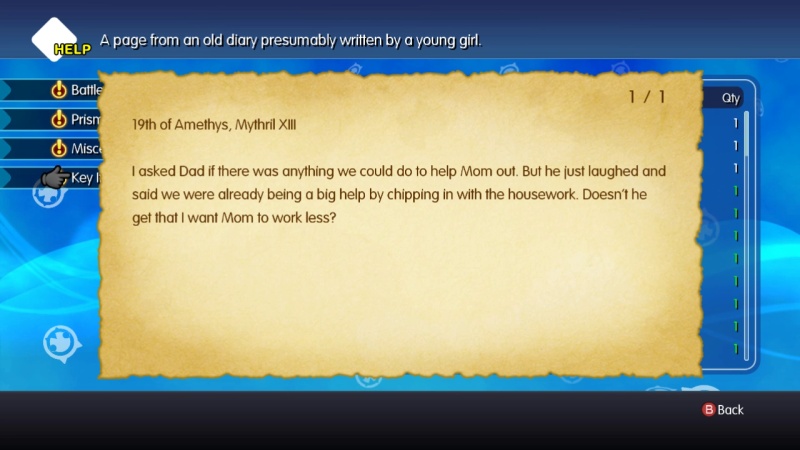
There's also a chest on top of one of the shelves that requires Jiant form to reach. It has the sixth entry of the Girl's Diary.
Always insightful.
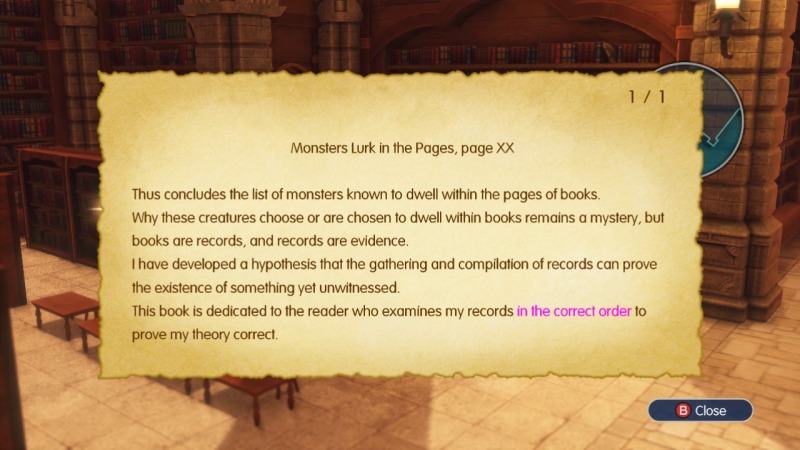
So we've got a little puzzle on our hands. There are four old-timey Wikipedia entries around, three of which have no page numbers and one of which is numbered 128. Something will pop up if we read them in the right order and then go back to this shelf.
If you are a die-hard fan of Final Fantasy V, then first of all crawl out of the shadows so that the world knows you actually exist. Second, you might recognize something about these entries.
In the basement of the Library of the Ancients in V, some monsters will pop out of books with names like Page 32 or Page 64. The descriptions of them and weaknesses match these pages that we're finding.
So even though we only have 1 page number, we can still figure out the order based on that. All we need to do is examine these pages in the order 32, 64, 128, and 256.
Update 21 Highlights - Library Puzzle Solution

Which would be this order.
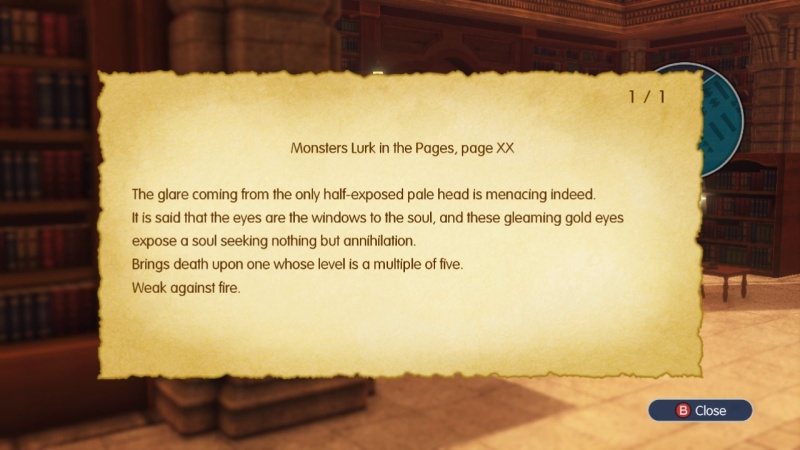
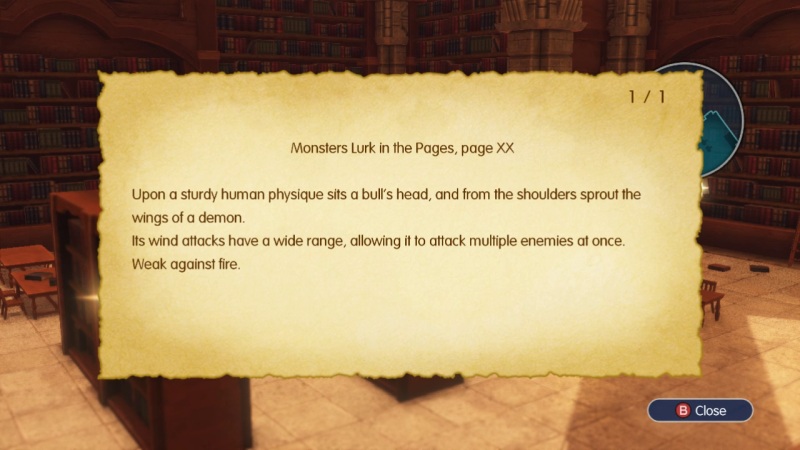
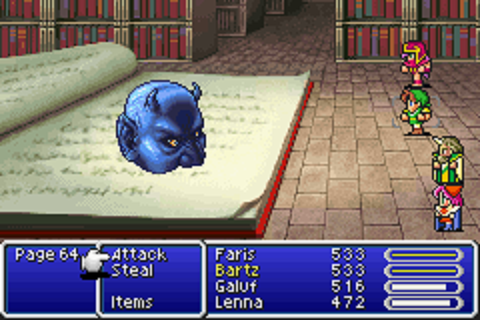
#1 is Page 32: A gargoyle monster that has Aera (wind spell).
#2 is Page 64: A demon head thing that's half sticking out of the page and has the Level 5 Death Spell (Level # Death Spells automatically KO party members that have a level which is a multiple of the Spell Level. It can be completely useless, or potentially devastating depending on your leveling habits).
#3 is Page 128: A green scarab bug thing that uses an attack called Slimer which causes Slow.
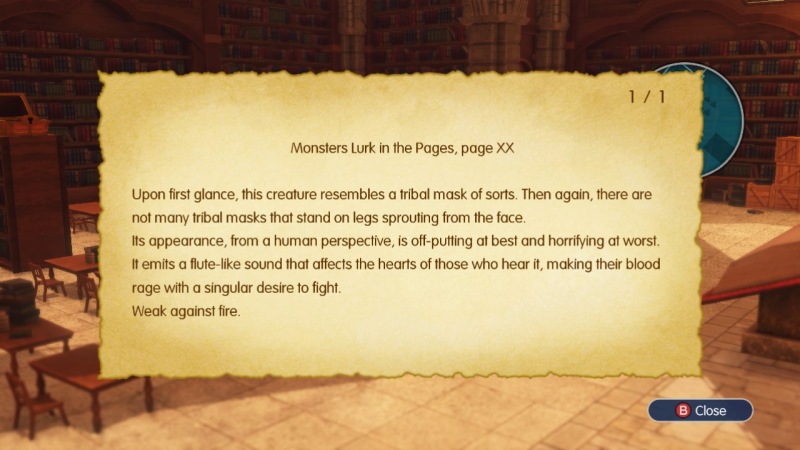
#4 is Page 256: A spooky tribal mask that can use Moon Flute, which causes Berserk.
There's actually a statue of Page 256 in Tometown Square standing on the open book pedestal.
Reading them in the right order and returning to that page in the back will cause a Murkrift to appear.
Now if you aren't familiar with FFV, then this puzzle is easy to just brute force. The points of light disappear when you read them in the right order. The pop up when you read them only takes a second to back out of, so trial and error won't take too long. You could probably trial and error it faster than it takes to Google the correct order.
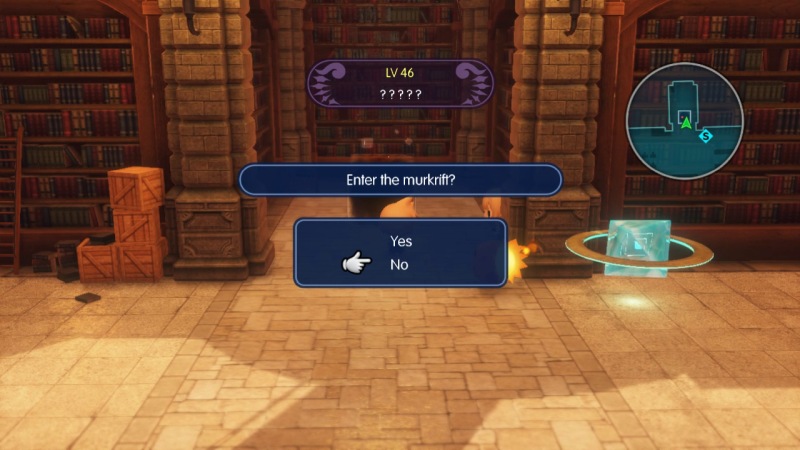
The Murkrift is Level 46, but there's a save point right next to it so you may as well just take a crack at it.
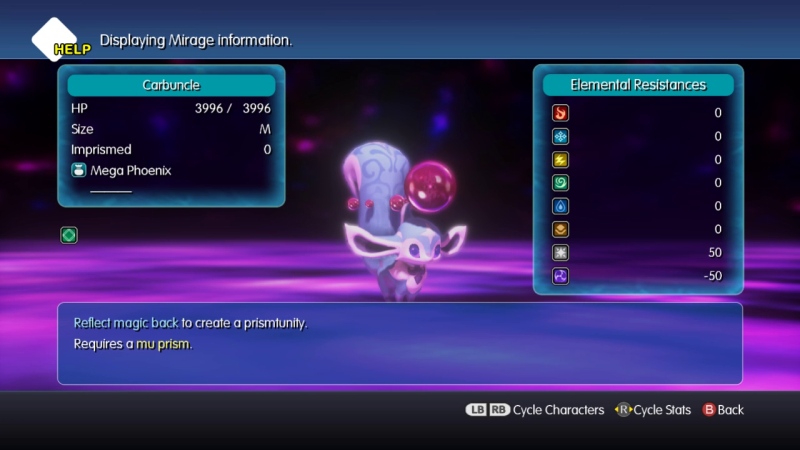
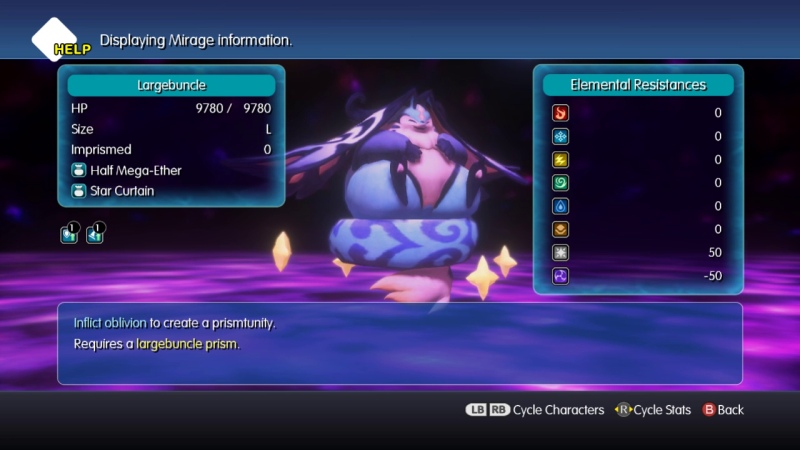
The Murkrift has two Carbuncle and one Largebuncle. If you don't have Reflect as an ability, then check your items for Star Curtain which will do the same thing. I had 5 of them at the time, so there's a good chance you've got at least 1 kicking around.
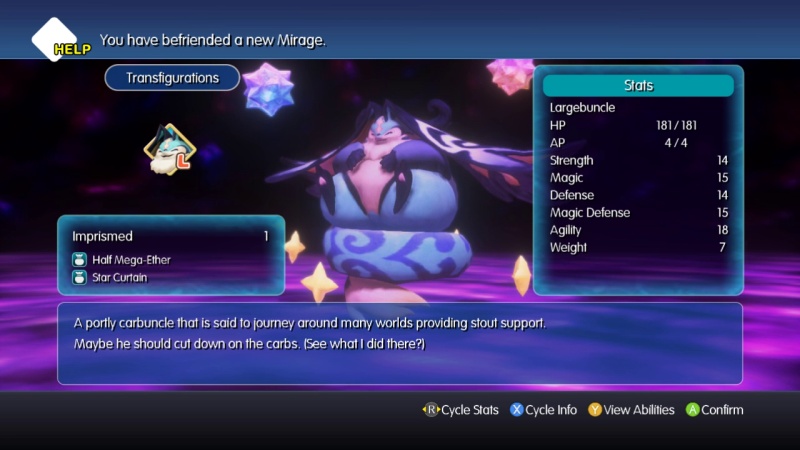
Largebuncle's Oblivion requirement might be a tiny bit trickier. Lethean Chimes are the item you need if you don't have an ability that can do it.

In terms of offence, the Carbuncles like to cast Banishra for OK damage. Largebuncle has an attack called Searing Light which hits quite a bit harder (500-700 damage).
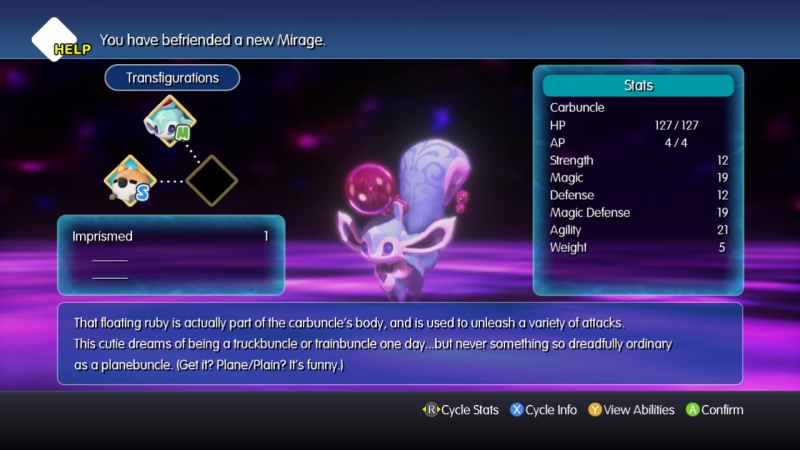
Carbuncle appears semi-regularly in the series, usually as a summon monster (and sometimes as an enemy). It got a bit of spotlight during the lead up to FFXV, acting as a guide to young Noctis in the Platinum Demo. It also shows up in Easy mode to revive the party and boost attack once per battle. You can sometimes see it in the background of pictures that Prompto takes.
Carbuncle is also the creature that's been following Masked Woman around.
Largebuncle is a new addition to Maxima. I don't believe it has shown up elsewhere in the series, so I think this was created specifically for the add-on.
That's pretty much it for the Library. Despite this being a safe haven from the Vampires, there's only a single citizen standing around that we can talk to.
Head on over to Cloud when you're ready to leave. You'll have to do it eventually since there's no other way to leave the Library.
 I know we got off on the wrong foot. But I think you've seen by now we can handle ourselves. We got it covered.
That's heavily debatable, Lann.
 Yup! You just worry about the town.
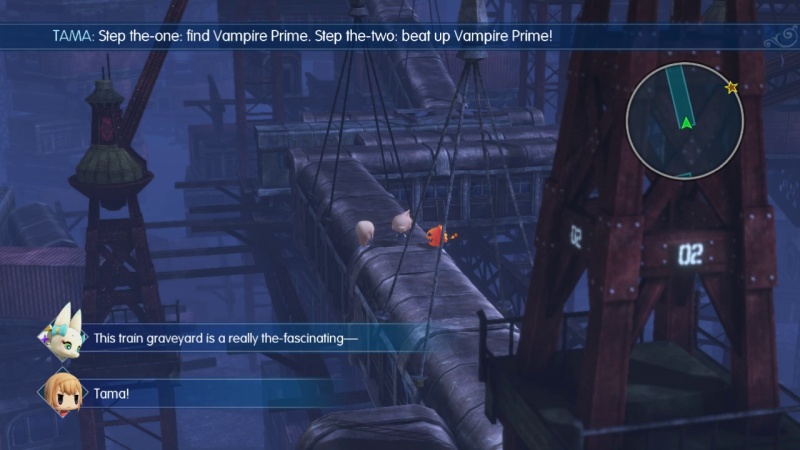
.png) Will do. If things settle down, I'll come find you later. So! Next stop: the Train Graveyard. You ready?
Will do. If things settle down, I'll come find you later. So! Next stop: the Train Graveyard. You ready?Ready or not, we can't do anything else until we say "Yes", so let's just hit the road.
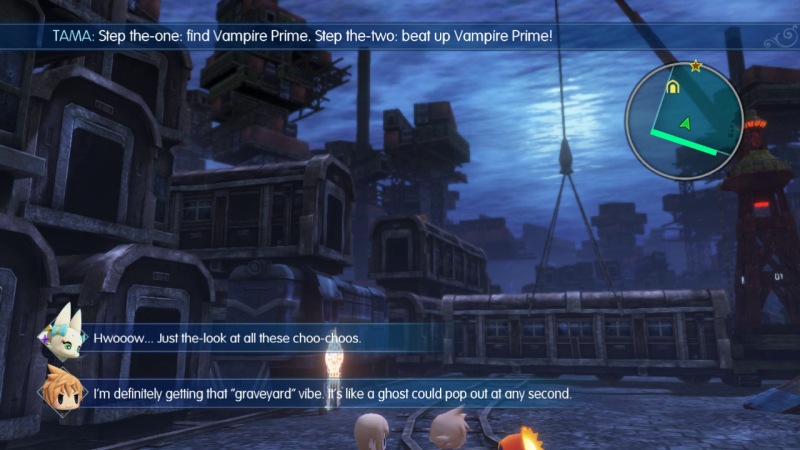
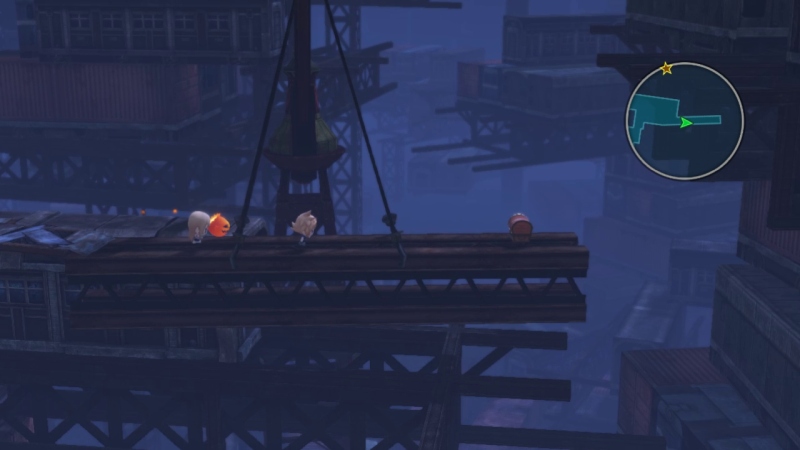
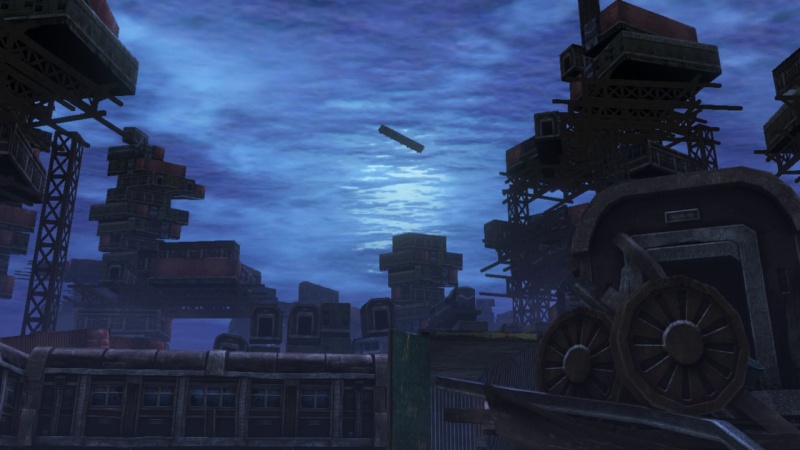
Update 21 Highlights - Train Graveyard
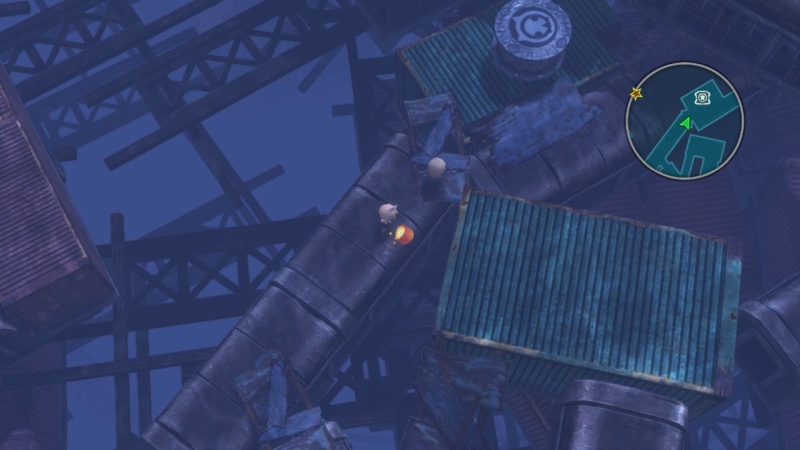
Welcome to the Train Graveyard. This is a location from FFVII, situated next to the Sector 7 Slums where 7th Heaven is and AVALANCHE hide out. Cloud, Tifa, and Aerith wind up here after being dumped in the sewers by Don Corneo. You only spend a short time there and it's destroyed shortly after you leave, so if you miss any of the items then you can't go back for them.
 Also... they don't live here alone. There are other things too. Be careful.
*And with that, Cloud takes his leave*
 Oh my gosh, Lann. That is not funny at all!
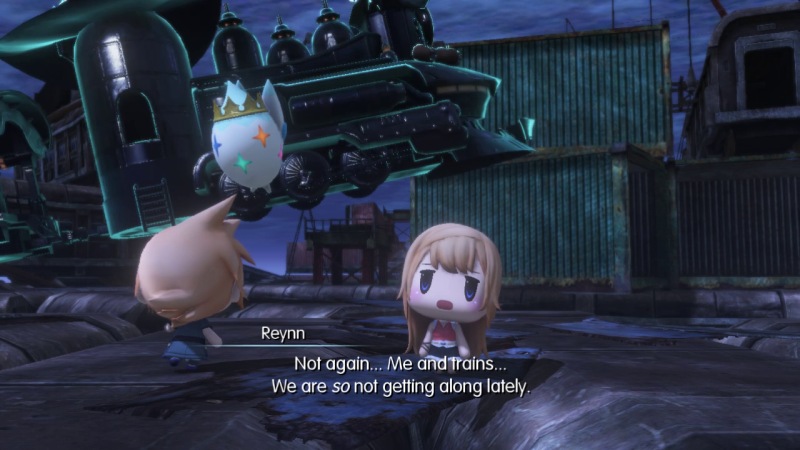
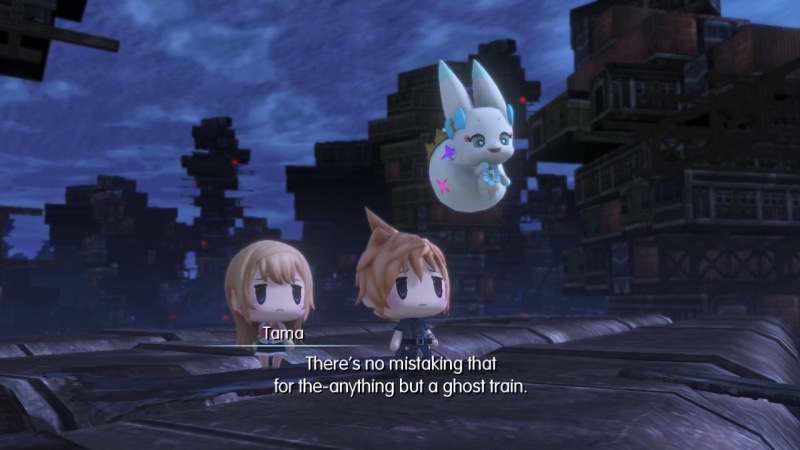
Consider yourself lucky, Reynn. FFVII's Train Graveyard had actual ghosts in it... for some reason. Now that I think about it, that doesn't make a whole lot of sense. Why would there be so many souls of the dead wandering a scrapyard? Did people just throw the train cars from fatal crashes into the yard, corpses and all?
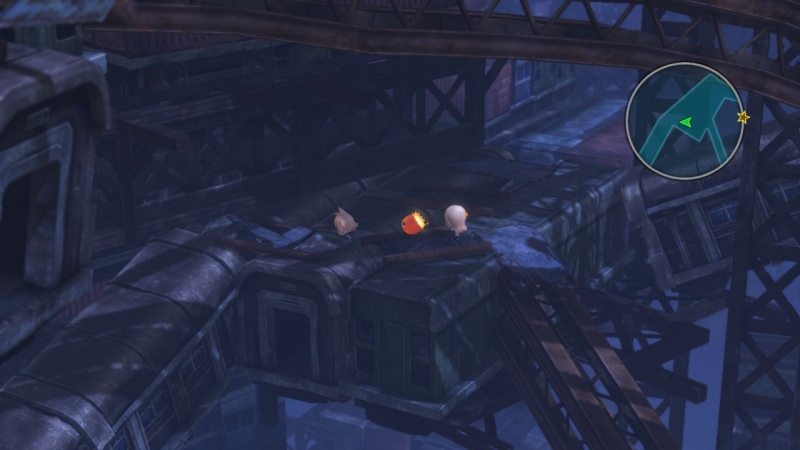
Oh well. We can access an Exit Gate now in case we need to prepare a little or do side stuff. It's best that we start making progress on this place, because it's going to take a while.
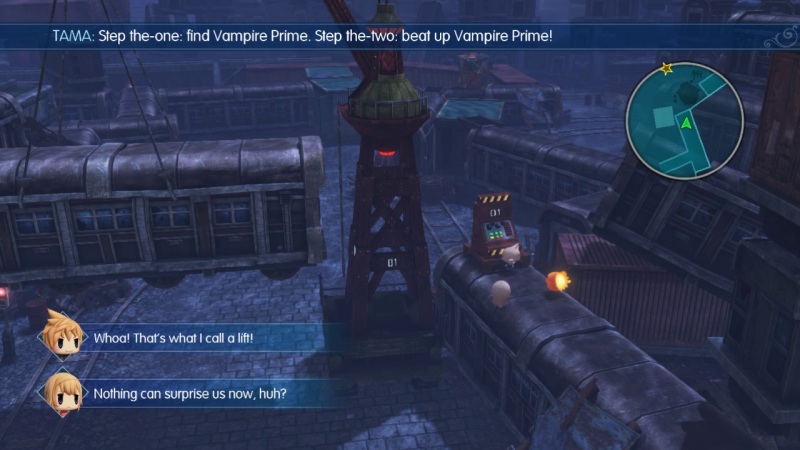
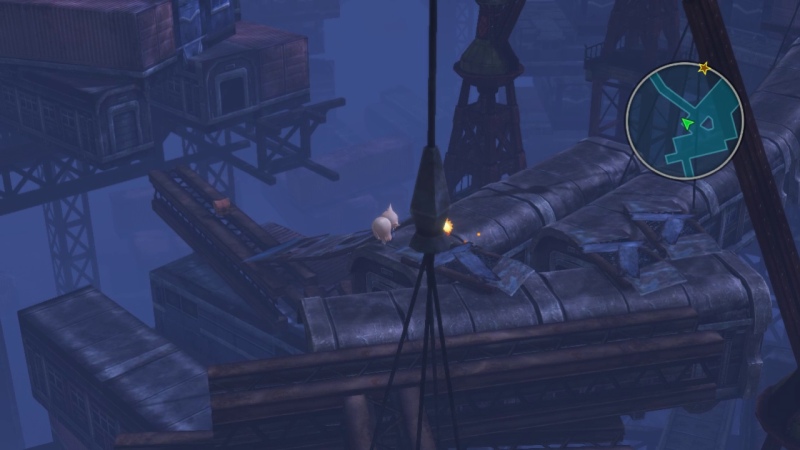
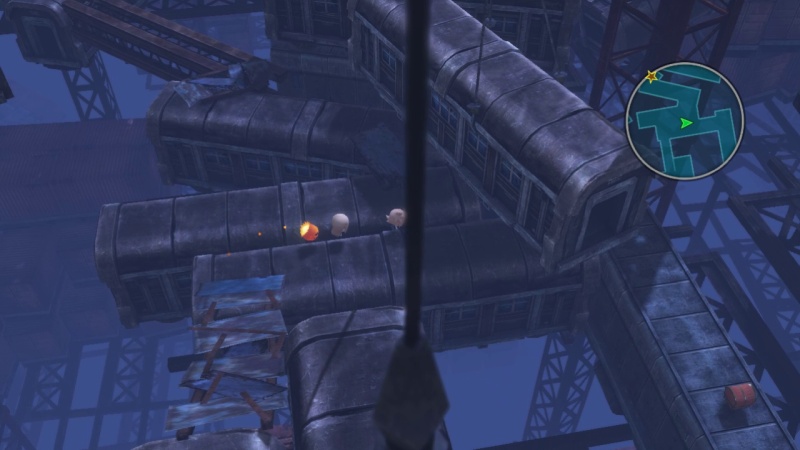
We start by running up the ramp to the right and zapping the machine. That gets the train car out of our way so we can start the dungeon proper.
Hey, is that a ghost?Wah!Gotcha!Want me to turn this into a Lann graveyard?Ha ha. No thank you.That wouldn't work, Reynn. You'd just make Lann into a ghost and then he could scare you whenever.
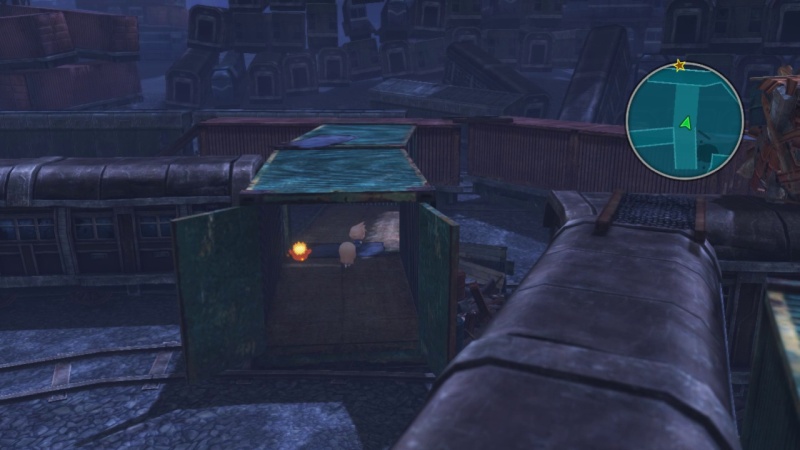
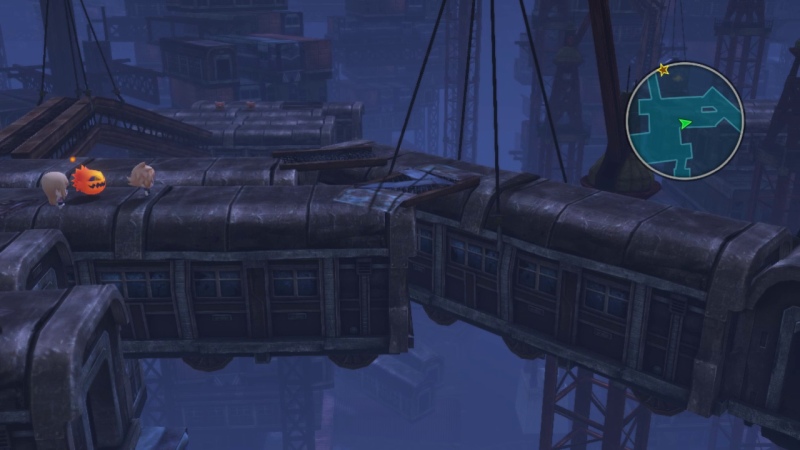
Keep moving forward through this green shipping container. There's an exit on the left and right, but we'll start with the one on the right.
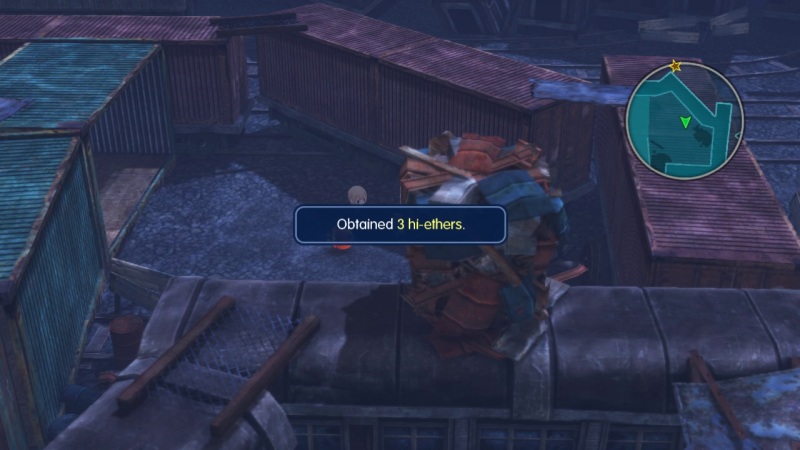
There's a chest there with 3 hi-ethers. More importantly, we can see that there will be a smashable block coming up soon. I go back and pull out Mugsy, but later I find out that Beowulf actually has the Smash ability already. So Mugsy gets turned into his Iron Giant form in order to show off the summon sequence later on. Smaug gets swapped out to make this happen, because Smaug has already gotten time in the spotlight.
Taking the exit on the left side of the green shipping container will take us to the ramp that leads to the Smash block. Just keep going right when you go up the ramp.
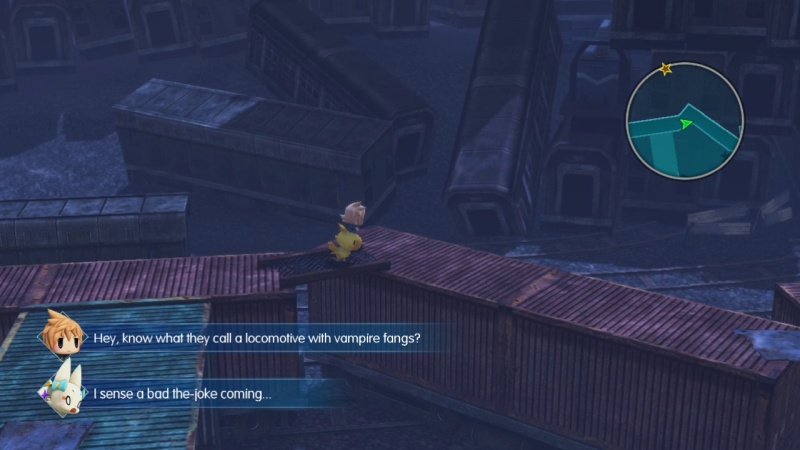 Honestly, I'm more impressed he knows the word "locomotive."A "chew-chew" train. Because it's got fangs. Fangs that chew.I... think I need a pillow to cry in.
 There's just no hope for us any-the-more.
Speaking of deafening silence, the Train Graveyard has no theme music outside of battle. You just get some light wind sounds and the occasional clanging of metal. Normally this would be kind of atmospheric, but it doesn't quite work in RPG's, at least not very often. In this case it just makes the dungeon more dull.
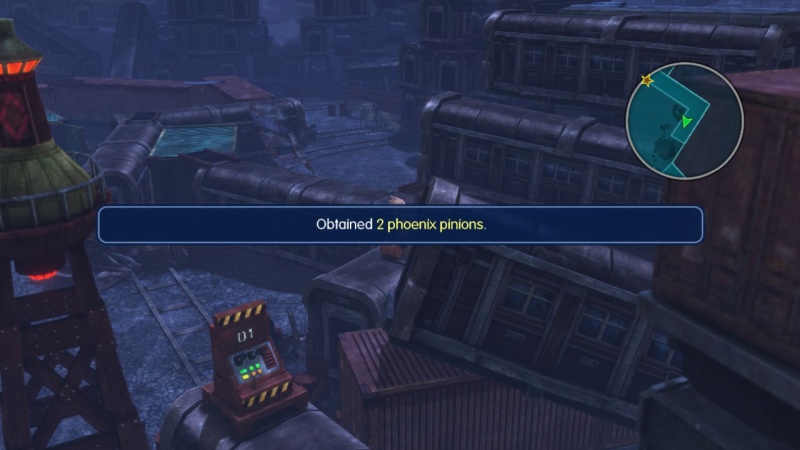
The path beyond the Smash block will lead to a chest with 2 phoenix pinions.
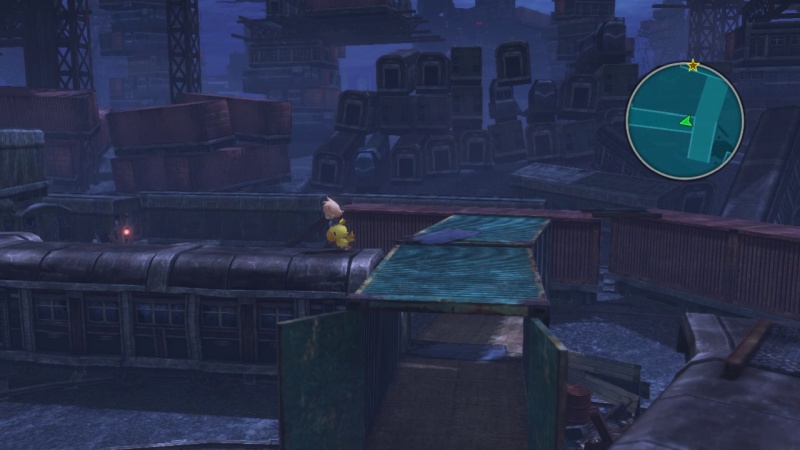
Head back to the green container and run along top of it.
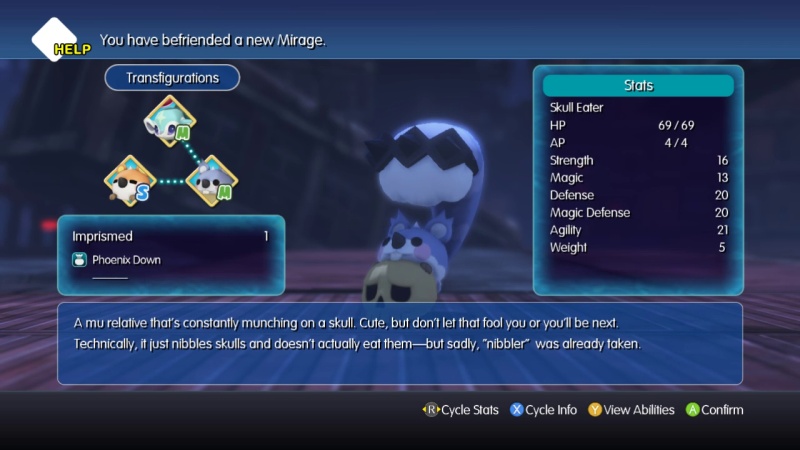
On the way, we run into Skull Eaters, the missing link between Mu and Carbuncle. You need to cast Regen on them for a capture chance, which is fairly difficult. Regen isn't super common. If you have a Healing Spring item, then that can act as a substitute.
Back to the path. It's fairly lengthy, but following it all the way will lead to a chest with an Agility+ mirajewel in it. I think that's worth it, personally.
To proceed forward, head back to the path where the Smash block was. There's a ramp that leads back down to the ground.
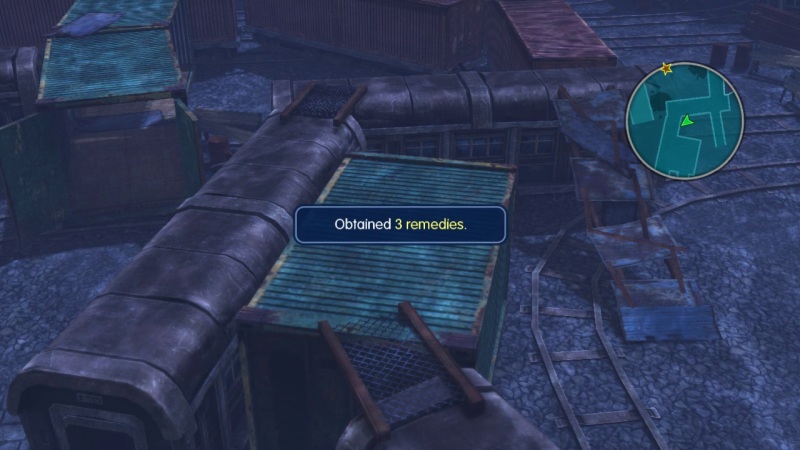
There's a treasure chest hidden to the left of the ramp that has 3 remedies. After that, swing to the right of the ramp and head north to get to the next area.
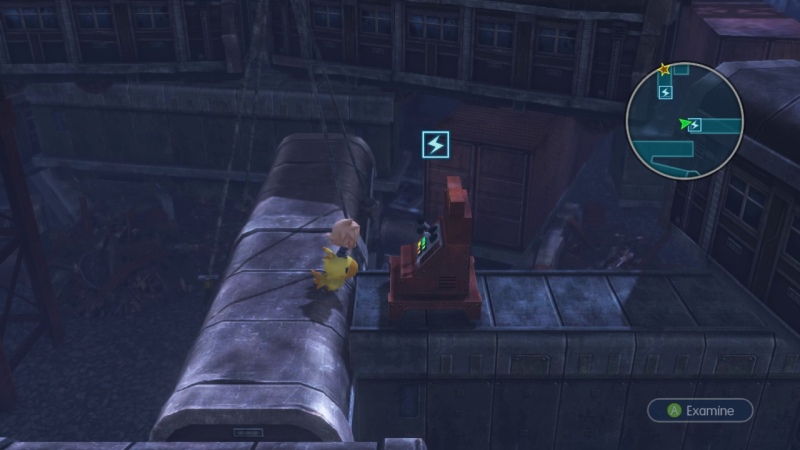
In the next area, proceed up the ramp and along the only path. Zap the machine to get a lift to the upper levels.
Whoa!Aaah!That the-startled me!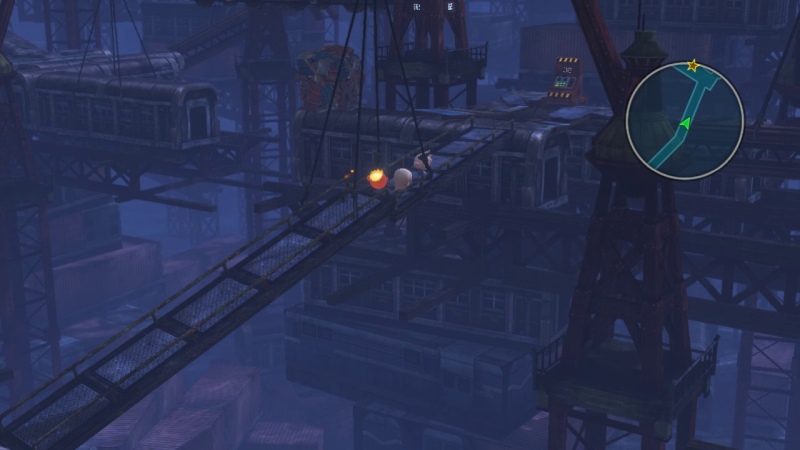
There's only one path through here as well, so you can't get lost. Just keep going until you hit another machine.
.jpg)
We discover a Skull varient on the way. It also needs to be inflicted with Oblivion to capture.
I should mention that there are also Werebats and Ice Bats around here as well, in case you haven't caught them by now.
When you get to the machine, take a right and there'll be a chest with 2 more remedies on the end of a girder.
Head back to the zap machine. This lowers a train car to create a bridge to the left. You'll need to smash through the block first, though.
 Wh-what's the-wrong?This is a rail-yard. Not a you-know-what-yard. Okay? Let's get our terminology straight.Y-yes the-ma'am.
There's two paths to take on the other side of the train car bridge. The left path will lead to a chest with 2 phoenix pinions. The right path is the one we need to proceed with the dungeon.
New Mirages aren't showing up, so let's give Mugsy's new form a try.
Update 21 Highlights - Mugsy XLR
His HP is low at the moment because he was transfigged from his Mythril Giant form, not because he took a vicious beating.
He doesn't really have many abilities right now, but he does have good stats due to Mugsy being on the team for quite some time. Double Smash inflicted about 800 damage on both targets. He's about as good as Clifford at the moment, although Clifford has a much wider range of abilities.
On the next platform, there's another chest with 4 ethers in it. I'll actually be making use of ethers near the end of this place. There's an area that isn't far from a save point, but using ethers and potions saved me from having to run back and forth to it constantly.
We'll get to that in time, though. Take the right path and move on to the next area.
Another split path. We can clearly see two chests on the north path. They contain 4 hi-potions and 3 eye drops.
The right path will eventually lead to another zap machine. Give it a shock to swing the train car over and create a bridge, then head across it.
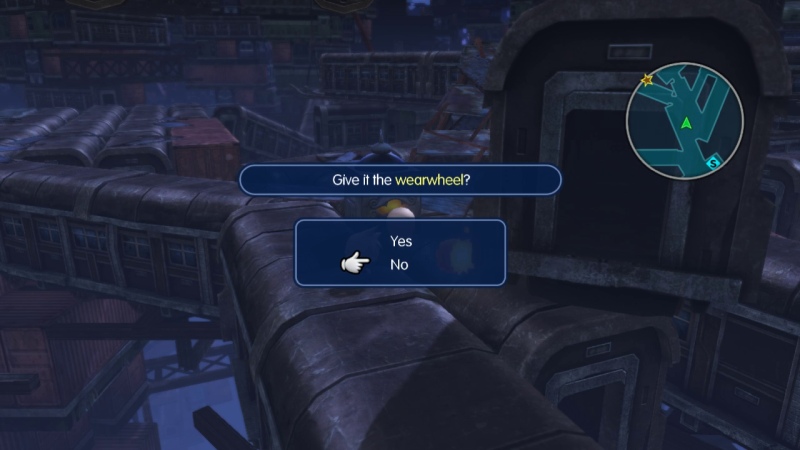
A Gimme Golem blocks our way forward. We'll have to take the path on the right and find the item that the little bastard wants.
Follow it all the way to another machine and zap it. The train car will shift to the right a little bit and allow us to head up to the next platform. There is a chest with a wearwheel in it, so that takes care of the Gimme Golem item. To the right is a chest with a Dark Resistance+ seed. There's another machine up here as well. Might as well see what it does.
All it does is create a minor shortcut back to where the Gimme Golem is. Whatever, I guess I shouldn't complain about the game saving me time, no matter how little it is.
With the Gimme Golem out of the way, we can continue on to the next area.
There are no splitting paths in the next area until we reach this platform. We'll start with the left to find a chest with 2 more remedies in it.
Taking the right path will cause a conversation to trigger.
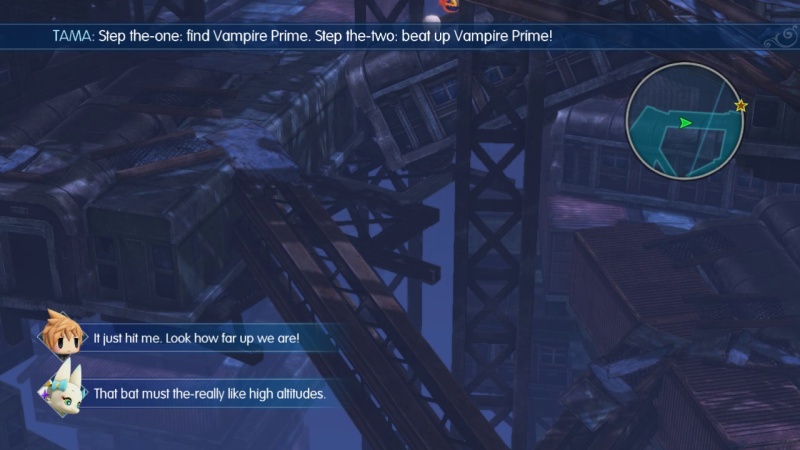
Who? Me?The Prime, dummy. She said "bat," not "batty"...We are pretty high up actually. Who the hell has been stacking these train cars to the heavens like this?
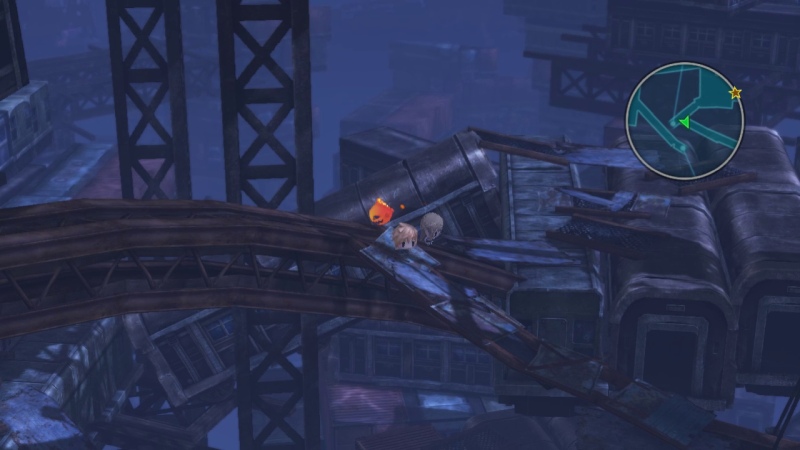
Take this little scrap bridge to the right to find a chest with 3 phoenix downs in it, then return to the girder and keep going left. There's only one path to take at the moment, so keep following it until you reach a machine.
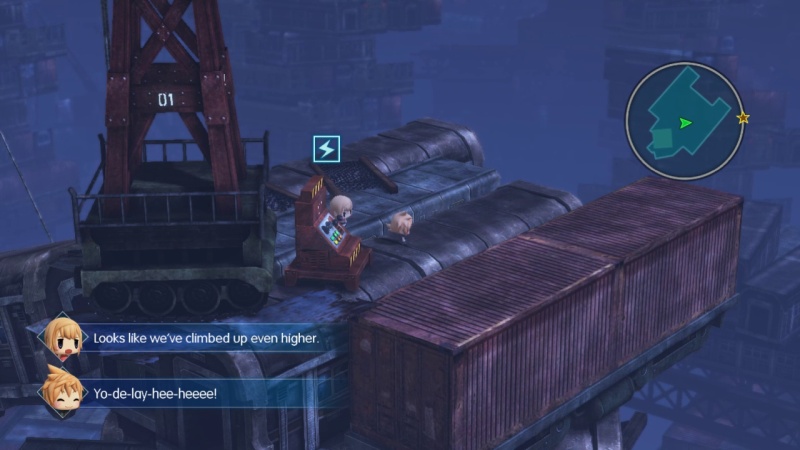 Yo-de-lay-the-heeee!Either that or we've sunk to a new low...
What do you have against yodelling, Reynn?

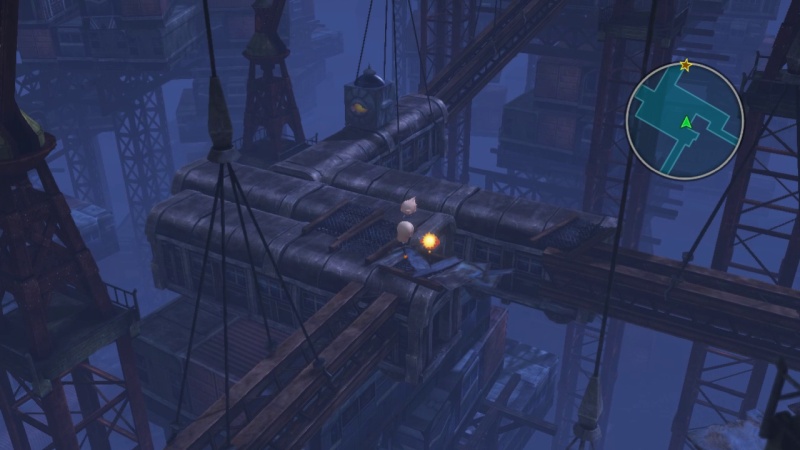
Zap the machine and head down the train car once it has moved into position. There's a chest with 3 phoenix pinions in it. Head back up to the zap machine and hit it again. This causes the train car to move further right and make a new path leading to the next area.
This is the final main area. Zap the machine and ride the train car down.
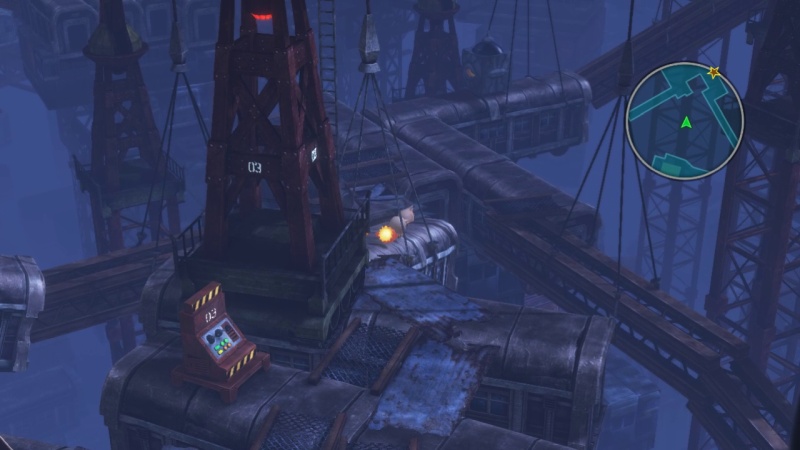
We can see a chest to the right, but that train car is blocking it. We'll be back for it later. For now, head to the upper left path.
This intersection has two paths. The main one on the right leads to a machine and a save point, so it might be a good idea to check out that one first and top up HP/AP.
While we're over here saving, head down from the save point and along the path to reach a chest with a wearwheel in it. Up the ramp from that is a machine which will move that train car from earlier out of the way and allow us to get the chest.
Head back to the save point and zap the machine next to it if you haven't already. It just moves the train car out of the way that was blocking our path forward. A Gimme Golem is standing in the way behind it, though.
Ignore that for now and head back to that mess of an intersection. It's a little hard to see in that screenshot, but the green shipping container that Lann is staring at has an opening on the right side that we can walk through. On the other side is a chest with a megalixir. Nice. That will be handy to hang on to and never use because we might need it some day for an emergency.
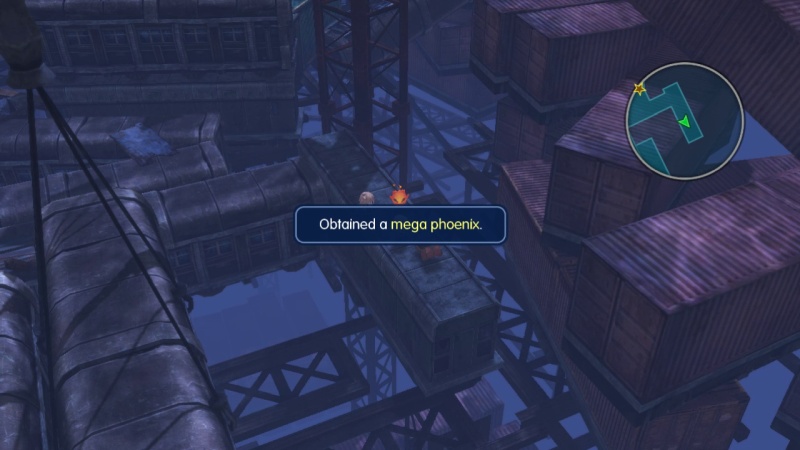
The chest that was being blocked off has a mega phoenix in it.
Time to get that Golem out of the way. To the left is where story stuff happens, so we'll head up the ramp on the right first. You'll spot a switch on your way up, but we'll get to that in due time.
Take the unnecessarily long path until you head down a ramp with a chest off to the left of it. It has 2 phoenix downs in it. After that, keep following the path all the way to the end to get a chest with a Magic+ seed in it.
That takes care of the treasures around here. Now it's time to turn around and head all the way back to the save point area, which takes about 25 seconds of running on top of whatever battles you'll get into on the way.
Now for the switch. It needs a Thunder resistance of 100 or more and a weight of 11 or more.
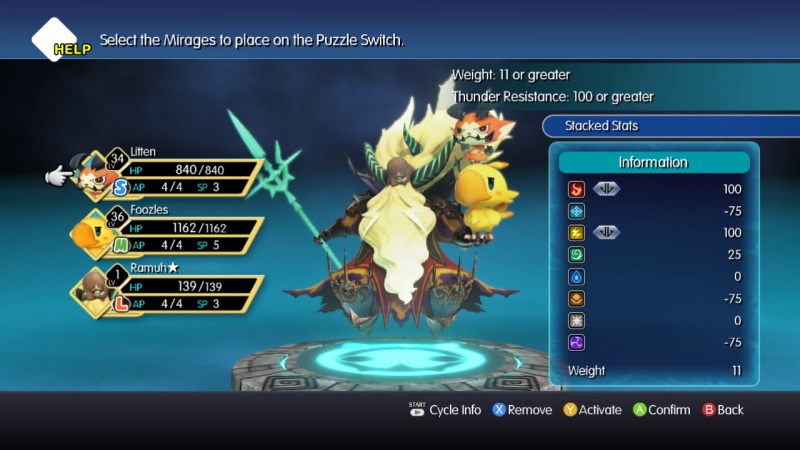
I pull story Ramuh out and have him hold Foozles and Litten.
Triggering the switch will cause the train to roll out of the way. Save before heading in there, because we're in for a bit of a gauntlet.

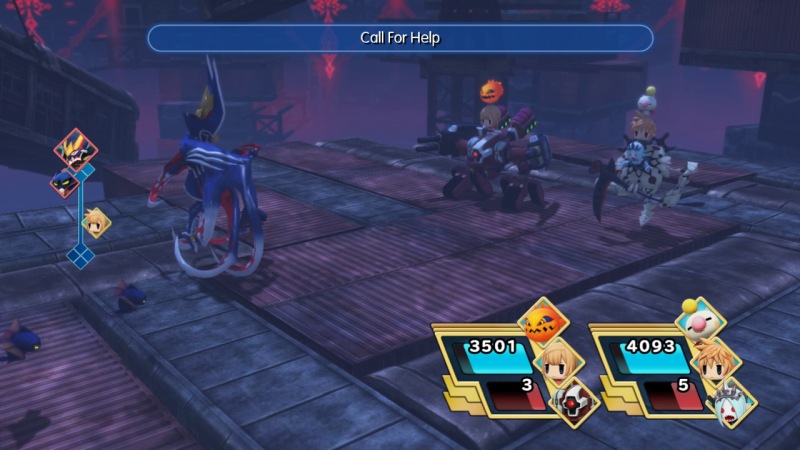
A Murkrift gauntlet. The levels of these things differ. They are level 40, 37, 35, and 43. Might as well start with the highest level one and work our way down. What does level 43 have to show us?
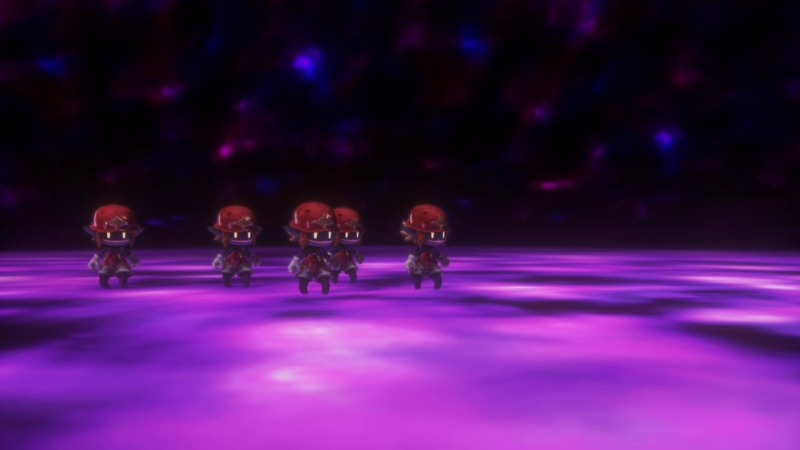
Oh, it's just a Red Cap squad. If you haven't caught one, then here is a good opportunity. You just have to deal a lot of damage at once. 1900 damage from Biggs Full Output+ was enough to trigger it.
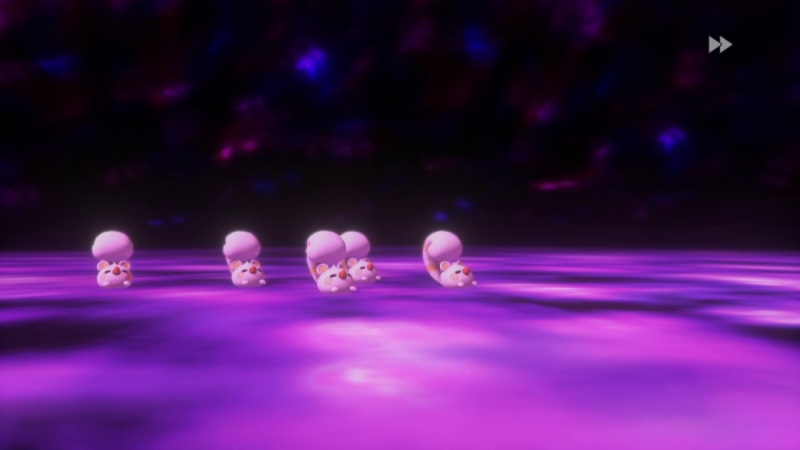
Level 40 is a group of Reaver Mu. Fire attacks trigger a capture chance.

Level 37 is a group of Korrigan. Use Sleep for a capture chance.
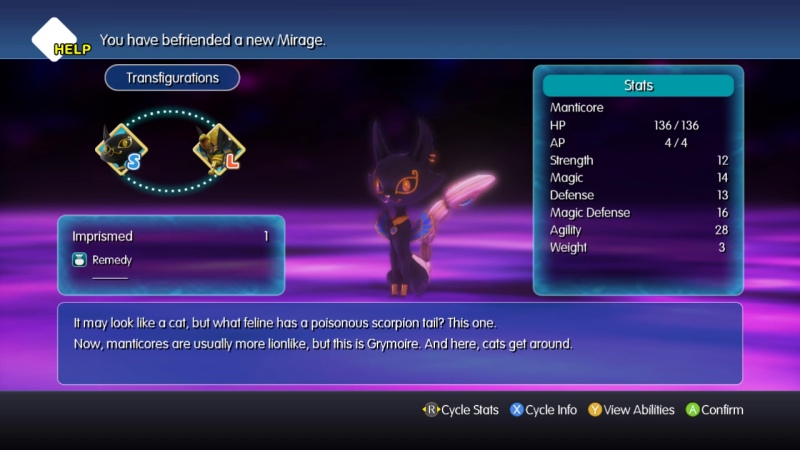
And Level 35 coughs up a sort of new Mirage in the form of a Manticore. They need to be inflicted with Poison for a capture chance.
All of these fights are against groups, so multi-target attacks work best. As typical when you are outnumbered, keep a close eye on your HP. It doesn't take long for a group of 4 or 5 enemies to whittle away at it without you taking notice.
Beating all four Murkrifts will cause a special Level 35 Murkrift to appear. You may want to save before taking it on. It's a very easy fight to win, but it's also a very easy fight to mess up if you want to capture.
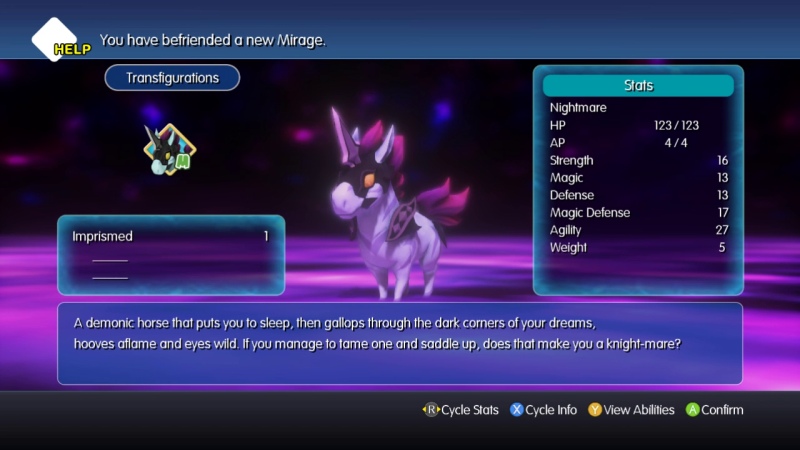
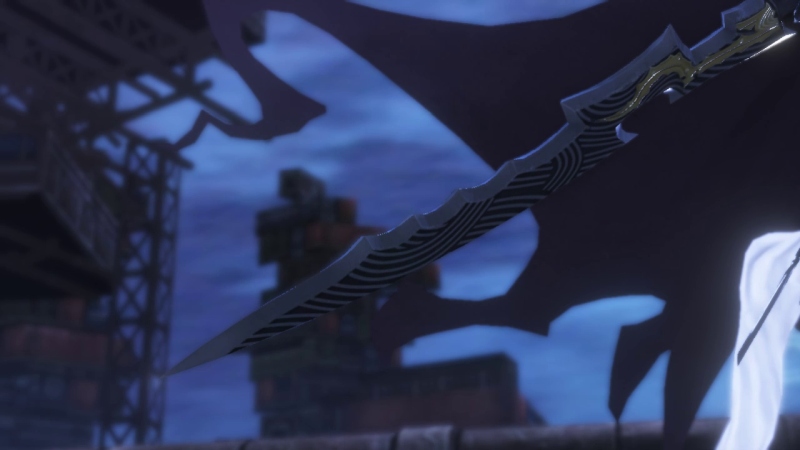
Nightmare is the reward, but it is very easy to accidentally KO it. It only has about 1100 HP, which is pitiful for this stage of the game. You need to hit it with Dark attacks to create a capture chance. Helpful tip: If you have the ability Syphon, you can spam that as much as you want to improve capture chance. Syphon is a dark "attack" that drains AP, so it won't cause any damage.
With all of that out of the way, we can finally be done with this dungeon. Thank god. Save up and head to the big open area on the left.
Update 21 Highlights - Choo-choo
Huh?!Huh?! I just... I think I saw somebody inside of that train.Y-you are so full of elixirs.But I saw it the-too.Wha... But... You're really not imagining it? Aaah!Aaagh! Holy goblins! You gave me a heart attack! Oh man... You don't ever change. One little whiff of the supernatural makes you freak out.Be quiet!
 Huh?
Huh?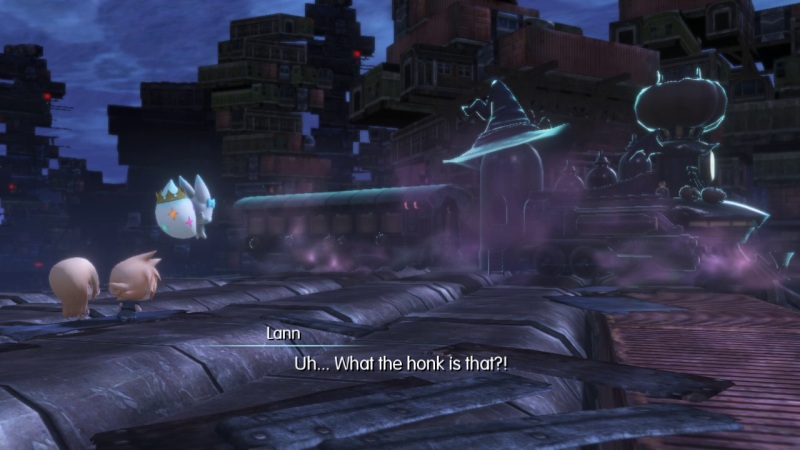
It's Phantom Train! Hurry, Suplex it!
 Oh! Speaking of, do you know the difference between a train and a tram?Yeah, uh, Reynn? This is really not the time!
Reynn, cram it with that stupid anger-trivia quirk. There's a train to Suplex!
Dammit, it got away. Good job, you two. You have shamed Sabin.
Aaah! Why couldn't it be a Mirage instead of a gh-gh-ghost!Uh, is one really better than the other?Yes! Mirages and ghosts are nothing alike!
 You okay, camera guy? Need some eye drops? I've got a bunch.
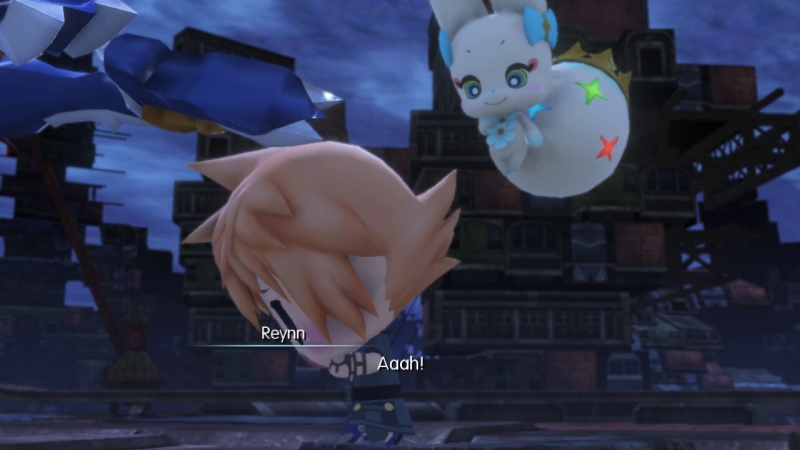
Oh, damn. Reynn got snatched.
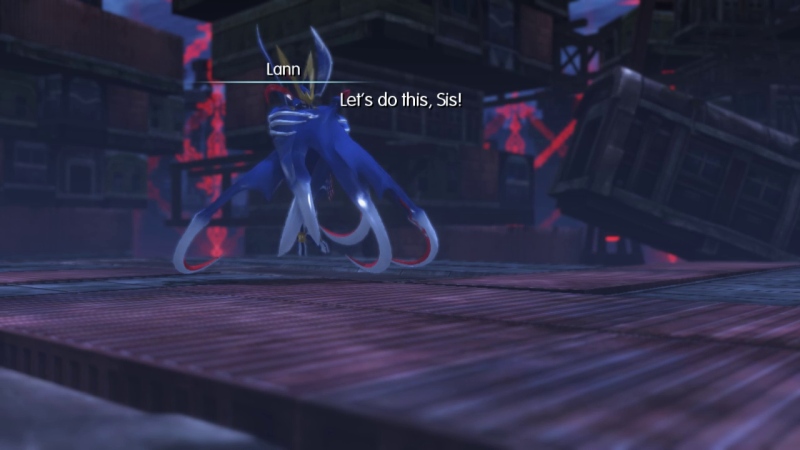
Reynn!We have to go after the-her!Oh, right!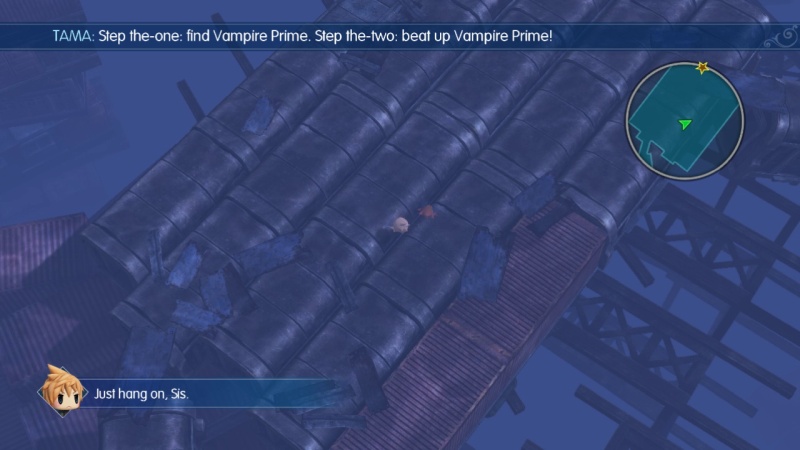
Reynn and her stack have left the party momentarily. We need to run off to the right and follow the path into the next area.
They're the-straight ahead!Reynn!There's only one path, so keep heading towards the big platform in the distance.
Update 21 Highlights - That's just Prime
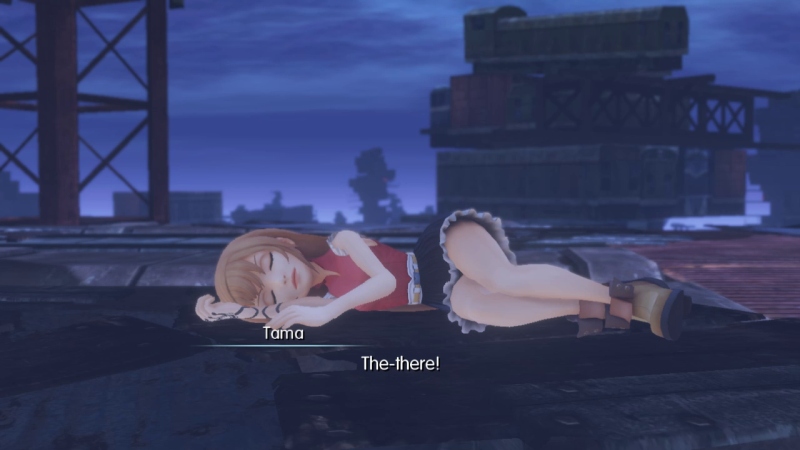
 Are you okay, Reynn?
 Oof... Ugh, yeah...
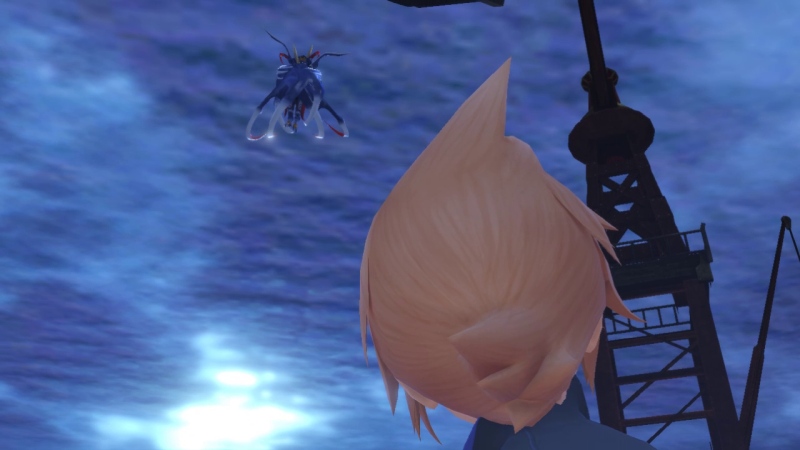
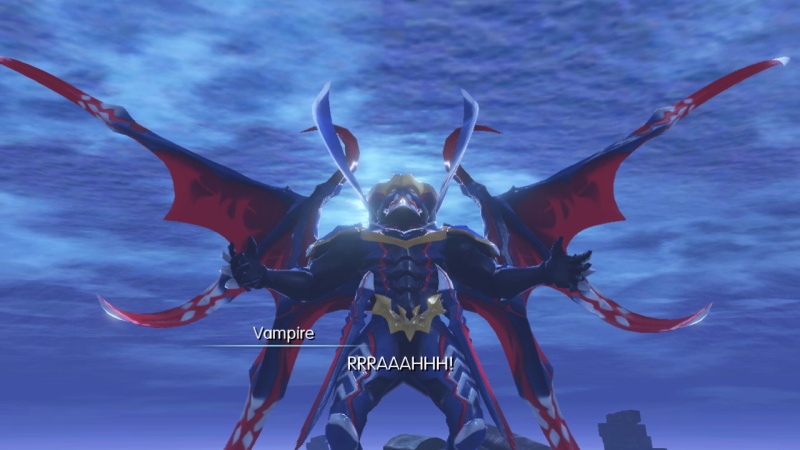
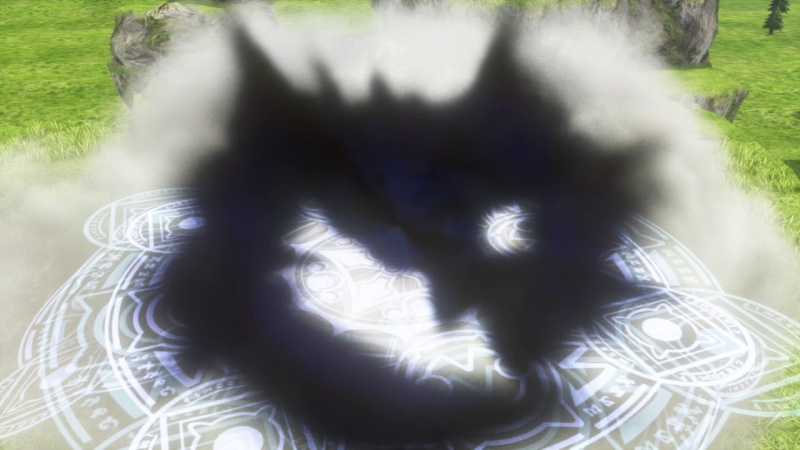
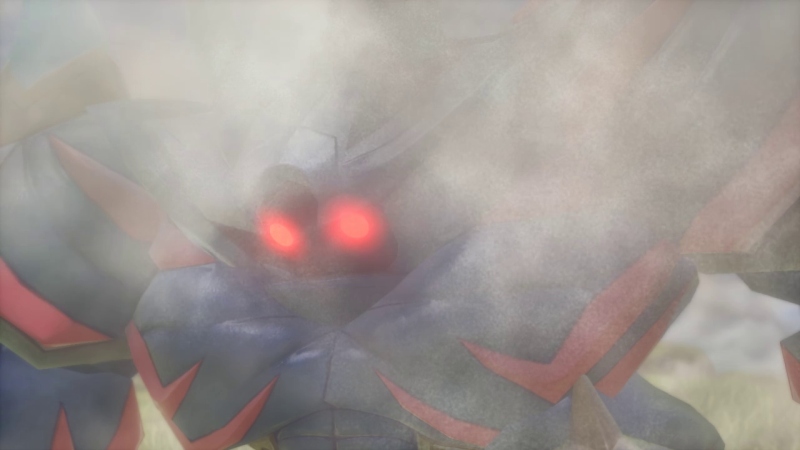
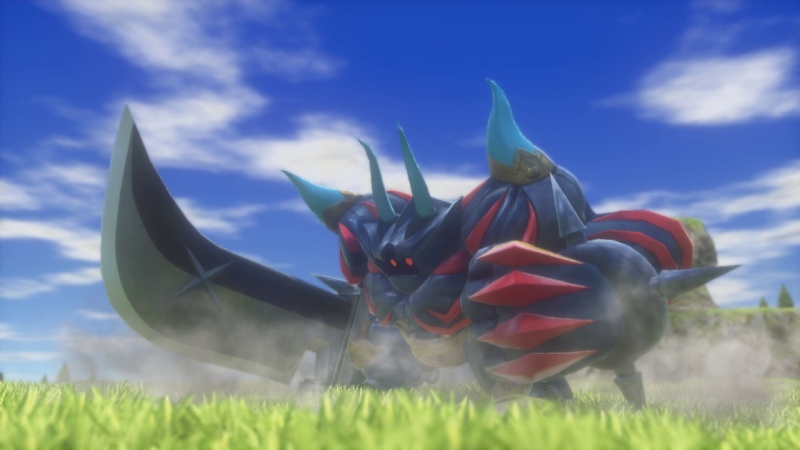
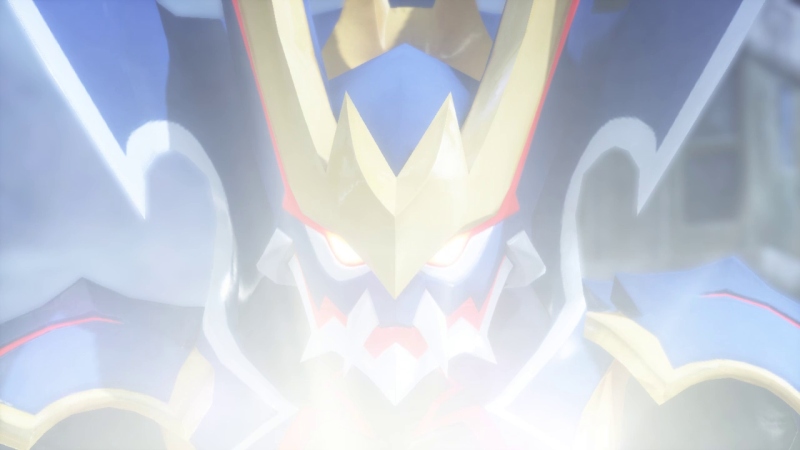
Looks like we found Vampire Prime.
 .....Reynn, you okay?Huh? Oh, yeah, I'm fine.Um, okay then. Just checking...
Get your head in the game, Reynn.
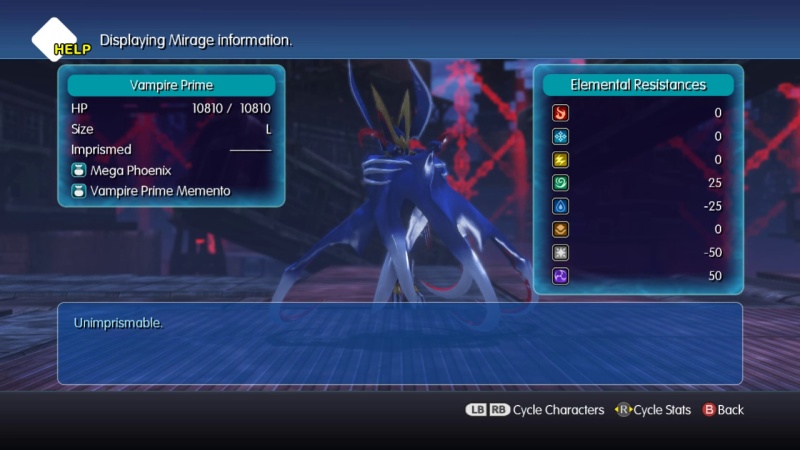
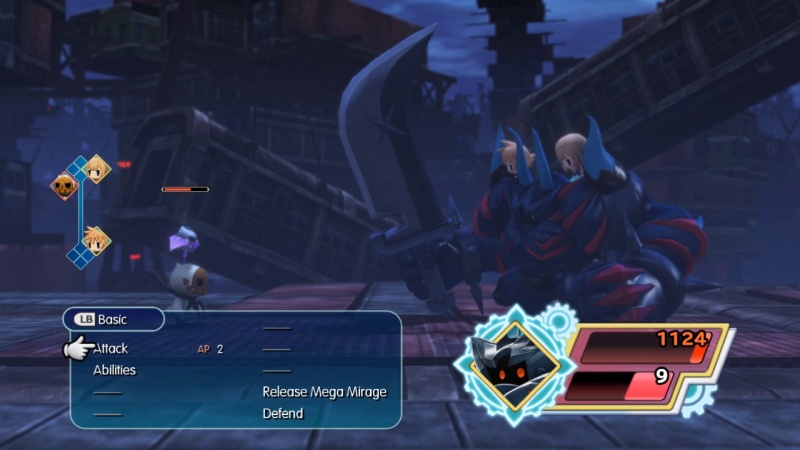
We can't imprism this one, but we'll get a memento for it to use on Frostbite later, so no big deal.
10k HP isn't too bad, but Vampire Prime has Evade & Counter, so if you are lacking magic then this could be a bit of a pain.
V Prime also regains a little bit of HP each turn, and his regular attacks have a drain effect that absorbs a bit of HP from you.
He has the ability to call in Werebats for help, but they aren't much of a threat. If you don't have multi-target attacks, then just focus on Vampire Prime and ignore the bats. They like to use Leech, but that will only heal themselves.
Not a difficult fight. If Vampire Prime has any special attacks, he didn't use them against me in this battle.
Update 21 Highlights - Ending Scenes
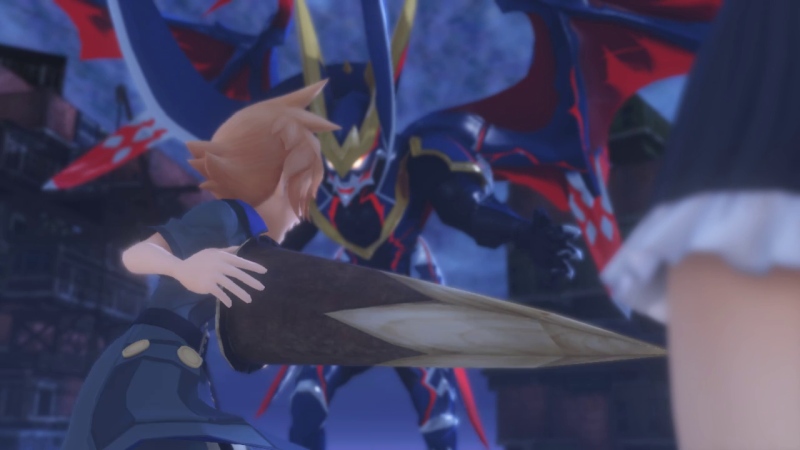
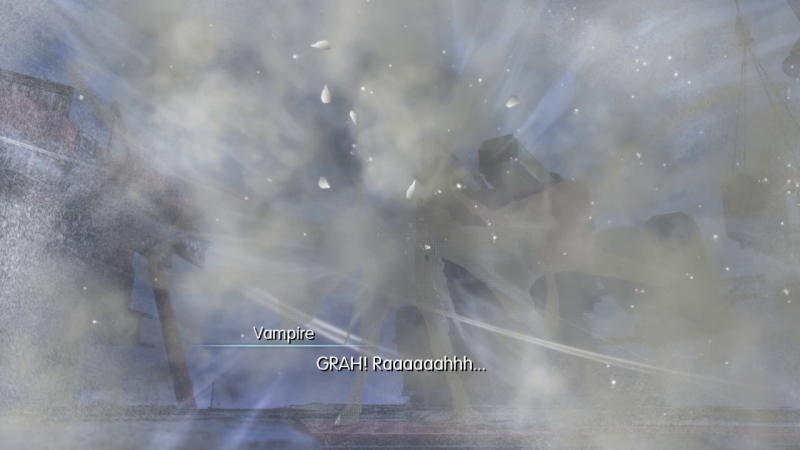
Lann is celebrating, but Vampire Prime doesn't look like he's down for the count just yet.

Ah, Vampire puns. Good stuff.
This is the-bad! I think he might be the-immortal!Oh, dude, Reynn! Got any ideas? Uh, Reynn?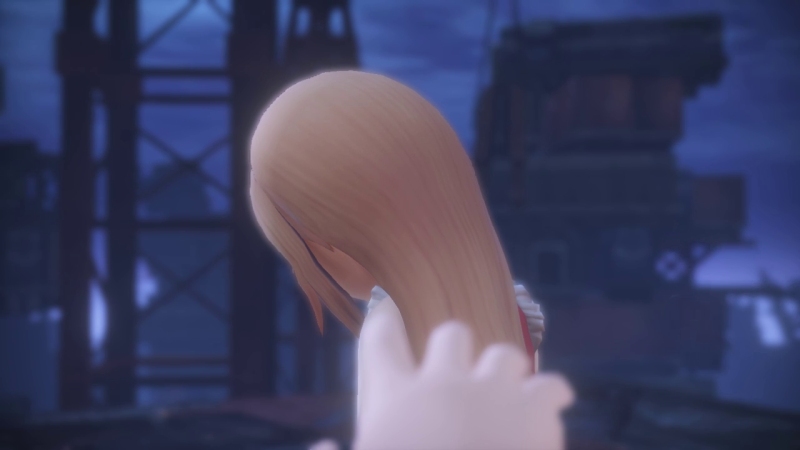
Reynn's just kind of Blair Witchin' it over there.
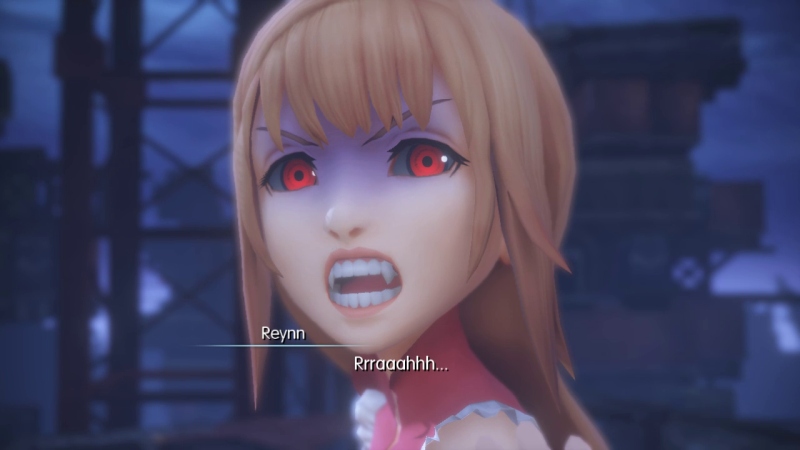
 Oh shit, Vampire Reynn!
NO! Not that one! Get that piece of crap out of here!
 Ah-ah-aaah!
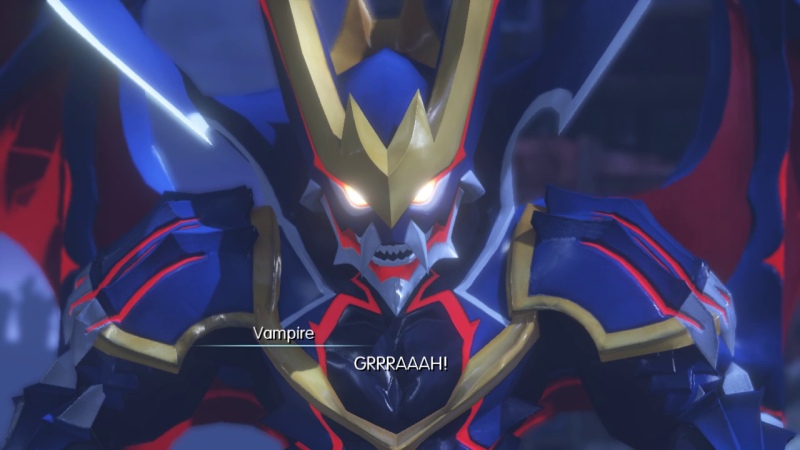
We might have a small problem here.
 .....!
*Tama makes the catch and passes it off to Lann*
Lann!Quick! Stake Reynn! It's the only way!
Or Vampire Prime. I guess that works too.
That's definitely an "Oh shit" face.
 *Cough cough*
*Reynn just kind of flops over on to the ground*
Reynn!Nnngh... A-and then I said to the chocobo, "You feather cut that out..."Looks like she'll be fine.
Good work. Looks like she's gonna pull through now-- her and the town.Thanks to you. Dude, way to come prepared!In hindsight, we probably should have looked into some anti-vampire things before going after Dracula. Simon Belmont we are not.
Thank Cid. He found out that to defeat the Prime, we'd need a wooden stake from a tree that's been alive longer than him. That took some hunting. I just looked for the oldest tree I could find. Made it just in time.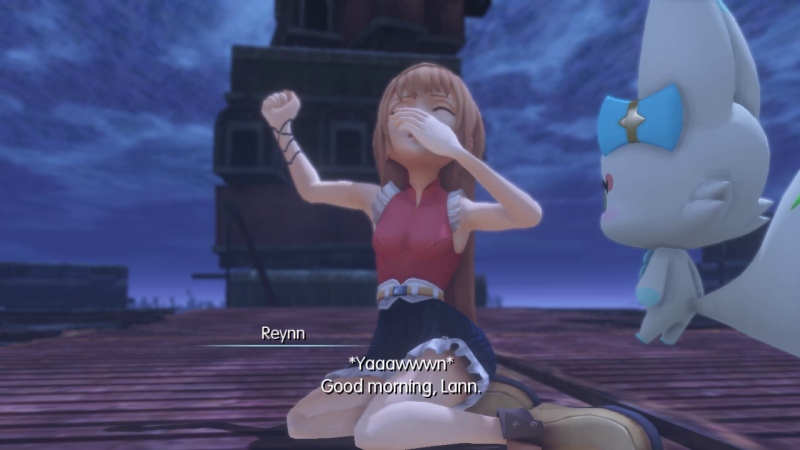 Oh, hey! Mornin'....Huh? Cloud's here? Huh?! Wait. What?! I was... I was attacked by the Prime... And then I-I-I...!
*After a short break to let Reynn calm the fuck down*
Dude, no!Dude, yes. Seeing you with fangs was cree-pay...Huh?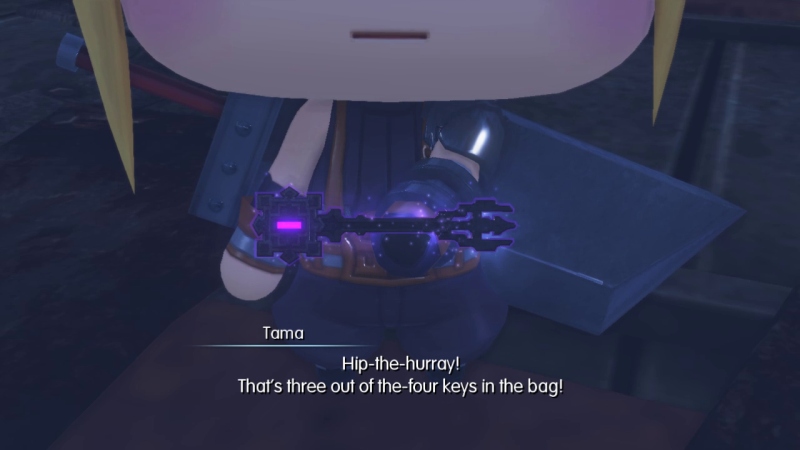
Oh, hey. The darkness key. Good, we don't have to go searching for it in this scrap heap.
The Prime must have been holding on to it. Except, this key...What about it?I don't know... What is it you think these keys are gonna unlock?Huh? Well, they're keys, so... a door, I guess?I figured they would unlock the Crystal Tower that we're supposed to climb.
.....Nah. I'm overthinking it. Never mind.Oh! Cloud! I never thanked you!Thanks again!Don't do anything you're gonna regret later on.No promises.

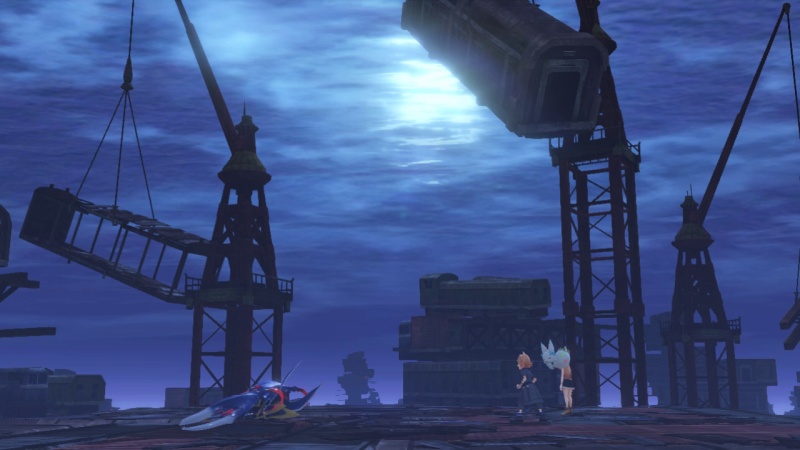
Okay, we've got the Key of Shadows. There's an exit gate right nearby. Let's blow this place.


Ooooh... that's a problem.
We're gonna go ahead and deal with that little issue another time. We get the chance to save here, as well as notifications that Cloud and Celes' Champion stuff is available.
Next time we'll go back and check on Tometown, then make tracks for the next chapter.