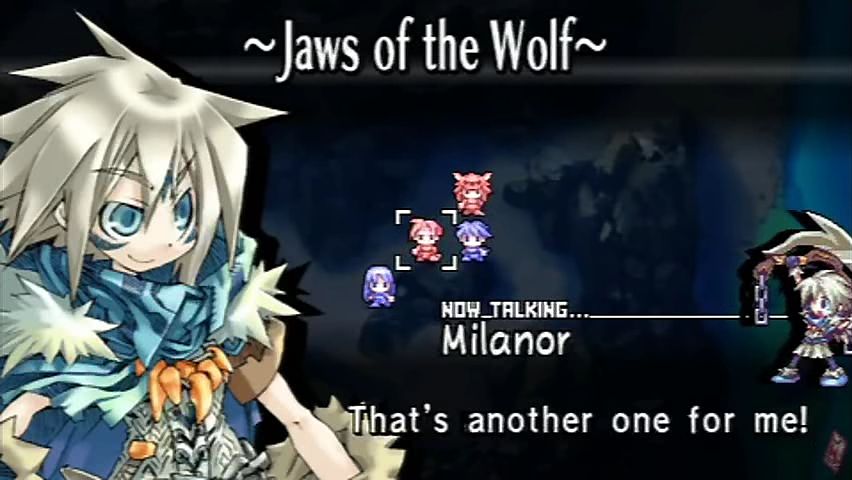
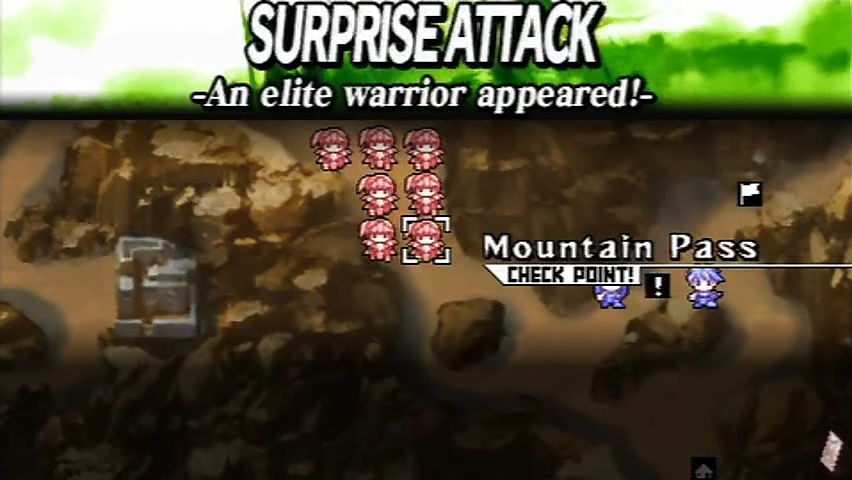
Part 2: BF2 – Jaws of the Wolf
Milanor and his men were able to drive off the invaders who attacked their fort.
In the process, they saved the ousted Princess Yggdra from the Imperial Army, ensuring that from then on, their steps would be constantly hounded by the Imperial forces.
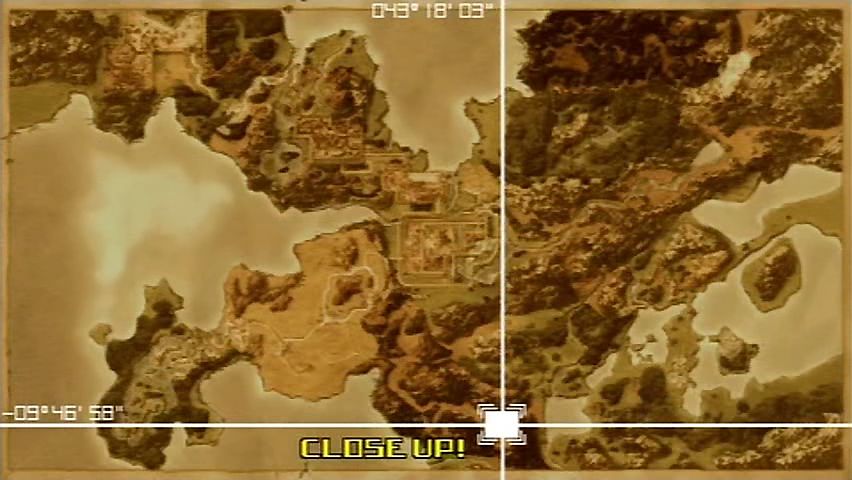
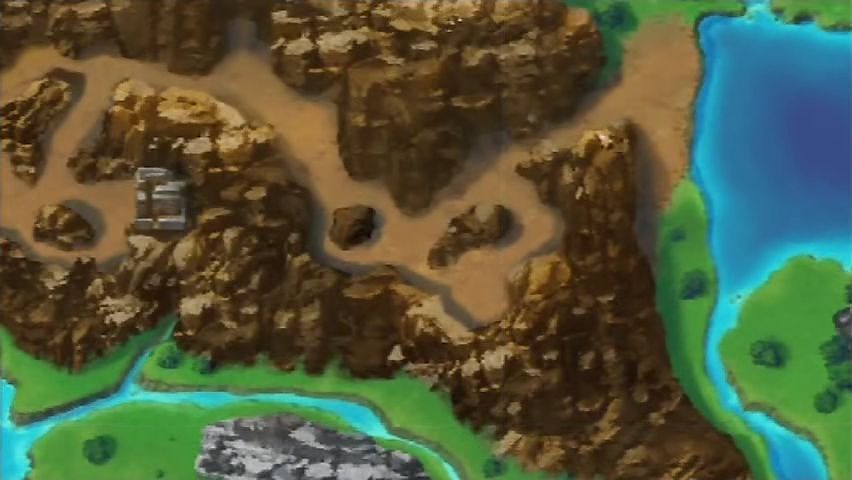
Milanor left the burnt husk of a fort and headed with Yggdra to the Orlando Plains, where the Royal Cavalry supposedly waited.
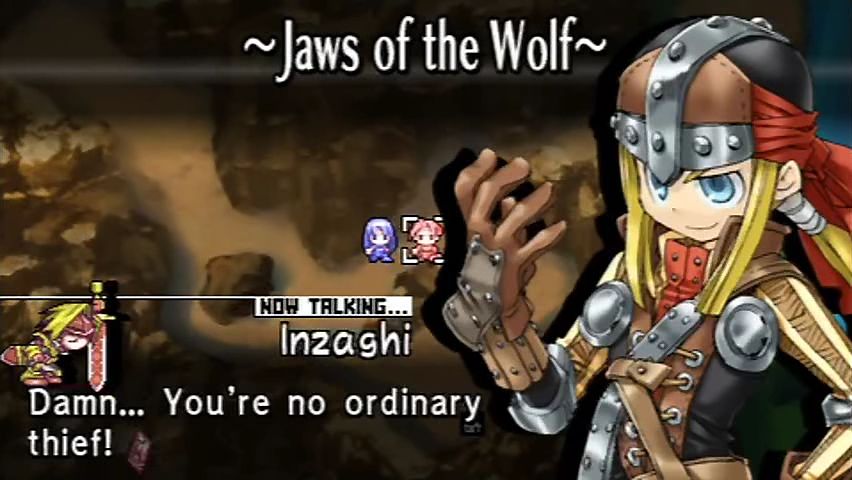
At the Jaws of the Wolf, connecting


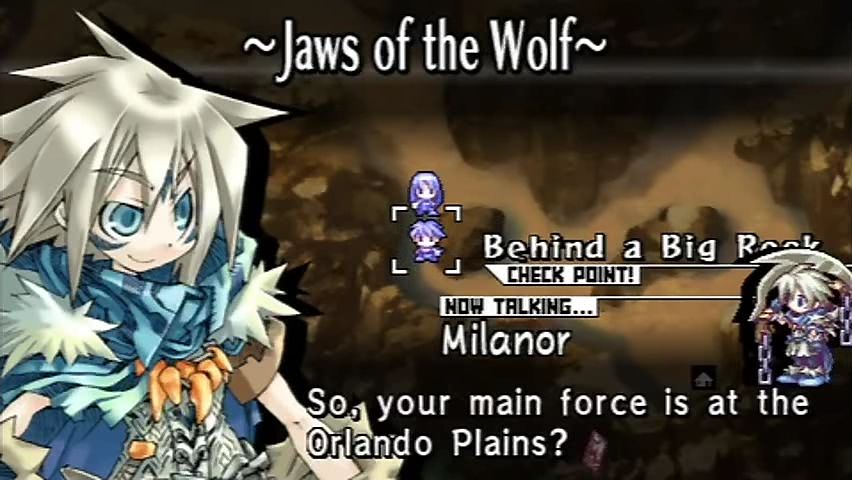
 Yes. We tried using them as decoys to cover my escape... But it seems the Imperial Army saw through our ruse.
 So, they took out your guards and left you defenseless? You do stand out... I doubt they were fooled for a minute. I see... Well, meeting up with the main army will help. It'll be faster if we take the Jaws of the Wolf.. Jaws of the Wolf? It's a tough route. Not many people go through there. That's why they won't be expecting us to do it.
We could have ran West, back to the main force of the Imperial Army, or East, through the Jaws of the Wolf... Hmm.
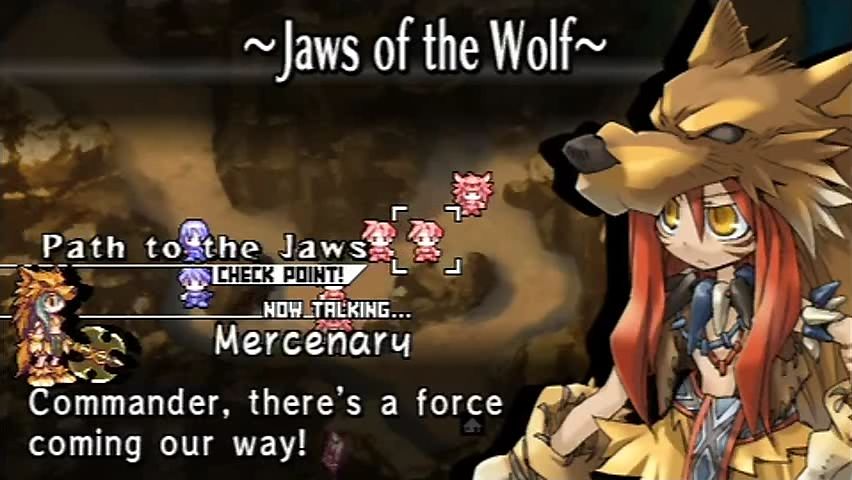
 Oh, it's just the thieves we ran into yesterday... We're after a noblewoman and her troops... Not those dirty vagabonds. Forget 'em! You want another ass-whooping like yesterday?
 But the ones following our girl were beaten by thieves...
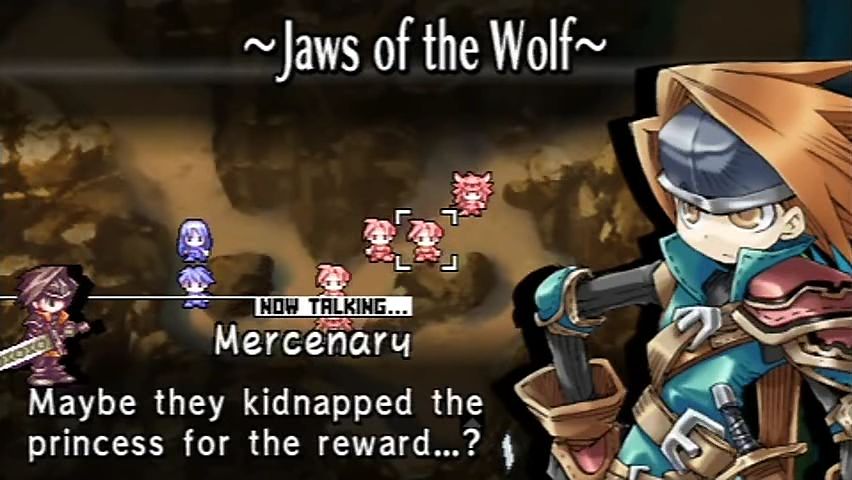 Tch, fine then! I'm still sore from last time, but I guess we gotta do it...
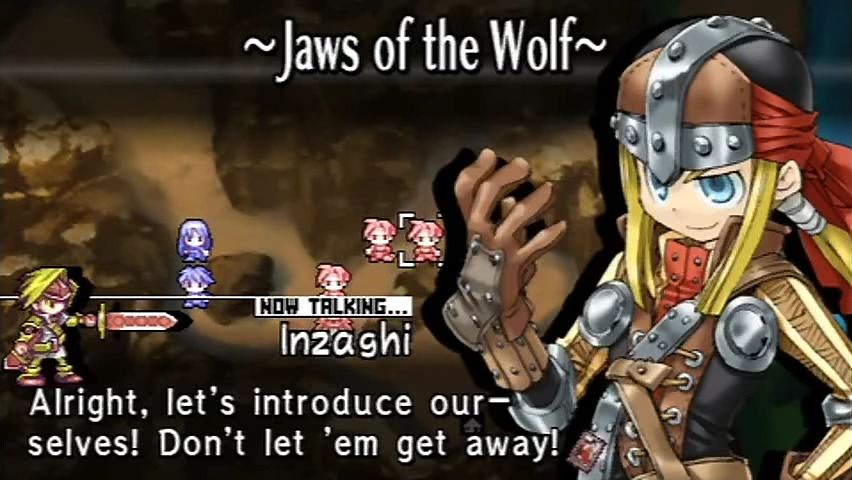
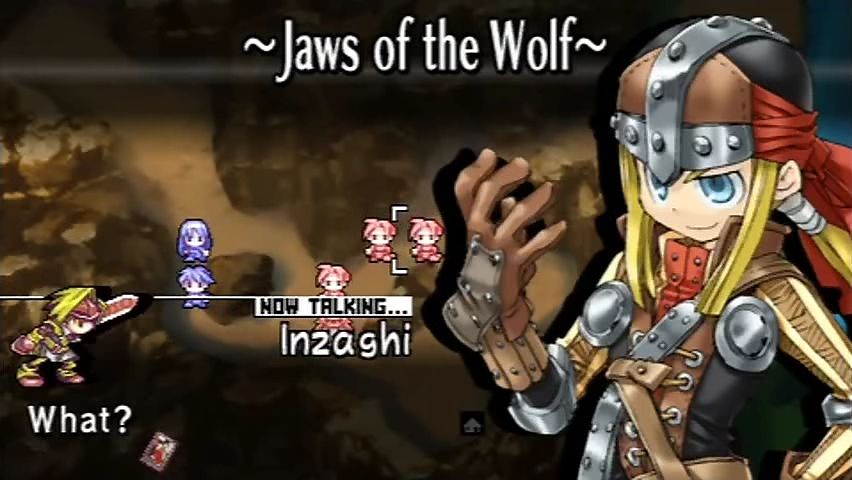
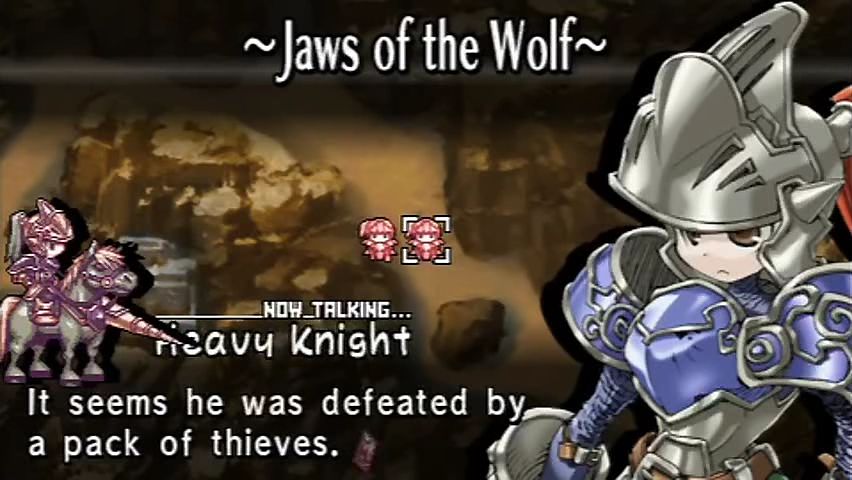
 Boss, it's the enemy! The Imperial Flag... Tch. How'd they get here first...? Those men... they're not of the regular army. They must be mercenaries working for Bronquia. Mercenaries? Think it's the same ones we ran into yesterday? You'd think they'd have learned by now... Alright, let's thrash these guys and go on through. Huh!? They're not paid enough to die for Bronquia. You'll see. Is that the way of things...? Either way, we have to get through here. … … … …
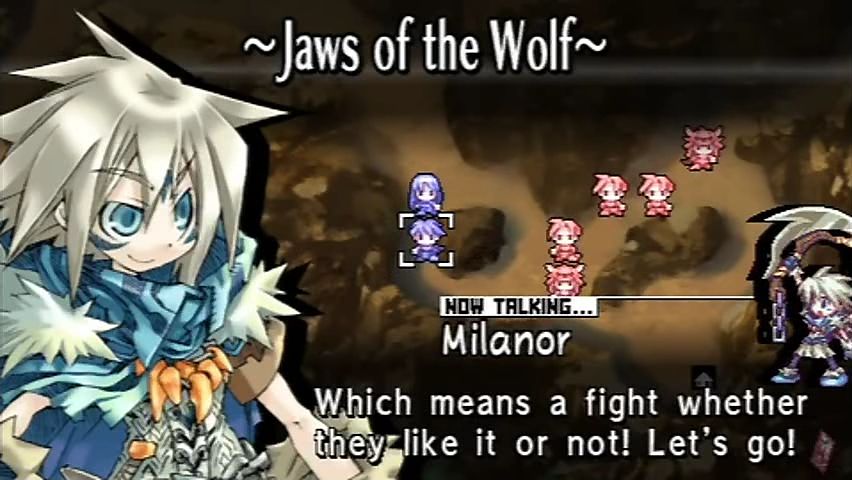
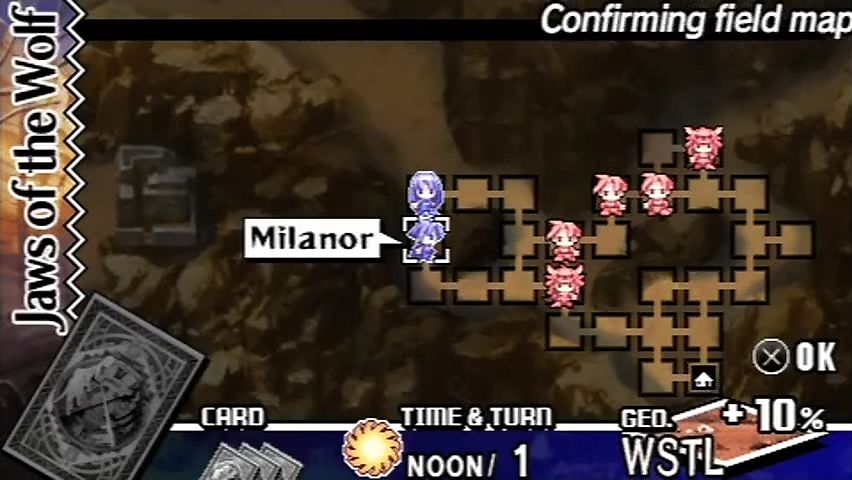
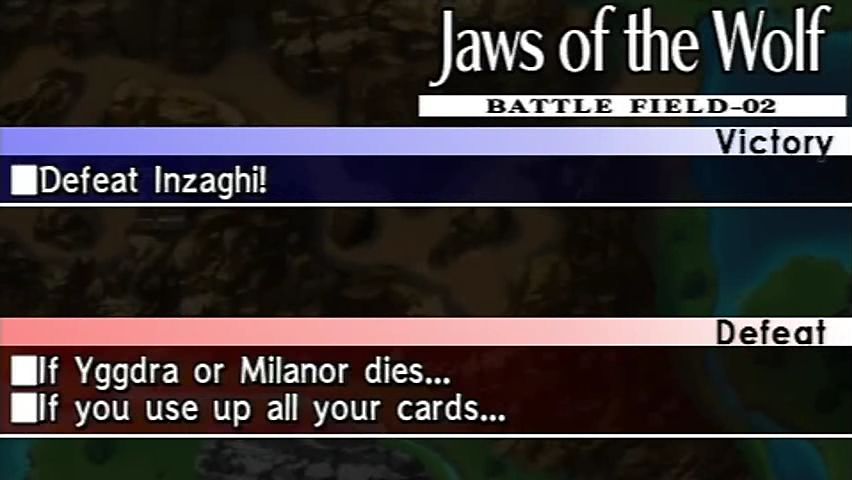
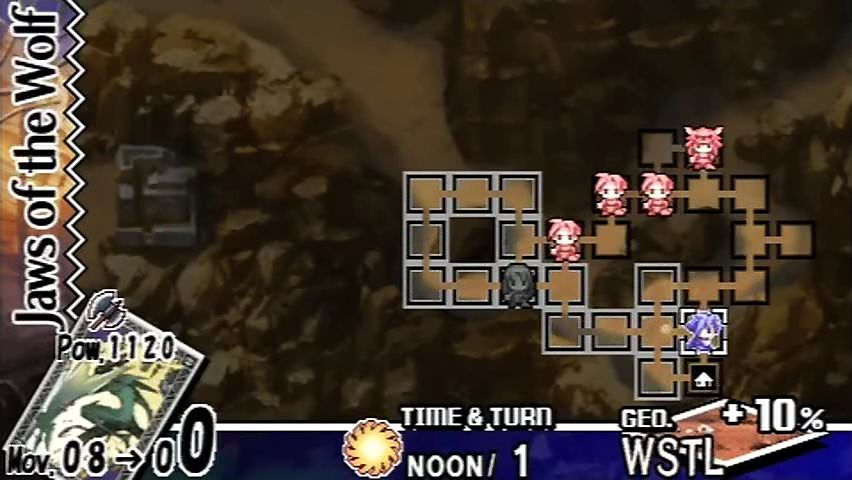
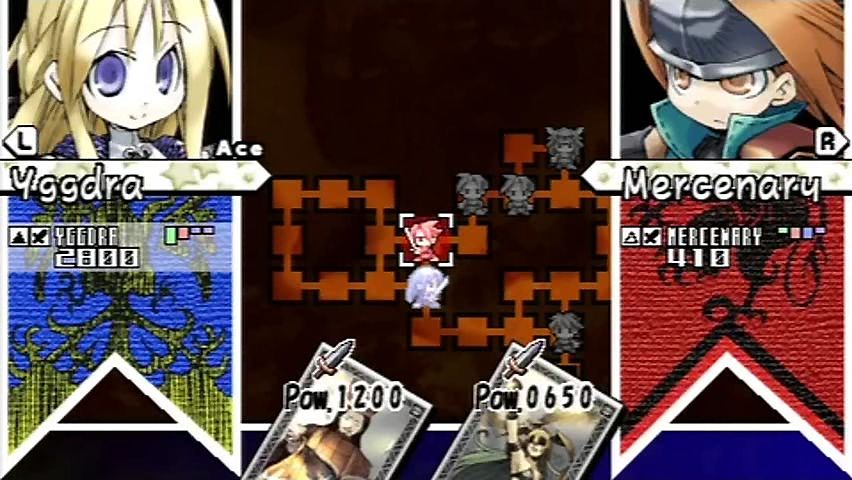
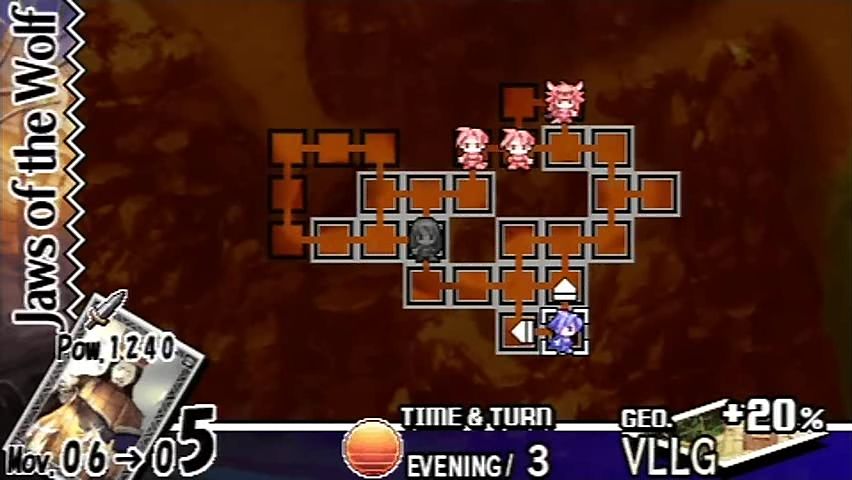
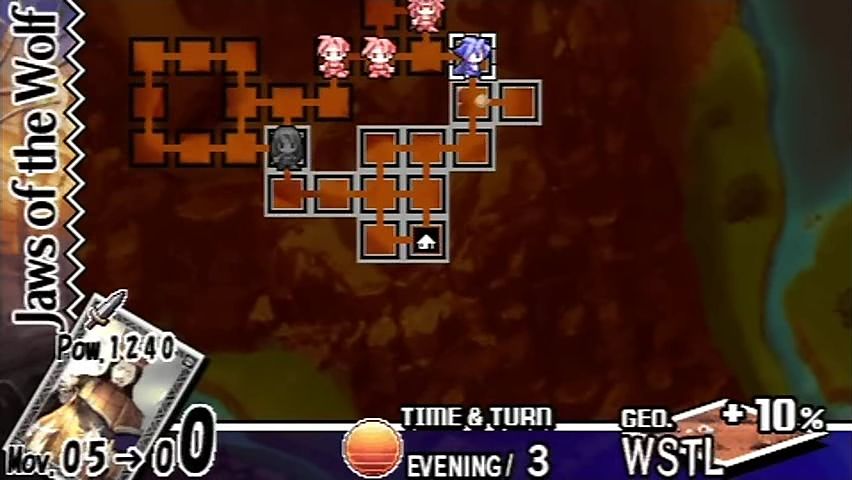
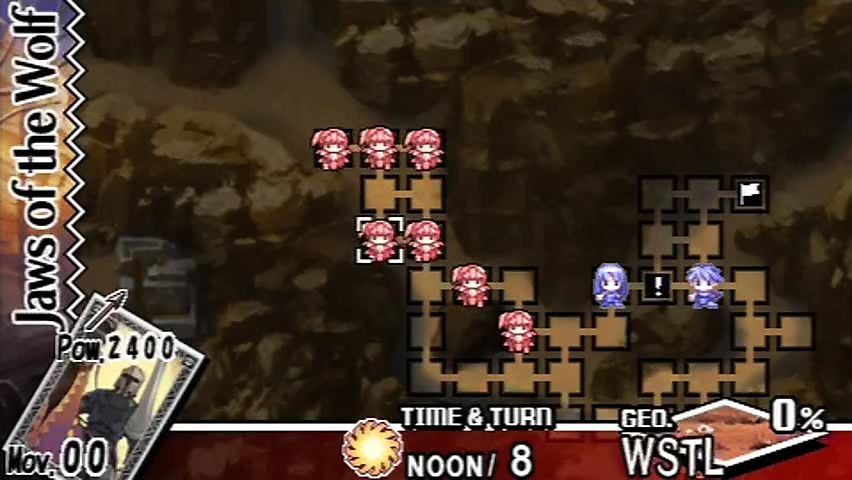
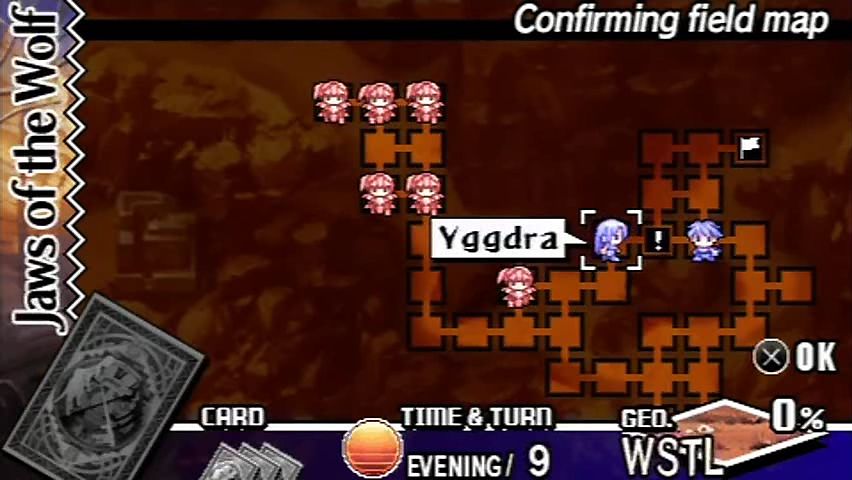
Let's take a quick look at the map. We have both Yggdra and Milanor for this mission, but no longer have the Flunky as a unit. That doesn't bother me. We have three enemy fencers, one of which is Inzaghi, and two enemy bandits.
My goal for this map is for Yggdra to get MVP, which is done by having her deal the most morale damage. If she can clear the close bandit, and the two fencers, she will accomplish that. The enemies are still weak, so a level 1 Yggdra can handily defeat them.
My other goal is for Milanor to visit the town (house shaped icon) in the South-East side of the map. If Yggdra clears the bandit, it will leave Milanor a path to get there.
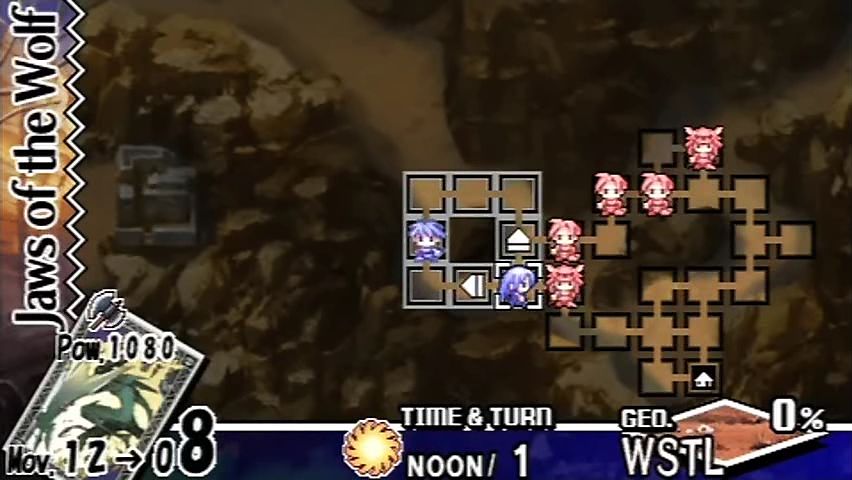
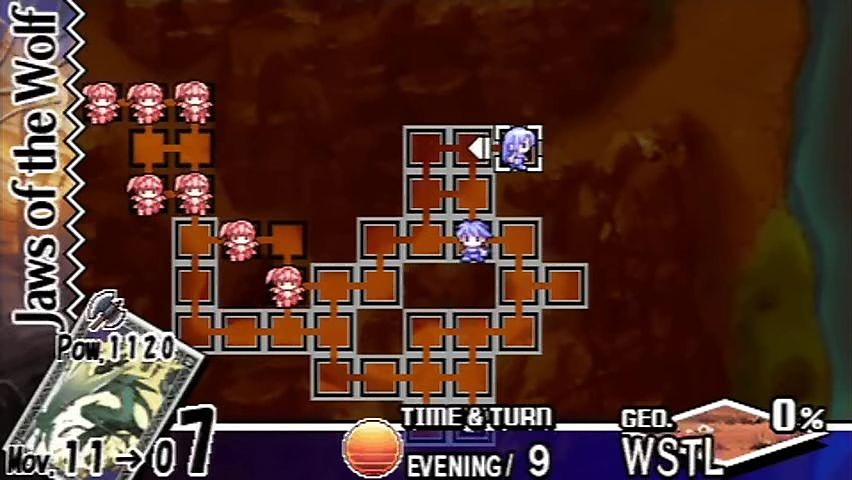
I'll pick Steal, which you are all familiar with, because it has ample move to start the map. I like using high movement cards on the first turn, because it gives you greater flexibility to organize your units.
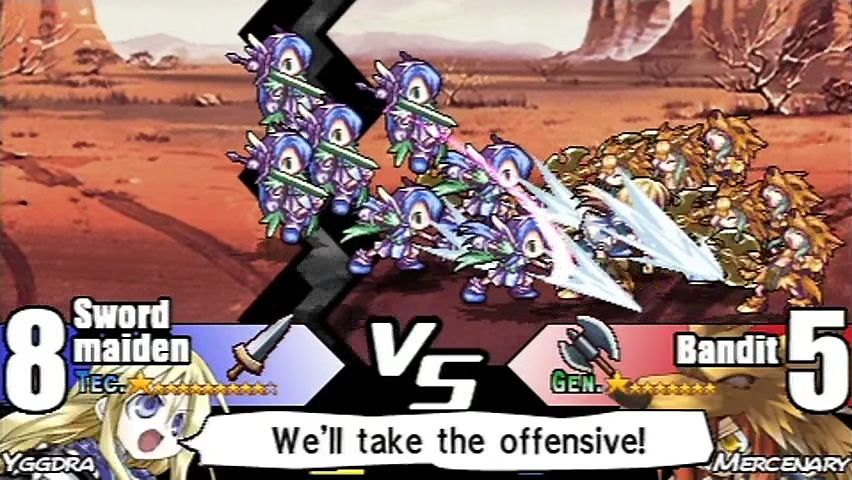
I'll use 4 movement to bring Yggdra to the front. Let's take out this Bandit.
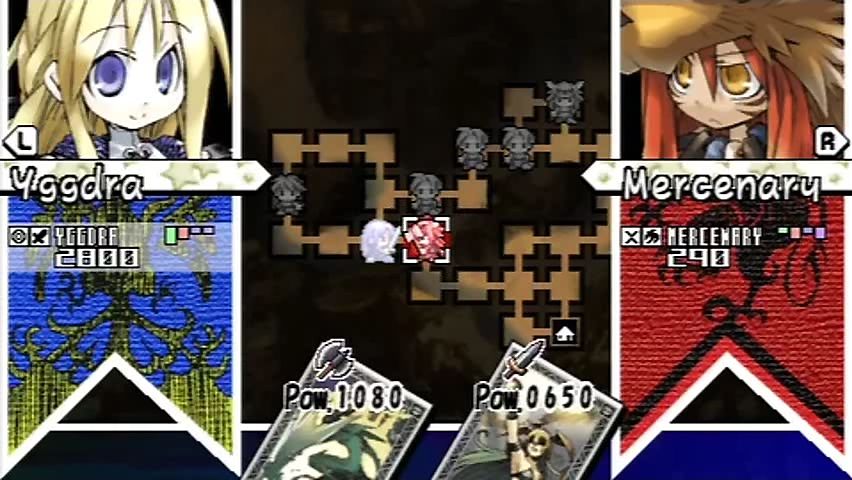
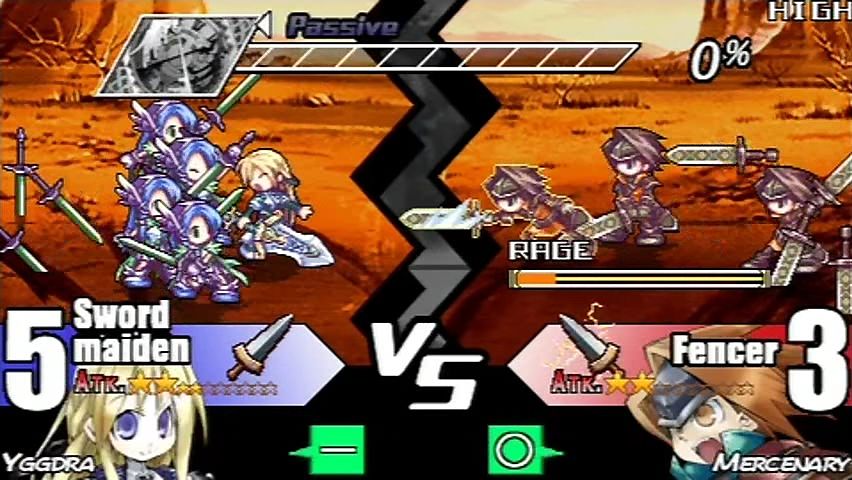
Nice prep screen. We see here that Yggdra, while only slightly ahead in overall stats, has a giant predicted lead over the bandit. What happened here?
Well, anyone that's played Fire Emblem will be totally comfortable with this. Basic melee weapons (Sword, Axe and Lance) work in a weapon triangle. Swords beat Axes, which beat Lances, which beat Swords. The triangle goes the other way, too. Swords are weak vs Lances, which are weak vs Axes, and so forth.
Yggdra, being a sword user, has a combat advantage vs the Axe wielding Bandit. That pushes her prediction from triangle, to filled circle – the highest you can get. Conversely, the Bandit goes down to X, which is the weakest. This battle's been won before it starts.
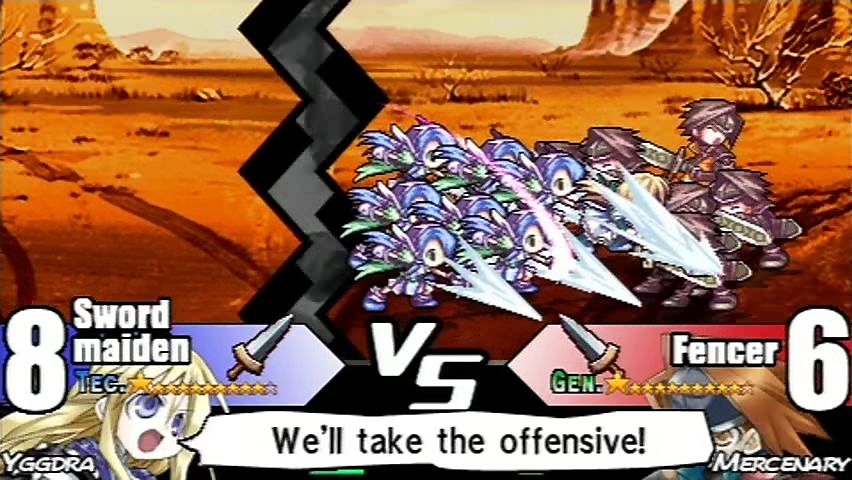
We enter the battle with a pretty mediocre start. Three damage on the charge isn't much to talk about.
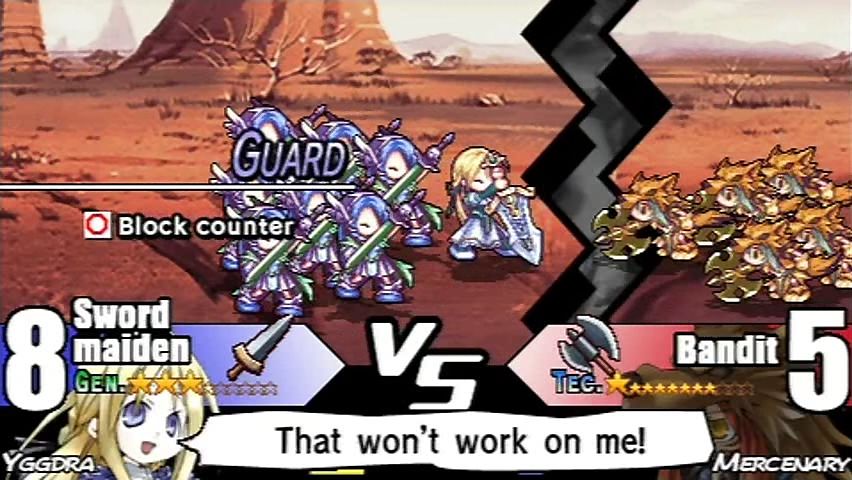
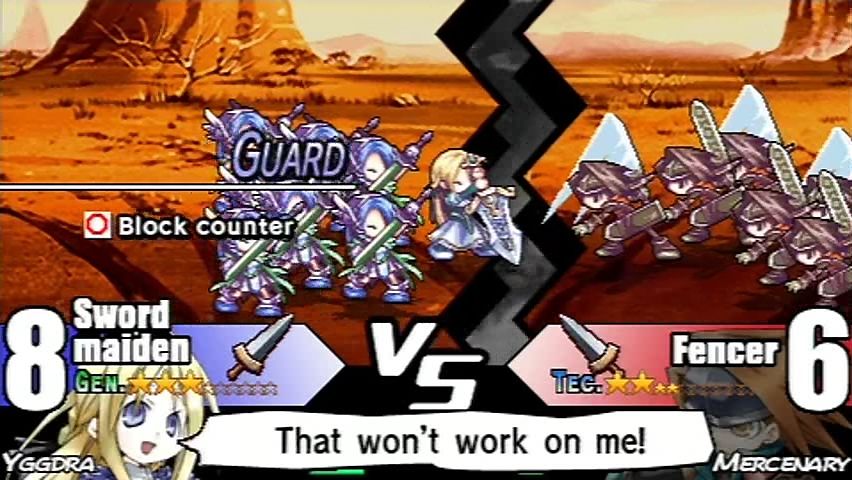
Interestingly, though, Yggdra blocks the counterattack all-together. We will investigate this.
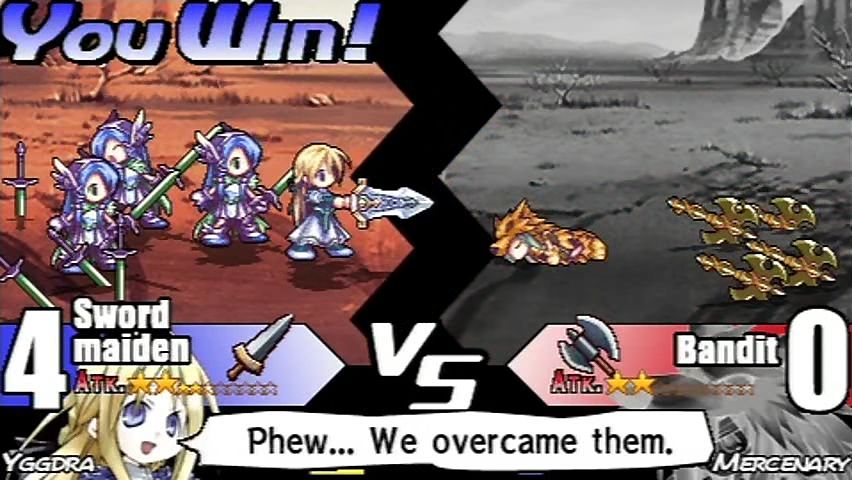
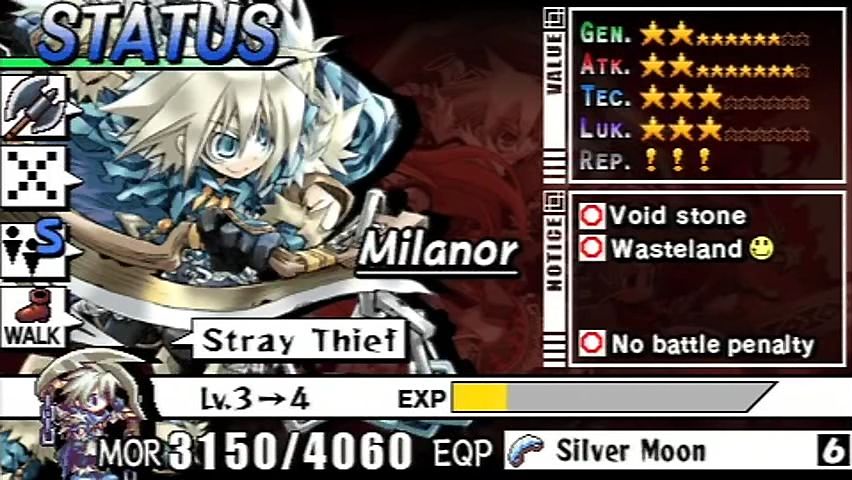
No surprises here – a commanding 4-0 victory over the Bandit. This is enough to clear him from the map. With him out the way, let's check out Yggdra's status screen in detail.
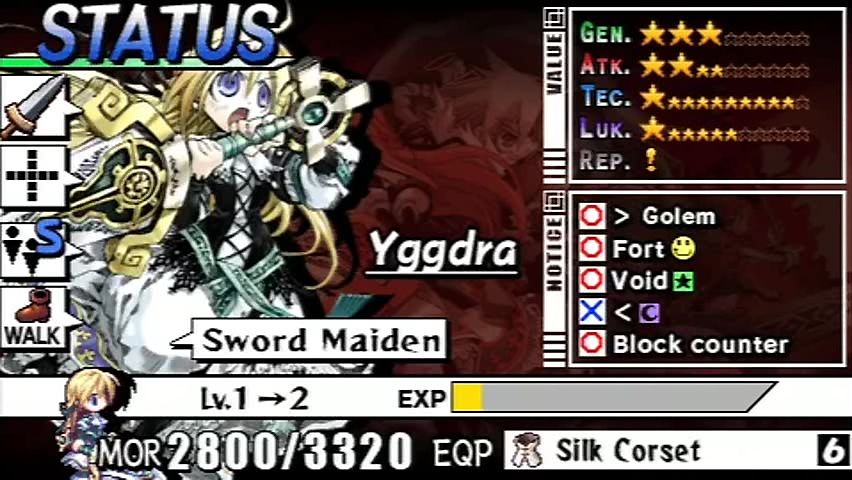
There's not a lot worth noting right now on the left. We see her weapon - a sword, a plus, an S, and WALK. These don't really come into play right now, so we'll leave them be.
We'll split the right into two halves, though. The top are her stats, represented by stars. The game only uses the big stars in its calculations, so Yggdra's effective stats are 3,2,1,1. The little stars represent the stat growth. Whenever a character fills out the small stars, they gain a big star in their place.
So what do these stats do?
Gen is the general defense of the character. High Gen is good for defending against charges and counters, as well as card skills later on. Your max morale is raised by Gen, and as an exception to the rule, small stars add morale as well. After battle, if the loser's Gen is higher than the winner's Atk, they gain a defensive bonus of 10% per star.
Atk is the combat ability of the character. The workings of this stat are pretty arcane, but it can be best summed up as both your in-battle HP, and damage output. After the charge and counter, the flow of battle is regulated by each side's Atk. The more you have, the longer it takes for a unit to fall, and the quicker you defeat the enemy. After battle, you gain a bonus to damage if the winner's Atk is higher than Gen.
Tec is the technique of the character. Charge and counterattack damage are raised with Tec. On average, you'll be expected to do (your Tec) – (enemy Gen) damage. That's the official line, anyways, but you'll see it doesn't always work out to that. Tec also increases the effectiveness of most skills, which we'll see in the future.
Luk is the luck of a character. On your charge, high luck leads to more critical hits, and in battle Luk increases the chance of Flash Attacks. Out of battle, Luk decreases the time status effects affect you, and can force enemies to drop their held item. We'll see this in play on this map.
Now, let's get to the whole reason we're checking out Yggdra's status. During that battle with the bandit, we saw her nullify the enemy's counter attack.
In the bottom right, we see 5 special attributes. O's denote advantages, and X's denote disadvantages. In short, Yggdra's main attributes are: Advantage vs. Golems, Advantage while on Fort, Immune to Holy damage, and Weak to Dark damage.
The fifth ability is special, and is controlled by which item the character has. Underneath, we see she has the Silk Corset [6], which confers the Block Counter attribute. As long as we have this item equipped, Yggdra can't take Counter damage.
We might as well check out Milanor too. Easily enough we can see that his stats are much higher, 2,2,3,3. This is in part due to Milanor's higher level (3), but also because he's sorta bad-ass, and your strongest overall character for quite a while.
He doesn't have the array of attributes that Yggdra has, though. Void Stone, and Wasteland Advantage are his only permanent attributes. Void Stone protects him from card skills that deal with stone, and make him immune to petrify. Wasteland Advantage gives him a large combat bonus while in wastelands. No battle penalty does absolutely nothing for us right now, so we'll gloss over it.
Now where were we?
We'll use our remaining 8 Mov to get Milanor as close to the village as possible to end our turn.
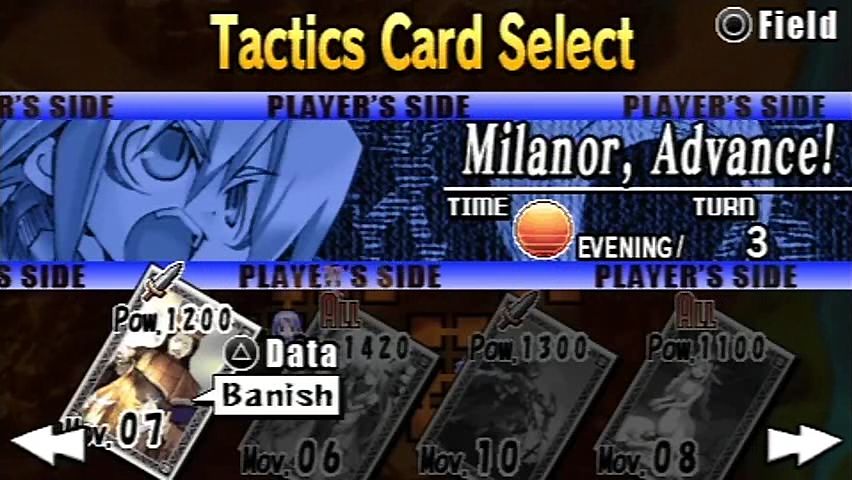
I'm gonna pick Banish for this turn. It has a decent 7 Mov, as well as a decent Pow. It will let us take out the first Fencer, get Milanor to the village, and give us some points to use afterwards.
We can see here we have a higher Gen than our foe, but lower Tec. None of this matters right now, because we block counter. We have equal luck, and equal attack, so we'll have the slight edge in having an uncontested charge.
Two damage. Not very exciting, but about all we can hope for with Yggdra's dismal 1 Tec. You can see in this screen that the stats in use are Tec for us, and Gen for the Fencer. As the different stats come into play, they are shown on screen.
So with Block Counter, we do have a slight lead in this fight. Again, we see the stats change on the screen. Our Gen is now our in-play stat, and the Fencer is using Tec.
This level also opens up one more game mechanic, and it works differently for each side. It isn't in effect right now, so we see a blank slate. In the bottom middle, we see a green square on each side, with a dash. This represents completely neutral combat advantage. The only thing affecting the outcome of battle in this state, is the Atk stat (barring flash attacks).
What's this? The Fencer now has a green circle, which means he has a slight advantage. You can see above his portrait is a bar, filling red with RAGE written on top. This bar fills up as the battle progresses. When it fills up once, which is just has, the enemy gets an advantage. It can fill up once more, and go to MAX mode, which confers a slightly larger advantage. The timing and manipulation of how this bar fills becomes very important later on.

Even so, our slight lead with the charge pulled us through, and we clear the Fencer off the map.
My second goal for this map was to visit the village with Milanor, so let's do that.
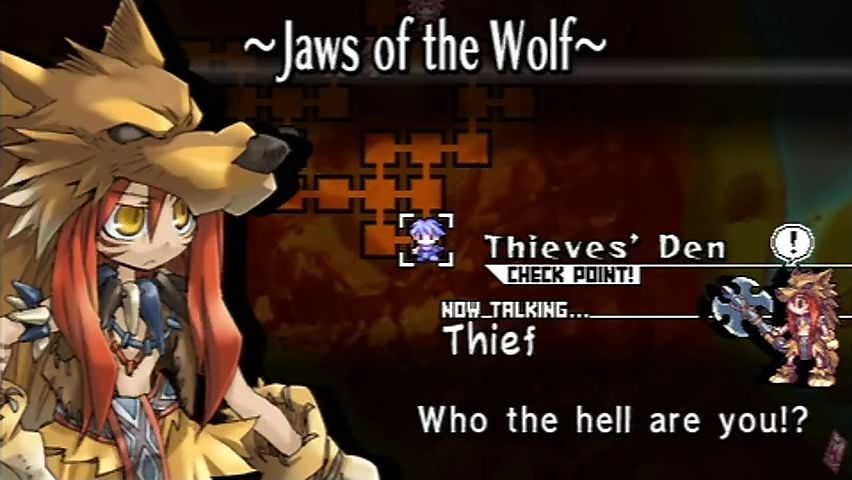 ...A thieves den, huh? M-Milanor the Silver Wolf...!? I think I'll take this while I'm here. Move it!
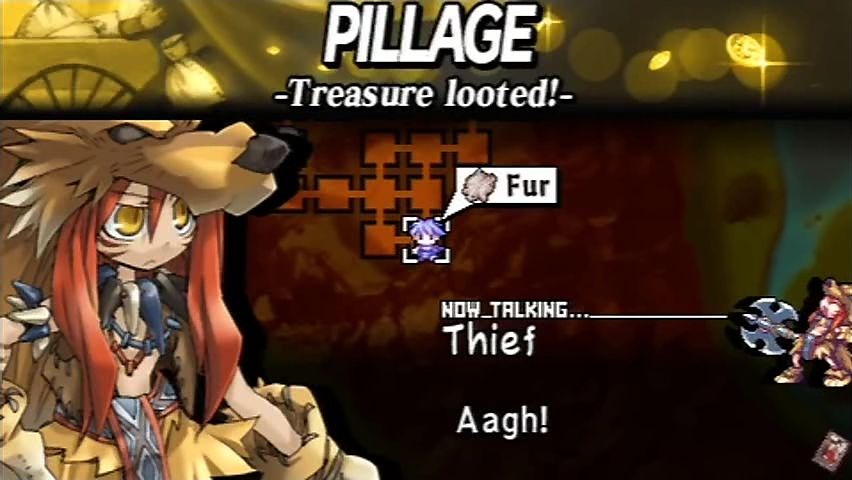
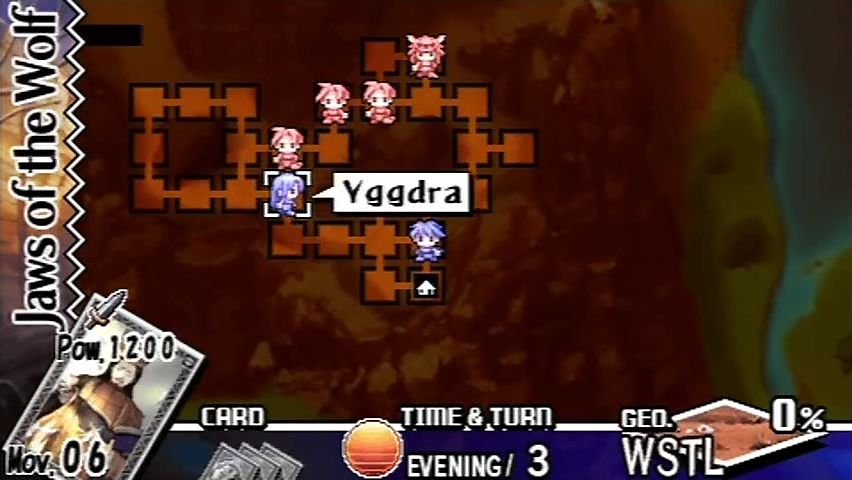
Now that we've “liberated” those furs, we'll get Milanor closer to the action with our remaining 5 Mov.
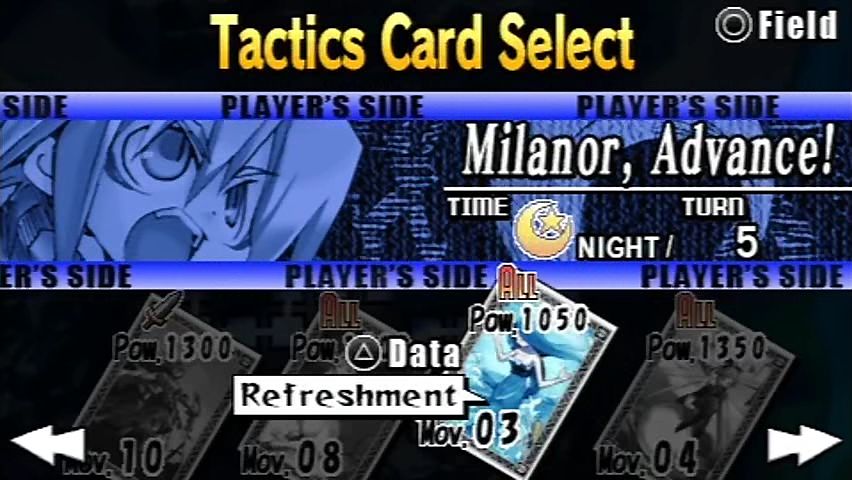
I'm going to pick Refreshment right now. It has terrible movement, and low power, but will help illustrate a very important mechanic.
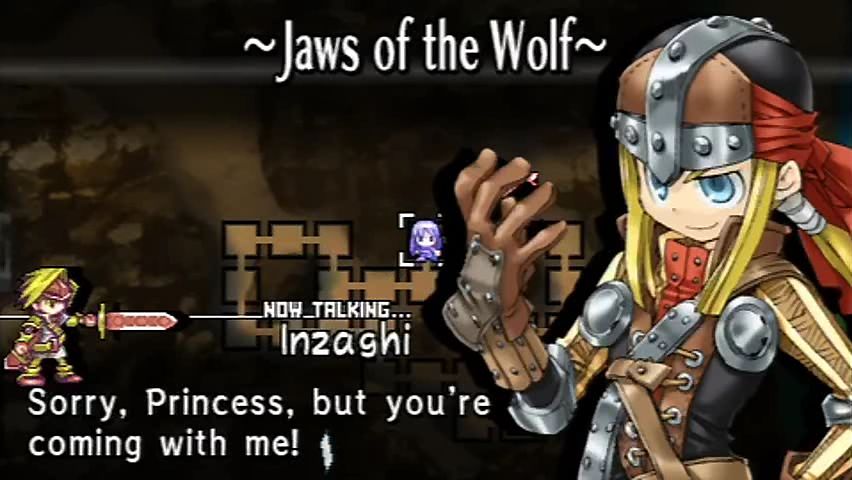
First I move Yggdra in place to finish off that last Fencer, and Milanor gets up close to Inzaghi, the enemy leader.
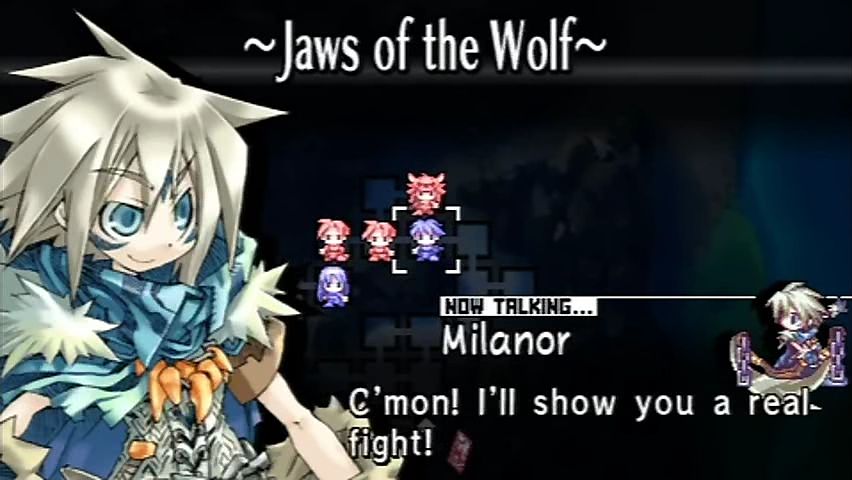 Finally, a rematch!
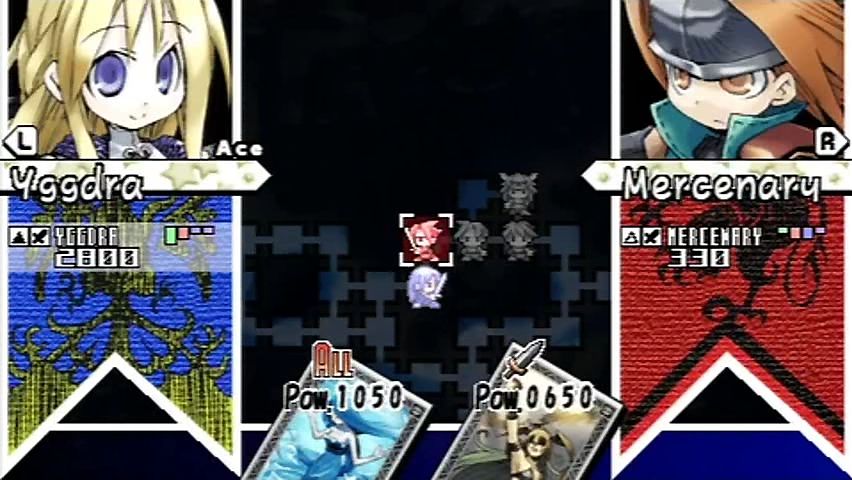
This Fencer should go down the same as the other, so it will be a good comparison to last fight.
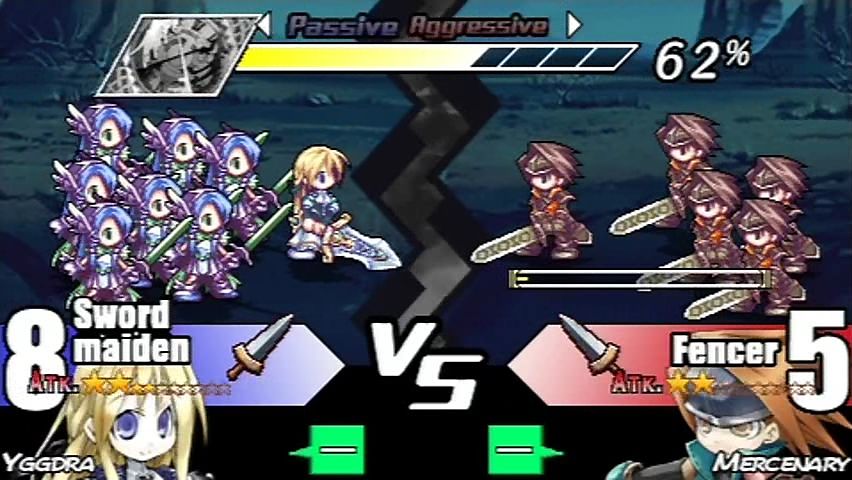
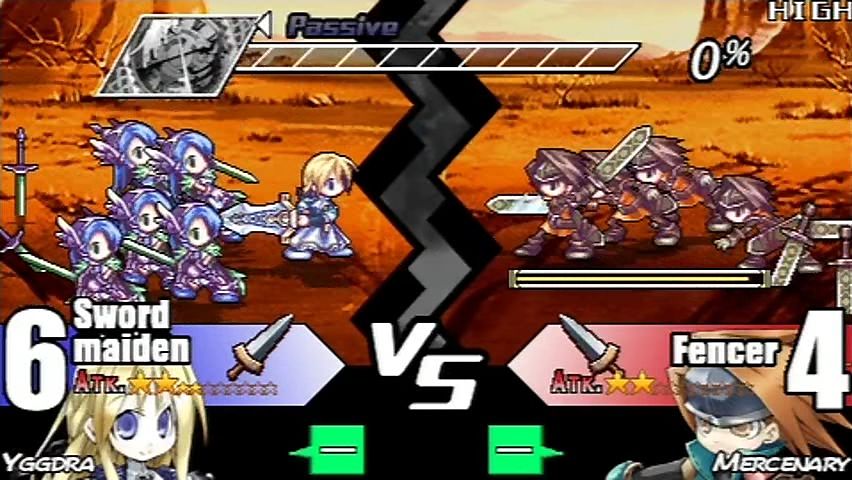
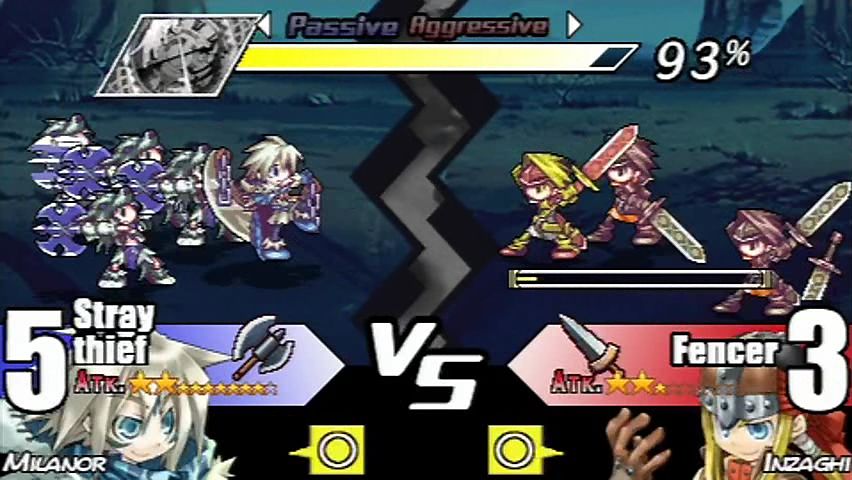
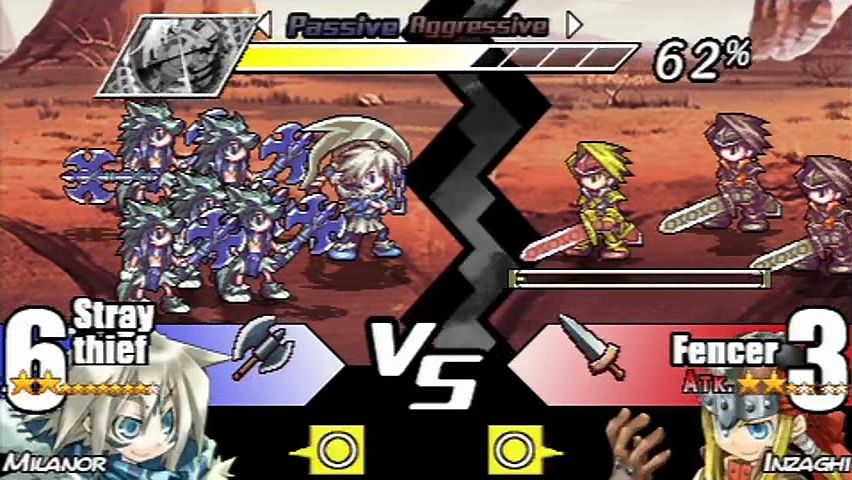
We see at the start of this fight, our charge did slightly more damage. Now, notice up top the yellow bar listed at 62%.
In battle I can now choose to go aggressive, or passive. Going aggressive gives me two levels of combat advantage and drains the gauge. Passive mode fills the gauge, but drops my advantage two levels. Let's turn on aggressive this fight.

The bar turns red indicating we're aggressive, and our green dash has turned into a yellow circle. Last fight, the Fencer took out 7 of our Valkries before falling.

As our meter reaches empty, the enemy just hits RAGE mode, and we've taken 3 down, vs our two losses.
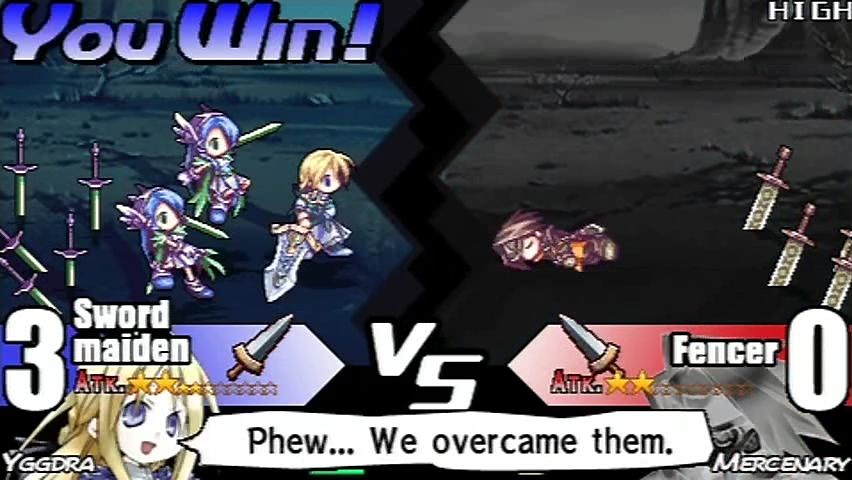
And we win with 3 units. If we had done a simple 2-man charge like last time, we'd probably be down to 2. In either case, that advantage made a difference in this fight.
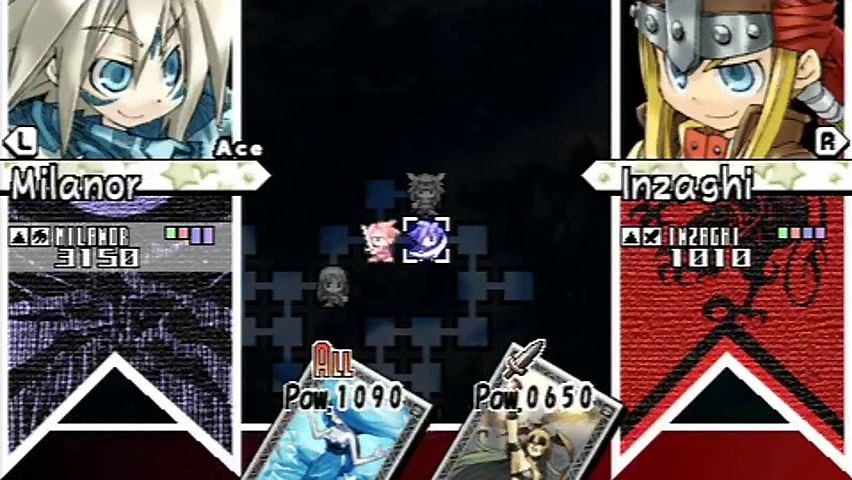
Inzaghi's turn. We see here that has has straight 2's across the board. Milanor has 3 Tec and Luk, but is other wise equal. Inzaghi is also a sword user, but why are the odds even?
Remember when we looked at Milanor's status page? He had Wasteland
") and this whole map is wasteland. The Smiley attributes are some of the strongest effects we can have. If Milanor didn't have this attribute, or wasn't on a wasteland, we could expect to have a Blue Triange vs Inzaghi's Yellow Circle, just like Yggdra's first battle.
and this whole map is wasteland. The Smiley attributes are some of the strongest effects we can have. If Milanor didn't have this attribute, or wasn't on a wasteland, we could expect to have a Blue Triange vs Inzaghi's Yellow Circle, just like Yggdra's first battle.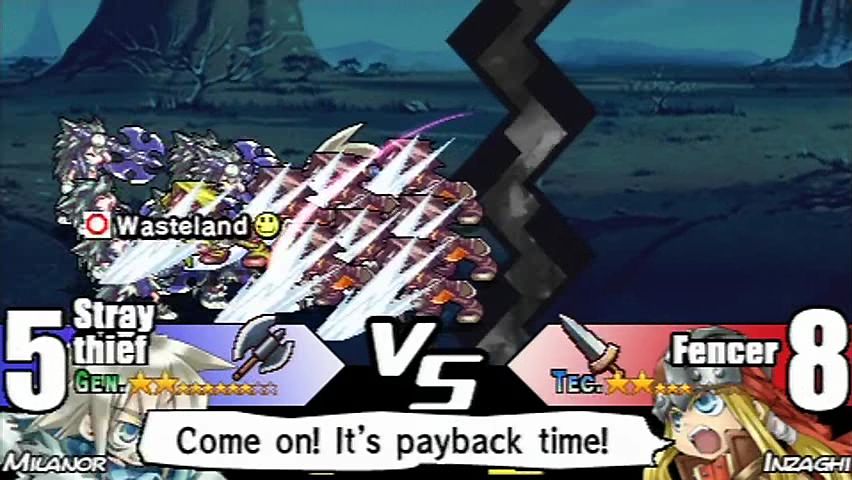
Inzaghi comes in with a weak charge. We can see on Milanor's side, that our Wasteland
is in effect. If Inzaghi would shut up, we could see the combat strengths of both sides. 
Milanor's counter is fierce, but this could very well be a close battle after the weapon advantages are calculated.
Hah, maybe not. Wasteland
(and all attributes) raise your combat strength up 4 levels. We're almost maxed out at yellow circle, so let's put that nearly full skill bar to work. 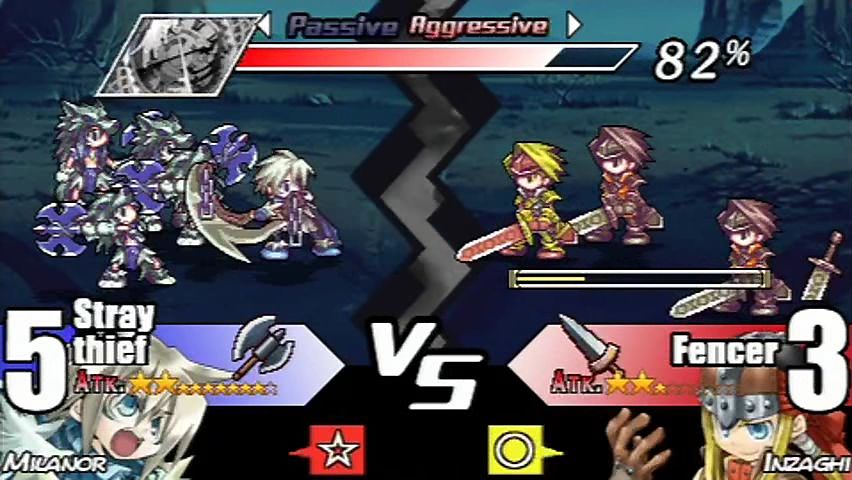
That's better. Red Star is the highest level you can reach, and it will make short work of this fight. You can see in this battle we started with nearly a full bar, and Yggdra had just over half. I'll explain that next round, when Milanor gets another turn.
 Don't let it go to your head, punk! Big talk for someone I've just thrashed again...
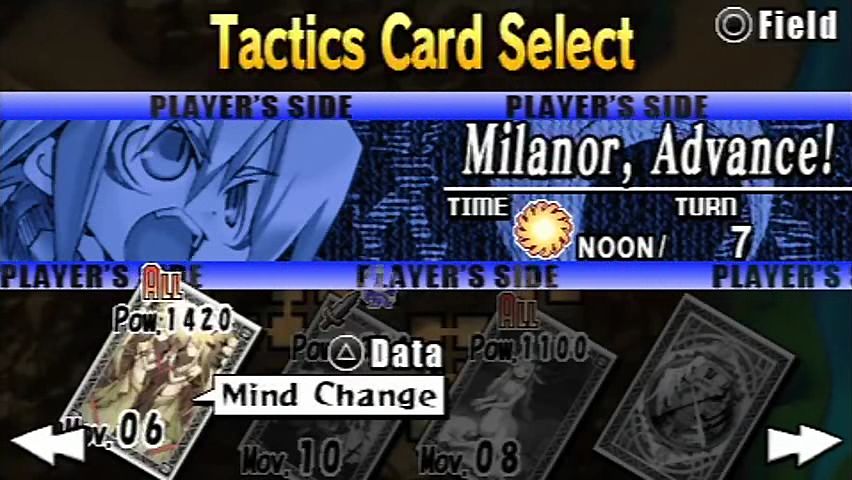
I'm picking Mind Change again. It's one of my favourite cards, due to a middle movement, high starting power, and nice ability for later on. However I want to point out that this has 6 Mov – double the Refreshment we used last turn.
 Touch me, and I shall strike you down! Ooh, Scary! Sure your tiny arms can handle that sword?
Yggdra and Milanor are both beside Inzaghi now, so I can decide who gets the finishing blow. Let's look at his stats first.
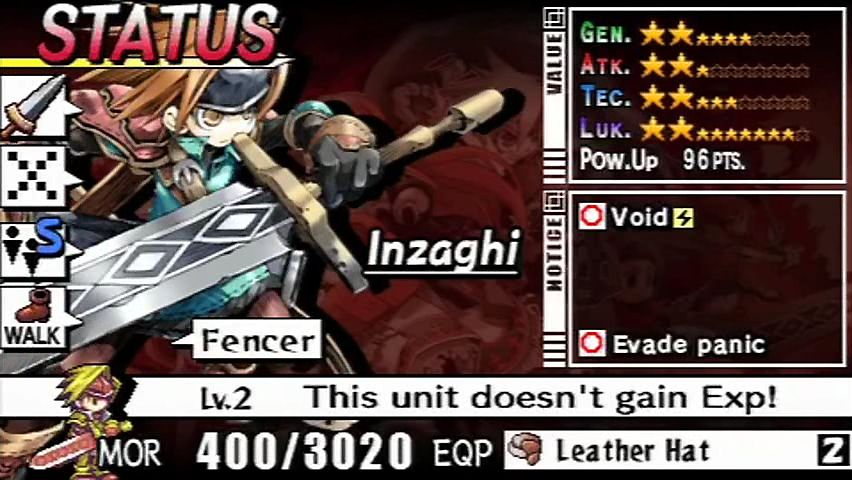
Nothing special, but he does have an item. If you've been reading the thread, you're probably familiar that item collection is rather important. The evade panic attribute it offers is, well, shit. However, items can raise stats, and they are used for morale recovery, so we don't want to waste any items.
Inzaghi has 2 Luk. In order for us to get the item, someone with 2 or more Luk must deliver the final attack. Yggdra's out, since she has only 1. Milanor, with his 3, can do it handily.
Again the fight goes one-sided. Now look at our skill bar – just 62%. The amount you start with depends on two things – you Tec, and the Mov on the card. Milanor has 3 Tec, which basically filled the 3 Mov refreshment. Now with 3 Tec and 6 Mov, we have 2/3rds of the bar. You get roughly ((Tec + 1) / Mov) % of your bar at the start of battle, which – regardless of the card – depletes at the same rate. This brings us to an important point.
Small move cards are great on difficult battles, since you can be aggressive much longer.
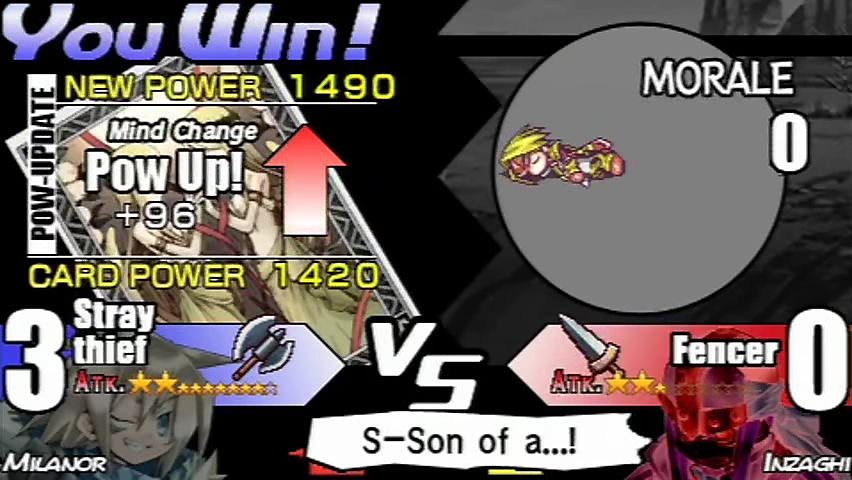
Inzaghi bites the dust, and Mind Change gets a big power boost. I have to start managing its strength. If it gets too high, it'll be come a wrecking ball and I'll be too dependent on it to deliver kills.
 You still wanna go at it?
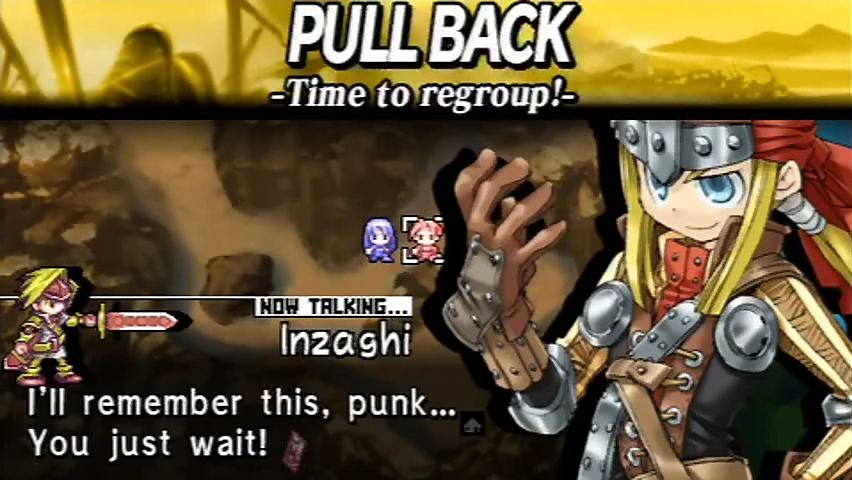 Alright, let's hurry onward!
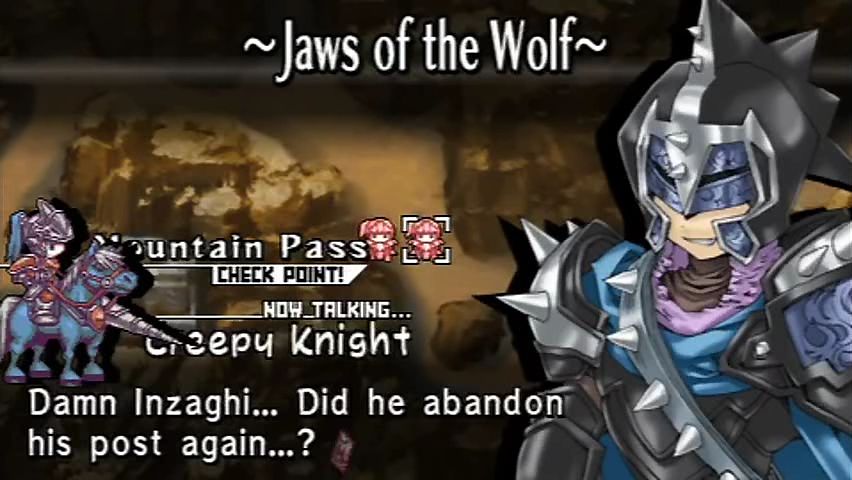
 Ha! Some mercenary... You can't trust outsiders. Well, I guess we know what that means... It's time for Leon the Black Knight to get his hands dirty!
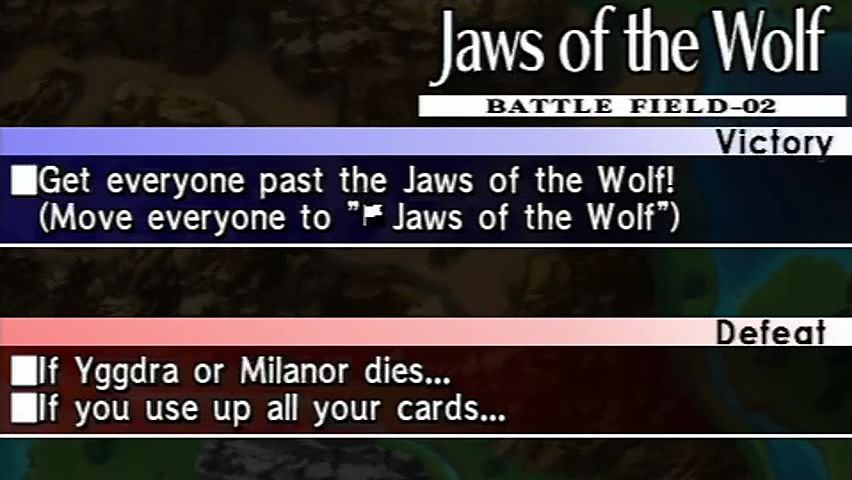
Most levels are divided into sub-missions. It's usually triggered by defeated an enemy or a group, but sometimes other triggers cause it. You generally get use of all your cards back, but you can't always count on it.
 More of them...! That's a big group. That's... General Leon!? Milanor, they're Imperial Knights! This is bad. There's way too many of them. Then, what shall we do...?
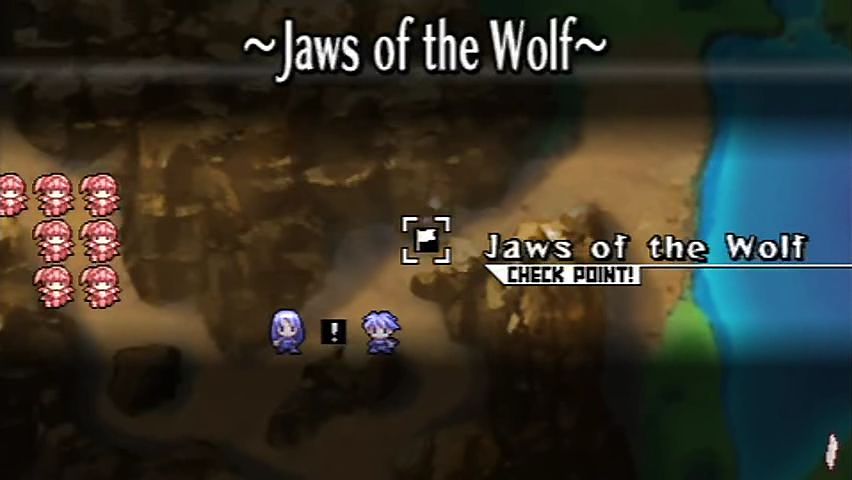 Everyone, head for the Jaws! Move it!
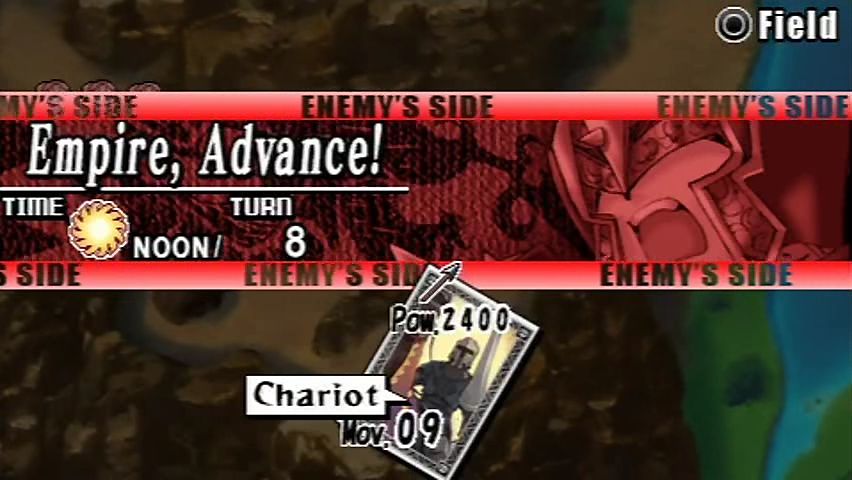
You don't always get first turn when the situation changes, either. This can/will fuck things up.
They spread themselves pretty thin, but it's a good idea I moved Yggdra as far forward as I did. Knights would decimate her.
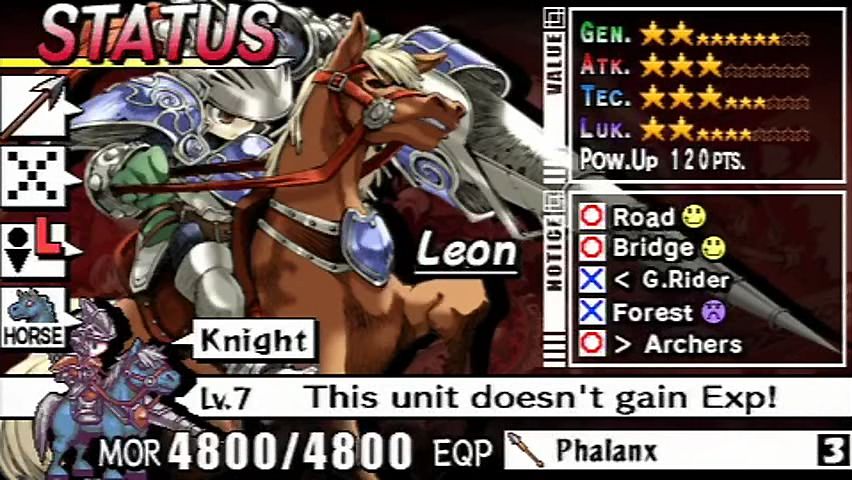
Here's Leon. Milanor could probably take him in a fight. The other Knights are 2,2,2,1, and have the same attributes.
And there's the item Inzaghi left behind.
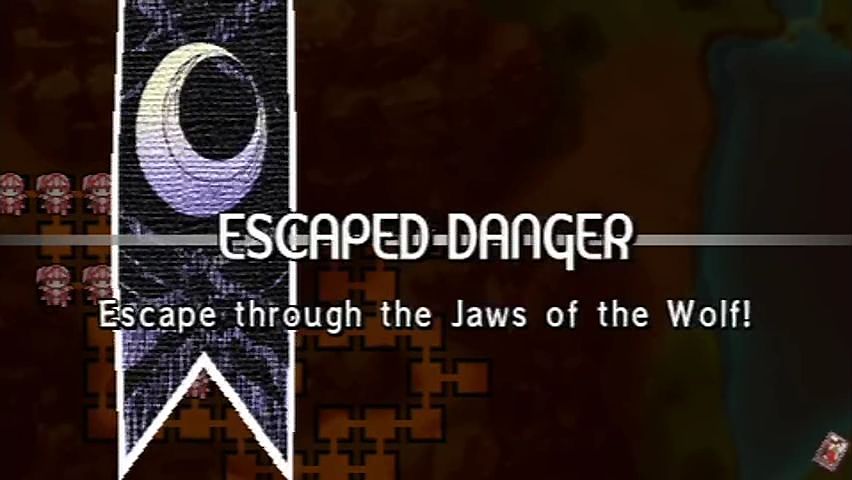
Fuck it, let's just get out of here.
We made it...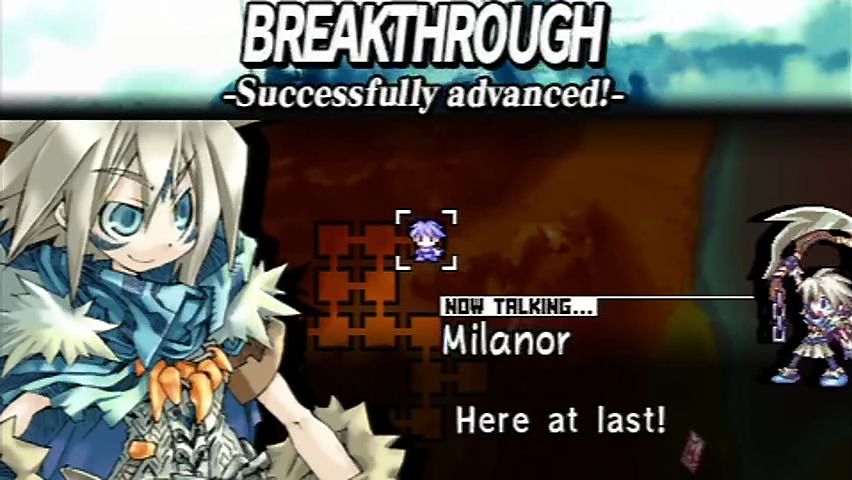
 Right about here... Now!
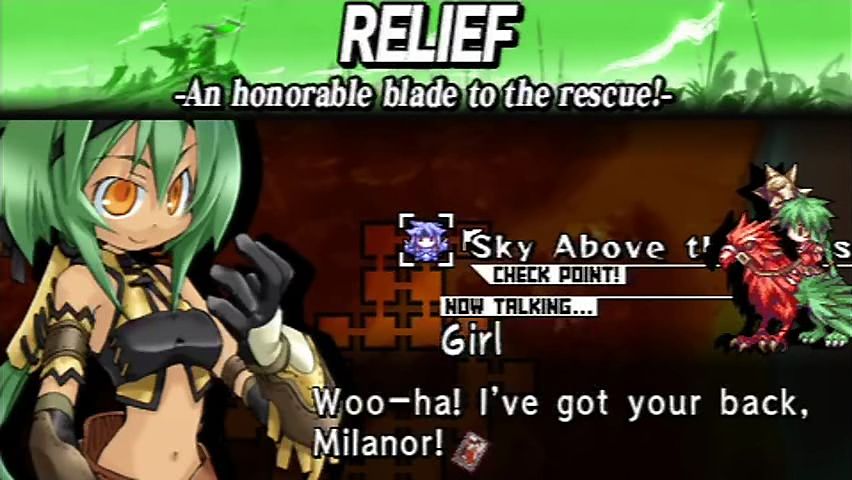 Huh... W-What?
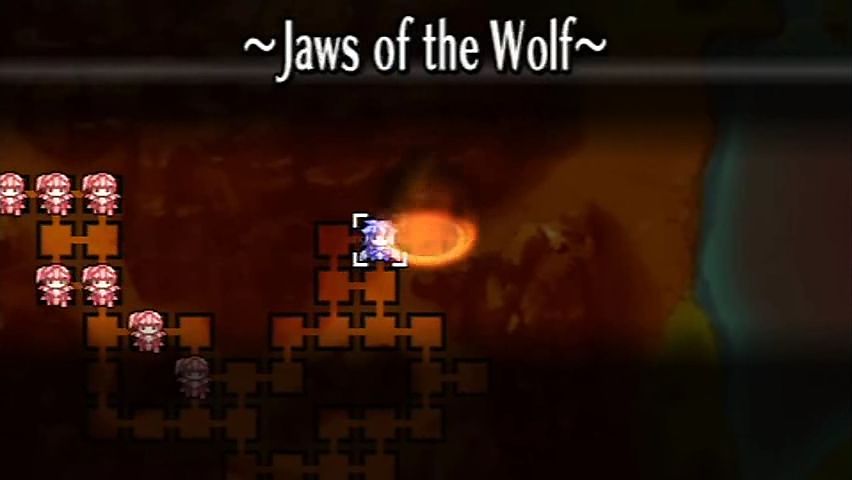
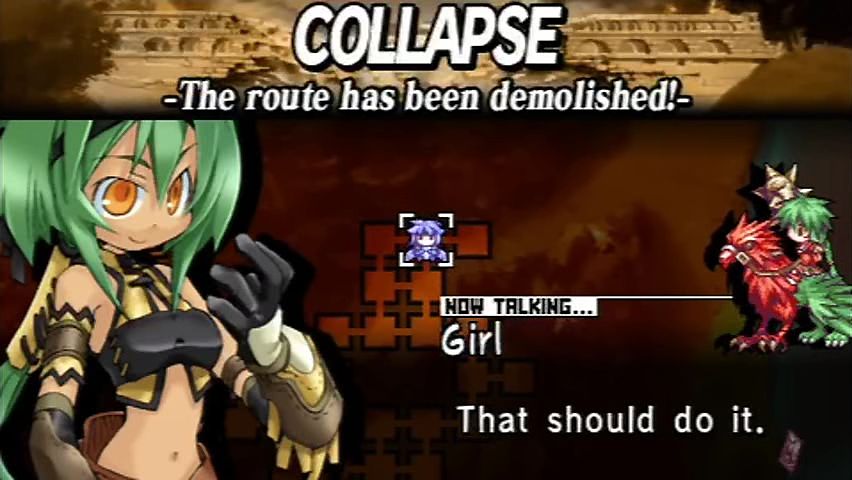 Gah! What in the –!?
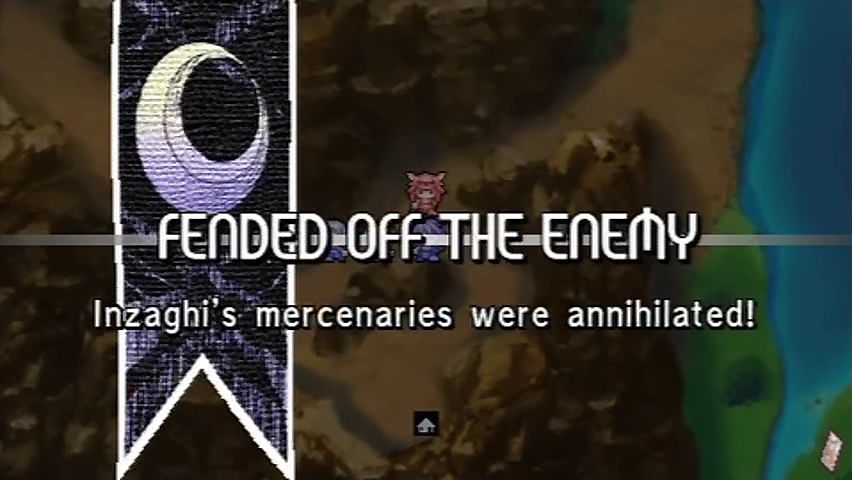
 S-Sir Leon! The path has been blocked! We can't follow them! Dammit...! That rotten thief...
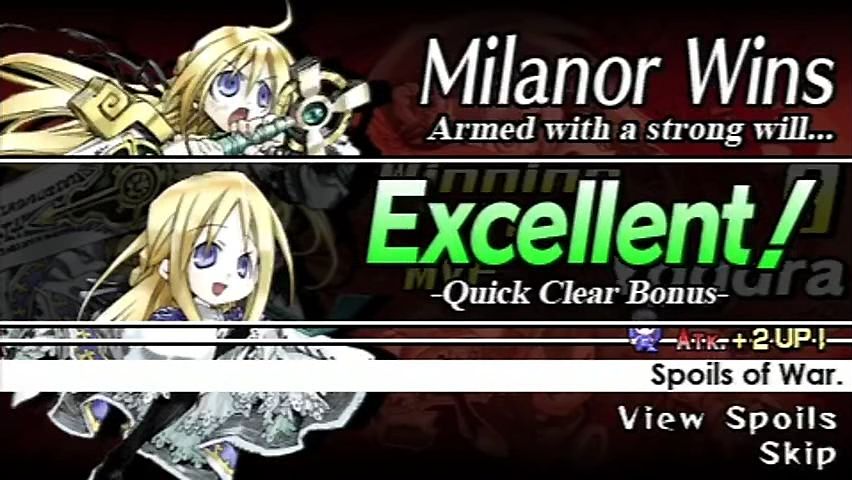
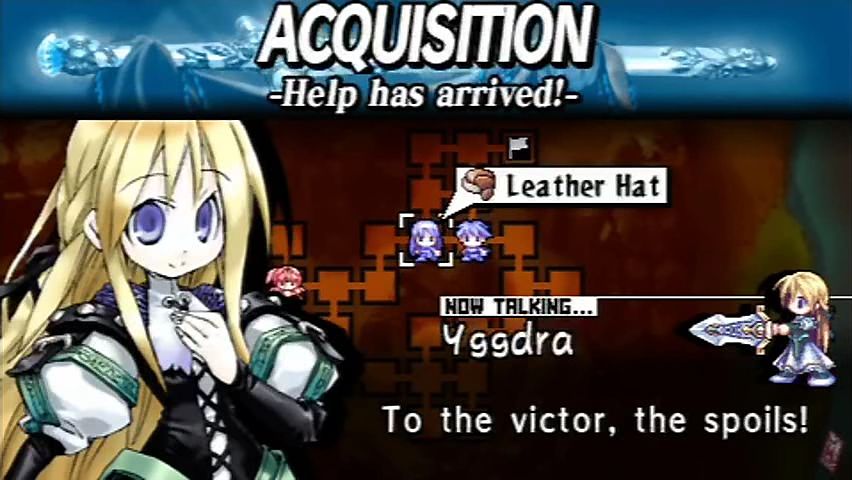
All according to plan. We get the quick clear bonus on Yggdra.
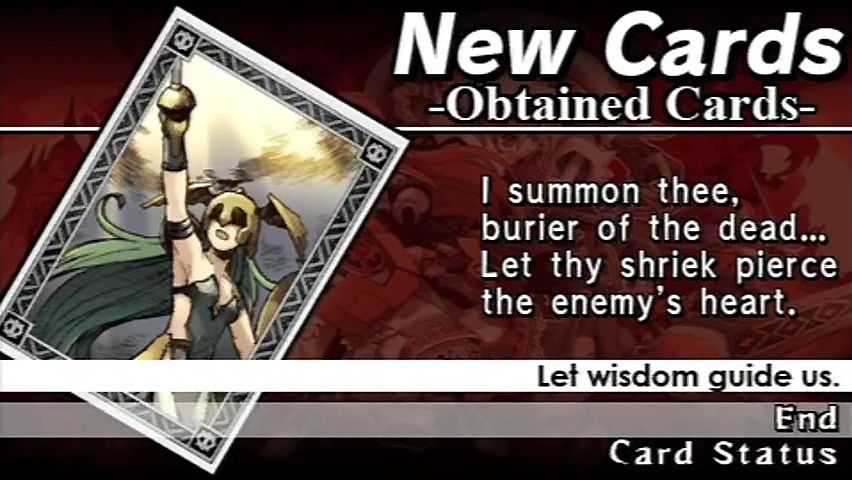
We also get Banshee's Cry. I've used it with some success in other play throughs, but it's not that great of a card until the end.
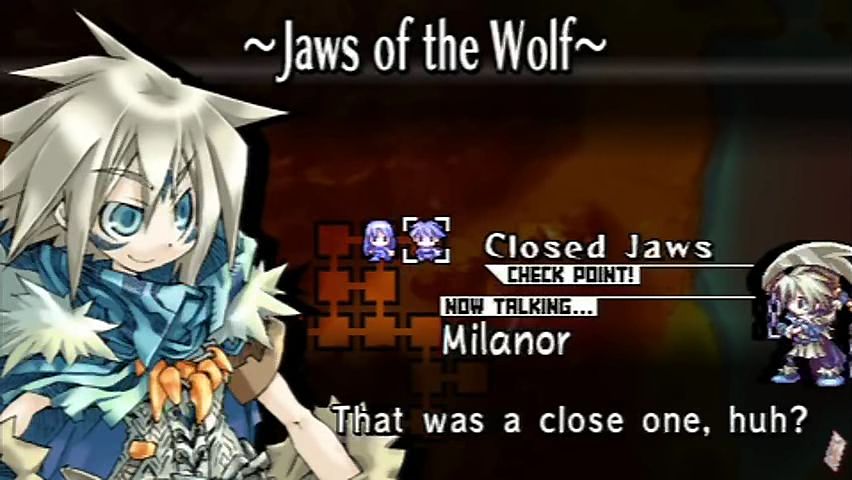 That woman... The one on the griffon... Is she an acquaintance of yours? Yeah, why? Come on, let's hurry and find your army. Ah... Yes, let us go.
---
I'm planning on a mechanics update, probably tomorrow, that will go over stats and battle effects a little more detailed and specific. I'll experiment with a smaller image size then as well, so hopefully we can find something that works for everyone.