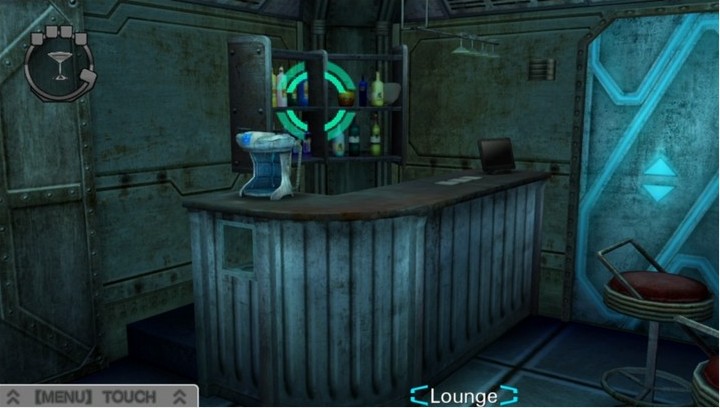
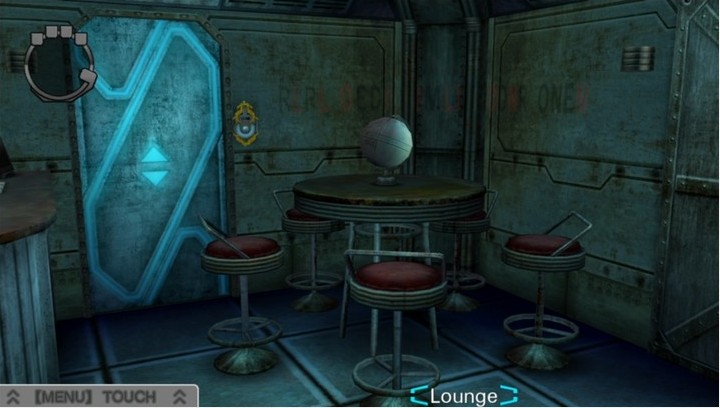
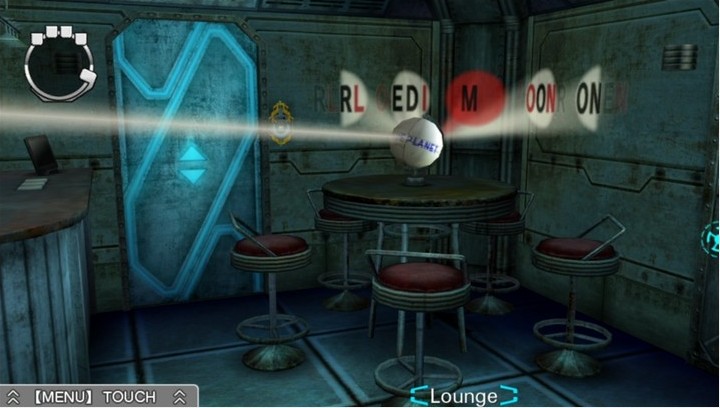
Part 9: Escape: Lounge

Welcome to the Lounge! Sigma (3BP, Red Pair) is accompanied by Phi (3BP, Red Pair) and Luna (3BP, Blue Solo).
VLR OST: [Lounge]
While 999 shared seven tracks between thirteen of its sixteen escape sequences, VLR has a unique track for each area which is never used anywhere else (with one exception (sort of)). This one in particular is one of my favourites.
This room, however, is not.
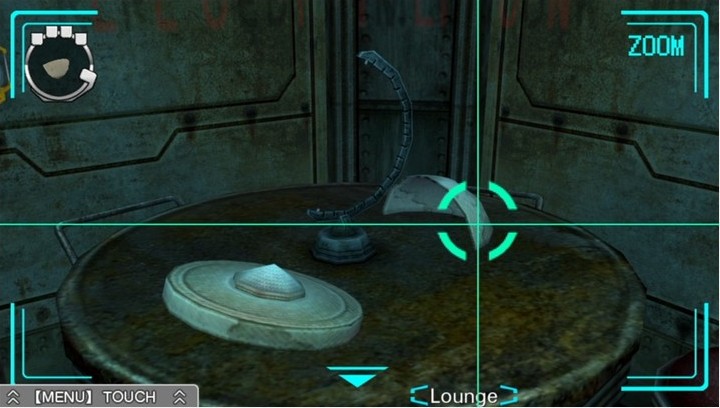
Like the Elevator, the Lounge is a single room in which we can pan around 360°. It makes up for its relative lack of explorable space by having a long and drawn-out puzzle that uses the player inventory as a stand-in for a minigame.
But I'm getting ahead of myself.
Oh, and note: Just because I'm not showing the difficulty switching to Easy doesn't mean it's not happening!
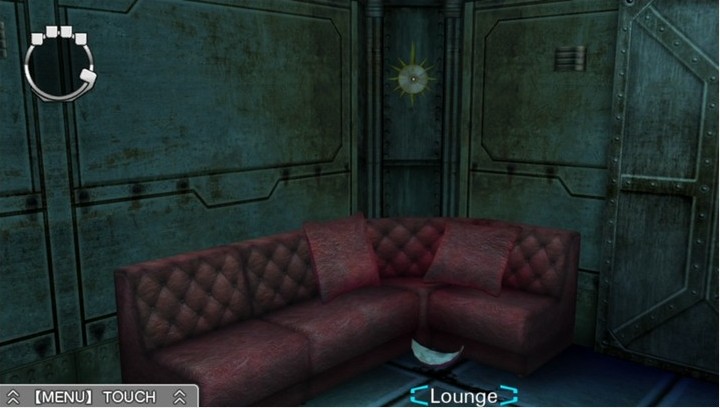
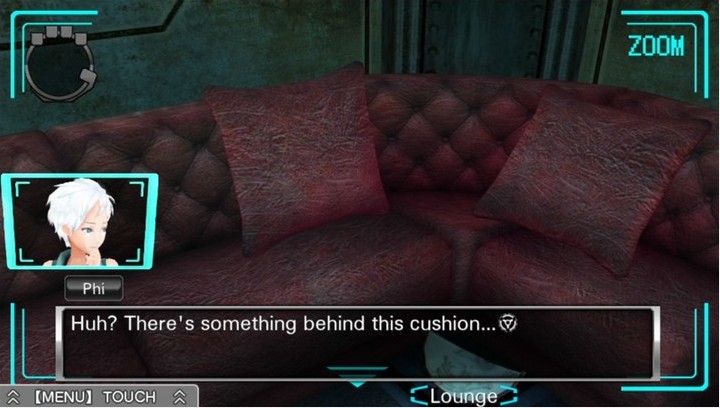
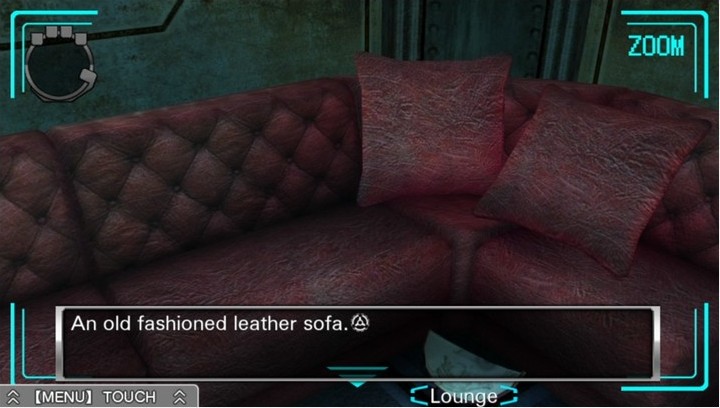
First stop: a comfy sofa.
Isn't there always?
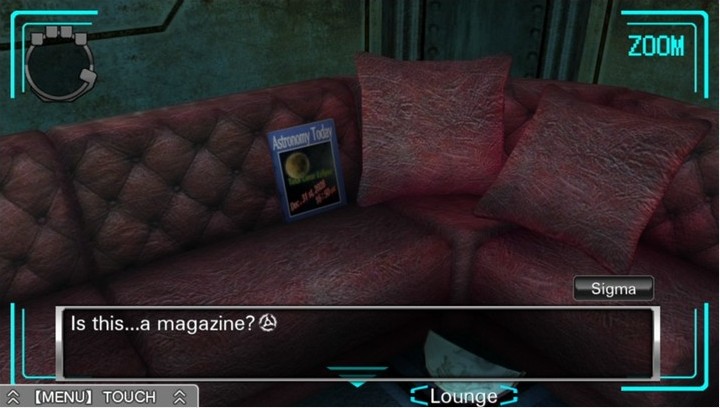

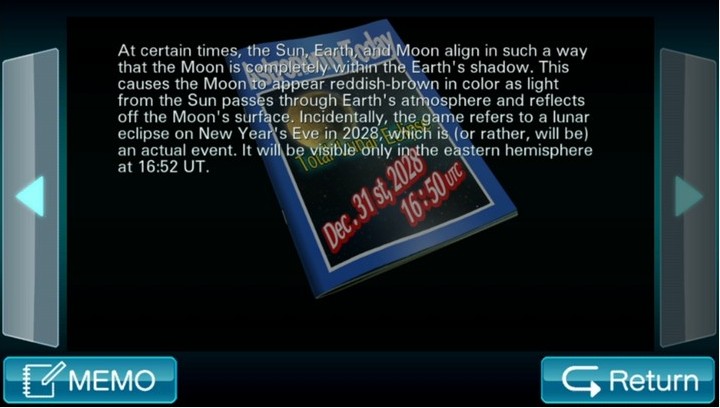
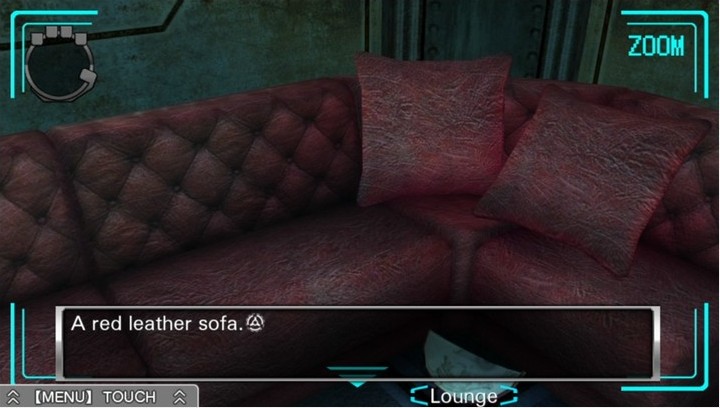
What is it about?

Looks like... astronomy.

I love how basically none of the text here is necessary.
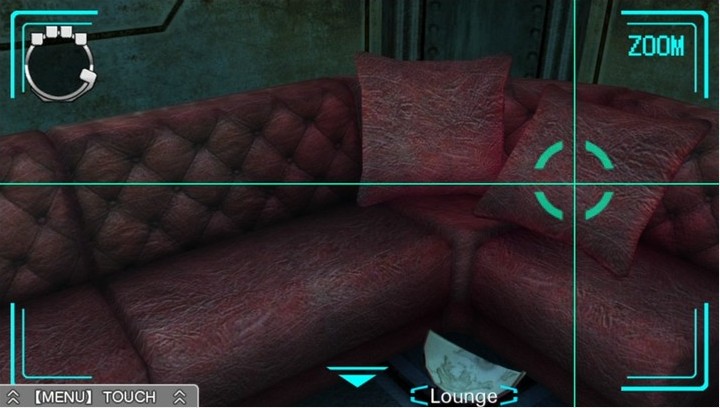
Of course we're going to keep poking it.
Ah... ah... ah... achoo!

...

Hey, c'mon! That was a real sneeze! It was dusty!

In traditional Zero Escape fashion, let's repeatedly examine the sofa until something interesting happpens.
No...
No...

No...


How do I solve a problem like Phi?

Okay, okay! Sheesh.
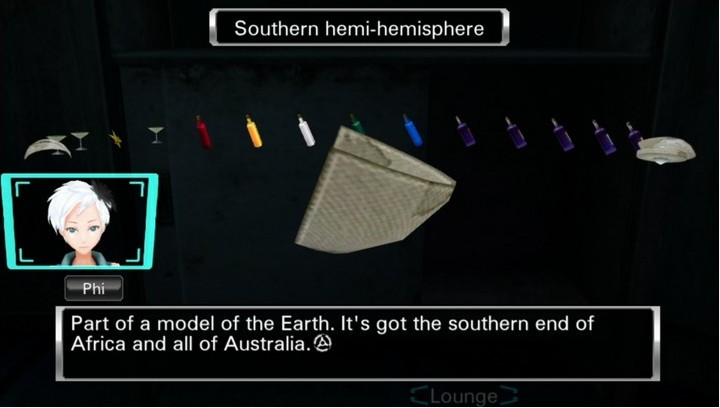
There's one other thing here:
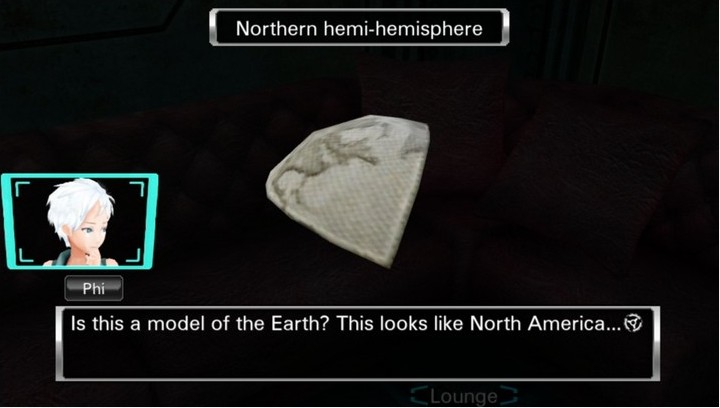
It looks like someone took the northern hemisphere and chopped it in half.

Why don't we just call it the northern hemi-hemisphere?
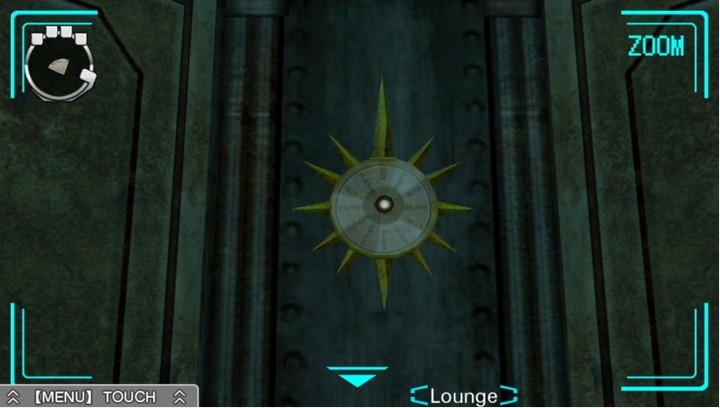
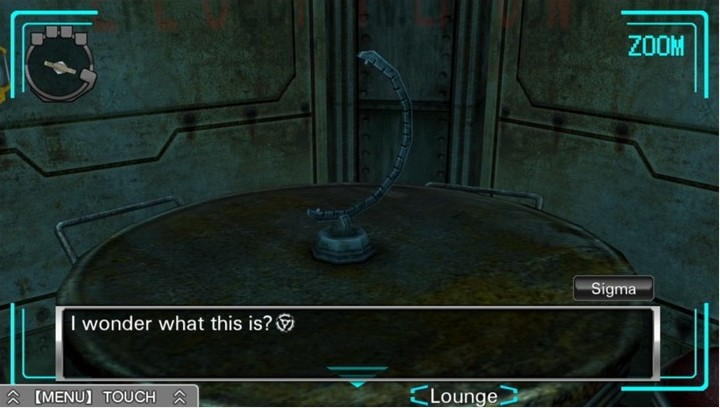
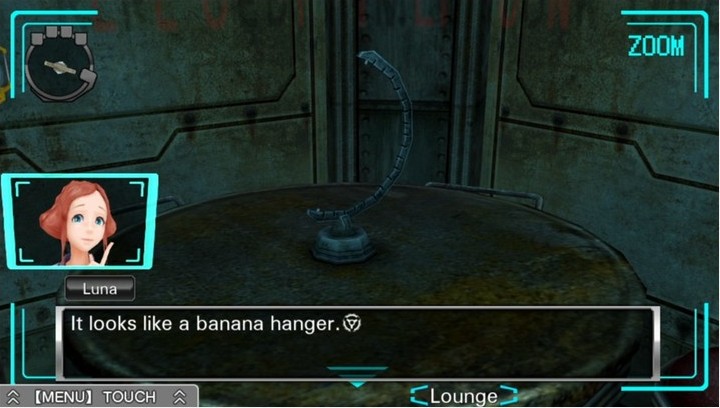
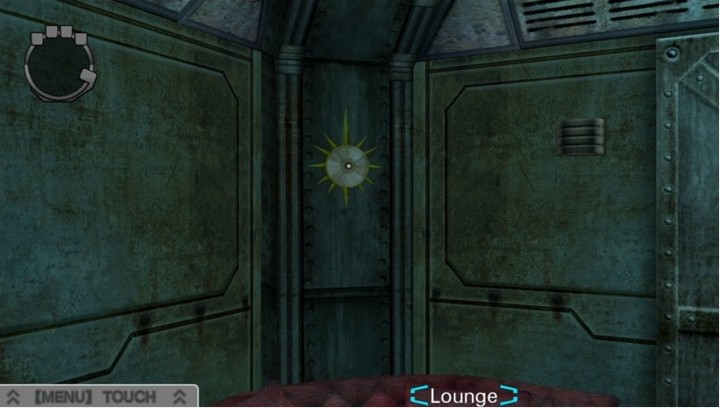
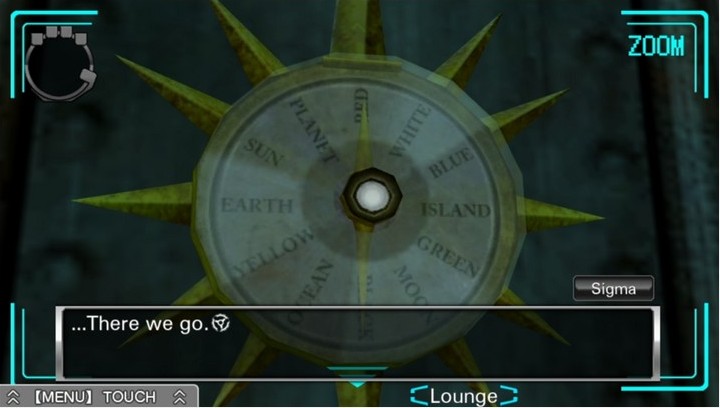
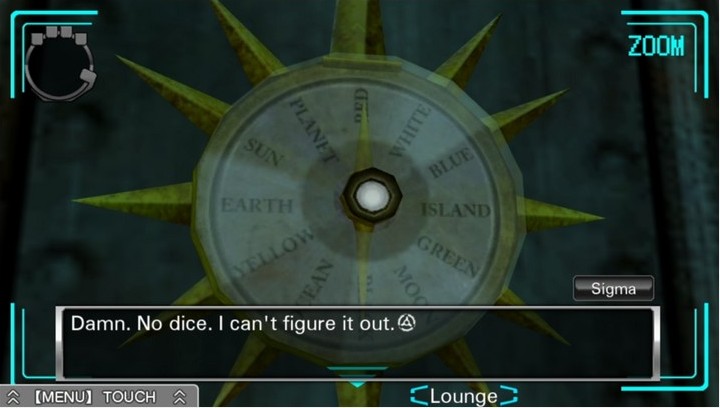
Above the sofa is this... this... uh...
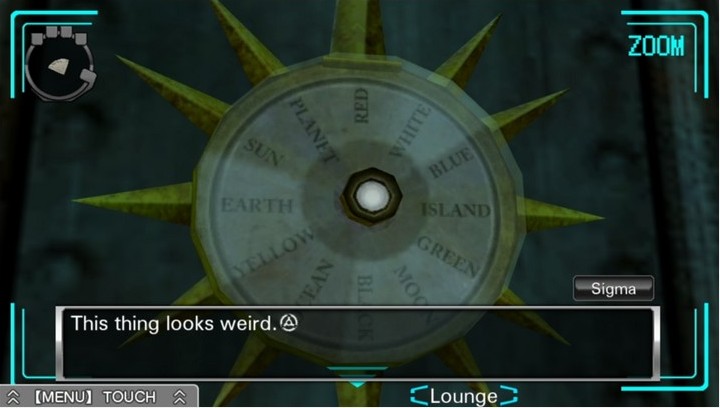
Is this supposed to be the sun or something?
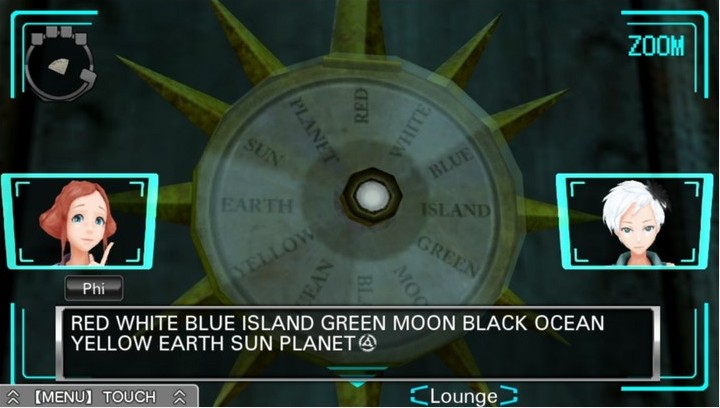
There are twelve words on it. They're arranged kind of like the spokes on a wheel.
Let's see here...
Huh...
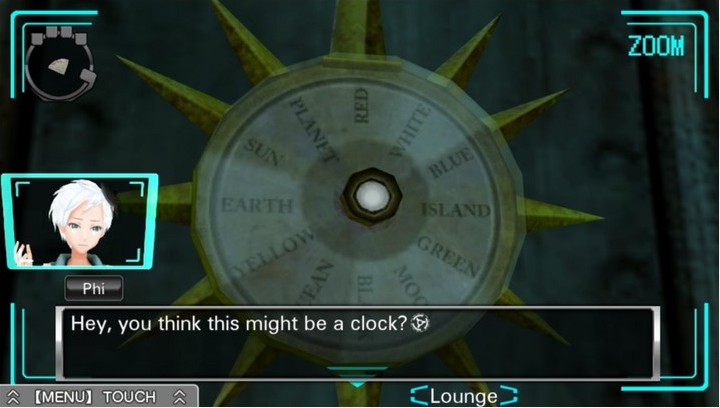
A clock?
There aren't any hands, though.
Well, imagine it has some hands on it. Then would it look like a clock?
Yes, I guess so.
Alright, next stop is...
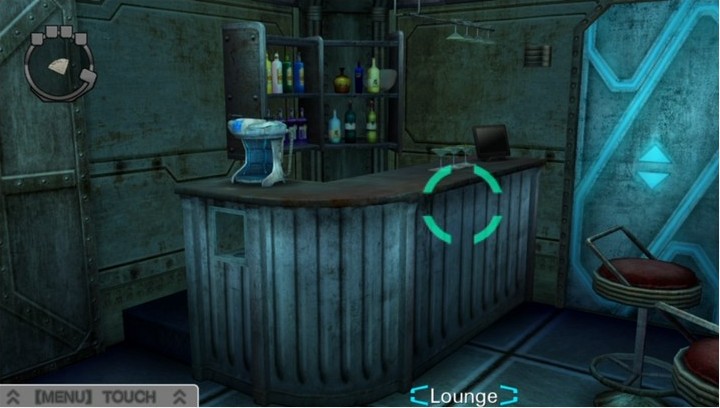
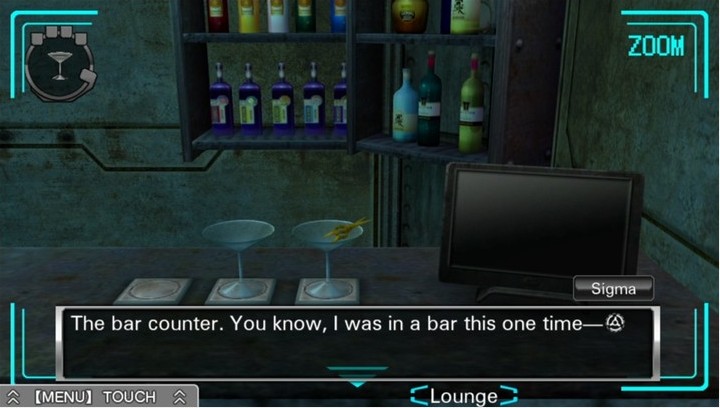
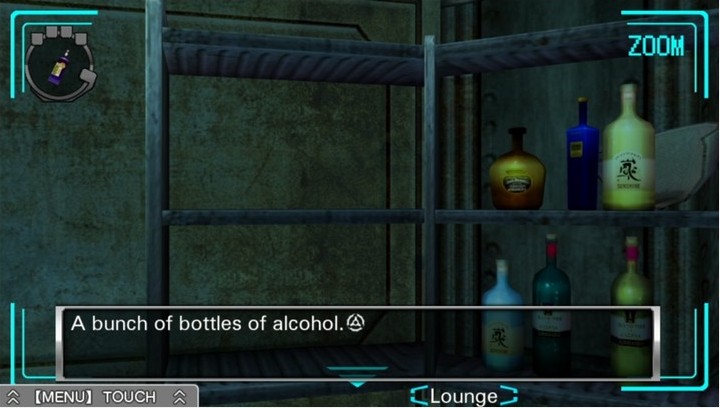
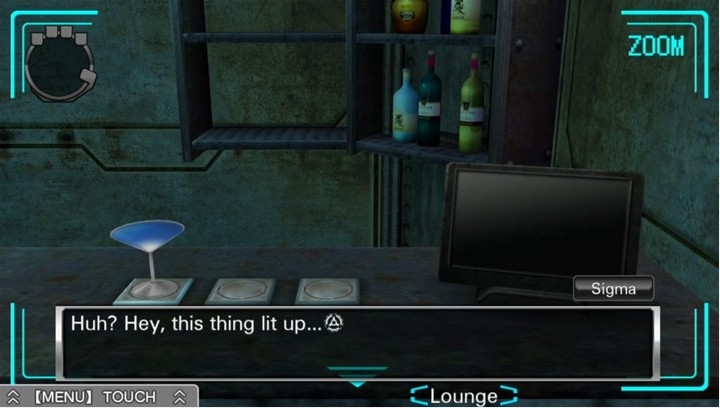
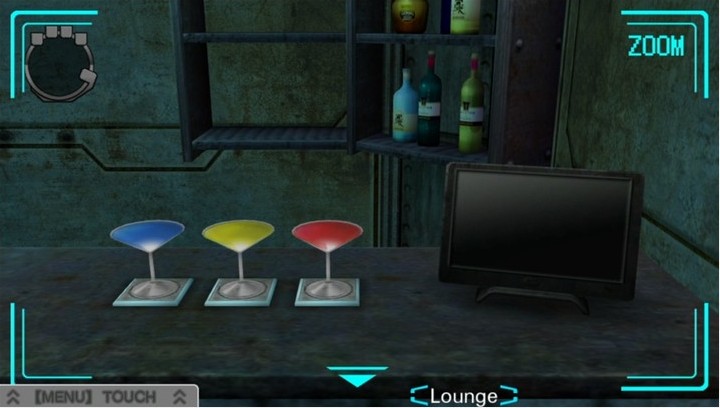
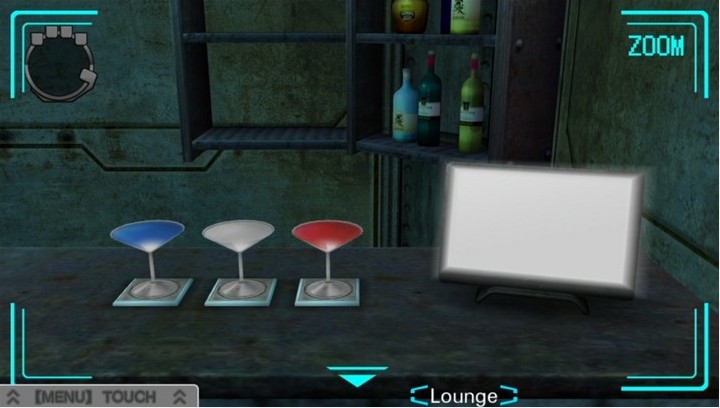
Hello, bar.
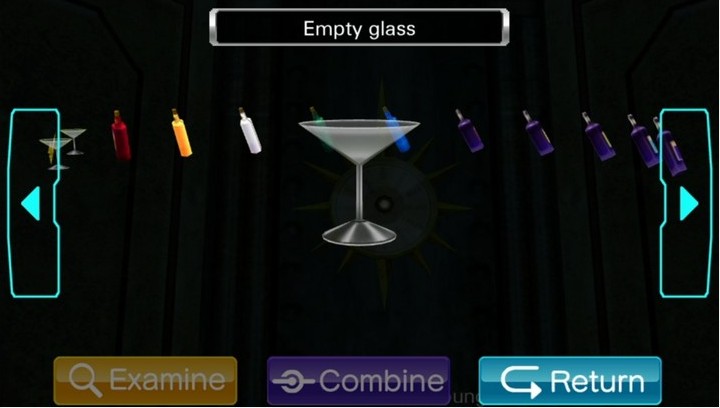
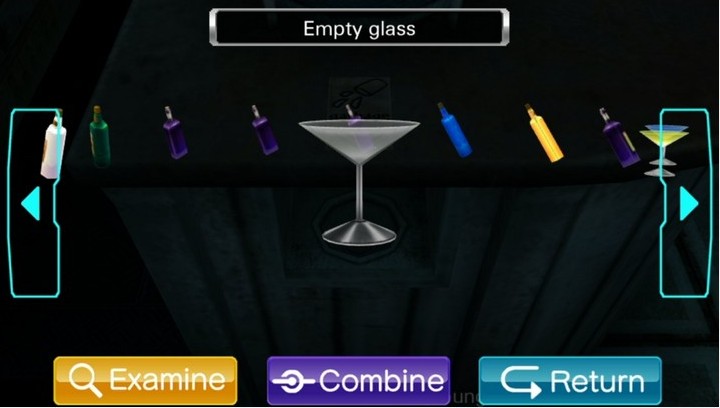
Let's begin the Item Overload™. Each of these glasses can be picked up.
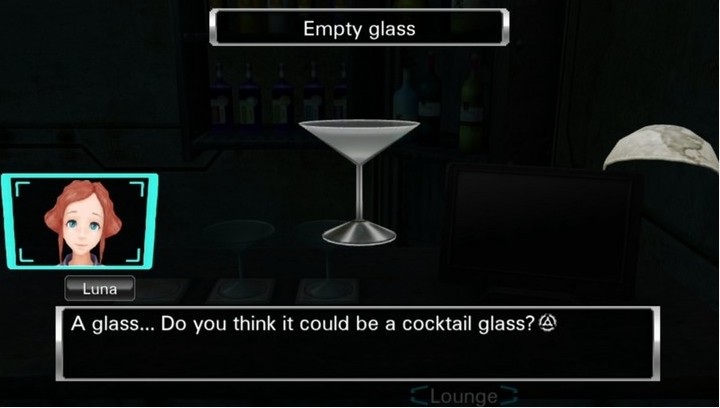
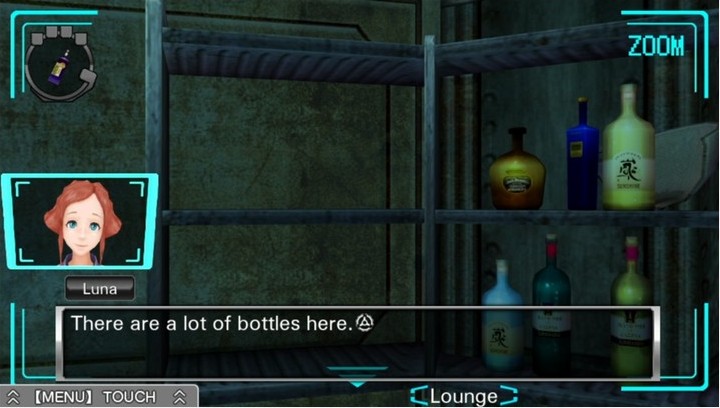
There's nothing in it.
Thank you, Luna.
What are you, some kind of barconteur?
Ugh...

Oh come on, that one was genius.
...Anyway. The third glass comes with a bonus.
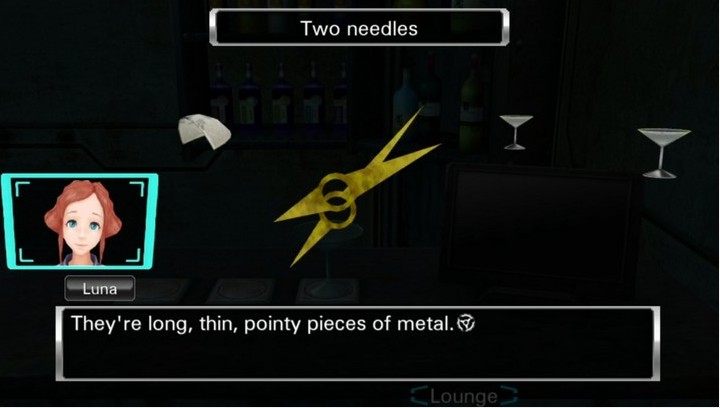
Are they needles of some kind? Why are there two of them?
Why indeed. But don't worry about that just yet... we're not even started with Item Overload™ yet.
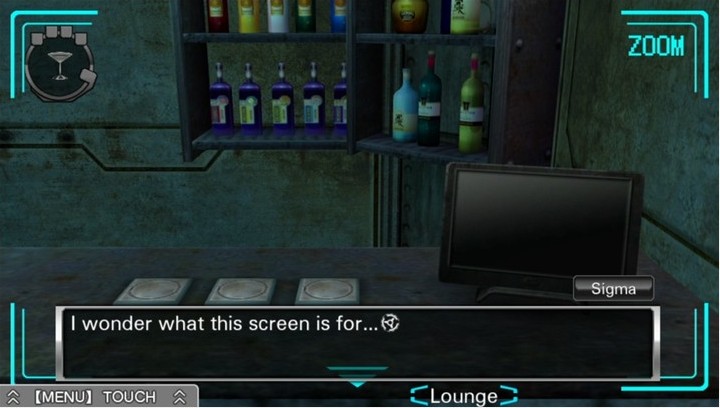
It doesn't look ike it's turned on...
Can you see a switch?
No. Nothing.
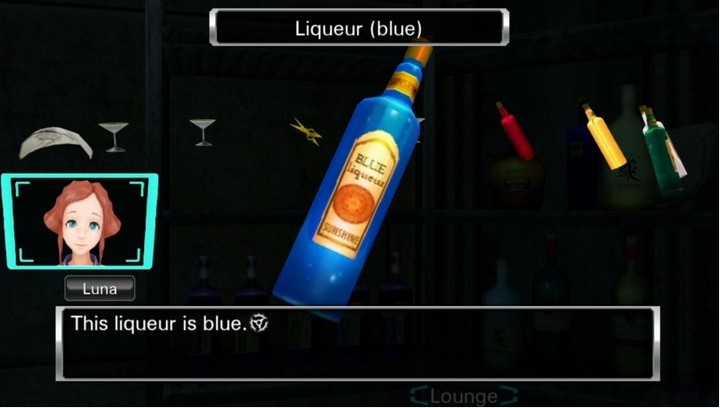
Let's help ourselves to the supplies.
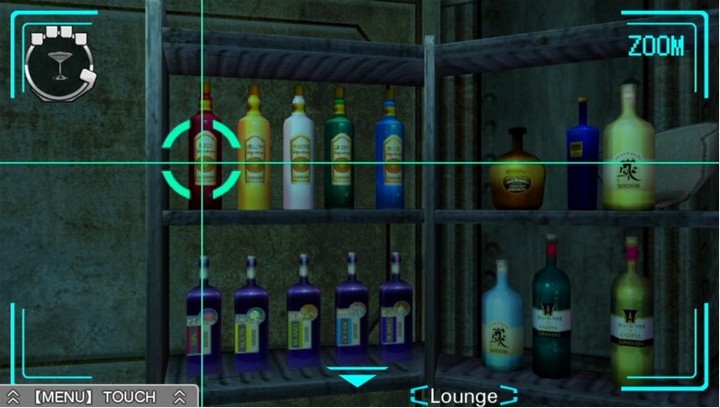
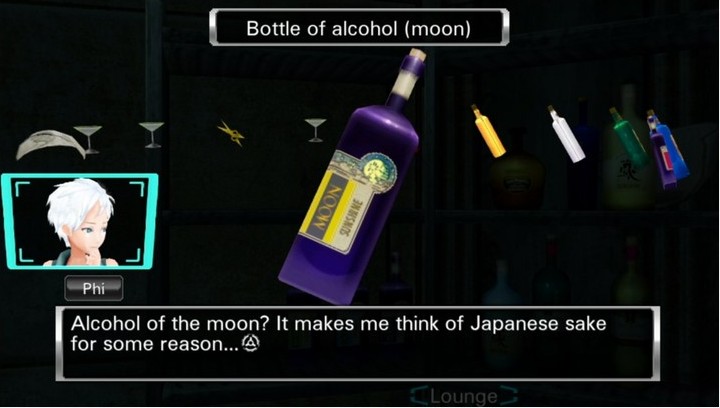
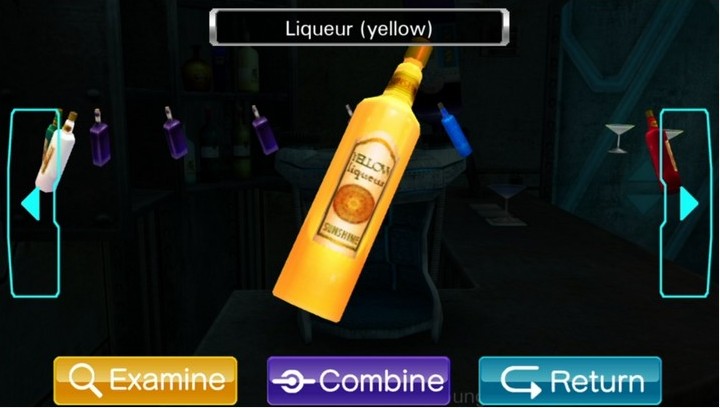
Brace for items.
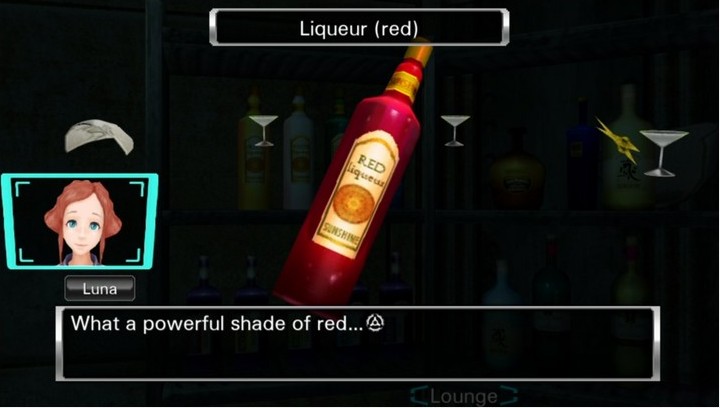
It feels so... passionate.
Maybe this would be good for trying to woo a girl...
Wanna try some, Luna?

Hey! I see what you're trying to do!
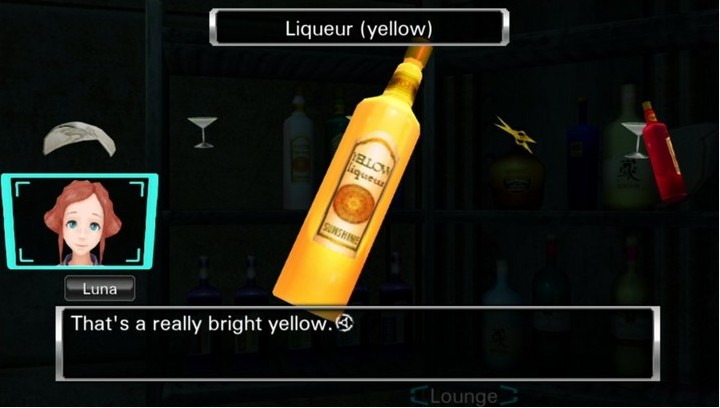
Some animals use yellow as a warning to predators, so maybe this is a warning to us to stay alert!
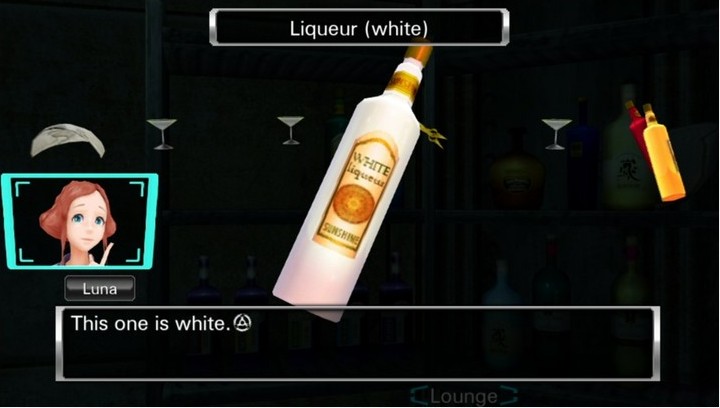
White always makes me think of wedding dresses.
I'd like to wear one some day...
That means you're single, right?!

Y-Y-Your face is s-scaring me...
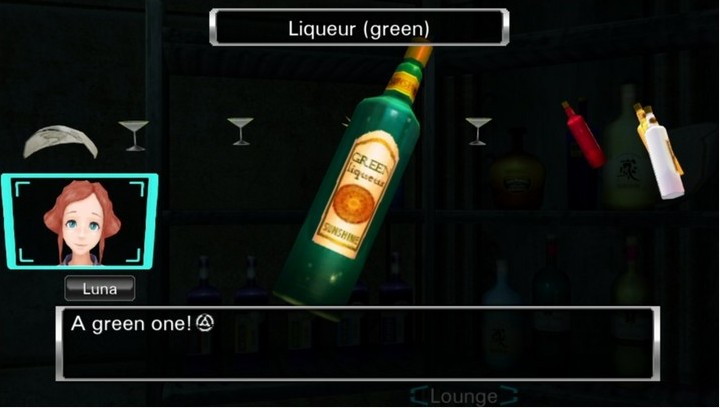
You know, my favorite color is green.
Just looking at it makes me feel happy and calm.
I think it matches you, Sigma.
Why's that?
Well, you're wearing blue.
That's... pretty straightforward.
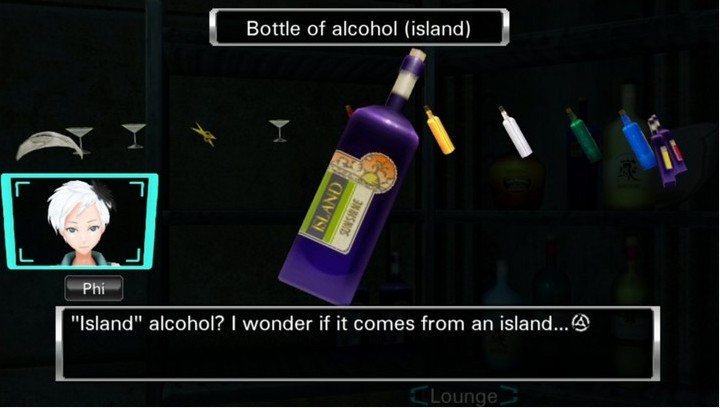
This bottle, and this bottle alone of all the bottles on the shelf, has additional "dialogue".
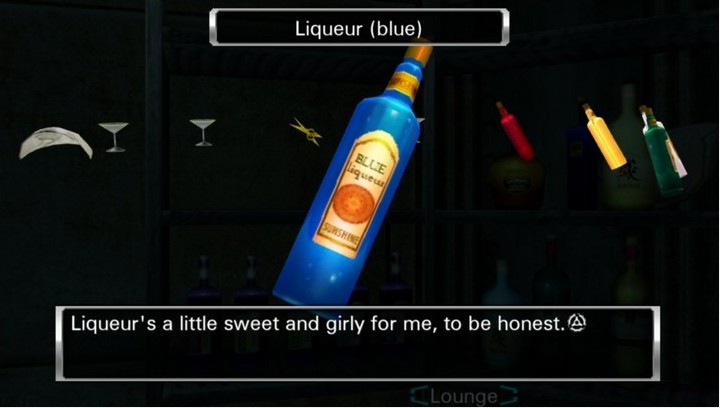
If you say so, Sigma.
Well, that's all the liqueur.
...Oh, did you think we were done?

*Drool*
It looks good...
Don't drink it!
*Drool*
It also makes me wanna drink it...
Don't drink it!
*Drool*
How interesting...
Don't drink it!
*Drool*
Now I want to try it...
Don't drink it!
*Drool*
But with our powers combined...
Don't drink it!
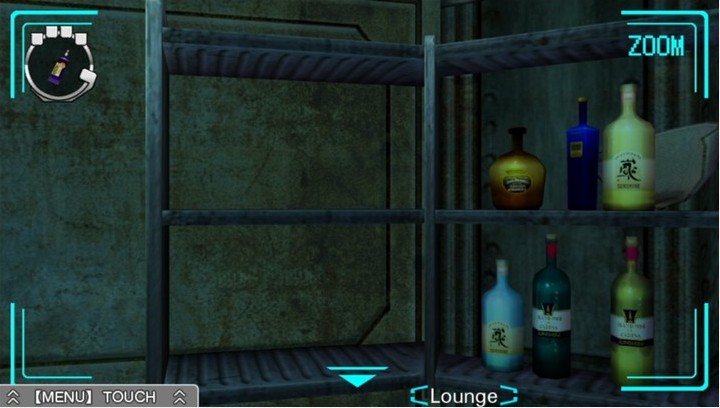
Phew. That's all the booze. And we haven't even gotten to the puzzle yet.
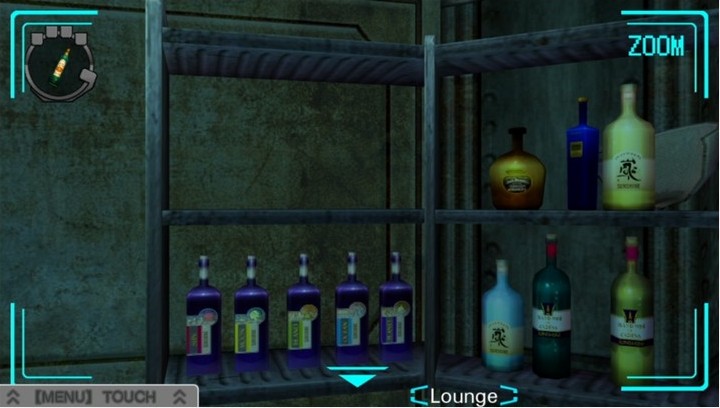
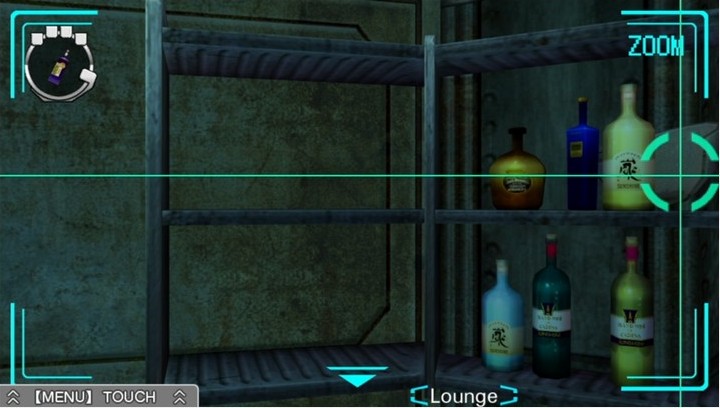
We're still not done with the shelf, however.
By the way, while the remaining bottles mostly have generic - though detailed - labels, that one on the top left is clearly Jack Daniels.
Here's a better quality shot if you still don't see it.
I am acutely aware of that.
How'd you like to have a drink with me?
Huh?
O-Oh, um...
She's getting all nervous now.
Ahahahahaha...
*Drool*
You want some?
Just a little... Can I?
Of course not!
Why not? I'm actually a really friendly drunk!
That's not the problem!
Guh... jerk.

Okay, we should probably get away from here now.
Just one more thing...
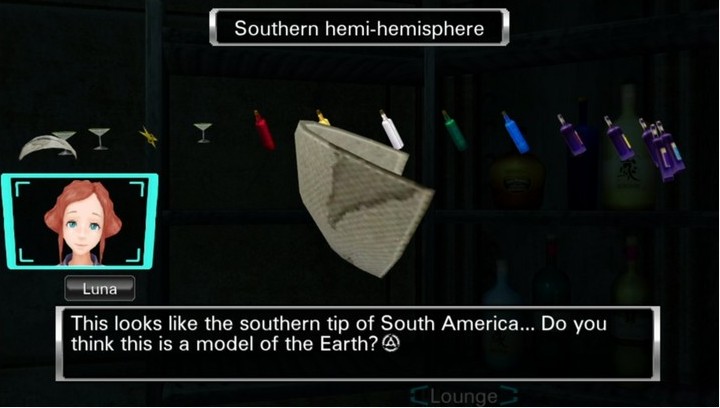
I think this is half of the southern hemisphere.
I suppose we could call this the southern hemi-hemisphere. For now, at least.
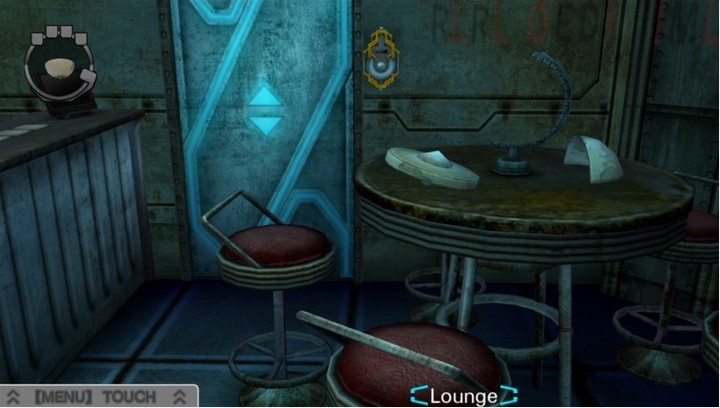
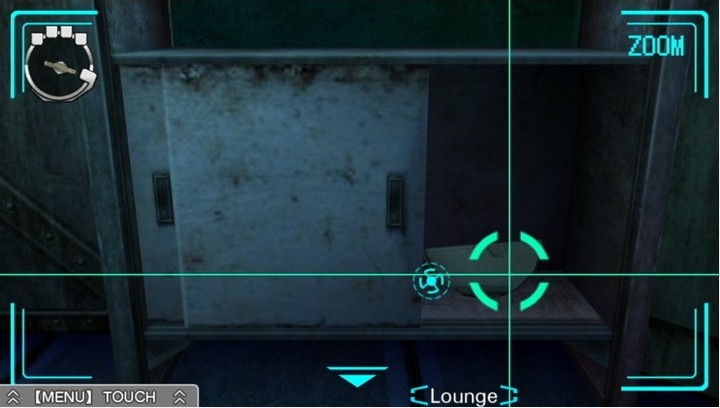
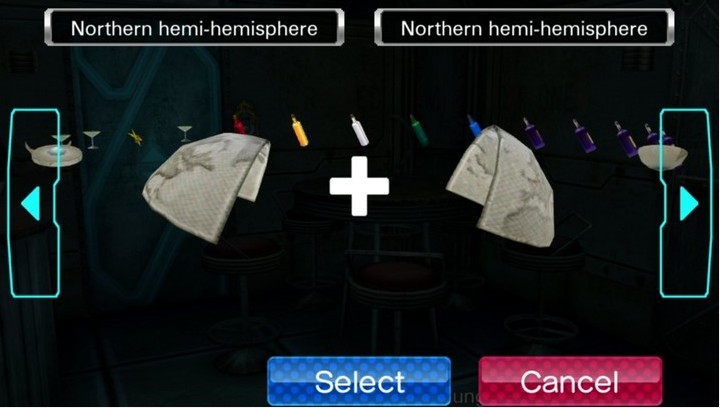
Next stop: this table!
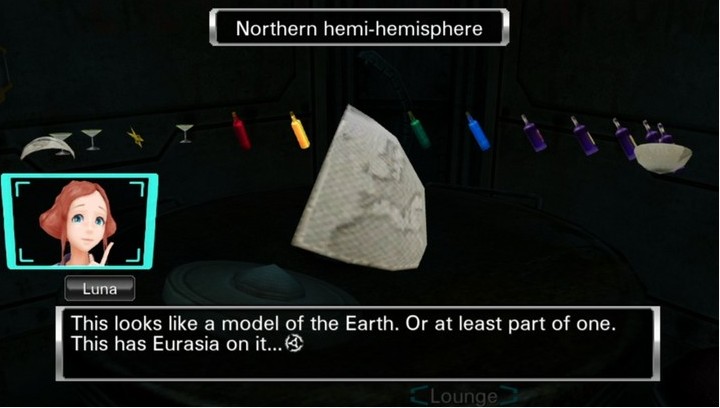
It's like someone sliced the northern hemisphere in half.
I guess we can call it the northern hemi-hemisphere for now.
It's got these cones in the center...
Yes, but look at the edges. It looks like part of a map.
Could this be part of the Earth?
...
...What? Is that even a thing?
Of course. You've never seen one?
...
Well, anyway, it only looks like one. I think it's something else.
So we have no idea what it is after all.
Most curious. Let's dwell on the mystery a little longer.
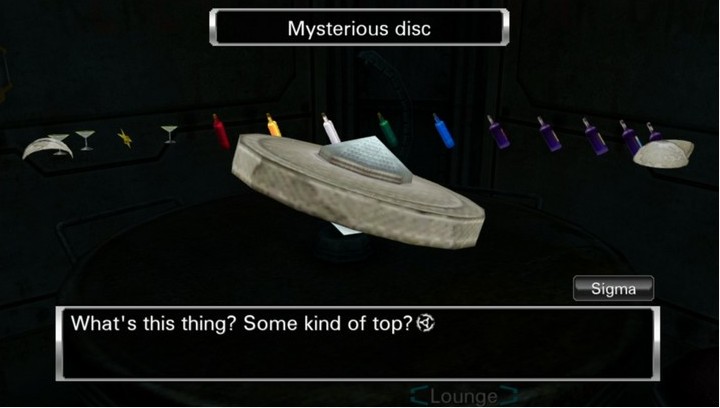
So, what the heck is this thing...
Well, maybe it's part of a model.
There may be other parts of it we have to find.
What sort of other parts?
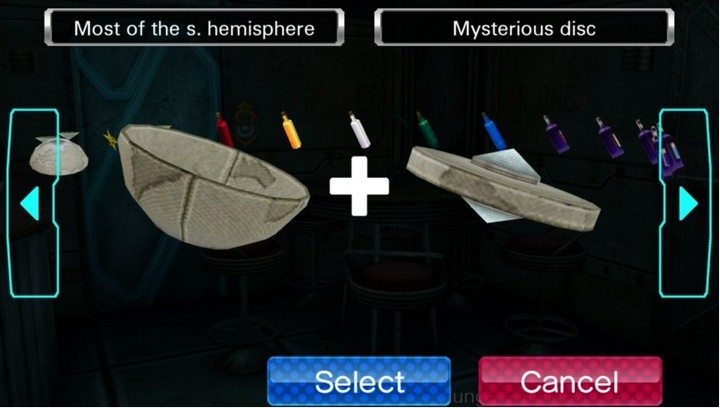
Well, maybe a sphere?
Doesn't it look like something round is supposed to fit into it?
Yeah, I guess it does.
Let's get a better look at this device...
Well, the keyhole does lend some credence to that theory.
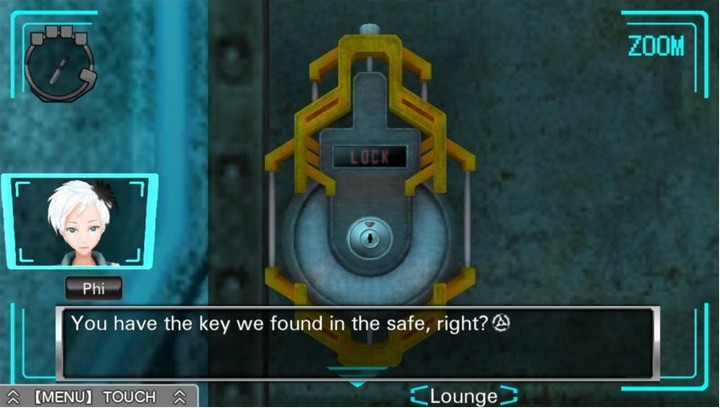
So, we need to find a key that looks like it fits in there, right?
Yes, that should do it.
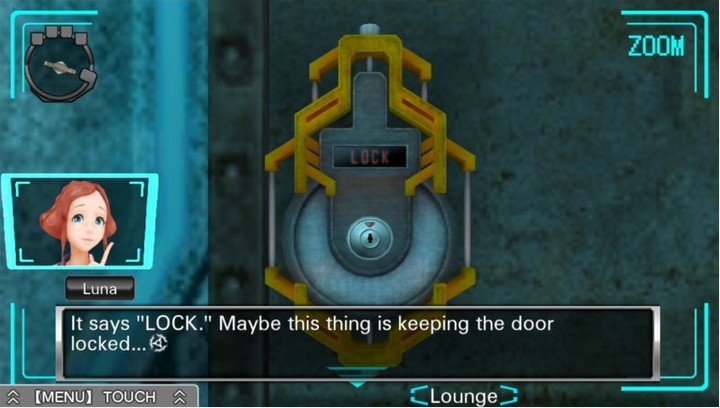
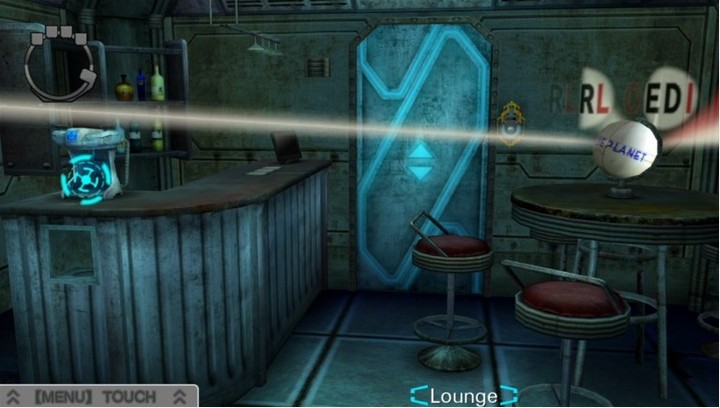
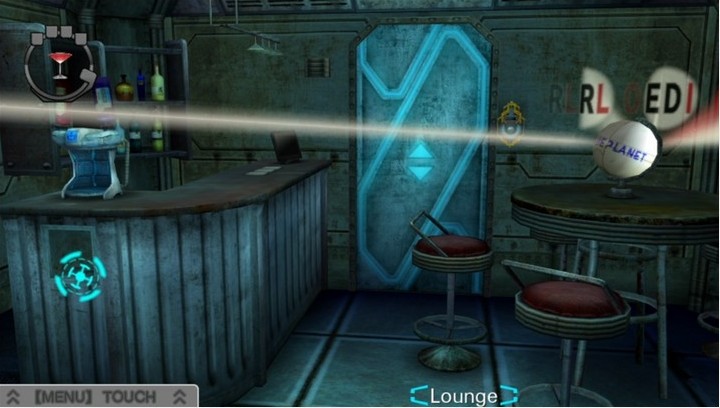
This looks suspect.
There are some letters on the wall. Some of them are black, and some are red.

Is this some kind of code?
Beats me. Let's ask-
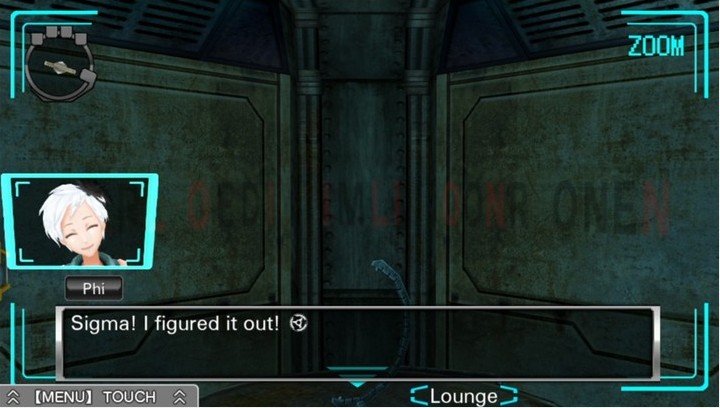

I know what's written on the wall!
Wh-What?!
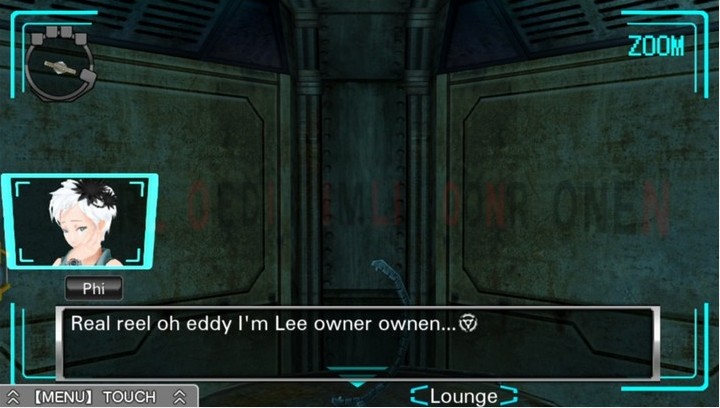
Goddamnit...
You just sounded it out!
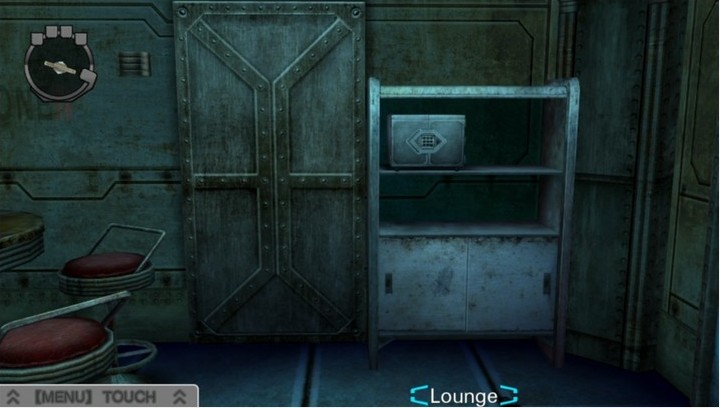
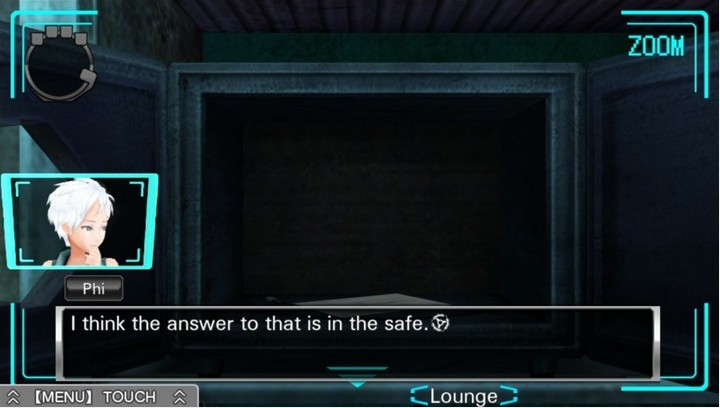
And finally, this shelf over here. Guess we found the safe!
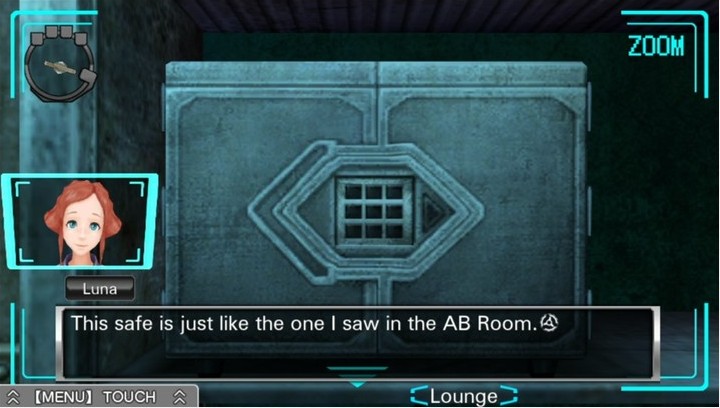
Yeah, Sigma and I saw one just like it.
So do you think it opens the same way?
Try it and find out.
Crap. Worth a shot.
No good. I can't do it.

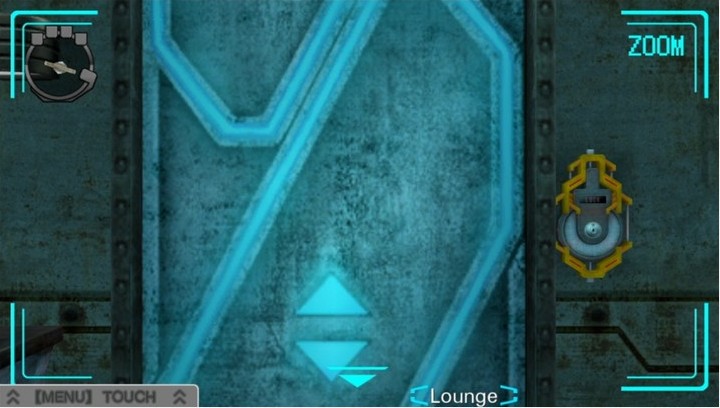
There's also this suspicious sliding cupboard here.
Score.
Half of the southern hemisphere...
I guess that would make this the southern hemi-hemisphere.
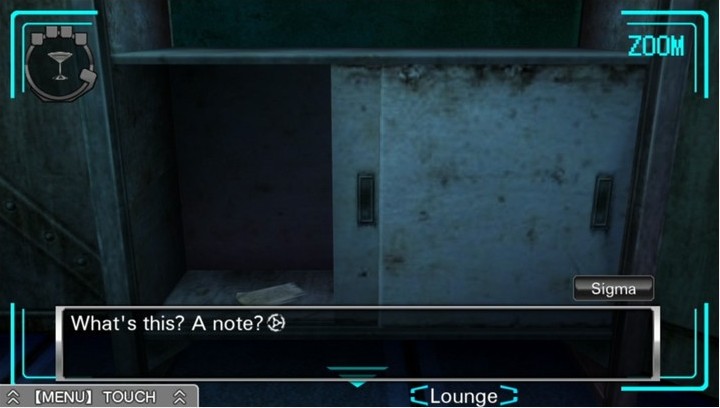
It looks like a page from a journal...
Oh god. I smell a logic puzzle.
Anyway, we've built up quite the collection of stuff!
Let's see about getting rid of some of it.
Doesn't take a genius.

We are the cleverest.
...Actually, it's missing some land here around the equator. I guess it's not really a complete hemisphere.
While we're at it...
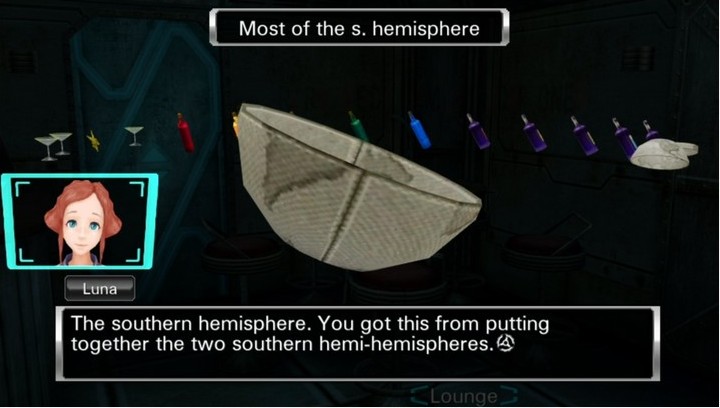
It's missing some near the equator, so I guess it's not the entire southern hemisphere, though.

The. Cleverest.
Oh.
You'd think eventually Phi would pipe in with a put-down and the solution, but no. We have to solve this mystery ourselves.
Alright, now we're the cleverest.

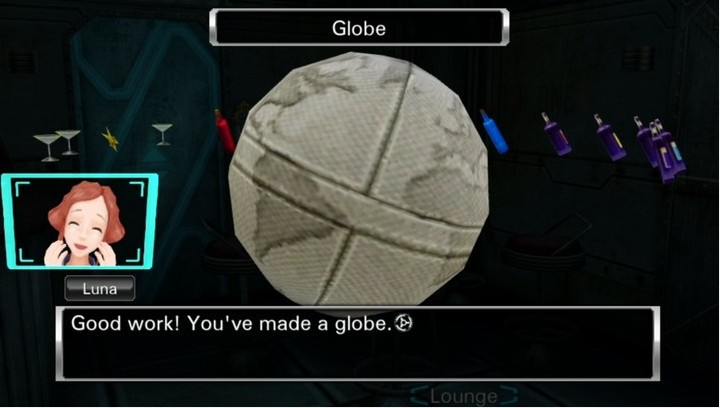
Can you locate Mt Cleverest on this globe?
Trick question. Mt Cleverest is holding the globe.
And if you look closely at it, I think it's actually transparent.
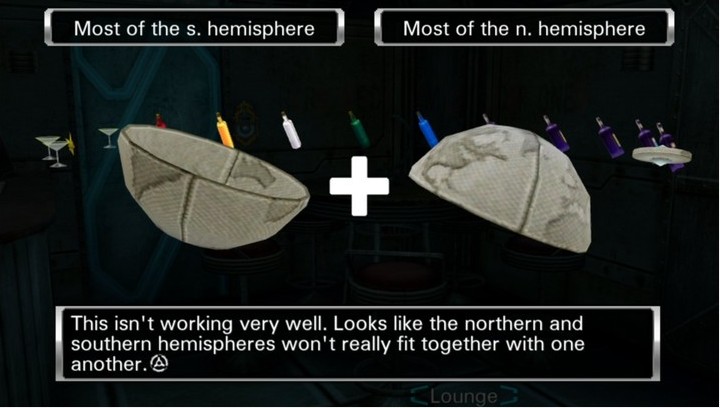
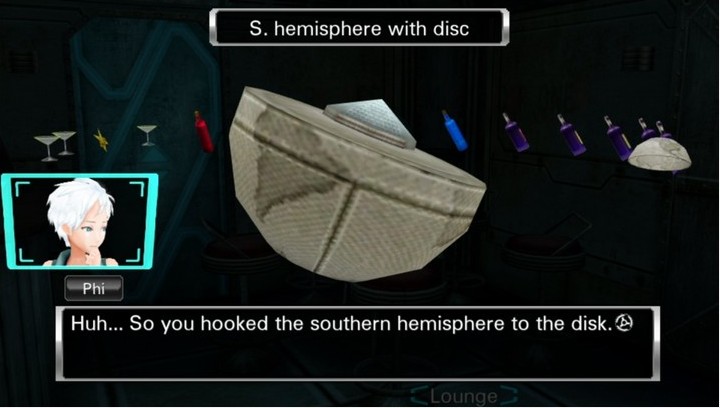
Alright, I think we can guess where this goes...
Yeah.
Just... like... this.
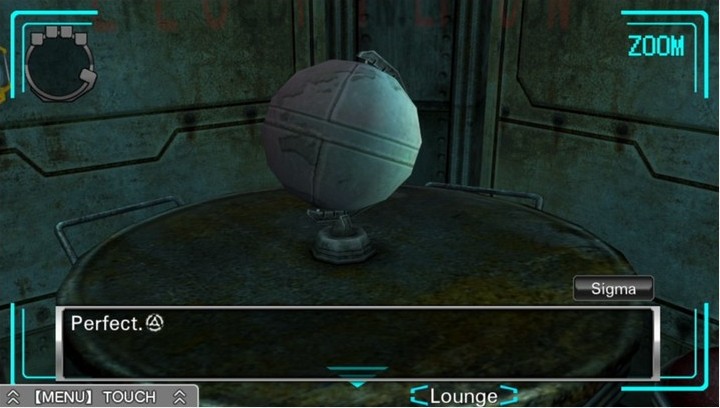
Yeah.
Um... now what?
...Okay, I guess we'll have to let that sit for a while.
Oh, hey, I forgot about this thing, what with all the other fascinating stuff in here.
Uh... what was the deal with this thing again?

What about them?
Just thinking they looked like clock hands.
Thank you Phi.
Let me just dig them out from this MOUNTAIN OF CRAP.
Well, I put the hands on the clock, but nothing's happening.
What if you move them?
Move them where?
I don't know. Experiment.
All right. Let's give it a try then...
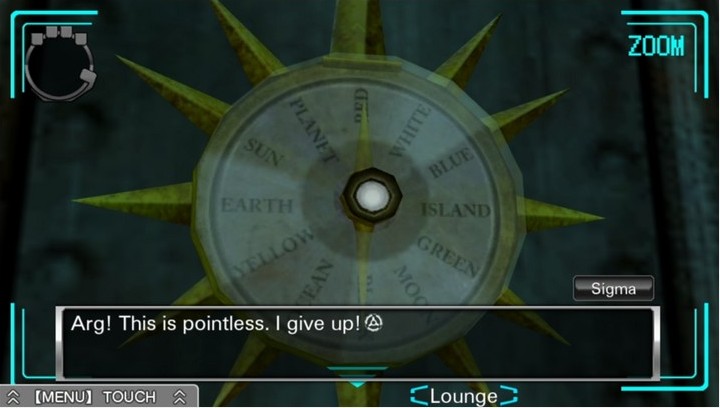
Joy! A minigame. You can totally spin the hands using the touchscreen.
Sadly, we don't know the answer and we definitely don't have any clues.
I'm guessing I need to move them to a particular time, but...
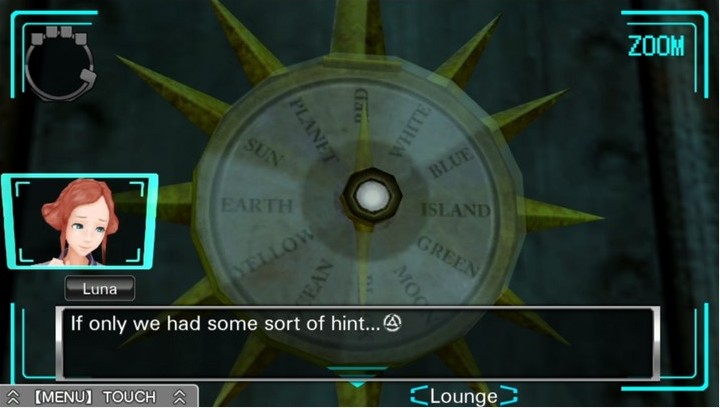

Wasn't there something with a time written on it?
There was?
Yes.
This is one of my favourite hint dialogues, actually. It's subtle. Not with regards to the puzzle hint, but... contrast Luna's manner here with Phi's from the elevator.
Hey, do you still have that astronomy magazine?
What did it say on it?
Let's take the hint.

Mmm hmm.
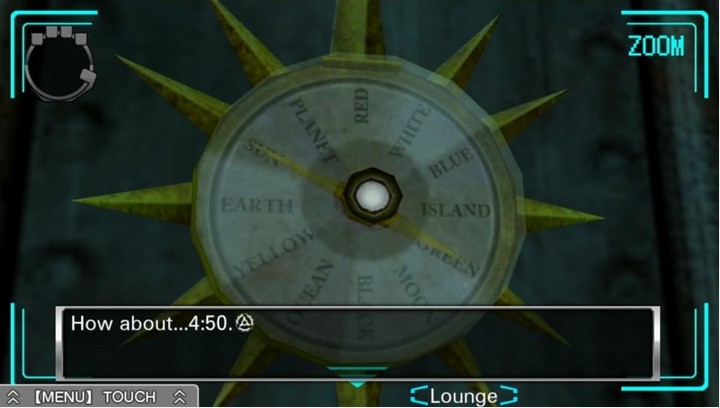
(That puts the short hand at "GREEN" and the long hand at "SUN".)
A green sun...
I hadn't noticed!
That's pretty impressive.
OK, that's great, but I still don't see how this he-
-oh.
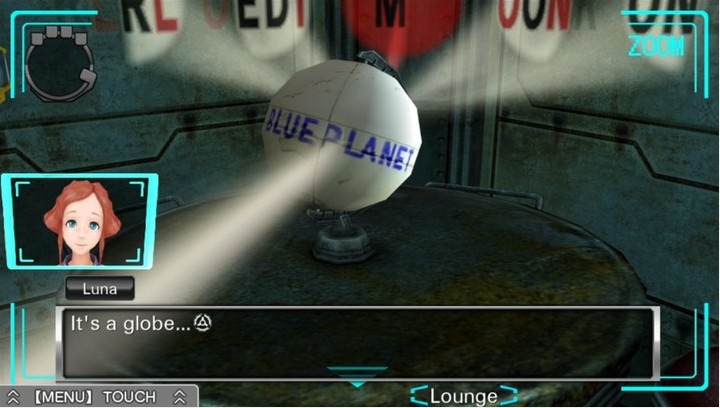
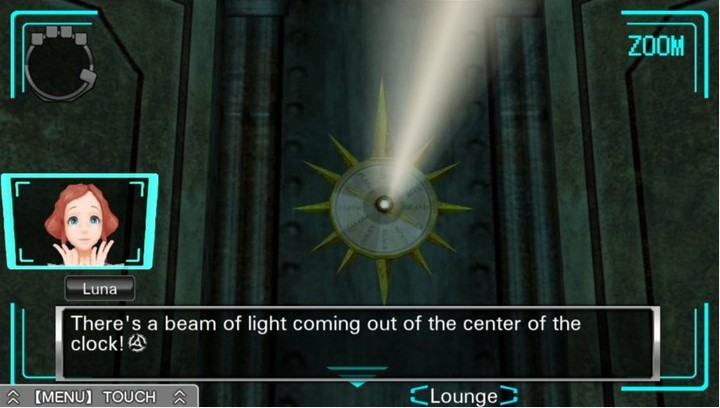
Look, some letters appeared on it.
They say... "BLUE PLANET."
O...kay? I mean, that was a really great series and everything but...
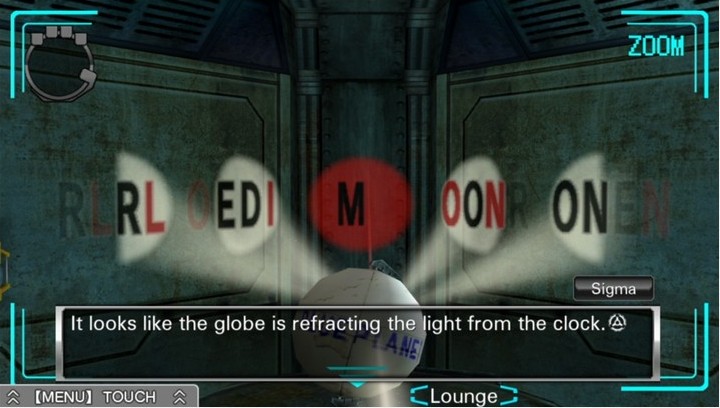
Yes, into five different rays of light.
Only the one in the middle is red, though.
What the hell does that mean...

Don't you know what that is?
During a total lunar eclipse, the Moon is entirely covered by the Earth's shadow.
That doesn't mean the Moon just disappears or turns black, though.
It actually reflects light that's passed through the Earth's atmosphere.
But that makes it appear to be red.
Essentially what's happening is that the Moon is reflecting the sunset.
So that red circle of light is supposed to be a total lunar eclipse?
Isn't that what I just said?

I donno, I just can't see it.
You don't believe me?
No, that's not what I meant.
Well, whatever you did mean, I'm pretty sure that the red moon during a total lunar eclipse is part of this whole thing.
How do you know?
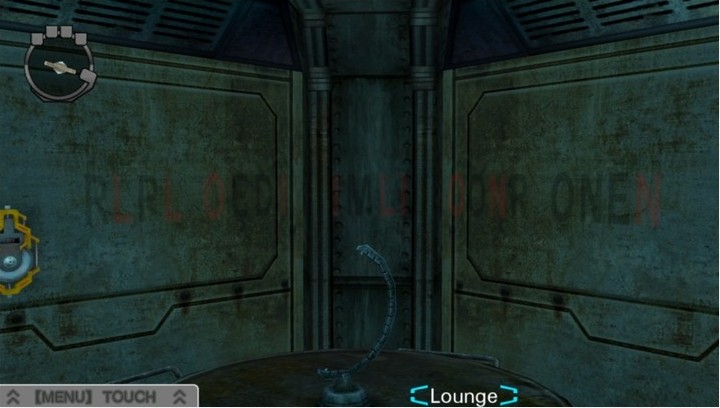
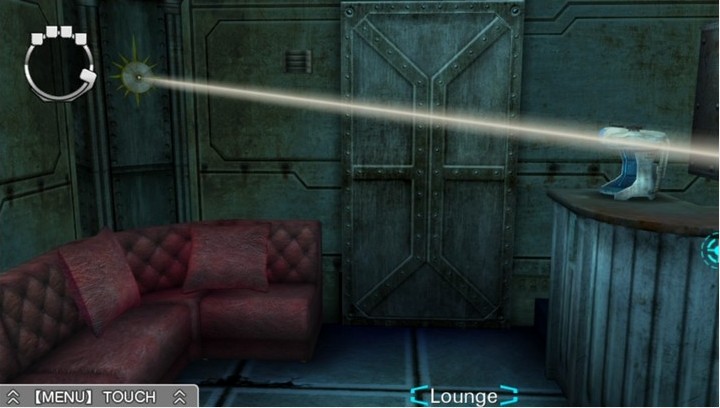
Look at the letters on the wall.
Which ones is the light shining on?
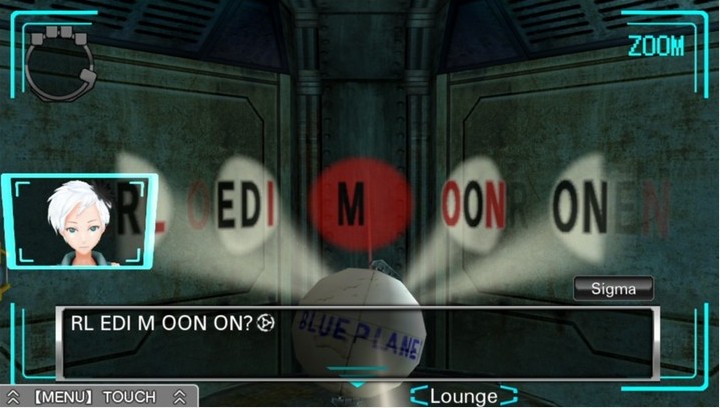
No, I don't think that's what she means.
Just read the black letters.
Are you sure?
Yes.
R ED M O ON...
...Red Moon!
Finally figured it out.
...Wait a second.
What about the red letters?
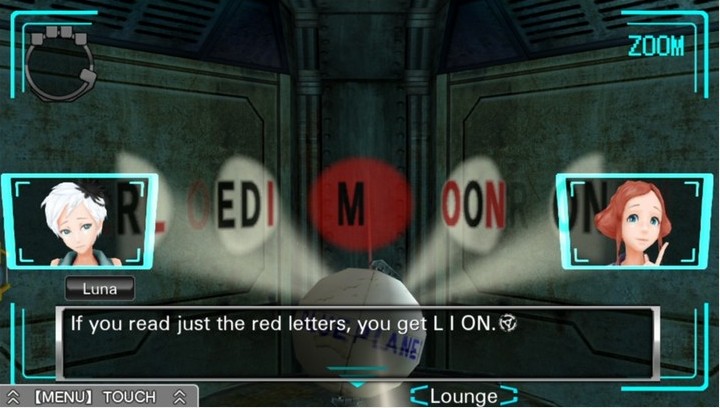
"Lion"...
What does "lion" mean?
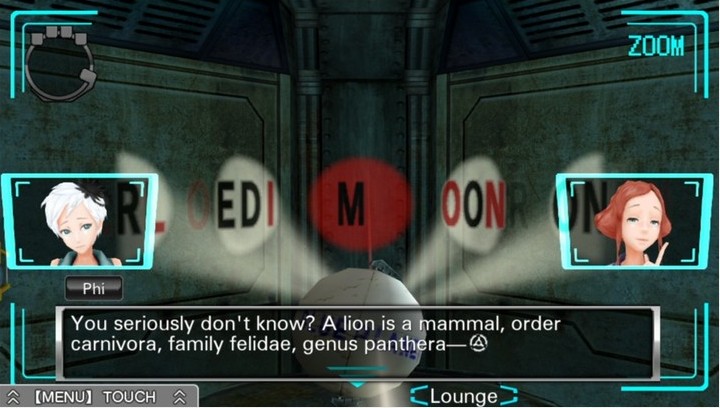
I know what a lion is!
What I don't know is what the word "lion" means here!
Well why would I know that?
A red moon and a lion...
There has to be some sort of connection.
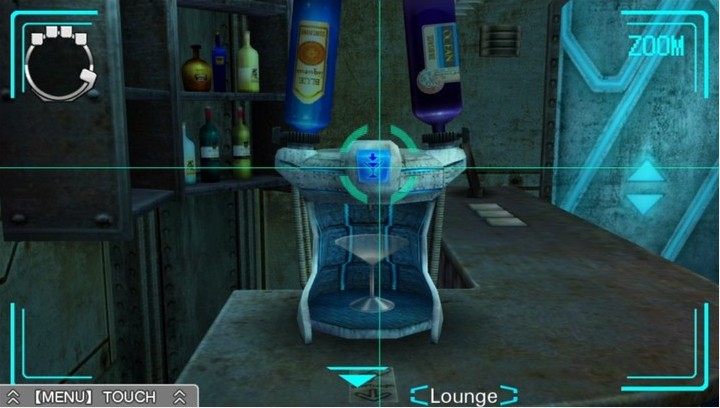
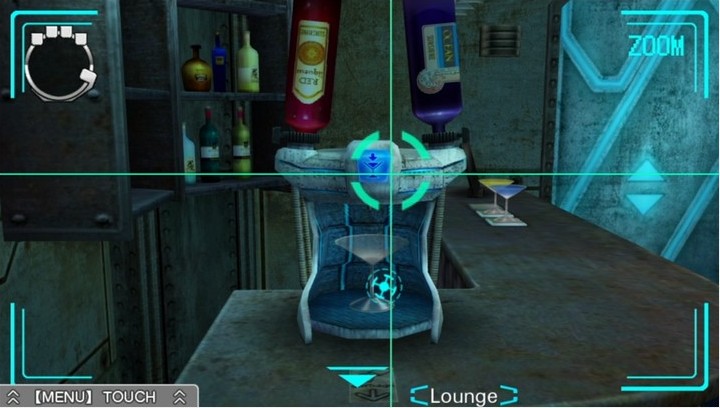
Alright... This is the last thing in the room we haven't examined... and we sure as hell are going to be seeing a lot of it as we solve this room's central puzzle.
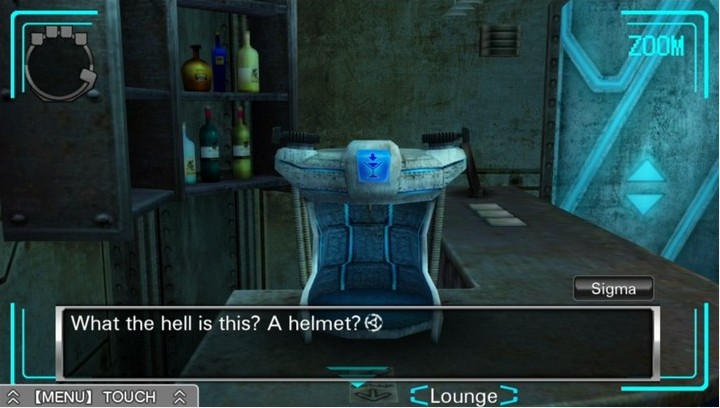
How on Earth does this look like a helmet?
Well if it's not a helmet, what is it?
Maybe it's a bread maker... Or one of those automatic cat feeders...
...What?
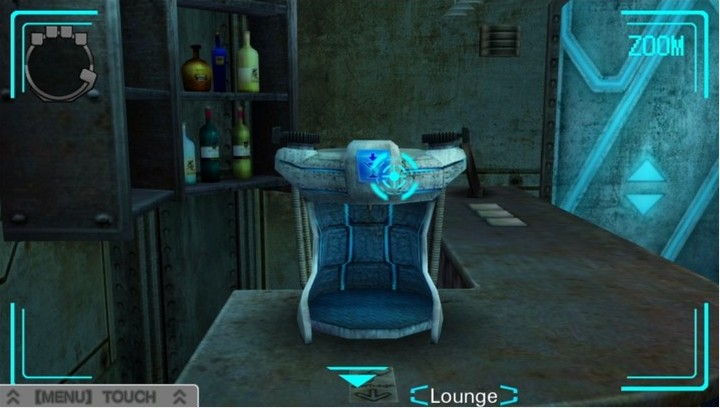
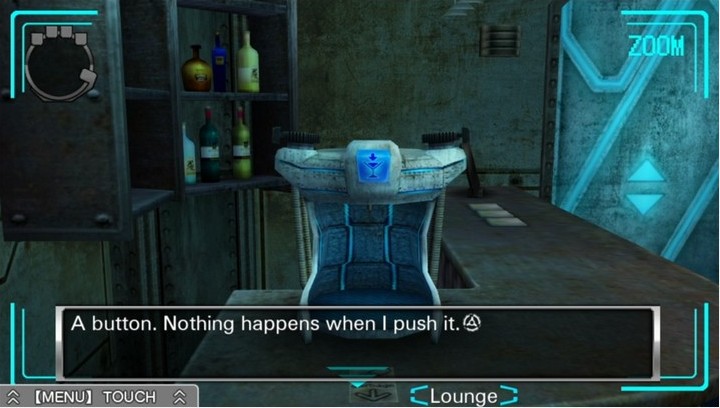
When in doubt, press everything.
What's this button for?
It's got an icon on it that looks like a Y.
Why don't you try pushing it?
What's going to happen when I push it?
You'll get a fresh loaf of bread?
That's... I'm not going to dignify that with a response.
But...
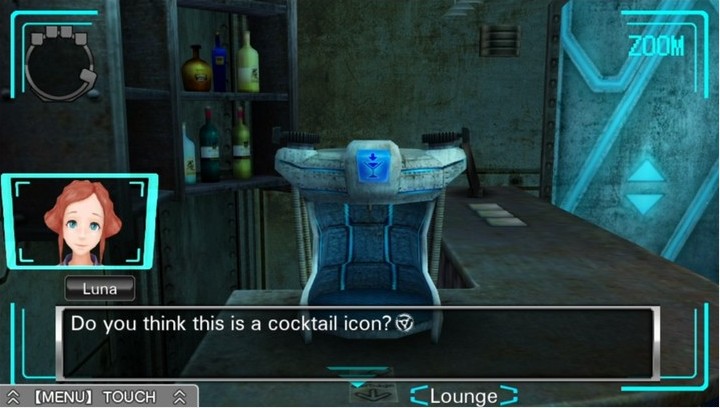
A... what?
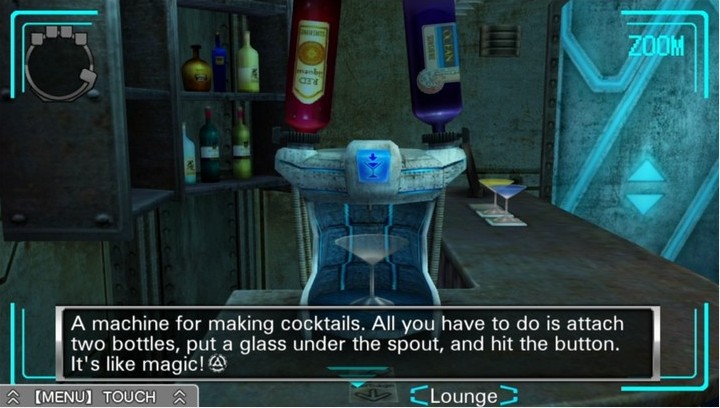
Well, I mean, it kind of looks like a cocktail glass, doesn't it?
Yeah, and we could probably stick a pair of bottles into the holes on the top.
So you think we can use this to make a cocktail?
Yes.
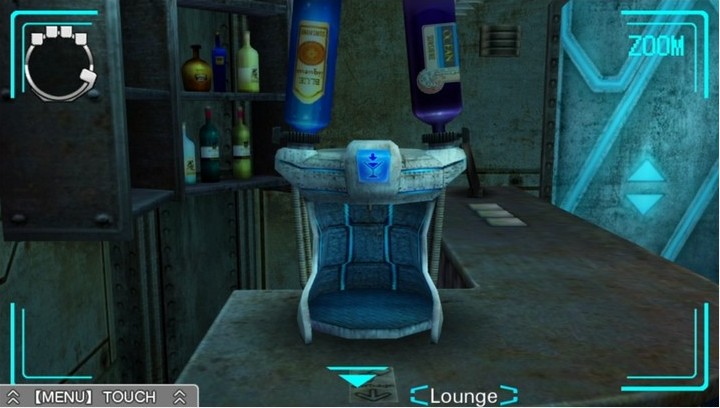
Well, let's stick in some bottles...

Activate!
W-Wait!
Isn't there still something missing?
...No...?

Activate damnit!
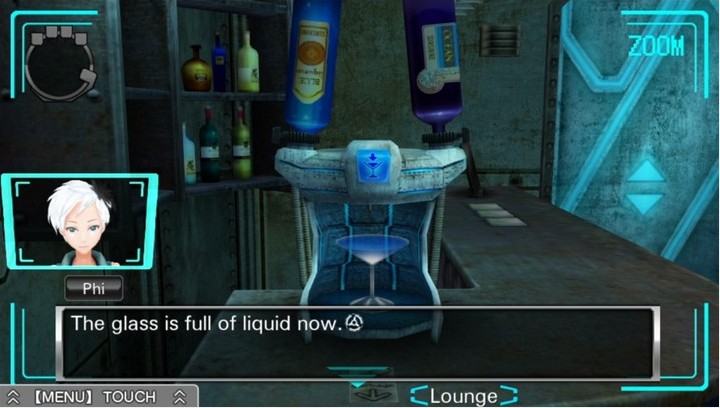
There are two upside-down bottles plugged into the machine, right?
Don't you think that it'll just go everywhere if you press the button now?
I think you need something for the alcohol to go into.
I need to put a glass in there, huh.
No we don't.

Ok. Third time's the charm!
Wait! Hold on!
If you push that now, everything's going to get soaked in water!
Well, soaked in alcohol, I guess.

I'm just fine with this!
Hey! What are you, a child?!
Put a glass in there before you push the button!
She's right.
If you don't everything down there is going to get wet.
...Huh?
Wait, what?
I said, everything down there is going to get wet.
(...)
(...I approve)

Alright, fine.
We'd be lost without you, Phi.
It looks like we've made a cocktail!
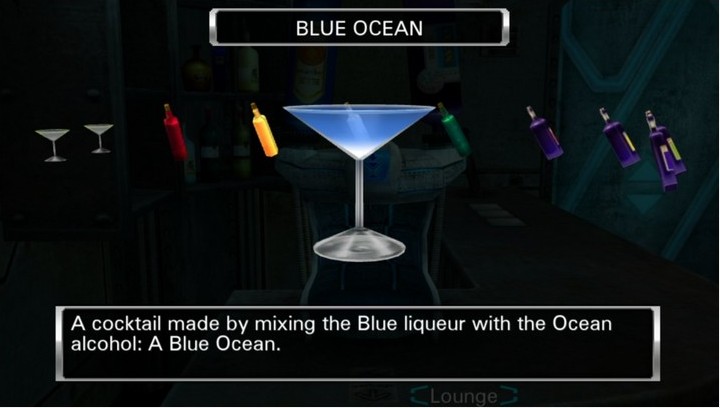
Yep. Fortunately for my sanity, none of the twenty-five possible cocktails have any unique dialogue associated with them. So that's a small mercy.
The only small mercy.
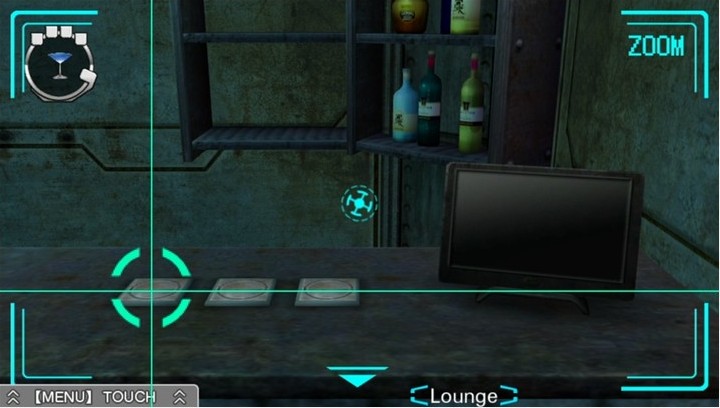
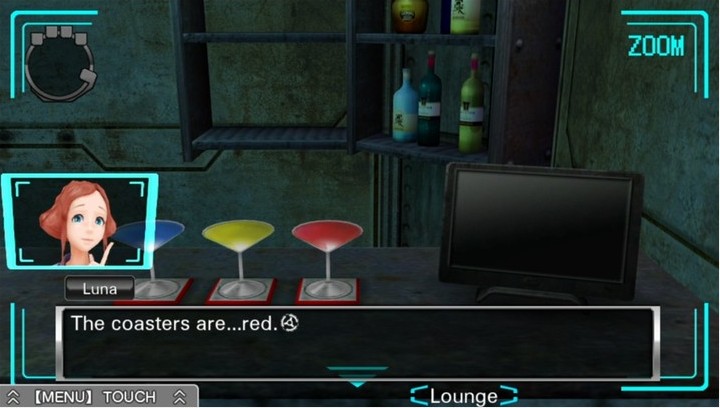
Anyway, let's put a drink on the bar. It's what bars are for, right?
It looks like it's made to light up when you put a cocktail on it.
Let's try putting some on the other coasters!
So, here's the problem. This puzzle is straightforward in concept but clunky as fuck in execution.
To mix each drink, you have to load a liqueur bottle, an alcohol bottle, and an empty glass into the machine and press the button. Each of those things requires you to dig through your inventory (which contains ten bottles - five of which look identical - and three glasses, and becomes progressively less organized as you add and remove items), equip an item, and interact. Further, removing an item from the machine (the filled glass, or one of the alcohol bottles) automatically equips it, so you're constantly futzing around with the inventory screen.
It's a pain.
Here I accidentally missed the button.
A cocktail machine, huh...
We just need to put two bottles in it, right?
Well, we also need to put a glass under it too.
And then just push the button...
Gosh, that's really impressive! How much is it, sir?
Buy today, and we'll include a set of glasses for only $9800! What a bargain!
If you buy now, we'll throw in another one for free!
But I only need one!
Anyway, we mix some drinks I guess.
It doesn't seem like anything else is happening.
Red isn't usually... good... is it?
Do you think we did something wrong?
Another curious aspect of this puzzle is its relative lack of hint dialogue. OK, so the current iteration is easy, but of course there's still the secret solution to worry about, and that's harder. All you ever get is a "oh, I guess we mixed the drinks wrong".
OK, so we need to change our drinks up...
There's one last interactive entity in this room...
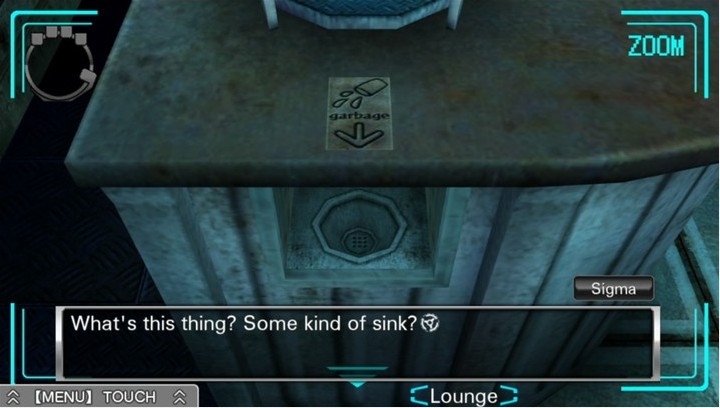
Ah, clever. If you get wasted, you can just puke into here.
That's not what it's for!
There's an icon on the counter above it.
Huh. I guess it's a drain. You pour leftover drinks down it.
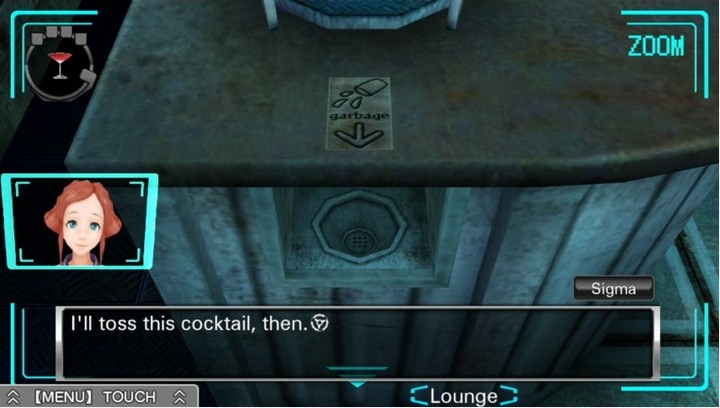
No! Why waste it?
Drink the thing.
I'd like to, but... what if it's poisoned?
...
See? I think it's better if I just pitch it.
Doing this automatically equips the empty glass, which is great if you make a mistake mixing and immediately want to try again, but less great when you just want to toss three drinks.
Anyway. Let's skip a whole lot of tedium and...
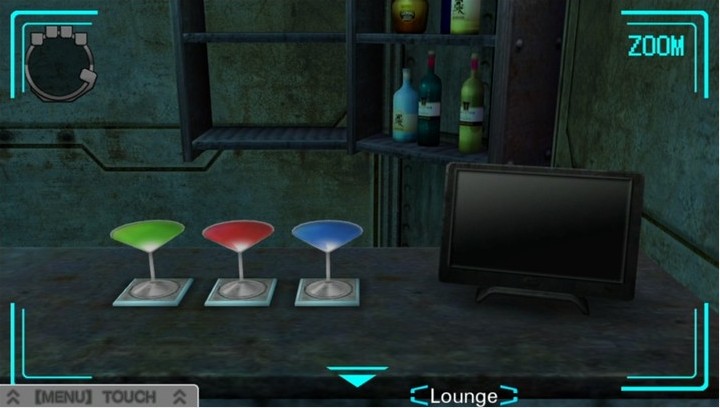
Let's just serve up a Green Sun, a Red Moon and a Blue Planet.
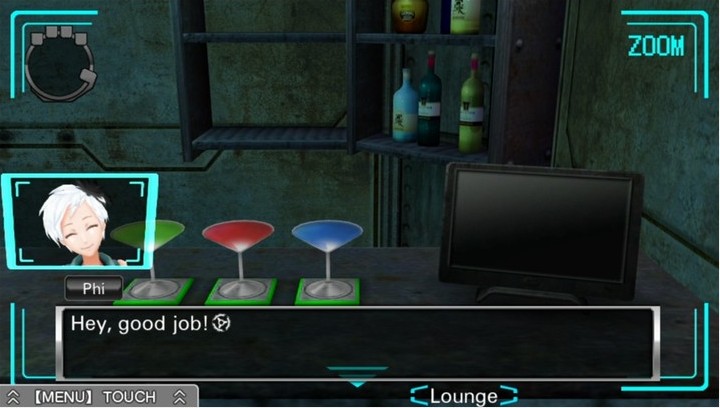
All the coasters are green!
Green means I got it right, right?
Look, something happened on the screen...
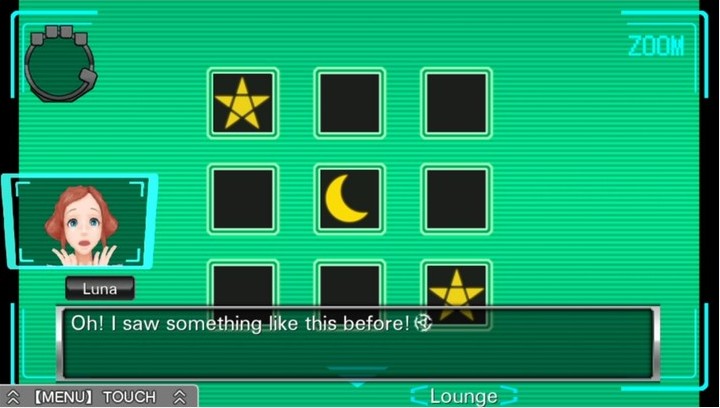
You too?
Yes. There was one in your AB room?
Yeah. I think so.
It opened a safe back then.
We should write this down somewhere...
No, it's cool. I can remember it.
You're going to memorize it?
Sure, no sweat. I've got a pretty good memory.
Alright... Now we've got to figure out the secret solution.
This is ordinarly where I'd proceed to have Sigma blunder around poking things until Luna and Phi get sick of him being dumb and solve it for him, except there doesn't seem to be any hint dialogue here (setting the wrong drinks just gets a comment about the coasters all being red and that being bad), so we're going to have to break character here and actually be clever for a bit. Sacrilege!

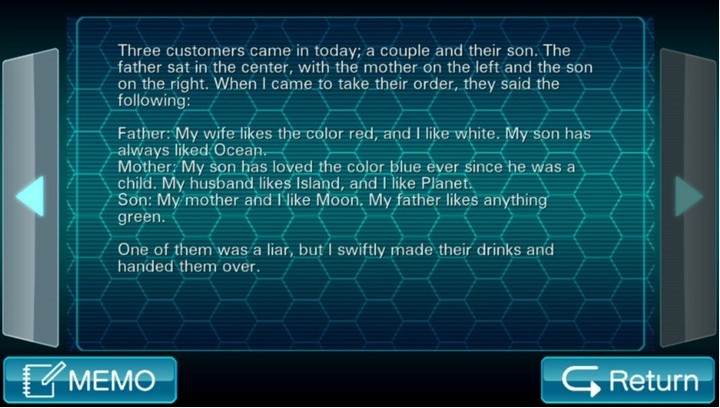
So, hey, remember this thing? If you're into this sort of thing, I'll throw in some whitespace while you solve it yourself.
So. Given that this information alone was enough to tip off the bartender that someone was lying, we can infer that someone's information conflicts with the others'. Checking this is pretty simple, we just crossreference everyone's claims, like so:
code:
Source:       Father likes:   Mother likes:  Son likes:
Father        White           Red            Ocean
Mother        Island          Planet         Blue
Son           Green           Moon           Moon
Father: White Island
Mother: Red Planet
Sun: Blue Ocean
So, let's go mix those up.
Oh, and don't forget to set them out in the right order! Remember that the journal was written from the bartender's perspective, so from our perspective the Son is on the left and the Mother on the right.
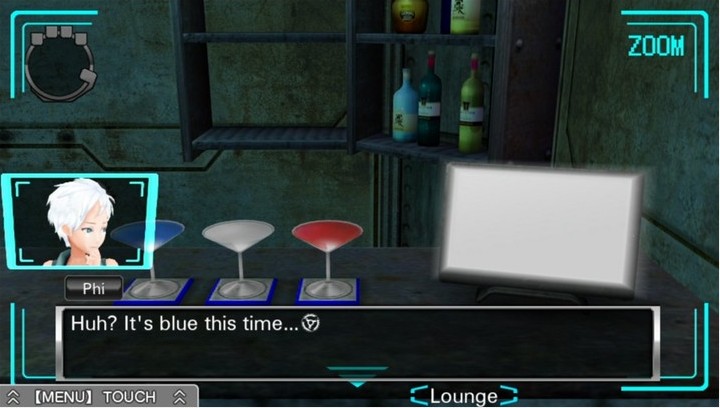
Yeah, they're all blue...
There's something happening on the screen...
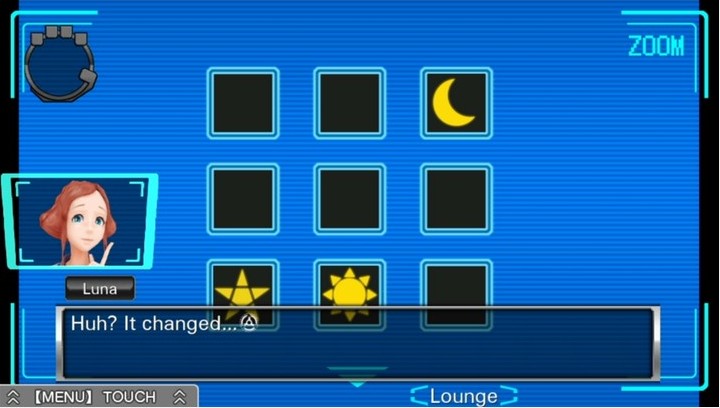
Now there are different shapes, in different places...
Well, it's probably related to the safe somehow.
Can you remember this, Sigma?
Leave it to me!
Alright. We're done here.

Now then...

Good job, Sigma!
Hm. Well done.
File acquired.

So it would seem.
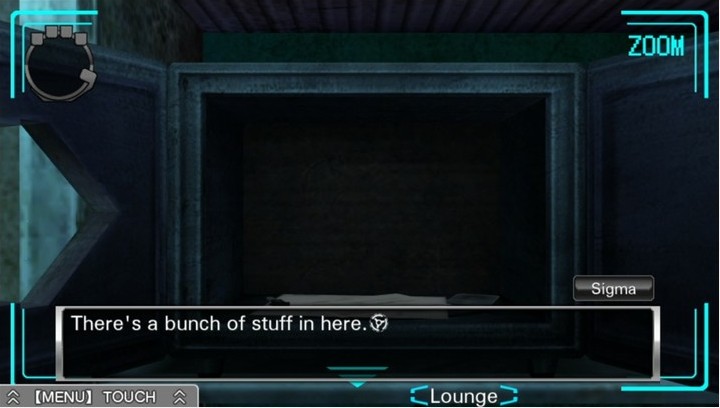
Now for the key... and all this other stuff too.
Let's see...
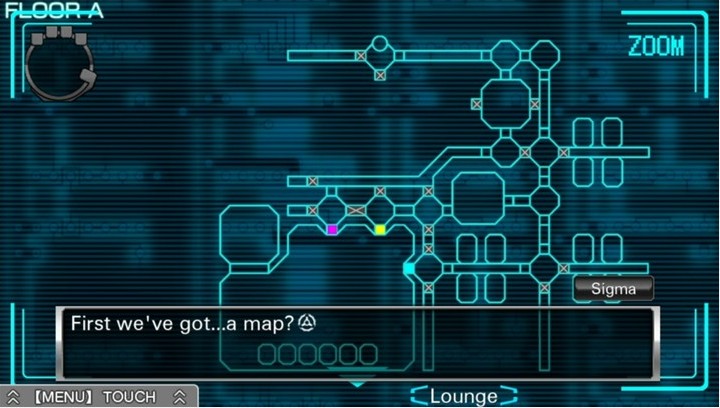
It says "FLOOR A" in the corner.
Yeah.
We can take a closer look at it later.
There's still more stuff in here. Why don't you get the rest of it first?
Right.
Next we've got... a card.
Two cards, actually.
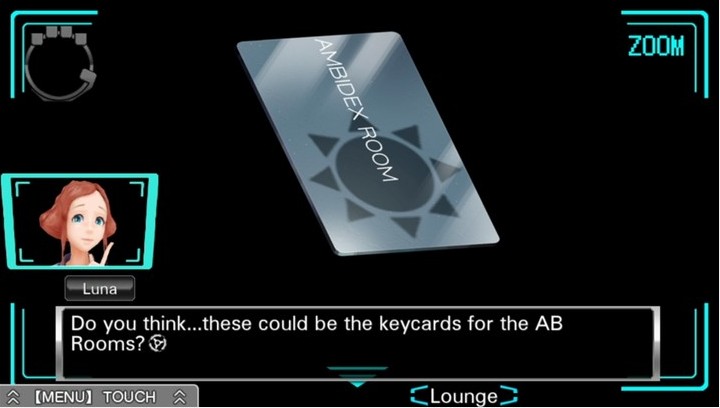
See? It says "AMBIDEX ROOM" rignt on them.
Yeah, you're probably right.
Now we can get into the AB Rooms.
And that means we can start getting more Bracelet Points.
Once we've got 9, then we can open the number nine door and get out of here.
At least, that's what that rabbit said...
But how are we supposed to get back to the warehouse?
That's where all the AB Rooms are.
We can go back the way we came, but that door's locked.
See? Read this note.
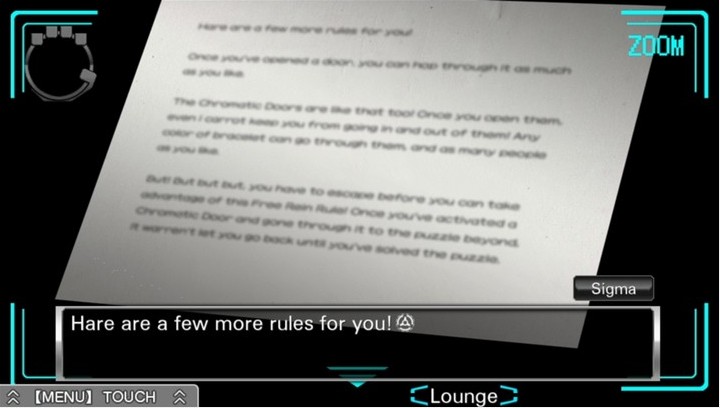
Once you've opened a door, you can hop through it as much as you like.
The Chromatic Doors are like that too! Once you open them, even I carrot keep you from going in and out of them!
Any color of bracelet can go through them, and as many people as you like.
But! But but but, you have to escape before you can take advantage of this Free Rein Rule!
Once you've activated a Chromatic Door and gone through it to the puzzle beyond, it warren't let you go back until you've solved the puzzle.
I see...
So in other words, once we get out of here, we can get back to the warehouse. Right?
Yeah, seems like it.
So that means this key here is the last piece of the puzzle.
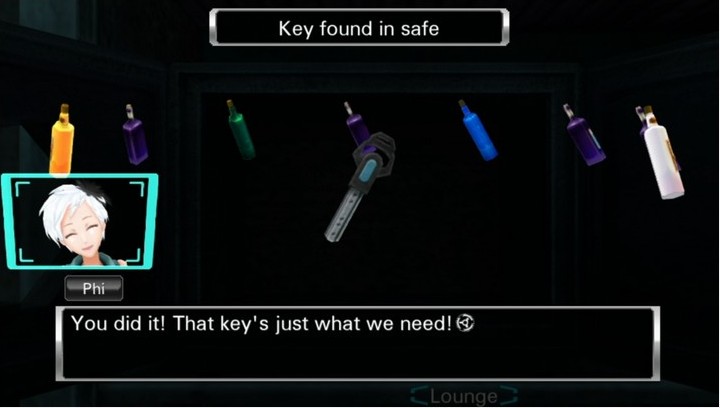
Much more puzzle design like this and it'll be the other ten inventory items that are just what I need.
Now we can get out!
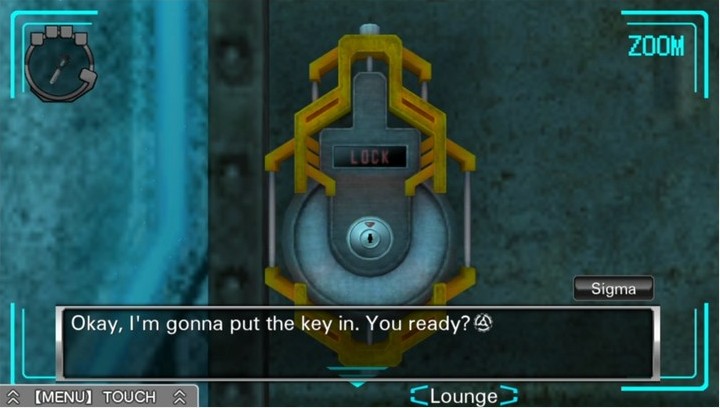
I keep telling you, you don't have to ask every single--
I'm not asking you. I'm asking Luna.
O-Oh... I'm... um... I'm ready!
Here we go!
Three... Two... One...
Aw Jeah.
Before we go, though, I want to show you something from my replaying of this room to get the Gold File.
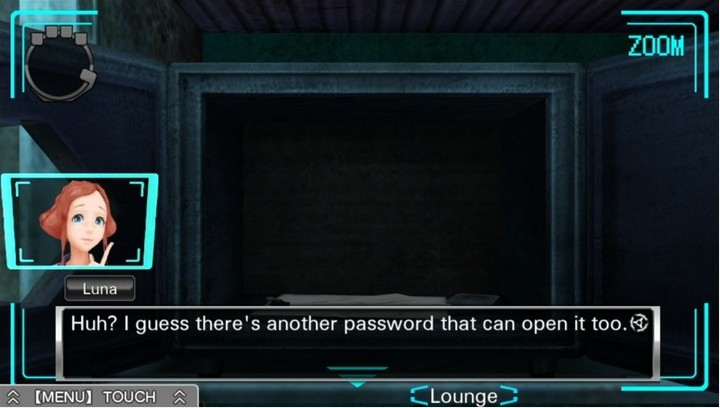
As I believe I've said before, one of the many ways in which the difficulty mechanics invalidate eachother is that safe passwords are static within each savefile. So you can waltz into a room, go straight to the safe, open it, get the stuff, and get out having skipped everything in the room. (I've also tested and found that passwords are generated for all rooms at New Game, so technically you can "guess" the password and that's allowed.)
But don't think you're getting away with it that easily.
Yeah.
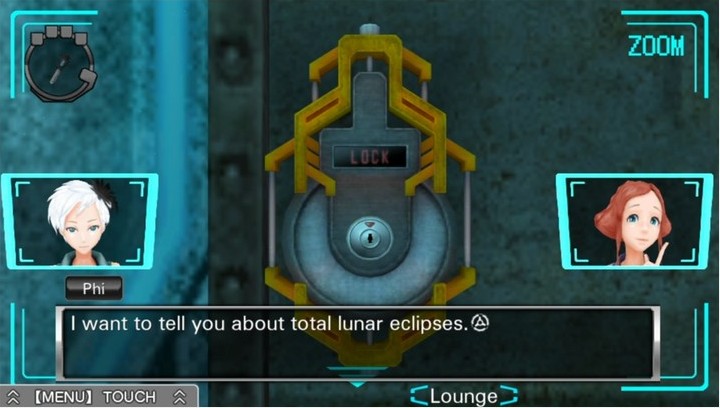
Anyway, there's something I want to talk to you about before we open that door.
Well, what is it?
Don't keep us in suspense...
You should probably hear this too, Luna.
...
...
During a total lunar eclipse, the Moon is entirely covered by the Earth's shadow.
That doesn't mean the Moon just disappears or turns black, though.
It actually reflects light that's passed through the Earth's atmosphere.
...But this makes it appear to be red.
Essentially what's happening is that the Moon is reflecting the sunset.
So the Moon looks red during a lunar eclipse?
Yeah. I think so.
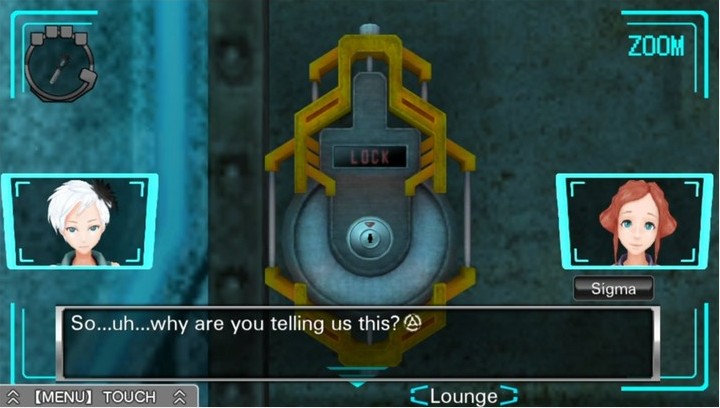
I just... thought I should...
What kind of an answer is that?
Anyway, that's it. I'm done. Hurry up and open the door.
...
Come on, what are you waiting for? Get on with it.
...
...All right, fine.
(Time to get on with it, then.)
exeunt
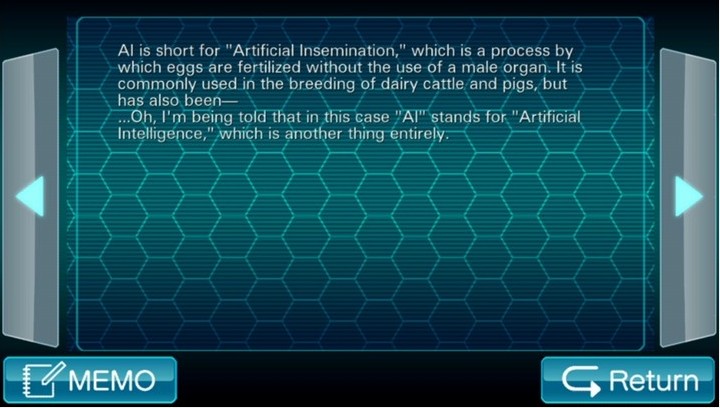
And finally, some excerpts from our current crop of Hidden Files:
AI:
Quantum Computer:
Number Nine Door:
Total Lunar Eclipse: