Part 65: Transporter
Part 65: Transporter
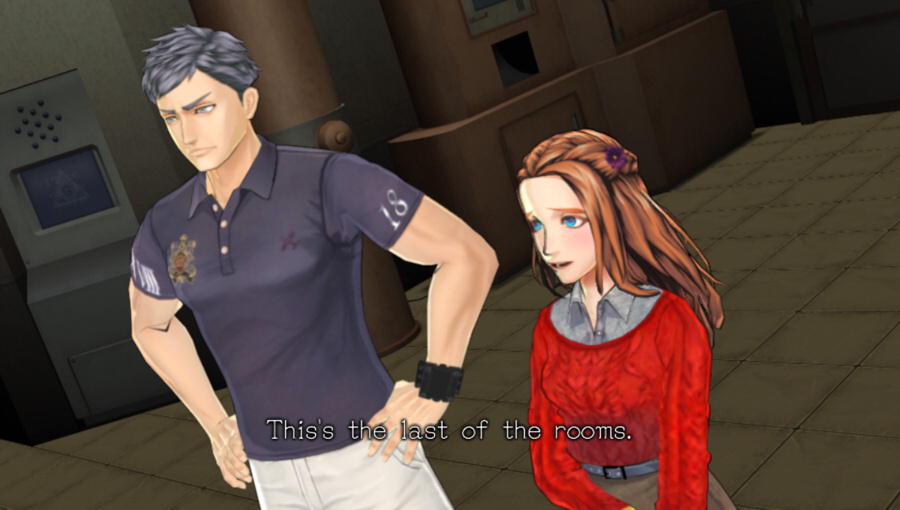
I'm surprised that a room called the Transporter Room wasn't selected earlier, honestly.
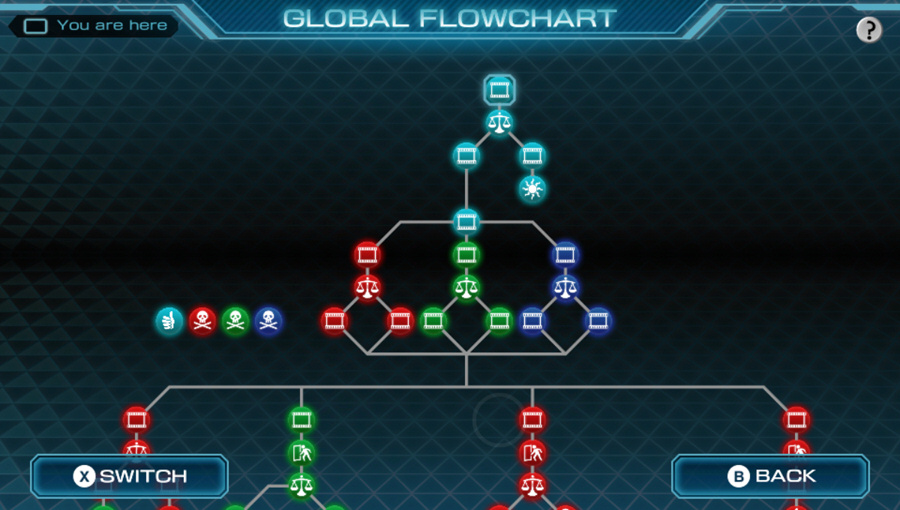
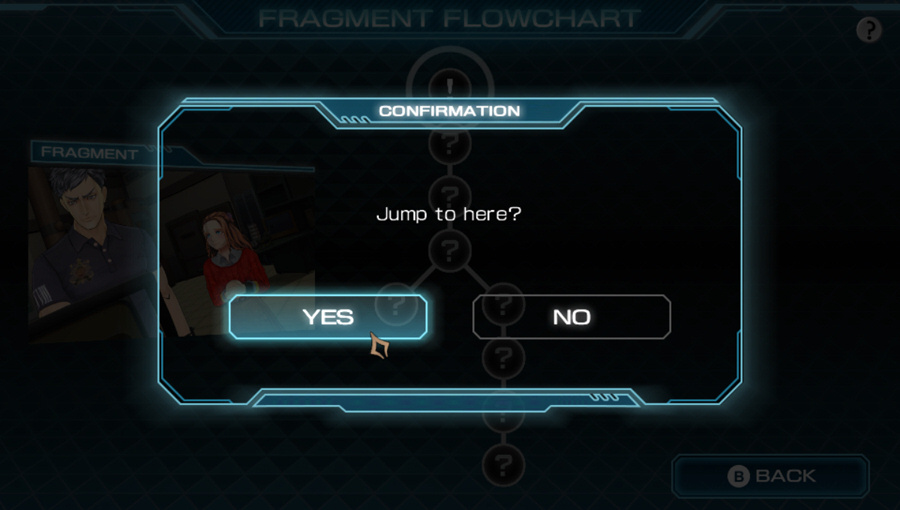
We've made a lot of headway in figuring out this game at this point. Here's a more complete view of the global flowchart than I usually show. You can see the coin flip, the three execution fragments (with the corresponding lit up possible outcomes), and four main timeline branches coming out of those execution votes.
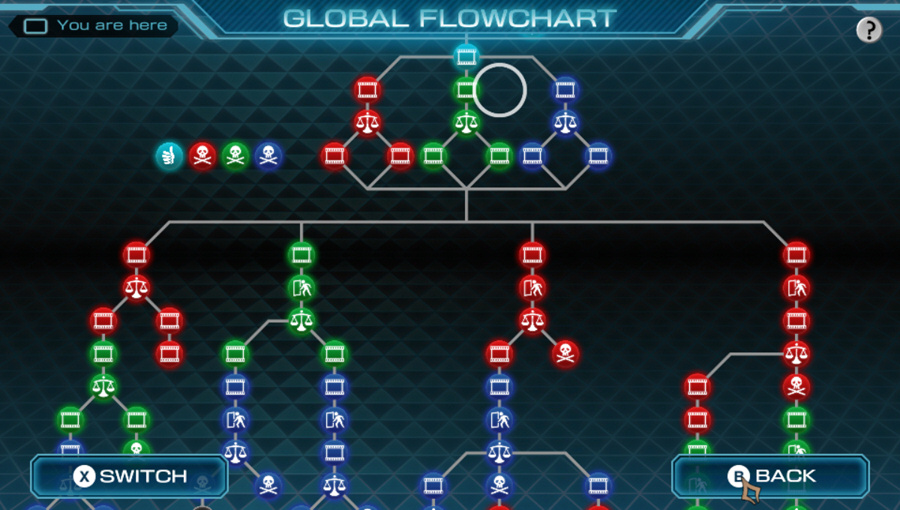
Further down, we've pieced together most of the fragments we've seen so far, but we're still missing a lot of information. We're quickly running out of puzzle rooms and decisions, though, so we'll be on the fast-track to the ending soon enough.
Anyway, let's head on into the Transporter Room.
There are a lot of nodes down that right branch...
Whatever, let's go!

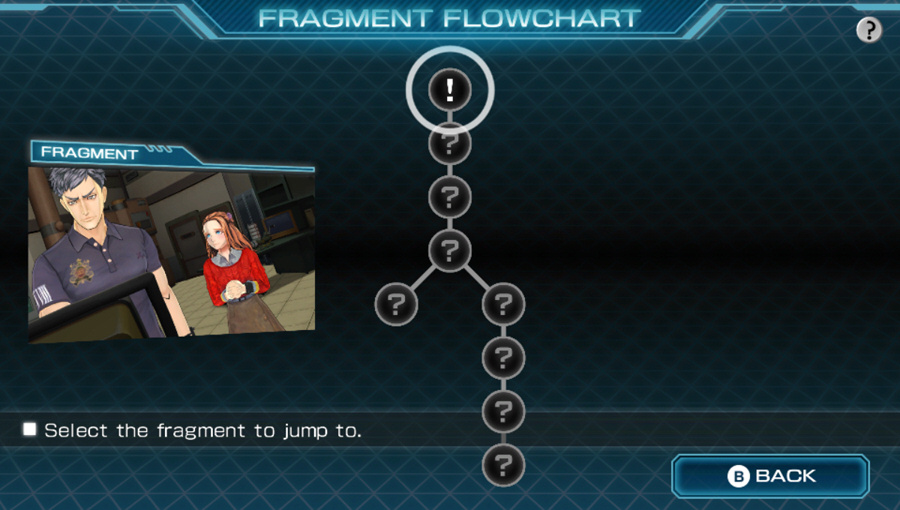
I believe this one is the only puzzle room fragment with a title that matches the puzzle room's name. Guess it's that important.
Music: Sinisterness Phase 3
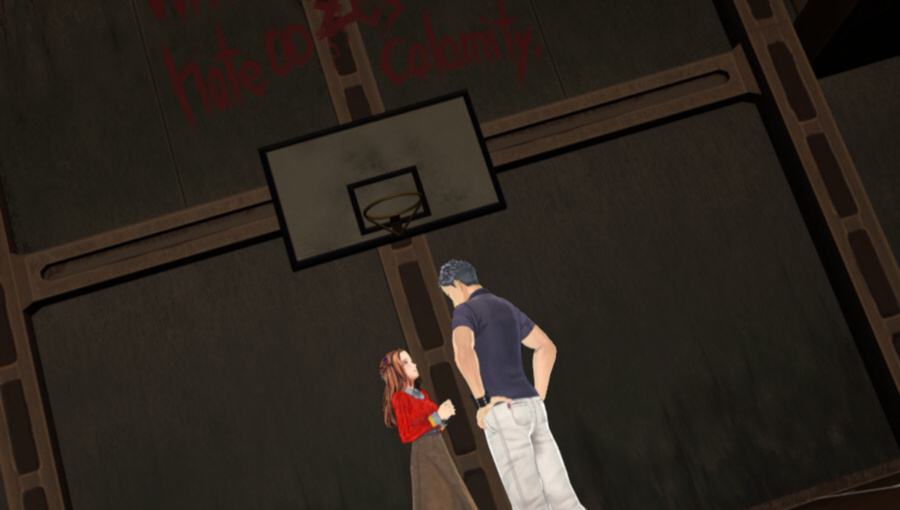
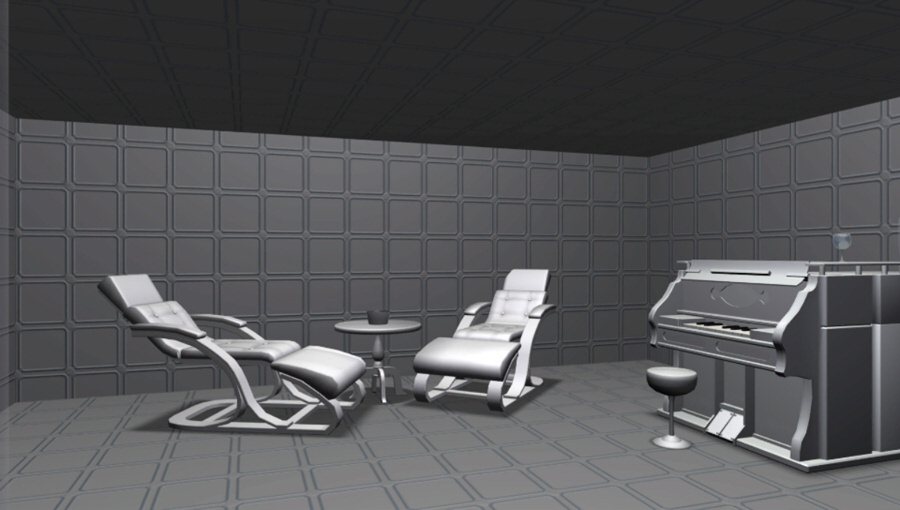
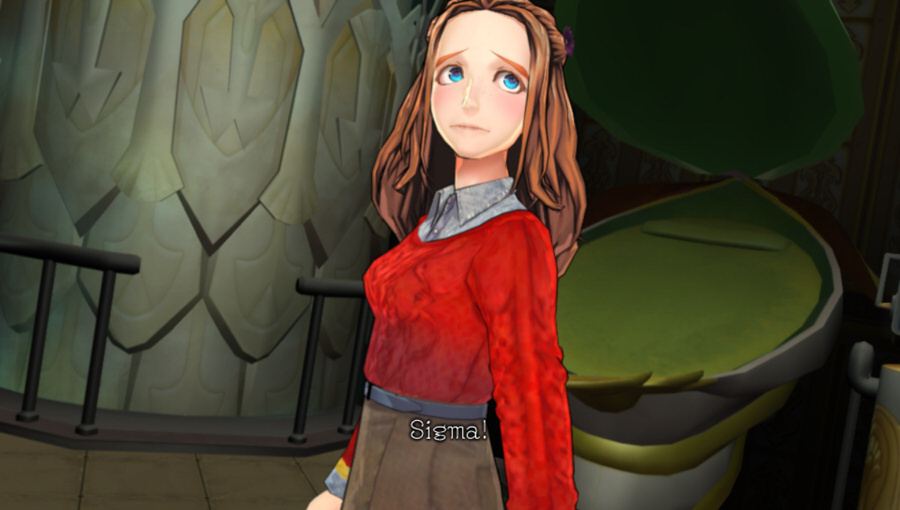
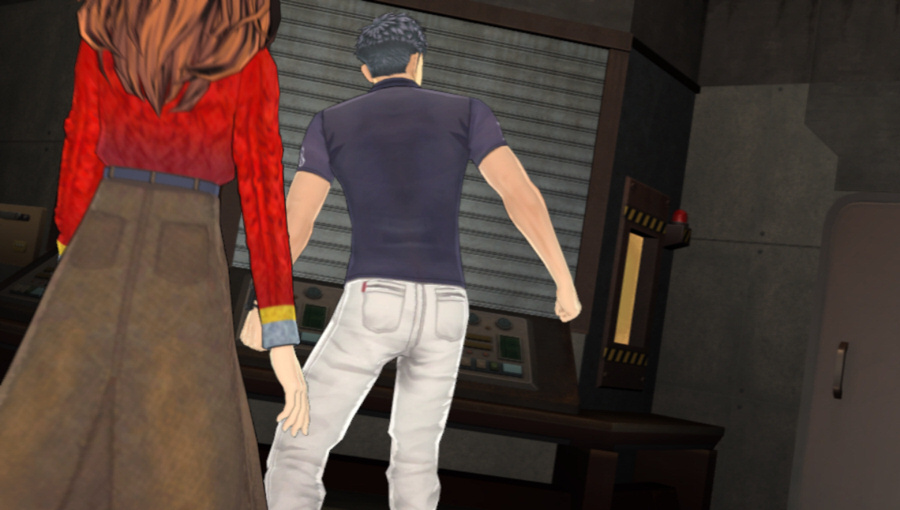
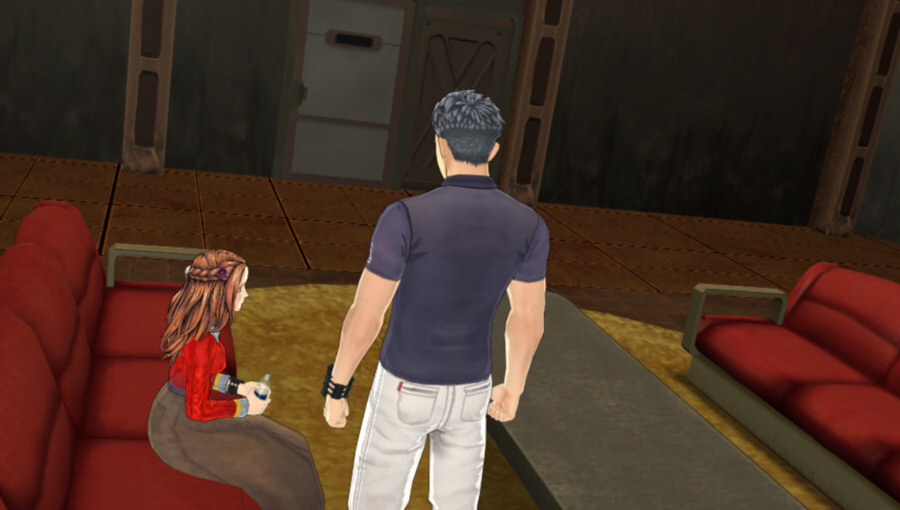
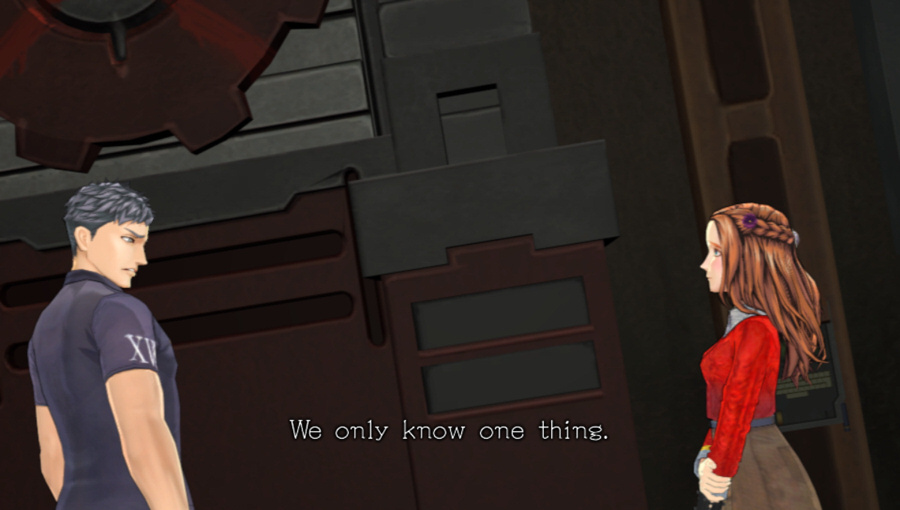
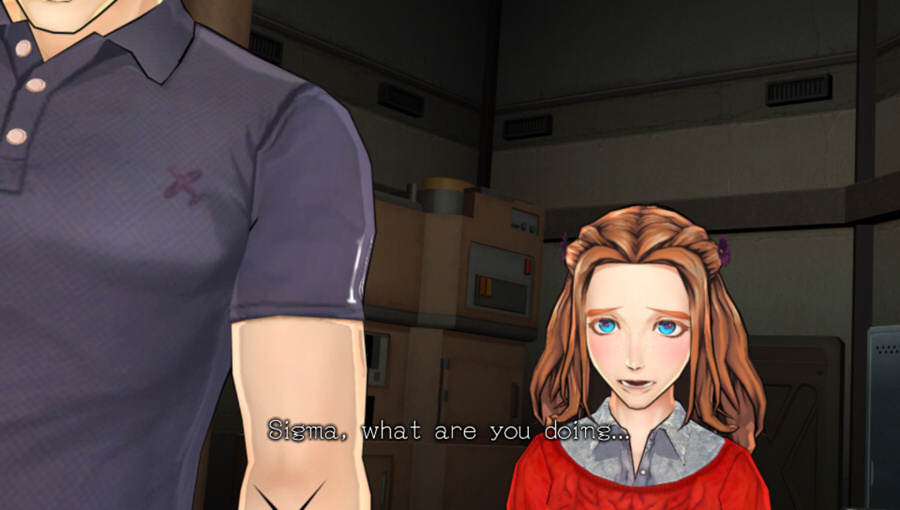
We find Diana and Sigma in the Lounge.

They stand up, and look around.
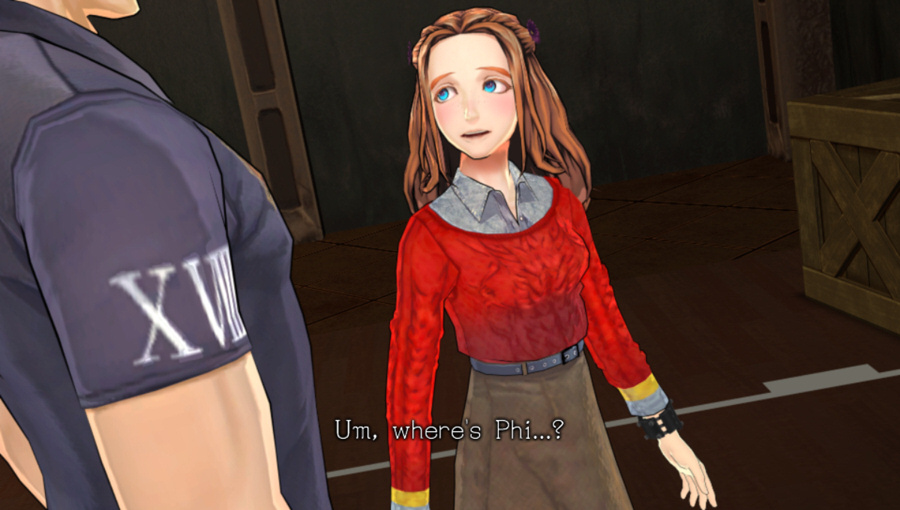
 I don't see her...
Last time we couldn't find Phi right away, she was locked in an incinerator.
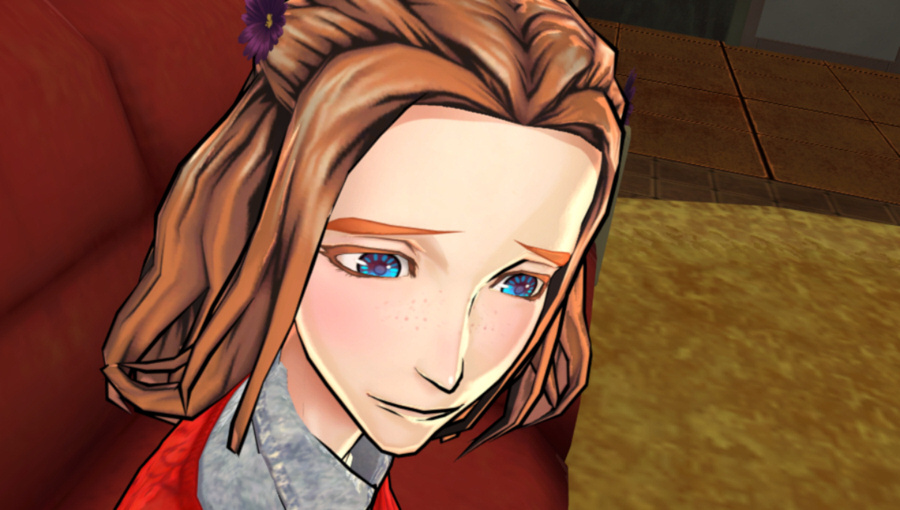
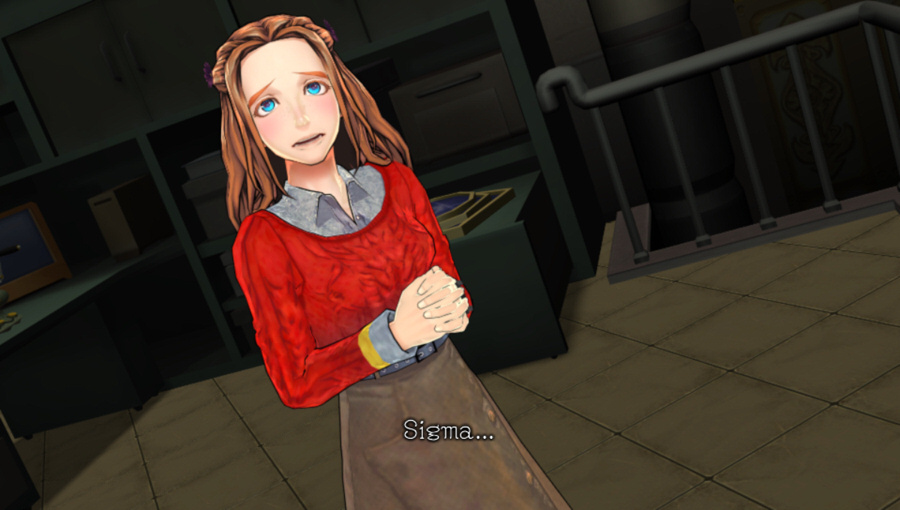
 S-Sigma... Hm?

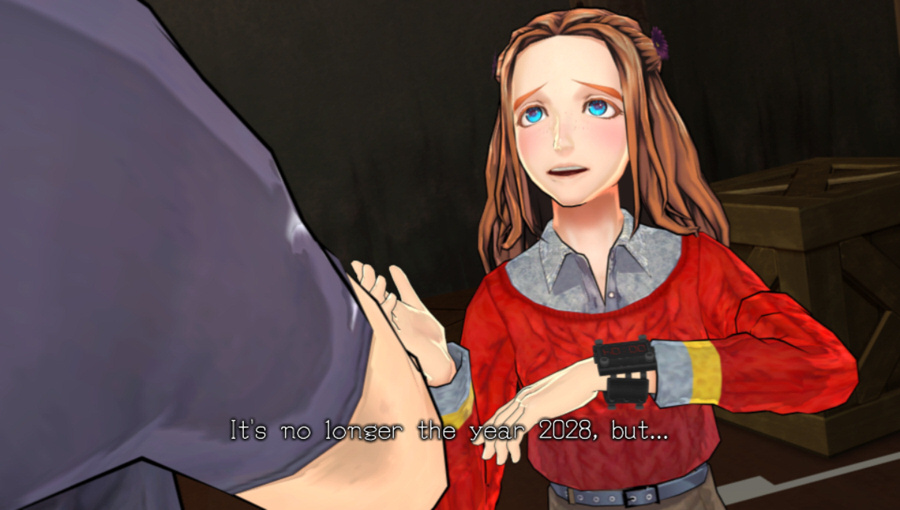 2029...
There aren't many places left on the timeline where this fragment can fit. But you'll have to wait for that reveal to be official until the end.

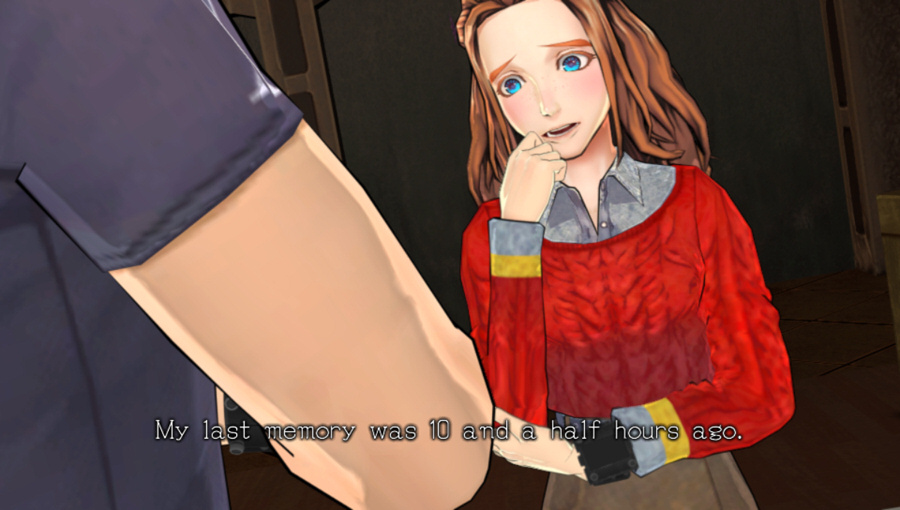
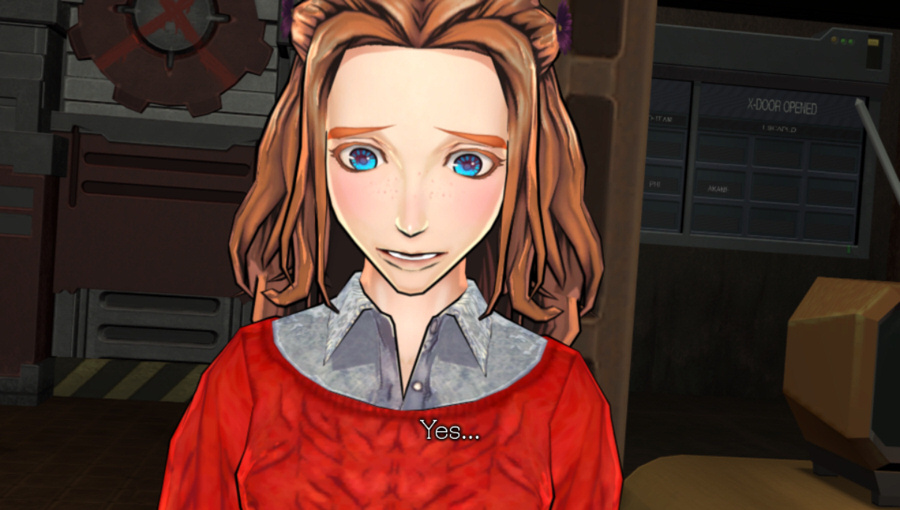
 You're talking about the vote at 13:30? Yes...
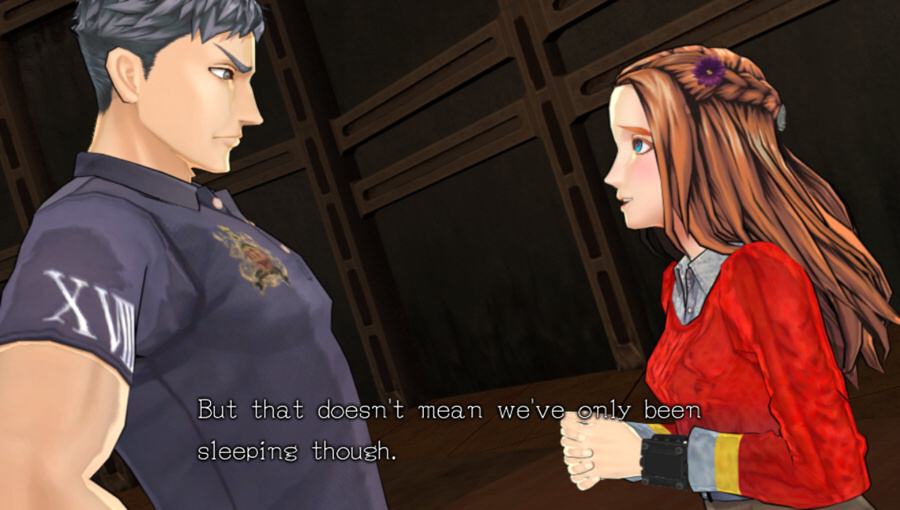 We could've woken up several times.
We're pretty late in the game and haven't seen any fragments except the execution votes at 12:00, and various fragments at 18:00 and 00:00. So I think it's safe to say we've been woken up one time that we don't remember.
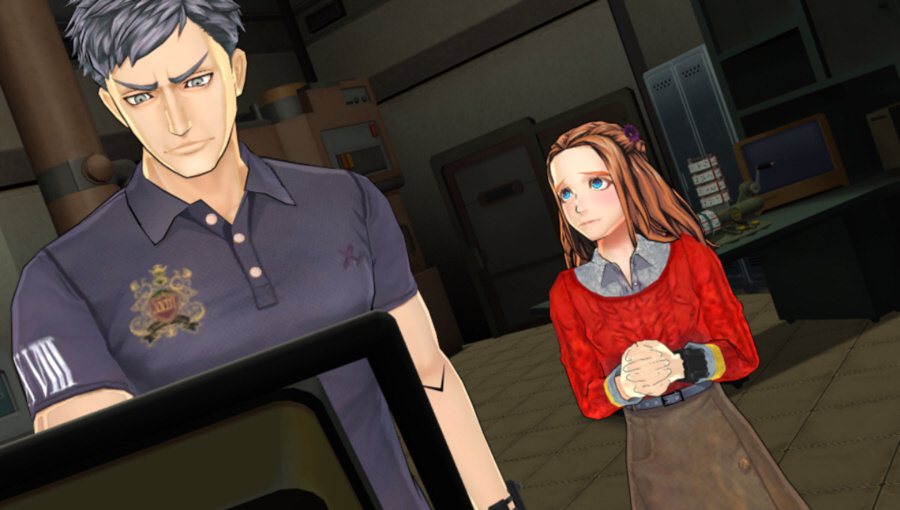
 Yes, you're right.
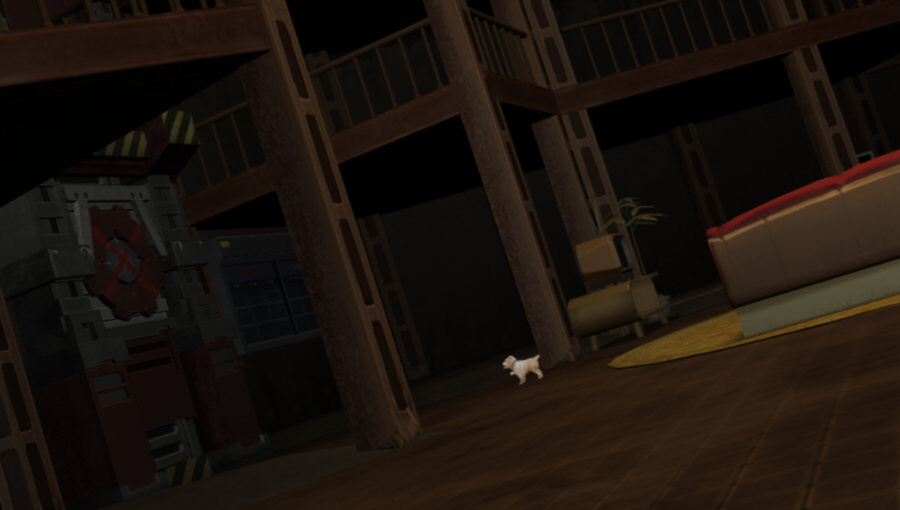
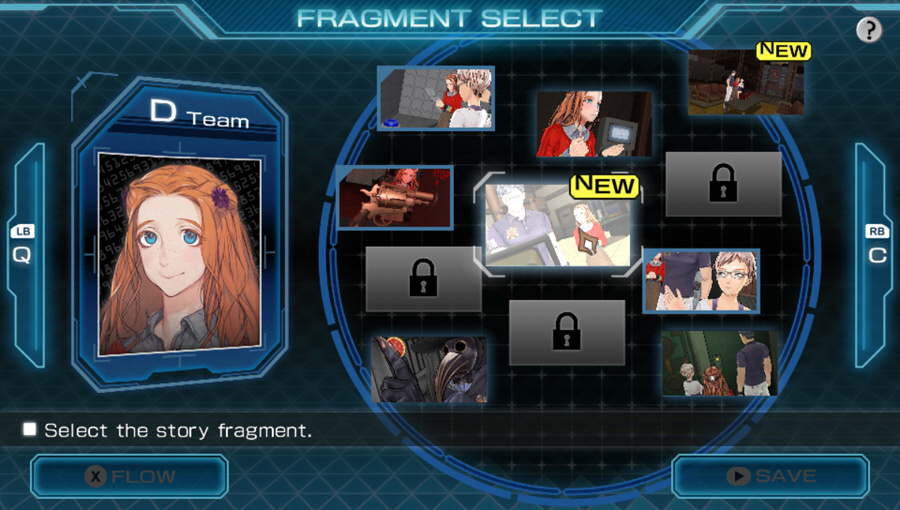
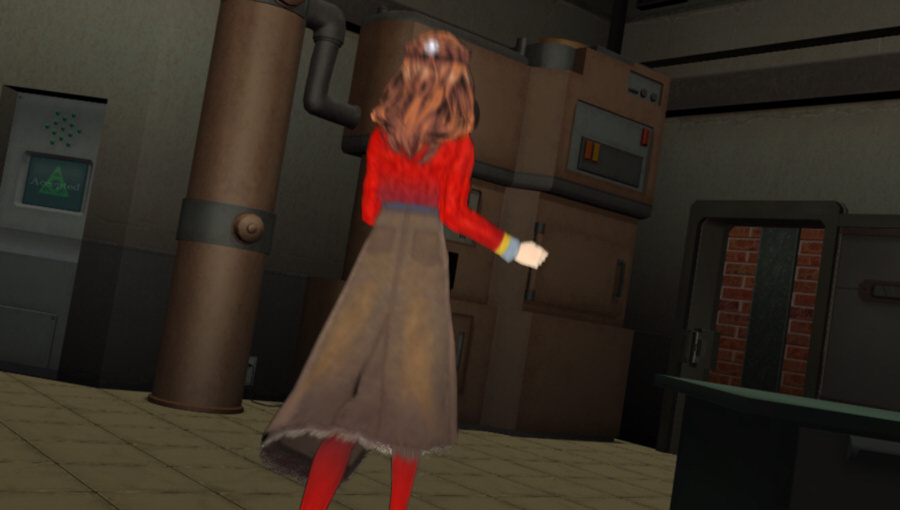
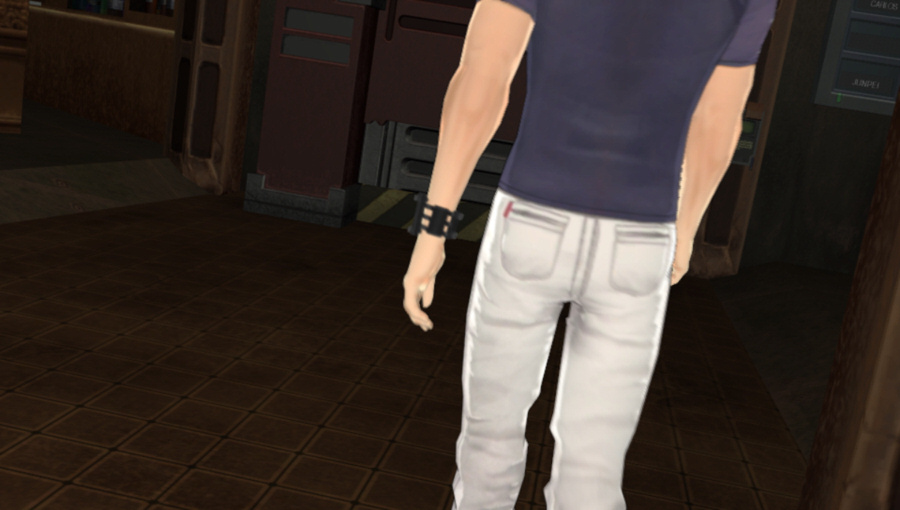
I think every team has a fragment where one of the team members is inexplicably missing. This one is D-Team's. It...didn't work out too well for the other two teams. Anyway, let's go search through Ward D and look for Phi...
Not in the Prep Room...
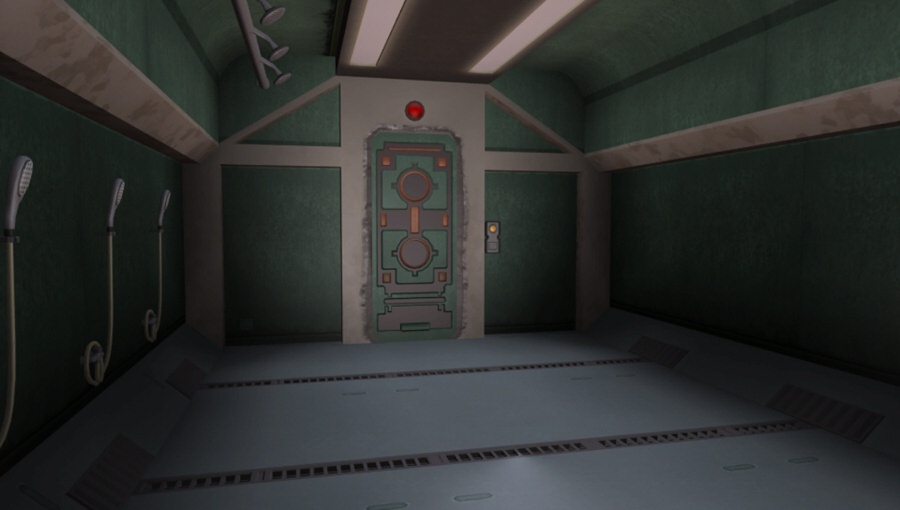
Not in the Decontamination Room...
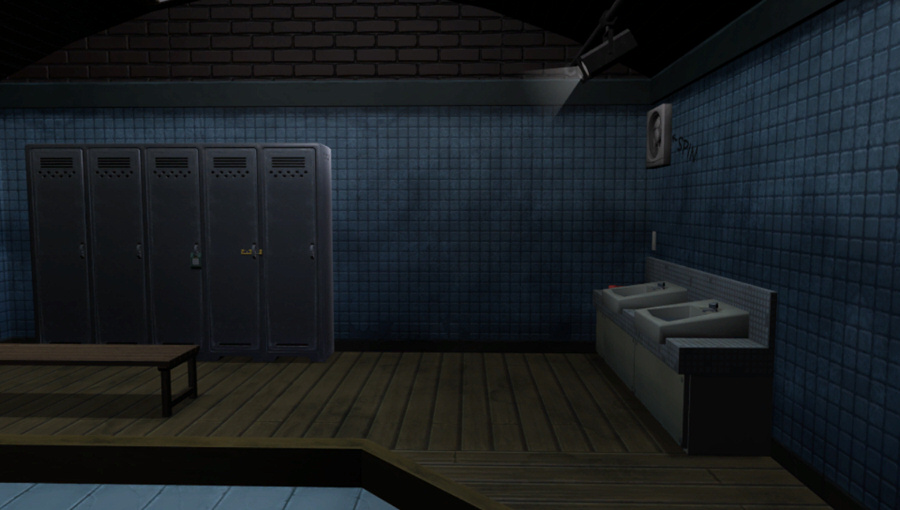
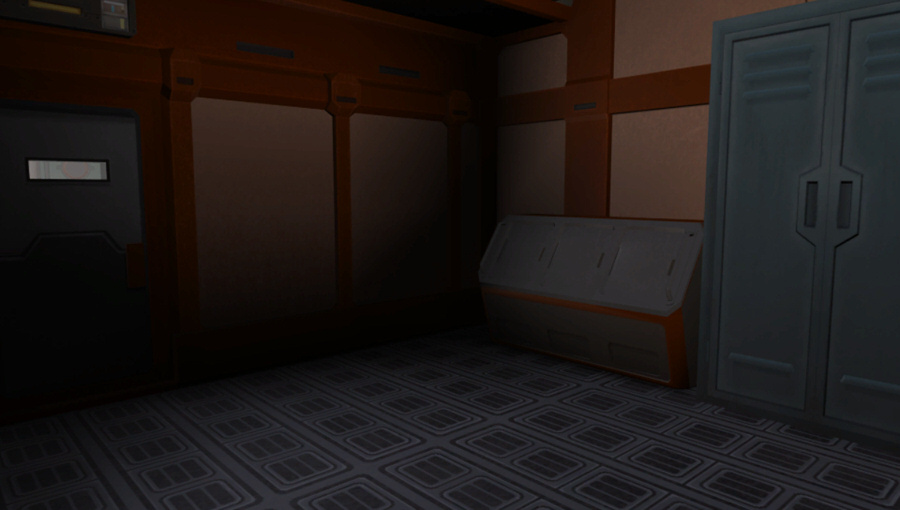
Not in the Locker Room... Hey we haven't really seen that room since the initial tour, have we? Is it locked behind something?

Not in the Trash Disposal Room, either.
Nor in Manufacturing...
And no sign in the Healing Room, either. That's all of Ward D, right?
Oh right, the Transporter Room. Kind of a weird place.
 That Phi. Where'd she go...
Music: Quantum Computer Dome (Q)
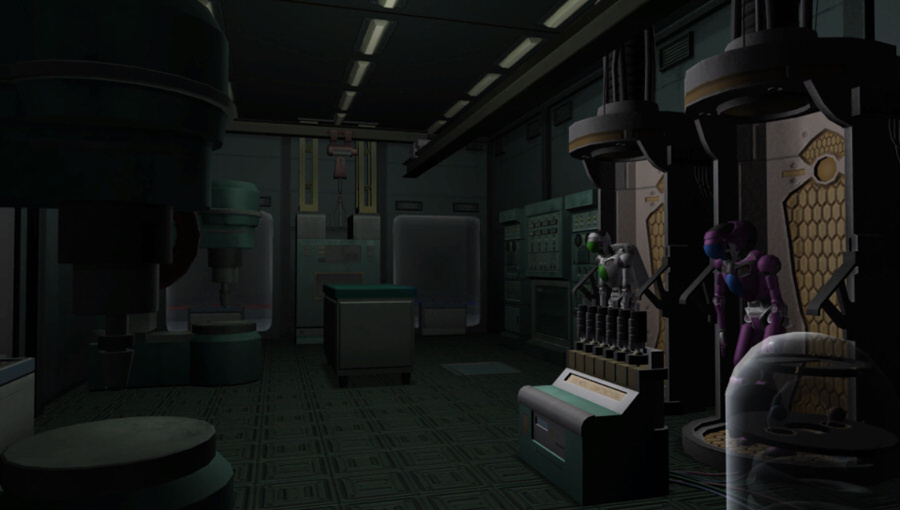
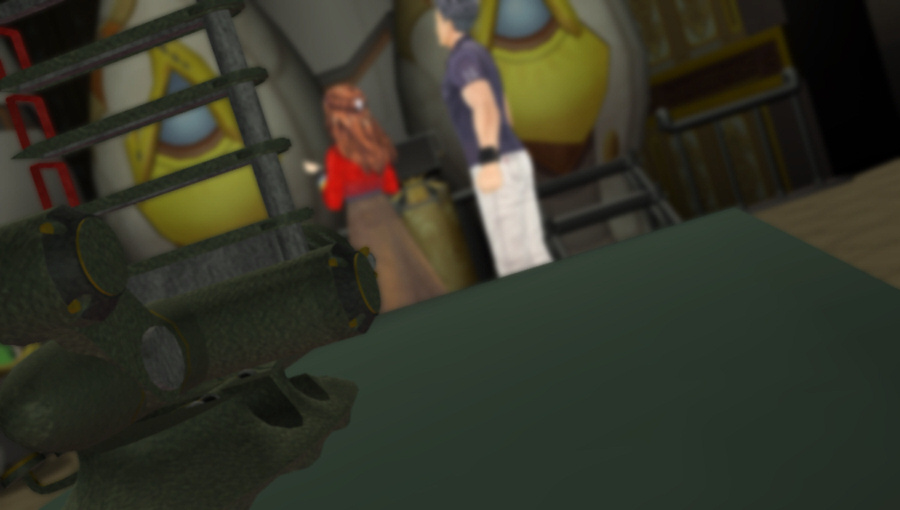
 Welcome to the Transporter Room.
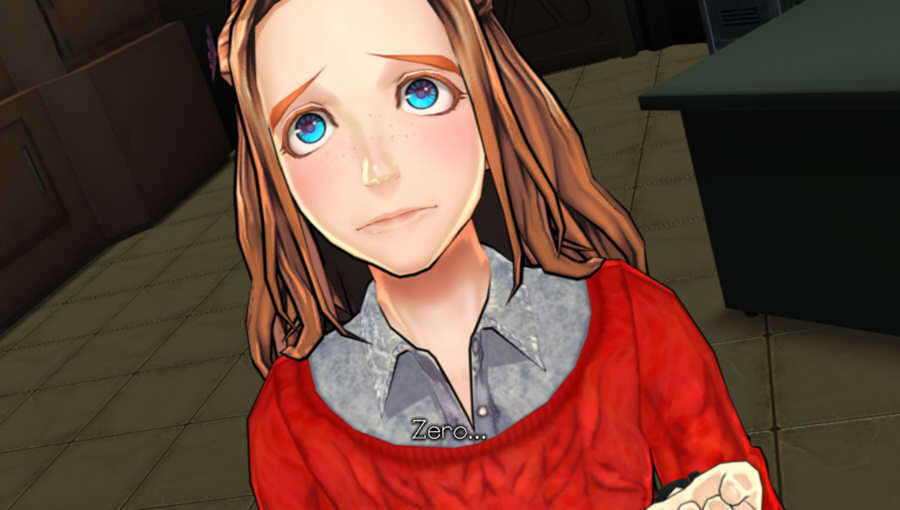
Missing Lip Animations: 51
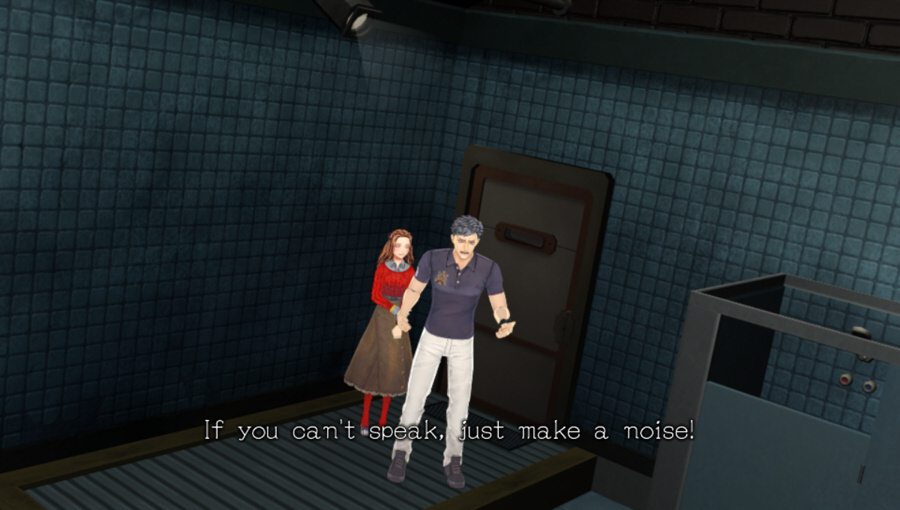
 I can only assume you are searching for something. If you'd like to learn their whereabouts, do as I say.
 First, I shall explain the room to you.
Strap in.
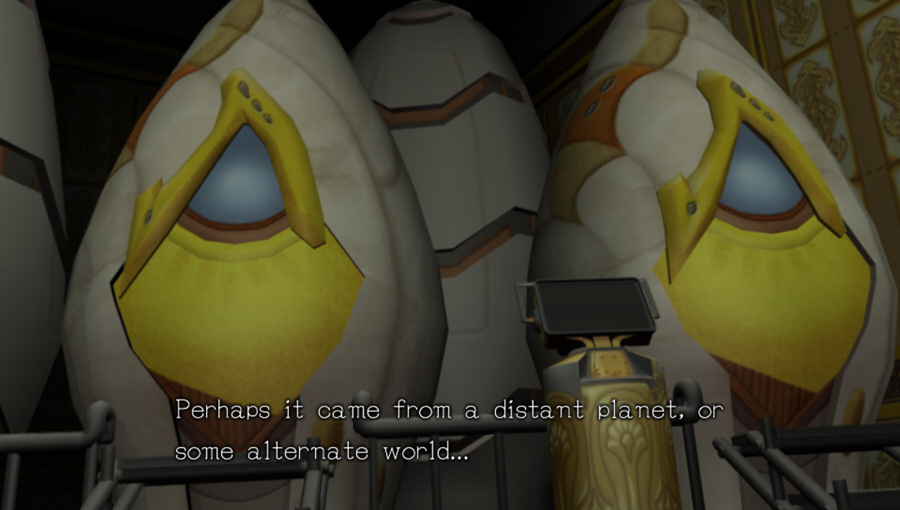
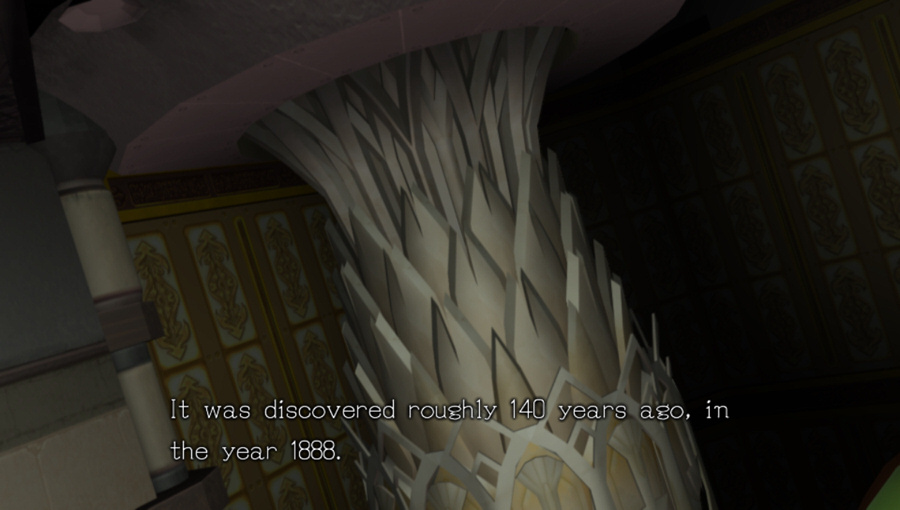 At the South Pole. A German expedition was exploring the area. At one point they became lost, and subsequently stumbled upon it.
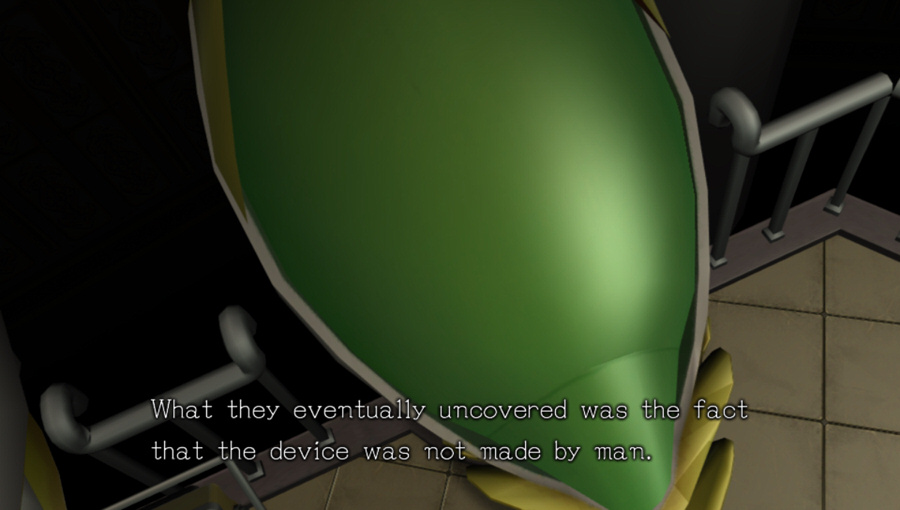
 Regardless, they determined the intelligence that created it far surpassed that of humans.
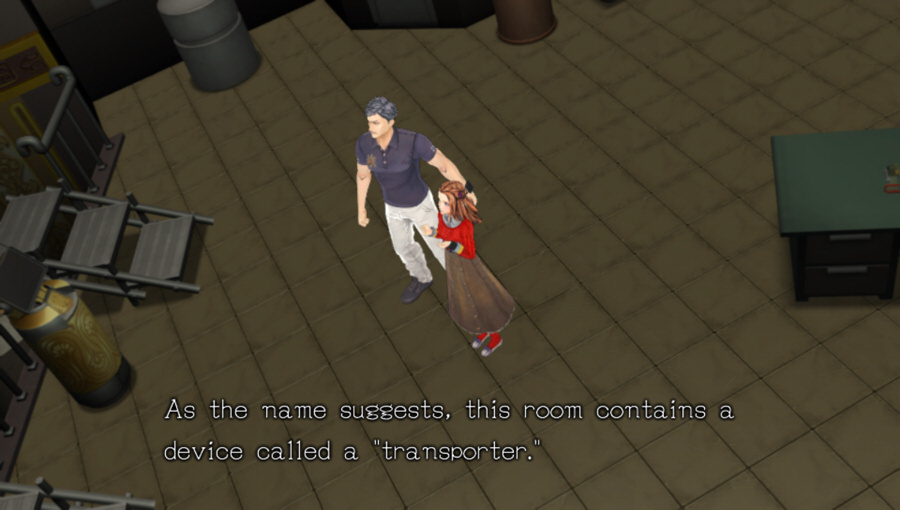
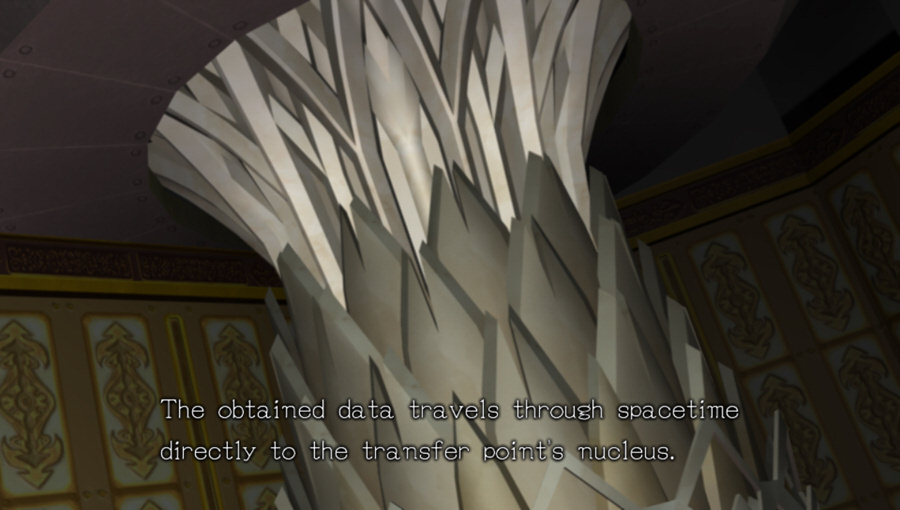
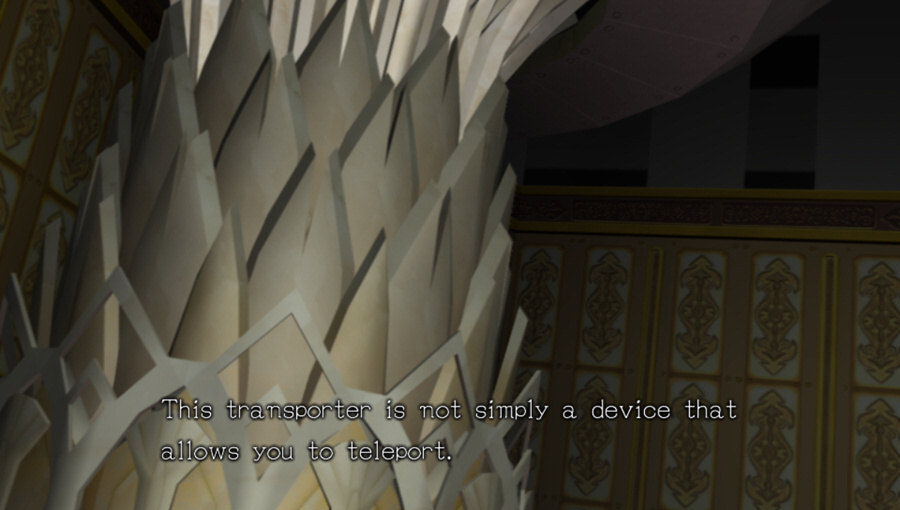
 This device is capable of transporting things through spacetime. Hence why it was named "transporter".
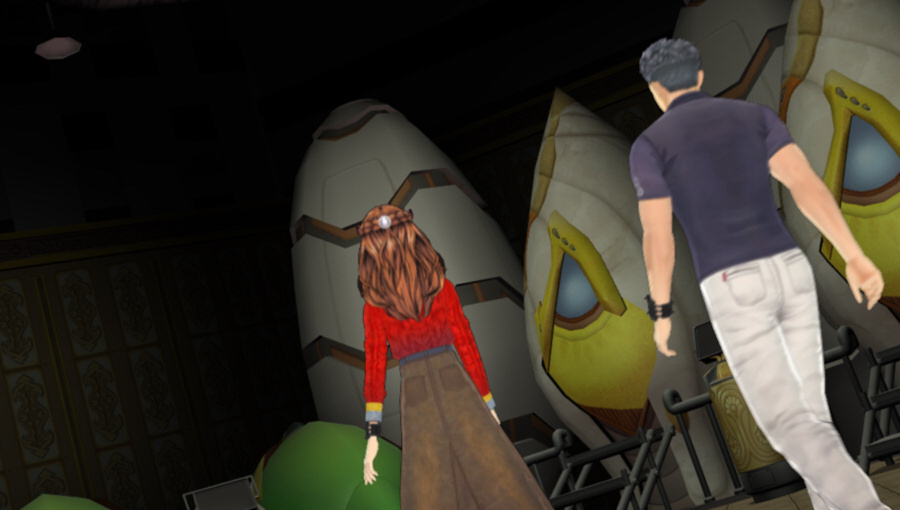
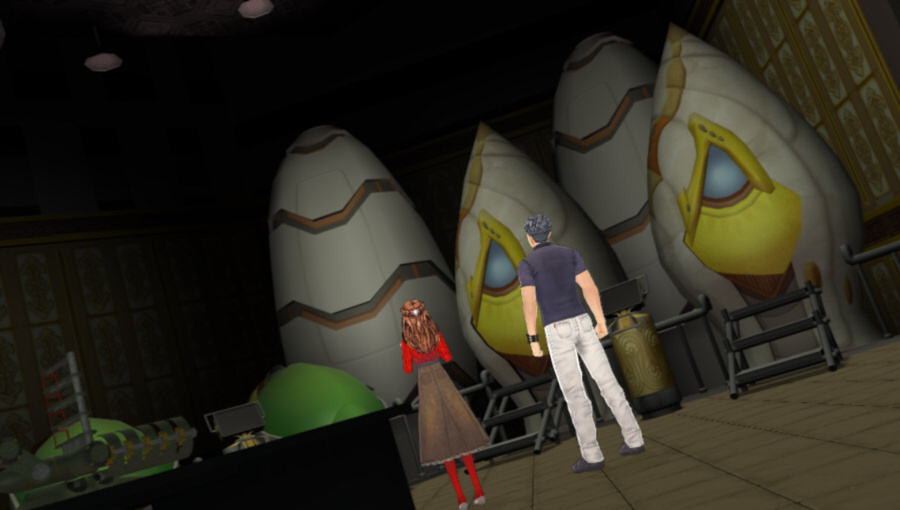
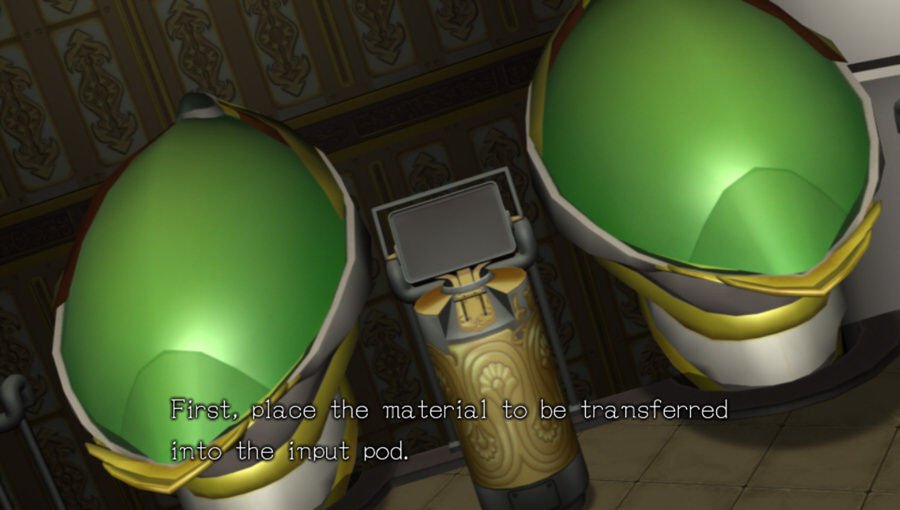
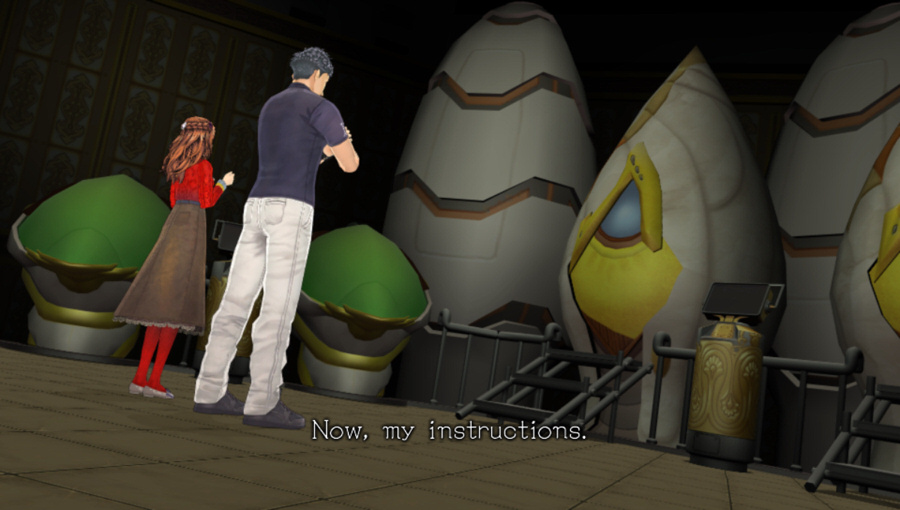
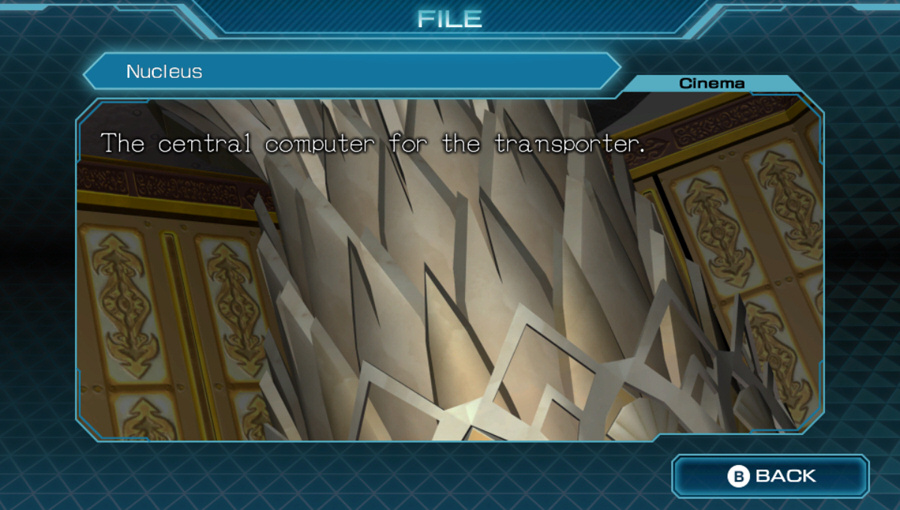
 This is the nucleus of the transporter, and controls its function. And to your right--
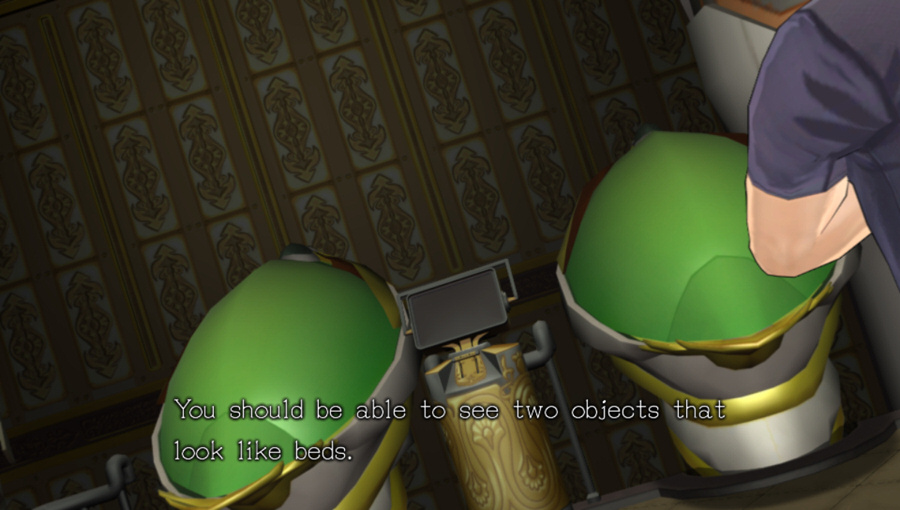 These are called "input pods". Look further right--
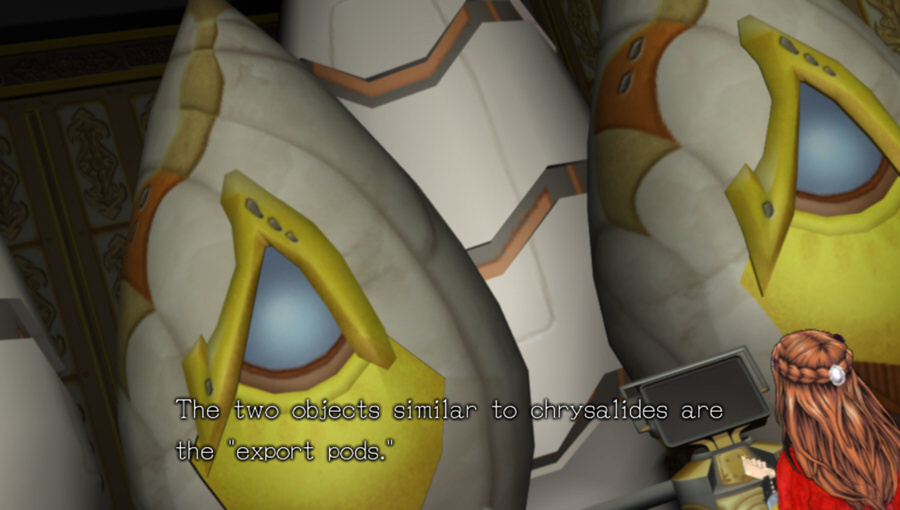
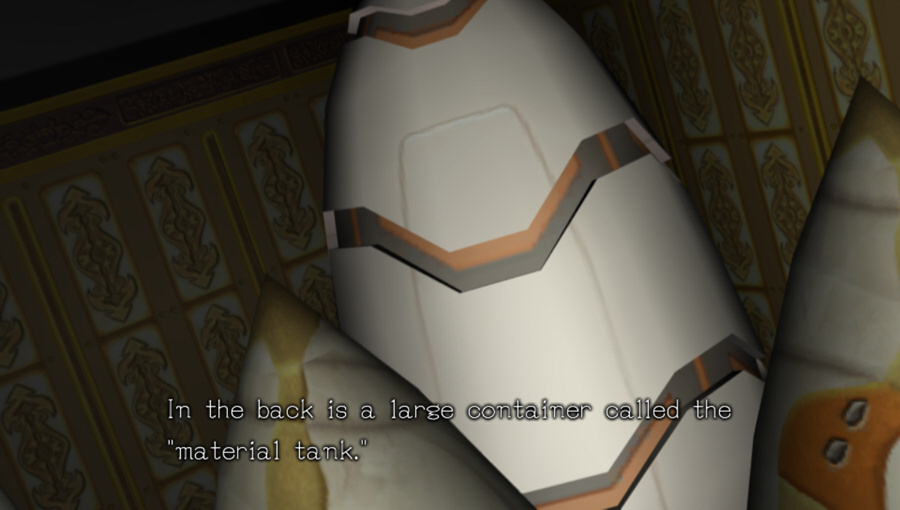 Inside is oxygen, carbon, hydrogen, nitrogen... A variety of chemical elements that exist on Earth, stored individually.
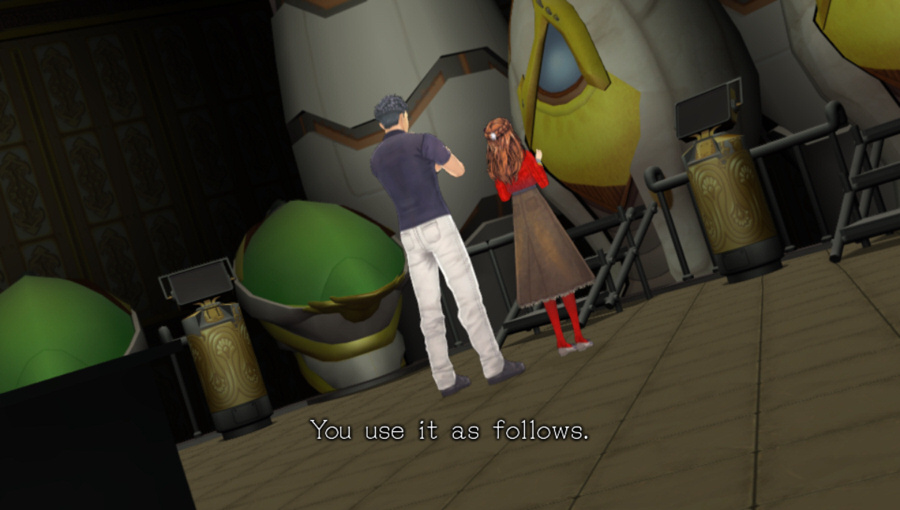
 We'll call it "X" to simplify matters.
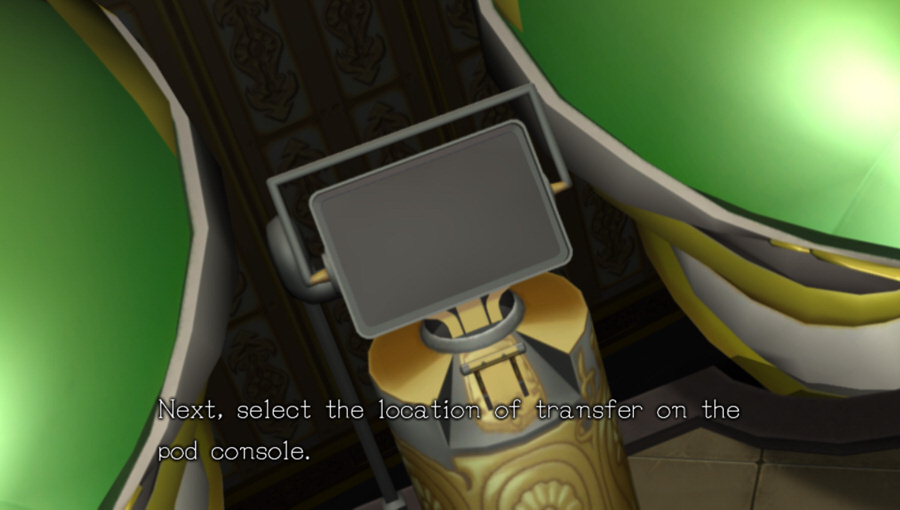 Pulling the lever will cause the input pod to begin scanning.
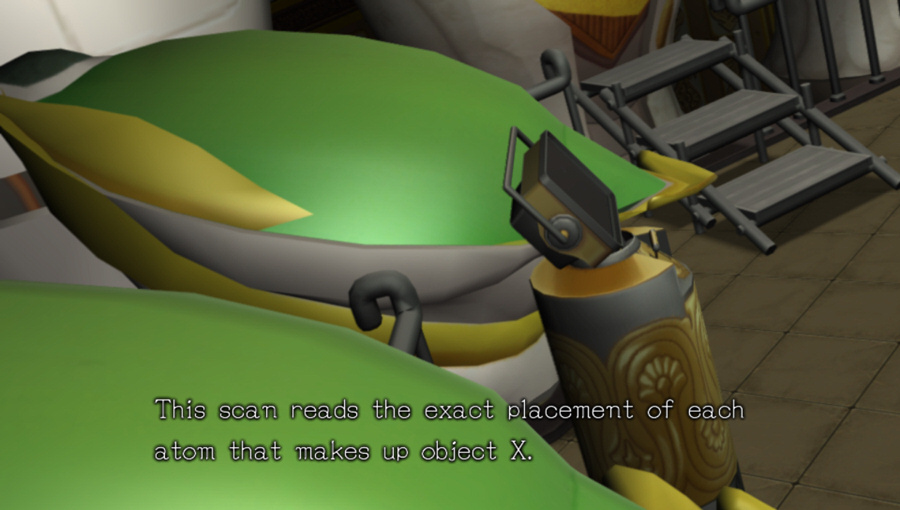
 That nucleus will analyze it.
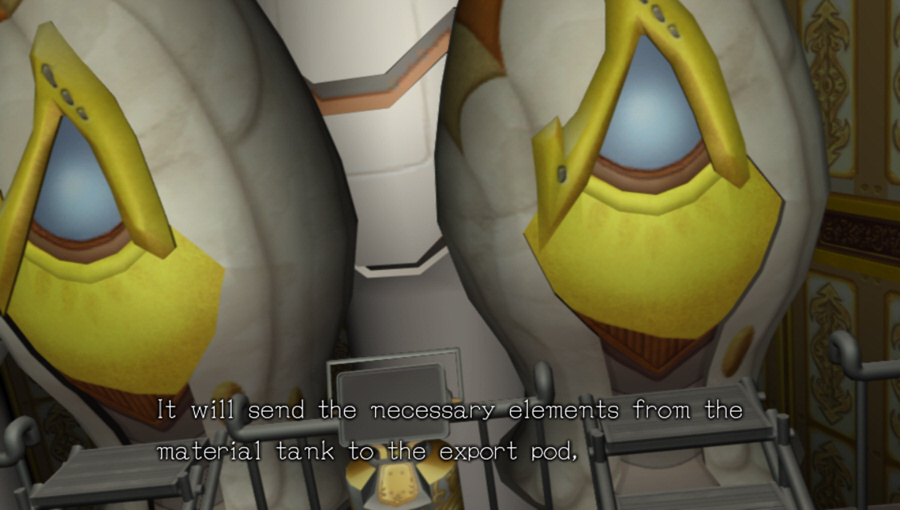 and recreate object X's original form precisely. Essentially it acts as an atomic level 3D printer.
 Once a transportation has occurred, it takes roughly 10 months to recharge. The device cannot be used during that time.
 in order to transfer a human, each pod must only hold one body within it. Two or more people cannot go into a single pod. It is very difficult to recreate individual brains and proteins.
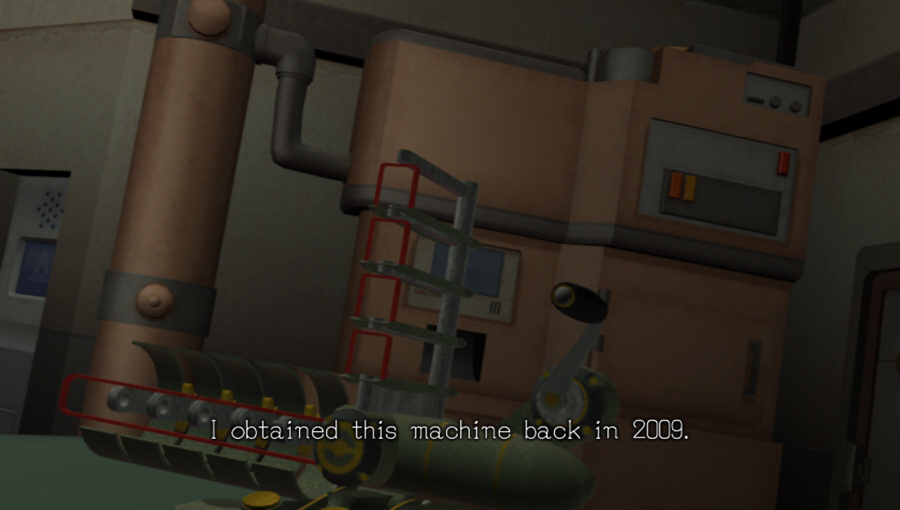 It had been stored in a U.S. research facility. American troops had confiscated it after the German loss during World War II.
 What is transferred is only the atomic data. The object itself does not get transported.
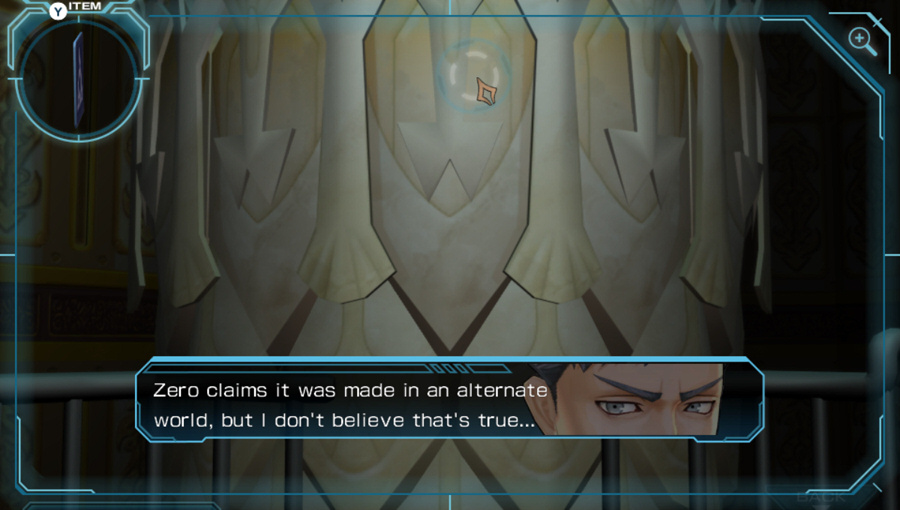
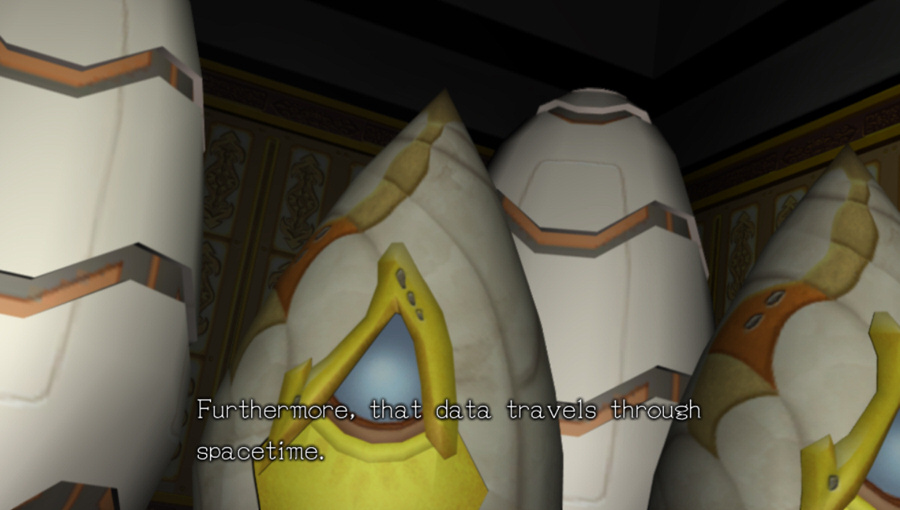 It does not just go to the past or present, but also to other histories...
So we have an interdimensional spacetime fax machine with a history that sounds like a rejected Indiana Jones script.
 It is completely stopped.
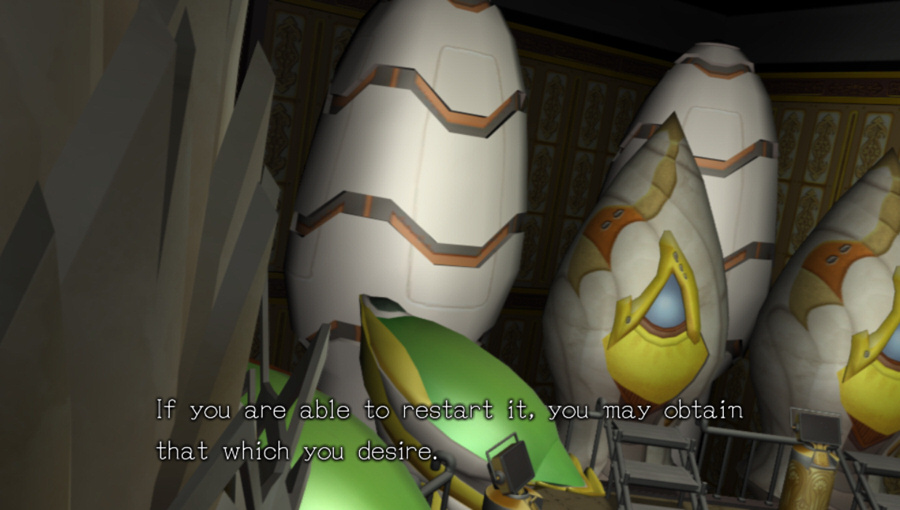

Sigma nods.
Diana nods.
Guess we're doing this.
Well, I know you'll do your best. Good luck to you.
Not really looking for a way out, exactly, but whatever.
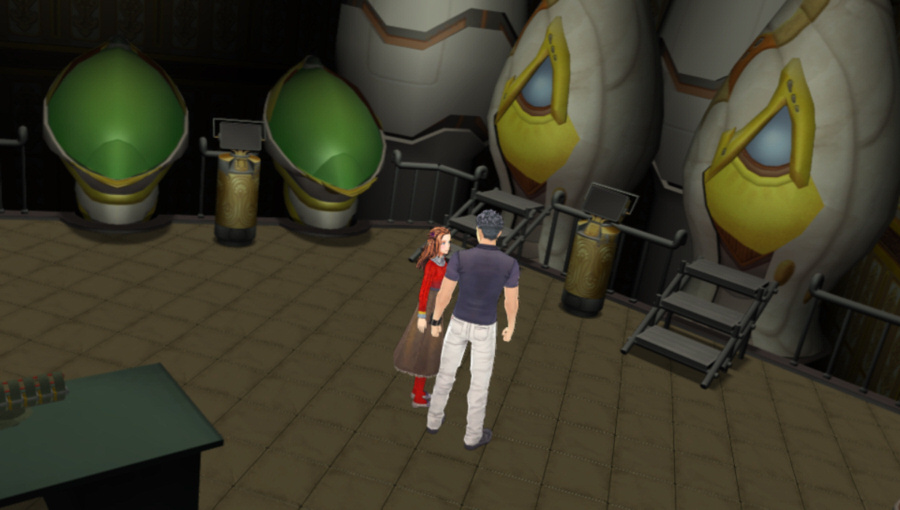
Music: Transporter Room
Anyway, welcome to the Transporter Room.
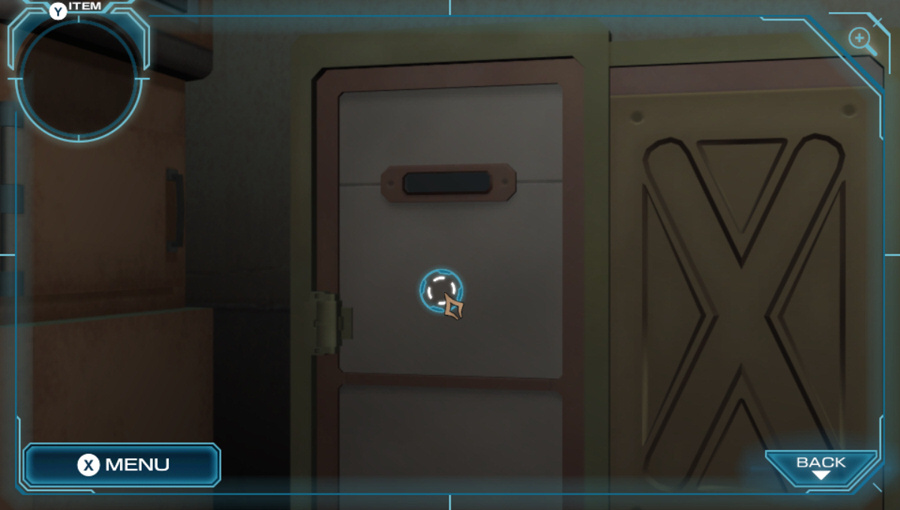
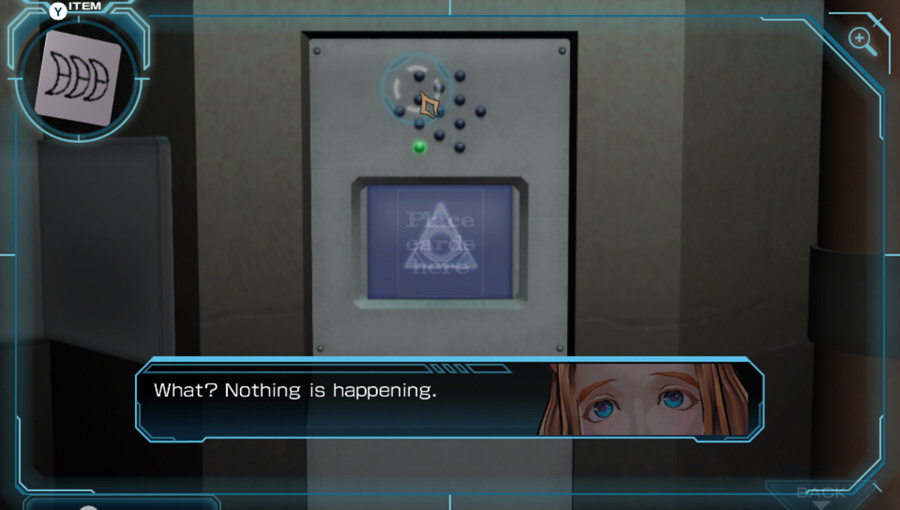
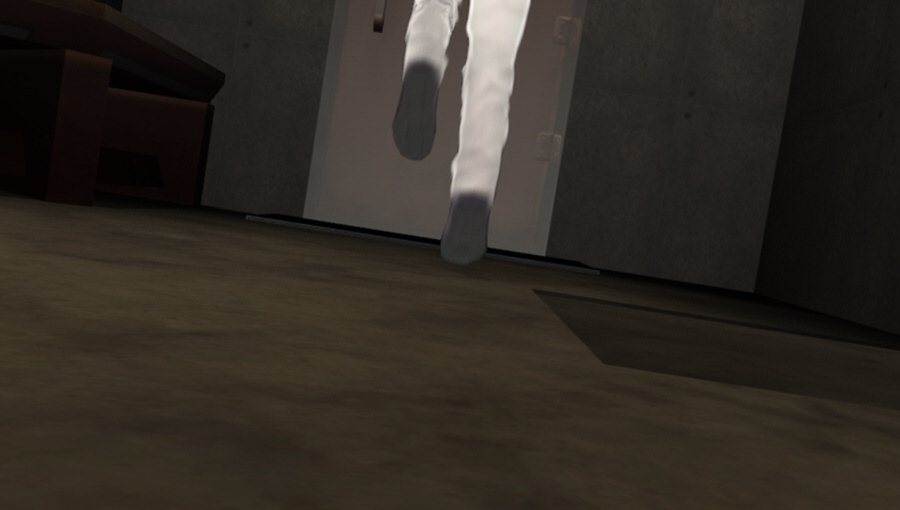
Might as well check out the door first.
Well, the door isn't locked, so we aren't trapped in here. Hmm... Zero said if we restart the transporter nucleus then... "You may obtain that which you desire"... What does he mean by that? No clue. But there's no point in leaving right now. We should search around.
Nothing interesting on the walls or the ceiling.
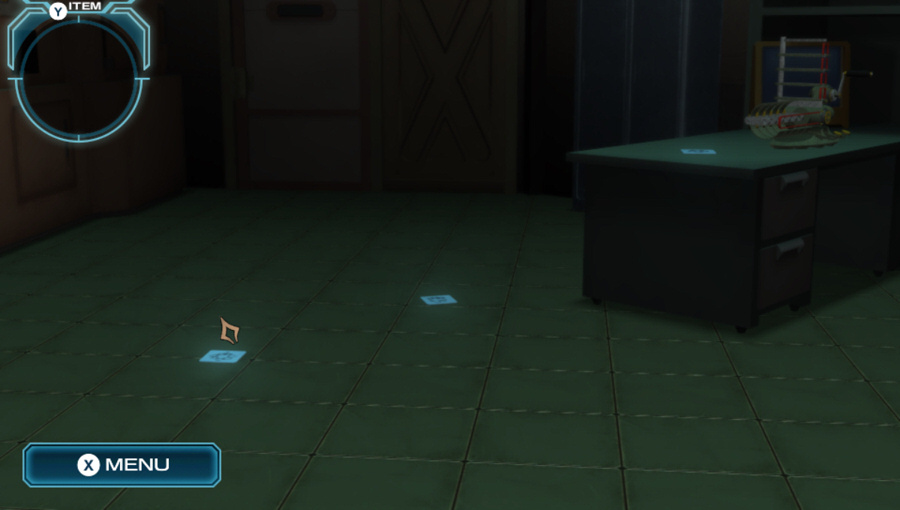
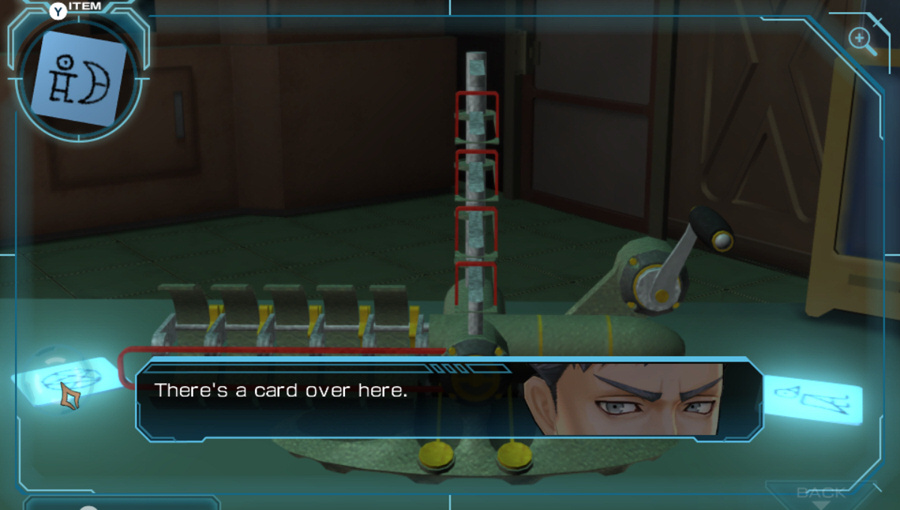
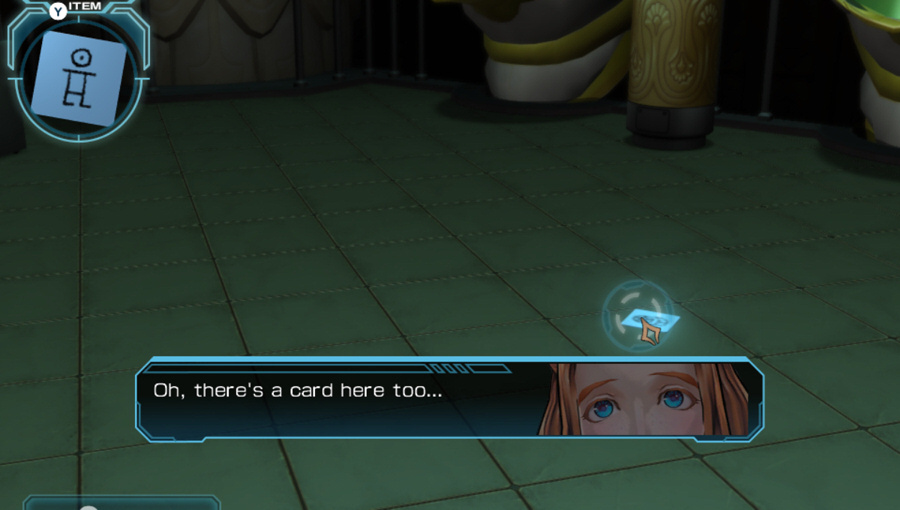
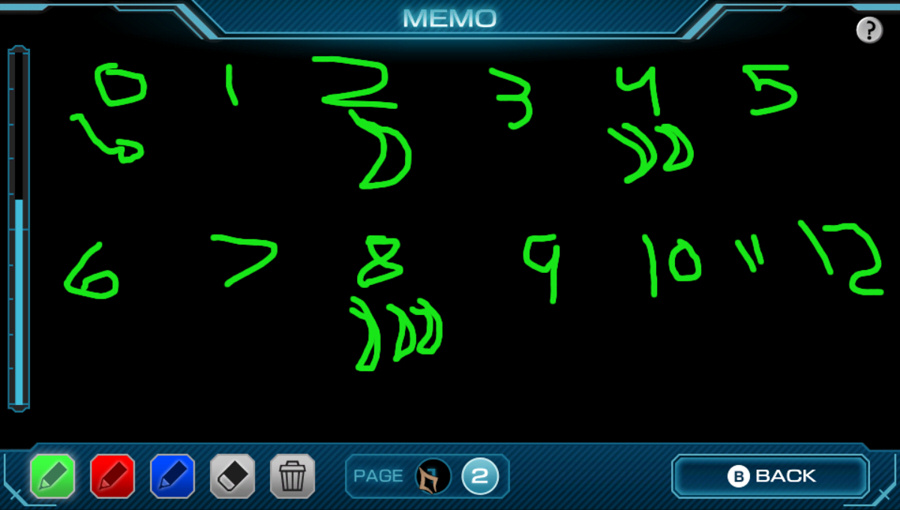
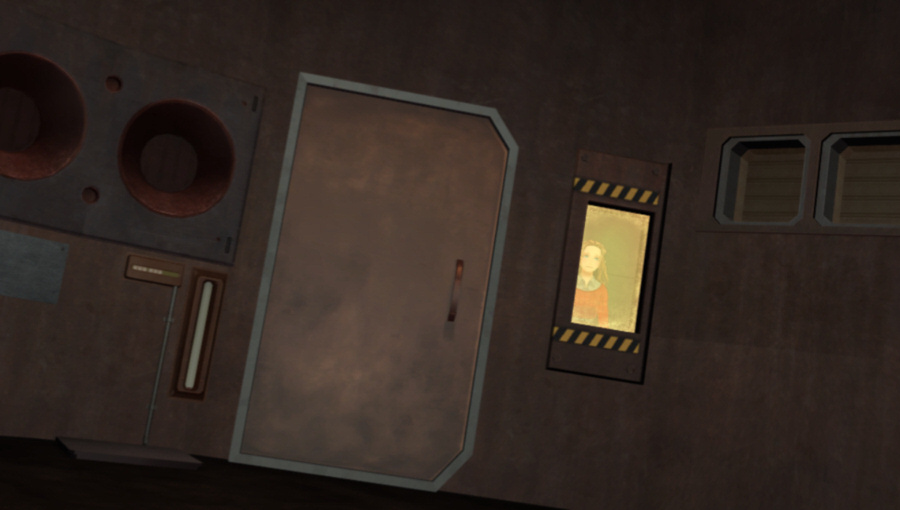
The floor has some important things to pick up though.
What's this...? A card?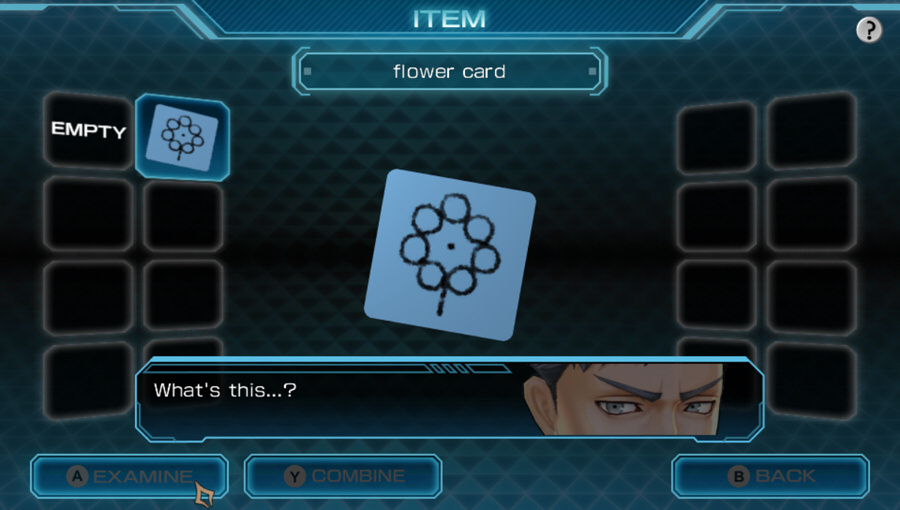 I'm not sure... A flower, maybe? Flower... I guess now that you've said it, it does kind of look like one.
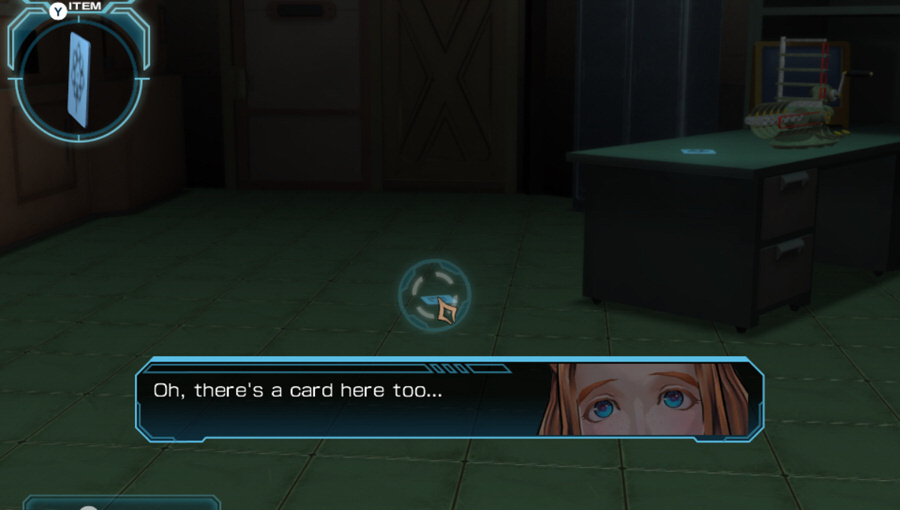
 This kind of looks like a powered up martial artist firing off a shockwave. Uh, well, that's...a thought, sure. I wonder what it really represents.
 I doubt we have to be concerned. It's probably just a change of clothes.
The locker rattles but won't open. Just more decoration.
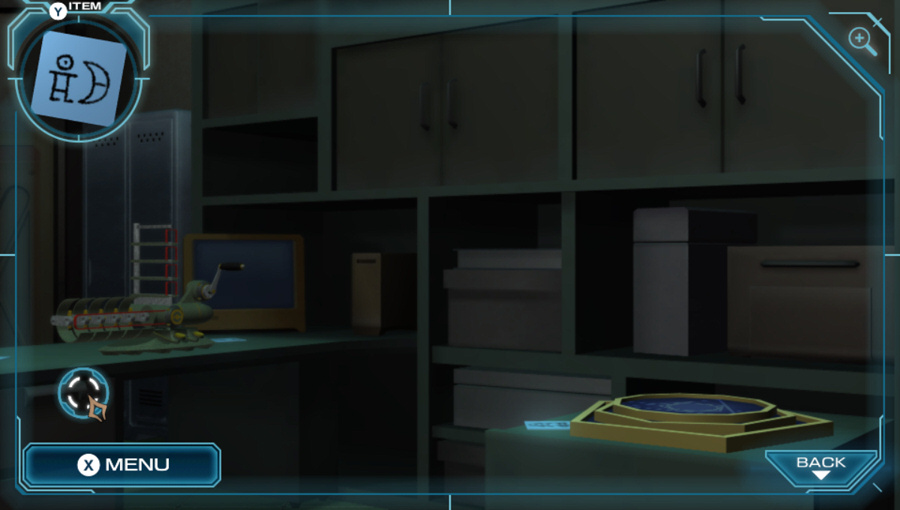
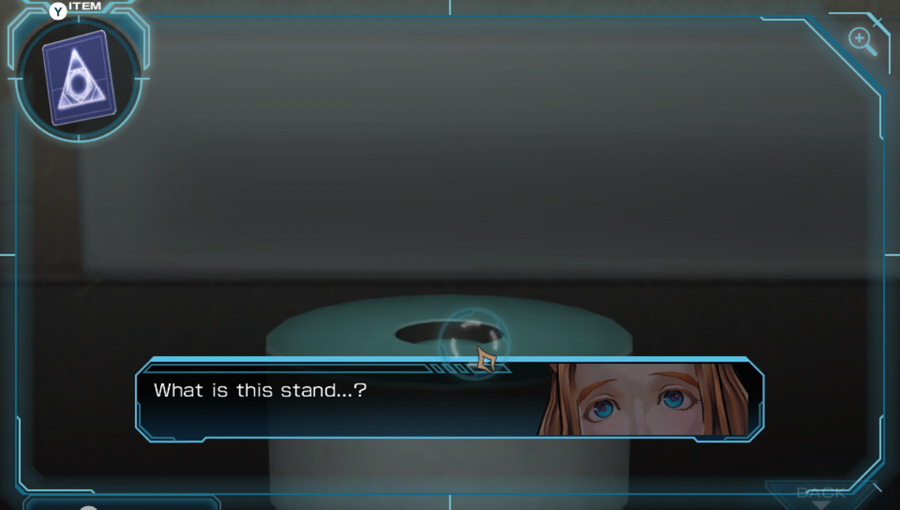
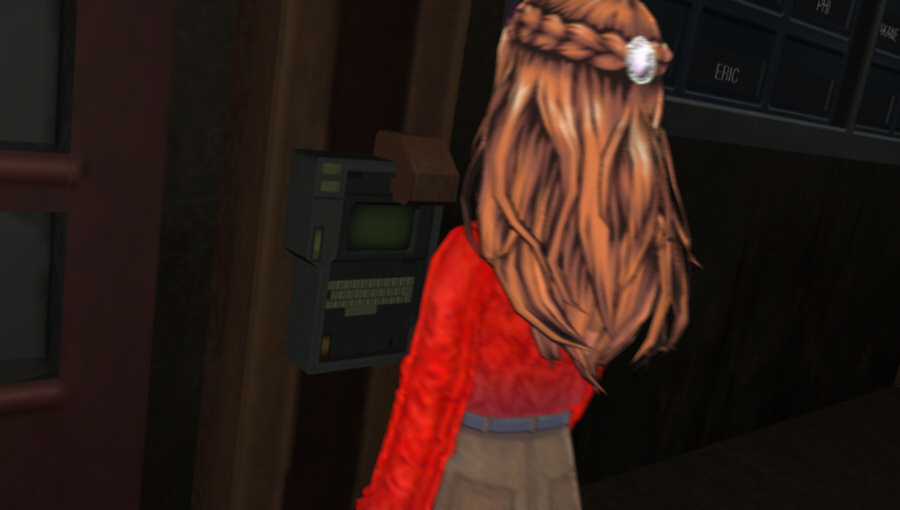
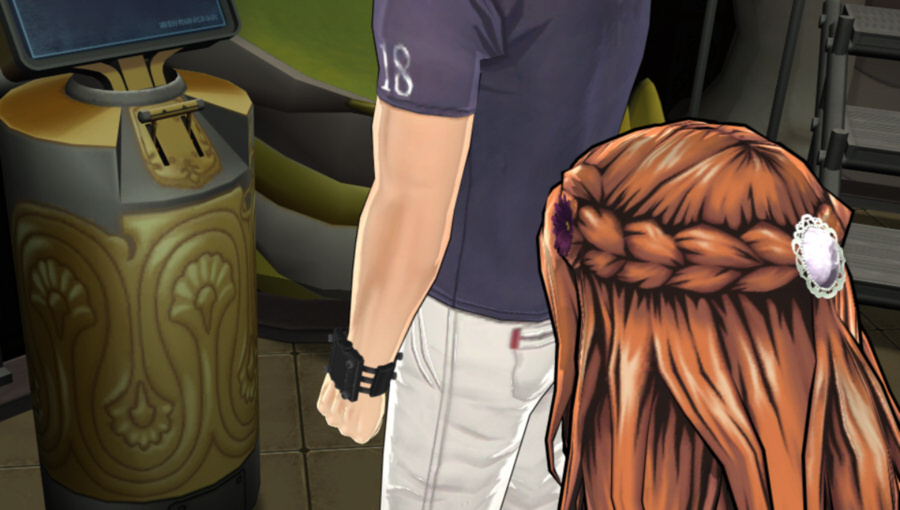
Clicking on the desk brought me into this weird zoomed view. I guess we'll look at the weird machine on the desk first?
No, first we're going to pick up more cards.
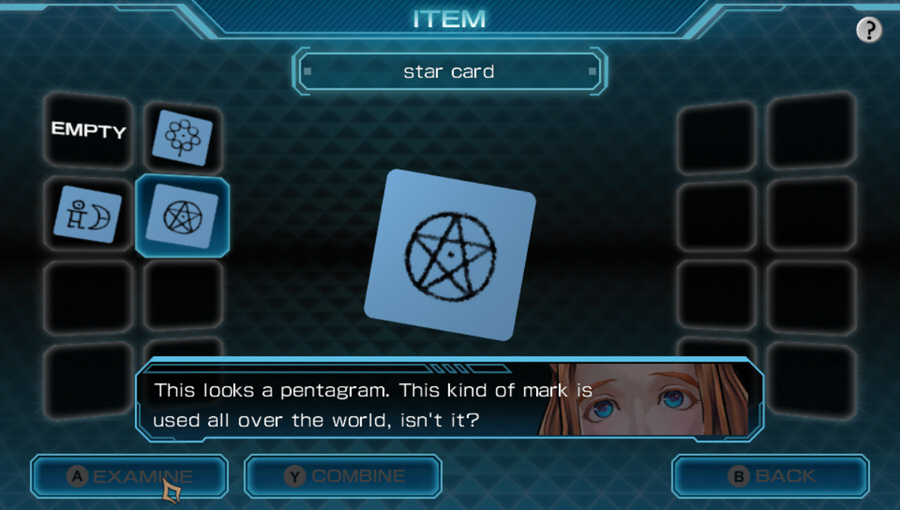 Right. It's one of the simplest diagrams for showing the relation between the 5 elements. So even other worlds use this...
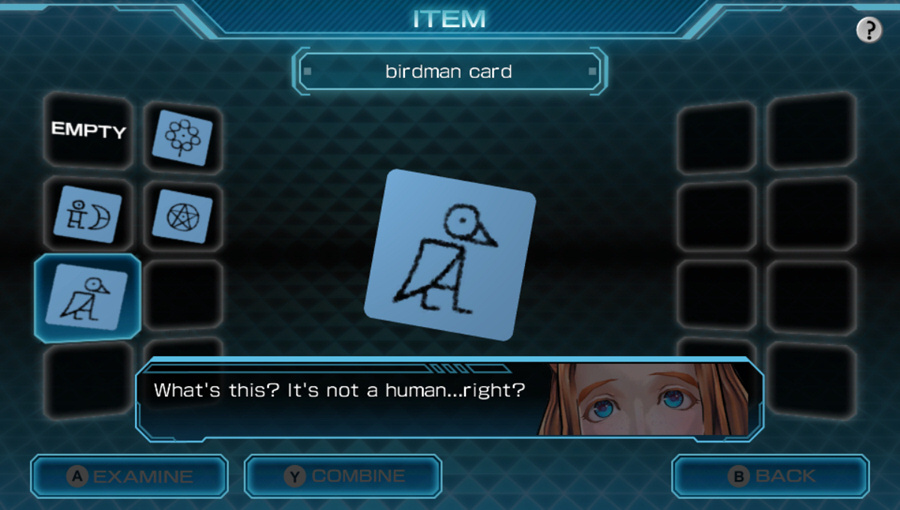 It looks like a bird and human hybrid. Like something from mythology.
I kinda thought it looked like Zero with his cape and plague mask. Didn't we see these symbols wayyyyy back in the Study?
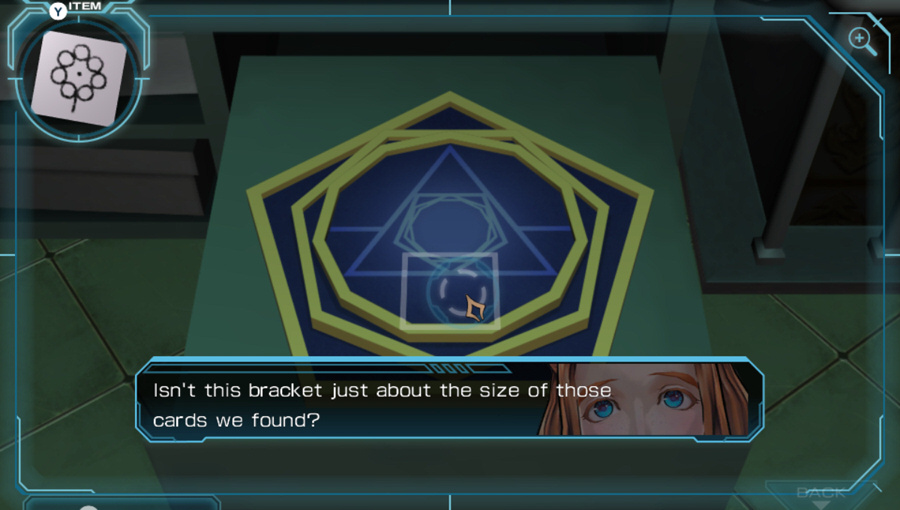
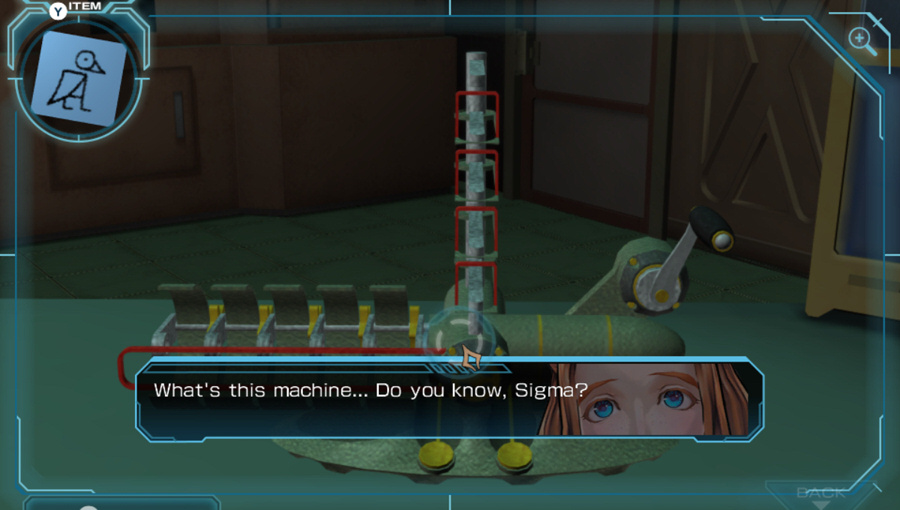 I don't. It looks fragile. I think something goes into the vertical and horizontal axes. Oh, you're right! That means we probably can't use it now...
 ...It's not responding. I think it's broken.
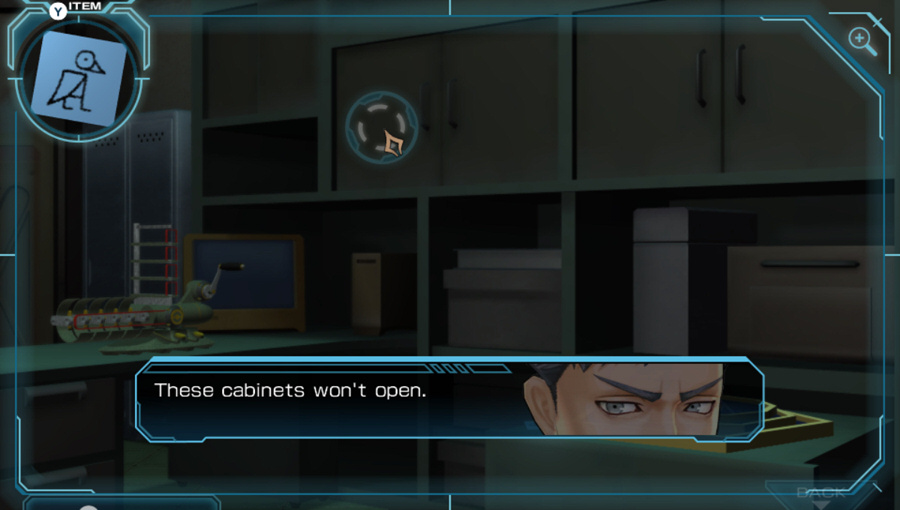 And here I was thinking we could take a break if there was some canned soup in there. And how exactly are we supposed to heat that up...
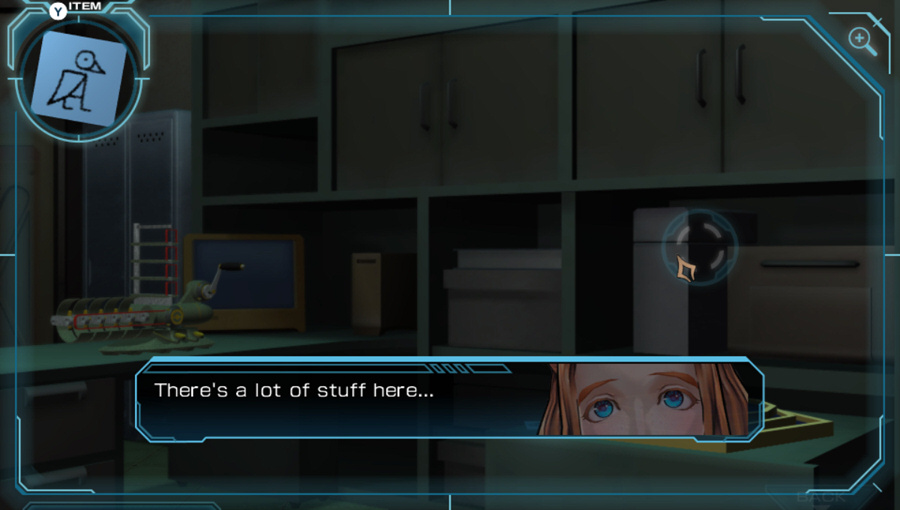 I don't see anything useful. I kind of feel like organizing it right now.
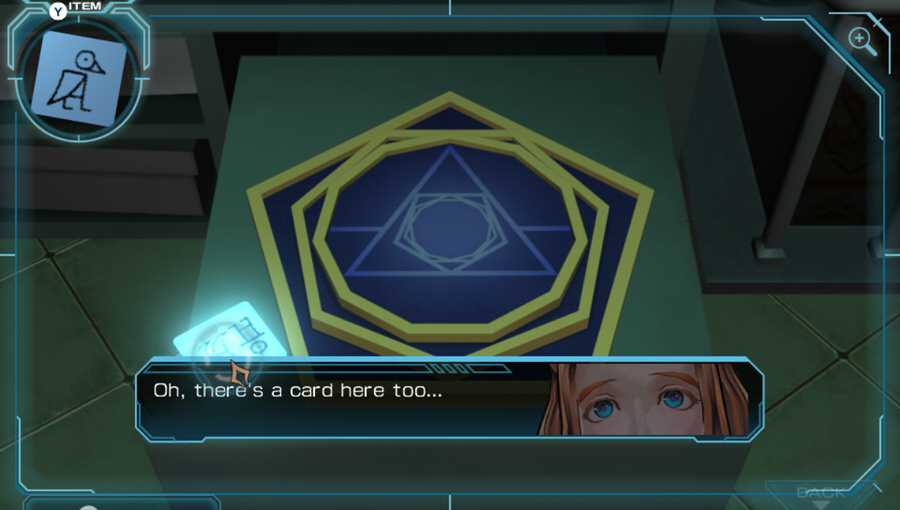
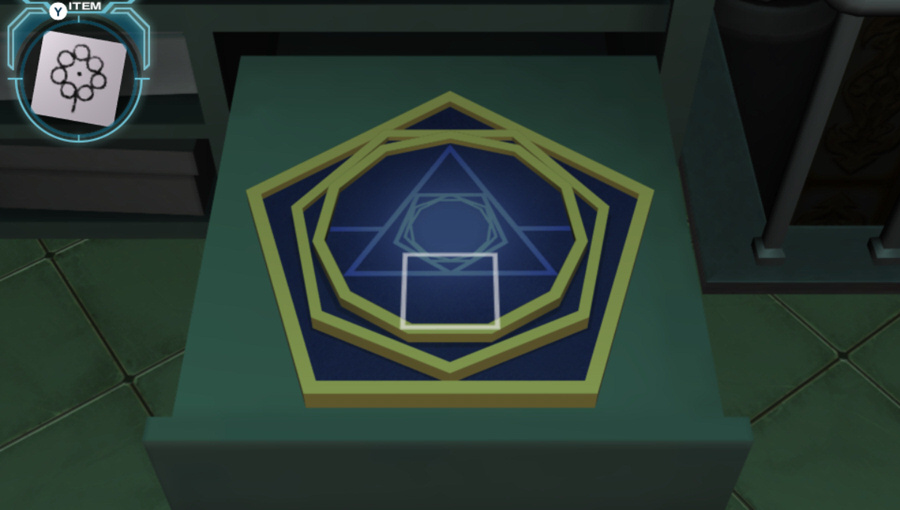
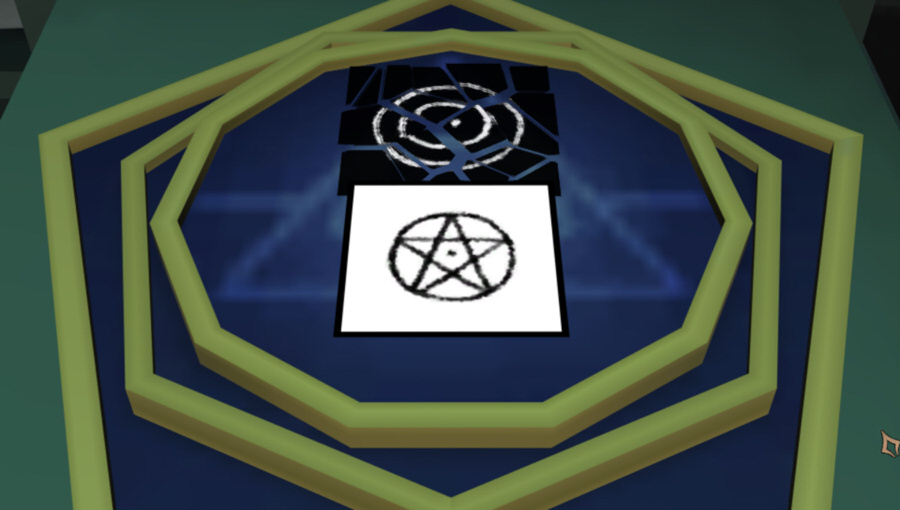
We really just want this card, but the weird structure is pretty cool-looking, too. That's a hendecagon in the middle (11 sides), don't see a lot of those.
 Maybe two nights passing? This is kind of fun if we can imagine things like this.
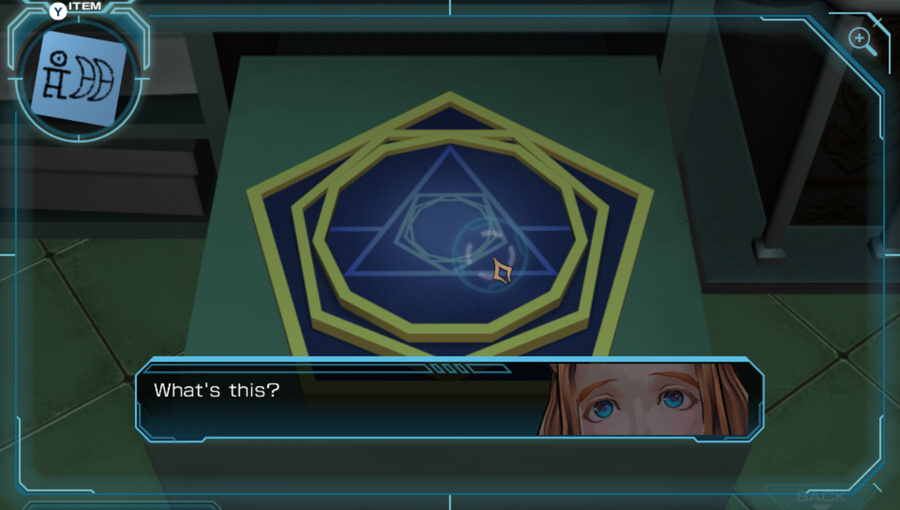 I've no idea... I've never seen it before. Nothing happens when you touch it. The surface is cold.
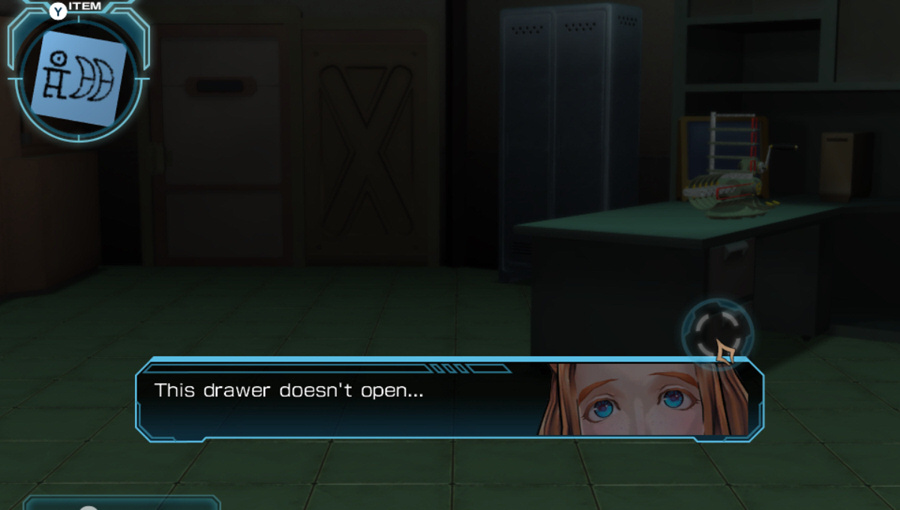 Then let's search someplace else.
This room actually doesn't have a lot going on. There are really only two main puzzles, they're just rather large ones. And the first one, of course, requires first collecting all of these cards that are lying around.
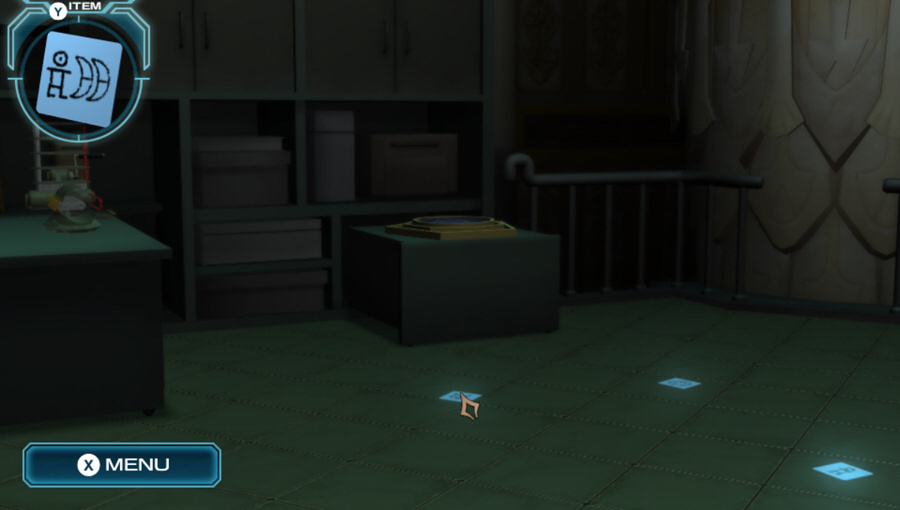
Three more of the cards on the floor here.
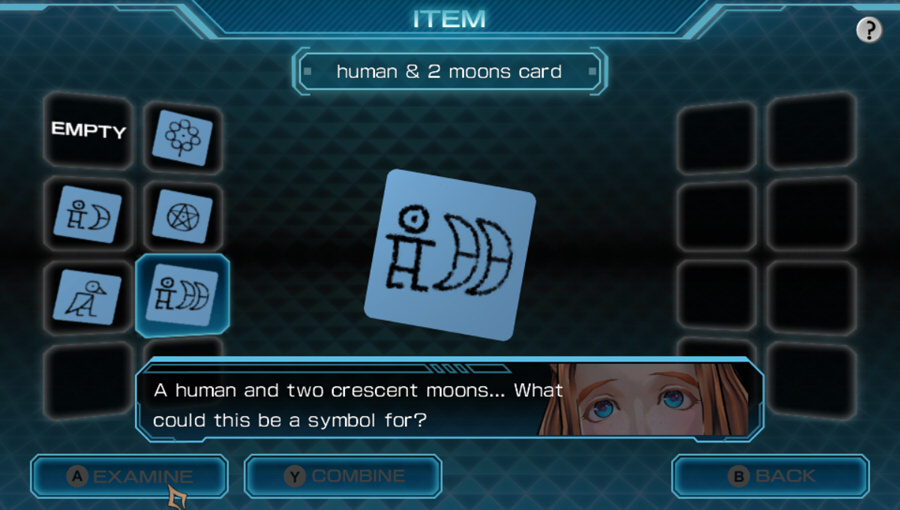
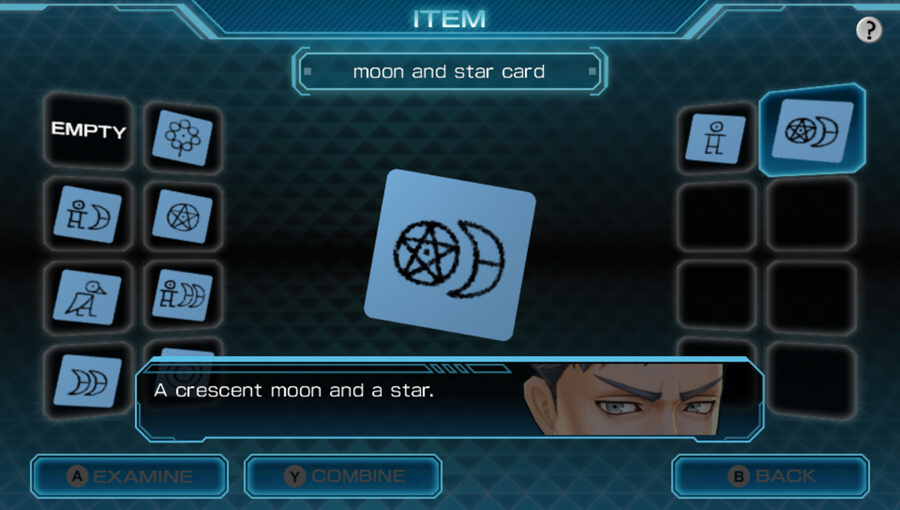
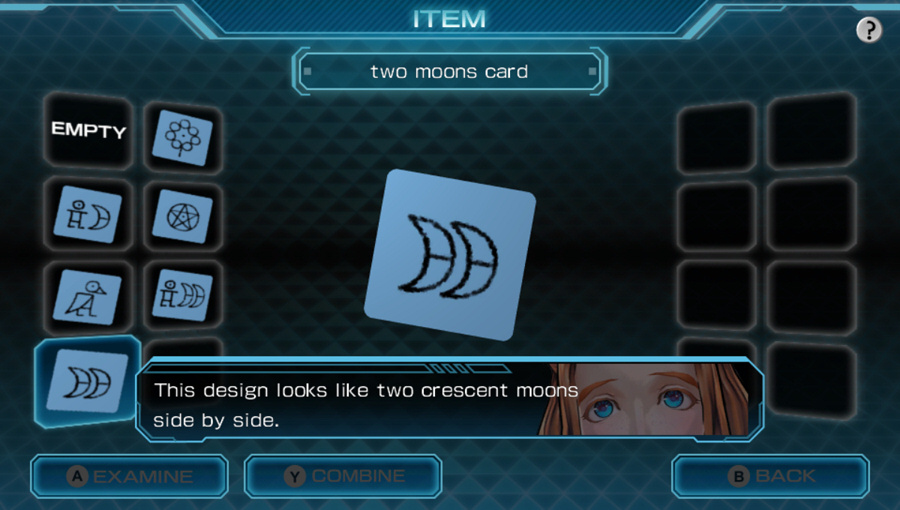 I think it's either two moons, or a solar eclipse?
It's two moons. It says so at the top.
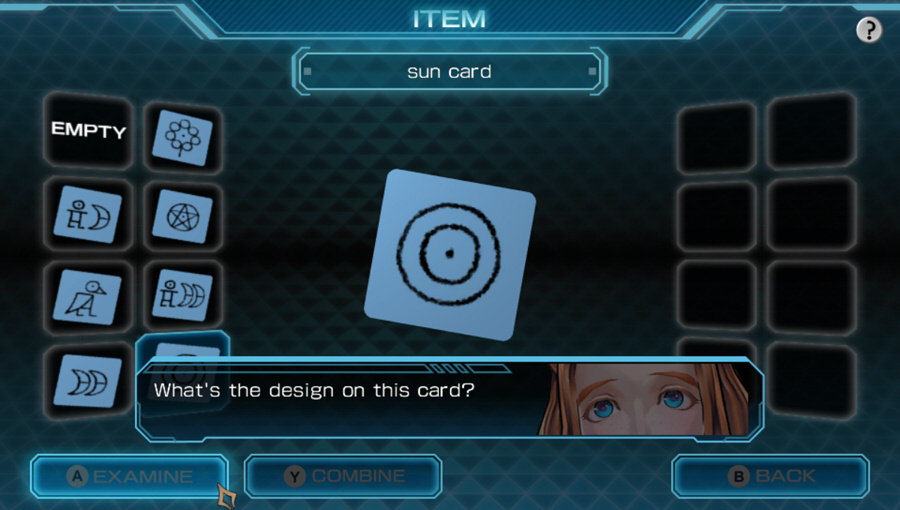 It could be a sun, if you use astrological symbols.
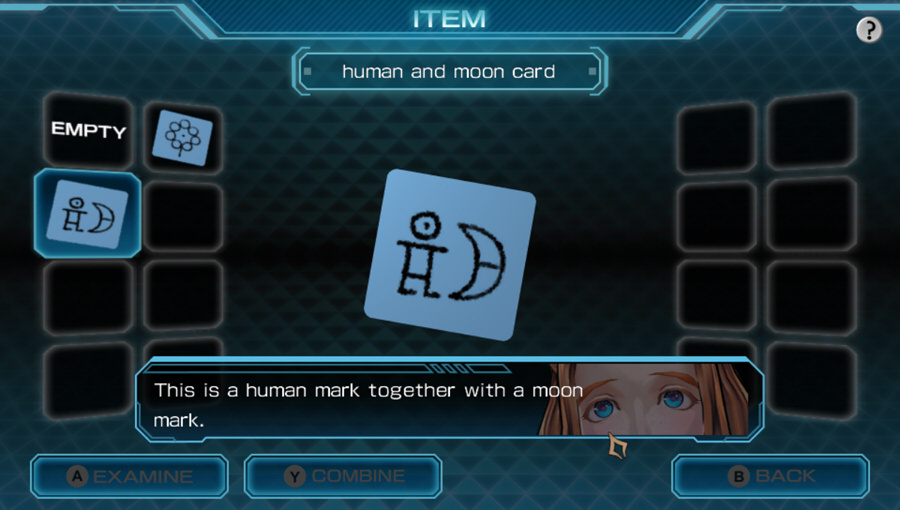
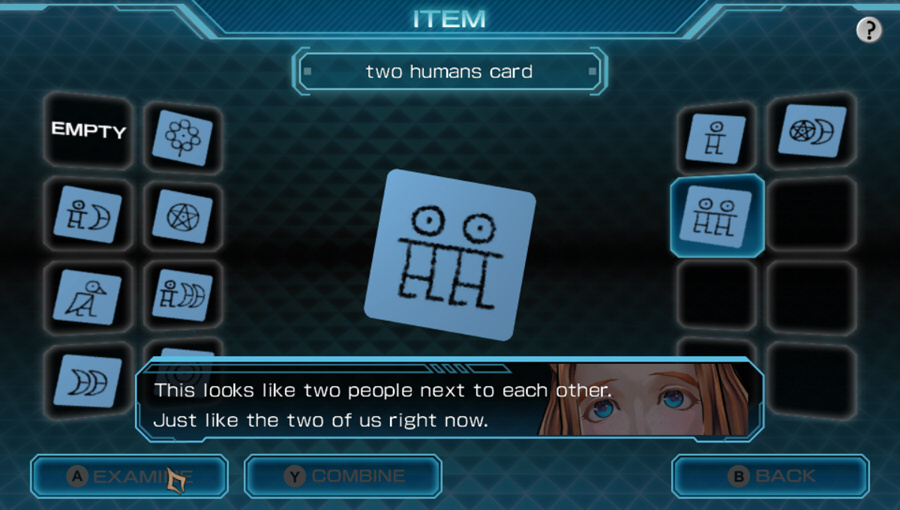
 ...We can't know that for sure. But I think this mark designates "human". Does that mean people on the alien world also look like humans?
Or maybe they look like the birdman we found earlier?
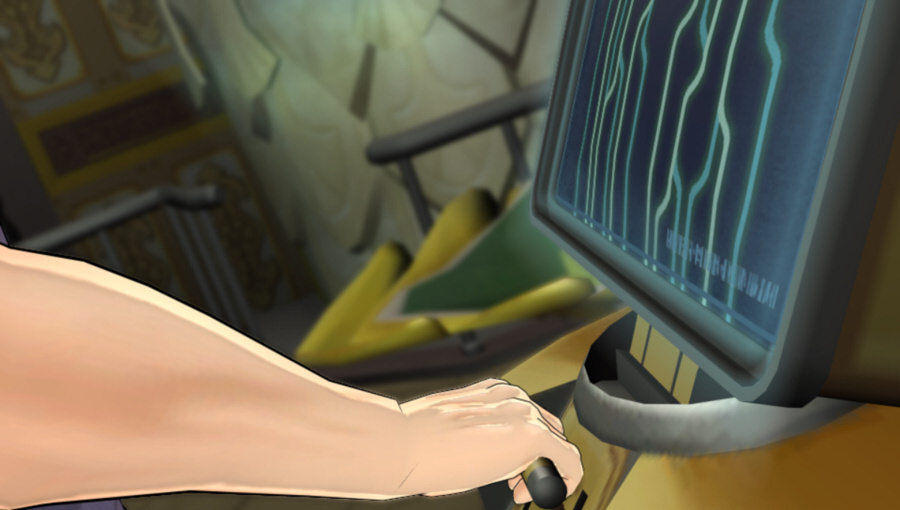
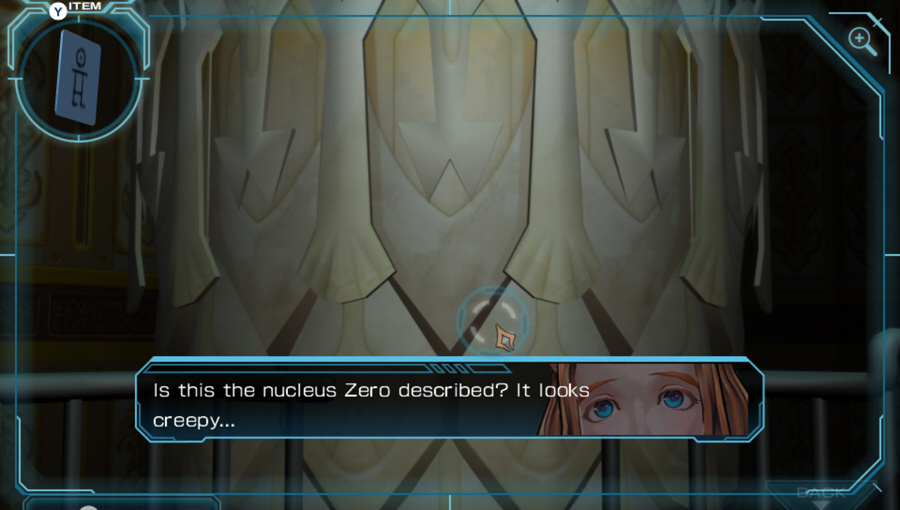 He said the nucleus of the transporter controls its function. According to him, we need to restart it. How are we going to do that?
I'll give this one a second click...
 So Zero was lying about everything? I don't know... ...We've checked all the other rooms. This is the only one left. Let's see what we can find.
I think Sigma is just jealous he didn't have one of these for VLR.
 I want to see the real night sky again... Same here.
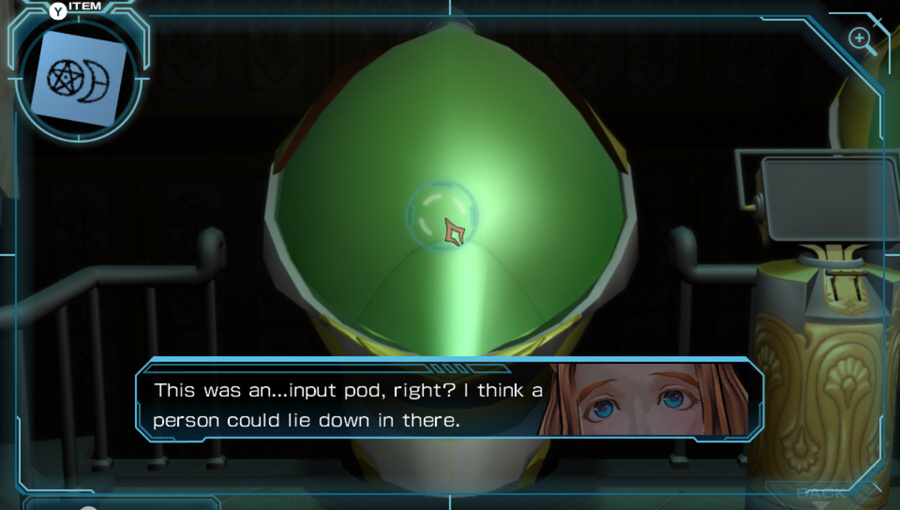 It looks like a lidded bed, just like Zero said. It sounds a lot like a coffin. I'm used to getting into a pod, but now I just feel terrible...
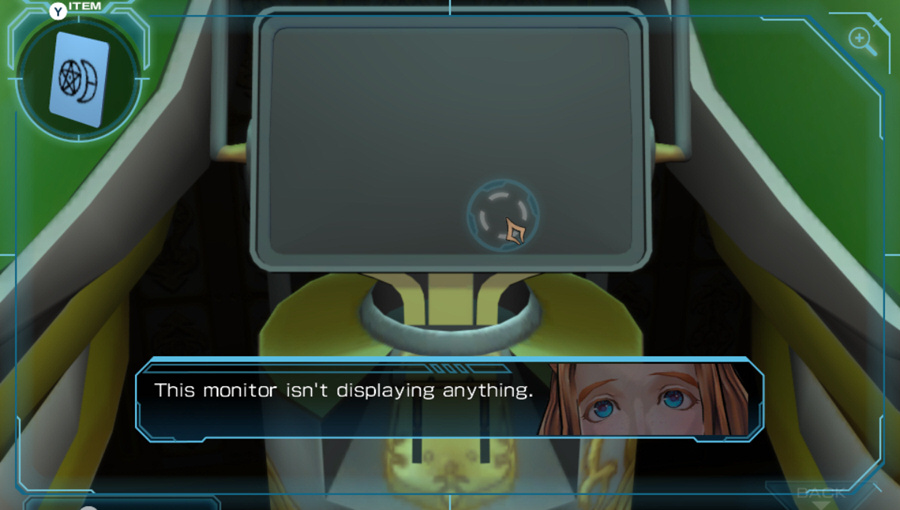 I think it's connected to the input pods back there... Do you think it'll power up if we restart the nucleus?
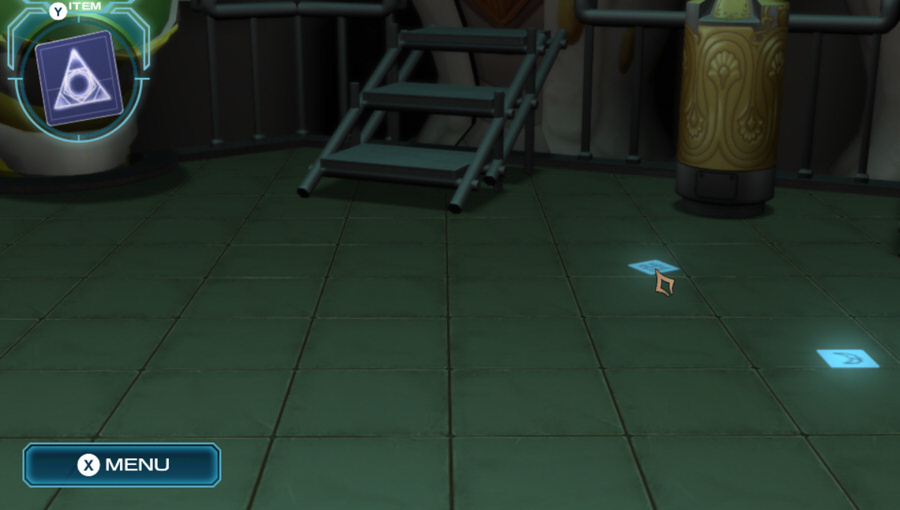
Oh good, more cards.
 ...I wish one more was here. Ah... I'm sorry. I didn't mean to imply...
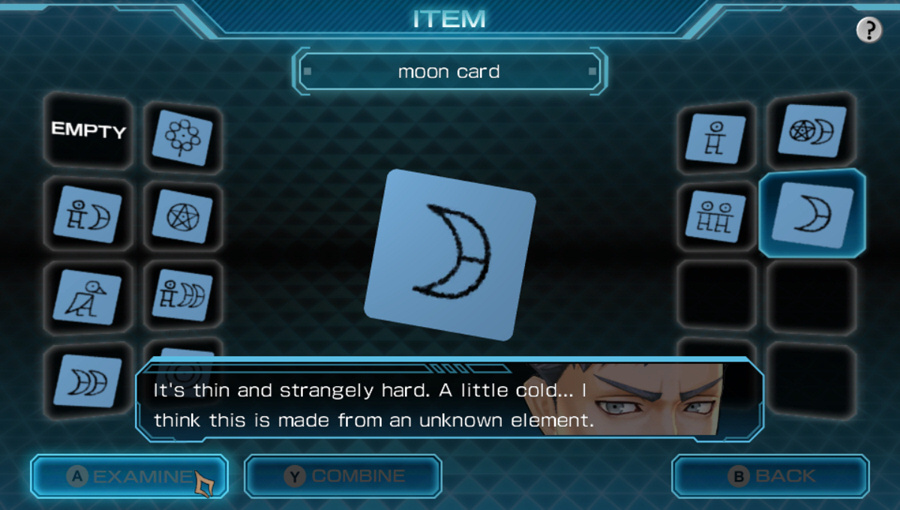 The design looks like a crescent moon.
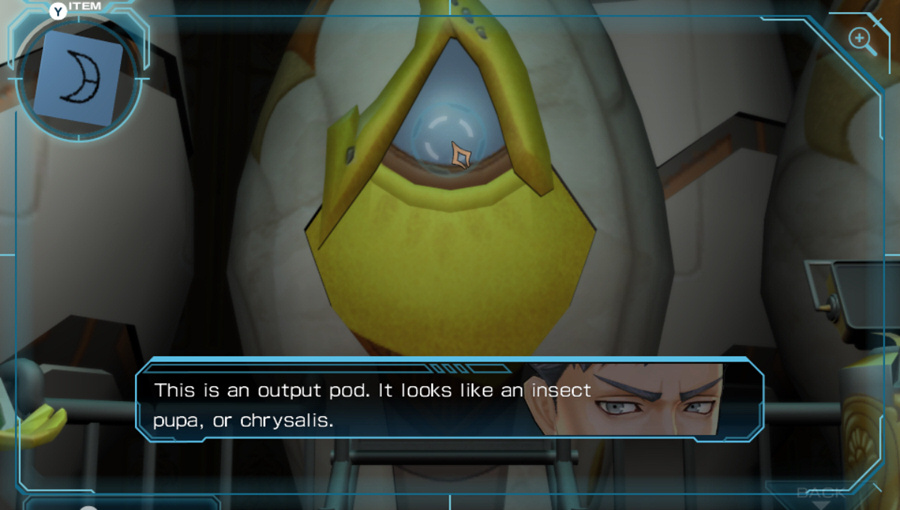 Oh... Then when you use the transporter, you are reborn from it as well. Ah, that's an interesting point of view. Maybe that was the idea behind its design. That also brings the idea that organisms that form pupa exist in foreign civilizations...
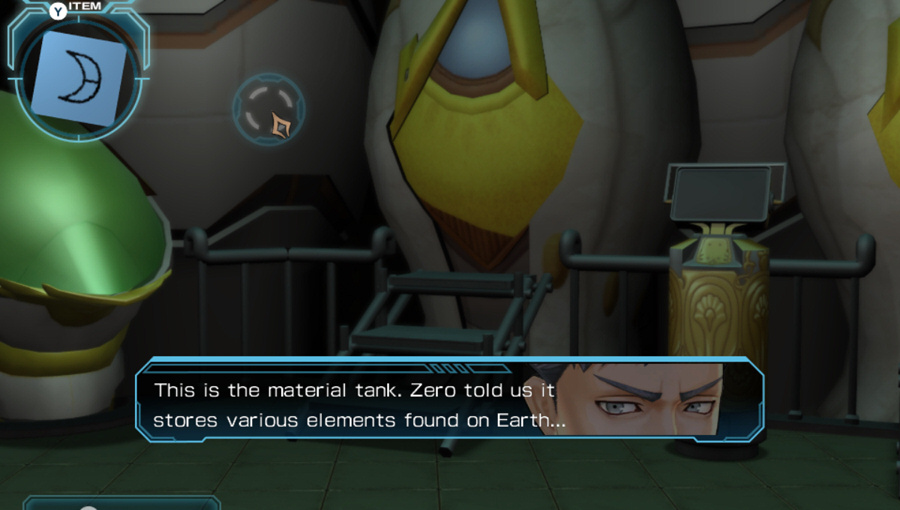 Can you really make a real human being with those materials? I mean TRULY real. Oxygen, carbon, hydrogen, nitrogen, etc... Current technology can tell us human makeup. It's impossible to make a human exactly, so I suppose it depends on your definition of real. What makes us real... I don't think that question can be answered.
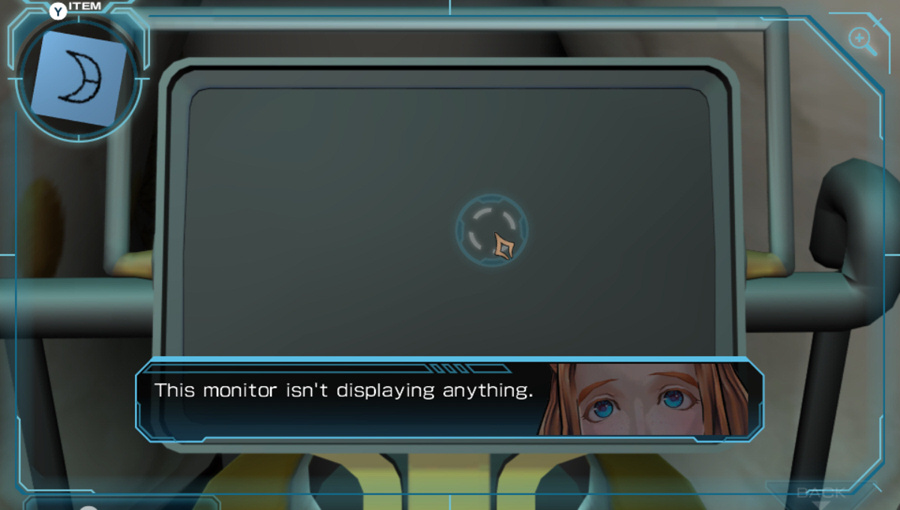 I think it's connected to the output pods back there... Do you think it'll power up if we restart the nucleus?
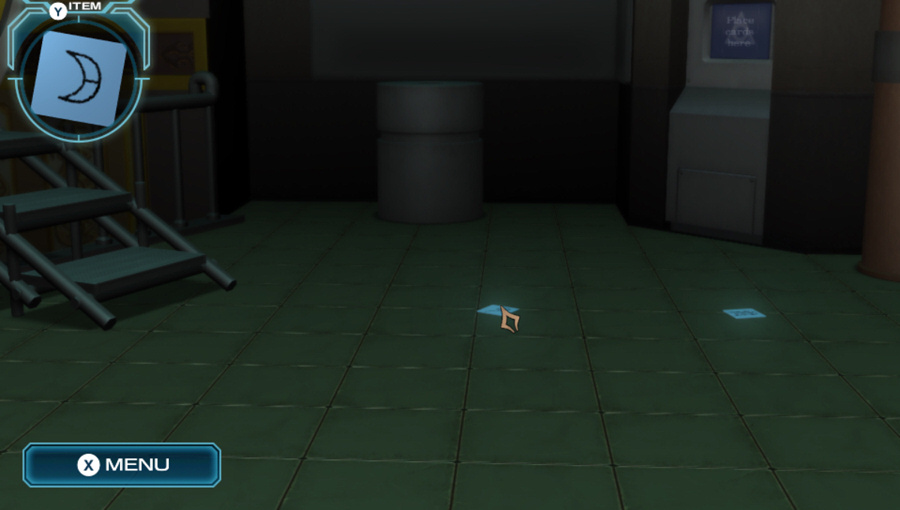
Last two cards!
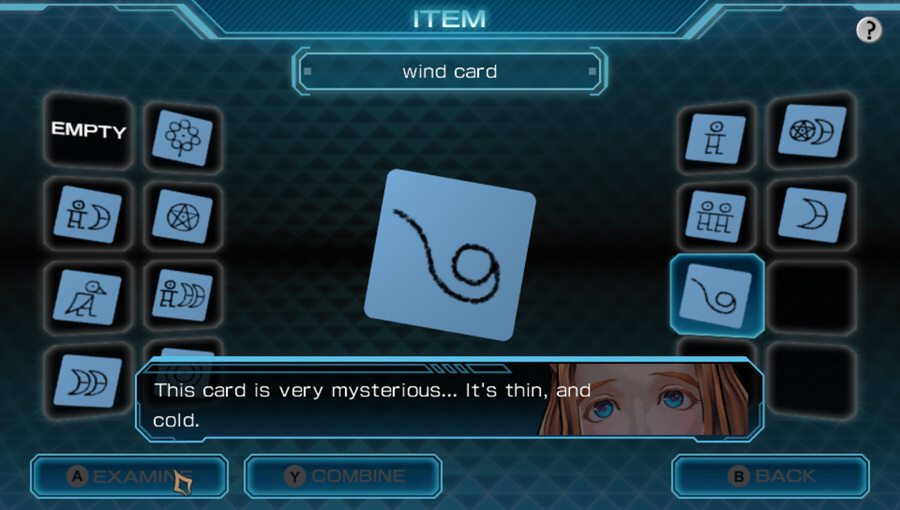 And really hard. Is that some kind of wind mark drawn on it?
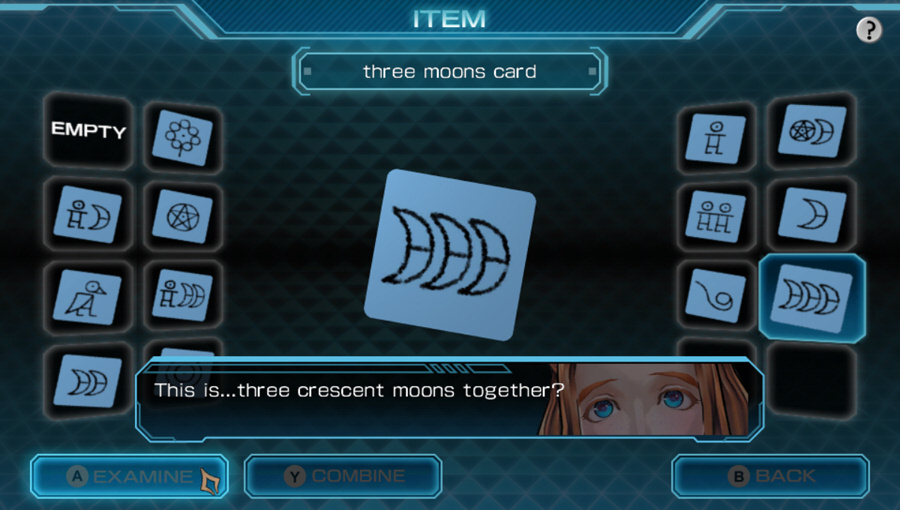 Maybe there are three moons in this "alien dimension".
Thirteen cards in total.
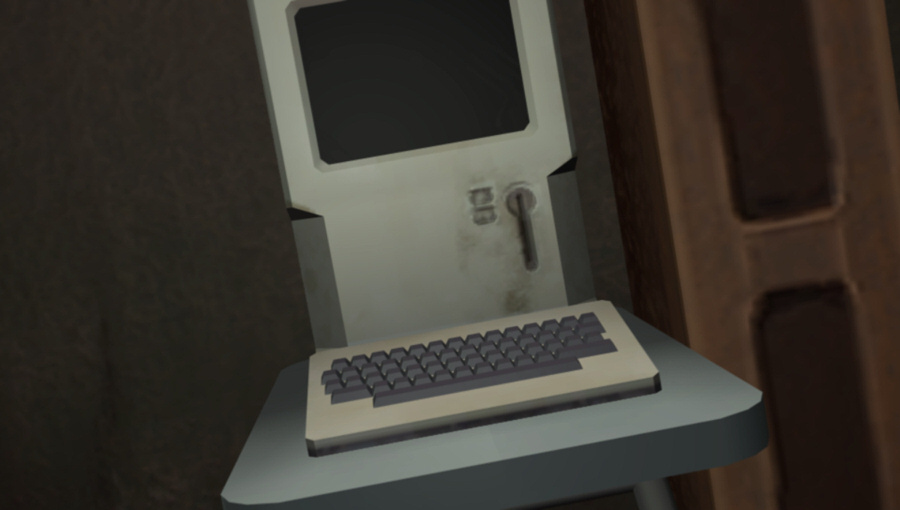
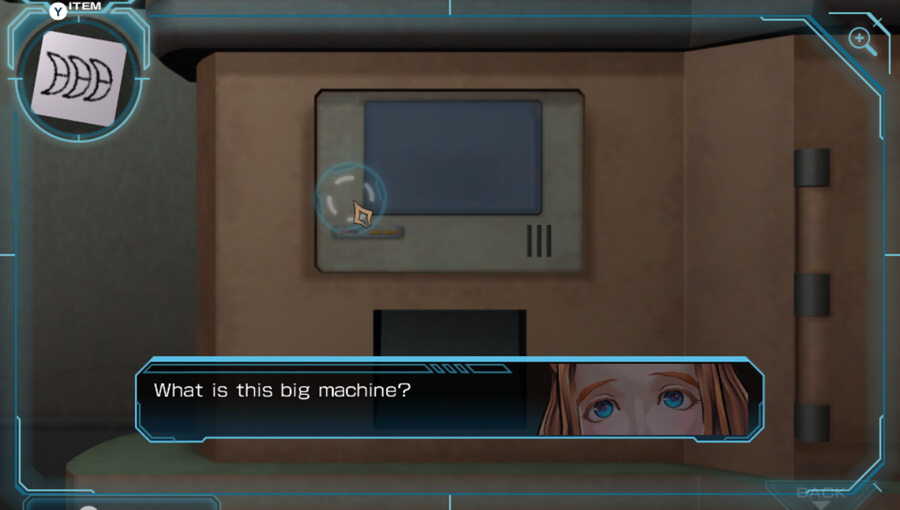
 It's likely some sort of device, but I'm not sure what kind...
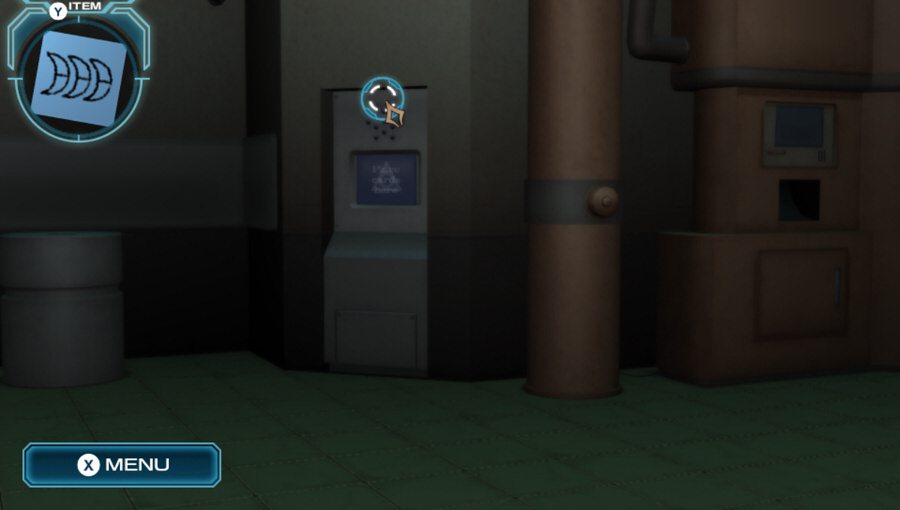
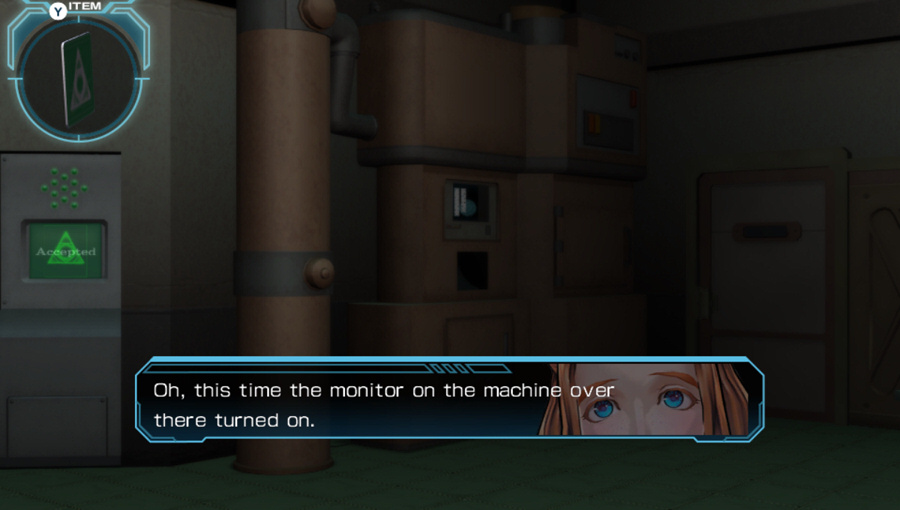
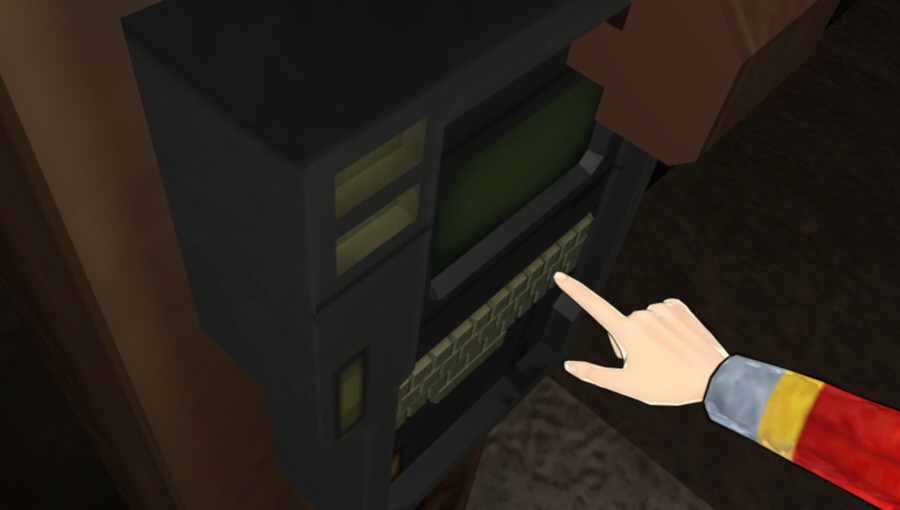
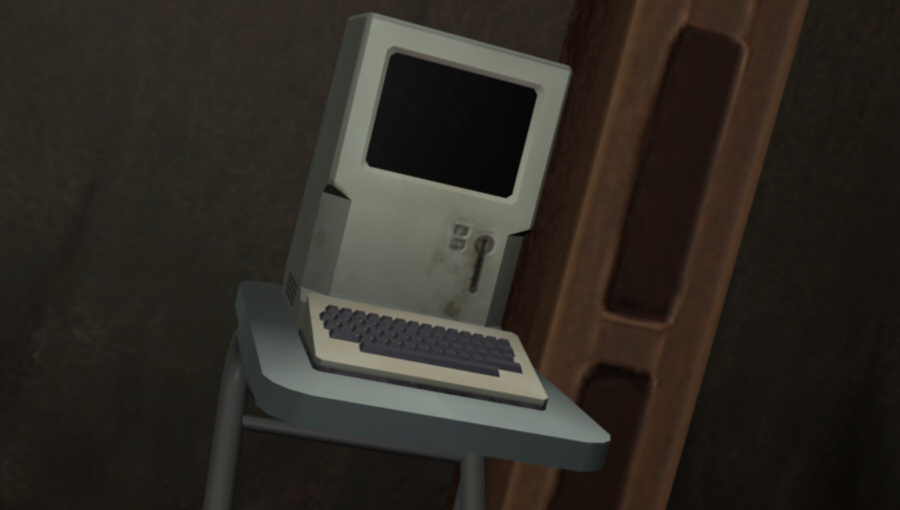
This monitor looks like it's on, at least.
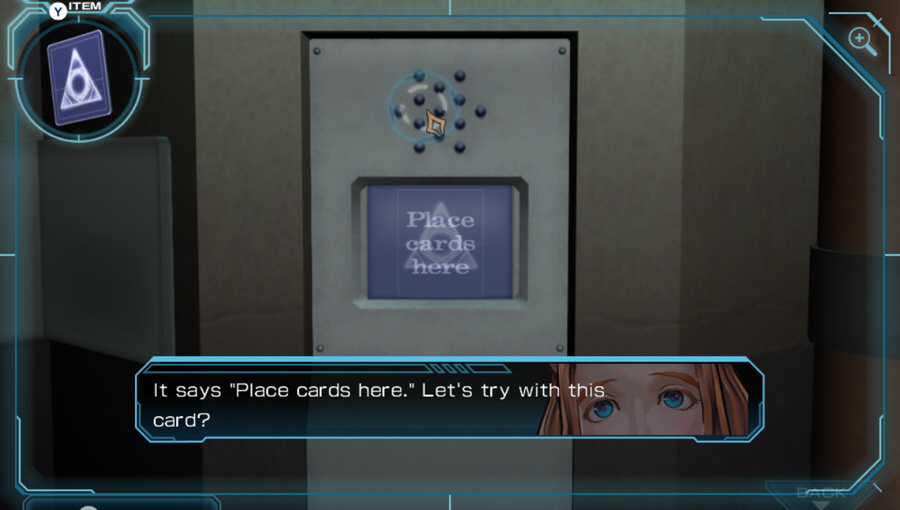 Yeah, go ahead.
 Huh? Did the color of this card change? I thought it was already like this? No, it was something darker, I think...? Regardless, we still don't know everything. Let's find more cards.
The face of the card lightens up, and the back of the card changes color. The only reason I can see for that happening is that I have to feed all thirteen cards individually into this machine instead of it just taking them all at once or something. Annoying.
 We used that card earlier. It seems that each card triggers it only once.
And because your inventory stays on the last item you used, I have to go into the item screen 12 more times to select each other card. Blech.
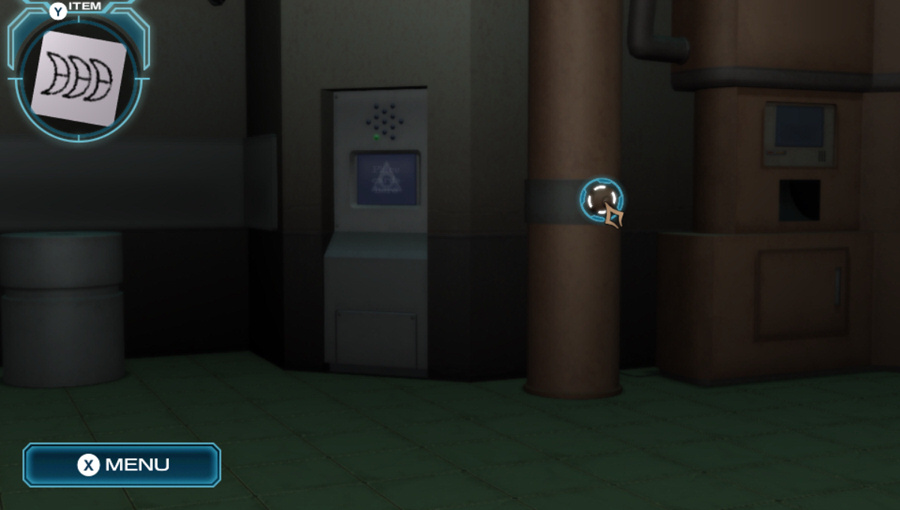
Instead, let's finish our journey around the room by looking at this machine.
 It's off so I can't be sure, but I think it's a 3D printer. I've heard of those! You can make anything you want with them! Well yes, but you need the data to create too. The power's off, so we can't use it anyway.
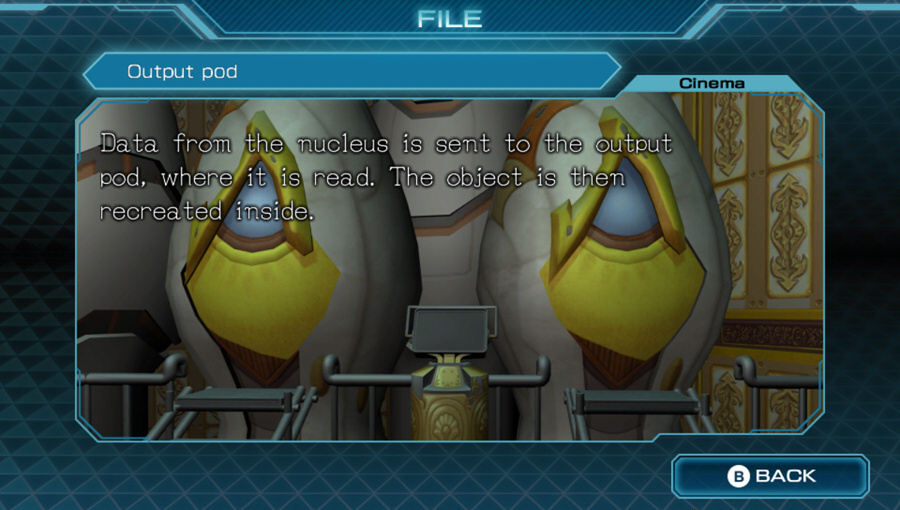
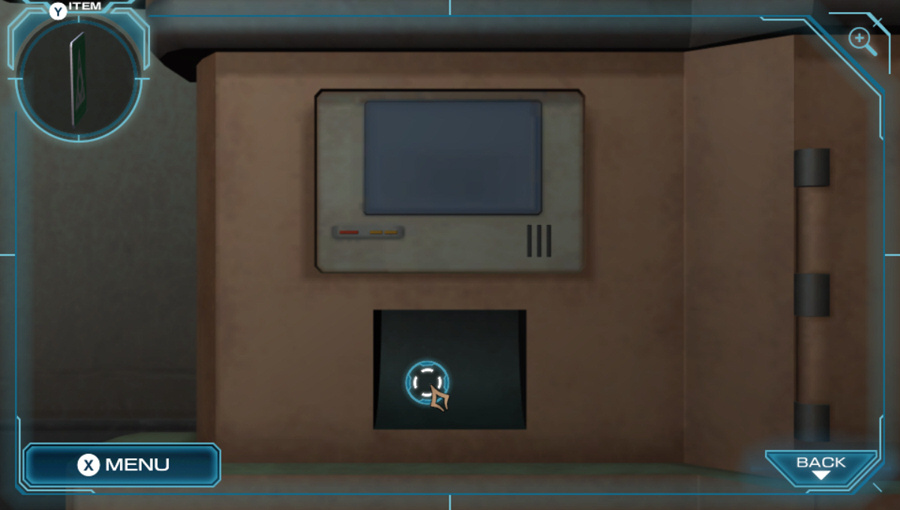 This is the machine's output point. Output? So something is going to come out of it? We'll figure that out once we turn the power on.
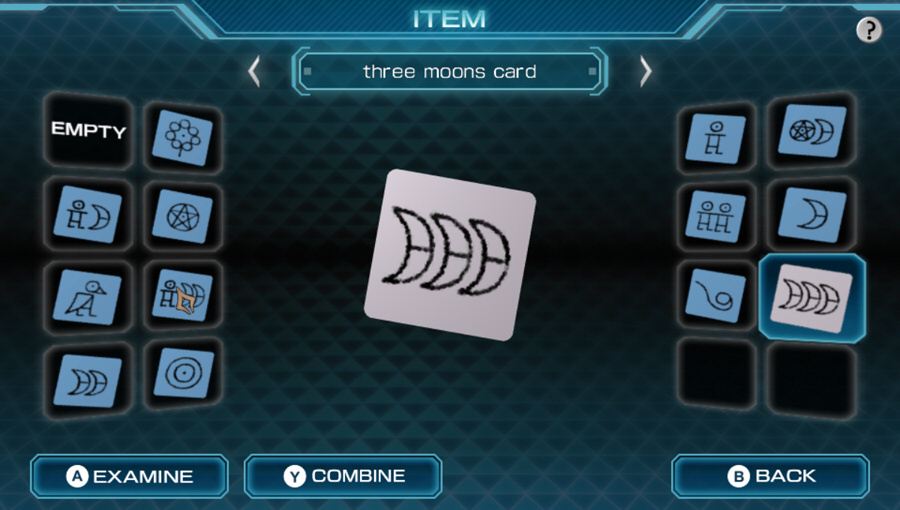
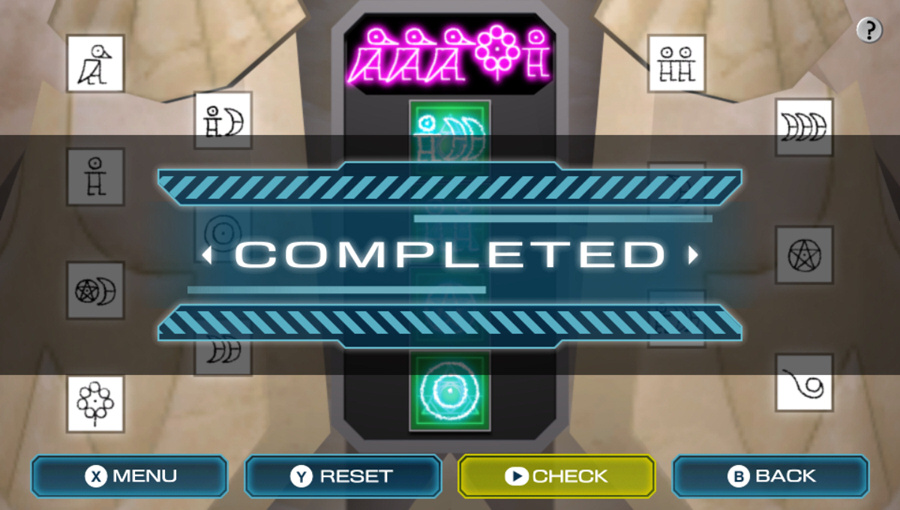
Well, that's the whole room. Time to feed these cards to the stupid machine one at a time.
 That's my guess... I noticed something too. Placing the card here changes it to a different color. Oh, you're right! Now we can tell which ones we've already done! True, but that's all the information we have right now. Let's keep going.
How about I just show the dialogue for the rest of these:
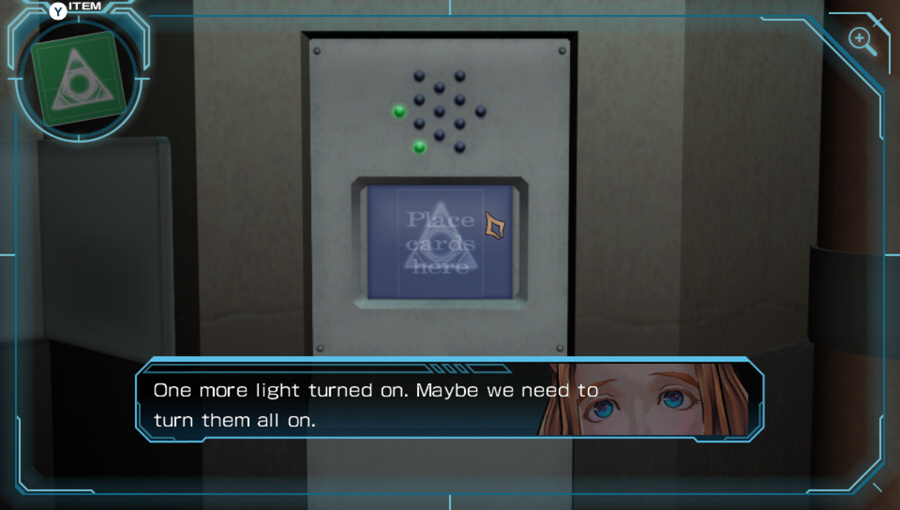
All right, a light turned on. Let there be light! Now we have five of them lit! The sixth one is on now. And the seventh. Eighth... It's on. ...Okay. ... Augh, just how many are there?! How many times must we do this! Damn you, Zero! C-Calm down, Sigma! I think there's only one more left! Here goes the last one!I'm 90% sure somebody play-tested that and made sure that last line of Sigma's got put in there.
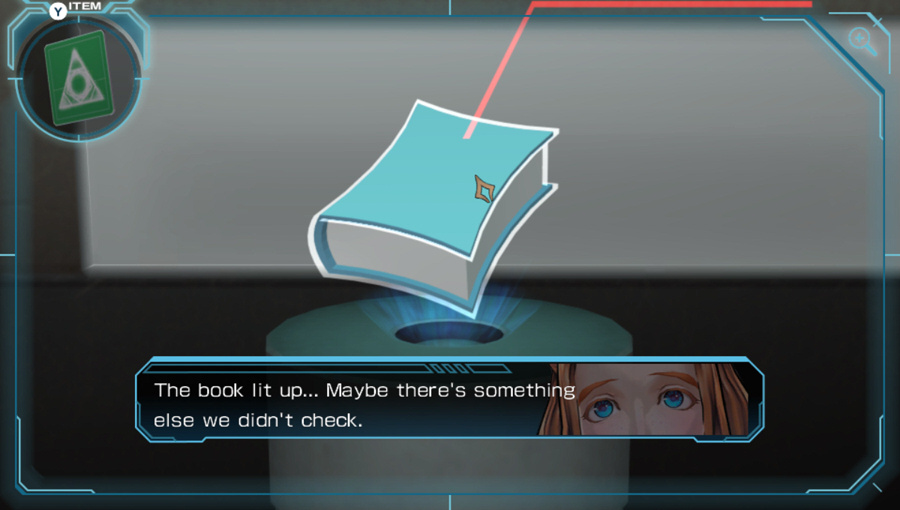
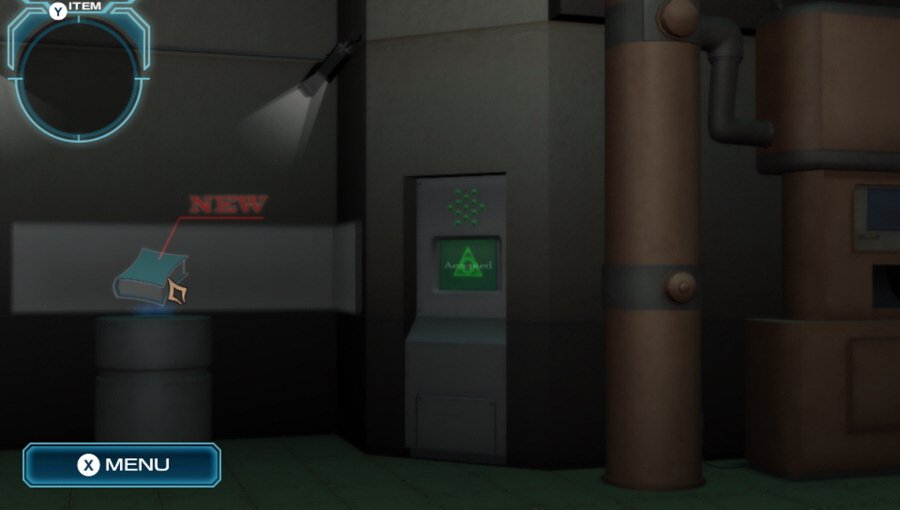
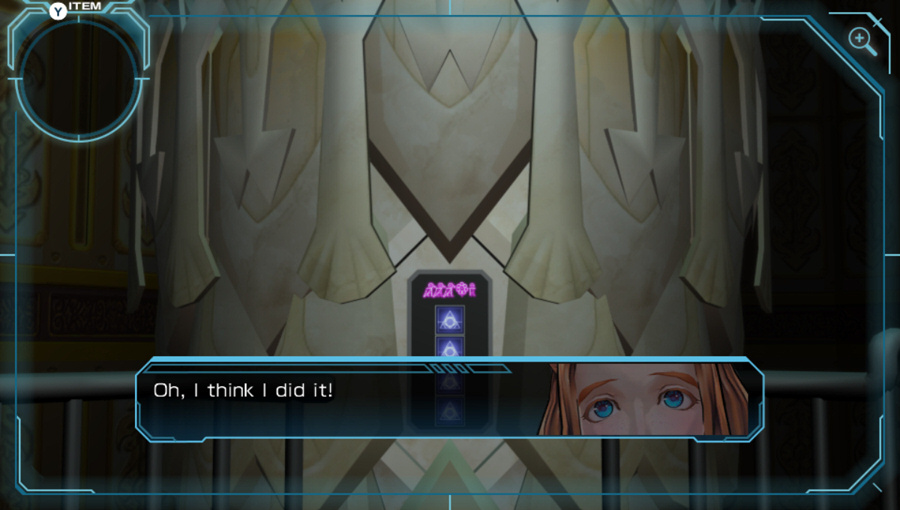
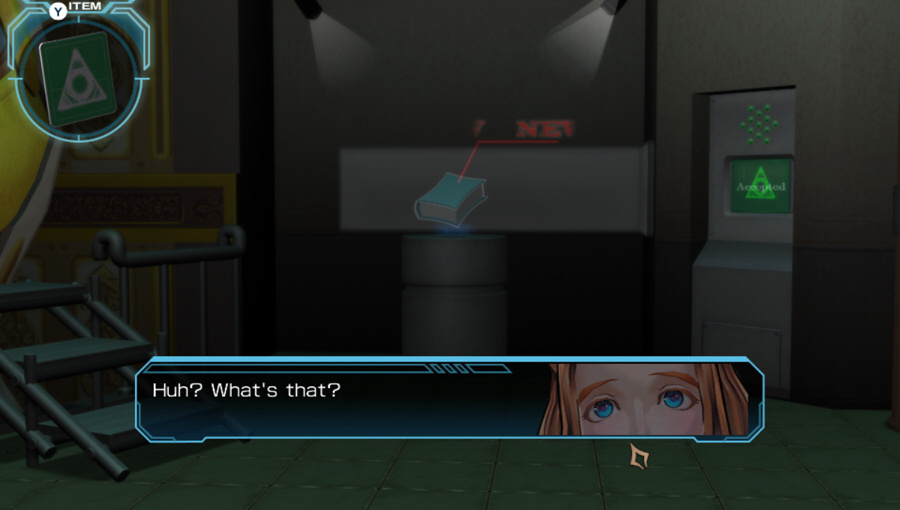 A book...? Let's check it out.
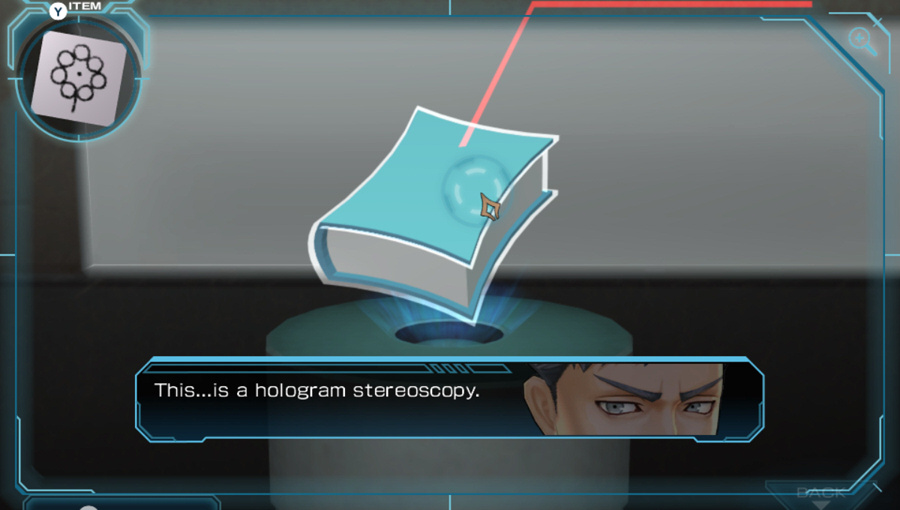 Wow! Incredible! There's a picture in the air... Is it okay to touch? It should be fine, but why? It is only a picture after all. You can't feel it. Isn't poking your hand through the hologram fun? He he! Come on, try it!
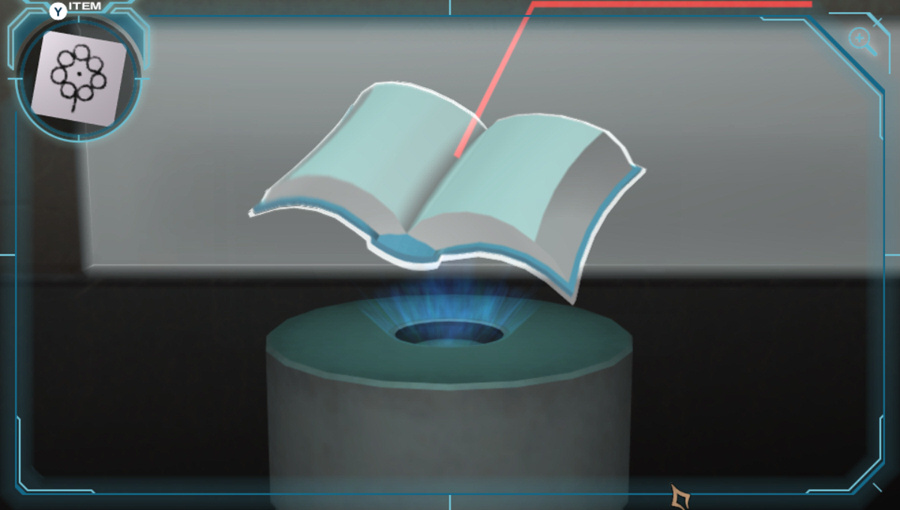
You can't feel the hologram, but the hologram can feel you!
Oh, lord. Here we go.

Wind = Zero. That's it?
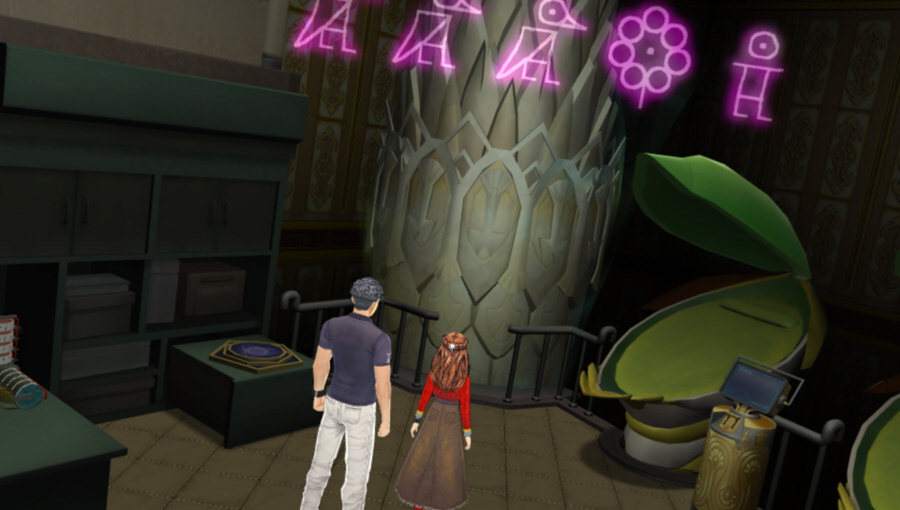
On the other side of the room, this weird thing lights up.
 I wonder what it is? Let's go see.
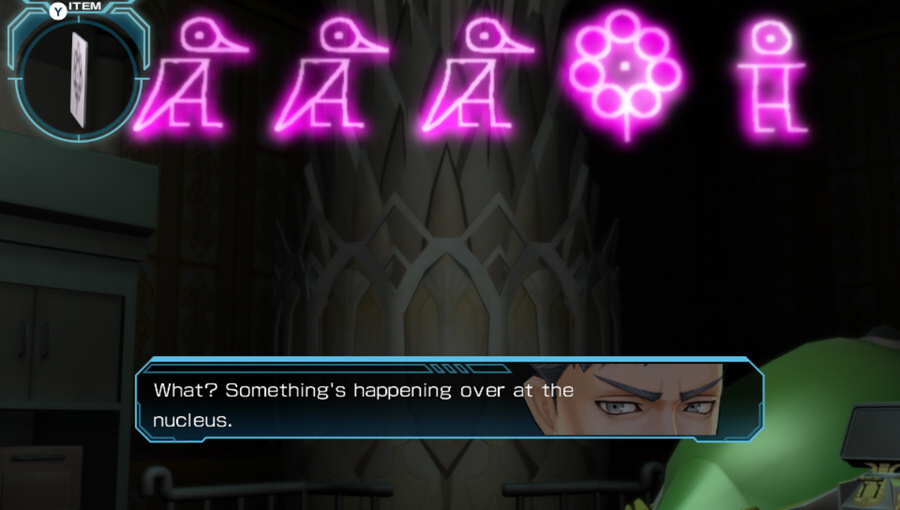
And some symbols appear over the nucleus. Guess it's time to crack the code.
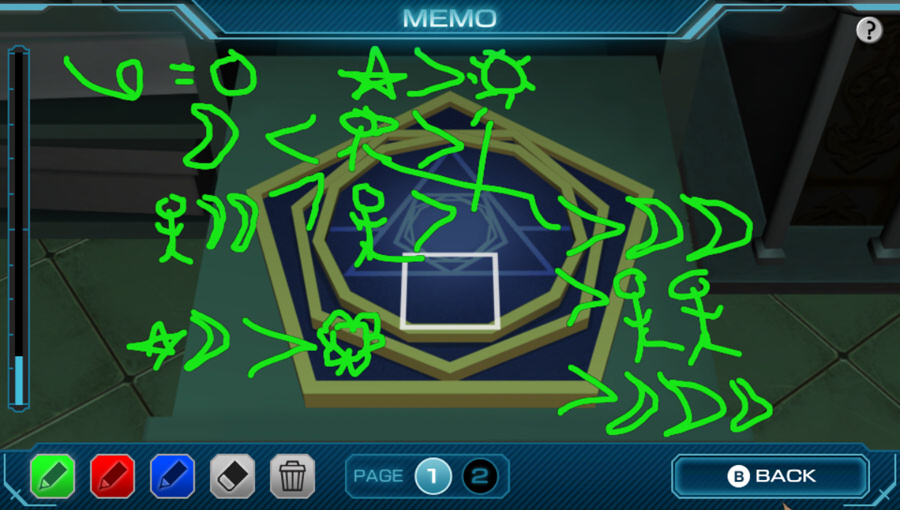
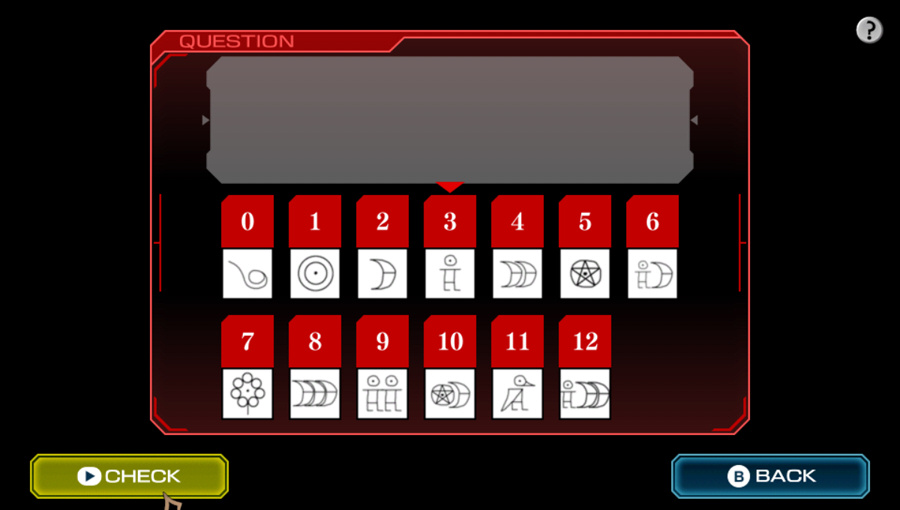
It's not just me, is it? These symbols look like the pictures on the cards. You're right. They're each a separate shape. Just what do they mean?Judging by the Wind = Zero clue, probably numbers?
 Let's try putting one here.
Time to throw our cards down on the table.
Umm, very enlightening?
The symbols crashed together...and then they both disappeared. What does that mean? They were the same symbol...
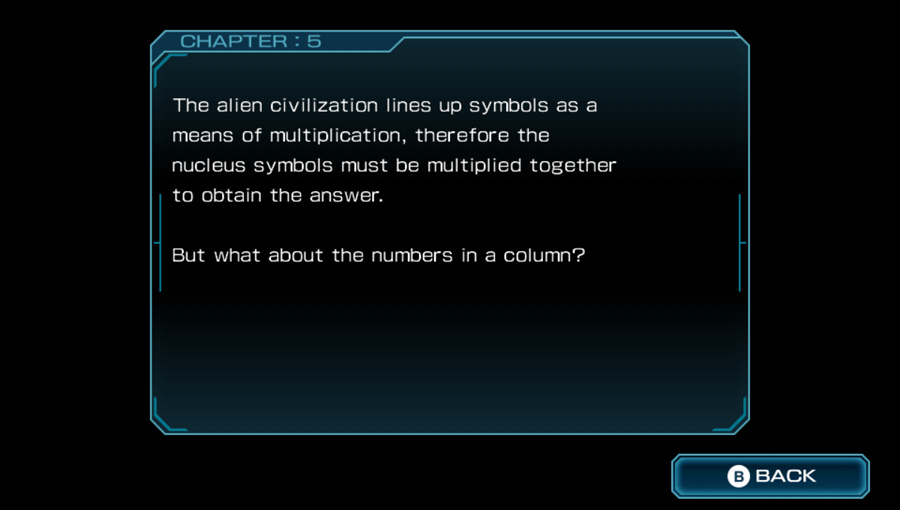
I have yet to figure out how that table really works, but more importantly the book is trying to get our attention.
Why we couldn't just get this part from the start, I don't know.
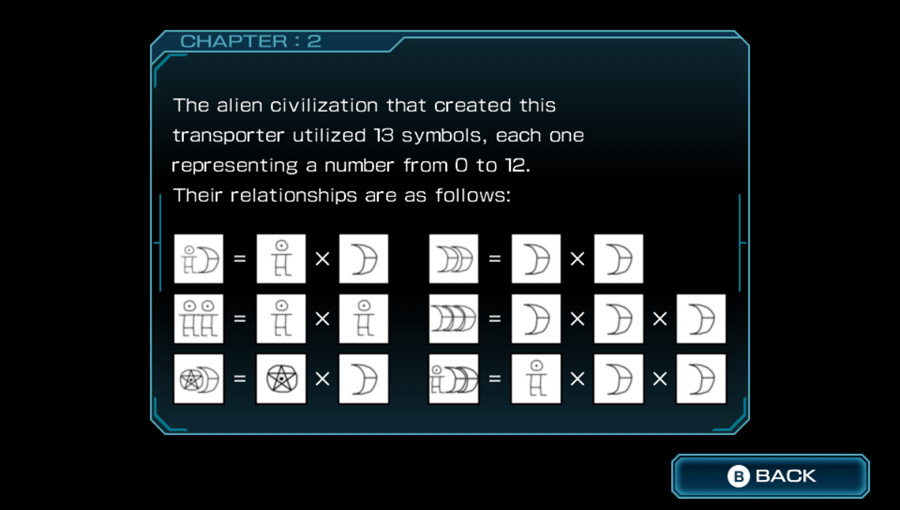
So the value of a multi-symbol card equals the product of the values of each of its symbols.
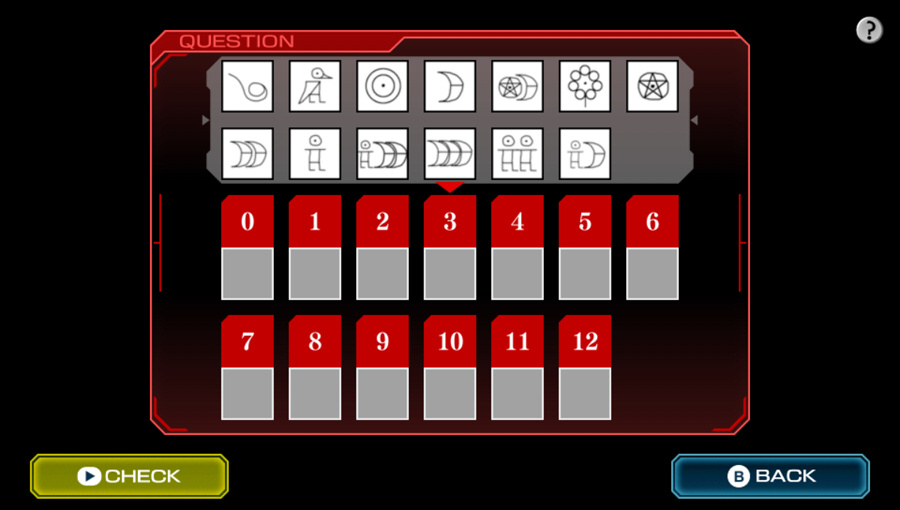
Oh good, a quiz!
 So far we have Wind = Zero, and 2 Moons = 2 X Moon (and so on). That's actually more helpful than you might think, but I'll wait until later to explain.
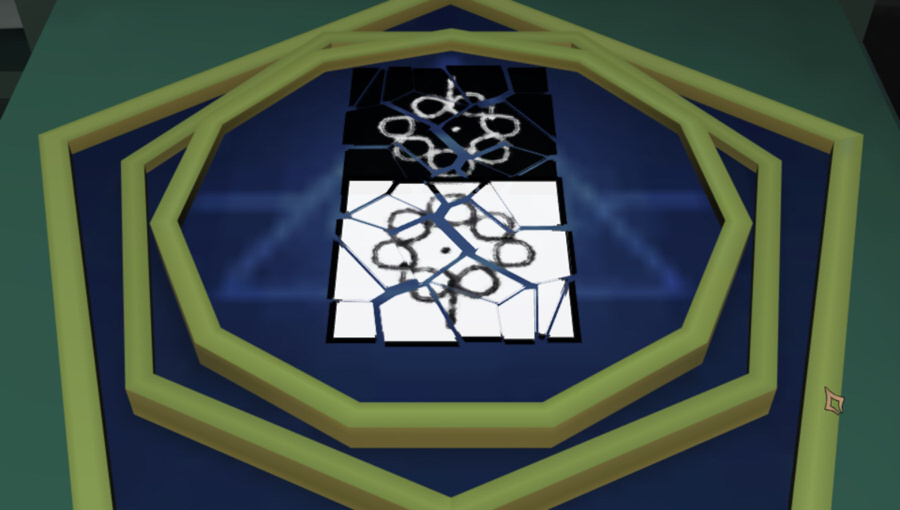
I tried using the table again, and got the same result. Maybe I need to use a different card?
I tried Star, and a Sun showed up and then was destroyed. So Star beats Sun?
Wh-What just happened...? The symbols collided together, and the one on the other side disappeared... Does that mean our card was stronger?I'm not sure how the card on the other side is determined. But I tried all of our cards, and here was the result:
Yeah, this got a little involved. Key takeaways:
- Sun got beat by everything it went up against
- Birdman beat everything it went up against except Human-Moon-Moon
- Flower lost to Star-Moon
That took five minutes of game time to put together. Most cards I played went up against Birdman or Sun and didn't really give a lot of information. Anyway, let's see what we can get out of this mess.
I went over to the book, got stuck, then decided to play one more card. I have no idea why Flower went up against Birdman this time, but I think it's the last piece of information I needed.
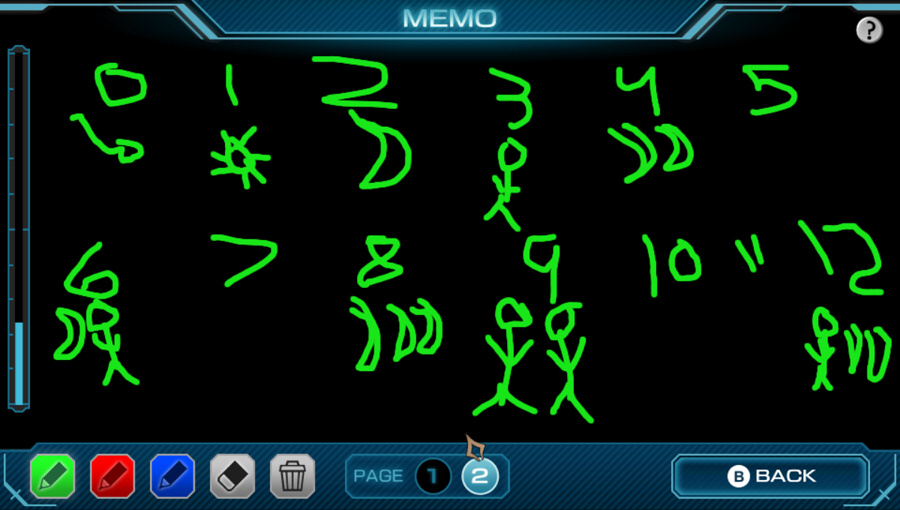
I can't use the memo pad on the puzzle screen itself for some reason, so I'll have to work it out here. Wind = Zero is literally a given. But the key to starting this puzzle is the "Chapter 2" clue. Well, that, and the Three-Moons card. Three Moons represents a perfect cube, and the only one of those from 0-12 (that's not it's own cube anyway) is eight. Which means Moon = 2, Two-Moons = 4, Three-Moons = 8.
So far, so good. Next, we have a Two-Humans card, which must be a perfect square. The only one left is nine, so Human = 3, Two-Humans = 9. We also get Human-Moon = 6 and Human-Moon-Moon = 12. By virtue of the Sun < Human clue, we also get Sun = 1.
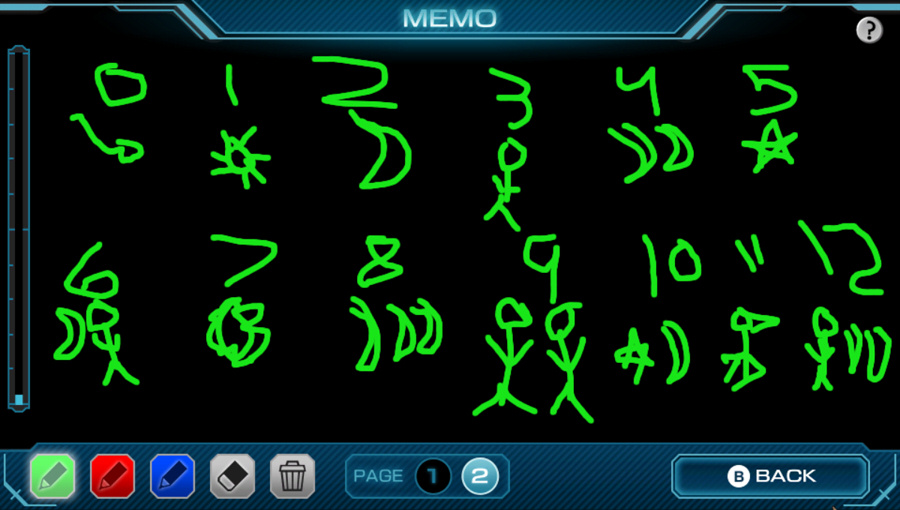
Only a few spots left already. Our remaining cards are Star, Star-Moon, Flower, Birdman. There's only one even number left, so Star-Moon = 10 and Star = 5. We also had Birdman > Two-Humans and Birdman > Three-Moons so Birdman = 11, which leaves Flower = 7. Huh, I didn't even need the Birdman > Flower clue.
As soon as I filled out the rest of my drawing I remembered I couldn't directly reference it on the puzzle screen and had to re-derive it anyway.
Whatever; that's half the puzzle room complete.

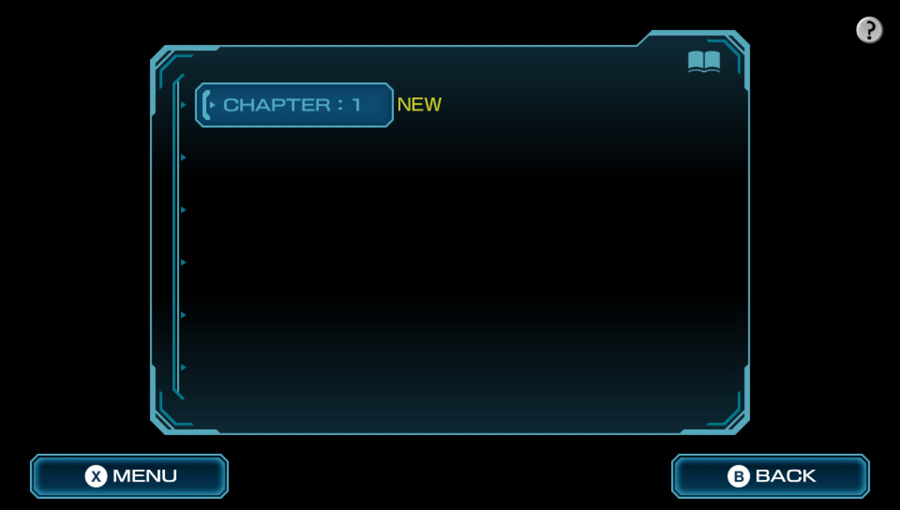
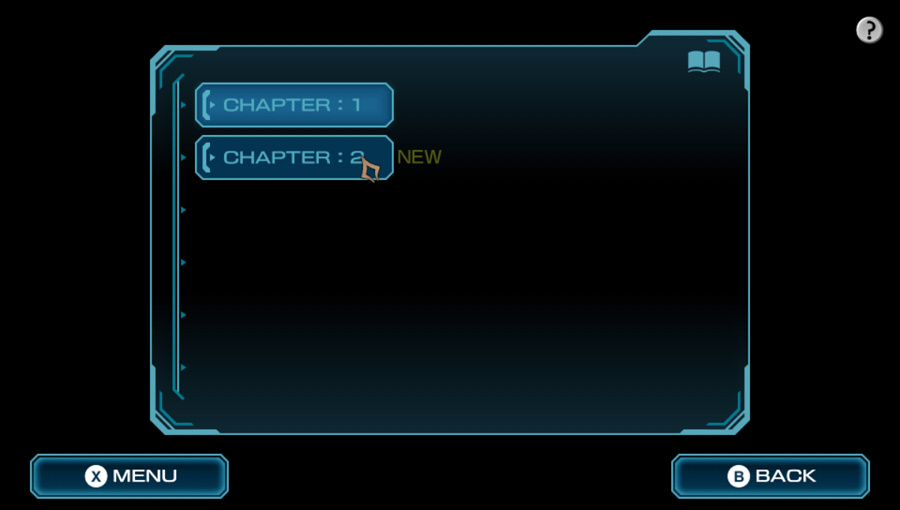
Our reward is two more chapters in our holographic but still somehow readable book.
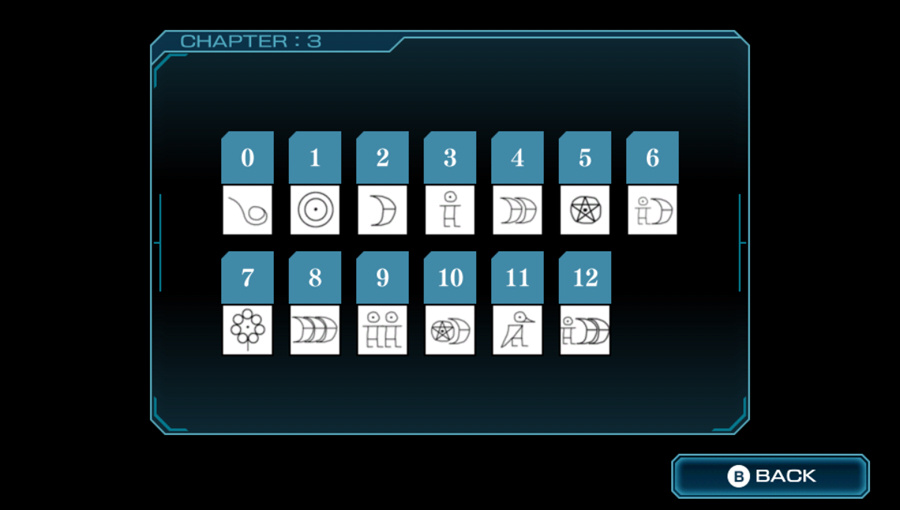
Chapter three is just a reference. We'll need this later, apparently.
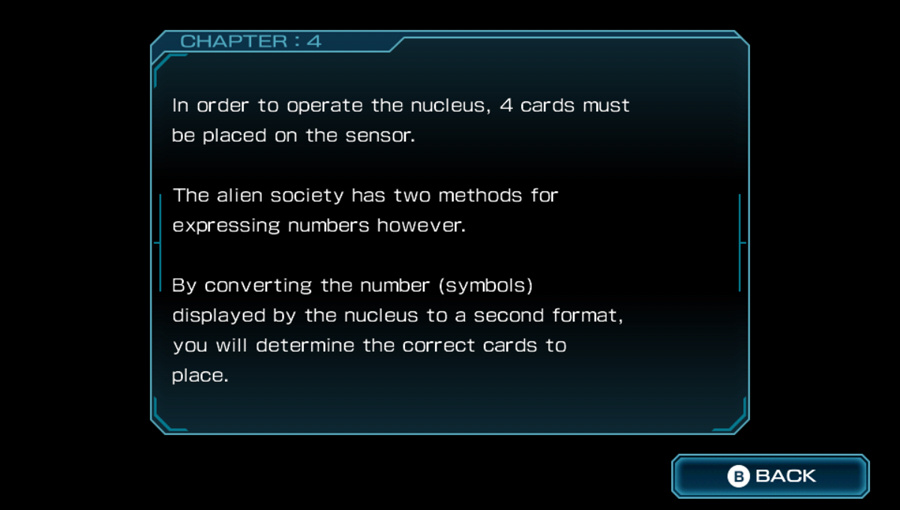
This clue is kind of obtuse. Basically we need to convert the five symbols displayed above the nucleus, into a different set of four symbols. Somehow.
 We should check it out.
Fortunately we get immediately directed to another machine.
This screen looks complicated, but all we have to do is click on it.
Something's on the monitor...? I think it's displaying the object it's going to make. It's a 3D printer after all. Does that mean it's going to make it now? I think so. Let's try it.
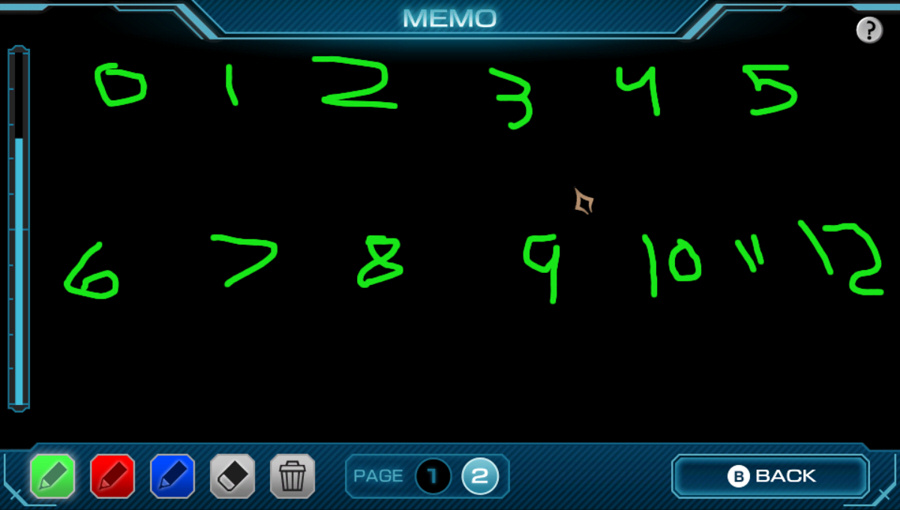
I guess we're making a reel with the numbers 0-9 on it?
Looks like something came out! So it made what was displayed on the monitor.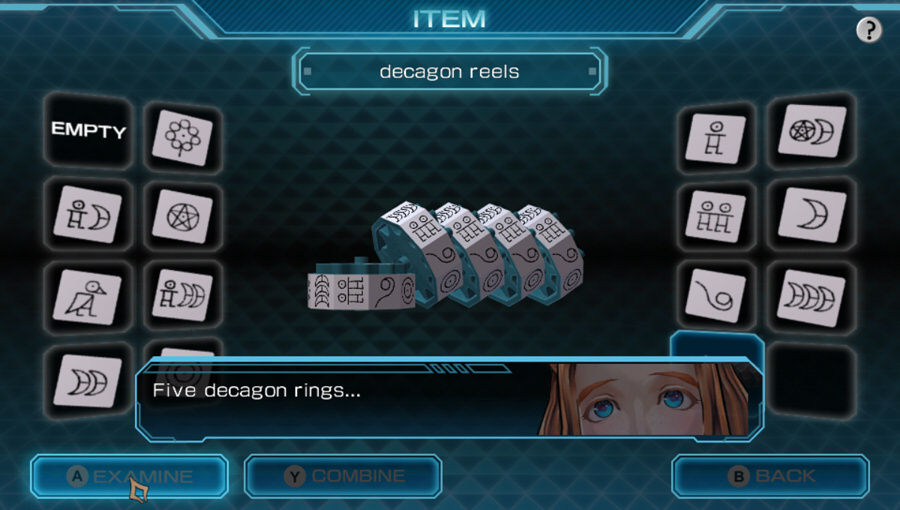 Each side has a mark like those cards.
Five reels, five symbols above the nucleus?
Looks like there's a second reel on the screen still.
Something else appeared on the monitor! Hm, is this...the same thing as before? Um, it looks a little different to me. Let's just try to make it.
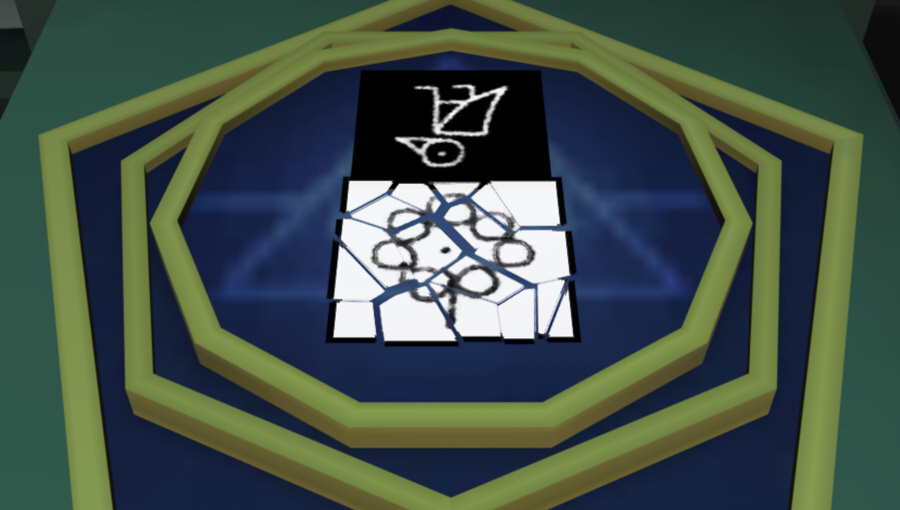
All thirteen numbers on this one.
Okay, it's all done. I knew it, it IS different from the last one.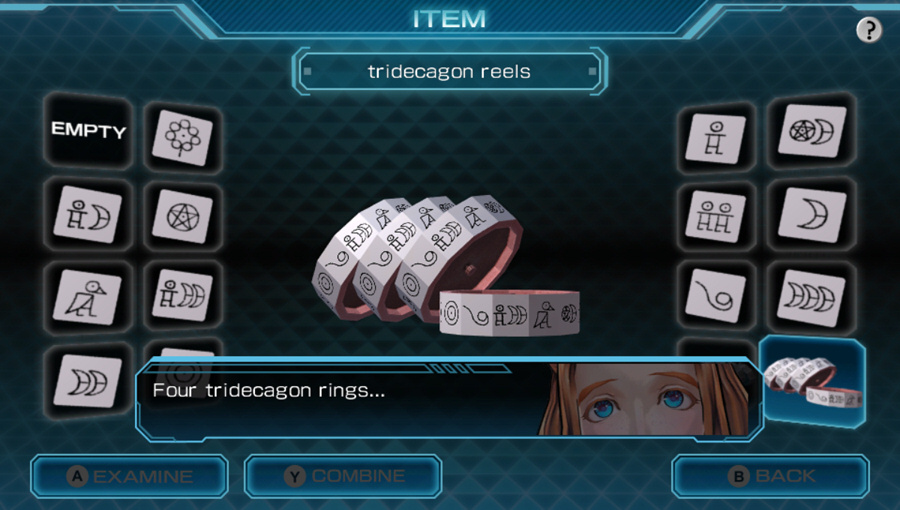 Each side has a mark like those cards.
Tridecagon...now that's not a word you see every day.
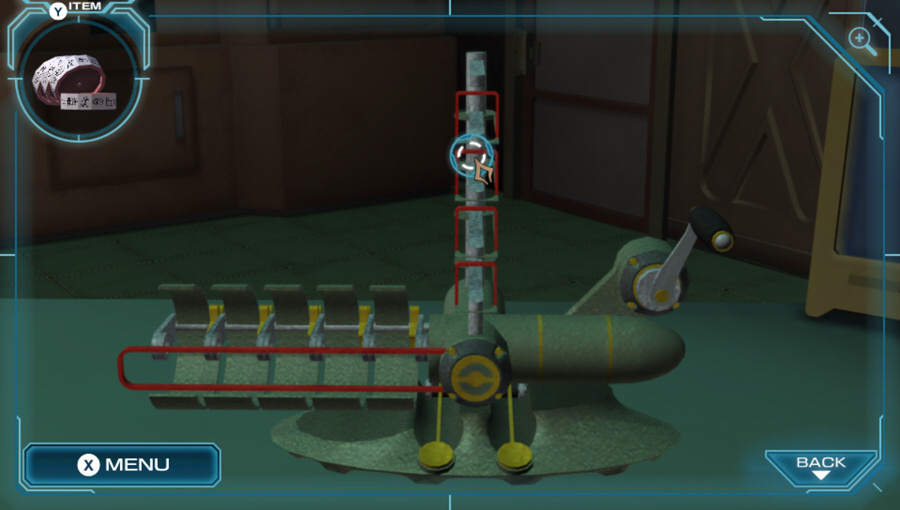
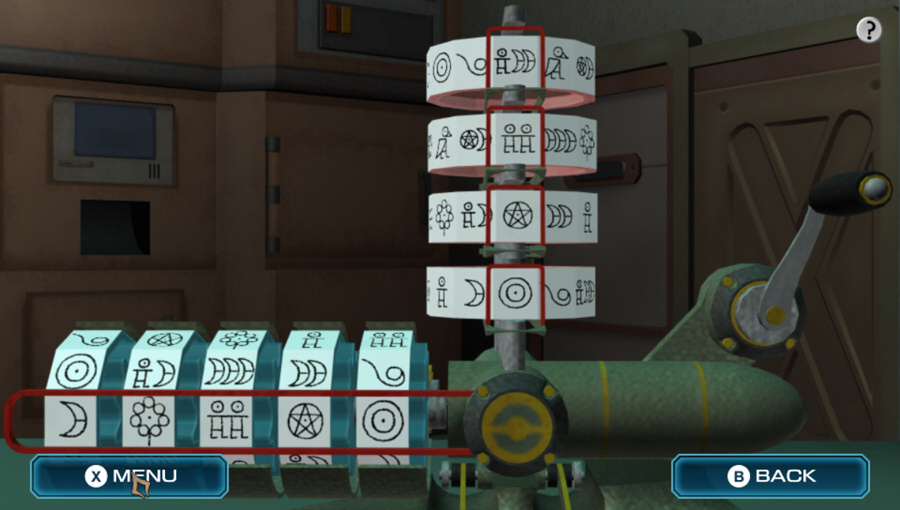
It's been awhile so you're forgiven if you forgot this machine exists. But here's where we need to put those reels.
Let's try to put the reels we found into this machine. It does have four reels, so it should fit.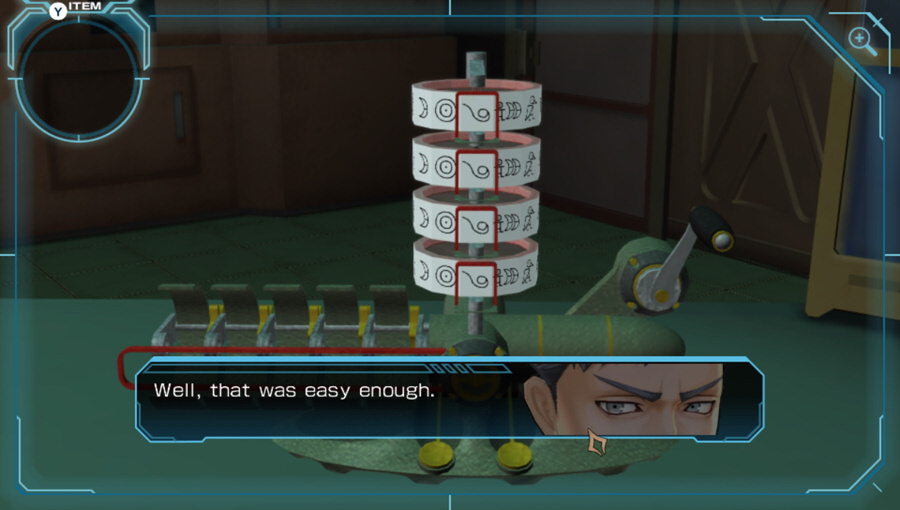
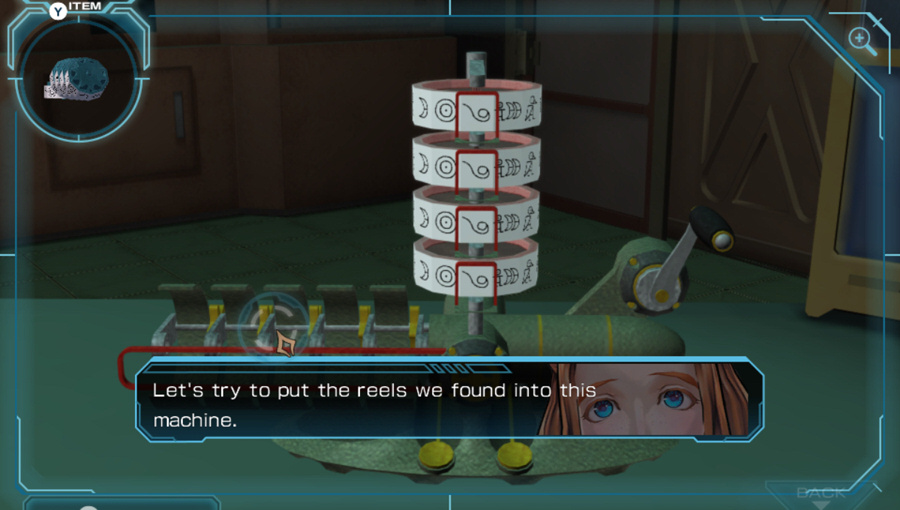 There are five reels, so it should fit.
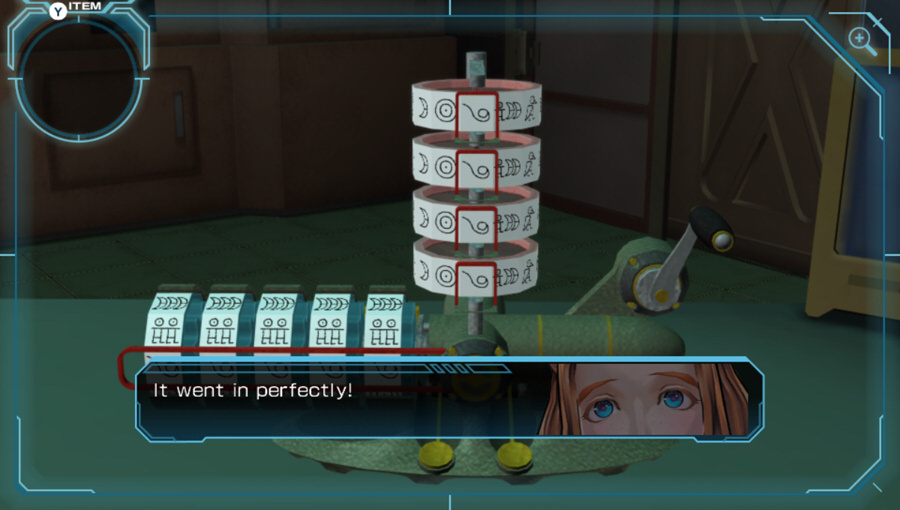
Let's see if they have anything to say about the machine in its new state.
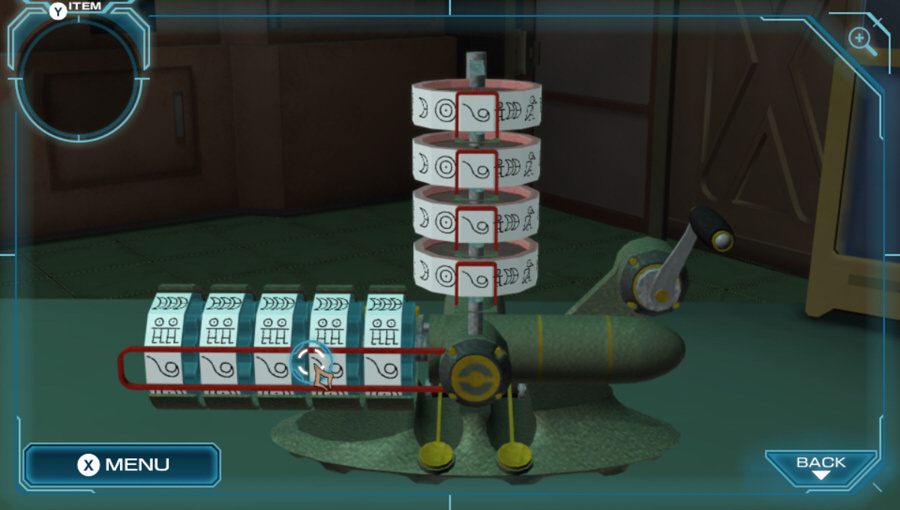
Now we have both sets of reels in... Let's see if we can do anything with it. Maybe we'll figure out something.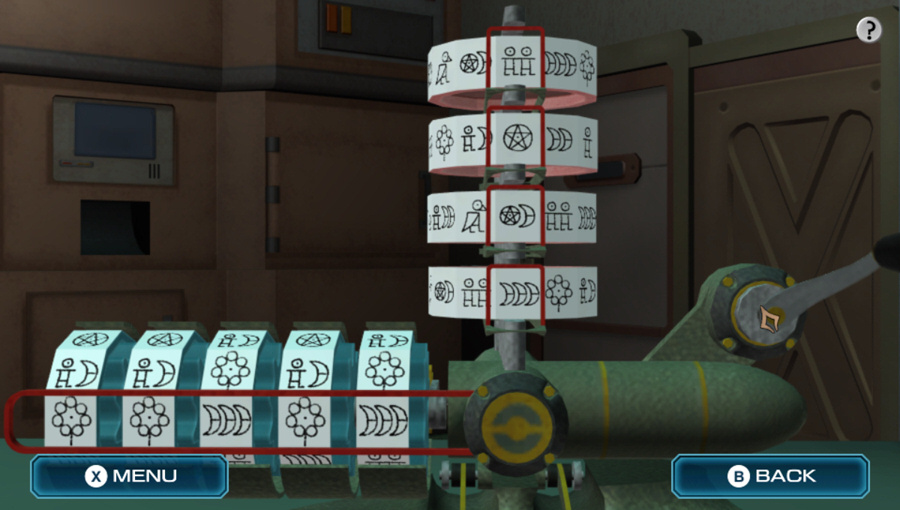
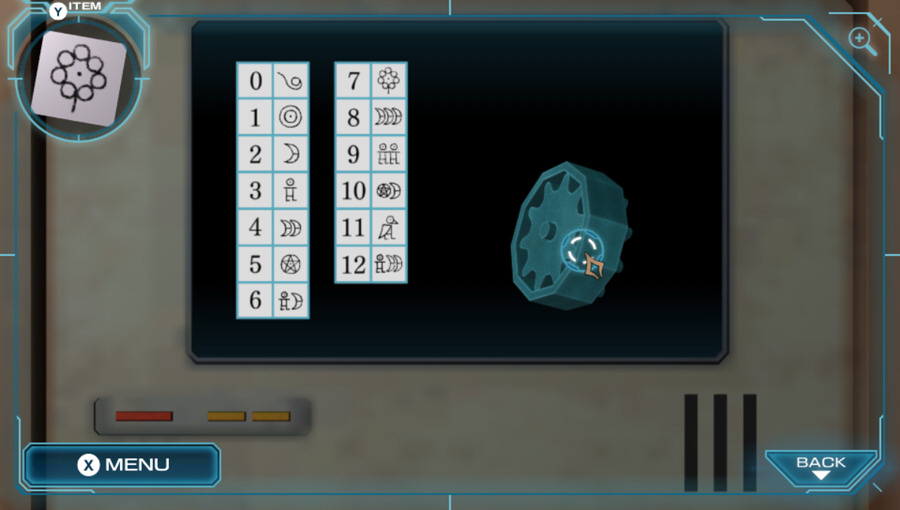
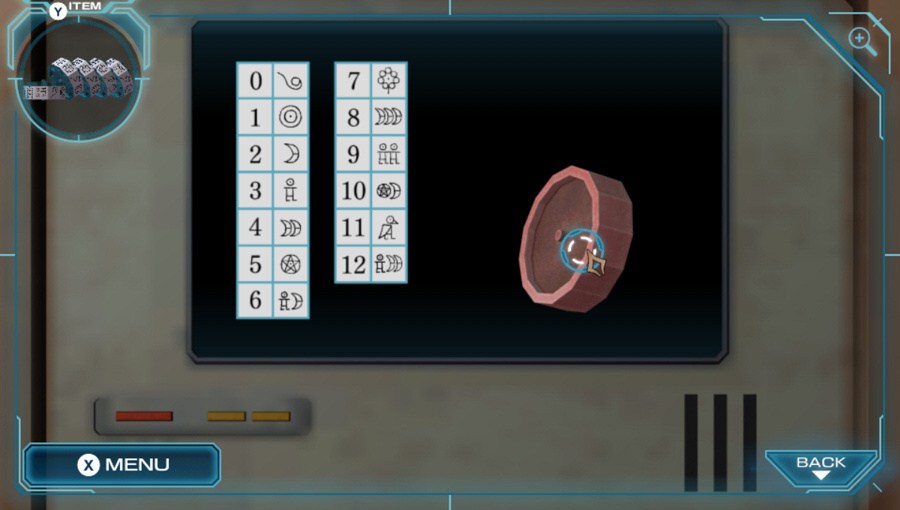
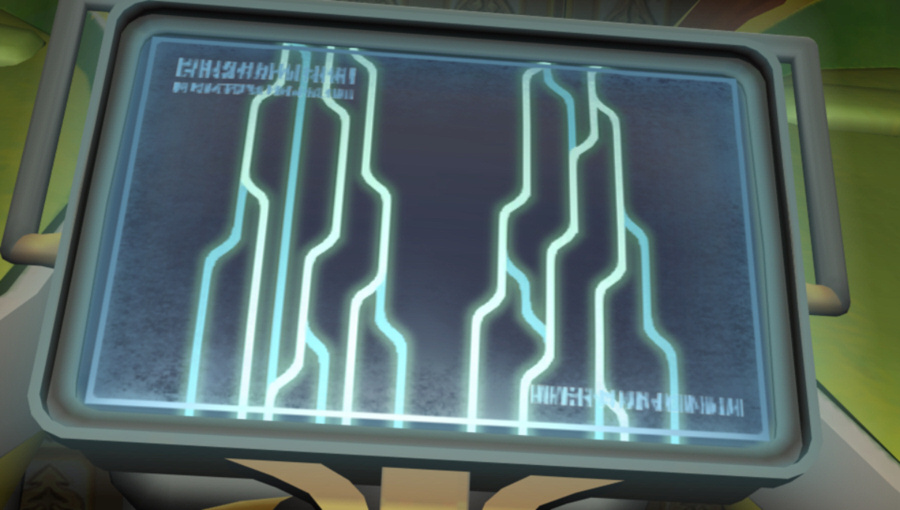
Set the input reels on the left, and click on the crank to turn it and see what the output is on the top.
Turning the horizontal ones changes the vertical... Are they matching something? These are numbers, so maybe the number is being converted somehow? Converting? The decagon has 0 to 9, but the tridecagon has 13 numbers. Yeah, the vertical reels show 0 to 12...We don't really need to know the details. But I think it's converting a number from base-10 to base-13.
Oh, the book has something new again.
The book lit up... Maybe there's something else we didn't check.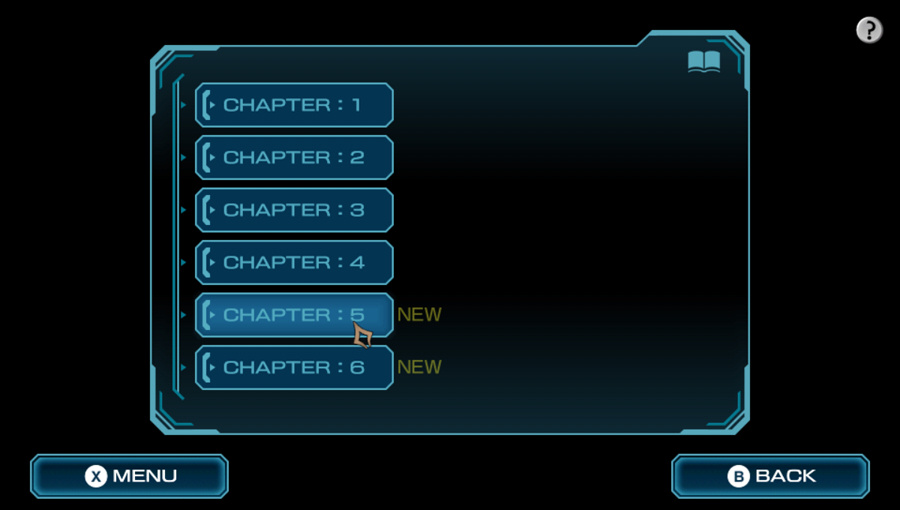
Two more chapters.
Remember this hint for later.
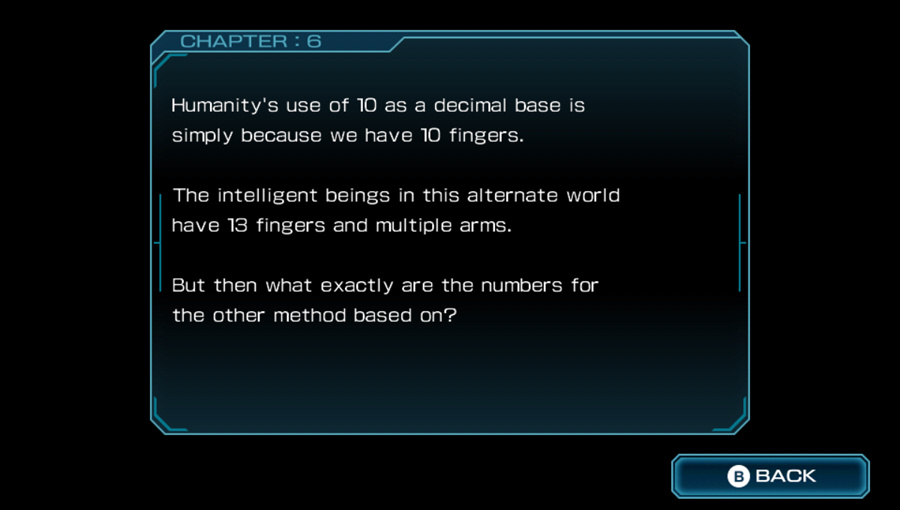
Chapter six isn't really meaningful, just hinting at base-10 vs base-13 numbering systems.
The horizontal and vertical numbers, and the other way of counting... What is it saying? Hmm. It could be we need to figure out the alternate dimension's method of counting. This could be a clue to activating the nucleus...?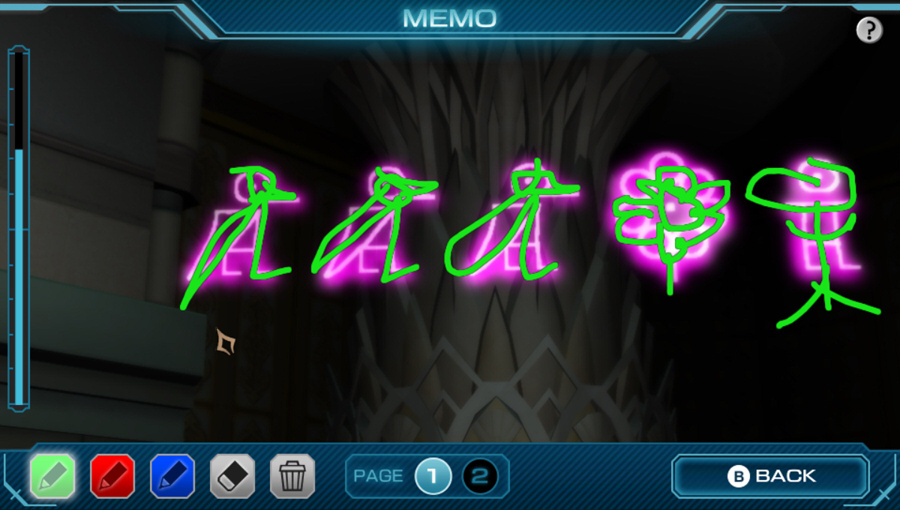
Anyway, time to write down the symbols above the nucleus.

Wait a minute. Birdman is eleven, and that's not on the decagon reels. So that can't be the input.
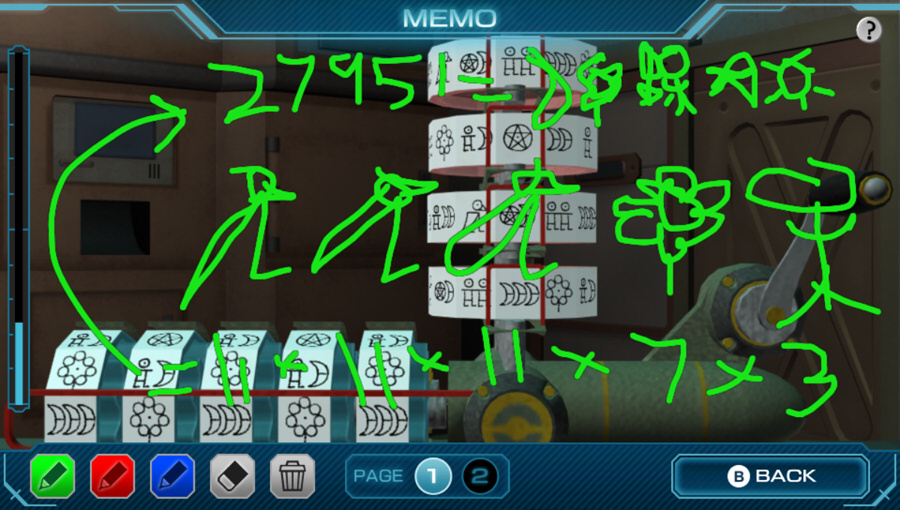
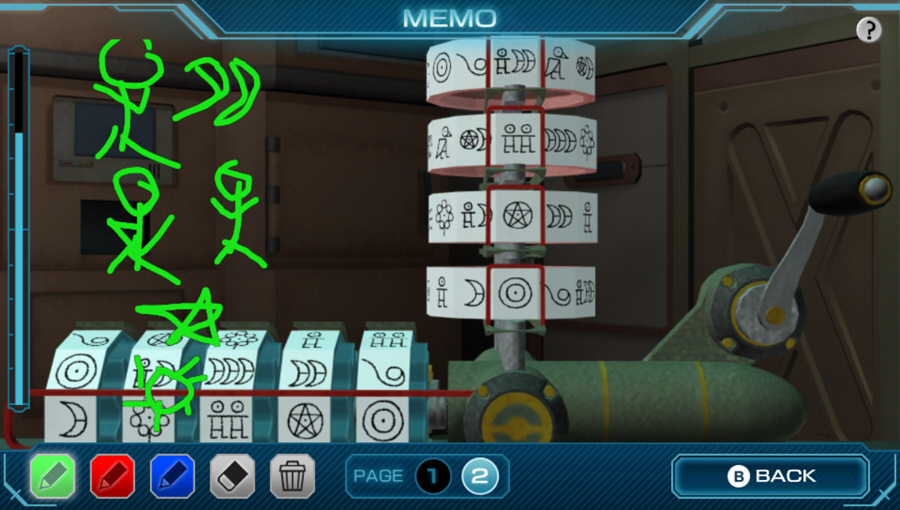
My note needed some extra work. Chapter five told us that a row of symbols means to multiply them together. So we have 11 x 11 x 11 x 7 x 3 = 27951 in base-10 (for the decagon reels), which translates to Moon, Flower, Two-Humans, Star, Sun.
And there's the output on the top reels. Human-Moon-Moon (12), Two-Humans (9), Star (5), Sun (1), in base-13. Which is 12*13^3 + 9*13^2 + 5*13 + 1 = 26,364 + 1,521 + 65 + 1 = 27,951. So it really is just a base-10 to base-13 converter, read top-to-bottom instead of left-to-right. Weird that the last three symbols happened to be the same though. I guess now you know a way that 27951 = (12)951. (Also, this converter only works for inputs up to 28,560, for what it's worth.)
Anyway, I write down the solution since I'll never remember it otherwise.
When we put 27951 into the horizontal axis... The vertical one displayed "human moon moon", "human human", "star", "double circle".Sigma that was clearly a sun symbol, you said so yourself earlier.
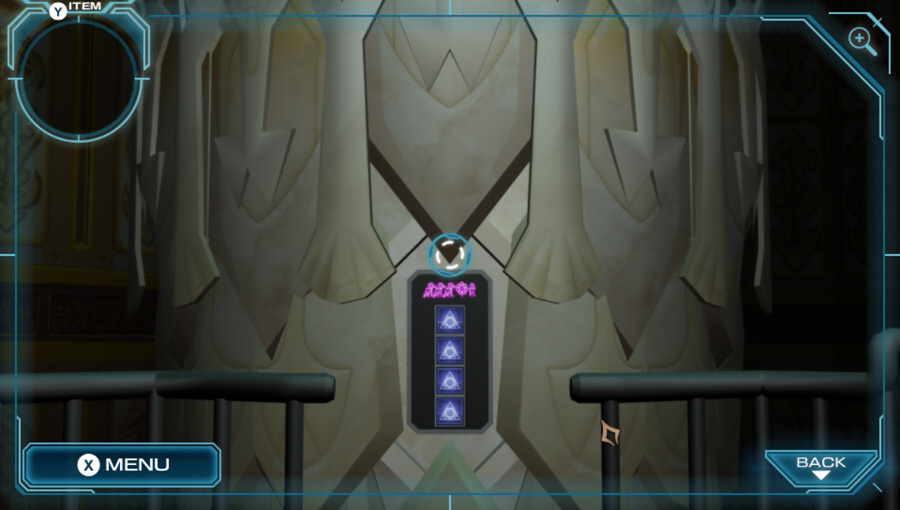
An input device now appears on the nucleus.
The nucleus looks different... You're right. There are some symbols above it now. Does that mean we restarted it? Probably not completely. Zero's not come back to talk to us yet.I think I missed those lines from when the symbols first appeared up above the nucleus. Here's the dialogue for the input device:
Oh, something came out. ...Hm. I think the cards can fit here.
Just drag the matching cards over in the same vertical order.
 Yeah, it looks as if you were successful. Now what will happen...
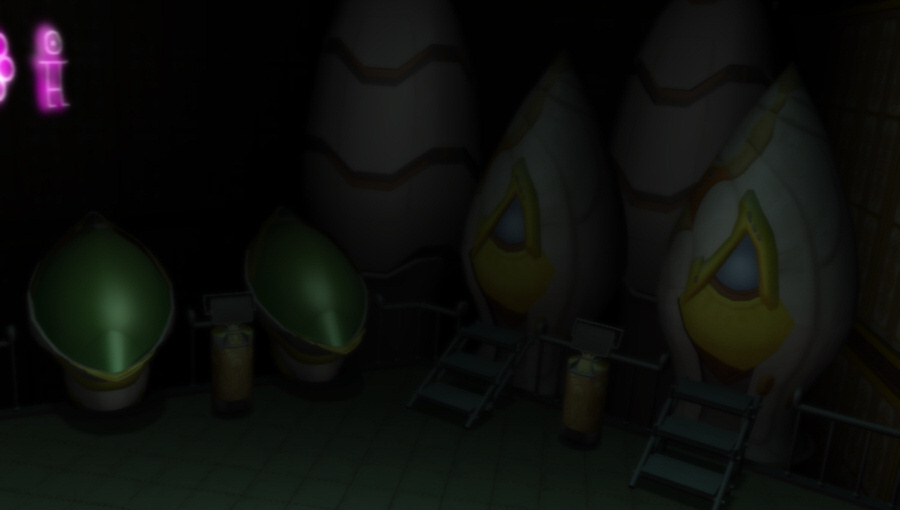
An ominous shot of the input/output pods for no reason...

There we go. Okay, Zero, let us have it!
Music: Anxiousness 2nd Mix
 It worked! Yes, but...
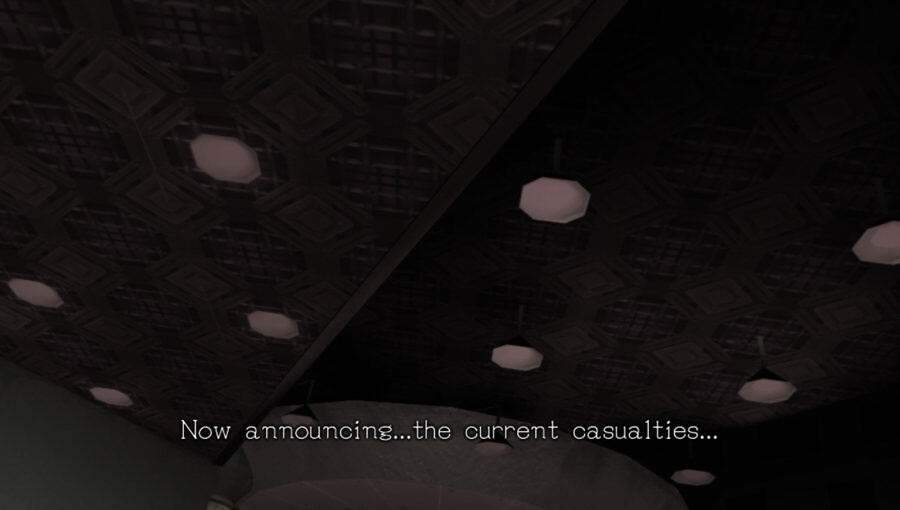
Hi, computer lady! What good news do you have for us?

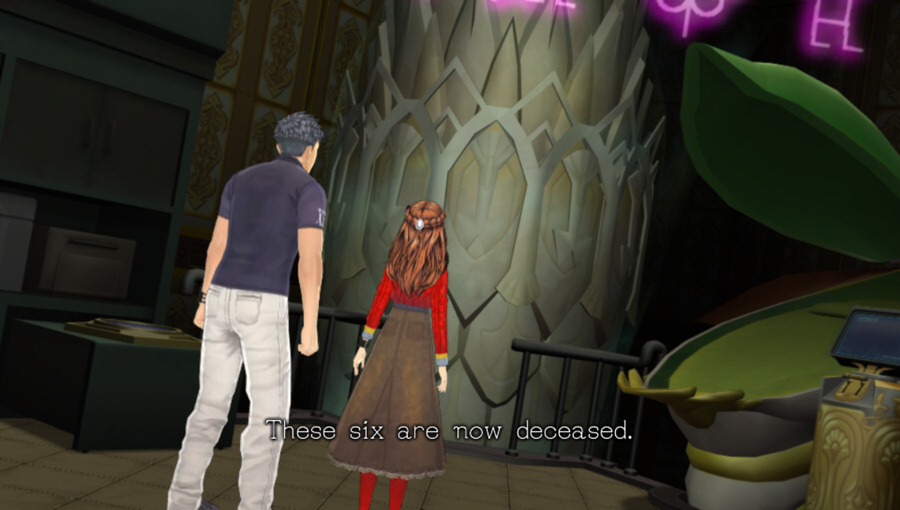
Um, well...at least we'll get six X-Passes and can get out of here?
 It can't be...
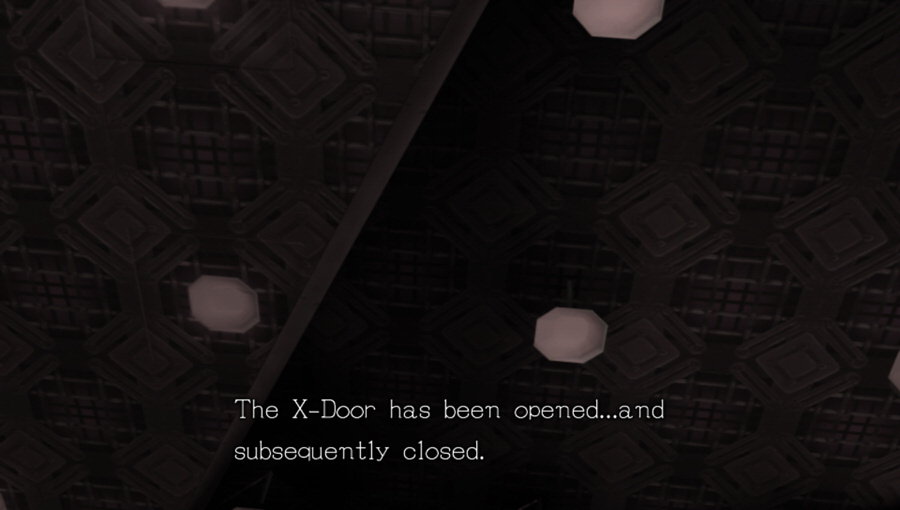
What?!
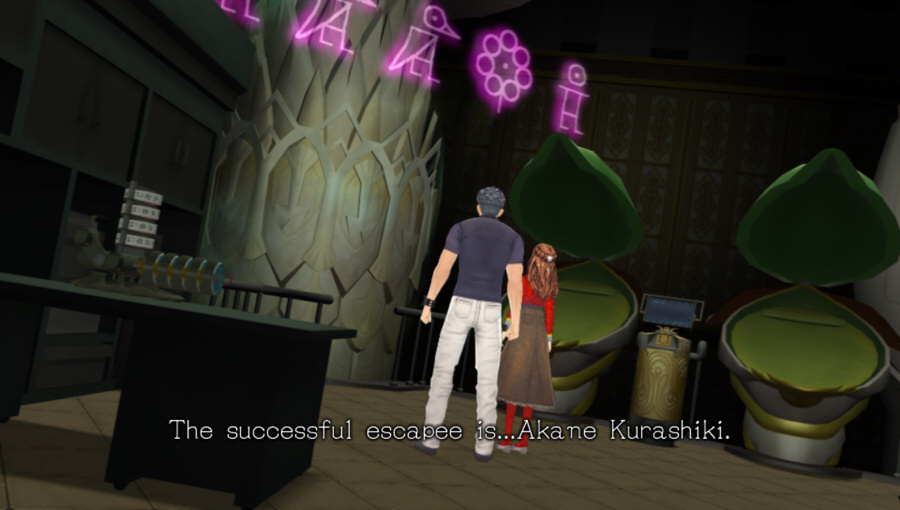
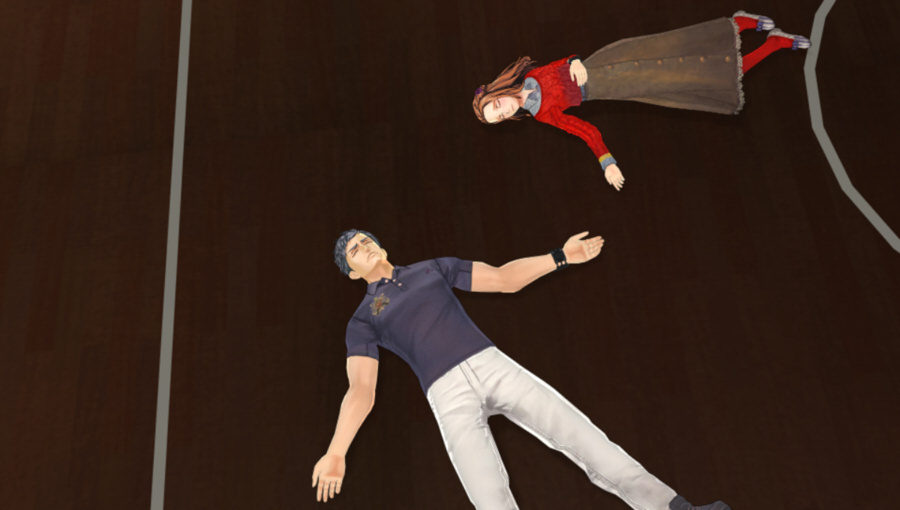
Ah, shit. I know where we are now. While we were dicking around in the Transporter Room, Akane survived the gas attack in Control and took off without us!

[Computer Lady:] Thank you for participating.
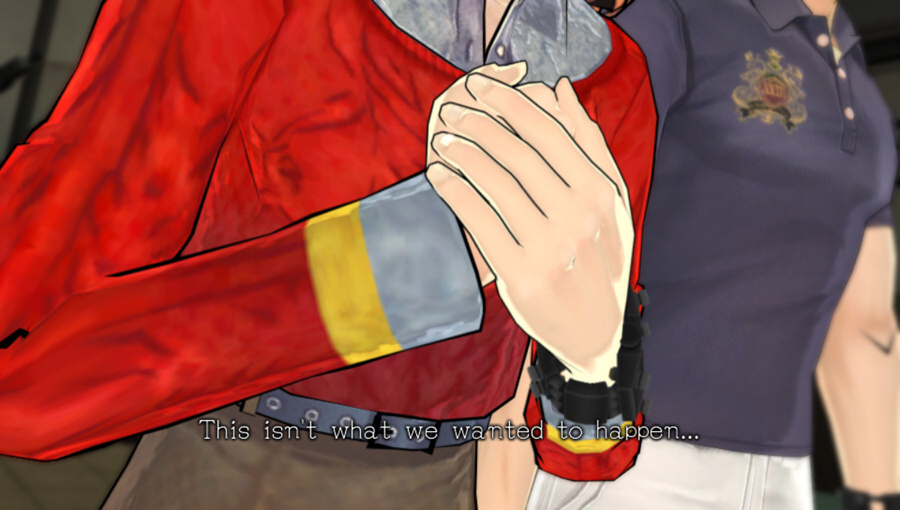 We didn't want this...at all...
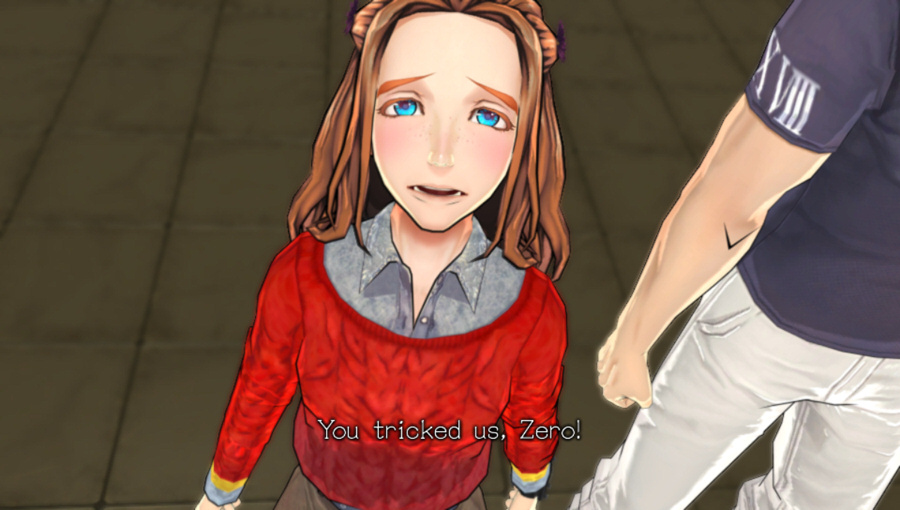

Uh-oh, crazy eyes on Sigma, watch out everyone.
I refuse to believe this is true...Music: Mischievousness (Consternation Remix)
Missing Lip Animations: 52

I guess we're checking all the rooms in Ward D again.

 Answer me, dammit!


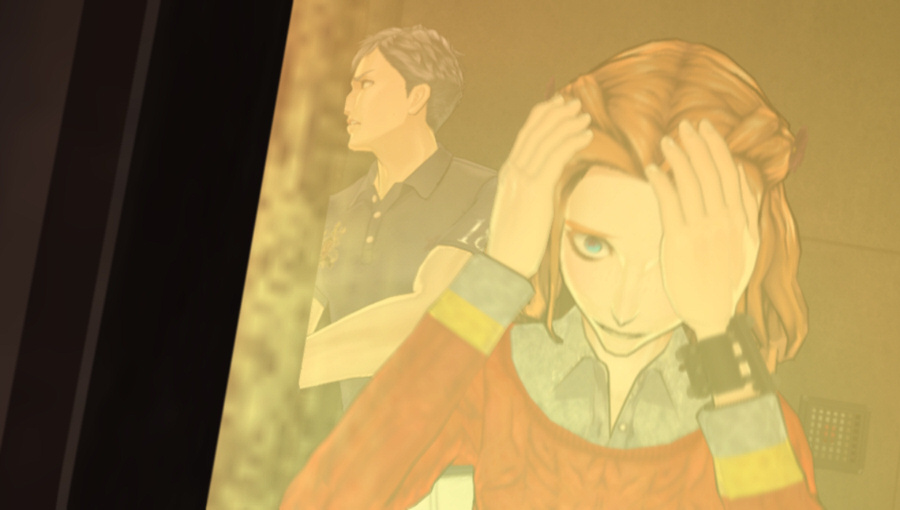
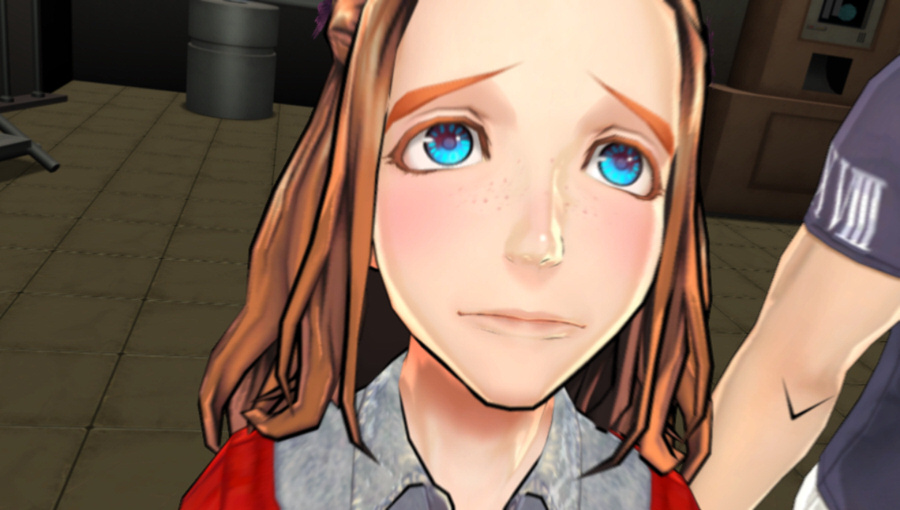
The music stops here. Just in case you were wondering what timeline we were in, Diana gets another morphogenetic flashback...

After those quick shots, we get a slow fade to black. Then something falls.
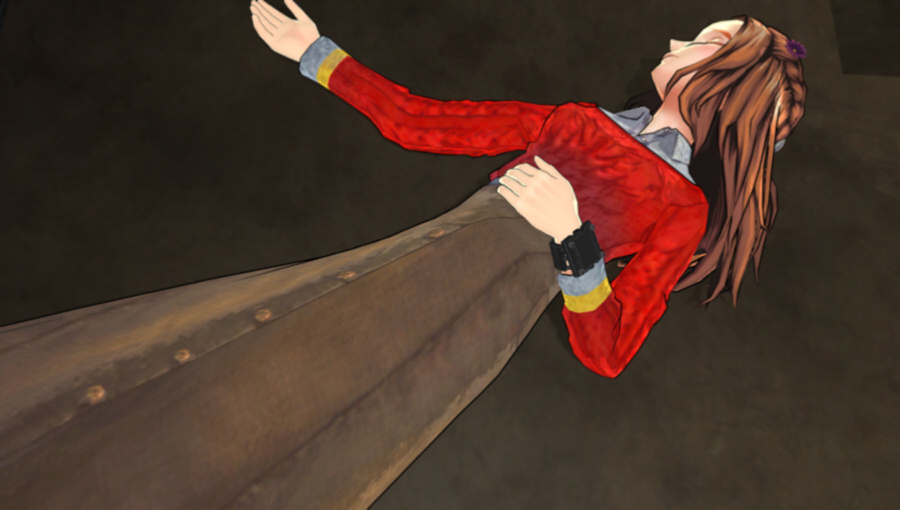
Apparently that was information overload for Diana.
Diana...!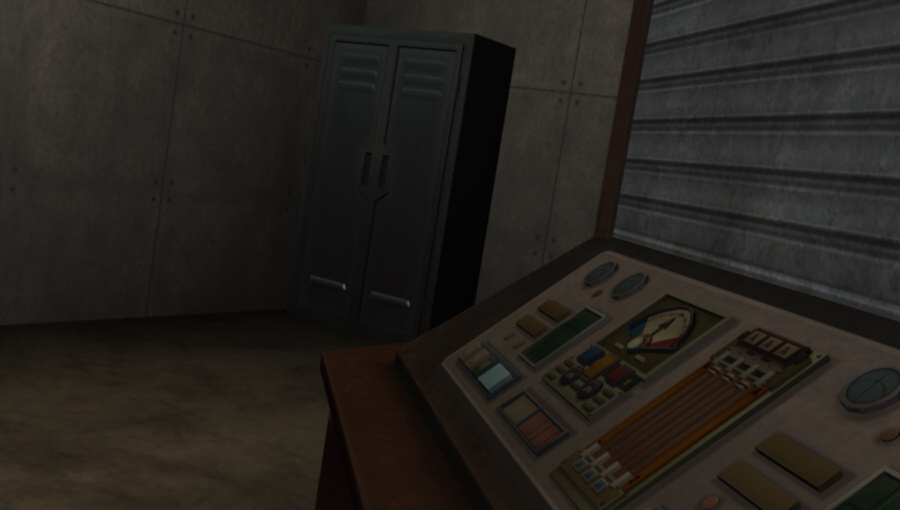
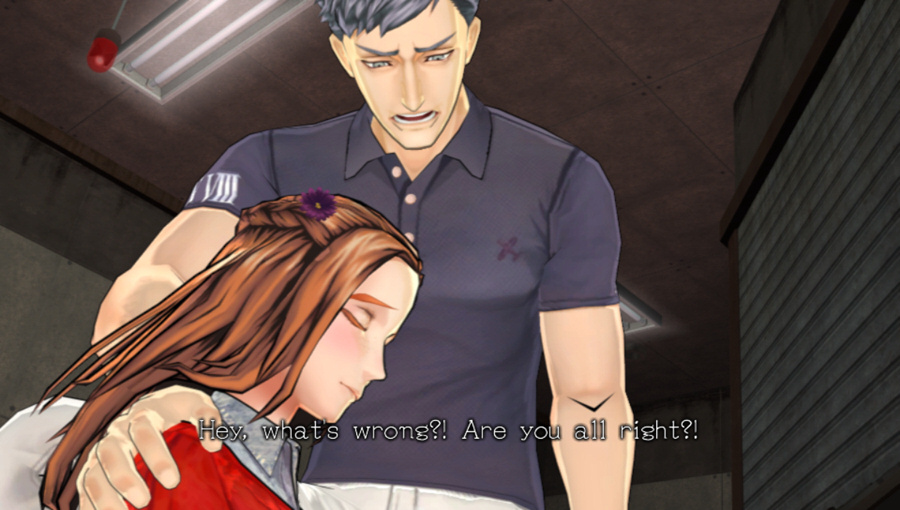
Cut away while Sigma sits up Diana.
And another fade to black.
Music: Portentousness 2nd Mix
 You okay...? Yes. Thank you...
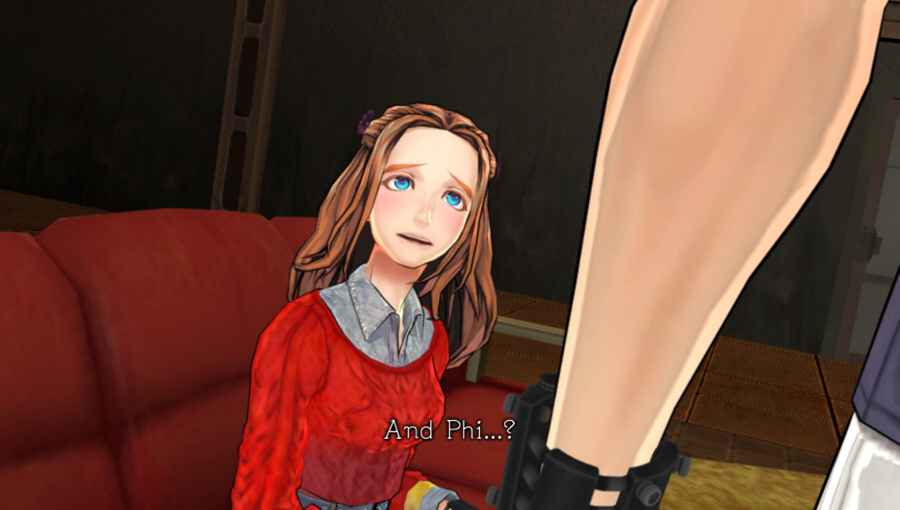

Sigma just shakes his head.
Where are you off to now?
 This door will never open again, then...
No response.
Why did Akane leave alone...

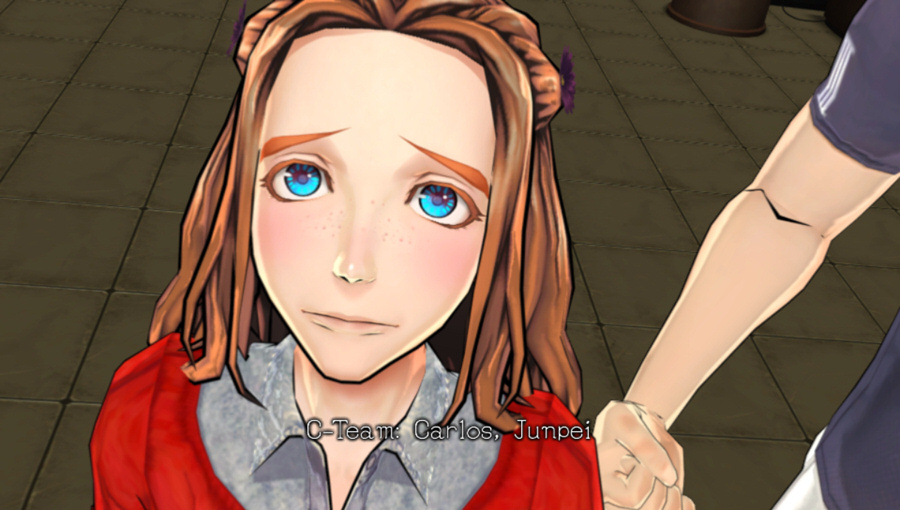
 Carlos and Junpei are dead. That's it.
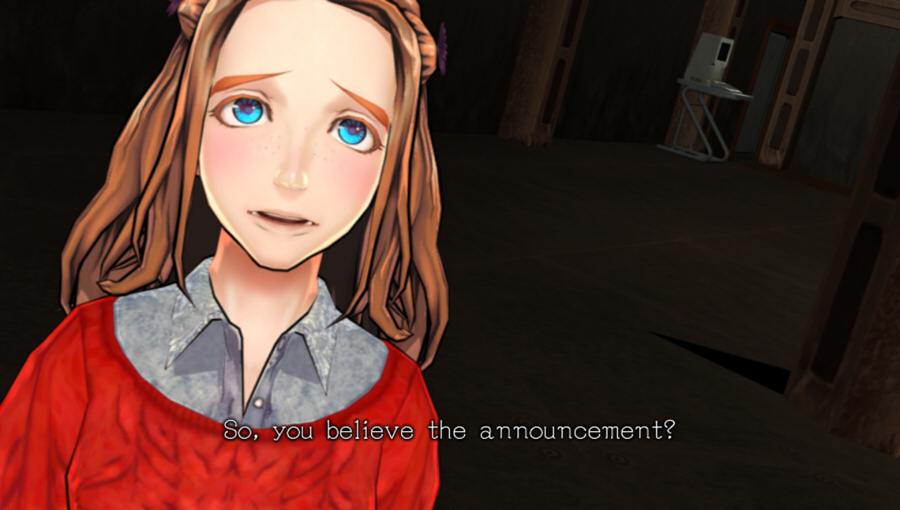

Poor Sigma's been broken, too.
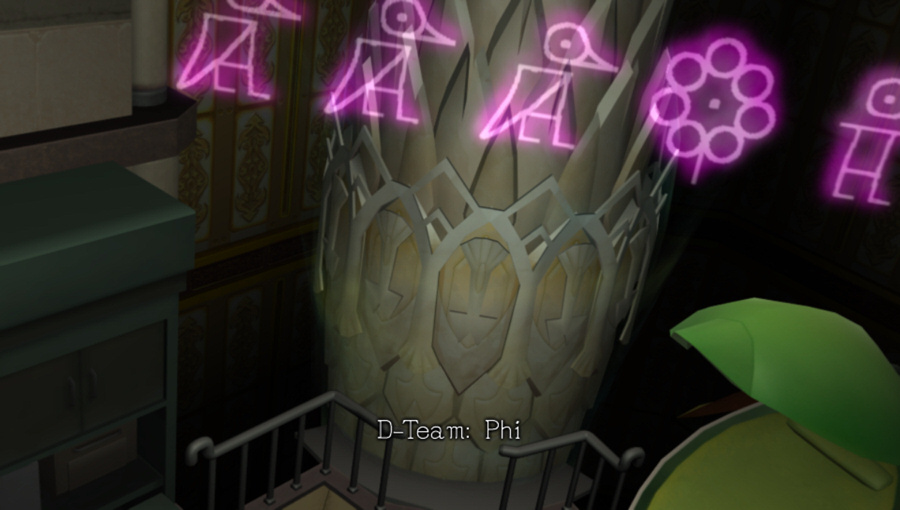
 Well, if what it said earlier is true, then that means Q-Team is dead as well.
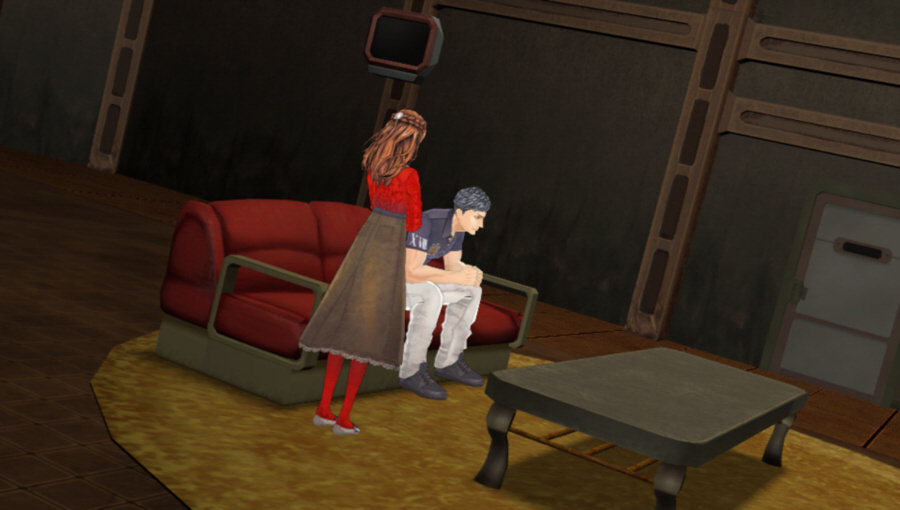 But unlike C-Team, we can figure out exactly how Q-Team died.
We could have actually played this fragment first after the initial execution votes. Wouldn't that have been confusing?
 Likely because of the vote at 13:30.
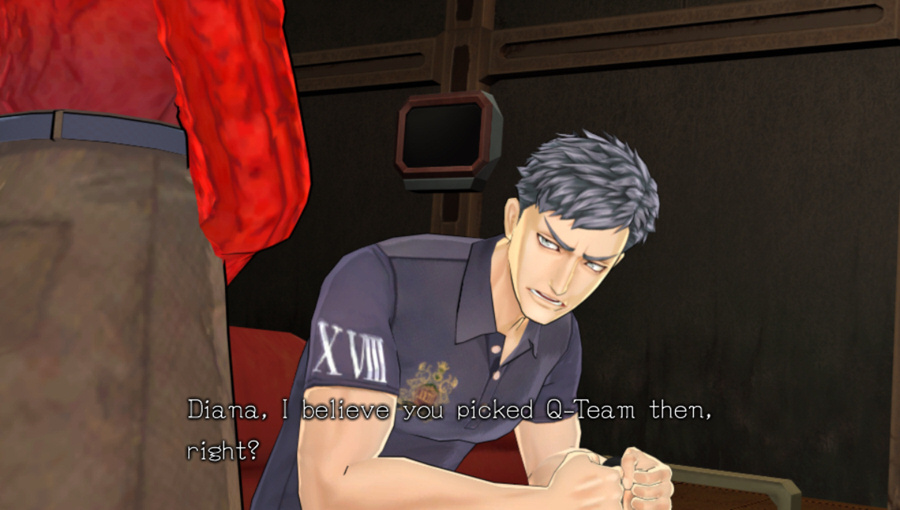
Kind of a running gag throughout D-Team's fragments - Sigma always thinks that Diana voted for Q-Team, and Phi always thinks that Diana voted for C-Team.
 But I--! I know.
 The real betrayer is...
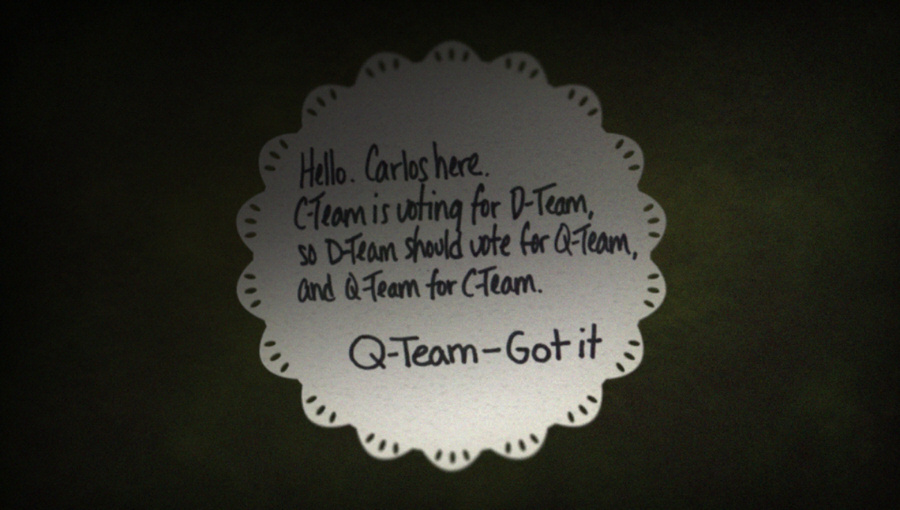 Carlos...
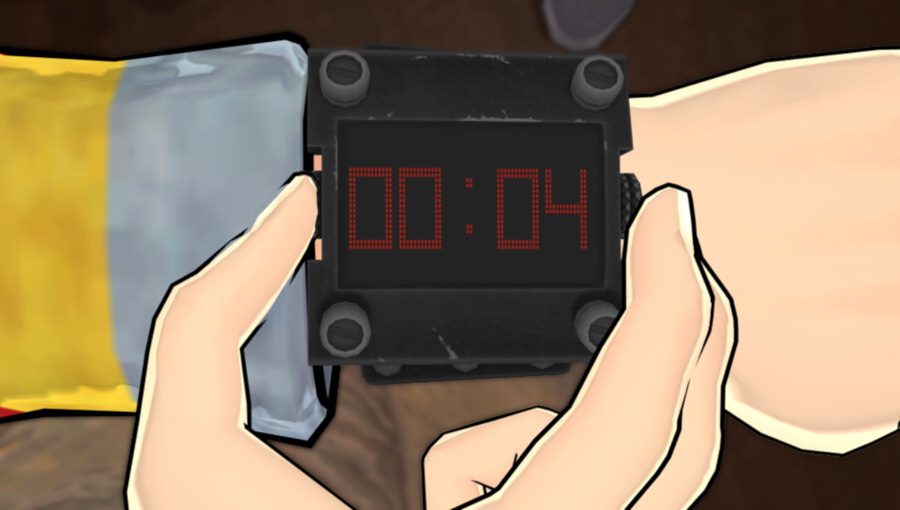
So would they just keep falling asleep and waking up in the Lounge over and over again until they starved or something?
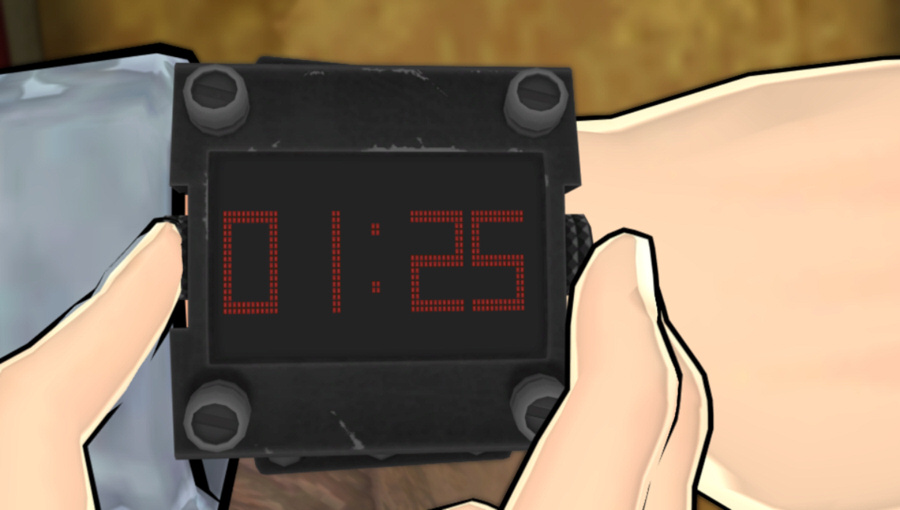
That might be the latest time we've seen on one of these watches.
 Come with me.
Music: Extreme Urgency (What Will You Decide?)
 Now all we can do here is just wait to die.
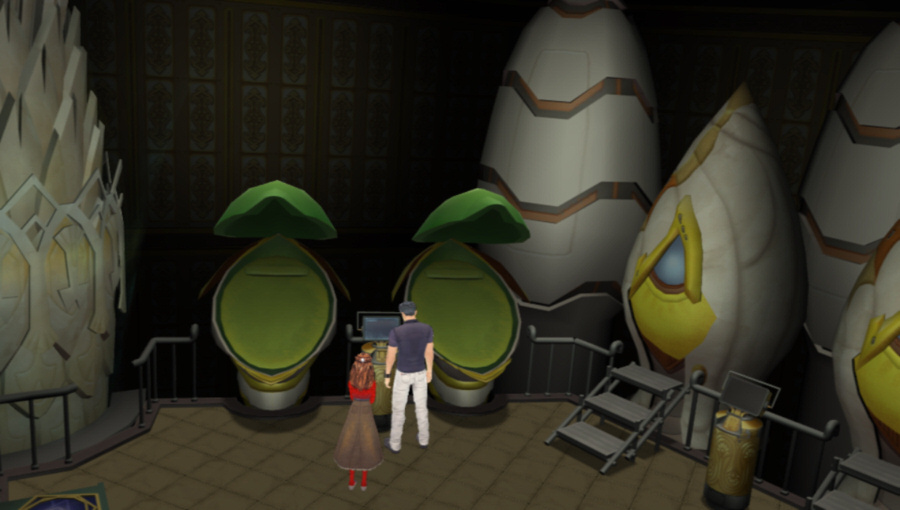 Wait, you don't mean you're planning to transport?! What other choice do we have?
 I'm sure the police or a rescue team will--!
That version of Akane isn't coming back for anyone...
 We can't count on that. But why...!
 This is the treeform timeline then...
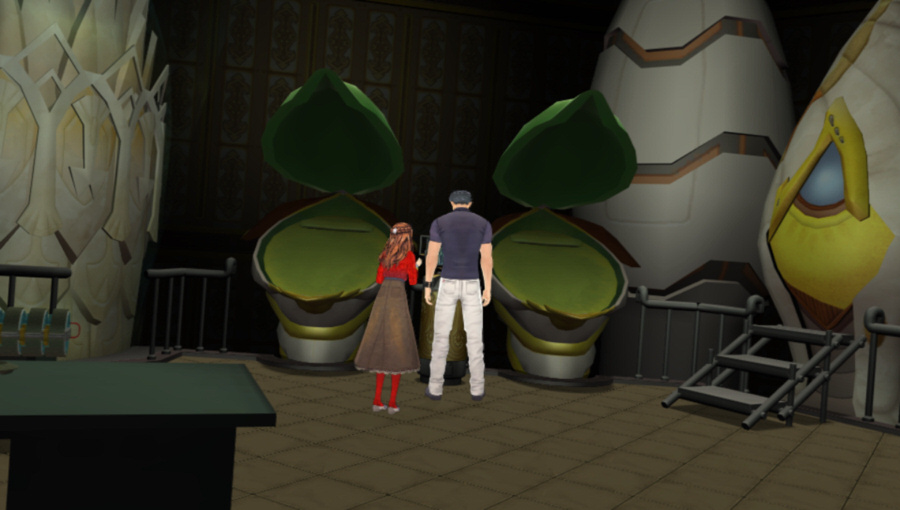 Listen to me, Sigma! This is not the time for pointless arguing!
Old crazy eyes is back.

Sigma doesn't care if Akane comes back to rescue them or not. Phi would still be gone.

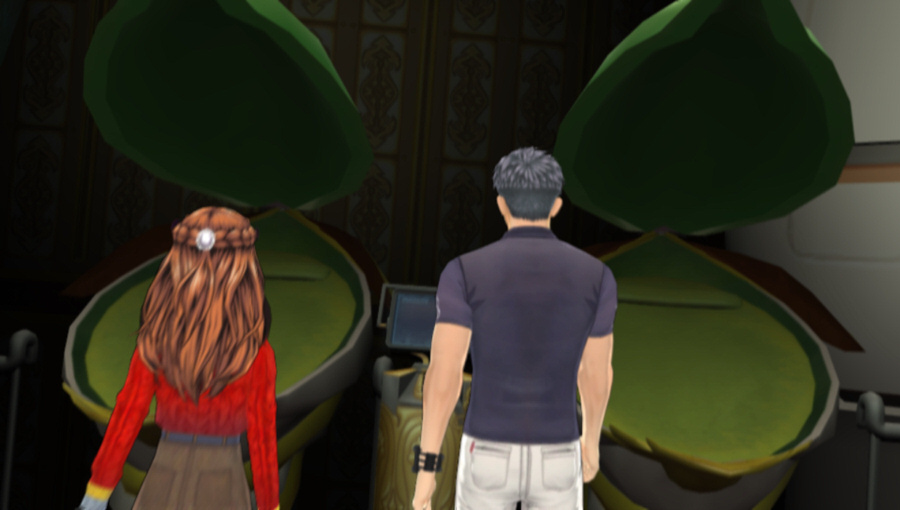
A beep as Sigma selects a destination.
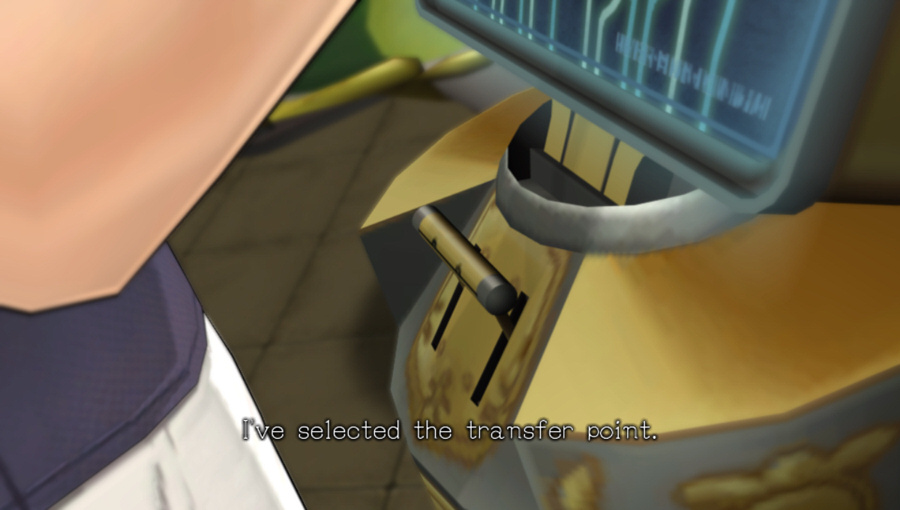 All we have to do is pull this lever.
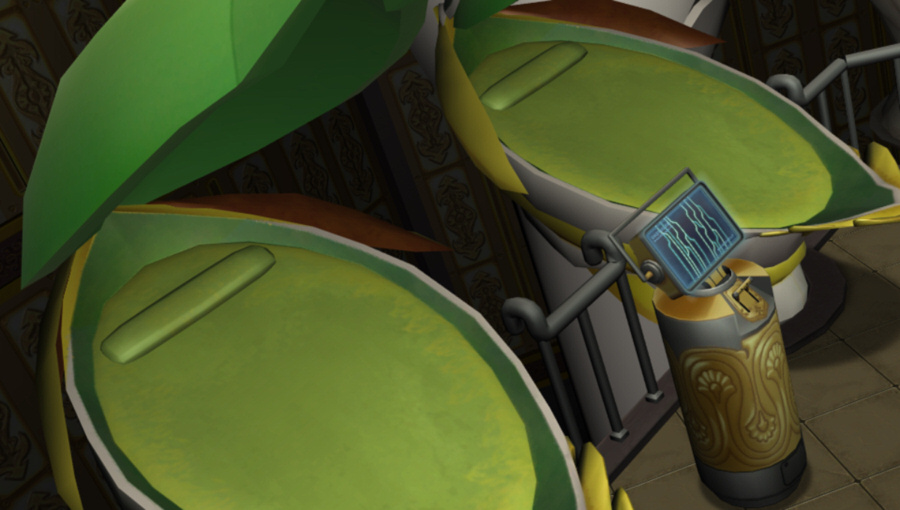 Then we need to run to the input pods... Wait!
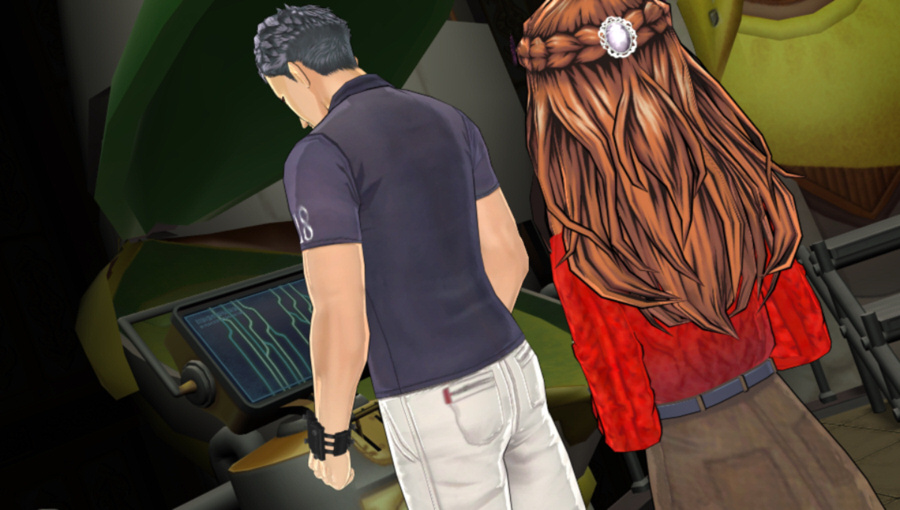 I'm going to go even if you aren't! What...
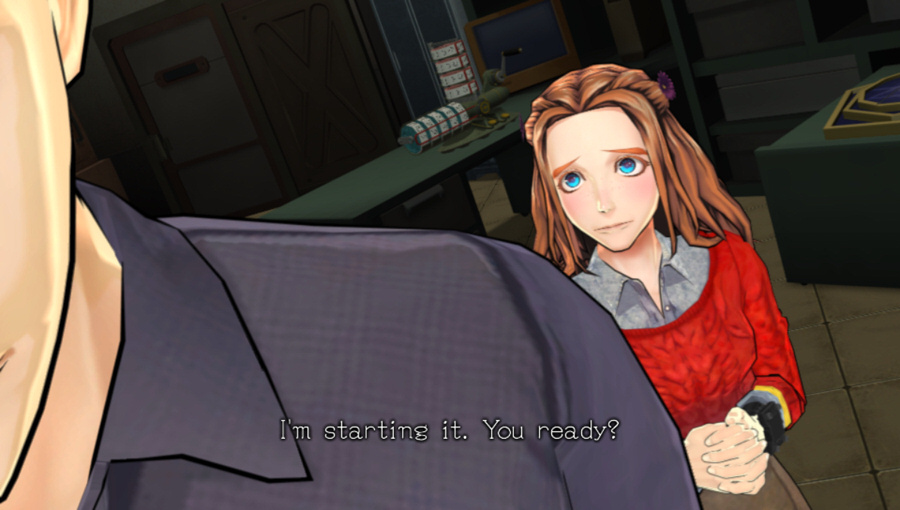
Heartbeat time.
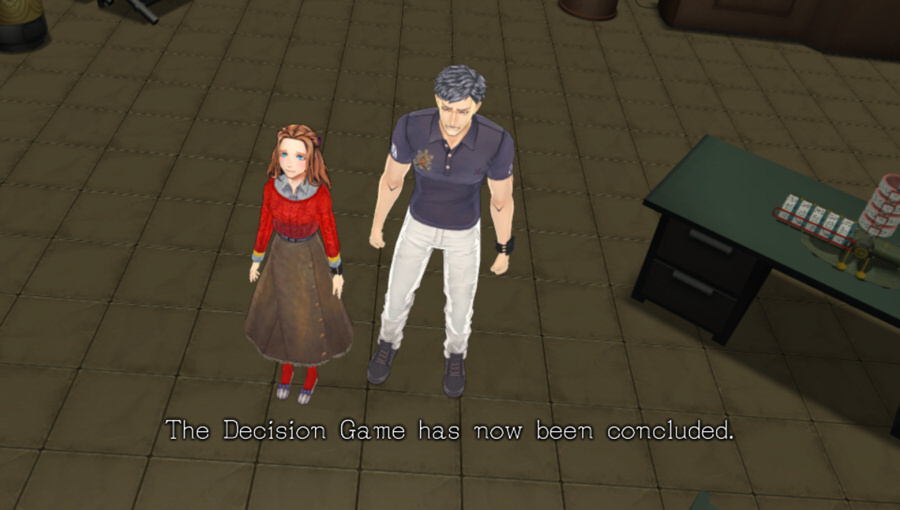
Music: Tough Decision (Make Your Choice)
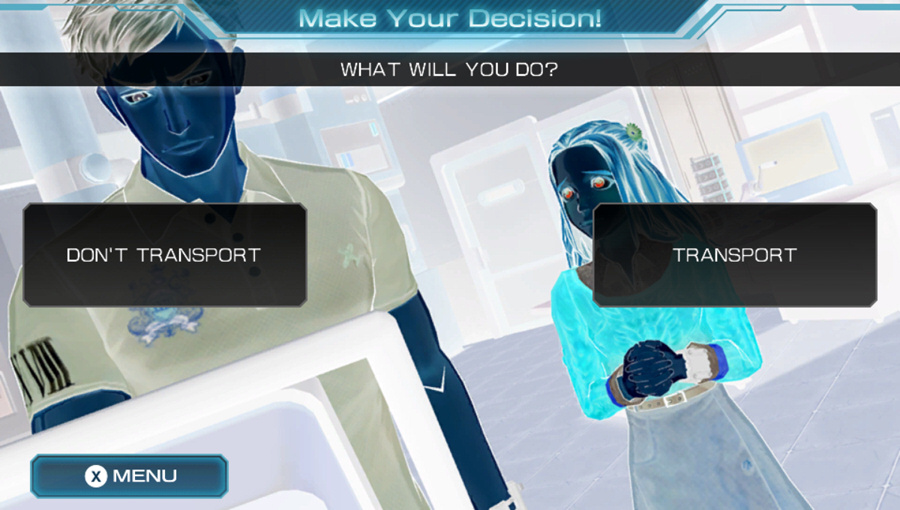
Go with Sigma, or not? What will we do?
Extras:
Got a few files from the explanation at the beginning:

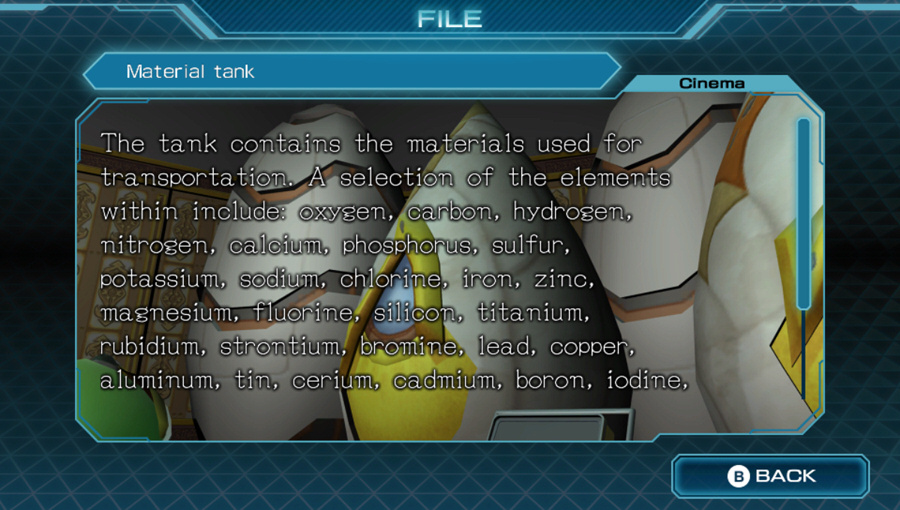
[Material Tank:] molybdenum, barium, manganese, selenium, nickel, mercury, arsenic, lithium, cesium, silver, germaniium, antimony, chromium, cobalt, and vanadium.