Part 78: You Are Zero!
Part 78: You Are Zero!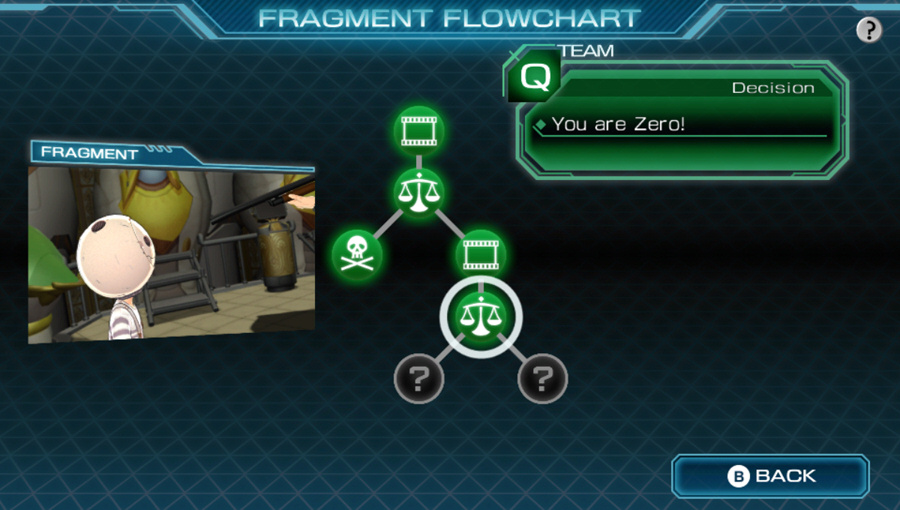
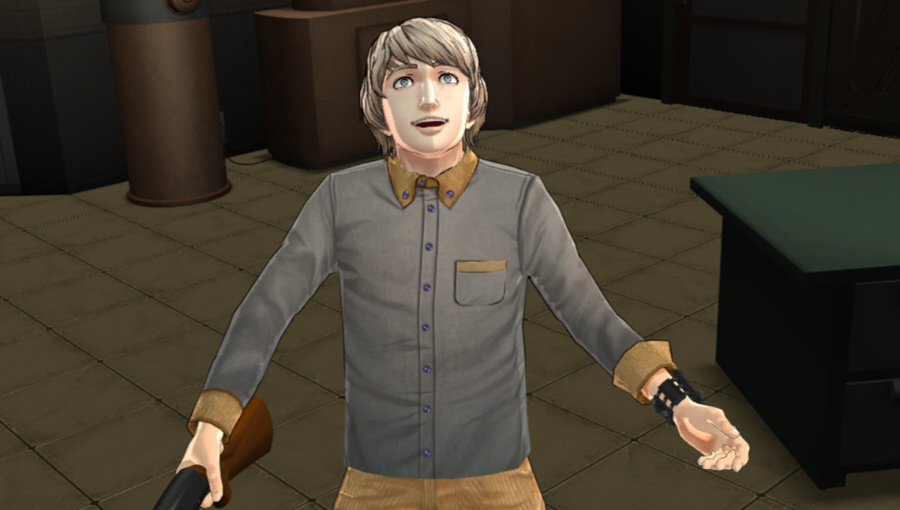
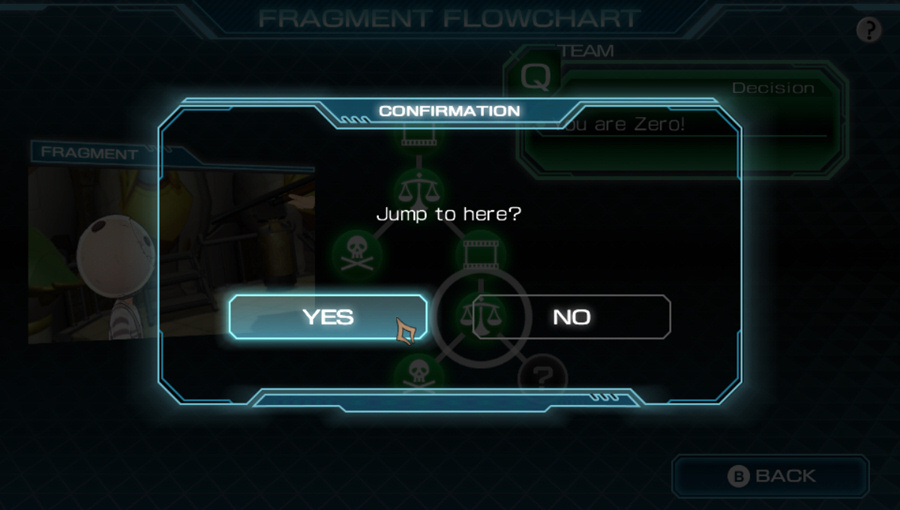
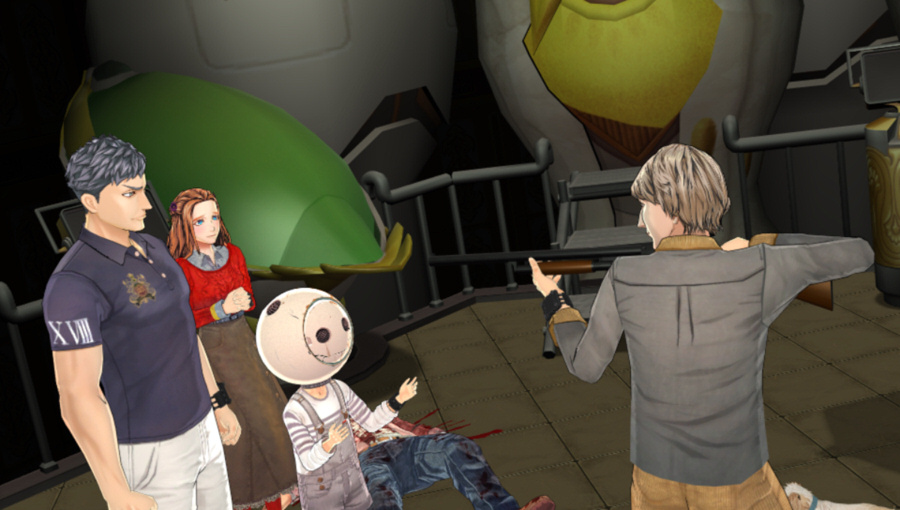
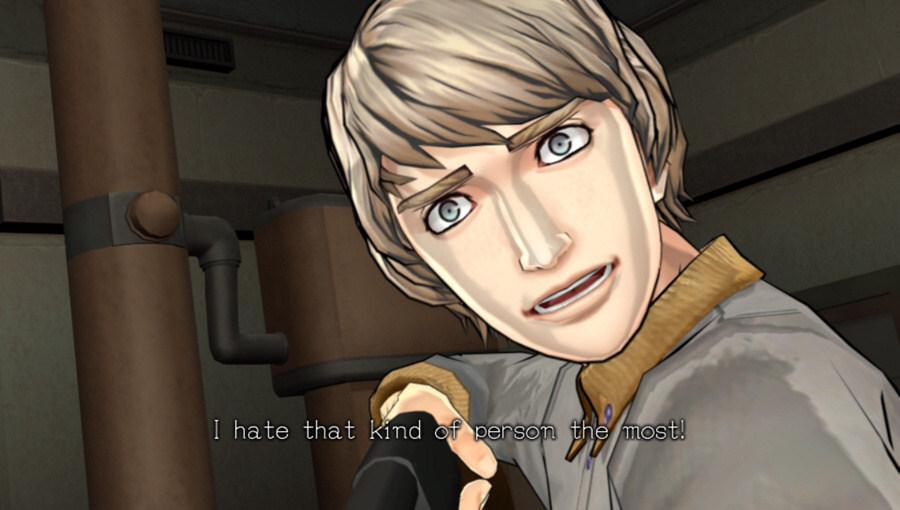
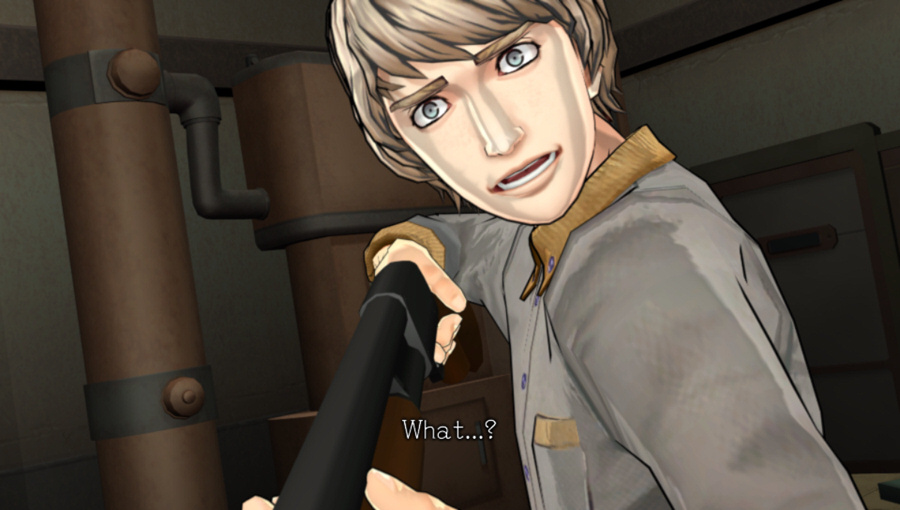
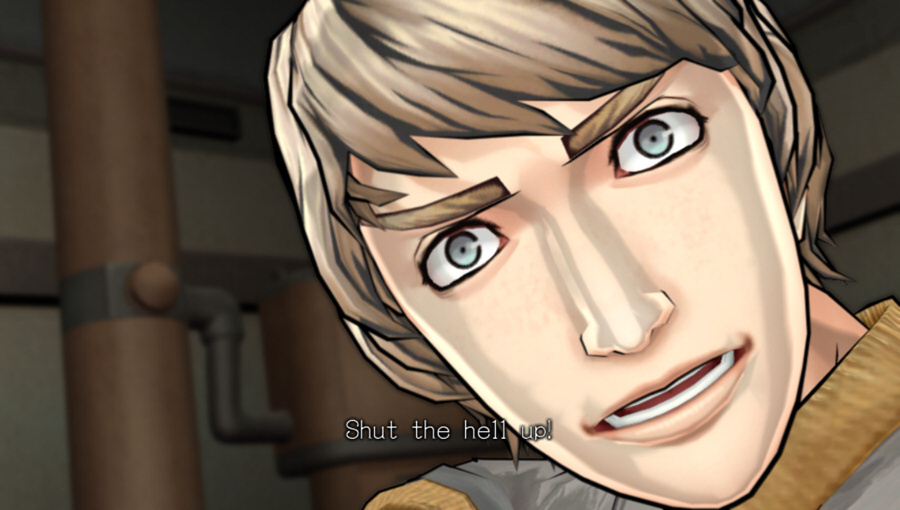
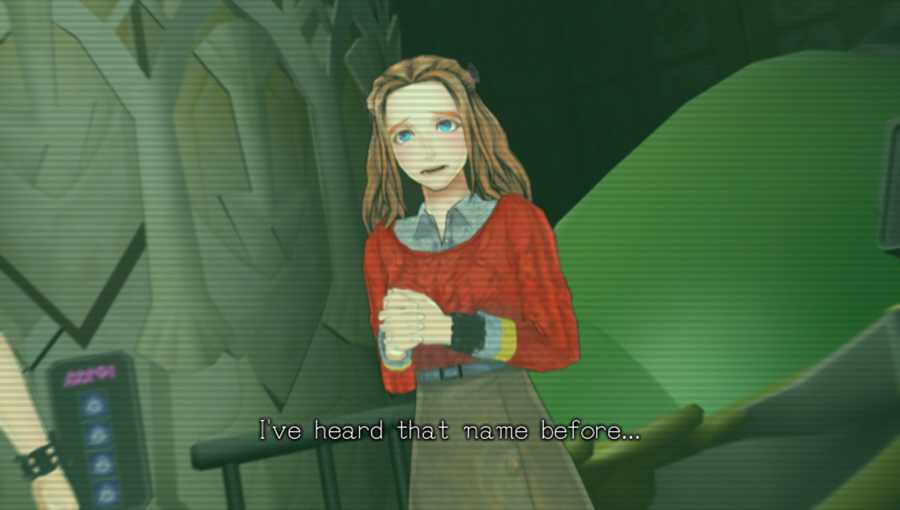
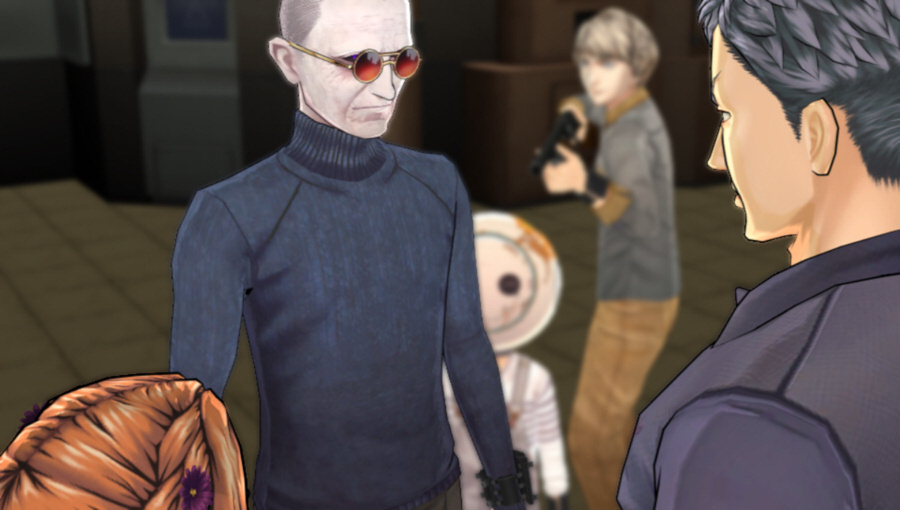
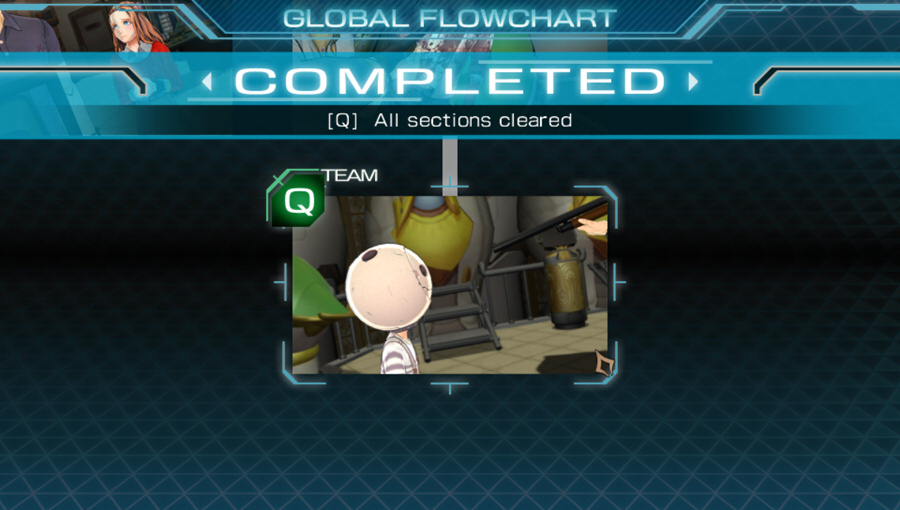
I like the name of this decision. It has a nice accusatory feel to it.

Right, where were we. I think Eric's dead brother got transported to the past and has been messing with us the whole time, how about you?

Music: Trepidation 2nd Mix
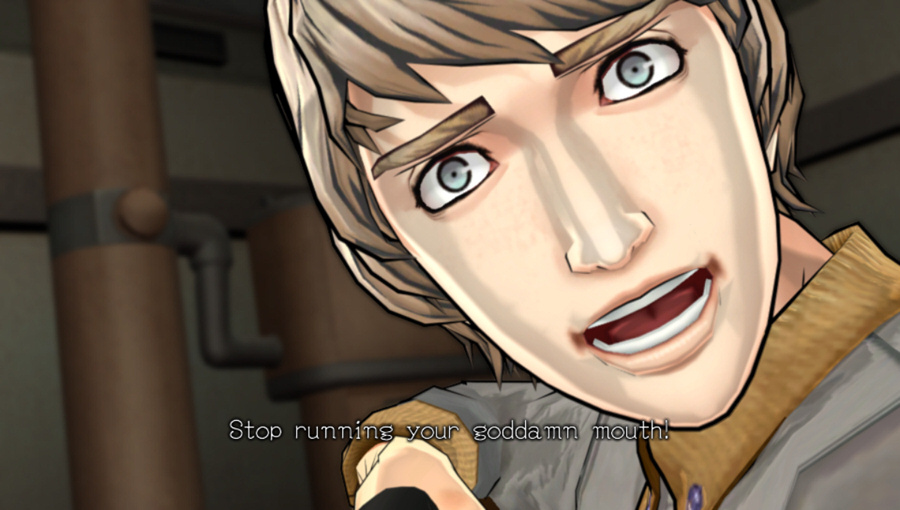
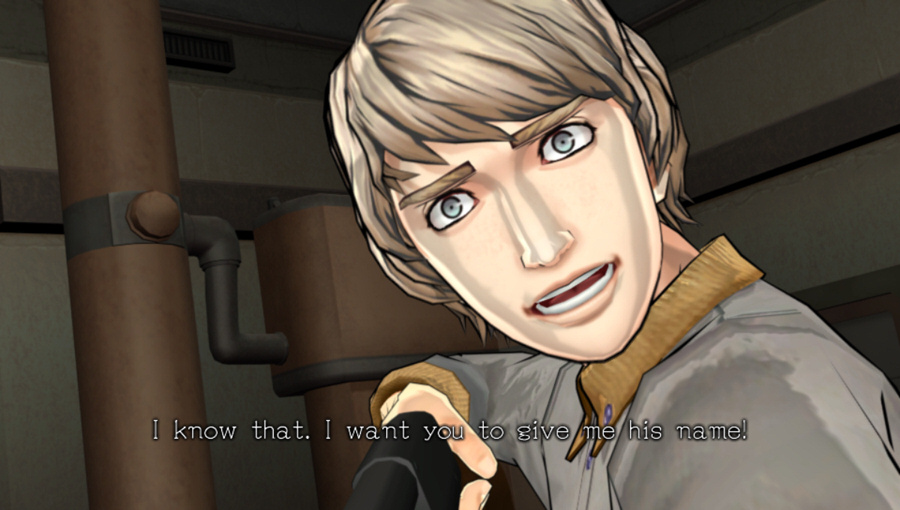
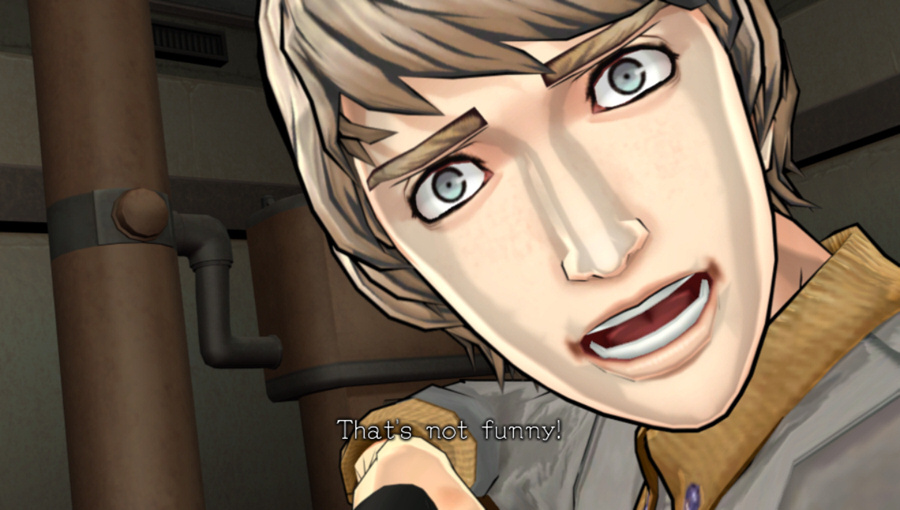
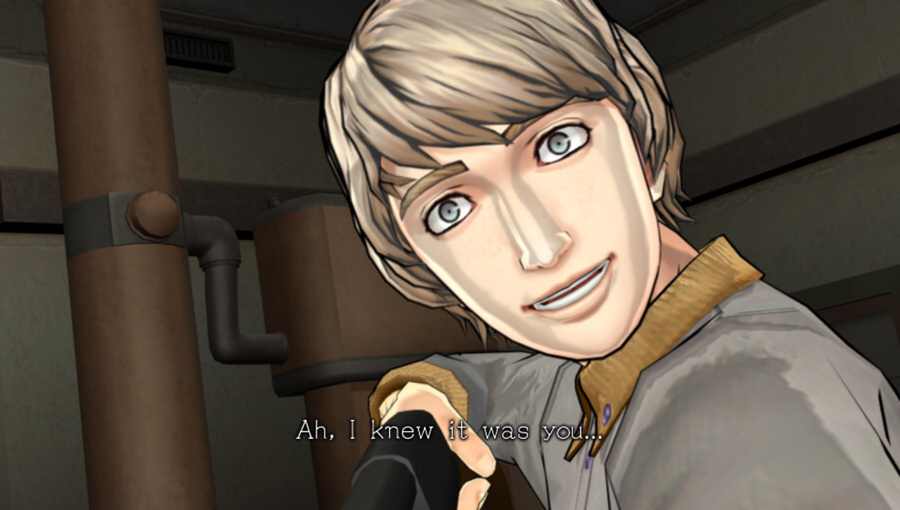
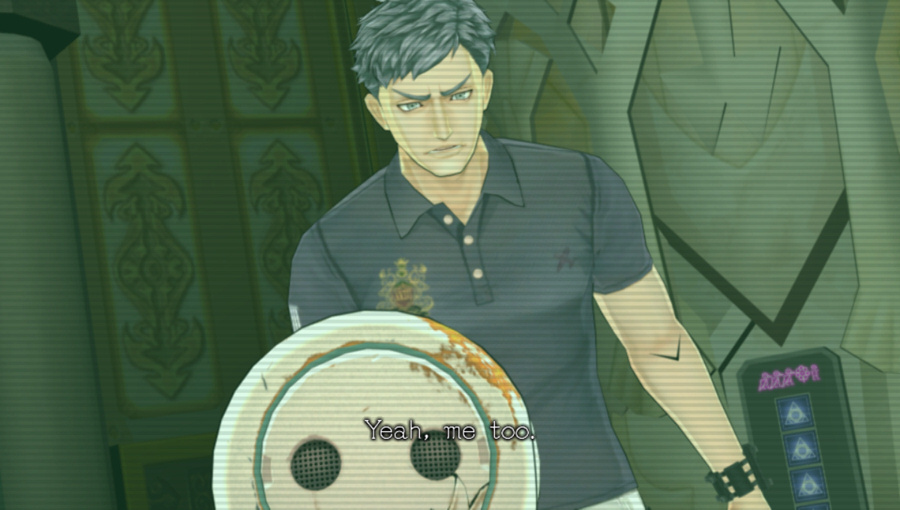
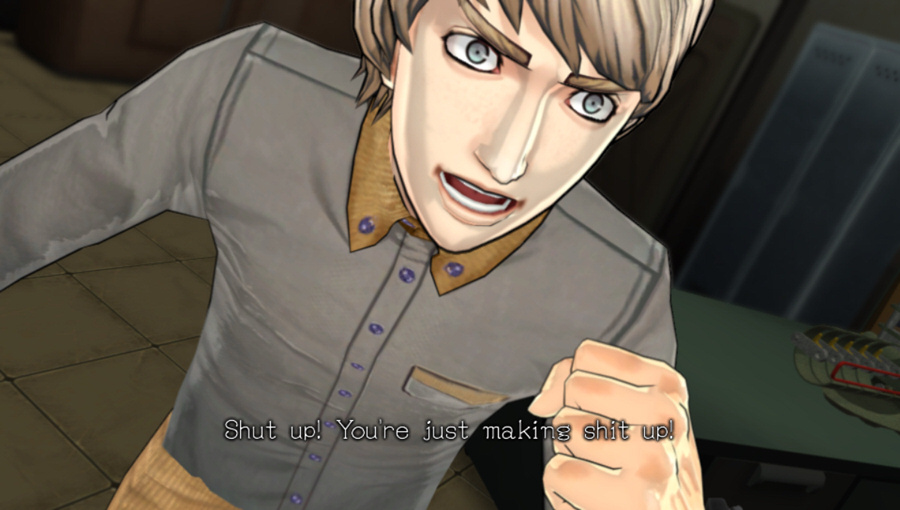
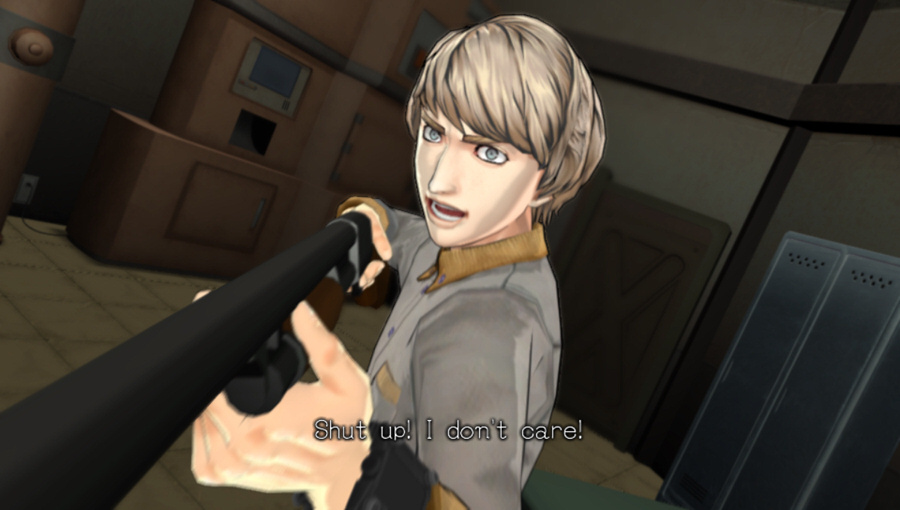
As you might expect, different wrong answers result in different responses from Eric. This one is the generic "I don't recognize your response" line. Most of the suggestions ended up here.
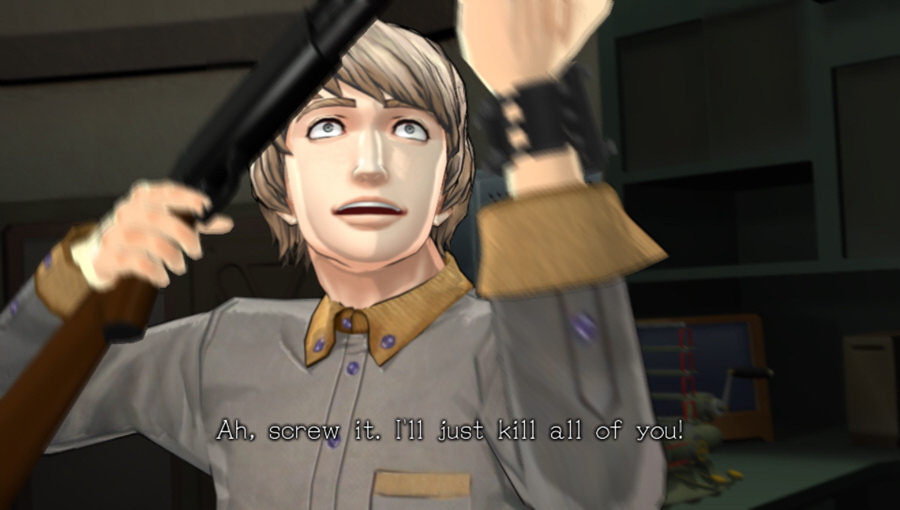
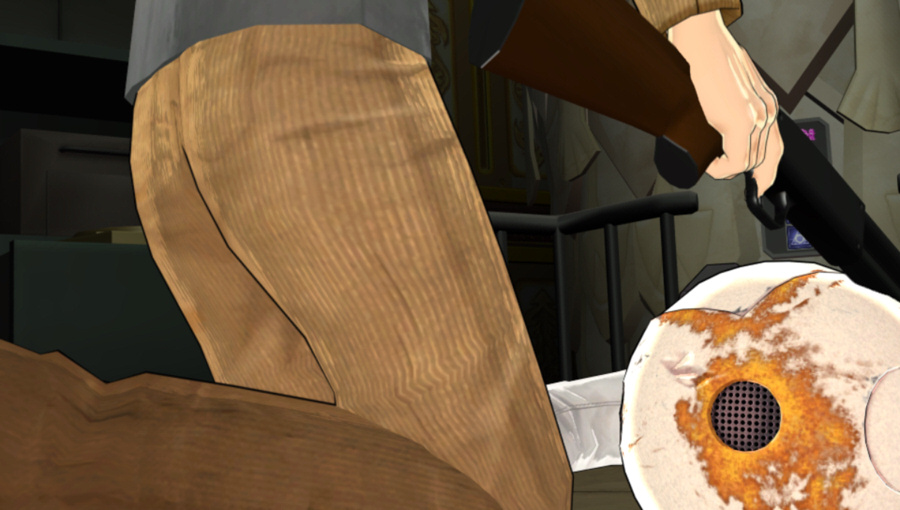
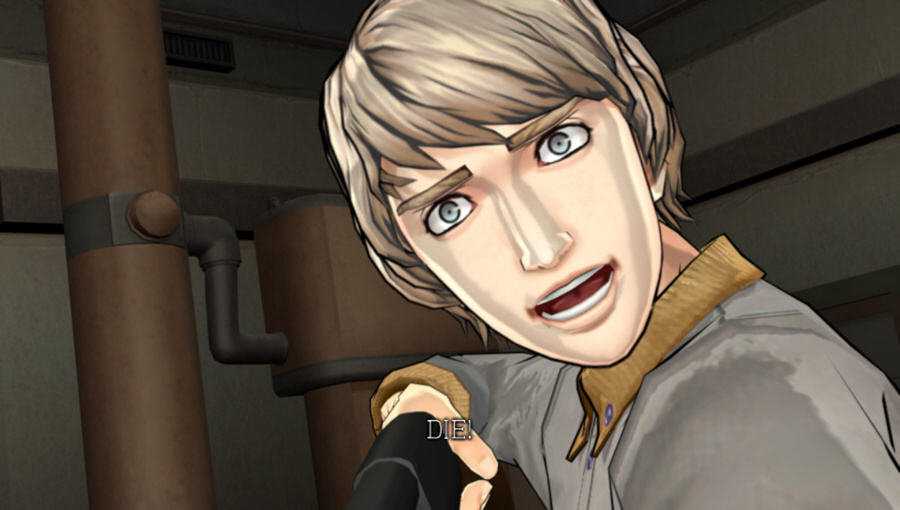
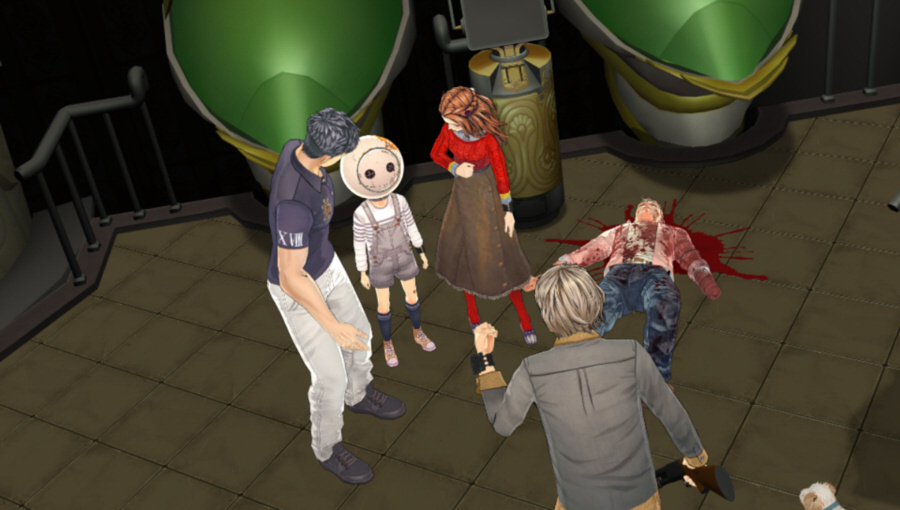
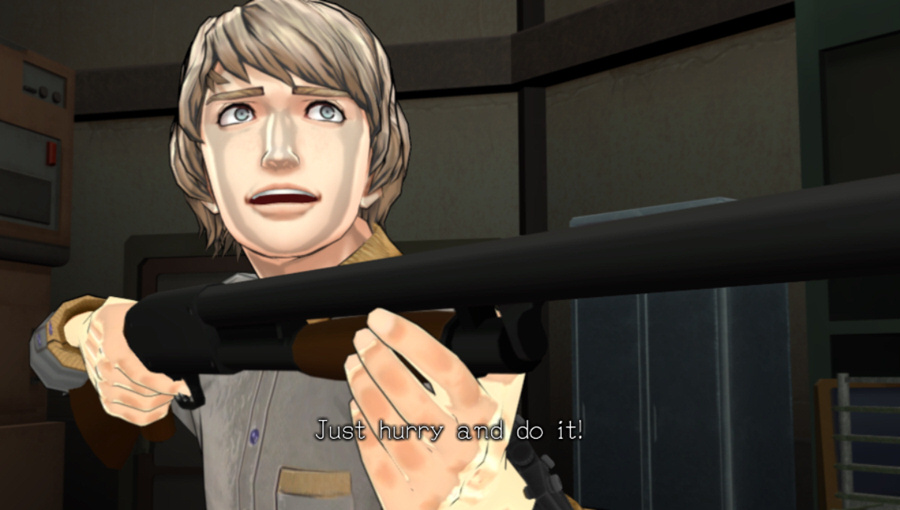
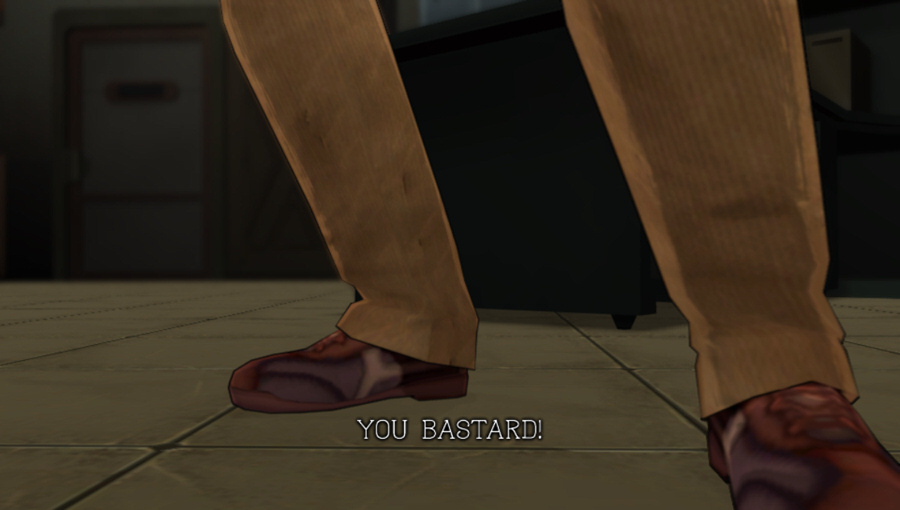
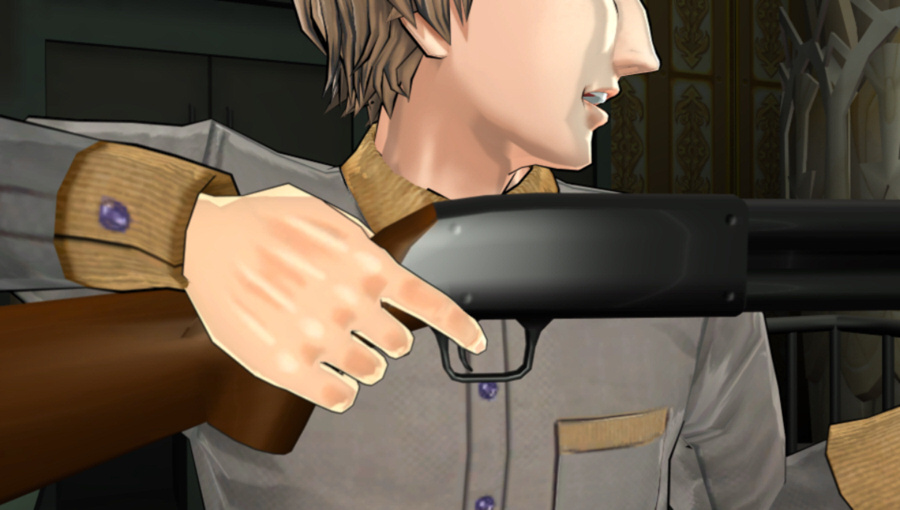
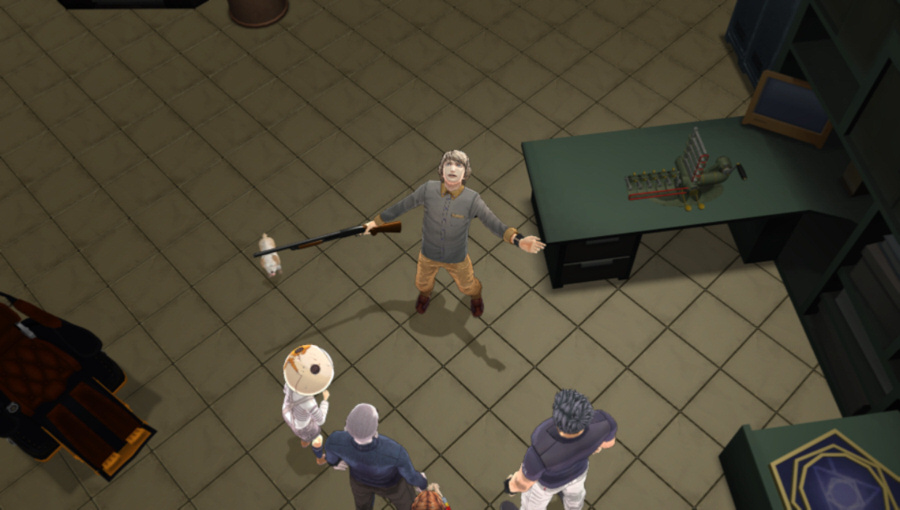
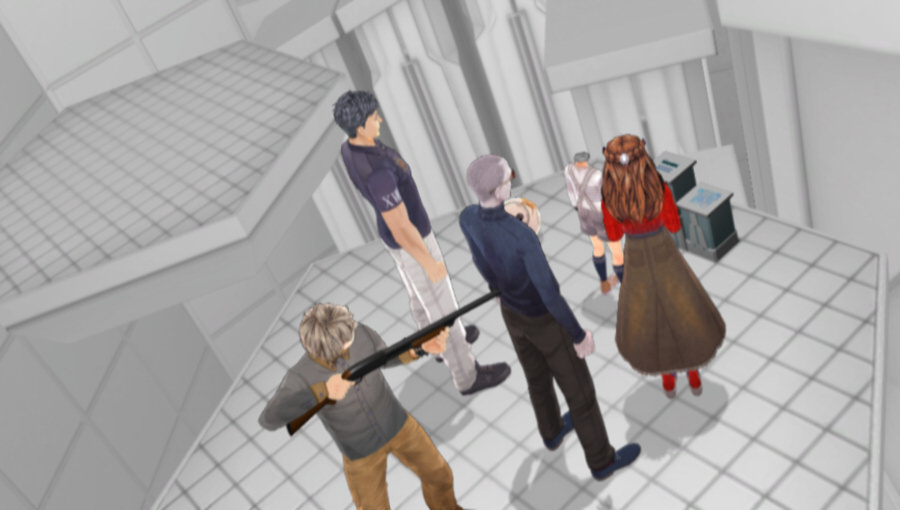
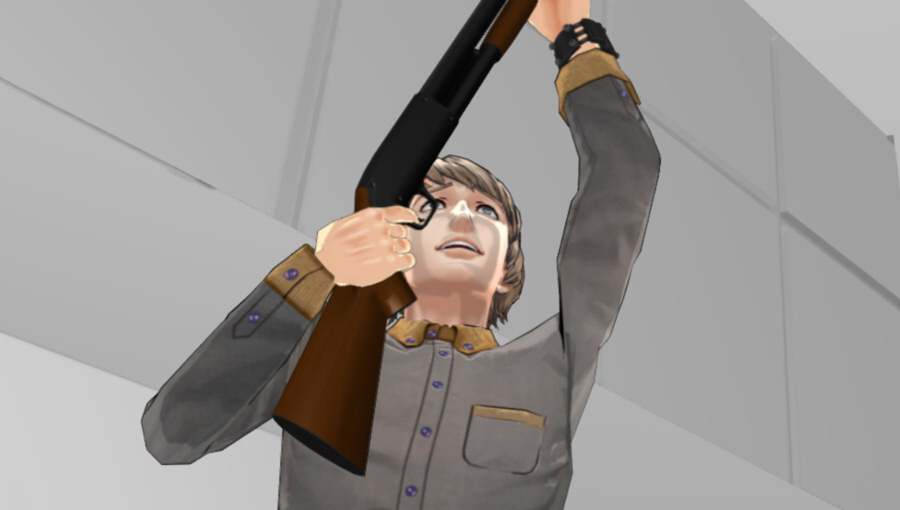
The shotgun fires as the screen flashes white. Sean makes some pained noises and falls.

Eric cackles maniacally.
He's shaking with laughter here.
Suddenly, he stops and looks down in thought.
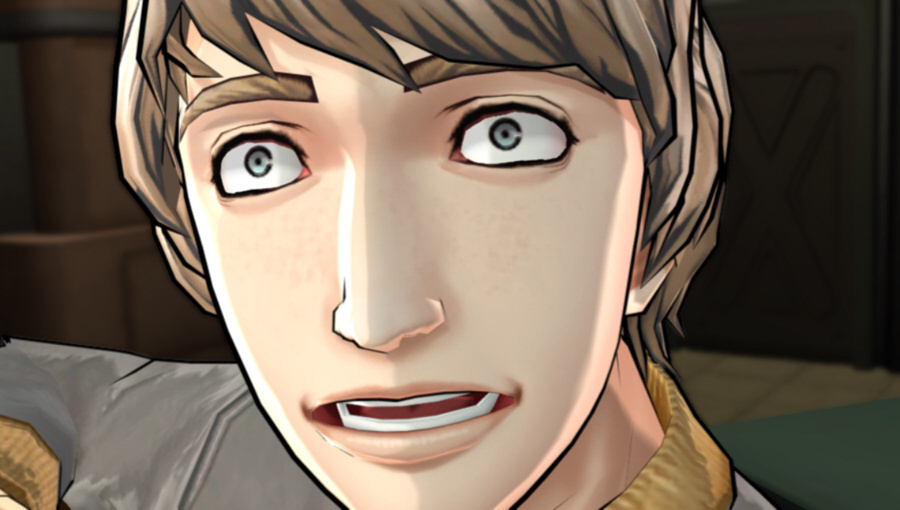
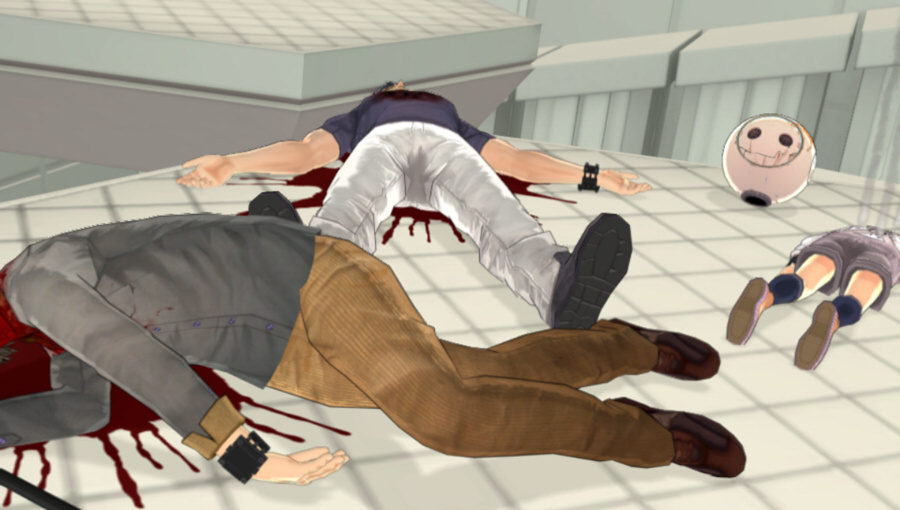
Three more bangs and white flashes. Then falling noises.

There's your last hint.
One last white flash as the shotgun fires again. Eric also falls.
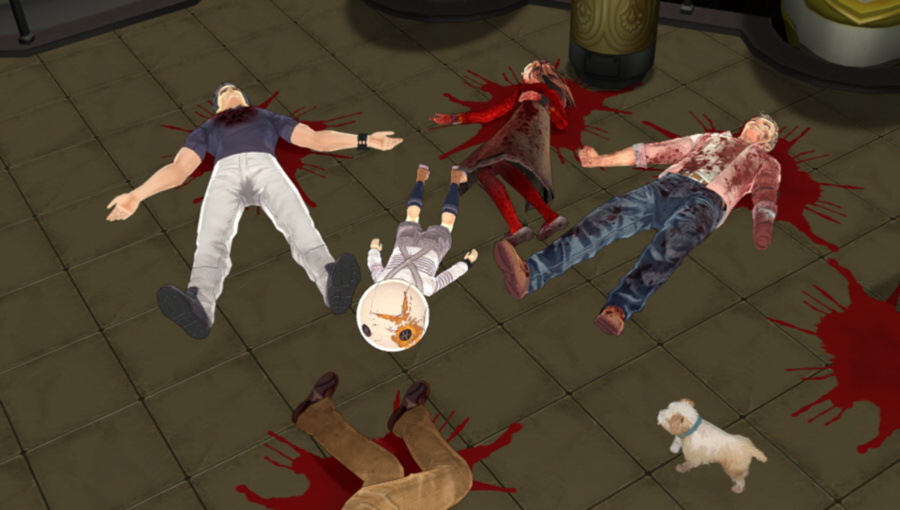
Poor Gab.
Hardly a surprising result. Mira may be the serial killer but Eric is the seriously unstable one.
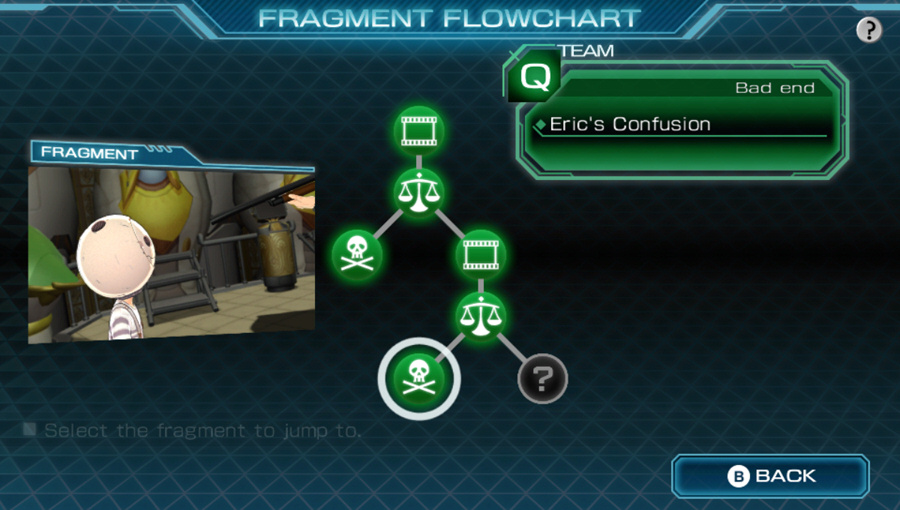
Nice scene title there.
Well, let's try some other answers.

First, the obvious answer. If the robot kid is Sean, then who does Q refer to? Maybe Zero?
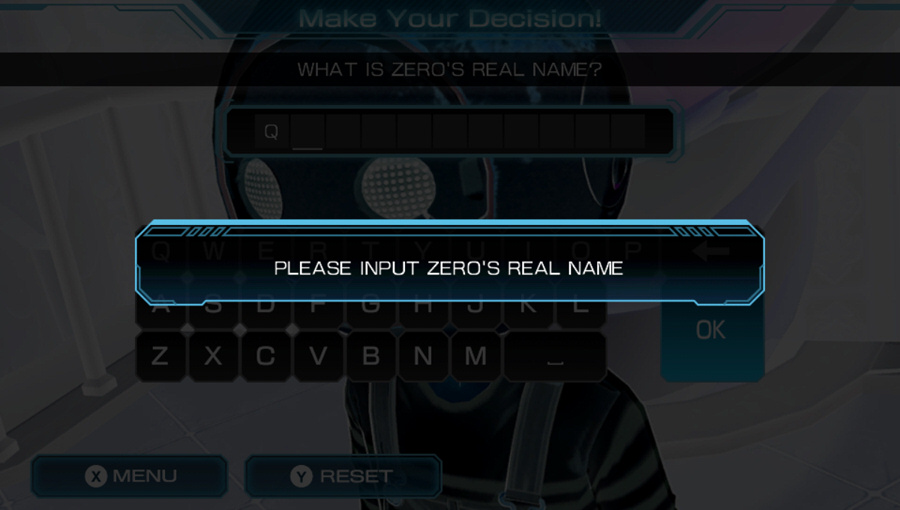
We get some confirmation of our theory but it's not enough. We're supposed to have his real name by now. It's not too hard to put together after watching the Twins End and the Moon End, but let's try some other intentionally wrong answers, first.

We're all assuming it's an alias, but what if Zero's real name is actually Zero?
Guess not. Bang, and we're all dead again.

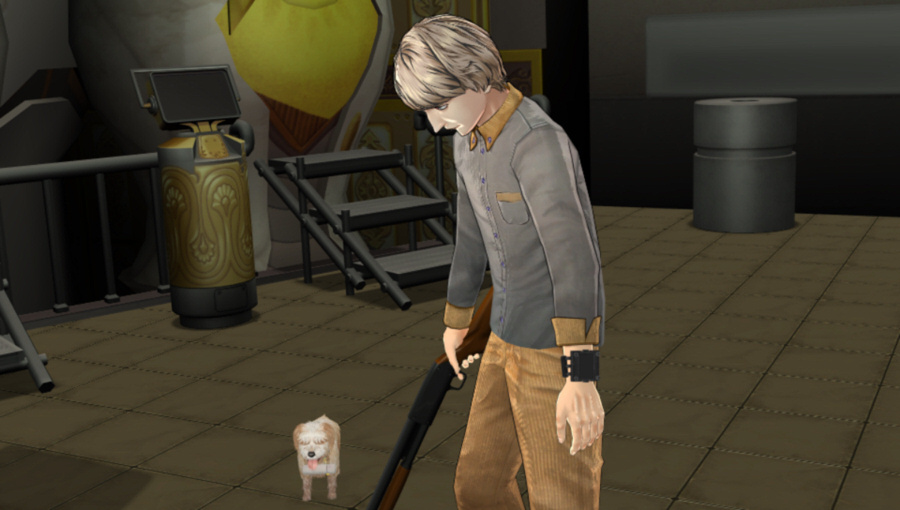
You know, that dog has been pretty suspicious this whole time. Always hanging around in the Lounge somehow.

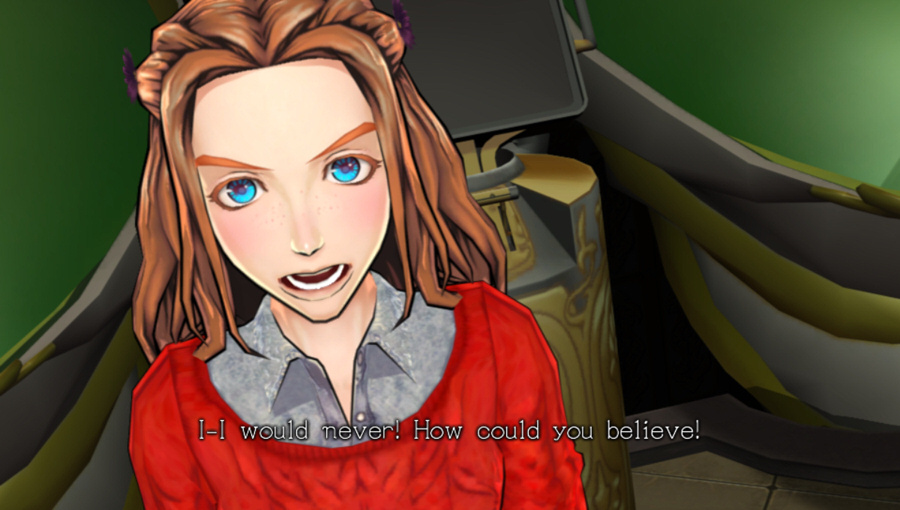
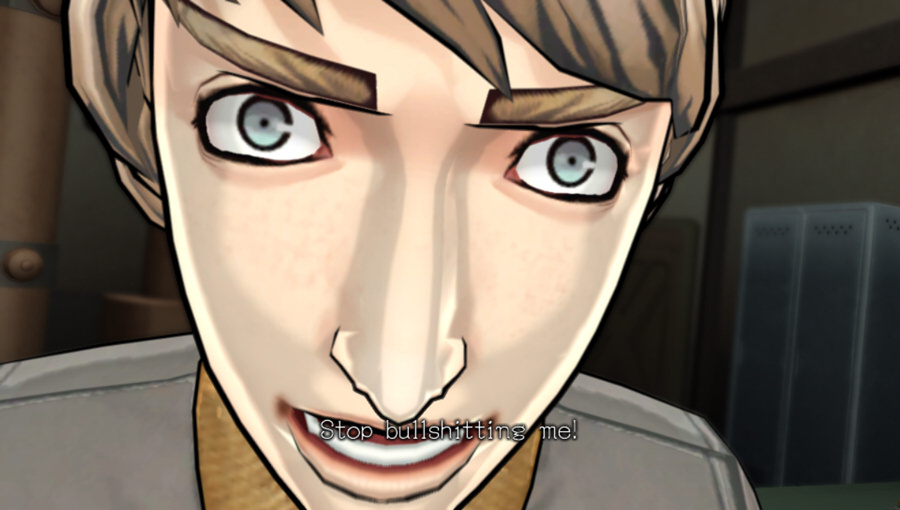
 Are you screwing with me?
Sean's not doing a great job of selling this theory.
And we're dead again. Let's see, what else can we try...

Maybe if we just confess, Eric will leave everyone else alone?
One shot, and Sean's dead. Unfortunately the rest of the scene plays out the same, and soon everyone else is dead, too. Entering "Sean" gives the same result.

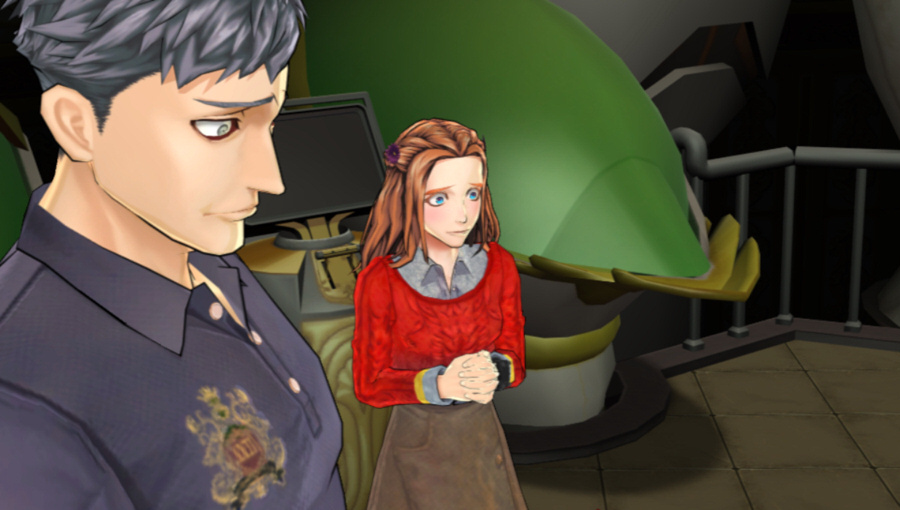
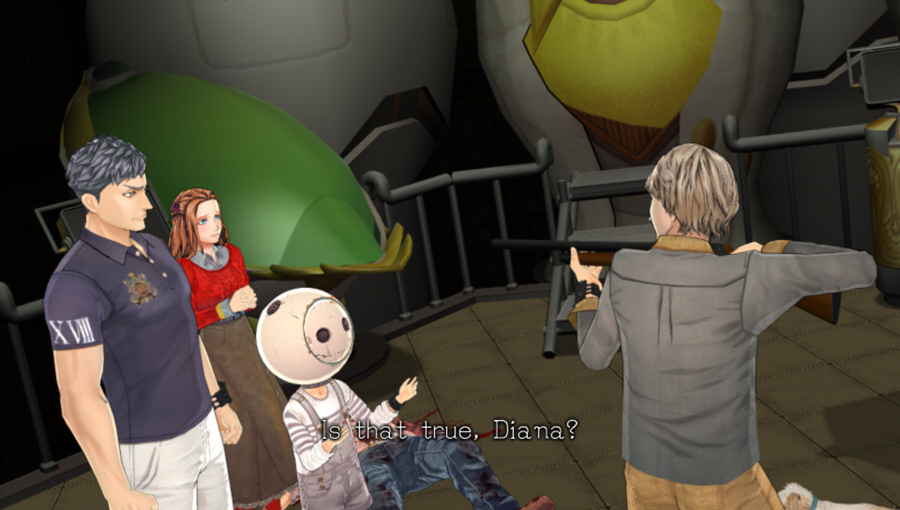
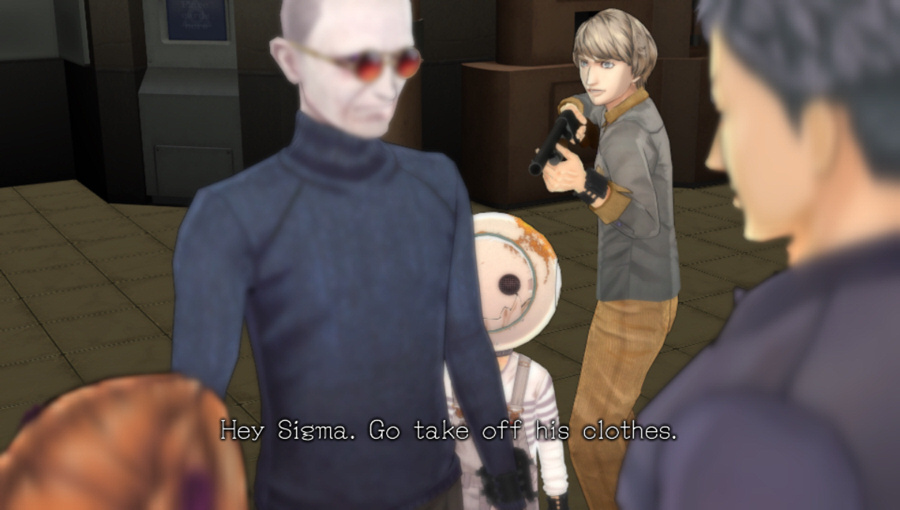
Let's throw Sigma under the bus. This answer technically isn't even wrong, Sigma was totally a Zero.
 Sigma, is that true?
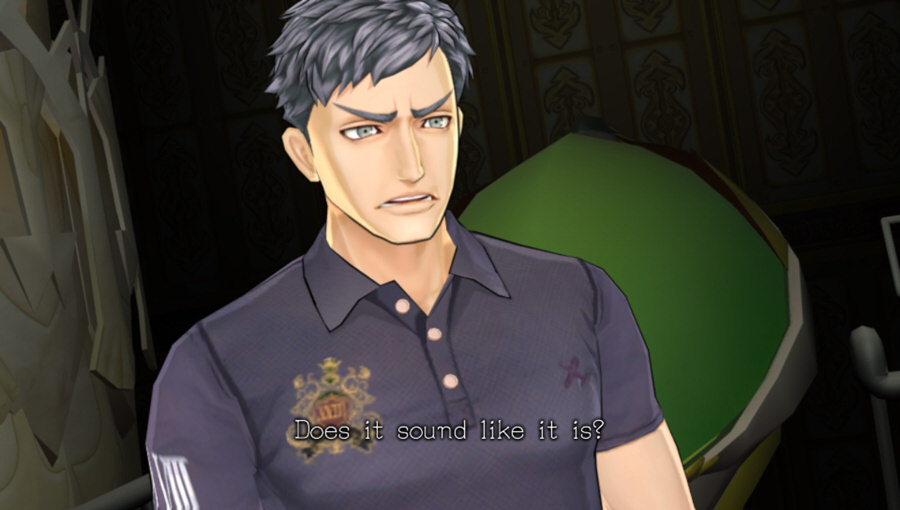 I figured.
Guess he's not interested in what's going to happen 45 years from now.
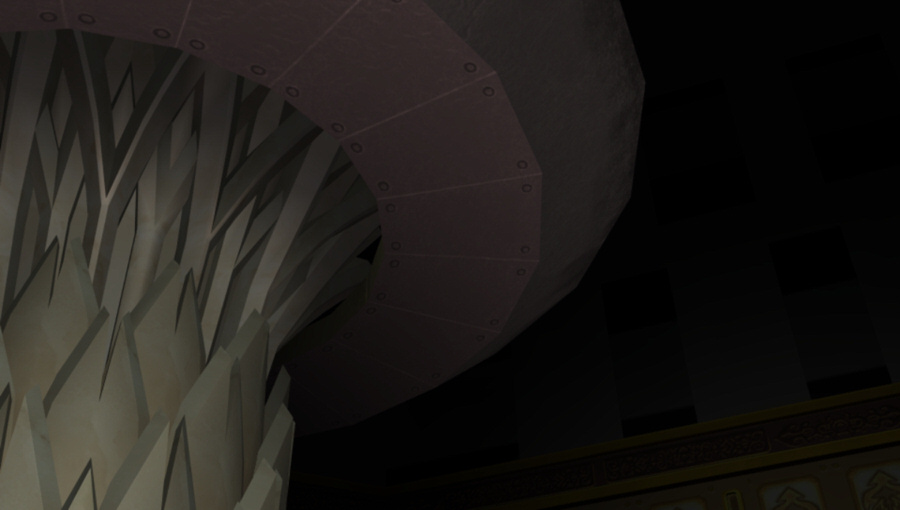
I love this shot and will continue to throw it out there every time it appears.
Yeah, we're dead again. Eric continues to kill everyone else and himself, anyway.

What if...no I got nothing for this one, let's just watch.
 I figured.
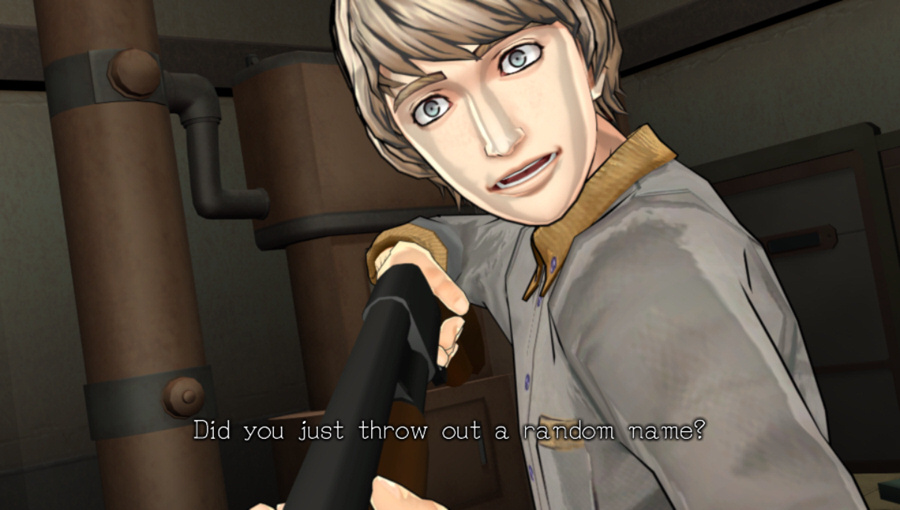


Boom, dead.

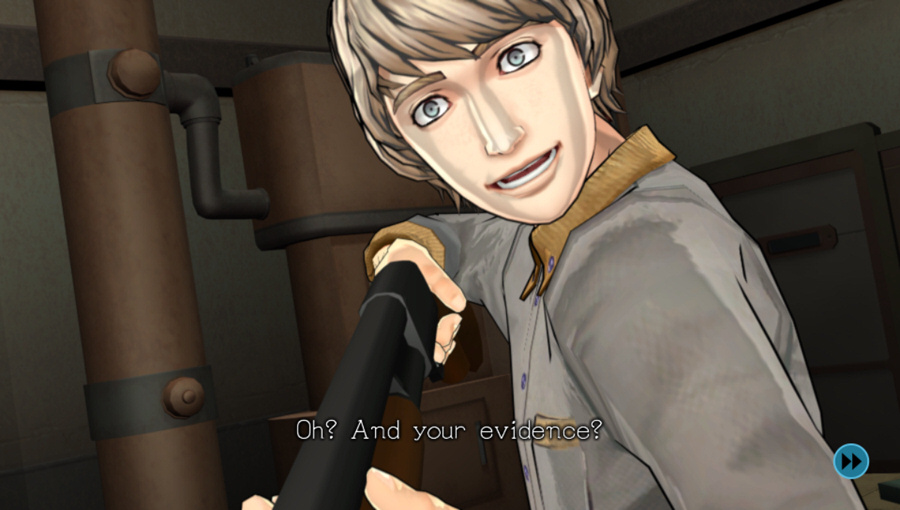
I think we can convince Eric of this one. All of D-Team got their heads blown off, but Sigma and Diana have fake versions running around. Clearly there must be a fake Phi, too. And since she hasn't shown herself, she must be Zero!

Evidence? Since when do we need evidence?


It wasn't random, I'm being very methodical about the names I'm picking.

Sean doesn't have a counter-argument, though.
And we're dead again. What should we try next...

Let's go through C-Team. First, maybe we can blame the crazy dead man who said he could jump around the timelines. Pretty suspicious, right?
Damn, evidence again. The rest of the scene plays out the same way. Entering "Akane" or "Junpei" also gives the same result.

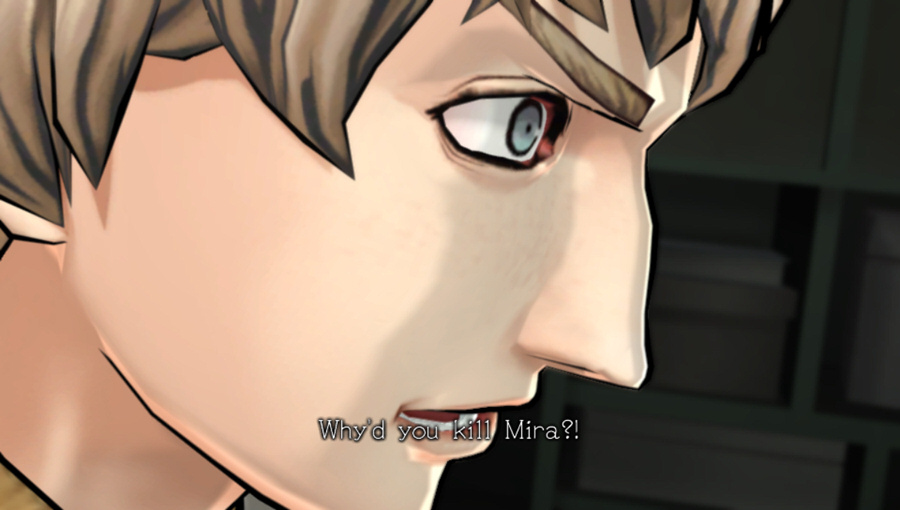
Maybe if we blame Mira it'll throw him off enough for someone to tackle him.
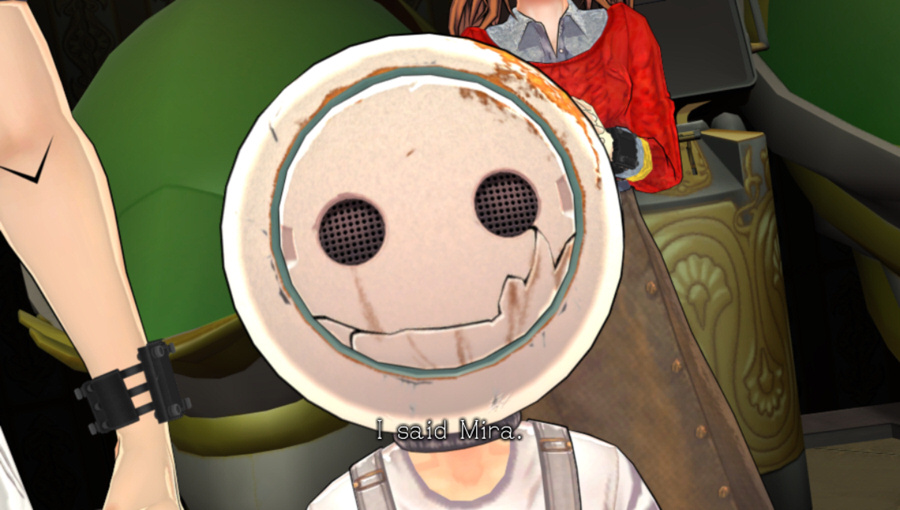
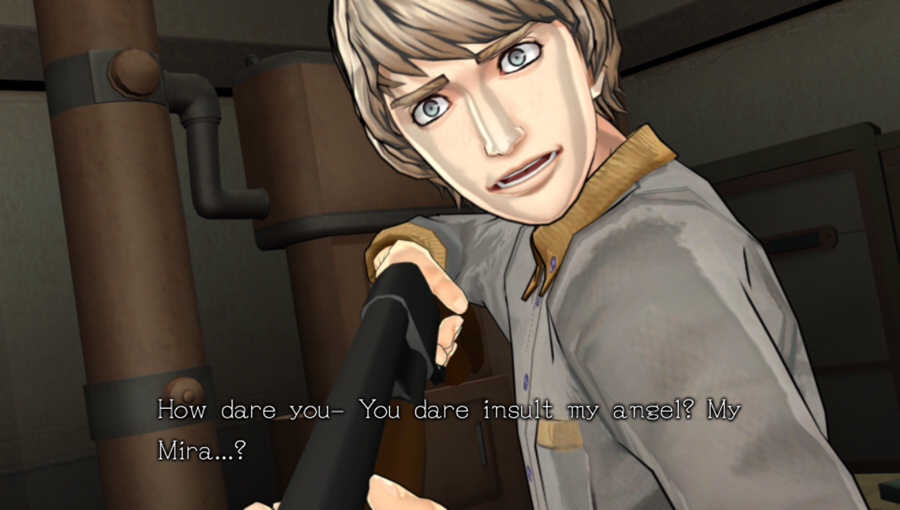
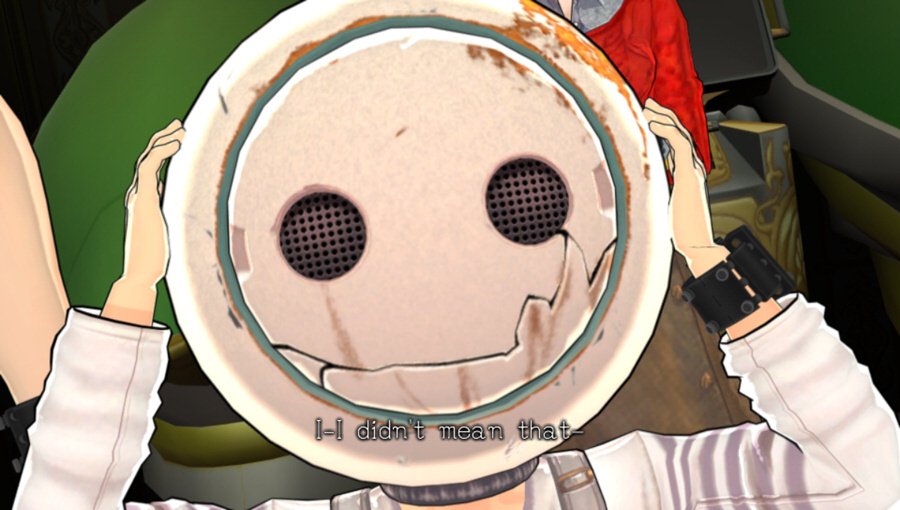
That didn't go as well as I hoped. About what I expected, though.

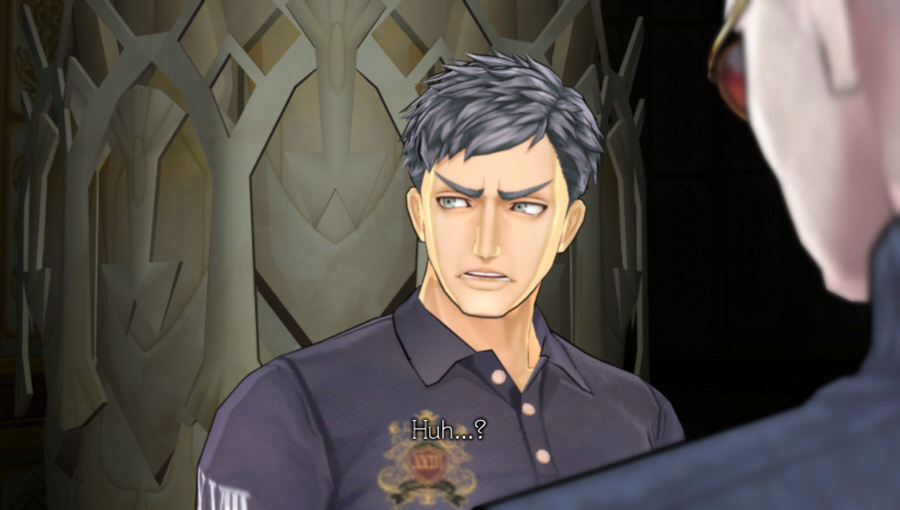
Kind of a last-ditch effort here. Maybe if Eric is Zero, he'll congratulate us for figuring it out and let us all go?
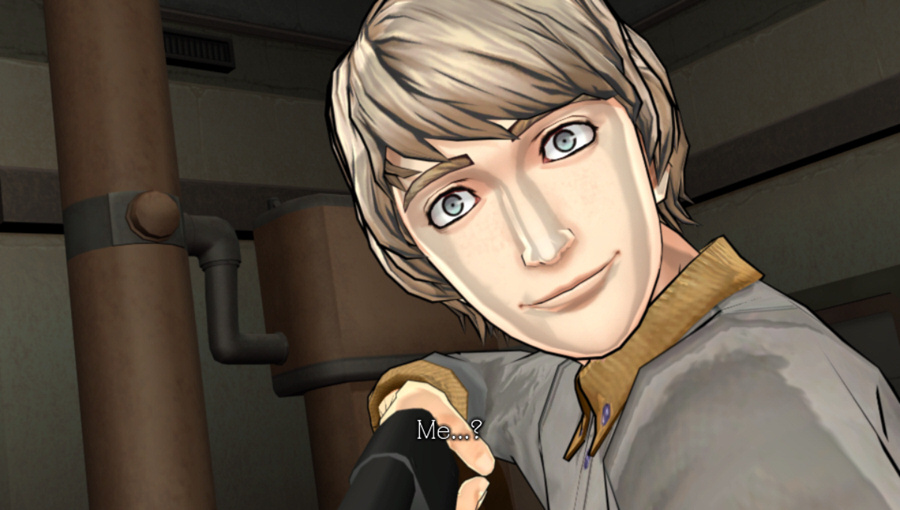
Missing Lip Animations: 64
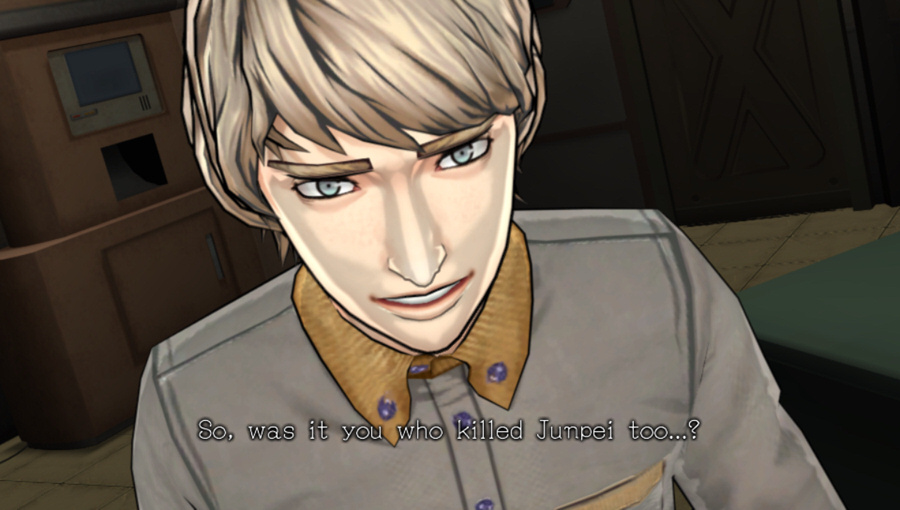
So you're saying I'm Zero...?

Guess not. The rest of the incorrect answers I tried resulted in the same scene as the first.

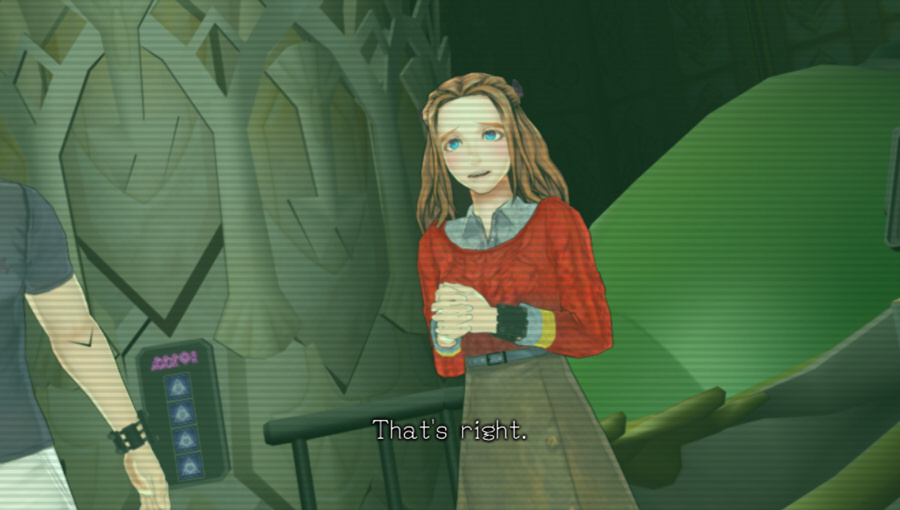
There's one name we've learned that we haven't tried yet, though.

Music: Aftermath (Decontamination Room)
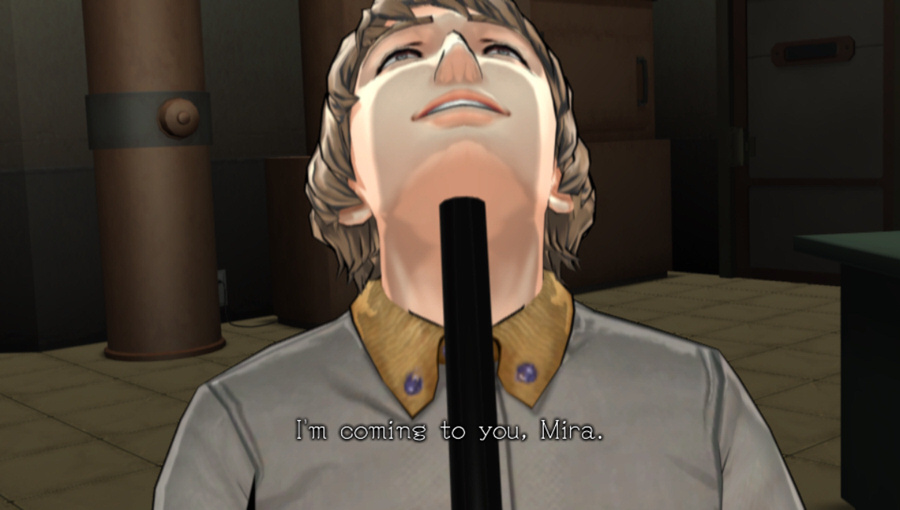
 Zero... The real Zero is...
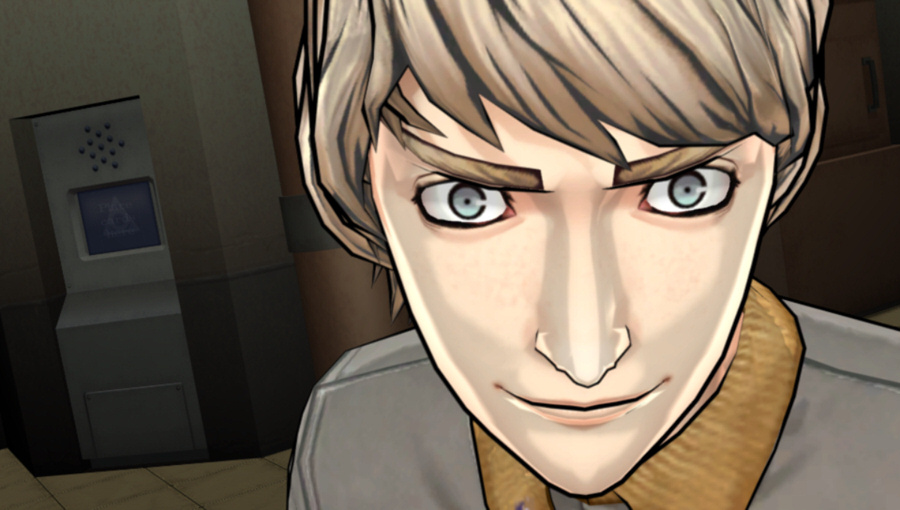
More heartbeats from each person, before the big reveal.
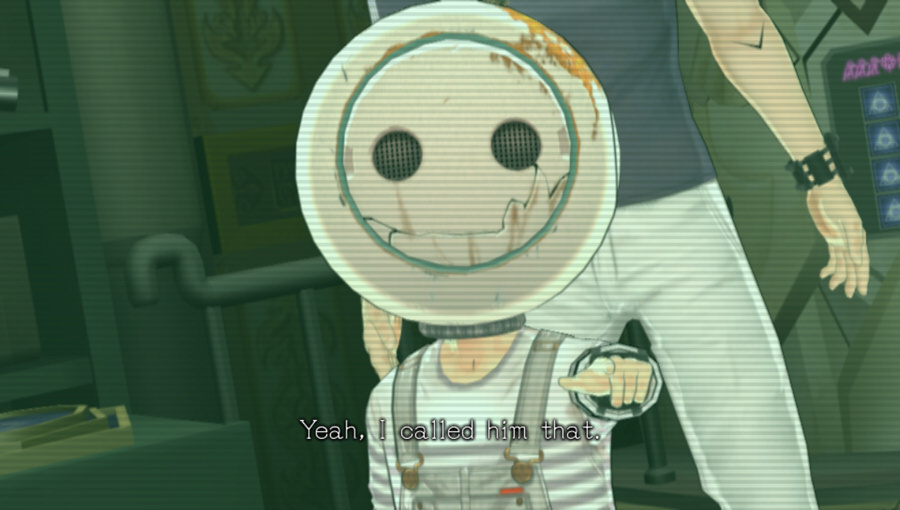
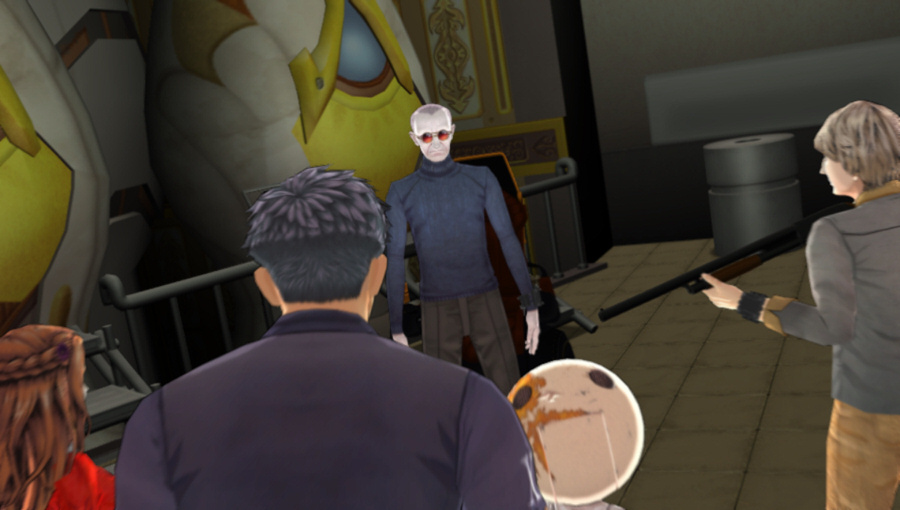
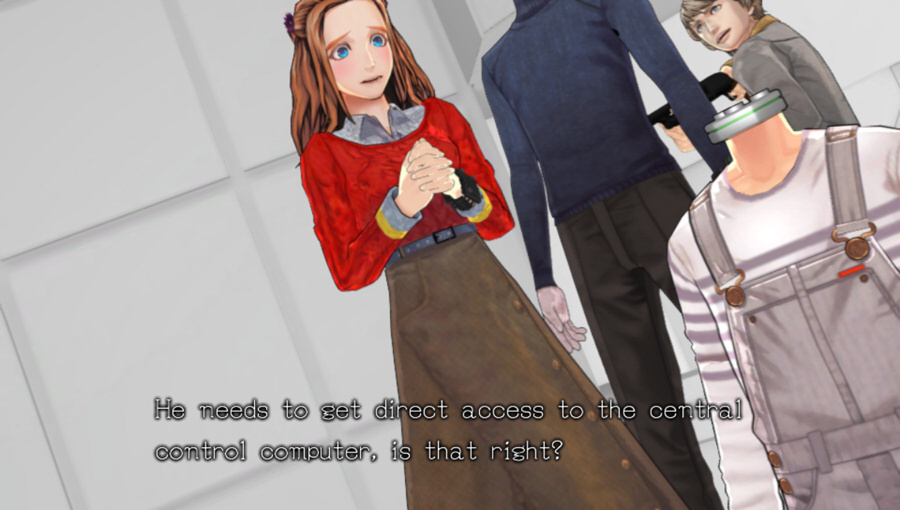
 You, Delta!
There's a fade to black following that accusation.
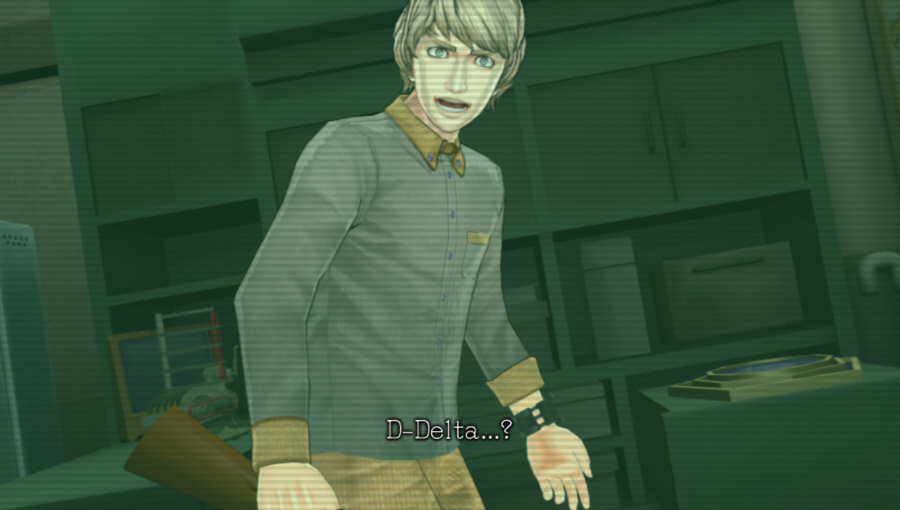
Suddenly, everything looks a bit different.
The camera swings around from person to person as they speak here, and zooms in on each speaker.
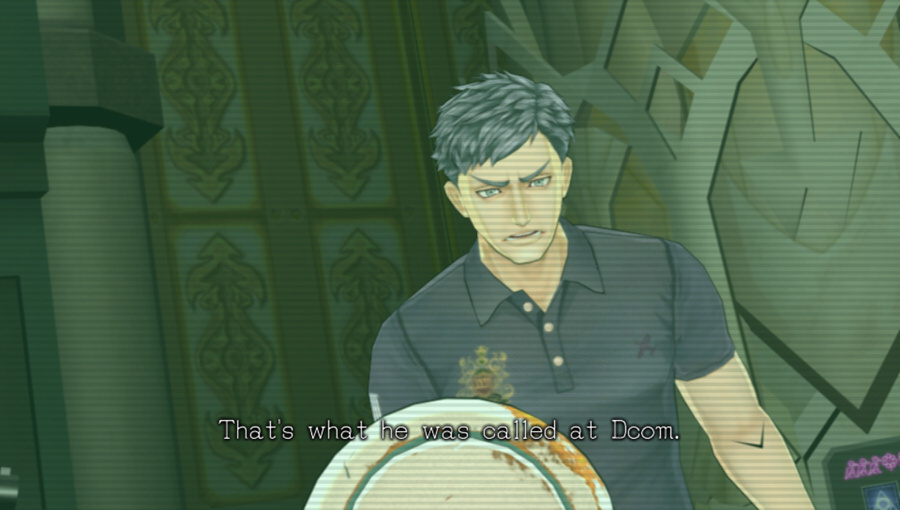
 Because you transported into this history...
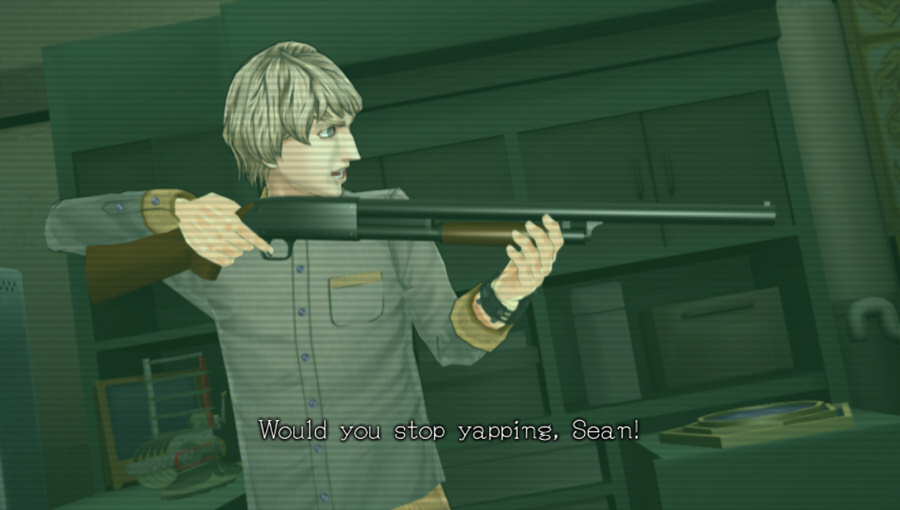 This old man's name is "Q"!
So, Eric knew the robot kid was Sean the whole time. That's the biggest stretch of this reveal for me; Eric (and presumedly Mira) both knew Sean's name but just conveniently never used it when we were watching. It's not the game fooling the player via the viewpoint character like VLR; it's the game directly hiding information from the player that the other characters freely acknowledge.
 And Mira... She always called this man "Q" too. Then--!
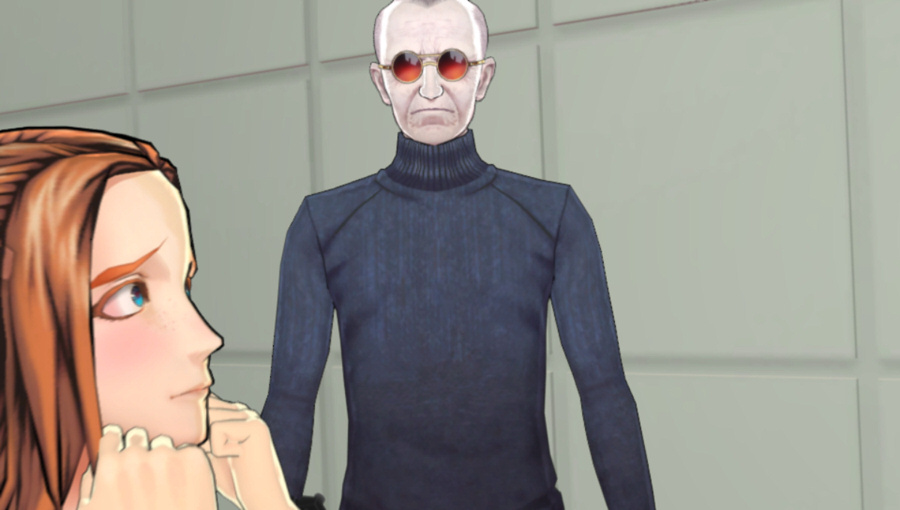
A metal creaking sound as the camera...stands up?
Shock and awe.
Music: Divulgation 2nd Mix
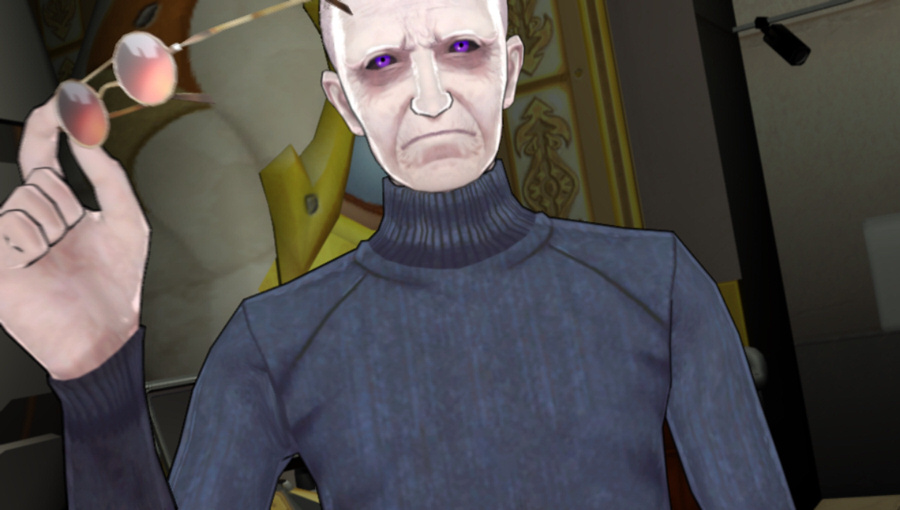
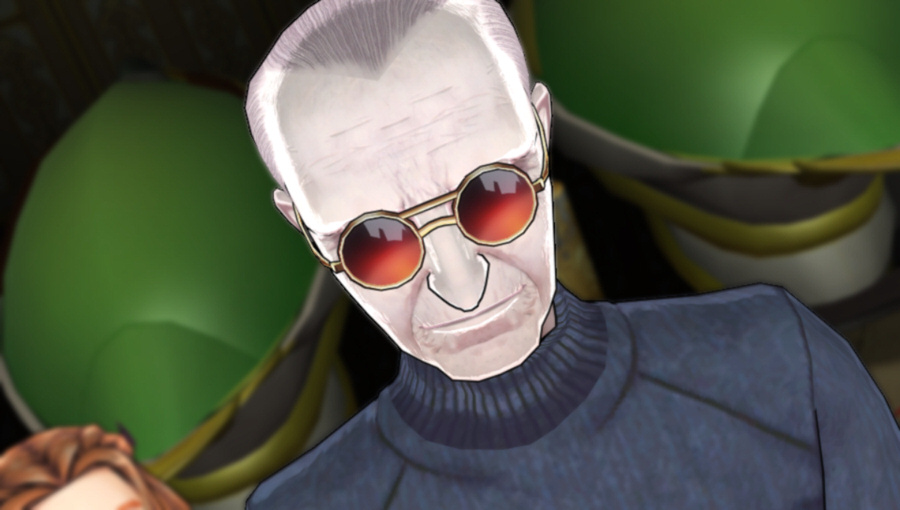
Ladies and gentlemen, meet Delta.
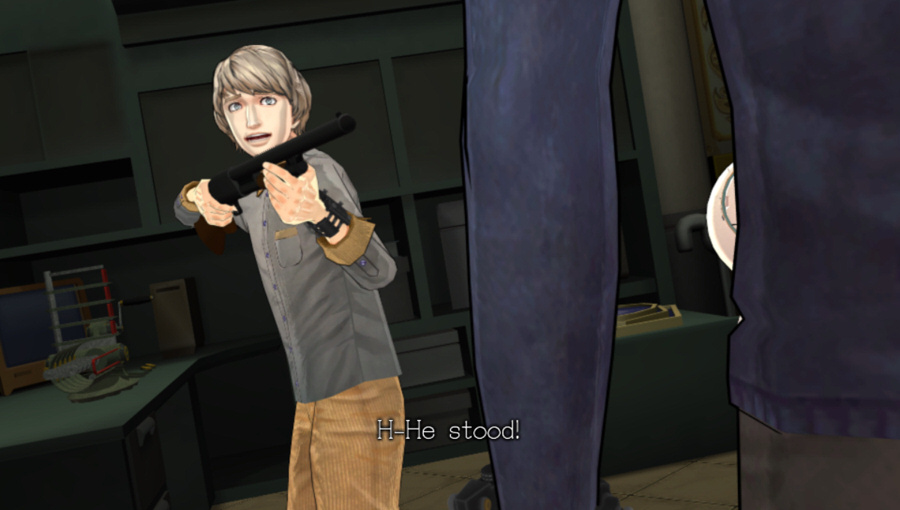 This guy totally stood!
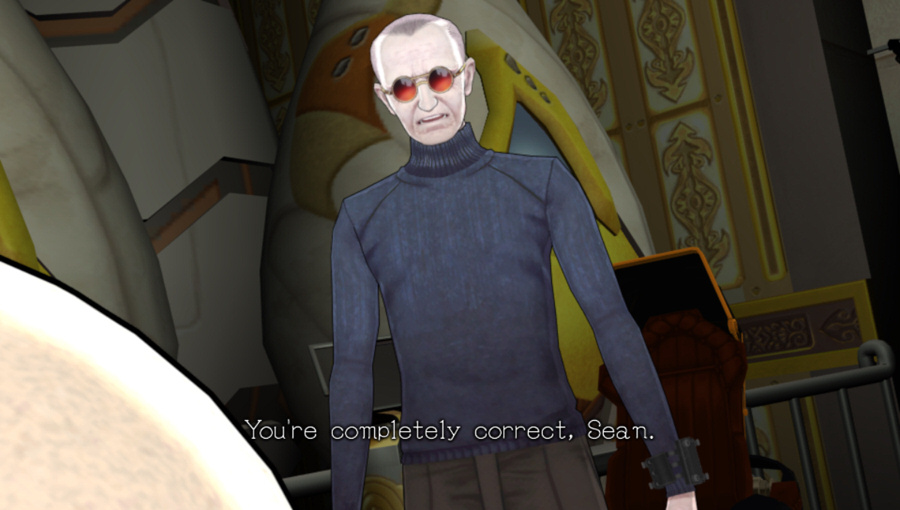
 My real name is Delta.
Delta has a gravelly old man voice. I'm told it's D.C. Douglas, who also voiced Albert Wesker in the Resident Evil series.
 He spoke...
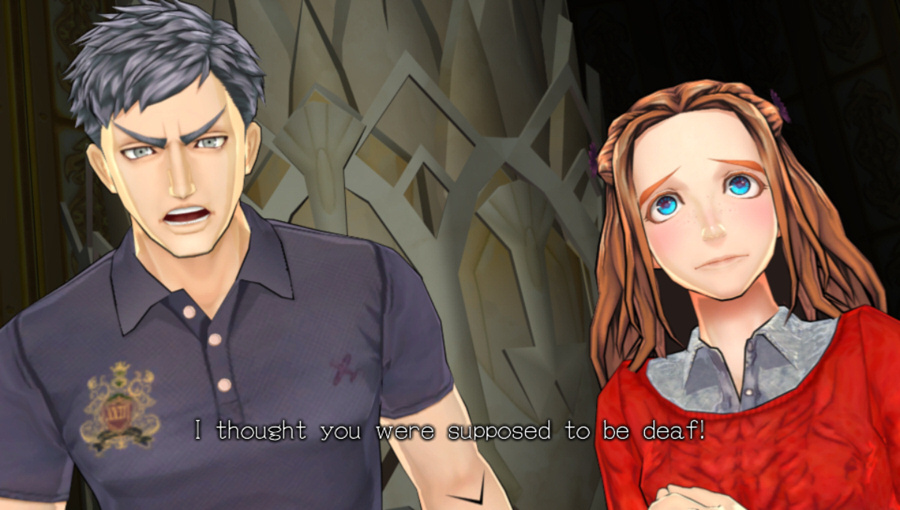
Flashback to Dcom...
[Unknown Man:] Okay, and here we are. All of you will be living together here in the Dcom facility...
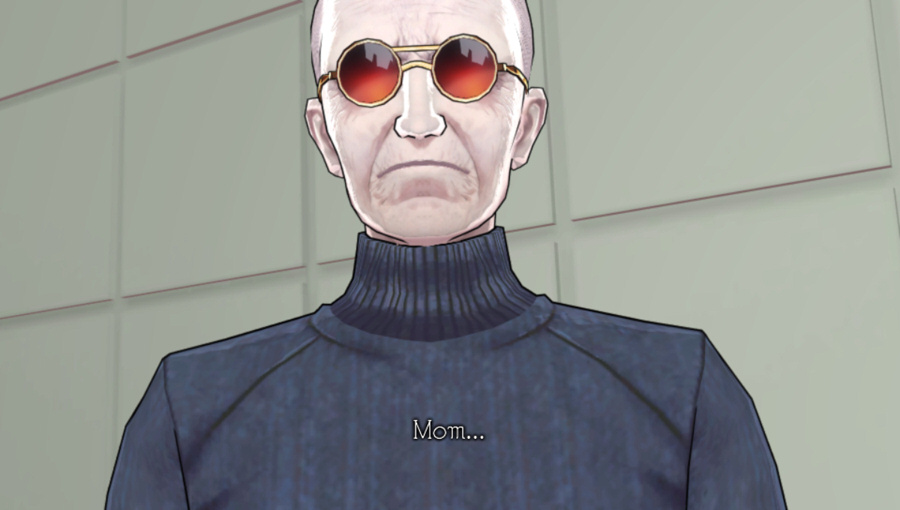
 The old man in the wheelchair, too...?
[Unknown Man:] Uh huh. His name is "Q"... It should be obvious, but he can't walk. What's more, he can't see or hear either...
 He can't hear...?
[Unknown Man:] Nope.
 But then why...
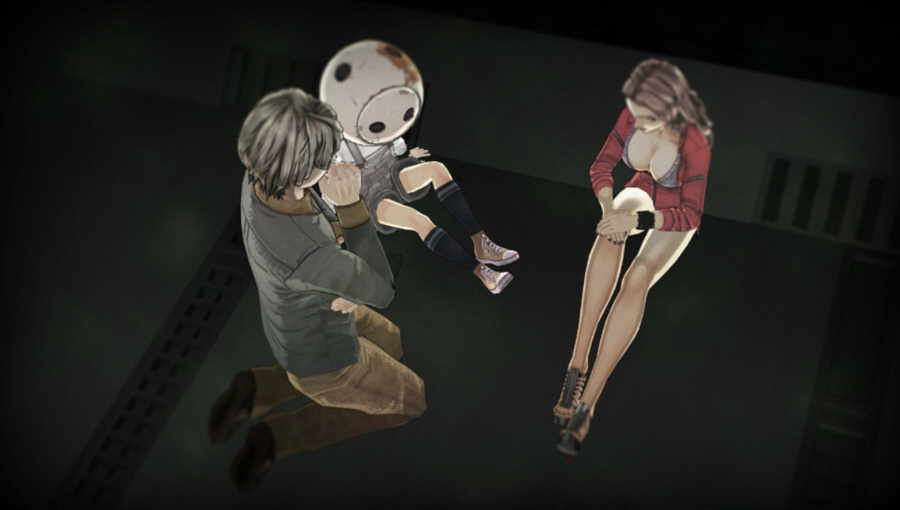
 Strangers living together on Mars for an extended period of time. What kind of problems would that bring? How would the subjects figure out solutions to the resulting troublesome situations. According to the Dcom staff, that's what the experiment was trying to determine. Like the chair-bound old man... They put us in a difficult position on purpose, to observe how we'd get out.
That flashback to Q-Team's Decontamination Room fragment is one of the many, many hints about the old man in the wheelchair being a hidden player. Here's what I found:
- In Q-Team's Execution fragment, Eric and Mira are dismayed that Q is made the leader. Not because they don't like the robot kid, but because they don't get how a handicapped blind deaf old man is supposed to lead the team. At the end of the fragment, Q-Team actually carries Q to the computer and forces his vote.
- In the Study, after trying to Shoot Mira, she fires her gun twice - once for Sean, once for Q. And while Q falls right away (there's a metallic sound for his chair tipping over), Sean is still alive when the announcement is made about Q's death.
- Also in the Study, after choosing not to shoot at all, Eric fires the grenade launcher and takes out both Sean and Q. Although Q's body is hidden behind the desk, you can still see smoke rising from it. Could Eric have been aiming at Q the whole time? If only "one more" needed to die, taking out the handicapped old man, who wouldn't see it coming and who also happened to be behind the whole scenario, could be seen as the best option...
- In the Infirmary, C-Team refers to Q being unable to see or hear when he was executed. In the Trash Disposal Room, D-Team refers to Q being handicapped when he was executed. More generally, the members of C-Team and D-Team have no idea who Sean is but recognize the name "Q".
- The name of the X-Door and the X-Passes are subtle hints, with "X" also being the Roman numeral for "ten", for the tenth character in the shelter. Of course the phrase "Decision Game" also starts with "Deci" for "ten", as contrased with the "Nonary Games" of the prior two entries in the series.
- Q's X-Passes themselves are hints. The most obvious one is "SELF", indicating that Zero is referring to himself for that pass. Others are "AGE" for the old man; "BRO" for being Brother, the leader of Free the Soul; and "EYE" for being the camera watching the game unfold.
- Q's image is never revealed on the status screen, even after he's been killed. Not even during any of the scenes in this fragment.
- In Q-Team's Execution vote, after the team is put to sleep, there are four falling sounds instead of the usual three. That audio cue gets repeated elsewhere, and is one of the ones I didn't bring up due to there being no subtle way to do so. Many people in the thread had figured out what was going on, anyway. I also never liked this hint; would Q really fall all the way out of his chair when he passed out?
- Entering "Q" in Q-Team's name-entry decisions results in an error saying "Enter Q's name" in the Study and Eric saying "That's clearly impossible!" in the Pod Room. There are different messages/lines for entering "Me", implying that Q is not the robot kid. The first one I hid intentionally (though it was brought up in the thread anyway), the second one I intended to show if enough people guessed it, but it wasn't one of the top guesses.
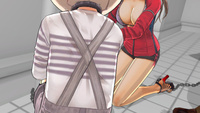
- After pressing the button in the Decontamination Room, Sean stays behind because Gab is chained up and he can't leave him behind. Or does he? It's heavily implied that it's also Q that's chained up, and who Sean won't leave behind. Sean and Mira are working on the chains well away from where Gab sits, and at the end of the scene Sean is sitting next to Gab but speaking into the camera (Q's location). Here's a refresher image:
- In the Biolab, after not injecting the Radical-6, there is a scene where Eric is talking to the camera and it looks like Eric is talking to Gab, but he's really talking to Q (even referring to him as "old man").
- In the Quantum Computer Dome, it's revealed that the robot kid is Sean. So who, then, is Q? Also, Sean is referred to as an exception, facing a decision even though the Decision Game ended when Mira left through the X-Door. He's an exception because he's not actually one of the nine players; there's an additional character who is really the leader of Q-Team.
- The anagrams on each team's Lounge wall all point to the final mystery. C-Team's is, of course, the most obvious: "Together with me, Delta, we are ten." For Q-Team, we learned it after shooting Eric in the study: "The truth is invisible!" A reference to Q's hidden status, though at the time it was thought to be a reference to Mira's speech looking for invisible feelings. For D-Team...wait, have we learned D-Team's anagram yet?
- Several people pointed out that the English title of the game, "Zero Time Dilemma", as actually an anagram for "Me? I'm Zero. I'm Delta." I'm still not sure if that's a coincidence or not.
- The path to the Moon End spells out a lot, not just the anagram. Zero mentions that he's dead in the timeline with the Rec Room fragment, because he (along with the rest of Q-Team) was executed by Carlos at the 13:30 vote.
There are a ton of hints to this one, but in my first playthrough I still had no idea what was happening until the very end. Watching in video form, you just don't pick up on a lot of these subtleties, especially early in the game when you're still trying to figure out what's going on in general. Here are the hints I later found, that I didn't pick up on even in this second playthrough:
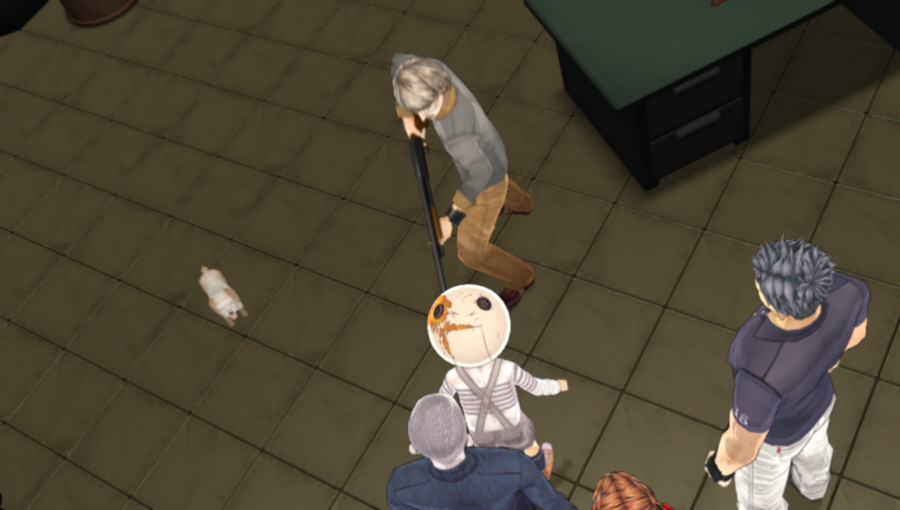
- There are some unexplained shadows in some of Q-Team's scenes, that hint at another person being around. Here's an example from the Pod Room:

- It's subtle, but there are a couple times where Sean refers to the rest of Q-Team as "you all" or "all of you" instead of "both of you" for just Eric and Mira.
- In Q-Team's Execution fragment, when the team is drinking at the bar, there's a drink in front of Sean. Who obviously can't drink anything. Is that drink for Q? See this image:
- When Q-Team perishes by acid in the Decontamination Room, a scream can be heard from Delta.
- When Q is announced as the leader of Q-Team, the camera shows Eric and Mira. When Carlos and Diana are announced as the leader of their respective teams, the camera focuses on each of them, instead.
- Way back at the Coin Flip, when we got it right, Carlos figures out who Zero is, but falls asleep before he can say it. He figured out that Q was the only one not present with the rest of the group. We know the teams can all see each other in their separate cells, because Phi is the first one to bring up Sean's helmet-head status - "Let me guess. That helmet can't come off, can it?"
- Another hint from the very first scene in the game. When the group is trying to figure out why they're locked in cells, Mira says, "Someone's one night mistake? Maybe Diana's?" She's referring to Sean, but the statement is kind of true about Delta. And Sean was used a proxy for Delta thereafter...
- The logo for Zero Time Dilemma shows a clock. On this clock, there is a "IV" where there should be a "VI". Delta is the fourth letter of the Greek alphabet, and the fourth member of Q-Team. And four + six = ten, I guess?
- My favorite one - the lowercase version of the Greek letter delta, δ, kind of looks like a "Q" turned upside-down.

You would not believe how hard it's been to do commentary on Q-Team without referring to Sean as Q, but trying not to be obvious about it, either. Okay, back to the game.
 So, you're saying it--
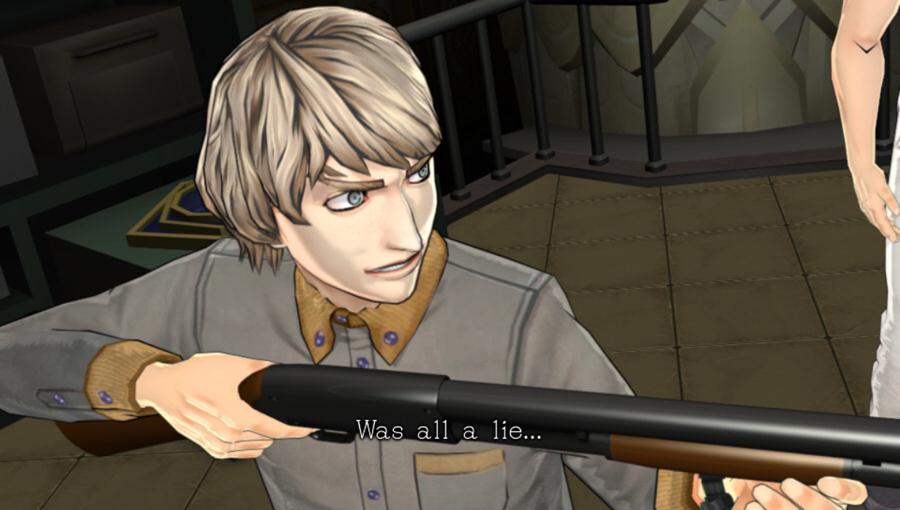

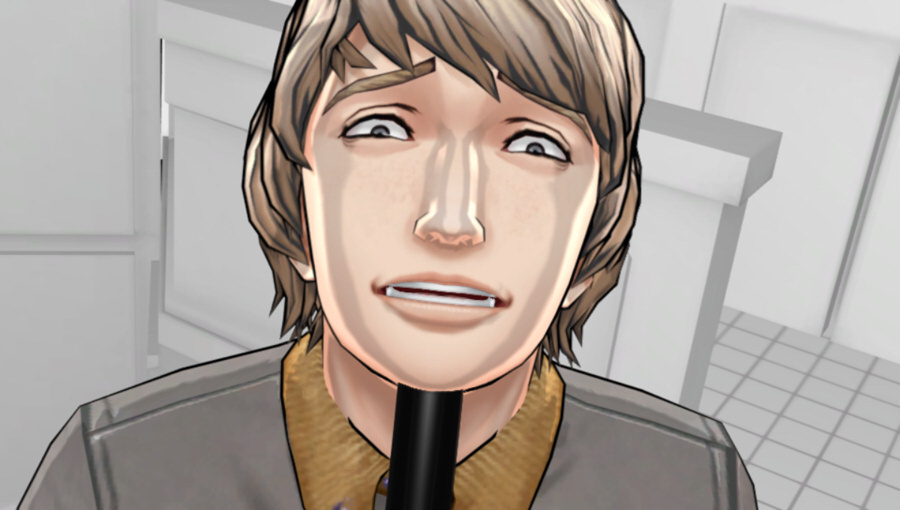
Extra creepy, for no reason. Thanks, game.
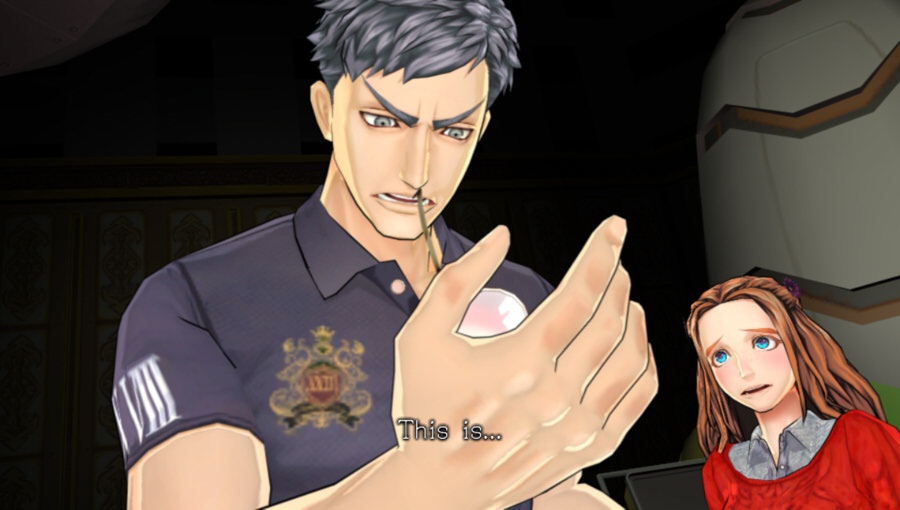
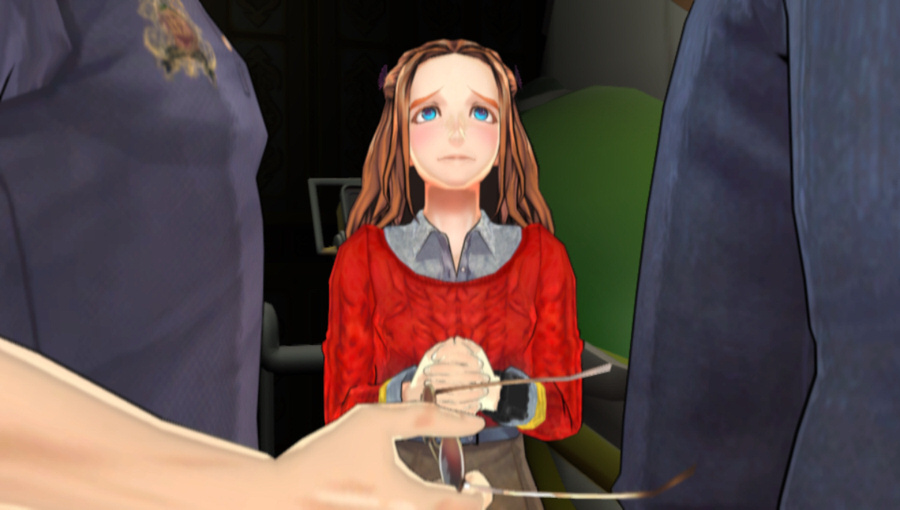
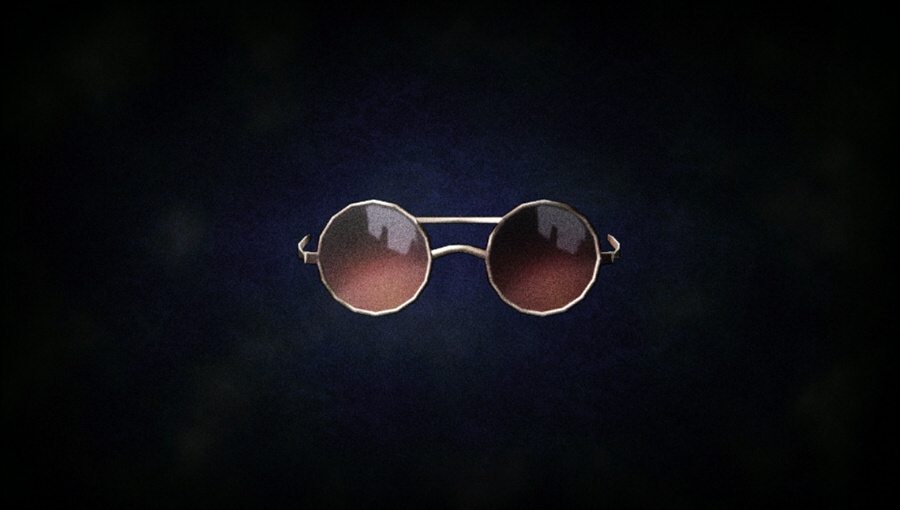 There are a large variety of security cameras in place throughout the shelter. A feed of all of the footage is fed in, and they all appear there.
We saw the cameras when we did the Control fragment. Come to think of it, we saw these glasses there, too.
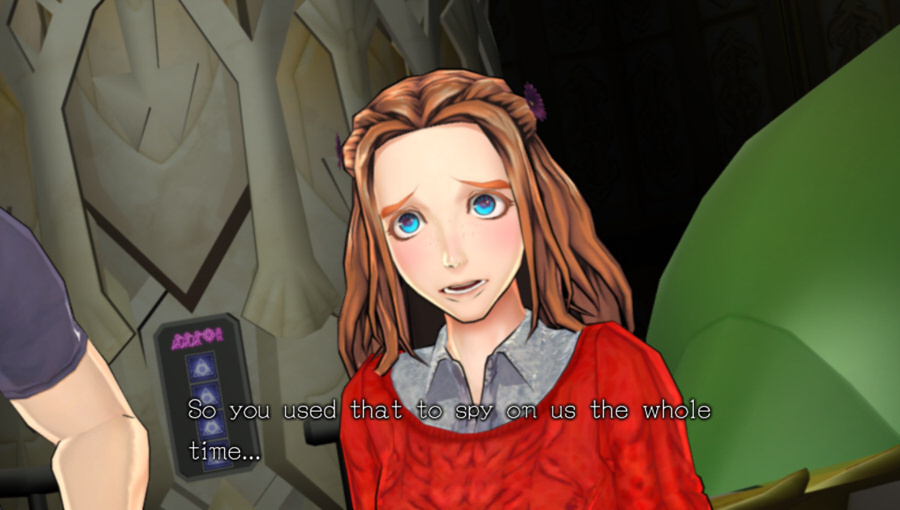 Yes, I did.
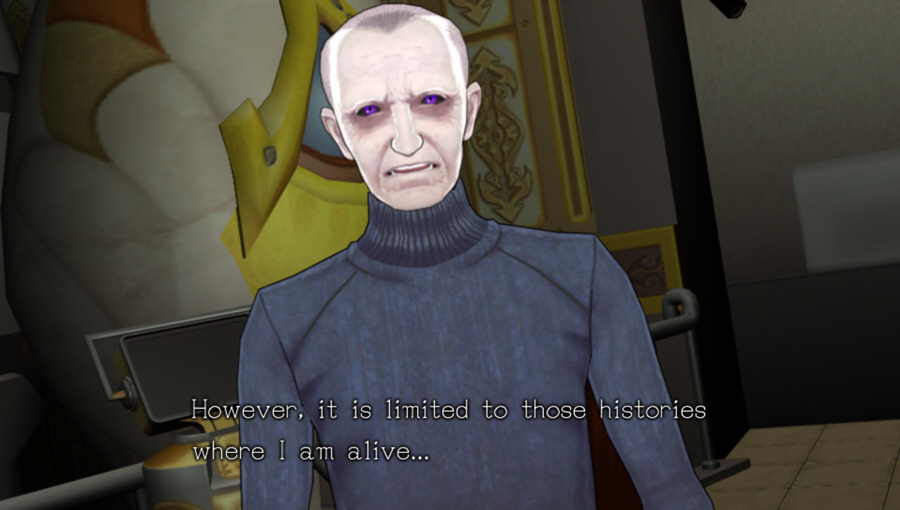 Alive--
 Histories...?
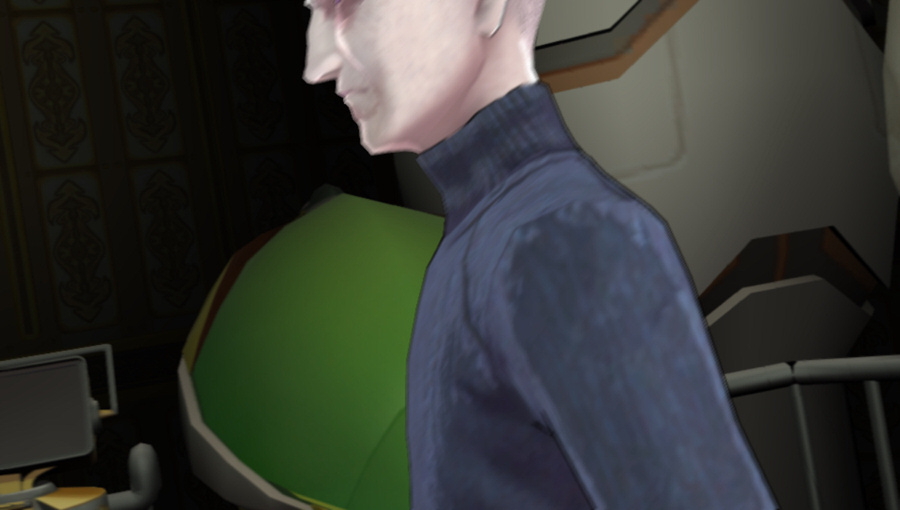
He moves pretty well for being 124 years old.
Delta takes back his glasses.
The focus suddenly shifts back to Eric.
 There is no need.
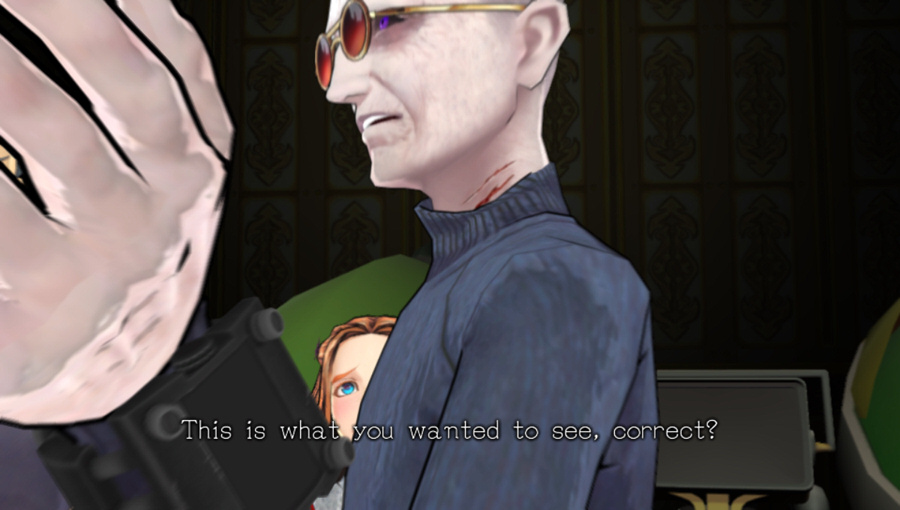
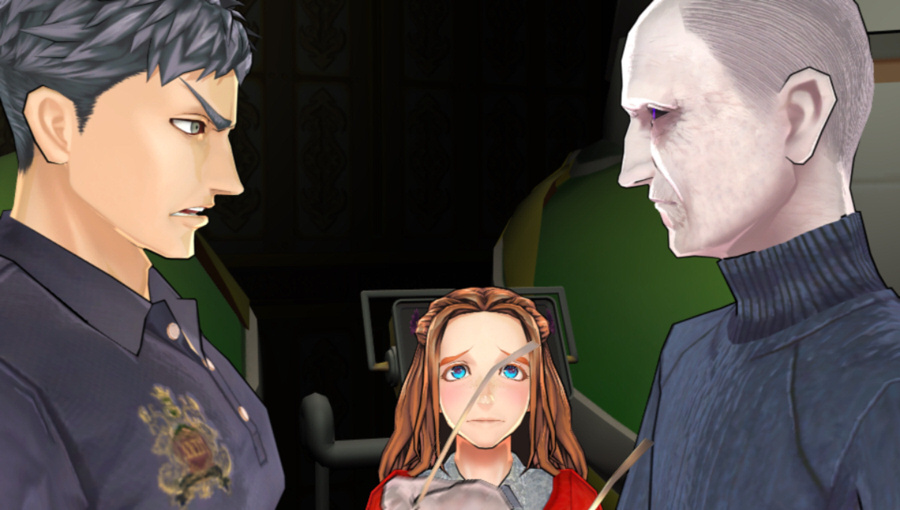
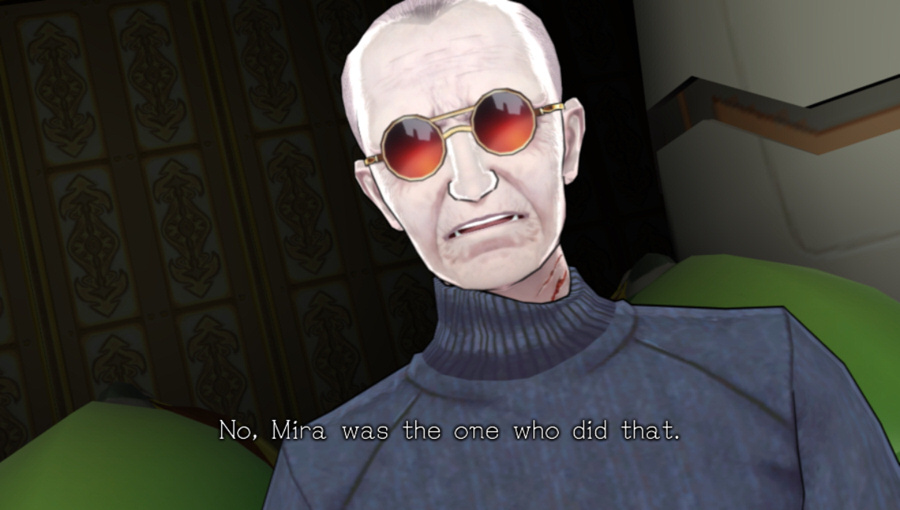
Delta has the defensive wounds we were looking for. So, he's the one who killed Mira, after all.
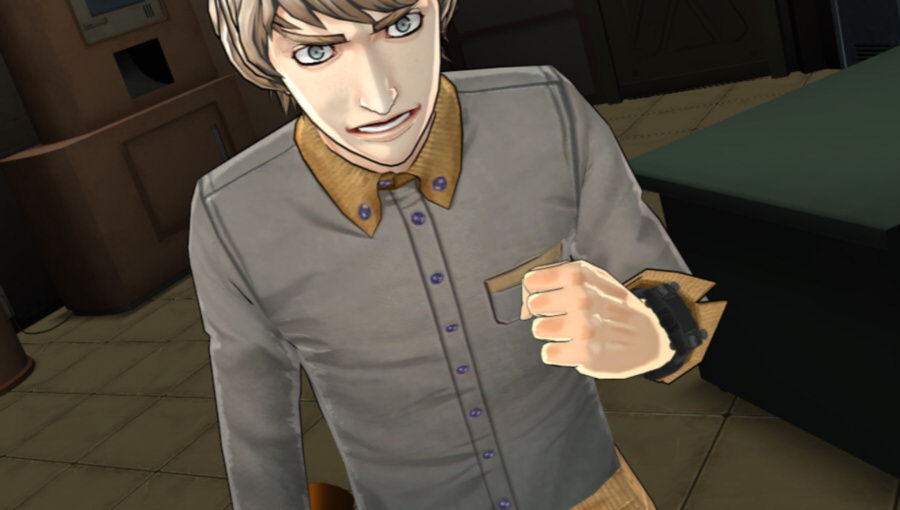
 Hold on! Don't do it, Eric!
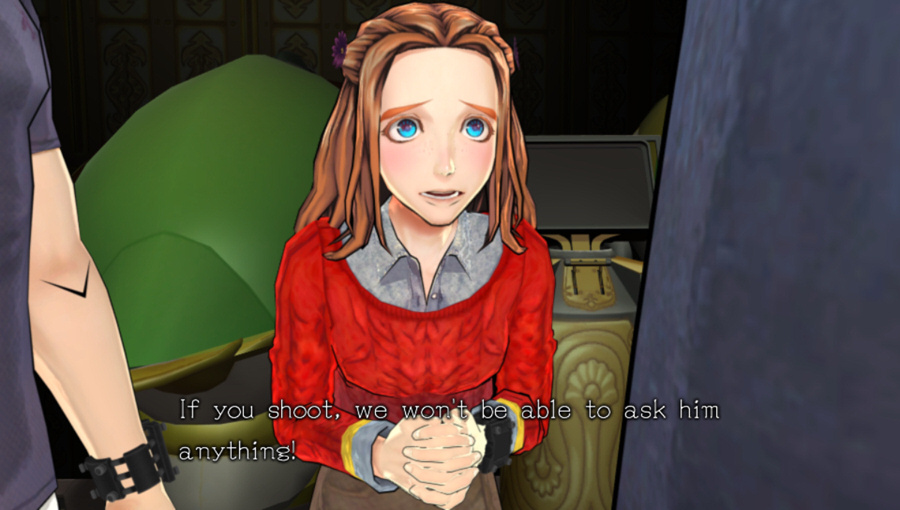
Eric's finger twitches over the trigger, but doesn't pull it.
Delta's model just looks off. Like he was badly photoshopped into each scene or something. His face just doesn't match the design of the other characters at all. He's missing the thick black lines on his edges that the others have. It bugs me.
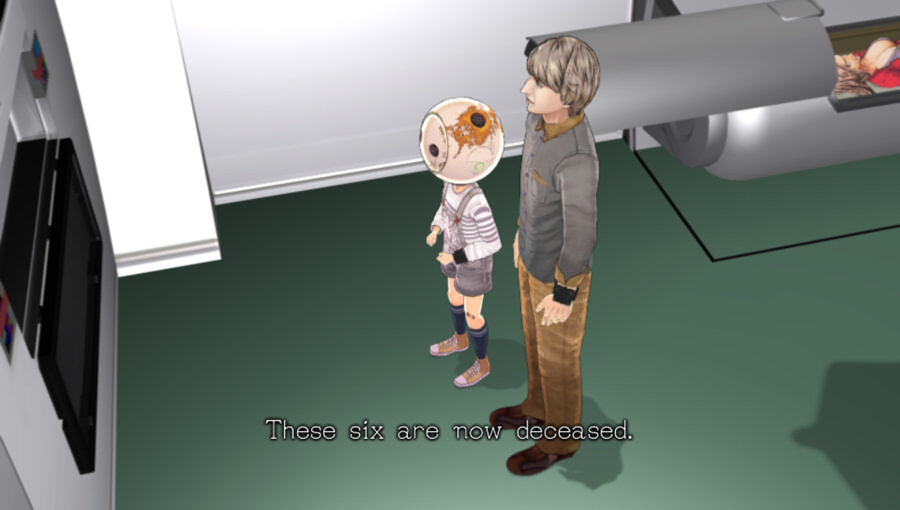
And that decision said it was not likely to be Q-Team. Shows what it knew.
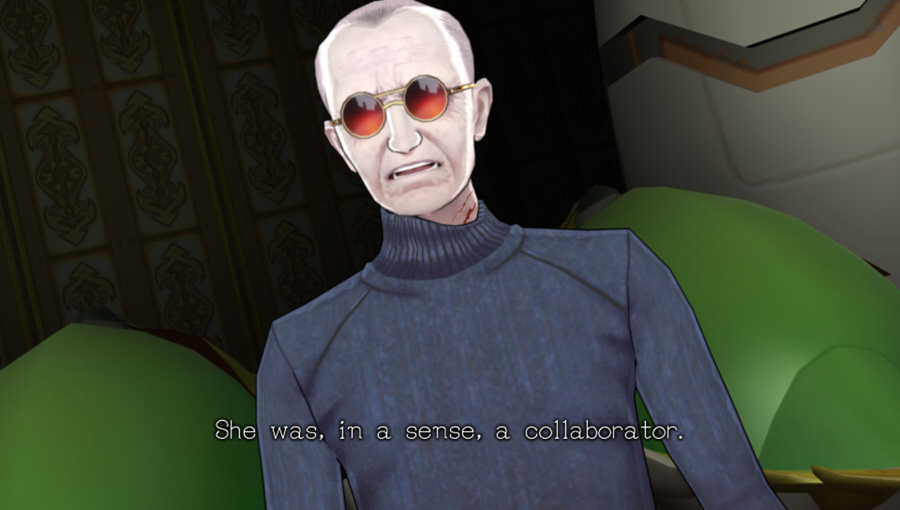
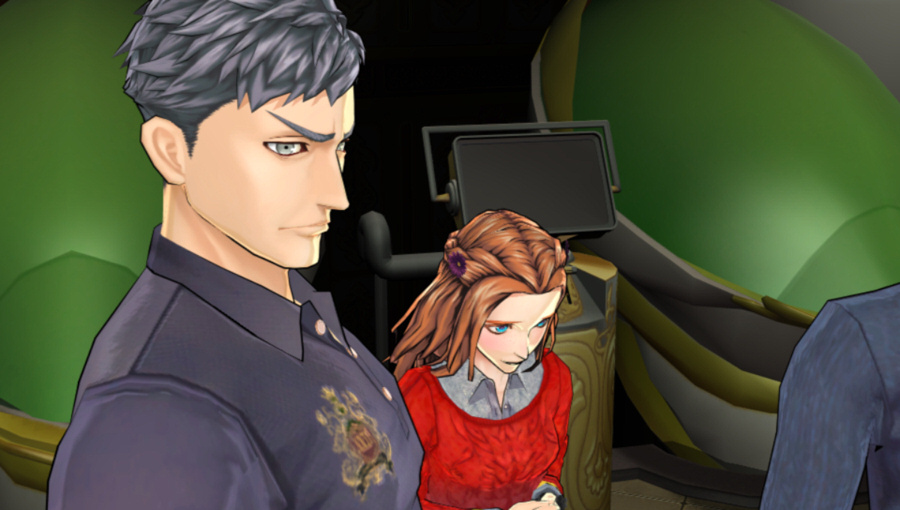
Pictured: Someone else who was, in a sense, a collaborator. Come to think of it, Eric really got screwed on this whole deal. His team consisted of Zero and two agents of Zero.
She was a necessary element of my plan.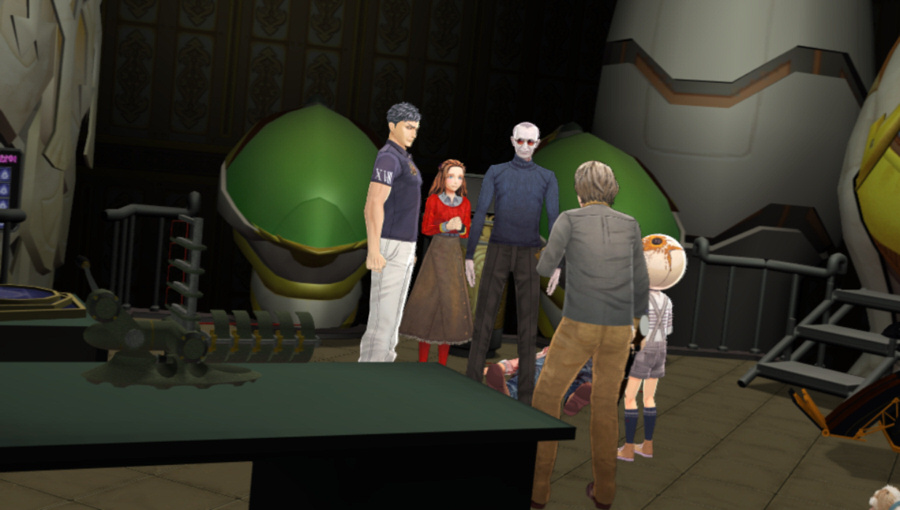 But it wasn't that I gave her a specific set of orders. I simply let her roam free and do as she pleased. I did exempt her from the drug injections...
Oh, that closes one of the plot holes I had recorded. Namely, how did Mira remember that the vial she was holding was Radical-6, when she injected Phi with it in the Virus End?
 She's a serial killer. The "Heart Ripper".
Now seems like a good time to bring up something else I just noticed. The entire Study fragment is completely optional. None of its endings are required to unlock anything else, and all four choices lead to an immediate ending. You do get the Crossbow End unlocked on your save file, but that's it. That ending is also the one that revealed Mira's alter ego; since it's optional, it has to be repeated a bit here.
 Many innocent people lost their lives because of what she's done.
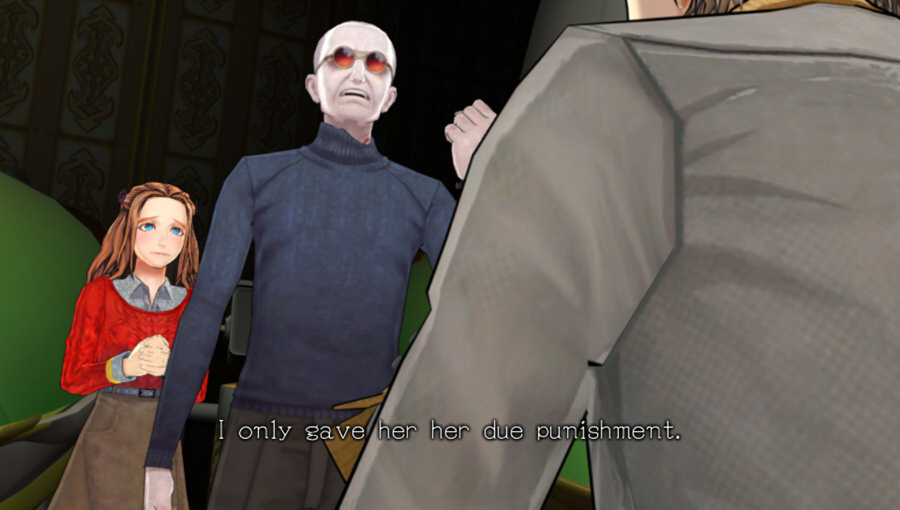 Wh-What are you talking about...
We never really get to know why Mira decided to hack Junpei to pieces in the timeline where D-Team is executed. Or why she doesn't lash out at anyone in any of the other timelines (except for after she was injected with Radical-6). I like to think Delta punished her for interfering with the game by killing Junpei out of turn.
 In another history, you--
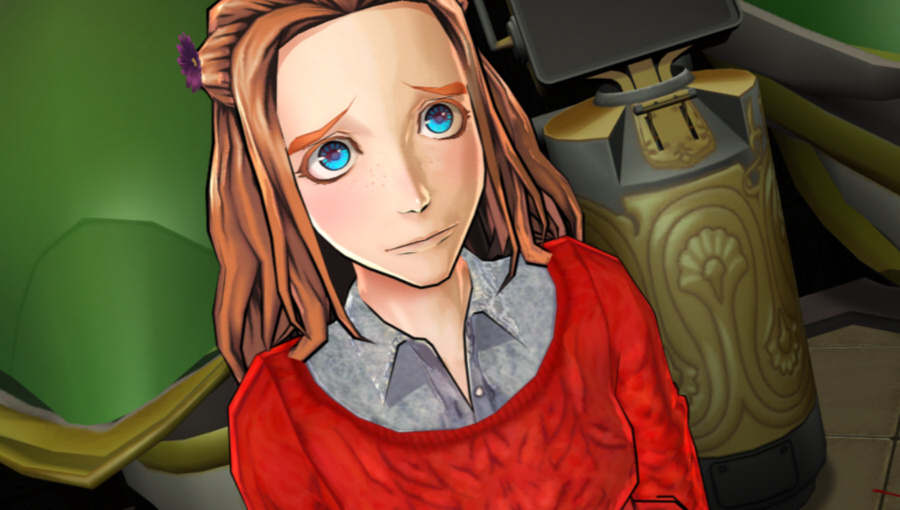 And Diana--
 And Sigma were all murdered by her.
That's from the Biolab and Healing Room fragments. More confirmation that the cloaked figure that murdered D-Team was really Mira.
Not that Eric's about to believe any of that nonsense.
 I will never believe you... There's no way my angelic Mira would ever...
Eric lets out a long scream here. I guess it's all just been too much for him.
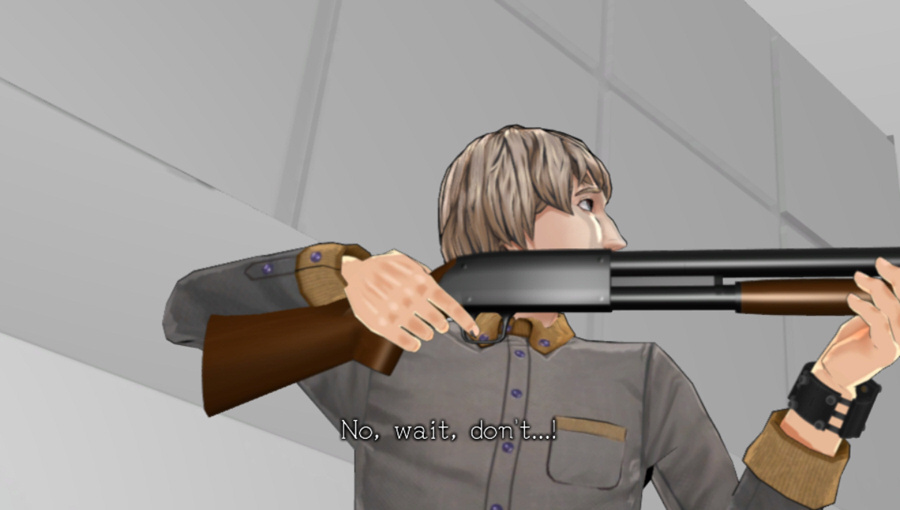
No, Eric! Don't shoot!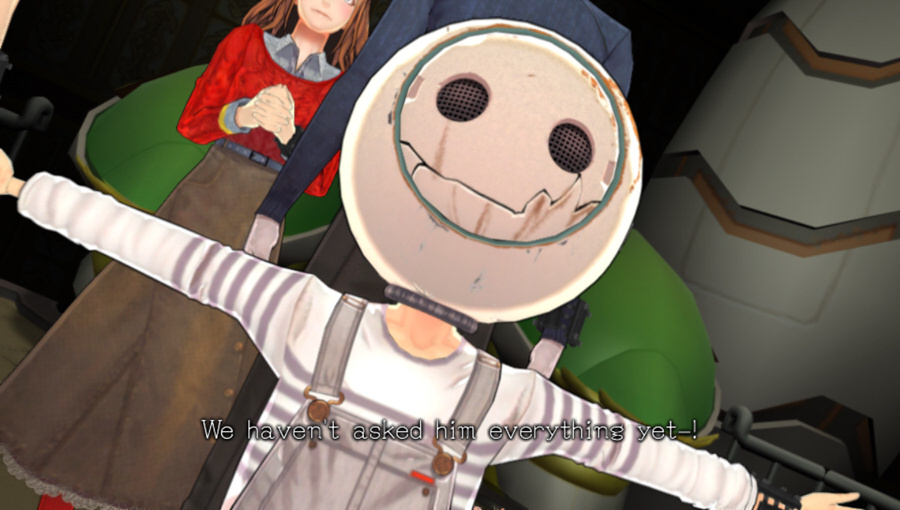
We can shoot him later, though, right?
 The X-Door will never open again!
It never opened in this timeline before. You shot up the input device, remember?
 Wh... What?!
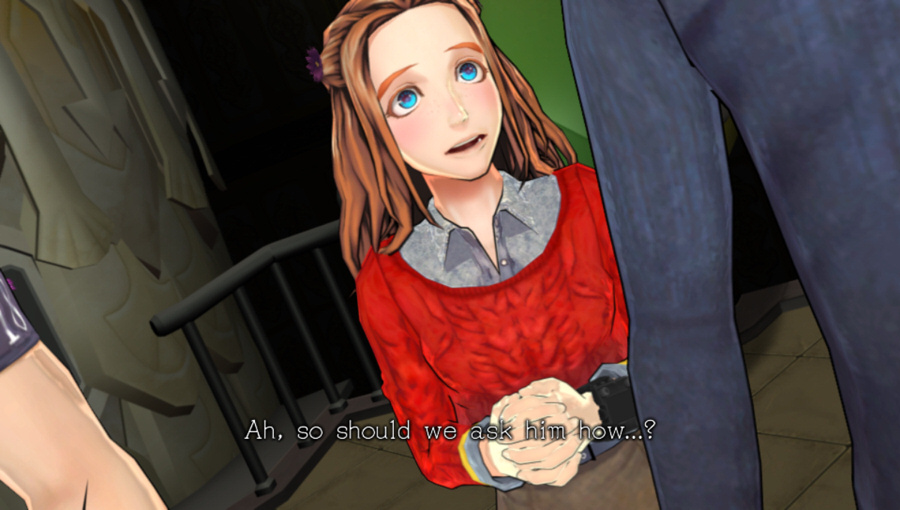
 Right, the old man. Delta...
Fade to black...
Music: Sinisterness Phase 1
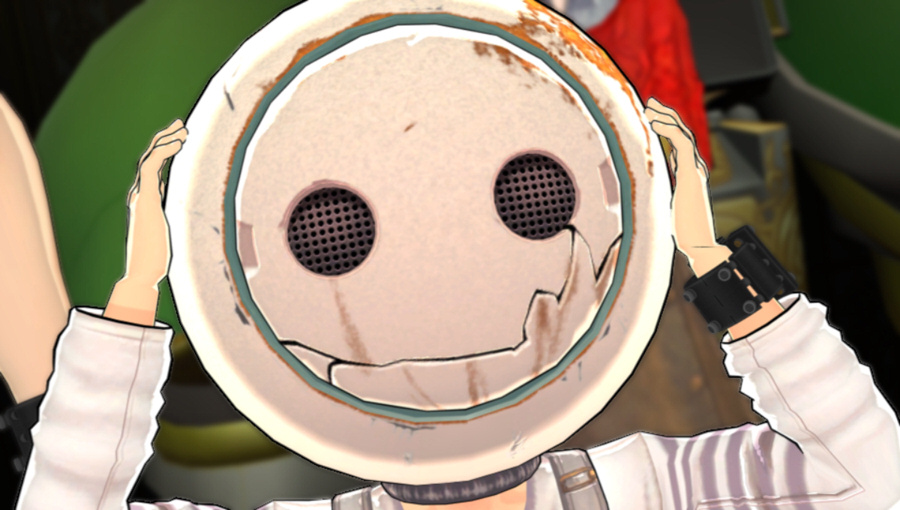
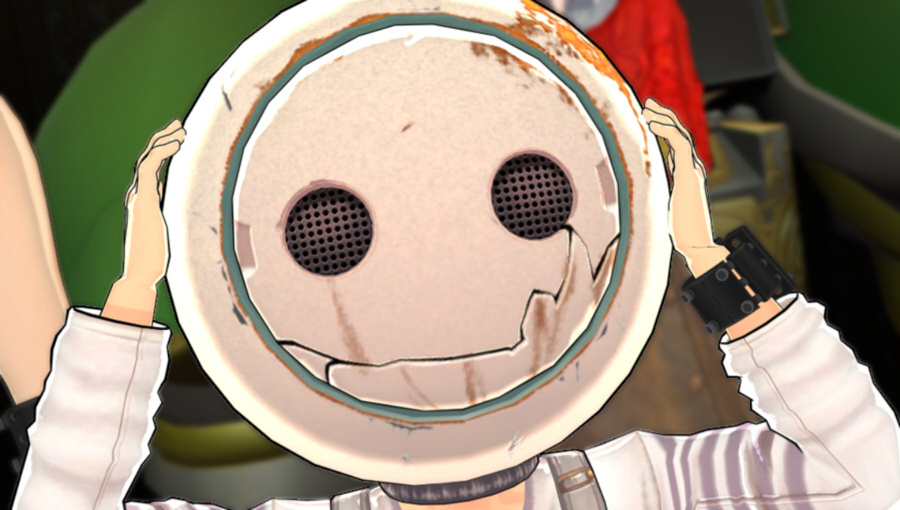
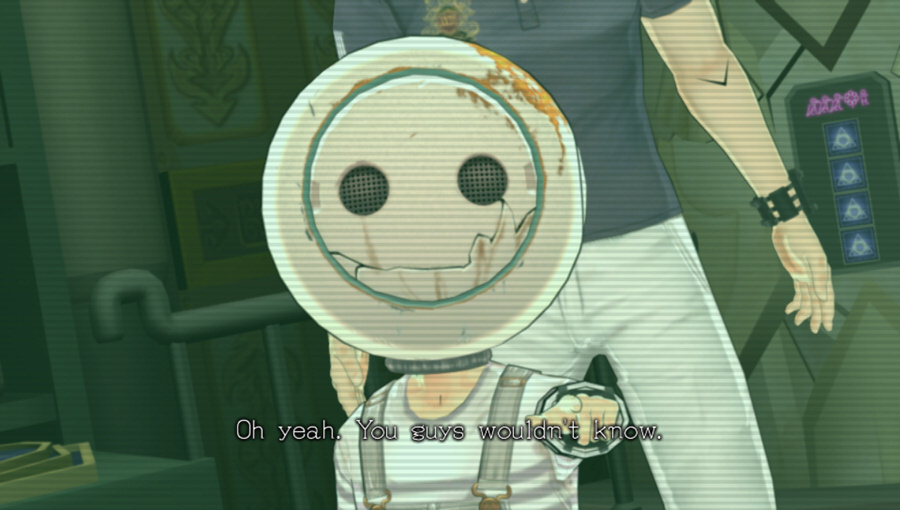
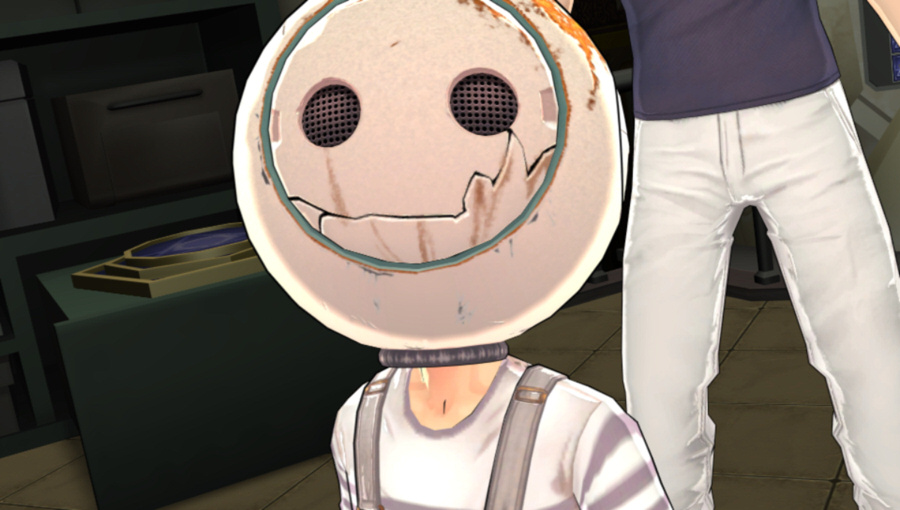
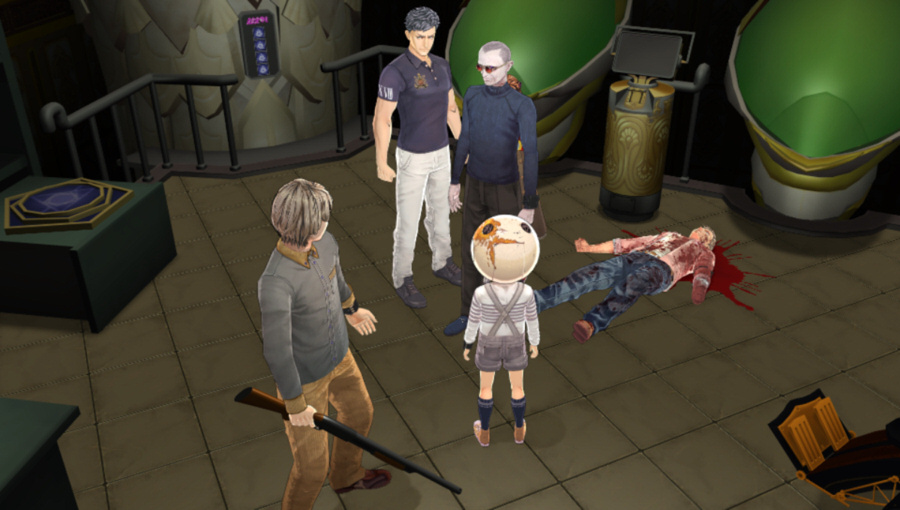
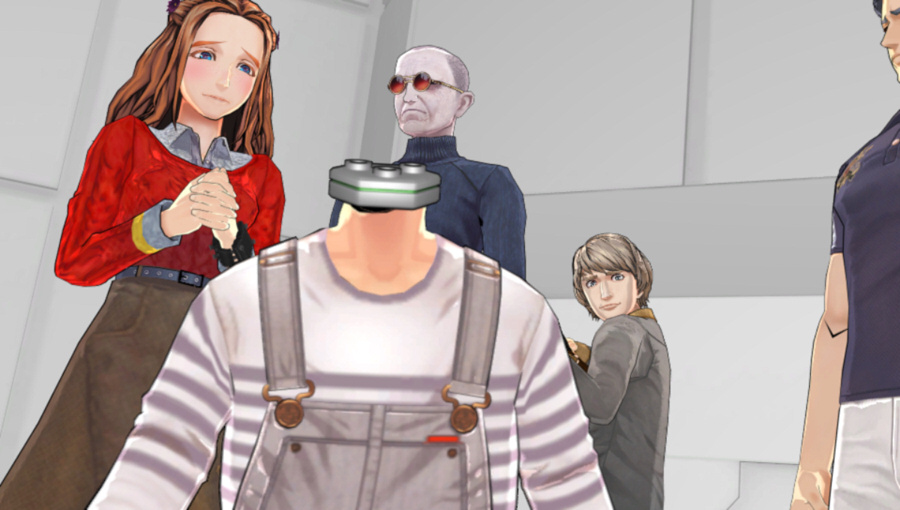
We're now in the Quantum Computer Dome. Sean has...lost his head, again.
I see. I get it now.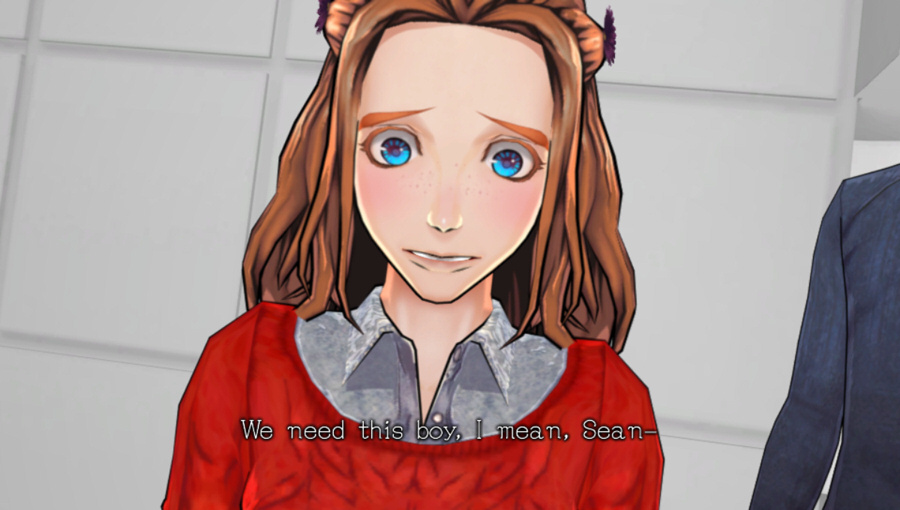
 But... What?
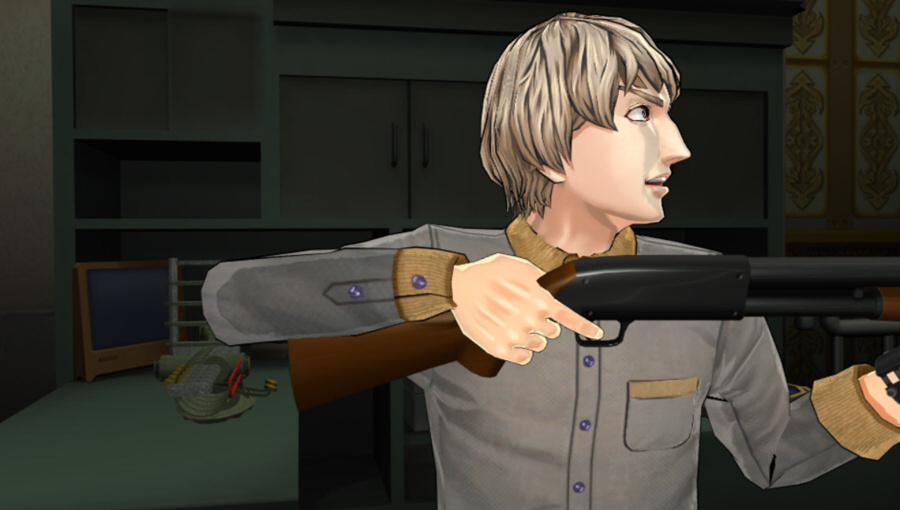
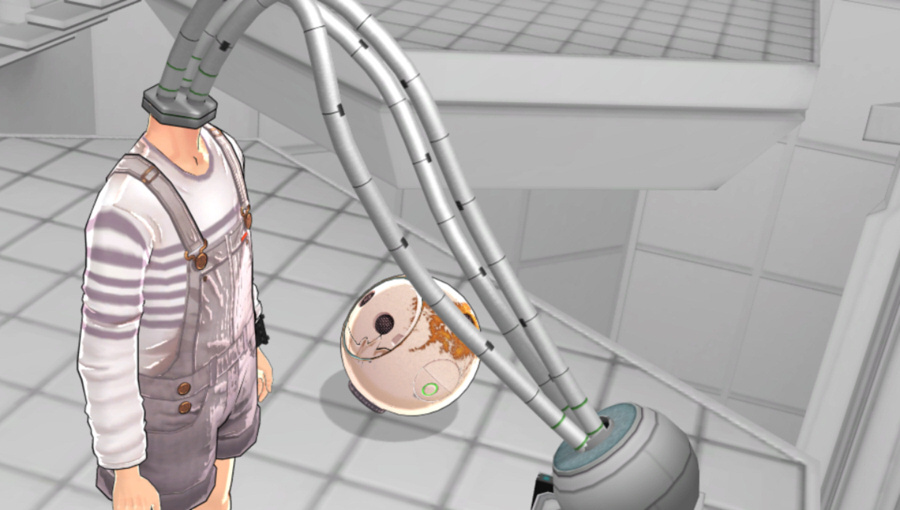
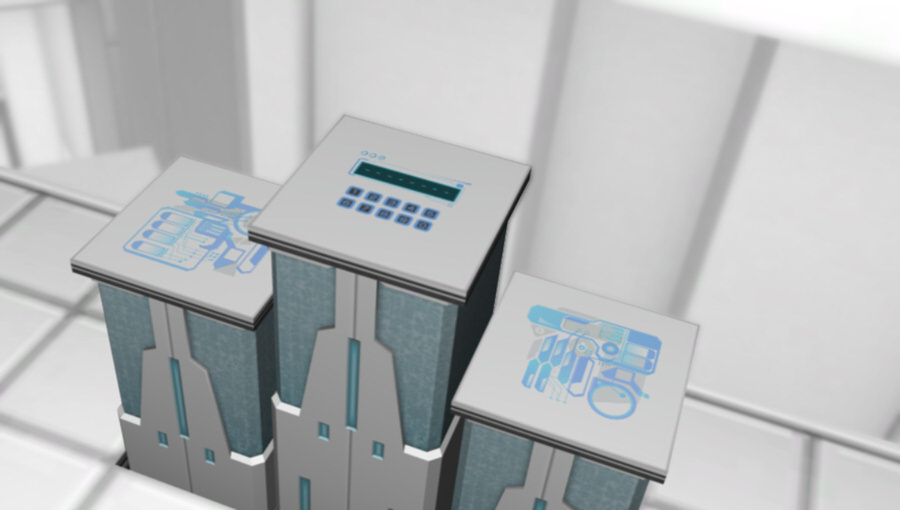 To connect to it directly, I need to extend a cable from my neck, and plug it into the console jack that's inside, but well...
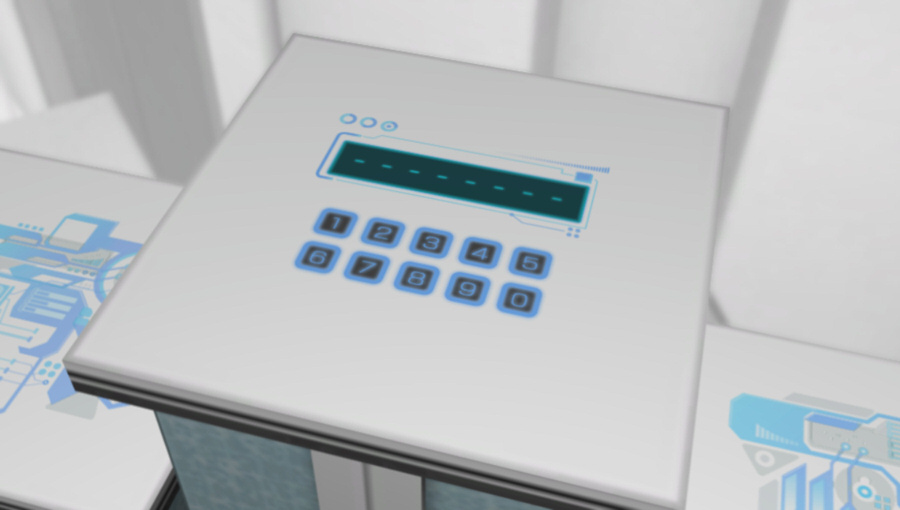 Looks like the cover is shut... Yeah. We would need to open this first...
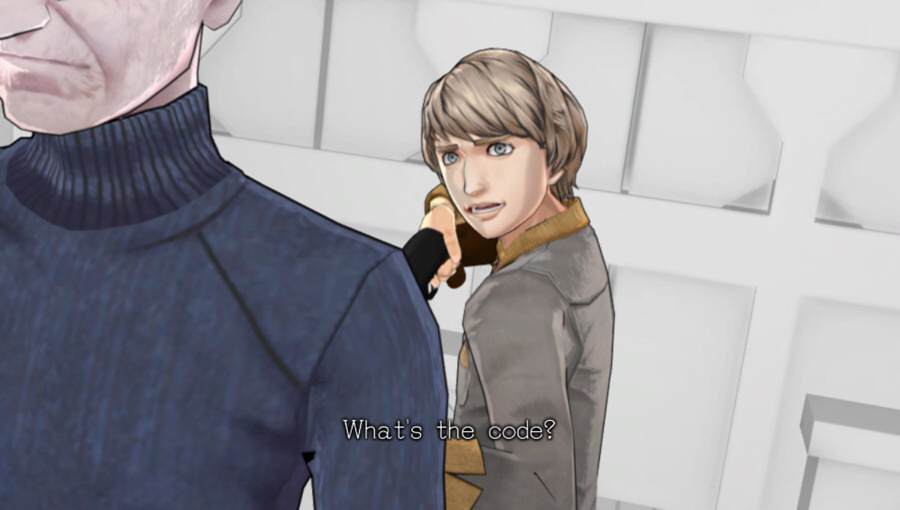 Code?
Code?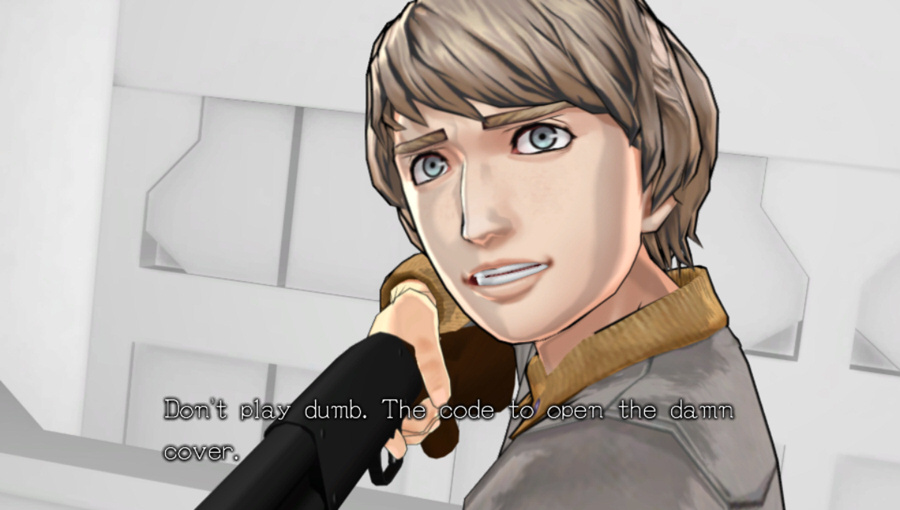
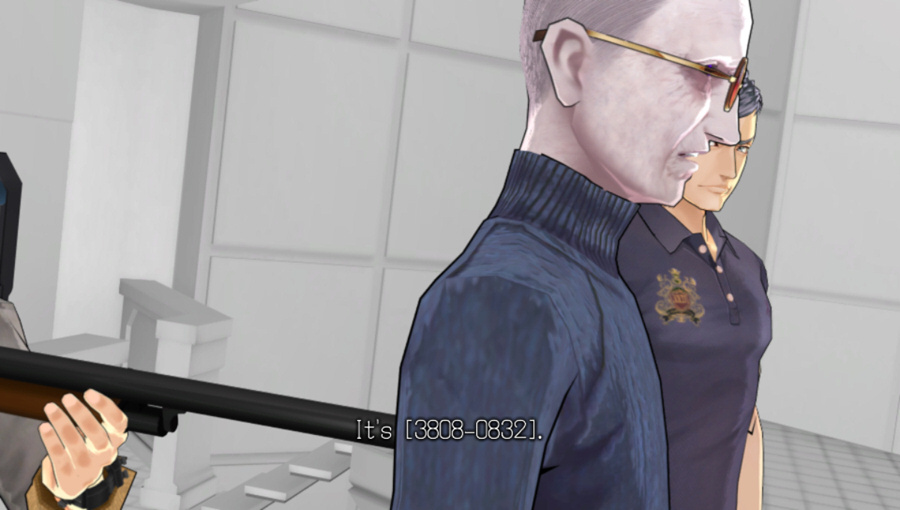
That code seems important. Let me go back and write it down.
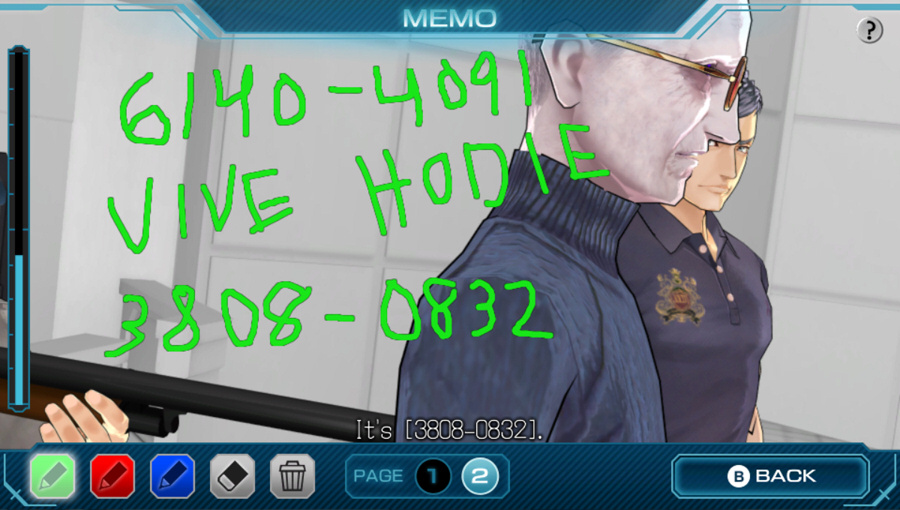
Much better. Anything special about this number, I wonder?
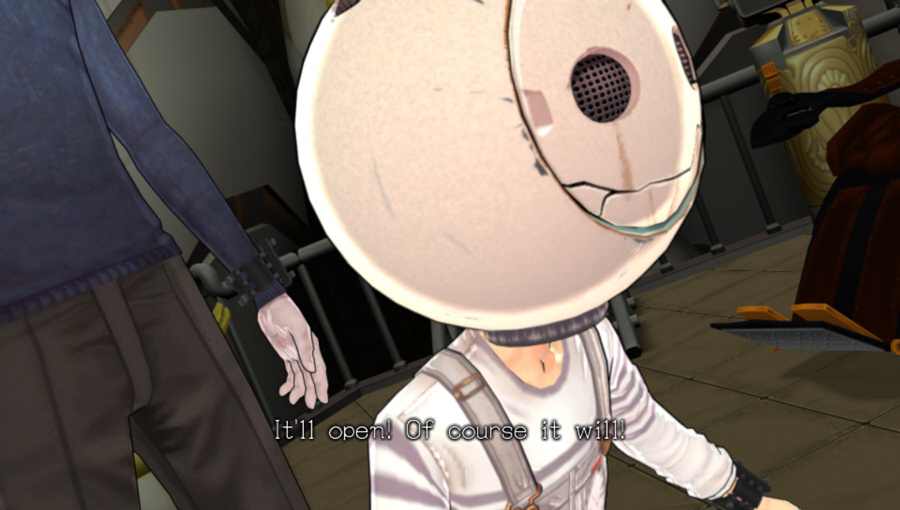
Sean quickly enters the code for us.
 It opened.
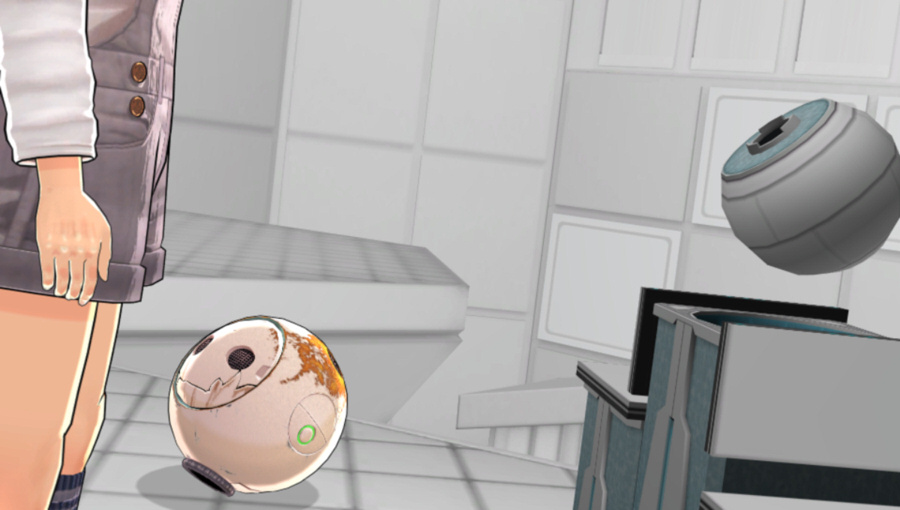 Now we just need to extend the cord and connect it...
I hear a cable, um, extruding from somewhere...this next shot is going to be disturbing again, isn't it...
 Okay, it's ready!
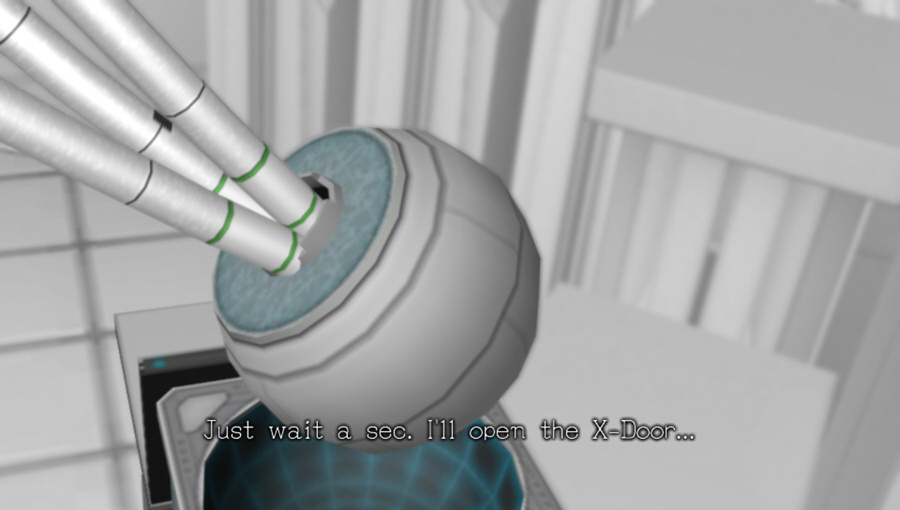

The shotgun is fired. What happened?

We look at the ceiling, only to have the shotgun fire again.

And now the ceiling is red? Two bodies fall...
Music: Trepidation 2nd Mix

Eric took out both Sean and Sigma for some reason?
N-No, I...! My hand just...!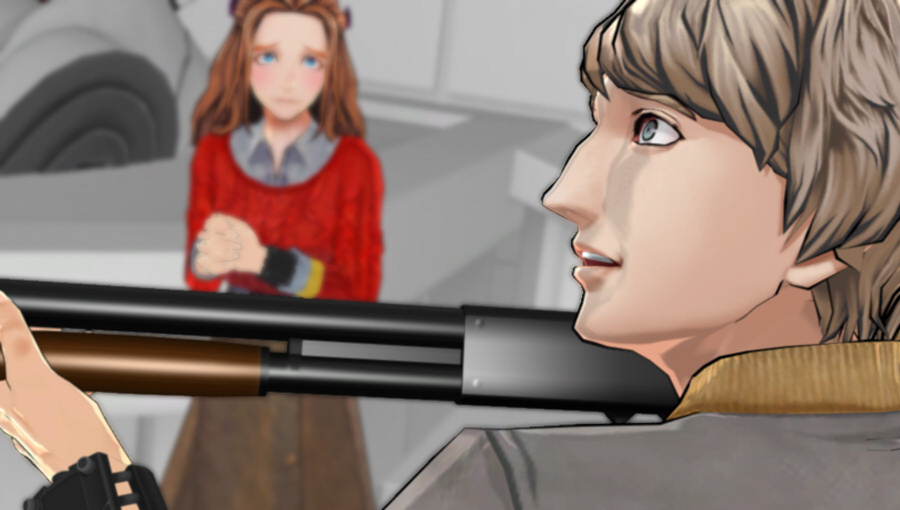 I have no more use for this history.
We, the player, have learned what we needed.

Eric seems to be fighting his own motions here.

More red splashed across our vision. And Eric joins the others on the ground.
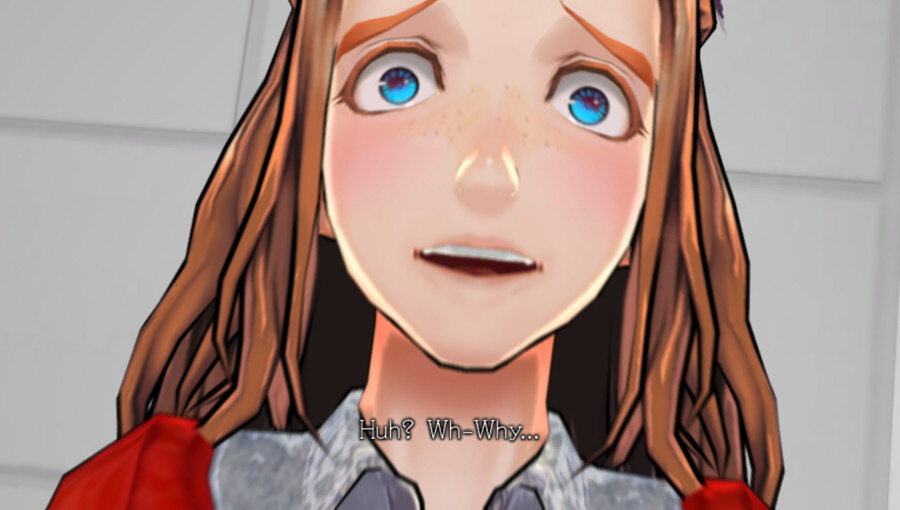
Music: Glacial Solitude
But...why?
Missing Lip Animations: 65
I guess he did say that they would be able to meet again somewhere...
Music: Interminable Dilemma (Credits)
We get the credits again.
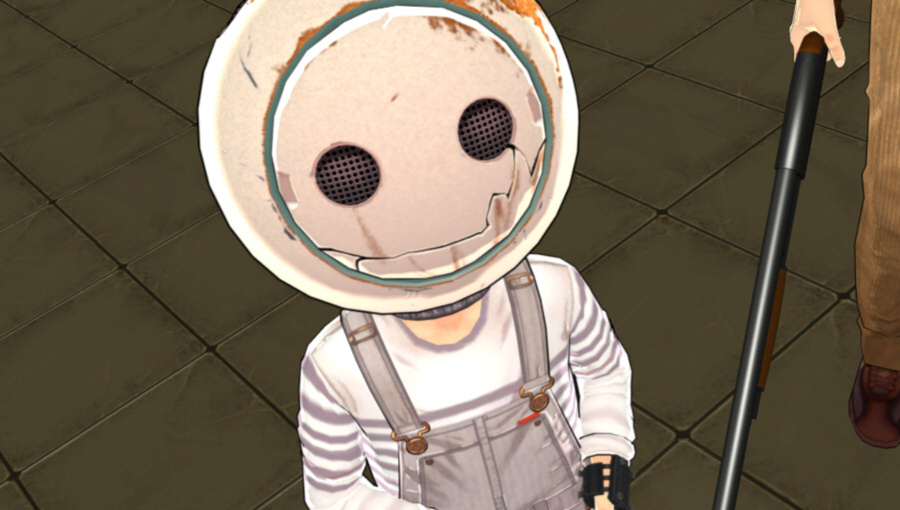
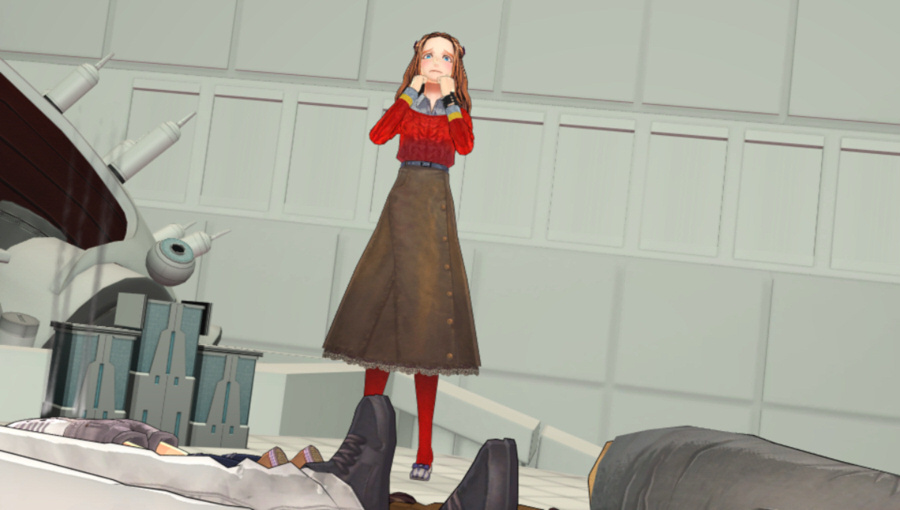
So, Q-END:2. The second ending for Q-Team. Also known as...the Mask End? Sure, let's go with that.
Poor Diana. Stuck there at the end with her psychopathic son. You'll notice that this fragment doesn't lead anywhere else.

Just one ending left to get. The true ending. I wonder why C-Team doesn't have a second ending. Too much SHIFTing around, I guess.
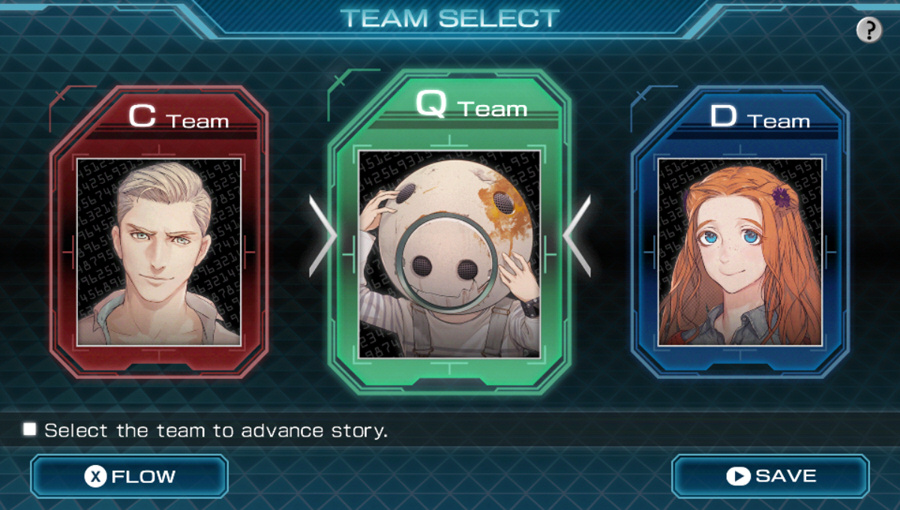
Only three options left. Each team's Force Quit fragment. Not much reason for a vote, so I'll play them in chronological order. C-Team, then Q-Team, then D-Team.
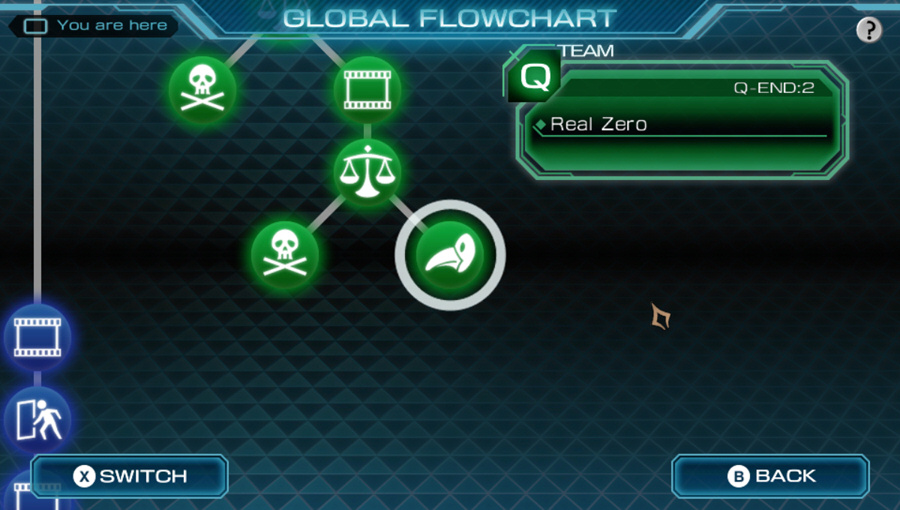
Could be called the Zero End, also, I guess.
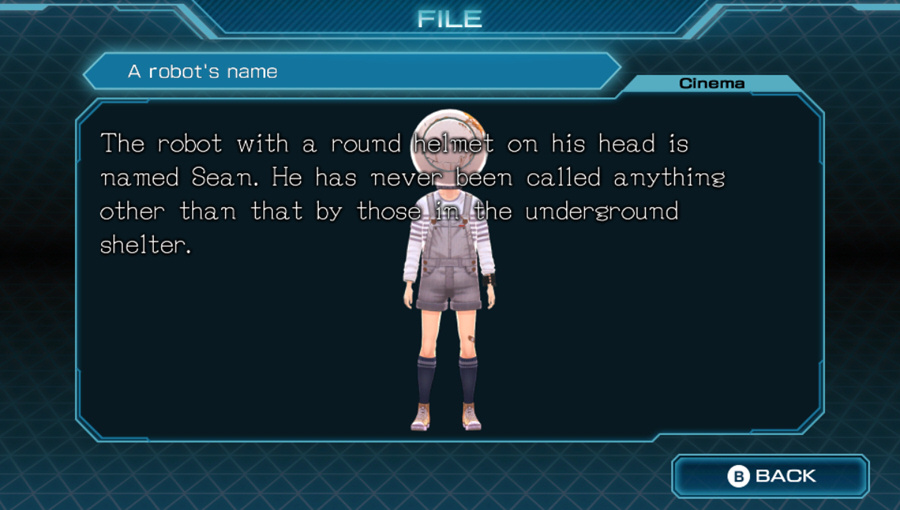
One file for us. Everyone knows him as Sean, but no one ever calls him that because we have to fool the player into thinking he's Q for as long as possible. I was pleasantly stunned by the twists in 999 and VLR. Even the ward layout reveal here was a good twist, to me, because the characters are just as fooled as we are. But this whole Sean-Q thing left a sour taste in my mouth, for some reason.
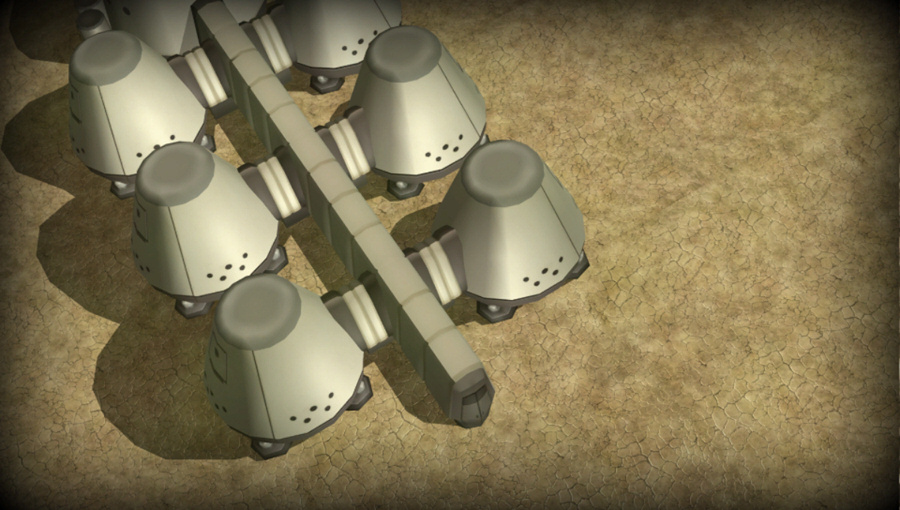
Anyway, next time we'll see what those Force Quit boxes are really all about.