Part 22: Mission 18: Show Stopper (or "Try saying Sideslip six times fast") - Part 1
Mission 18: Show Stopper (or "Try saying Sideslip six times fast.") - Part 1

Right then, where were we?
 Yes. Somewhere. My reports say that... Eeeek!
 Sonja! Are you all right? Ouch... Blood! Sonja, you're bleeding! Quickly! Prepare for a transfusion!
 Sir? Fa-Father! Stop! I just fell down. Please stop overreacting.
 But I'm worried. If anything ever happened to you, I don't know what I would do. I knew it! You should be in the rear. It's much safer there.
 Ooh! I am a Yellow Comet CO! I can handle this responsibility! I'll prove it to you! But, Sonja... I... Wait! Father, look at that! Hm? That... That's... A huge enemy stronghold? When did that get there? How dare they build that monstrosity on our sacred soil! It is time to clean the rust from my blade!
But not his helicopter blades, Sensei's already done that...
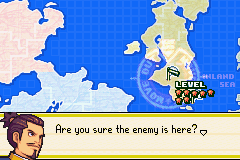
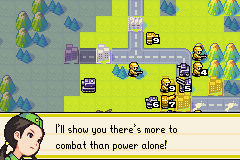
Patience, Father! First, we need to reconnoiter. But... Intel is the most important part of combat. Rushing blindly to war just increases your casualties. Leave this to me. Never! It is too dangerous. I think you should let her go. Sensei? I don't... Sonja is a respected CO in the Yellow Comet Army. Believe in your daughter, Kanbei. It's the right thing to do. Hmmm... Sonja, are you truly ready for this? One hundred percent! I'm your daughter, aren't I?! I'll prove I'm worthy to command.
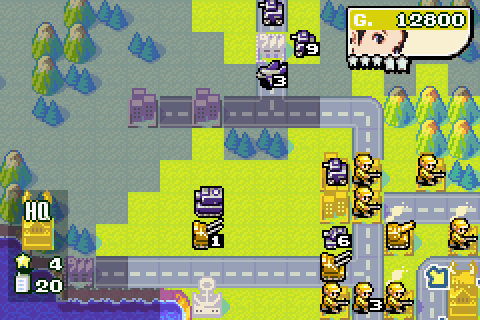
 Looks like I need to smash those 8 cannons protecting it. If I can do that, the fortress will be powerless, and I'll win! It's either that or capture their HQ...
 Heh heh... It seems that this terrain has our friends in a quandary. Not that it matters. Whatever they decide to do, they can only fail. CO Adder of the Black Hole Army, I presume. I should have known Black Hole was behind this!
 This fortress was built on the strength of the Black Hole nation. It will never fall to the likes of Yellow Comet. Once I've taken care of things here, I must destroy this map. It wouldn't do to have these fools showing up at our hidden lab... Now then, let's see what skills this foe possesses.
Oh, thanks for the heads-up that you can find the lab map in this mission, Adder.
Day 1

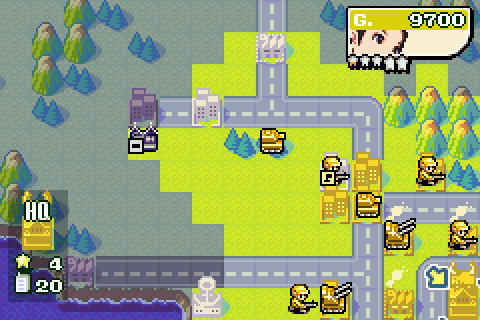
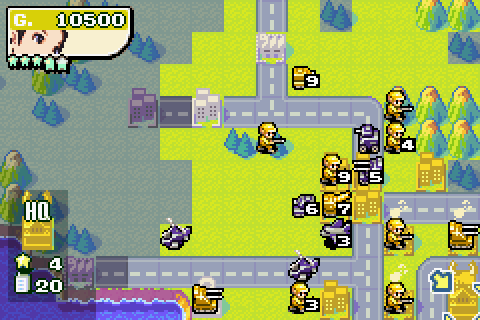
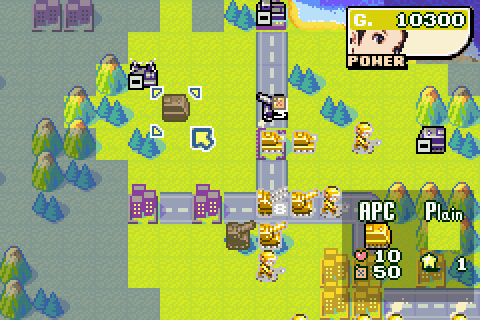
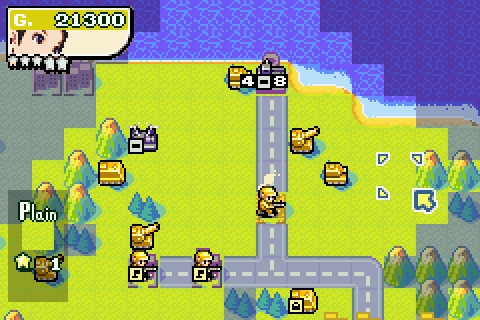
Right, well like the young lady said, to take down this crazy fortress thing we've got to smash the eight minicannons protecting it. So a bit like T Minus 15, although with things that shoot at you (but no time limit). It's not going to be a walk in the park, because Adder gets a massive predeployed force that we'll get hammered with initially: the good news is that he doesn't have any bases to deploy units from, so if we can weather the storm it gets easier. Saying that, there are a bunch of neutral bases and ports between us and the fortress, so it's important to a) stop Adder grabbing them and b) if he does grab them, get them blocked up and recaptured ASAP.
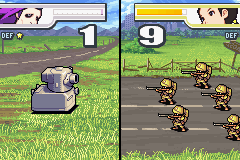
Notable elements of Adder's force include a couple of bombers and a whole bunch of B-Copters (making AA cover important) and a battleship and a submarine in each of the lakes: we'll need to crank out a few subs of our own to take them out. One bit of fun is that in this mission, we'll be building the last two units that I've yet to explain the inner workings of: the Submarine and the Lander. And one more thing: we've got a lab map to get (circled in green). Good job I know where it is, there's a lot of cities here and the first time you play this map it can be frustrating looking for it.
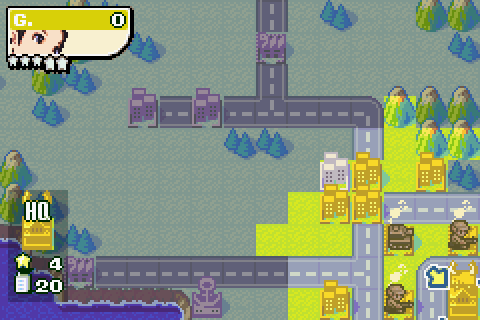
Anyway, since we have a decent number of properties, let's start out by building a tank and two infantry units. You might have spotted that the tank has a vision range of 4 squares here, not 3 - and that the infantry can see 3 squares away rather than the usual 2. That's thanks to our CO for this mission, Sonja:
Paul.Power's CO Notes: Sonja
 Theme
ThemeSonja's big thing is that her units get +1 to their vision ranges in fog of war, the same way that Grit's long-range units get +1 to their attack ranges. She also gets a boost to her counter-attacks, so defending units will deal more damage to their attackers if they survive. In VS. Mode, Sonja also hides her units' HP from view, although you won't be seeing that here because the AI doesn't give a stuff about that. Sonja's weakness is that she's slightly unlucky: while most COs can expect to do 0 to +10% more damage than the "Expected Damage" thing says, Sonja's range is -5 to +5%. Sonja's CO Power, Enhanced Vision, adds another +1 to her vision range and lets her see into forests and reefs to boot. Her SCOP, Counter Break, does this while also giving Sonja first strike when defending.
Background/Personality: The daughter of the emperor of Yellow Comet, Sonja graduated top of her year from Wars World's CO academy (then again, as far as I know the only other person who graduated that year was Sami so I dunno). Sonja believes that the surest road to victory is to gather as much intelligence about her opponents as she possibly can. She was primarily responsible for unravelling Sturm's crazy clone plot in Advance Wars 1, although she also got captured by Sturm before the final battle, prompting Andy & co. to rush in and rescue her . Partly because of this, her father Kanbei is very protective of her, and it takes a lot of persuading for him to let her command battles.
Okay, now that's done, let's move on.
Day 2

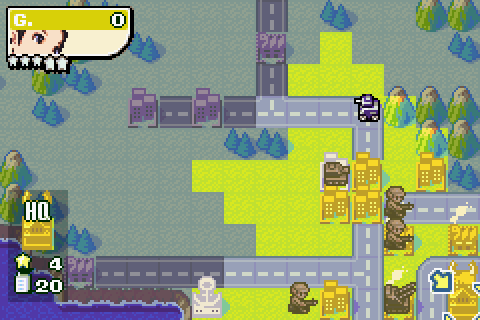
Moving units up has revealed that a recon has already reached our borders.
Nothing we can do about it right now, so let's build an AA to deal with all these approaching air units.
Day 3

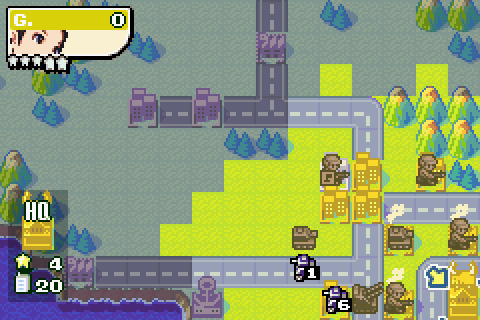
Blimey, two recons. And they've already taken down an infantry unit.

The tank and AA strike back while I capture that one city that apparently decided to be neutral while all of its neighbours sided with Yellow Comet.
Aaand more tanks and infantry.
Day 4

Adder's 6HP recon attacked an infantry, and the 1HP recon merged with it afterwards.

Well, we can take care of that. Meanwhile, I go exploring these forests up here so that I can spy on that neutral base from the hidden safety of the woods.

A second AA gets cranked out. If you can't tell, I'm very paranoid about these air units.
Day 5

Well there's one air unit. Not the air unit I was expecting though. I guess I'll just go capture this port...
... ah, there we go.
Have at you, Sir Bomber!

And a fun time was had by all. More or less.

Moving up tanks reveals that the T-Copter dropped off an infantry. It'll be a few turns before it reaches the base, but it's something to watch out for I guess. Meanwhile I build an artillery back at base, mostly because I don't have one yet.


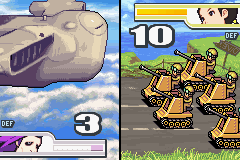
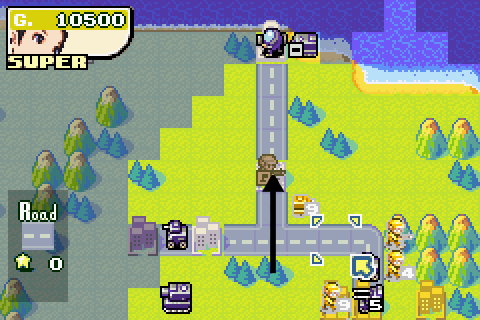
If you aren't used to it already, get used to seeing that Sideslip screen.
Day 6

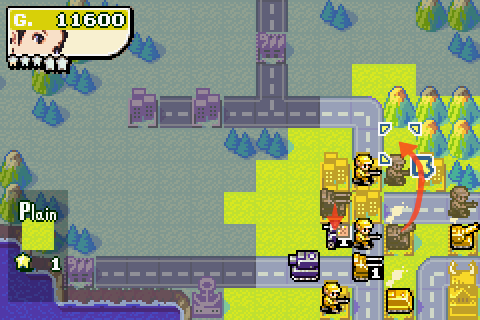
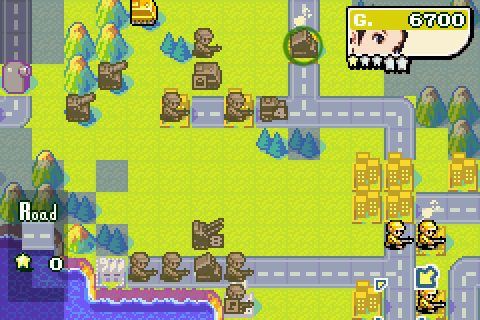
Hoo boy. Tanks and B-Copters advancing from the south - taking out one of my AAs in the process - and an AA wandering around up north.
My "forest" tanks go out and bonk some heads, while my remaining AA deals with one of the two B-Copters.
Another recon becomes visible in the north.

After moving everyone up, I build a replacement AA.

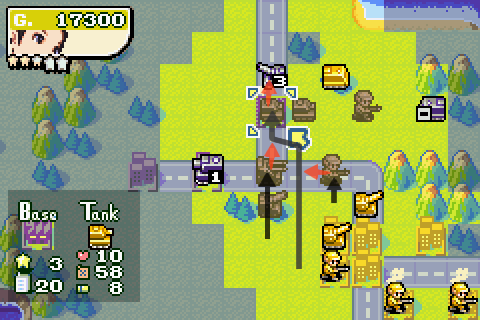
Looks like Adder's started to call in the big guns...
Day 7
Well, this isn't good. Not only did a medium tank arrive at the party, but now I can't see it either.

Oh well, I can take out these B-Copters. Doing so not only reveals the middie again, but fully charges my power bar


So let's have a bit of fun. Counter Break extends Sonja's vision range by 1 square (I thought it was 2, but playing the game I discovered it was just 1. Guess that's why it's only a five-star SCOP), lets her see into forests and reefs that she's not adjacent to, and also means that when her opponent attacks her on their turn, she gets first strike.
There now, that's brightened things up around here, hasn't it?
Let's see if I can grab this base up here. Trying to do so reveals that there's a mech after the port up there.

Sending a tank up there reveals that there's a whole bunch of stuff hanging around up here.

Arty attacks AA.

Looks like it's time to try and form some kind of defensive perimeter. Although it's a bit disorganised right now.


Sideslip number 2, two turns after the previous one. I know it's kind of the point of Adder, but jeez is it annoying.

A rare screenie of the AI in action.
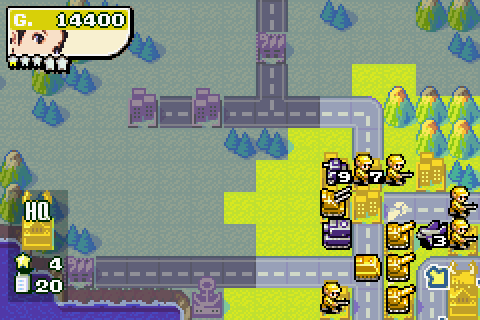
Day 8
Hmm. Problems. That infantry that was trying to grab a base got creamed by recons (how many bloody recons does Adder have, anyway?), the medium tank nearly totalled an AA and one of my arties fell as well.

My tank in the north's almost gone too.

The 1HP AA retreats to safety while my remaining artillery takes out a tank and the other AA attacks a recon. The infantry defence seems a little more organised now.

I was going to build an artillery from that southern base, but my finger slipped and I got an APC instead. Now how's that for authentic.

The northern tank retreats in an attempt to hold this base, although it's probably doomed.
Day 9

Yep.
Oh well, all I can do is keep on grinding Adder down, and look to turn it around once he starts to run out of units.

At least we've got a decent Arty wall going now.
Day 10
Enemy at the gates.

The good news is, that means he's fallen right into the ol' artillery trap.
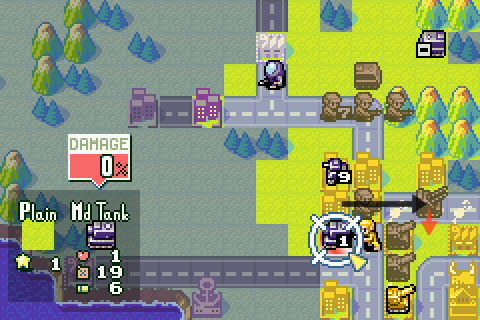
That 3HP bomber finally gets finished off, and I move some infantry north to see what they can see. Meanwhile, can I finish off Adder's medium tank with an infantry? Given Sonja's luck, it's not likely, but we can but try...
...

... nope.

Sideslip number 3 as Adder adds insult to injury.
Day 11

Looks like the medium tank retreated of its own accord. I don't blame it, to be honest.

Stuff happens as tank and infantry take on recon, and infantry takes on mech.

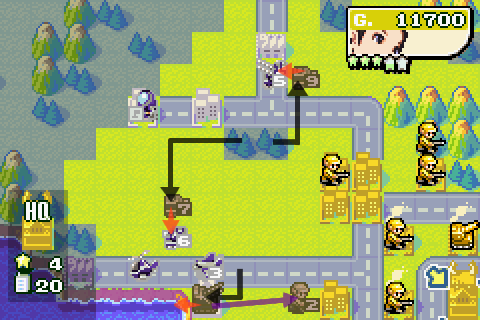
London Underground-esque craziness as my AA, tank and artillery move up (revealing the retreating Middy) two infantry join together and another inf looks to polish off that recon.

Woo!

Arty moves up into those convenient woods where it can take pot-shots at that base, and everyone else just generally moves up.
Day 12

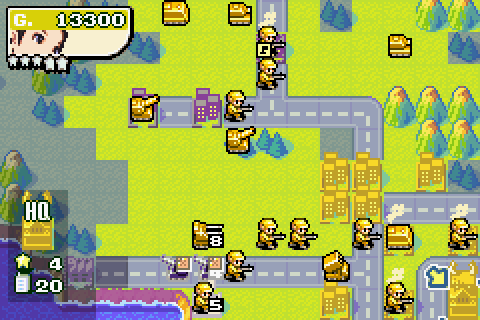
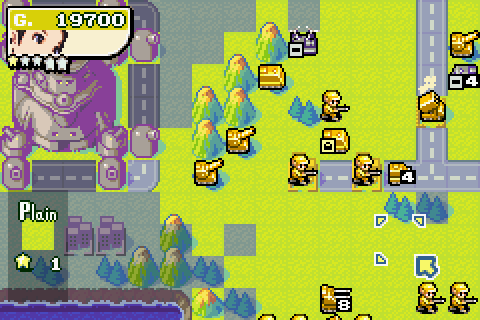
Right then. Time to launch the counteroffensive.

First of all, let's get some intel. Moving this infantry helps me see that infantry on the base, as well as some APC that decided that now would be a good time to try and hide.

Arty and tank clean out the base. That tank's now sitting in enemy artillery range, but I have a plan for that.
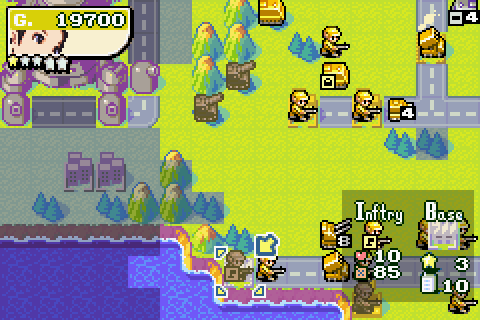
AA clears out the 7HP mech, and the other tank rolls up, crippling the artillery and also blocking the base. Meanwhile, an infantry finishes off Adder's 1HP mech, so I think that's him out of footsoldiers. Crisis averted.
Well, okay, he does have this port. The good news is that, thanks to good ol' AI daftness, that Lander will happily sit in port and block Adder from building anything sensible there.

Moving up my other artillery units, and building some rockets because well, why not.
Day 13

A pretty quiet turn from Adder. Looks like we're past the worst of it.

An arty finishes off the medium tank that caused us so many problems earlier. Doing so charges up Sonja's power bar - or at least the small stars. So let's give her CO Power a whirl.


As mentioned earlier, Enhanced Vision is +1 vision in Fog of War and the ability to see into forests and reefs. No "first strike" frills here.

You know, I have the sneaky feeling there's a rocket launcher around here. Let's use this APC to surprise it.
A-HA!... okay, so it's not a rocket launcher...

But there is an artillery down south.
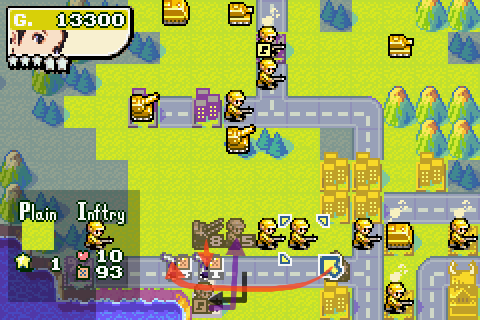
Make that two artillery.

Oh well. Infantry move in to beat up one arty, while giving the other one multiple targets to think about.

A-HA!... darn, no rockets here either. Although I guess I should be relieved really.

Tank finishes arty, other tank attacks that poor harmless APC that was only minding its own business, infantry starts capturing base.

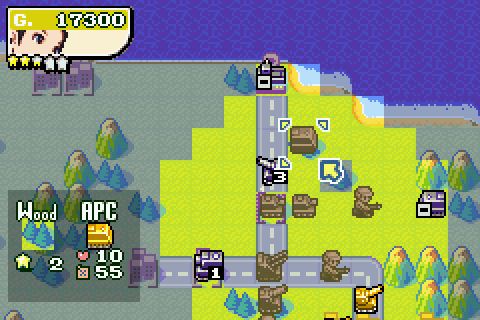
Moving everyone up. Among other things, I get that rocket into position so it can start attacking those artillery next turn.

And putting that artillery into position so it can start attacking Adder's random lander. Transport units everywhere right now, it seems.


Sideslip number 4.
Day 14
Another quiet turn for Adder.
Rocket and AA damage those arties, while the 5HP infantry retreats so that a fresh one can start capturing.

The other infs help clean up.

Moving this artillery to here means that I now threaten two minicannons - and because it's in a forest, it's safe from cannon fire.

Artillery attacks lander, tank chips in as well, while my infantry secures that northern base and I start capping these cities as well.

Gotta keep moving.

Oh, there's the rocket.
Day 15
Looks like the rocket's up in the top left of the screen, on one of those two cities - the right-hand one, going by the range it'd have to fire.

First though, let's deal with the south.

Second arty falls, capping infantry keeps capping, another inf. joins it to bring it back to full health.

And I launch my first blow at Adder's minicannons: while one arty strikes, a second one moves up next to it.

4HP tank retreats, chastened by rocket fire. Now the smart thing to do would have been to attack with the artillery and other tank before I removed my spotter. But nope, I moved that 4HP tank first. So I needed the other tank to reveal the lander again, and then the arty could attack. Classy, Paul

Oh well, let's make up for it by building a second rocket launcher.
Day 16
Again, another fairly quiet turn for Adder.

So let's make some noise: arty fire softens one of Adder's cannons down to just 9 health.
Aaand we'll start grabbing this base here...

Plug away at that lander...

In another bit of silliness, I decide to finish off that APC, and so the Lander goes back into fog of war and I can't finish it off with the rocket launcher. Oh well, I guess that'd leave the rocket blocking up my base. Or something. Yeah, that's as good an excuse as any.

Keep moving up, guys.
Continued in Part 2...