Part 31: Mission 24: The Hunt's End (or "Kanbei Battleship Fleet... ?") - Part 1
Mission 24: The Hunt's End (or "Kanbei Battleship Fleet... ?") - Part 1

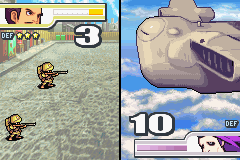
Right then, time to liberate Yellow Comet. (Caution: this has more screenshots than any mission so far. Yes, even Factory Blues and Show Stopper).

 Adder...
 Who's there? Who dares address me?!? Oh! Hawke! It's you. It appears that you're behind schedule. What've you been doing?
 I-I've been delayed. But only slightly. It's no problem. We'll be in control of this tiny country soon. You have my word. Do you understand what it means that I am here, Adder? If-If I win... If I win here, there's no problem! That's correct, isn't it? Hmmm... IF you win.
Wow. That almost made me feel sorry for Adder. Almost.
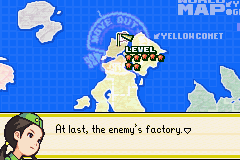
 If we claim victory here, we can drive the enemy out of our homeland.
 Yes! Let it begin!
 Commander! The leader of the Blue Moon Army to see you.
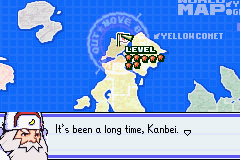 If it isn't Olaf! Why are you here?
 I've brought along my men to lend Yellow Comet my aid. The Black Hole Army threatens us all. Blue Moon will stand beside you in this fight. Ah! Kanbei is grateful! With the power of Blue Moon beside us, we cannot lose!
So we want Kanbei...
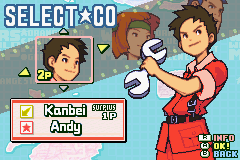
Just confirming that yes, even though Nell and Co. don't show up in the preamble, you can still play as Orange Star for this mission if you want.

However, we're using Colin as our "auxiliary CO".

So, let's get cracking!
Day 1

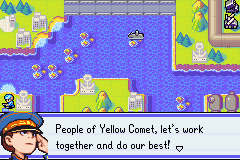
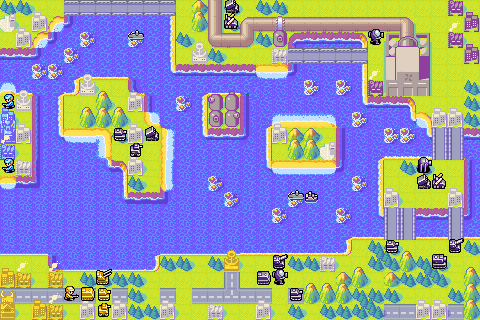
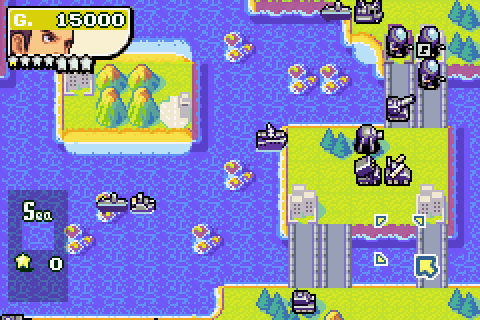
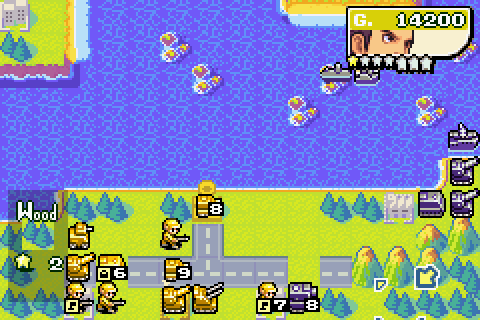
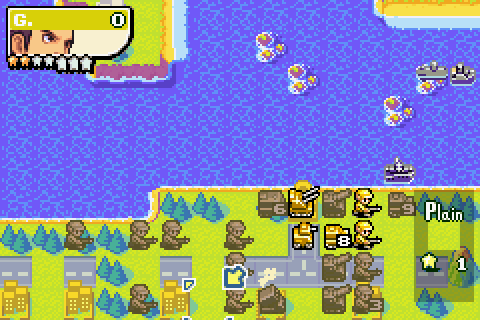
We've already discussed the basics of this mission, but let's have a look at the details.
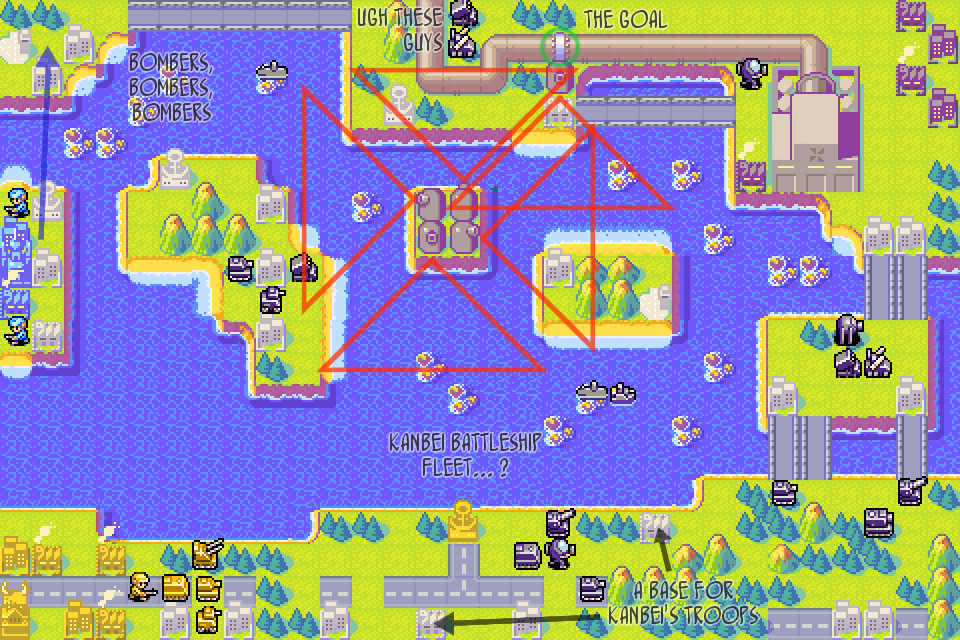
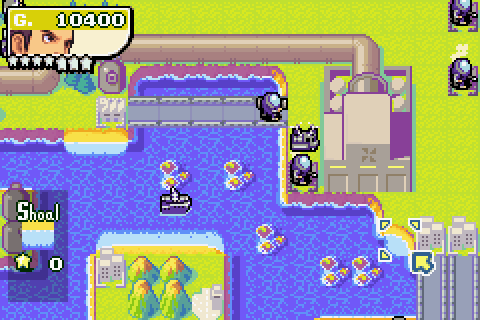
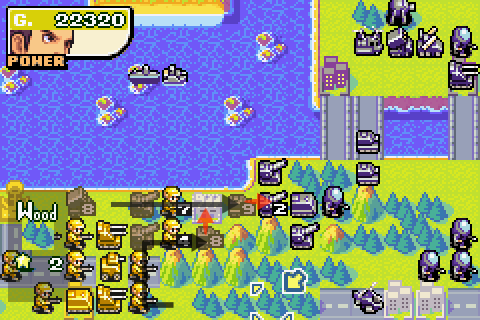
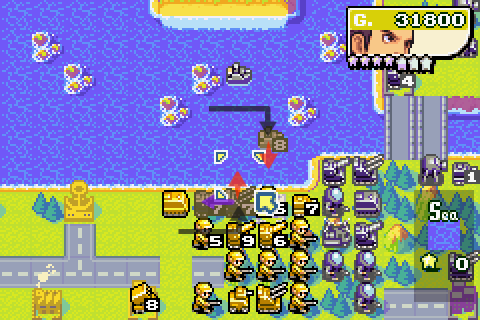
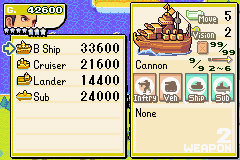
Yellow Comet's initial goal is to push forward through Adder's initial forces and take the two bases indicated by arrows. The first of these bases should fall fairly easily: the second will be a lot tougher, but once it's secure, Kanbei - with his already heavy defence bonus allied to the terrain defence of the base, mountains and forests - can basically hold out here indefinitely. Once he's in position there, he can afford to devote funds to working on the most indulgent thing in Advance Wars 2: the Kanbei Battleship Fleet.
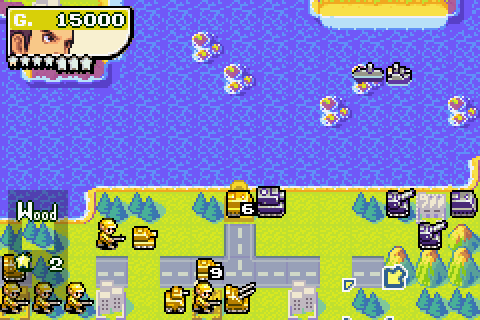
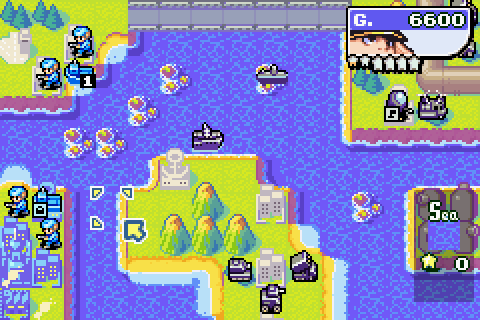
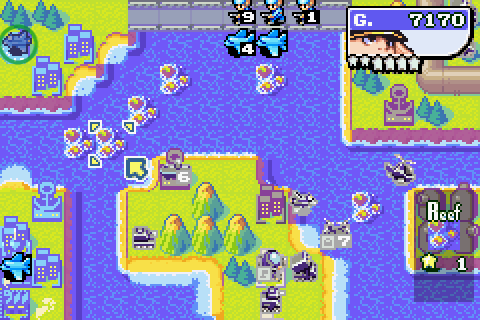
Blue Moon's first task is to build a lander and send infantry over to the airport in the north west. Once secure, we can use Gold Rush and Colin's low, low prices to get a nice bomber spam going. We've got to be careful, though: there's a missile launcher sitting annoyingly behind that pipeline, and a whole bunch of minicannons just waiting for us to slip up. Still, between the bombers and the battleships we should be able to pull this off.
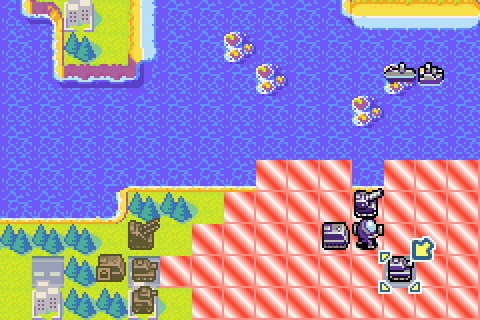
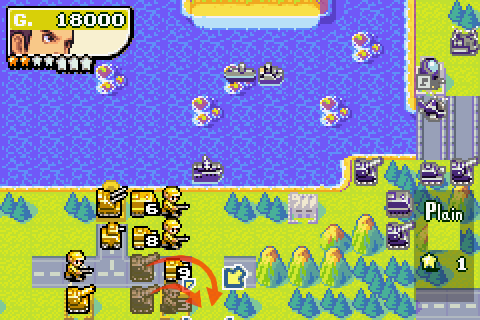
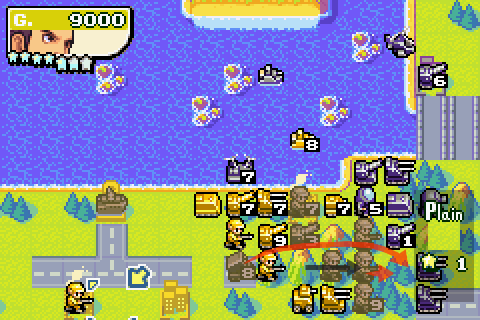
My starting forces set up shop just outside the range of Adder's tank.

And back at base, no surprises there: let's have a few more infantry.

No prizes for guessing what I do with Colin's troops.
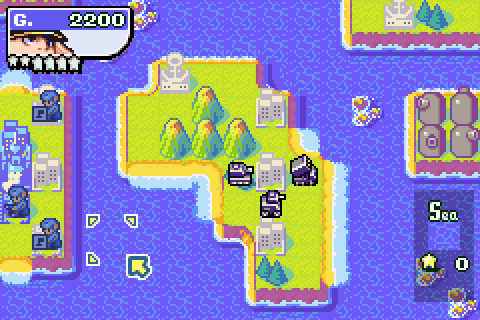
There isn't really much else one can do with them at this point.
Day 2
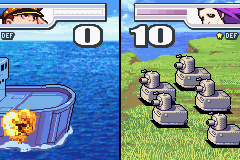
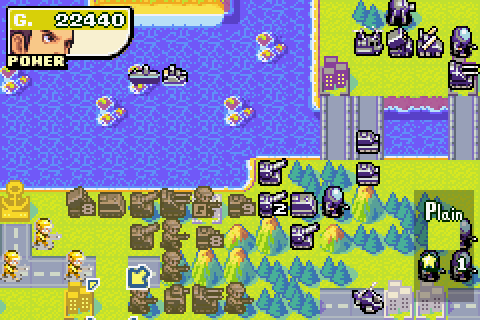
Adder's factory coughed up a battleship and a T-Copter - and unfortunately for us, the battleship decided not to stay put and block up an opening.

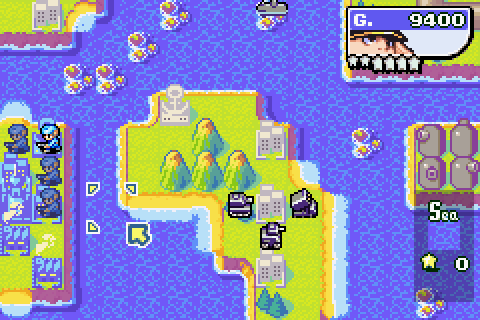
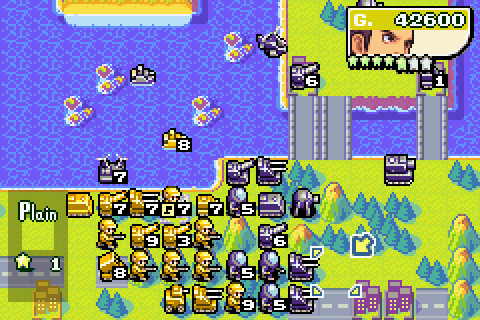
Back with Kanbei though, Adder's moved his tank up to meet us.

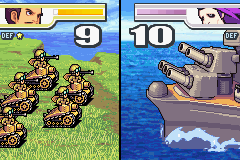
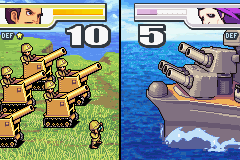
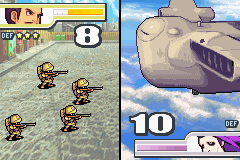
So let's take it out. My tank knocks it down to 3HP and the AA cleans up.

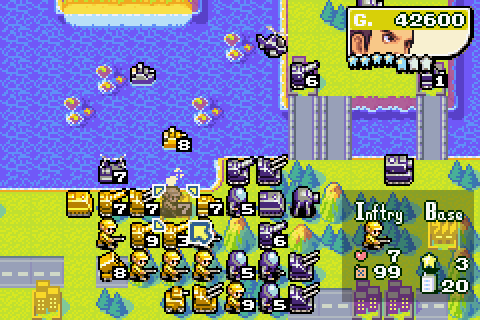
APC drops off infantry on base, recon moves up to help shield it. I guess the APC is sort of in harm's way, but five-to-one on that mech will start capturing the city next to it, rather than attack.

Infantry move up, and I crank out a tank.

Again, it's fairly obvious what move I'm going to make with Colin here.

So let's do just that, capturing the port and base.
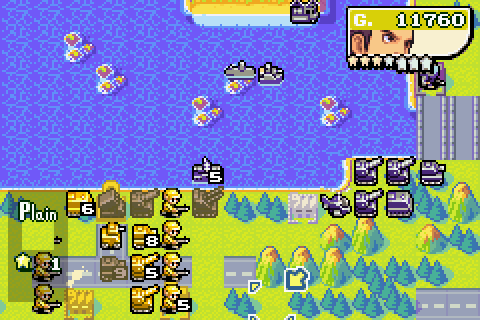
Day 3

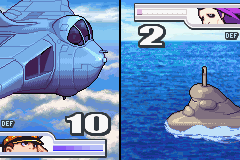
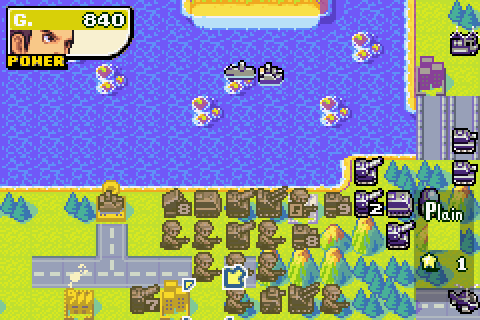
The factory spat out a neotank - I think you can just about see it behind the CO panel. Meanwhile, the T-Copter dropped a guy off by a base and the battleship keeps advancing on Colin.

But for now, let's focus on what we can control.

APC and recon take out the capturing mech while my infantry gets on with capturing the base.

And the tank and APC form a defensive perimeter of sorts to keep that infantry safe.

Tank and infantry move forward and I build an artillery to keep them company.
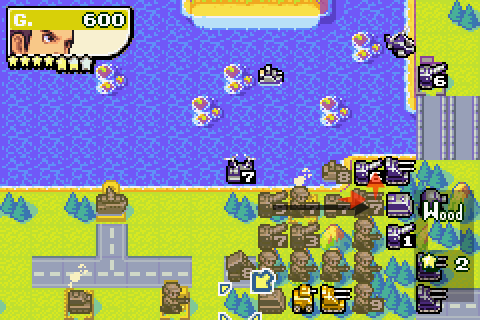
Right then, can we build a lander?
Dammit, 200G short. Maybe I shouldn't have build that extra infantry unit.
Oh well, no use crying over spilt milk. May as well have more infantry.
Day 4

That medium tank looks threatening.

So let's make a strategic withdrawl. As the other units huddle around the newly captured base for support, the APC is stuck defending the port. At least the extra defence means it won't take too much damage from the middie.

Don't worry guys, the cavalry's coming.

With the submaring and battleship in play, these are treacherous waters.

But if we are to have any chance, we must cross them to get that airport.
Day 5
Good grief, Adder, another battleship from the factory? And a submarine. I see.
And there's a medium tank on my doorstep. Lovely.

This small tank gave as good as it got, which is never a bad thing against a middie.

As an infantry scuttles ahead to capture the next city, I build an arty from my shiny new base.

General moving up.
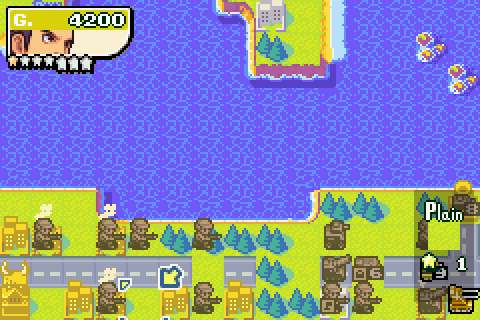
Hmm... do you think I have enough infantry yet?

It means crossing dangerous waters, but we have to do this.
The lander heads across and drops off two infantry. To keep it company, I make a second lander and load it.
Day 6
The marauding medium tank headed south to attack my capturing infantry there.

At least it should be able to hold out another turn - and if the medium tank attacks it again, it'll get a face full of artillery fire in retalliation.

Everyone else moves up into a sort of defensive block thingy.

... yeah, I think I have enough infantry. For now.
Colin's lander got shelled by battleship fire, but it still stands - just.

And it's achieved its mission - getting guys to that airport.

The landers perform a complicated dance of sorts. Unfortunately, I can only drop off one infantry - with no room to land on, the other one is stuck in the lander. The lander's out of sub range for now, but uf Adder uses Sideslip...


... which, inevitably, he does.

Poor lander and infantry
 . What harm could they have done that submarine? They gave their lives supporting the defence of a country not their own.
Day 7

Well, the medium tank did keep attacking that capturing infantry.
All in vain though: the infantry has just enough HP left to finish the job. With the trap sprung, Arty fire takes out the medium tank.
... yes, yes, all right. I know the expected damage for attacking this battleship with a small tank was 0% here. I just thought I might get lucky, that's all. At least the battleship can't retaliate.

Moving an artillery up so it can attack the battleship next turn. Granted, the battleship may attack it first. But the arty should survive to some damage to it tomorrow, thanks to good ol' Kanbei tankiness. To help out with dealing with the battleship, I also field a rocket launcher from the base.
All the infantry continue to catch up.

With that lander and infantry destroyed, Colin's options are reduced.

At least I can get this airport captured though. As for the 1HP lander...

... RUN AWAYYYY
Day 8

Adder's battleship attacked the wrong artillery, going for one not in range of it. Now I think about it I seem to remember Lash doing something similar in Two-Week Test.
Oh well, I'm not going to complain.
With that B-Copter approaching, it's probably best that I get my AA to the front of the units, so it can hit everywhere that B-Copter is likely to go. Meanwhile the rocket launcher moves onto the port, so it can get a clear shot at the battleship next time.

And other general moving. We're building up a nice cluster of units here now.

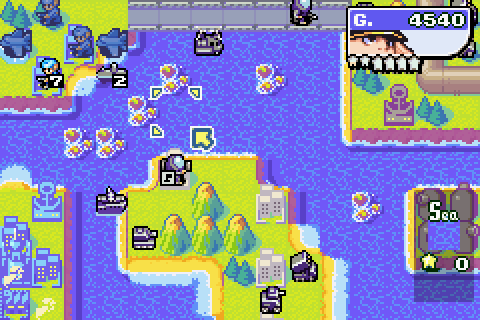
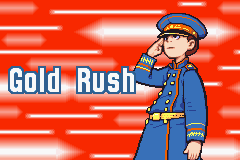
Oh hey, Gold Rush is charged up.


So let's use it then. I want bombers!
Muahaha

Muahahahaha

And so on. With the bomber built, my 1HP lander moves into the battleship's blind spot. Surely this is a clever plan!
... what.
ADDER

Day 9

While Adder's B-Copter went on the assault, his battleship dropped back a little, out of rocket range.

First let's take down this chopper. WHOA that's a lot of damage.

Since Adder's on the retreat, we may as well take the fight to him. The two 5HP infantry got joined, incidentally.

A nice, chunky assault group.

With Adder's uh... unexpected tank assault on my 1HP lander, Colin has lost even more units. Good job he doesn't count towards technique.
Time for revenge, though. WHO'S LAUGHING NOW, ADDER?
Let's have another bomber. You can never have too many bombers.
Day 10

And it seems that Adder agrees with me: his factory just produced a bomber of its own.

We'll worry about that in a bit though, because right now it's time to push on through.
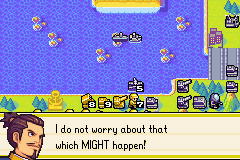

Not only does Kanbei have problems with arithmetic, he seems to struggle with forward planning as well...

Rocket cleans up battleship, artilleries take out an AA and severely damage a tank.
And tanks roll through to finish the tank off and strike at the arties behind. Again a risky move, but again I'm relying on Kanbei's defensive powers here.
An infantry moves in to start capturing that base, and everyone else moves up.

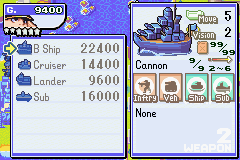
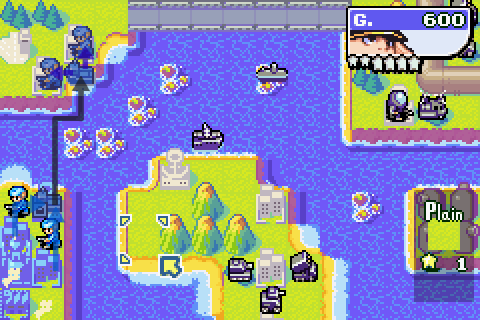
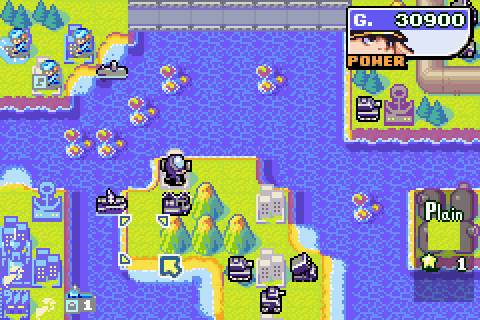
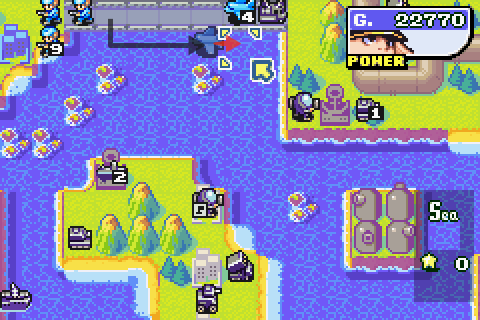
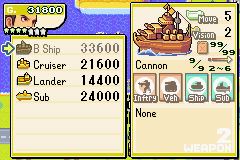
With the ground war going reasonably well, it's time to start thinking about a navy. I can't get a battleship yet (just look at the price!), but a cruiser will help guard against subs and bombers and the like, paving the way for battleships later on.
And there we go.

On Colin's front, Adder's decided to dive his damaged sub and move his battleship out of harm's way.

So I guess we should strike some other targets. The bombers move up to strike a couple of targets of opportunity, while staying safely out of missile range.

I forgot about this cruiser though.

Still, we should be okay as long as Adder doesn't...


Adder's counterattack also involves doing serious damage to the infantry I have trying to capture this base.
Day 11

And now he's capturing the base. What can we do when the tables have been turned so abruptly?

Why, turn them again, of course! Cruiser attacks bomber, indirects deal with the capturing infantry.

The forward push continues as arty and tank take down a tank, and the AA runs through to destroy a B-Copter.

Infantry move up to fill in the gaps.

Over on Colin's front... well, the cruiser did serious damage, but at least the bomber survives.

That and the extra damage inflicted on my troops gives me another gold rush.
Instant revenge, just add water (best served cold).

A B-Copter heads south, I build yet another bomber to replace the 4HP one, and the 4HP goes and hides behind Colin's saluting hand.

Sorry, I mean hides in the range shadow of the missile truck.
Day 12

So of course, just when Colin gets a nice head of steam going with his bombers, the factory produces a fighter - that classic spanner-in-the-works unit.

We'll deal with that later though. First let's go back to Kanbei's chokepoint. A small tank's moved in and attacked my AA here, knocking it down to 7HP.

Retreating the AA lets my 8HP tank roll up to attack the tank and knock it down to 1HP. Again I'm braving artillery fire to do this, but we must have that base! To that end, I try to capture it again with an infantry unit.

In the meantime, my cruiser gets to work on Adder's submarine here. Annoyingly, it just survived - it'll probably dive and try to find a port for repairs now.

Artillery move up to get a closer look at the chokepoint, infantry take up positions on the mountains, and the rocket truck retreats for repairs.

Now then, this fighter.

For now we can't do anything about it other than retreat. And this time I'm going to make sure I get out of Sideslip and Sidewinder range, dammit.

In more positive news, bomber and battle copter continue to stalk their battleship prey.

I decided to attack a T-Copter with an infantry because well, why not. Then I realised why not: it's in rocket range. That's why these two units behind the pipe are so "ugh these guys" - you're so focussed on avoiding the missile truck that you forget about the rockets.


Anyway, it's a good job I remembered about Sideslip this time because guess what.
Day 13

Geez they really don't want me to take that base do they.
And I'm still just short of being able to afford a battleship.
Oh well, never mind. The artillery retreats a square to let the AA in, and it makes short work of Adder's B-Copter. And my cruiser finally finishes off that bomber.

An arty, a tank and three infantry all launch attacks on the line of the front with Adder, giving a lot better than they get.

Bringing the rockets back from repairs, among a few other things.

Right, well, there's only one realistic way to deal with this fighter.
And that's to build a fighter of our own.

Meanwhile, the bomber and battle copter have finally chased down that pesky battleship and knocked it down to 2HP.

The other bombers are forced to make a strategic withdrawal, huddling around my new fighter for protection.
Day 14
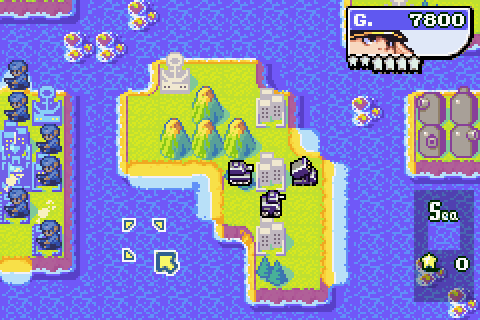
Looks like Adder's brought a neotank to the party.
He's too late to stop me finally grabbing this base though
")

These two artillery have been exchanging shots for a while now, but an infantry helps my arty gain the upper hand here. At the same time, two more infantry take out their opposite numbers.
Woo, I can finally afford my first Kanbei battleship!
Rocket and infantry celebrate by clearing out another infantry. I know it looks like I'm leaving infantry right in front of Adder's AAs, but don't forget these are Kanbei infantry and they'll effectively be taking half damage. Plus I can always cycle them out and bring in fresh infs.
Tank finishes off yet another infantry, allowing the 7HP AA through to damage an arty.

Here's a riddle for you: how do you take down a fighter?

There are of course many answers to this question, but I'm sure Colin would answer "build two fighters"
Continued in Part 2