Part 34: Mission 25: Sea Fortress (or "Birds of a Feather" or "A Bit of an Albatross" or "Double Eagle" or...)
Mission 25: Sea Fortress (or "Birds of a Feather" or "A Bit of an Albatross" or "Double Eagle" or...)
The puns! The puns! Esmerelda!


 Yes. We're proceeding without delays.
 And the minicannons?
 All 8 of them have been constructed on the sites you selected. Then all is well.
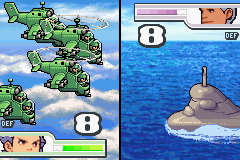
 Commander! We've reports of a large Green Earth force heading this way! I estimated they'd be appearing about this time. They're all air units? Hold on... Er... I think so, sir. Nothing but air units, sir. How predictable. Deploy our troops immediately. Yes, sir.

 Oh no! Hold on, sir! This is no good! There are anti-aircraft units everywhere!
 What?! They knew we were coming... (What should I do? If we allow them to complete that factory, Green Earth will suffer. If we press our attack, we might win, but the casualties will be enormous.) Commander! Let's continue with the attack.
 But... We're Green Earth's strongest force. We cannot lose. That's what you always tell us, isn't it? He's right, sir. We won't be beaten by the likes of those Black Hole thugs. And we can't sit by and let them complete that fortress! We can't! Let's hit 'em, Commander! C'mon, sir!
 My soldiers... All right, we proceed as planned. Aim for the heart of their offensive power, the minicannons. Let's give them a show of power they won't soon forget!
Day 1
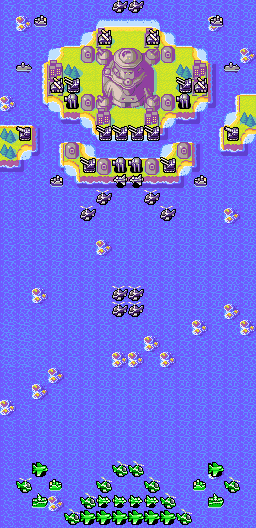
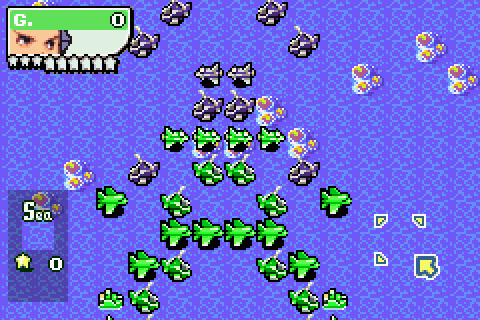
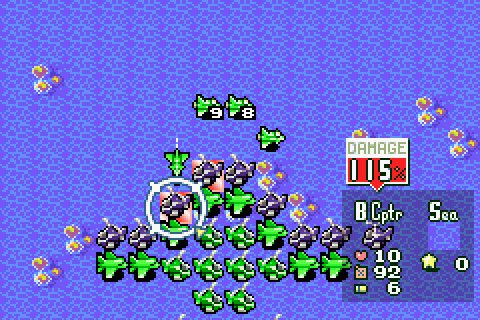
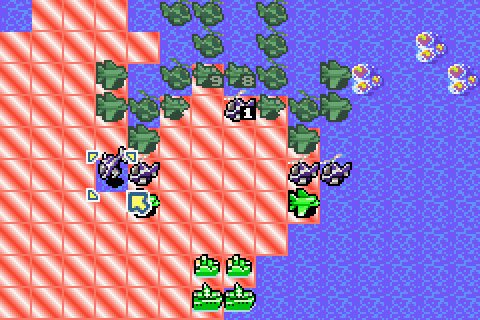
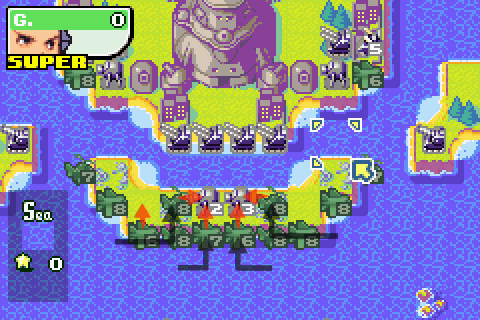
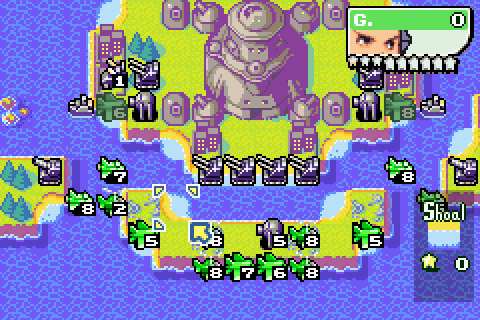
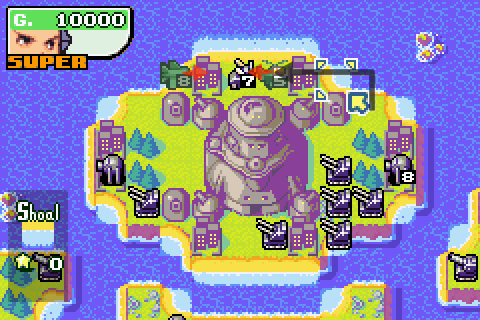
People who've played Normal Campaign but have yet to get this far in Hard will notice one big, obvious difference about this map: it's vertical rather than horizontal. No, I don't know why either, but it does makes a nice change from the recent run of "the same map but with more units" missions we've been having lately. Anyway, the objective is to use Eagle's giant air force to smash dem minicannons - and watch out for Hawke's massive bunch of missiles, cruisers, anti-airs and the like while we're at it.
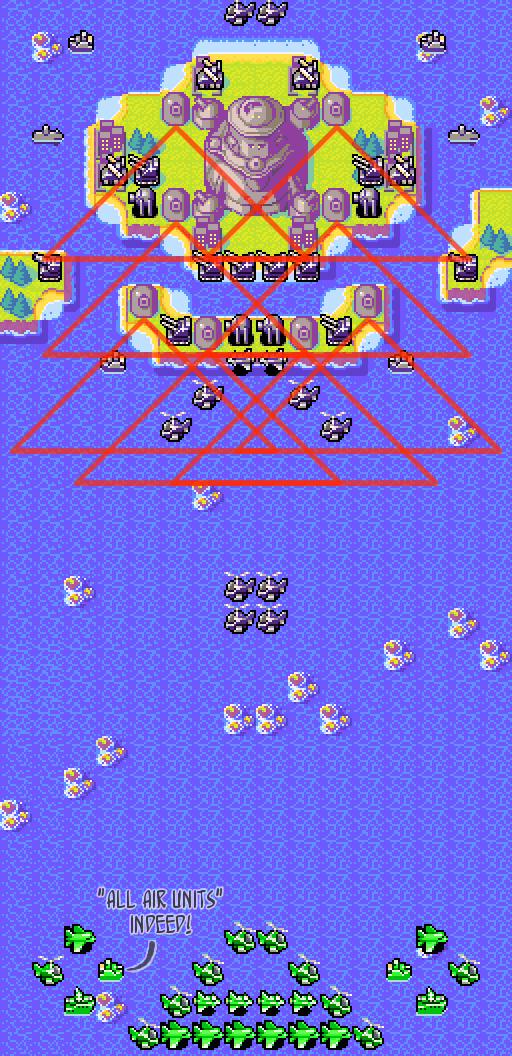
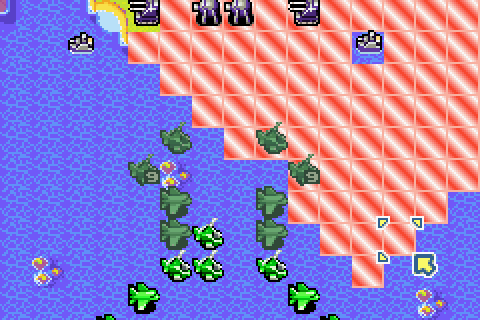
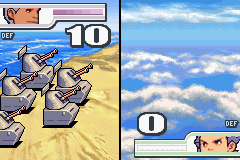
Here's what the minicannons can hit. A lot of the cannons cover each other, although the front two aren't covered by other cannons, which is nice. Also just a quick note that in Hard Campaign it isn't "nothing but air units" - we've brought two battleships and two cruisers with us. Now you might think that, with Eagle being so rubbish with naval units, they'd be a bit of an albatross, but they can be quite handy: for one, the only things Hawke has to defend against them with are a pair of submarines and a pair of artillery, so their progress is relatively unimpeded. For two, the battleships can attack the minicannons from outside of their range. So they're handy to have around.
Anyway, speaking of Eagle being rubbish with naval units, let's see what he's good at:
Paul.Power's CO Notes: Eagle (Green Earth)
 Theme
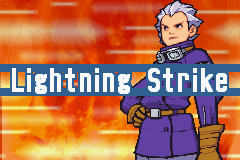
ThemeAs an air unit specialist, Eagle gets a 15% attack and 10% defence boost to them - they also use less fuel under his command, with his planes only using up three fuel per day while "idling" instead of five, and with his copters using no fuel up when they idle. On the other hand, his navy gets a whopping 30% attack penalty (his ground units are unaffected). His CO Power, Lightning Drive, is nothing to write home about (giving an attack boost to his air units), but his Super CO Power, Lightning Strike, is quite legendary - used at the end of a turn, it "refreshes" all of his non-footsoldier units and lets them move and attack all over again. This devastating power takes nine stars to charge up, though, so it isn't cheap.
Background/Personality: A proud man, one might even say egotistical, the dashing air ace Eagle is the commander-in-chief of Green Earth's forces. In the first game, he repeatedly hounds Andy after mistaking him for the clone that attacked and devastated Green Earth. After the truth is revealed by Sonja, Eagle grows to become Andy's friendly rival. During the same game, he also becomes romantically involved with Sami despite the fact that they're at loggerheads for most of Campaign, with him determined to hunt Andy down and her determined to protect her . In this game, he tends to spend a lot of time quarrelling with Green Earth's new CO Jess for some reason. I dunno. Each of the Green Earth COs can be said to represent a specific European country: in Eagle's case, it's early-WW2 Germany with their superior air force and "blitzkrieg" ("lightning war") strategies.
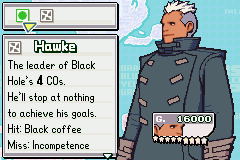
And while we're here, seen as it's been so long since we fought Hawke (waaay back in Mission 7, Sea For All), let's introduce him again:
Paul.Power's CO Notes: Hawke (Black Hole)
 Theme
ThemeAll of Hawke's units get +10% to their attack. To balance this, his CO Power meter charges quite slowly: it takes five stars to get his CO Power, and nine stars to get his Super CO Power. Only Sturm, Eagle and Sami have comparable power bars. Hawke's CO Power drains 1HP from all enemy units (aside from those already on 1HP) and gives all his own units 1HP (aside from those already on full health). His Super CO Power is the same, but with 2HP instead of 1. This can be pretty darn nasty on a large map with lots of units.
Background/Personality: Second only to Sturm in rank in the Black Hole army, Hawke is probably Black Hole's sanest CO. He treats his opponents with respect, he loses gracefully, but he's very, very competent. On the other hand, he does have a nasty ruthless streak and a habit of not stopping until he gets what he wants. In Advance Wars 2, Hawke is in charge of the invasion of Green Earth. In terms of evil counterparts, he's a bit of a mix: his name and hairstyle suggest that he's Eagle's evil counterpart, but the nature and names of his powers suggest Drake (Tsunami --> Black Wave, Typhoon --> Black Storm).
With the introductions over, let's get started.
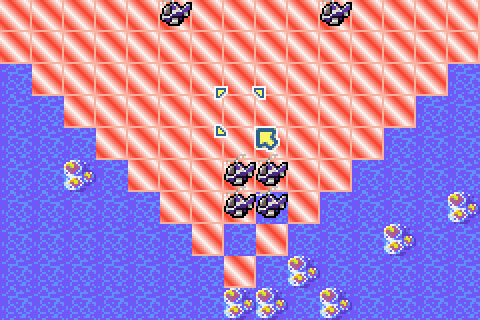
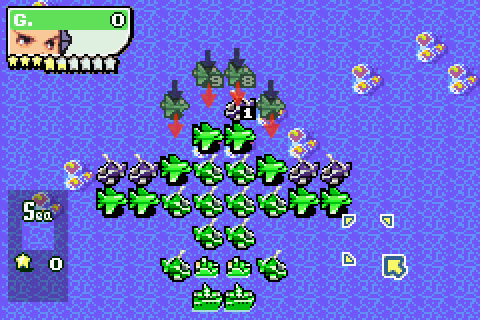
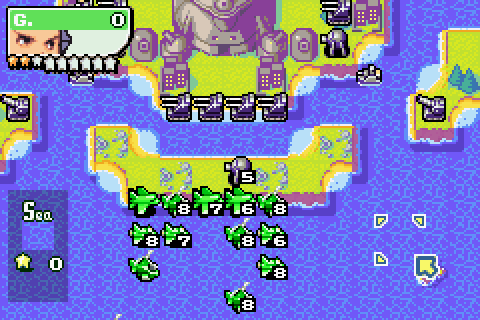
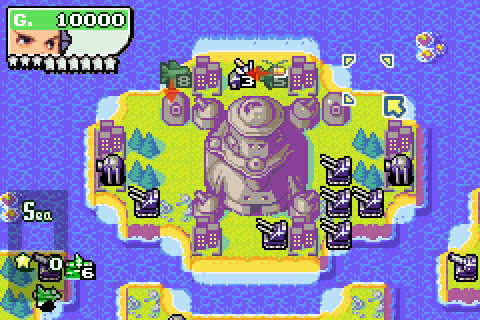
Here we can see the attack range of Hawke's two fighters. It ends just before this pair of reefs here.
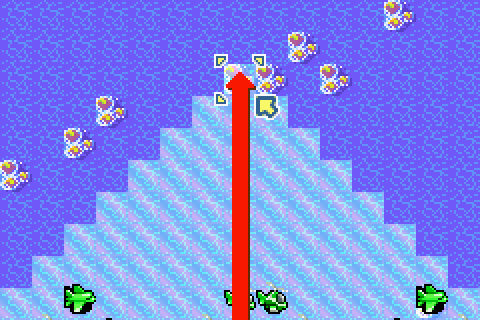
That's convenient, because those reefs are exactly as far as Eagle's fighters can travel.
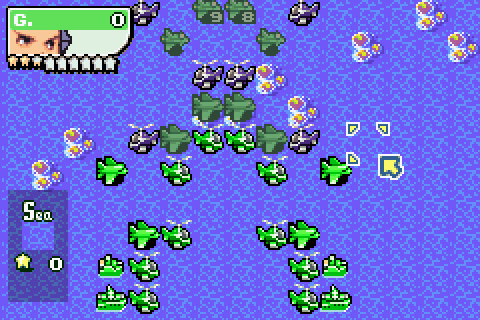
So let's move them up to here.

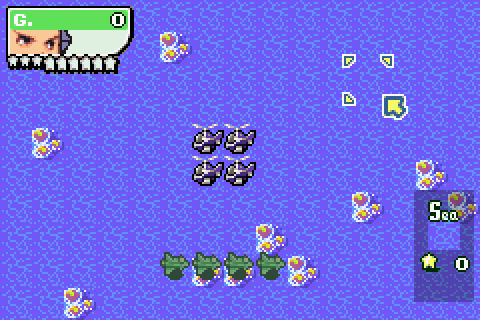
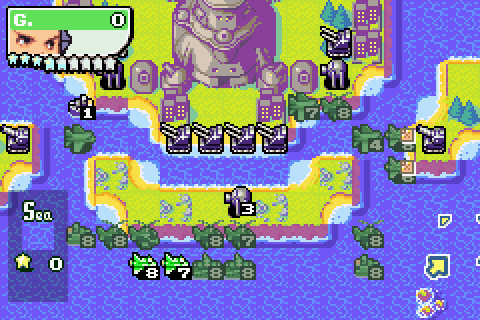
In turn, checking the attack ranges of these battle copters gives us an idea of where to place our own ones to avoid getting hit.

Something like this should do nicely.

More B-Copters and a pair of bombers move up.
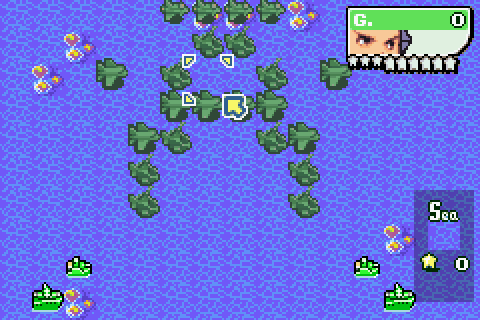
The other bombers join them.
And finally, the ships, in a sort of Rorschach-y mirror image pattern.
Day 2
Hawke sends his units in to say hello.

So let's say hello back and take out his fighters.
Watch the birdie!

Well, that's the fighters down.

Thing is though, we have to keep an eye on Hawke's power gauge. Simply taking out those two fighters and nothing else filled up four stars. Amazing how it all mounts up. And the idea is to try and get Lightning Strike before Hawke gets Black Storm. Apparently that's how the pros who can complete this mission in three days or something do it. I dunno. It sounds like a plan, though.
So I should probably do no more attacks this turn. But if I'm not attacking, how do I stop Hawke from attacking me?
Well, as you know B-Copters can't attack planes. So a bomber shield for the copters seems to be in order.

Sorry Hawke, but your prey's gone to ground.
Day 3

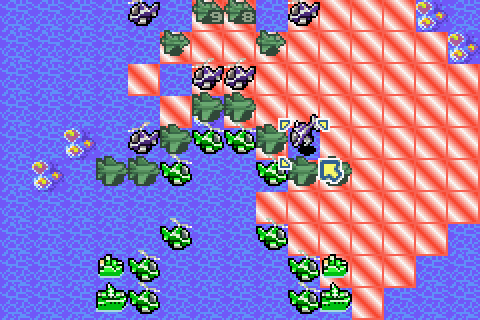
Ah, the old "well if I can't kill you, I'm gonna get in your way" trick.
I guess we need to punch a hole through.

Charging Black Wave in the process.
Oh well, in for a penny, in for a pound.
Luckily, doing that wasn't quite enough to fill the bar completely. However, Hawke's one of these tricksy COs who'll sometimes use his powers at the end of his turn rather than at the beginning (i.e. if it's not quite full at the start of turn, he'll attack until it's fully charged and then use his power). So we can't give him anything to attack on his next turn.
Some of the choppers fly through the hole, looking for safety behind the fighters.

The others join them.
With the copters in position, I can bring the bombers forward - and once more frustrate Hawke's whirlybirds.

Unfortunately, the ships have to retreat a bit to escape Hawke's wrath.

The final two bombers move up.
Day 4

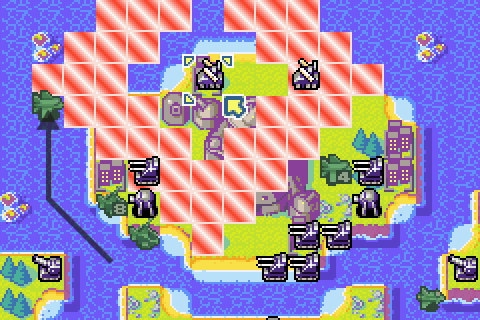
Okay, you know what? Sod it. Let's see if I can't attack and attack and get Lightning Strike charged this turn. Might be a bad idea, but we'll see (I don't think I'll ever know how people do this in three turns...). I guess I could move up and wait another turn, but much further and I'll be in cruiser range anyway so let's do this.

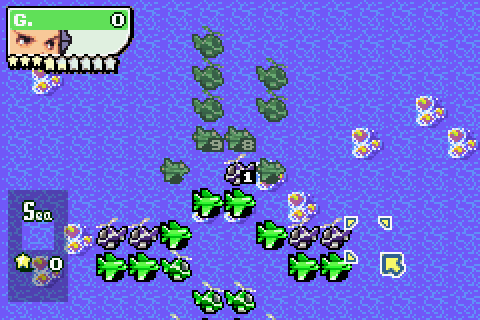
A pair of copters surge ahead to take on Hawke's copters, while my fighters (which I forgot to screenshot, sorry) take out the copters that were behind us.

You can see some of the aftermath of what the fighters did to the copters in this screenshot. Unfortunately, it wasn't quite enough to charge up Lightning Strike. I'm one star short. One bloody star. Which naturally means that Hawke's going to get Black Storm first.
That and the copters I send forward have ended up in cruiser range.

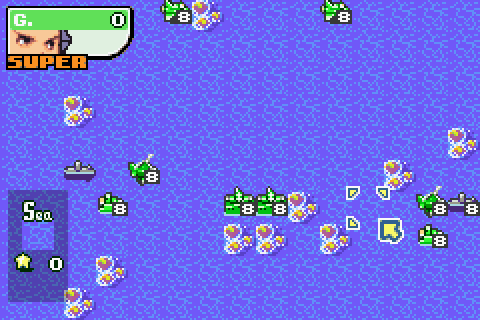
Oh well, better form all the other units up. Birds of a feather flock together and all that.

The ships catch up with the units that stayed behind to take out Adder's copters.


Do your worst, Hawke! At least we've made sure none of his units will be healed by killing off all the damaged ones. But we're still going to take a lot of damage ourselves.
Day 5

Owch. And to top it off, cruisers took out two of the copters. But the good news is, Lightning Strike is charged.

We won't be using it yet though. No sense in using Lightning Strike at the start of a turn. But for now, despite our injuries, all we can do is charge Hawke with everything we've got - starting with these front minicannons.
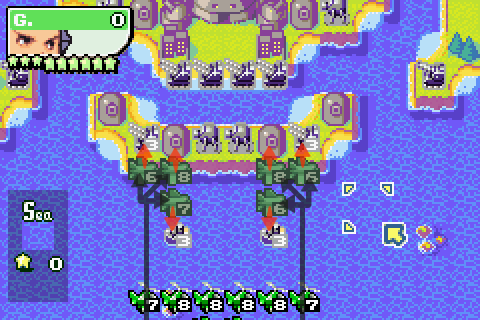
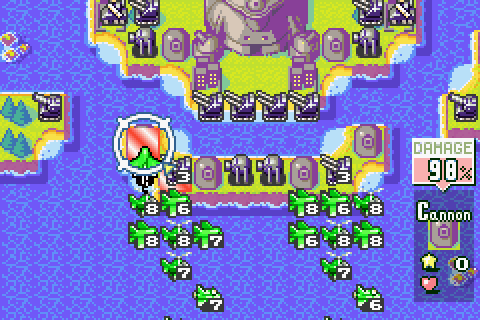
The bombers roll in: two attack minicannons, two attack anti-airs and two attack cruisers.
Everybody else moves up with them. It looks a bit daft, everyone crowding in minicannon range like this... but we have a secret weapon.
Elsewhere, Hawke decided to surface his subs for some reason. I'm not one to pass up a target of opportunity, especially when a CO's power bar doesn't charge the turn after they use their power.

The battleships and cruisers also move up, looking to get a slice of the submarine-hitting action.

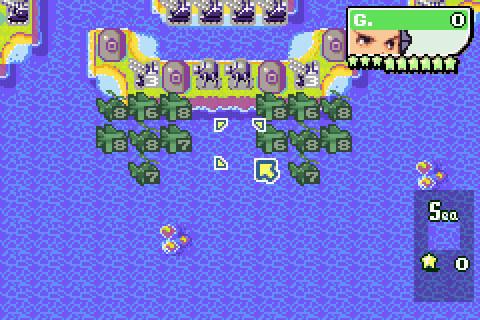
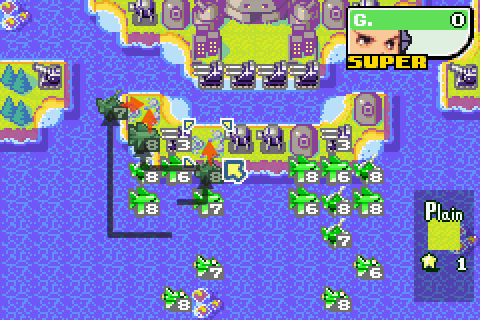
With the now-pretty-much-useless fighters moving up for the hell of it, everyone's ready for Lightning Strike

So, American golf fans: would you say this was a Double Eagle?

Sorry, but with most of the puns being mined out before we got here I'm down to golf scoring refences.
Darn it, one more damage point and this cannon would've been down in one hit.
Oh well. Two minicannons down.

Three minicannons down, and I decide to send a pair of bombers ahead to attack Hawke's missiles. Missiles are a pain in the arse in this mission, so this is an attempt to nip them in the bud.

Fourth minicannon down, along with an AA.
With the other AA cleared, I decide to have some fun and attack Hawke's neotanks. Given he used his super CO power last turn it can't hurt, and the more damage we do now the less we have to do later.
Now then, as for our little naval tussle here...
Oh, come on guys, you can't take out a submarine between you? Eagle's navy really is poor.

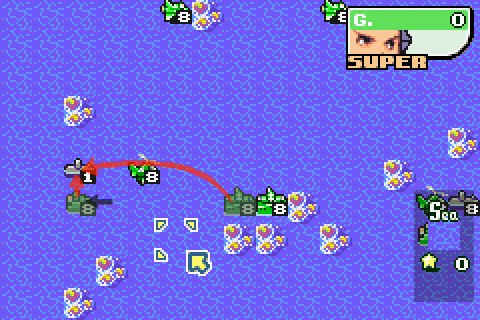
Fine, fine, I'll send a B-Copter in to finish off.

The other battleship-cruiser pair fare better, but then the B-Copter had already helped them out last turn.

The fighters move up, in an attempt to provide "dummy targets" for Hawke's units.

It seems he's having none of it, though
 .
.Day 6

With cruisers taking down another pair of bombers, things are looking hairy.

I've already lost 5 units, and can't afford to lose more for 100 technique. Saying that, 100 technique already feels like a pipedream.

So let's head on. I can bring down this missile launcher in one hit.
And with decent luck I shooould be able to bring down this other one...
Dammit, Hawke.

At least the power bar hasn't filled up too much... yet.

The problem is, I don't really have the resources to back those two bombers up, so I'm going to have to abandon them and retreat. While I'm at it, I join two bombers to get a full-health one, and two B-Copters to get another full-health one.

With the submarines eliminated, the ships move up as well.
Day 7
As predicted, the bombers fell to cruisers. But they shall not go unavenged.

While my full health bomber flies in to cripple one cruiser, another bomber and a battle copter take out the other.

Black Wave is charged, but still some way to Black Storm.

Another bomber assaults a minicannon while a B-Copter continues to work on this neotank here.
The rest of the units spread out a bit.
Day 8

Remarkably, that 5HP missile unit didn't attack my bomber. I still lost a couple of units in the east, though.

In for a penny, in for a pound, as my 4HP bomber finishes off the fifth minicannon. Meanwhile, two fighters that were looking low on fuel join together.

You know how sometimes you do something without thinking there's anything particularly wrong with it at the time, and then later realise that it was incredibly bird-brained? Well, attacking the cruiser with my full-health B-Copter was one such move, and I only realised it as I was annotating these screenshots. Nothing wrong with the attack itself, but it's where I did it from: in full view of four angry-looking AAs. If I'd moved the full-health bomber first, and then attacked the cruiser from the square where the bomber was, I could have kept that B-Copter alive and probably had an easier time of the mission overall.

Hawke's one star away from Black Storm. I think I'd better stop attacking.
Instead I move this bomber to a safe spot outside of missile and minicannon range. I just wish I'd done this before leaving that B-Copter in harm's way.

The two battleships move into position to attack the southwestern minicannon while the B-Copters, with that southeastern minicannon gone, move up a bit.

Hawke's AI demonstrates its special ability to use its CO powers at the end of its turn, after doing enough damage to fill the last bit of power bar. This is another reason why leaving that full-health B-Copter in a position to be shot down was a bad move
.Day 9

I honestly don't know why I tried attacking this neotank. I think I was a bit punch-drunk after that last Black Storm. Maybe I thought it'd help me get a Lightning Strike or something. Either way, it was probably another silly move that cost me more units. I don't know what it is, but something about this mission gets to me, and always has. Oh well.

The battleships have happier news to report, as shelling of the south-west minicannon begins. It'll take a while - each battleship is only doing 22 damage a shot - but we'll get there.

I plonked this fighter here... well, again, sacrificing a unit to try and get Lightning Strike. This at least made more sense because the fighters aren't much use to me any more.
Oh dear.
Day 10

I got a stroke of luck today - Hawke decide to move his two missile trucks next to each other. My bomber hadn't dared to approach thm before that, as they were covering each other, but now's my chance.
The bomber swoops down and cripples one of the missile units. Because of the AAs prowling around the place, I can't afford to break down these rear two minicannons until I'm sure I can finish both of them in one turn. As it stands though, they're blocking for me.

The battleships continue to attack this minicannon...

... and this B-Copter scratches another one. For once this isn't a suicide maneuvre, because...

... Lightning Strike can get me out of it.
Bomber finishes off one missile unit, B-Copter flies round and damages the other.

The south-west minicannon falls to a fifth round of battleship fire, and the other battleship decides to go on a journey to help my bomber out.
Day 11
Bomber attacks the western minicannon so that one final hit will take it out, while the B-Copter continues to whittle down the missile unit.

And the battleships get into position.
Day 12
Last day.

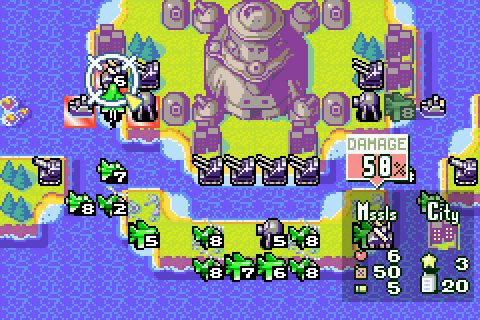
The seventh minicannon falls to battleship fire, and the B-Copter finishes off the missile unit.

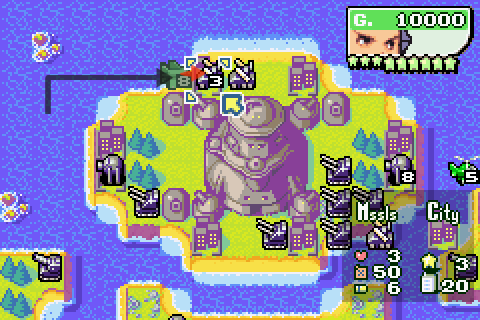
And it turns out that that B-Copter "scratch attack" a few turns ago was enough to let the bomber finish off the final minicannon in one shot. The surviving units: an 8HP bomber, a 5HP B-Copter, a full-health fighter, 6HP and 5HP battleships and two 6HP cruisers. Whew.
Aftermath

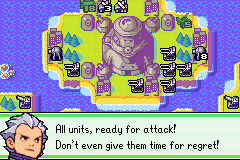
 They've been destroyed? That's it then. We shall withdraw.
 It appears that we've won. Shall we launch a pursuit, sir? No, we deal with the fortress first. Yes, sir. You have my gratitude. It was your bravery that led me... that led US to victory. Thank you, sir. We appreciate that. The war has just begun. The road before us will be long and hard. No problem, sir. As long as you're in command, we can't lose!
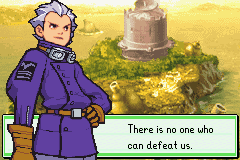
Well, that was a brutal, messy battle, and given some of the errors and suicidal charges I made, I think I'm quite lucky to come out of there with an A-Rank. Still, I hope I've conveyed the impression that Hawke is not a CO to be trifled with. Eagle may have won the battle of the birds, but it came at heavy cost to Green Earth's finest fighting force.

Still, we should be moving on to calmer waters now: as I say, Sinking Feeling is my favourite Green Earth mission, and Drake's Dilemma isn't a bad mission either. I think a few of you were favouring Drake's Dilemma next, but I'm going to leave the poll open for a bit because not that many people said where they wanted to go after Sea Fortress.
Either way, I think I will take a break for a bit: I think I need to recharge my batteries after these last two low-scoring missions...
Author's Note: LordBaxter linked me to this video of someone 300-pointing this mission in three days. Rather cleverly, the strategy involves letting Hawke's fighters attack yours first rather than trying to protect them: you can afford to concede first strike what with having a 4 to 2 advantage in fighters, and it helps you get Lightning Strike before Hawke gets Black Storm. We learn something new every day.