Part 47: Mission 33: Hot Pursuit (or "Prepare to meteor doom!") - Part 1
Mission 33: Hot Pursuit (or "Prepare to meteor doom!") - Part 1
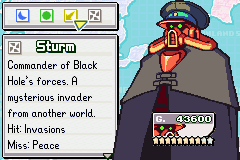
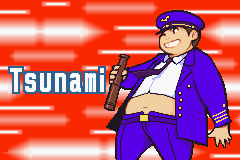
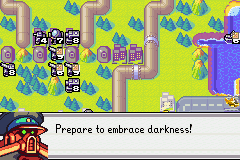
Welcome to Black Hole.
 So they've arrived...
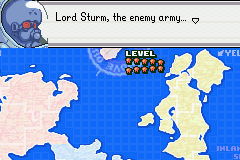
 I'll smash 'em. Lord Sturm, let me have 'em.
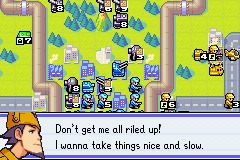
 Flak will make a mess of it, sir. Let me take command. The command is... mine. What? I will ascertain how strong they've become with my own eyes. You wretches report to the missile platform and assist Lash. Understood. Yes, sir. Good riddance. Pathetic fools. They have served me poorly. When this is finished, I will make... adjustments.
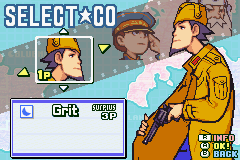

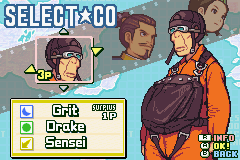
Grit, Drake and Sensei (or as I like to think of them, the Wars World Nap Patrol) will be our COs for both this mission and the final one. They're a brilliant combination on the final mission, and I'm really looking forward to showing them off there. Here they're more sort-of okayish.
Here we go, guys.
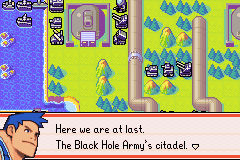
 I don't care what they call it. All I know is, everything they pillaged from Orange Star is here.
 That's been confirmed by our allies, too.
 So if we can capture this place, we can get all of our money back!
 I'm not so sure of that.
 What do you mean, Nell? Just because it was all sent here doesn't mean it's still here.
 Are you saying they might have moved it all to another location?
 What makes you think that?
 We gotta assume they weren't gathering it just for kicks. They've got something planned, and more 'n likely, they've moved all our stuff to where they need it. That sound 'bout right, Nell? Grit's exactly right. Which means this battle is also about deciphering their ultimate plan.
 Hmmm... Regardless, we must still attack. The longer we wait, the stronger their defenses become. Our target...
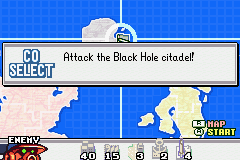
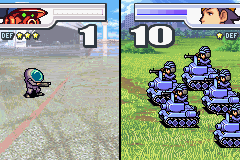
 Our objective is to destroy the 3 Black Cannons. Hm? Just the cannons? Are you sure, Sonja? If we eliminate those, we should be able to rout our foe. If there's nothing here for them to protect, they'll run.
 Ah. And if they do... That would tell us whether or not this was their true headquarters.
 I see...
 That's brilliant, Commander Sonja! As we can see, indirect fire will be useful in this battle. The other vital elements will be selecting the right first CO... and using decoys effectively against the Black Cannons. OK, let's go!
Remarkably, this dialogue - and the one at the end of the mission - features all of Campaign Mode's playable COs, plus Nell. While that's kind of cool, it does make putting in the character pictures a bit long-winded. Anyway, let's get going.
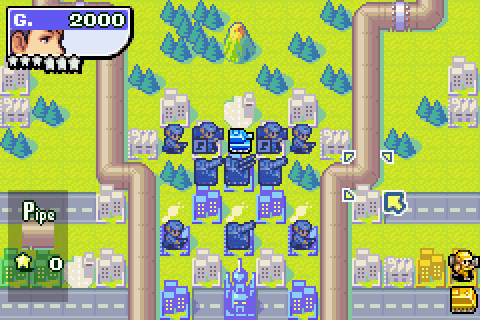
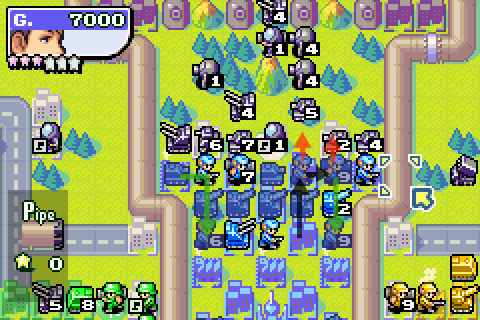
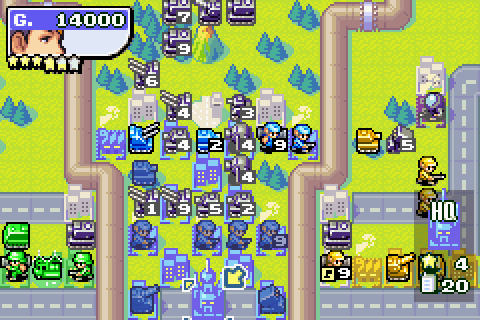
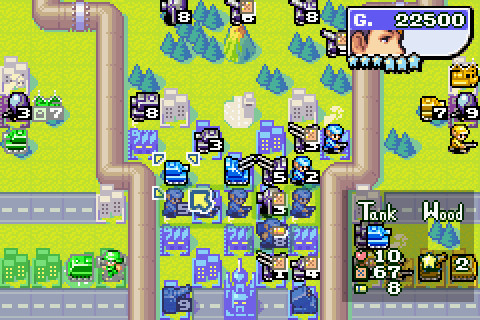
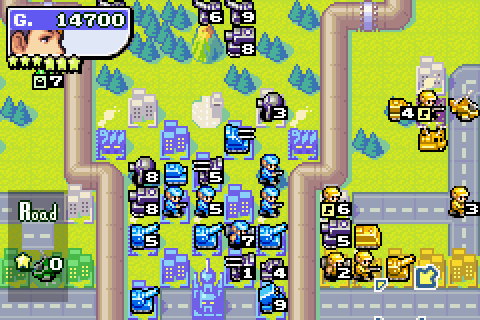
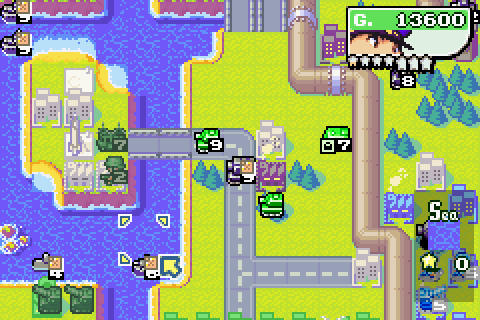
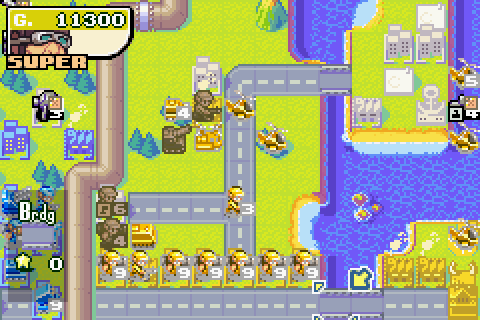
Day 1
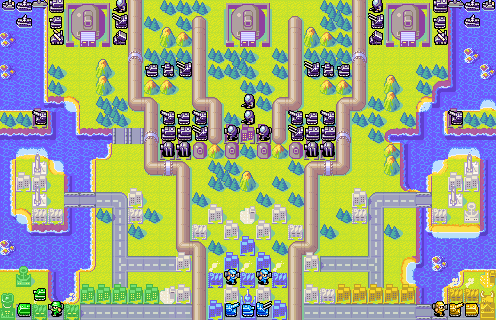
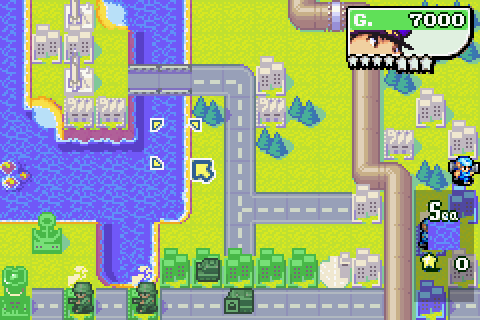
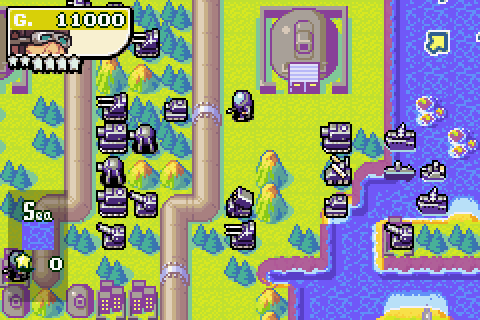
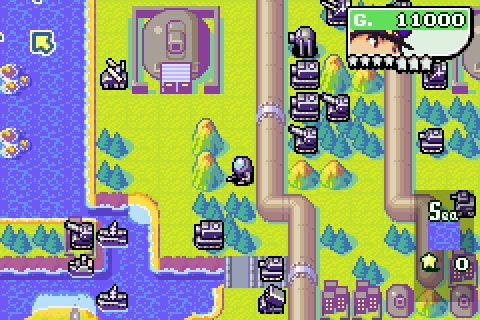
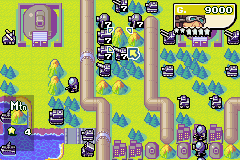
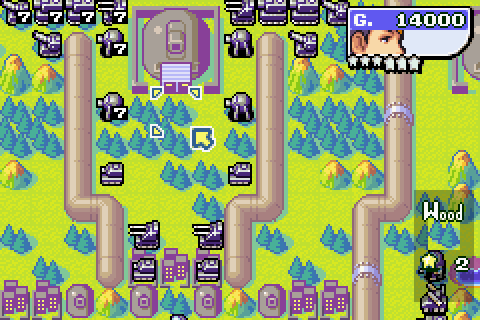
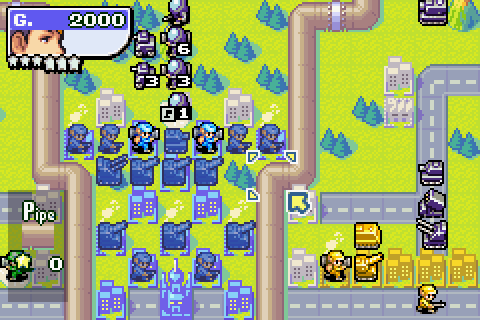
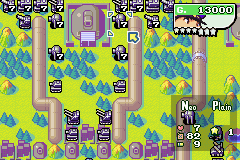
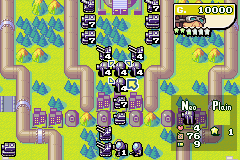
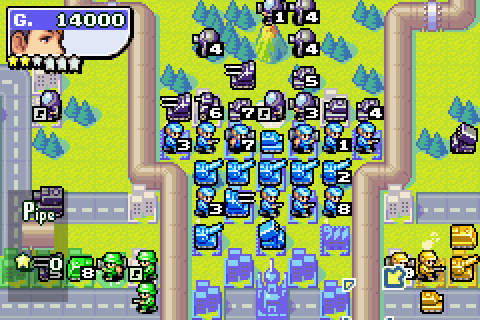
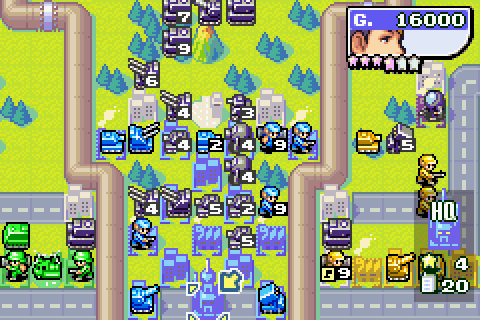
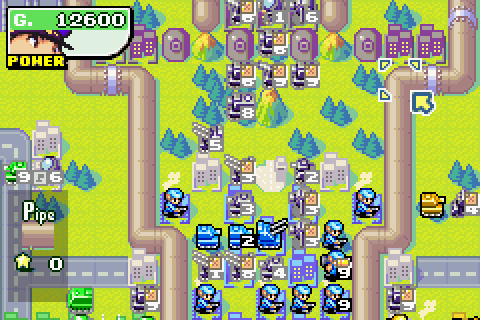
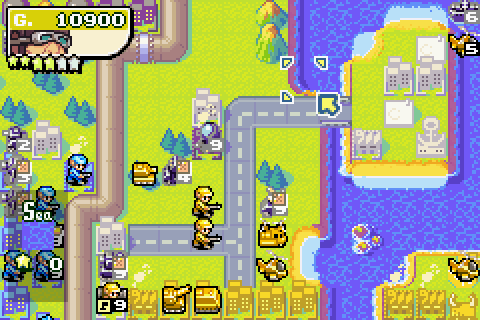
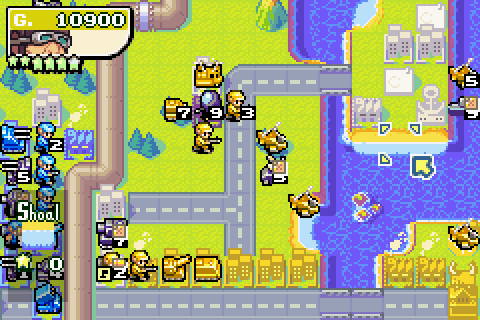
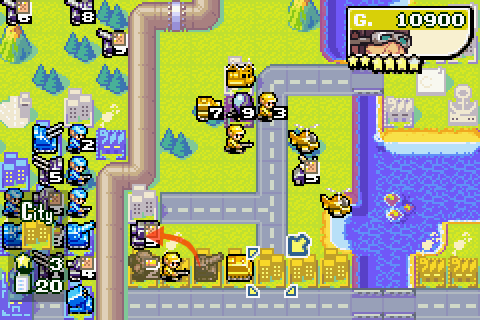
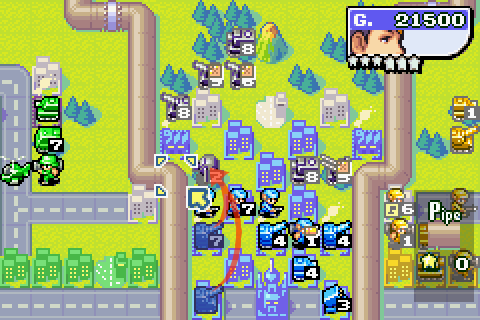
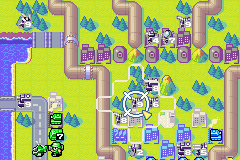
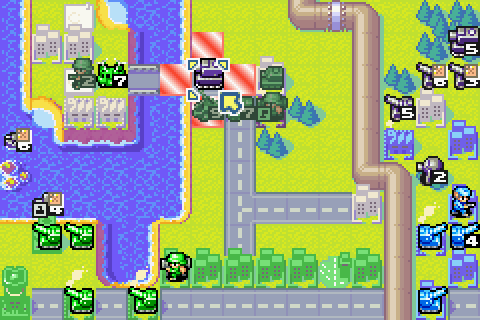
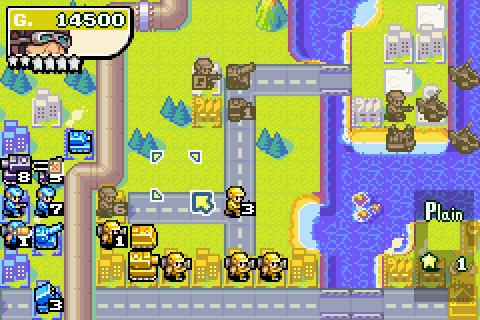
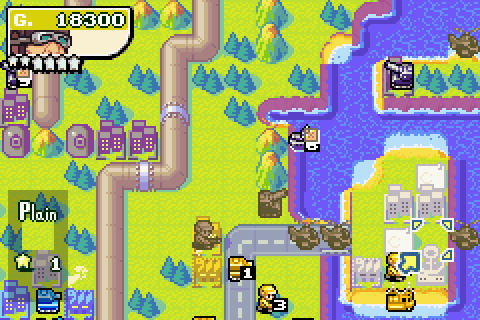
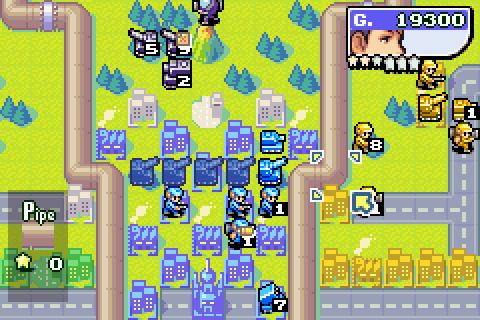
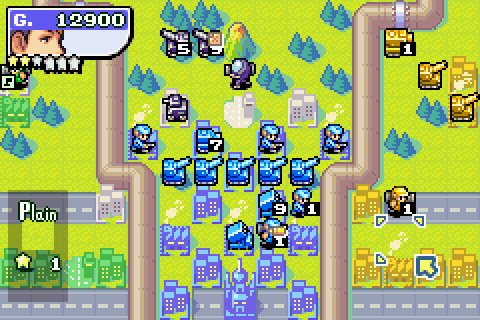
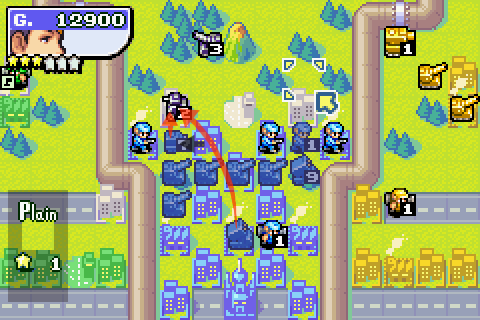
Overview map, complete with fancy hey-look-I-changed-the-army-colours-to-reflect-our-COs. That's a lot of enemy soldiers. Oh well, at least there isn't a factory
 .
.
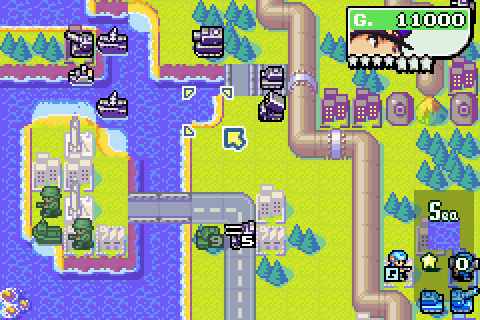
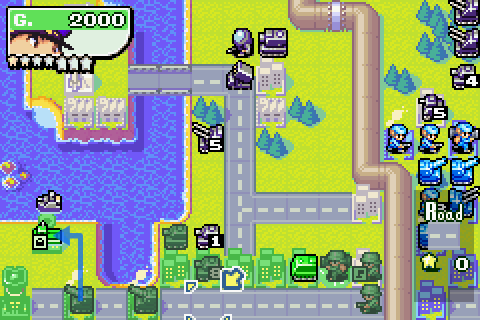
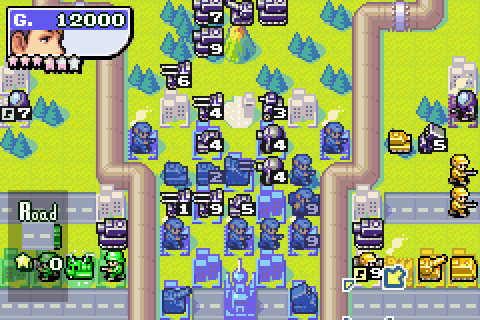
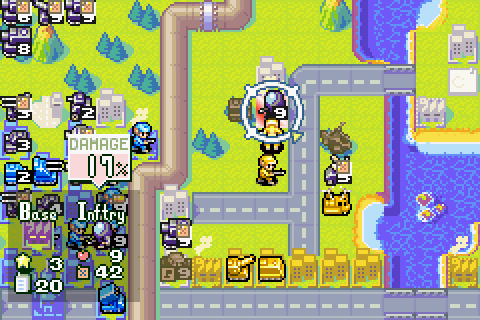
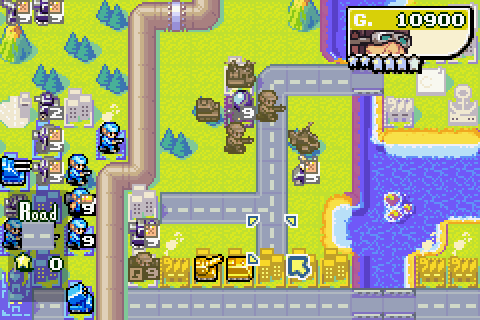
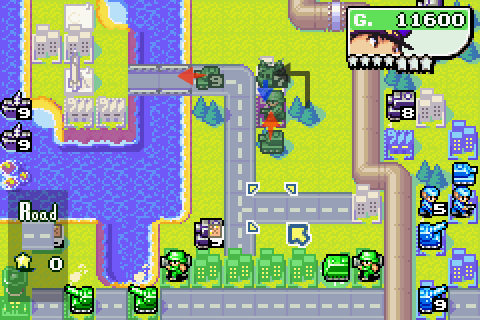
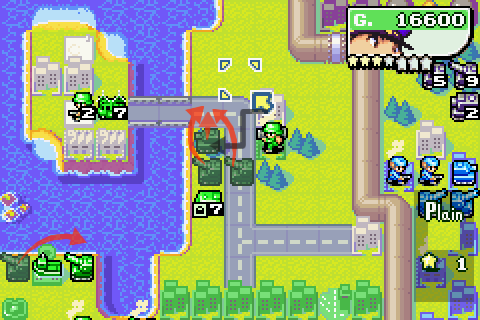
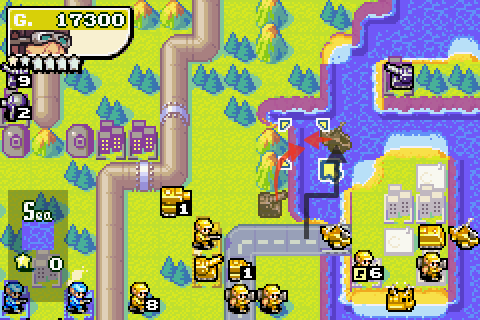
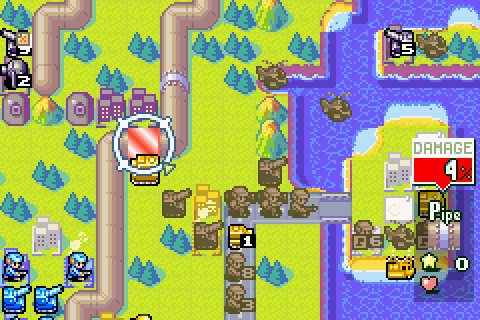
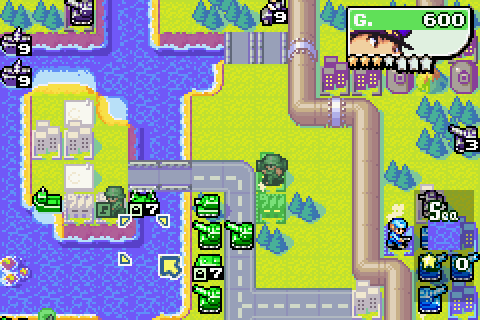
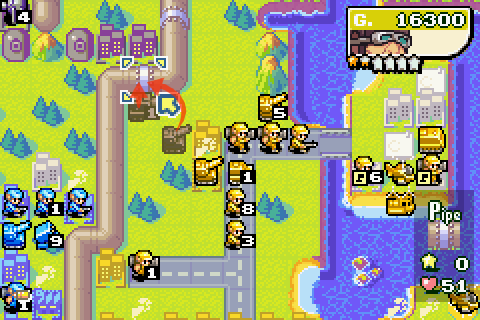
Quick check on how far we can move up the field before entering minicannon range.
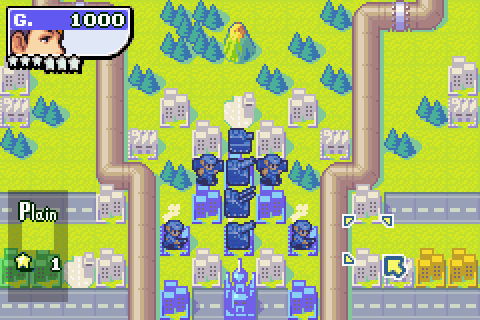
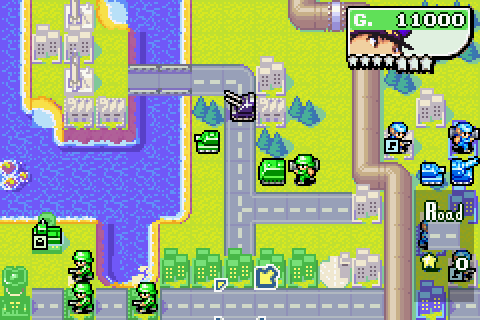
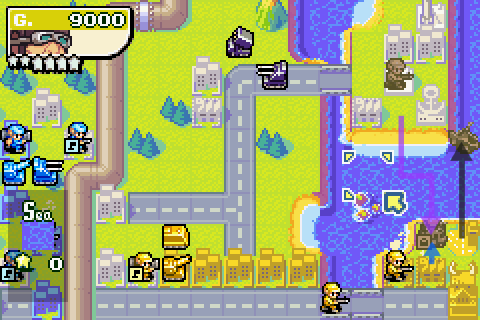
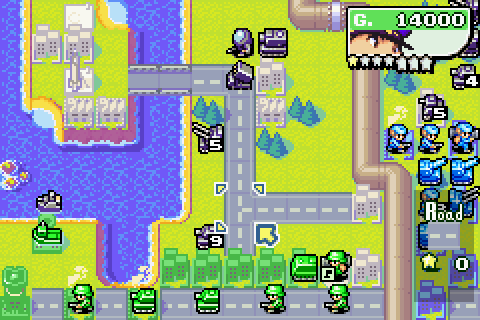
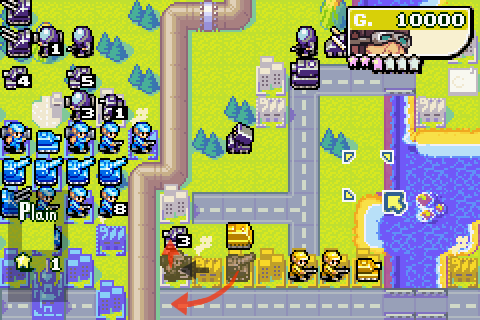
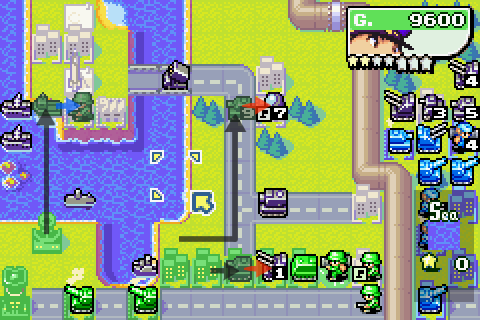
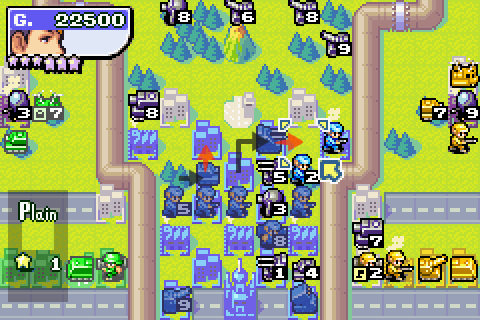
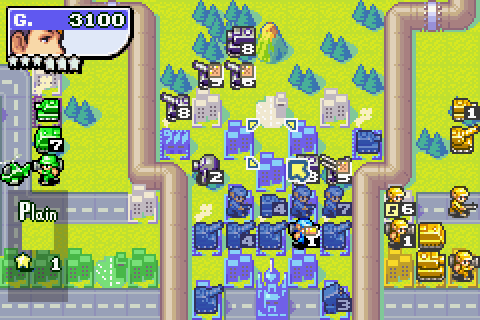
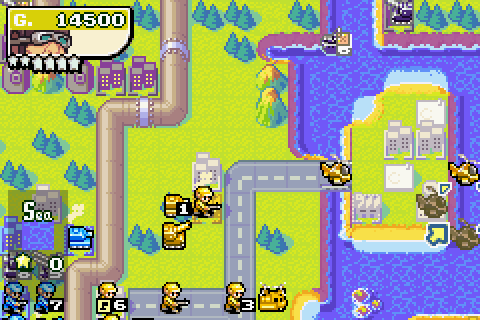
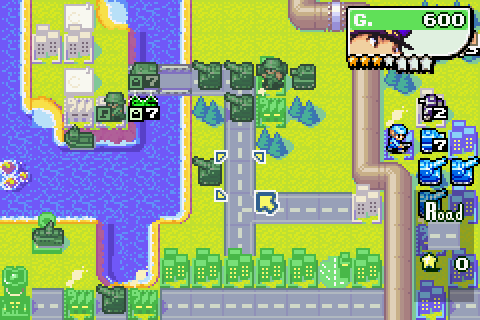
Looks like the airport's out of the question for now, but we can set up just behind it. Pre-deployed units move up, and I produce two infantry and an artillery from the bases.
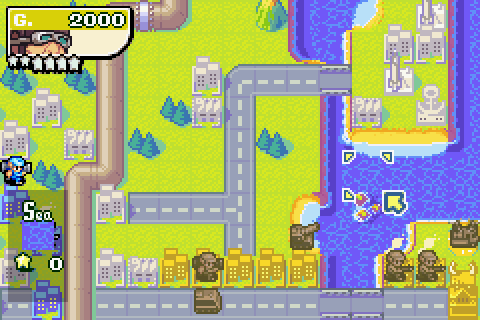
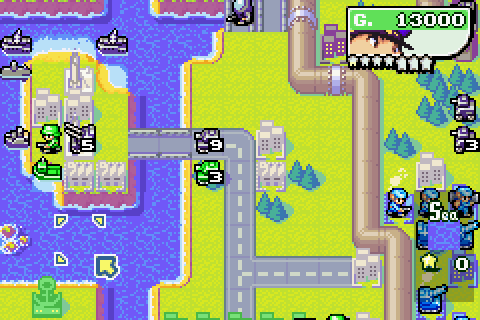
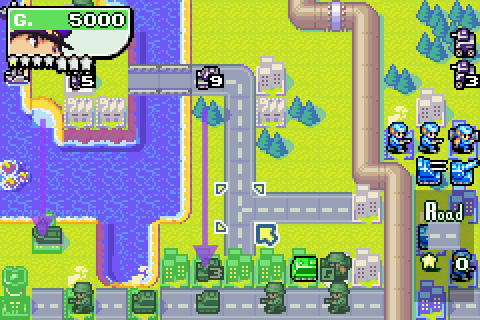
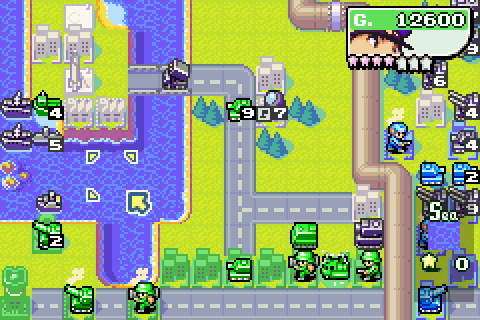
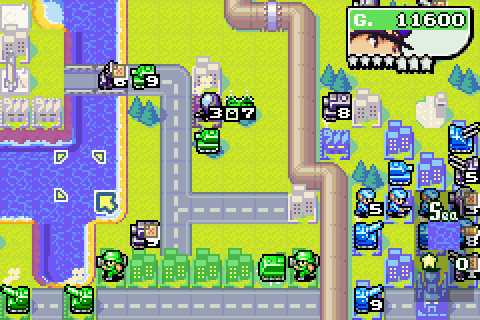
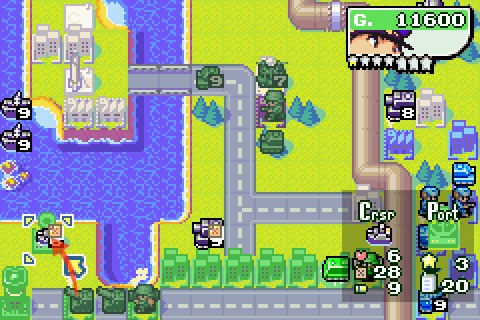
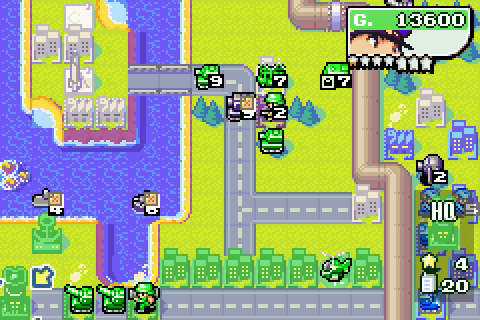
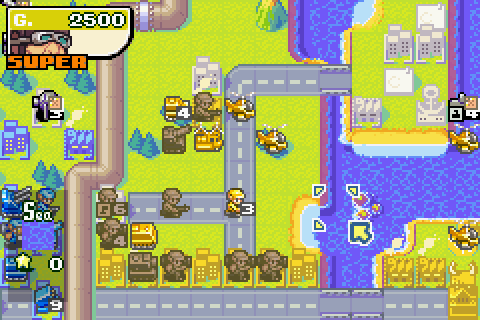
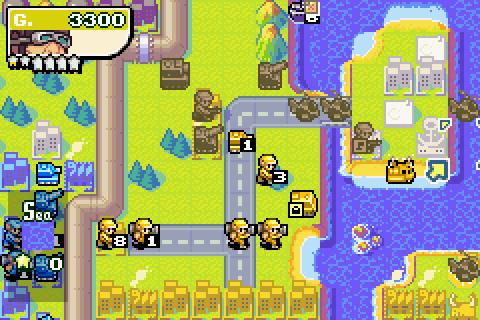
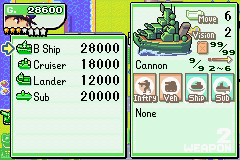
Over with Drake, the tank and mech-loaded APC head east, and I build a couple of infantry. Can't afford a lander yet, sorry.
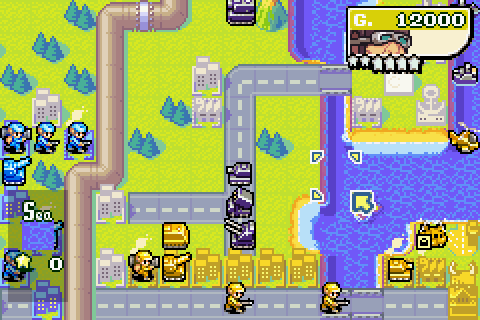
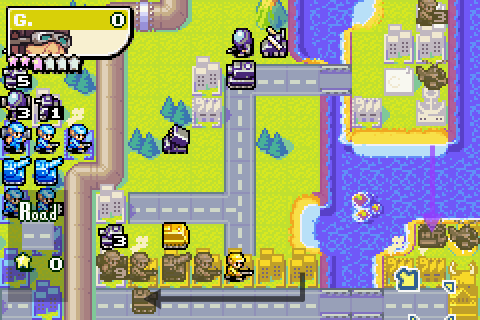
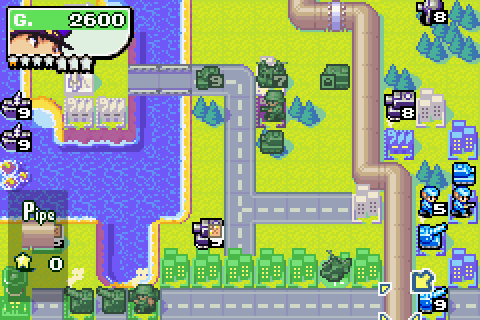
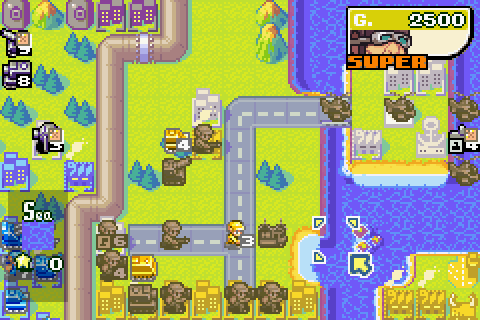
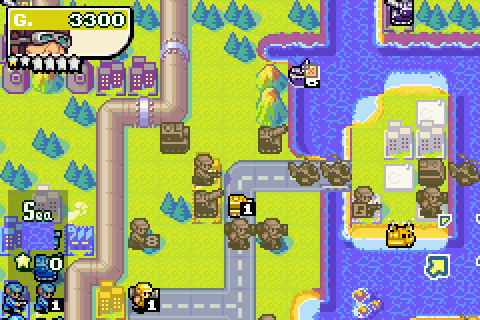
Similarly for Sensei, the APC, mech and artil move out, and I produce two infs and a T-Copter.
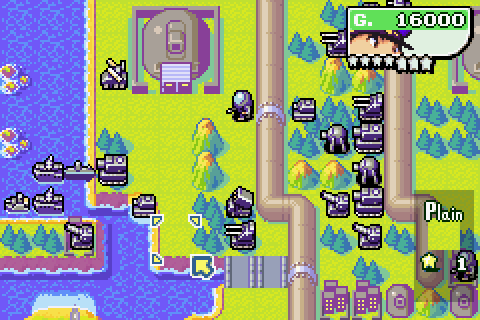
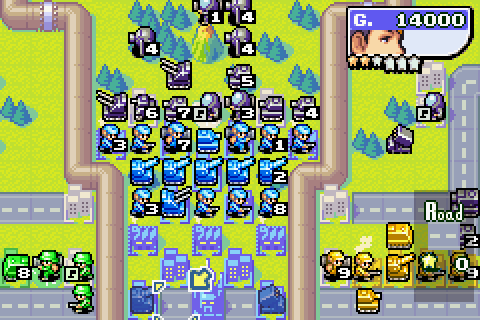
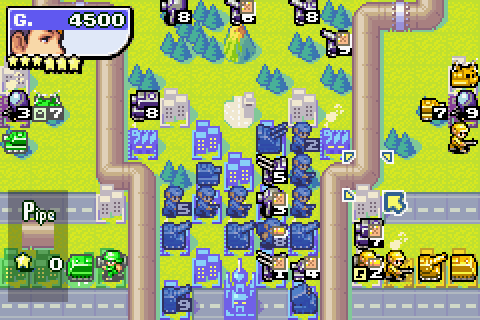
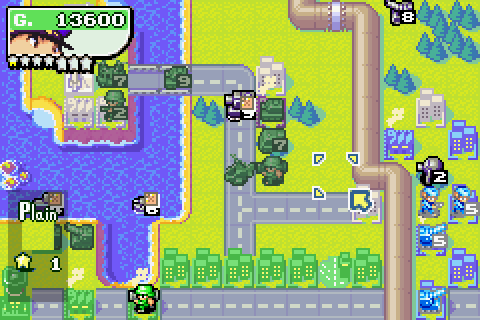
Day 2
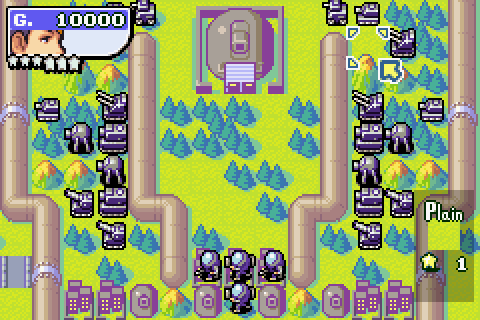
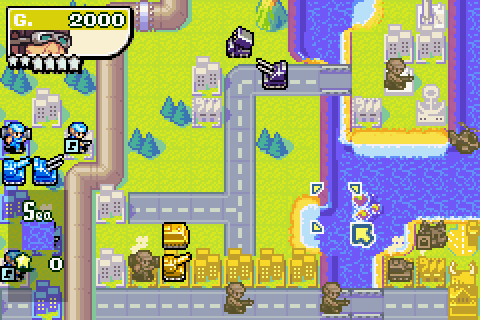
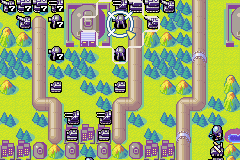
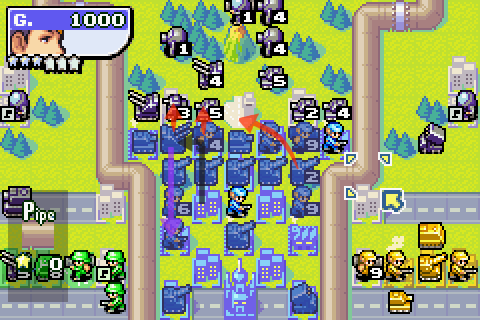
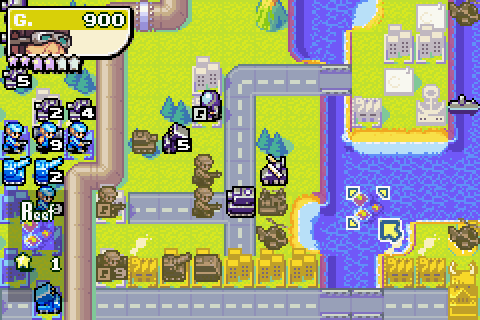
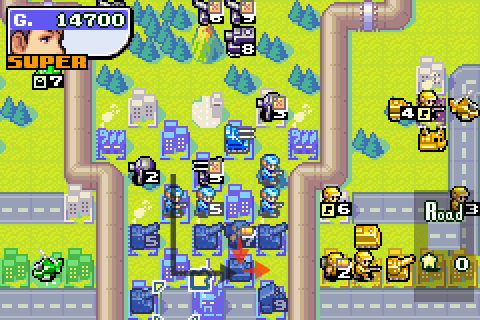
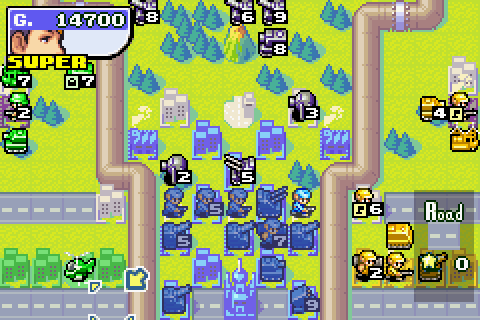
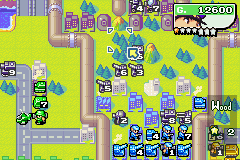
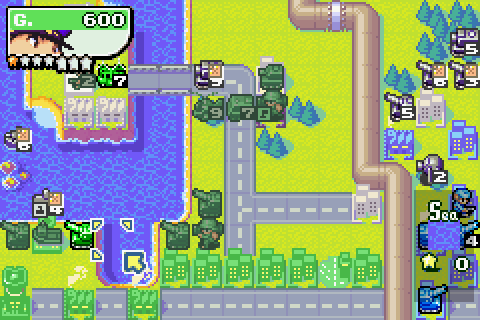
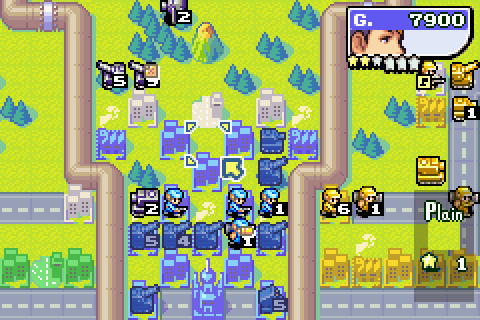
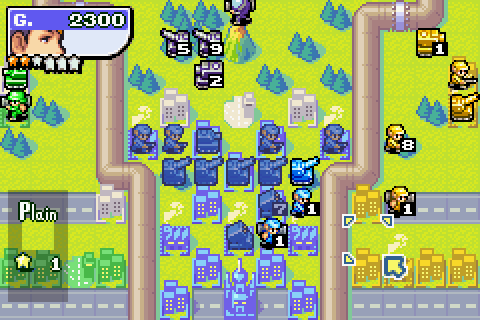
Sturm's superarmy takes a great lurch forward.
But they're not here yet, so let's focus on capturing for now.
Grit's artillery move up, and are joined by another one and two more infantry.
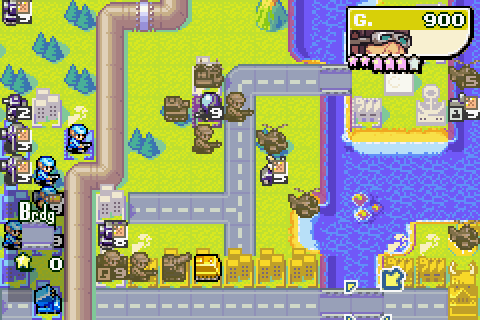
Sturm's flanks aren't as ridiculous as his central army, but they're still tough. Two battleships on each side, medium tanks, rockets... oh my.
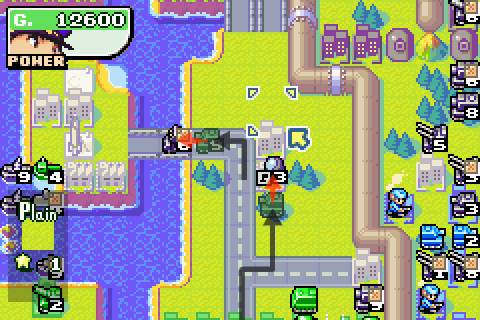
That AA is dictating where I can and can't drop my mech off.
This'll do for now. See if I can't grab that base before Sturm gets there (go for the airport? With Drake?)
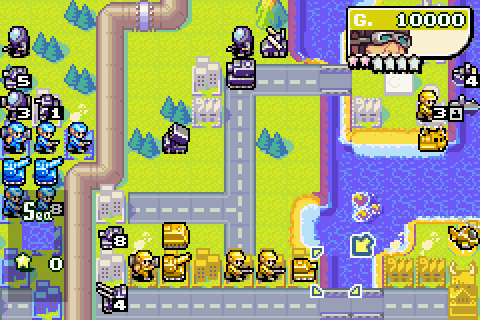
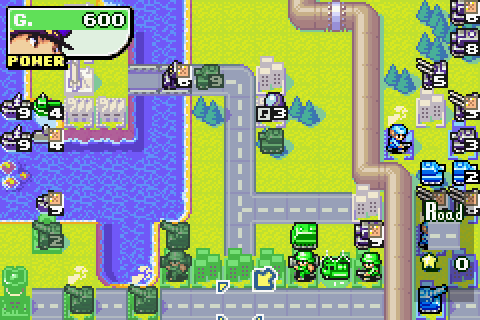
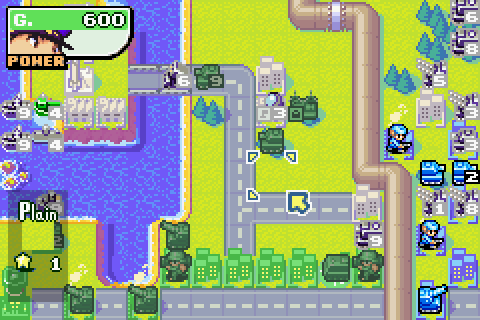
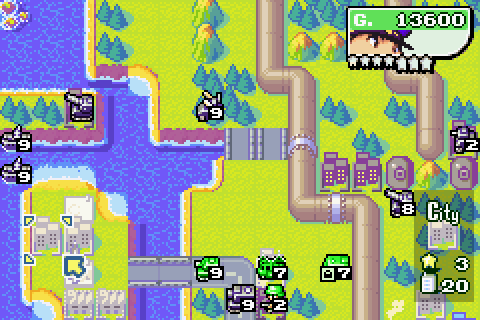
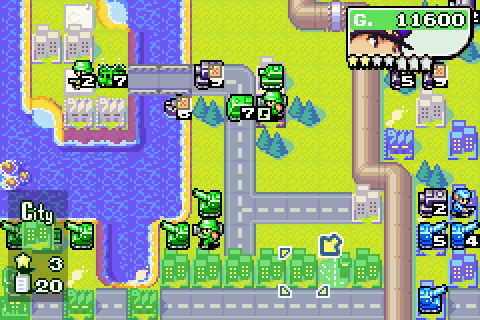
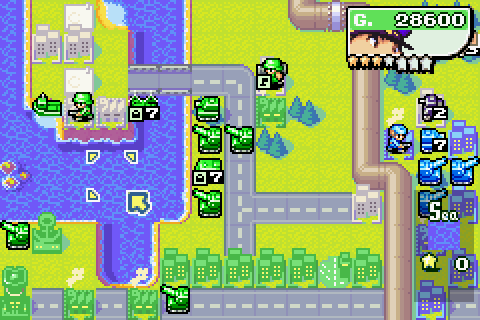
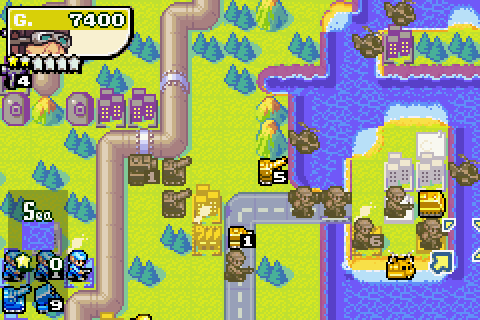
It's a similar story on Sensei's flank, mind.

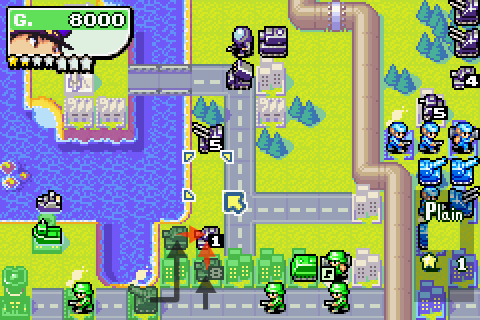
But I think over here I'll go for this southwestern base.
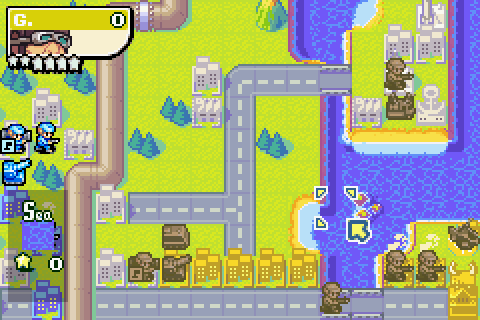
As well as trying to get to these missile silos before Sturm can bring the hurt. Meanwhile, the first Sensei B-Copter rolls out of the shop.
Day 3
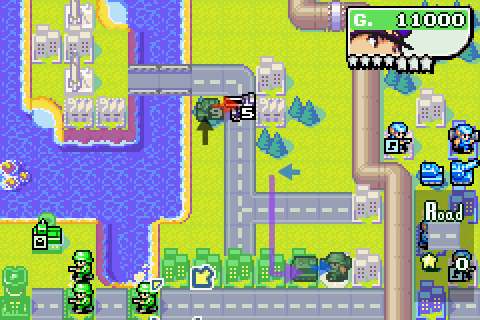
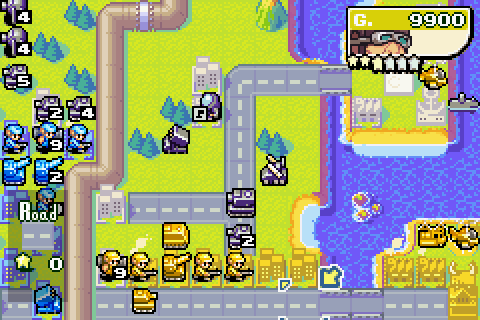
Aw man, those footsoldier are just out of range.
The good news is that I'm just out of range of them. So I can skimp on my meatshielding this turn.
Hmm, where'd the AA go?
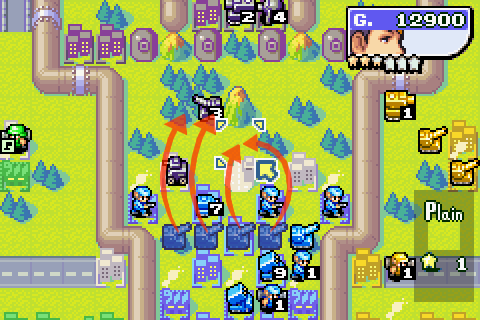
Ah, there he is. Couldn't resist a challenge, I see.
Oh well, that sets up the first bit of action of the round.
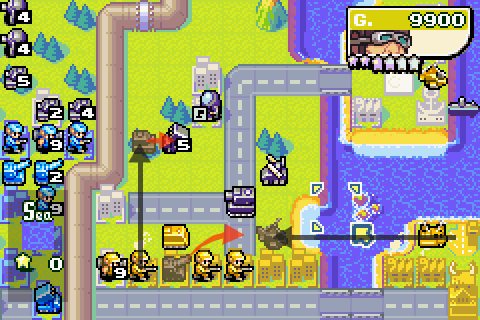
While my tank goes on the attack, my APC and mech retreat. Maybe I should be grabbing this airport after all...
It's going to be tricky taking these silos with all these battleships hanging about, but a soldier's gotta do what a soldier's gotta do.
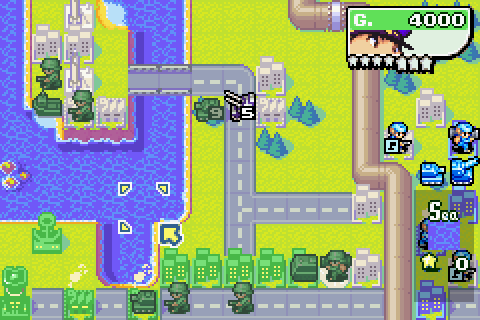
Let's finish off with a tank, then on to Sensei.
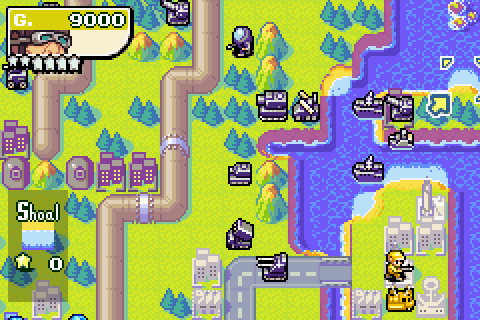
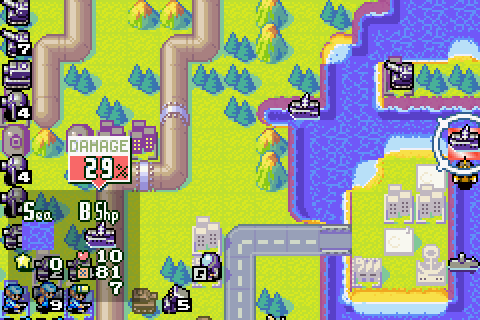
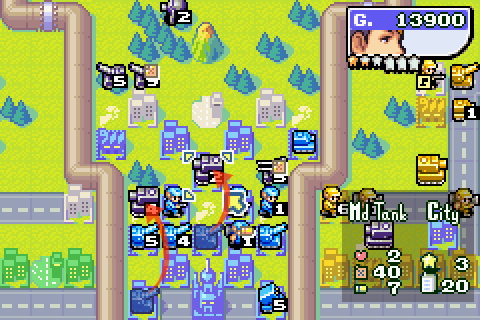
Oh boy, stuff.
At least we've got some heavy ordinance to throw at Sturm though. Damaging these guys isn't much, but it's a start.
T-Copter retreats to pick up another infantry, B-Copter advances.
Capturing, moving, tank building (gonna need something to take down that AA).
Sturm's battleships get to work on my brave silo-launchers. Pick on someone your own size!
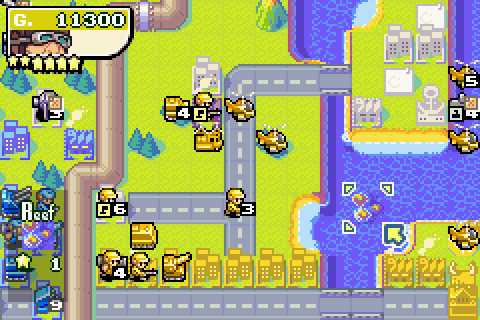
Day 4
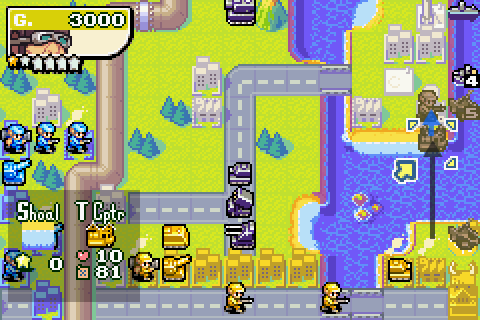
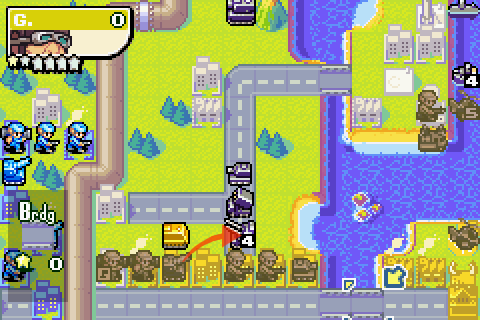
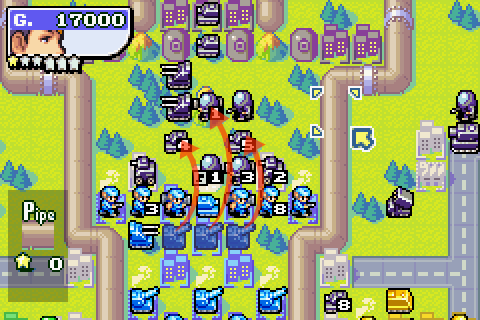
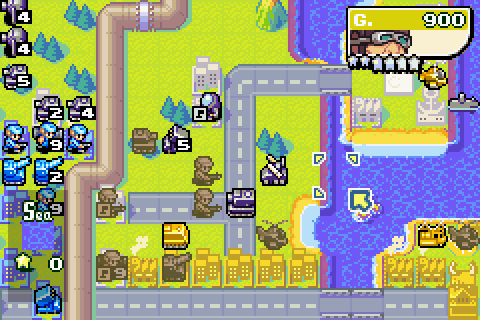
And still they come. A couple of tanks and AAs at the minicannons, now.
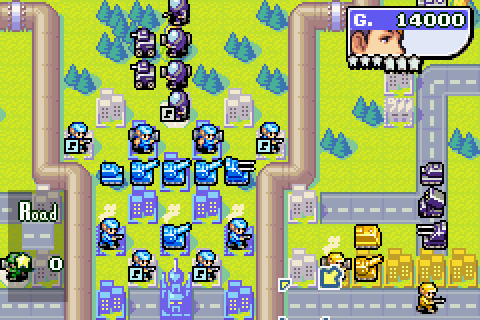
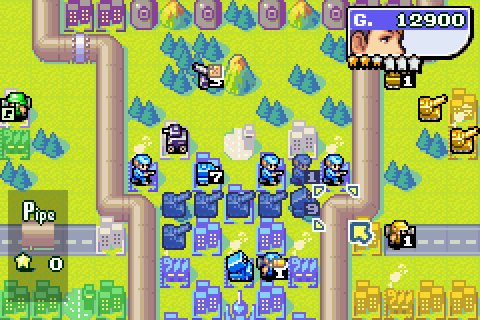
First though, we need to deal with these upstart footsoldiers. Coming over 'ere, taking our airports...
... give 'em a dose of the ol' artillery, I say!
Grit's tank rolls in to further damage the infantry unit on the airport, but it can't land the knockout blow. In some ways that's a good thing though, Sturm would only start capturing it again with a fresh infantry unit otherwise.
Setting up a nice defensive wall, and building more arties to go with it.
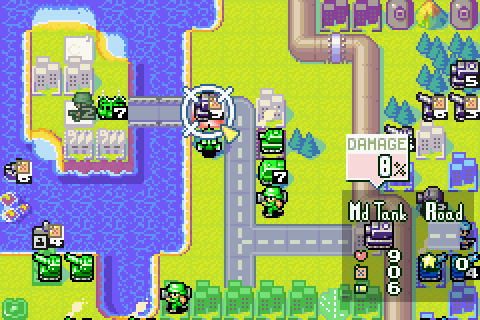
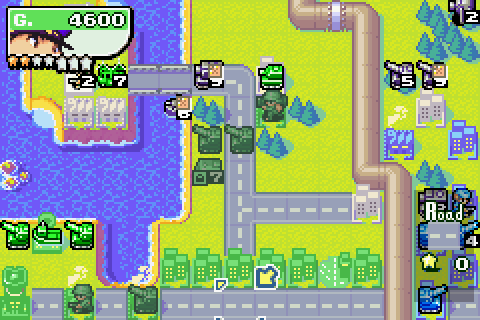
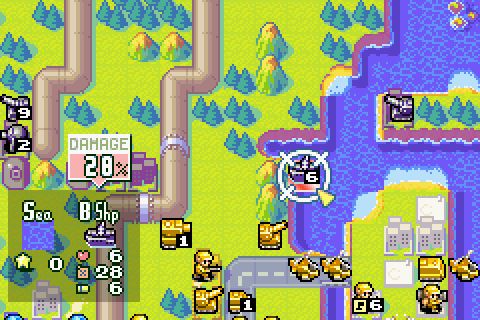
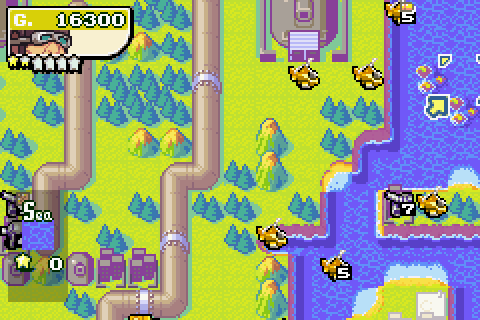
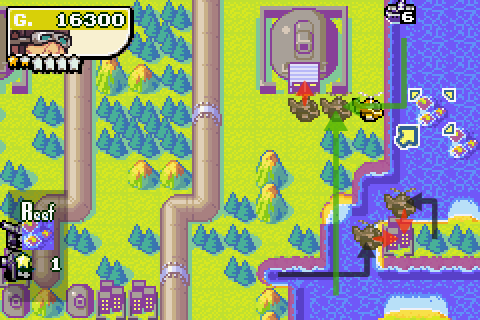
Time to check in on Drake. It's a bit of a suicide mission, but we have to get these missiles launched by any means necessary.
Can't hit all four of the heavier tanks on the right-hand side, but two neos and a middie (and an AA and artillery to boot) isn't bad going.
We don't want to leave all our units stranded though. Best pull back the lander and the damaged tank. If Sturm wants to follow me, at least I'll be on home soil.
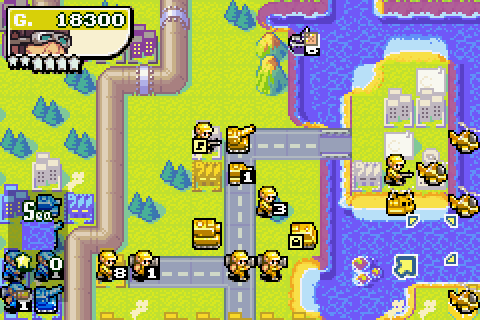
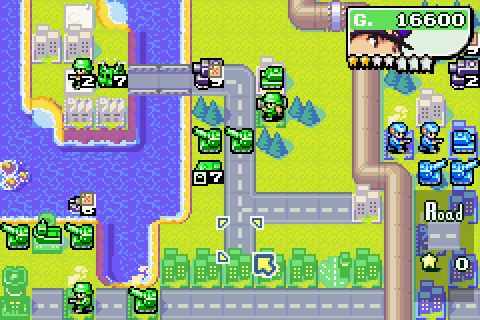
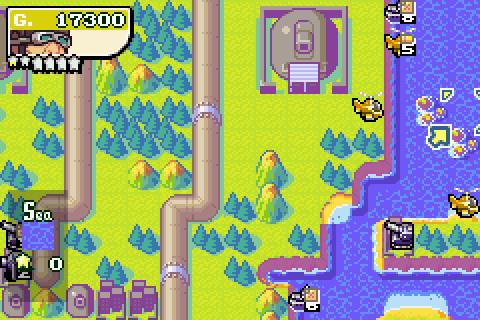
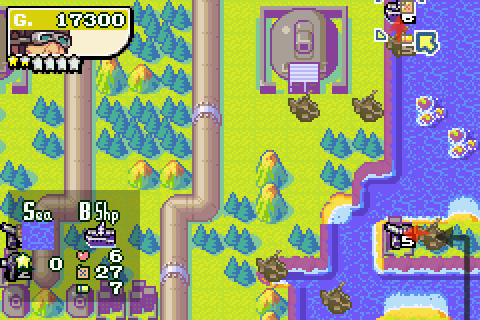
Now then, what's Sensei up to?
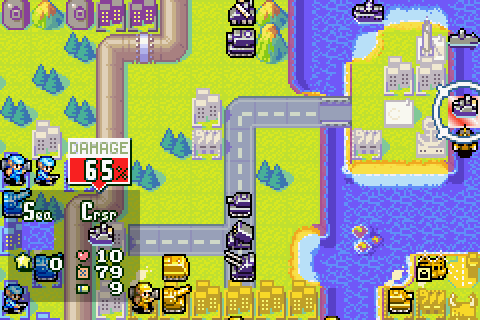
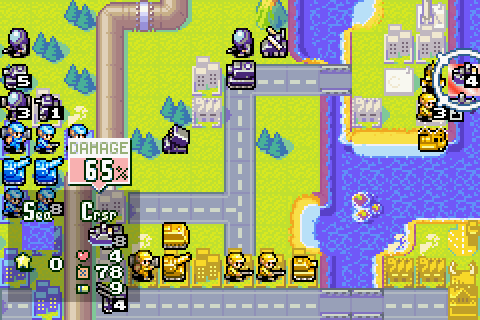
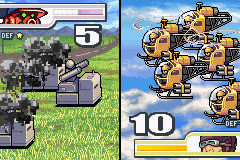
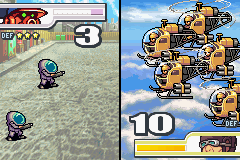
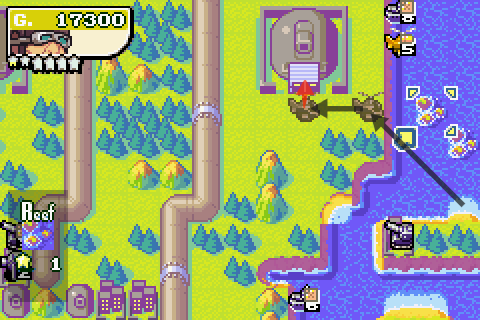
Well, you know what Sensei's copters do when confronted with cruisers. They attack them head-on. Although with Sturm's boosted attack and defense, this isn't going to be as one-sided as usual...
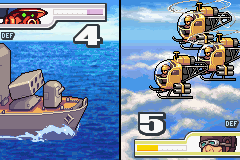
... case in point. Oh well, it's gotta be done.
Similarly, we've gotta keep getting infantry up there to launch these silos. Also, now that my B-Copter's been knocked down to half health, I'd better produce another one.
And I'll smash up this anti-air while I'm at it.
Day 5
Still no heavy units in sight, at least.
The artilleries keep plugging away. They're not doing as much damage as I'd like or expect, but then that's the thing with Sturm: even the most awesome COs have a tough time breaking him down.

One more artillery shot for the road, as I move more arties up to the front line.
Damaged infantry retreat, fresh ones move across to fill their places. A couple more infantry build, together with another artillery and a rocket launcher.
Over with Drake, we've got a tank to take care of.
Our own tanks take care of it, and I'll build an artillery for good measure.
In fact, two arties: you may have noticed that Sturm's cruiser decided to blockade my lander in port. I don't care much for that sort of thing, so we're going to need to blast that cruiser out of the way. Meanwhile, mech finishes capturing airport and the other infanty get on with capturing as well.
Sensei also has to deal with unwelcome invaders.
First of all, let's finish this cruiser off so that Sturm's navy is helpless.
Another missile silo - this one manages to hit all of Sturm's neotanks at once. Not a bad effort.
Arty and mech make short work of the uninvited guests.
T-copter retreats again, tank hides behind the infantry wall, and it's time for another B-Copter.
Unfortunately, Sensei couldn't take care of the rocket over here, meaning it got to take a pot-shot at one of Grit's artillery
 .
.Day 6
Things aren't looking too bad here.
The trouble is, Sturm's power meter is nearly full, and he'll probably be launching his super power it at the end of turn.
Not going to spoil what it does just yet, but let's just say moving a couple of these indirects back to try and spread Grit's forces out a bit is a shrewd move. Trouble is, it's a bit of a bottleneck in Grit's area, so it's hard to spread his forces out much, but this'll have to do.
Since Sturm's so close to his super power, we may as well go all out attack with the other artilleries. If we're going down, we may as well try to take him with us.
Joining damaged infantry together, and continuing to press Sturm as much as possible.
Further action as even the 2HP arty gets in on the act.
We're never going to hear the last of it if Black Hole manage to capture that base. Our only real advantage here is that we have bases and Sturm doesn't, after all.
Have at you!
Meanwhile my other tank attacks Sturm's AA, and once more I attempt to land missile-grabbing troops on the island (happily Sturm decided to stop blocking my port for some reason).

Nice of that submarine to hang around unsubmerged and in artillery range.

The arties get ready to hold the port, as my mech finishes off the AA.
Sensei's got a medium tank on his doorstep.
We're going to ignore it for now, though. First let's attack that annoying Grit-sniping rocket launcher, then finish off this damaged tank. Let's also bring this new B-Copter across, inside the missile truck's range shadow.
Infantry do things, another B-Copter built.
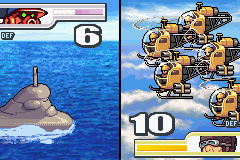
My other B-Copter goes on a battleship-shooting rampage. See if you can spot the error I made here, though.

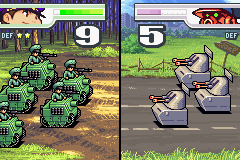
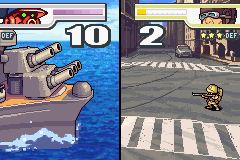
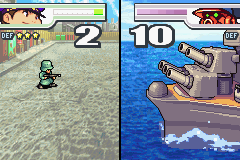
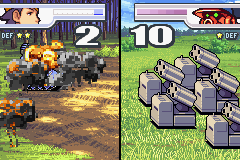
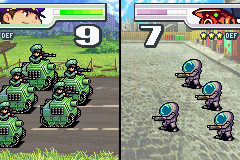
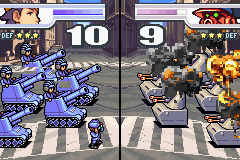
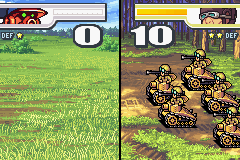
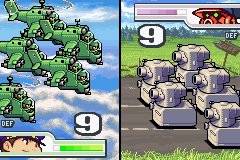
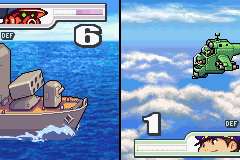
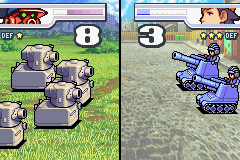
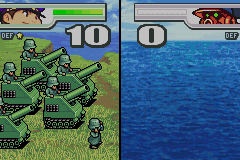
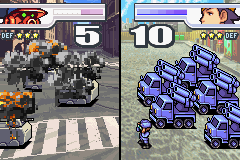
But first, gratuitous Sensei battle screenshot.
Okay, that's us done here.
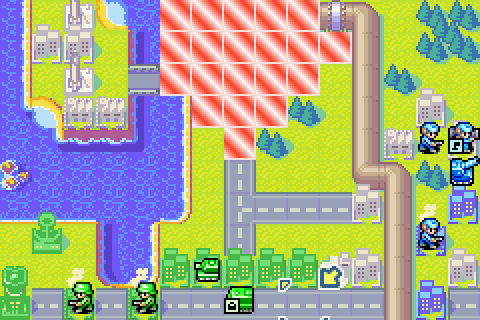
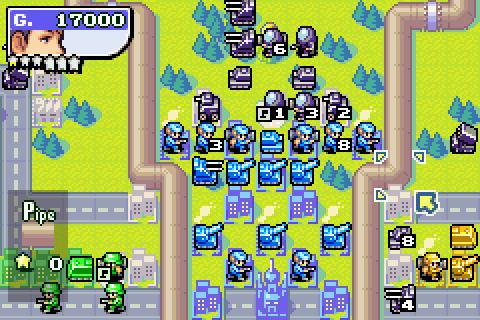
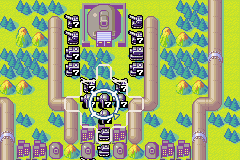
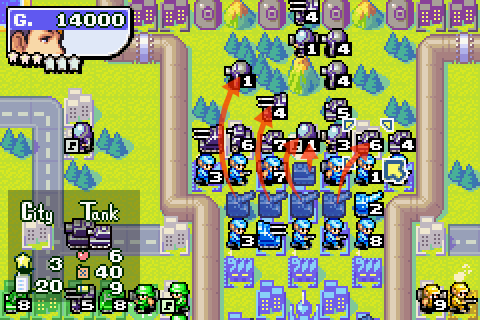
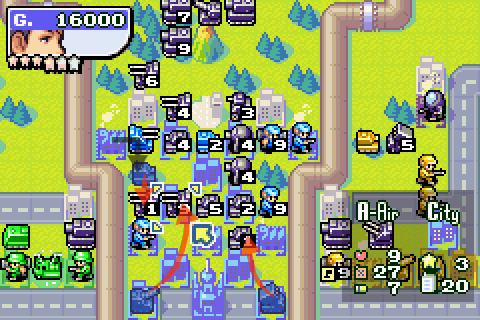
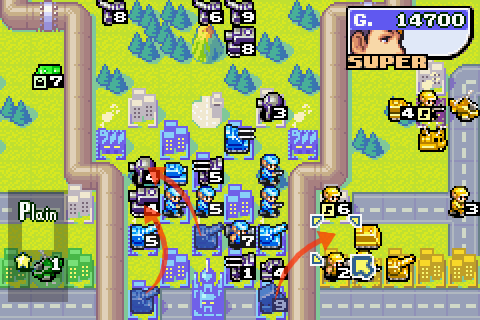
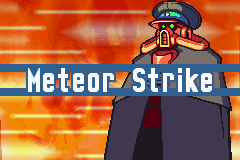
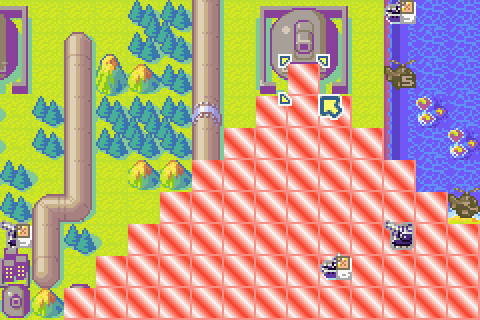
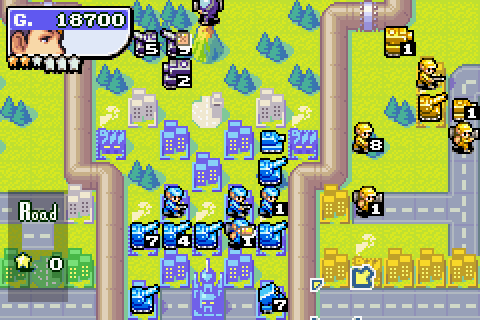
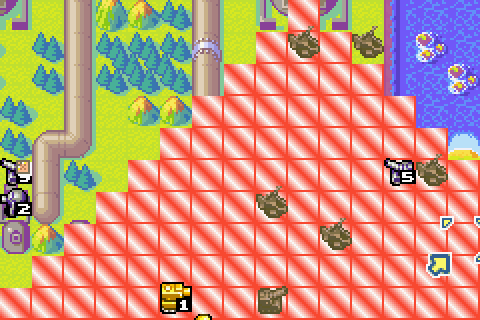
And here we go with Sturm's power.
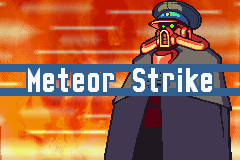
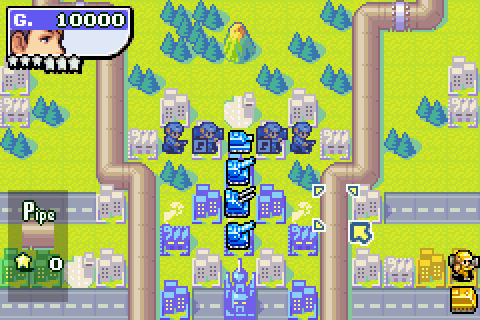
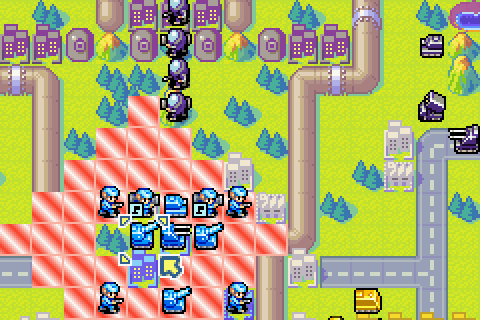
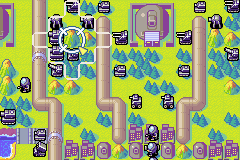
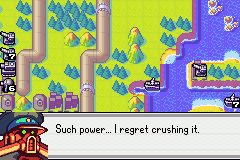
Meteor Strike? Why, what could that possibly entail...
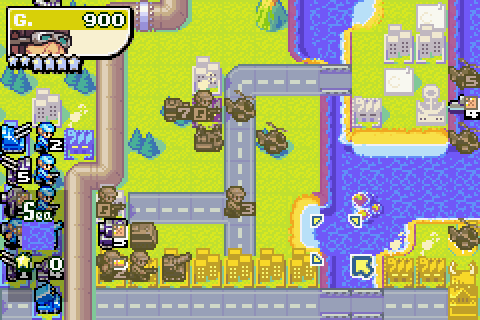
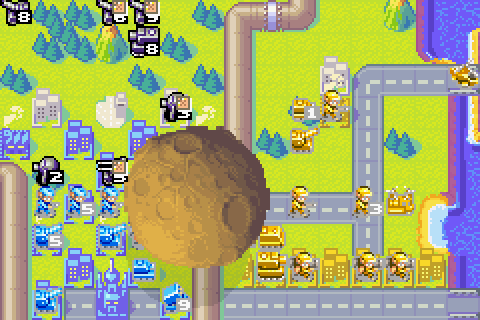
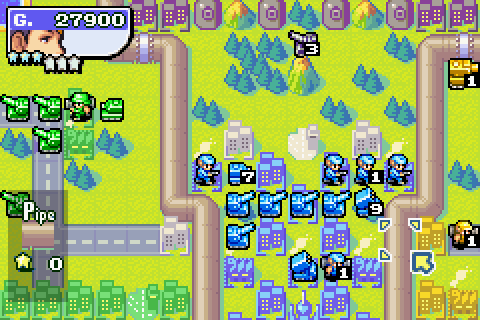
... oh.
Well, now you know. Meteor Strike drops a big ol' space rock onto map (targeting the highest-value cluster of enemy units), smashing any unit in it's missile-silo-sized range for 8HP of damage. Quite brutal. To add insult to injury, it also beefs up Sturm's units to even more insane levels. Poor Grit
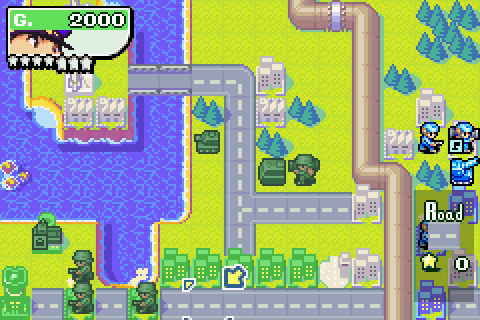
.Day 7
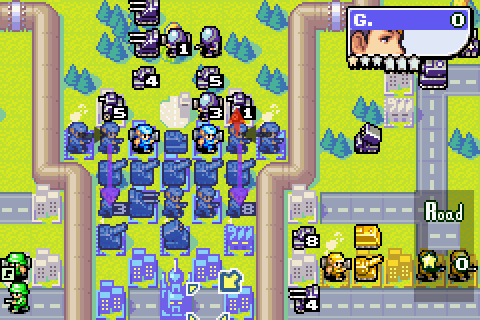
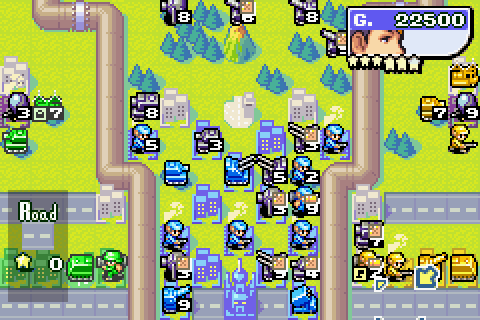
Ohgodwhat. With my lines all chewed up, Sturm's stupidly powerful units had a pretty easy time of it clearing up the remains. Grit's going to have to work hard now just to survive.
And to cap it all, with Sturm's defence through the roof the units I do have left aren't going to do much damage.
But well, we'll give it a go I guess.
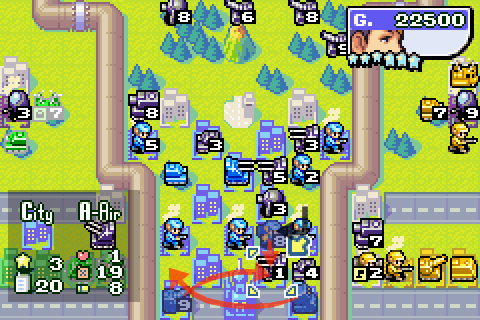
Desperately trying to get infantry into some sort of defensive line, but there's still a gap.
So let's have a second defensive line with... err... another gap. Well, at least Sturm'll have to snake around a bit to reach my indirects
Drake finds himseld with a blockaded lander and a damaged artillery.

The good news is that we'll be able to strike back against Sturm immediately. 1HP damage to everything isn't quite the same as 8HP damage to your main battle group, but it's better than nothing.
And of course it gives Sturm all sorts of fun fuel-related problems.
With that out of the way, on to the combat. Drake's tanks continue their agenda of menacing Sturm's ground forces over here, damaging a rocket launcher and that capturing infantry.
More artillery, more!
Infantry heads north in a T-Copter, mech and APC prepare to hold the line against that tank.
The B-Copter that attacked the battleship (top right) got hit by Black Cannon fire. Figures. But other than that, Sensei's having the easiest time of it so far.
Tank finished off rocket launcher, B-Copter engages in a spot of irony by attacking Sturm's missile truck.
Attacking this infantry unit doesn't seem like a good career move.
So let's surround it instead. Deploy units now, Sturm!
More B-Copters, more infantry.
Day 8
Sturm's still all up in my business, but the good news is that the artillery and rocket remain relatively unscathed.
Meaning that they can launch a counterattack of sorts. Or at least clear their lines a bit. Super Snipe fills up, but we'd be a bit mad to use it right now.
We've got a wall up and running now, even if it is a bit wonky.
A couple of opportunistic kills by my vehicles in front of the wall...
And, now we have this wall, we can deploy some more artillery in relative safety.
Let's see what's happening with Drake.

Blowing up annoying infantry is what's happening.
With the rocket launcher and infantry gone, I can move in and secure this area.
Trouble is, there's a cruiser sitting in my port, bold as brass. But we can attack it, while still setting up a mini-chokepoint to try and tempt that medium tank into something rash.
APC brings up mech support, and - yes I know, a Drake B-Copter, how could I. Well, the port's blocked, my bases are full, so I may as well deploy something. It can help with the medium tank.
Now then, Sensei.
Artillery attacks medium tank as the damaged mech finishes its capturing.
Let's do something about this infantry.

B-Copter and tank take it down, and my own infantry starts capping for the glory of Yellow Comet. Meanwhile, another B-Copter finishes Sturm's missile launcher off.
Over in the east, I've trapped a sub between two B-Copters and it can't get away... somehow.
All in all, things looking pretty decent for Sensei.
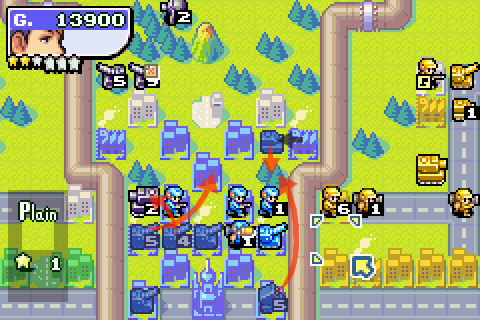
Day 9
Now then, where were we...

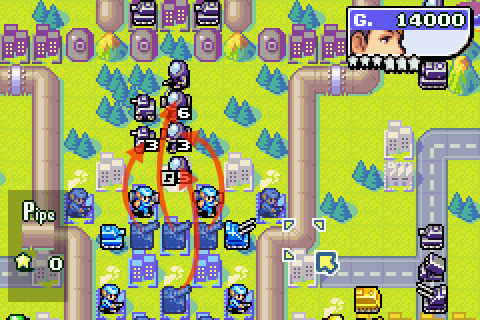
Ah yes. Time to beat the enemy back a bit.
Artillery salvos soften up the two big tanks coming down the left side, while the rocket launcher pops some shells over the pipeline to save Sensei some bother.
The medium tank gets finished off, the neotank whittled down to 2HP.
Mech and small tank clear out the units that were skulking behind my lines.
And my infantry straighten out into a nice wall again.
Looks like Sturm's middie decided to shy away from the artillery challenge and focus on my capturing infantry. The coward!
Not the only coward though. Look at those battleships retreat. I don't even know why, they had me pinned down.
Not going to look a gift horse in the mouth, though: this damaged infantry unit can go on silo-launching duty.
Tank holds the line at the base until that middie's cleared out of the way and I can capture it.

And we'll have some more arties.
Looks like Grit isn't the only one with a full power bar.
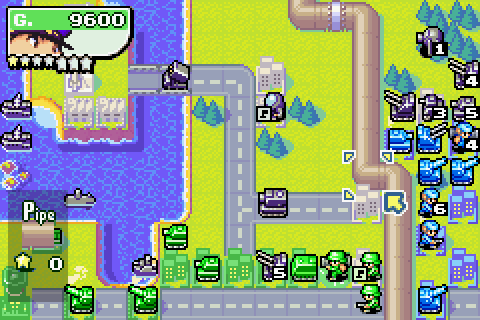
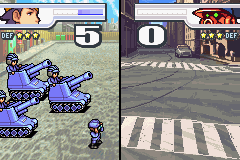
When Mechs Attack
Luvly jubly.
Let's join those mechs up and use the extra cash to field a medium tank. Just because.
The B-Copters hang around outside of Black Cannon range, getting ready to go on the charge.
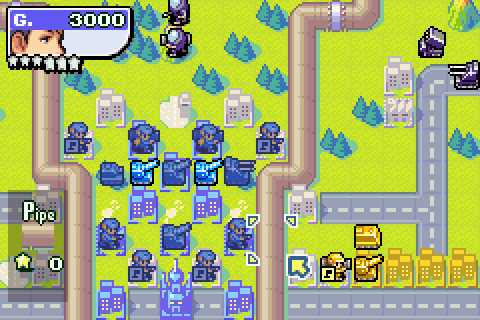
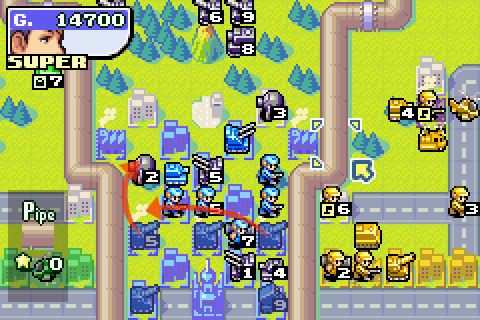
Prepare to meteor doom!

Oh, crumplehats. I'd just gotten the place straightened up, too!
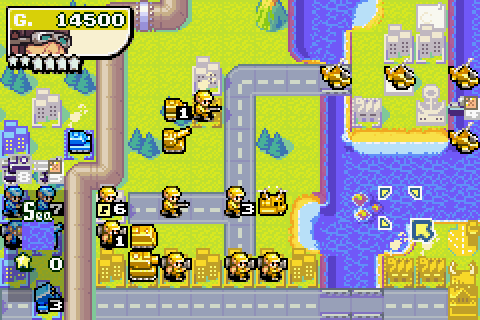
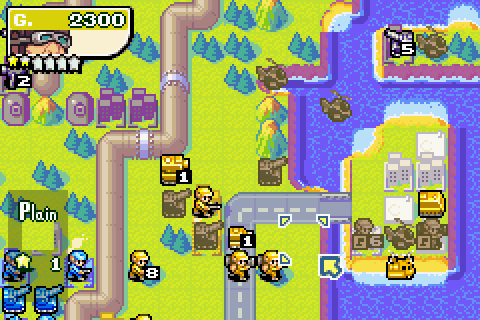
Day 10

Well, things never look great after a Meteor Strike, but this doesn't actually look that bad. Having a lot of units on cities for the auto-repair seems to have helped, as does the fact that the bulk of Sturm's forces are gone now.
We'll take a couple of shots at this neo over here.
Join some units up, rebuild the wall, plonk some more artillery down, and hey presto, we're back in business. It's not perfect, but it's pretty much the best you can hope for in the aftermath of a Meteor Strike.
To add to the fun, we've got Drake on hand to provide us with a missile silo. Let's target this group of artillery up here, I'm sure they're plotting something.
Can I damage this medium tank?
... no. Well that was a bit of a waste.
Especially when you consider that the middie has run out of fuel and so isn't a threat unless some idiot parks next to it.
Oh well. Let's have a new lander so we can get these arties upfield or something.
Hey there, Sensei.
Still killing subs I see.
Now then, time to start advancing on this Black Cannon. The good news is that I can sneak B-Copters past it if they hug the right wall.
As more copters prepare to make the jump across, I finish tidying up down south.

And move everything forward.
Owch, completely forgot about Sturm's cruiser over here. Now attacking that medium tank looks even dumber.
This is kind of more expected, the weak link in Grit's wall being tested by Sturm's medium tanks. Seems to be just about holding up.
Day 11

Middies ahoy.
Stand by to repel borders!
Even the weakened arties are getting in on the act.
One middie down, another dropped to 2HP. And I've cleared out an AA while I'm at it.
Getting into an decent position now. There's always the threat of another meteor strike, but we can probably deal with it now.
Drake...
... has a pretty boring turn. With that medium tank a sitting duck, I can just patiently roll artillery into firing range of it.
Sensei's turn isn't much more exciting, but I guess stuff does happen.

B-Copters advance up the field, the 5HP one taking time out to annoy Sturm's battleship.
Sturm's other battleship needs taking down too, but I have to stop it running away. Sacrificing an arty should make it stay still so that my B-Copters can pound on it.
Another B-Copter...
... and general unit moving.
Day 12
With the Battle of Grit's HQ Area won, we can start moving upfield a bit.
First let's have a nice line of artillery here, where they can hit Sturm's arties without being hit themselves.
Give them some meatshielding, and we have a platform. A platform from which to build rockets, so we can go take on these minicannons.
We've got a couple of sitting ducks here to take out.
First, there goes the cruiser.
Arties and tank combine to take down the fuelless middie.

Capturing, moving, transporting, etc. Not buying, though. I think I'll save up instead.
Here we are at the right-hand Black Cannon.
It'll take a little while to get mobbed by Sensei, but he'll get the job done.
Curiously, that battleship decided to attack a capturing infantry than the arty threatening it. Oh well, not complaining.
Down she goes.
Harassing the other battleship and that island artillery.
I'm working on the multiple targets theory here: the Black Cannon can only shoot one thing, so put lots of things in range of it and spread the risk.
Dum de dum, artillery artillery.
Whittling 4HP off this pipe seam isn't much, but every little helps.
Day 13
Hah! Call those artillery?
These are artillery.
General arty/rocket moving.
The other rocket assaults the recon that's hanging around near my lines.
Tank support chips it down to 2HP.
Saving up that money paid off.
Because now I can build a battleship!
Some more capturing...
... and moving up this little hoard of arties.
Now then, Sensei.
Sturm's arty goes down under a hail of air-to-surface missiles, two other choppers combine while another one keeps plugging away at the Black Cannon.
Let's keep attacking this pipe seam. Should go down soon.
Moving on up.
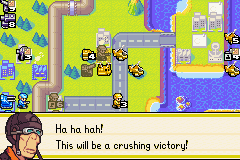
Day 14
Well, we're coming up to the end of Part 1, and we need some sort of cliffhanger.
There's one thing you never put in a trap if you're smart. If you value you continuing existence, if you have any plans about seeing tomorrow there is one thing you never EVER put in a trap.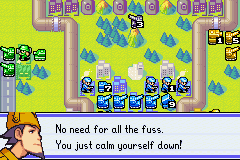
 Me.
Me.There we go.
To be continued...