Part 10: Golmud Railway
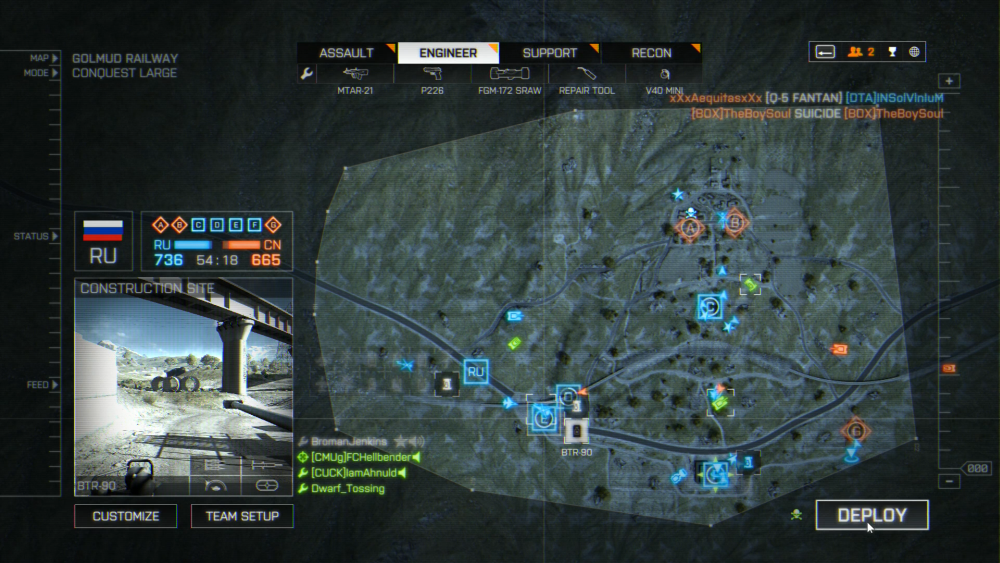
Multiplayer game: Golmud RailwayWe've been on Golmud before for Obliteration, but you don't really get the scale of the map from that, especially considering with Conquest Large you get a ton of vehicles to tool around in. Speaking of, when you notice a jump in the ticket count, I had hopped in a helicopter or jet. We'll be getting into those soon enough.
The map has a couple points of interest. If you look on either half (to the left or right of the A and B area) you'll see shadows that denote ridges. These ridges are pretty popular for snipers trying to pick off people in the village or out in the field and for vehicles to camp out on to get good angles for the same reason. If you are driving a tank you owe it to yourself to drive on the ridges as you'll get a pretty decent vantage while being able to back up into cover. Also noticeable are the roads on this map. Many of the vehicle maps contain pretty well worn dirt roads or some pavement. Generally, following these roads is the fastest way to the action, but is also a really good way to die to mines, so you'll see me use them a bit, but avoid them more once the game is in full swing. Highly suggested you do the same unless you know the enemy can't push to your side of the map. There's also a big white area between C and F, this is the embankment for the eponymous railway, which transfers to the white structures on either side of the map; rail bridges. While we're at this, you'll note that F is miles from the other objectives. I have a theory on why.
Some points on the conquest maps are what I like to call Honeypots. C on Siege of Shanghai is a good example. There's a clear benefit to it, the elevated position gained by hanging on the top of F on this map and C on SOS is generally enough to drive people there, for example. F on this map also produces a rocket truck, but once one team has it you would think that there wouldn't be fighting for a bit as people try to re-evaluate which points have priority. Nope. F is home to some of the most constant infantry combat on the map, and houses snipers and engineers in equal numbers. The fact that it is a quick drive from both team's "gimme" capture points helps, as having a foothold between the two can be helpful, but you could do that same thing by holding C and then you would have a chance to push into A and B pretty easily instead of into a heavily hostile area of the map. The height, the rocket truck and the seemingly good positioning of F make it an attractive spot, but in truth it is so far removed from C, B and A that it's not a great spot. What people should be concentrating on out of the gate are D and C. By grabbing those two you can put a capture point right next to your "Gimme" point and get a foothold towards A and B. If you get just A or just B out of the deal you've already captured 4 of the 7 points on the map and are causing ticket bleed. Even if you don't get A or B you still have an extra "gimme" flag sitting in your spawn and good access to A and B and if you really wanted it, F.
Let's look at a markup here:
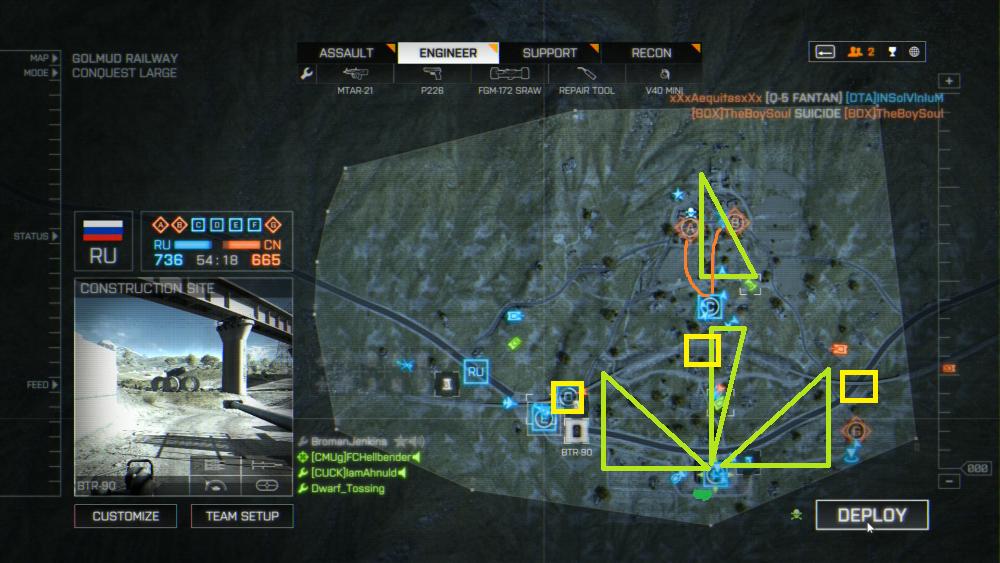
Shitty MSPaint skills!
The one nice thing I'll say about F is that it has some decent sightlines...that can be completely avoided by going up the hill in front of the point. Aside from that, the only real point of interest there is the rocket truck that spawns in. It's worth having, but not worth fighting too hard over. The yellow squares are the positions D takes at the terminal points. It starts off in the center and moves left or right depending on which team owns it. By the by, I mention in the video I've never spawned on the train. Turns out you just paradrop in. Holding D can be important, as if you want it back you have to travel into enemy territory and we all saw how well that went both times that was attempted and I was around. One more major sightline exists in the houses behind the A and B points. Snipers and engineers like to hang out up there. The former because hes' a sniper and why not and the latter because it gives great visibility towards the enemy's side of the map and the chance to launch some rockets their way when tanks roll up. It also gives them a great chance to come down from the hill and take B or A or push into C. C has some orange lines coming from it in this picture because there are some good paths going both ways. Despite the uphill climb, C is great as you'll end up sneaking up on guys in windows at A or B about half the time by coming through the village from behind.
The map also features a few triggered explosions. I mention a mine takes out a teammate in the video. Upon closer inspection it appears that it was detonated by an enemy. Good thing I got off that road. The hills on either side of the map not only give snipers cover, they are often the one thing that keeps a good tank driver from firing into the enemy spawn from ten miles away, so watch the ridges and wait till you have the right angle on someone just cresting the ridge and firing on your Moble AA. They should be an easy kill when they aren't paying attention.