Part 120: Solar Winds
Solar WindsI forgot to mention this before, but we're moving on to the lurkily system for another pair of planets.
Video
This well-named planet packs a much greater punch than I expected at first. It ended up taking me nearly as long as Bardel, and there are points in the video where frankly I start whining like an immature brat as I struggled against what I thought was going to be a pushover planet.
What's that, you say that's nothing unusual and I really am an immature brat? Shut your trap over there in the peanut gallery. Also, you're probably correct.
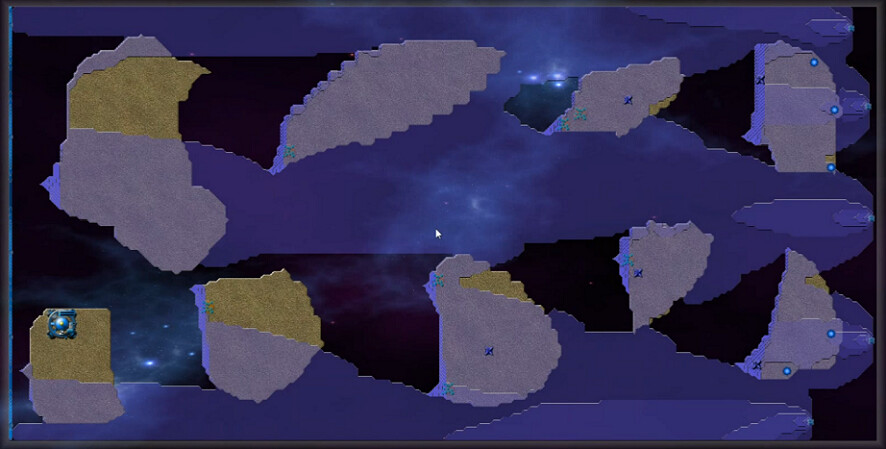
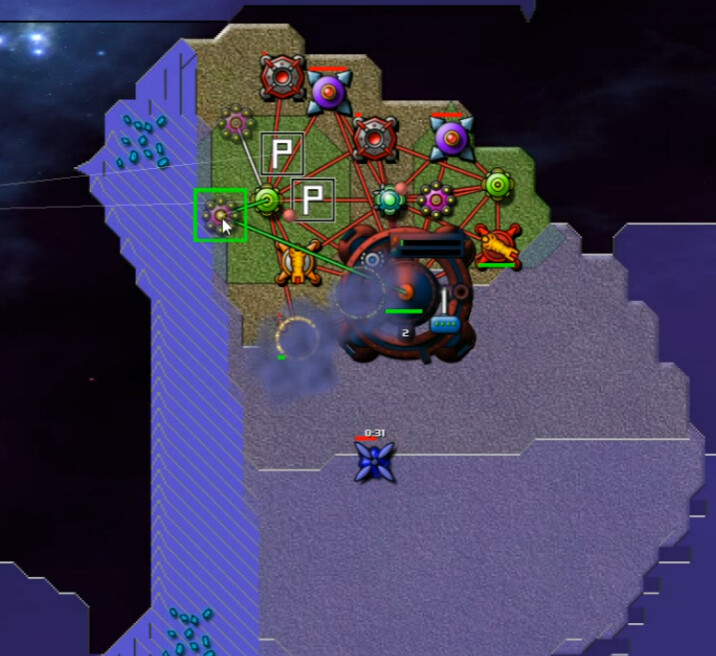
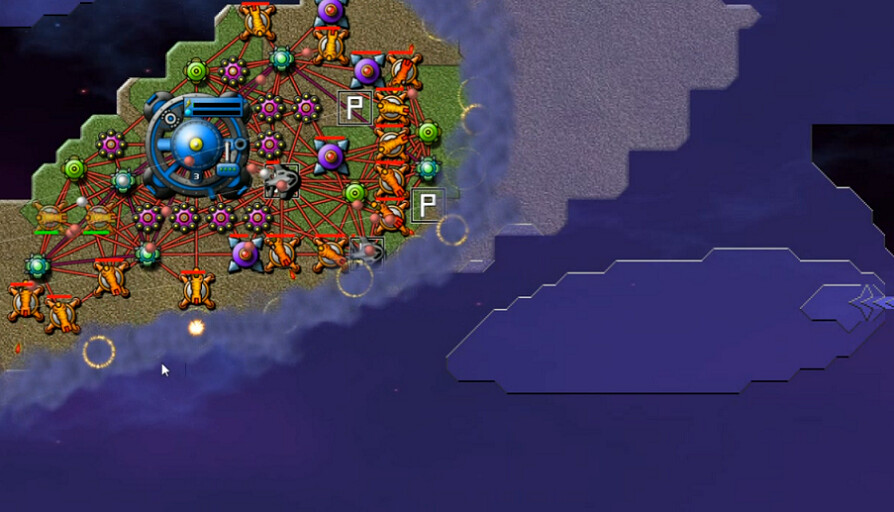
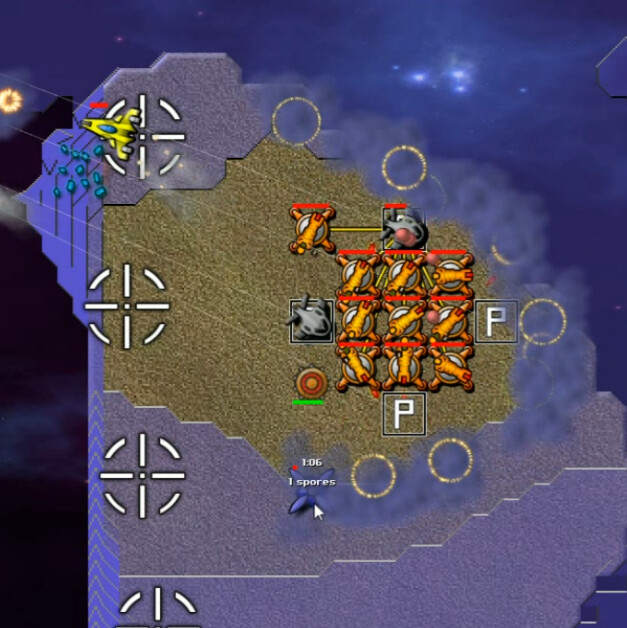
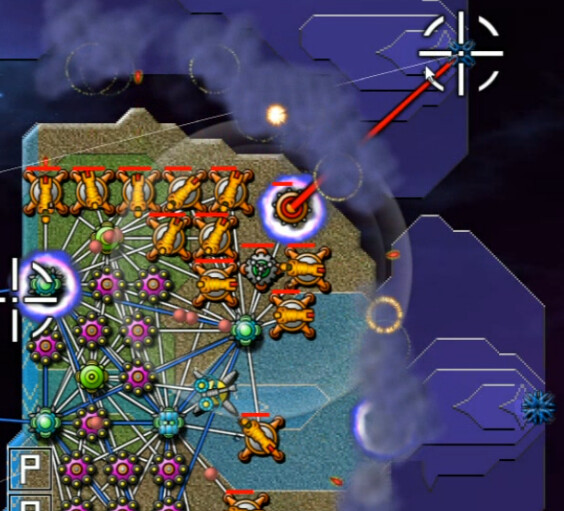
Several disconnected islands, one of which we already are deployed onto, greet us. And we can already see where the title comes from; Creeper is clearly being 'blown' right-to-left by the mentioned solar winds. In fact all of the emitters, and there aren't that many - only five weak ones - are on the far right.
I plop down another node on the southwest island and get a couple things going while sort of waiting to see what's going to happen. There's a strip of dense AC on the western edge. I think the only purpose that serves, as we can't connect to/access it, is to make sure all the creeper that gets that far is destroyed to keep it from building up.

My first idea is to clear off this island, get Beams up as there are a few Spore Towers, and build up some energy while trying to figure out what to do next. As far as that goes, it was a successful operation. I got plenty of anti-air up and was able to handle the Spores, which come several at a time and in pretty quick succession once they start up two and a half minutes in.
I start looking around at the other islands, noting the AE Towers in the east, and that all the emitters are of the 20 per half-second variety. The relative lack of creeper leads me to conclude that 'this looks like it's going to be very basic.'
Oh my sweet, sweet summer child. You taunt powers you do not understand. Sit down before you hurt yourself.

A bit of self-inflicted trouble next as I start building guppies to expand to other islands. Overbuilding my energy - I know, shocking! - causes me to deactivate them really quickly.

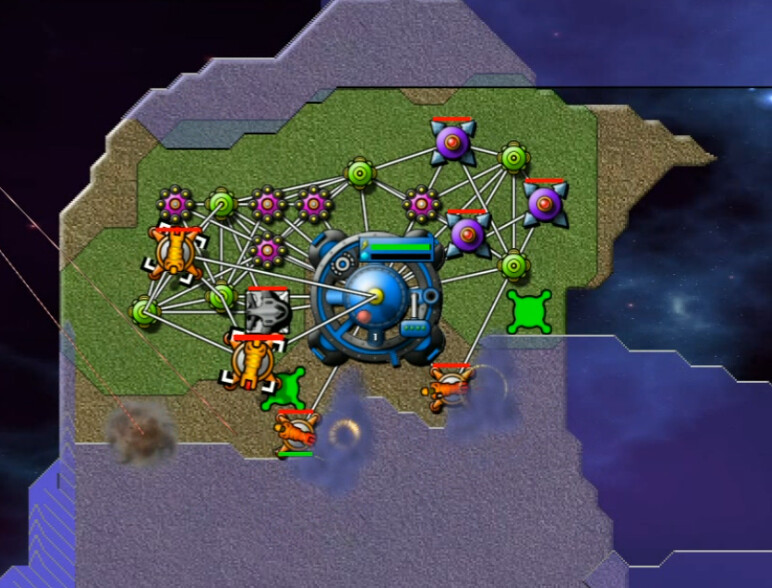
My next plan is to basically let the solar winds do what they want for a while. Why bother fighting the creeper if it is going to let me have a bunch of territory; you can see three of the islands here in the west have plenty of space, and I expand east by simply deploying another Node there and moving some beams over, with more assets to follow. I'll just take the parts of the islands that the creeper isn't interested in. Soon I relocate another command node to the northwest island, with the same concept in mind.
I do deploy a couple of Mortars on our most eastern holdings in order to secure a source of Ore.
Then I aim to push one island further, deploying a Guppy and Sprayer with the goal of taking out the Spore Tower there. I expect this will go swimmingly.

When it proves not to be enough, I move a command node over there and some weapons. Quite miniscule amounts of creeper - well under 1 in depth for most of it - laugh at my pathetic attempts to subdue in, and many weapons are lost. I didn't execute this well, but it was doomed to failure anyway - underestimating the enemy.
No problem, I'll just add more guppy support, some energy structures, more weapons ... and still fail miserably. This continued, and I kept trying to find a way to make it work, not really understanding why it wasn't.
Eventually, over 30 minutes into the mission, I was interrupted by this in the northwest. Command Node #1 was seeing its defenses overrun - again by tiny amount of creeper. The cannons had plenty of energy, yet could not hold it back. What had changed?
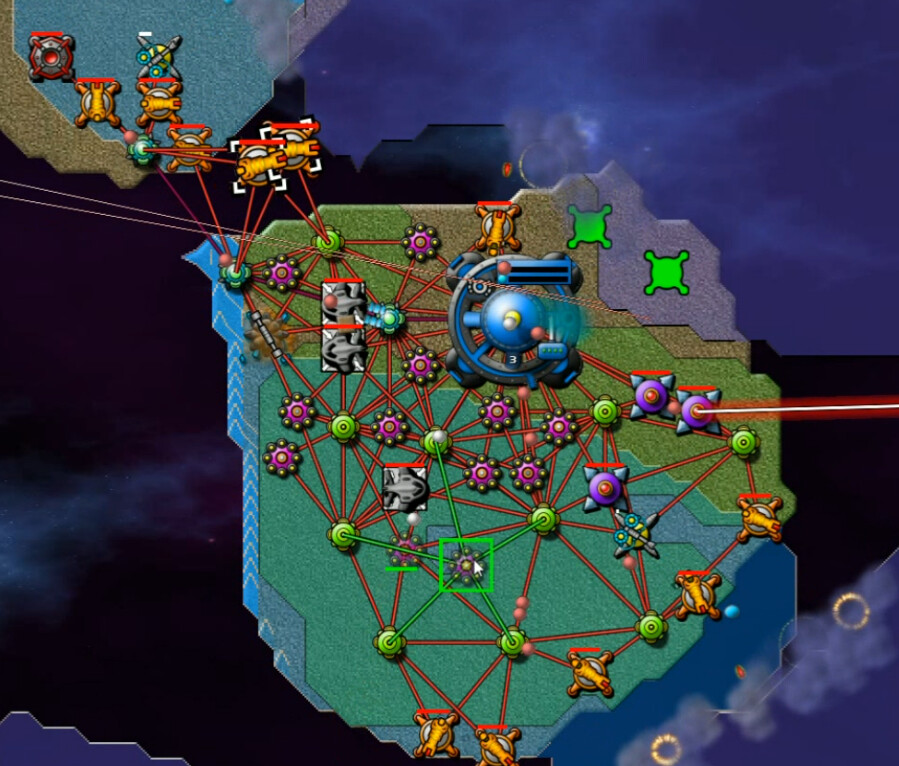
Part of the answer is seen in that deeper pool forming at the west edge of the island to the east, sort of trailing off this way. It's as if the western side of each island can only 'hold' so much depth of creeper, and when it fills up to the maximum, some overflows in this kind of formation. I was able to bolster the position and hold things off. I also came to the conclusion that the 'island-hopping' strategy, while very doable in theory, really wasn't working for me. I opted for a more traditional approach of just securing the landmasses completely, pushing the creeper from them and cutting off the flow wherever possible.

Not long afterwards, I overbuilt some and the northwest island got crushed again. I literally said that I basically didn't care, abandoning it in mild frustration, and just decided to cross from the south here. I'd push back up that way with whatever force was necessary, eventually regaining the ground, and then see what was what.
Or not. What was this? The creeper had never attacked in this area, having passed quite a bit north of this island before. What in the name of Thor was going on here? After throwing everything available into the fight for the next couple minutes and still being unable to beat back the trace amounts of creeper that simply wouldn't be denied, I gave up and restarted, having floundered about for nearly 50 minutes overall and still not really understanding how such a small amount of the opposition was defeating me.
I was fairly disgusted by the situation though, to be sure.
Take 2 - 33:43 video
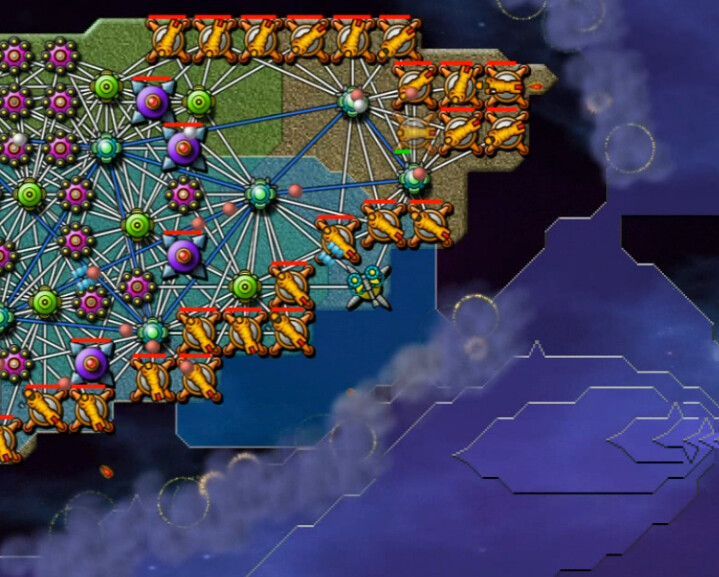
I split up the command nodes to the same three islands right away this time, with the idea of aggressively building up to push the creeper off those islands ASAP.

Here, about 16 minutes in, I've accomplished that goal. I've got the two islands connected by relays, and am able to keep the creeper away so far.

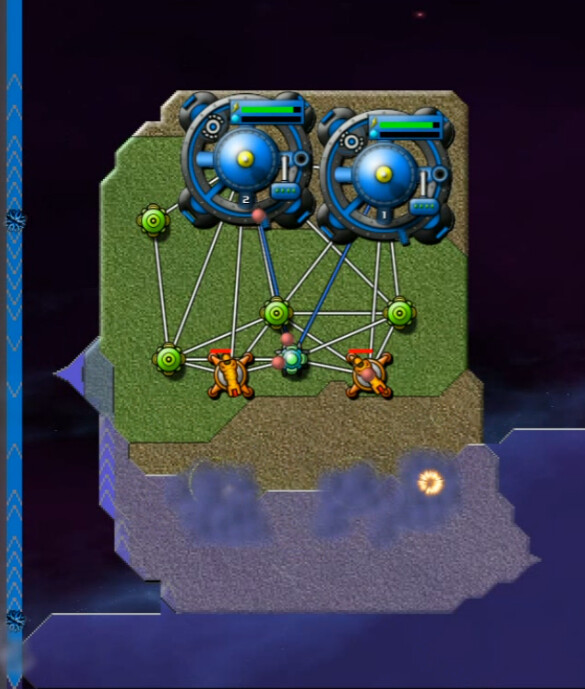
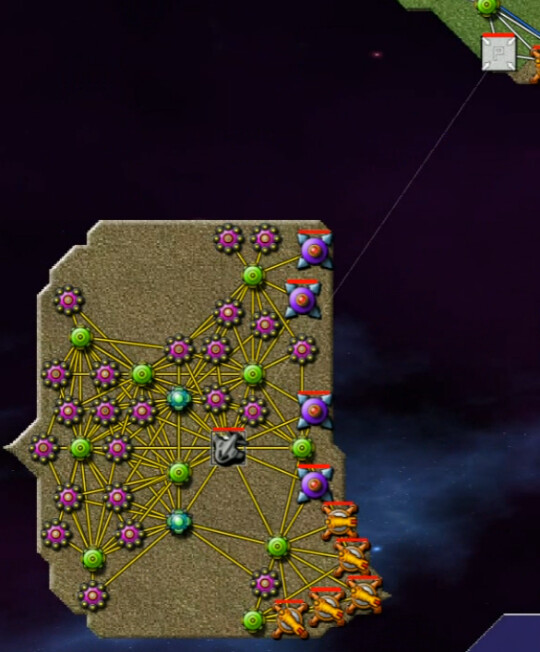
The next island in the north was this one, where I decide to make a massed landing; five Pulse Cannons and Mortars each, supported by four Guppies. Then, as seen, I bring in a command node - with the connection between the two islands in the last shot, I have one to spare while keeping everything running.
If you want to know what this level is about, this is the part to watch, starting at about 41 minutes on the video. I got really aggravated at parts of this next section, but also learned a couple of key lessons.

I cleared initial space out successfully, but I'd neglected Beams and soon paid for it here, as some of the initial infrastructure folded.
After handling that situation, the next step was to get more Reactors & Collectors up to gradually start relieving the pressure on the Guppies as we expanded outwards, while the Mortars went west to handle the usual buildup on that side of the island and most of the cannons focused on the east/north/south.

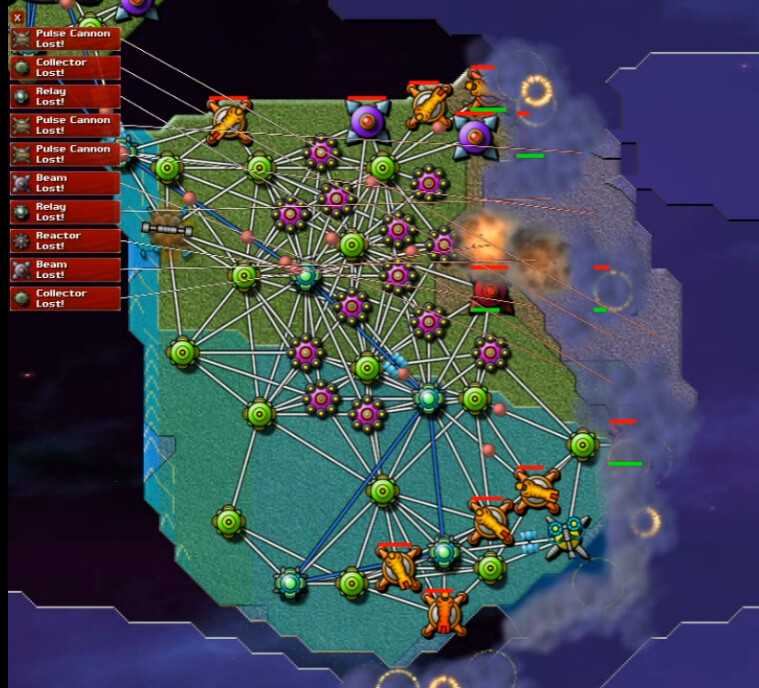
In the middle of this, the creeper began to push against our southern holdings, so I had to pause and reinforce there.
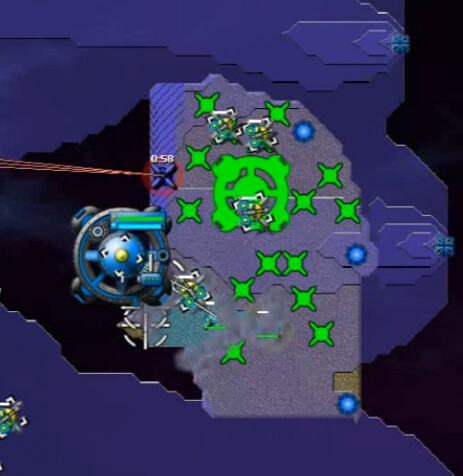
Then we started having similar issues back in the north. You can see why - that trail of creeper off the next island to the east is growing.

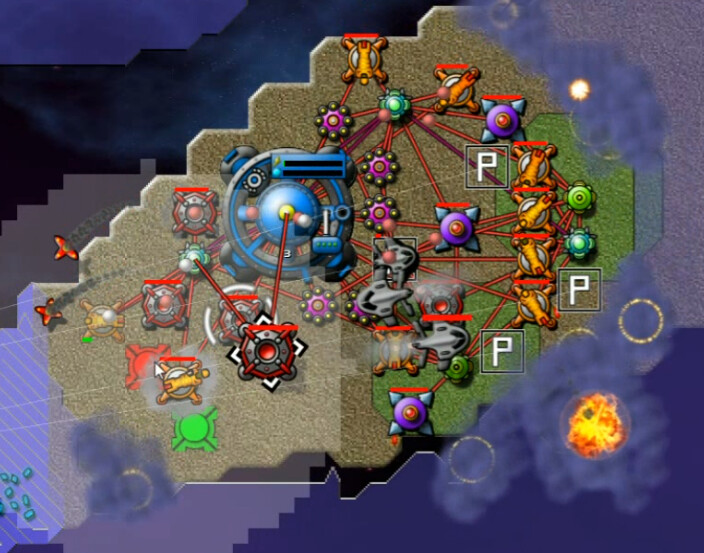
Even 15 minutes after the start of the operation the whole thing almost collapsed. This would ultimately teach me the true power of the solar winds - the way that they propel tiny amounts of creeper at high speeds leaves only AC and massed fronts of cannons able to effectively deal with them. It throws the normal assumptions and sense of how much creeper is a threat, developed over dozens of missions, out the window.
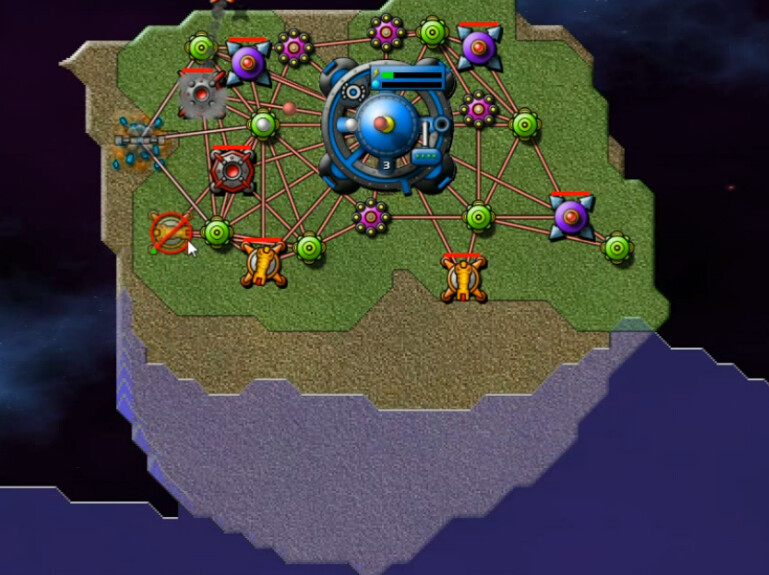
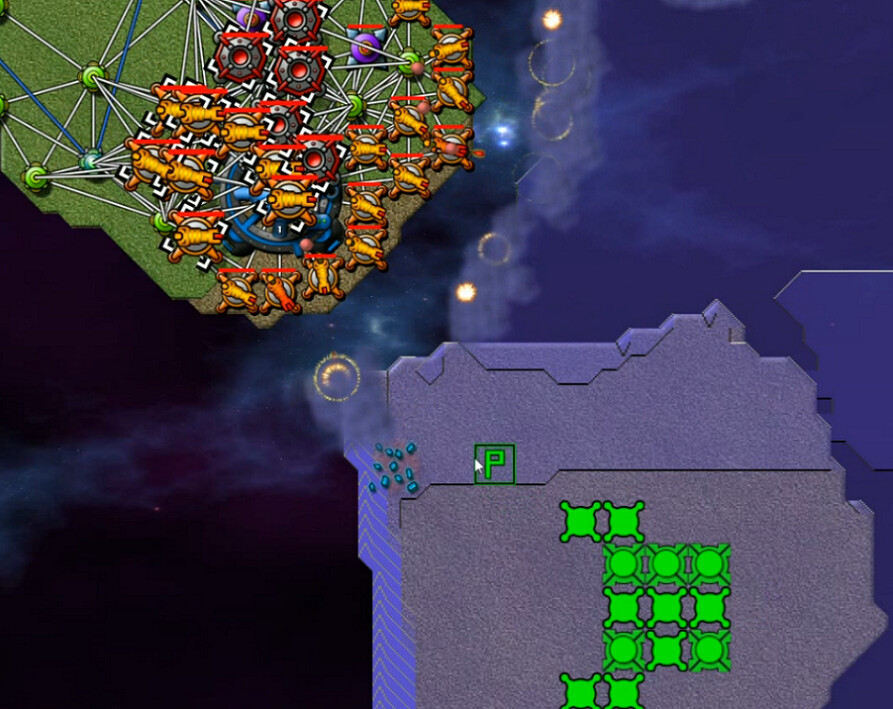
Here we are at the end of it. This kind of formation, with pulse cannons literally lining the entire coast, and at times even 2-deep, is not overkill - it is simply what the solar winds require. This is a pretty sizable island, yet I found myself needing to use virtually everly inch of it to have a truly safe position. This might be a good time to mention the total lack of Totems on this planet - there's no path to trivializing the challenge through upgrades.
Look at those two areas coming off the next island in the south. The pressure here became too much, and by the time I saw what was happening it was too late.
Ultimately I was quickly forced to abandon my position here, strengthen my defenses in the northwest, and then do a similar massed landing to retake the island. This was successful, furthering my confidence in the technique, and I tried using some strafers on those 'trailing pools' - they weren't particularly effective however due to the sheer volume feeding them.
I wasn't really sure how to proceed, so I continued the massed-landing strat in hit-and-run style. I added a few Berthas into the mix, and headed for the next-closest island in the south to take out this spore tower. This was repeated two more times, clearing out two more such towers. I still didn't know how I was going to deal with those exclusion placements in the far east, but getting rid of as many threats as possible before I tried seemed sensible. An hour and a half in to this second attempt at the level by the time that was done.

The first attempt was to evacuate the southwest island almost entirely, taking that command node along with a massed landing and a guppy in the one spot that allowed for one to land. 1:17 video approximately here. This failed pretty catastrophically, as once the cannons ran out of ammunition I was screwed, and that was well before I could do anything useful. I then tried again with a Sprayer added in - that worked better, but not well enough.
I still needed the southwest island to hold off a bit of the creeper, so I built a dedicated guppy to supply the cannons there. It looked weird, and those reactors now serve no purpose, but it worked.

Next, I took that node and invaded the middle-south island here. Of course the usual Cannon Wall formation was necessary to keep the creeper away, but this is close enough to totally cut off the flow at the bottom of the map which is a plus. The real reason for taking it though was access to more ore deposits. Given the difficulty in supplying energy to the eastern islands, MOAR SPRAYERS seemed to be the only way.

Then I gave this a go with several sprayers and just a few cannons (1:26 video, 2:03 mission timer). It worked better, but I didn't have enough energy to get the Nullifier up in an efficient manner and once the sprayers ran out, it was catastrophe once again.

The next try was a success, with a dozen sprayers - which took a while to fill up with ore considering our limited supply of it, the wait for which I took out of the visuals. A spore tower and an AE tower bit the dust here. Progress. I also switched to using an AC guppy here.

After another waiting period, a second similar attack took down our first emitter (yay!) and another exclusion tower using PZ placement.

To get the final emitter in this area, Bertha fire support to keep it under control proved essential. Welp, that was one of the final pair of islands ... and it was the easy one.
Here's my first attempt at that. Command node plus about 12-15 sprayers, at least as many as I'd used before. It failed horribly. So did a second, bigger group. I was trying to place the nullifier near the east side of the island, wanting to take out the exclusion towers. There was just too much pressure there.

I set a more modest goal on the third try, getting rid of just one such tower - which would clear out only the narrow, densely-occupied strip at the west of the island - and the final spore tower. It was something though. Not much, but something.
A small-scale landing on the west using guppies and the newly-created PZ was unsuccessful. It did prompt another idea though ...

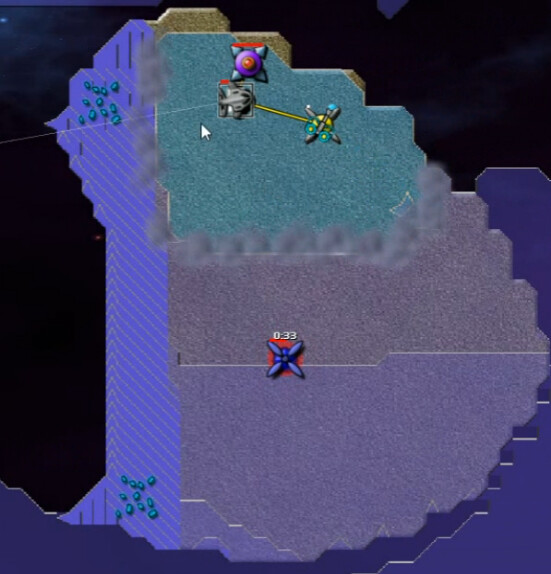
I took over this island, leaving the guppies to supply the one in the south that I took the command node from. This is the second of multiple failed attempts and it's a bit hard to see, but the point here was to use the Power Zones to form a SuperRelay connection, aided by guppies along the very edge of the western coast where they could land.

This is the fifth try, which did eventually work. I even tried to use a shield to push the creeper off the PZ, which was a hilarious fail - the solar winds push the creeper far faster than any shield could hope to repel it. After quite a while of building up enough energy to do anything with on the smallish source island, that is. Much whining and aggravation can be heard at this part, which has a lot to do with the fact that I'm well over three hours into a planet that I had thought was going to be easy, and I just wanted it to be DONE ALREADY.
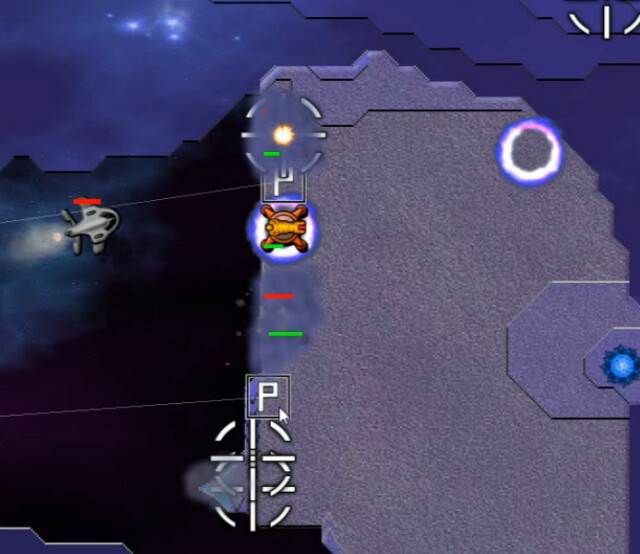
This is the first useful use of a shield in the level, though even that is only marginal - cannons were doing most of the work. By this point I was on the final snowballing section, and just cleaning up.

Well, it didn't QUITE take me another four hours. This was definitely a unique concept. One that I'm not looking forward to ever battling again. I found myself really hoping that the second planet in this system was somehow not going to be as much of a pain ...