Part 1: Picking a Character & Introducing the Interface
Here we are at the title screen. I am playing with default settings, so we're just going to jump right in. Note that this playthrough will be for version 1.05g, so some things may be different down the road.

After hitting Single Player you end up at the character and date selection screen. There are some bookmarked dates on the left along with suggested characters to play for those dates, but you can fine tune the starting date down to the day with the arrow buttons on the frame at the top center. Unless you know exactly who you want to play and where they are, this may not be the best map mode for selecting your character. Right now we're on terrain map mode, but that can be switched with the small icons at the bottom of the frame in the top center.
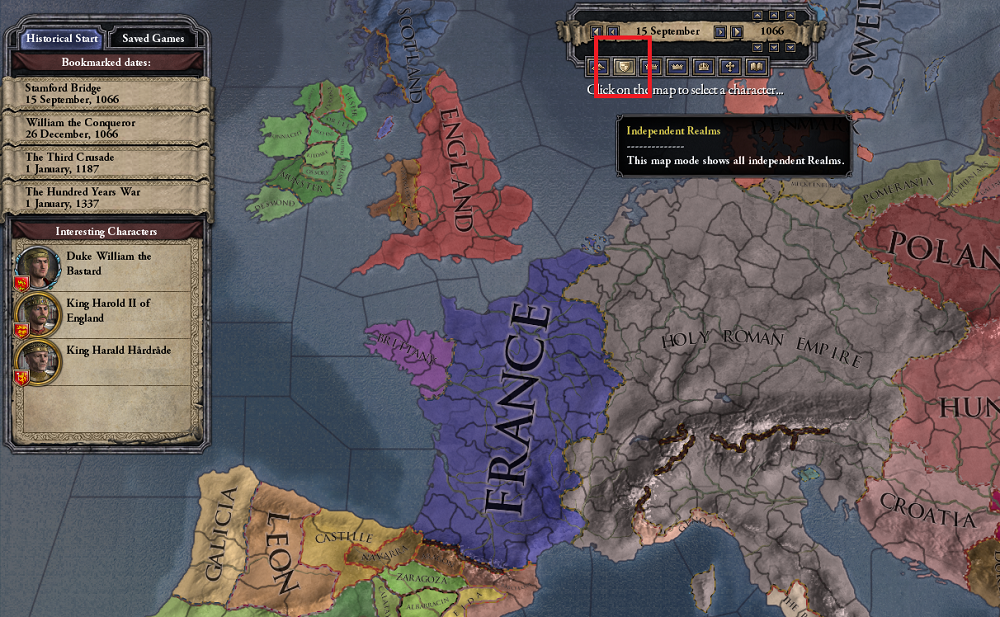
Hitting the Independent Realms map mode will show characters grouped under the highest independent title in their realm. The King of France doesn't swear fealty to any emperor, for example, so his holdings and all vassals that swear fealty to him or his vassals are grouped here under his highest title (The Kingdom of France). You select a character to play by clicking on a single county (province) that they control. In this map mode, I think the first time you click on any county it will select their top level liege, but if you click the county again it will select the particular character who administers that county.
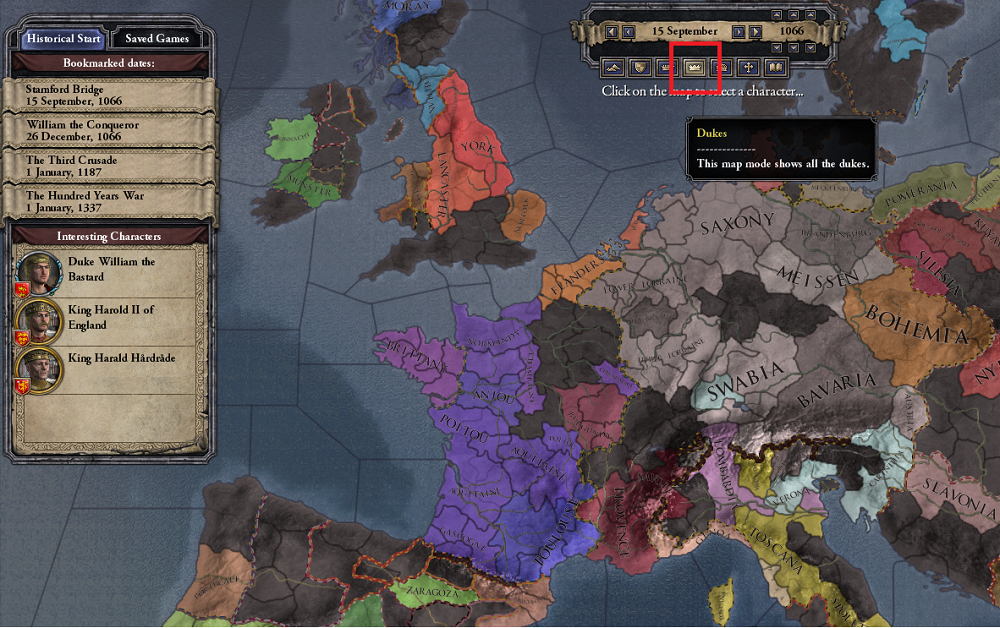
There are other map modes here to let you see counts and dukes, or sort it by religion or culture. In the Ducal map mode we can see all of the duchies. This includes dukes who swear fealty to a king or emperor (such as the dukes of Aquitaine or Normandy in France), and independent dukes who also appear on the Independent Realms map mode, such as the dukes of Brittany or Munster. Remember, you aren't playing as France or England or the Holy Roman Empire. You're an individual person. You can be a count of a backwater castle in the countryside who swears fealty to a duke who swears fealty to a king.
These are the possible title ranks that a playable character can hold:
- Baron - A baron owns a single holding within a county, but doesn't control the county itself. A playable character cannot be 'just' a baron. You can, however, control baronies in addition to other titles.
- Count - A count controls a single county. A county is the smallest delineated piece of land on the map. Controlling a county grants you control of a single holding within a county - the county capital - and generally all of the other baronies within that county are vassals of yours. Whatever else you are, you must be at least the count of a single county.
- Duke - A ducal title can be made up of multiple counties. Counts can swear fealty to or be appointed by a duke, and those counts will be vassals of the duke who reserves the right to some portion of their troops and taxes (based on the your laws).
- King - In the same way that a duke can have count vassals, a king can have duke vassals. A king can also change 'crown authority' and 'investiture', which are types of law that lower titled character cannot change. We'll come back to that later once we're a kingdom.
- Emperor - An Emperor can have kings as vassals, in addition to setting crown authority. In the vanilla game, there are only 2 playable empire titles.
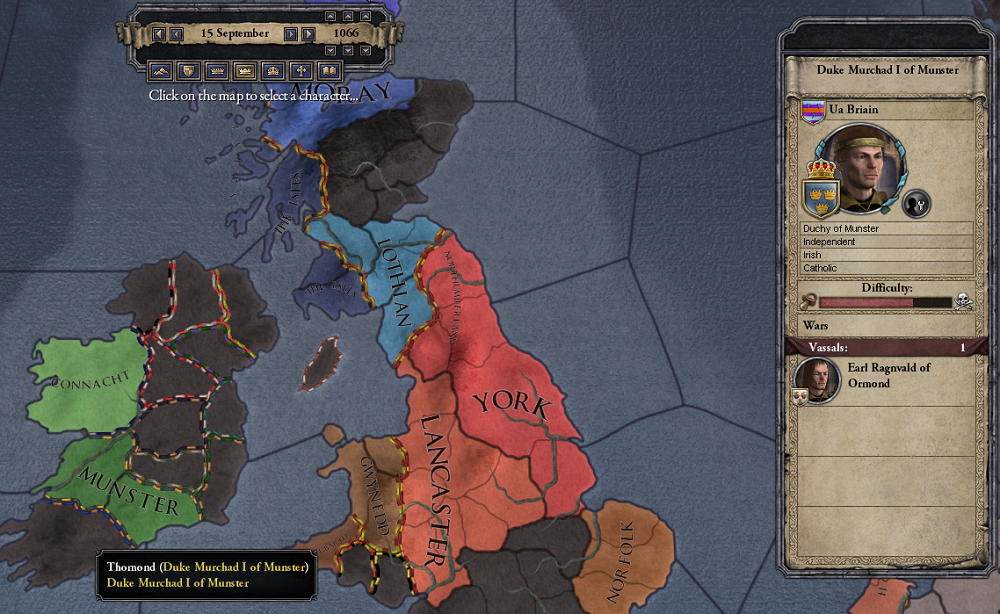
We're going to start with an independent duke, though: Duke Murchad I Ua Briain of Munster. On the map, we can see that Munster consists of 2 counties After clicking on him, we get a little information about him in the panel on the far right. This shows us his dynastic name or surname, Ua Briain, tells us that he's the Duke of Munster, he's independent so he swears fealty to no higher ranked lord, and displays his culture and religion. At the bottom we can see that he has one vassal, the count of Ormond. It says he's an Earl, but I think that's just what the game calls counts from the British Isles. He'll be an AI-controlled character who controls one of our counties but swears fealty to us. The difficulty bar is automatically generated by the game based on some numerical stats and doesn't necessarily reflect the difficulty of playing a particular person.
A list of suggested characters to try, based on either gameplay reasons or historical curiosity can be found here:
Suggested Character List
These are all characters suggested by contributors in the thread.
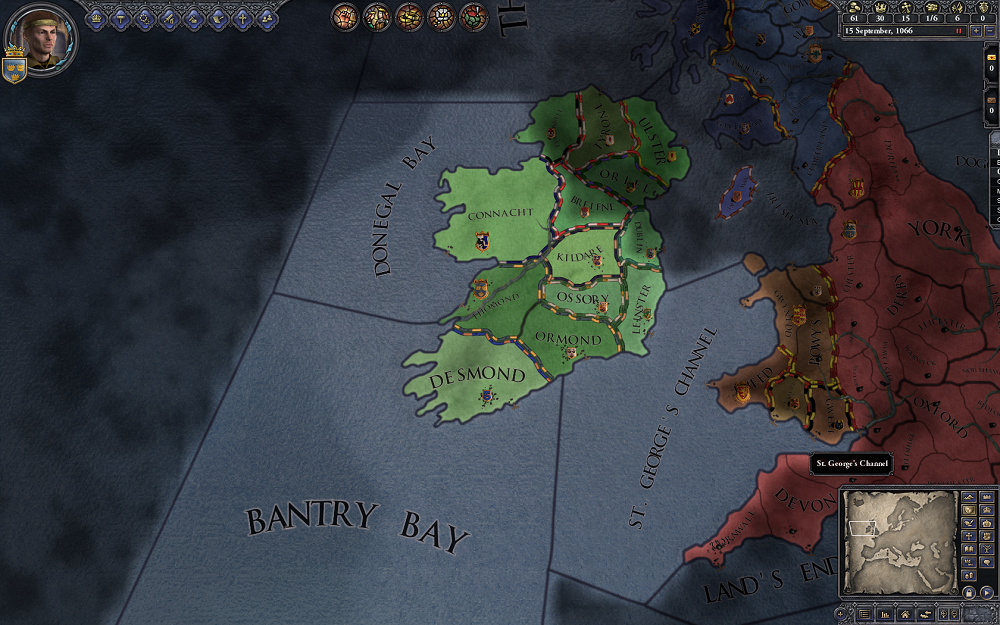
Upon starting the game, you'll be dropped off here. We can see the two counties that make up the current duchy of Munster are Thomond and Ormond. You may notice that the county of Thomond has a coat of arms with a golden border around it. That's the coat of arms for the duchy of Munster, and it indicates that Thomond is the seat of our capital. Ormond is controlled by a vassal who swears fealty to us, and so it has a smaller coat of arms displaying the county title. Kingdom capitals are shown by a larger coat of arms, and Empire capitals by an even larger one. Now, lets take a closer look at the UI.
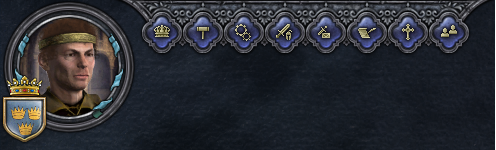
In the top left corner are most of the the buttons that we'll use to control our character, manage our titles, defend ourselves, develop plots, and so on. I'll quickly give a short description of each control before going into a bit more detail with each one below. Starting from the far left, we have the following buttons:
- Title Coat of Arms - On the far left there is a small shield containing the coat of arms of our primary title (The Duchy of Munster). This opens the title screen for our primary title.
- Character Portrait - Clicking on the character portrait will open a panel that displays detailed personal information about your character, their family, their titles, and any other character in service within their court.
- Council - The first button in the row of blue icons opens the page for your council. These are courtiers or landed vassals who you've appointed to important positions to help administer your realm.
- Laws - This screen allows you to change laws within your realm, such as the rules for inheritance and determining taxation and the amount of troops you can call from your vassals.
- Technology - The technology tab allows you to see your research progress in all technologies, and allows you to set which technologies your efforts will be focused on.
- Military - From this tab you can view the strength of your military and call up all troops within your realm. This is also the panel from which you hire mercenaries or holy order troops.
- Intrigue - The intrigue screen allows you to set personal goals or to plot and scheme. It also allows you to perform some personal decisions such as holding feasts or great hunts. Your prisoners are also accessed from this screen.
- Diplomacy - This button will open the diplomacy screen with whichever character you have selected. Frankly I think this button is useless, in every situation where I'd want to open the diplomacy screen, there is a more convenient way to do so.
- Religion - This screen displays the head of your religion, your religion's moral authority (this affects the frequency of heresy outbreaks), and any called crusades. This is also the screen where you can appoint bishops to your church holdings, if your realm laws allow it.
- Character Browser - A very powerful screen. You can use this screen to search for specific character inside or outside of your realm based on your chosen criteria.
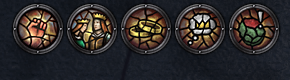
Just to the right of those buttons we have these icons. These are very important notifications that shouldn't be ignored. Once we actually start playing, these will be the first things we address, but for now we'll move on.

The top right contains some vital personal information. This information is duplicated on your character sheet, but its important enough to justify its location on the main game screen too. From left to right, we have the following information:
- Money - You will use money to build buildings, give gifts to friends or bribe dangerous vassals, hire mercenaries, pay for assassins, create or usurp titles, forge claims on titles, and many other things.
- Prestige - Prestige is one of the scores by which your character and their dynasty is rated. Some ways in which you build prestige include holding landed titles, winning wars, creating new titles, and through various events. You also spend it for certain things.
- Piety - Piety is another of the scores by which your character and dynasty is rated. Some ways in which you build piety include having virtuous personal traits, purchasing indulgences from the head of your religion, granting land to your religious head, and through various event decisions.
- Demesne - Pronounced like "demean" - this is the number of holdings (county capitals or baronies) which you directly control. You have a soft limit for this which you should never go past, because the penalties are severe. This means that for larger realms, vassals are always necessary.
- Realm Size - This is the total number of holdings within your realm. This includes all the holdings of your vassals and the holdings of their vassals.
- Dynastic Score - This is a rating for your family based on the prestige and piety of all deceased members of your dynasty, even if they are outside of your control. This makes it somewhat desirable to spread your family to the thrones of other kingdoms even if you never plan to directly control them.
Below the message notifications is a slide-out menu with some extremely useful information like the activities of your council members, the current levy size and tax rate of the holdings in your demesne, and any raised armies or navies. You can click on any of these things from the side menu to quickly jump to them and open their screens. There's a small button on this screen to lock it in place and always leave it open, and that's one of the first things I did.
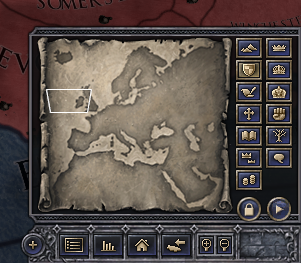
Finally, in the bottom right is the world map and map mode options. Much like the map on the character selection screen, you can change the map mode in game to see independent realms, the terrain, revolt risk, religion or culture, 'de jure' title boundaries, diplomatic relations, and many other things. I'll show some of these off below.
I'll be going more in-depth into each of the screens that I described, but in order to prevent this first update from being way too long, I'll be splitting this up into two parts.