Part 3: Norune Village and Divine Beast Cave Part 1
When we last left off, the game was FINALLY going to let us play. However, I have some gameplay stuff to go over with you as we begin our adventure.
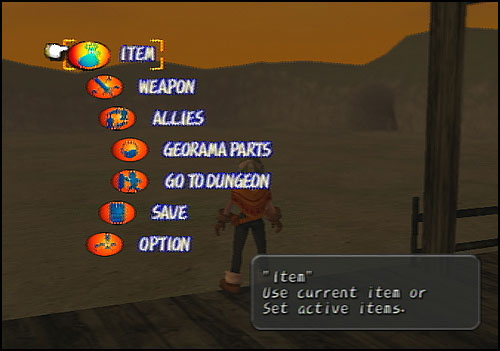
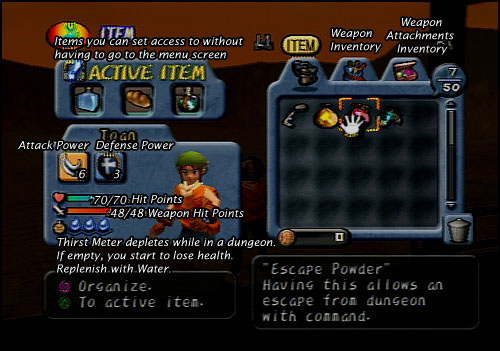
Here's the menu screen. I'll explain the Weapon and Georama submenus when they come up in a little while, but for now, let's go to the Item screen.
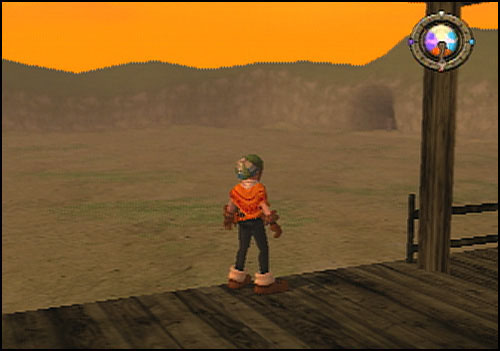
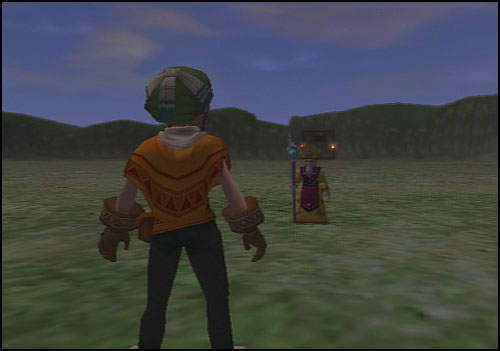
This is what it looks like to be a monsters' bitch. The first enemies we'll be facing can take a good chunk of our health away if they hit us, so we'll have to rely on not sucking too hard at stuff and things. Now, let's look at our weapon in the Weapon menu.
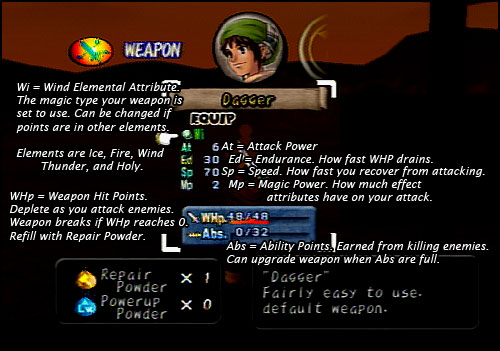
Kinda sucky, to be honest. It doesn't do a lot of damage, and its WHp drains pretty fast. Since it's our default weapon, it won't disappear if it breaks, but it still becomes unusable until you repair it, so that's not much of an upside. It's all we have until we find new weapons in the dungeon, or a shop we can buy them from. Whichever comes first.
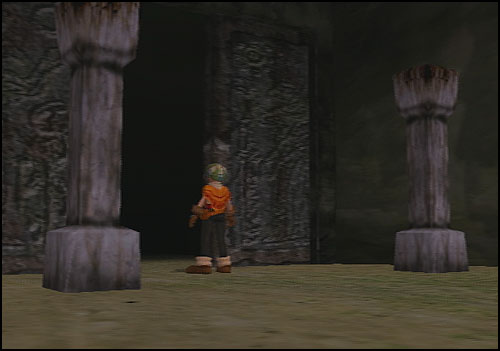
So, let's head into the cave using the key we got.
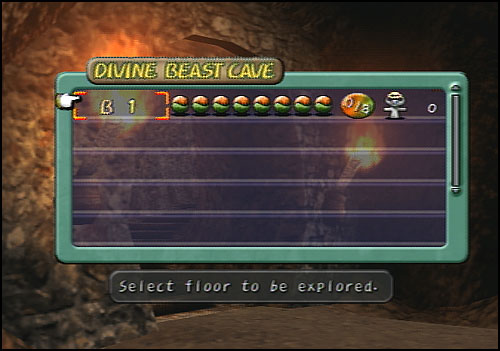
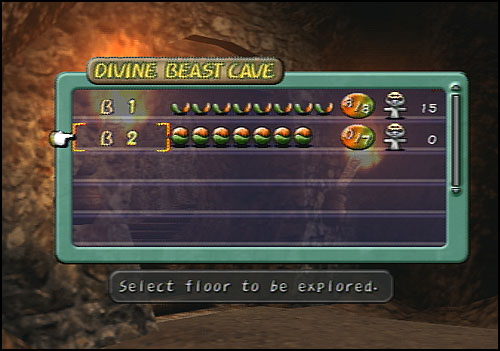
Here is where you can select which floor of a dungeon to enter, provided you've unlocked that floor already. The balls represent the number of Atla on that floor (open Atla balls are Atla you've already collected). The symbol and number at the end indicate how many total enemies you've killed on each floor, which is pointless.
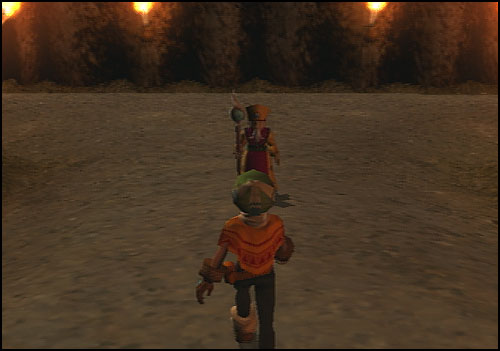
Heading inside, we encounter the Fairy King again, who decides we've played enough for now and it's time for more talking. Screw that old bitch.
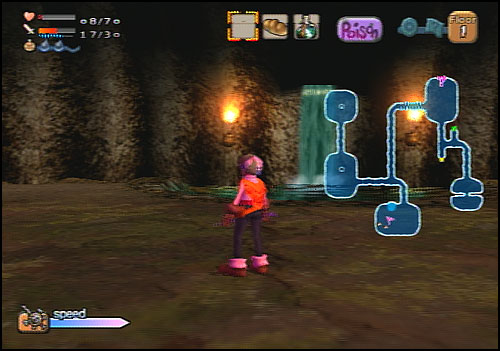
Each time you enter a dungeon floor, the layouts, enemies, and treasures are randomly generated, with only a few restrictions based on which dungeon and/or floor you're going through. As you wander a floor, the map is revealed to you.

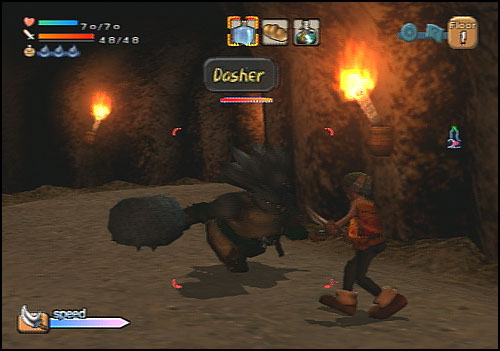
This is a Dasher. Like their names suggest, these guys will run in for an attack, but your attack is faster than theirs. Enemies can randomly leave behind gold or items when you kill them. After the Dasher fell, we got some pocket change off it.
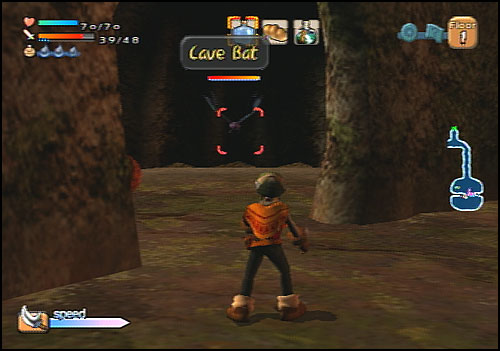
I hate Cave Bats. They tend to fly higher than your attack range, and have a high chance of poisoning you when they hit. It's best to keep a short distance from them, and wait for them to try and fly head-on at you. Step to the side and swipe when they pass.
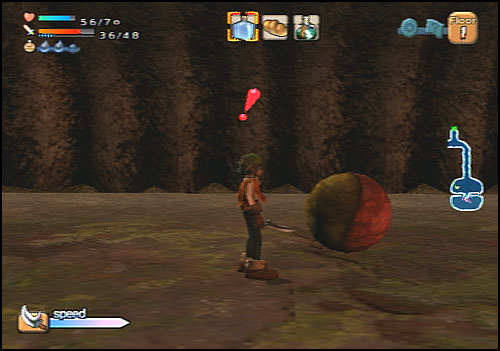

And here's our first Atla, which contains Macho, one of the villagers. Toan is the only one of the characters with the ability to open and collect Atla, which is kind of dumb and annoying.
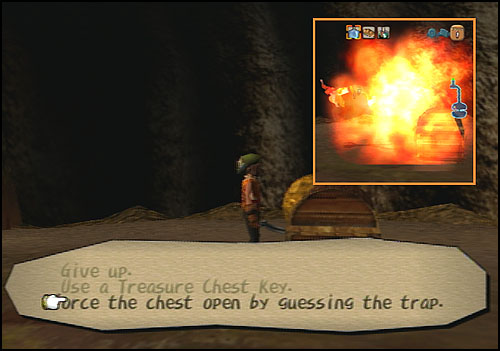
Big Chests are often locked with a trap. To open them, you either need a key, or guess which trap it is to disarm it. Guess wrong, and it springs (and you STILL need to unlock or disarm it). Out of the three possible traps, I feel Poison is the worst, especially so early in the game as it drains HP for a long time, and you have few means to cure it. This particular trap was an explosion, so poo. At least we know the trap type now and can disarm it, so let's see what's inside.

Ooh, a new weapon! The Bone Rapier is better than the Dagger is every way except its Endurance and WHP. However, this particular one has the Durable ability, which actually makes it much tougher than normal. There are 13 different abilities, which I'll get into later on. For now, I'll mention that Durable has a negative opposite ability - Fragile - which drains WHP faster. A weapon with both of these abilities negates both effects.
Anyway, let's equip this, pick up another Atla (Supplies), and keep going.

This is the exit to the next floor. To open the way, we need to find the Gate Key for this dungeon (Dran's Crest). It's often, if not always, dropped by an enemy. The key was dropped by a nearby Skelton Soldier. Speaking of which, those guys will usually wait for you to advance on them, jump out of your reach, and counterattack. Just time it right or charge them to catch them off guard.

Small chests require nothing special to open. The Treasure Key is used to unlock bigger chests, which WOULD have been helpful one explosion ago. The Stamina Drink will induce a Stamina effect on your character, which temporarily increases your attack and defense.
There's also two more Atla nearby; Fence and Trees. Yep, you not only need to place buildings and people back in the world, but you also have to accessorize them AND replenish nature. It should also be noted that the placement of certain Atla contents in a dungeon are randomized, while some are set to appear on certain floors.

Each floor has a back floor, which has stronger enemies and better treasure. To access a back floor, you have to find the special item for that dungeon. Tram Oils are found at random in Divine Beast Cave. Every floor has a back floor, but not every floor has the item needed to enter them.
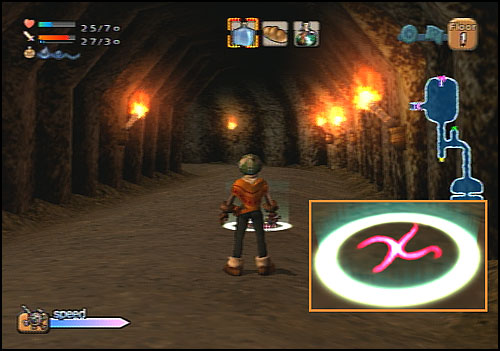
Along the way, we encounter a magic circle. Stepping into one will trigger a random effect for either better or worse. This one gave the Stamina effect to enemies, but thankfully that's only a minor inconvenience this early in the game. Along the way, we pick up a couple more Atla; Lamp and River.
Toan encounters another large chest, and uses the Treasure Key to unlock it. Inside is a Crysknife.
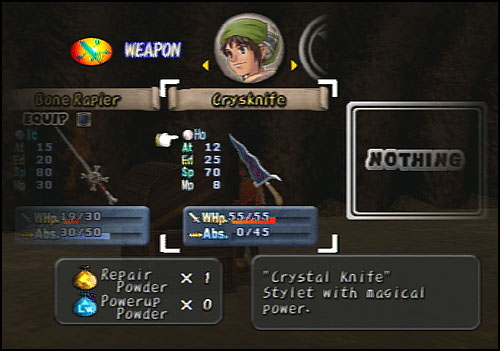
Our Bone Rapier is still the best weapon for now, so we'll stick with that. Still, just because a weapon might not be that great, doesn't mean it's completely useless, but that's a detail for another time.
This is the last area to explore in the first floor, which also happens to contain a water pool. Walk into one of these to refill your health and Thirst meter to full. I wade into it after being poisoned and wait for the effect to wear off, before realizing I'm better off using my Antidote Potion since I'm heading back to the surface anyway. Two more Atla (Macho's House, and Road) are picked up, and then we go for the treasure chests.
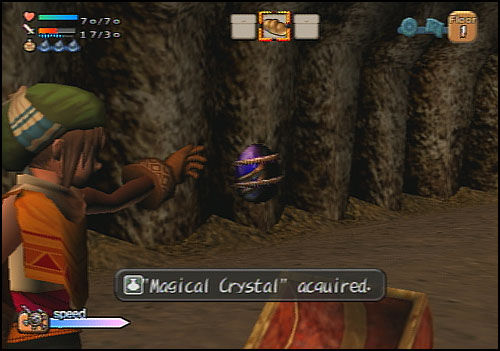
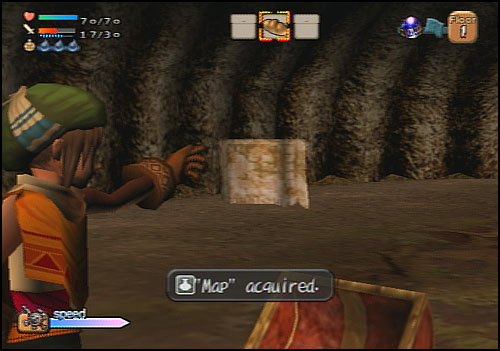
The Map reveals the entire layout of a dungeon floor. The Magical Crystal shows all Atla, enemies, and treasure on the floor. They would have come in handy had we gotten them BEFORE exploring and killing everything, but oh well. With the floor cleared, we head to the exit. This can be done as soon as you get the Gate Key, but there was Atla and treasure I wanted to get, not to mention experience.
Also, killing all enemies on a floor allows you the chance to exit a dungeon, or else you need to use an Escape Powder to get out. However, going through the exit, you are given the chance to return to the surface anyway, so choosing to leave after killing everything but BEFORE going through the exit has limited (if any) use, especially since you can't access the next floor without first unlocking the way.
Upon leaving the dungeon with Atla, this jerkwad will run through ANOTHER tutorial, this time for the Georama function. Thankfully he gives us a Manual after this to refer to for any help from this point on. You know what else can be used as a manual? THE ACTUAL GAME MANUAL.


Placing Macho's house back into the world lets us check it out inside and out. Nothing special so far, except a couple chests with Bread and Tasty Water in them outside. Attaching Macho to the house, we go inside to say hello.

...I'll let the reader make their own assumptions.
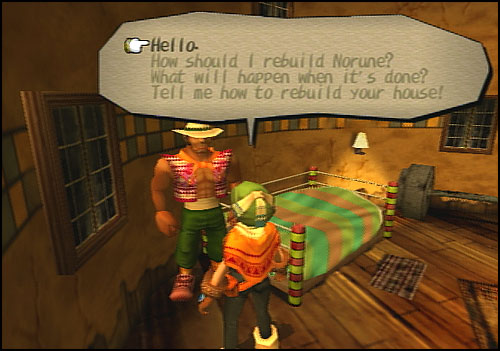
Talking to Macho with the various choices here, we learn that he wants the house close to where he could get a good workout, and that there should be a barbell and another room. He also has a brother. Keeping these in mind, we head back to the cave and the next floor.
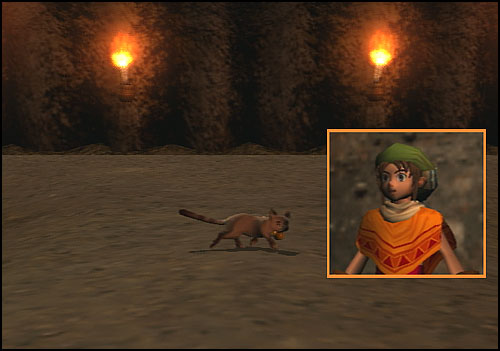
KITTY!
Next Time - KITTY?!