Part 2: Day 1 - Tutorial
Day 1 - Tutorial
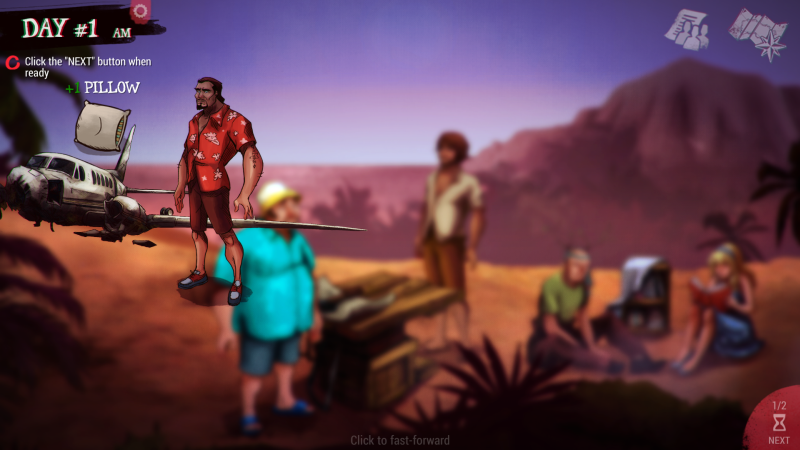
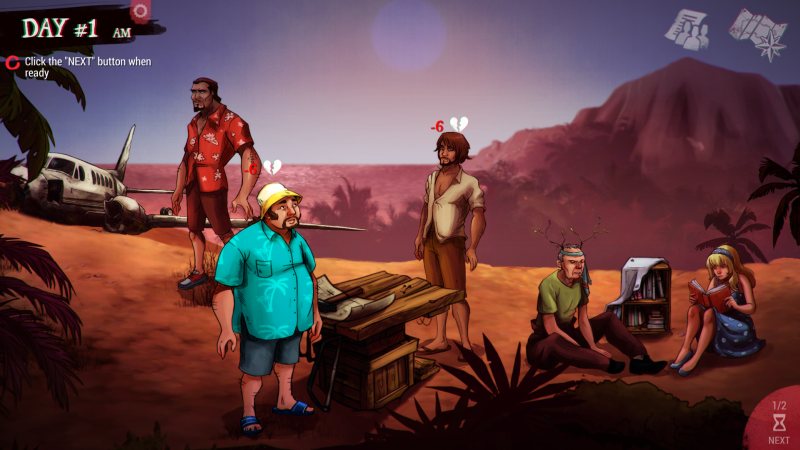
When we last left our castaways, they had just finished introducing themselves around the "campfire"

The optional tutorial lead us step by step through the first day. Because this task is for scavenging, we will want to use our best scavenger for it. In our case it is
Yuri. If you ever forget what the next step your active task is, the game will always have a reminder in the upper left corner below the day counter.

If you click and drag a character over the drop spot for a task, the game will helpfully display a popup with the relevant skill level of that person.
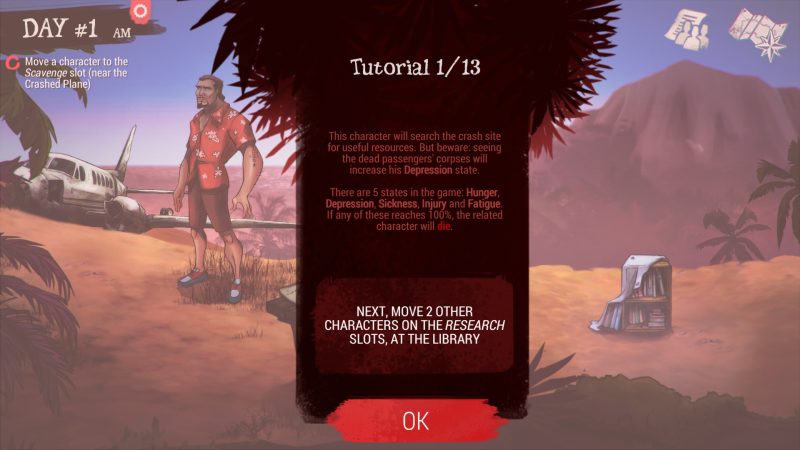
Once you drop off a character at the plane, the game will automatically proceed to the next stage of the quest. The next two parts of the quest are to do the exact same drag
and drop task and assign two people to the Research task (the pile of books on the right of the screen)...
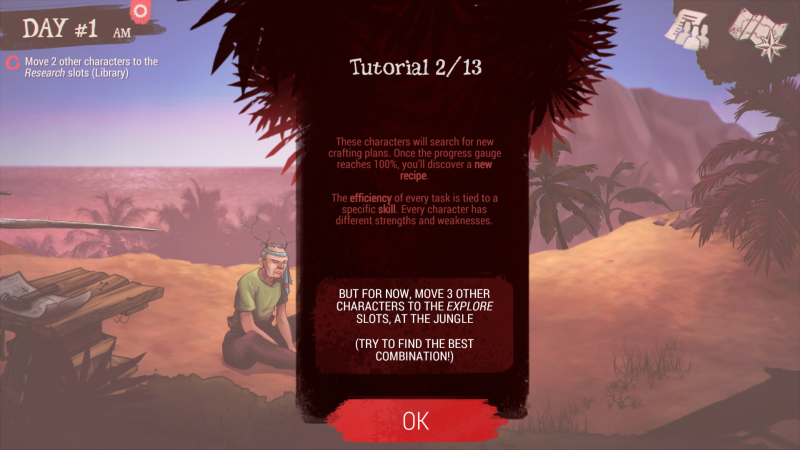
and send three people off into the depths of the jungle to explore. For Researching, the obvious choice is to use Jacob and Illyana, and while Alice could probably do the
explore just fine on her own, Julia and Winters will go along with her for the purpose of this tutorial.

When you assign more than one person to a task, the personal relationships between the characters will affect the success rate of the task. When you hover over a group of
assigned people, the pop-up will show you both the average relationship between the characters, but also an efficiency rating that combines both the skill levels and the
average relationship of the group. In some cases, the moral boost from a low skill character will far outweigh the boost an average skilled helper would give.
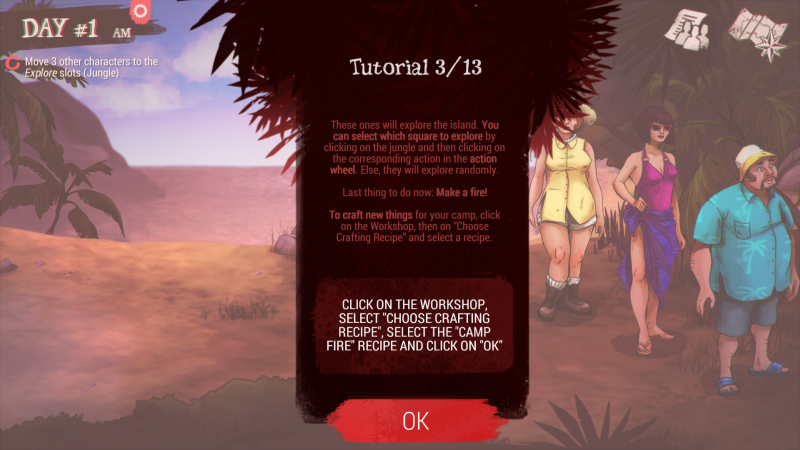
The next task is to assign a crafting task to our crew. Crafting is done on the makeshift table between the airplane and the "library"

When we select the crafting table, we get a menu where we can select which item we want to create. More items will be unlocked as we progress in research (in fact, the only
thing that research does is unlock crafting recipes).
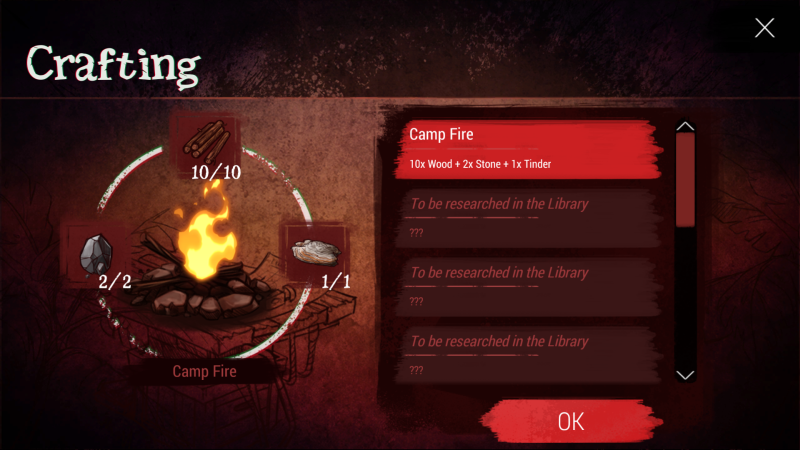
When you select a recipe, the game will helpfully display the required ingredients for it. In our case, it needs 10 wood, 2 stone, and one tinder. The tinder item is
actually a type of flammable mushroom, which it turns out is a real thing. They even went to the trouble of making the in-game item look like a Fomes fomentarius mushroom.

Once we complete this task, all eight party members will have something to do today. By process of elimination, it is up to Al and Bob to do this. They both have a moderate
amount of skill in Crafting, so they are not bad choices for it. The ideal choice for crafting would be to pair up Yuri (due to his higher skill) and Illyana (due to her
good relationship with her dad). They are both busy with other things, so we will just go with what we have.
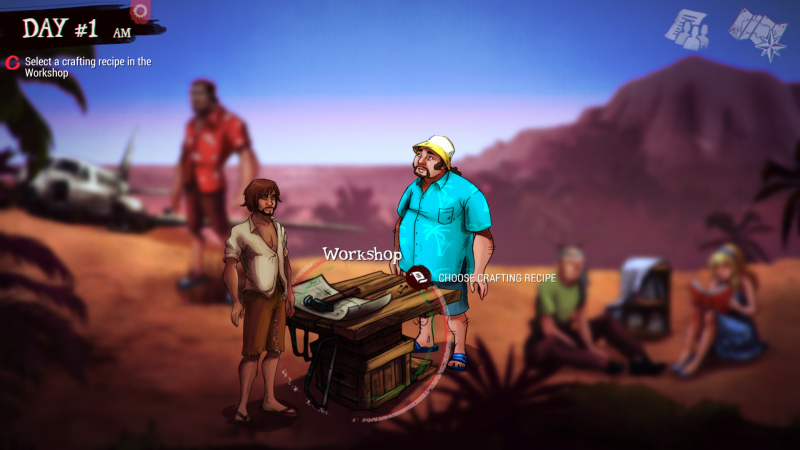
Here we see our fully filled worksite (you can also see the full "library" to the right). When you click on a task location, it will pull up a ring where different options
are available for that site. Right now, only Crafting and the Jungle have any options available. The Crafting option opens the selection menu we saw earlier, and I will
cover the Jungle option in a bit.

Once the arts and crafts table is staffed, the game lets you know how to let time progress. It is the little hourglass button in lower right corner. Not only does the
button let you know what phase of the day you are on, but the island background changes as well to show the progress of the day.

When you click on the button, the game works its way from left to right, focusing on each occupied station and showing how they have progressed. Some of the in-focus sprites
cause some overlapping issues with other sprites, as we can see here. I am not sure why an aircraft would have so much wood on-board, but I suppose a plane this old might
have wooden chairs on-board.

If you click on the big trunk near the campfire, you can see your entire inventory and get detailed item descriptions. Wood is used for both keeping our soon to be completed
campfire going, and is also used in most crafting recipes.
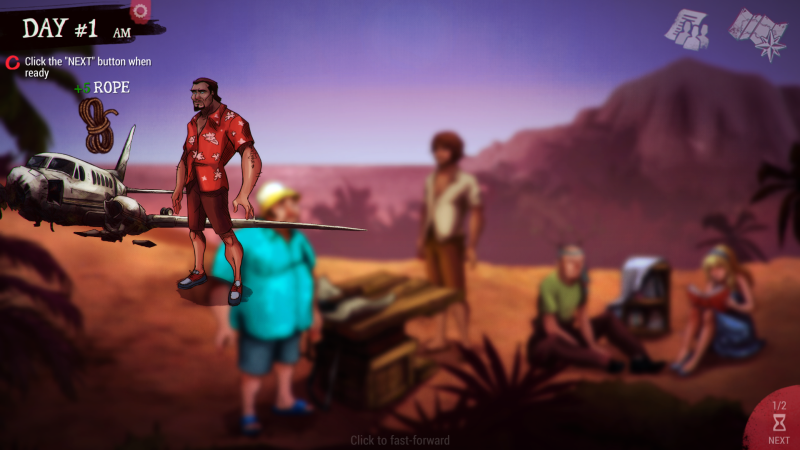
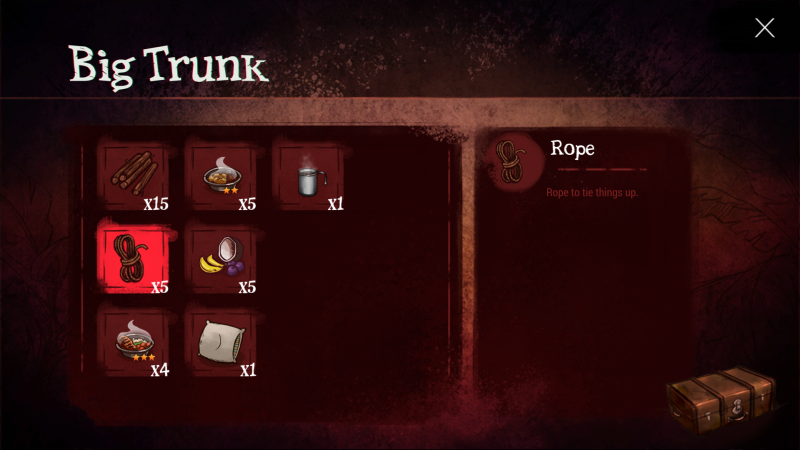
Rope is another common crafting item we will need for more advanced recipes. The first time you scavenge at the plane, you will always find enough materials to complete the
next crafting project that you unlock.


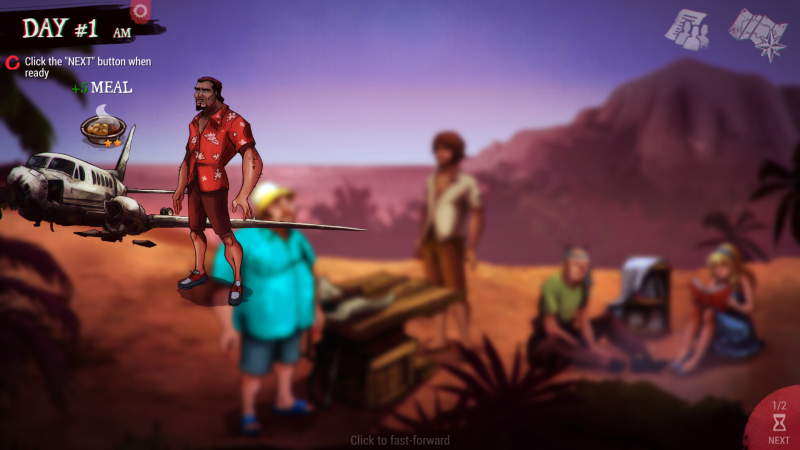
Food is only used once a day at the nighttime. Some types of food (like these prepared meals) will decay over time. Three star meals are the best food item in the game, and
will remove a large amount of hunger (20%-30%). The amount of food that decays is random, but it seems to be about 25%-50% of each food type will decay each night.

When food decays, it first drops in quality. A three-star tasty meal will decay into a two-star meal (10-20% hunger), then dropping again and again until it finally become a
useless rotting mess.


Fruit has two uses. It is a non-perishable food that will remove a small amount of hunger (only 5%), but it is also our only reliable source of fresh water on the island.
Each unit of fruit can be converted to 3-5 units of water at the watertank to the right of the campfire circle. Each person requires one unit of water each night, but we
start off with a decent supply of 50 water thanks to Jacob.
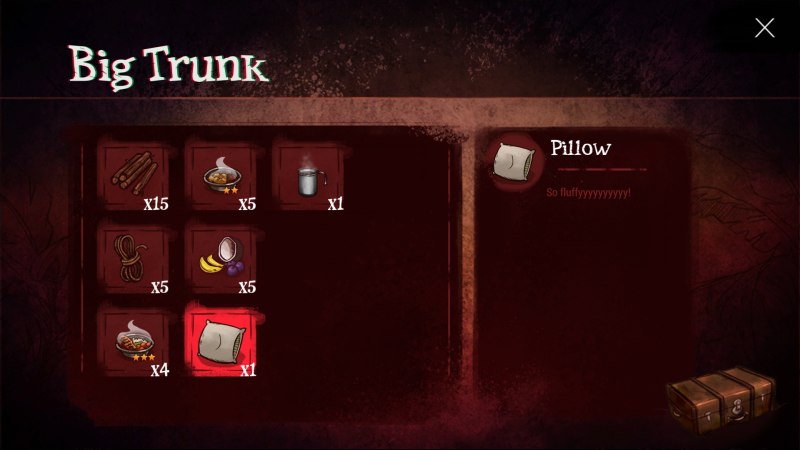
This pillow is a unique crafting item. Some recipes (like the one we are currently researching) need a special item in order to craft them. These special items can be
aquired in different ways, but you will generally find the items about the same time that you unlock the recipies.


Coffee is one of the "anytime" items. During the assignment phases of morning and noon, you can give certain items to people. Coffee gives them -10% fatigue and -10%
depression. This is useful as it allows a critical party member to continue working at a task without needing to take time off for rest.
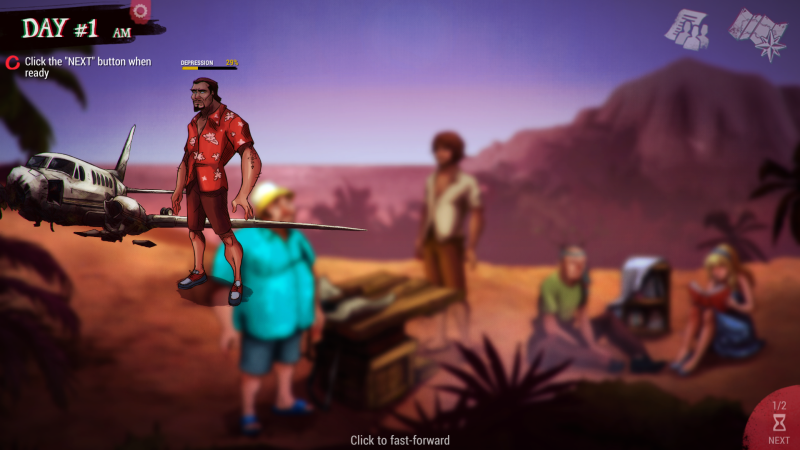
After the progress results for the task, then you see how the party member was affected by the labor. Poking around the plane that nearly killed you is a depressing task,
and drives Yuri a little bit deeper into depression. It also causes him a few points of fatigue (not shown). Scavenging the plane is very profitable, but you only can do it
so many times before the resources are exhausted.
Depression - Depression is increased by Scavenging the plane, and by one other task we have not unlocked yet. Depression increases each day if any of the other hazards are too high, and
depression is also one of the most common result of the night-time events we get before we end each day. The night-time chats can also decrease the hazards, but these
decreases are unpredictable and should not be depended on.
There are also items and Jungle events that can affect the various hazards, but we will cover those as they appear.

When you start a crafting project, all of the material are consumed at soon as you start working on it. In this case, the stone, wood, and tinder are all withdrawn from our
camp inventory.

Crafting tasks (along with research and exploration), are done in terms of percentage. The higher efficiency score of the crew you assign, the more percentage gets
completed. In our case, the tutorial task is completed. Crafting is not a depressing task, but both Al and Bob are fatigued by the work.

Now that we have a fire, we can finally reduce the depression of our characters (warning - campfire chats are not FDA approved for the diagnosis, treatment, or cure of
depression). The campfire appears in the center of our camp where everyone was sitting at the beginning, and all eight characters can use it at the same time. You need at
least two people at the fire to gain any benefits, and the amount of depression removed depends on the Discussion skill of the participants. Note - a character's Discussion
stat only affects how much their own depression stat is reduced, and does not affect the other characters around the campfire. Campfire chats also reduce fatigue by a small
amount, but it is more of a happy bonus than a useful fatigue remedy.
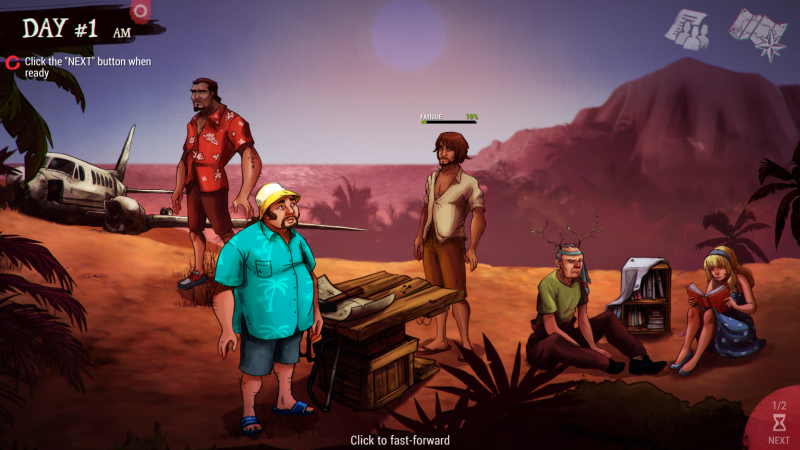
Al and Bob both take a bit of fatigue from the task. Al takes 10 points of fatigue, while Bob only takes 8 points. This is due to the fact that Bob has 10 points more
Strength than Al.
Fatigue - Fatigue is increased by most daily tasks, and is affected by that character's base stats (Str, Agl, Con, Int). A low Intelligence character like Bob (Int=19) will get a lot
more fatigue while researching then a character like Illyana (Int=74). Similarly, Illyana (Con=20) will tire out faster on a jungle hike than Bob (Con=80).
When you have more than one person working at the same task, their relationship will be affected. In our case, Al and Bob did not hit it off very well. The v1.02 patch for
Dead in Bermuda changed the mechanics of this interaction, so that the chances of a bad encounter are affected by the depression and existing character relationships.

Just like Crafting, our first Research project is completed.

Now that we have addressed our depression, it is time to get to work on our fatigue issues. Fatigue and depression are the two hazards that go up the fastest, and need to be
addressed the most.
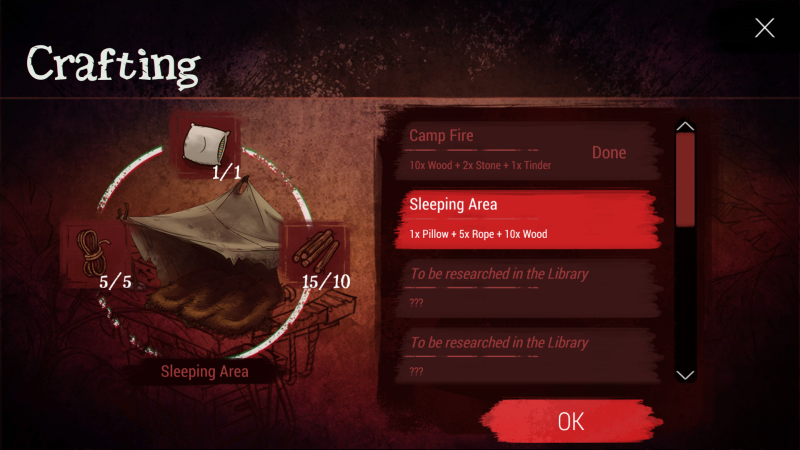
Here is a list of the materials we will need to create the resting area that we have researched. Conveniently, we have all that we need, along with some extra wood to feed
the fire.


Both members take a bit of fatigue, and become a bit closer to each other.


Our intrepid explorers have finished there exploration and unlocked a new area on the island. By selecting the map icon in the upper-right hand corner, we go to our island
map.
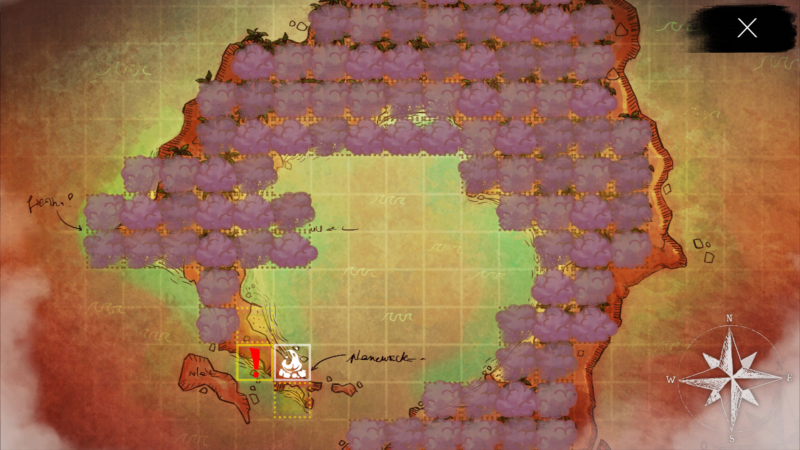
On the map, you see our camp, explored area (solid lines), areas available to explore (dashed lines), and unknown areas (clouded). It also shows if there are new events in
that area (red exclamation points) or old events that you can still interact with (white exclamation points).

If you click on the Jungle location in the assignment screen, you can bring up a screen where you select the specific location to explore. If you do not set a location to
explore, the workers will choose a destination at random.

Being able to select your location is not terribly useful. The only think you can tell from the map screen is if the location is a Jungle or Beach tile, and you generally
only have vague hints about the next place you need to go to. The map coordinates are based off of (0,0) being in the top left corner of the map, with our camp being located
at (5,10), the event is (4, 10), the unexplored square to the south is (5, 11) and the one to the north is (4,9).

By clicking on the exclamation point on the map screen, we can go to that event. Island events do not take any amount of time, so you can do as many of them as you like in a
single time period. Each island location will have a single encounter, but some encounters can be used more than once.
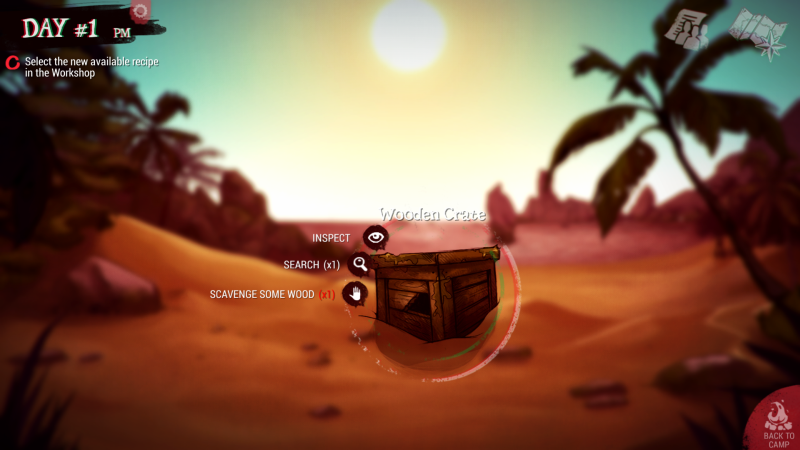
By clicking on the encounter, you get a wheel that list your options for dealing with the encounter. On the wheel, the (1x) shows how many times we can do that action, and
any action in red will permanently remove that event (it is hard to search something after it is broken up for firewood).

All encounter have an inspection option that gives you a short description about the encounter. This description tells us that this crate might not be as innocent as it
looks.
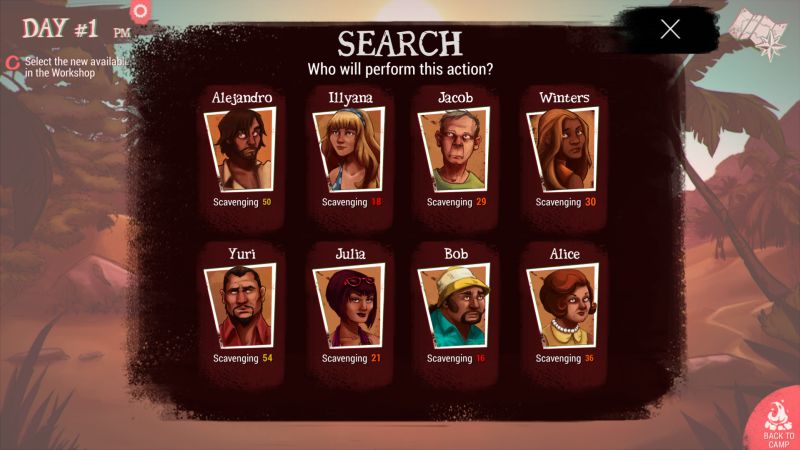
If you select either of the other options on the wheel, you are brought up to a list of characters and what skill is used in the encounter. In this case, searching the crate
will use the Scavenging skill. If we hover over the characters, the game will also display their Injury, Fighting, and Stealth stats.
That is somewhat concerning, but what could be dangerous on this island? Are we going to be attacked by ferel dodos? Menaced by malicious dwarf elephants?

Of course, if we choose to scavenge the crate, it will also use the Scavenging skill. It looks like busting up the crate will also use up a bit of our fatigue (along with
the same odd note about the stealth and fighting skills).
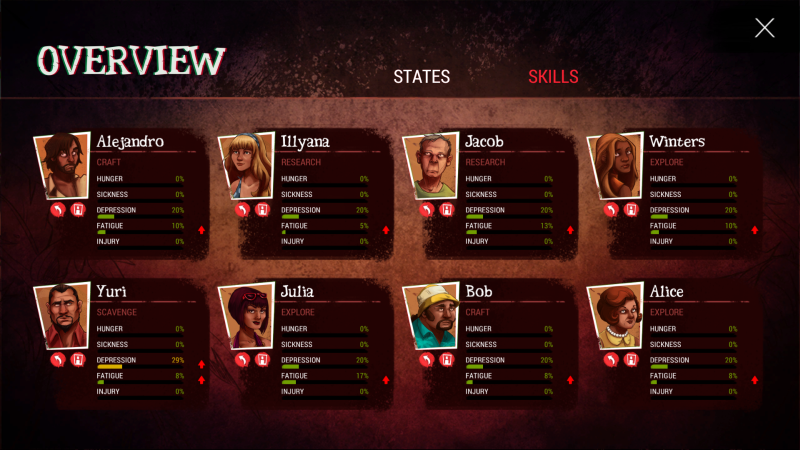
Nobody has ranked up in any skills, but they have all taken a bit of hazard damage over the day, so here is a list of their conditions.

We still have a little bit more of the tutorial to do next time, but we have a bit of flexibility, so I figured I would let you guys start choosing. Here are the things we
need to decide:
Exploration:
Do we explore the north or finish up the south?
Who searches the mystery crate?
Who scavenges the crate?
Job assignments:
Scavenge the plane (Max 1)
Craft (Max 2)
Research (Max 2)
Chat (No Max)
Explore (Max 3)
After enough input, I will playthrough the afternoon, and stop for voting prior to meal time (the in-game meal time, not my dinner time).