Part 10: "Only now can I... Truly understand Harold's feelings."
Chapter 10: "Only now can I... Truly understand Harold's feelings."(The Tower)
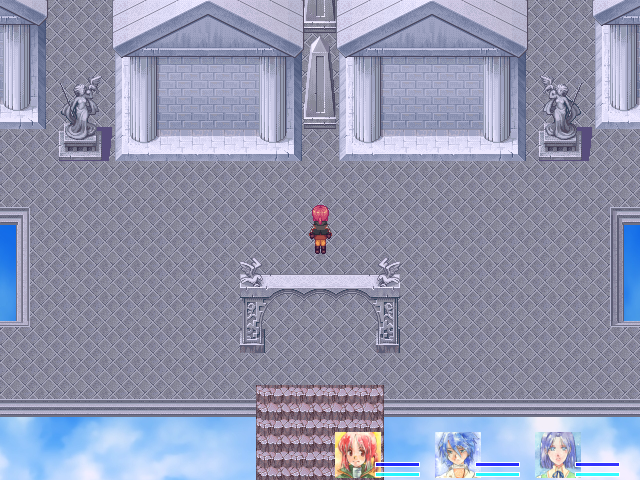
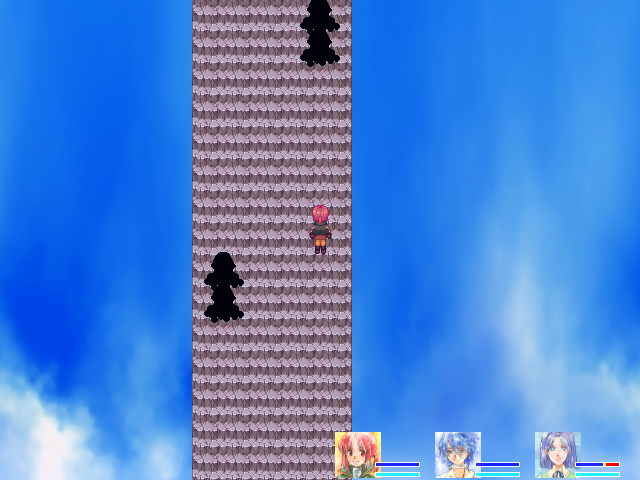
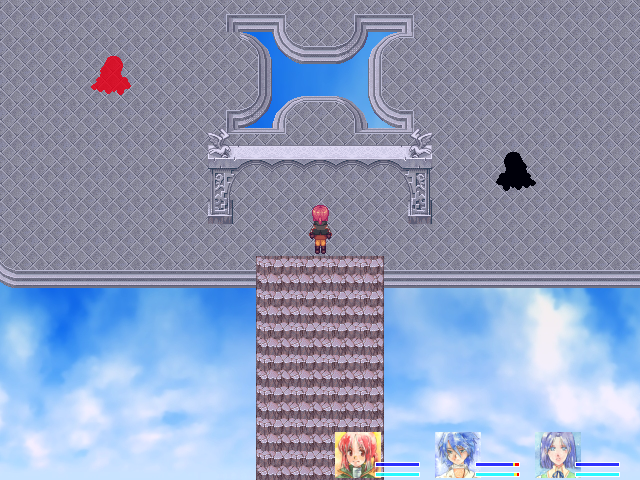
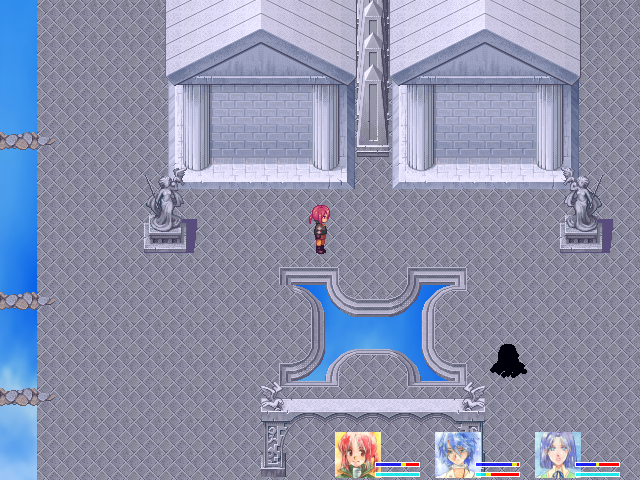
Welcome back. Once Nana's here and in the party, climbing the first staircase leads to The Tower.


(I'm quite fond of Voice. It's definitely a "let's do this thing" sort of song.)
When you entered or left The Dragon Mountain, there was a circular fade effect not normally present in new areas. The Tower has the same effect--all story dungeons do, in both senses of "story." (But not Her Memory.)
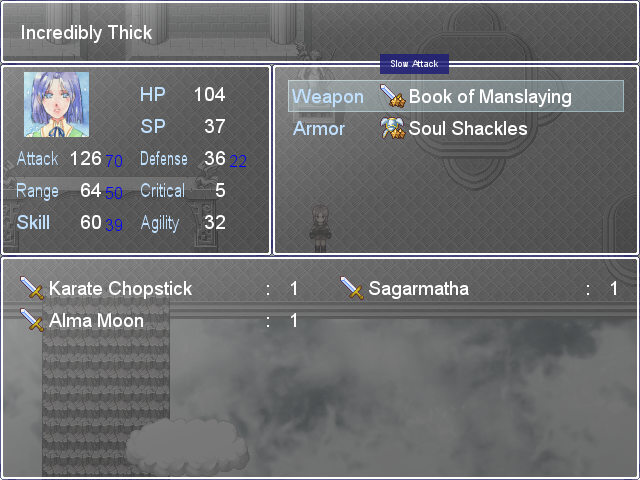
Nana is equipped with the Book of Manslaying. It provides higher Attack and Skill than other options, but more importantly, it adds +10 Defense. She's difficult to keep alive at first but grows rapidly, so I'm going to take a different tack and avoid encounters less than usual.
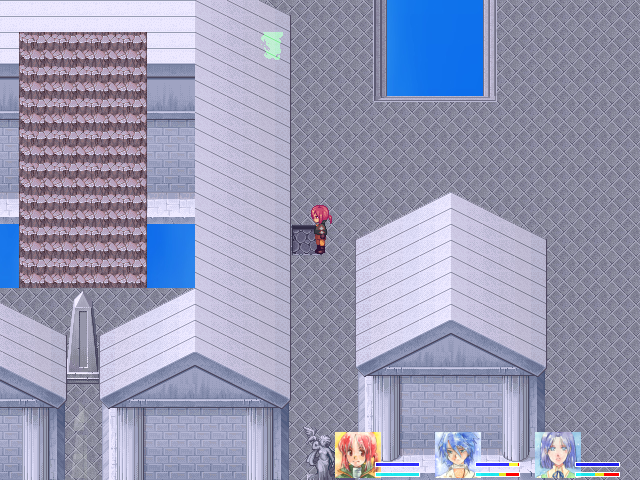
The stairs continue up with no enemies to the first screen.
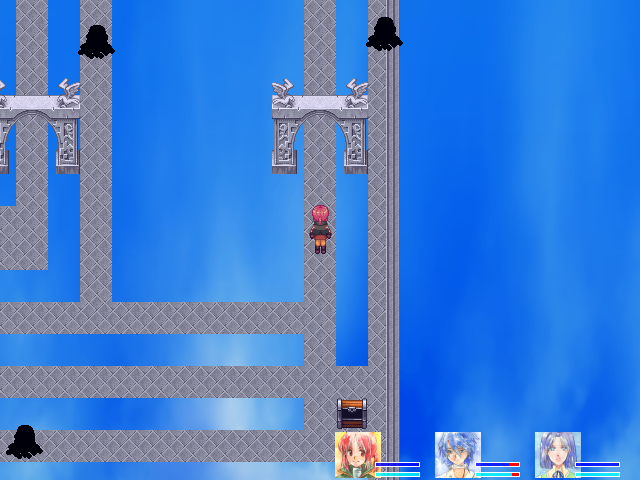
The Tower has a central gimmick: obelisks. Each floor has a number of obstacles that require you to fulfill a certain objective before you can continue on to the next level. This also means the levels themselves are fairly open, since you're seeking out various things.
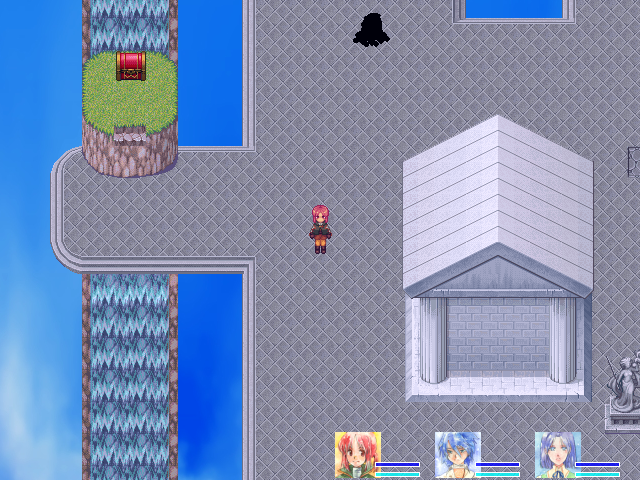
This chest is definitely worth remembering. Like The Dragon Mountain, The Tower is only going to be here long enough for us to finish its story, but the Tower is a lot less straightforward. If I skip this chest, or any chest, or a miss an enemy drop, then it's gone forever.


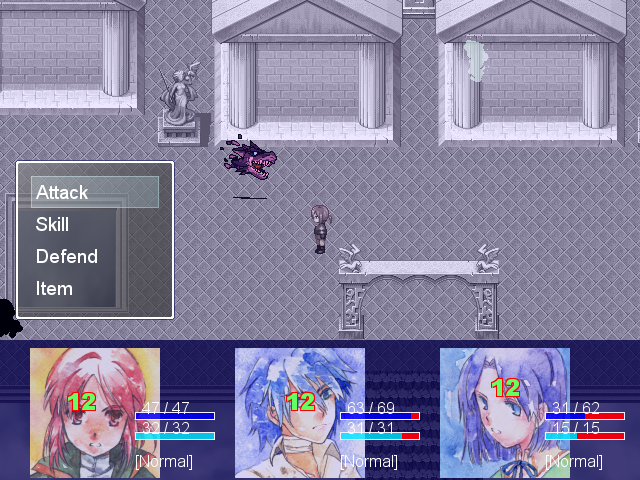
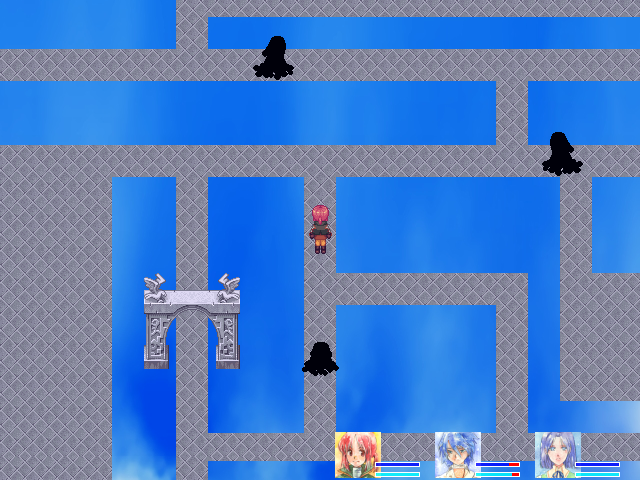
These light-colored enemies are Wake Eaters. They don't move at all normally, but become fast and aggressive when you engage another enemy. Furthermore, they can move through walls.
Enemies of this type should always be taken out immediately when you enter a new floor; the potential for being swarmed is otherwise too great. Thankfully, Wake Eaters are pretty weak. The biggest danger is that they'll repeatedly kill Nana and keep her from levelling up.
Therefore, Nana spends her first battle just defending.

The Fang gives +14 Attack and +2 Defense. Good if you didn't get the Double-horn.
No, Nana isn't some kind of unholy stat god, that's the product of four levels. She always gets +8 HP/+2 SP/+5 Attack/+1 Agility every level, which does help mitigate her lack of All-Purpose items. (It eventually switches over to +3 HP instead of +8, though, so her HP count is never COMPLETELY absurd. High by normal standards, though.)
The rest of her utility comes from her skills, which are insanely powerful.

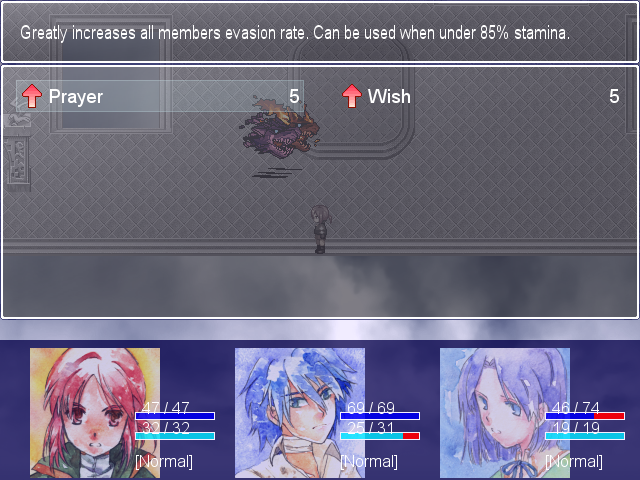
All allies, +30% chance of evading any attack for five turns. +30% evasion is one of the most common abilities in the game--there are two versions on three characters, and that's because it's always useful. Nana has the best version; the others come much later and have stricter HP thresholds for use.

Wish is learned at level 5.
Wish is really, really overpowered--effectively free party SP recovery totally changes your strategy. The amount is static, but 12 SP is plenty. So long as I'm not an idiot, the Tower will be a breeze from here on out.

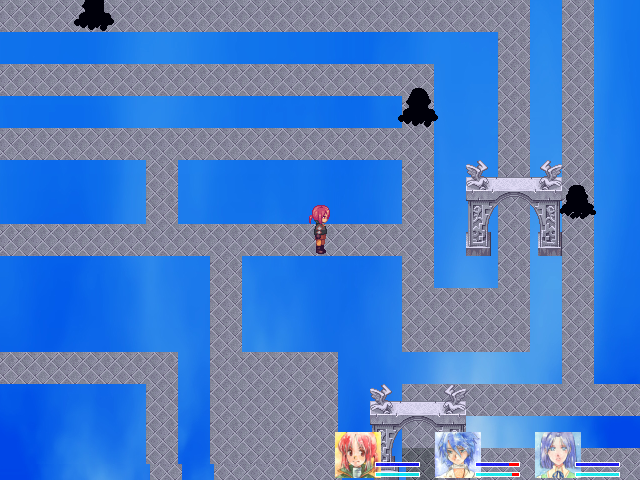
Switches one and two.

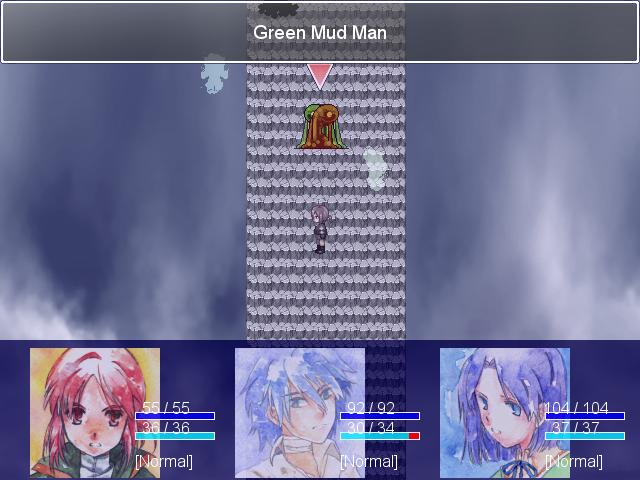
Green Mud Men are not very impressive. Their Melt attack does drain HP, though, and they can poison and stagger.

Important: You need two Wet Stuff items for the Slimy Goop recipe, so if you want everything, you need to get three in this dungeon. They can't be acquired anywhere else. Slimy Goops are the best items for +HP that you have for most of the game, so they're good to have for holes; you may want to leave this dungeon with six Wet Stuff.
The Wet Stuff also gives +22 HP, making it notably better than all the +HP items so far. (Though I could have gotten a +30 HP item from the normal Bison in the Demon King's Castle.)
To the next area.

There's three groups like this, and they move down at a steady clip. There's just enough room to evade if you know what you're doing (and if you don't, how'd you get here?) There's also Wake Eaters on the sides to catch you if you screw up the timing. Don't.
On the plus side, if you do purposefully get in a fight by standing still, the enemies will all be in the same place, so a single Light Axe can probably take them all out at once.

The first switch of the second area is right in front of you. Make sure you hit it, because the game is already using the switches to dick with the player.

Two more enemy types: an improved type of Wake Eater called the Blaze-Eater with the same AI and an improved type of Mud Man, this time aggressive but slow-moving.
Camil masters the Double Horn at about this time. +35 Attack! It's providing a full 50% of her Attack stat at this point.
I AM A MASTER OF STRATEGY.
(That's three Wake-Eaters superimposed right on top of each other, plus a Blaze-Eater. Not actually all that threatening, since Light Axe takes out all three Wake-Eaters at once.)
Blaze-Eaters can hit all your characters for about twenty damage. They still go down in one Light Axe and two rounds of attacks.
Every single type of enemy here, no matter how difficult, gives 100 experience. So there's pretty much no reason to fight harder enemies unless you want better drops.


The Fiery Fang is actually worth seriously considering. Crimson Wind debuffs Attack, and +15 Attack isn't too shabby for an item that provides that kind of skill.
I replace the Sagarmatha with it on Camil. It's -1 Attack and -16 Defense, plus the loss of Sporadic Guard, but it'll be good to have it leveled and ready for the boss.
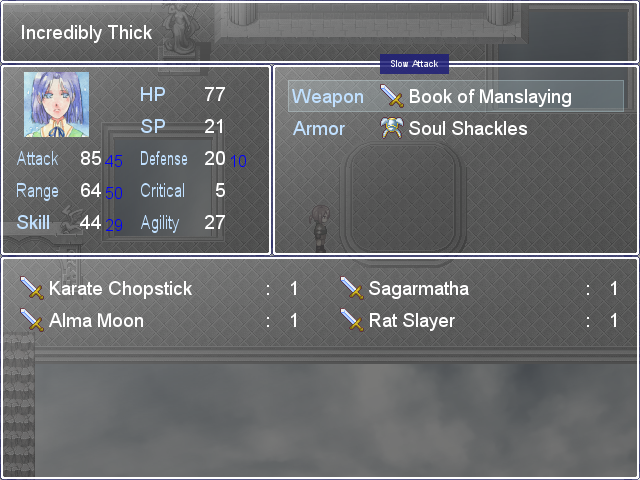
Nana's actually looking pretty respectable by now. Part of that is the Book of Manslaying's high stats, true, but Wish means that she's already incredibly useful. Her defense is a little low, since she can't use All-Purpose items like the Sagarmantha or the Samurai Wife's Bento, but her high HP makes up for it.

Left's a dead end.

You pretty much have to fight the Red Mud Man to get to these three switches. He's not too bad--very tough, can stagger and poison, requires about two attacks and two Light Axes, but you have Wish. That isn't too big a deal.
Their drop, Sticky Stuff, gives +32 HP and Slow Attack. Not really worth it, but it might see some use in surviving holes.

There's six obelisks and seven switches. Why?

Because the creators decided to see whether or not you can do basic arithmetic, apparently.
Talking to the obelisk causes it to ask you if you want to break an Empty Bottle to proceed. I am unable to tell you whether or not this is a permanent thing, because the idea of losing an Empty Bottle forever makes a part of me just kind of start screaming. I'm just not that brave, okay?
Thankfully, leaving the screen and returning resets it, and Red Mud Men stay dead. (Blaze-Eaters don't, though.) So it's kind of a moot point! I hit all but one of the switches this time and proceed.
The staircase between levels is exactly the same as last time.
Another floor. Six obelisks.


Passing under the arch causes this dark square to appear and removes an obelisk.
Shouldn't have actually done this one, though, what with the dark obelisks. I'll have to keep count.

The right side is complicated. Small, narrow, has enemies. Kill every single Eater before stepping onto it, you don't want to be swarmed.
The chest had a Stamina Up.

That said, they do follow predictable back-and-forth patrol routes.

You need to pass under every arch this time; no traps.

I screw up pretty badly on the next flight of stairs. It's not really any more difficult, I just messed up.
I make it through anyway, because Wish lets you use Light Axe with near impunity. That makes most issues null and void, really.

This next area is just plain counter-intuitive.

The Mud Men move quickly, but they're still patrolling in circles.

There's plenty of space to avoid them.

(Pushing this rock makes the red chest way back at the start accessible.)
Yay, I got the treasure! Then I go back and look at the obelisks. Wait, they're still there!
You unlock them by killing Green Mud Men. Presumably the idea is that you mess up once and then see the obelisk number is different, or that you kill the one directly to the left of the obelisks and see one break... But it's kind of annoying to be stymied because you're too good.

This time, there's vision-obscuring clouds on the staircase.

And then a bonus round immediately afterward. The change of background signifies that there's sometimes more than three groups on this new type of staircase and that the Wake-Eaters have changed to Blaze-Eaters. Still easy, though.

Another floor.

It's hidden in the cloud.


They're not very useful. +34 defense is nice enough, but the All-Purpose stats are bad; +10 Skill, +10 Defense, +3 Crit, and +3 Agility is once again in the region of "too general to be useful." Trip is good, but specialized; it's Agility-based, and you can destroy anything not immune to Stagger with enough Agility, but there's the old "usefulness / likelyhood to be susceptible" relationship.


First theory for obelisks: arches. Nope.
Second theory: Kill Red Mud Men or Blaze-Eaters. Nope.
It's actually time-based. An obelisk goes down about every five seconds, and this includes time spent after a fight first triggers. So you have about thirty seconds to clear the floor, but... It's very easy to do everything, go down, come back, and then just wait there.
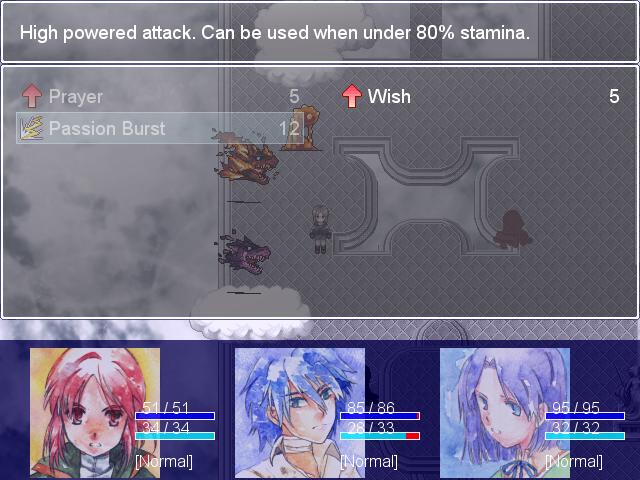
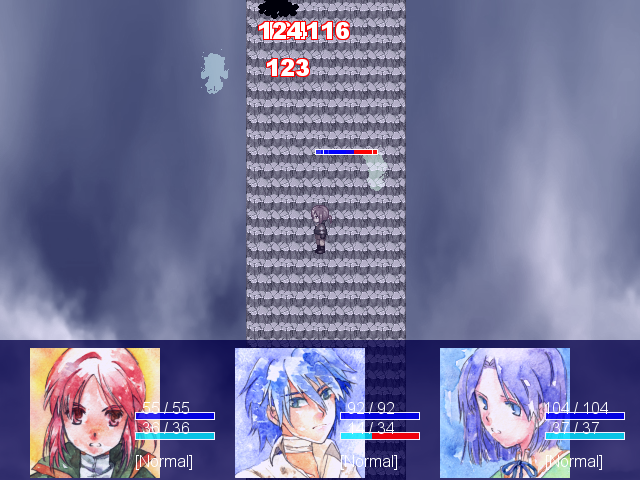
In the course of events, Nana hits level 12. Passion Burst is basically Light Axe's badass big brother. It does have an HP requirement, the base strength is a little lower, and it has the same awful AOE, but it ignores 50% of defense compared to Light Axe's 30% and gains just as much from Attack as it does from Skill. Which is great, because, well.
Nana has a lot of Attack by now. A lot of that is the Book, but not all. Levelled Nana is legitimately badass, but Randolf's Light Axe is still a little stronger, thanks to his All-Purpose slots.
There's two of the harder style of staircase...

Then a very long one.

Very nearly to the boss, now.


 But, someday they will have to return. Back to that desolate continent... Camil... I am grateful for the momentary peace you were able to give me.
This explains why The Nest is called that: all baby birds have to leave it eventually, right?
Up the stairs.


That raised platform has the boss battle. It isn't time for that yet.

The Fake Medicine should be "Placebo," and I usually just call it that. +36 Skill, +5 Agility, 1.5x damage taken. Its primary use is on Camil--she can use her speed and the high Skill bonus to hit groups of enemies and wipe them out before they have a chance to hit her. Fully-leveled, it's +57 Skill--that's a pretty massive bonus, especially at this point.
That said, it does have an invisible +10% evasion on it, so the 1.5x damage taken isn't as bad as it seems.


Back up.

Dropping that boulder back on the fourth floor opened the way to this chest back on the first floor.


It's pretty awful, especially if you've already picked up a Double-horn at the second part of the Demon King's Castle.
Now comes the part that sucks: the grinding.
You see, there are two special things here that relate to Nana's level. First, her final skill is unlocked at level 15. She's level 13 and her EXP curve is shallower than Camil or Randolf, so that isn't too problematic.
But there's a Glossary entry that unlocks at level 20.
 (Thank you for pointing that out, Tallgeese.) There's a level requirement for a Glossary entry in the next temorarily-available dungeon, too.
Of course, if you want to do that grinding, then there's a pretty safe and easy way.
If you're good, you can do this about twice per staircase--once against four Greens, once against two Greens and two Wake Eaters--for a total profit of about 1000 experience a screen.
Now, I have a save just before I did all of this grinding, but frankly it took a while and I may as well get some actual benefit out of it. So I'm going to keep going on the save where I ground all this out. It'll balance out in time.
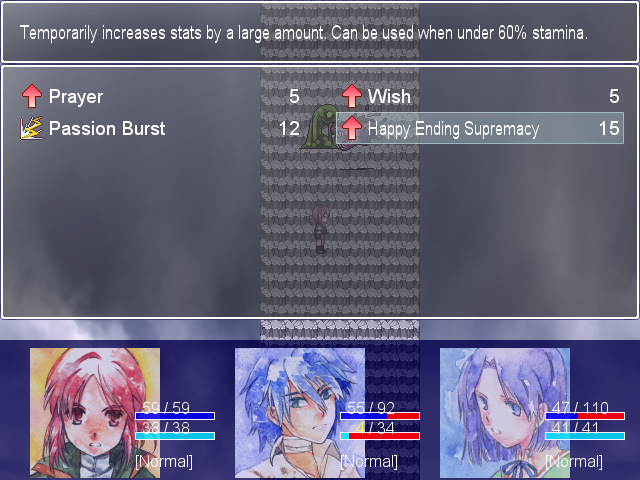
Happy Ending Supremacy is deliberately overpowered. It bestows the Happiness stat, doubling Nana's Attack, Skill, Defense and Agility. It also gives her 50% evasion against all incoming attacks. Normally, Passion Burst does about 180.

That's with Happiness on.
I give her the Zara Sword while I'm levelling to get her some points in it, since it'd be nice to have her able to Passion Burst and then be healed--when Happiness is up, Nana is one of the most powerful characters in the game.
Camil's levelling the Placebo during this part; keeping the Lucky Rabbit on would get me way too much money, and I'm trying not to complete steamroll the rest of the game. She dies kind of a lot during this session, but I always bring her back before the experience.

And this is how much experience you get if you say, "Fuck it, I'm fighting absolutely everything on this staircase!" It's pretty doable if Nana goes in ready to Passion Burst.
During the levelling session, Randolf masters the Varnished Bird Wing, at which point it shows its true power.
Remember how I was talking about items having hidden evasion bonuses? There's another hidden stat, magic damage reduction. It's apparently a flat bonus. The Energy Restore, Stamina Restore, Fine Pajamas (as All-Purpose), and all Weapons in the All-Purpose slot, for instance, reduce anywhere from 1 to 20 magical damage, with 10 being the most common. Like evasion, this levels with the item.

The base evasion bonus on the Varnished Bird Wing is +12% and the base magic reduction is 10. So, fully leveled, its full All-Purpose bonuses are +32 Skill, +8 Defense, +7 Critical, +19 Agility, +18% evasion, and -16 to all incoming magic damage.
It's really, really good. Just keeping the Varnished Bird Wing on all game is a pretty legitimate choice.
(Also, damn is Randolf tanky now.)

Eventually, Nana hits level 20. It takes about half an hour. I head back at this point.

This is without the double drop rates item on during the levelling session, mind you.
Three achievements in His Memory: "Survive over 400 battles," "Take 50 damage in one attack" (thank you, Placebo), and "Deal 300 damage in one attack." I use them to buy three crystals for 1000, 1400, and 1800 gold: +10 HP and +4 Agility for Camil, +15 Skill for Randolf. The next area opens up; it has the second set of "max recovery up" crystals along with Camil's Inferno (level 3 attack spell) and another +Attack crystal for Randolf.
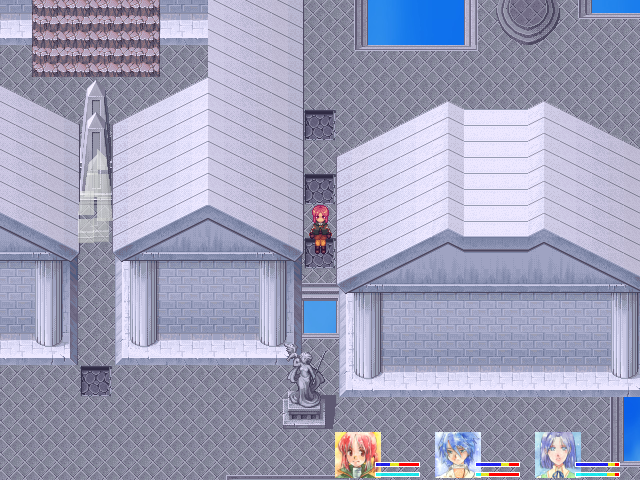
Once you pass through an area, the obelisks stay gone, so I refill my bottles (10 Stamina, 11 Energy) and head to the top.
There's one thing I missed while I was in the Tower:


On the staircase two screens down from the top rest area is this little guy, the Cutter. He's the "aggressive when other enemies attack, otherwise stationary" type, and there's a lot of Blaze-Eaters here. Most of the difficulty here comes from fighting him without getting too many other enemies involved.

Once you do get to him, he goes down in about two Light Axes or Passion Bursts. He hits fairly hard, killing a (level 15) Camil in two hits and Randolf or Nana in three, and moves fast and sometimes evades, but he's otherwise uninspiring.

The Demon Wings give +20 Skill, +5 Critical, +20 Speed and 5% evasion. It's strictly a one-time item; the Cutter does not respawn. Additionally (and this is the problem), it's used in a recipe.
Normally, I would have just done the boss over, but... My save in the Tower was before the 30 minute grinding session, so I broke down and used HenryEx's debug mod to get a Demon Wings. Hopefully I won't have to do anything like that again.

Camil's notably stronger now, thanks to all of those levels. If she doesn't have Shout up, she'll be the healer. If she does, Randolf will take over. She has Crimson Wind, and I intend to take advantage of it.

Randolf's job is not to die. He'll Light Axe when he can, and if Camil has Shout up, then he'll take over on healing.

Nana will use Wish to keep everyone high on SP. If she can use Prayer, she will, but the moment Happy Ending Supremacy goes live her job is to murder the hell out of the boss. She has a lot of HP but relatively low defense, so I'll keep an eye on her and make sure she doesn't die.


The Two-Headed Demon isn't very tough (because I'm overleveled). It has one physical attack that can hit twice, either one character twice or two characters once, and Freeze!, which can cause Stagger. It also has Purgatory, hitting all characters for mid-low damage.
On turn one, it hits Camil, letting her use Crimson Wind. It has an Agility-based success rate, and it doesn't work on either turn I try it. Turn 3 is when Happy Ending Supremacy goes live.

Both Passion Burst and Happy Ending Supremacy trigger Nana's cut-in image during this fight only.

The Two-Headed Demon has his own special cut-in image attack, Splitting Sword. I've only seen him aim it at Nana, but I think it can target anyone; it did about 100 to her each time.

Nana takes it home.
HenryEx posted:
Oh yeah, concerning the recent update, i forgot to mention something - but since i tend to post giant walls of text, this might not be so great a loss. Einander tried one of the status attacks against the boss, i think Crimson Wind? That was kind of an unlucky break, because they're usually very useful. Here is what went wrong:
Resistance against status effects comes on a 6 point scale in this game - measured internally with letters A though F, A being very vulnerable and F being immune. The default standard for all status effects is C.
Resistance of player characters is a fixed scale: the chance to apply the effect to players for A is 100%, B 80%, C 60% etc until F is 0%, or immune. So status effects generally work on player characters 60% of the time. Camil is an exception: She has a B against Stagger and Sleep, so those effects work with 80% chance.
When a status effect is inflicted by a player character, the chance is equal to the character's Agility, multiplied by a number dependant on the enemy's resistance, which is: 4 (A), 2 (B), 1 (C), 0.5 (D), 0.25 (E) and 0 (F) for each respective rank. In the most common case of affinity C, that means the chance of state application is equal to your character's Agility.
Now, the boss he was fighting, the Two-Headed Demon, has two notable resistances apart from being instadeath-immune: a rank E against Attack Down (e.g. Crimson Wind) and rank D against Defense Down (e.g. Azure Wind).
Camil's agility wasn't too high, but over 50 is usually good enough to get a status effect applied in a reasonable time. Thanks to his resistance, the boss cuts that chance for Crimson Wind down to a quarter, though, which is... pretty bad.
tl;dr: The boss' resistance against the status effect quartered the chance on Crimson Wind, usually it's more effective!
 I'm no longer just "a girl."
 I hope you find a happy ending for your own story. I'm praying for it.

She returns her equipment, including the Soul Shackles she originally brought. Very generous!
No longer just "a girl" probably refers to something from her Glossary entry, posted at the end of this update. (That's what I needed her level 20 for.) She's apparently been using an alias, so "no longer just 'a girl'" presumably means that she's planning to take some action explicitly as Nana Eluonto, probably something dealing with Zelphie's past actions.
The fact that her nameplate says "Nana Eluonto" anyway suggests that either a) story world-warping is happening again (narrators often know things that the characters don't, and Camil is half-narrator here) or b) it's a localization goof.
Valkama posted:
Yeah Nana's name is a translation error. Her name in the Japanese version is Eluontonana(Very clever disguise) but she uses Nana as a nick name throughout the game still. It's really a bad fuck up on their part. On the other side of things Eluontonana might sound very awkward to English speakers so I don't really know how to fix it.
Back in Nana's room, her own story is gone; just like Randolf, she's sent it down the river.

...and just like Randolf, the Demon King Chronicle is gone, too.
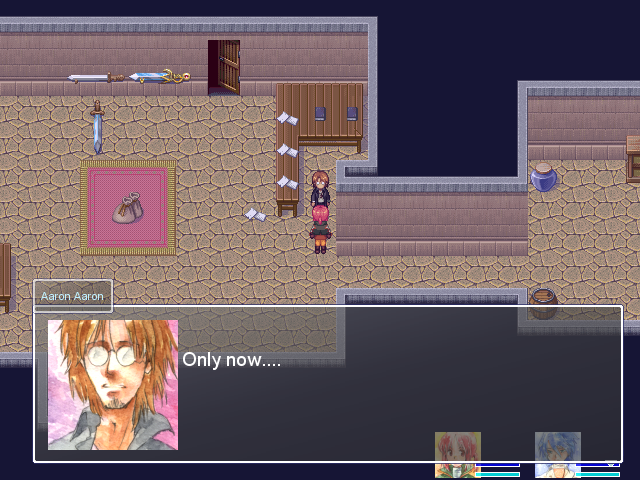
 Only now can I... Truly understand Harold's feelings.
I joked about it at the time, but if you paid attention, then you'd have noticed that when Randolf's Demon King Chronicle went missing, a matching book appeared behind Aaron Aaron. Look back in Chapter 01: no books. Chapter 06? One book. Now? Two books.
If he's making these theories, then he's almost certainly read the Demon King Chronicle all the way through. Why is he stealing those specific copies?
This update's just about over, but there's one more thing to cover while Nana's still fresh in our minds: there's something notable about her fourth story. (Update 7.) You'll see that she says "didn't get the baby brother she longed for," but she says nothing about what happened to that baby brother.
Do you remember how I mentioned that there's a "pay what you want" on Playism for art of the game? Each of the art pieces included is titled.

This picture is titled "Siblings." Hardly conclusive proof, but it's interesting, isn't it?
I won't be showing the rest of the art here, but this is the only really plot-relevant piece. (Go buy it and support the developers! My avatar's based off of one of the cooler pieces of art in there. Note that it's meant for people who've finished the game, so there's spoilers here and there.)
Next time, the Seashore! Warning: it's going to be kind of dull.
Annihilation Record:
Annihilation count:29
No new entries.
Current winner: Cake Attack (26)
Next: Feldherren (35)
Battle Record:
2014/03/30/ 16:05:53
Demon King Chronicle
■Battle results
Playtime:09:30:49
Save count:113
Steps taken:48826
Battle count:449
Max damage:479
Max damage taken:53
Items:45 Types 106 Items
■Treasure Chests
The Nest: 5/8
Demon King's Castle: 21/26
The Hamlet: 29/31
The Snow Fields: 12/20
The Dragon Mountain: 6/6
Sands of Remembrance: 22/26
The Tower: 11/11
The Disease: 1/20
Unmapped area: 7/10
■Camil(20)
HP:85
SP:46
Attack:113
Defense:56
Range:20
Critical:52
Skill:15
Agility:45
・Kelde Laude(3)
・Ares's Clothes(1)
・Lucky Rabbit(3)
・Sagarmatha(3)
・Fiery Fang(2)
■Randolf(19)
HP:96
SP:36
Attack:103
Defense:79
Range:24
Critical:15
Skill:118
Agility:52
・Amaryllis(1)
・Zara Mantle (0)
・Samurai Wife Bento(2)
・Magnificent Zenith(3)
・Varnished Bird Wing(3)
■Top 10 defeats
Green Mud Man(178)
Rat(130)
Wake-Eater(89)
Monkey(57)
Scorpion(57)
Mutt(37)
Abominable Snow Monkey(30)
Scorpion(26)
Turtle(26)
Scorpion(24)
Glossary:
(Unlocked when Nana reaches level 20)
■Nana Eluonto
She came to this island to overcome
the curse of her grandfather.
She always cried after getting scolded by
her father, and Grandpa Zell comforted her.
After her father died of illness, she thought
of Grandpa Zell as her father. As long as
she holds these memories in her heart,
her trial will not come to an end.
She's using a fake name, as it would
cause problems if her lineage were revealed.
(Unlocked by defeating the Two-Headed Demon)
■Two-Headed Demon
The barrier in Nana's heart that she
wishes to overcome. It takes the image
of her grandfather, Zelphie Eluonto.
The left head is the strict but nice grandfather
she trusted and respected from her childhood,
while the right head is the grandfather that
descended into a demon-like madness as a
result of a strange sickness.
The left head is the one that still
holds power over Nana's heart.