Part 9: Post 08: The Shiny Harp and the Staff of Rain
Post 08: The Shiny Harp and the Staff of Rain
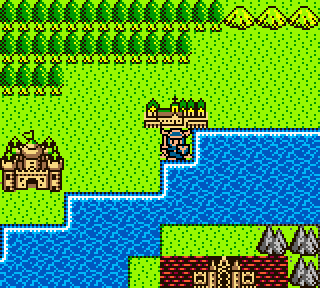
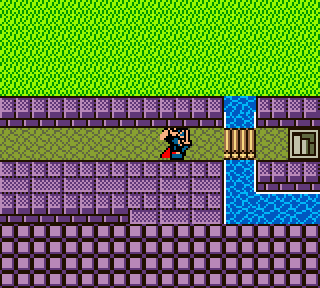
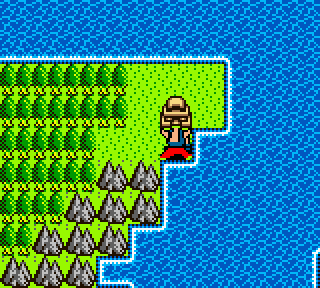
We have a multitude of places to go. Our destination now shall be Garinham, to get that harp!
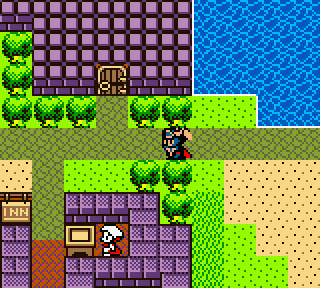
Arriving is a cakewalk now, since the local monsters literally flee in terror.
We break off a key in the door and waltz on in!
-
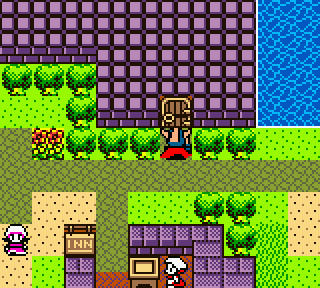
*: His harp is said to summon beasts. I wouldn't go if I were you.
-
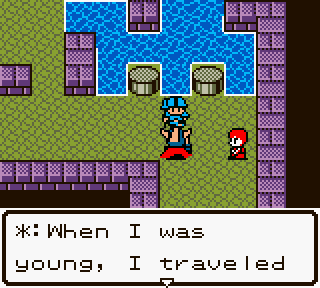
*: far south to the town of Domdora. The innkeeper treated me well. I wonder how he's doing?
-
*: The world's going to end anyways! I don't need to make any money!
 : I'll gladly rob you blind. Free stuff, haha!
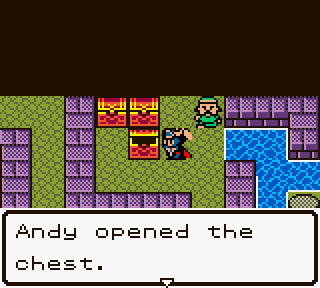
 contains a Copper Sword! contains a Torch! But it was left behind. contains 630 gold.
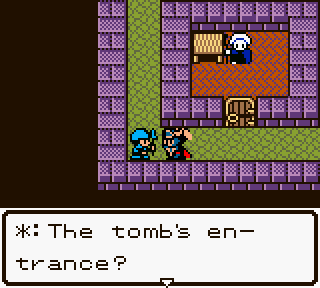
-
*: I'm not at liberty to tell you that. If you must go, find it yourself.
: Aren't I supposed to be the hero of legend? You must be working for the DracoLord, what with the preventing me from completing my quest!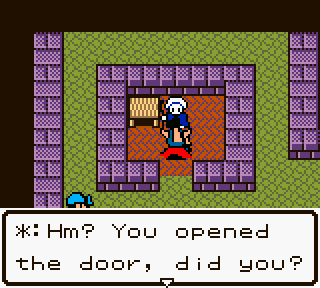
-
*: Oh well. Here, take this Key.
: I can't tell if I just wasted a key or if that was just a waste of a door. Geez.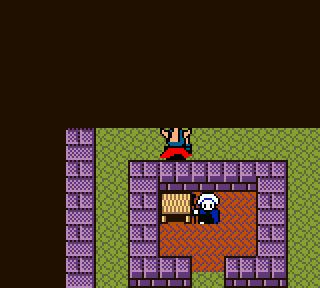
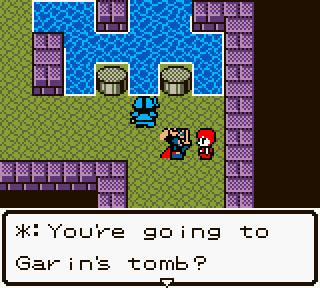
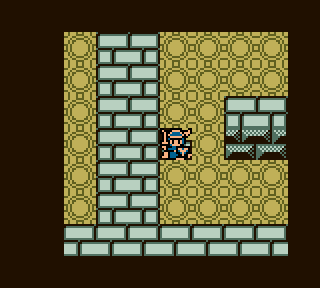
As we were told in Tantegel Castle, we must push against the wall of darkness.
And... pop! We break through into a secret passage.
-
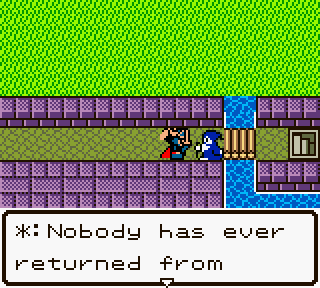
*: Garin's tomb alive... Go, if you wish to die...
 : What the f- WHAT JUST HAPPENED?
...we come into darkness. We cast Radiant...
...and light this place up. It's quite decorative.
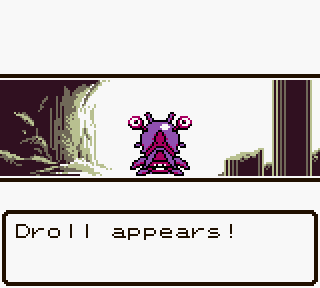
These... Droll things are ugly as sin. Given our level however, they're easily defeated.
As we navigate this strange maze tomb thing, we come across some treasure.
 contains 537 gold! contains a Key! contains a LifeAcorn!
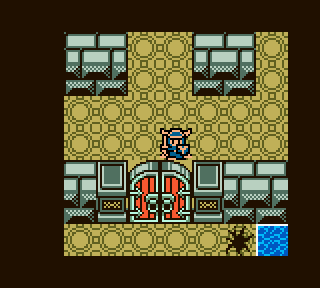
Winding around the maze, we come to a large door. Good thing we just got a Key! When unlocked, this door stays unlocked.
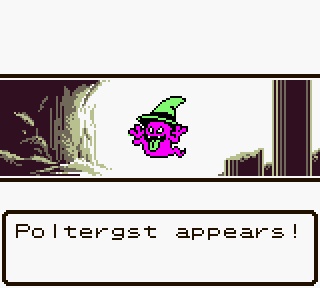
The Poltergeist is an upgraded Spooky. It knows Firebal, but that's about it. Dies in one hit!
Descending on downwards, the monsters get harder. The music also begins to slow down, and gain an eerie somber to it.
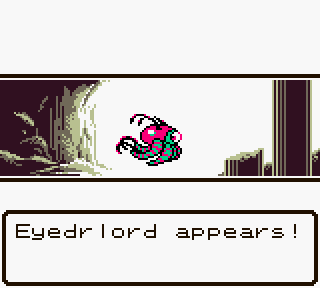
Eyedrlord here is complete with an arsenal of spells. Well, not really an arsenal, but it has Firebal and Heal.
NES differences:
- Eyedrlord is named Druinlord.
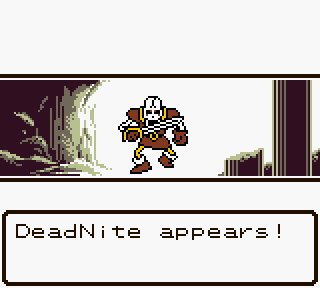
DeadNites are Skeletons with swords. He can also tear you up, AND knows Heal, which he uses frequently.
NES differences:
- DeadNite is named Dead Knight, but it was shortened to DeadNite due to naming limitations. Or I guess it was, Eyedrlord there has nine letters in his name, but DeadKnight apparently isn't cool enough.
 contains 343 gold!
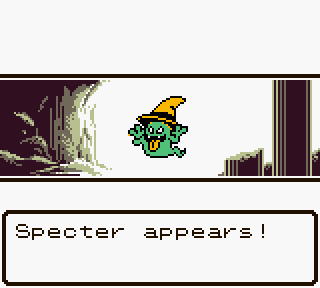
The Specter is the strongest version of the Spooky and Poltergeist. It knows Firebal and Sleep, making it quite deadly.
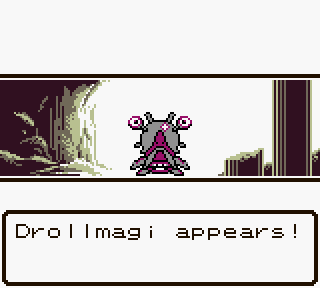
The Drollmagi is just as ugly as the Droll, but has more health and knows Sleep.
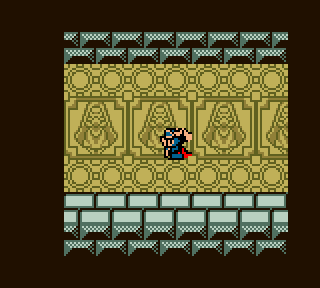
Floor tiles of some sort of woman holding an orb, hm.
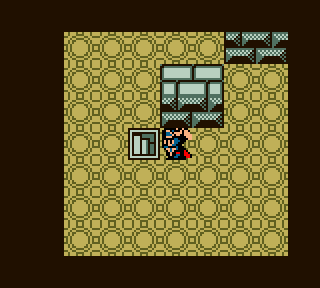
We navigate this place some more and end up near the harp.
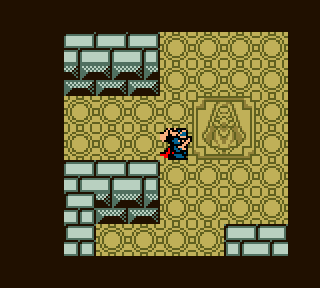
Another floor tile, with the staircase to the left.
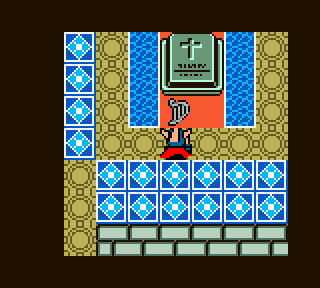
And then, we finally locate the harp, next to a large grave.
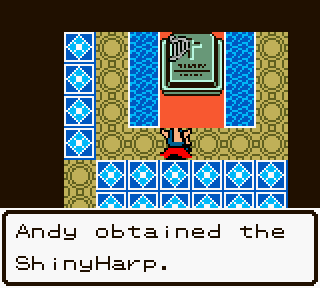
When played, the Shiny Harp attracts monsters. Why you would want to do this is beyond me, but hey, we're trading it off anyways.
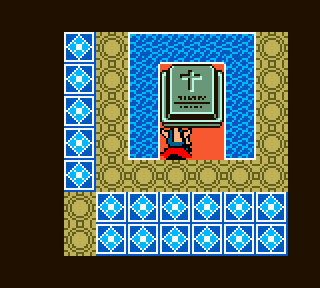
As it were, this grave looks inviting, but it can't be read. Hm. Time to leave!
Except, we have to find our way back out.
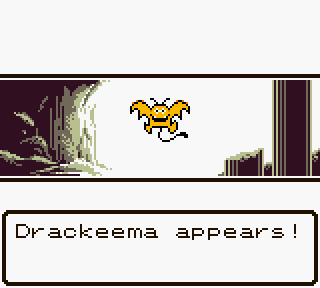
Along the way, we run into a Drakeema. This is... err, the strongest Dracky, but it's still extremely weak. It knows Firebal and Heal.


A tile away from the exit, at level twelve we learn Outside, which allows us to teleport out of a dungeon. What luck, right?
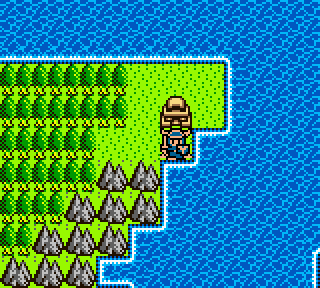
At this point, we walk ourselves across the map and back to that uh, one shrine, yes.
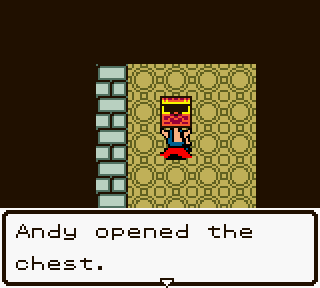
-
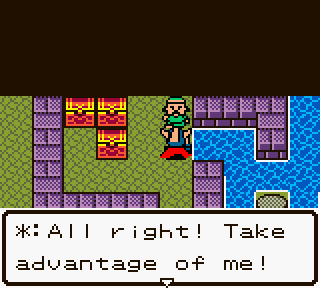
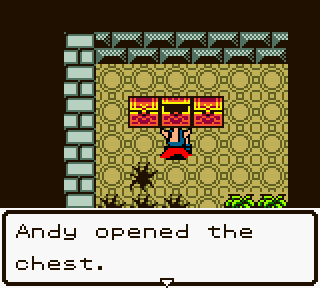
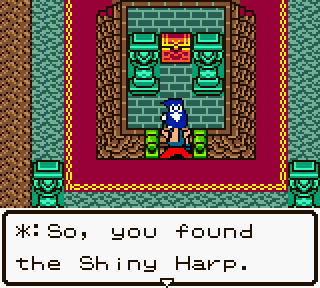
*: Andy. I've waited a long time for a young man like you to arrive. Now, open that chest!
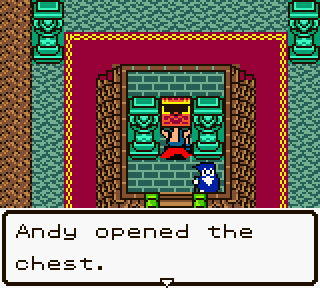
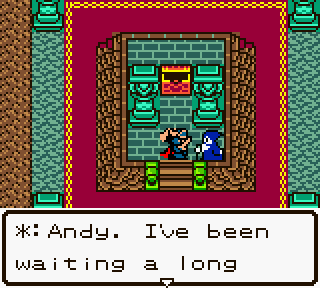
-
*: time for a young man like you. If darkness stays enshrouding the world, the souls of people will soon turn black as the darkness. That must never be allowed to happen. Go, Andy! Go where rain and sun come together!
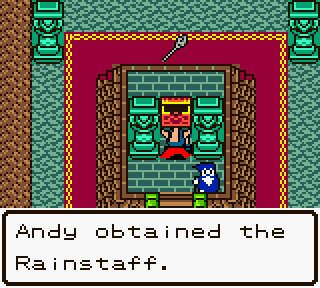
And that wraps up that! We now have the Sun Stone and the Rain Staff, which are needed to make a rainbow or something. Unfortunately, the only way to do that is to find the Loto Seal, and right now we have no idea where the heck that is. Maybe next time!