Part 11: Lethal Strike
Tonight's update is brought to you by Dr. Jack Daniels and Dr. Captain Morgan. (He gets two titles)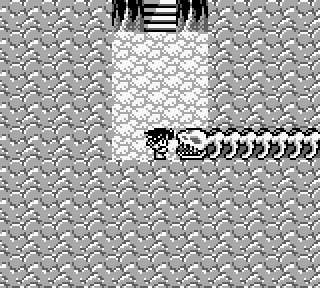
After Shar's demand that we give him some more time, the next place to go is the shrine where we defeated Dahak. They've got a very interesting dragonbone decor going, which very much reminds me of the third dark world dungeon in A Link to the Past.


There's a couple magic stones scattered around the top layer of the ruins, including our first fire stone. It's rather nice that they put it up on a pedestal, considering how rare these seem to be.

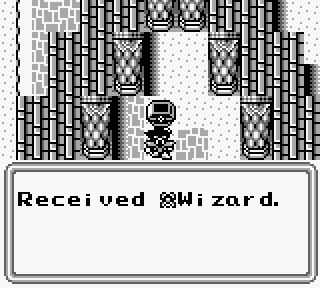
The rest of our treasure isn't nearly as impressive, being free items that could have been bought at shops.

This dungeon's trick is basically boulder pushing puzzles, which appear more complicated until you remember that you can jump over the boulders. Luckily if we screw it up we can just climb the stairs and then come back down. This is the simplest puzzle.
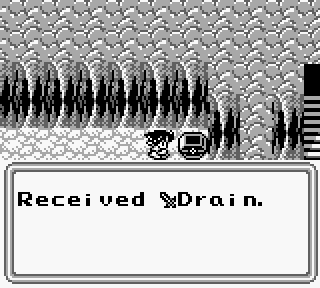
The drain sword does exactly what it says on the tin, taking the enemy's HP and adding to the user's. Unfortunately it comes in at just the wrong time and will be rendered obsolete shortly.

The second puzzle is a bit trickier, since you have to approach from the bottom and use jumping to get into position. The main difficulty with these is that it's impossible to do facing movements. If you're next to a boulder and try to turn toward it, you'll end up pushing it into an untenable position.

After completing the second puzzle we get the Warm necklace, which provides a counterpoint to the Cool necklace and protects from Ice attacks. Unfortunately its magic defense is a bit weak compared to later accessories.

Finally we have the third of the boulder puzzles, which is actually a bit of a fun one in that you have to think about it for a couple seconds. Normally block or boulder puzzles are the most boring type, but I rather like the ones in this dungeon. It probably helps that they didn't wear out their welcome.
Let's go now!
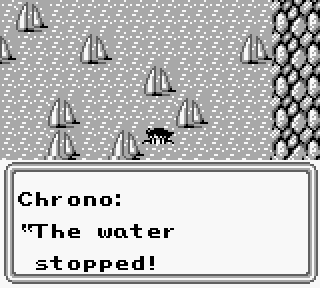
Since we've sealed off the floodgates we can expect a change in the landscape.
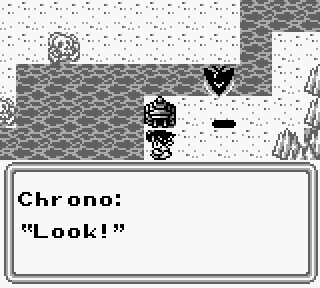

Before and after. The river is dried up, allowing us to continue north as Shar directed. I've got a bit of a beef about that, actually...
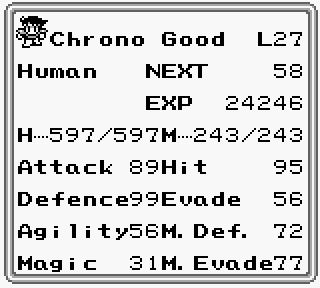
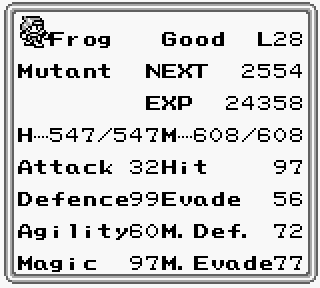
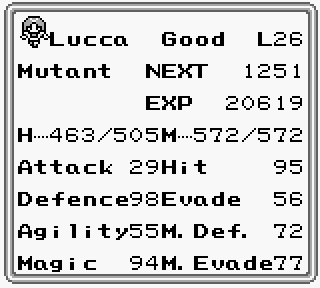

We've got a boss fight coming up, so this is what we're looking at. Chrono will gain another level before the fight with our next boss, but Marle is still our highest level character and will probably continue to be. We've nearly reached the top of the charts for transformations, so I might have to show those off in the near future.
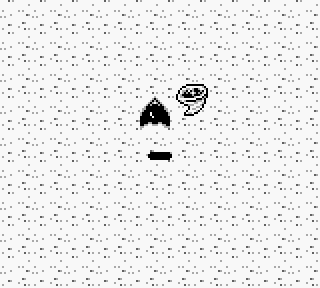
Hmm. That doesn't look good at all. Shar really could have mentioned this...

And it's definitely not good news. It's a bit tricky to get to here, since if you fly in at the wrong angle you'll just get spit out. The trick to getting to the center is to attempt to fly straight through.
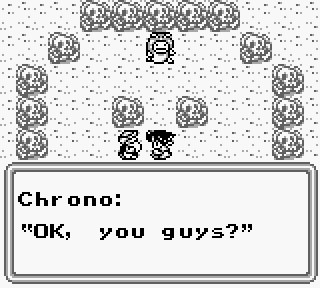
I guess so, but that's the Sandstorm Master Jorgandr!
That's almost Chrono's catch phrase. Is it me, or does Jorgandr look a little
 to anybody else? Why does he get a face...?

I say that mainly because he looks like this.
Boss Fight: Jorgandr
The Midgard Serpent can be a tough opponent, but if you know the trick it's actually a fairly simple fight. The main problem is that Jorgandr is strong against EVERYTHING. All elements, regular weapons, and any status conditions. If we were to chip away with regular weapons, it'd take something like 10 rounds to burn through his 4,000 HP. That's discounting any healing, which would probably be necessary as Jorgandr can hit you for around 350 damage with a single target attack or around 250 to each person with group attacks. Realistically you're looking at having 1 or 2 people constantly casting CureA to keep up with Jorgandr's attacks. The real key here is using Durend to its fullest potential. In the hands of Marle Durend does about 900 damage per attack, ending the fight in 5 turns with everybody surviving. The advent of the Mystic Swords make the boss battles from here on out a bit easier.
Even after beating Jorgandr, however, we have a bigger problem.

The Talon is pretty much wrecked and we don't have our awesome ride.

Talonburg. I'll be at Shar's place.
Sage Buzi has a solution, but it involves...walking. Presumably towing all the important parts behind us or something. Naturally he wants no part with the actual work.

Talonburg is just to the north, blocking passage north.

Evidently they're expecting us. My reading of the situation indicates that all of Talon's original crew members knew about the sandstorm, making Shar an enormous jerkass for telling us we needed the Talon to move forward.
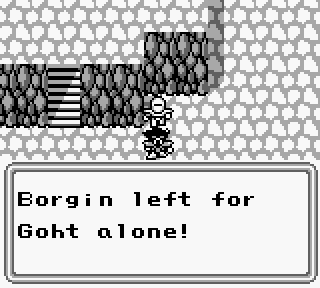

Borgin's definitely on the move, so we're going to have to do something to catch up with him. Luckily there's some help with that.


We now have a replacement Hover unit and a Shield Unit that we'll never use. The Shield unit is a weapon unit that prevents encounters when you're flying in the Talon. I guess this could be useful if you were in a hurry, but who'd want to miss out on that delicious experience?

 Okay, seriously...you bring this up now? What just happened when our ship was destroyed? Whose brain was that?
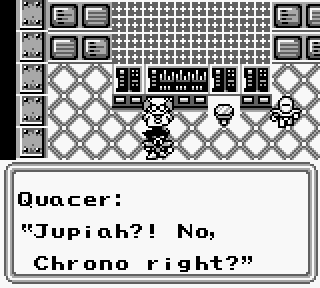
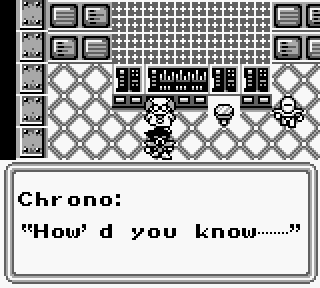
Seriously, you're about the 4th person to mistake me for this Jupiah guy.
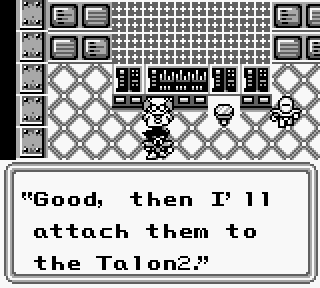
The enemy might be able to bring us down, but they can't keep us down!

Remember kids, Science = Explosions. If you're a scientist and there are no explosions involved in your work, you're doing it wrong.


Now that we've got a fully functioning Talon with the Hover unit in place, we're free to explore Pureland. The only exception is the area behind the barrier we've heard mentioned. When you try to cross the screen flashes, as you can see above, and you end up being pushed back.
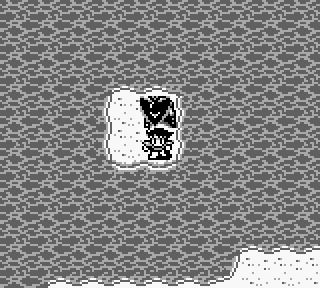
Directly to the north of Talonburg is a mysterious cave that needs some exploring.

The Sun sword is actually quite a find, being one of the most powerful non-mystical swords and having the property of hitting even enemies who are resistant to weapons for normal damage. It's going on Chrono since he's about due for an upgrade.


The rest of the treasure in this cave is rather mundane, even when you consider the light stone as part of the total. Time to head back and check on our crew.

had a curse on the people. Let us hurry now.
Hurry to Goht, I suppose, since it's been mentioned multiple times. An atlas would be handy at this point.
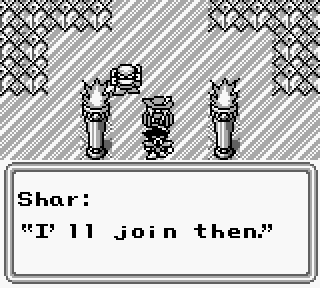

Shar remains a person of few words, but this definitely warrants a

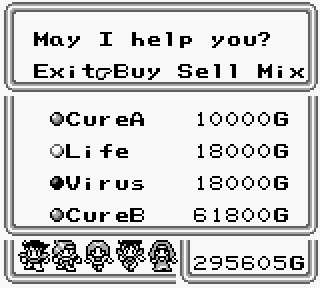
Shar is now the magic seller in the Talon, and comes with a few powerful spells. We finally have the power to raise the dead during battles, but the real star is CureB. It costs a ton of money, but it'll heal 60% of your party's HP so it's worth every penny. Even this, however, isn't Shar's real importance.


Having Shar on board lets us combine elemental stones to make magic spells. If you should enter a combination that doesn't work the game will tell you. There are enough elemental stones in the game to make precisely one copy of each lost magic. LifeA, which we see here, will revive all the dead in a battle as if the life spell were cast on each of them.
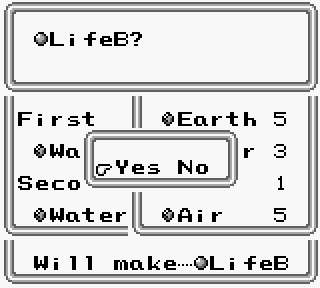
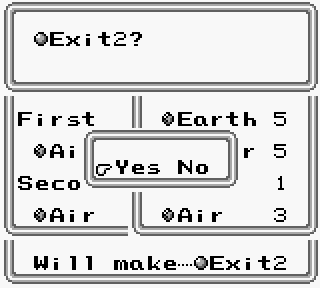
LifeB does the same thing, only it revives all your dead with full HP. These are incredibly broken spells in and of themselves. Exit2 still brings us out of battle, but also allows for removal of multiple enemies from battle at once.
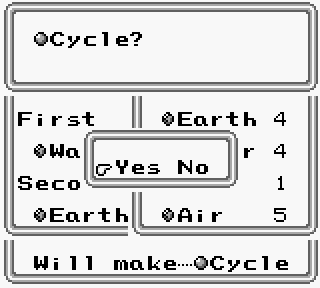
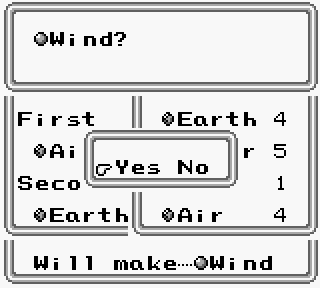
Cycle is a bit less useful, but will remove status effects from the entire party at once in battle. Wind is an air based attack that will hit every enemy on the battlefield for around 500 damage at this point.


The two X spells do a similar thing with other elemental specialties, with FireX being especially deadly. It's not unusual to see 600 damage to every enemy on the screen, meaning that at the moment our mutants have more firepower than the fighter plane we're using as our base of operations.

Finally Flood is about exactly what you'd expect, being the highest tier of water based attack. There's a few more spells to get, but we can't do anything about them until we get some more fire stones.

Continuing to the east from Shar's place we can see a quaint little village just south of the Barrier. Might as well take a quick look.
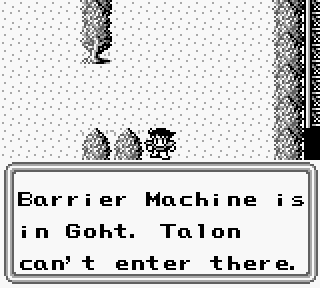
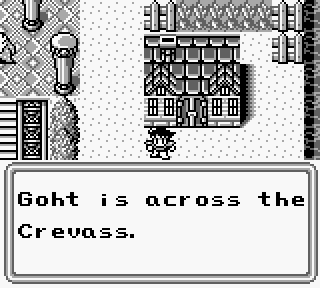
A couple of helpful locals give us some idea about how to get to Goht, but unfortunately that won't do us much good at the moment.

Sounds like my kind of place!
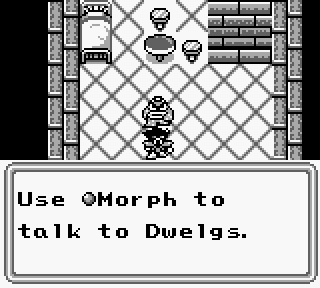
It's nice that Morph will actually come in handy here. You have to wonder, though, what exactly a Dwelg is.

If we weren't already heading there, the prospect of a Unit would be the tie breaker.

Well then, let's see about that!
Next Time: Chrono and company abuse the good old boys system, Faye does something useful, and we pick up some more crew members.