Part 24: Fall of Macedonia, Part 2


The last of the Macedonian army takes refuge in a small fort.
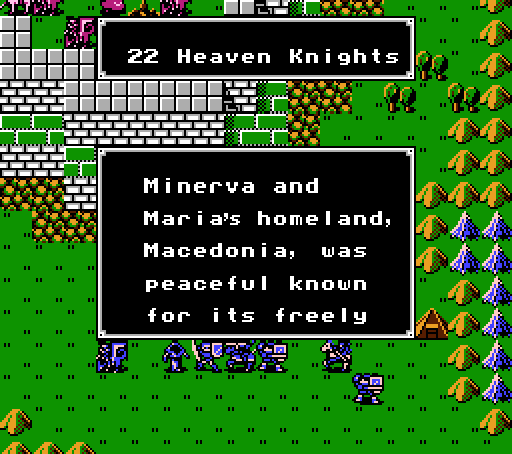
...roaming dragons. But King Misheil, against his sisters' wishes, joined with Durhua. With the Dragon Knights he attacked various countries and spread fear. Will Marth be able to free this land?
That's right, we're liberating Macedonia from their rightful king. At least we haven't accidentally killed off Minerva yet, maybe she can take over.

In an unusual twist, the Dragon Knight guarding the castle is a generic and has merely a Javelin. The high level does bring with it 13 Power and 18 Defense but that's about it.


This random Dragon Knight in the corner is Misheil. He also has just a Javelin, though a bit more stats. His portrait is a simple re-color of Navarre's because that makes sense.
The remainder of the enemies have a variety of weapons - more Javelins, Silver Lances, a Kill Sword, a couple Knight Killers, etc. The Bow Knights both have Silver Bows if we try to lead with Est. And as usual the two Clerics both have Reserve Wands.
This village houses Gato, and we really need to beat the Thief there. Rena still has plenty of Warp Wand uses so that won't be a problem.


Unsurprisingly, the unanimous verdict was to break the game open and show it no mercy. As such, every unit in our army now has maxed out Power, Skill, Speed, and Luck - even (and perhaps especially) when it didn't make any sense to do so.

Well, every unit in our active army.
The relative strengths of our units have been somewhat flipped around. Roger and Est will dominate with both high Movement and high Defense. Jake actually sees a big improvement with enough Speed to offset his weapons' high Weight. Chiki has her biggest weaknesses, low Power and Speed, completely reversed. On the other hand, Navarre is no longer particularly special. C'est la vie.
The strategy changes a bit as well. Levels and experience are no longer particularly important. With just four chapters left and a Hammerne Wand with 12 charge, we can also go all-out with our best weapons.
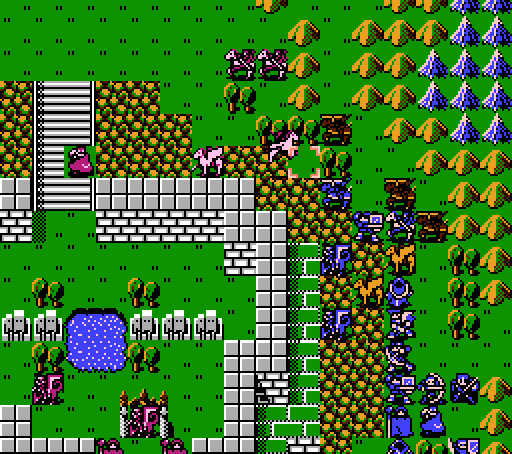
Turn 1:

Just in case you had already forgotten what Gato told us at the end of last chapter.

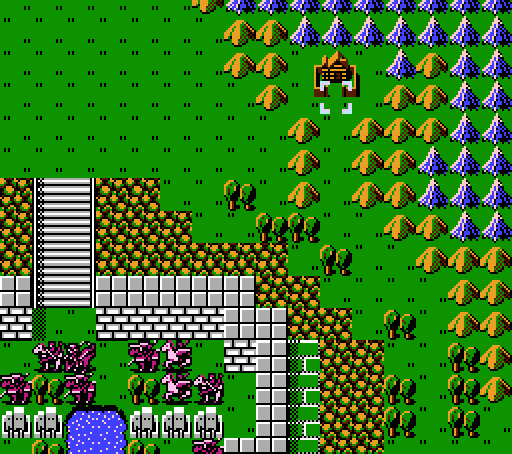
Everyone stays together and rushes up the east side.

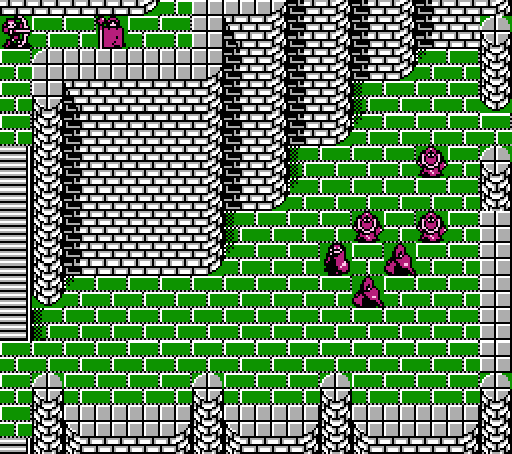
The enemies spill out of the fort, except for Misheil and generic castle guard.
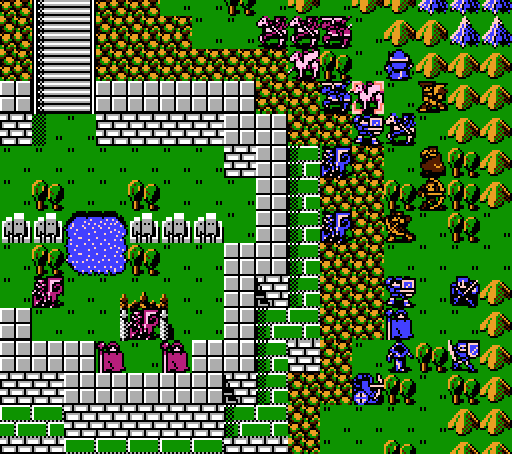
Turn 2:

Roger and Linda stand ready to counter-kill all comers.


Roger and the Gradius make short work of this one. Note that Roger has maxed out Attack at 40.

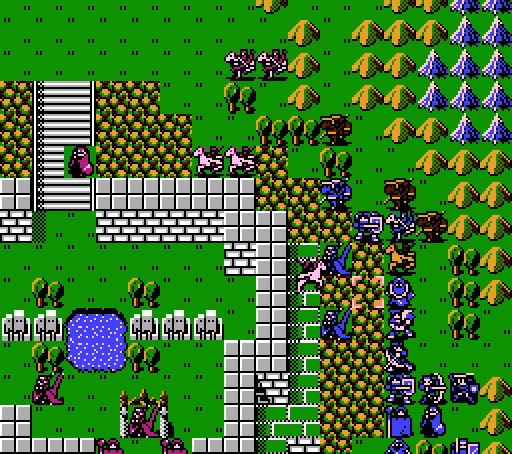
That's quite the army coming for us.
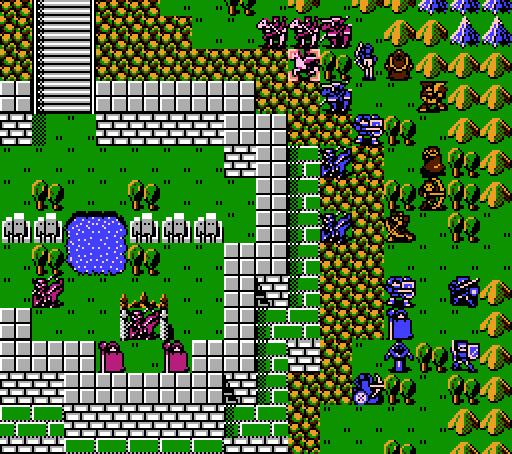
Turn 3:


Est straps on a Dragon Killer, wipes out a Dragon Knight, and picks up a pointless level.

Roger gets this Kill Sword-wielding Pegasus Knight safely out of the picture.

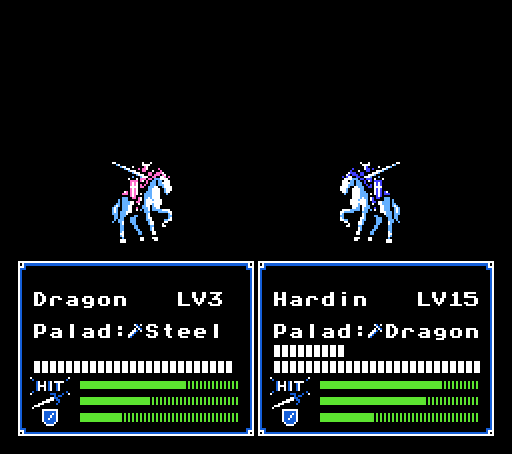
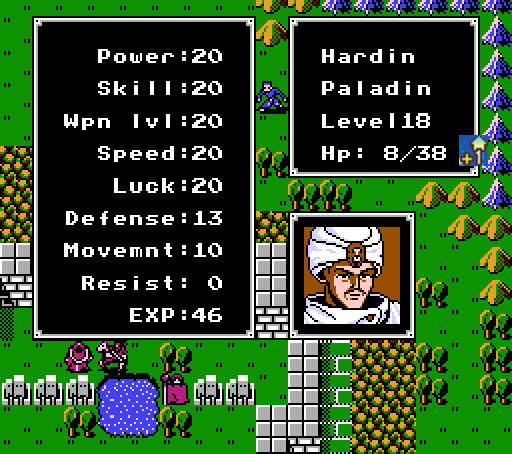
Hardin makes good use of his own Dragon Killer.

Marth lends Chainy a Dragon Killer of his own to take out the last Dragon Knight in the assault force. The rest of the enemies have a max of 9 Power so we can advance with abandon now.

If all goes according to plan, all four Pegasus Knights will fly after Linda and get counter-killed in return.


But first a couple Paladins take the opportunity to miss Wolf with a pair of Javelins.
And this Paladin decides to suicide on a much superior version in Hardin.

Oops, this Pegasus Knight thinks missing Wolf again is a better option than dying to Linda.
The second one appears to be following the plan.
But it has a Javelin and is going to shoot at Barts for all of 4 damage instead, blocking off the path to Linda for the other two.

Instead, they decide to go after Hardin. The first one does 2 damage with a Javelin, the second does 0 damage with an Armor Killer and would've been counter-killed had Hardin not had the nerve to miss.

But hey, at least Hardin got a mostly pointless level out of all that.
Turn 4:

The Thief is getting awful close to the village, but we still have one more turn left to cut it off, so let's spend it wiping out the rest of the enemy assault team.


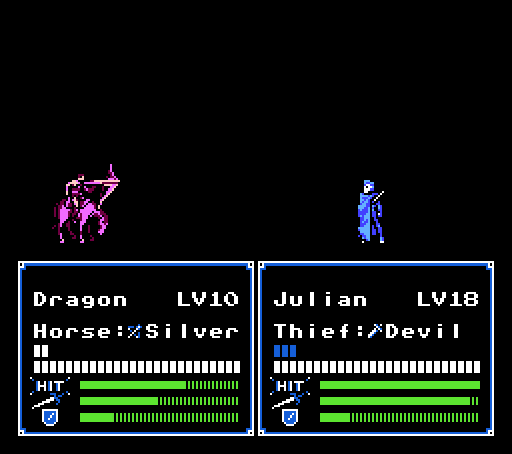
Julian one-shots the Paladin with the Devil Sword for a familiar level.

Barts does the same with the Devil Axe. Everyone has 20 Luck now so the Devil weapons only have a 1% chance of backfiring - though now that everyone has 20 Power, a misfire is going to hurt.


Kashim and George step in and one-shot these Pegasus Knights.
Linda and Wolf take care of the last Pegasus Knights.


Est and Hardin handle the Bow Knights.


Roger and Chainy finish off the rest.

Just the few left in the fortress itself now.

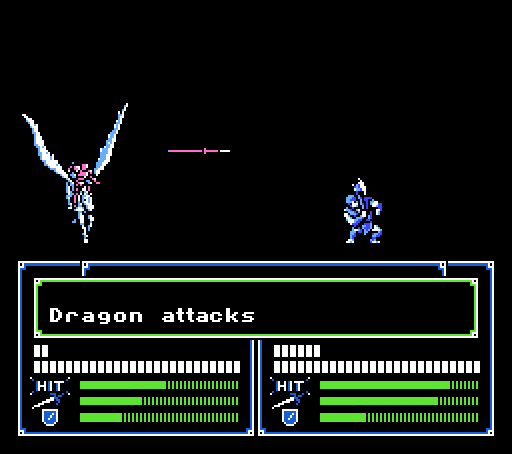
With the rest of his army defeated, Misheil himself comes out to face us. He won't actually reach us, but if he did....
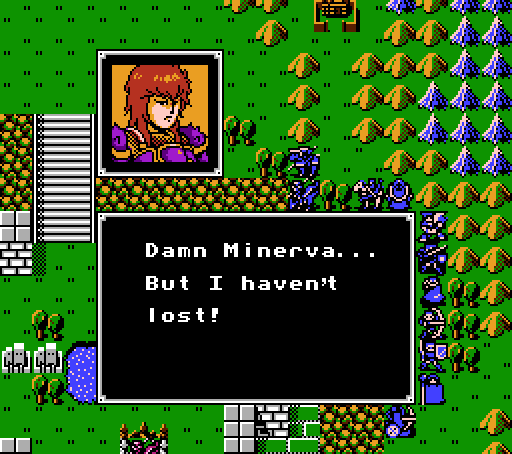
 I'll show the Dragon Knight power!
Family issues, that one.
Turn 5:


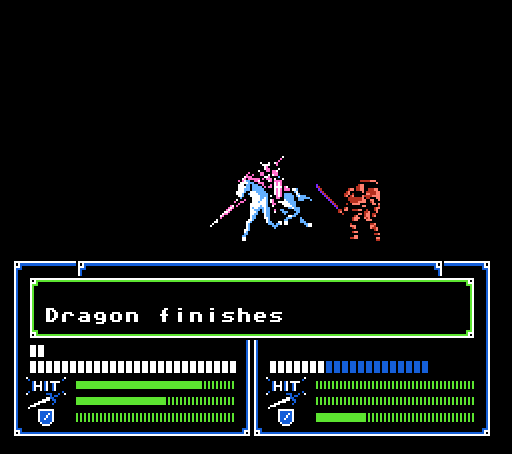
Est exacts revenge for her friend.

She gets an empty level, but more importantly she gets another Dragon Shield (+3 Defense, if you've forgotten).

Not much left to do now.
Turn 6:

Est goes on a mission to free her homeland.
Turn 7:

Seriously, arming end-game bosses with Javelins is just wrong, I don't care what their stats are.

Est picks up a second Dragon Whip, so we could finally promote a second Pegasus Knight if we were so inclined.

Hardin gets some more HP picking on the Clerics.
Turn 8:


This chapter is the last point in the game to buy Bows and Tomes, and the only time to buy replacement Catapults for Jake.

Some reinforcements start showing up, so I've parked the few units that haven't maxed out levels here to benefit from the meat grinder.

Like so.
Turn 9:


Another Dragon Knight, another counter-kill, another unimportant level.
Turn 10:

Tomth! What are you doing out there!
 Tomth needs levels, too....
Yeah, but...

you're unarmed.

Duck!!
Noooo....

Poor Tomth, all he wanted was some easy experience, but he forgot to bring a weapon.
Turn 11:

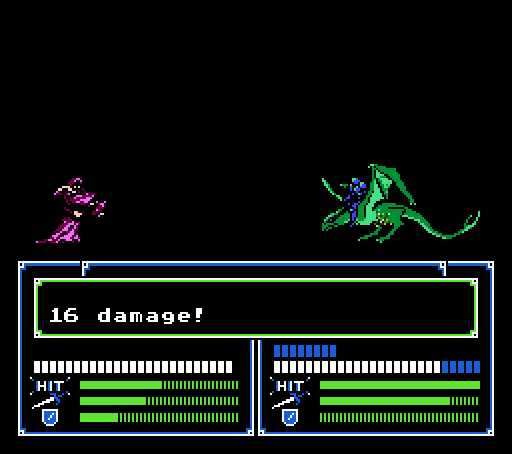
Chiki can kill Dragon Knights in one turn now.

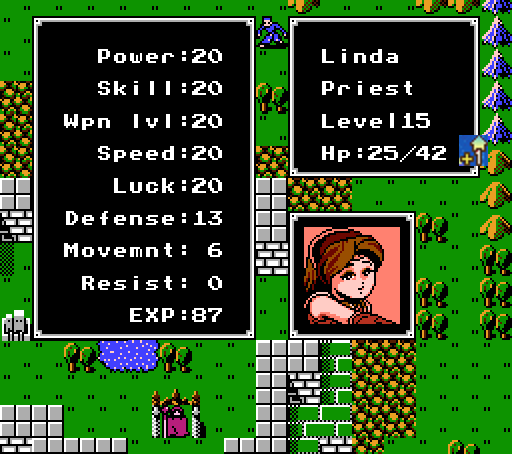
But Linda's still the counter-kill machine.

One of the enemy reinforcements is a Priest wielding the inaccurate-but-powerful Worm Tome. When it hits, it really hurts, since we don't have any Resist still.

Fortunately Chiki's Defense is still top-notch here.

Linda picks up a couple more HP, while Chiki barely hangs on for an empty level.
Turn 12:

Okay this is ridiculous. Hardin almost breaks his Silver Sword counter-killing the three Dragon Knights.

Both Priests land their hits again, but fortunately they didn't concentrate their fire.

And despite Est being vulnerable to bows, the Bow Knights see that Hardin has less Defense so plink off him anyway.
Hardin also manages some more HP.
Turn 13:


Julian gets rid of one of the Priests for some HP, Est takes on a Bow Knight for an empty level.

Hopefully this setup will keep any one unit from getting hammered too hard this time. I've also had Hardin equip the Thunder Sword so he won't counter-kill everyone, since he can't take too many hits.

Fortunately the enemy Cleric blocked the Worm Priest's arrival - I'm sick of those guys already. Sure hope we don't see any next chapter!


Two of the Dragon Knights suicide on Navarre for some heavy damage, but the third just misses Linda instead of following up.

Fortunately the other two enemies pursue other targets instead. That Bow Knight probably could've killed Linda.

Navarre got an empty level out of the exchange, too.
Turn 14:

Hardin and Julian retreat, leaving the ladies to clear out the stragglers and hold the line. This turn should be the last of the reinforcements.

Linda picks up yet more HP.


Three Dragon Knights kill themselves on Linda, while the Bow Knight takes a useless shot at Navarre.
If you thought Linda might get more HP, you were right.
Turns 15+:

Chiki finishes off the last Bow Knight and the two Clerics for one last level. But we have some more unfinished business with that village.

 ...you haven't brought the Orbs. Though it pains me to say, I won't be able to make the Starlight Tome. You can't defeat Garnef. Without the Falchion, the battle with Mediuth will be hard.
Well, snap. I knew I was forgetting something important.
If you still want to fight him, gain experience and raise your men's strength. Prepare your strongest weapons for the battle, then Mediuth will be possible. Are you sure you want to go on?It's actually possible to continue in the game and fight Mediuth anyway. With our super-powered units, we could probably handle it fine, too. Plus, if we did that, we could keep the Star Orb for the rest of the game. But I think we have enough weapons and Hammerne uses that the Star Orb won't really be needed, anyway, so let's go back and do this the way it was meant to be done.
If Marth visits the village with both the Star Orb and the Light Orb in his inventory, we instead get this scene:
 I'm happy to see you safe. I see you've brought the orbs. Then let me give you this. The only spell able to break through Maph, the Starlight Tome. Good luck!
That was decidedly less defeatist.

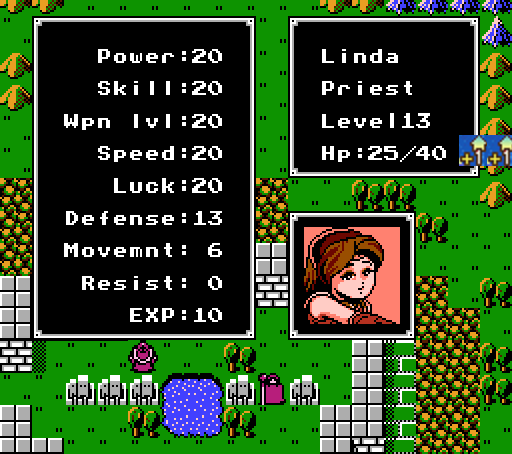
Linda obviously gets to be the one to wield Starlight. It's not actually that impressive - it only does 13 damage, less than Garnef's Maph, but it's the only option for damaging Garnef so we have to go with it.
Marth finally seizes the castle:

Tebe, if you'll recall, is where Garnef fled to with Marth's sister and the Falchion.
 It's north of Khadein, in the Momotodo desert.
Morodof, if you take us into another fucking desert level you are so fired.
But it's been said no person returned from Tebe alive!Then how did we learn of its location?

 ...we must go. Garnef, watch us! We won't let you rule the world!
Next up on Marth's hit list:
Gra
Grunia
Macedonia
- Garnef
New Weapons:
Starlight Tome - Starlight is as strong as a Torron Tome, but with few uses and no crit chance. Its only purpose at this point is to beat Garnef. Also, hope you raised a mage to at least Weapon Level 9, or you won't be able to even use it.
- Might: 13
- Uses: 12
- Weapon Level: 9
- Hit Rate: 100%
- Crit Rate: 0%
- Weight: 5
- Special: Ignore Maph's Special Effect
Our current roster, with the active units in bold. (Full stats in this post.)
Lord: Marth
Pegasus Knight: Est [Dragon Knight], Sheeda, Minerva [Dragon Knight],
Social Knight: Hardin [Paladin],
Armor Knight: Roger, Doga,
Archer: Gordon [Sniper], Thomas,
Cleric: Rena,
Mercenary: Navarre [Hero],
Fighter: Barts, Maji,
Hunter: Kashim
Pirate: Daros
Thief: Julian,
Magician: Linda [Priest], Marich,
Bow Knight: Wolf,
Mamkute: Chiki,
Shooter: Jake, Beck
Commando: Chainy
* Non-violently retired
I need a new sacrifice, plus we have a Dragon Shield (+3 Defense) to hand out. But we only get to bring 11 main army units with us next chapter, so a few members of our core team will be riding the bench next to Daros. I'm inclined to take along Roger and Chainy for obvious reasons, plus any other unit not yet maxed out. That would leave room for one of the following: Gordon, Barts, Kashim, Wolf, or Jake.
Next time:


Oh thank god it's not another desert level.