Part 21: Chapter 2, Part 9: Sea IV

First, some unfinished business in the shrine.


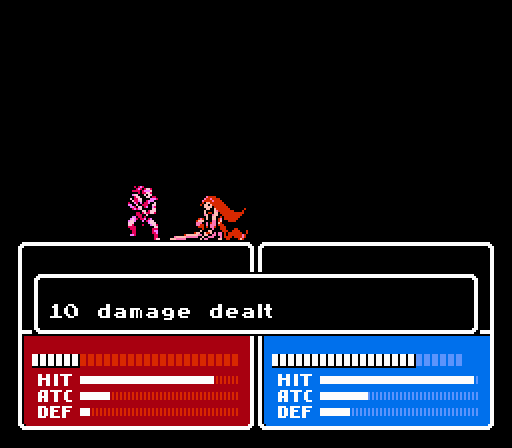
Celica wins the popular vote and takes a hit from each lion head.
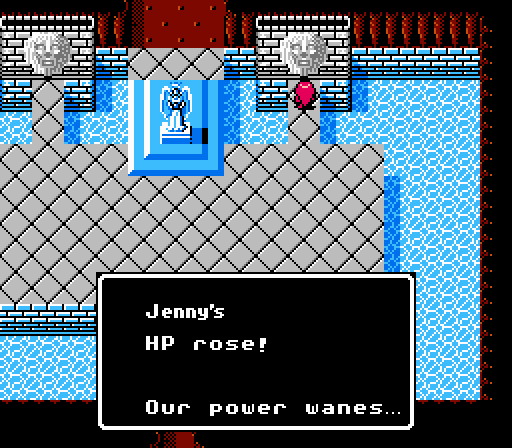
Jenny gets the leftovers for some extra healing fuel. Moving on!
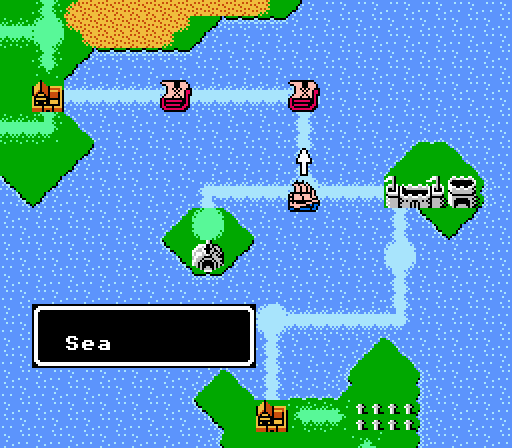

Another sea battle awaits. The difficulty appears to be a small step up from prior battles, but nothing that should really bother us.

Yes, let's get on with this already!

Okay, I wasn't totally ready yet. Jenny was still holding our new Holy Sword which was mostly useless on her. Instead Saber takes it, giving his Steel Sword to Kamui. Now, we're ready.
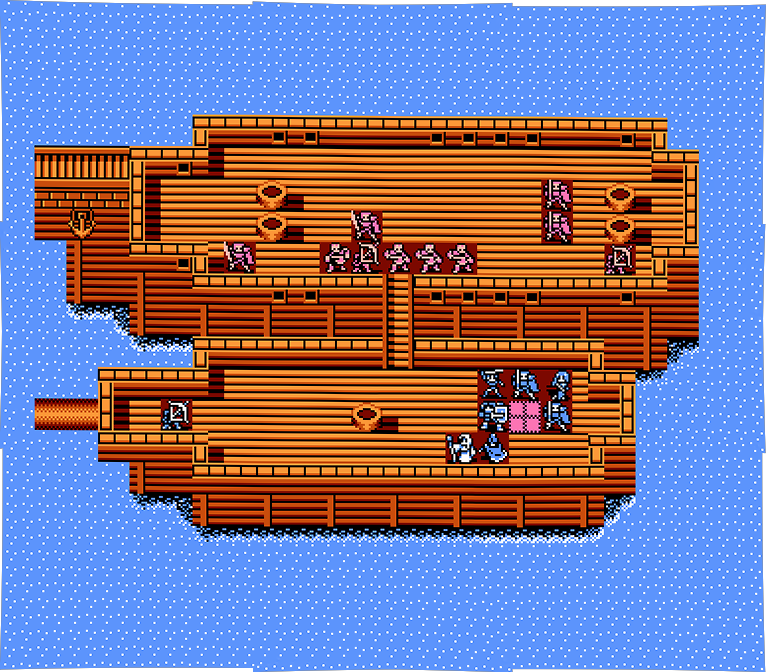
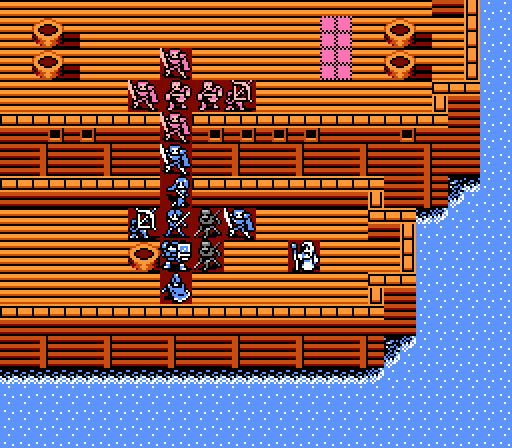
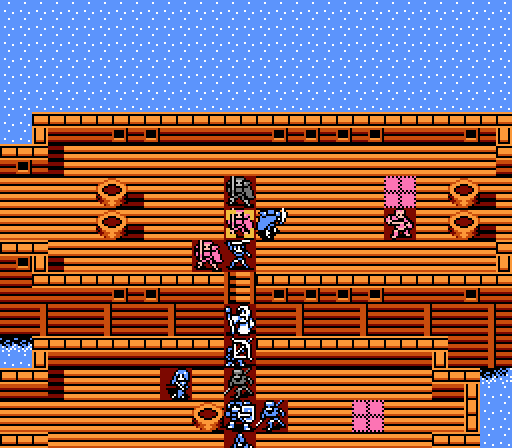
Four thieves, four mercs, two archers, single point of attack. This battle is going to be very trivial.

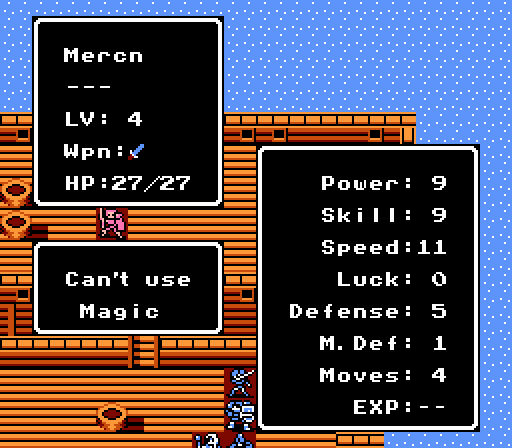
All of the thieves are level 1, not even remotely a threat. Three of the mercs are also level 1, which means they double-attack everyone but Saber but don't do much damage to our front-liners. The level 4 merc is only slightly more threatening at this point. The two archers are level 1 as well, which means they have enough Power to hurt May and Jenny but only if we let them get close.
Turn 1
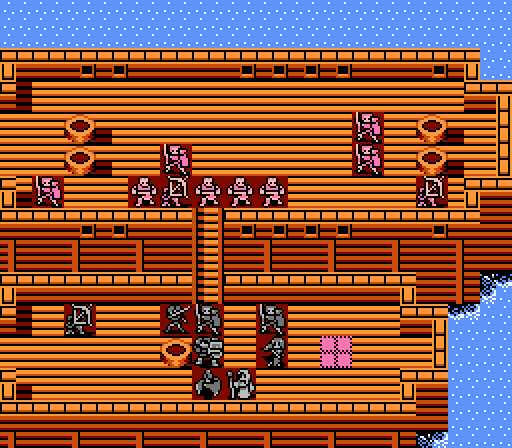
Saber is taking the lead. He only takes 1 damage from every enemy on the map, and his Holy Sword will heal up him for 5 HP at the start of every turn. He's literally invincible in this battle, as long as we hold the chokepoint and don't let him get swarmed somehow. May and Jenny hang back a bit in case the front archer moves first.

Instead the archer misses Celica entirely.

A thief gets the bright idea of attacking Saber head-on.

It doesn't work out great for him.
Turn 2

Enemies are stacked up on the bridge. Let's take care of that.


Jenny has a rare opportunity for an easy kill here on the wounded thief, and takes advantage.
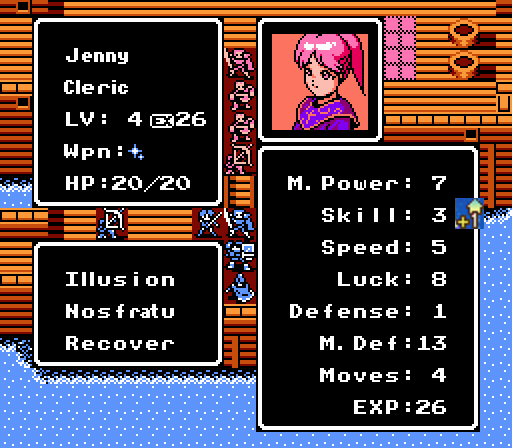
She gets a worthless level in terms of stats, but check out the new Illusion spell. I'll show it off next turn - for now we need to get rid of that archer before it gets a free shot at Jenny.

Saber again does the heavy lifting, giving the easy kill to Celica.

No point moving anyone else into that gap, let the enemies break themselves on Saber.

This time a merc gets in on Saber first for all of 1 damage, taking 10 in return.
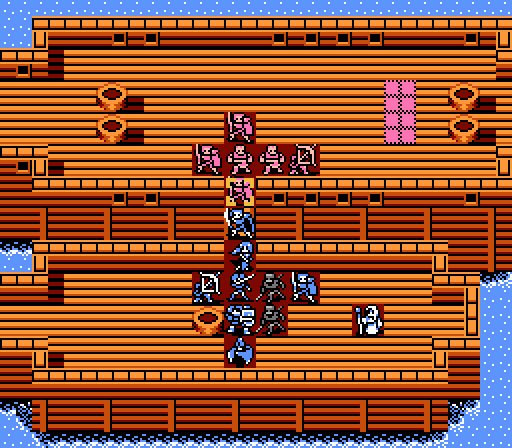
Turn 3

Leo starts off trying to chip the enemy front-line merc, but misses.

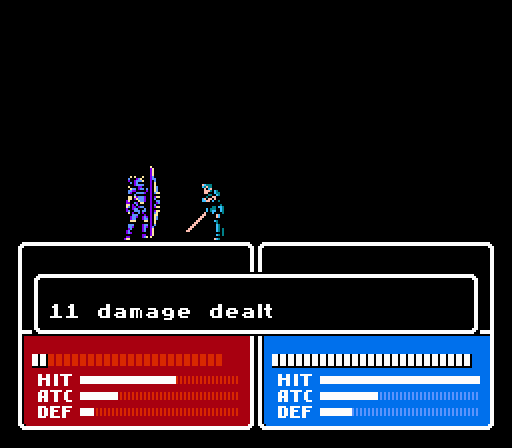
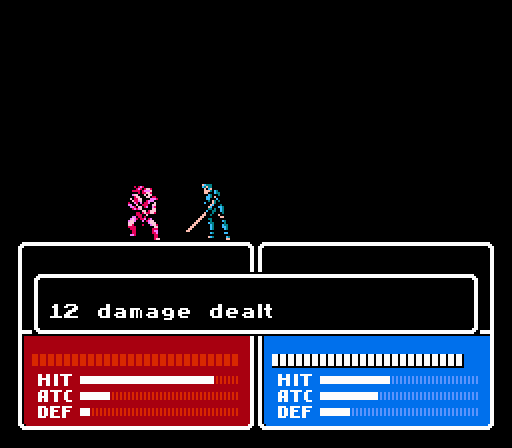
So Celica switches to Angel magic to blow the merc away for 19 damage.
That frees up Saber to advance another tile and take off most of this thief's HP.

May takes the easy kill this time. The archer won't reach her this turn, as the mercs will move first and fill the gap.

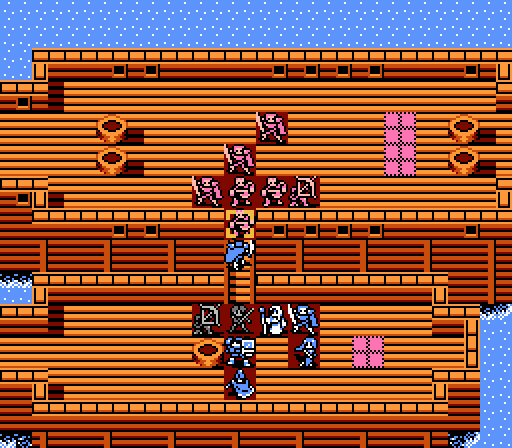
Meanwhile, Jenny moves onto the healing tile to show off the very expensive Illusion spell.
_-_Chapter_2_Part_9_Battle_1.gif)
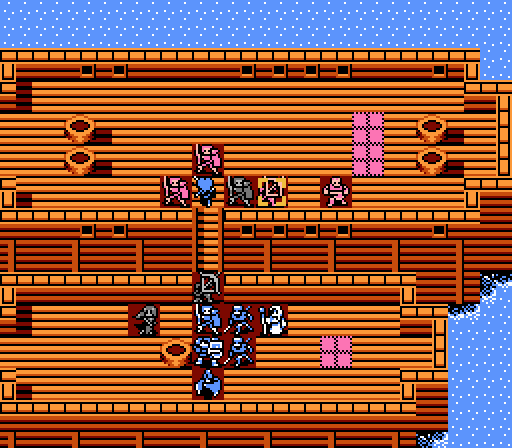
Much like the enemy Messiah spell that summoned a random number of zombies, Jenny's Illusion gives us a random number of Soldiers. The illusions are level 1 and not that great on their own, but a swarm of them can easily turn a battle that's going against you. However they soak up experience that your real units could use, and you can't actually control them directly - they move after the enemy phase on their own.

They'll hit hard with one attack against most of the weaker enemies we've been facing so far, and have enough Defense and HP to last awhile.

The "boss" of the battle approaches Saber on the enemy phase. Even with twice the number of attacks, he only does 2 damage to Saber's 9 damage.
The illusionary soldiers move up on their own. I plan to keep the bridge clogged enough that they never get any closer to the front.
Turn 4

Saber goes for round two, ending things immediately with a timely crit.

With most of the enemies defeated, Celica hurries things along by taking the lead against this thief.

For some reason I just end the turn there rather than have May or even Leo try to finish off the thief.

Celica doesn't dodge this arrow, but it's only 2 damage.


The injured thief retreats; the other one probably should have.
Turn 5

This time I get May out of the way and let Leo get a kill on the thief.

Saber and Celica team up to take out the last archer.

...This level is terrible. But there's a more interesting note here....

Saber can now promote into a Myrmidon! He still has 13 levels he could gain as a merc, so promoting early would cause him to lose out on any stat gains he might have received otherwise. However a promotion would also immediately raise him to the myrmidon's base stats - currently that would give him just +5 HP and +4 Speed since his levels have been pretty good up until now. The immediate Speed increase would be nice but isn't necessary right now. Moreover as a promoted unit Saber would gain less experience from the weak units we're currently fighting. Since we're unlikely to actually run out of levels for Saber to gain either way, the tradeoff essentially becomes slower future level gains in exchange for the immediate promotion bonuses. I'll revisit the question when we come across another shrine, but for now I'm not going to go back to the Sea Shrine just to promote him.

With the ranged threats eliminated, Jenny and Kamui move up onto the bridge, mostly to keep our illusions from getting in the way.


Even if the mercs crit on all 4 hits against Celica here, she'd live with 2 HP. Instead they land regular hits for a total of 4 damage.
Turn 6

Saber sets up Kamui for his first action of the battle, netting a kill.

Celica just blows away the other mercenary with some Angel magic.

Not really necessary, but Jenny gets another double-shot of Recover for Celica.

The thief is still in retreat mode on the healing tile, so after filling up the bridge again it's time for another turn.
Turn 7
Kamui's close to a level so I let him get the final blow.

I'm pretty sure the Skill/HP shrine cursed our levels.

Anyway, Celica remains queen of the seas.
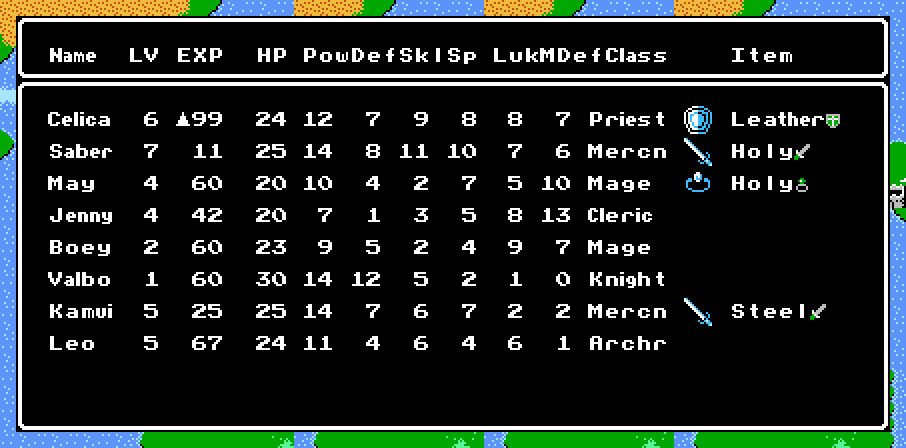
Current Roster:
Next time:

The final sea battle, with a group of wizards.