Part 78: Commentary: Updates 61 - 65

The Blessed Elixir
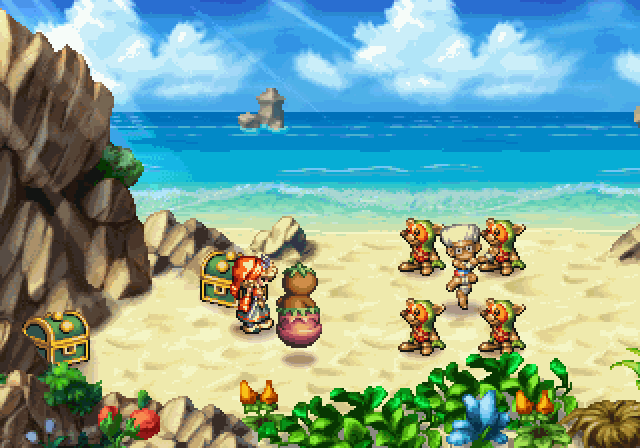
So at this point, I've gone through twelve groups of pets. The thirteenth type, Demi-Humans, is a bit different. Instead of getting them through eggs, you recruit them after reaching maximum level of a certain Mana type in certain lands. Most "optimal" maps aim to get you access to all seven in addition to goals like access to all quests.

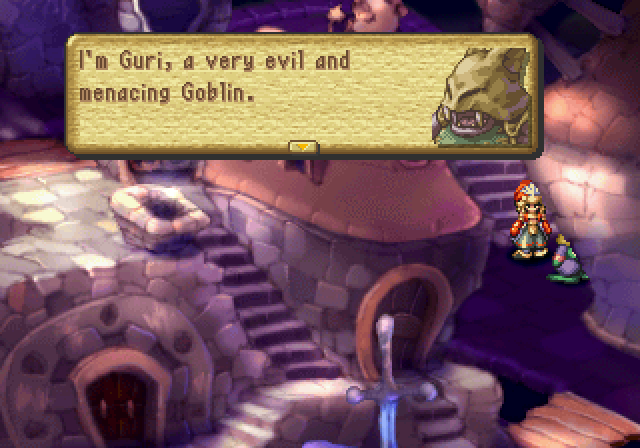
Anyway, this quest is very silly. Niccolo drank up their elixir (which sounds a lot like booze), and we have to get it back for the nuns. So what's the best part of this quest?
Why, beating the crap out of a drunken Niccolo, of course!

So you go to the Manager in Lumina and randomly obtain a barrel in your soul, which you use to obtain oasis water in a...rather odd way. As I said, this quest is silly. Fun to watch, but not really much to discuss.
Two Pearls
This quest is also not technically a Jumi quest, but it might as well be. Unfortunately, this also means having to navigate the Tower of Leires again, as I hate that place.
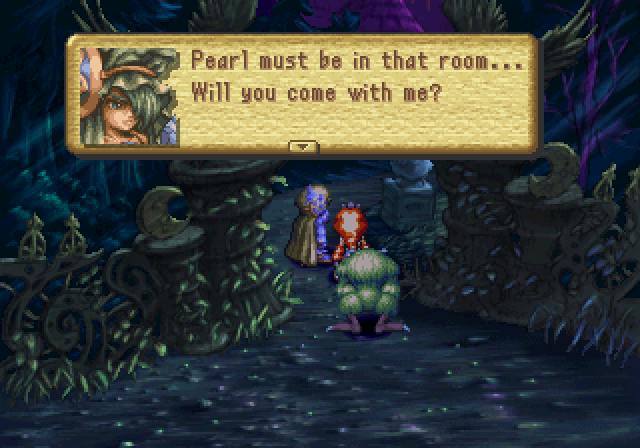
Skipping ahead, we get to the top and see Pearl and Lady Blackpearl in the same spot, despite being the same person kinda-sorta. I forgot if it's been mentioned or will be mentioned later, but this room is special in that it lets both Pearls be separate and talk to each other. I don't think we actually come back here (I sure hope not) so it won't really come up again.
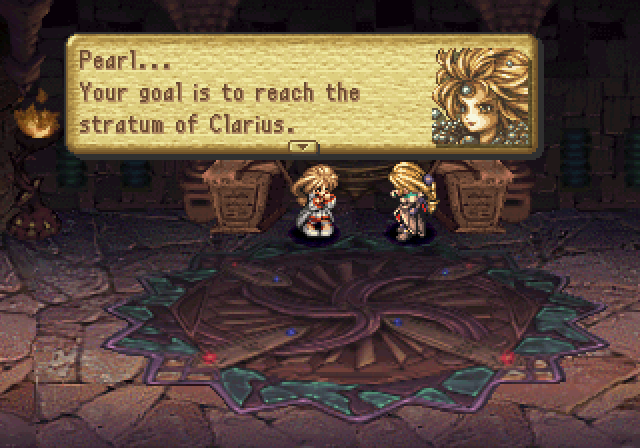
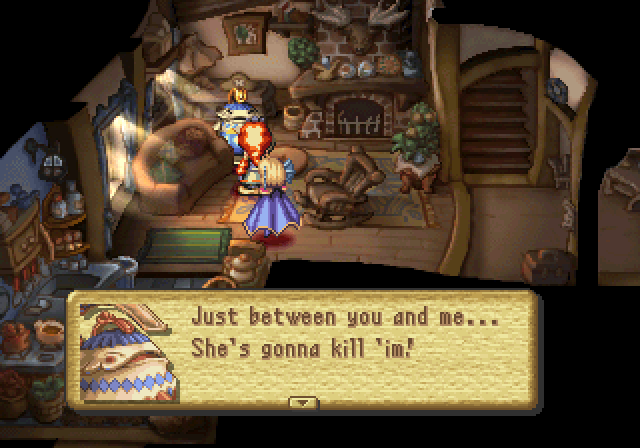
Anyway, Lady Blackpearl is trying to convince Pearl to sacrifice her tears, the Jumi's life force, to heal the others. The only Jumi who can do this, Florina, is missing, and as you may have noticed the Jumi are dropping like flies recently. Pearl of course doesn't really want to do this, and Elazul decides to butt in. Then you can choose to fight Lady Blackpearl or, for some random reason, Elazul, though it doesn't change anything.
After kicking her ass, Lady Blackpearl lets us take Pearl and leave. The weirdest thing in this whole mess is my Narcissos choosing to stand still on one foot the entire time. Seriously, what's his deal here?
The Wimpy Thugling
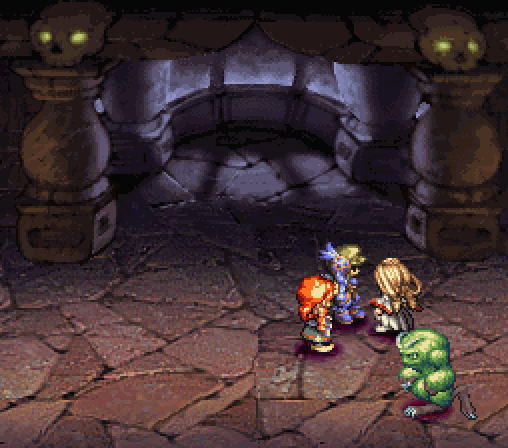
This is another quest that's easy to miss. First all, you need to have Dryad at L3 to unlock the demi-human and thus access to the quest, which is kinda hard to do unless you use the Sword of Mana, which most maps do. You also need to do Blessed Elixir, which is in itself hidden away. You may or may not be required to not have a pet, which, when will you ever not have that happen? I also see stuff like "Be over L40" and "You can't have finished a certain Jumi quest" though I don't know if all that is true.
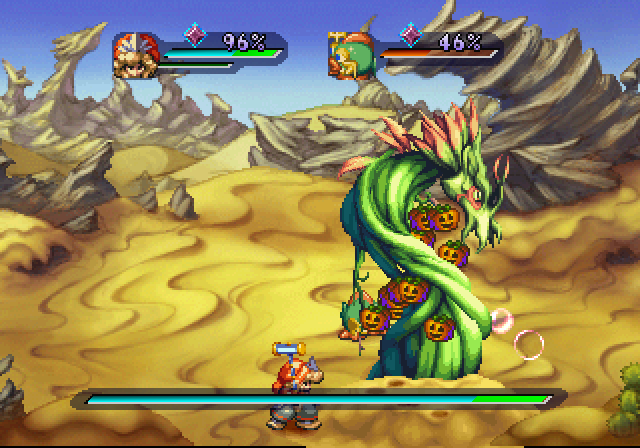
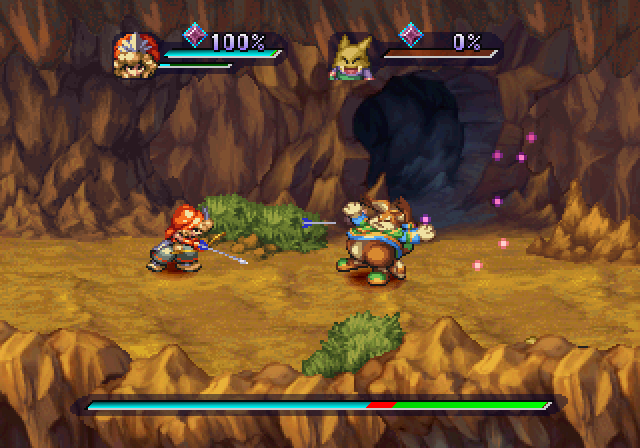
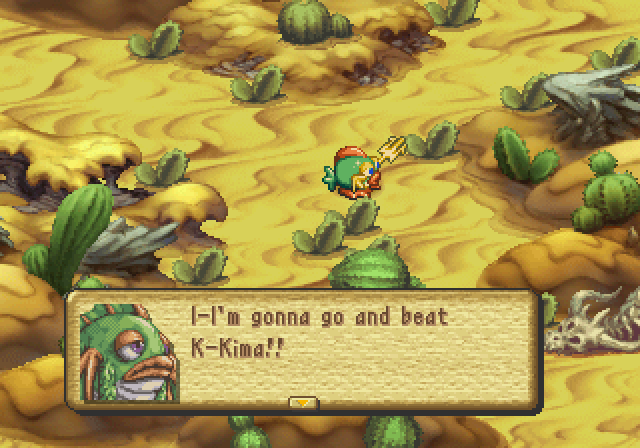
For all that, we get a very straightforward quest where we "help" a Sahagin fight a rather pain-in-the-ass boss with a rather low window to be hit before disappearing or spamming his big attacks. This was one of my longer boss fights just for how damn tedious it was. And of course Tikkle the Sahagin was useless since he's L1 and all.
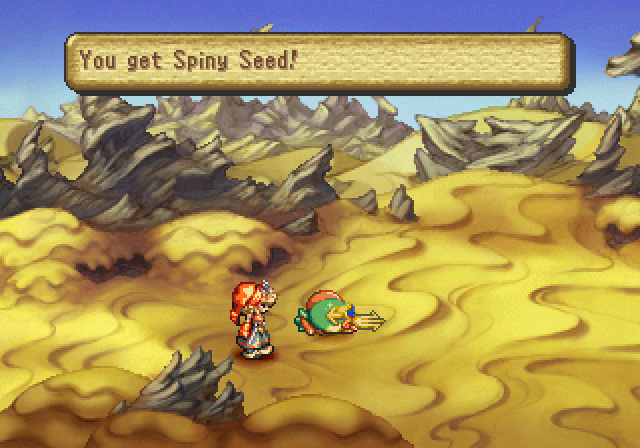
After all that, you get two seeds which Tikkle will ask for. I don't know what happens if you refuse, but they're just seeds, and it's hard for me to be a dick to video game characters in a game not made by Bethesda or Rockstar, so I always give them to him. I mean, the Spiny Seed's kinda-sorta rare and can be useful for some stuff, but let's face it, this Sahagin's going to forever be a miserable weakling anyway. I mean, I could grind him up to L99 if I wanted, but my time is way too valuable to train him any. Might as well let him keep the damn seeds.
Buried Treasure
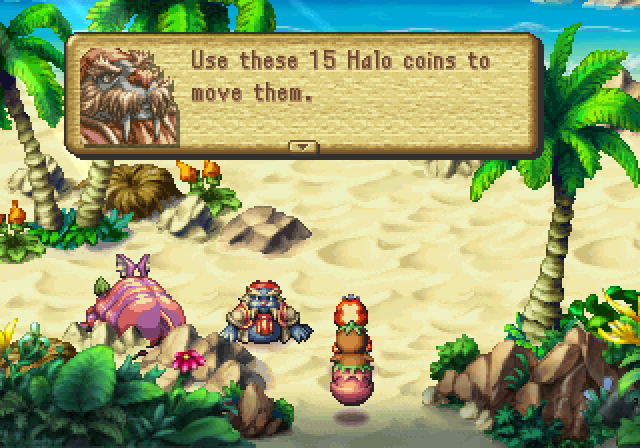
I hope you have a guide when doing this quest, or you'll be repeating this one a lot.
This is the last of the Pirate/Digger quests (though I think you could do that damn Faerie quest and this one in either order), and it involves bribing Dudbears to get to the treasure.
The first trick is that you have to bribe the middle Dudbear. All others and you just waste a coin. How lovely.
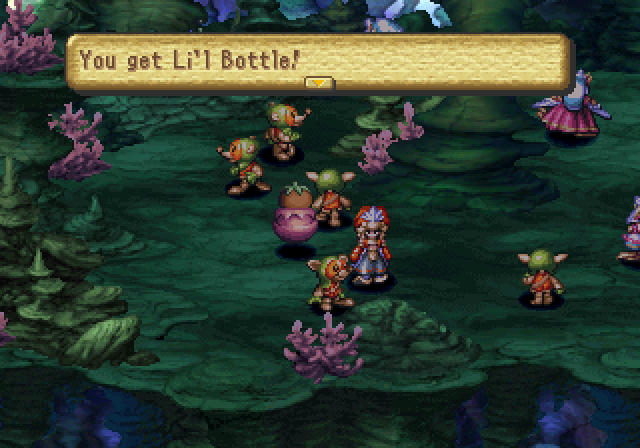
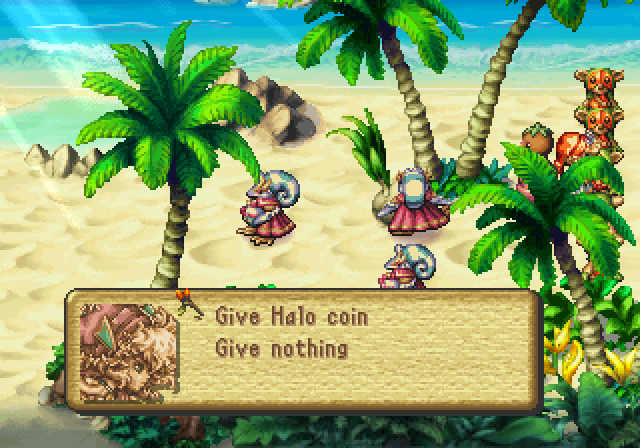
Next, you have to give a coin to this specific Dudbear to get a Lil' Bottle. Any other Dudbear and you get squat and lose the coin. The Dudbear that blocks the exit requires this for you to get through. Annoying, especially as you could end up spending half your Halo Coins to figure this out, or more if you think giving multiple coins will trigger something.
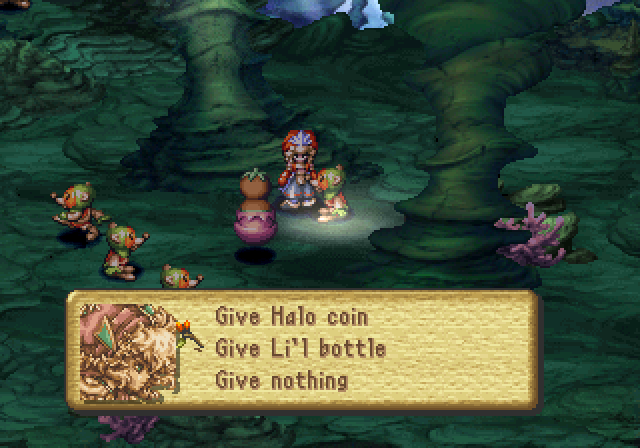
Now here's where things get to bullshit. In the next room, you have to give this specific Dudbear a Lil' Bottle to get a Pucashell. Yeah, good fucking luck figuring that out. Of course, you need the Pucashell to exit. Even if you know this, you still have to either know of this beforehand and get multiple Lil' Bottles in advance, or go back and refind the Dudbear with the Bottles.

The last room is also a dick. You may assume, "Oh, there's a Dudbear I should give a Pucashell to so I can get the next item to let me exit!" No, you simply give the Dudbear guarding the exit another Pucashell.
This quest essentially requires a guide. There's just too much bullshit without one.
Our reward is yet another fucking crab for our study and some Altena Alloy, which, eh. Oh, and paying off the Dudbears to carry off Roger, which is the best reward of all.
Rachel
Ahahahahahaha, this quest. This quest, more than any other in the game, is a confusing mess that most people can't make any sense of. Even in the last LP, everyone was like, "What the hell is going on?"
Anyway, I'm going to attempt the impossible. I'm going to attempt to make sense of this quest. I won't promise I'll succeed, but I'm going to try.
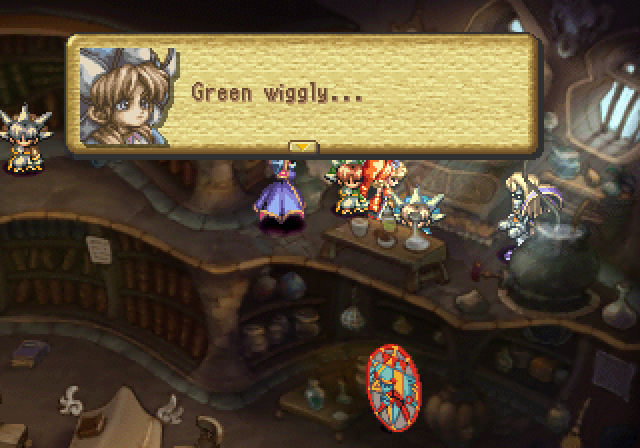
First, let's talk about the green wiggly. This post sums it up best:
How Ingratiating! posted:
Think of green wigglies and blue jigglies as instant messenger avatars for telepathy.
You'll actually see students and other NPCs mention a green wiggly. In fact, the green wiggly is none other than this student.
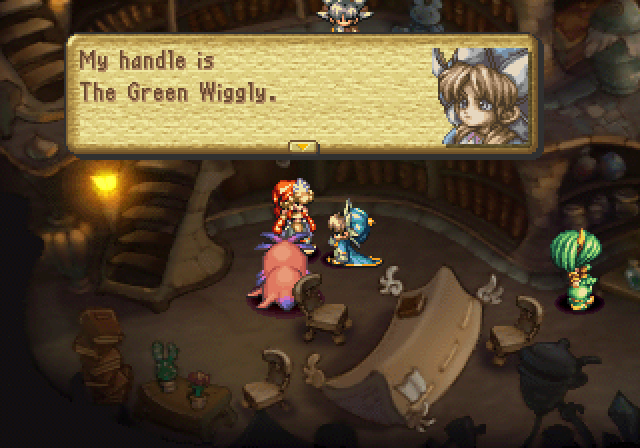
This student talks to people through telepathy through the green wiggly. There's also a Lilipea you meet that mentions seeing the Green Wiggly during the "Chasin' Lilipeas" quest.
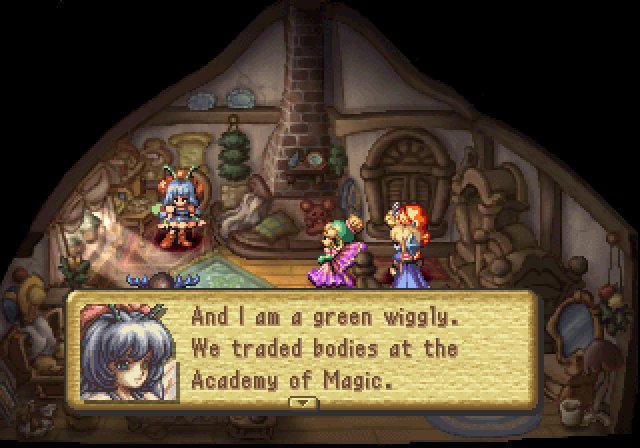
So Rachel, who also has telepathy and goes by a blue jiggly, went to the Academy of Magic (we'll go into the why later) and ended up swapping bodies with the student that was the green wiggly due to one of Thesines's experiments. So the person who is in Rachel's body is actually that student.
If you go to Geo and talk to that student after this quest, you just get a "......" though Rachel is pretty shy and quiet sometimes. Still, the game never really confirms the student is now Rachel, which doesn't help clarifying things.
So Rachel is now in the body of a student at Geo, and that student is now in Rachel's body.
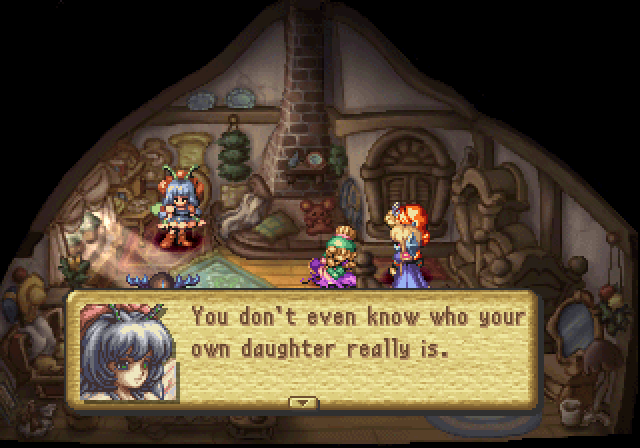
So let's move on to the catalyst of this whole thing: Mark and Rachel's relationship. I admit, I still don't grasp all of it, and it's the most important part to this whole thing.
They got along when they were younger, but then Mark started thinking Rachel hated him because she laughed at his jokes. Uh, yeah. Thus Mark decided the best way to make Rachel like him was spend as much time as possible with her while spoiling her rotten. He basically took control of Rachel's life to make her like him. Of course, this is what made Rachel sick of her dad, though it still seems she never actually hated him, despite what Teapo may have thought.
Of course, everyone else could see how fucked up this was, but nobody really did anything about it, and thus this continued until Rachel decided to go to the Academy of Magic. Of course, I'm not sure whether she intended to swap bodies in the first place to put distance between her and her father, or whether she wanted to work on her magical teapot rocketship, but regardless, the result is her swapping bodies.
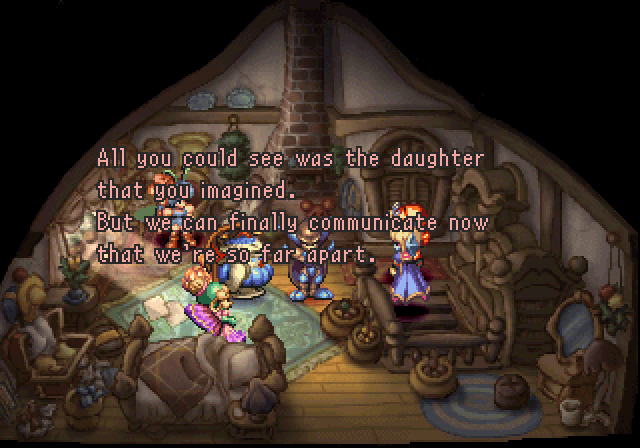
Mark basically made Rachel into the daughter he always wanted to cope with the idea that his daughter may not have loved him the way he'd have liked. Rachel had to escape for both their sakes, and thus she swapped bodies to put distane between them. Rachel's happier this way, and maybe now the two can have a better father/daughter relationship. Or something.
This...well, I don't know what to make of this other than it tying into themes of reincarnation and such.
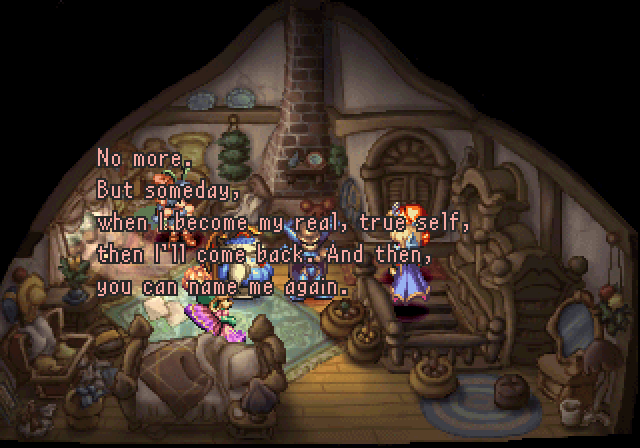
Thinking about it, it could mean Rachel "finding" herself, of sorts. Free from being her father's image, she could be discovering just what kind of person she really is, and when she finally does, then she will come back and be Rachel again. Just my interpretation, but it works in the context of everything else.
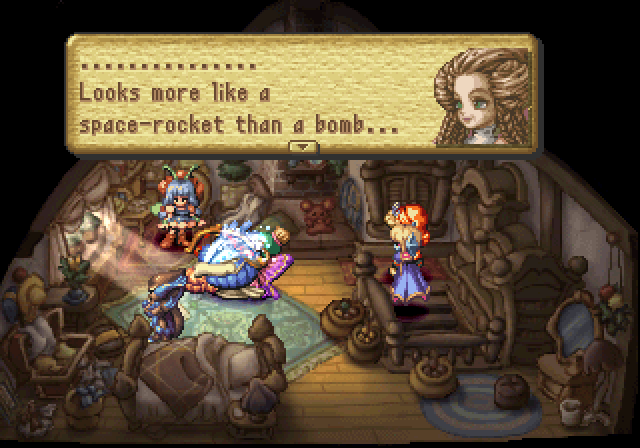
There's also the whole red herring with Rachel attempting to kill Mark by making Teapo into a bomb. In reality, it was one of two things: Rachel making Teapo into a rocketship to either propel herself into space, becoming a star and committing suicide to escape her situation, or doing so as a token of love for her dad, who talked about wanting to go to space, before she left on her own. I don't think the game really ever goes into why Rachel made Teapo into a rocketship, so go with whichever one you prefer. One's sweeter, one's more depressing but has a happy ending. Frankly, I think both fit well with this game, though the "make Dad happy" one may make more sense in the context of this quest.
So yeah, everything Teapo says was wrong and just an attempt to make you feel like you were actually doing something rather than watch family drama unfold. In reality, your character doesn't actually do anything. It's kind of fascinating, really, in that in this quest you contribute absolutely nothing to the plot and are instead simply watching everything unfold. It's kind of neat, in a way.
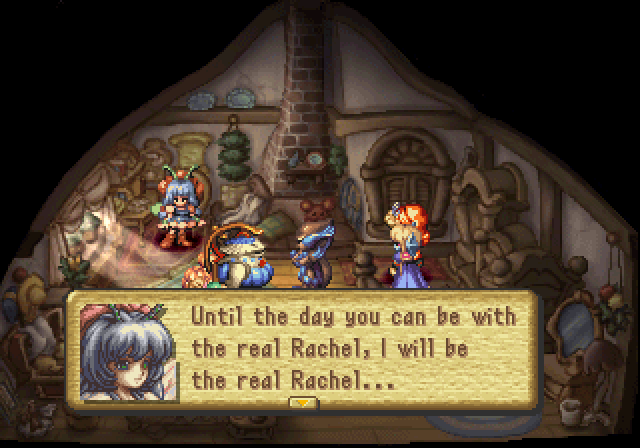
So the quest ends with the green wiggly offering to be their Rachel until actual Rachel returns, which everyone's fine with because this is confusing as fuck and nobody wants to think about it besides a rather obsessive LPer.
So that's my interpretation of that quest. I might have missed a lot or got stuff wrong, but it all makes sense to me, for the most part. In the end, it's the story of a father who tried to cope with the false idea of having a daughter who may not have liked him as much as he'd have liked, and his methods of love that ended up driving said daughter away from him. You know, except with body-swapping, because this game likes to make its stories batshit insane.
I think if the dialogue were a lot clearer and they were a bit more explicit with both the body-swapping and added more focus on Mark changing parental styles while making the reasoning more sensical, this quest would be much easier to understand and much less confusing.
In the end, though, it's still a rather neat little quest on a bunch of characters that otherwise have no importance and don't really appear in other quests (besides Teapo's little adventure in the ruins).